
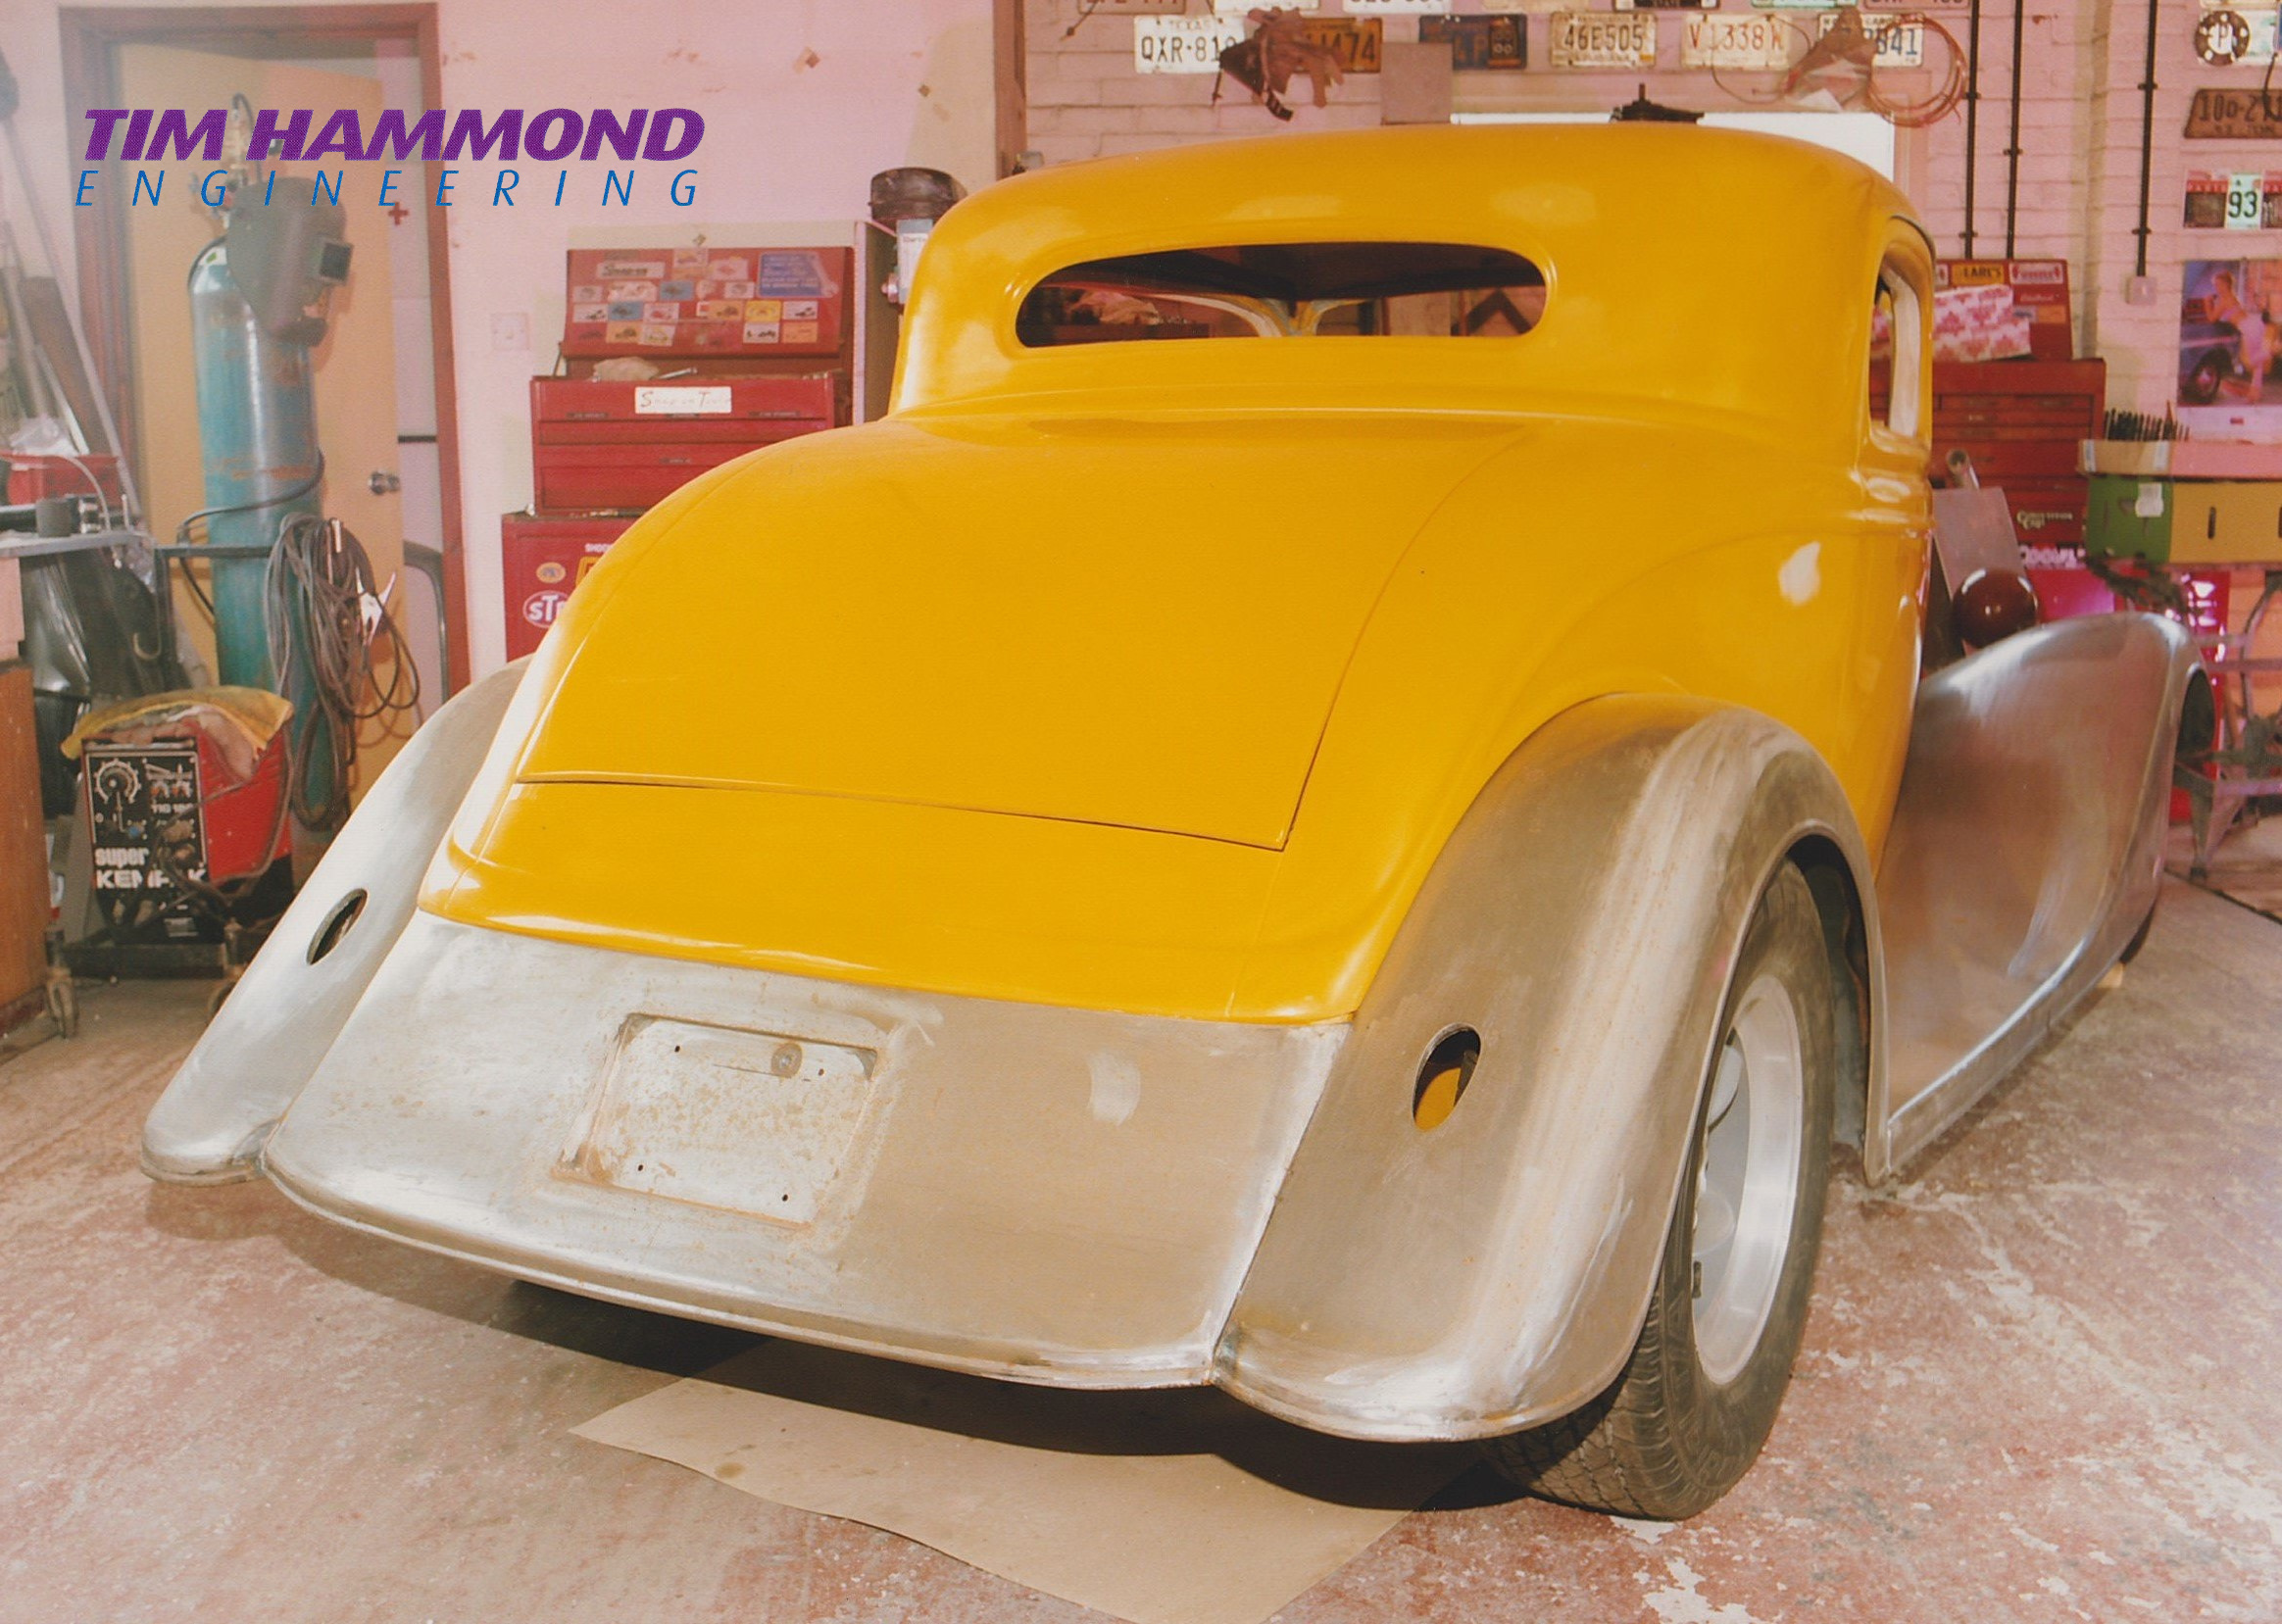
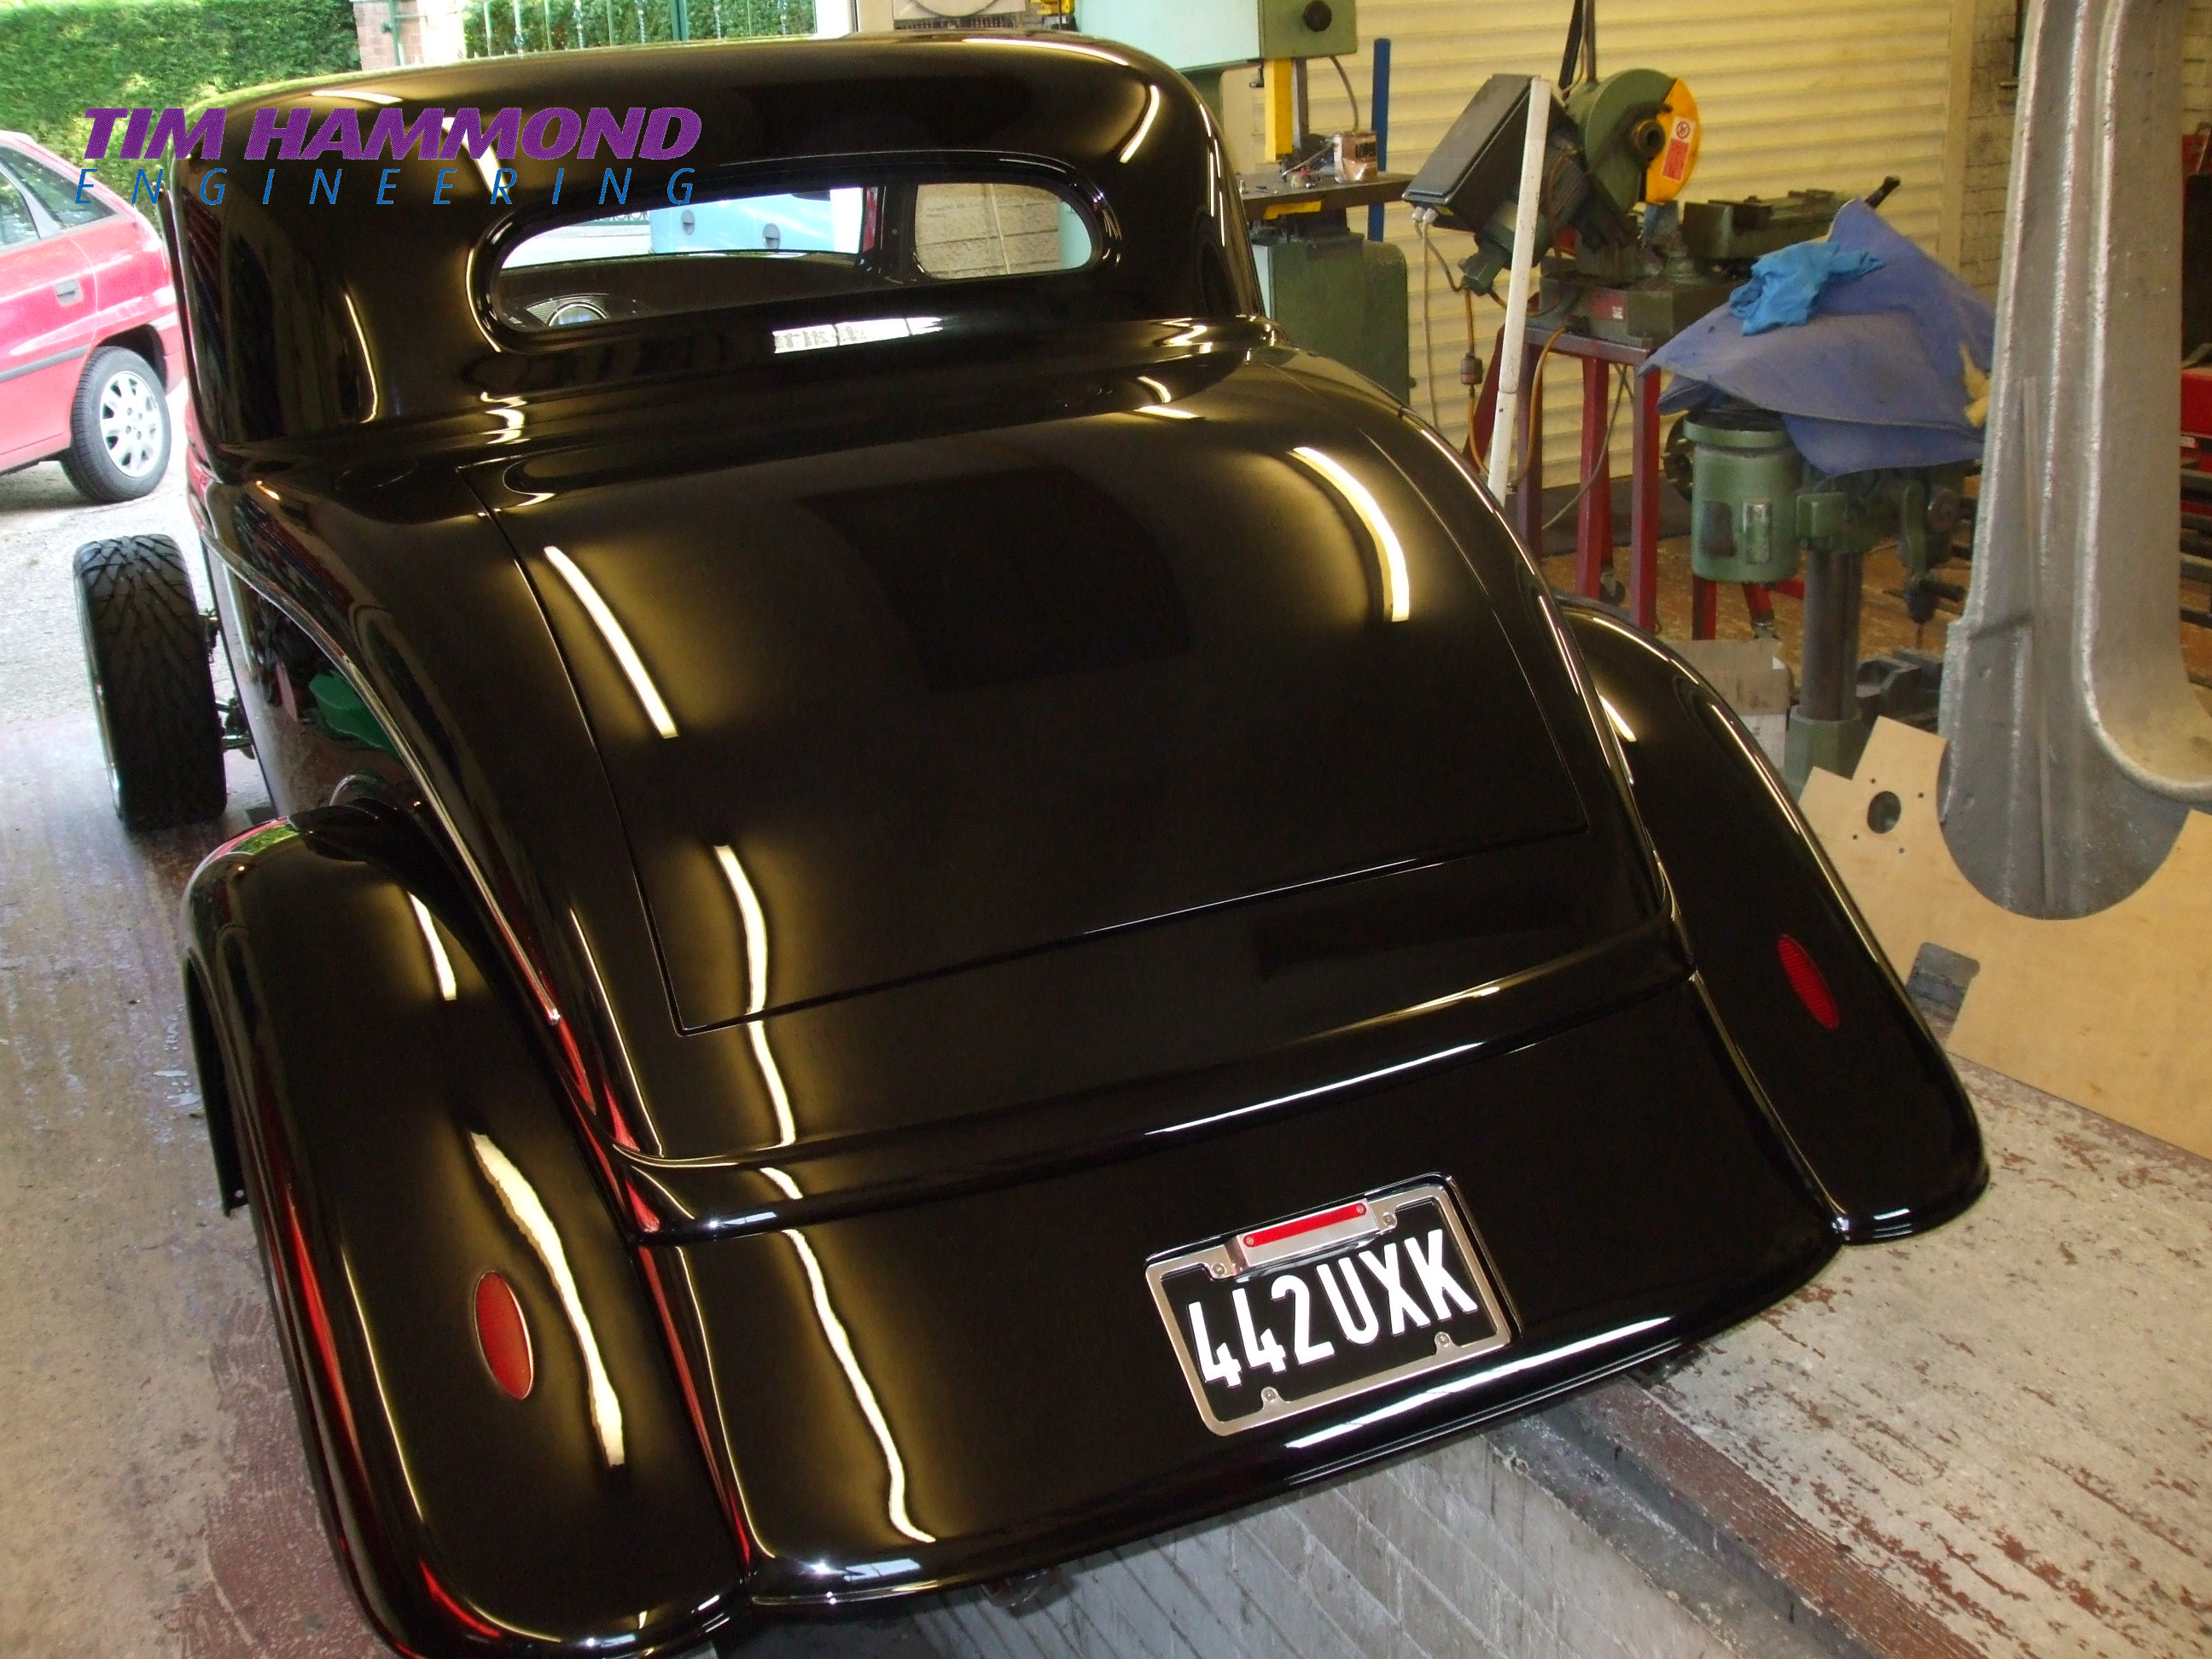
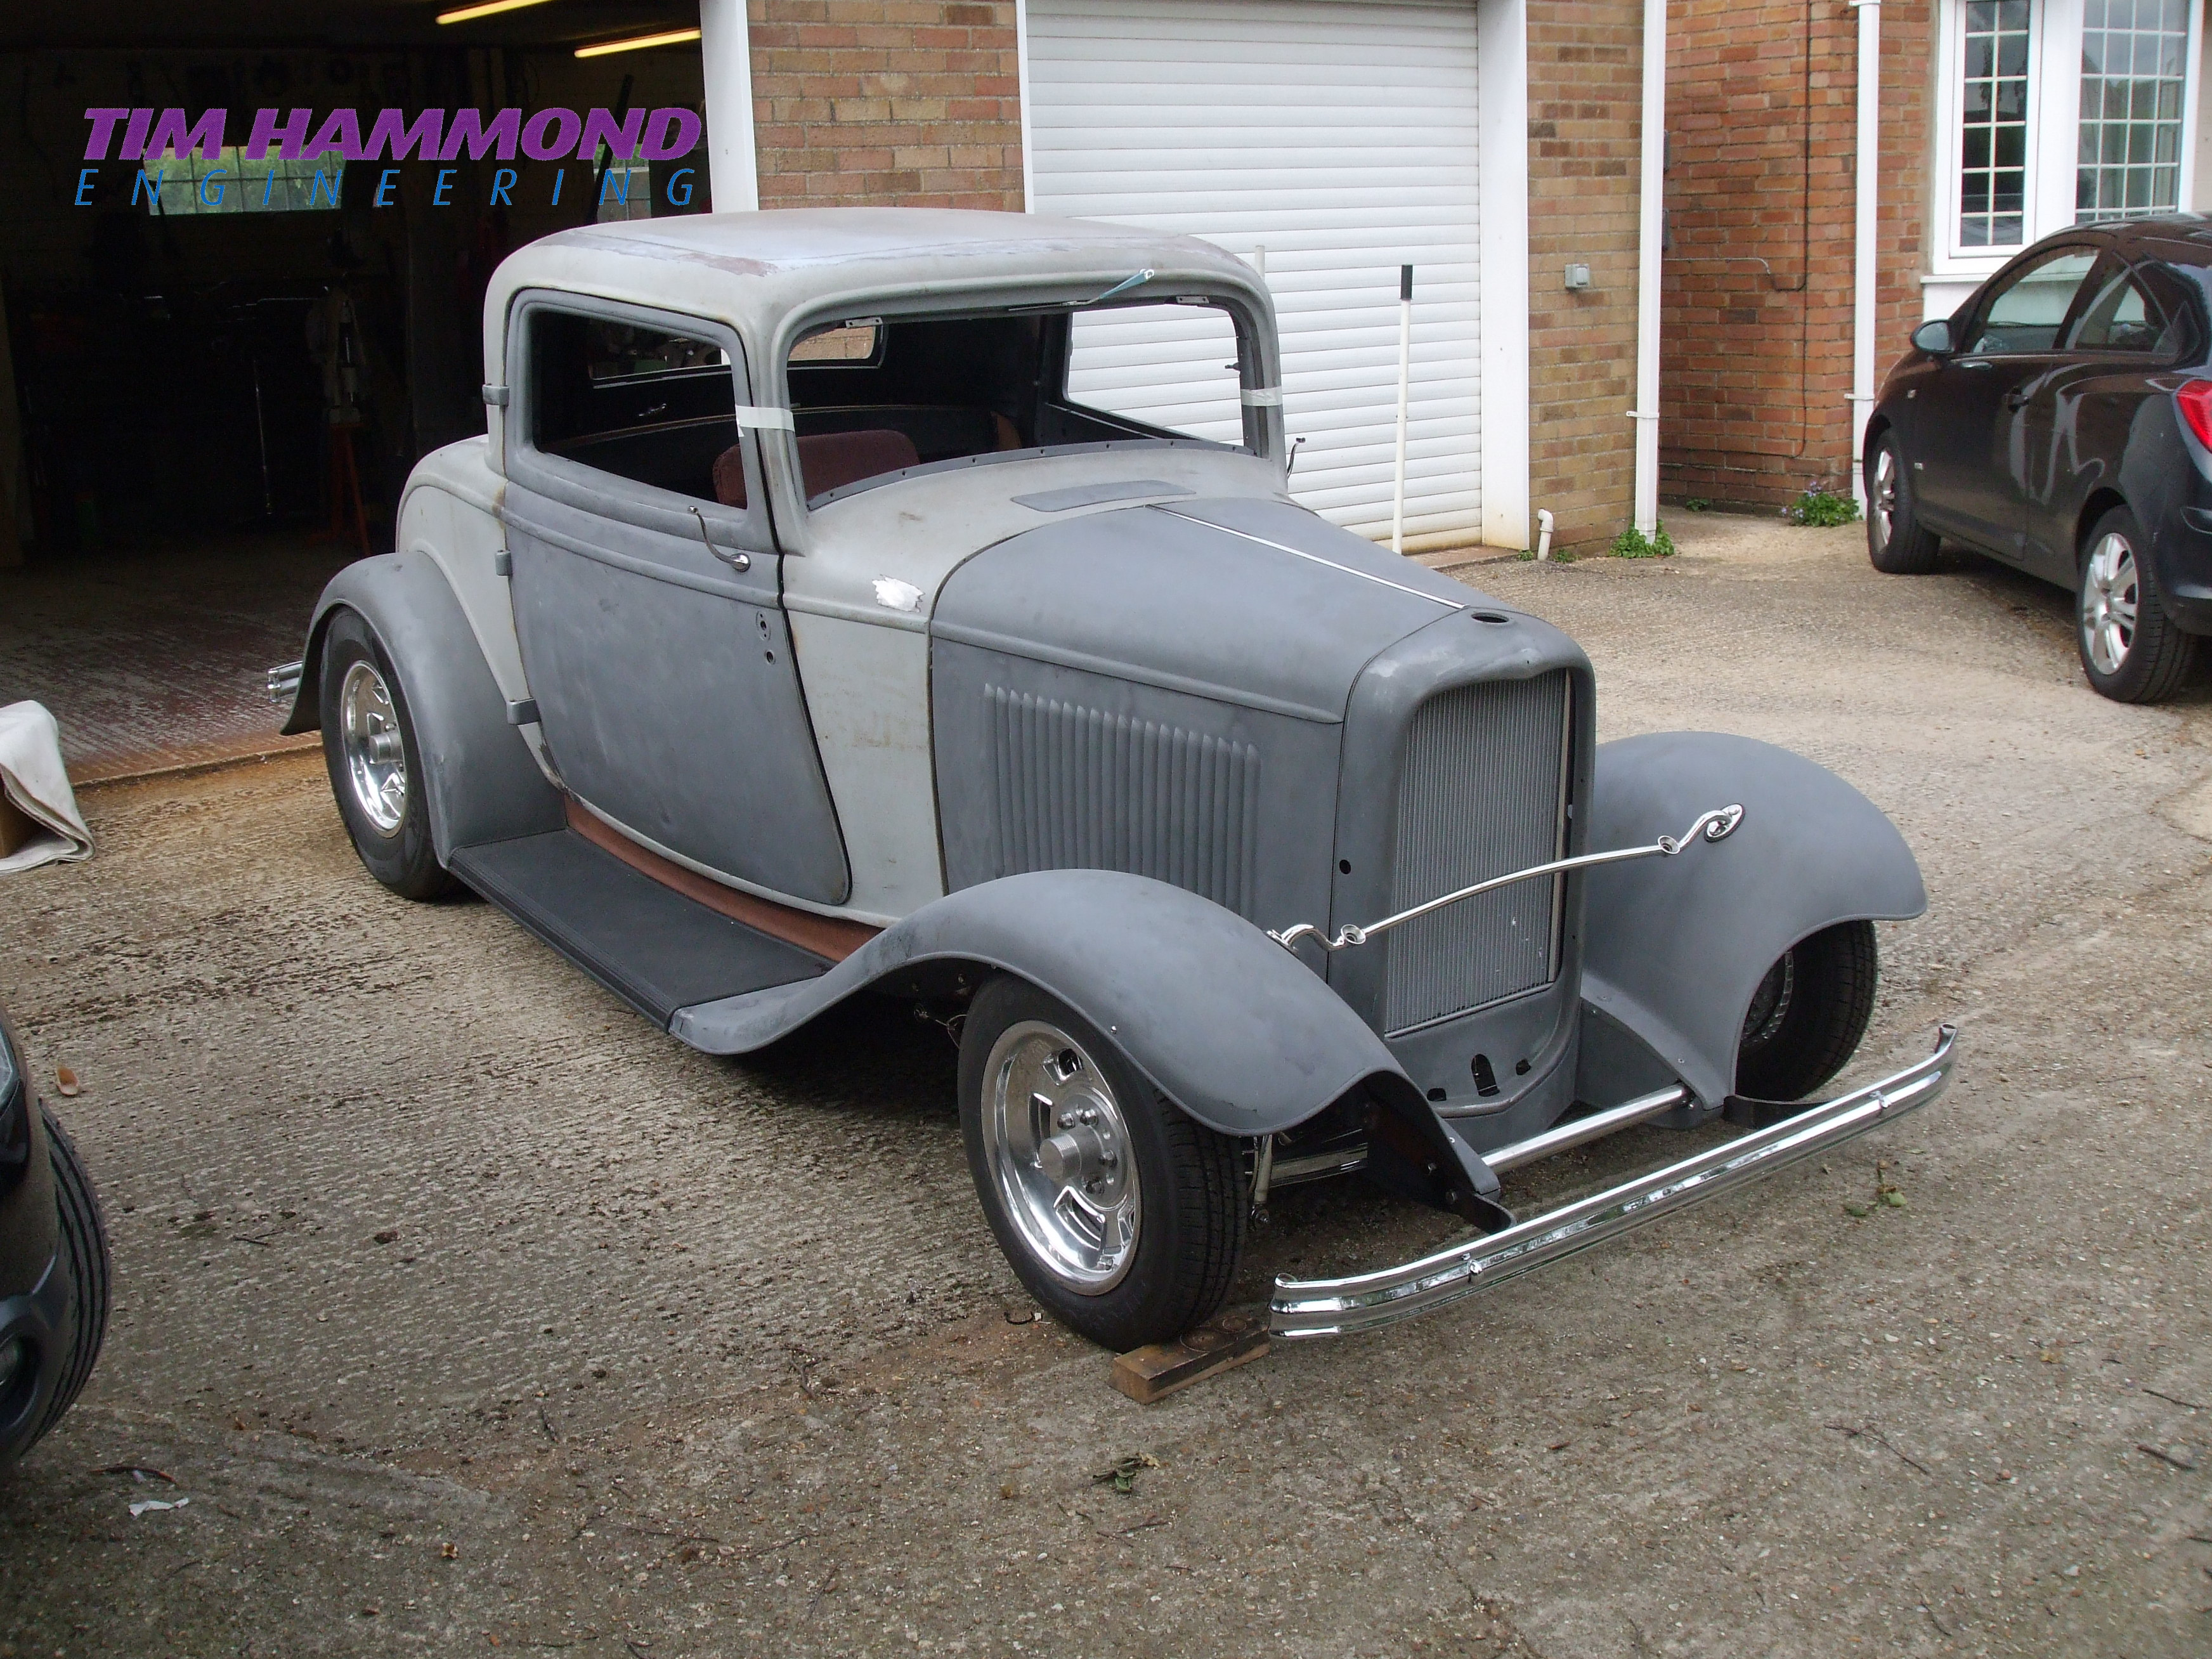
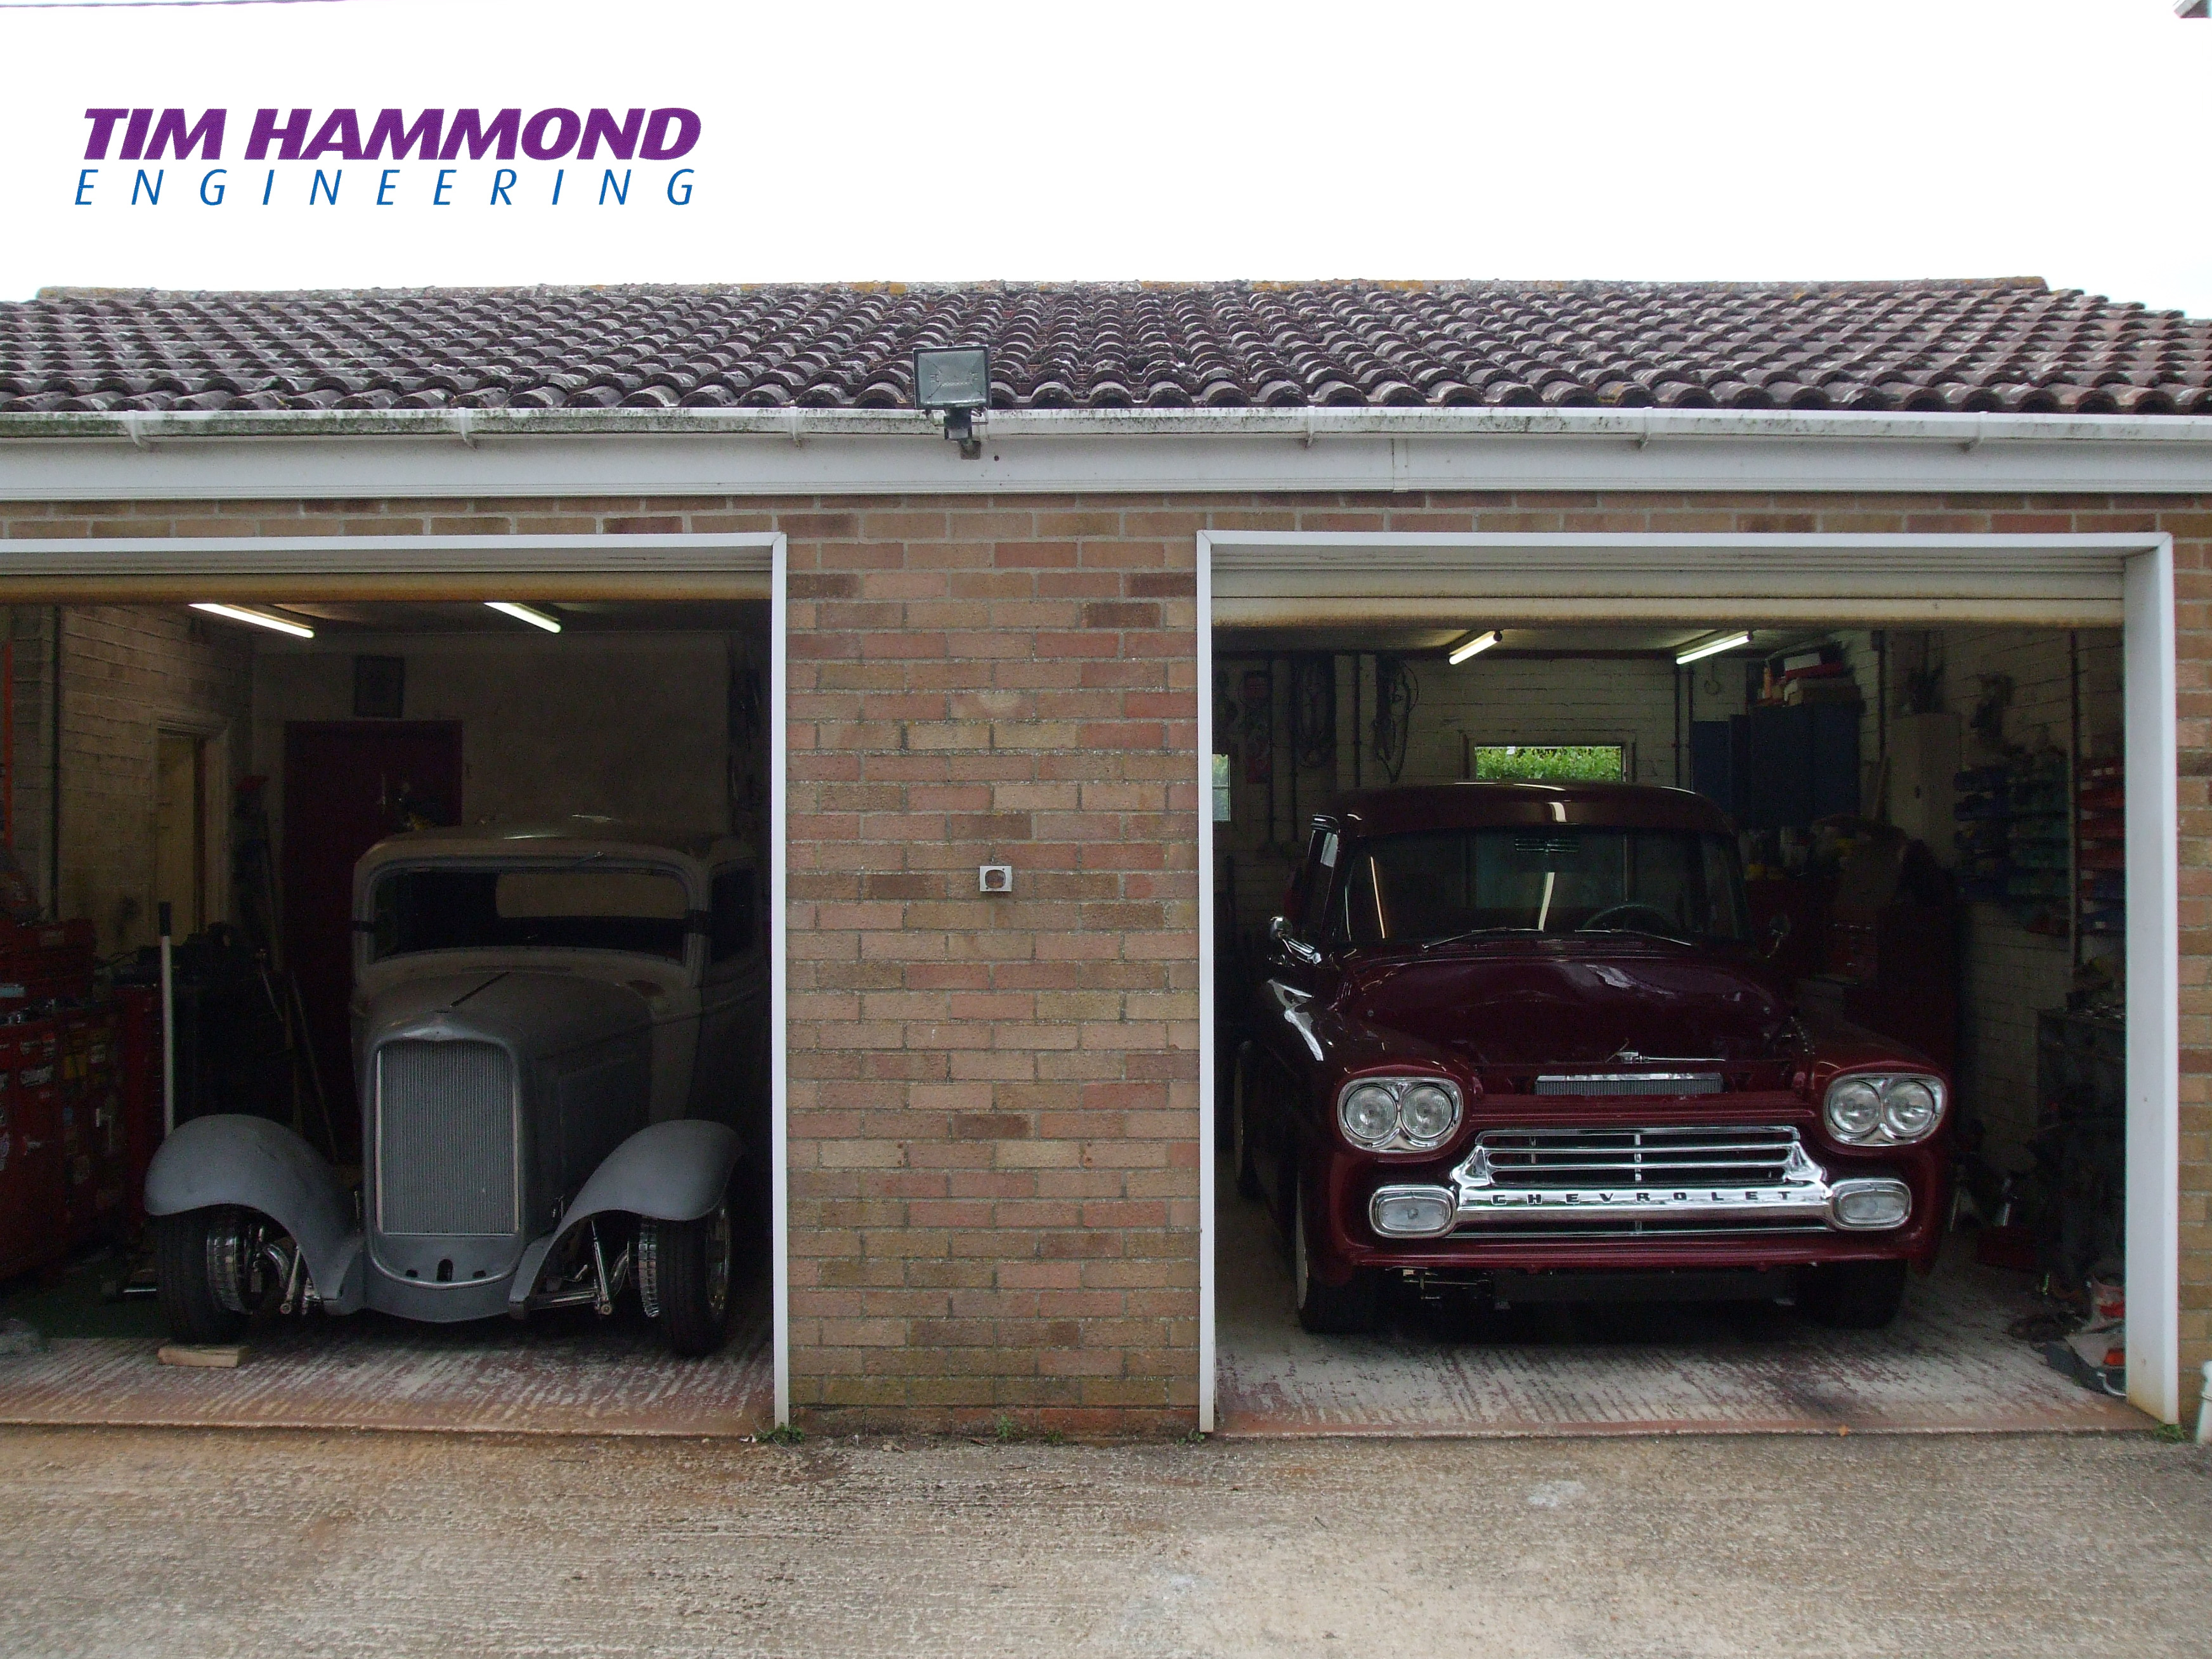
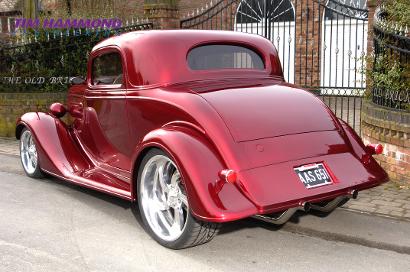
Some things need to be kept under wraps until complete, but some customers don't mind showing off the work in progress!

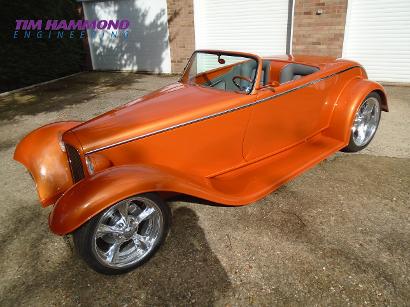
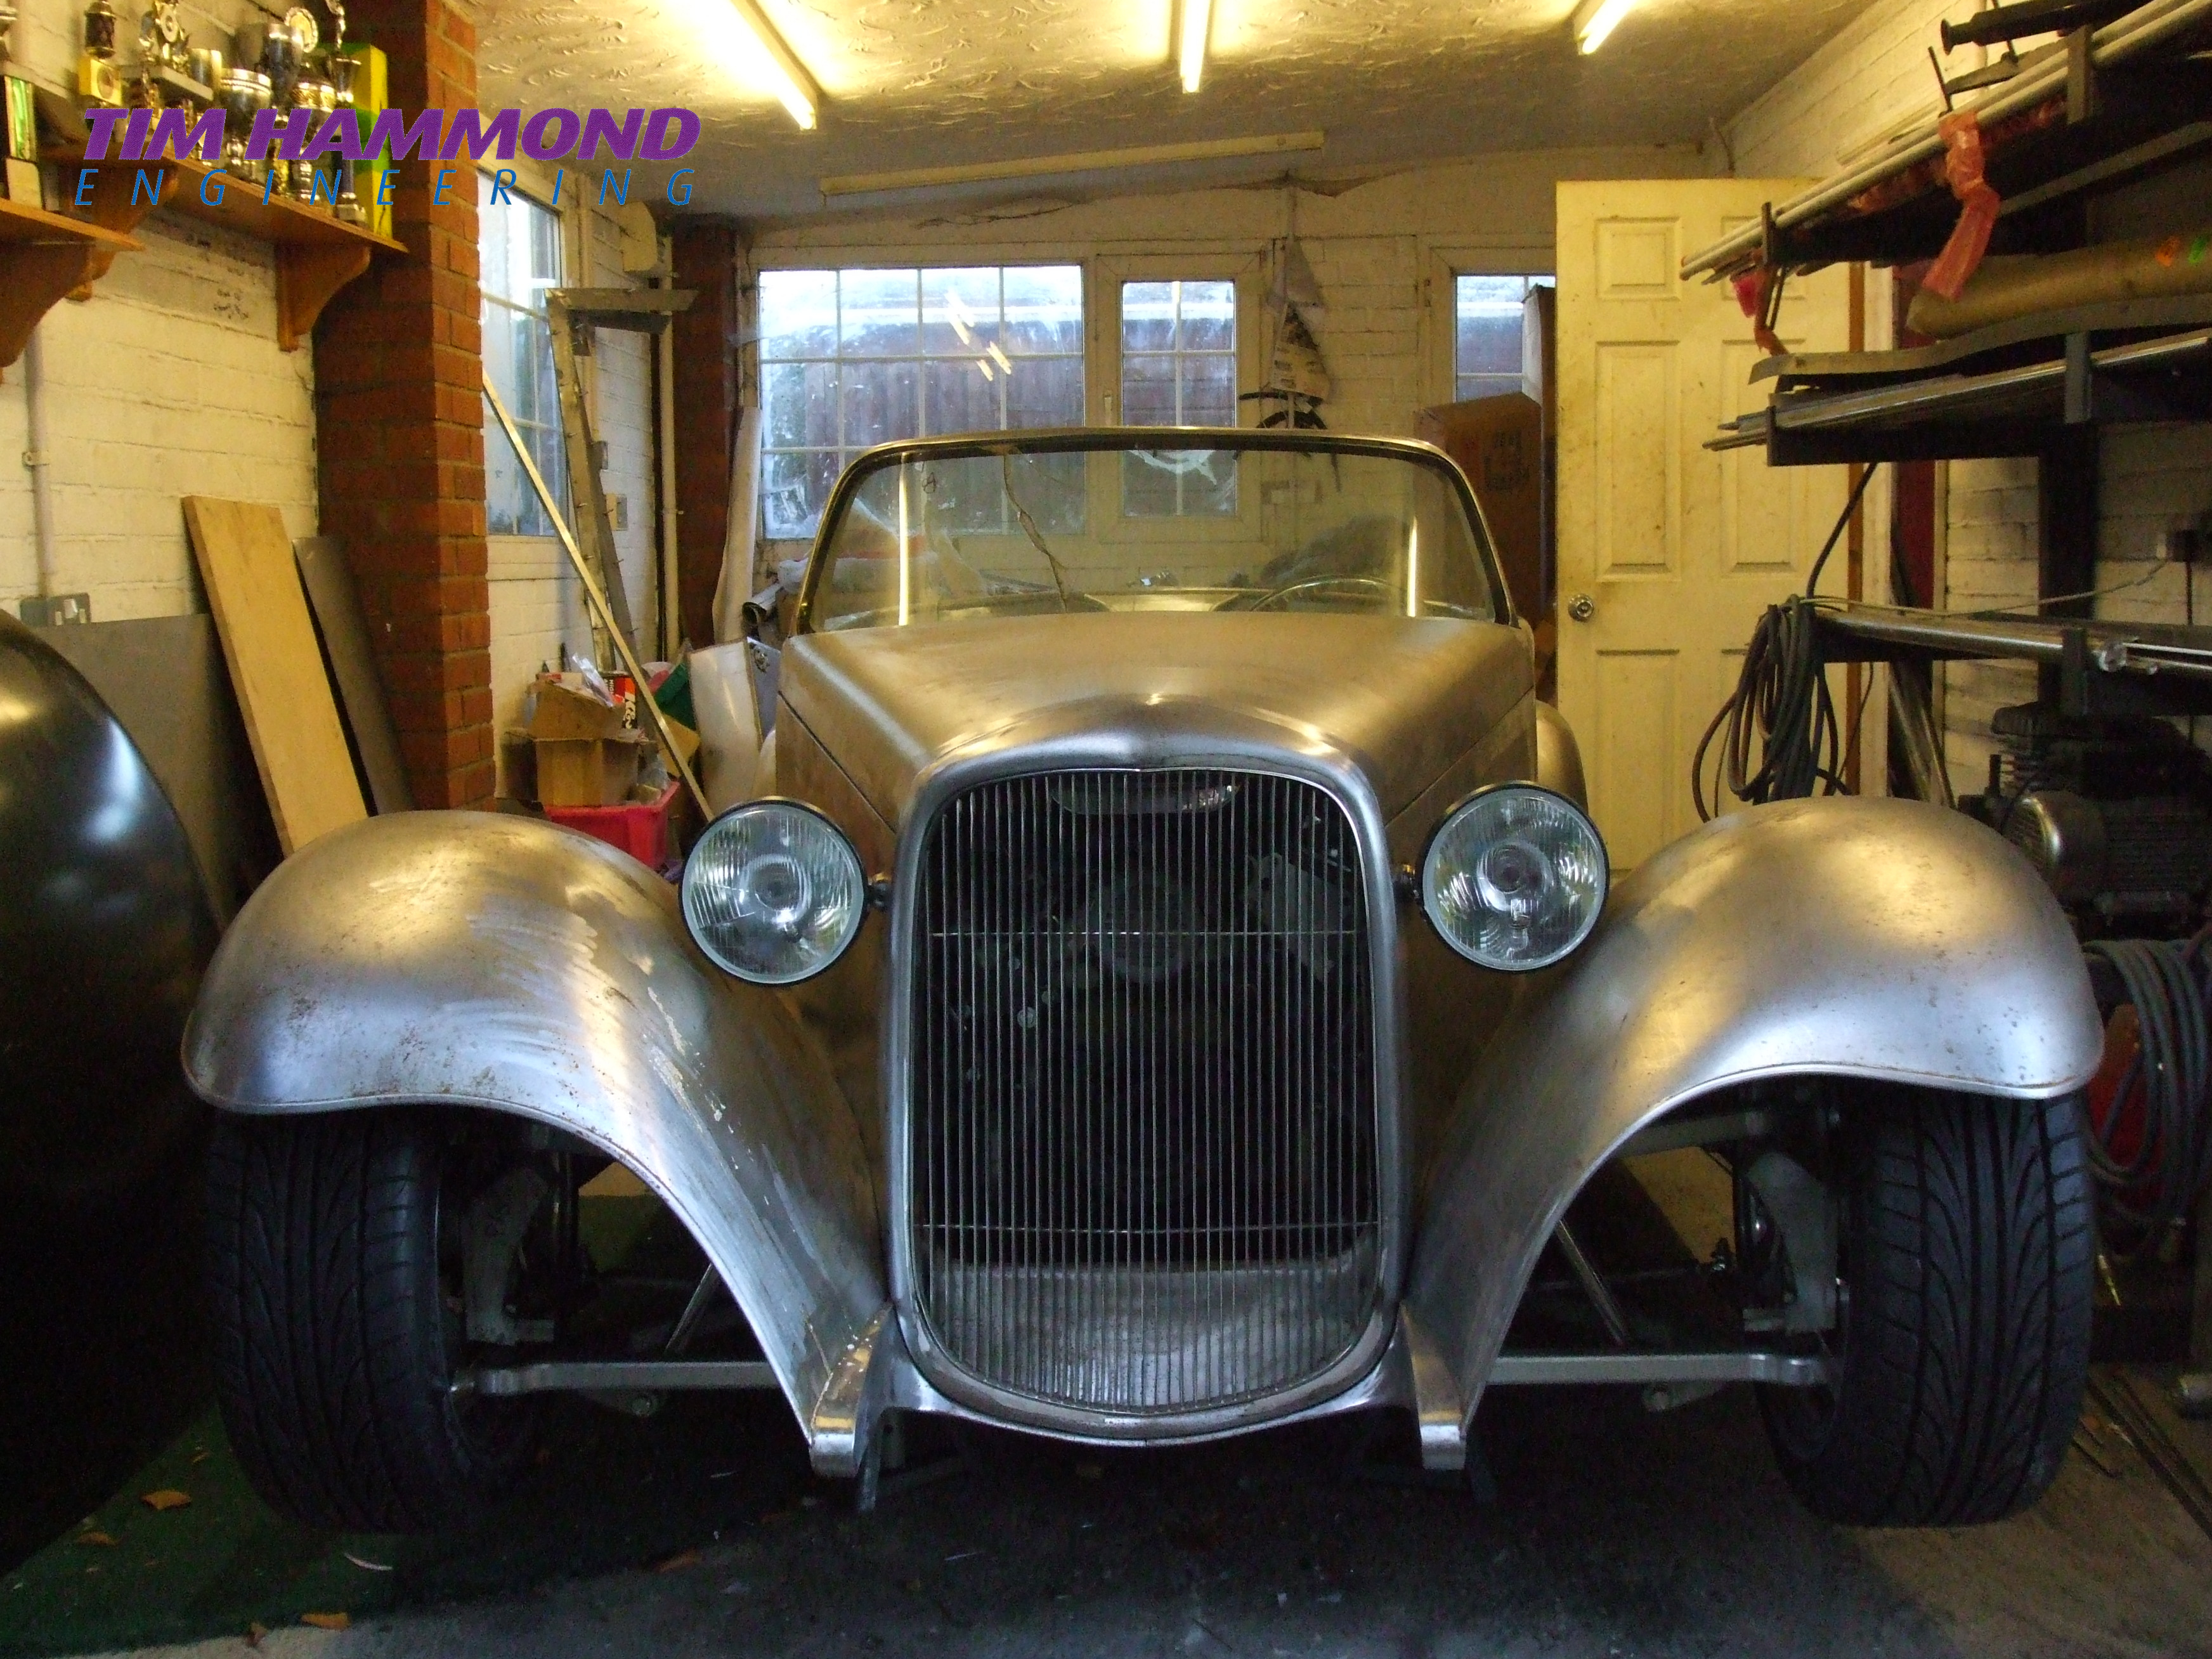
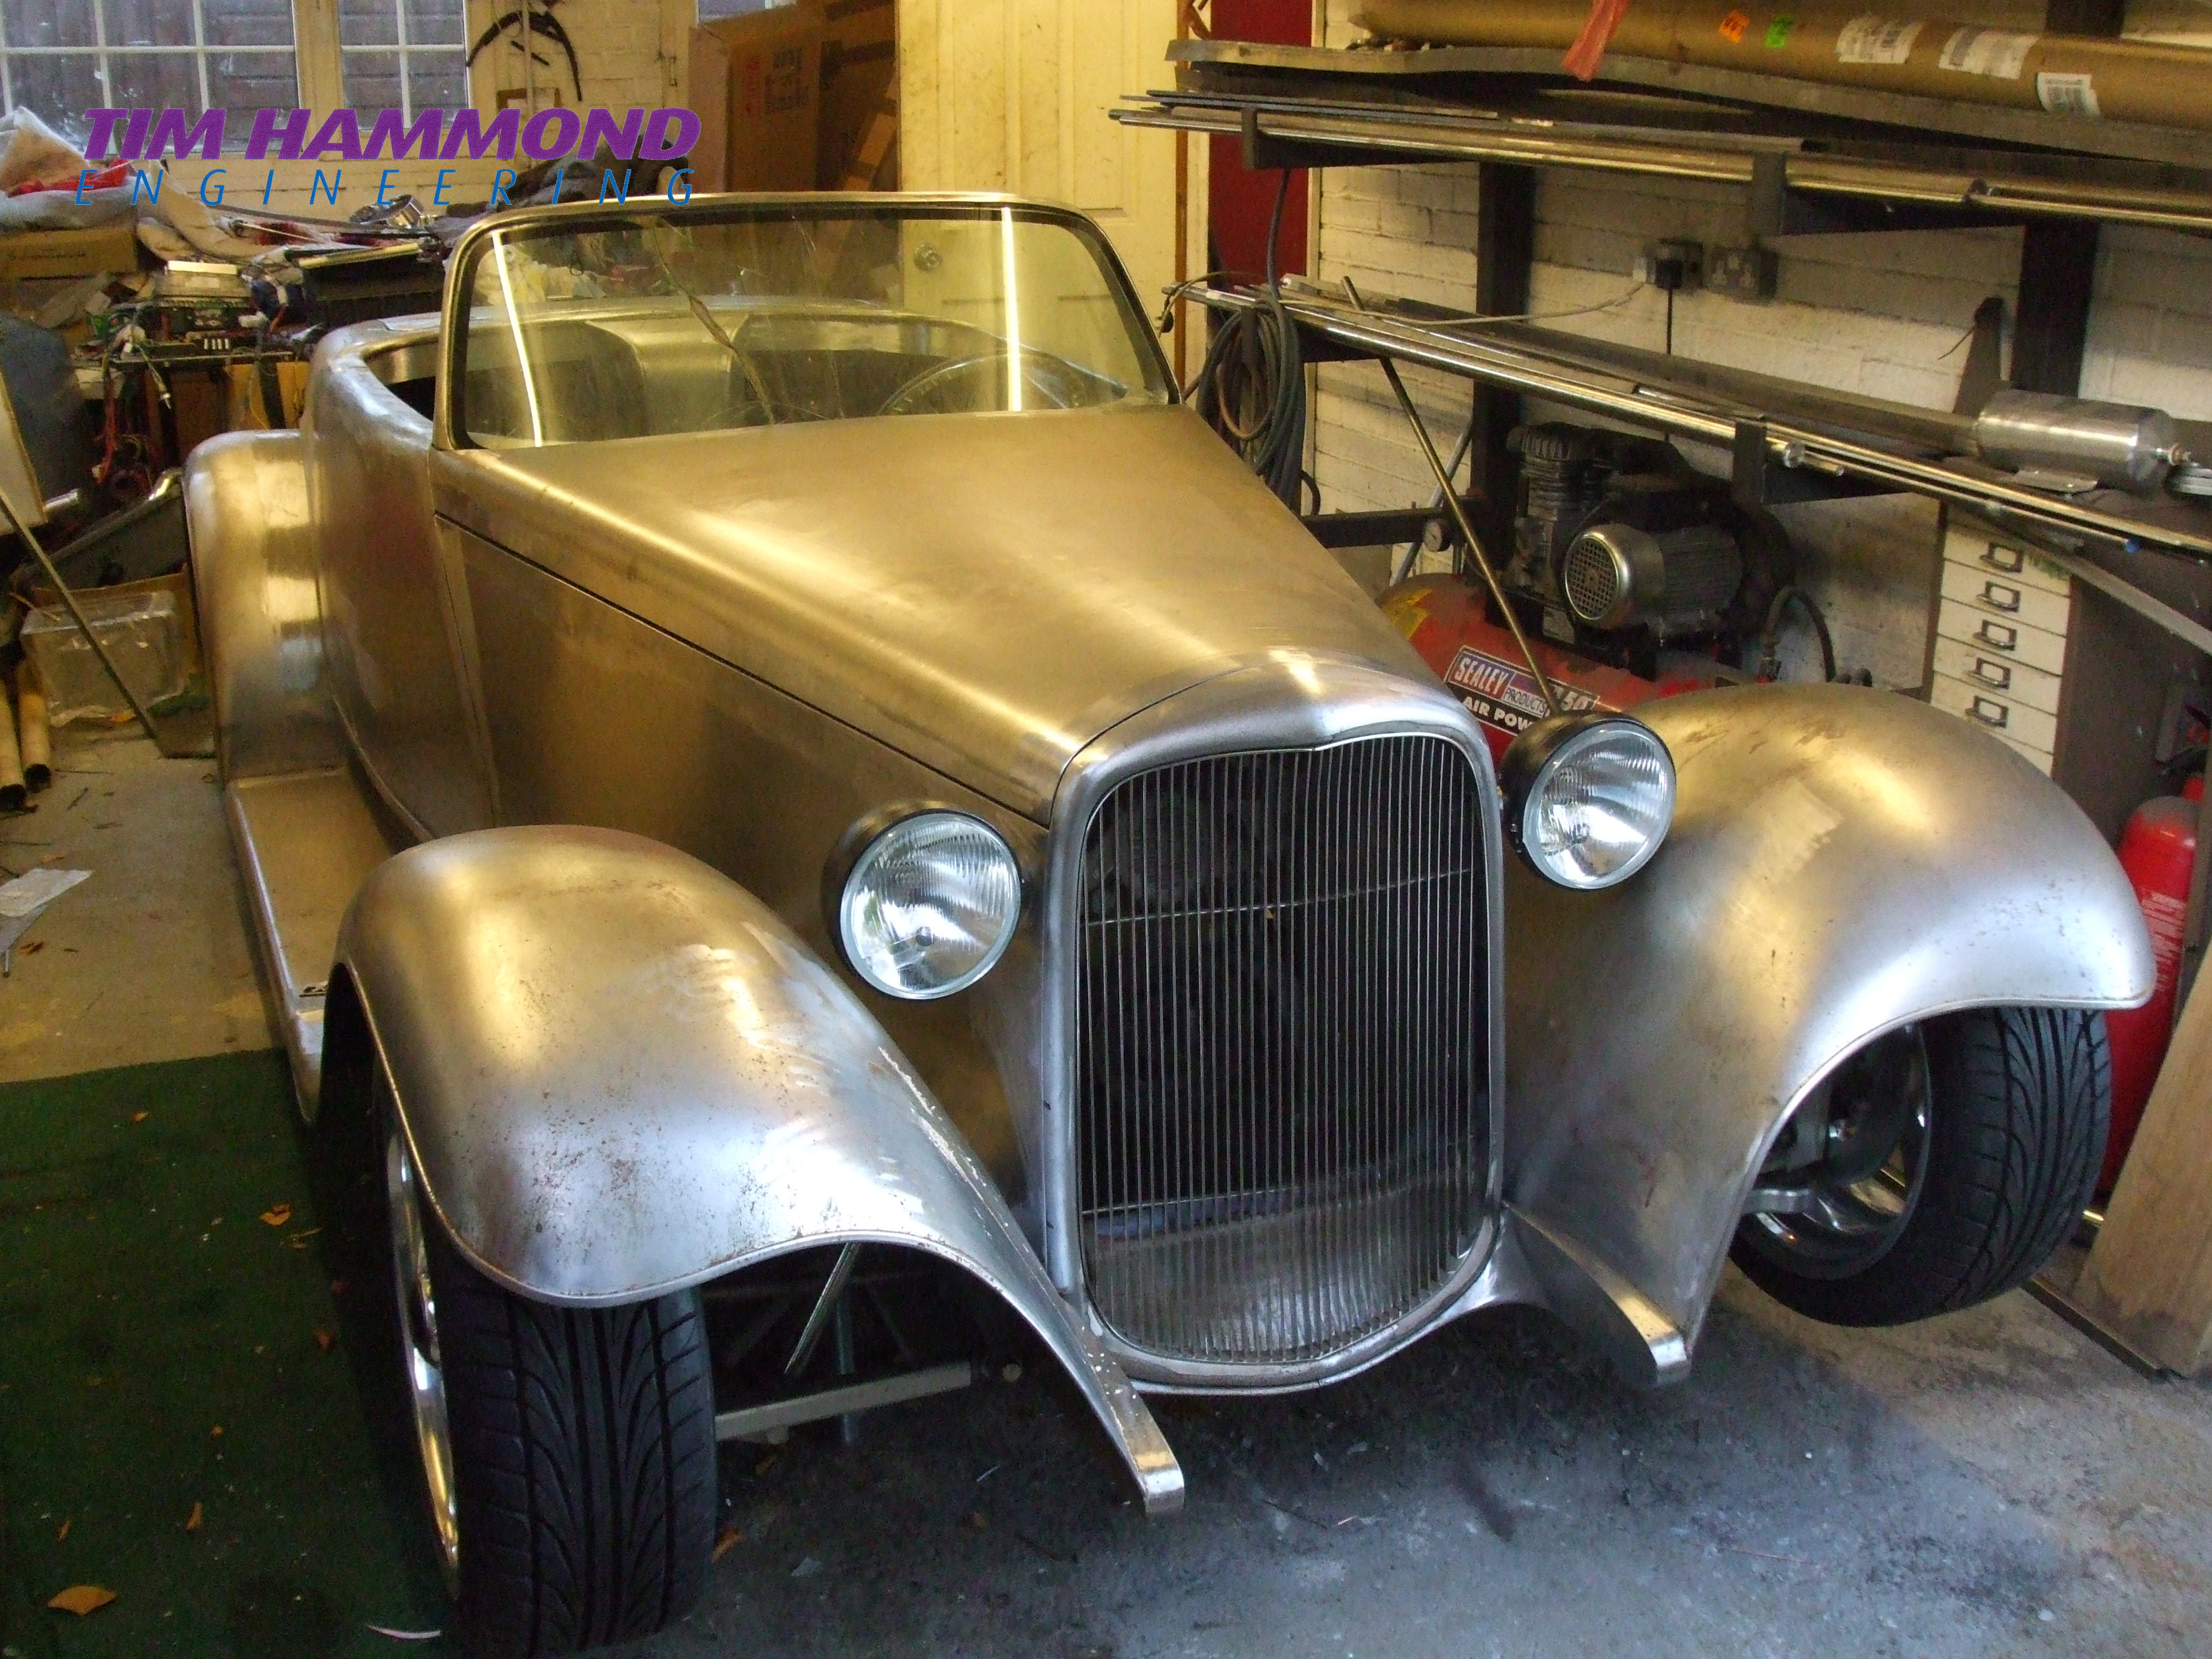
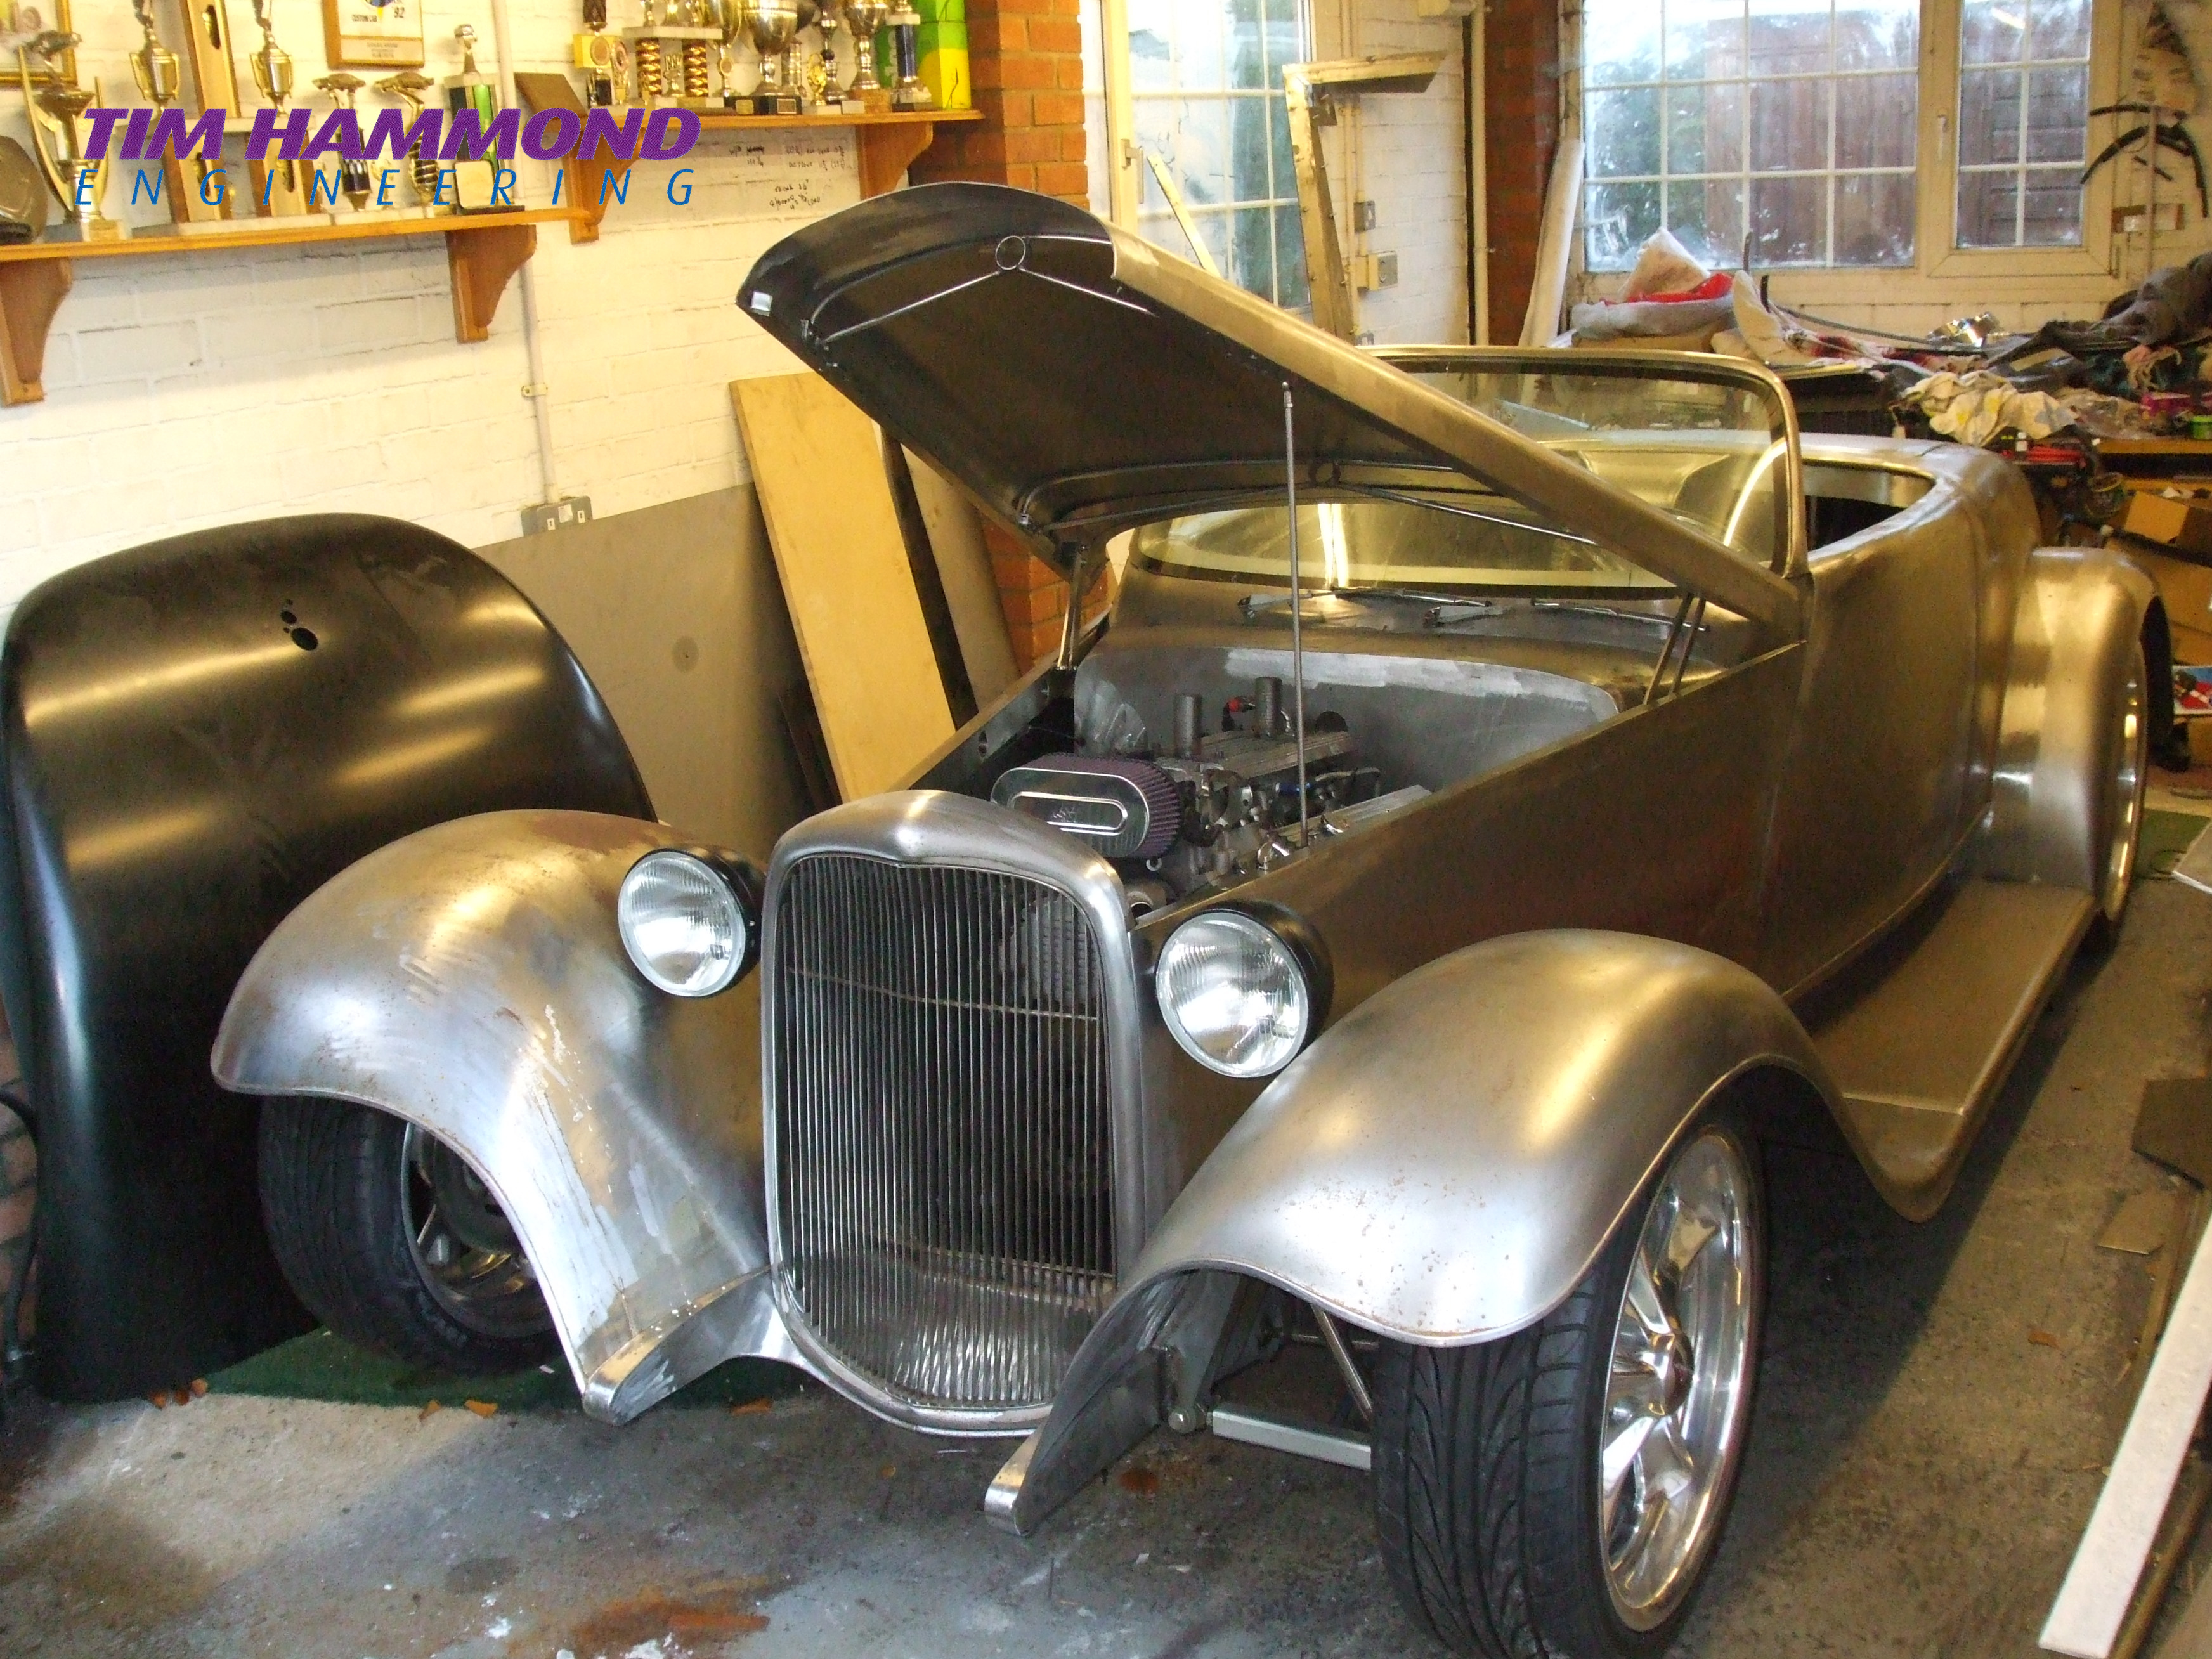
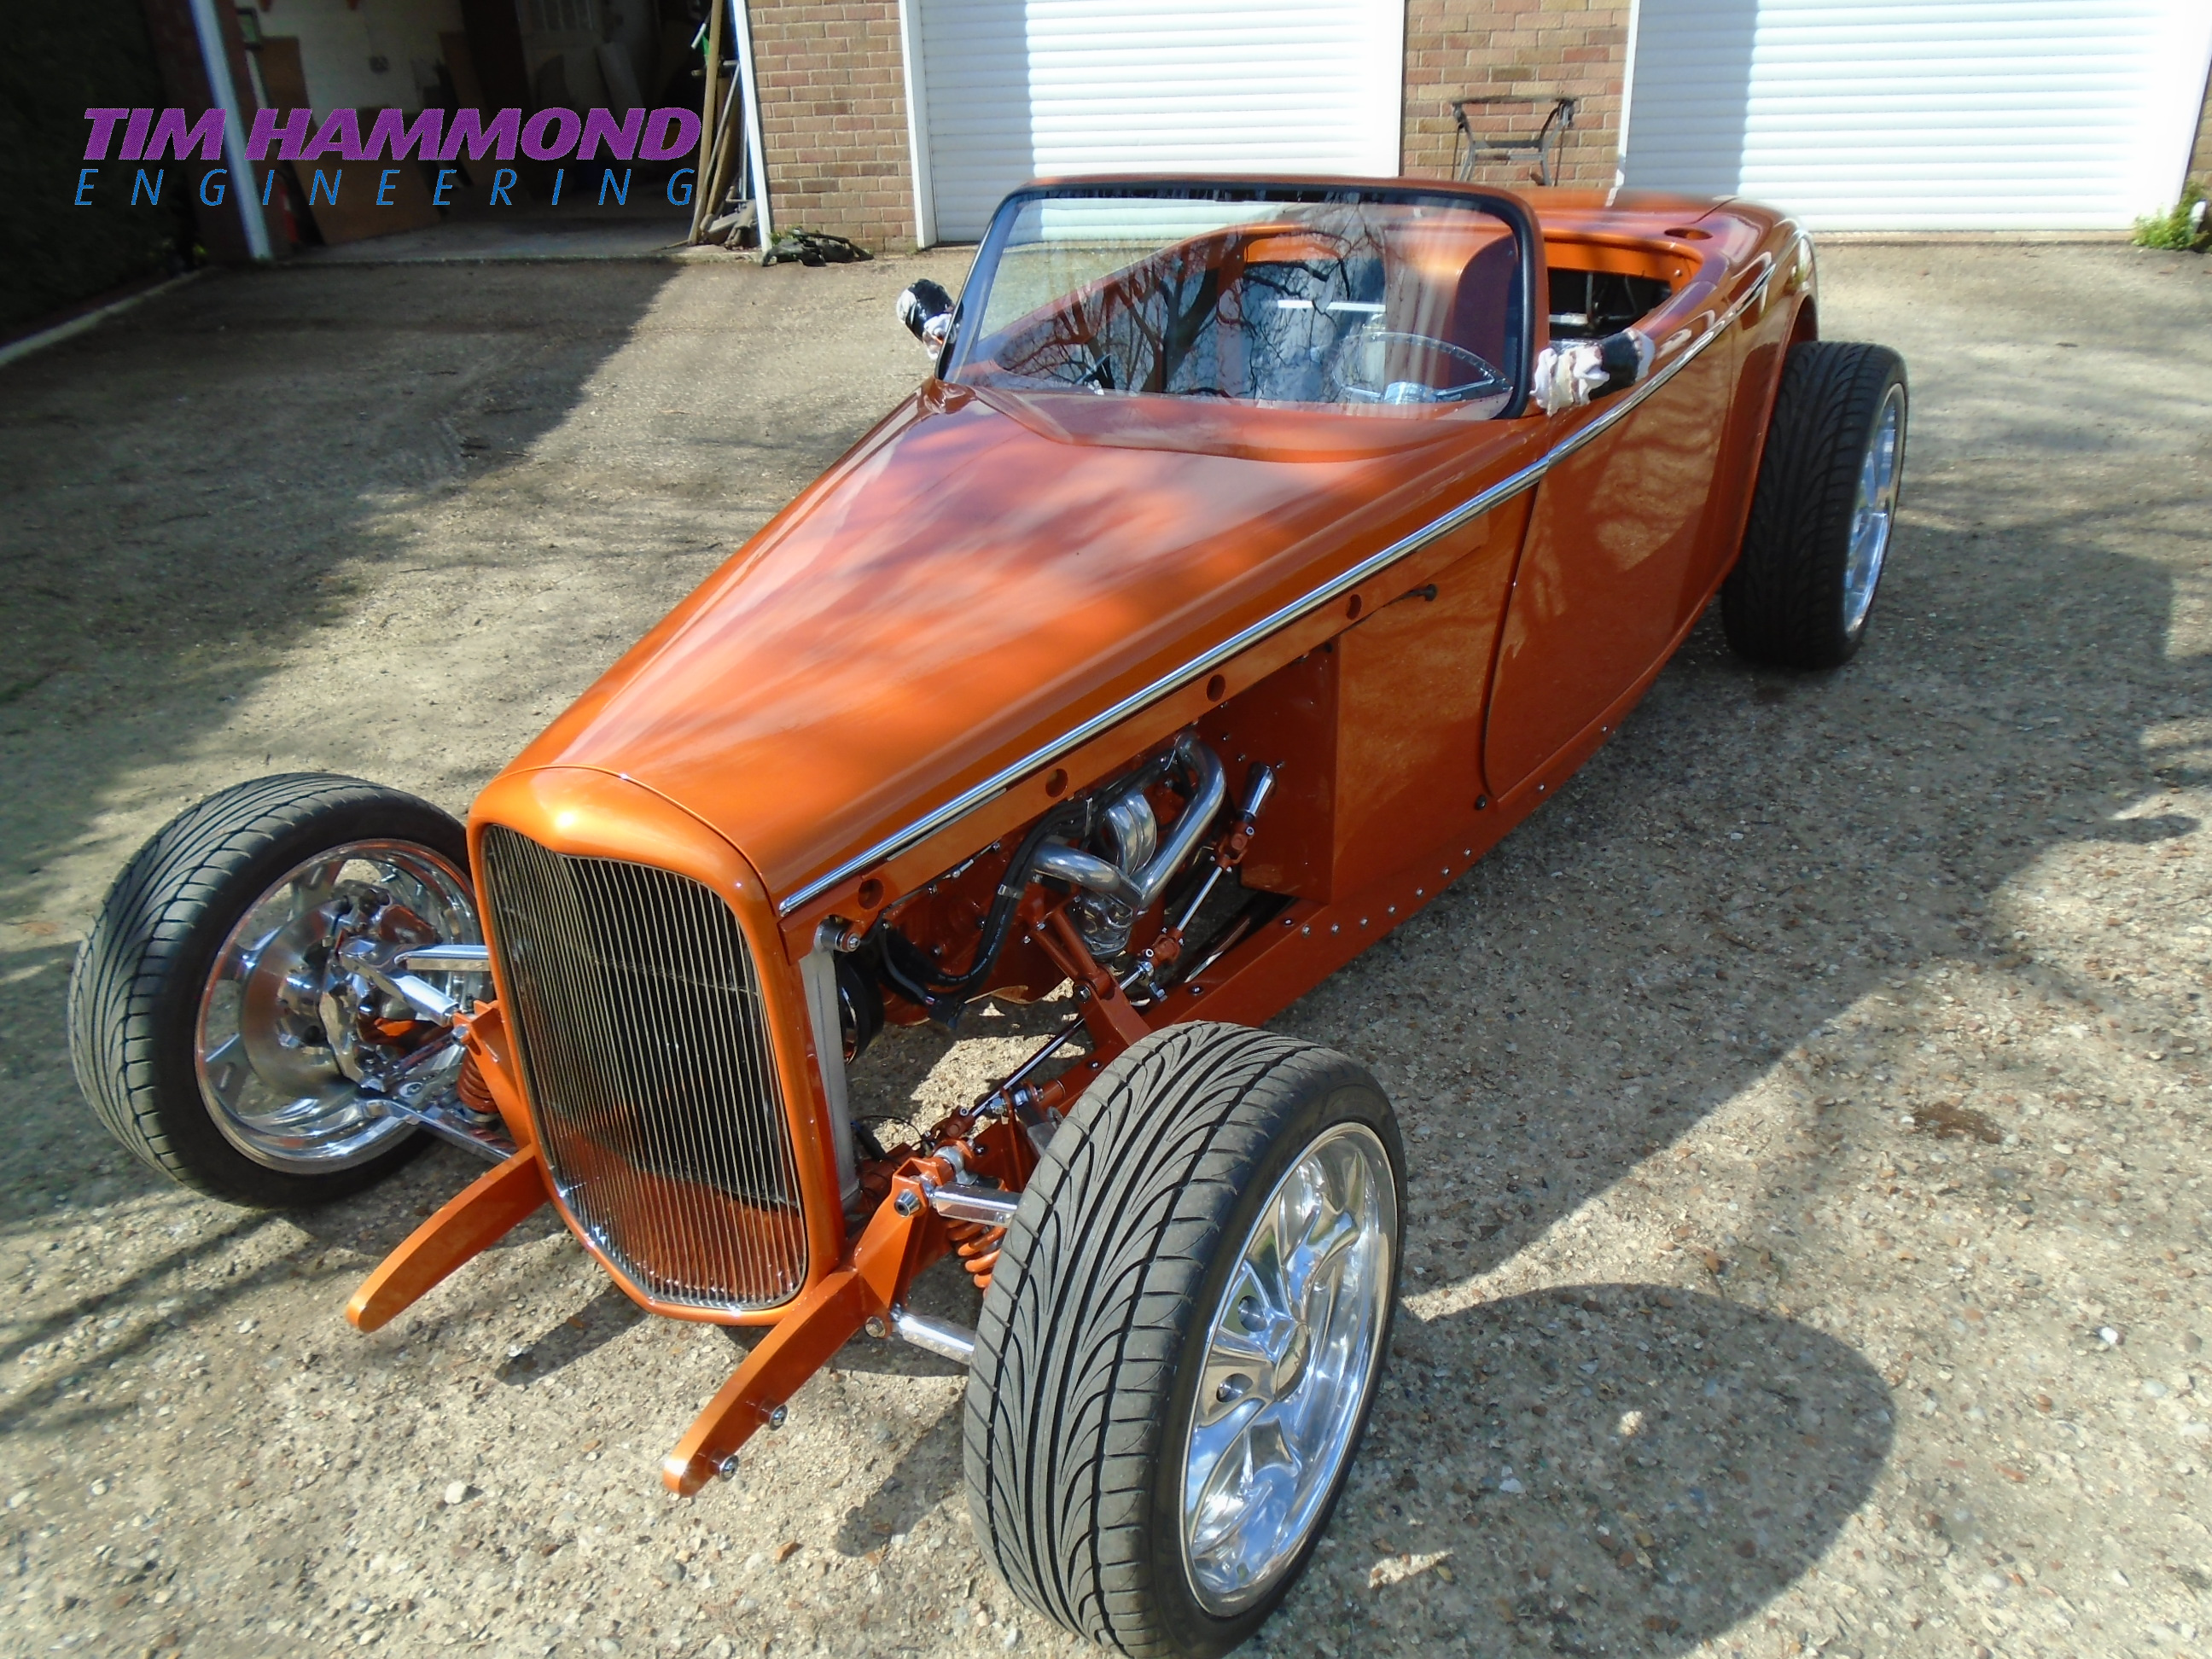
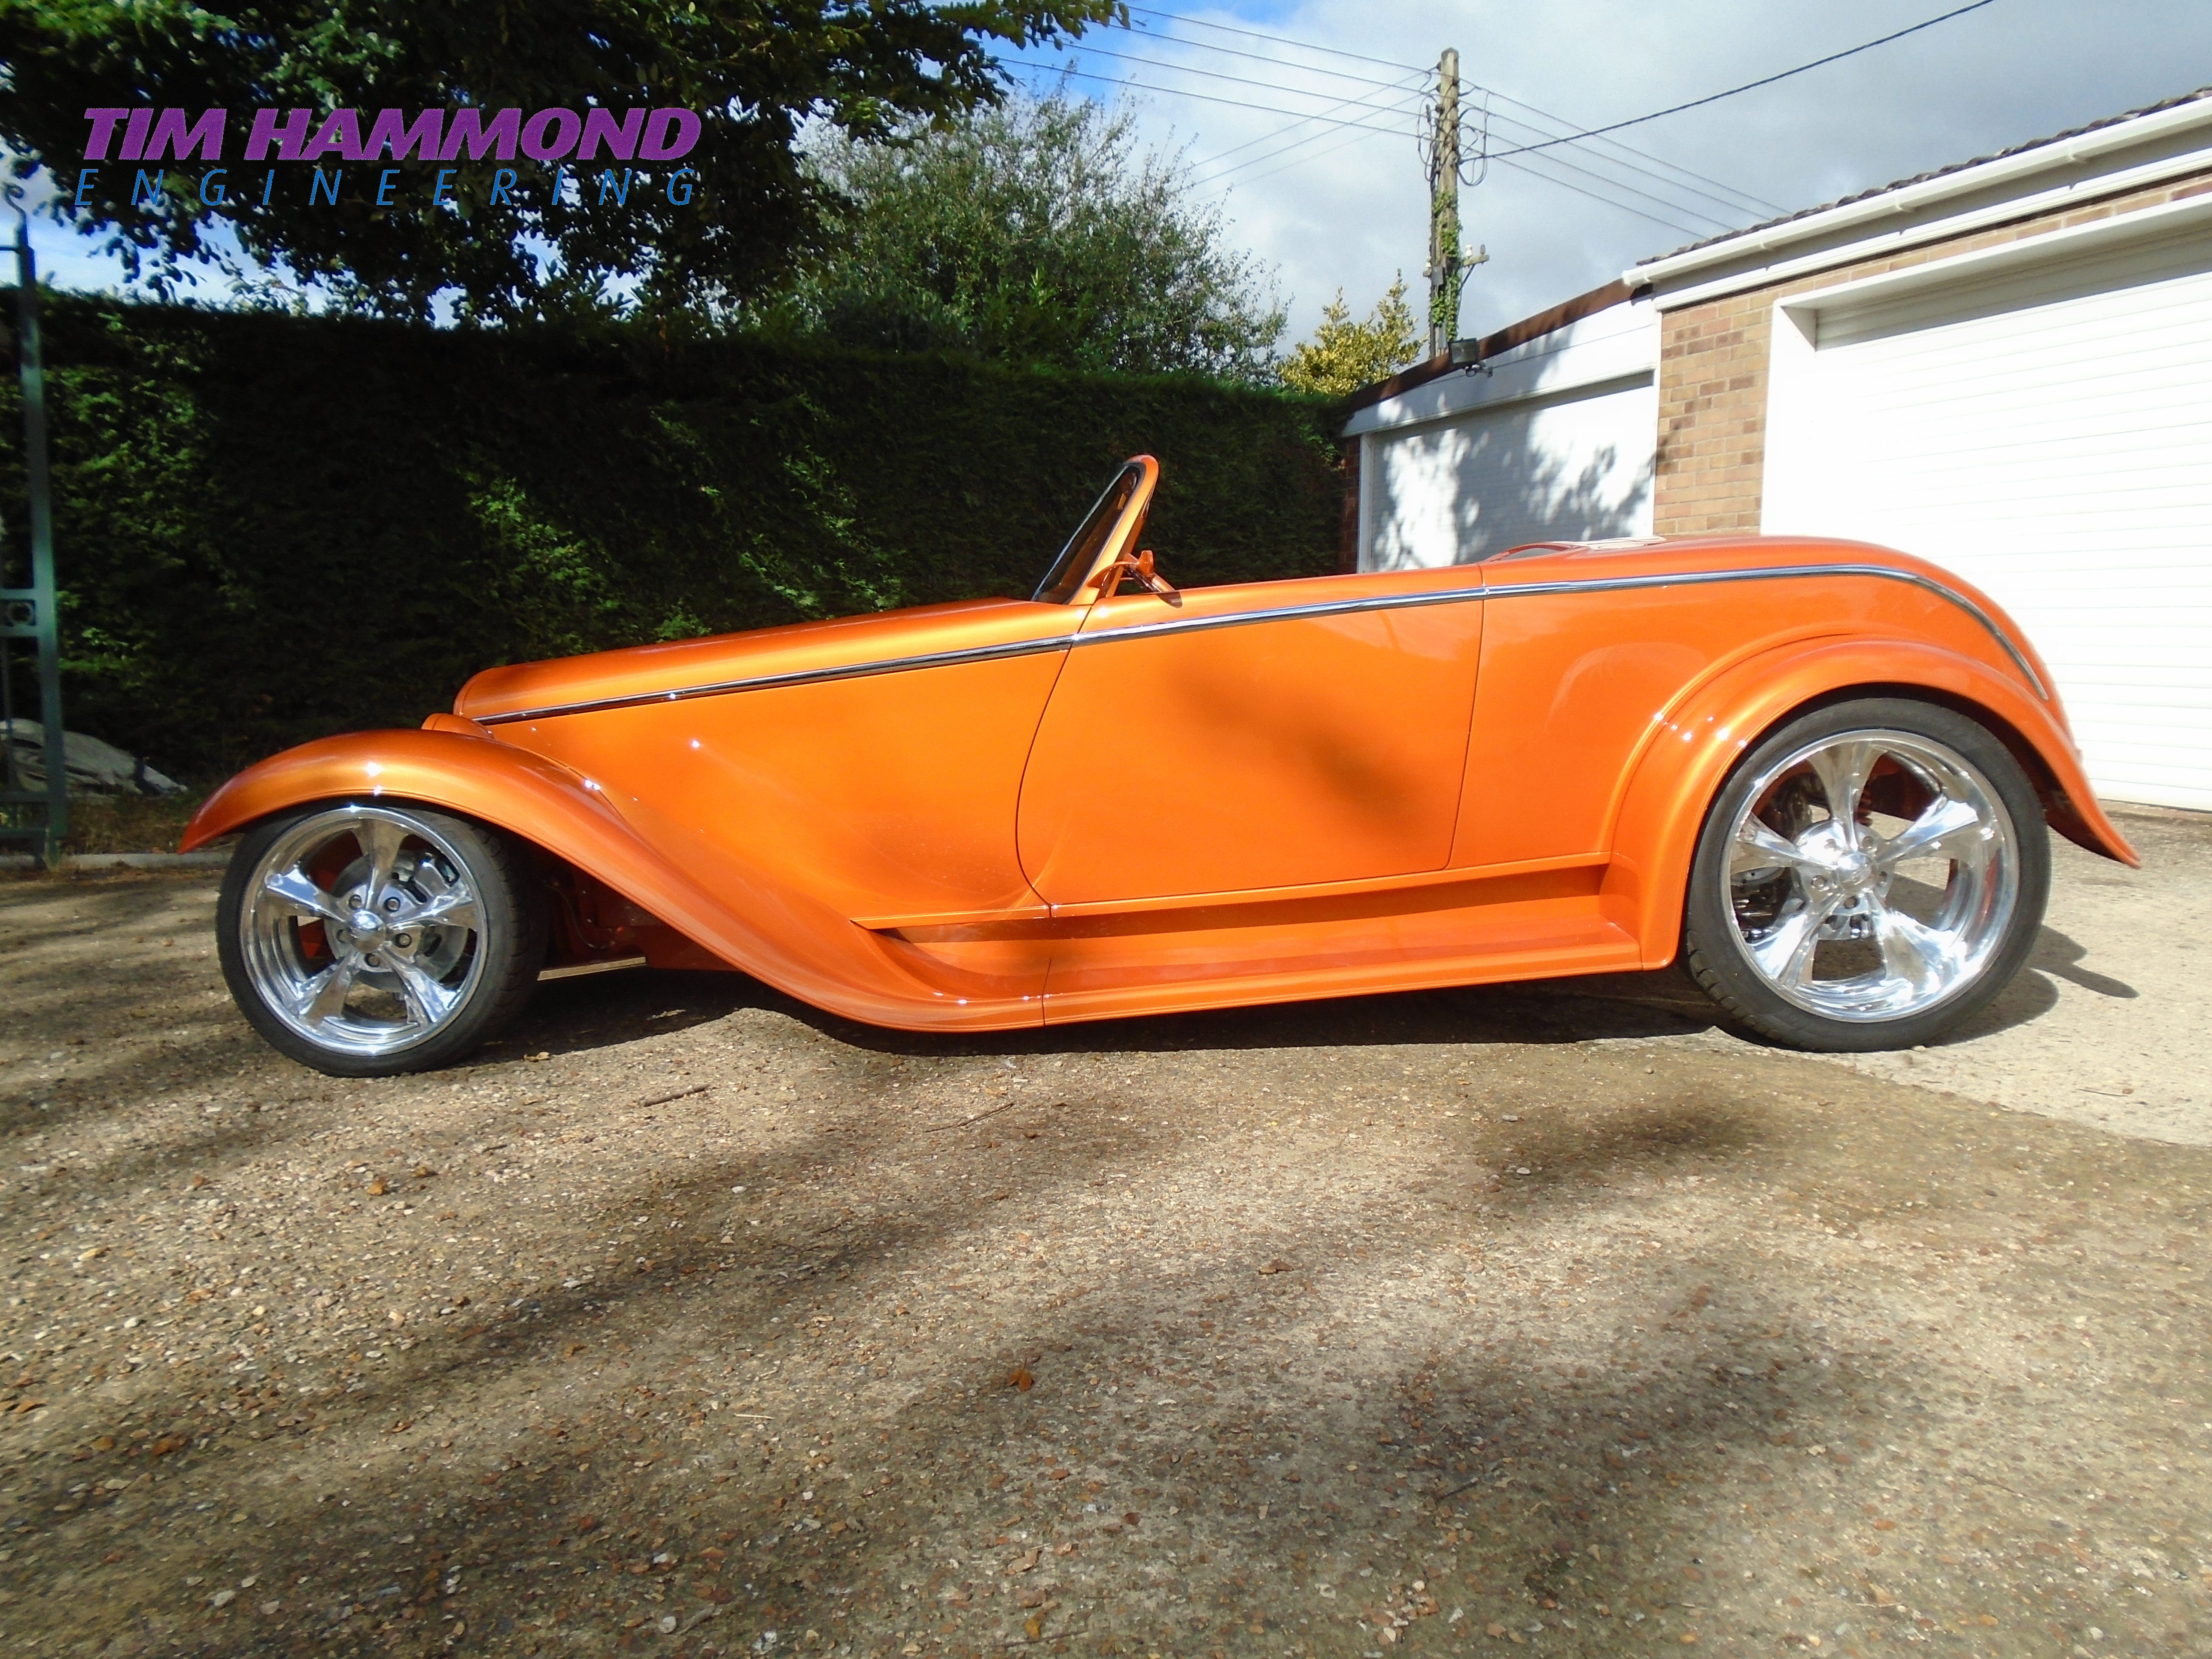
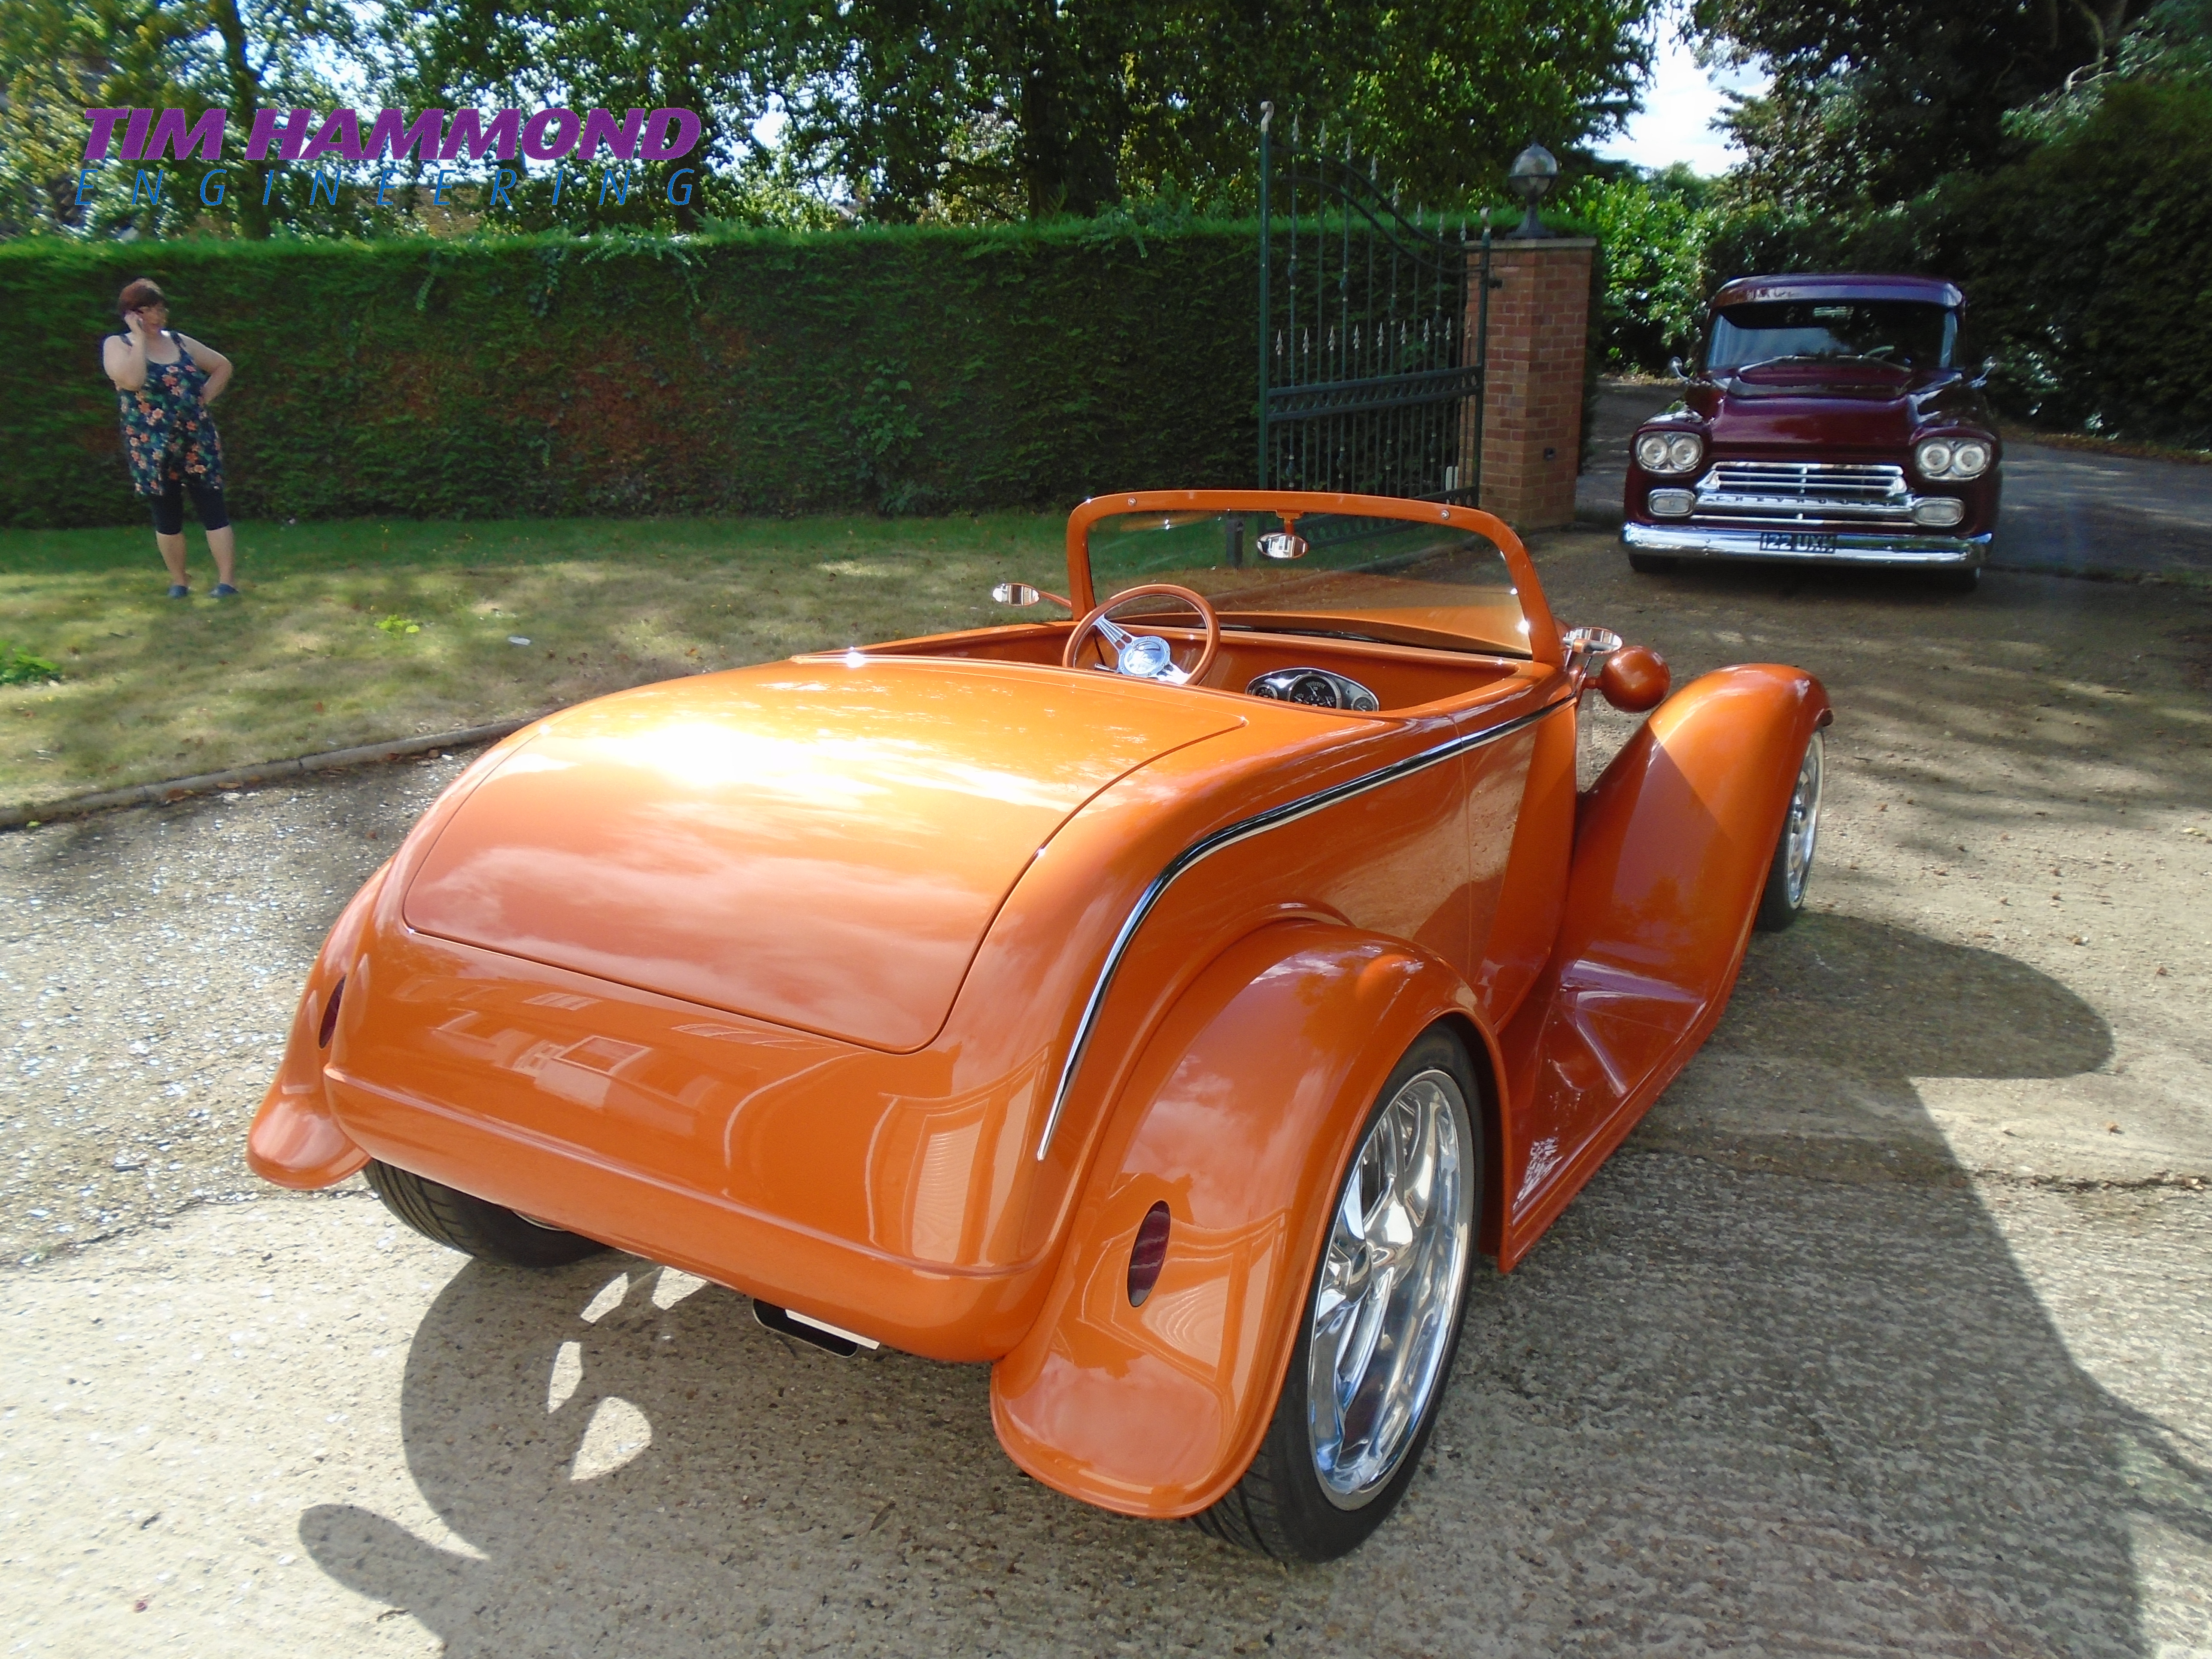
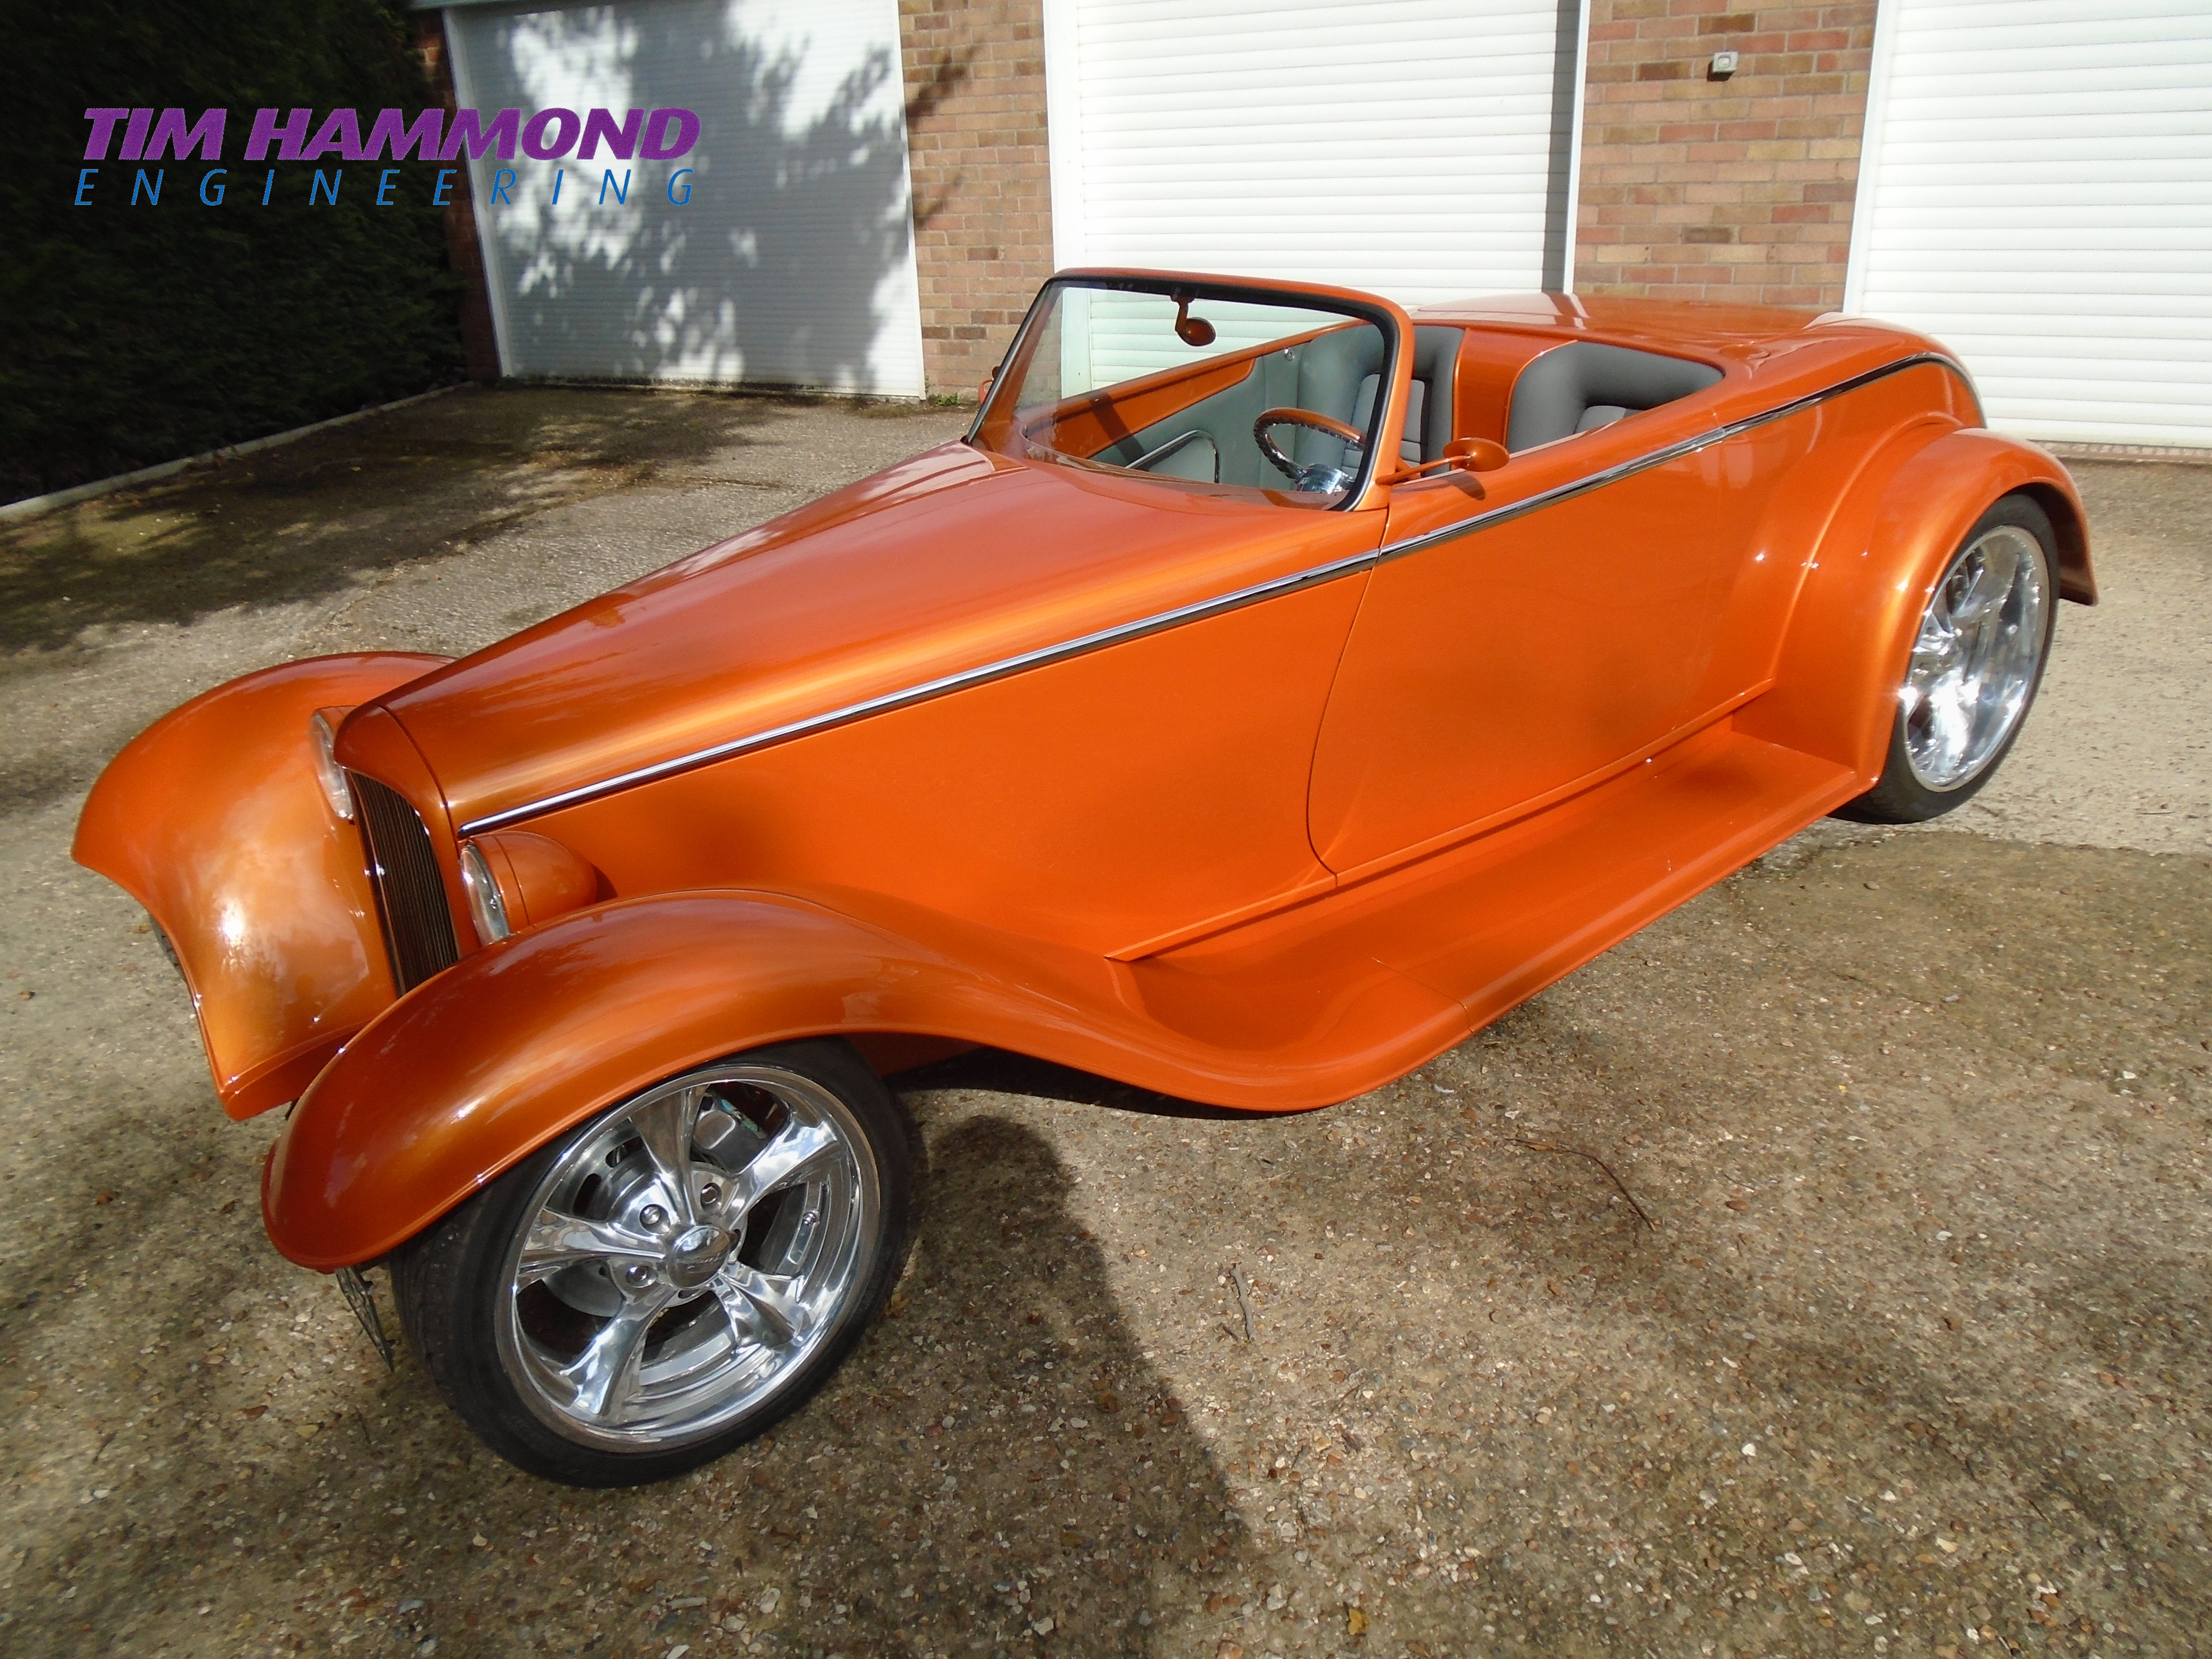
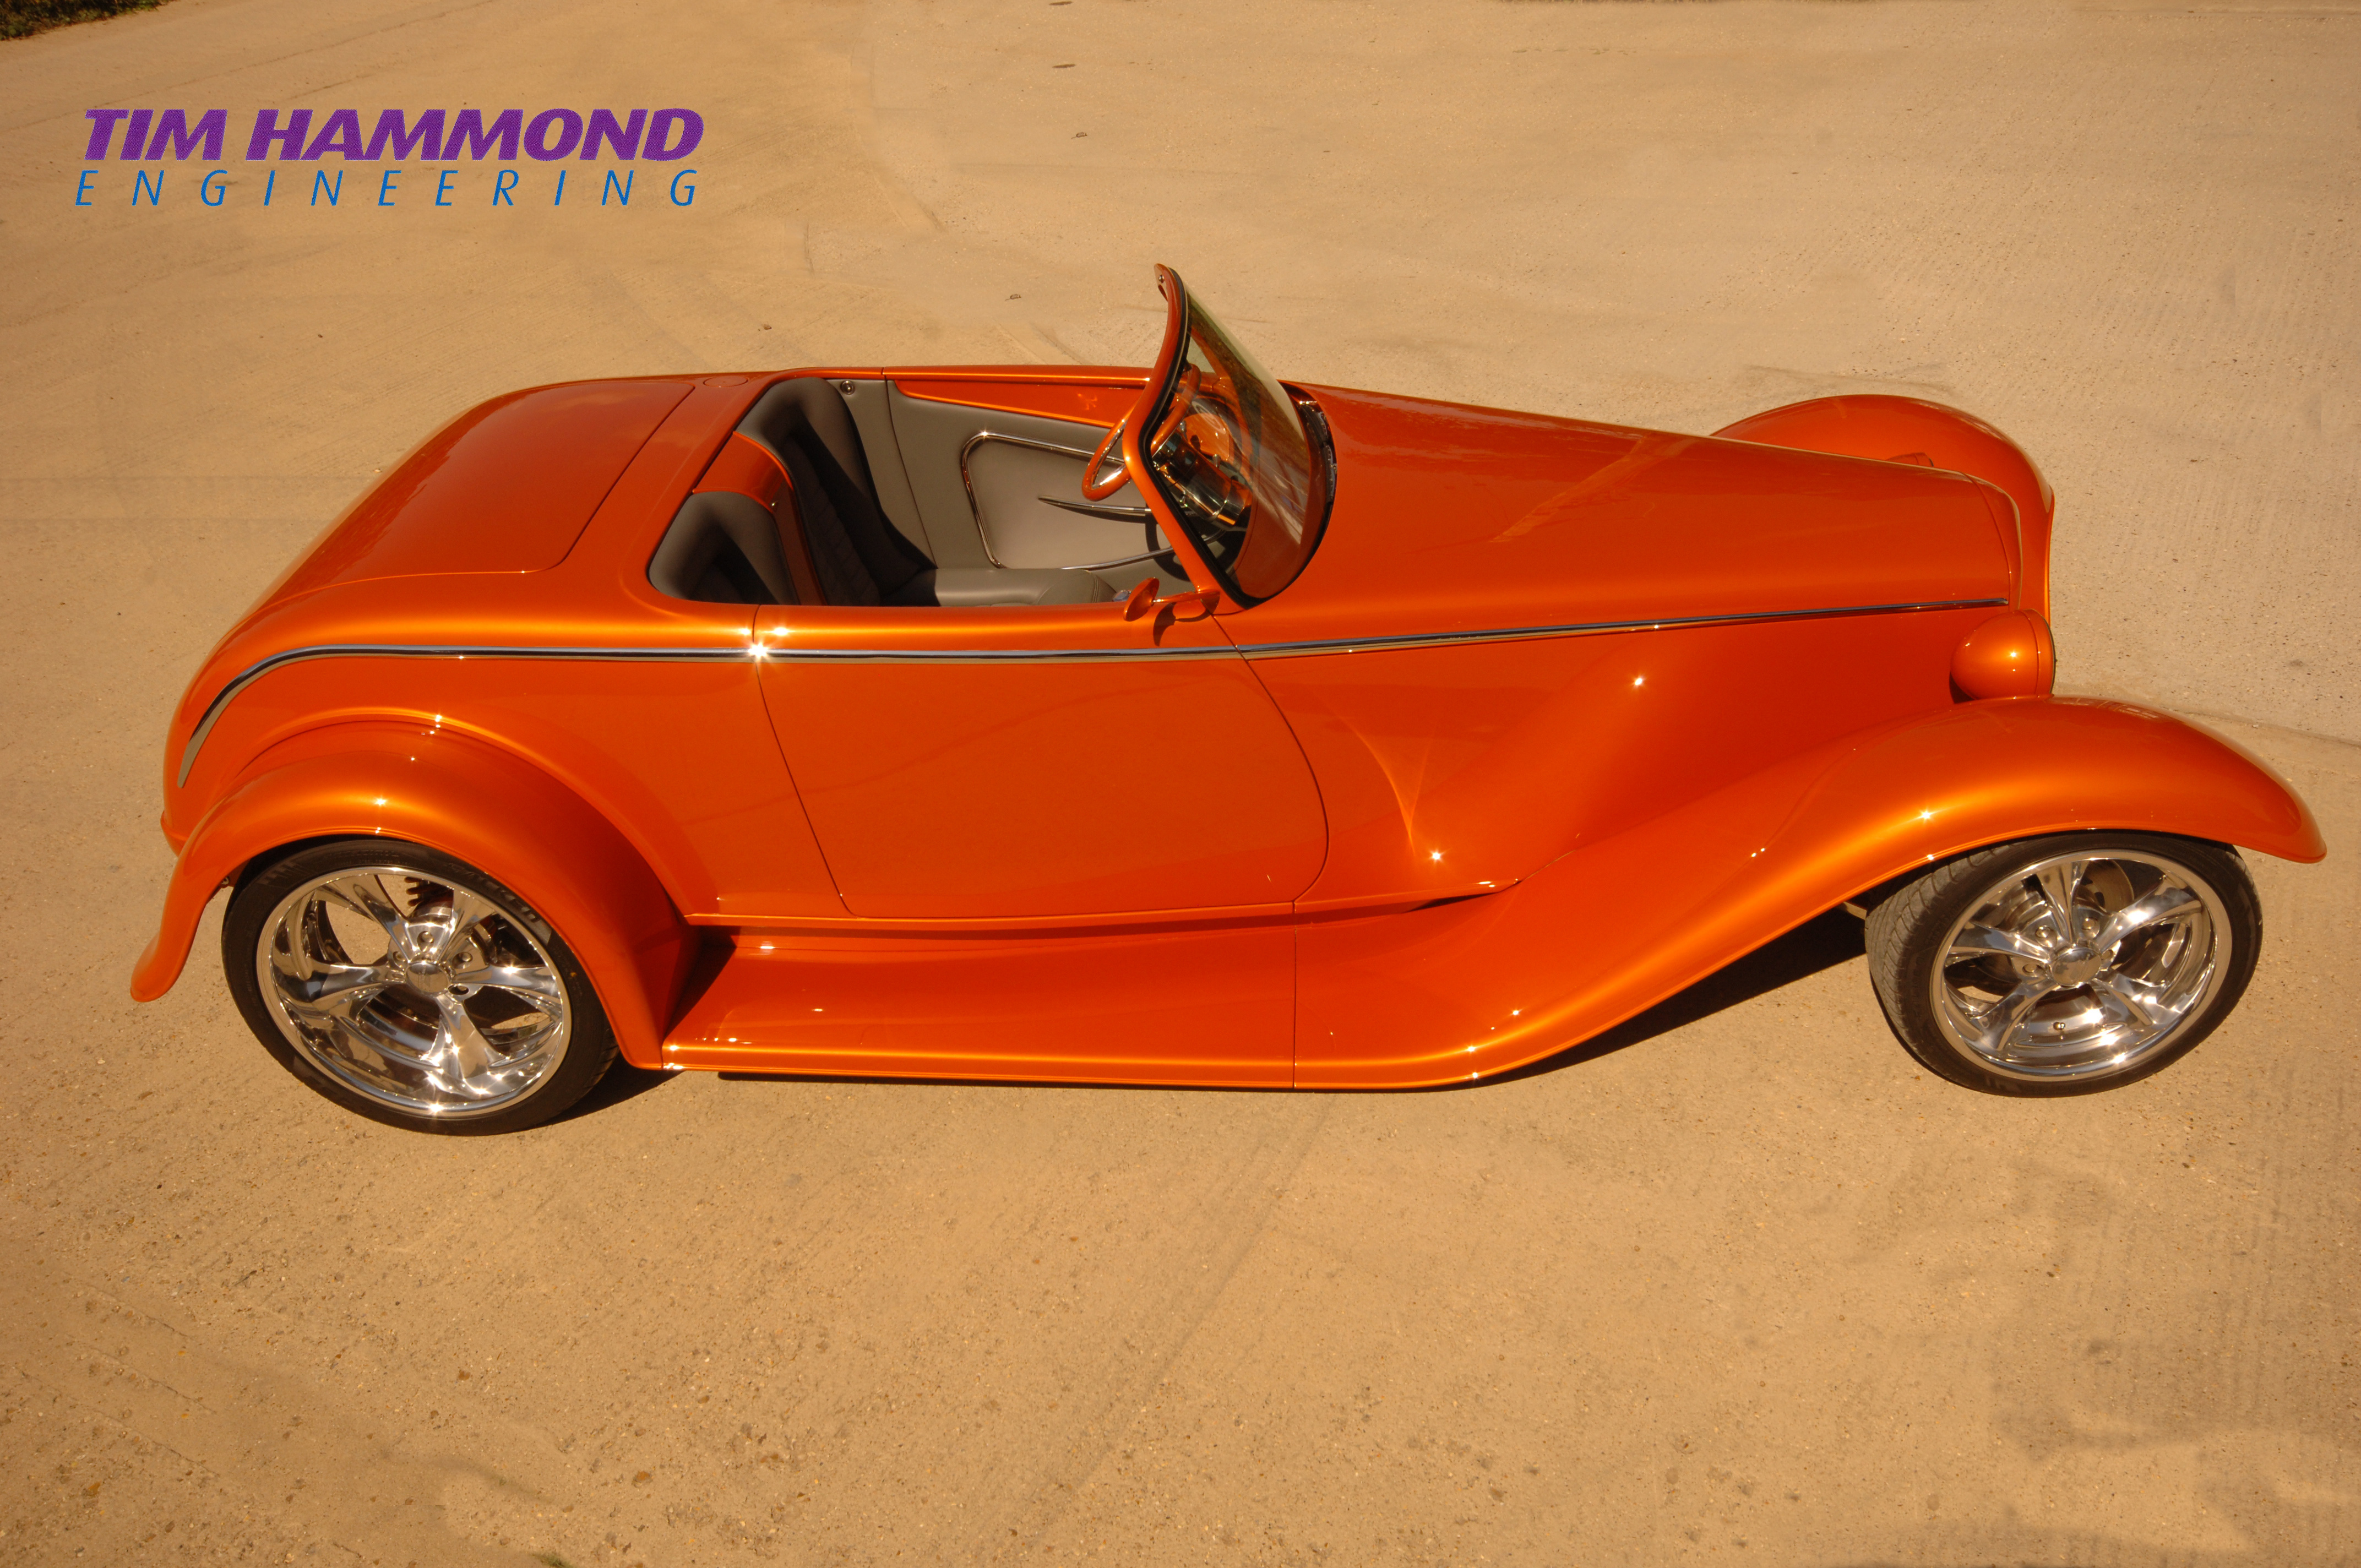
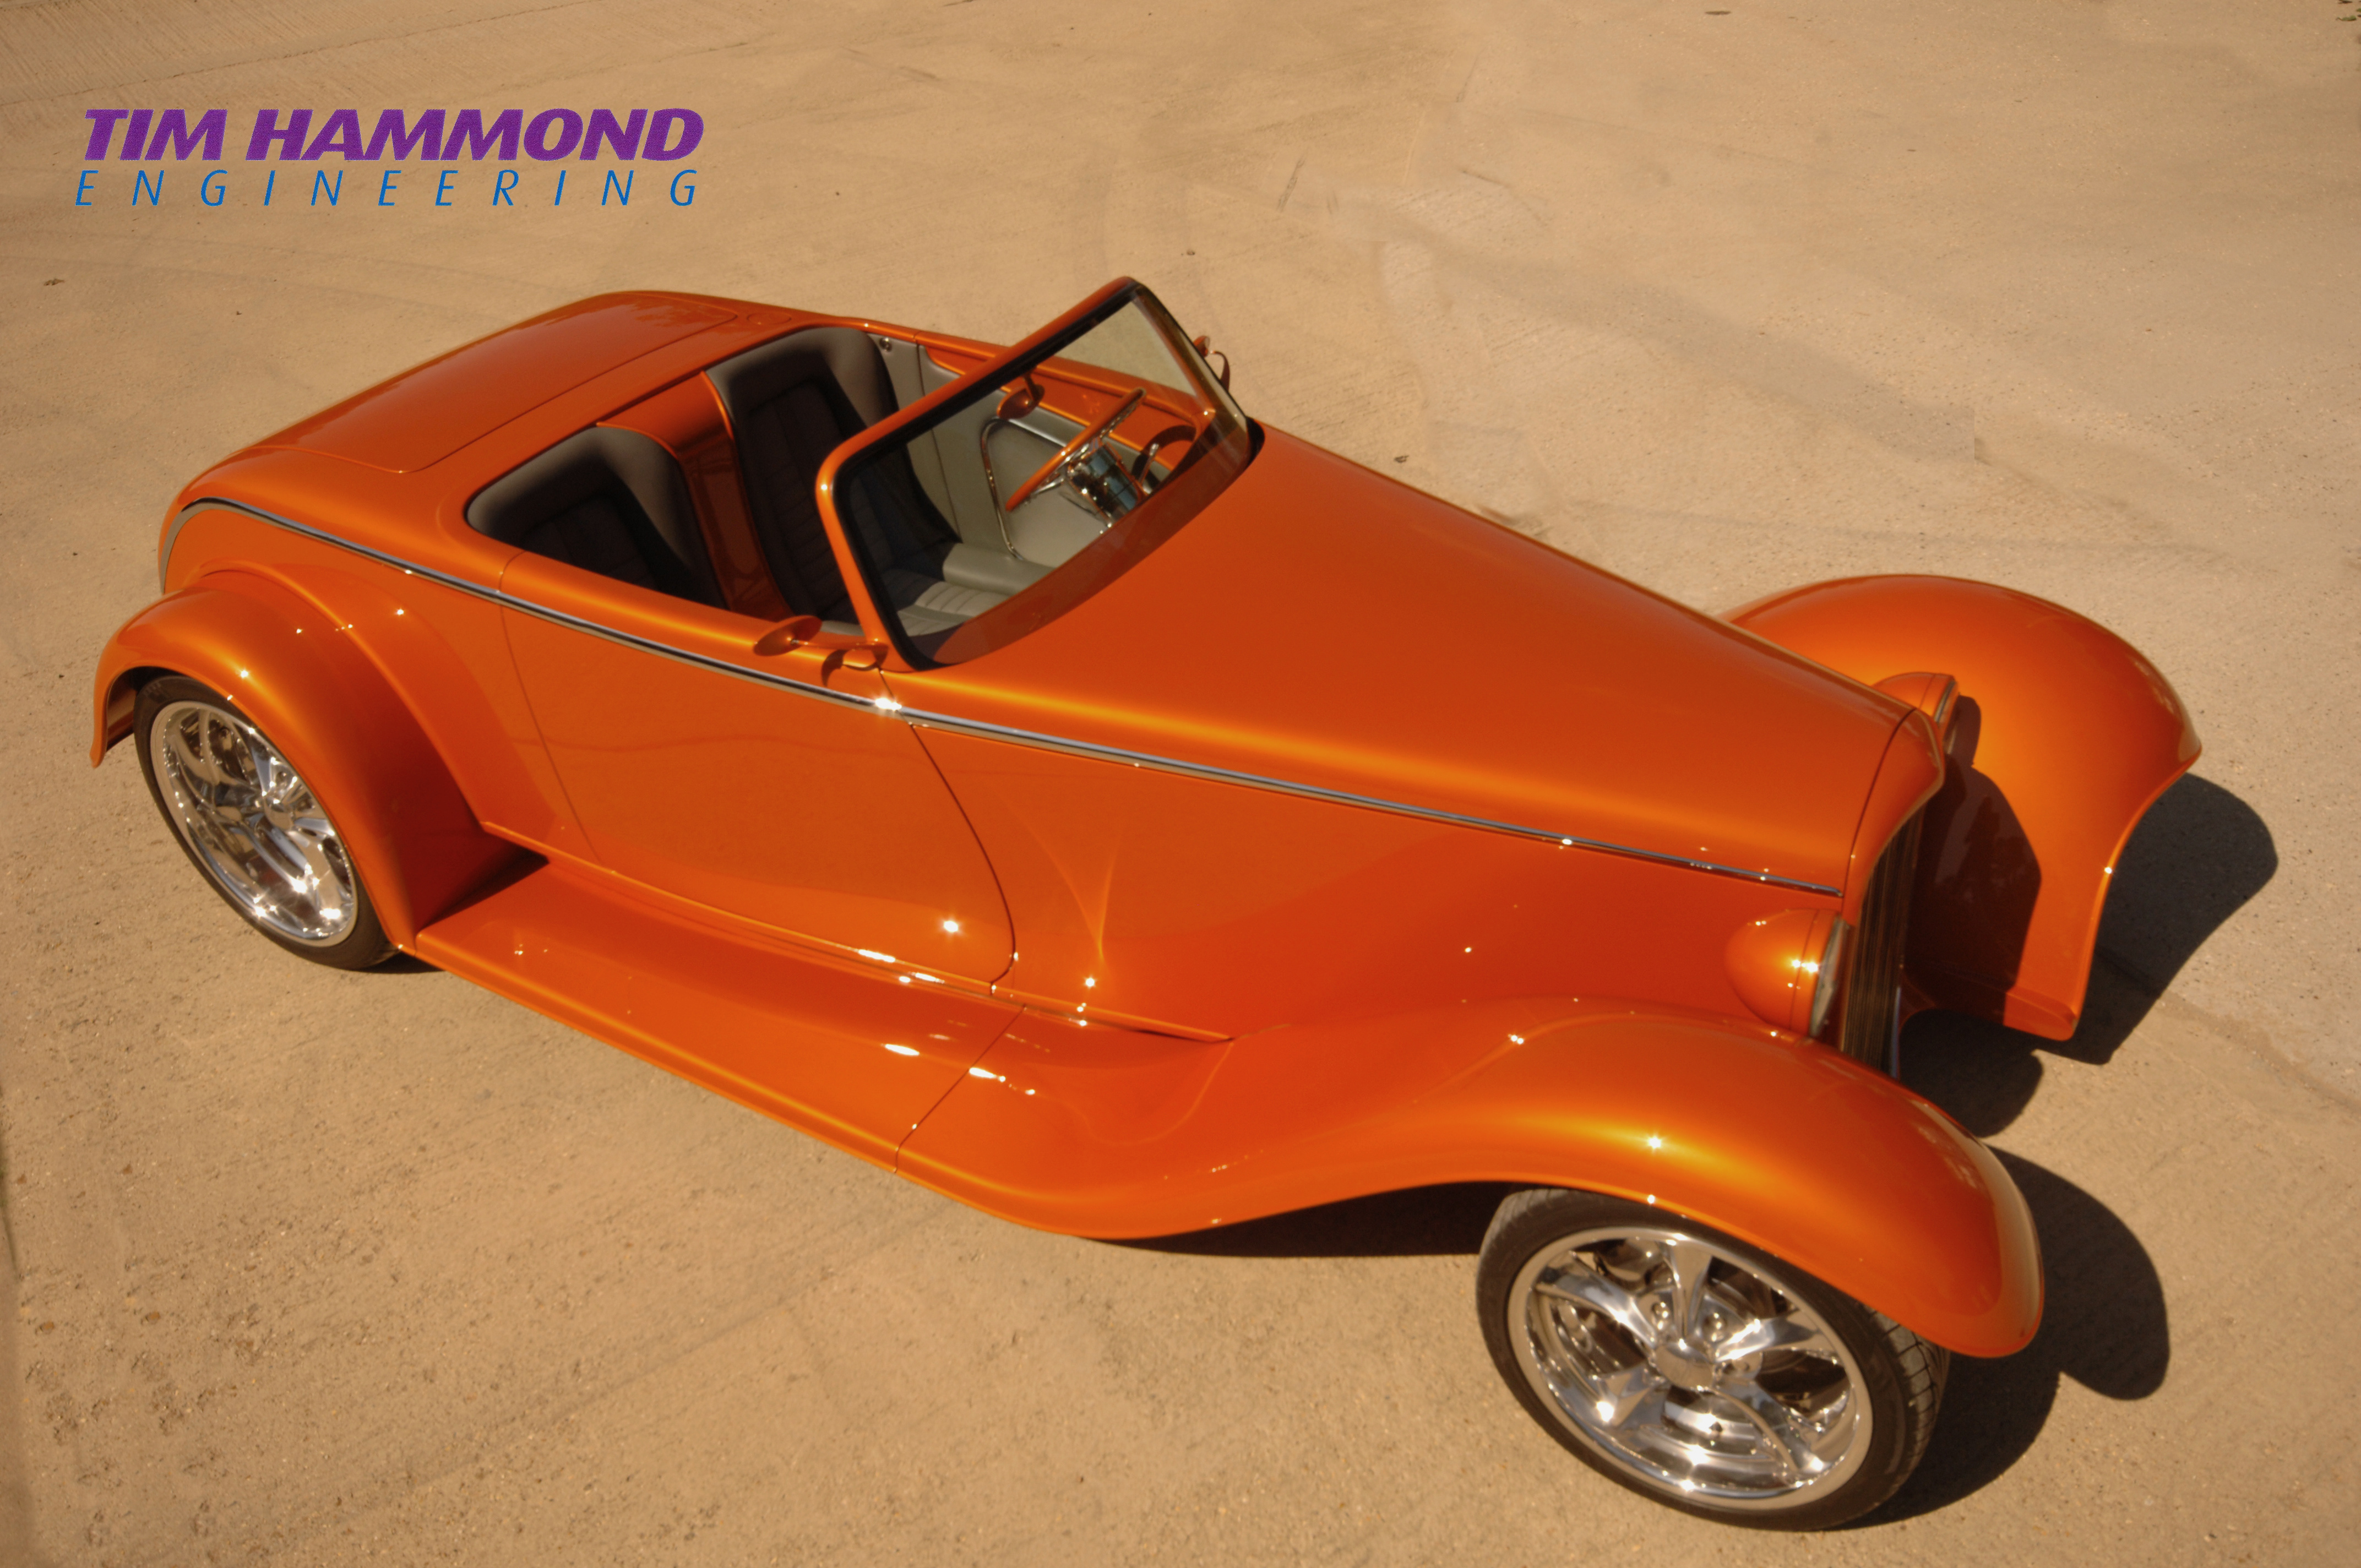
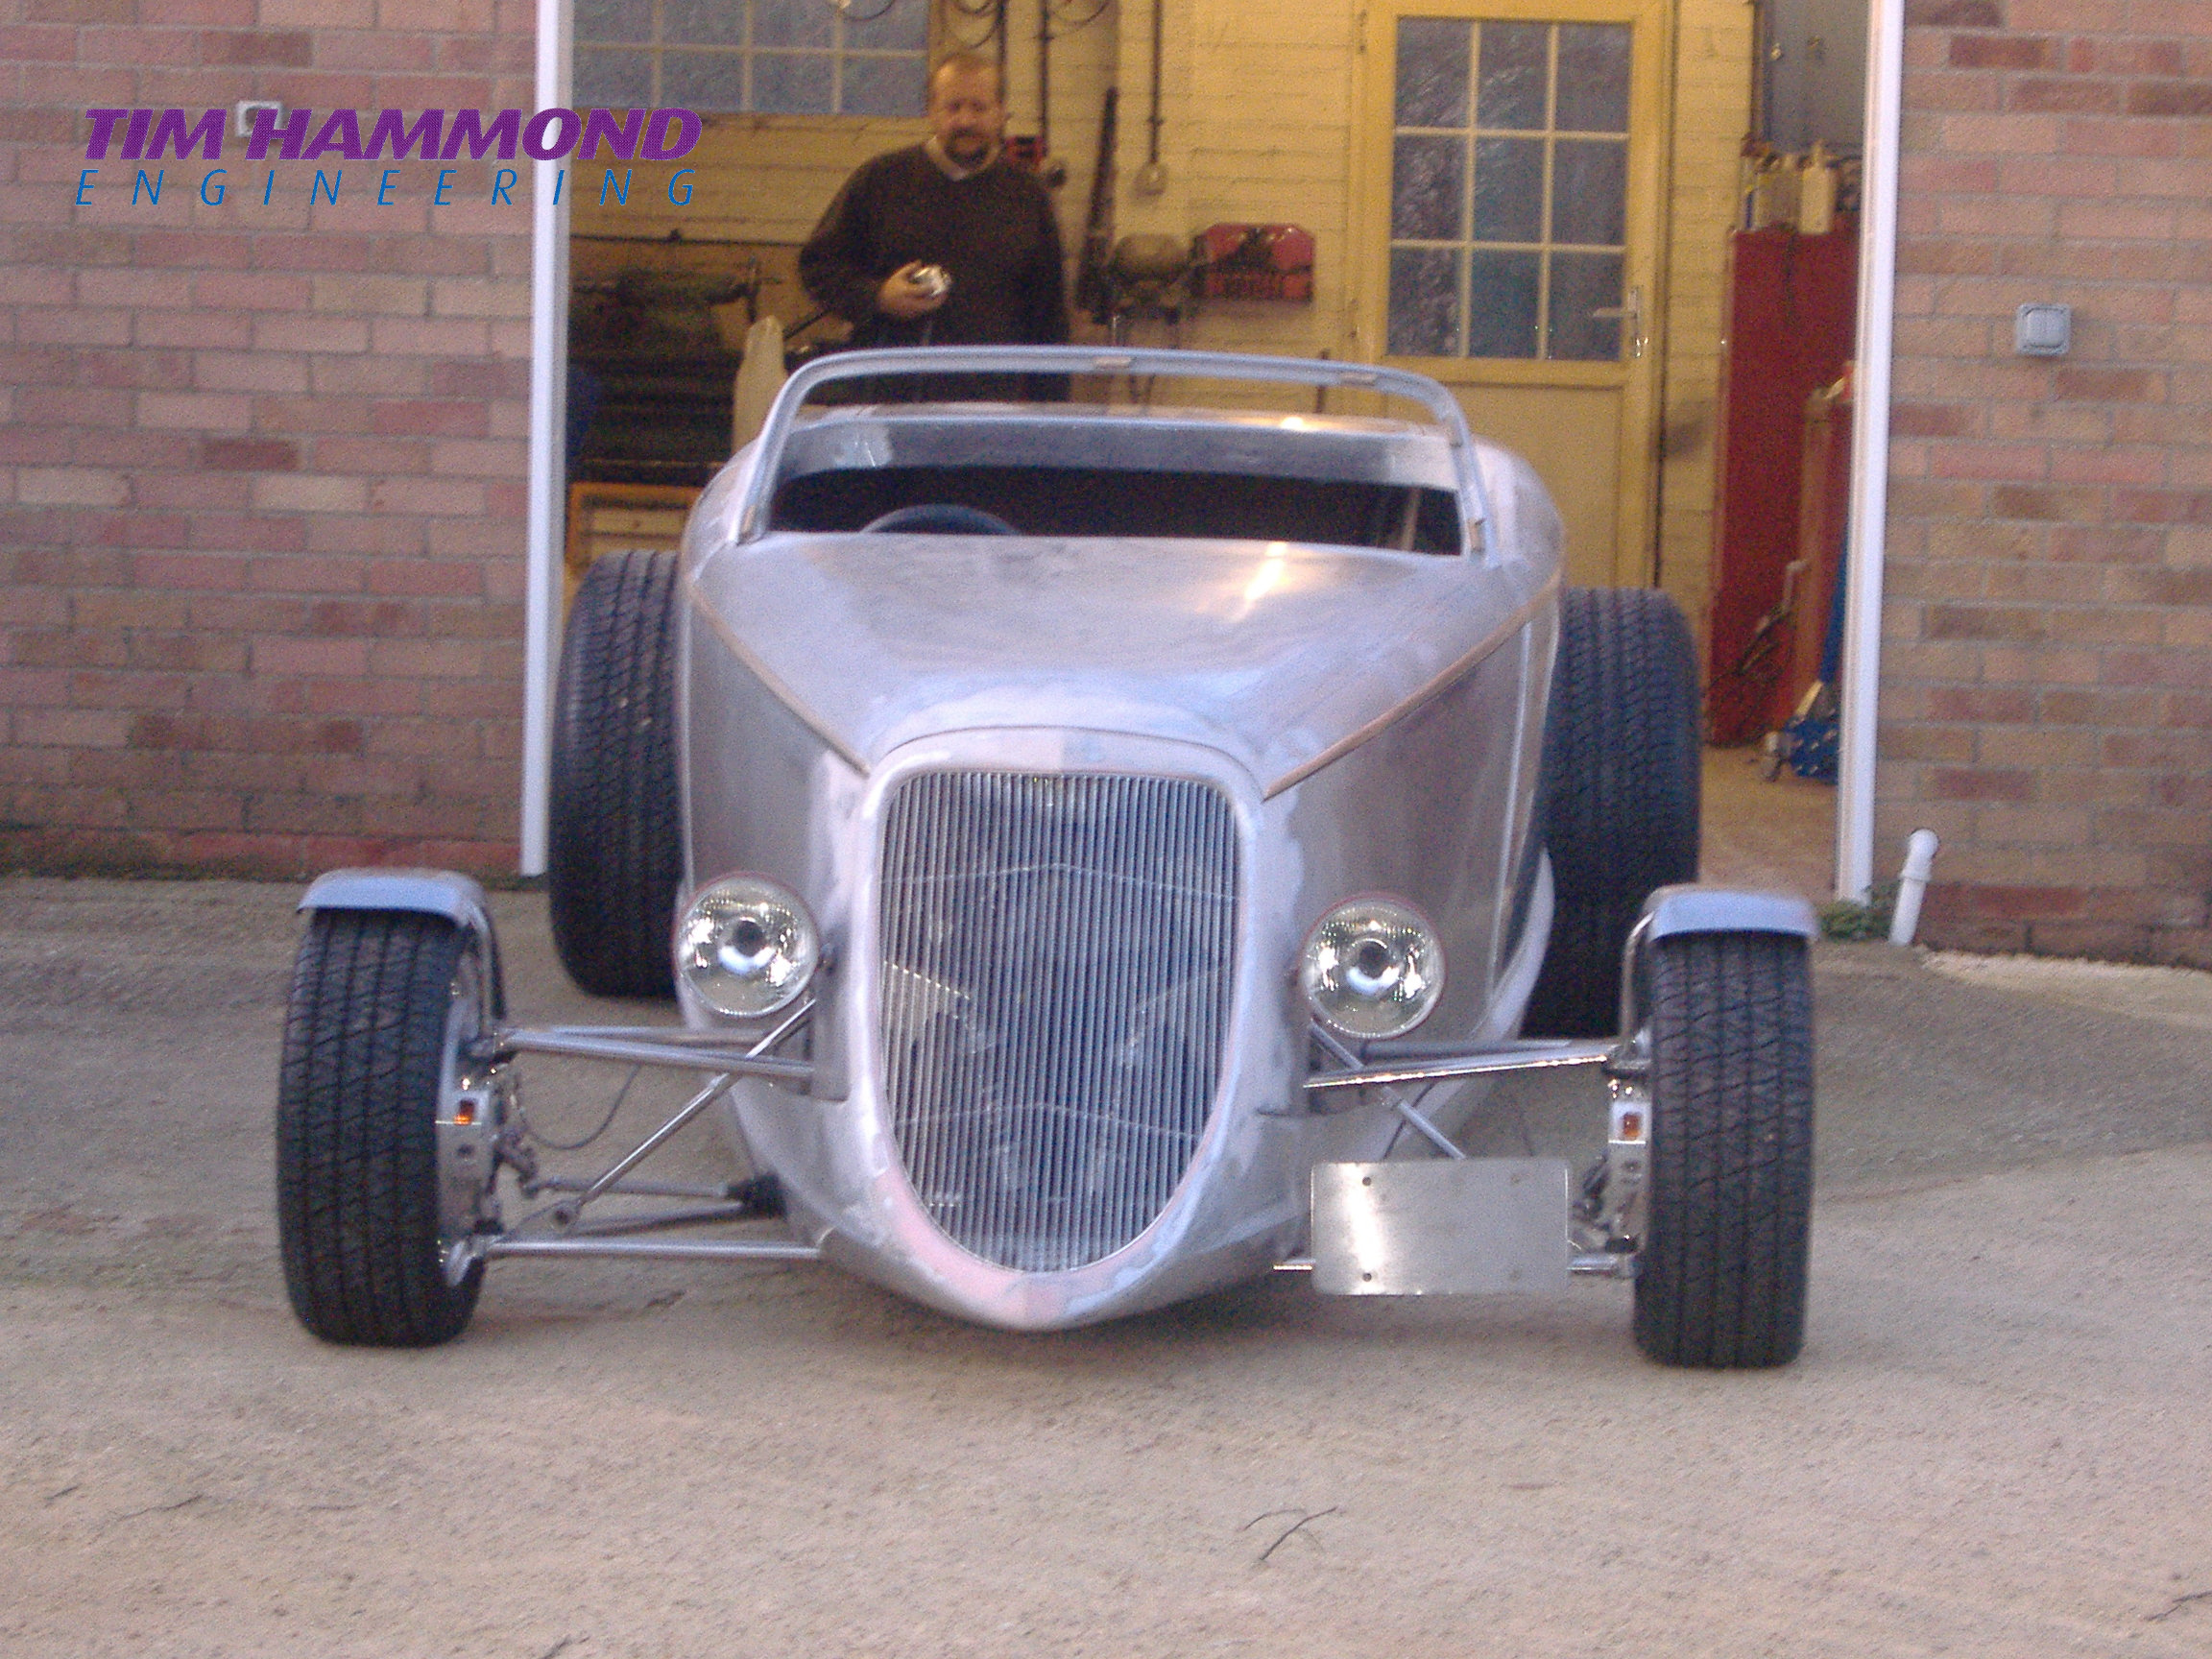
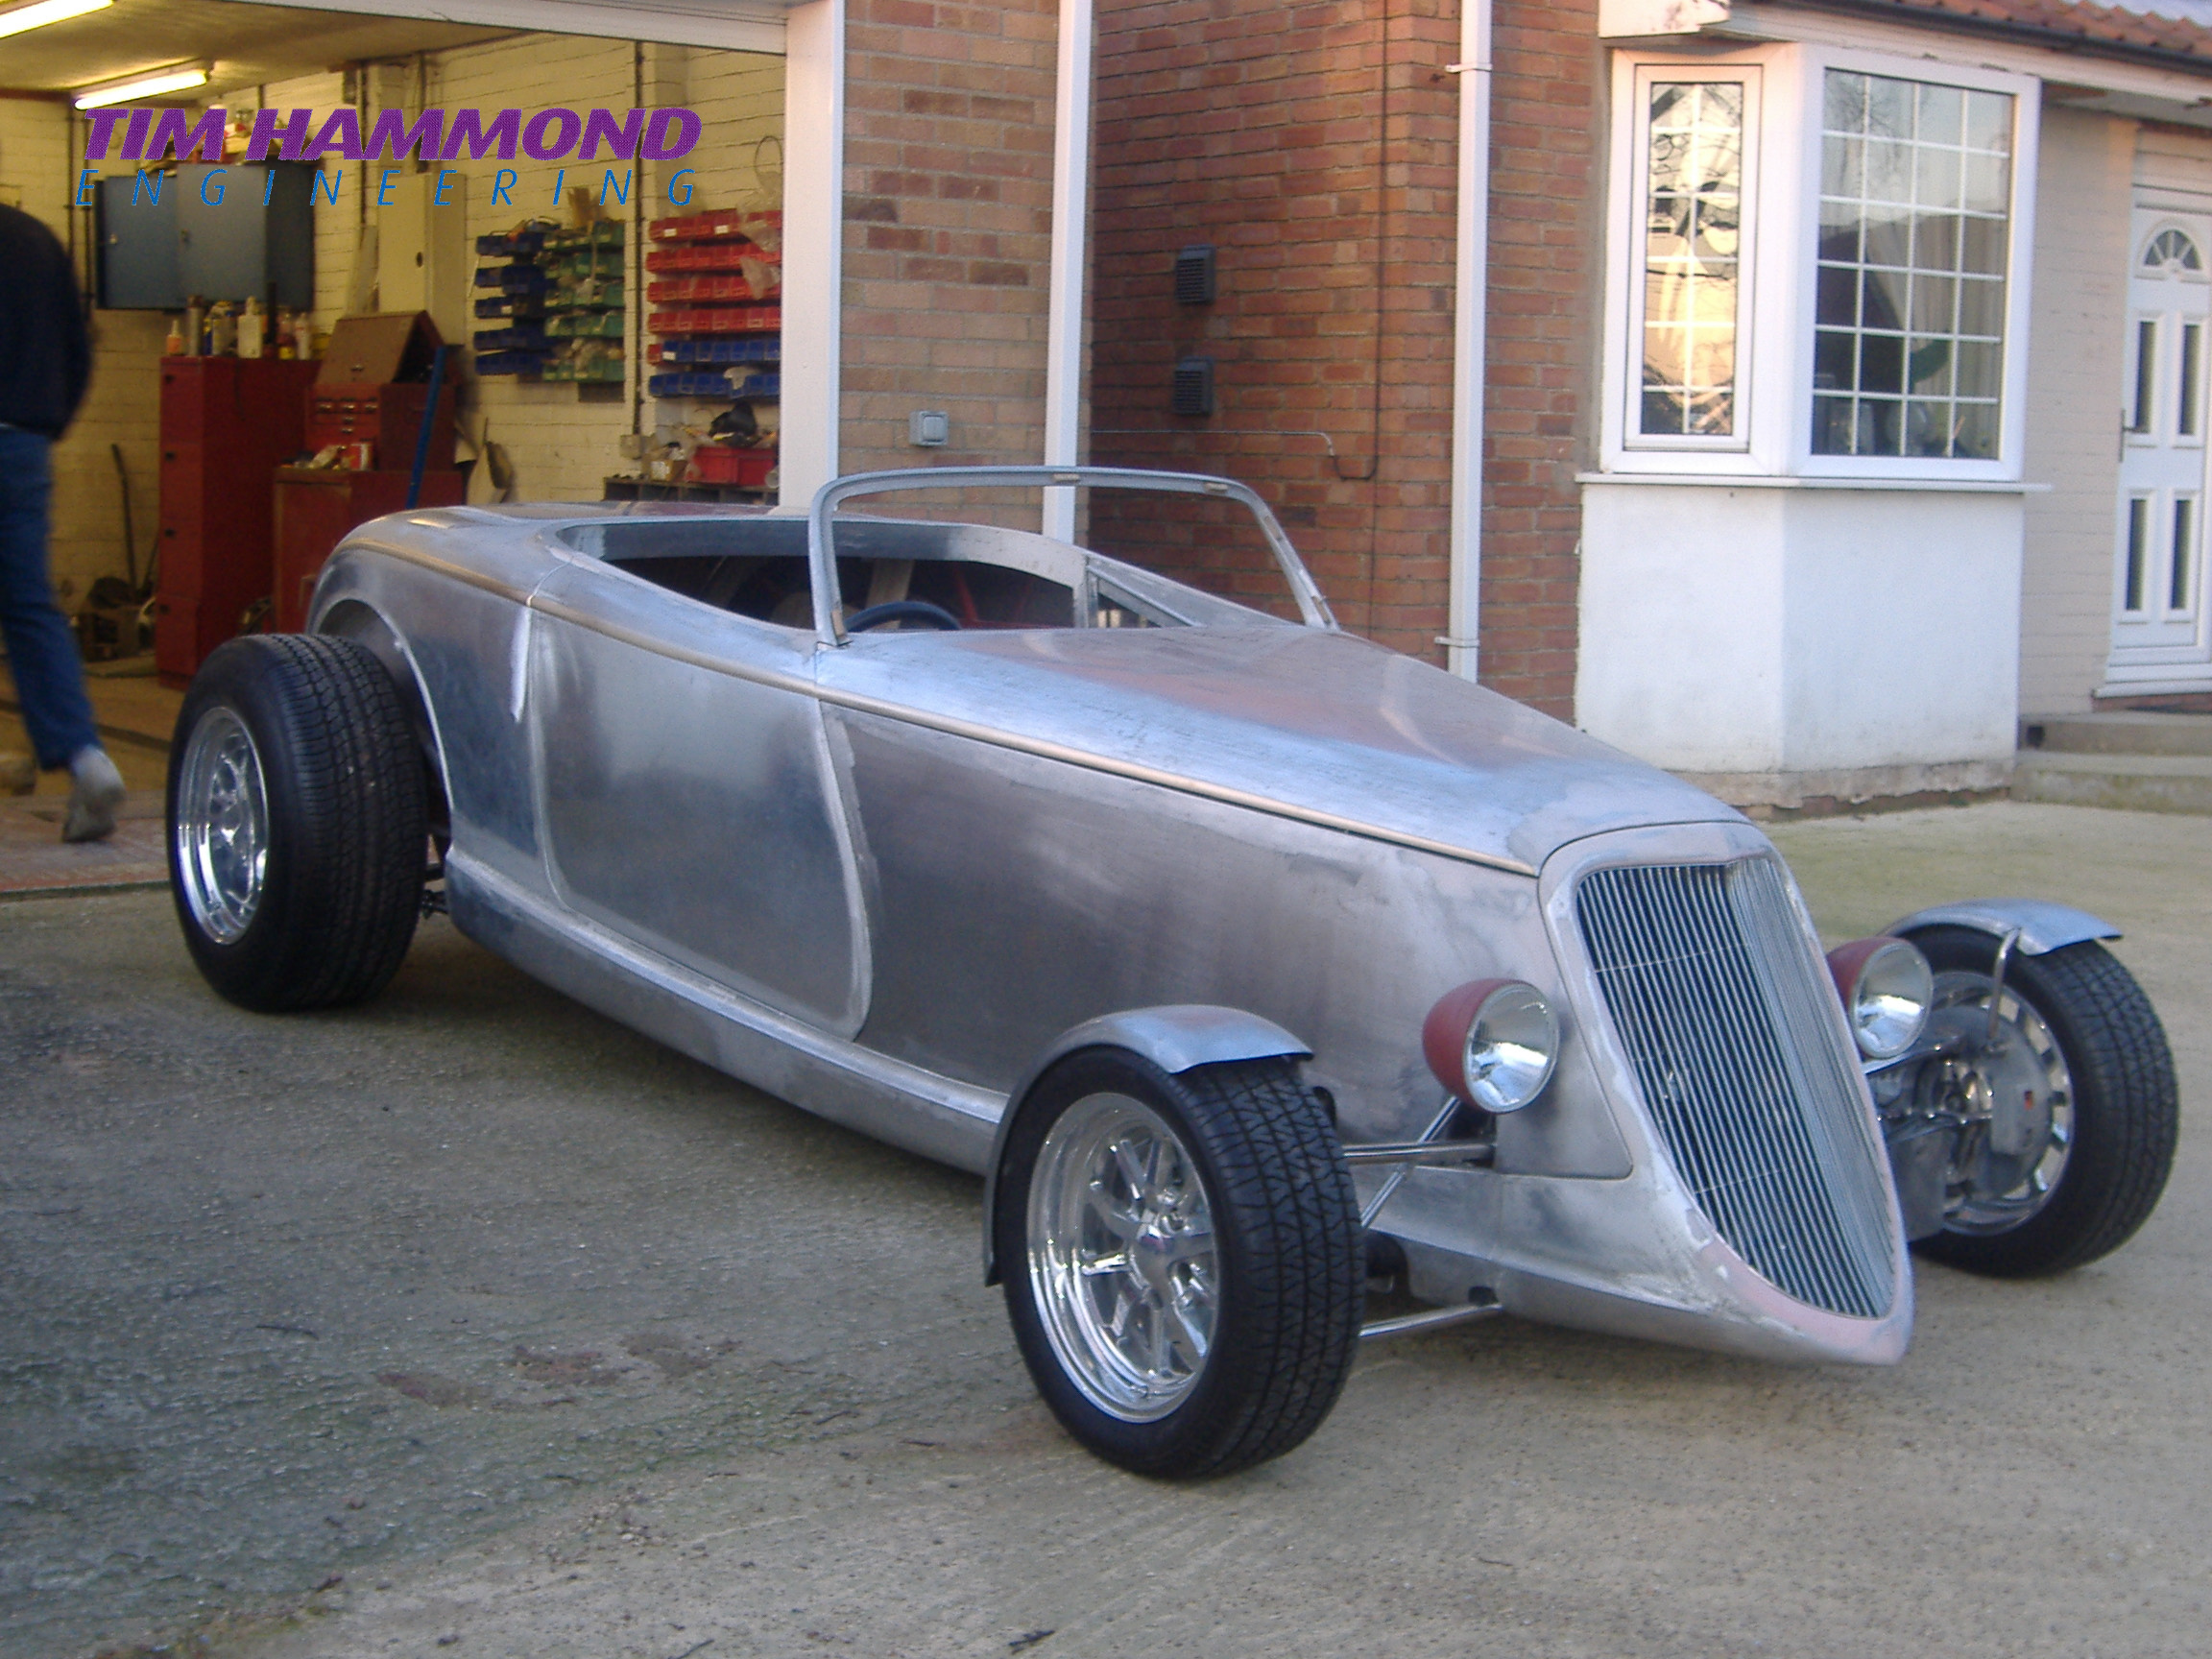
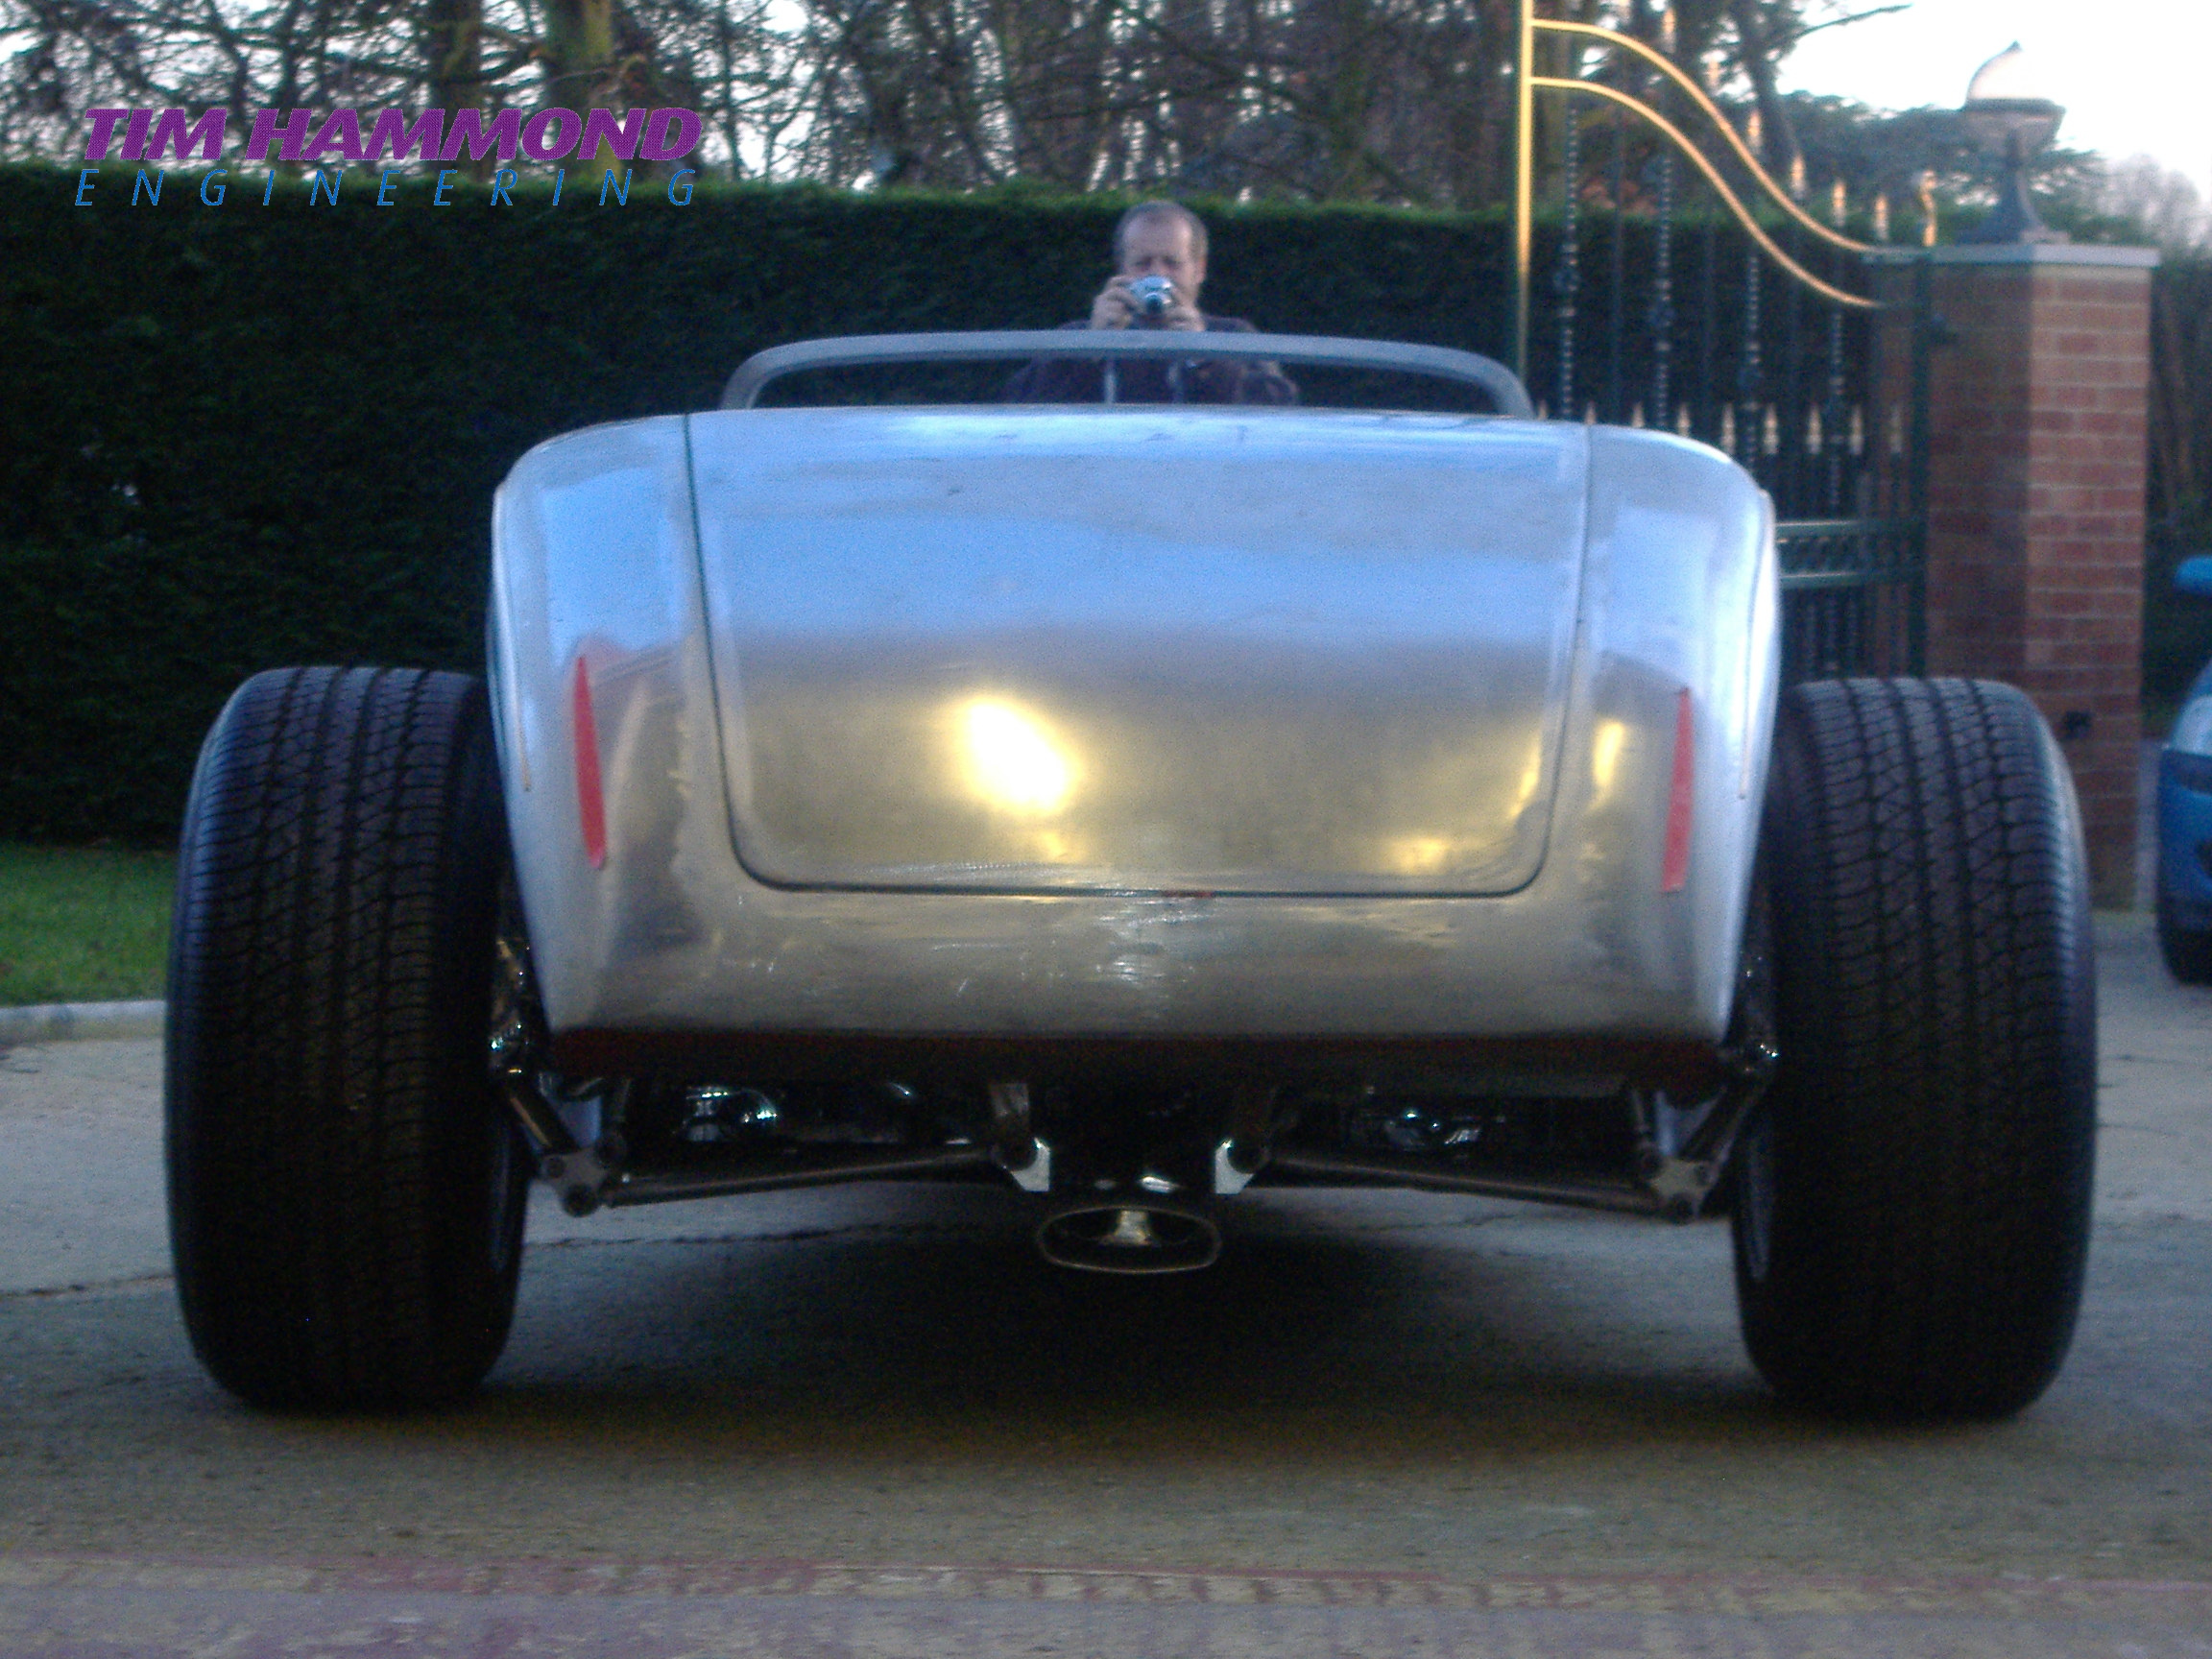
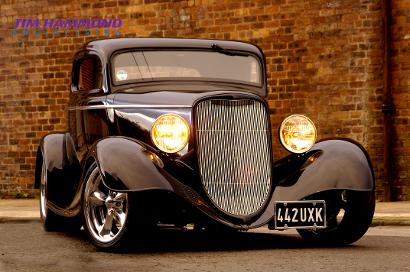
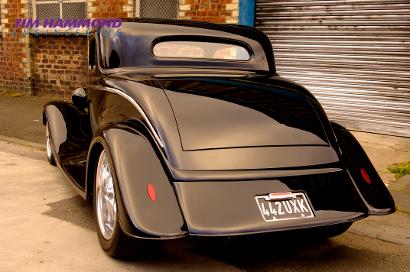
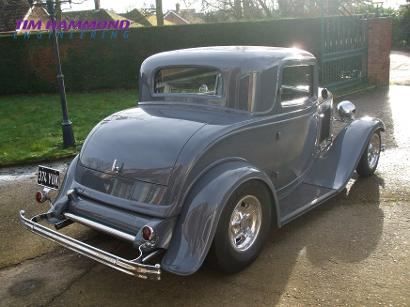
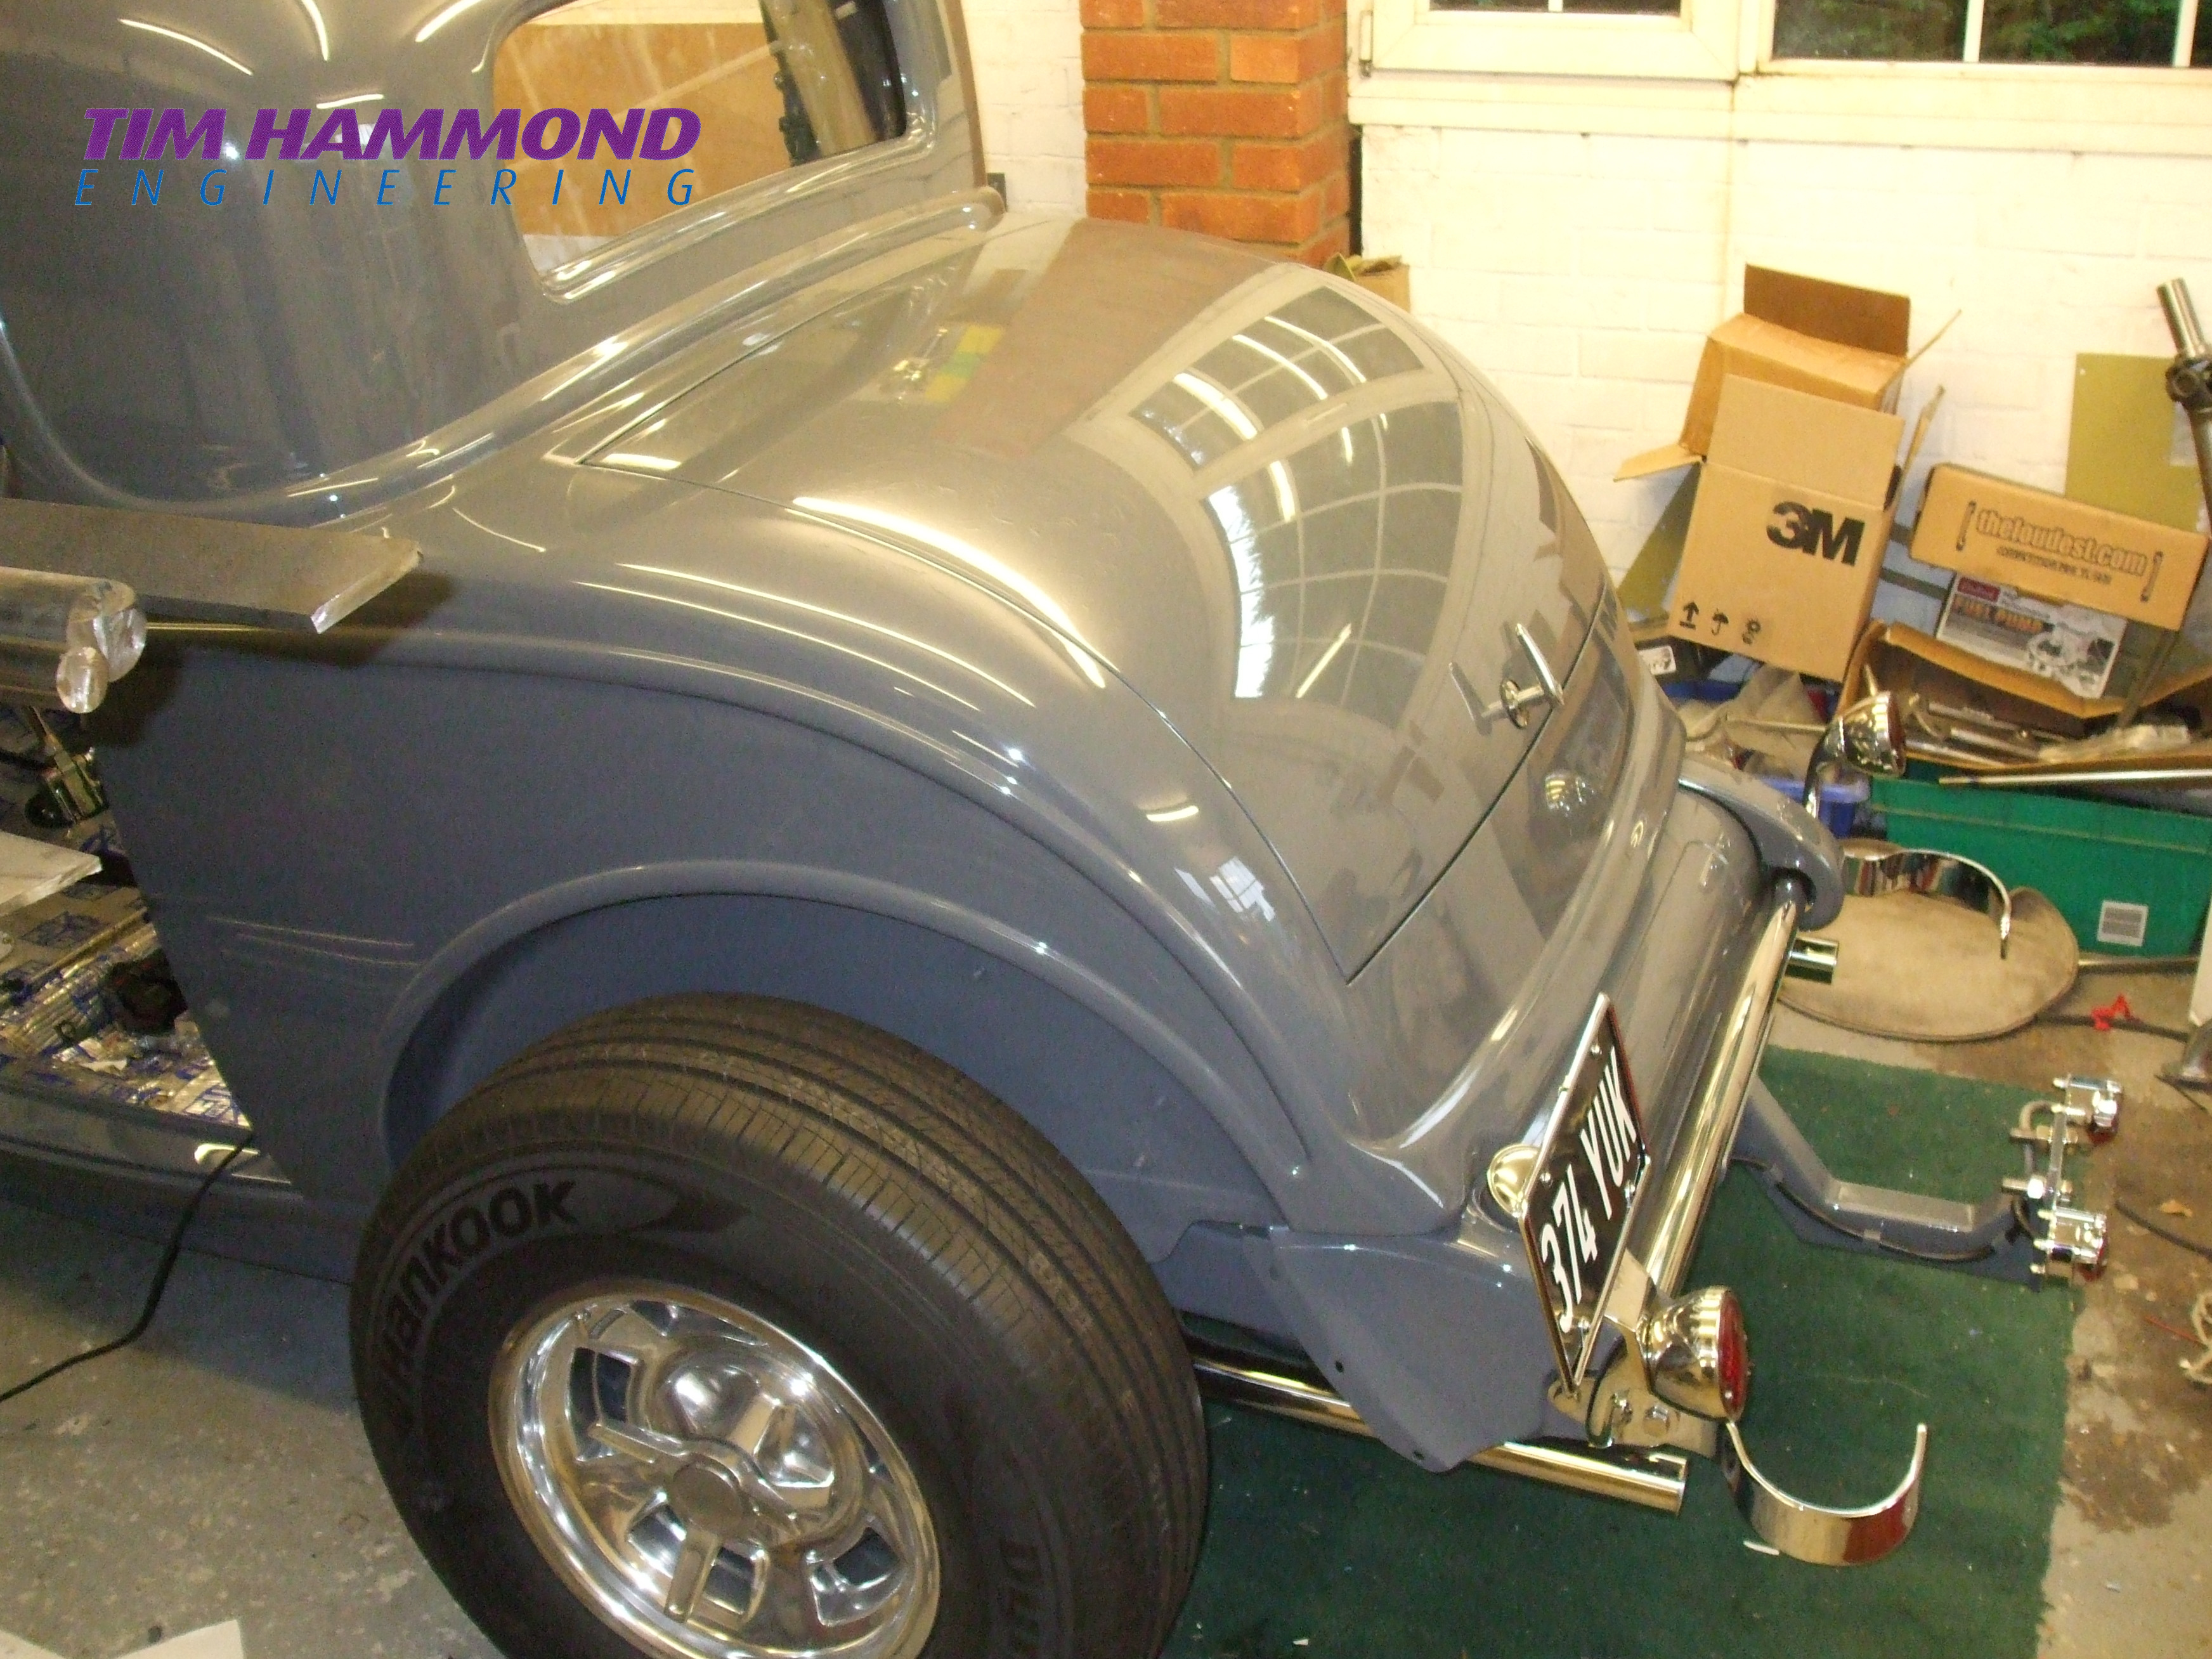
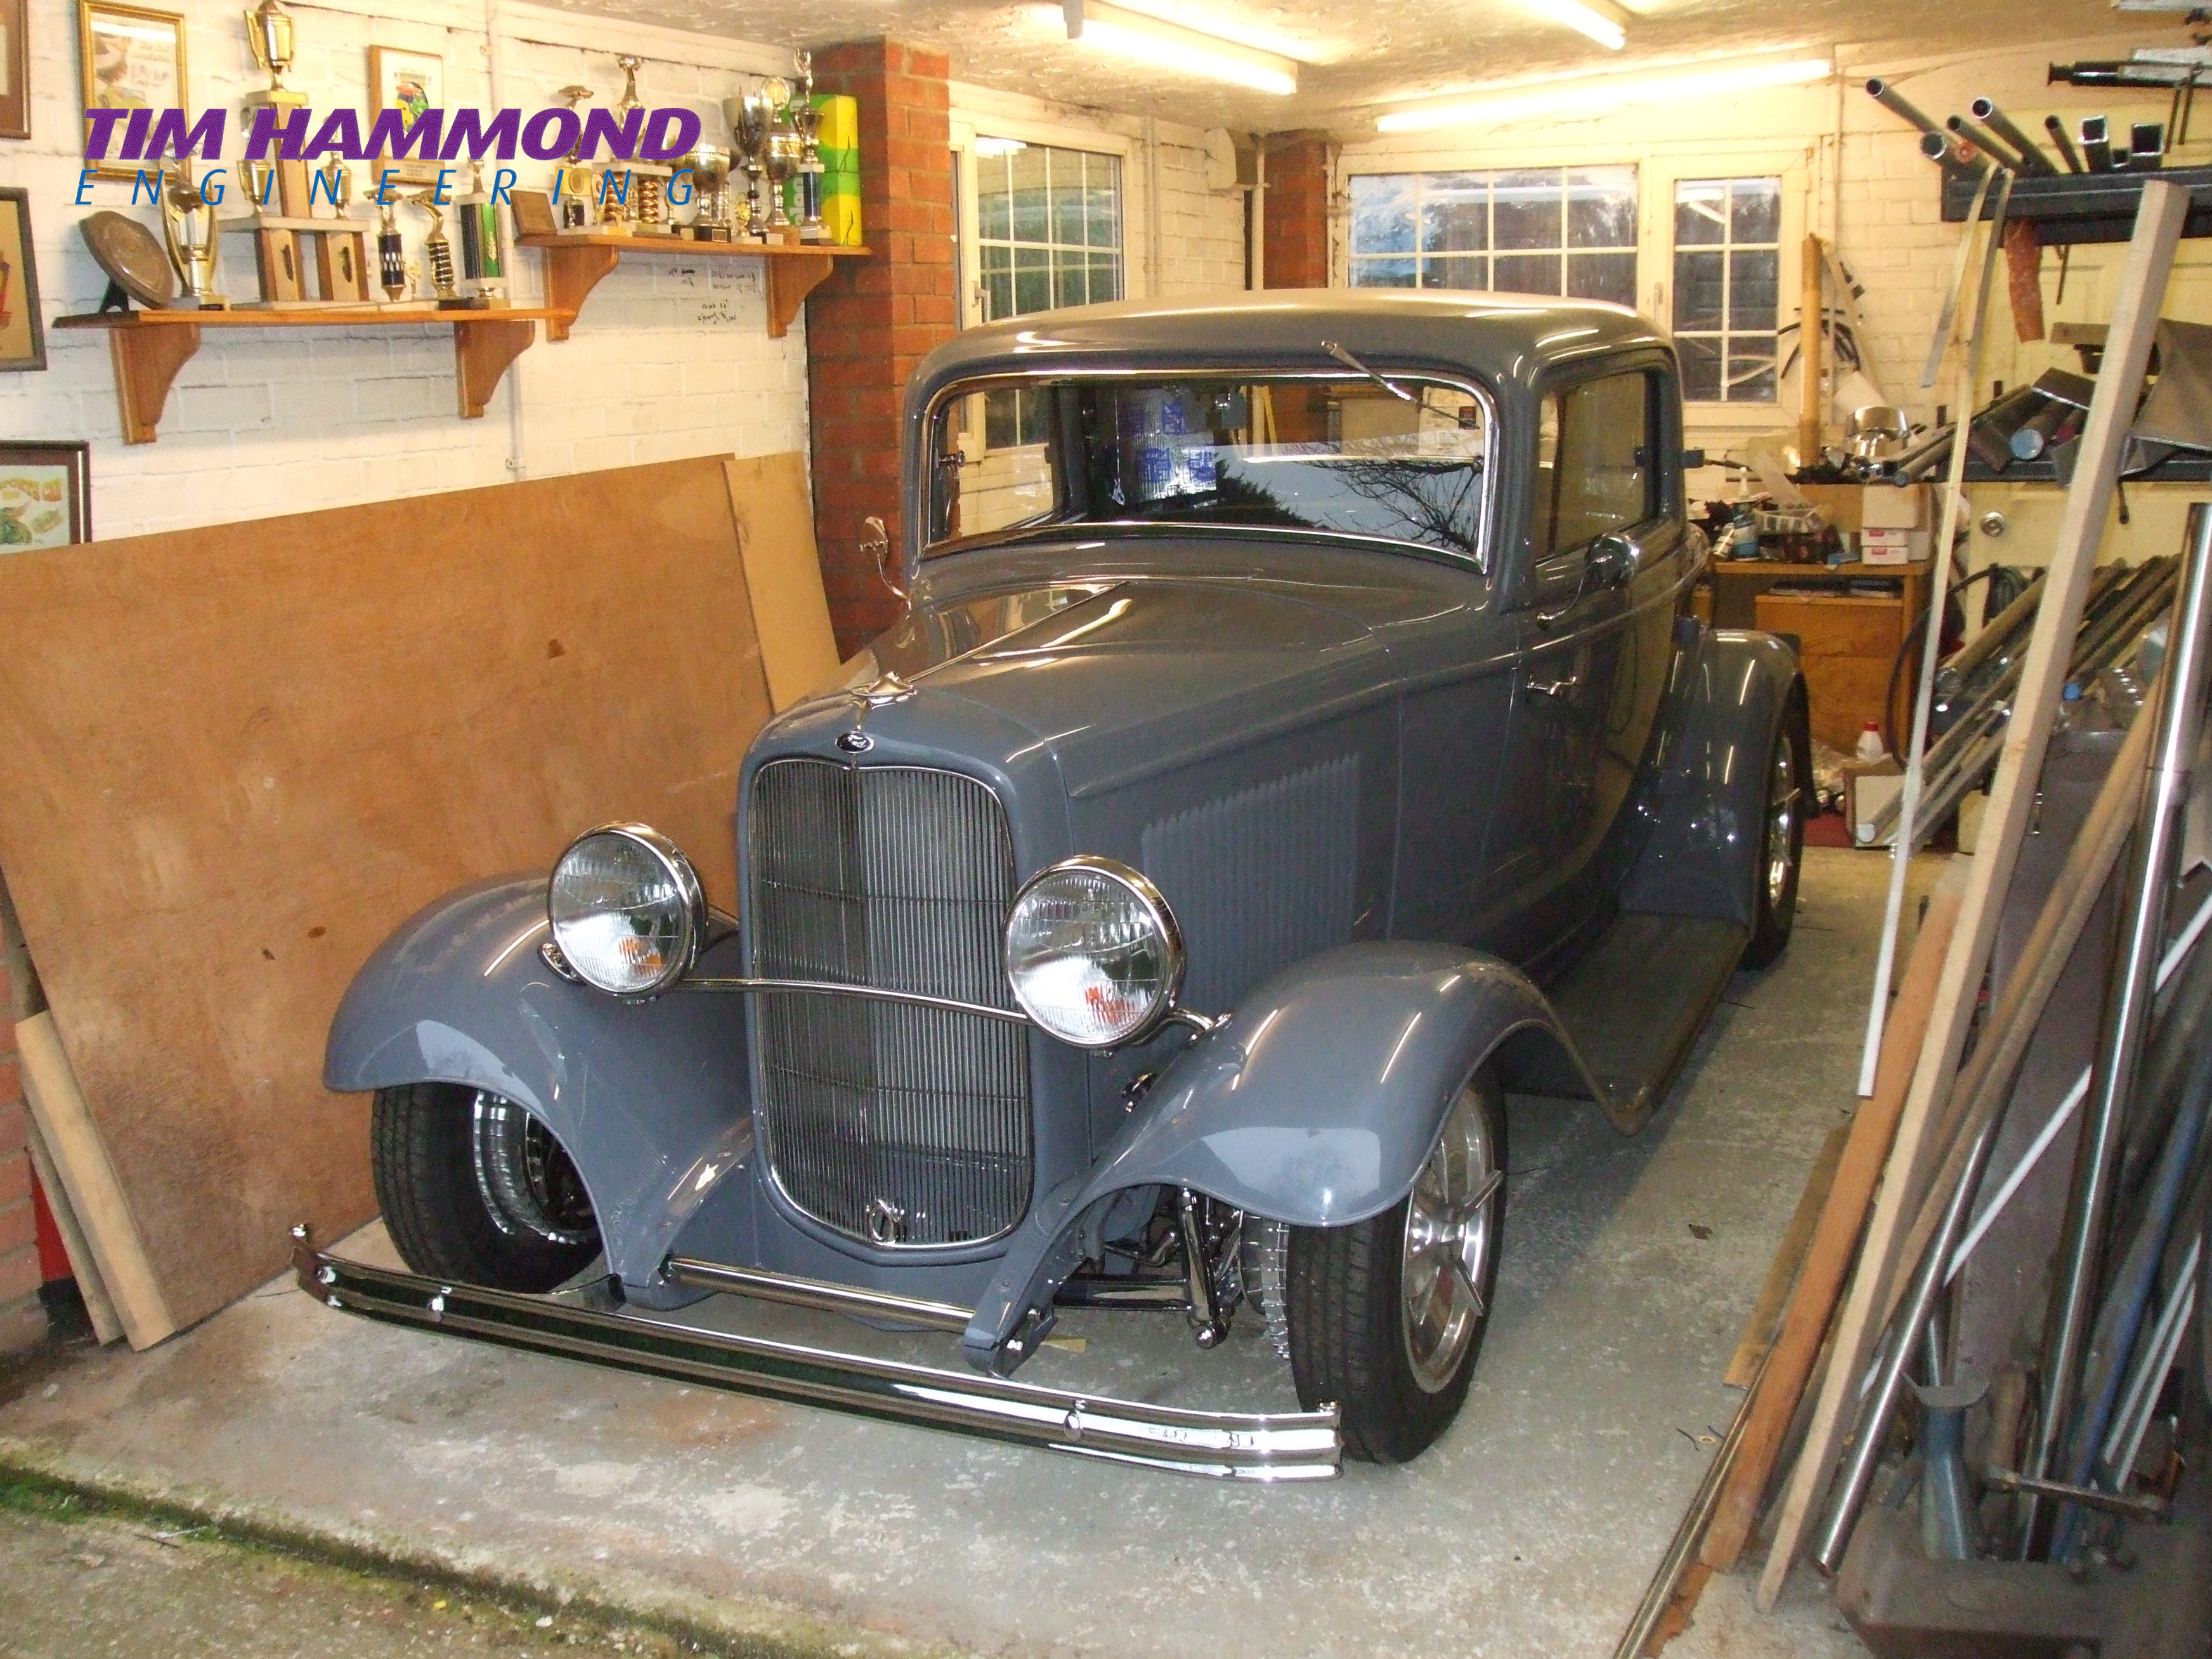
Diane's 1932 Roadster - "The Hamster"
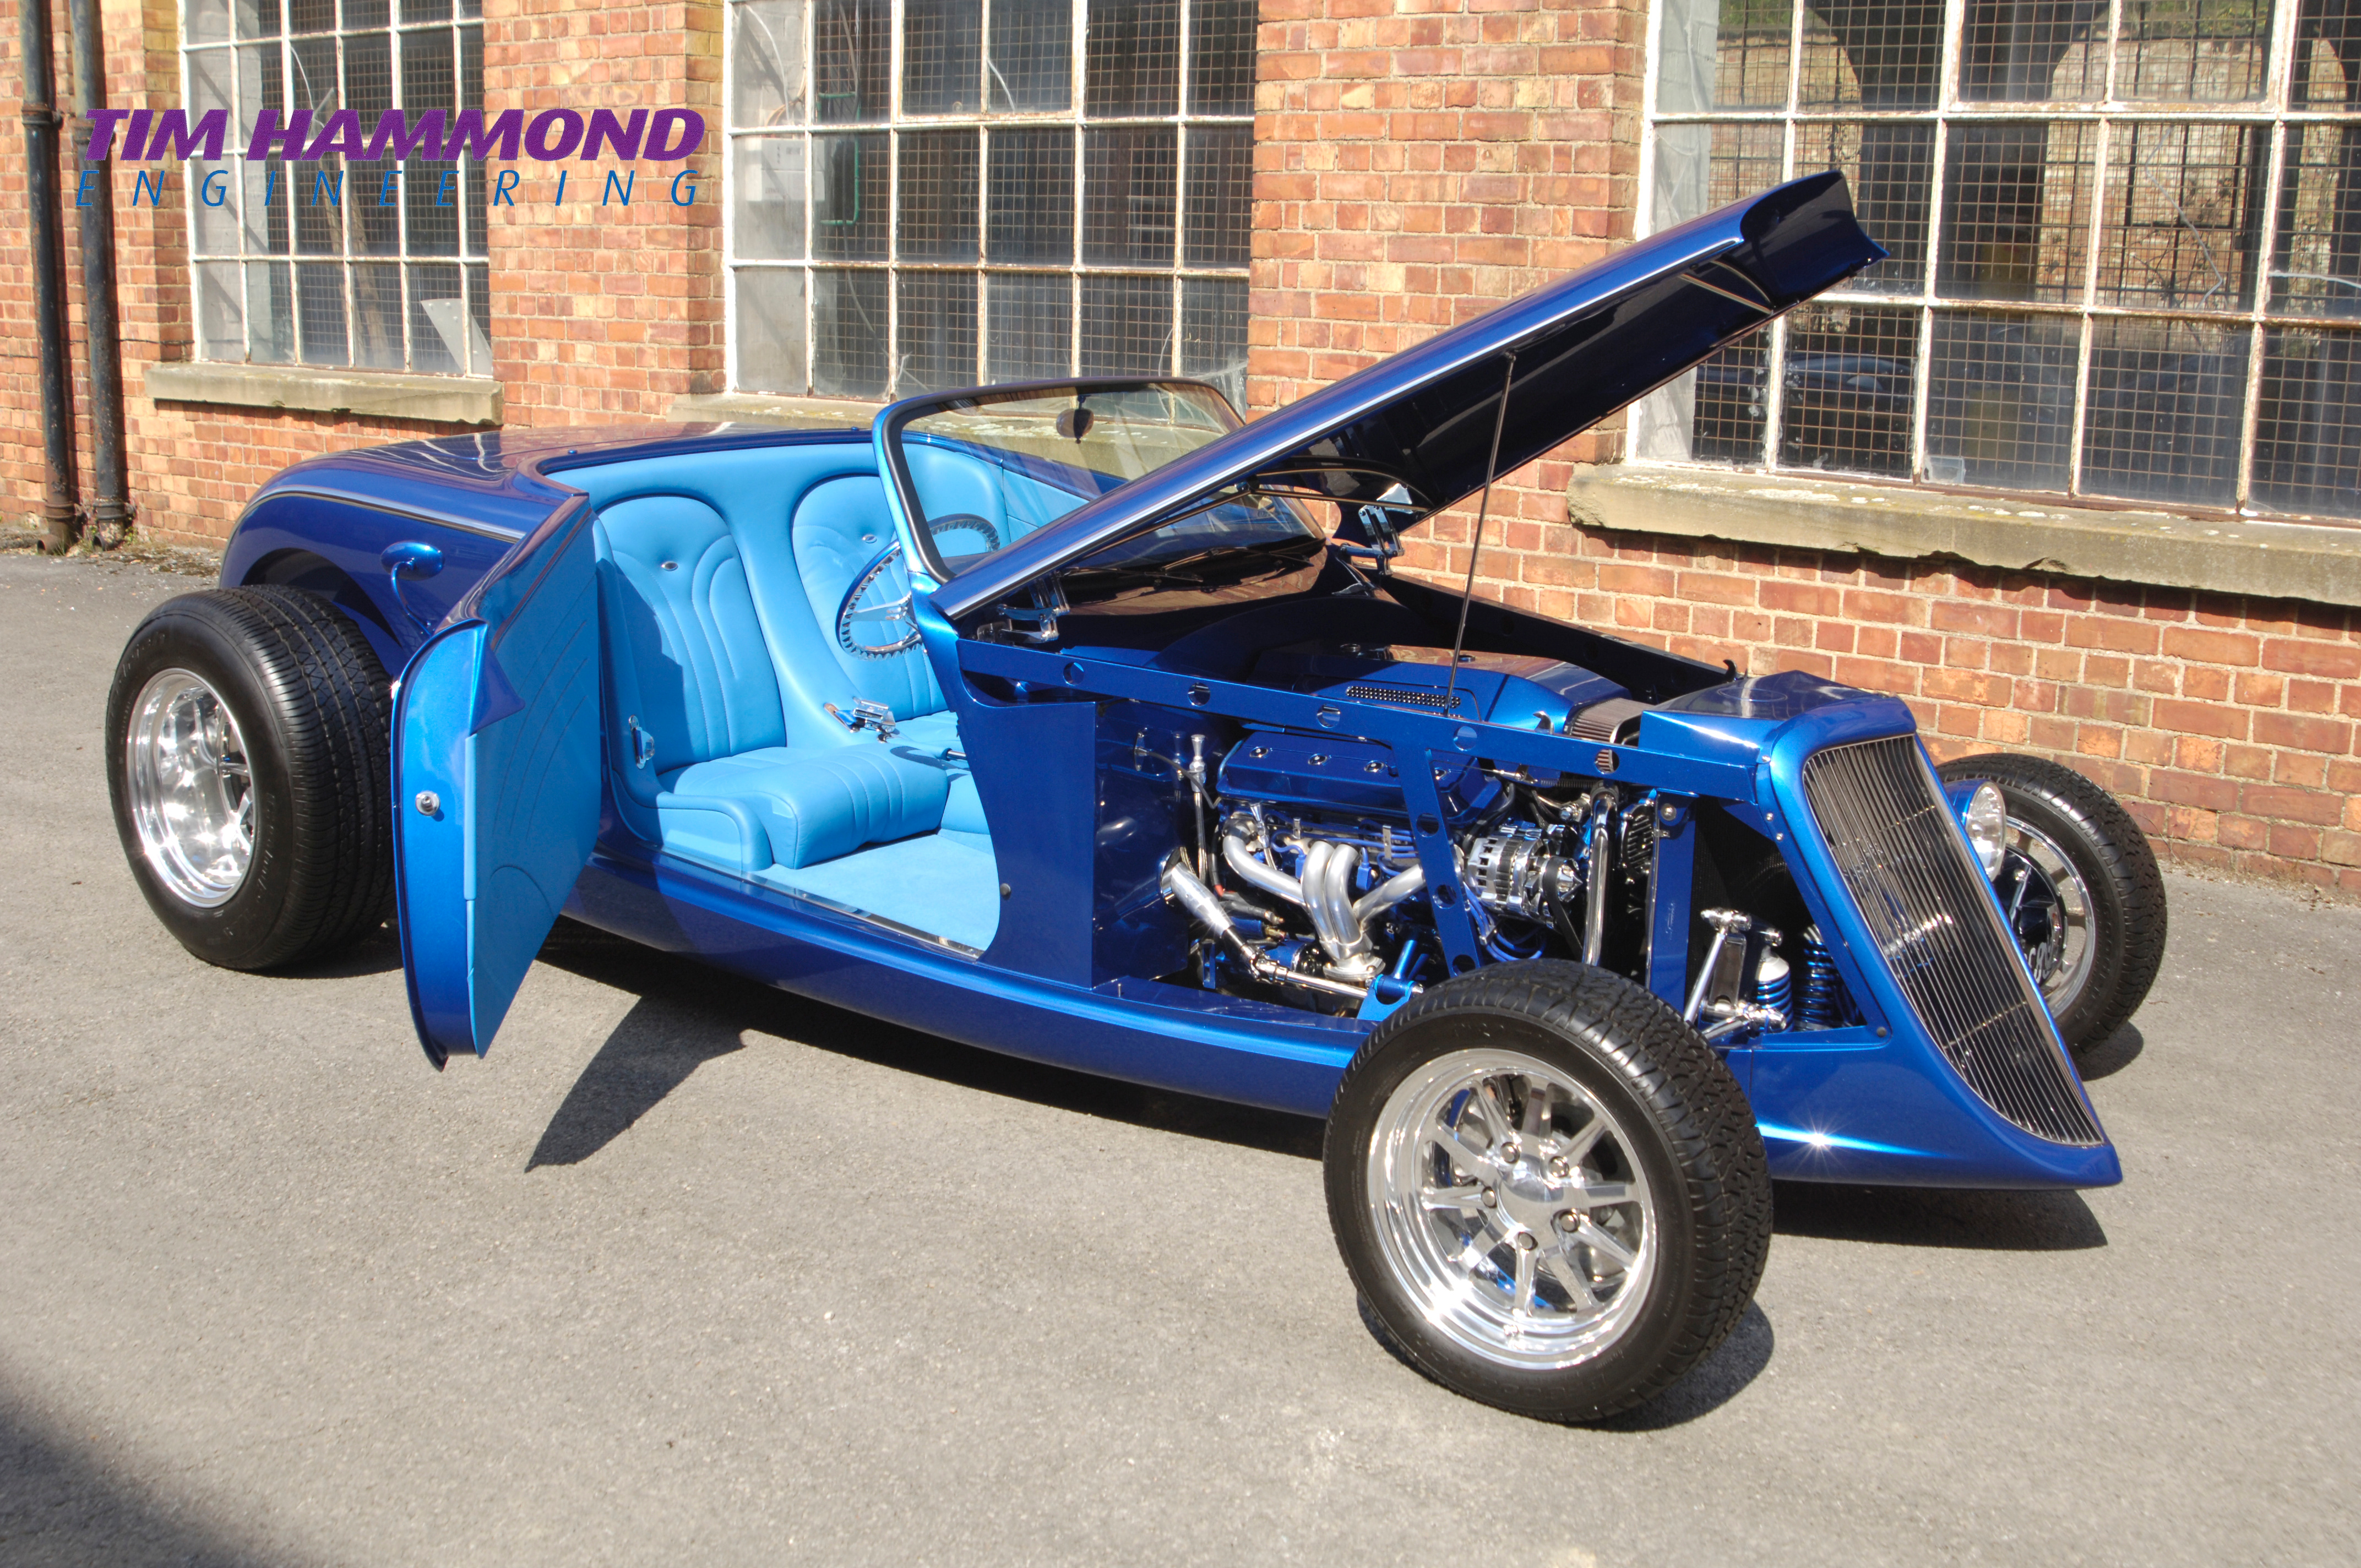
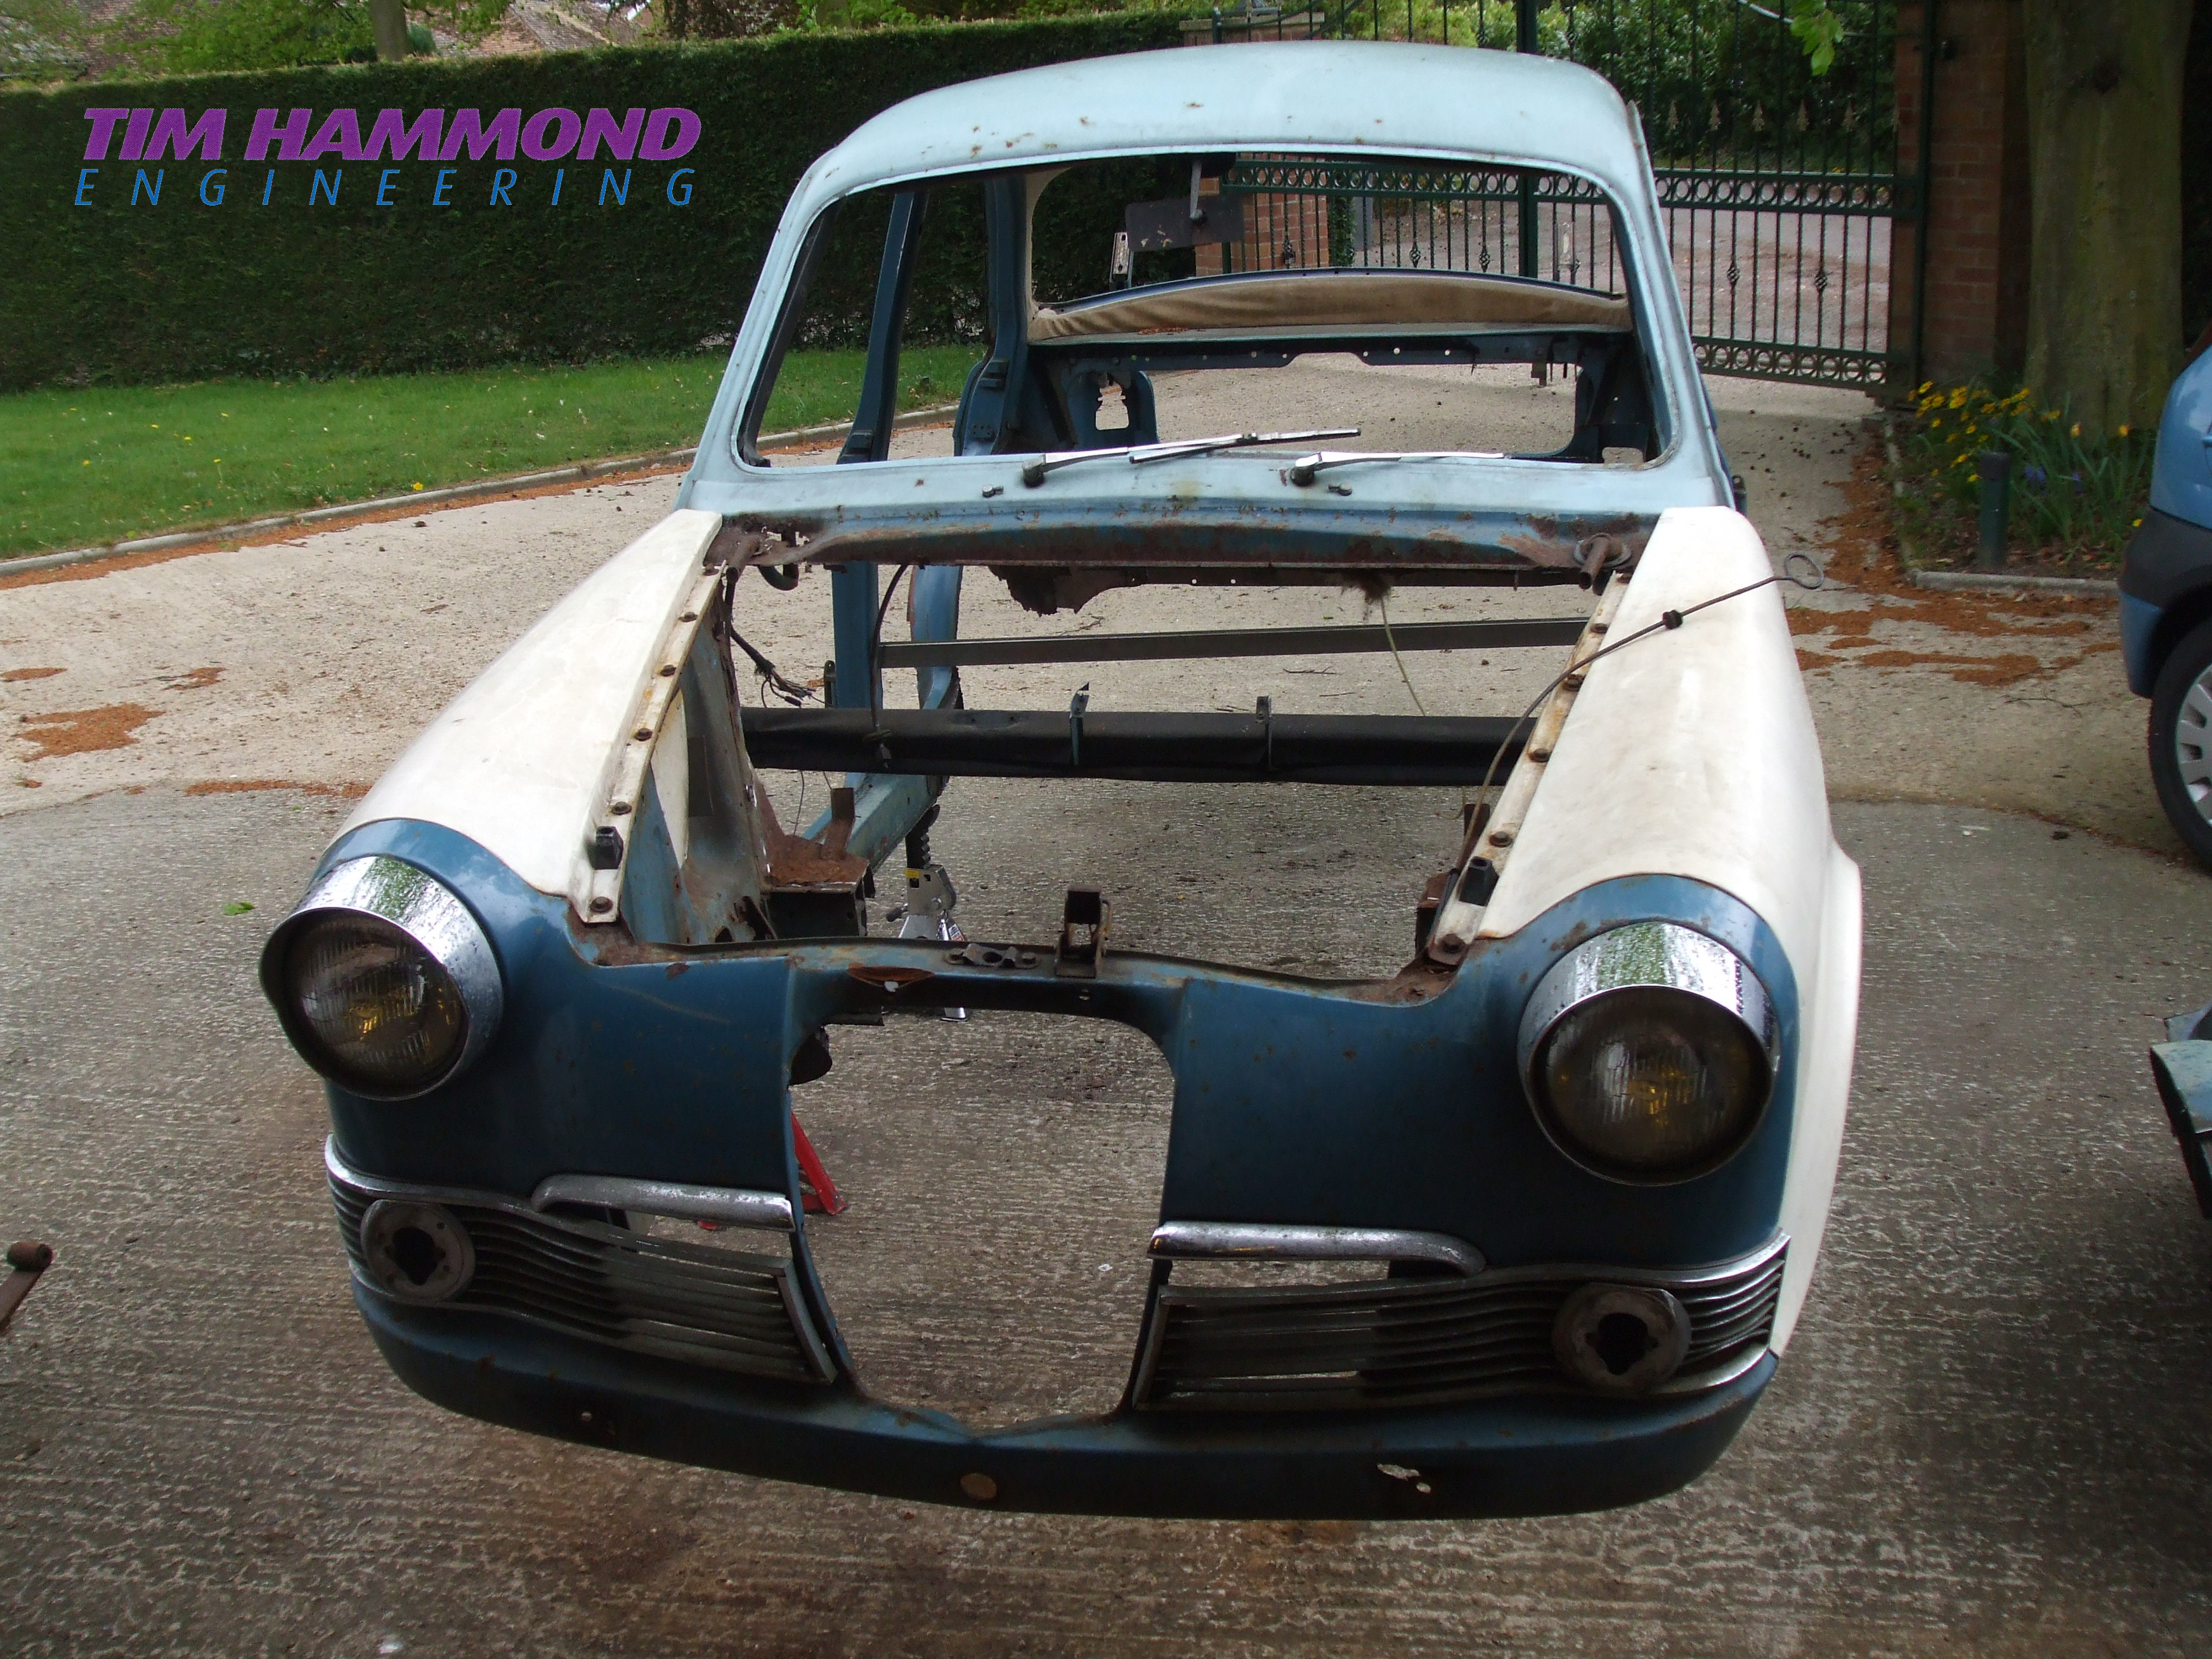
Tim Hammond has previously built many cars and he had always promised his daughter that he would build her a tot rod. Unfortunately, customer’s cars took over and it was not until she was driving herself that we decided to skip the tot rod and together build an all steel 1932 Roadster. Diane and Tim always admired the work of Boyd Coddington and Chip Foose. Diane, from day one, always called her roadster “The Hamster” – a play on her surname and roadster!
Diane’s stipulation was not a “catalogue car” but that it had to be all handmade with a lengthened wheel base to give the extra leg room they both needed (Diane and Tim are 6 foot plus).
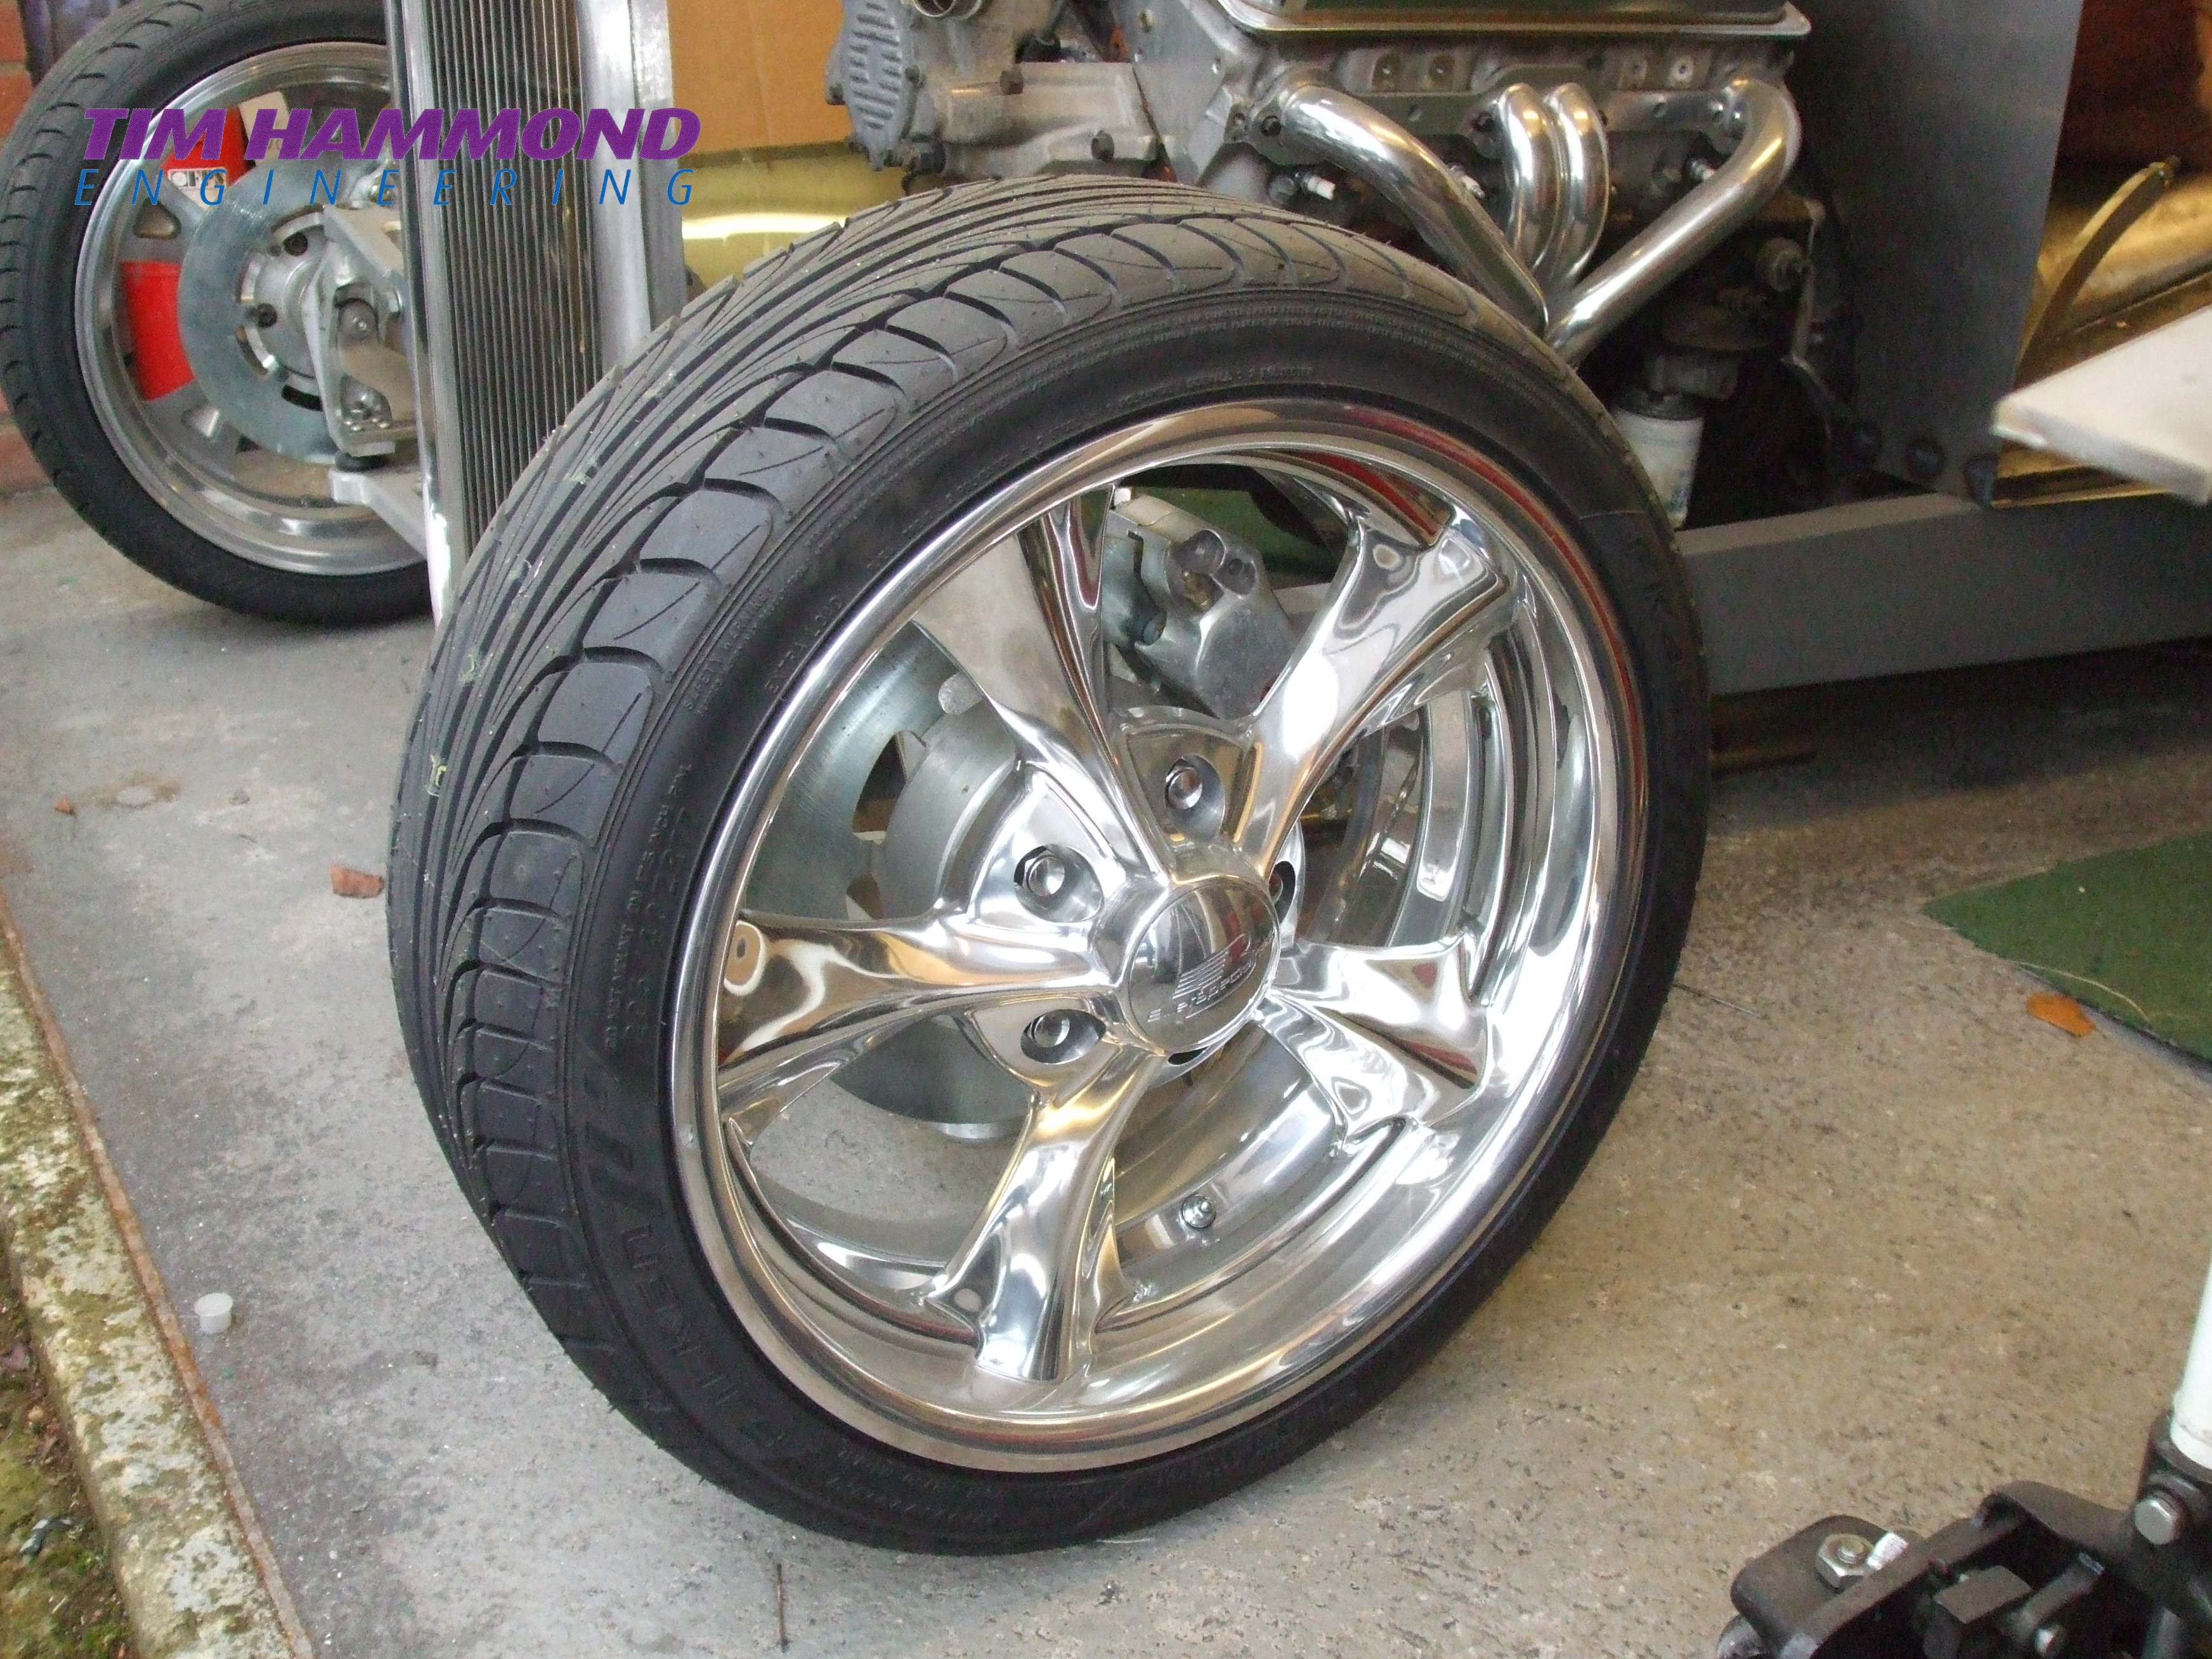
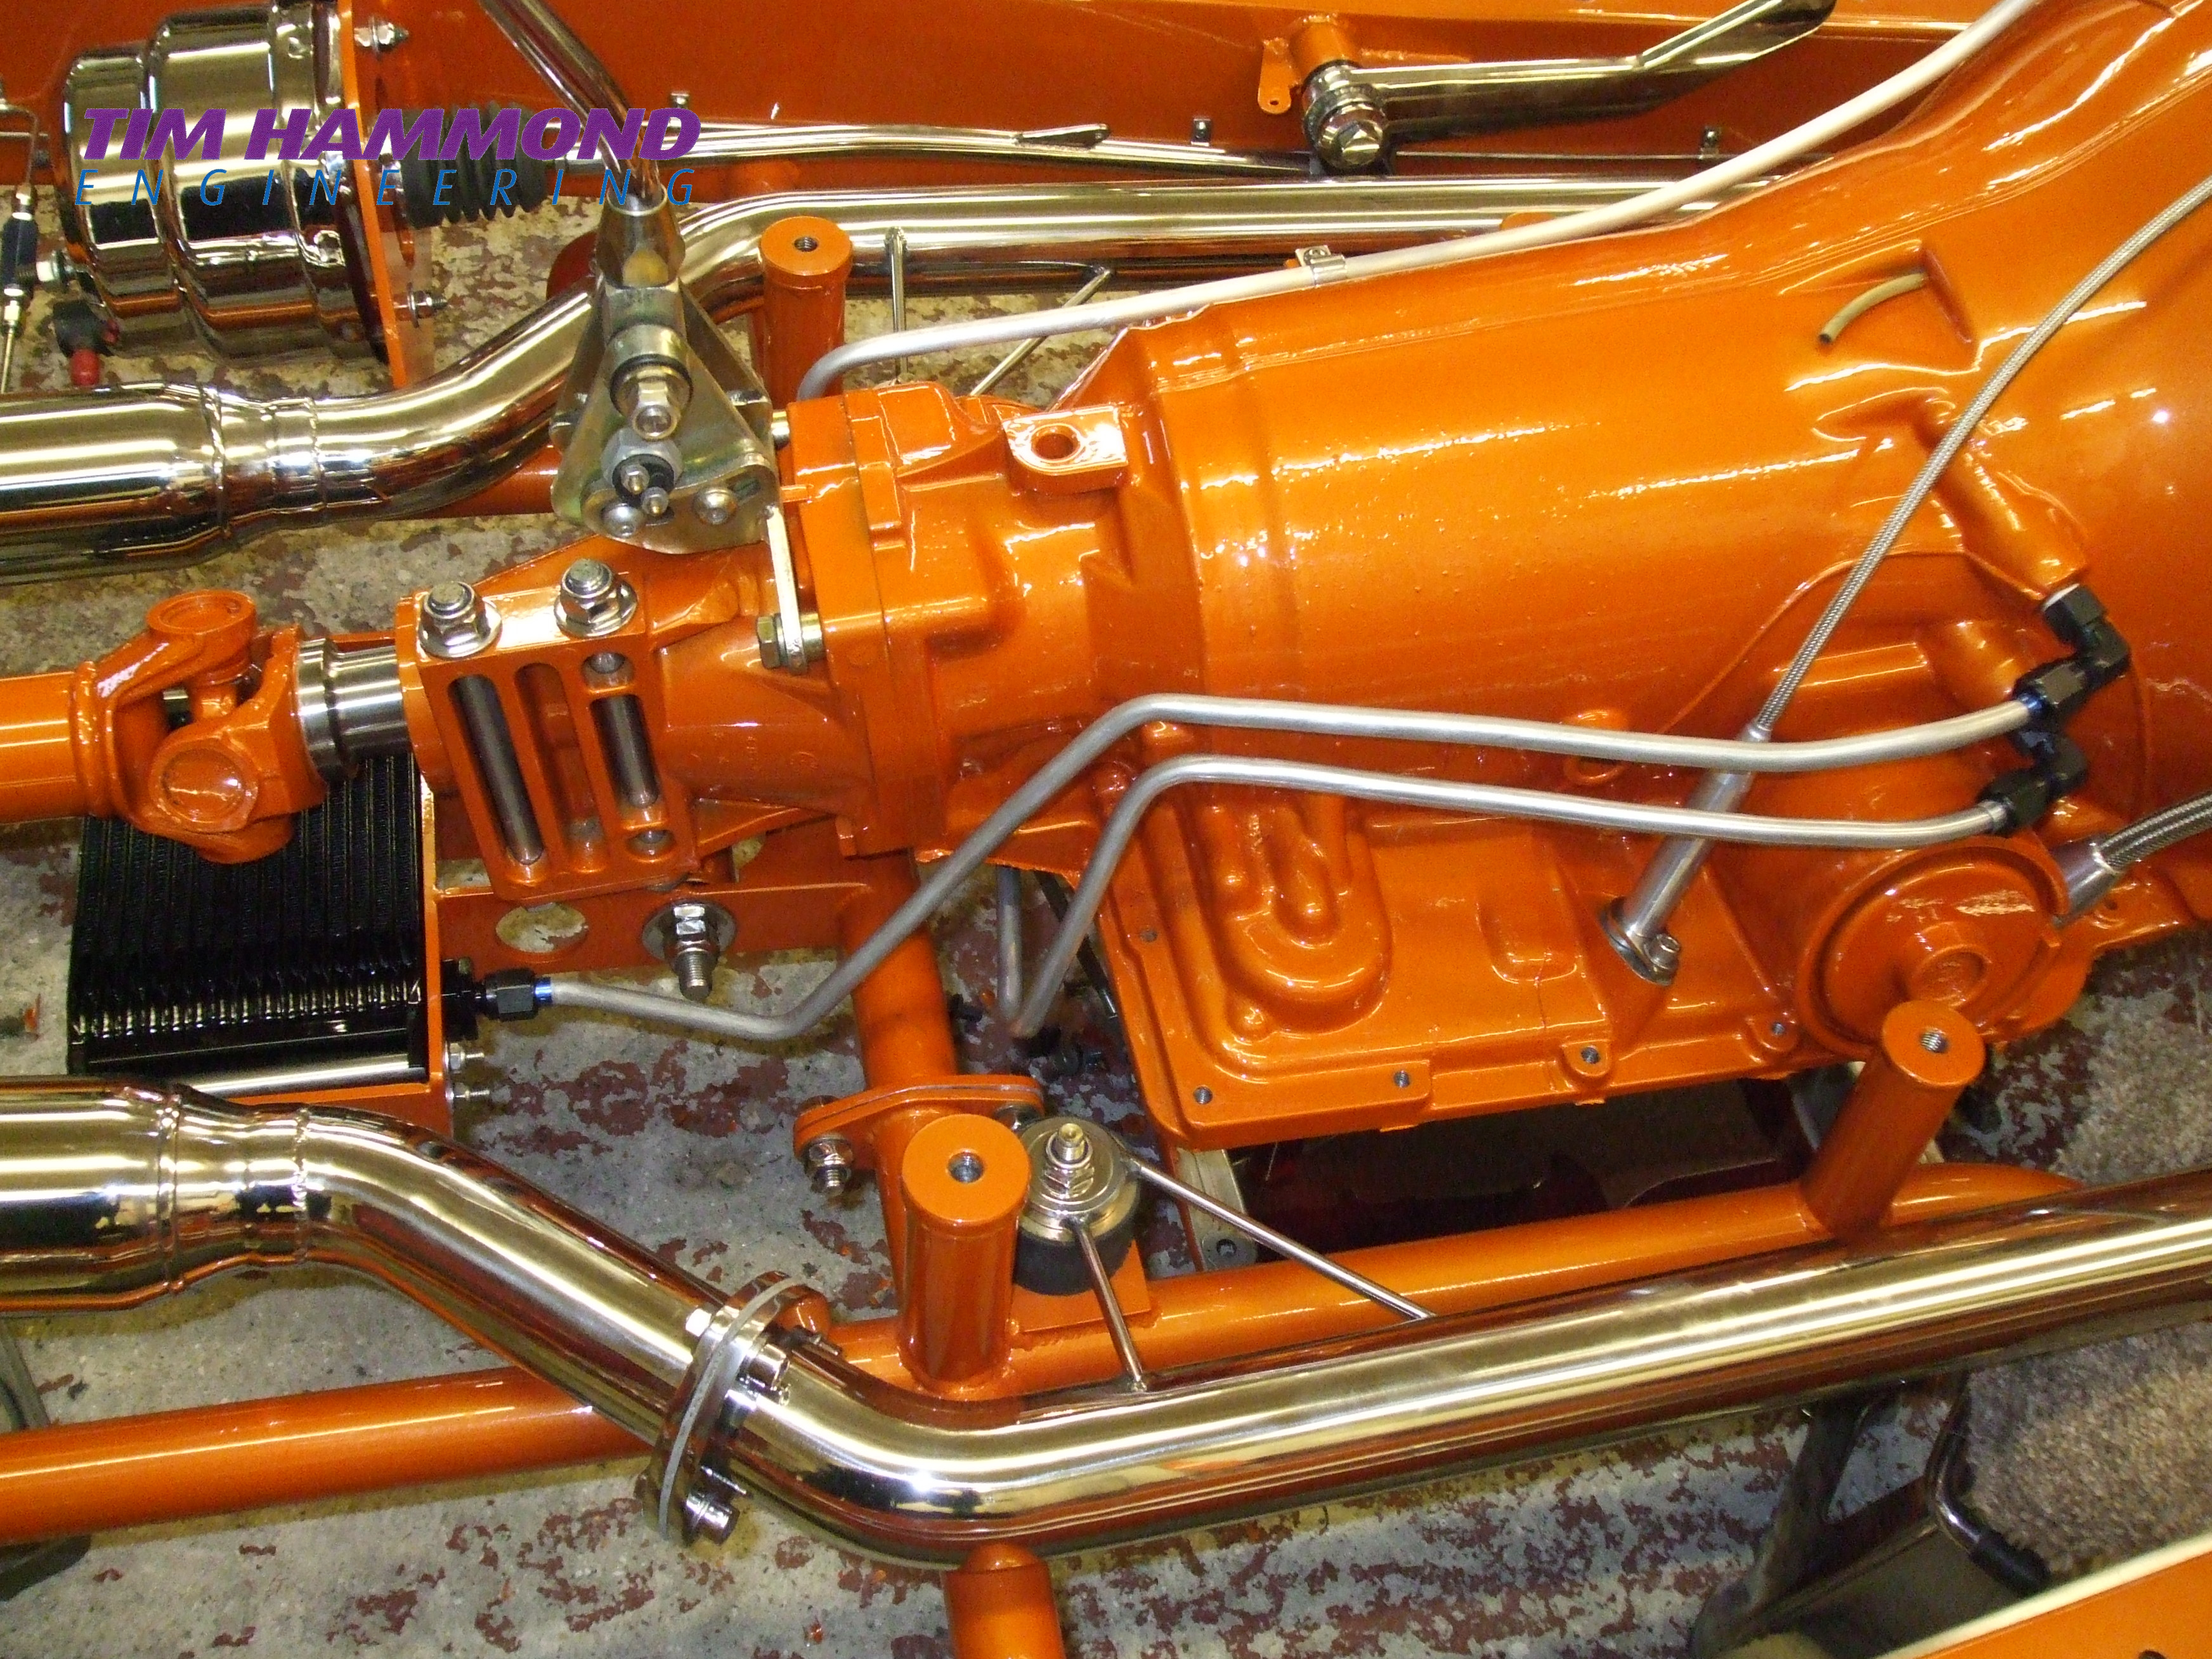
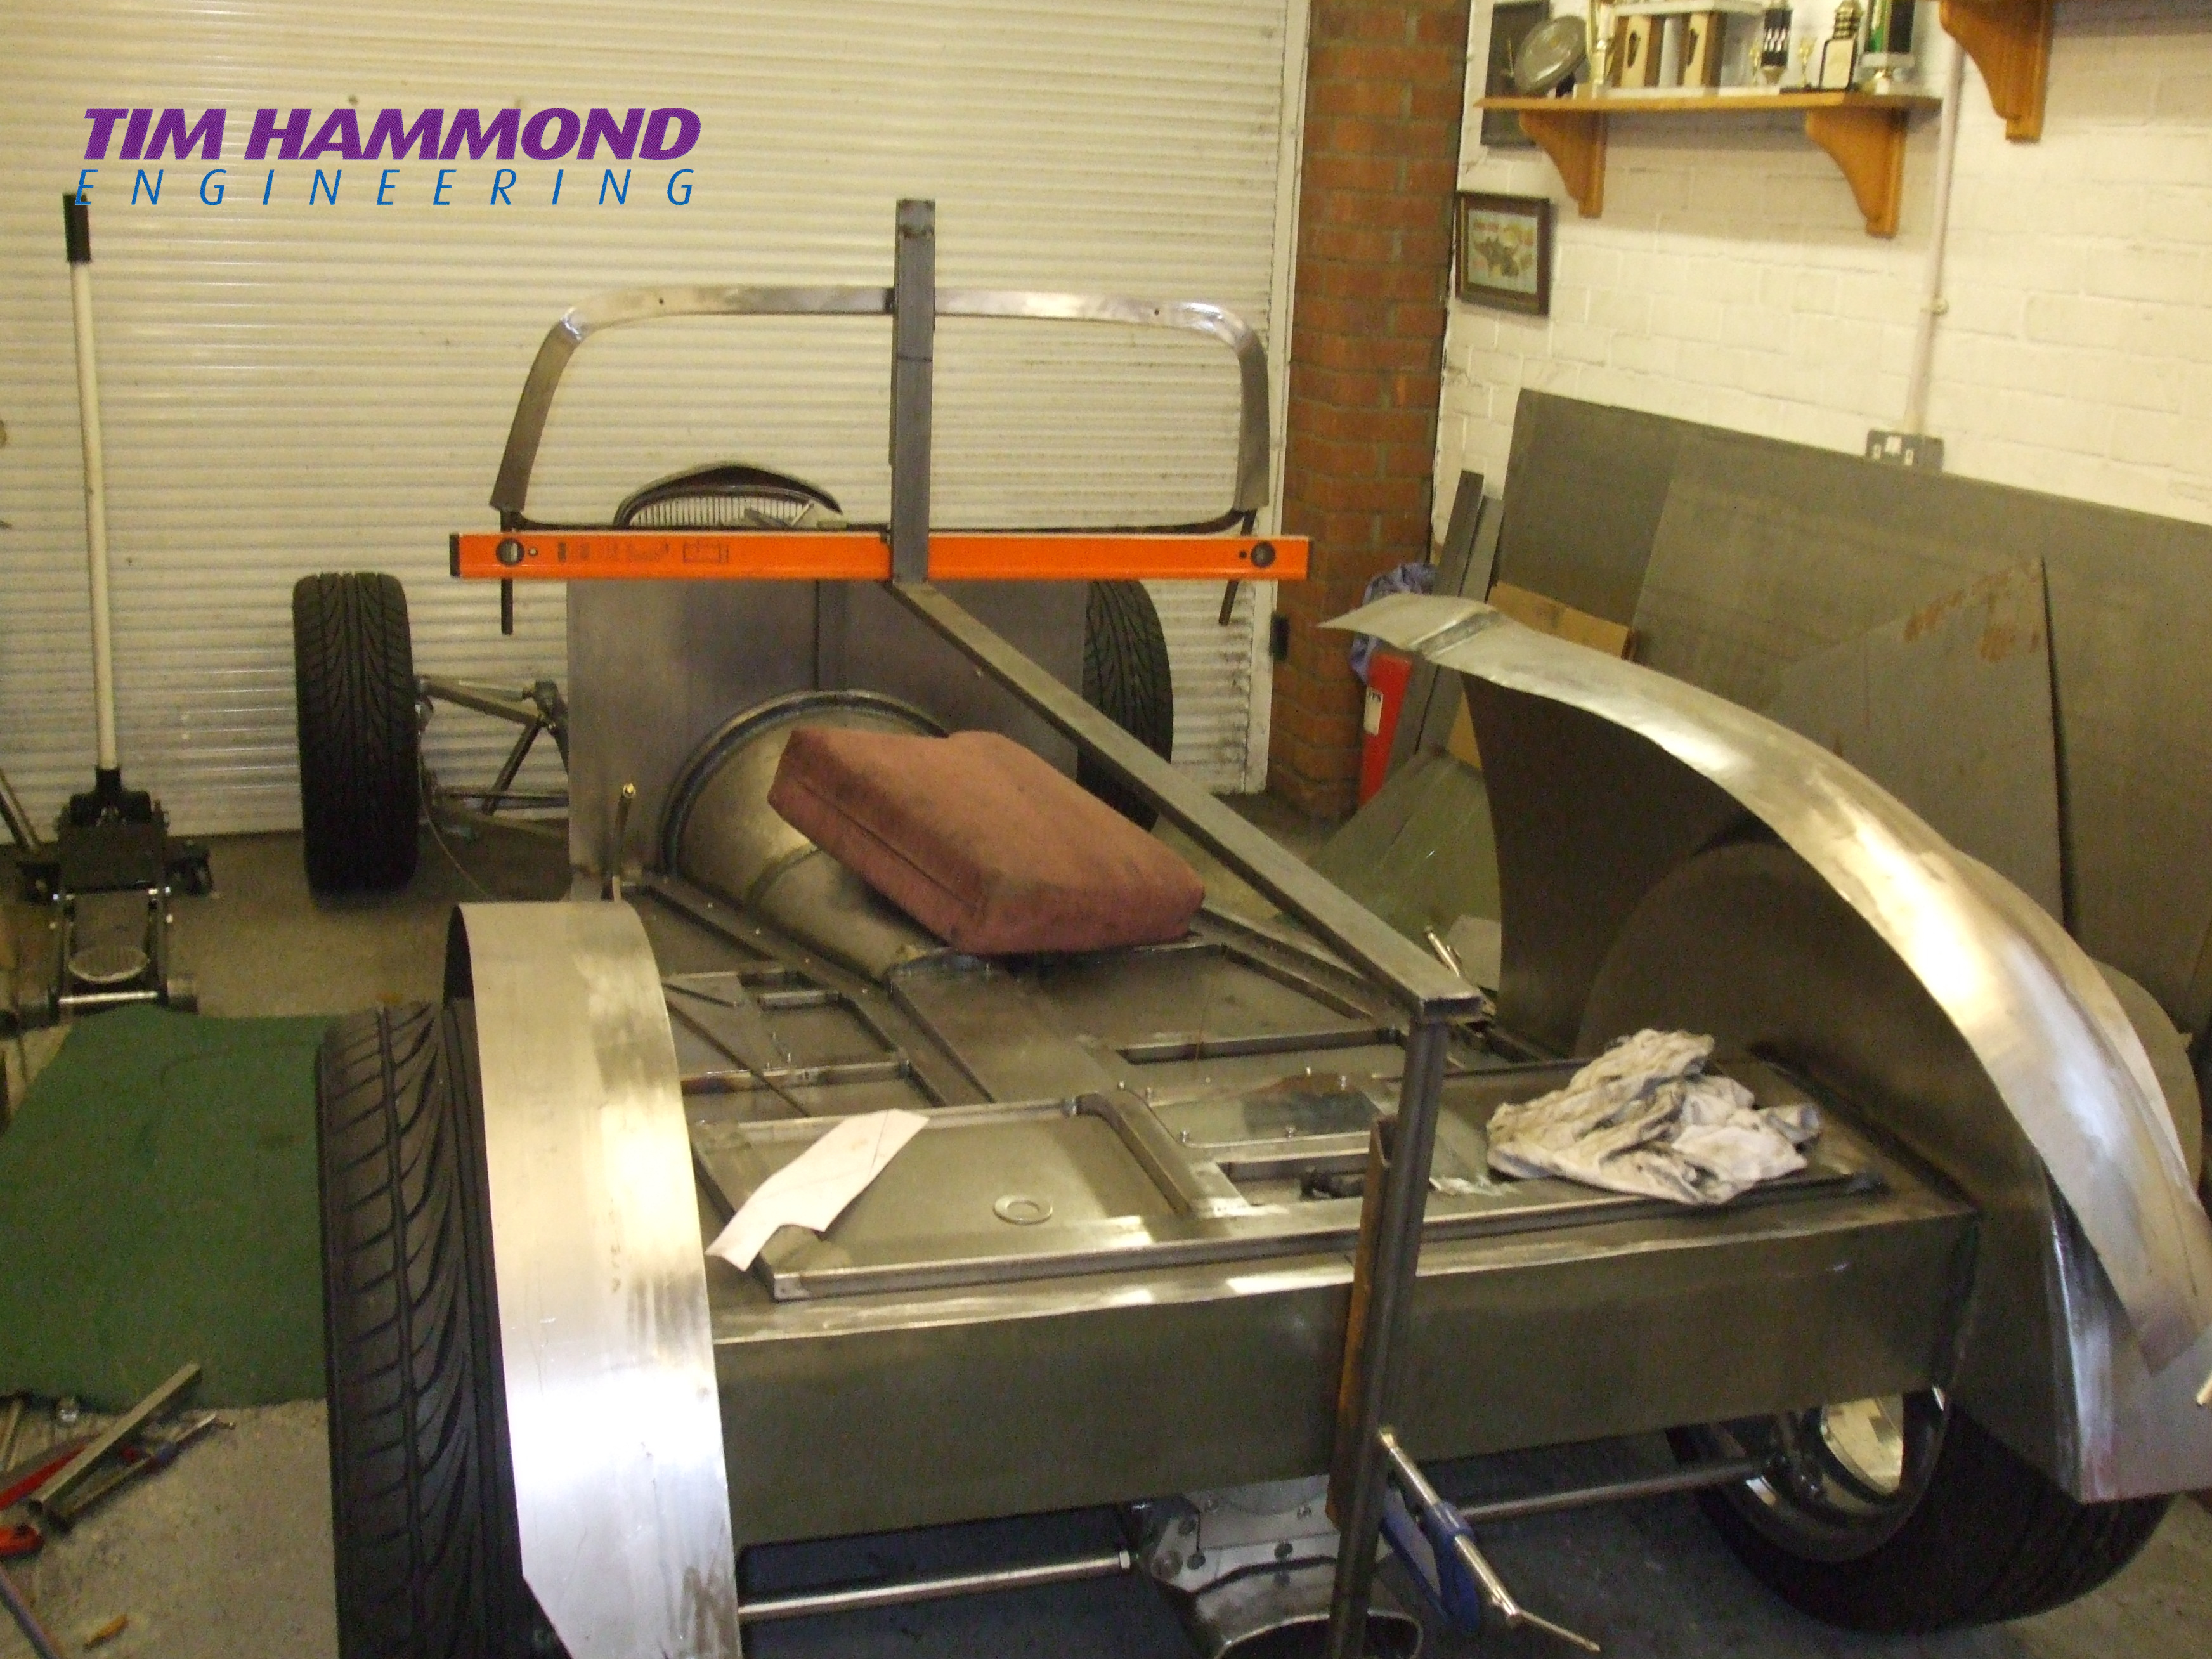
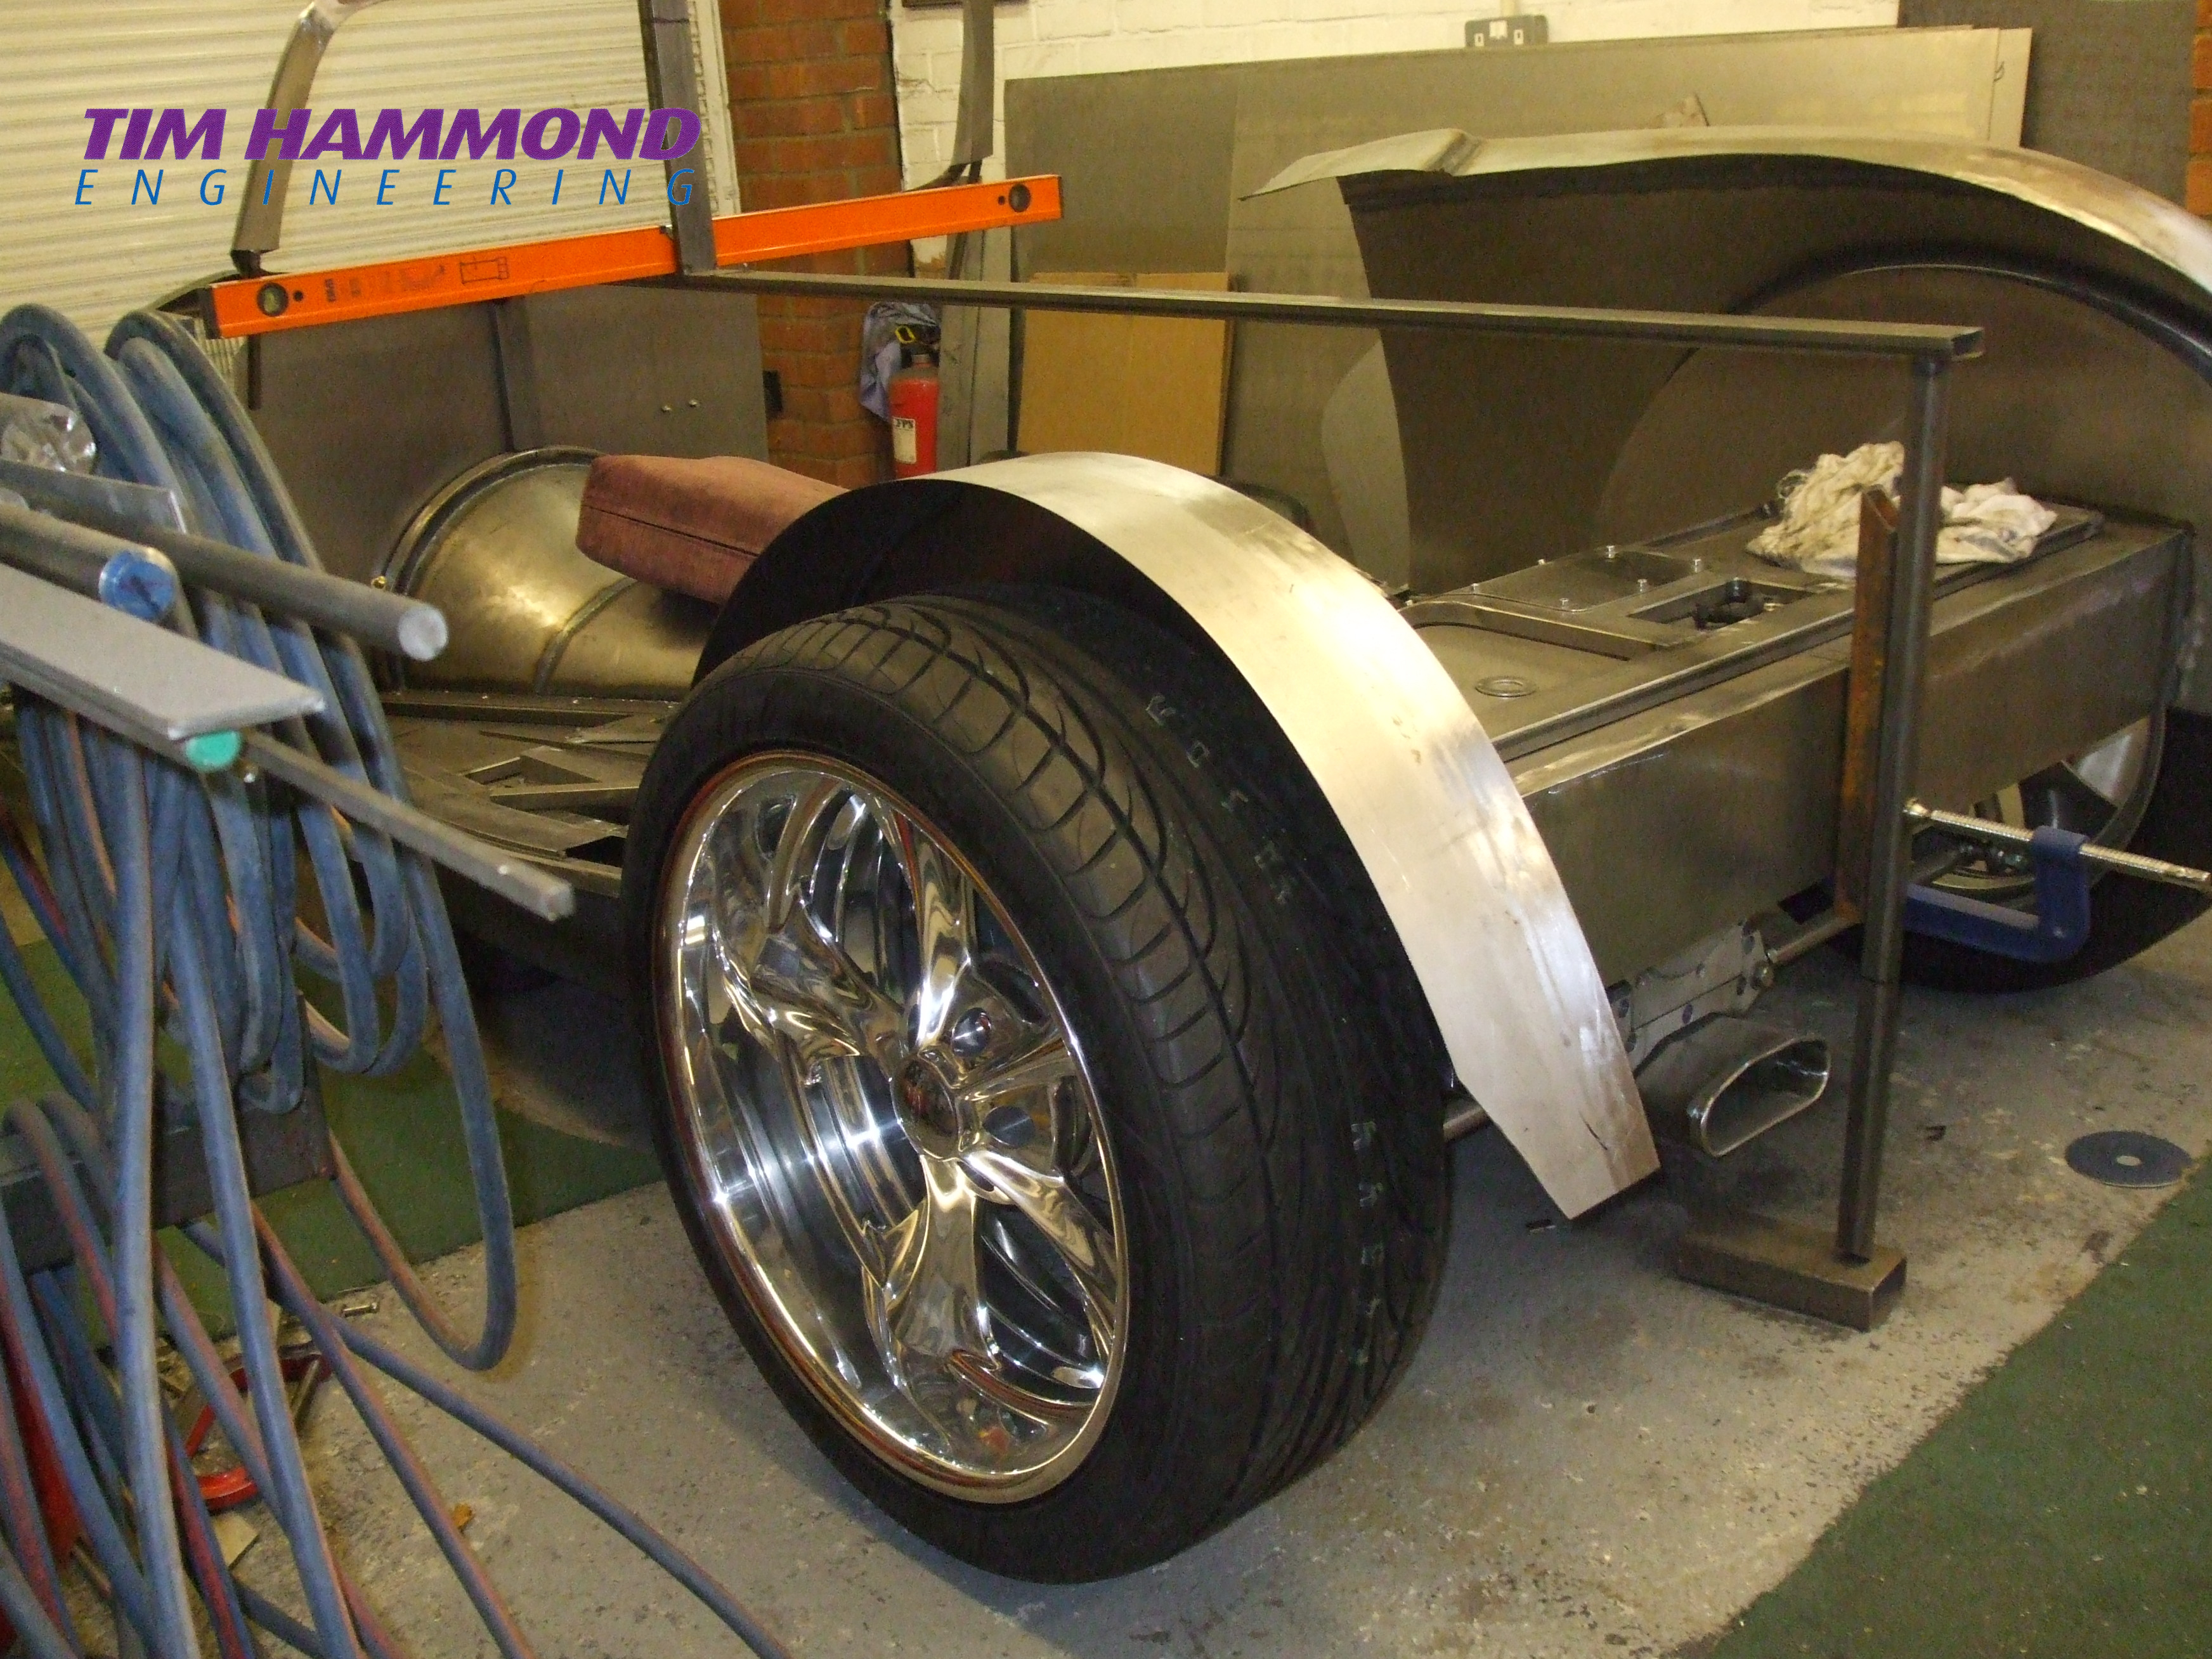
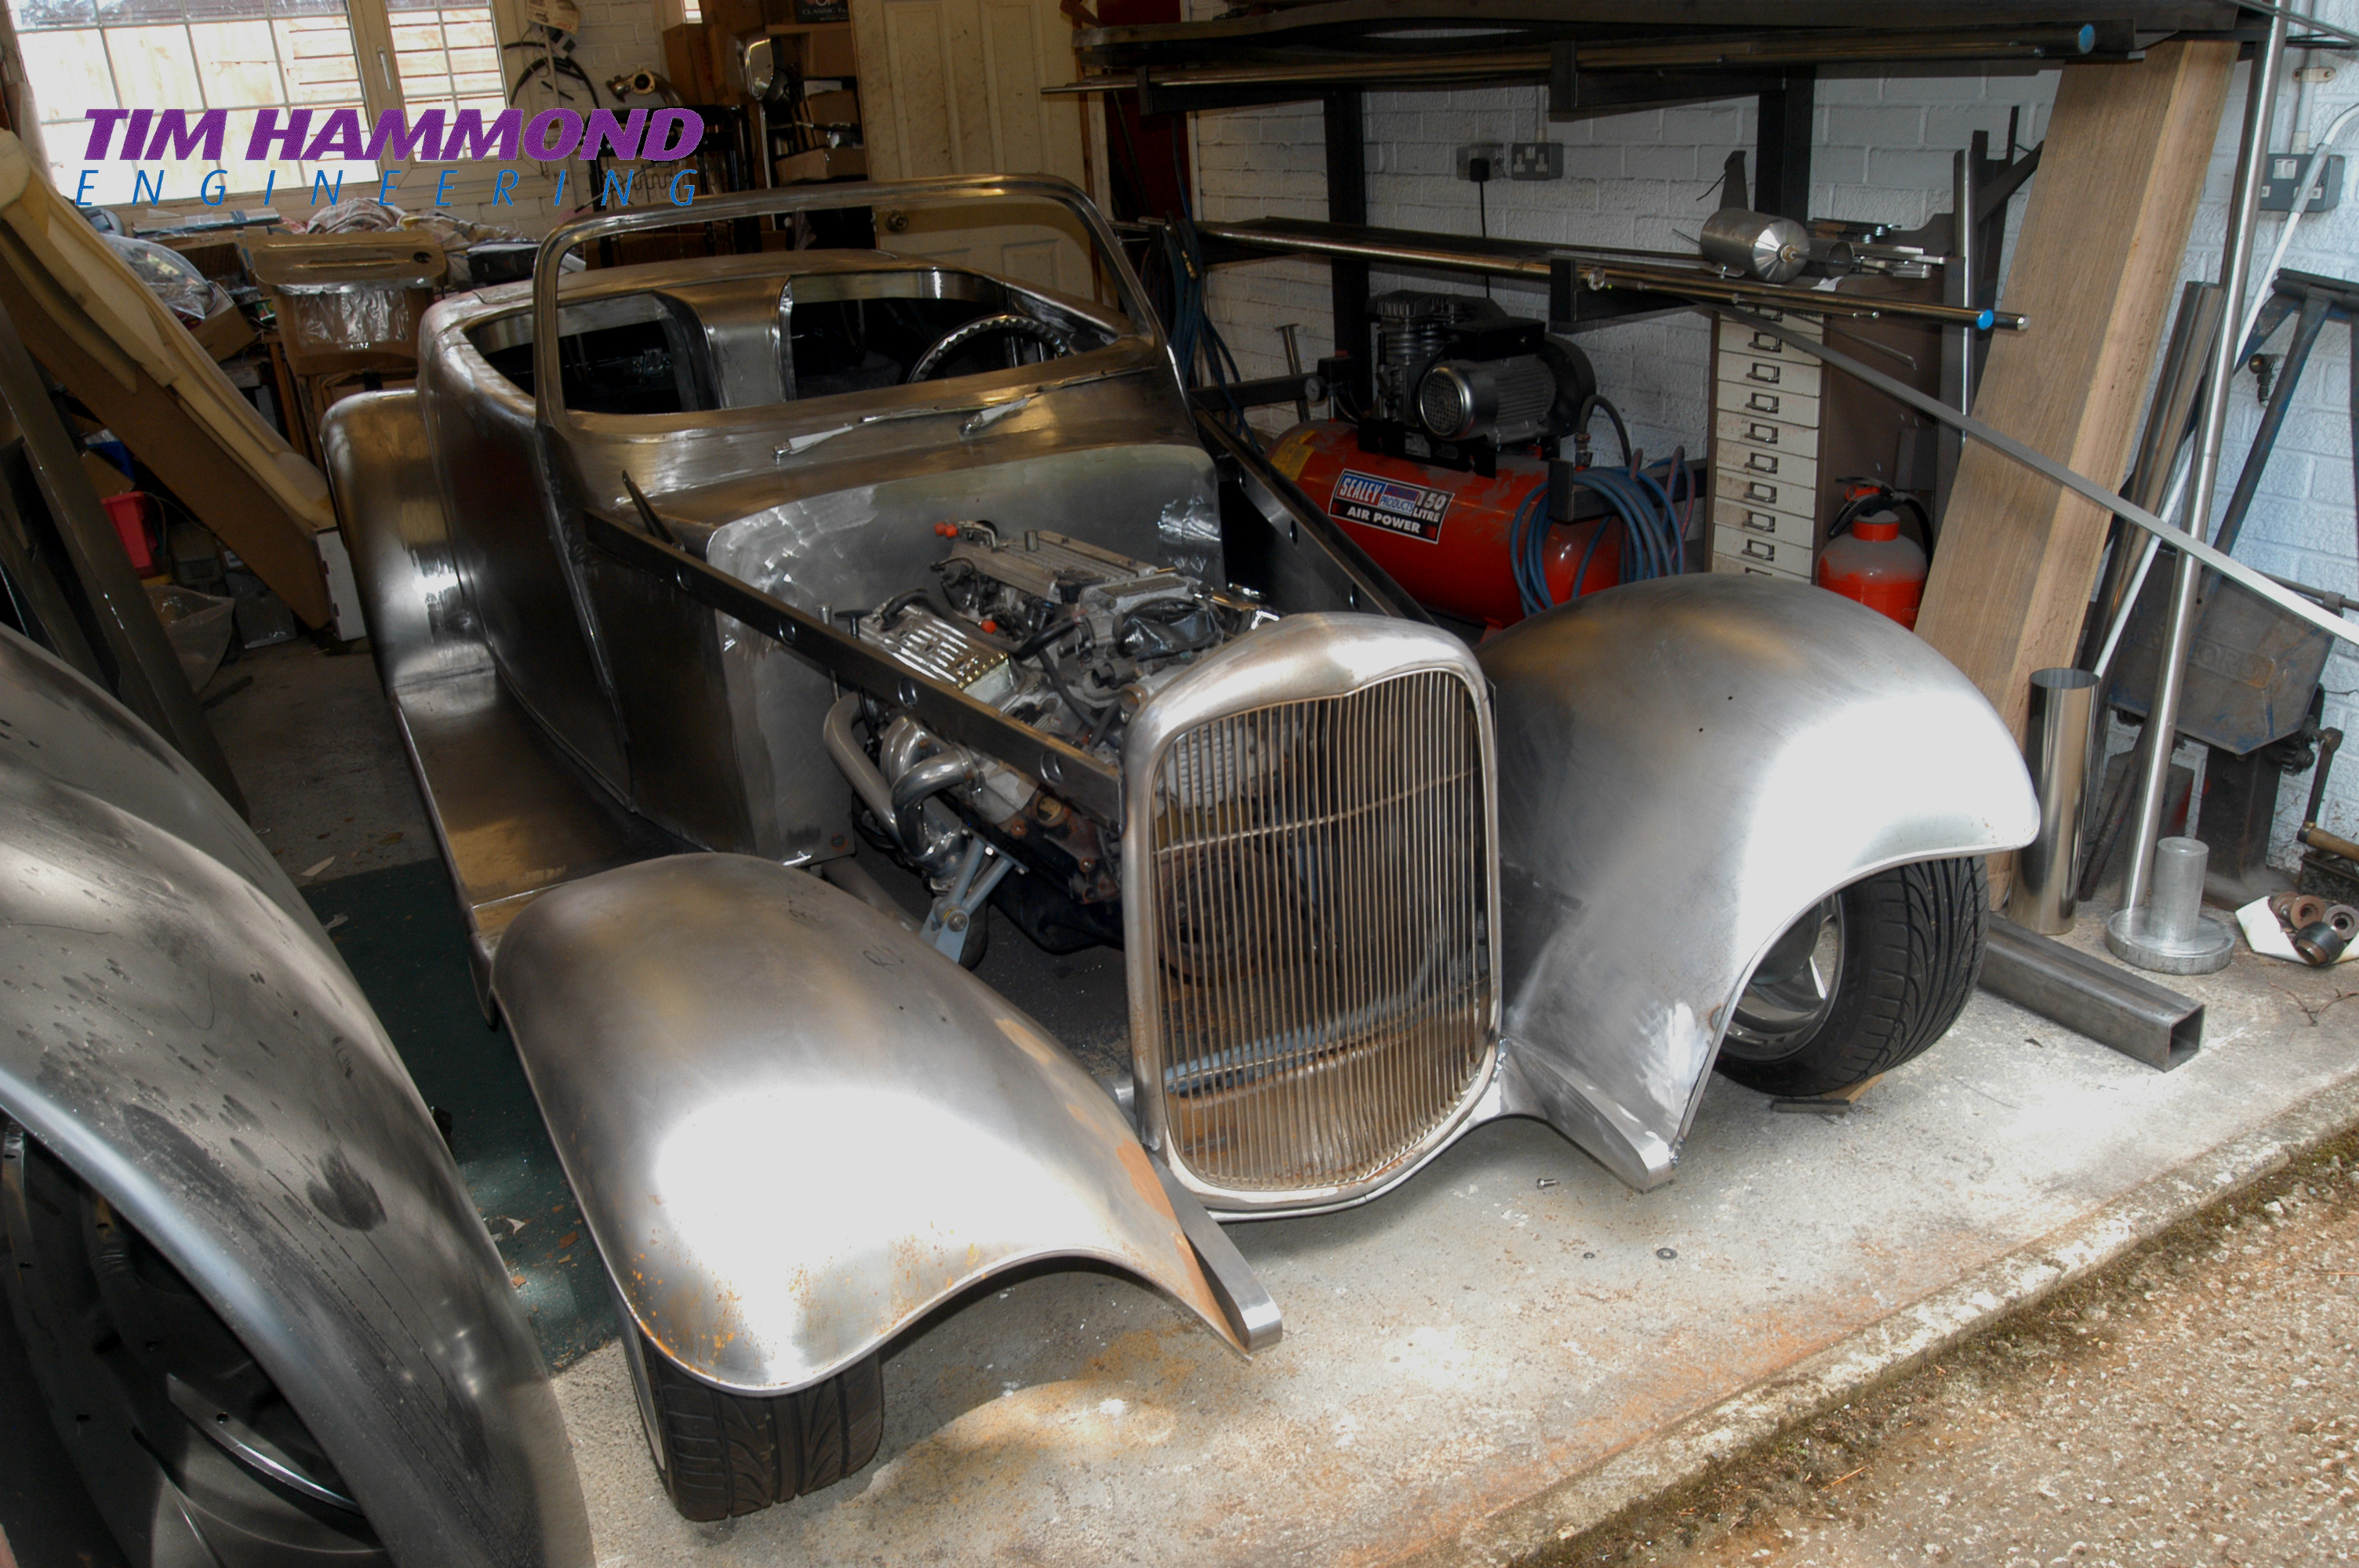
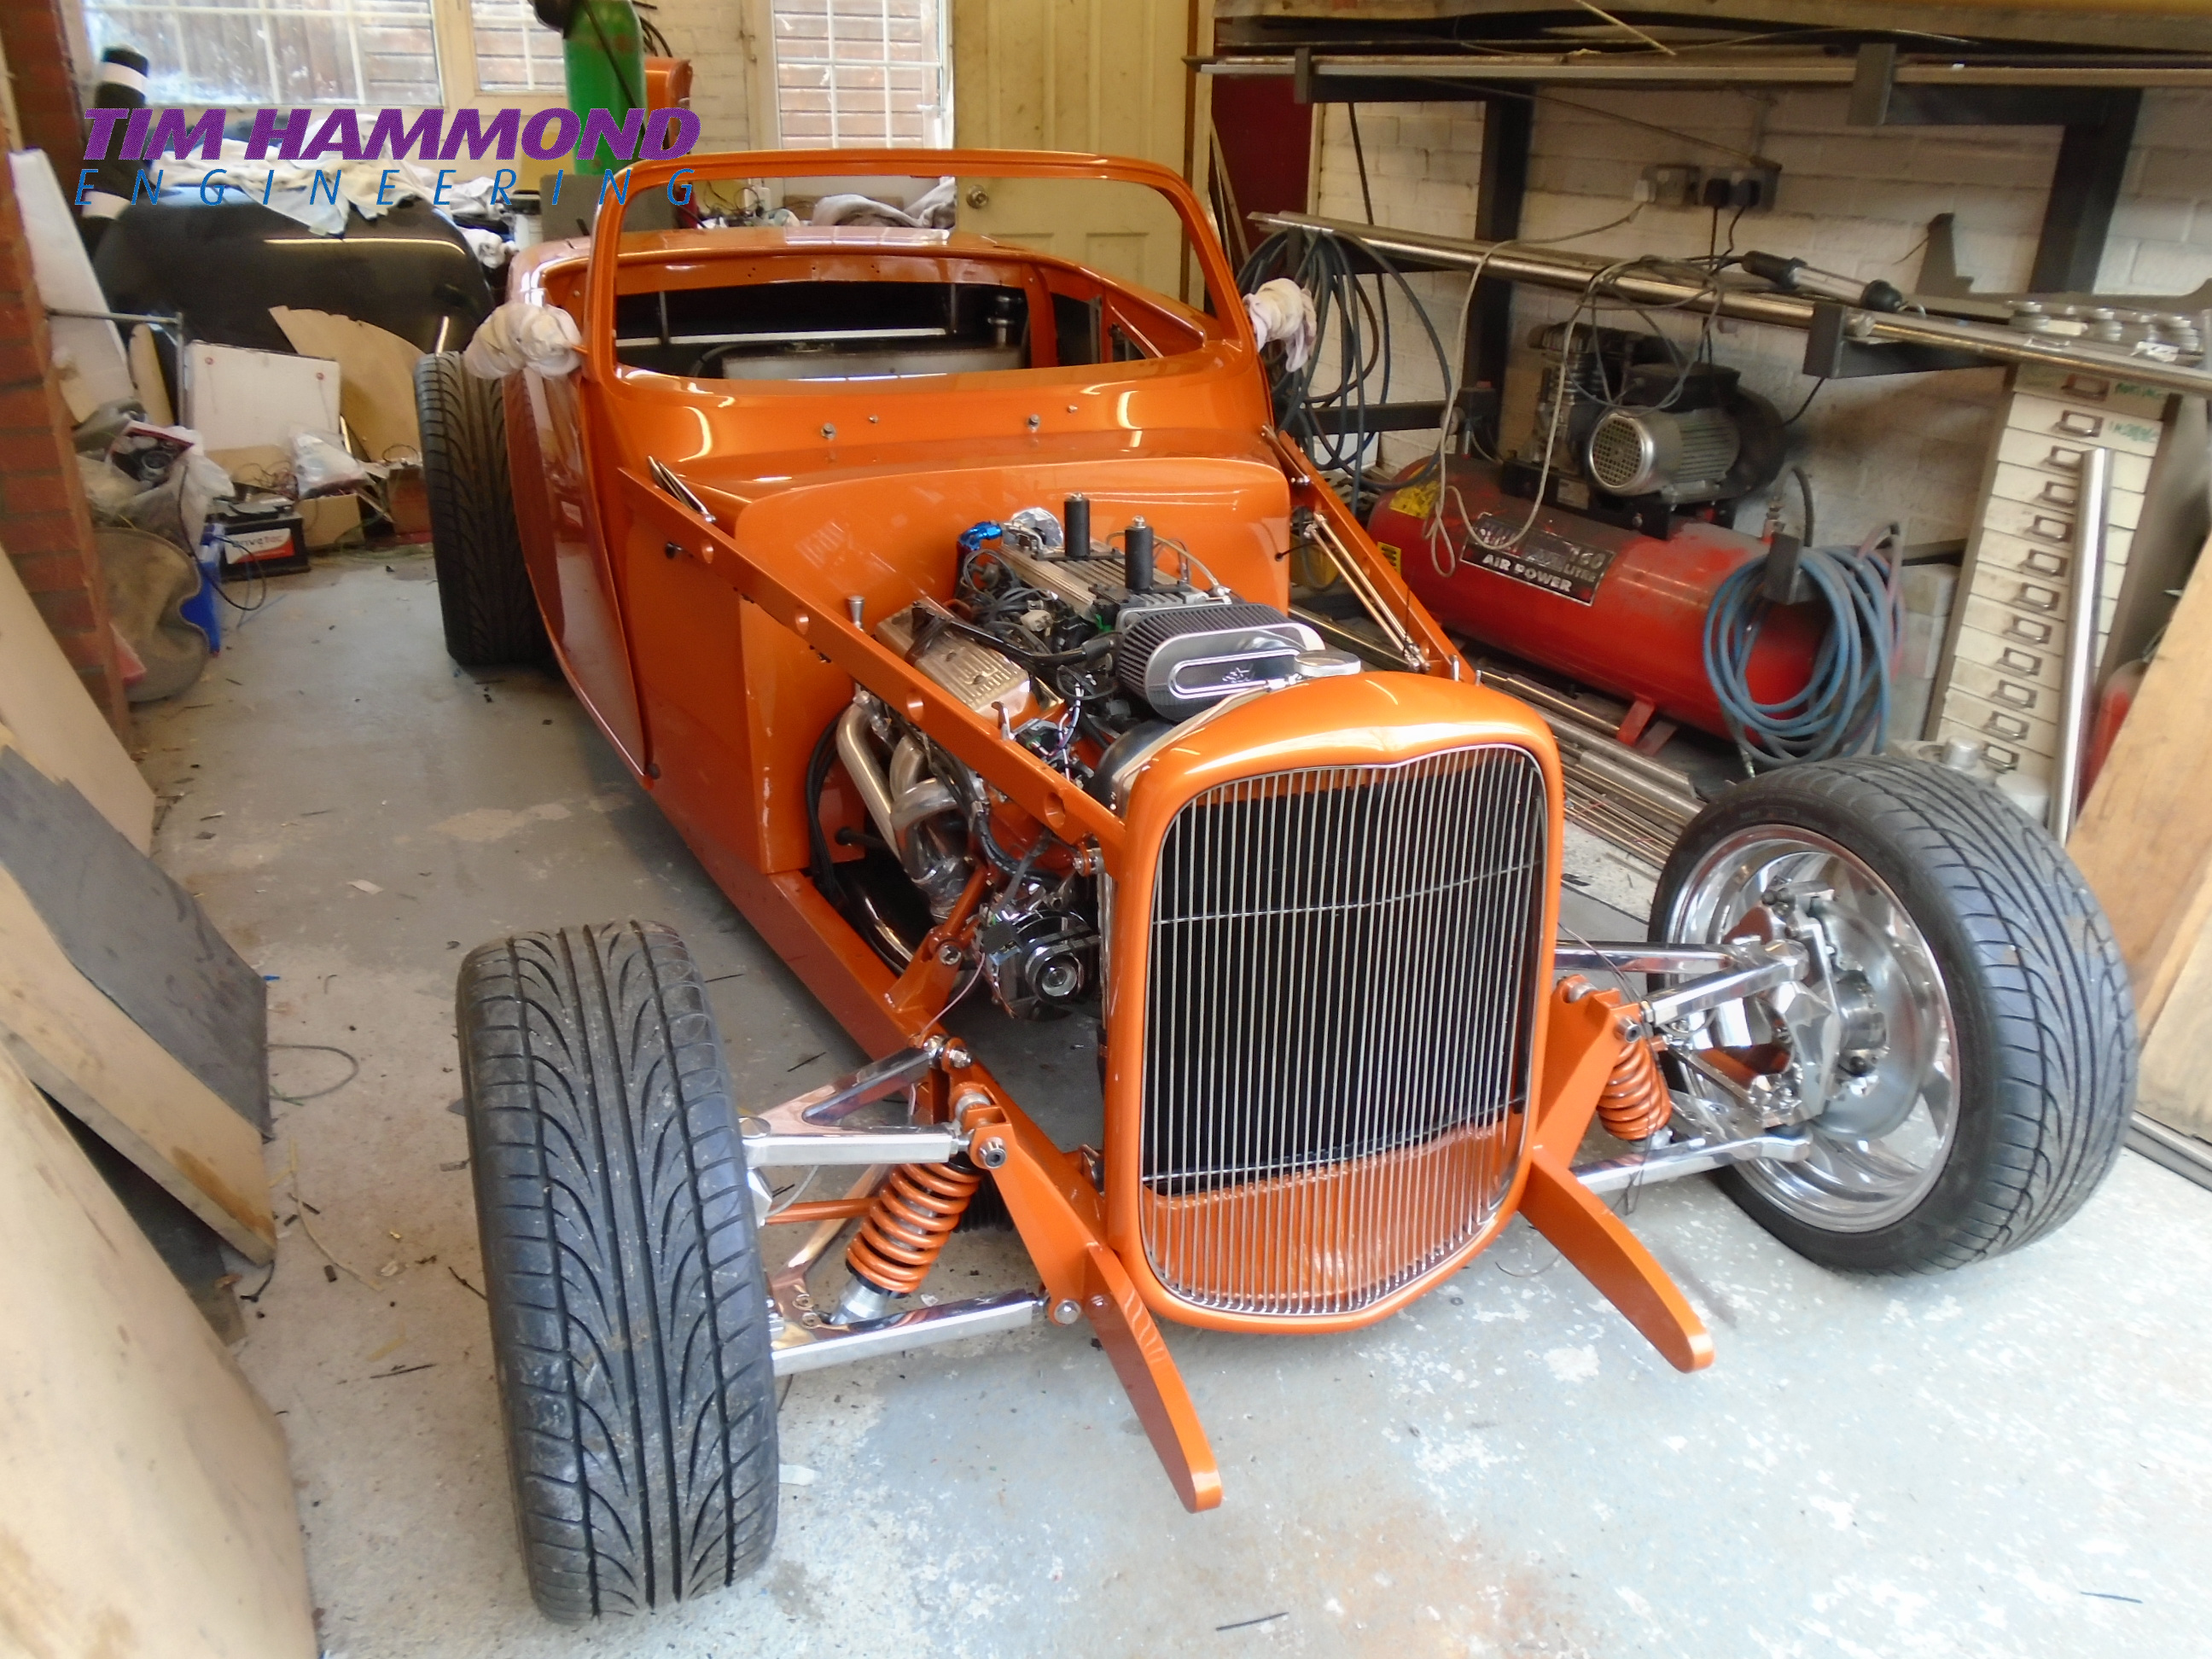
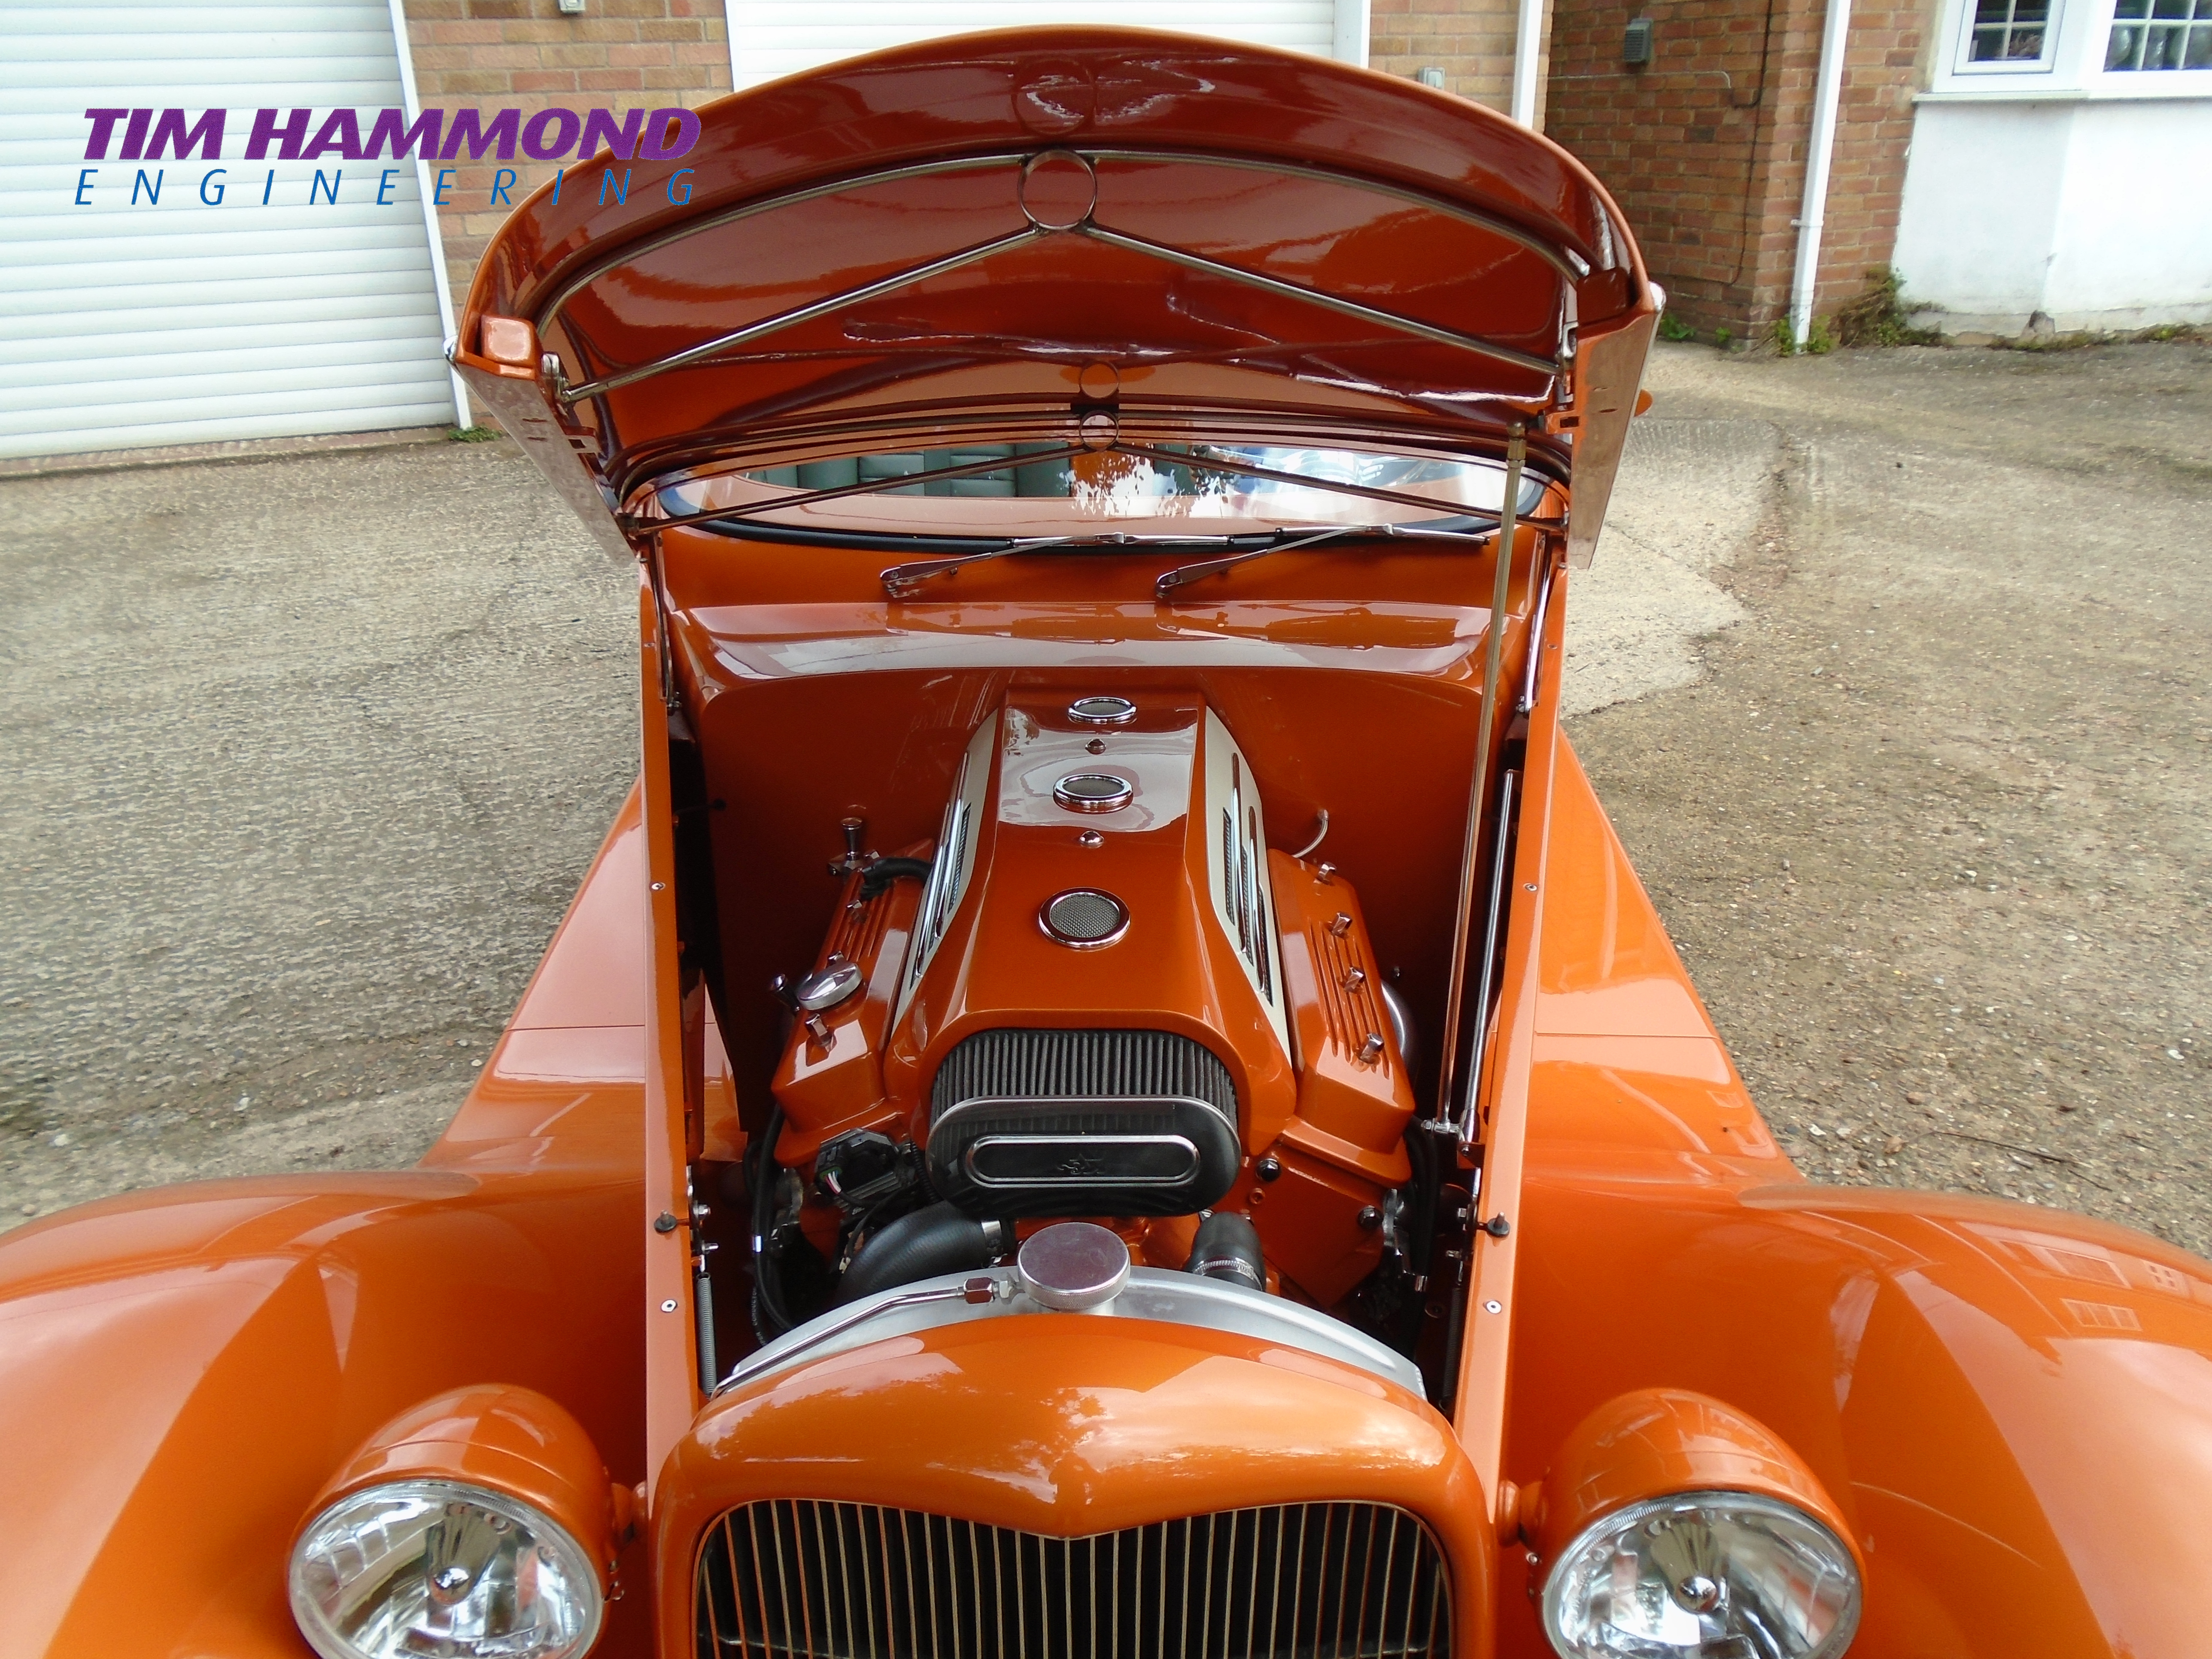
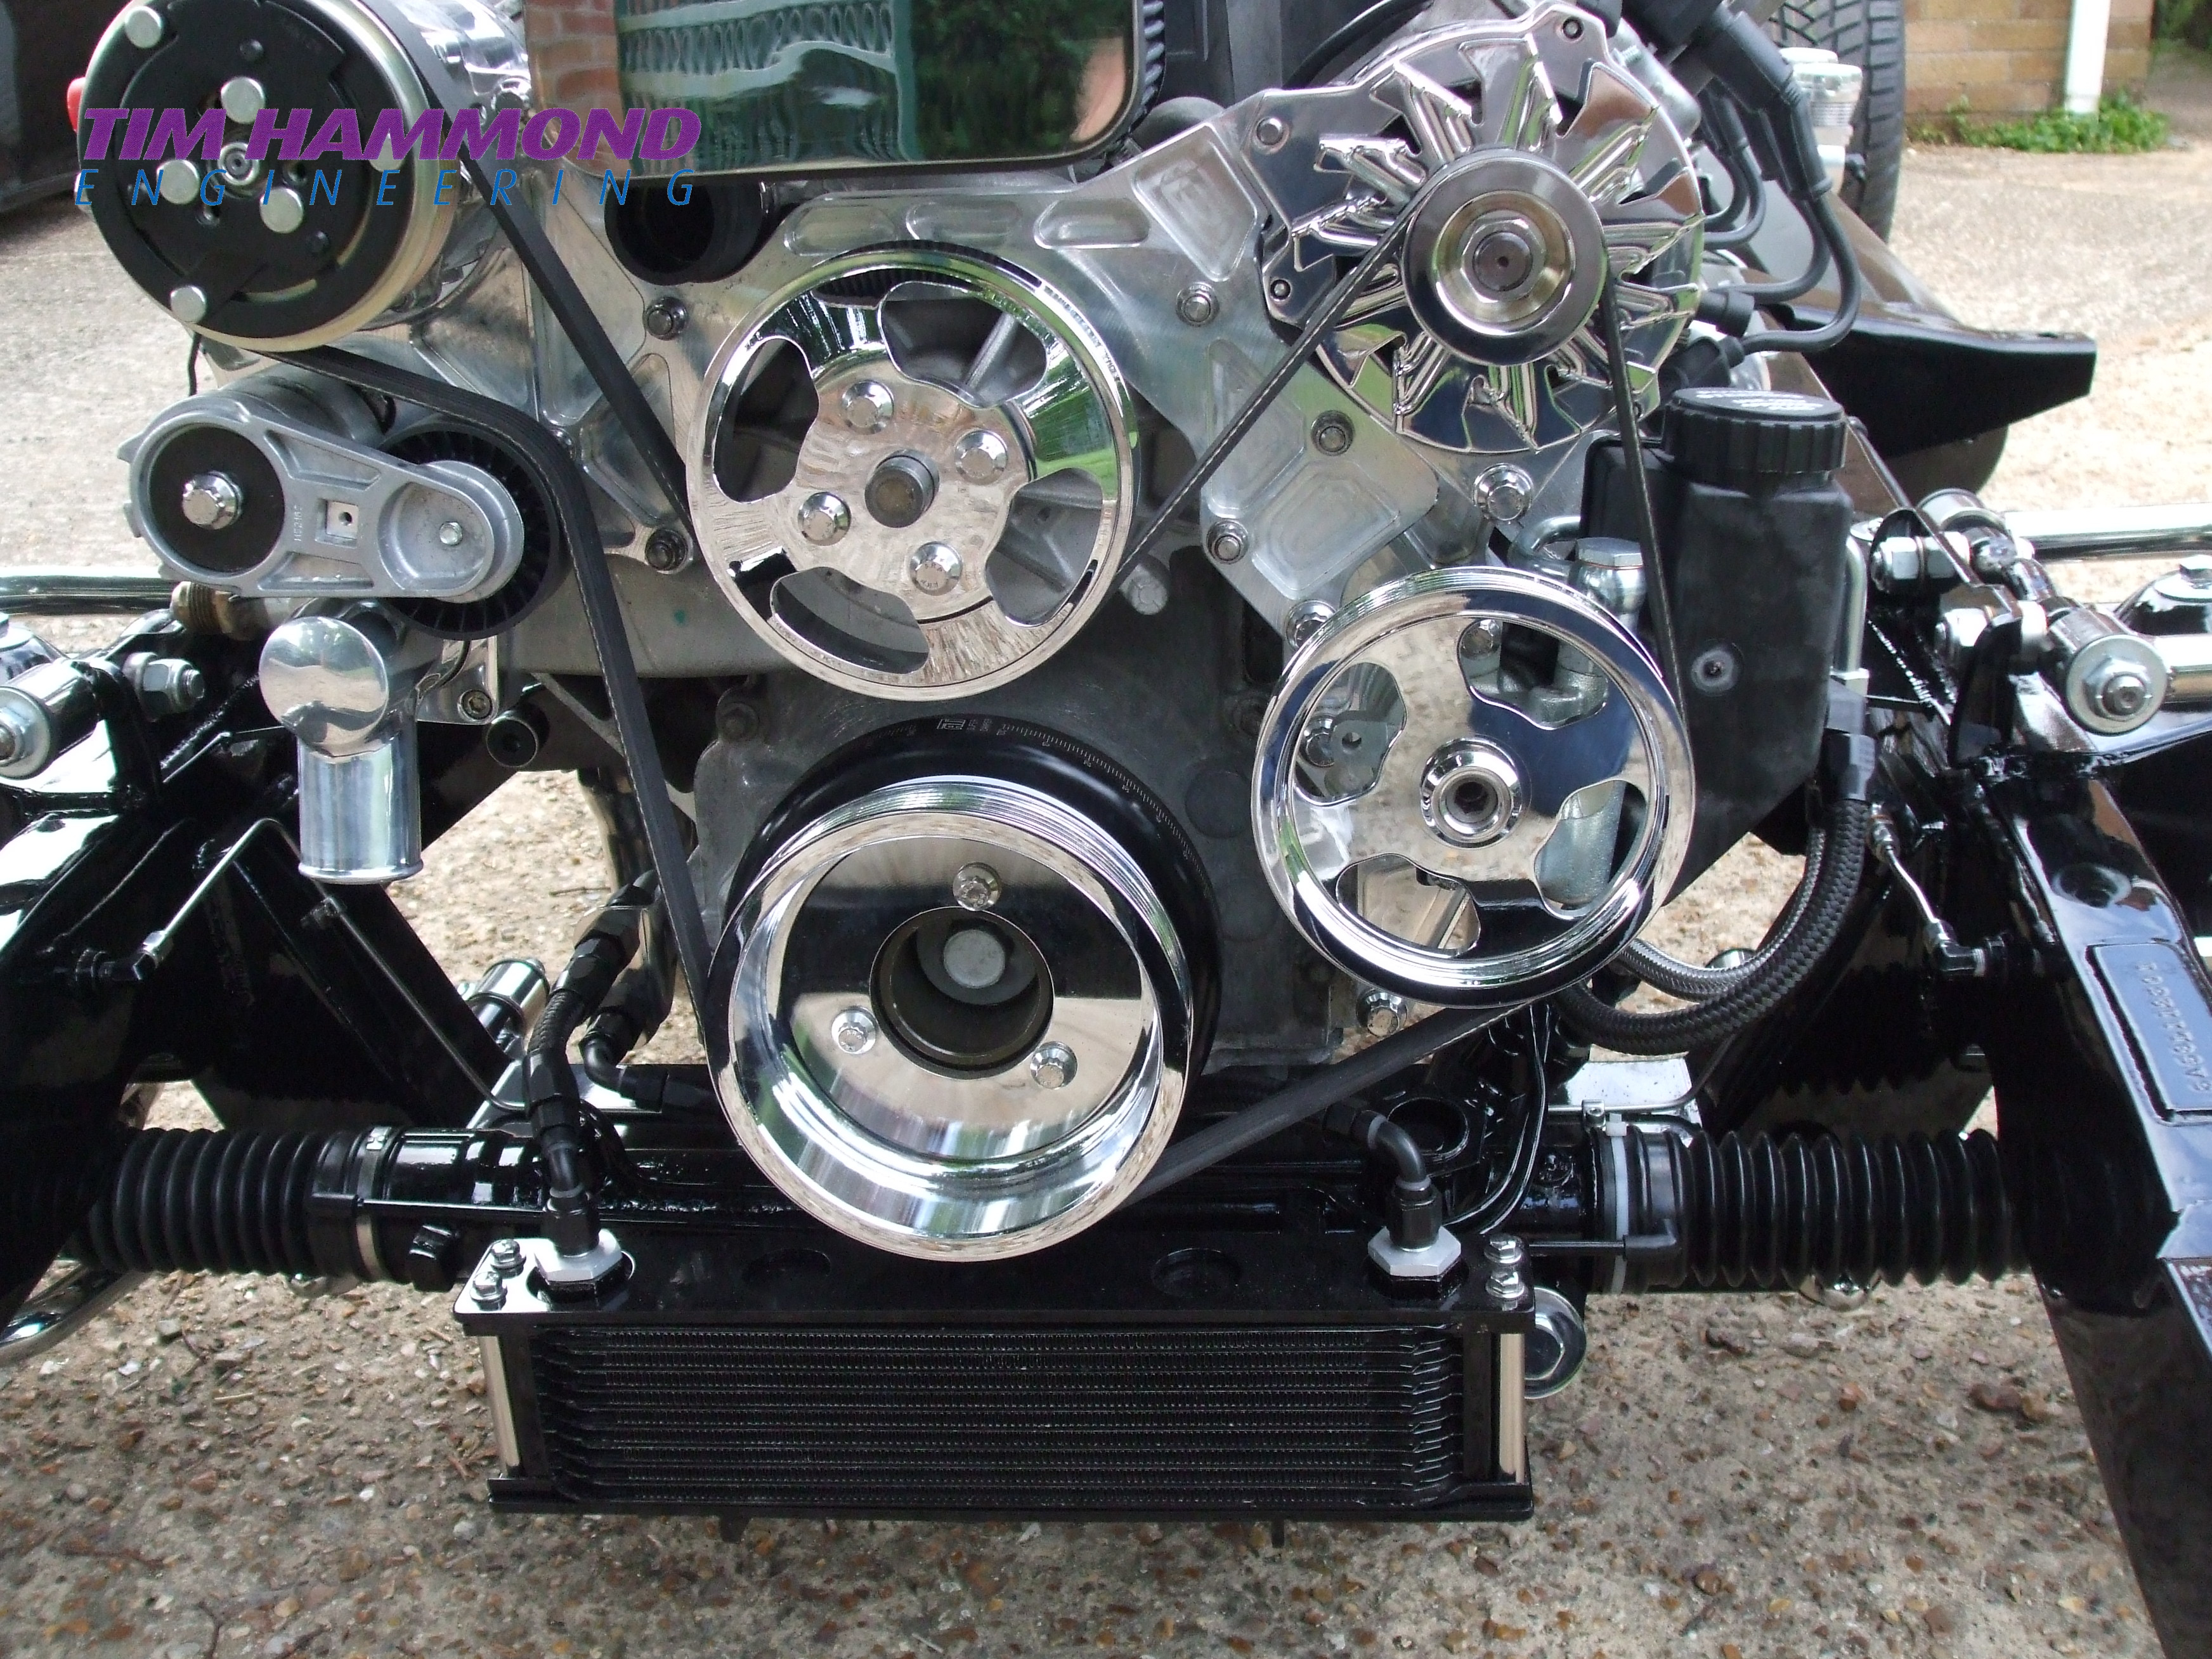
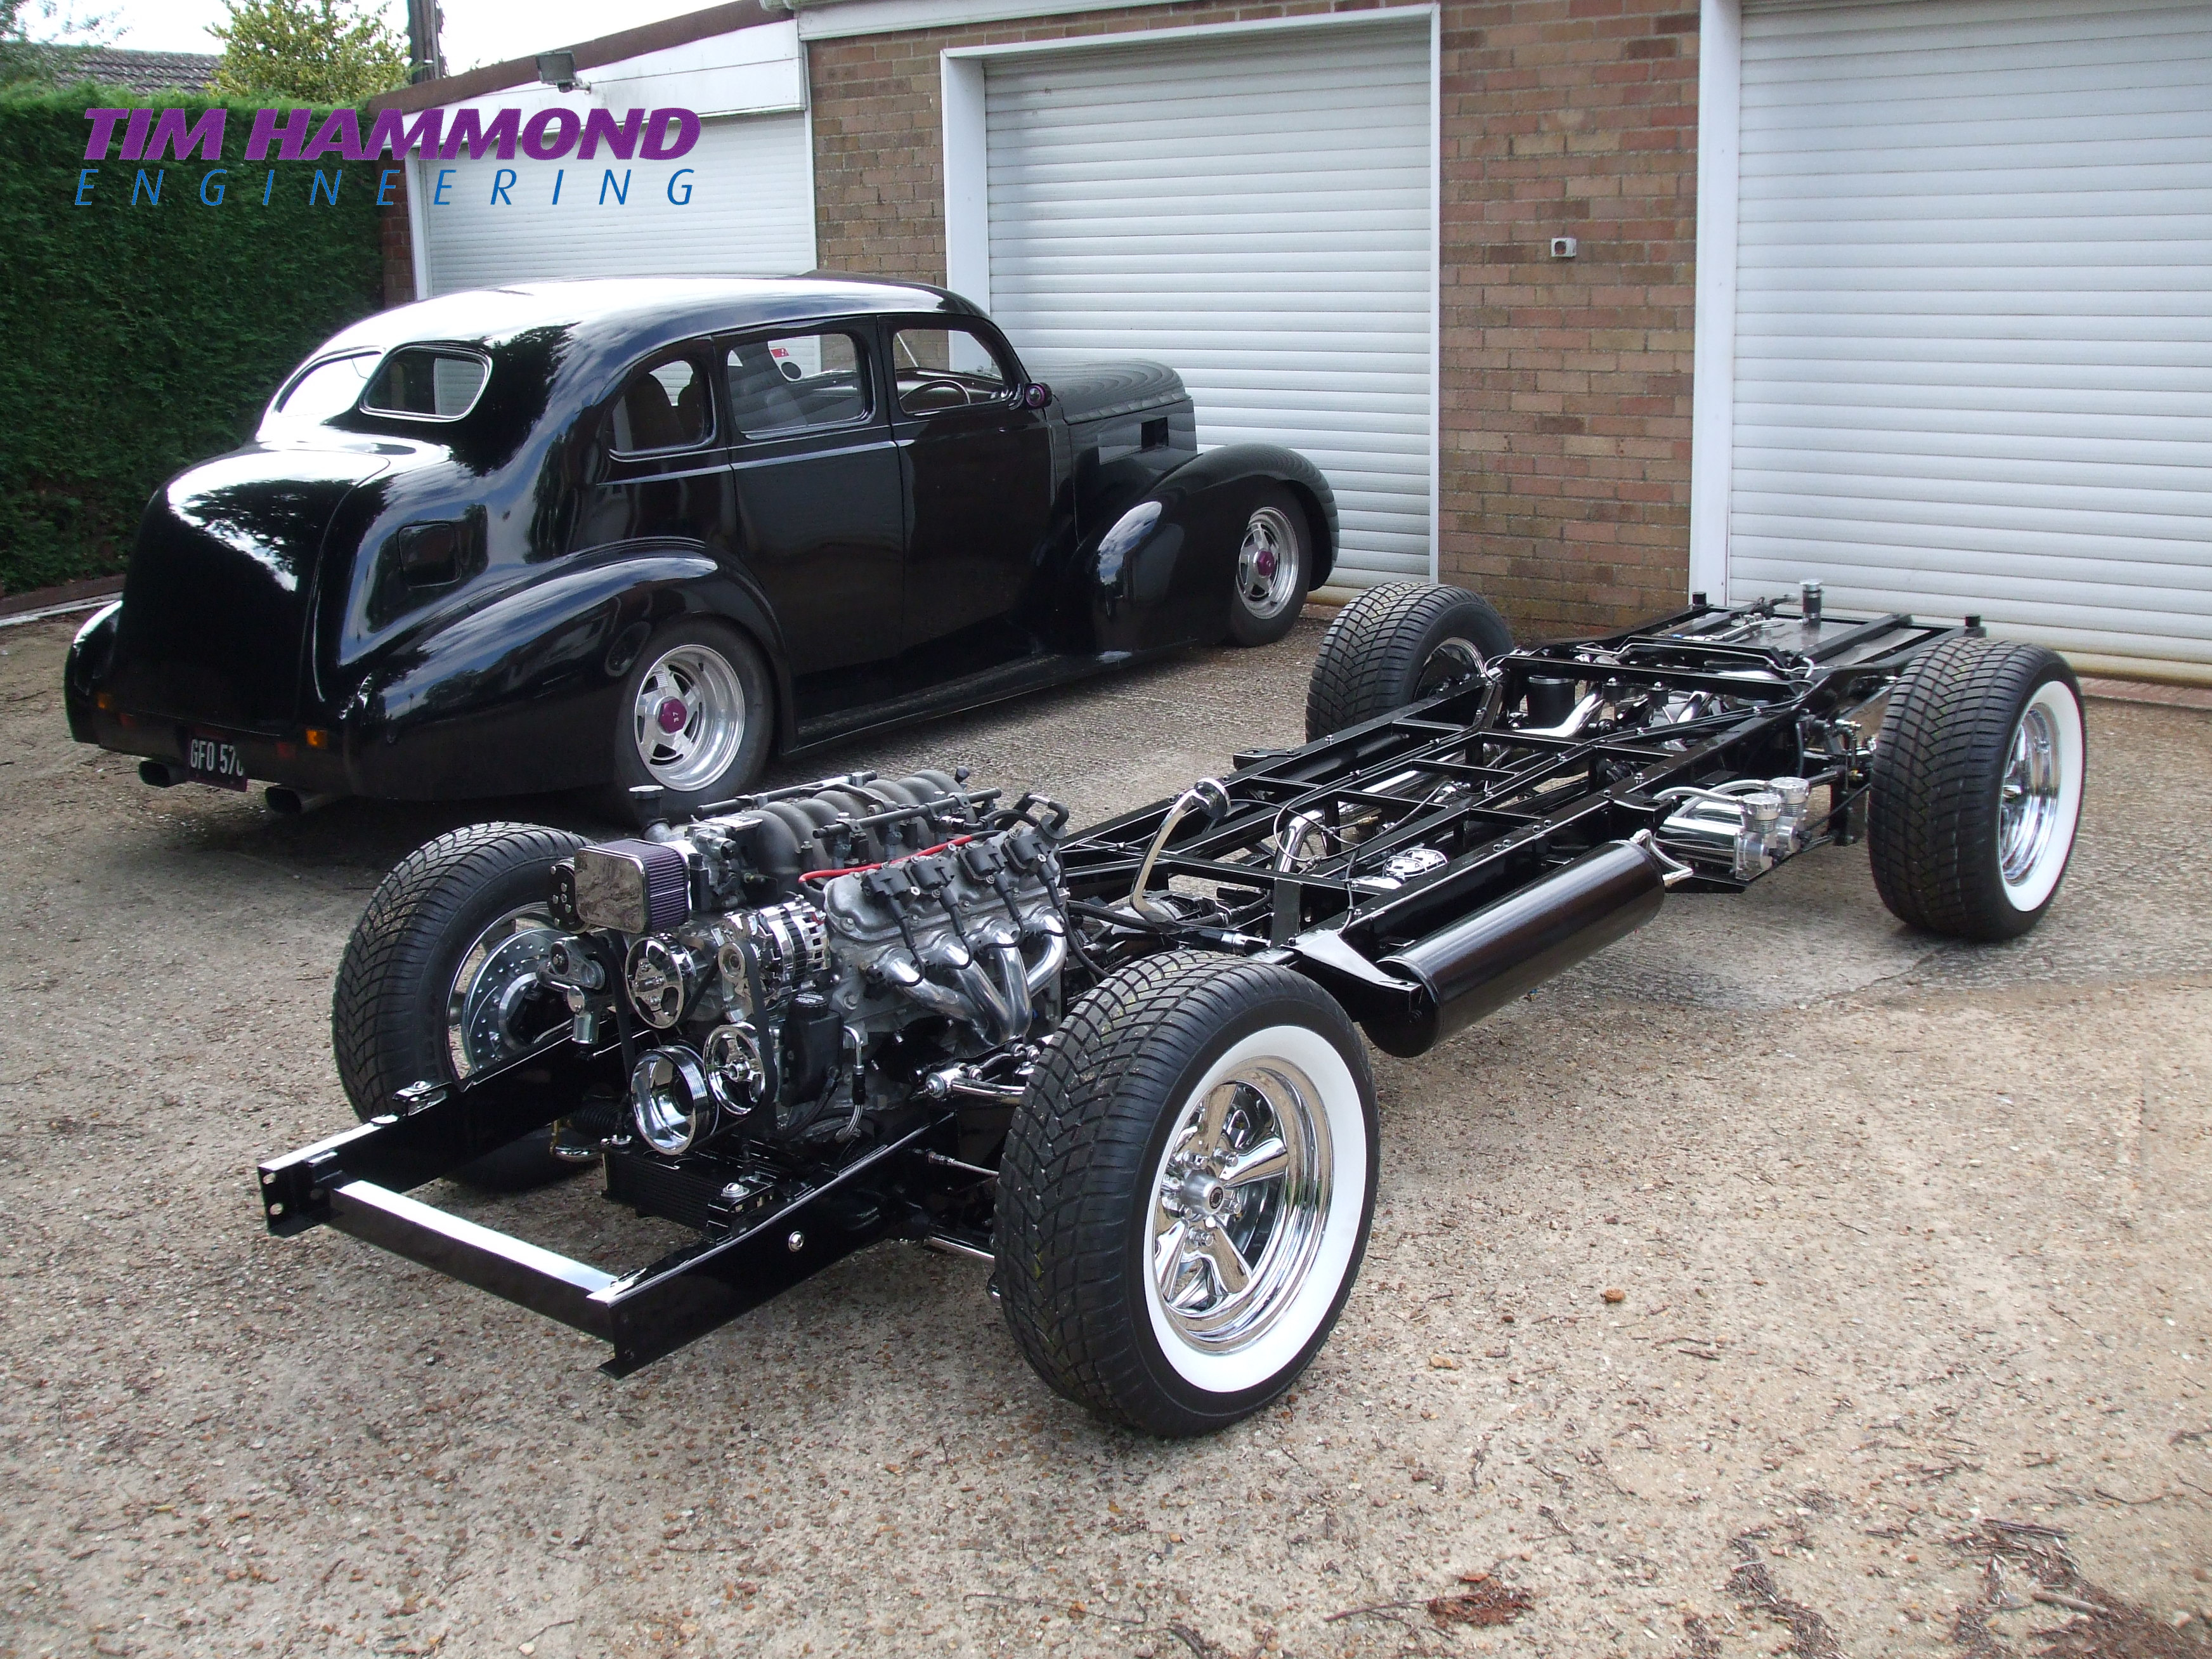
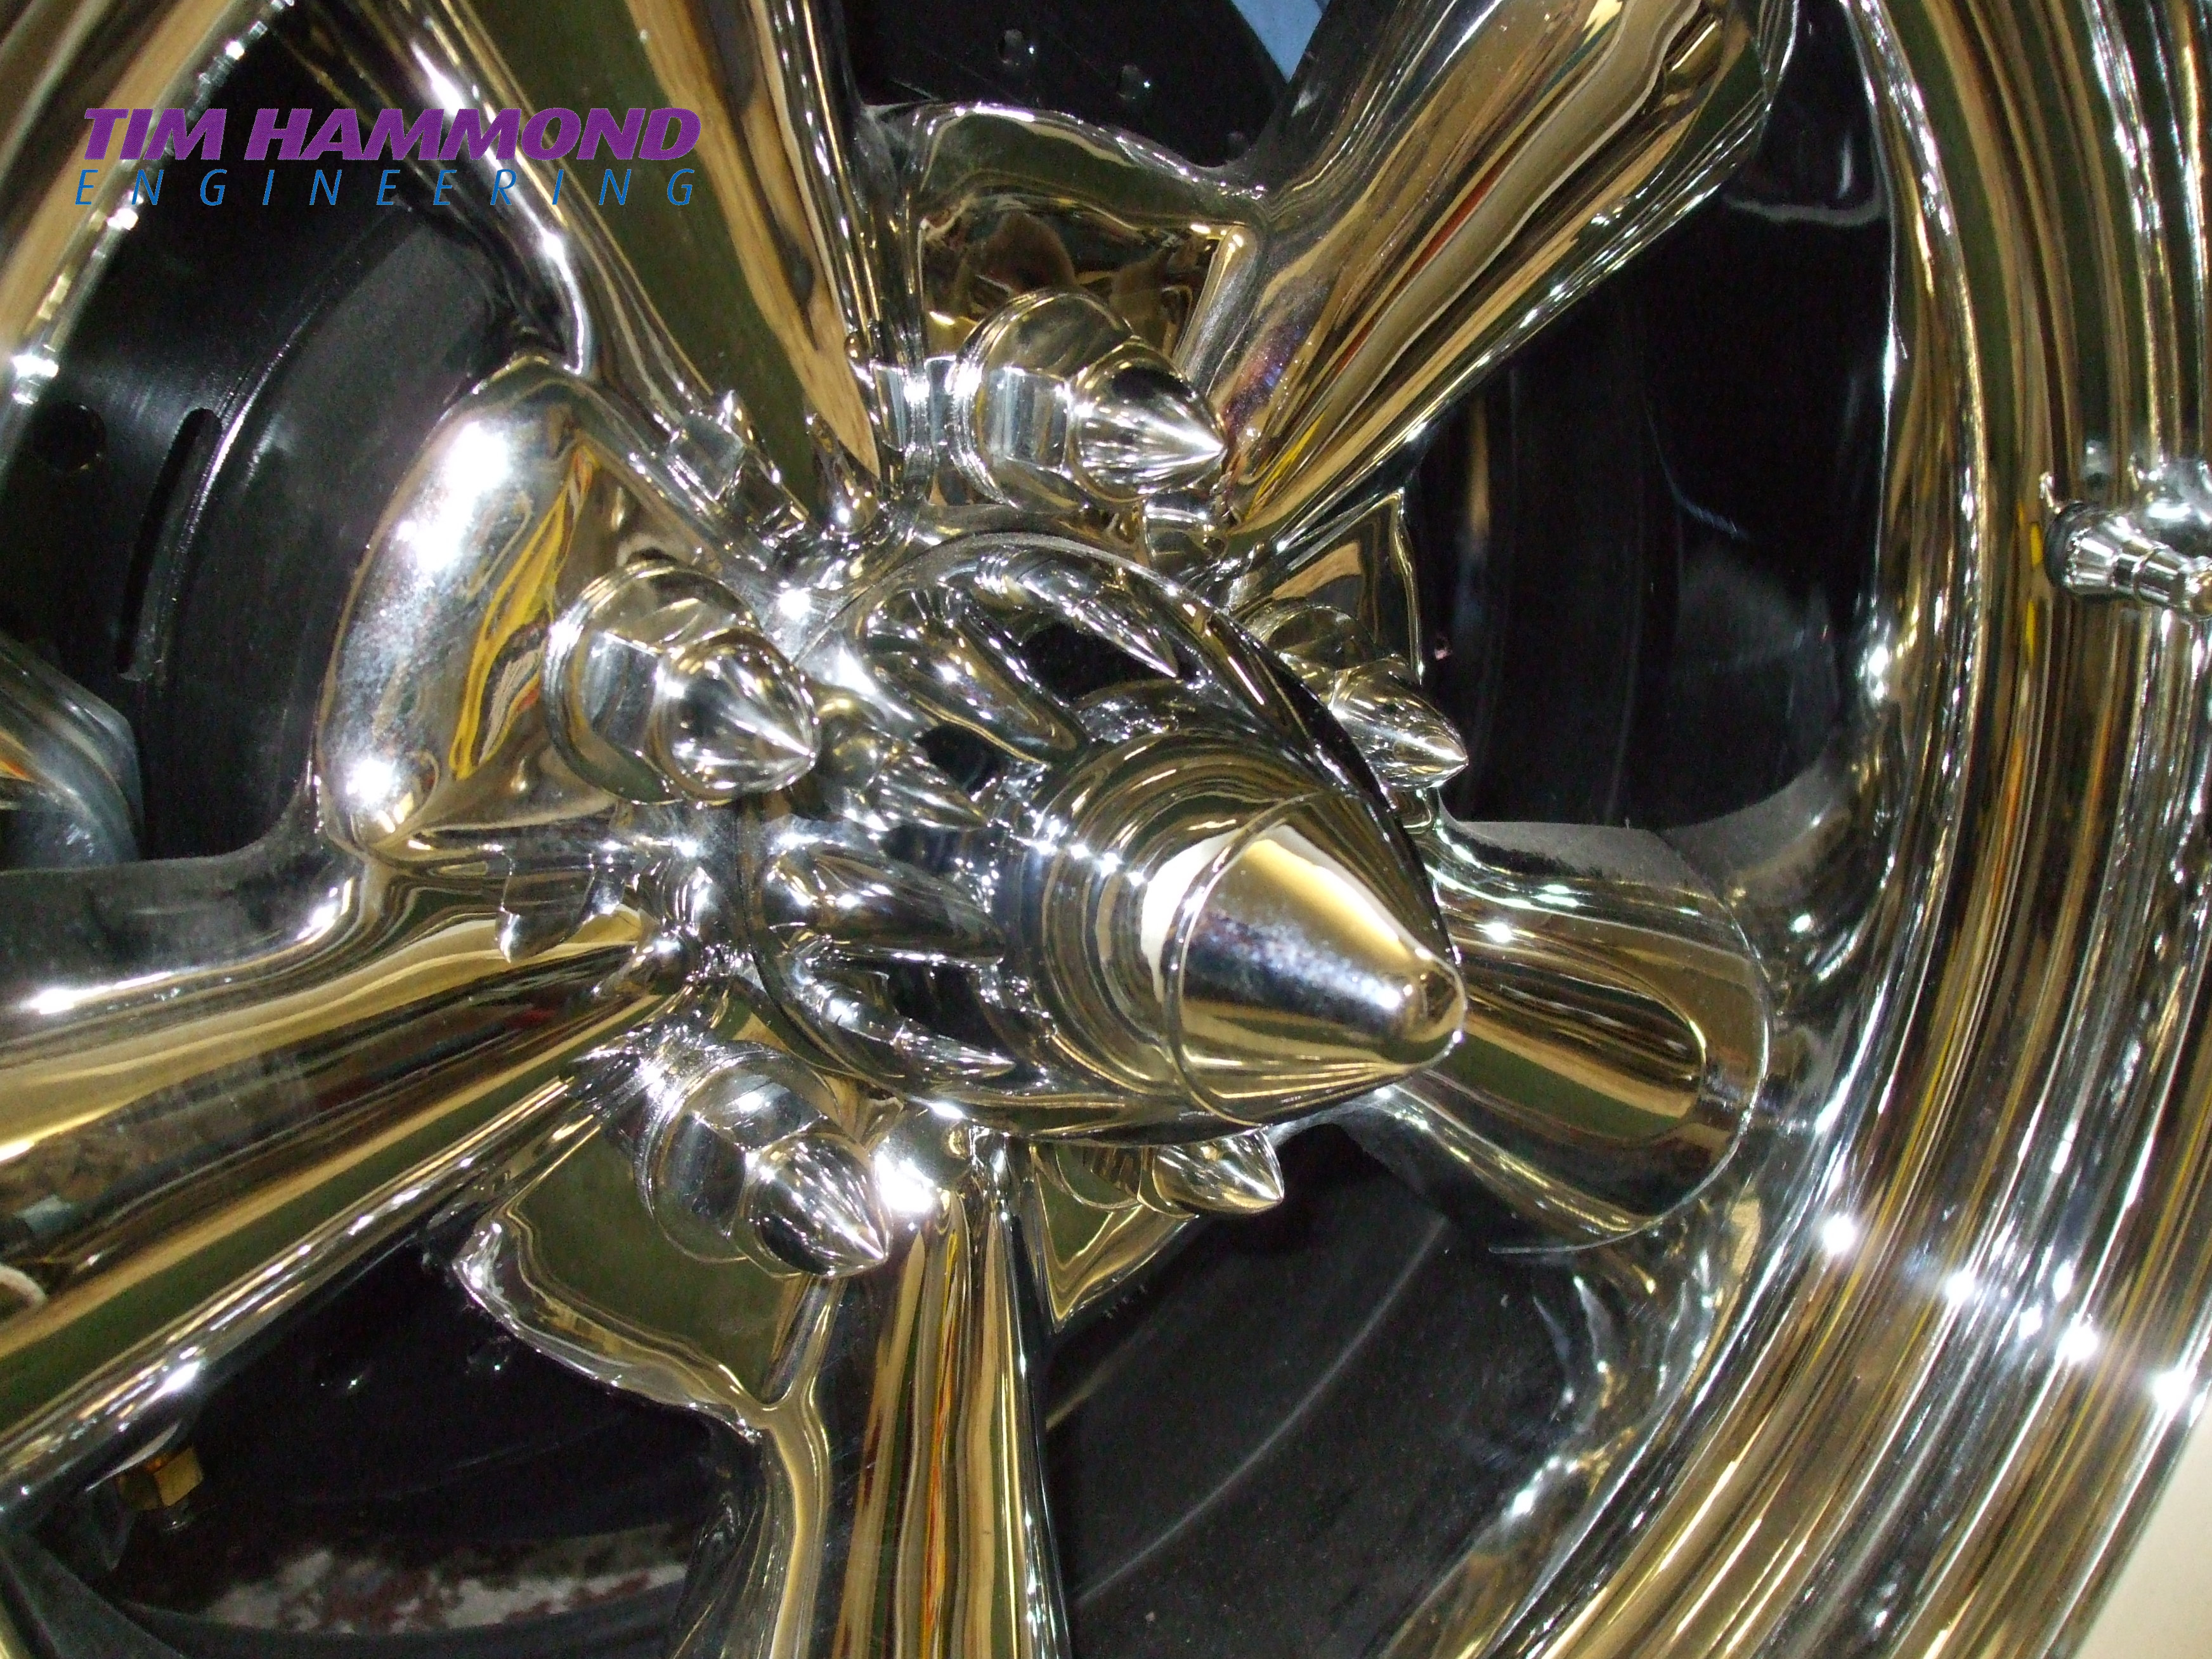
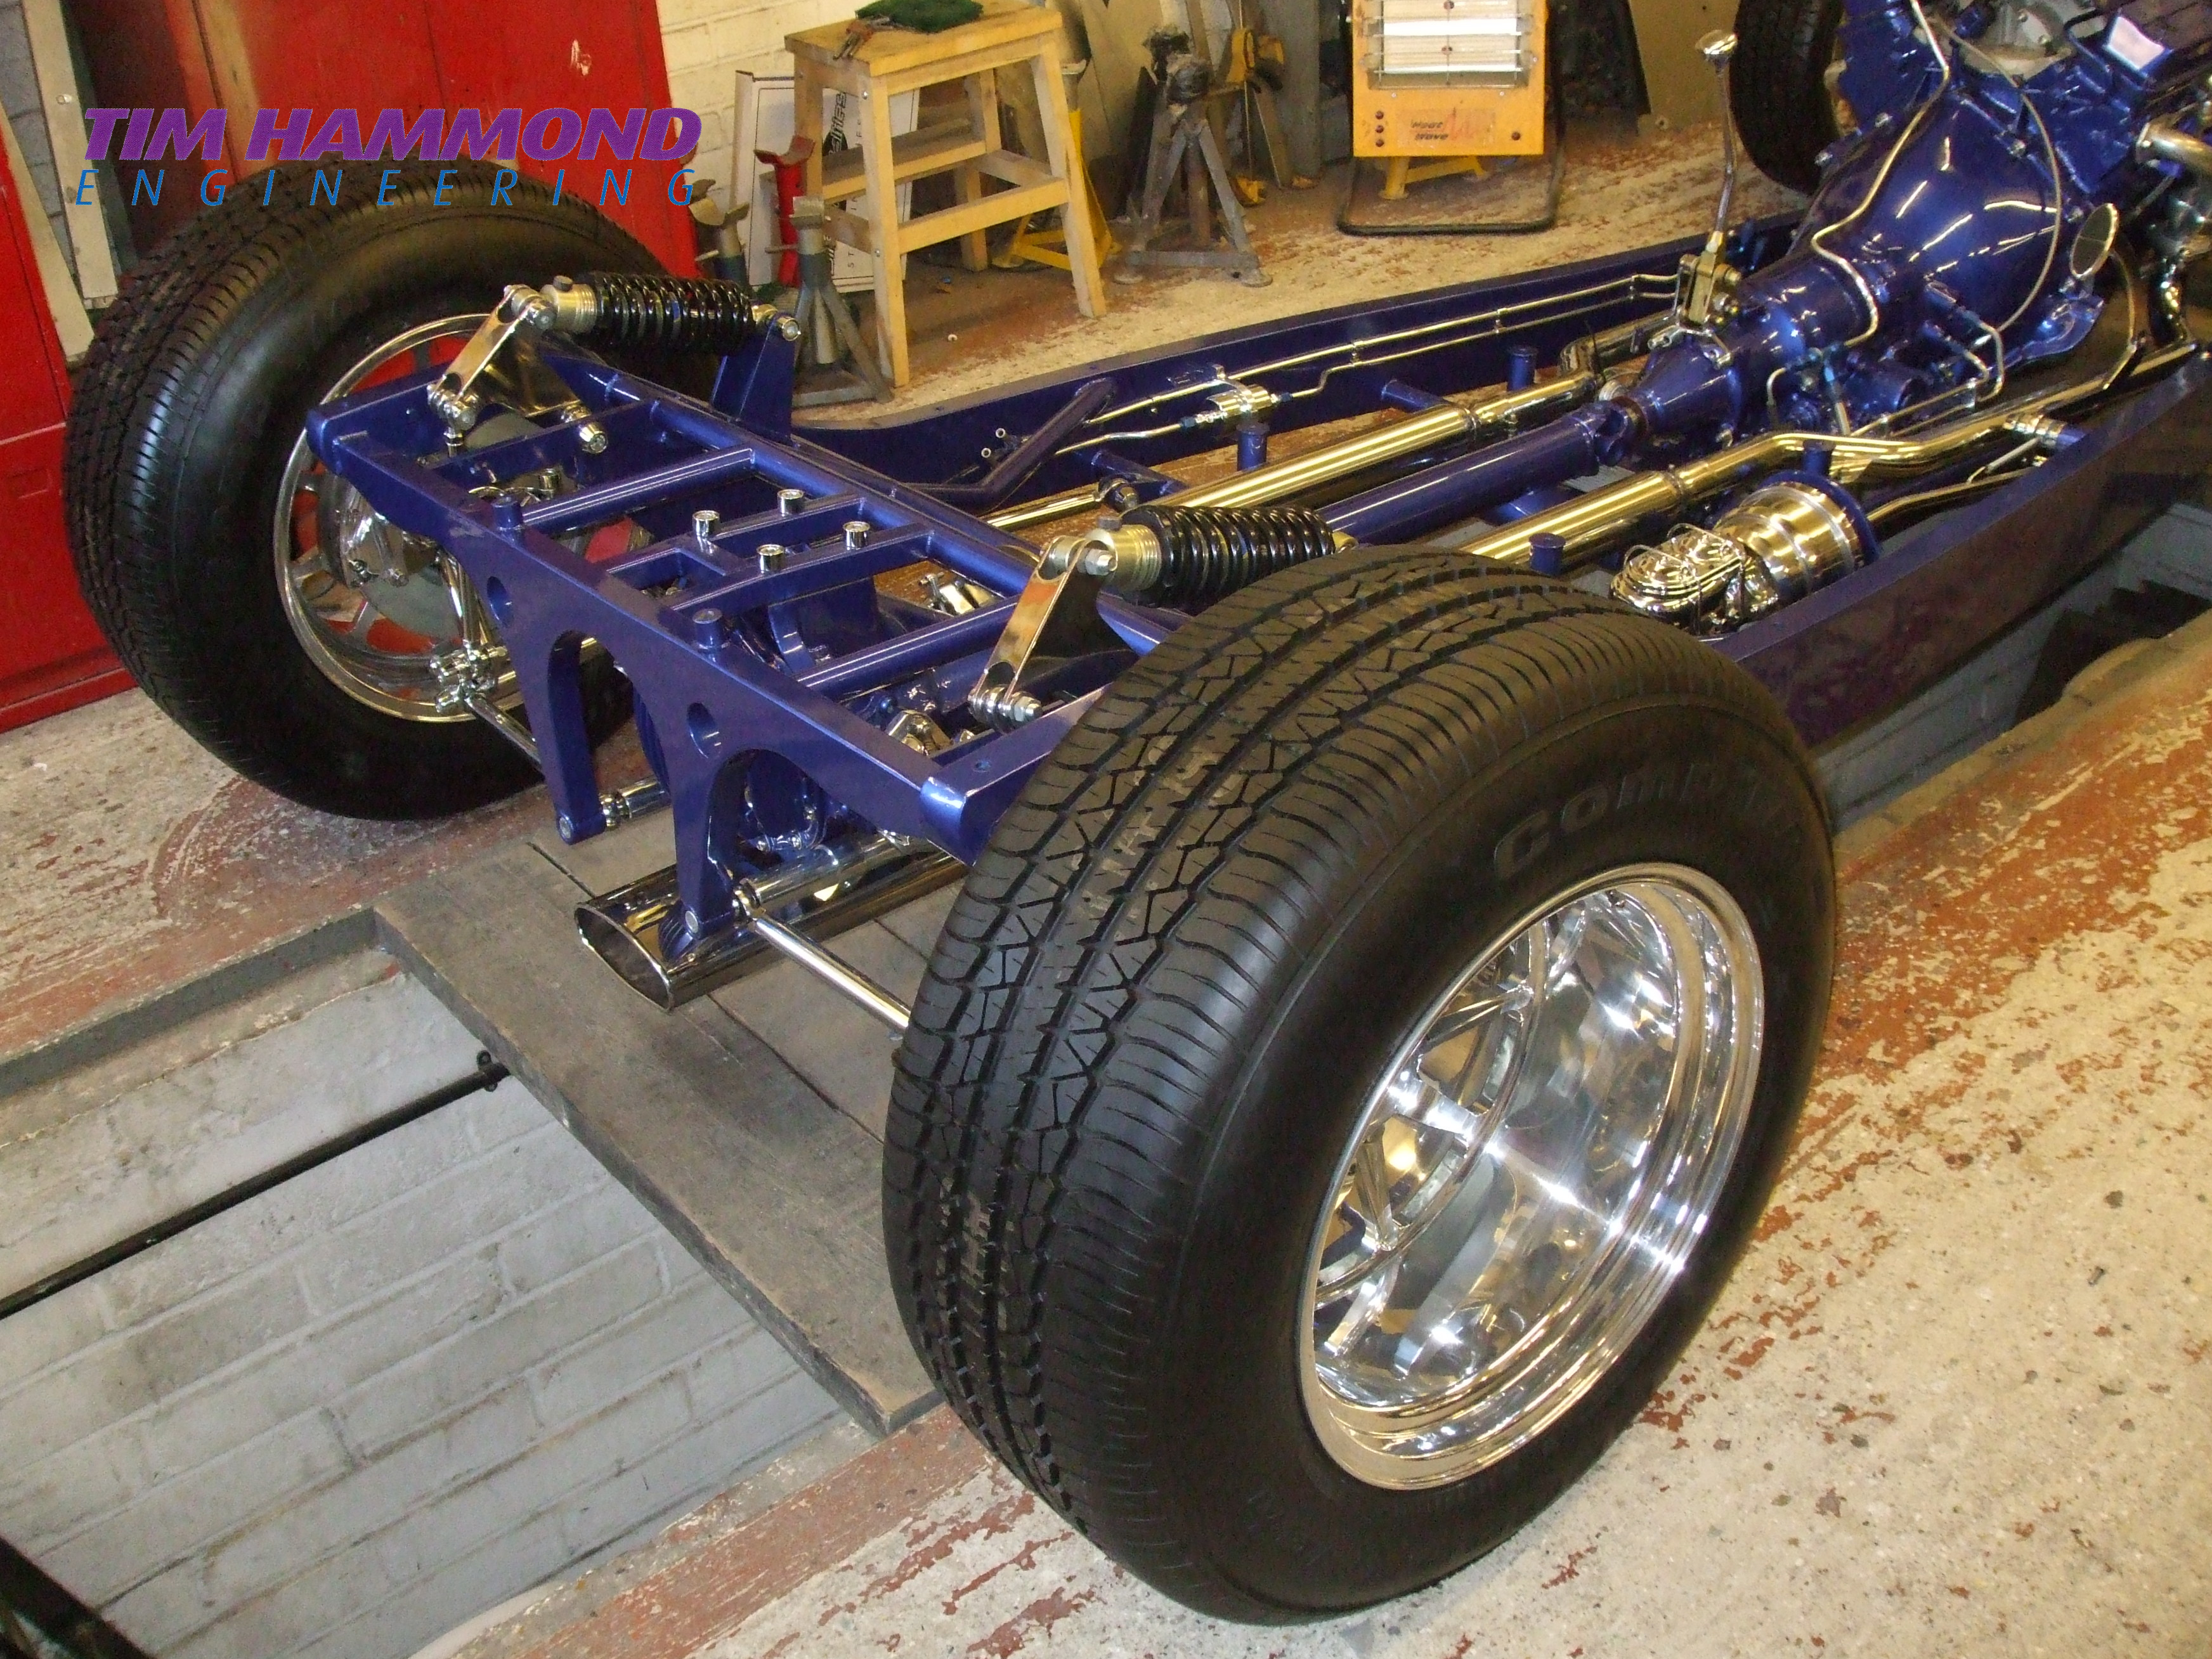
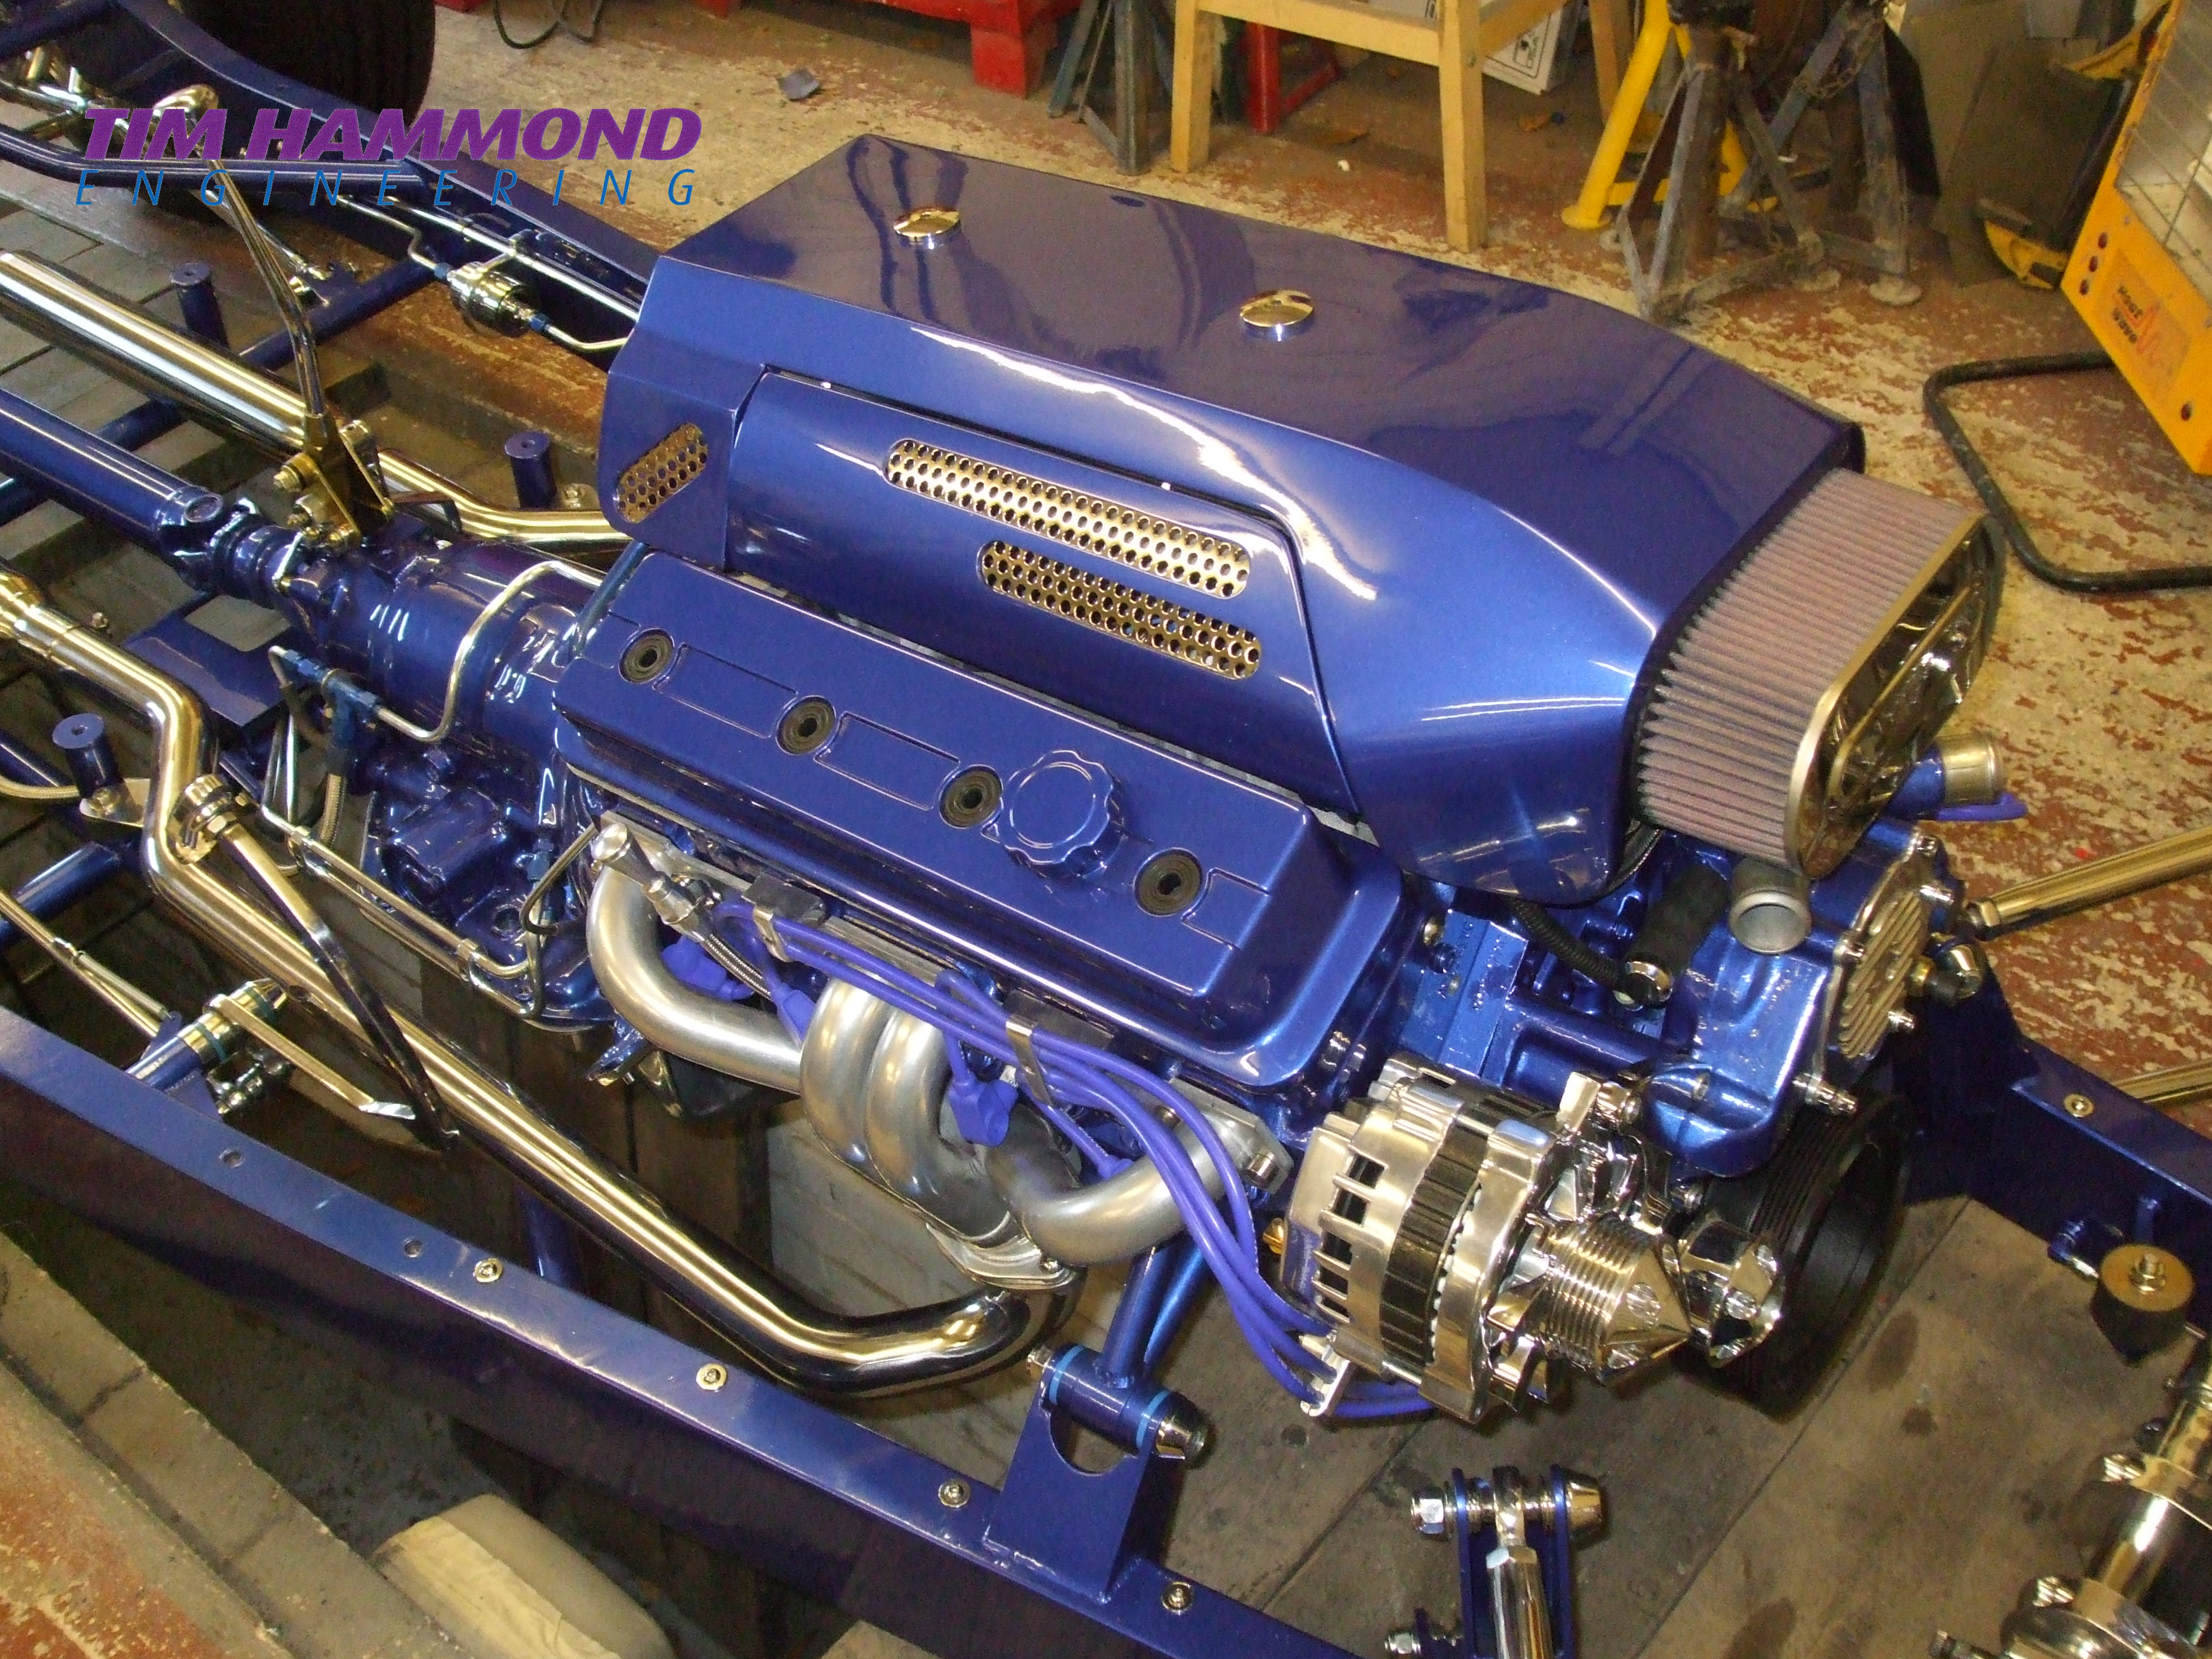
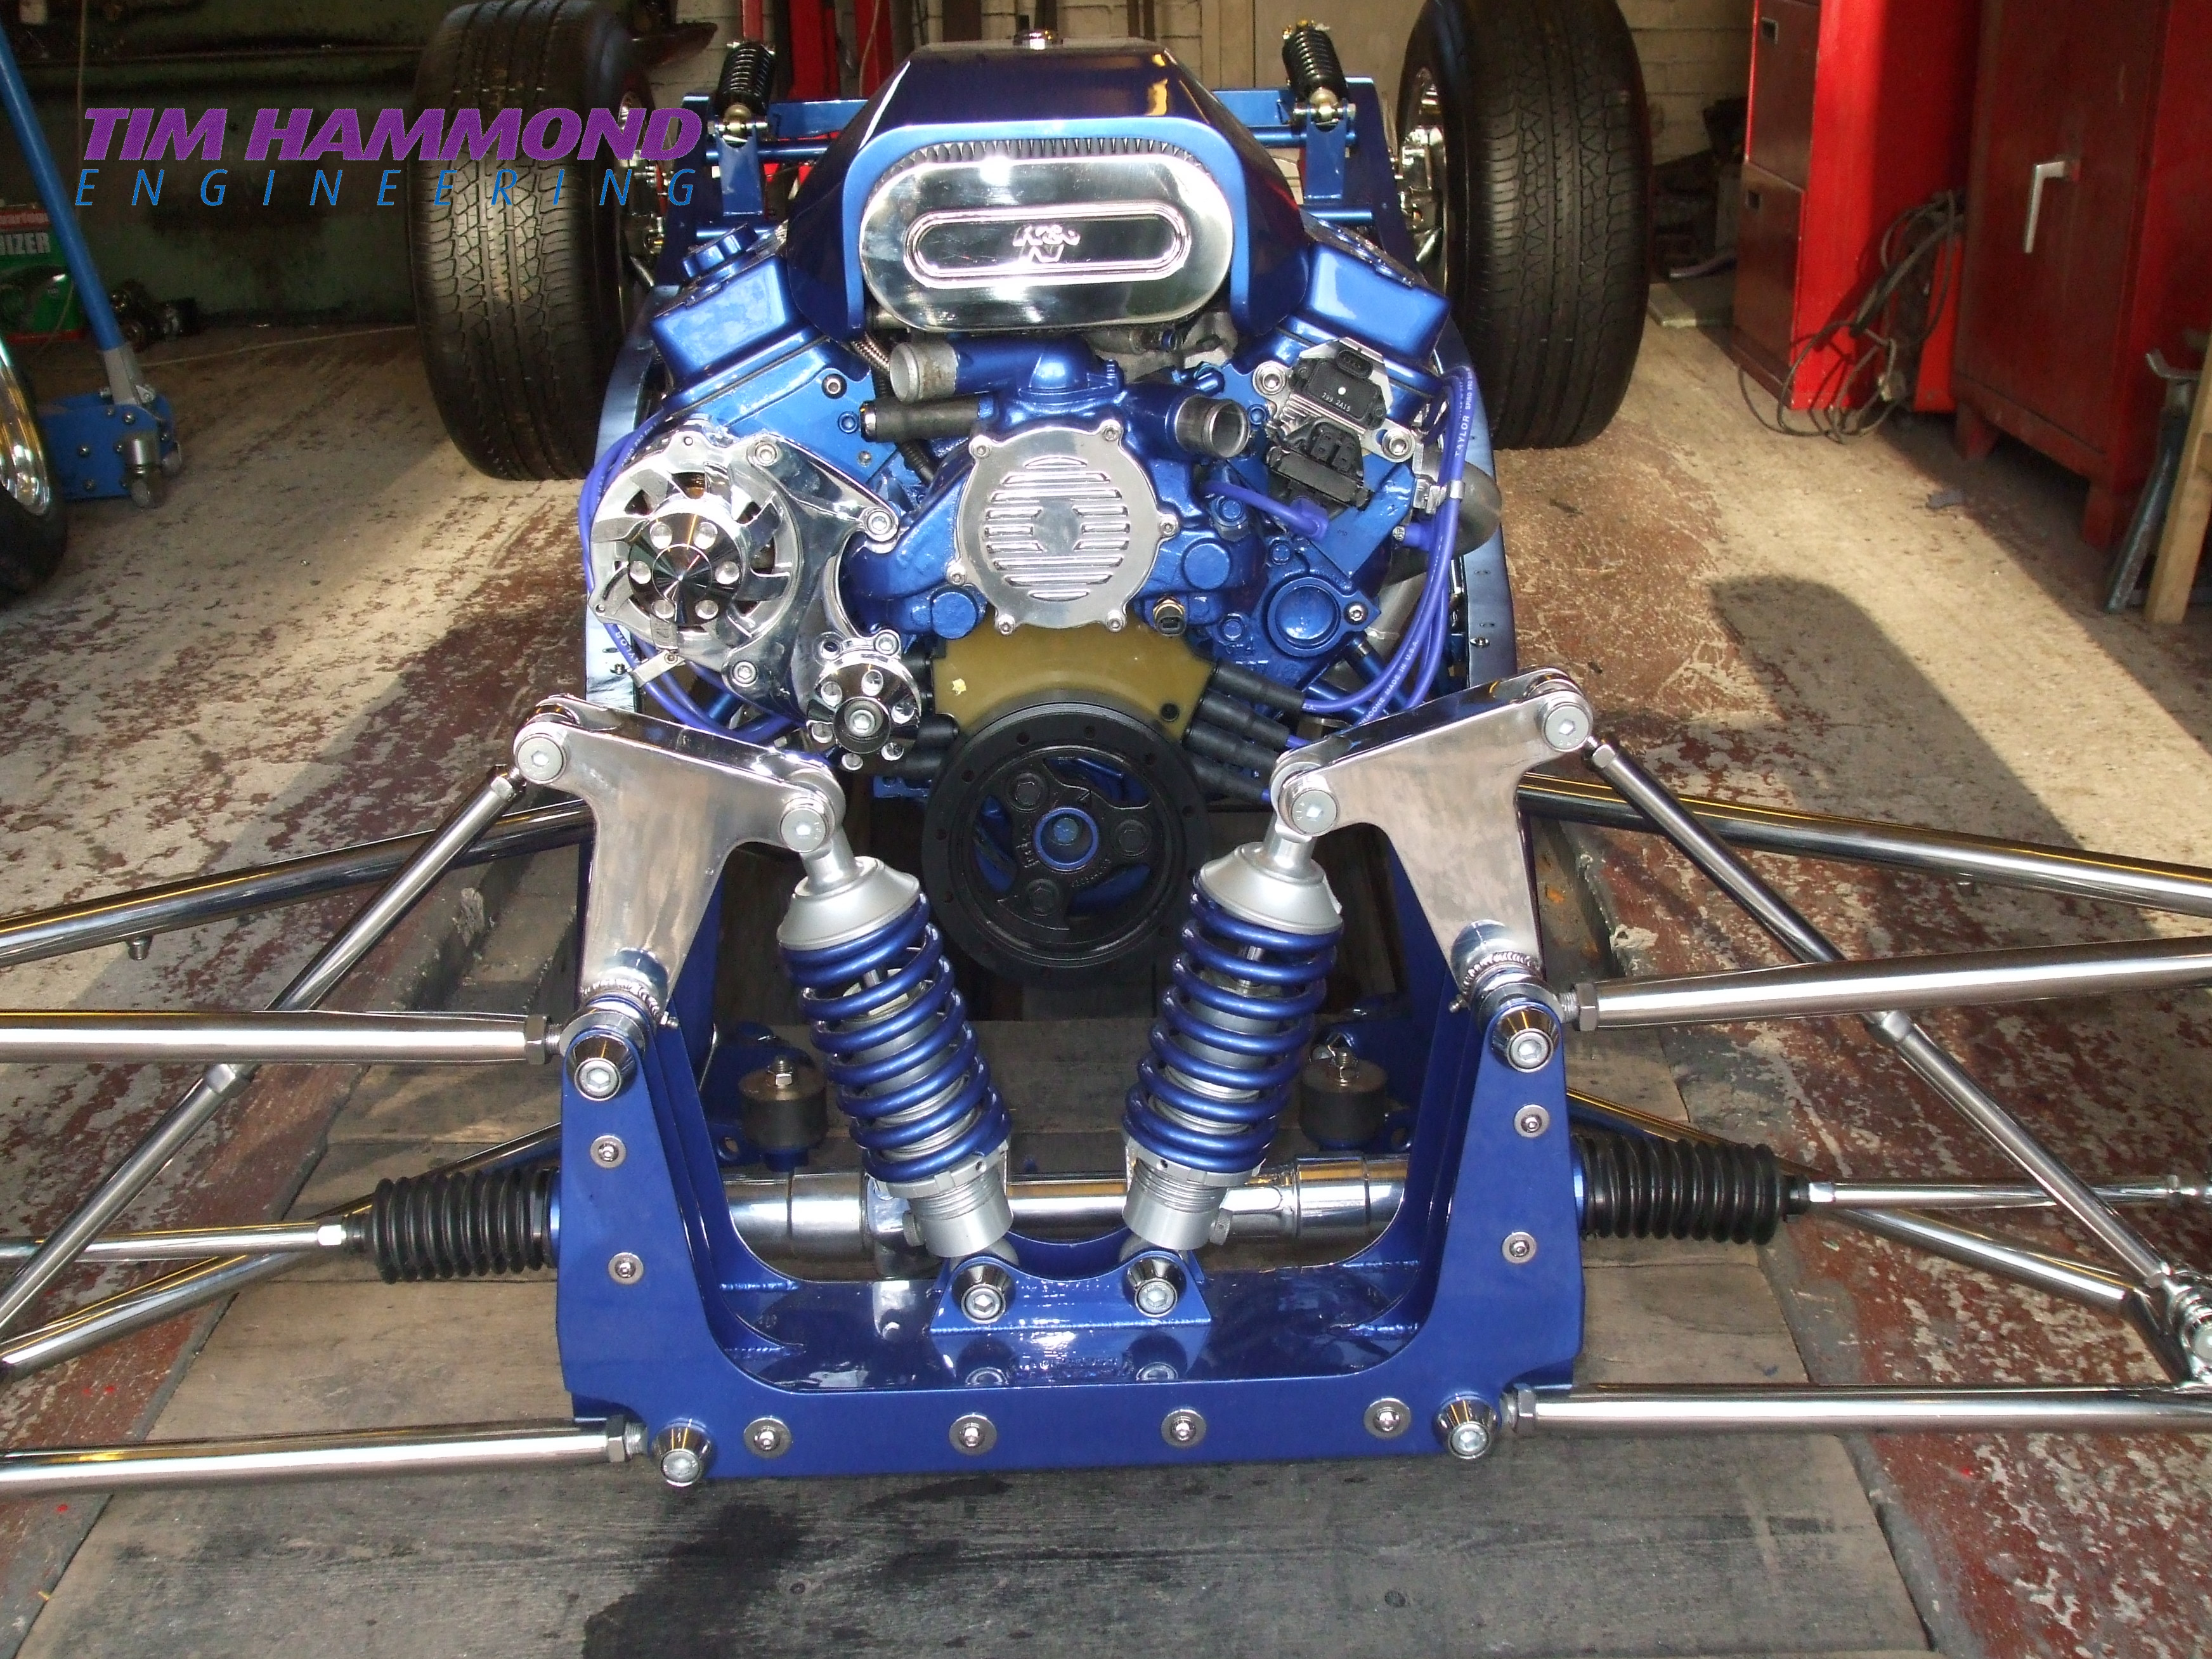
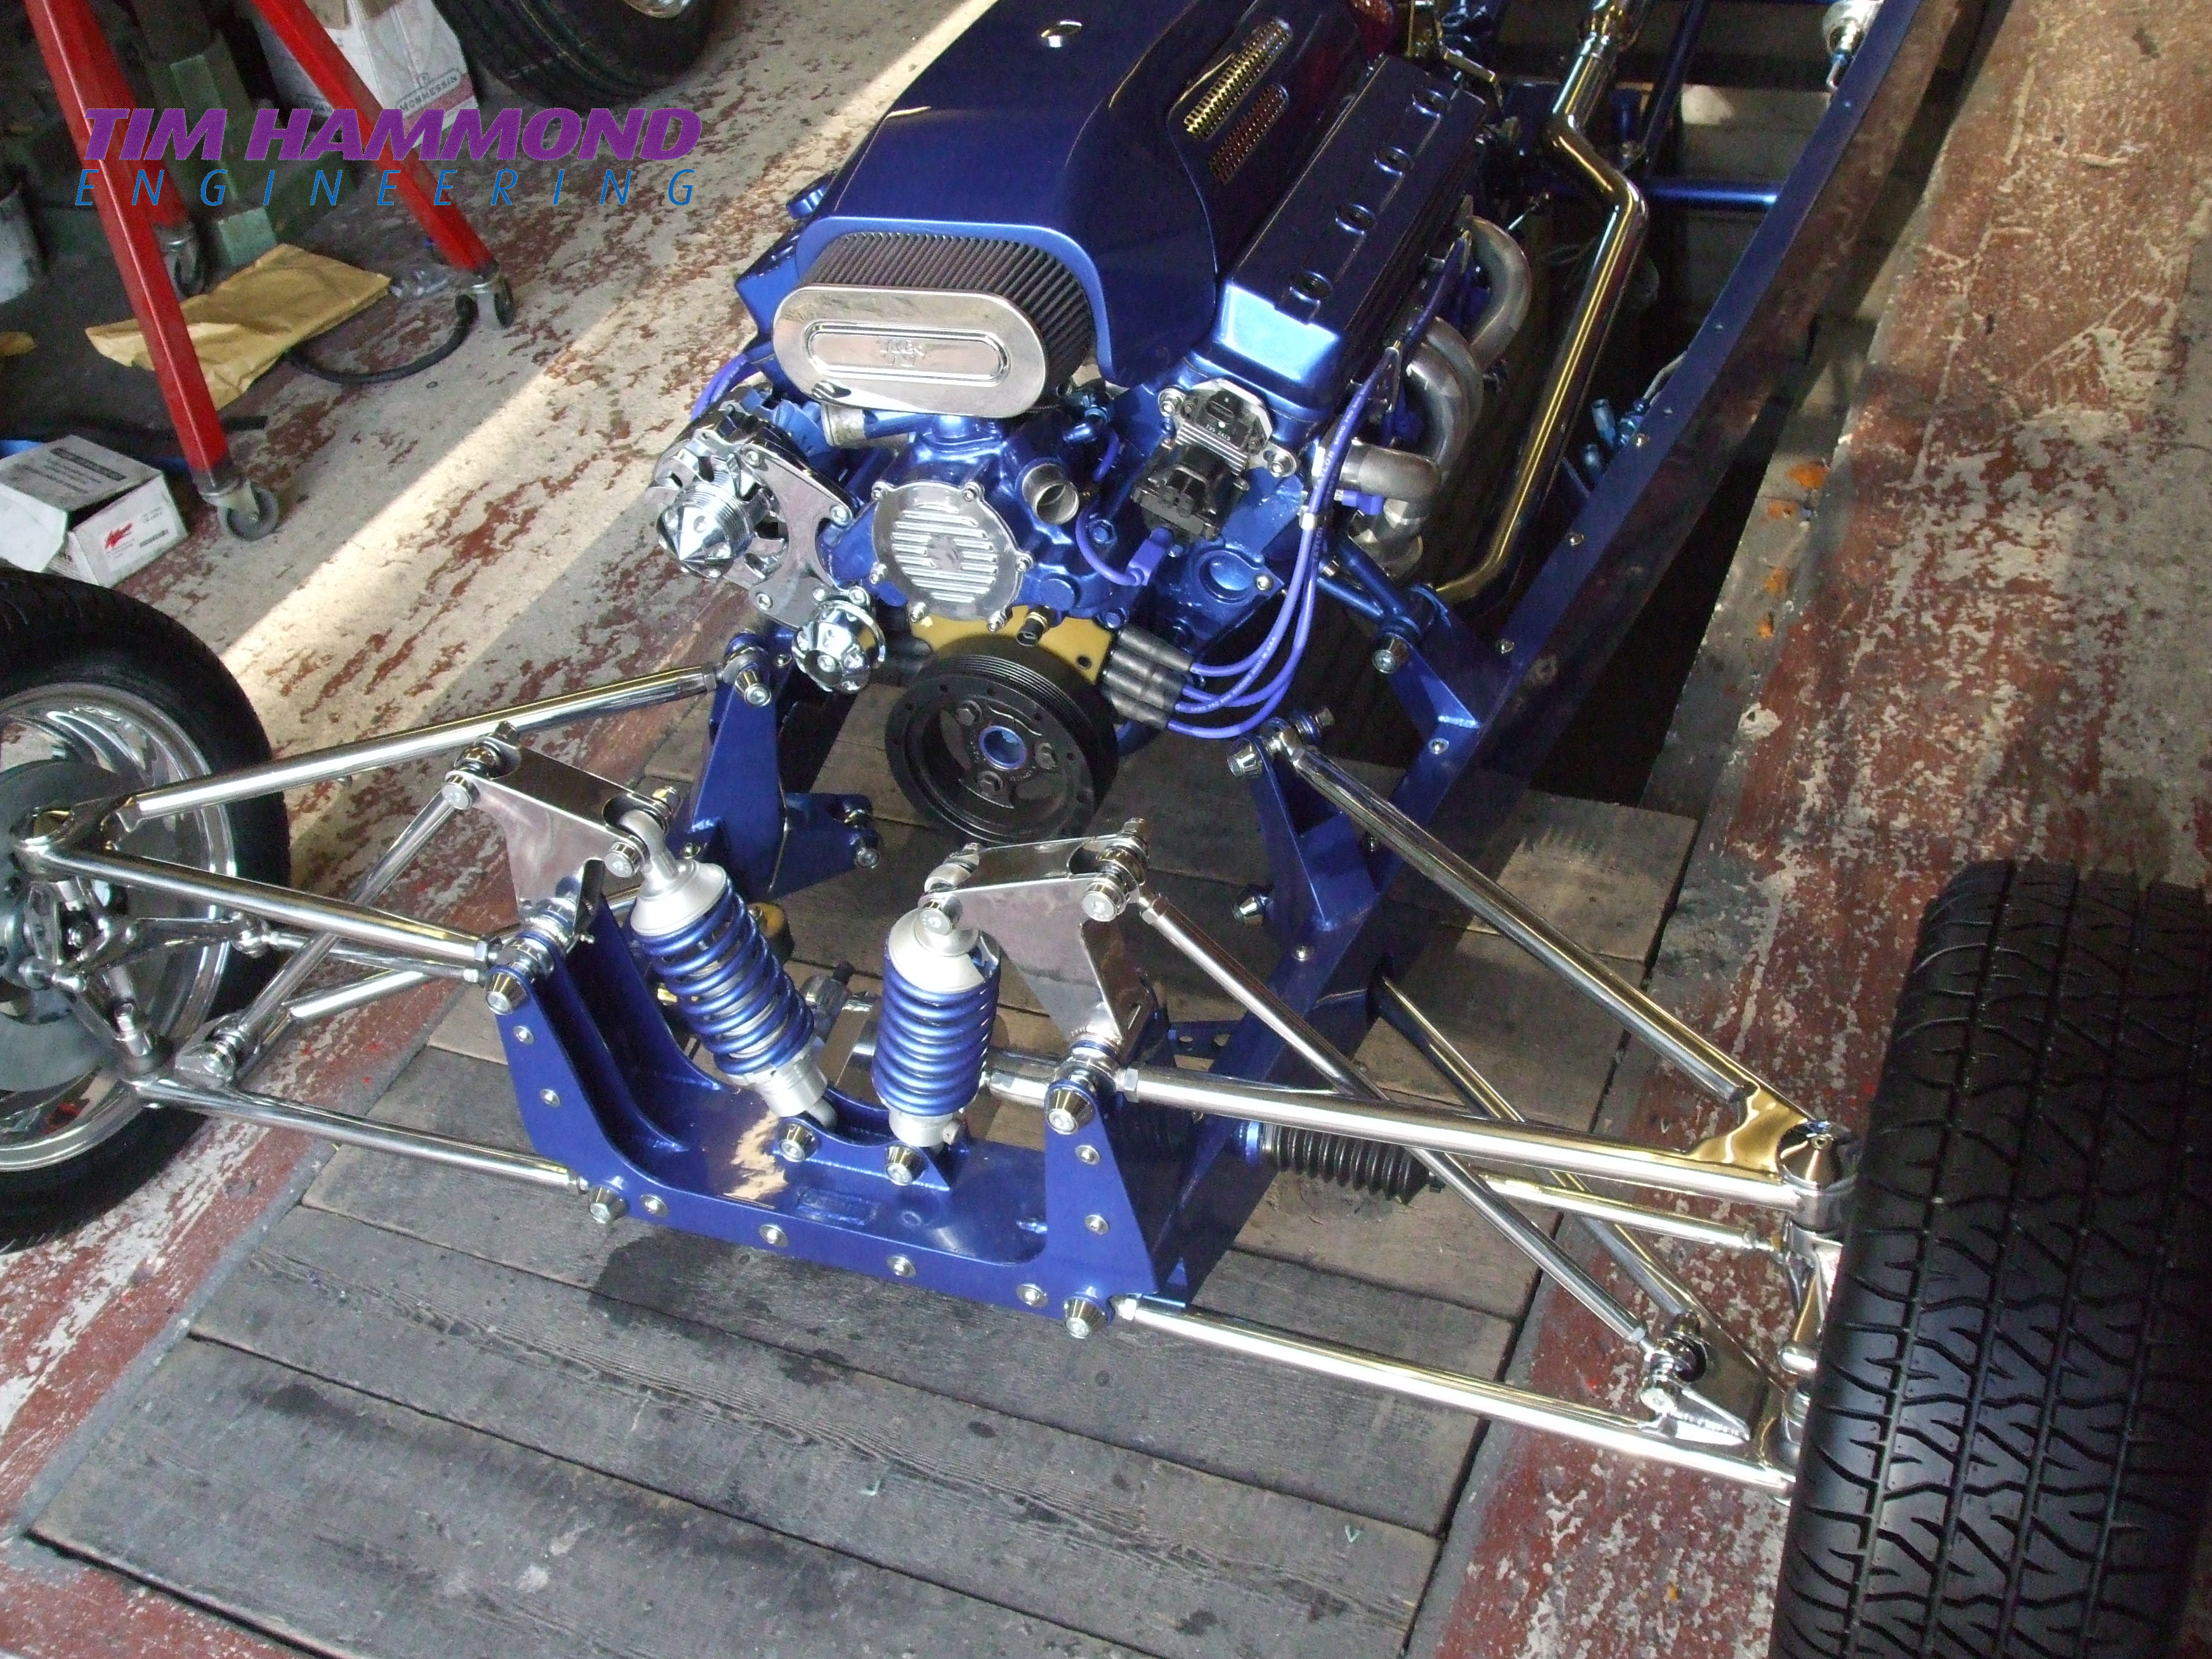
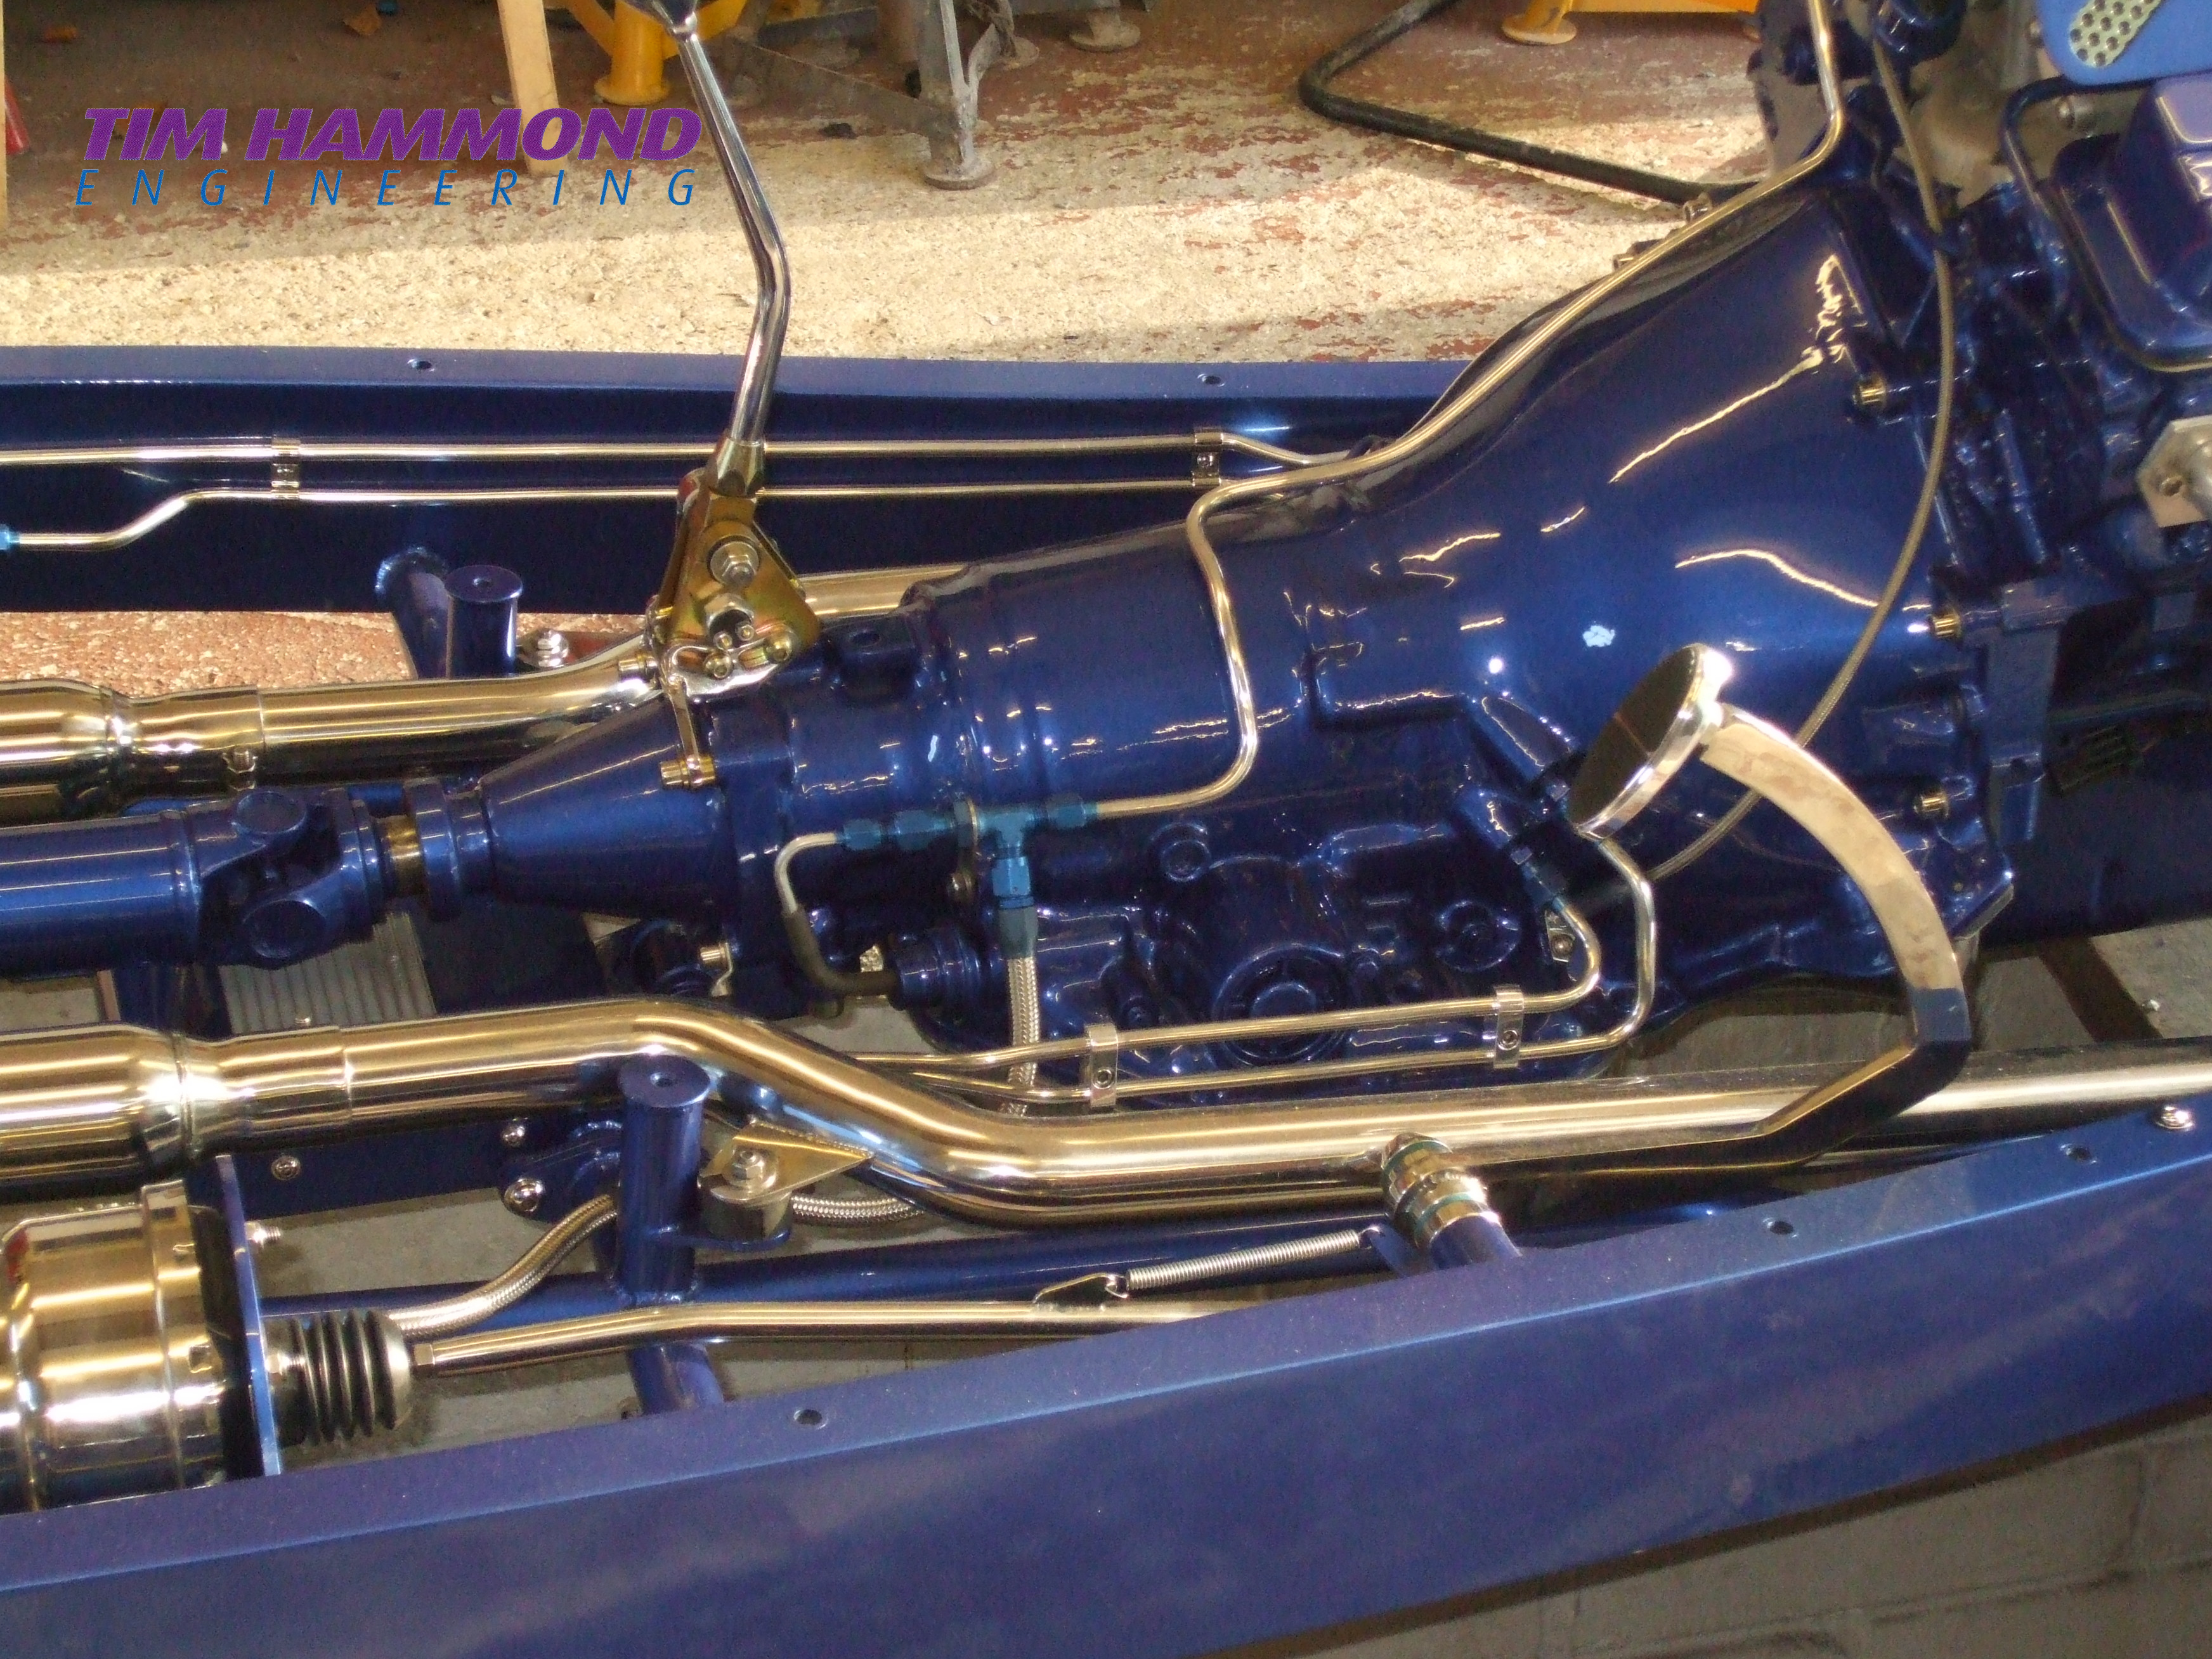
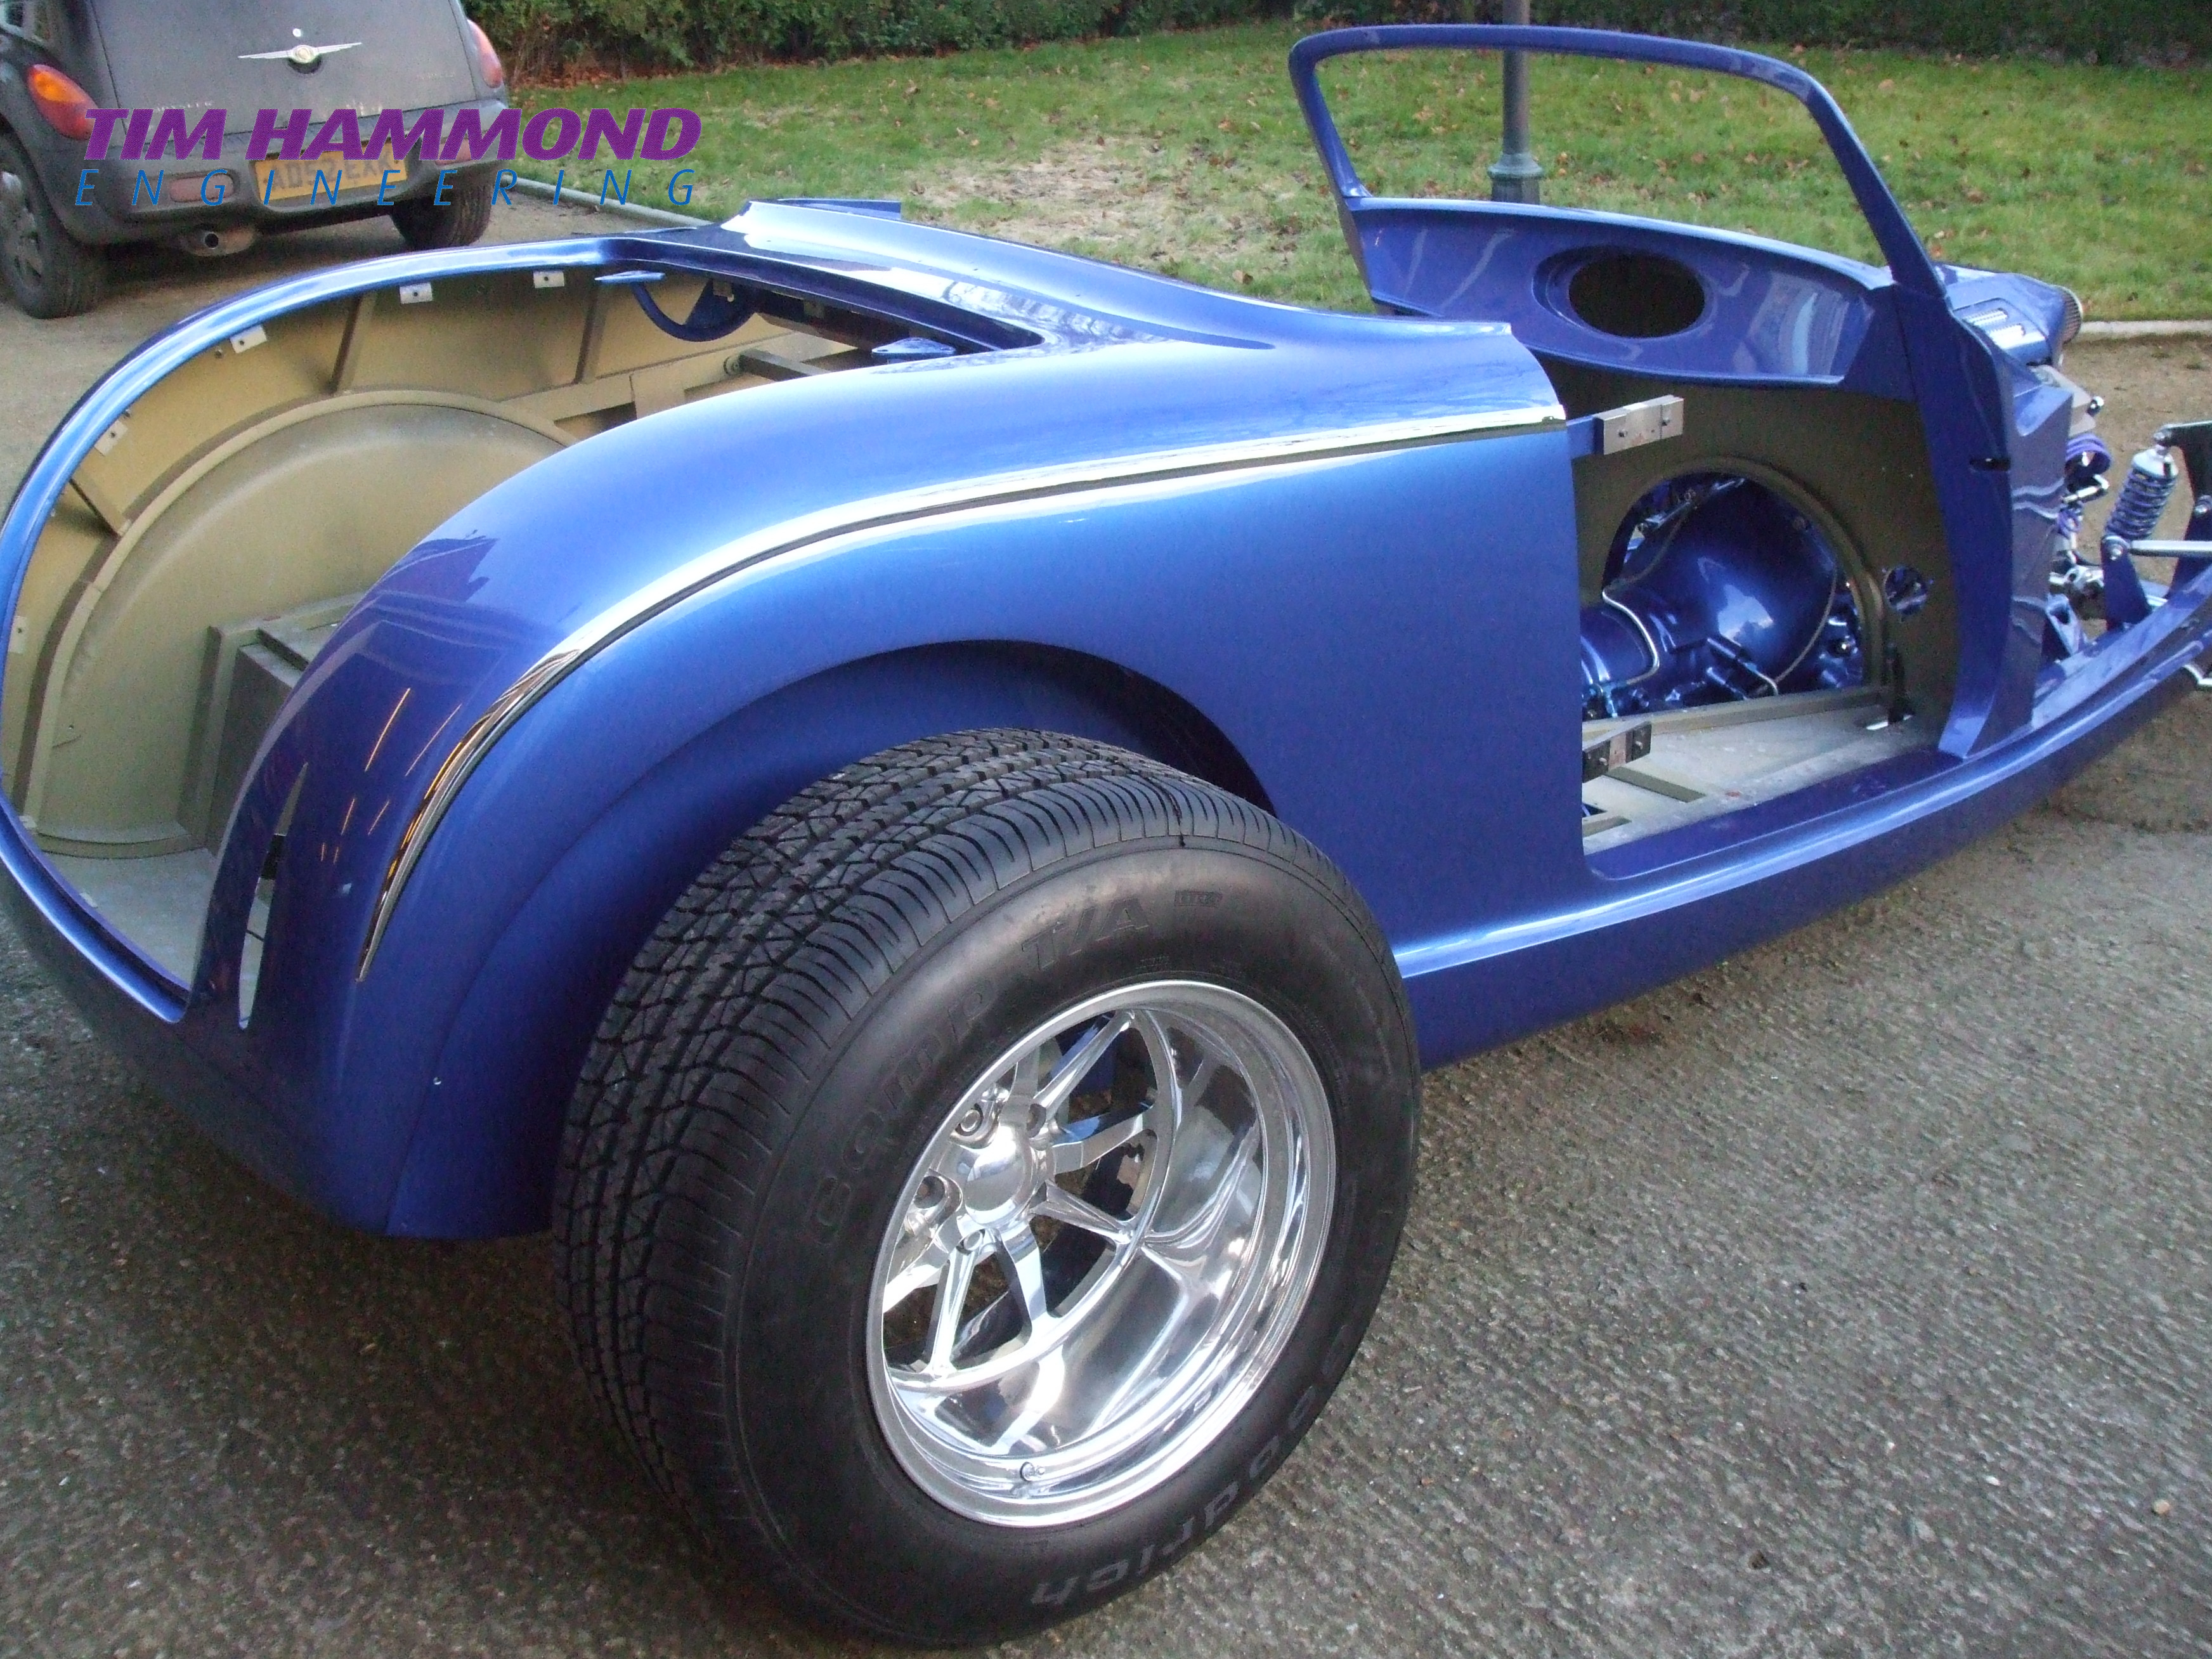
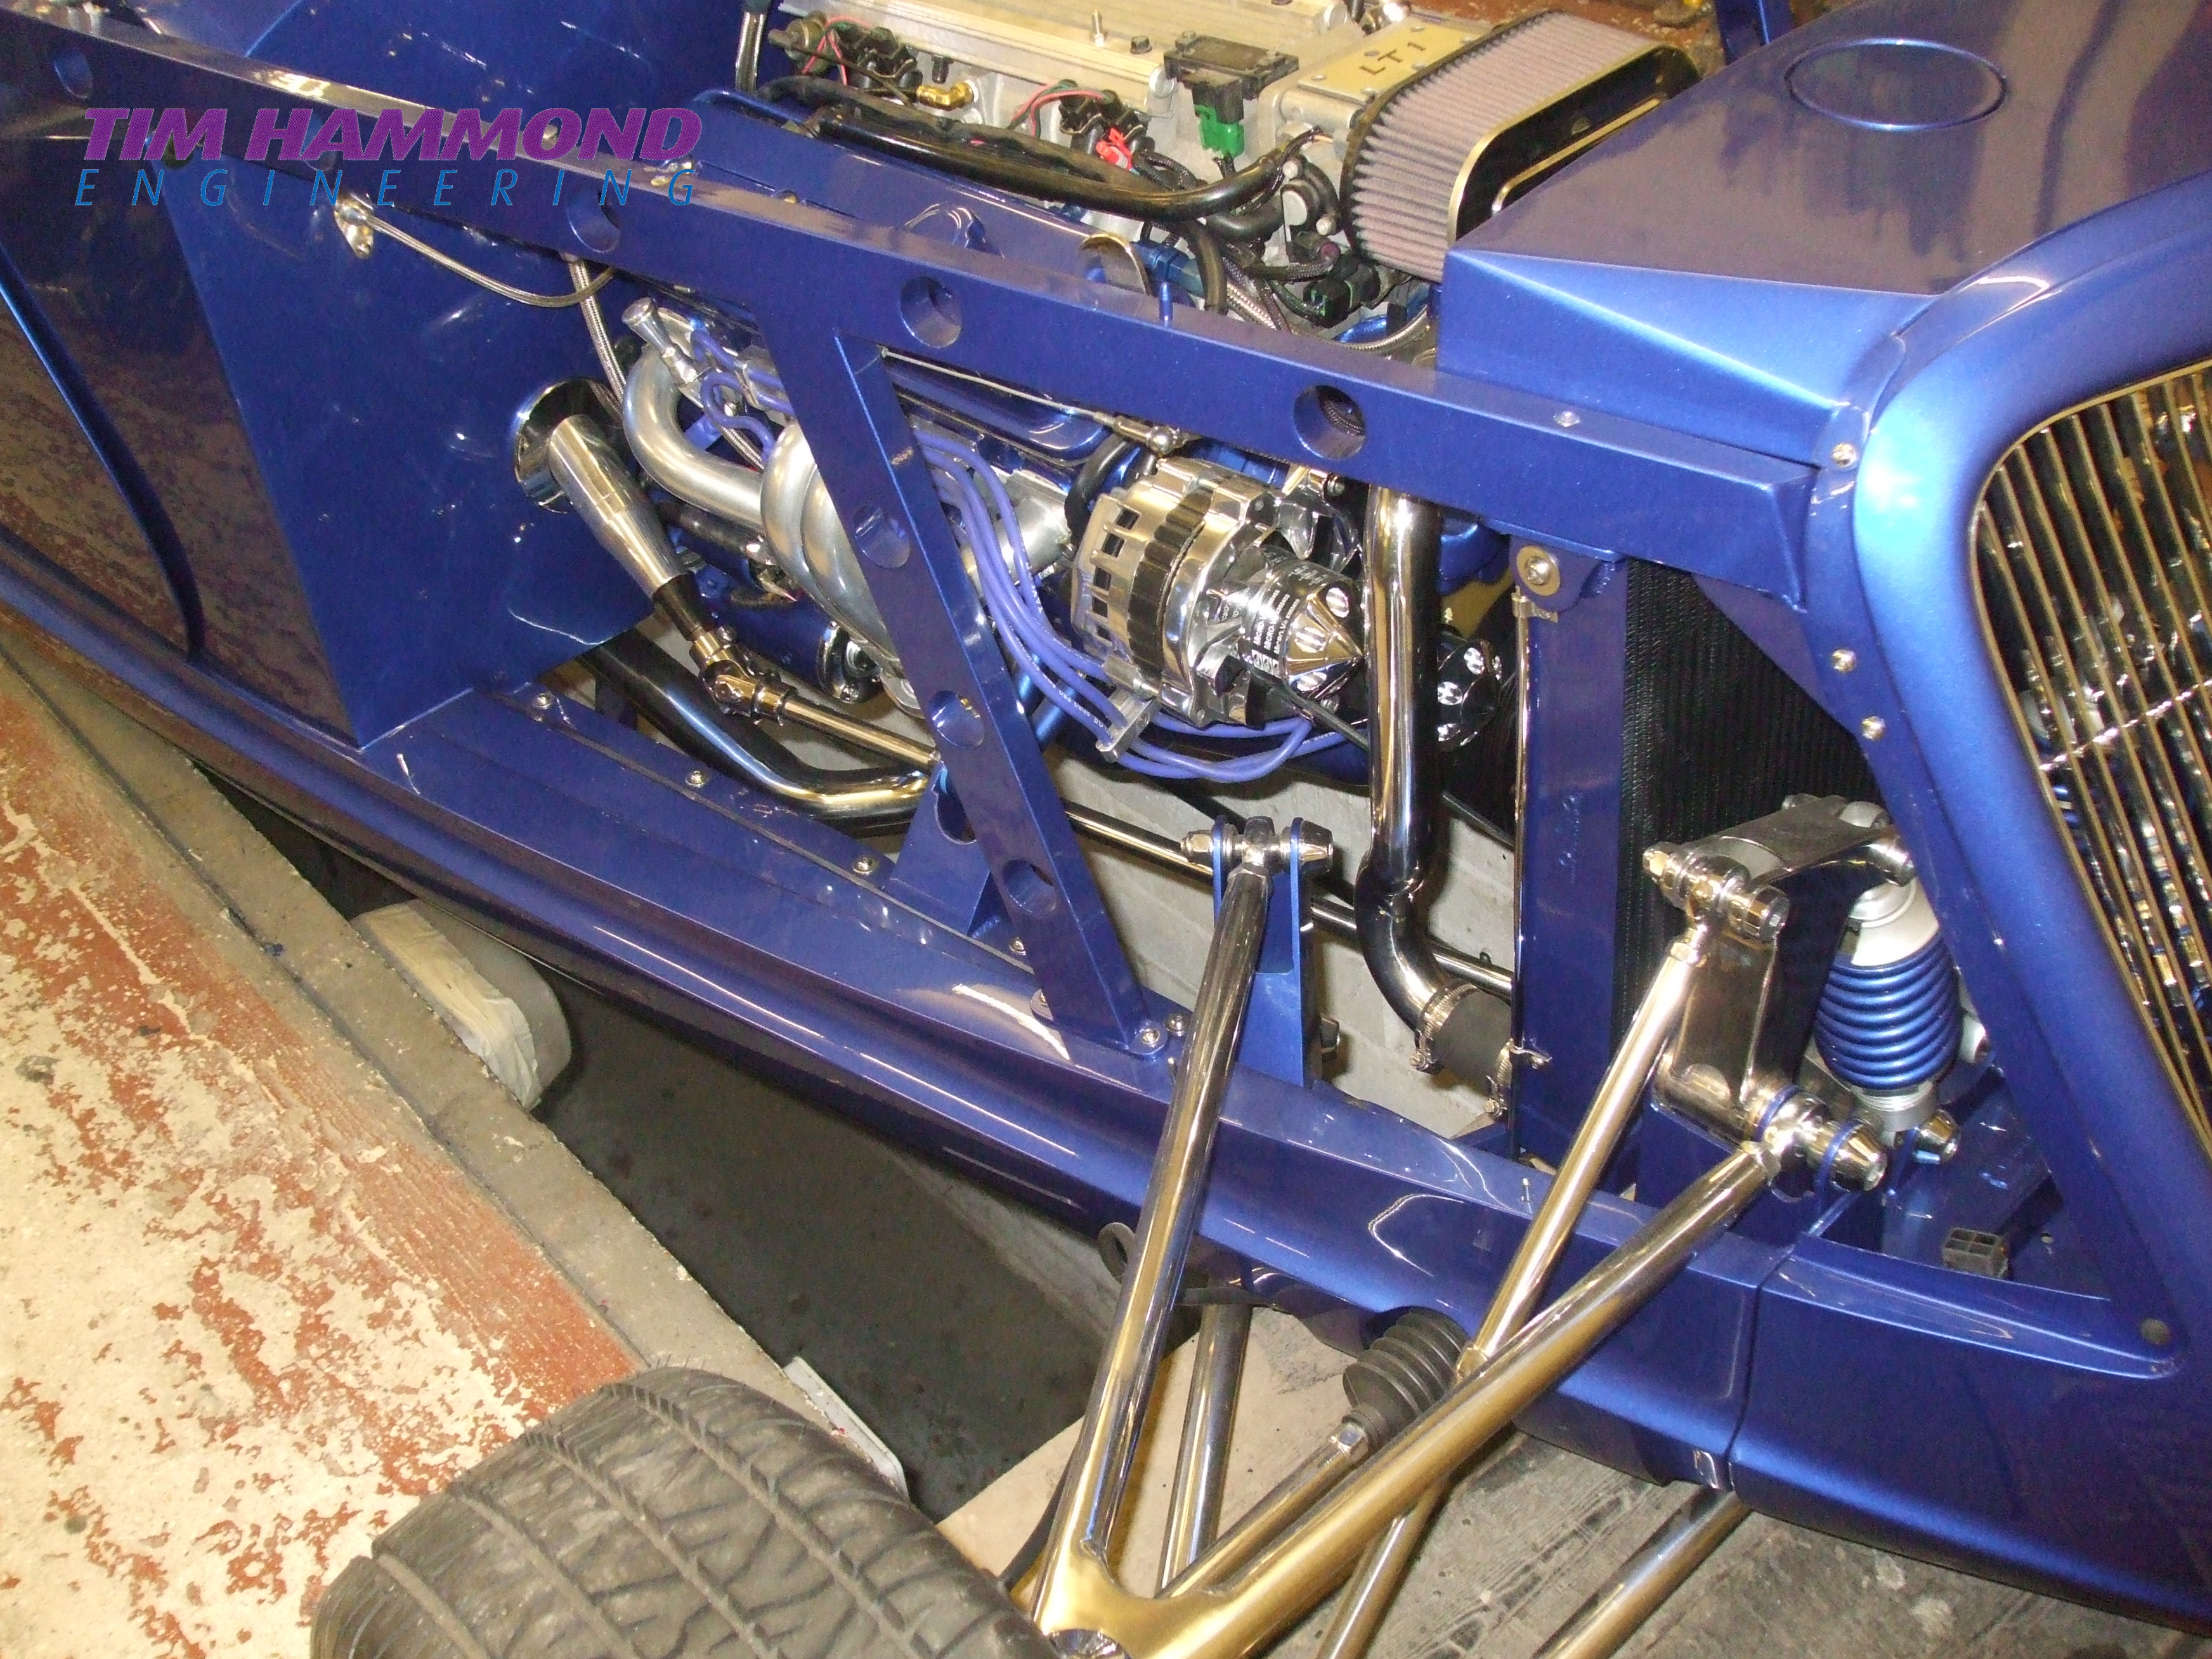
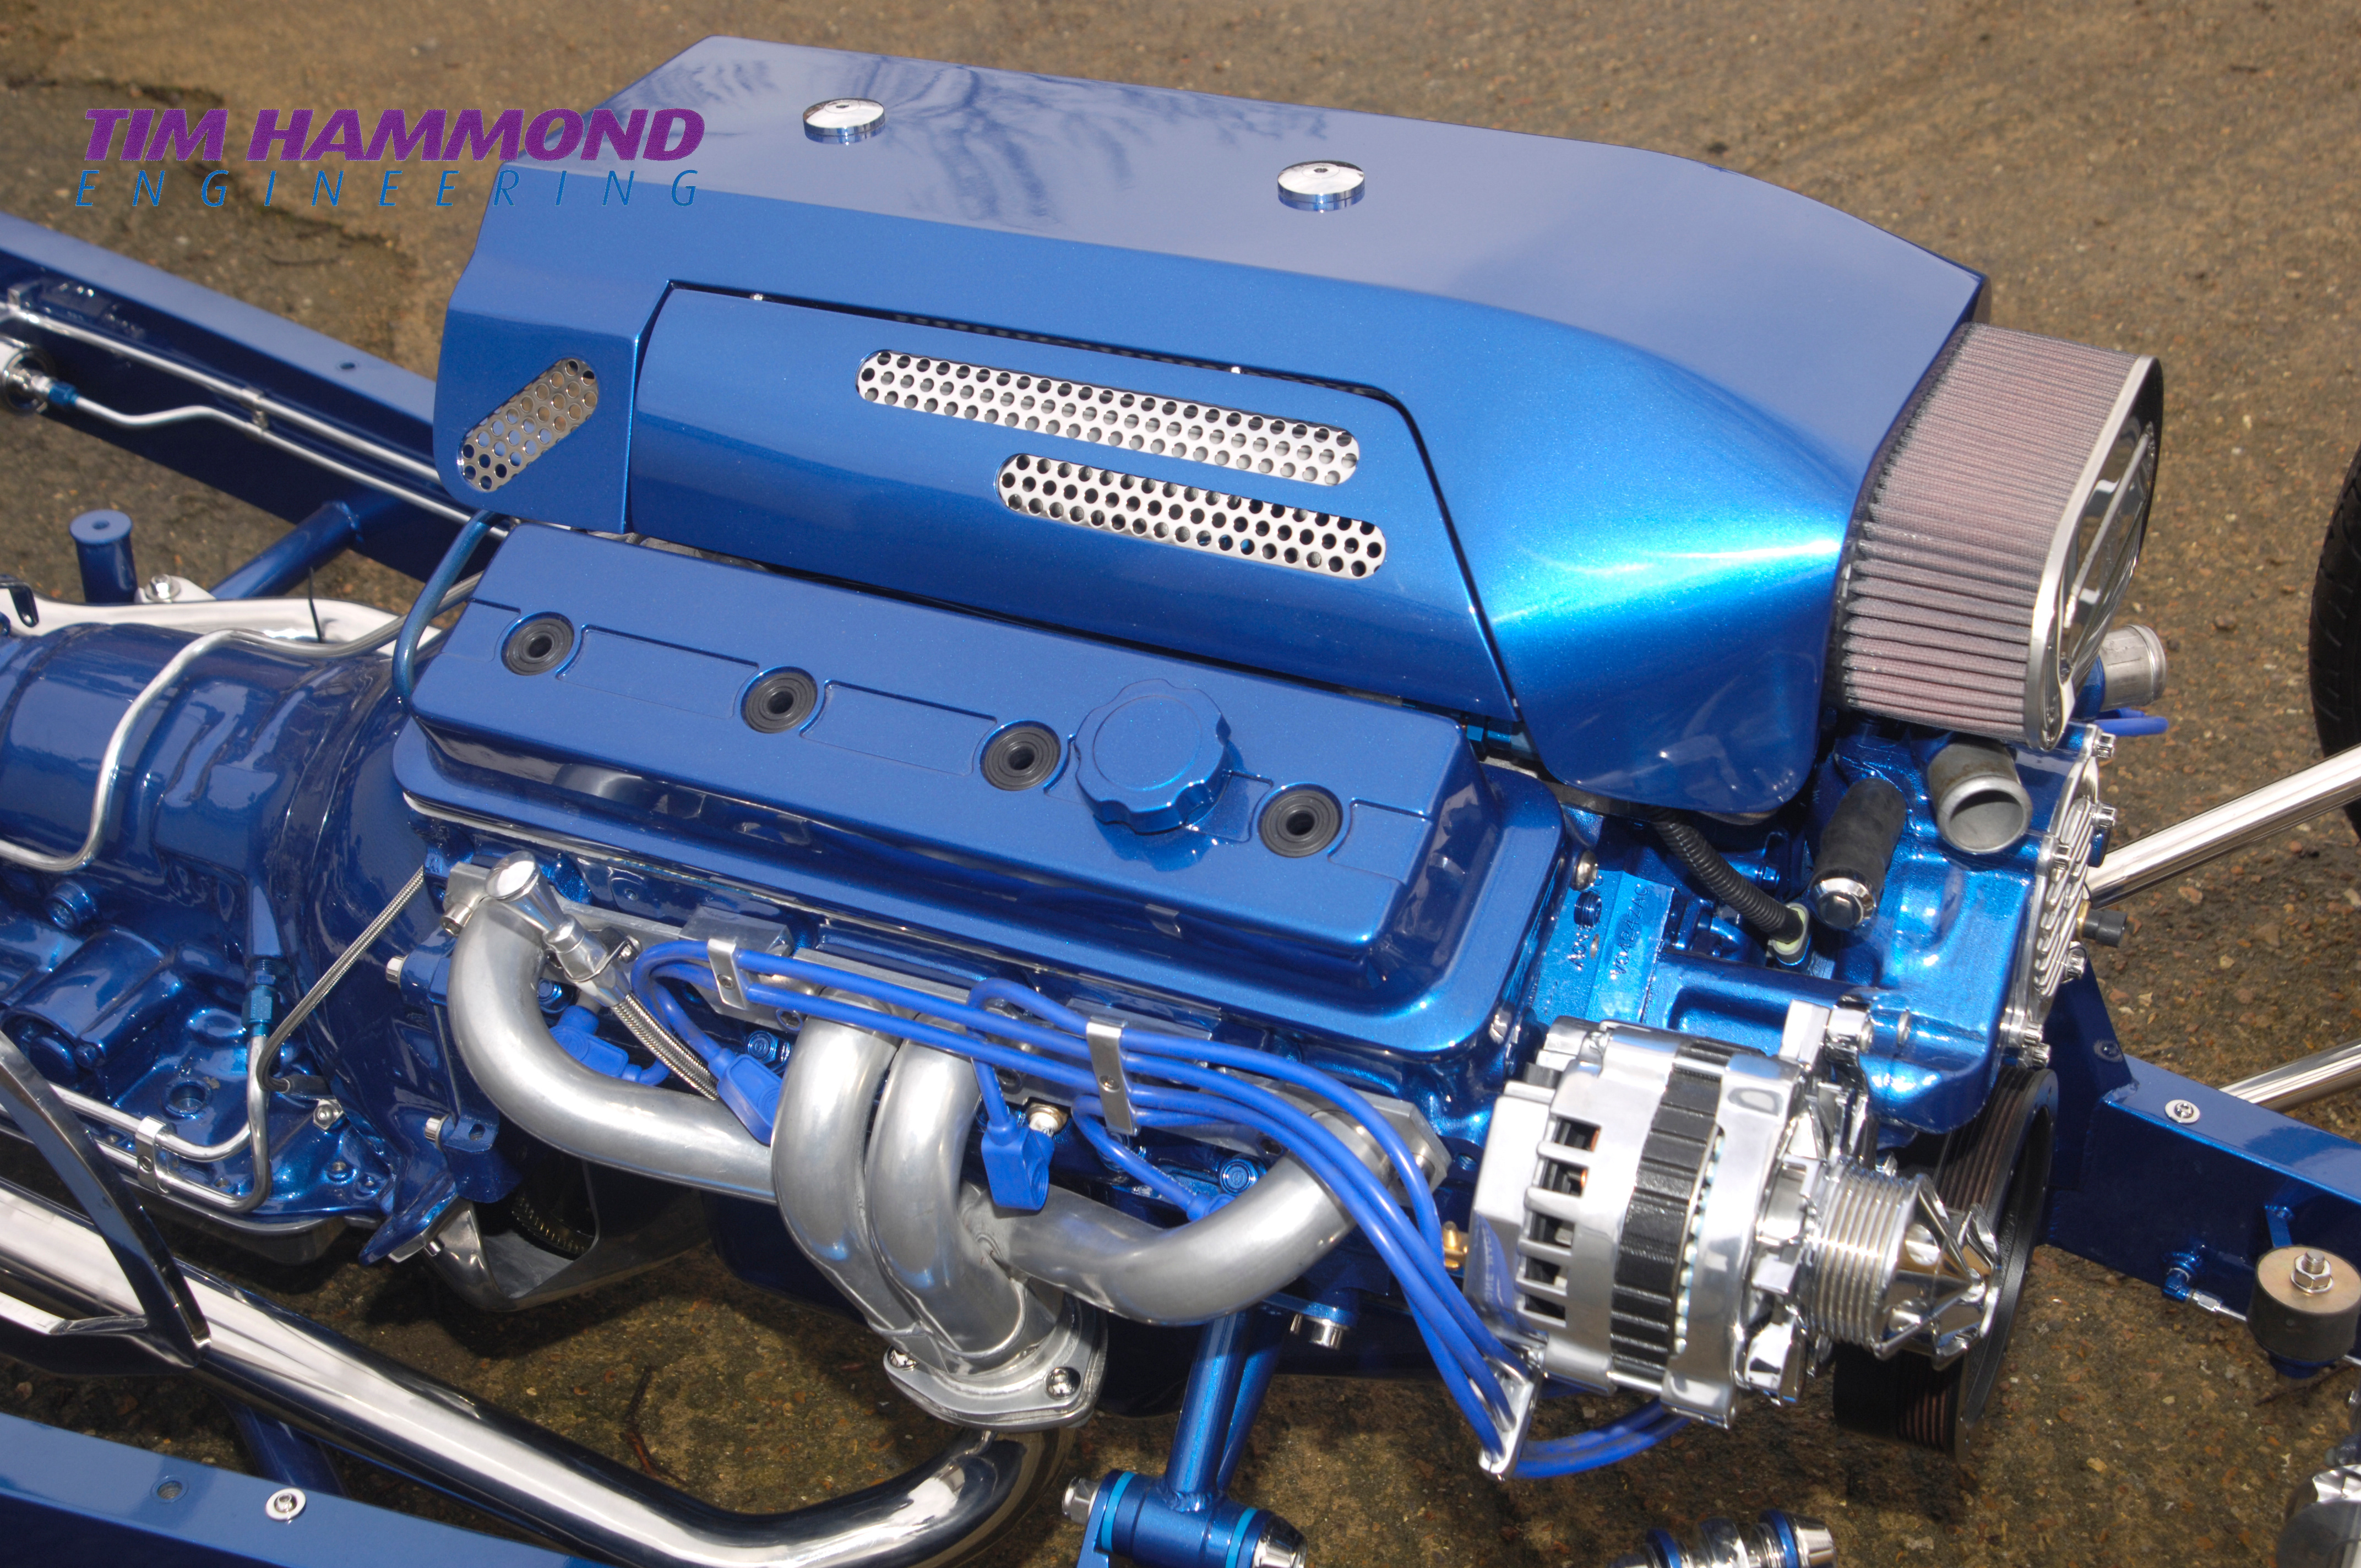
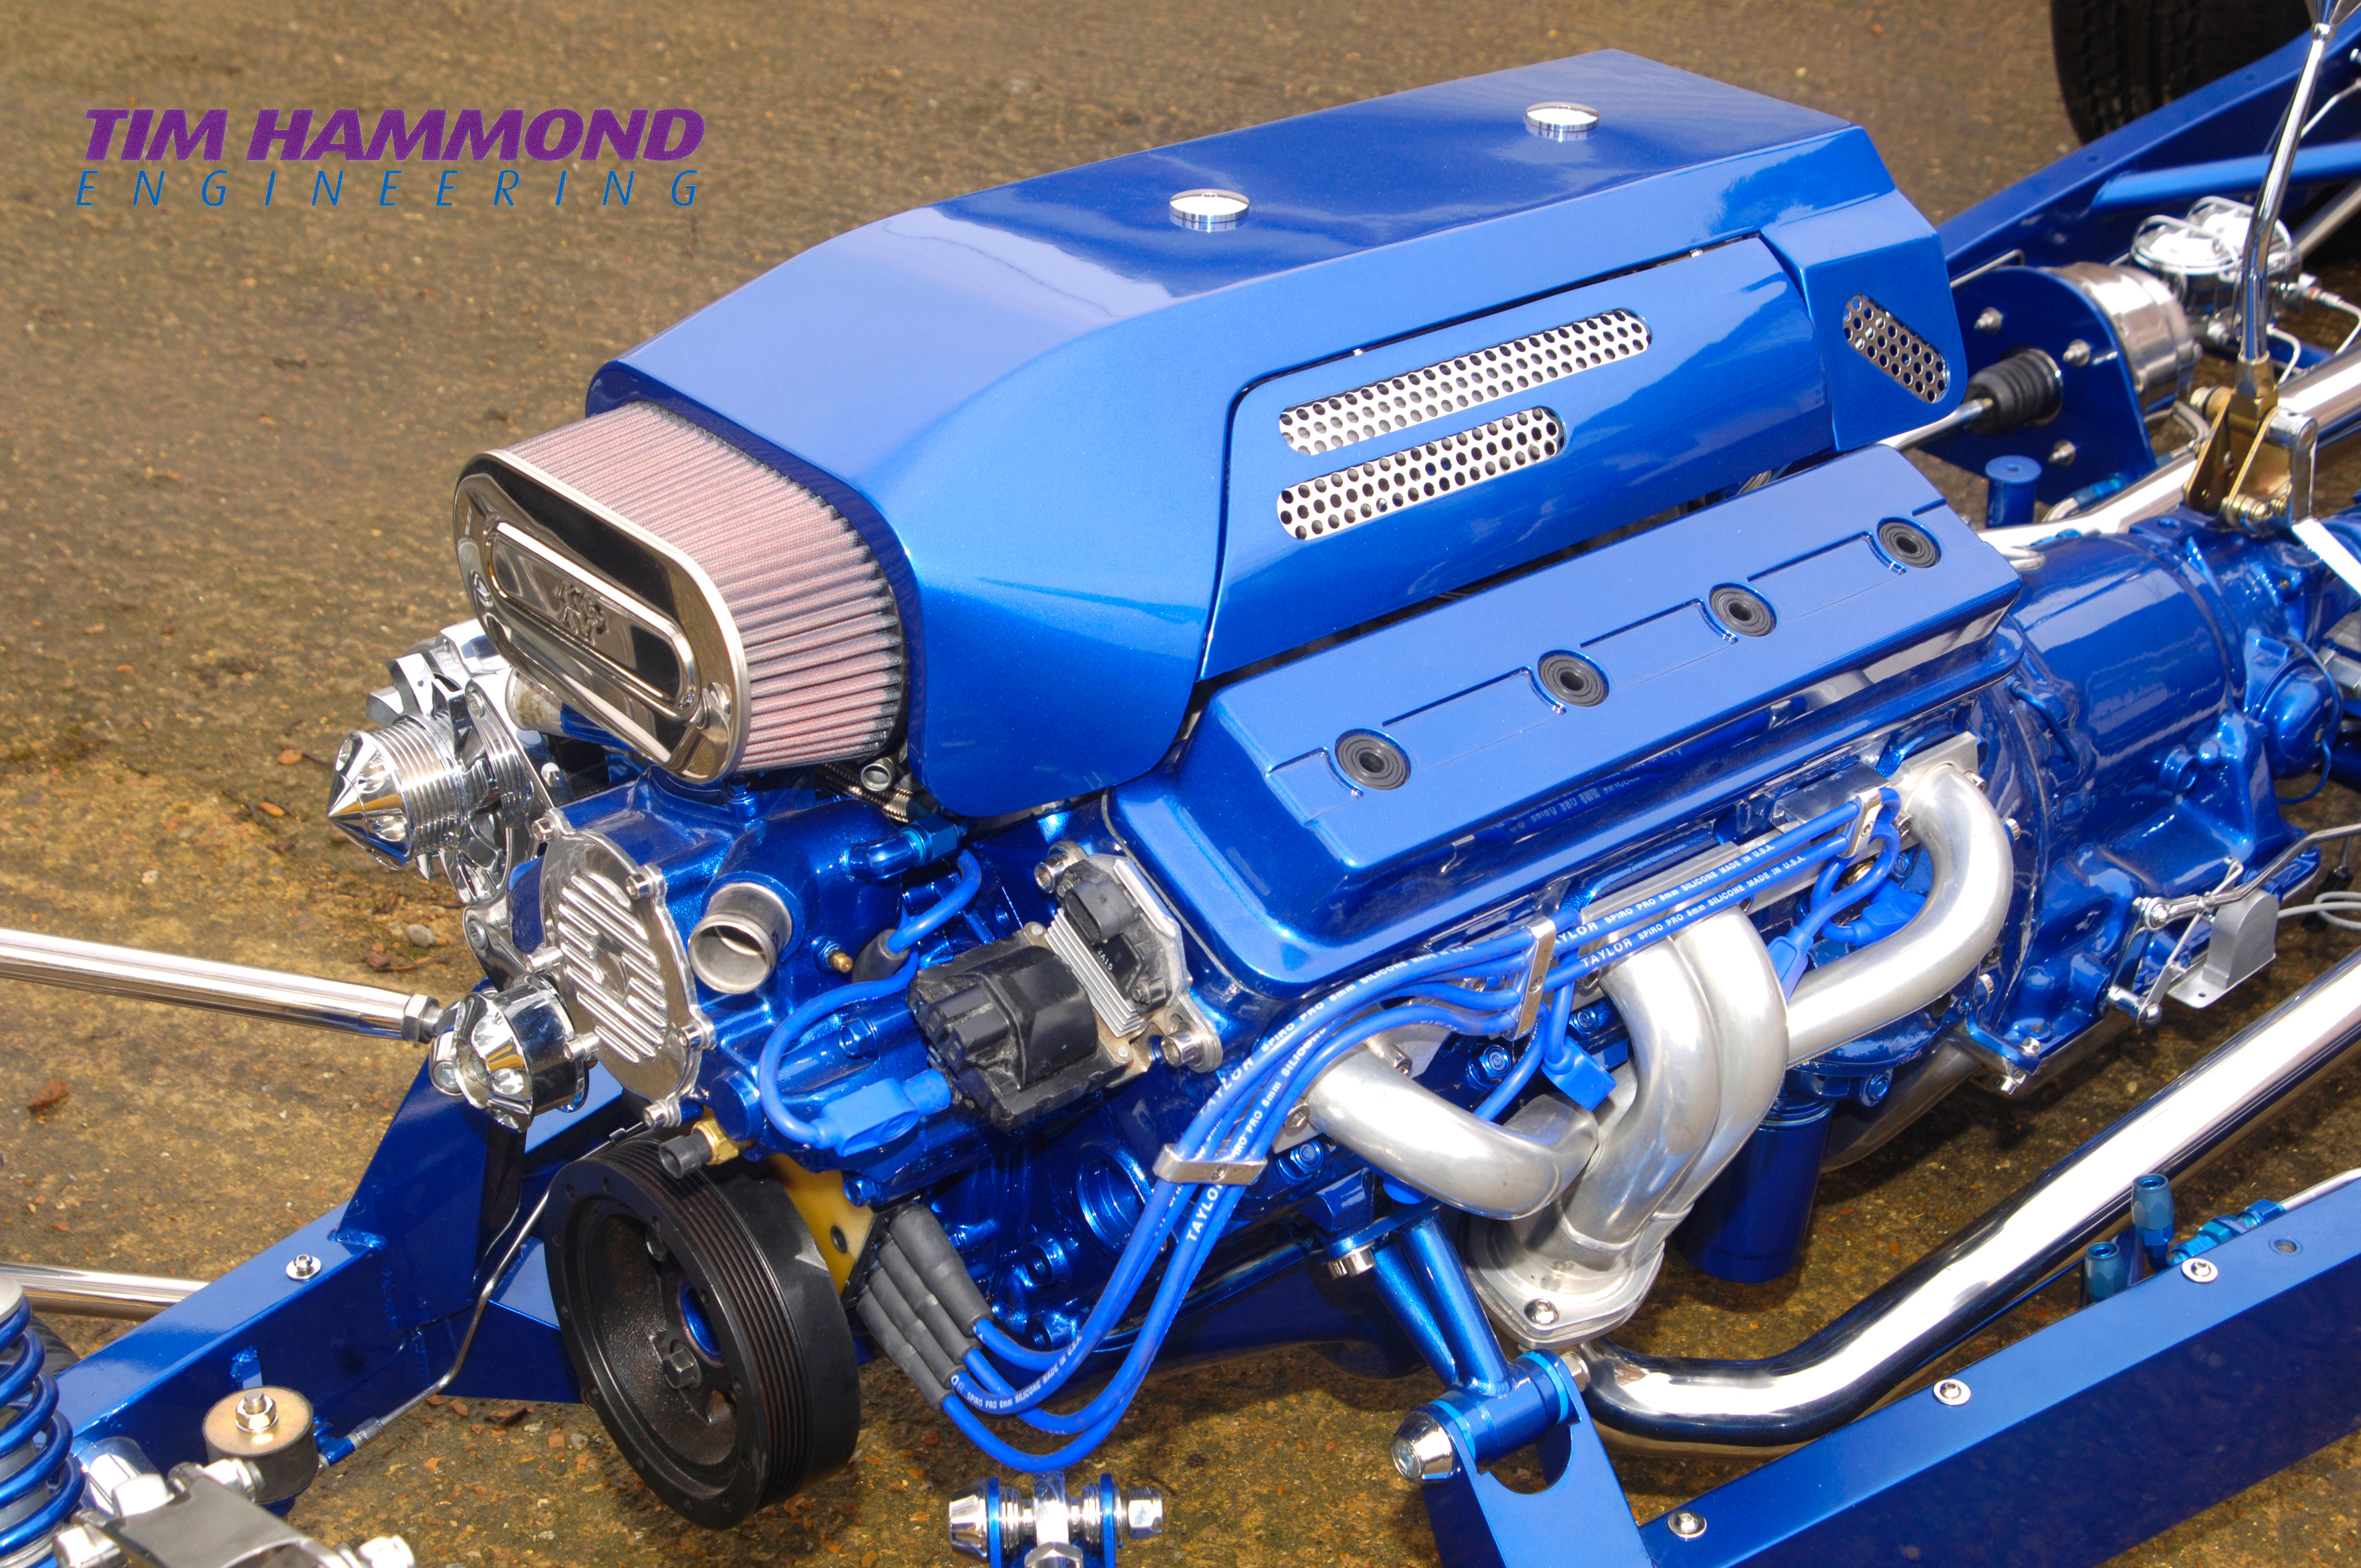
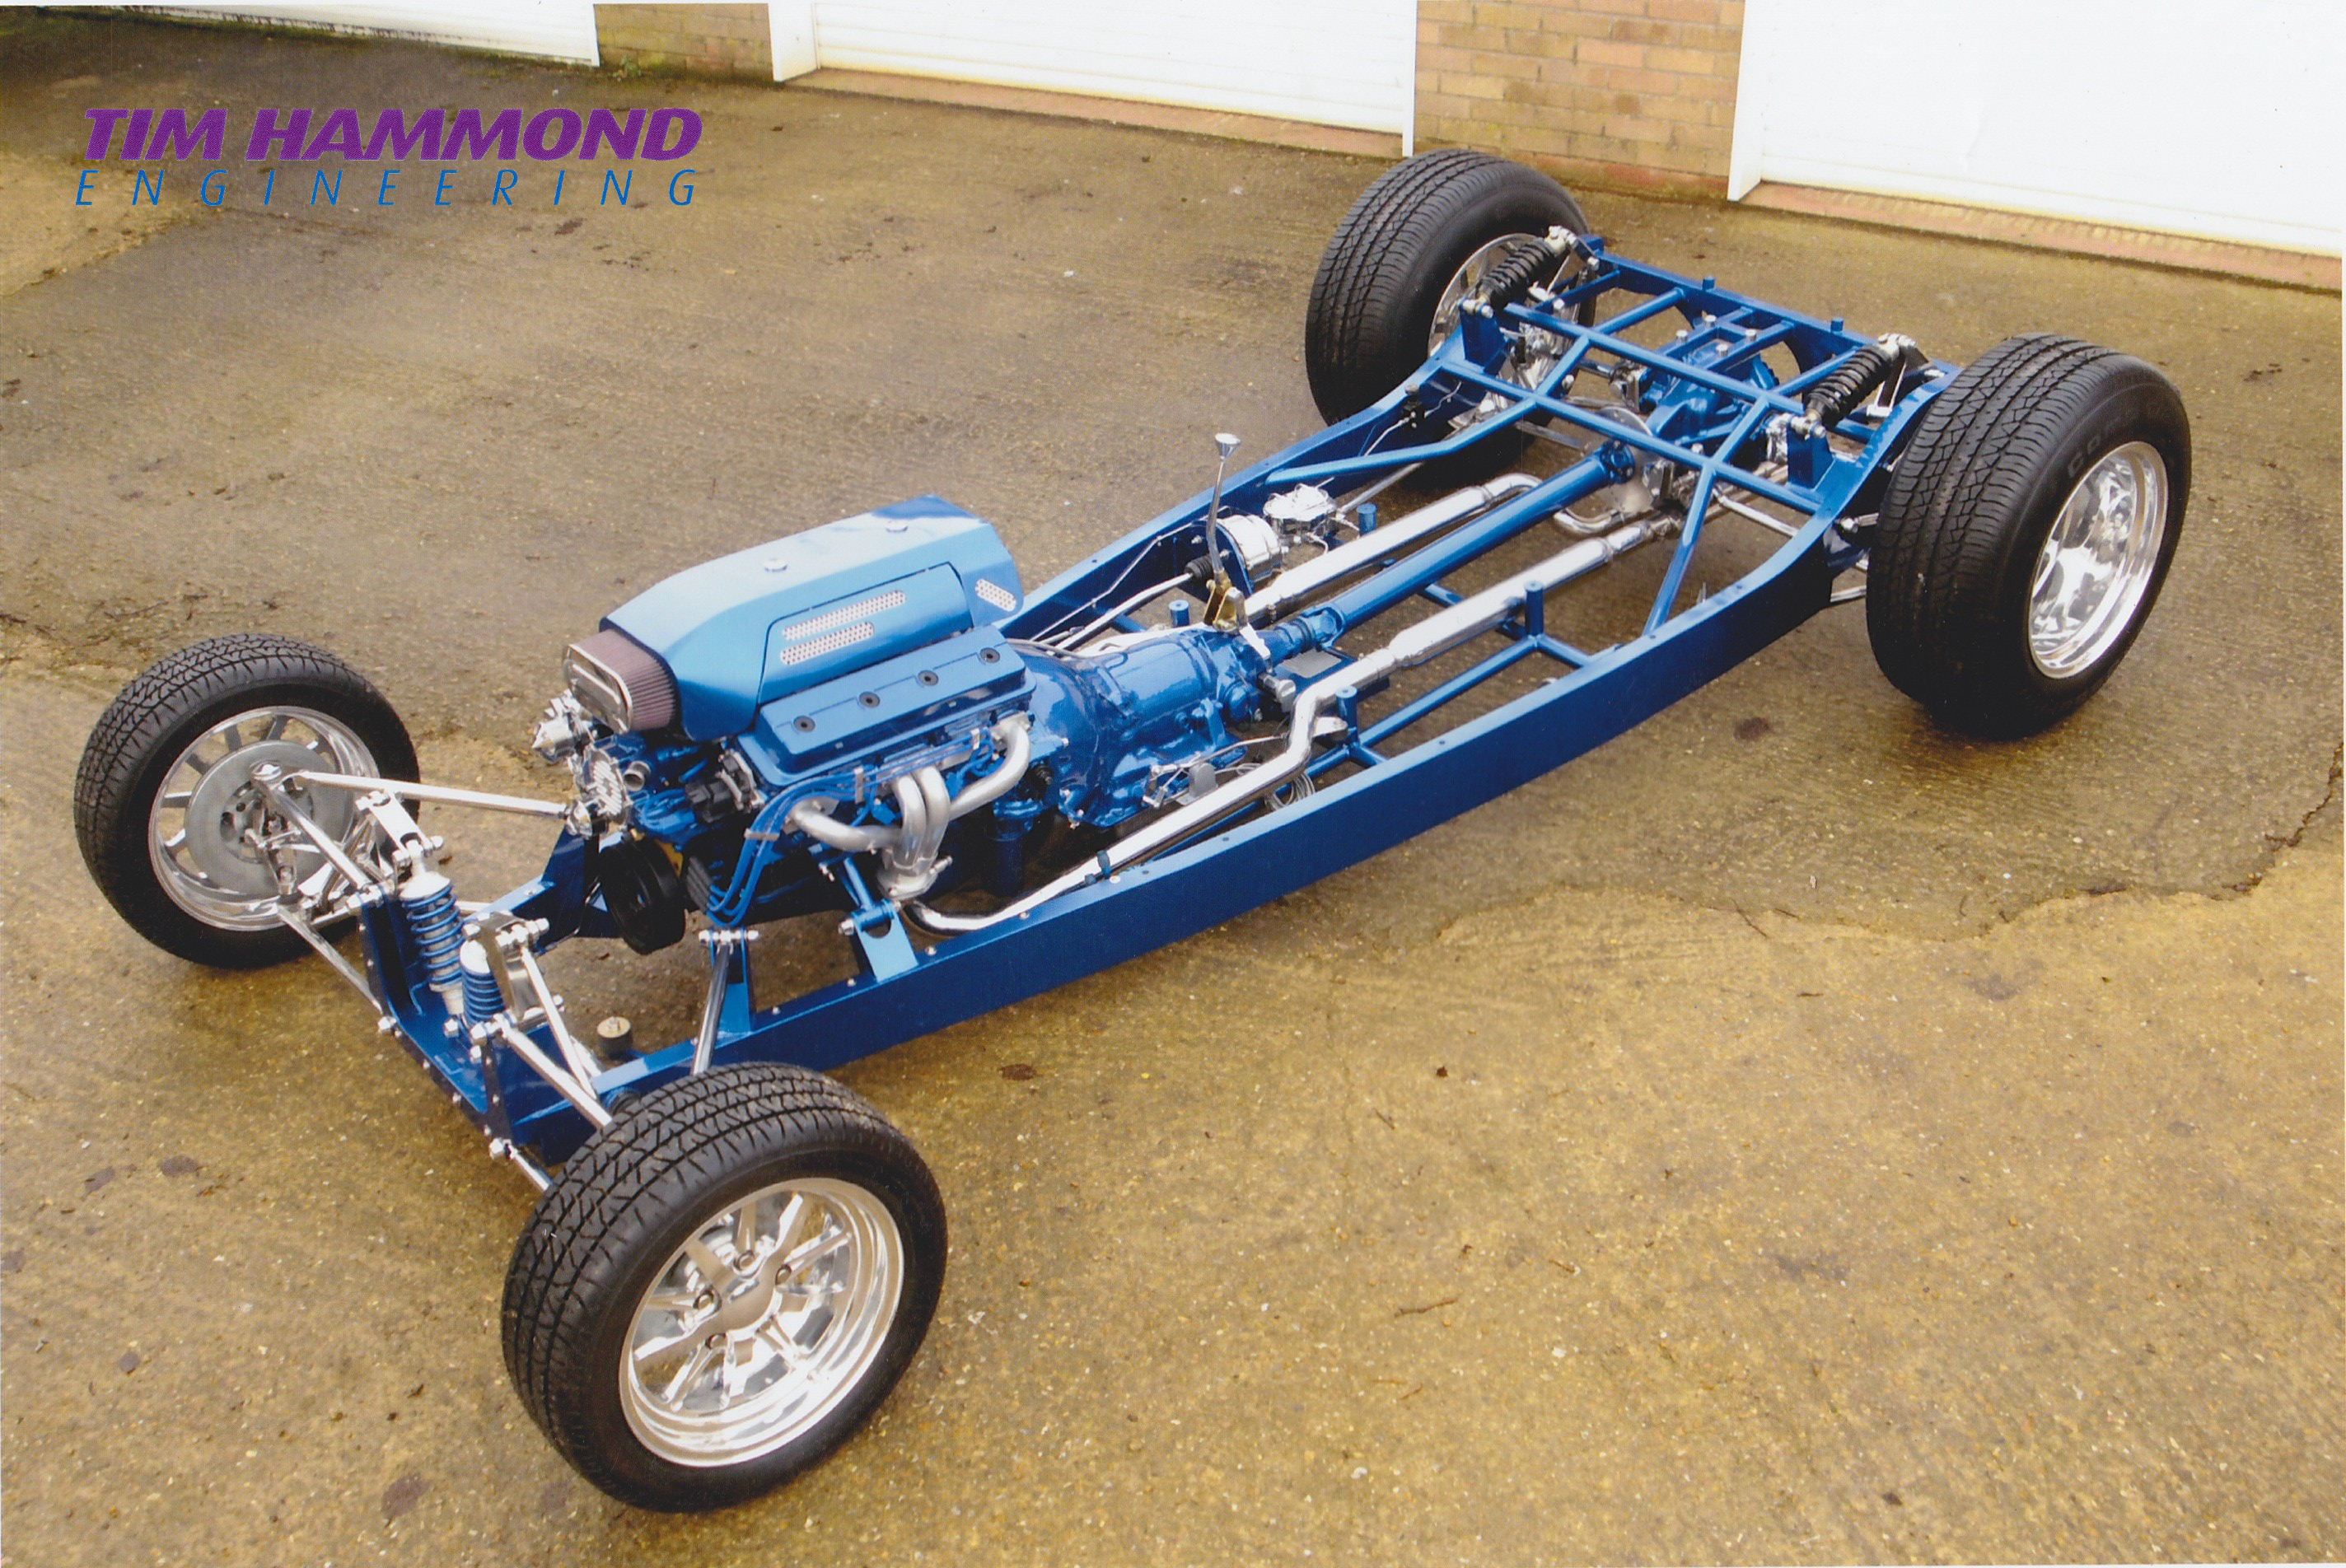
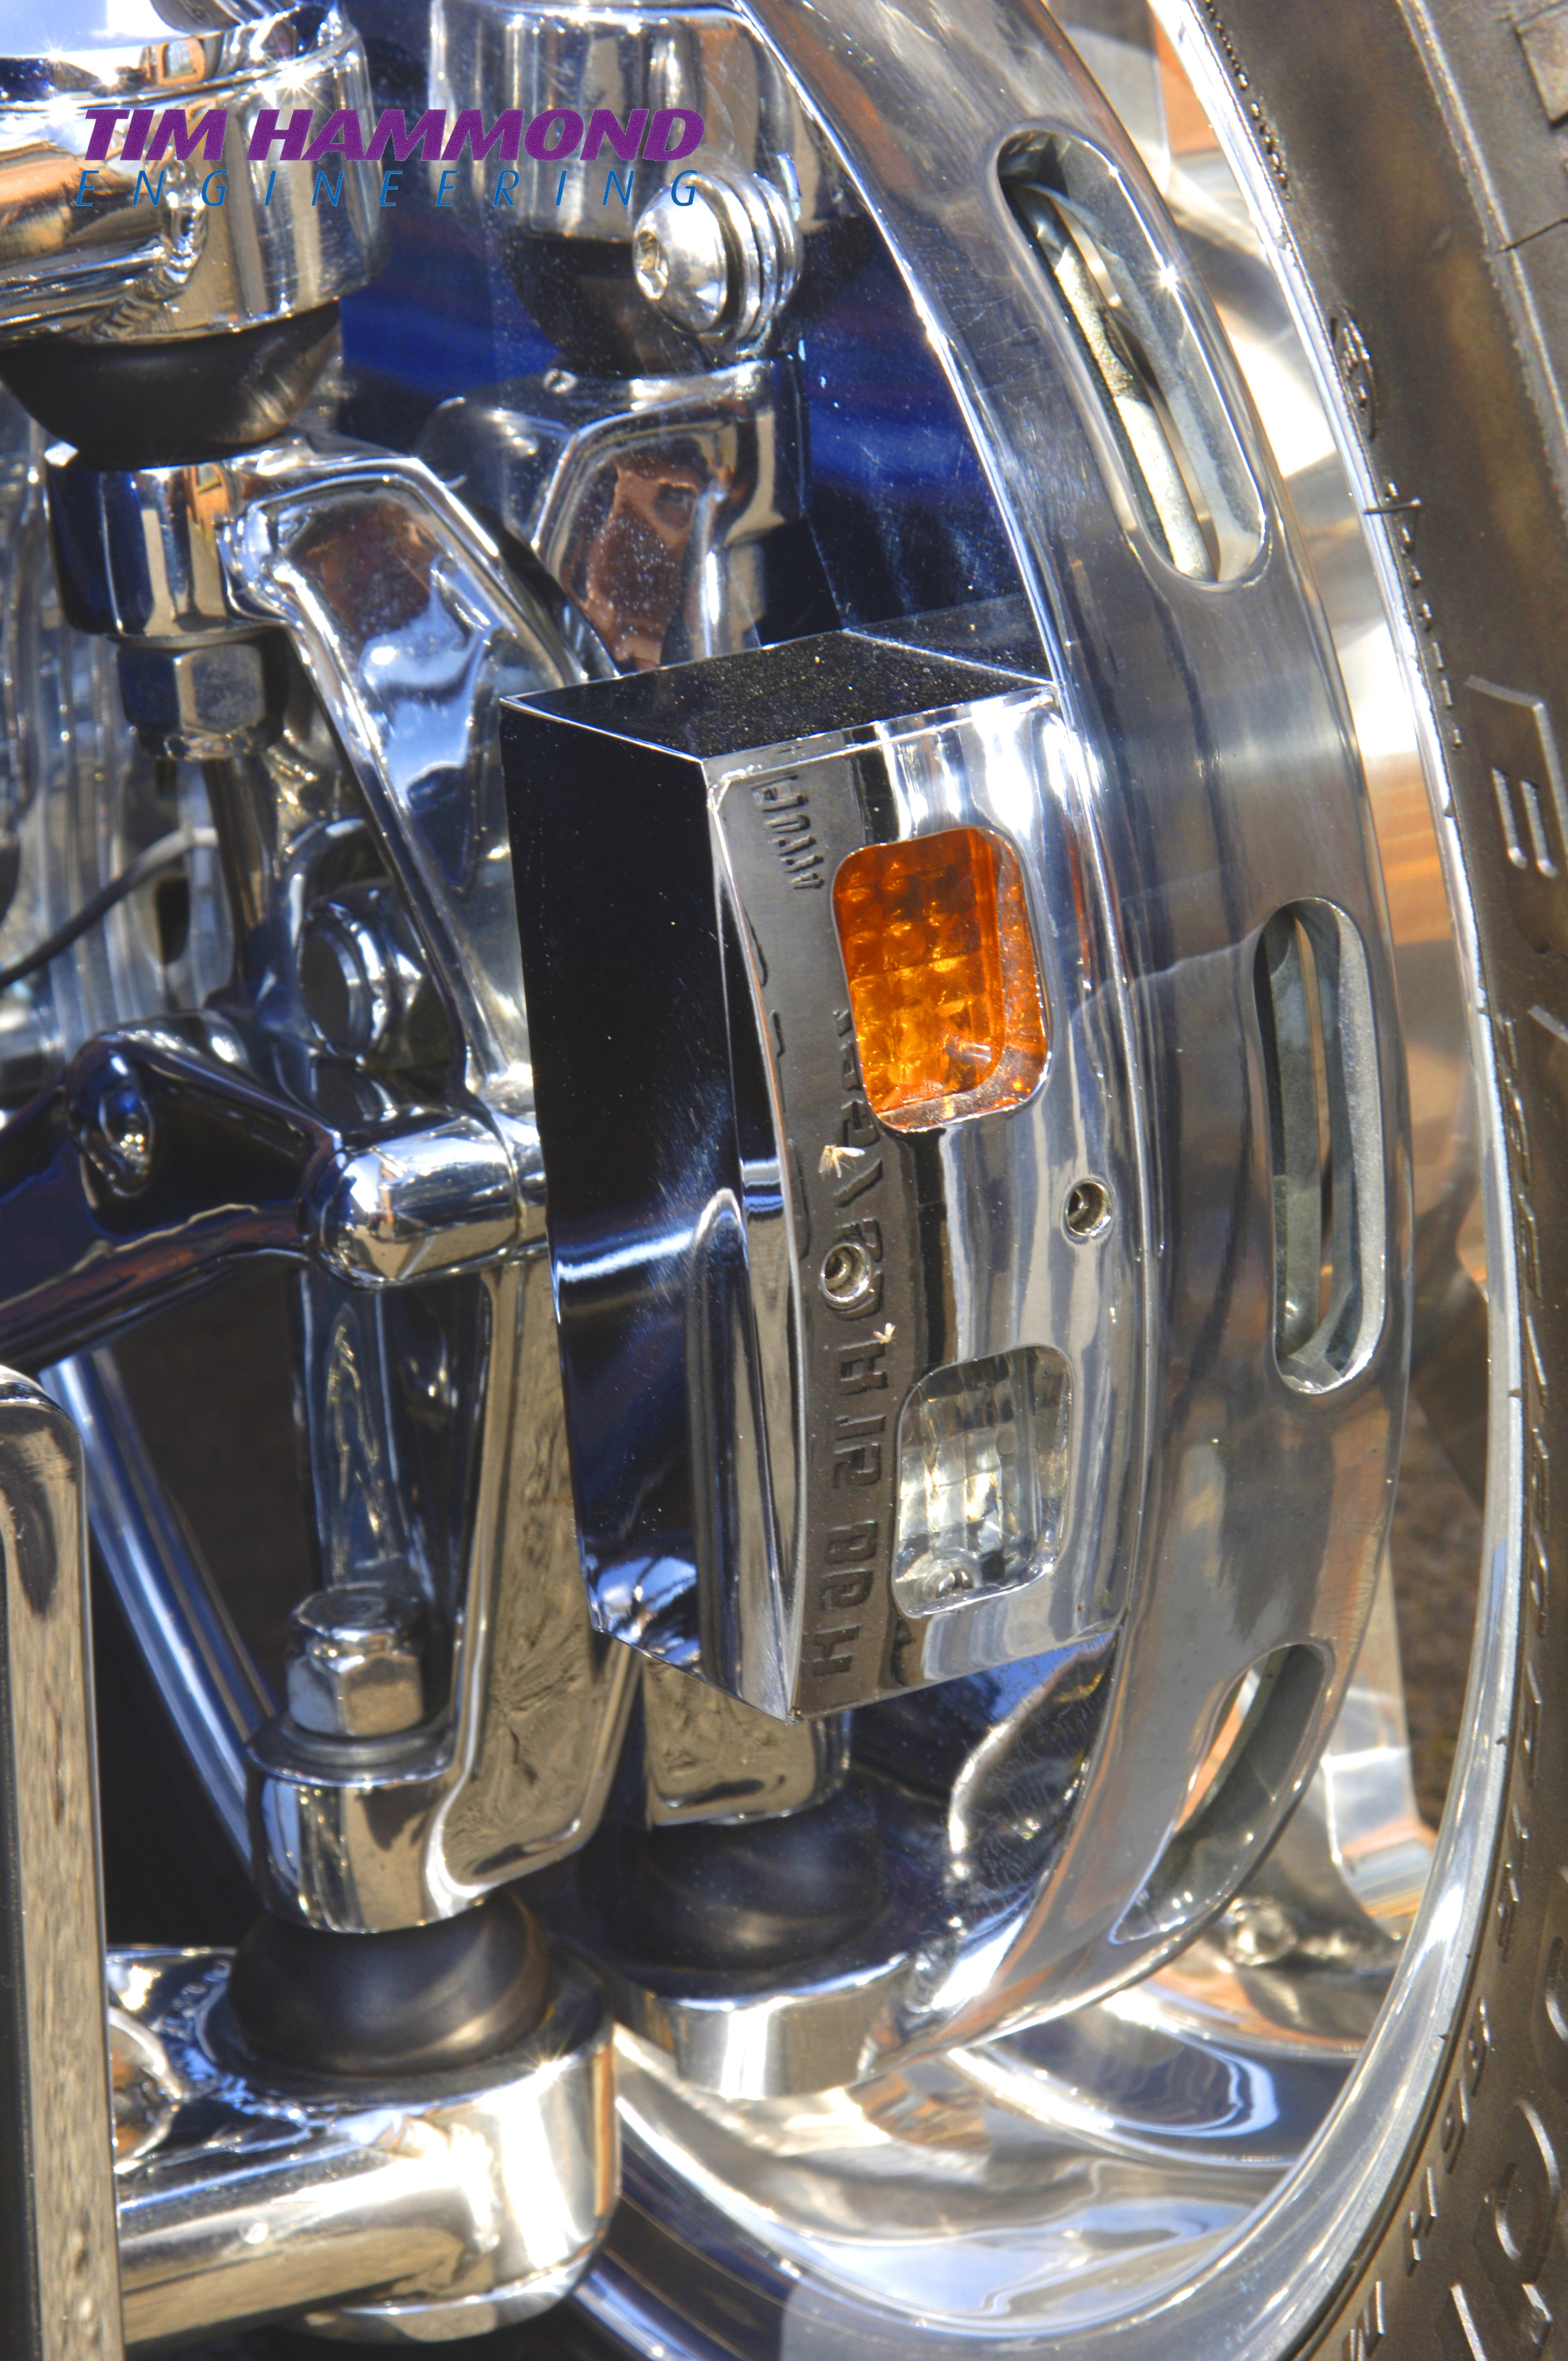
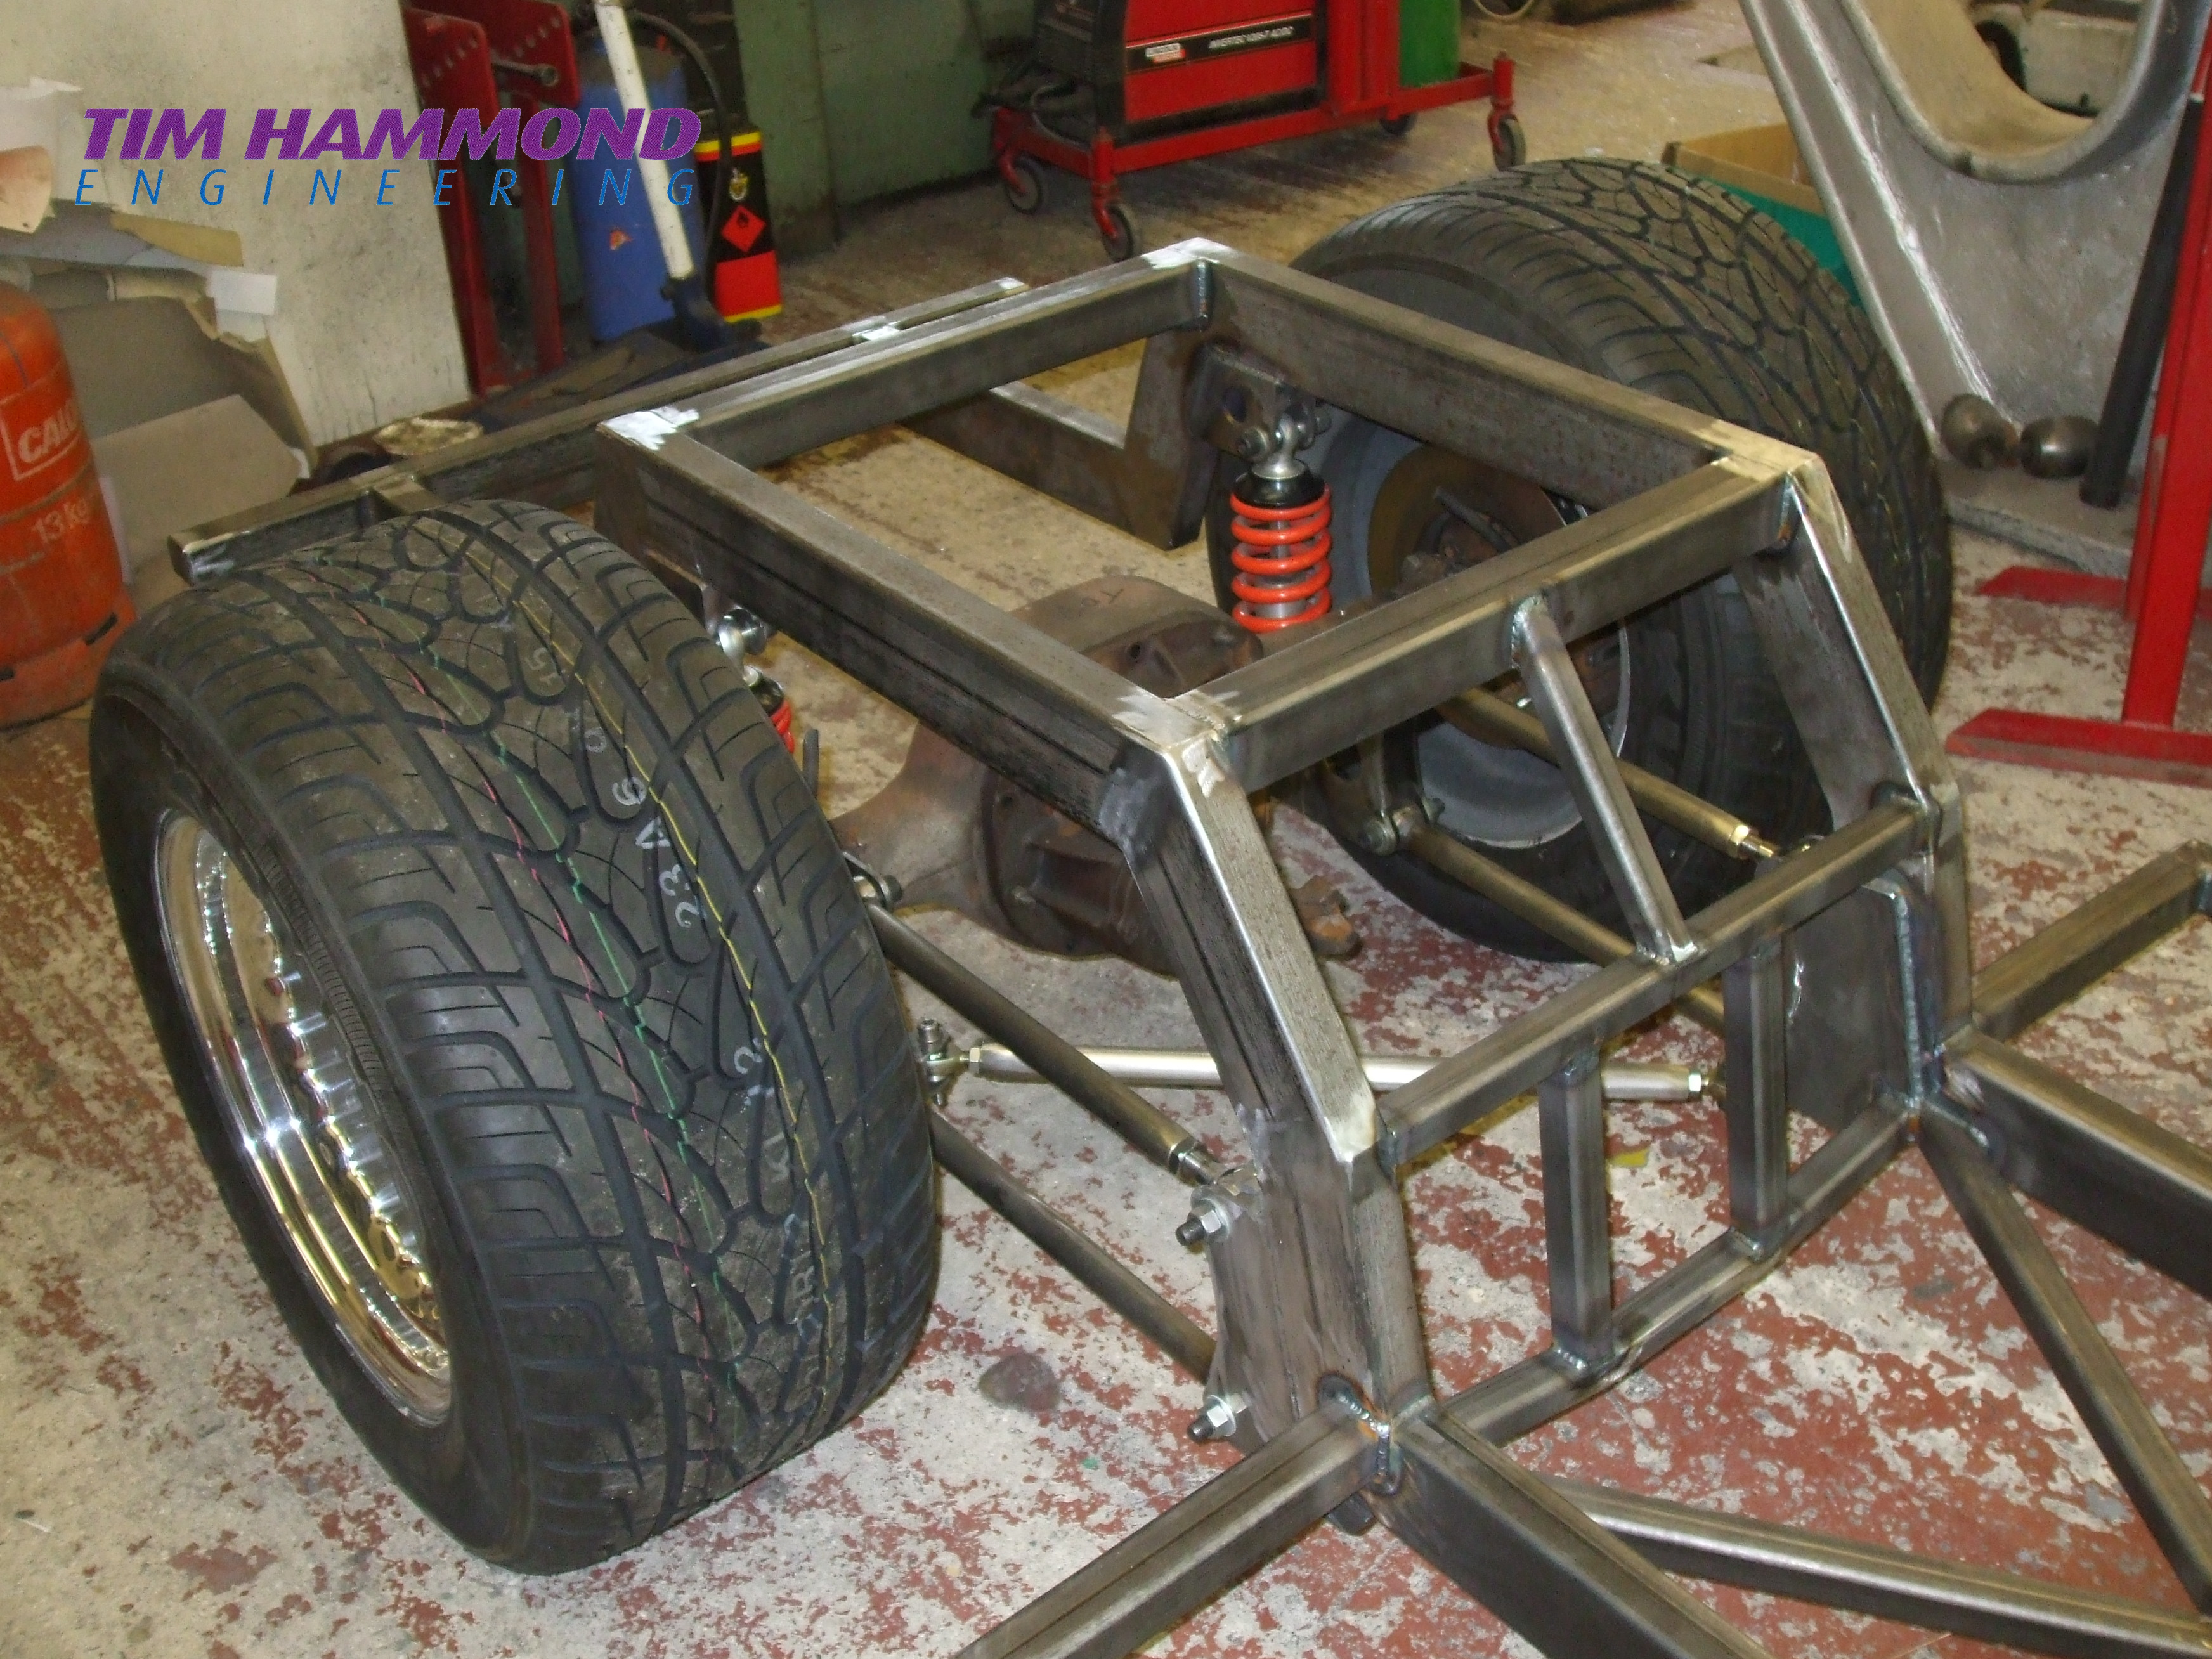
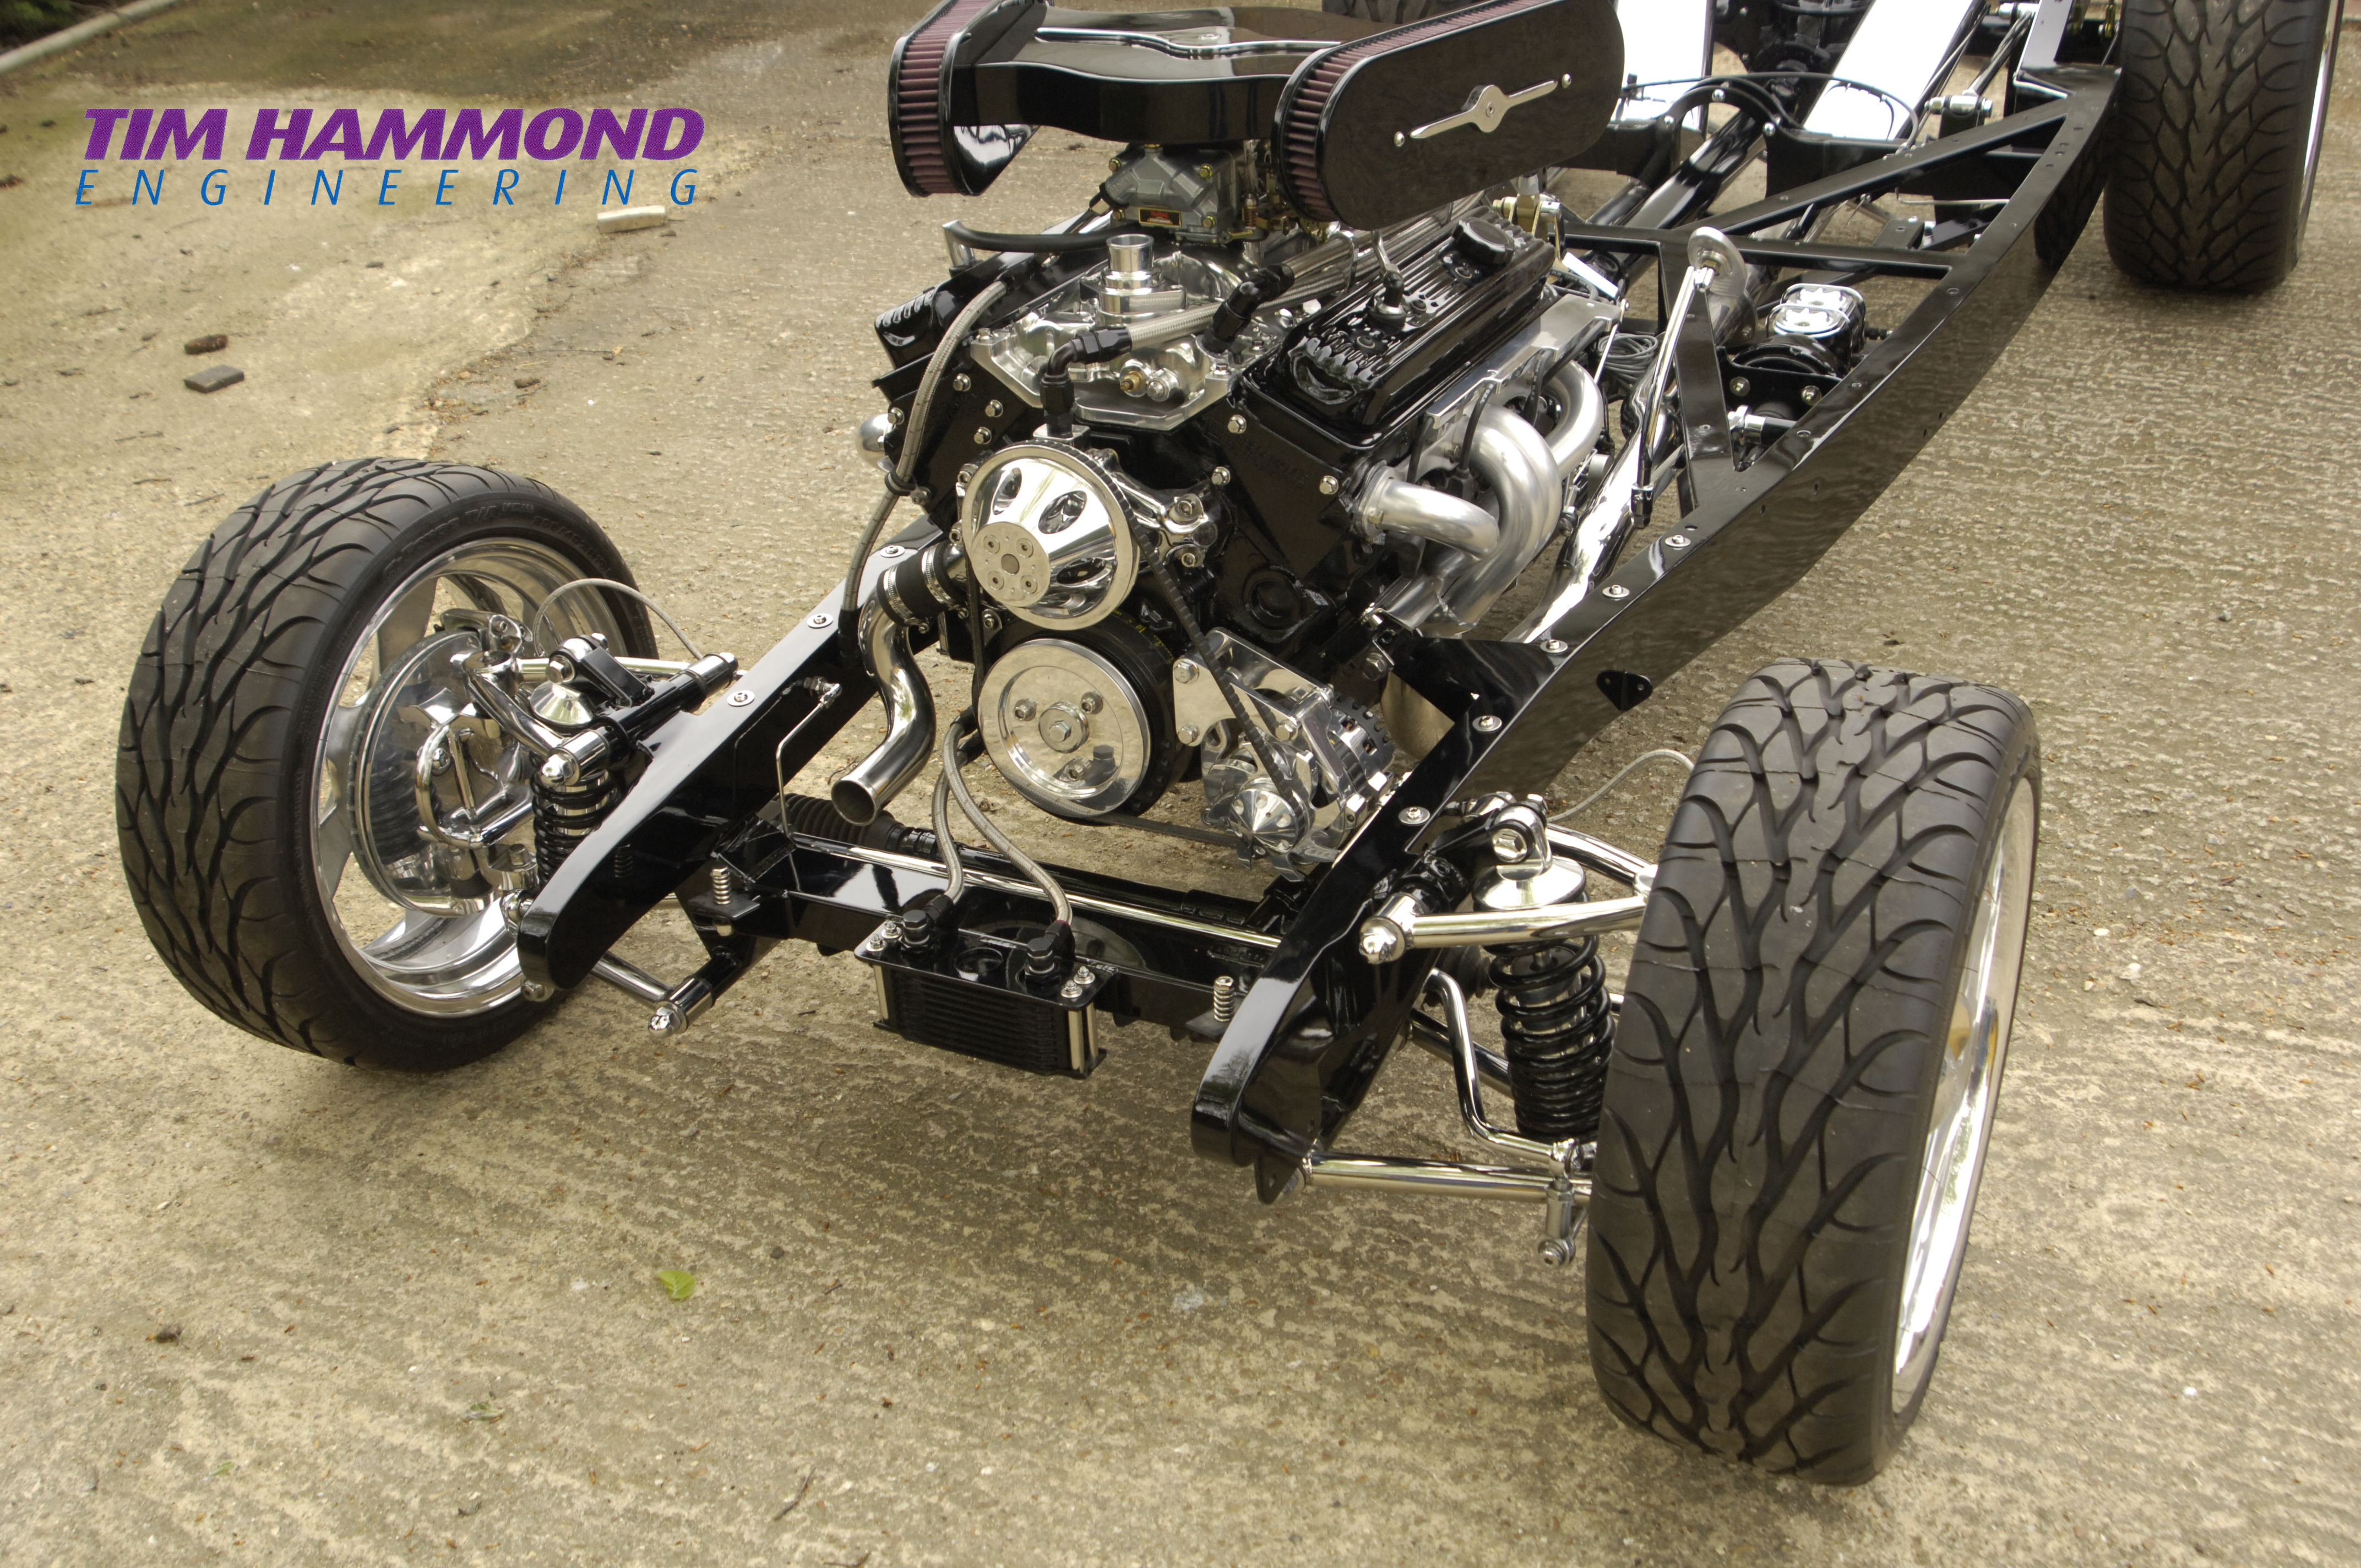
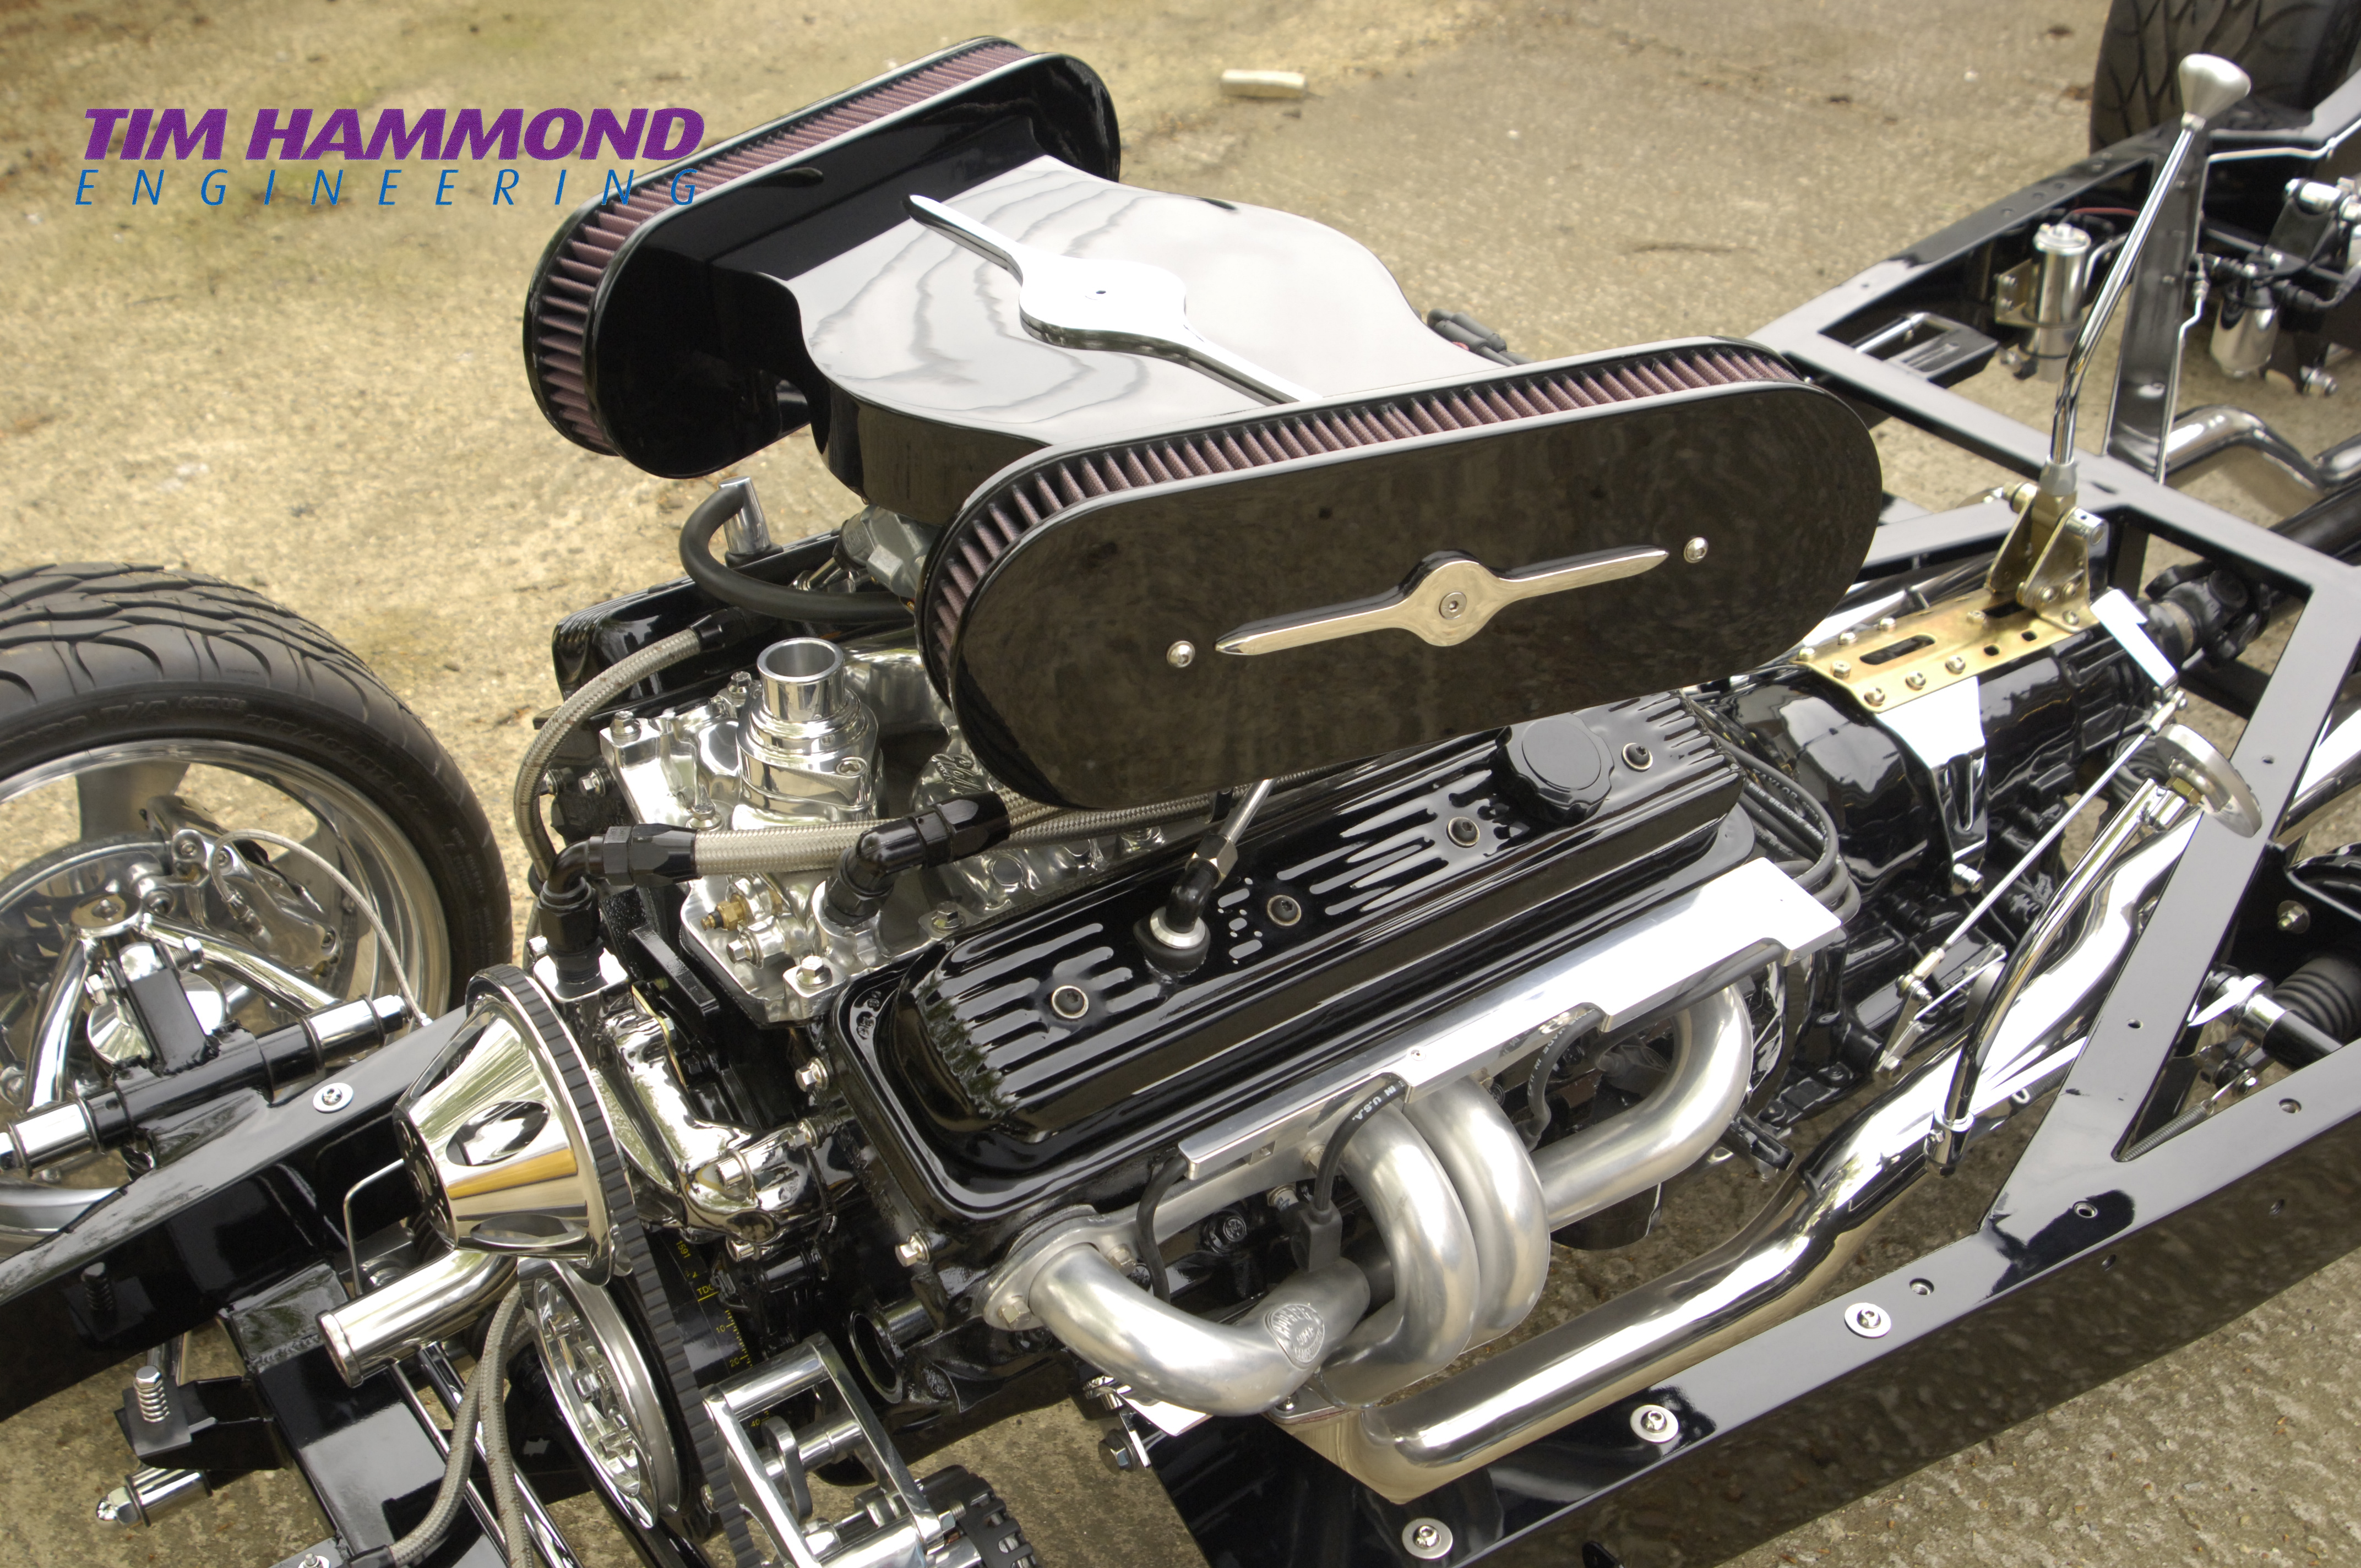
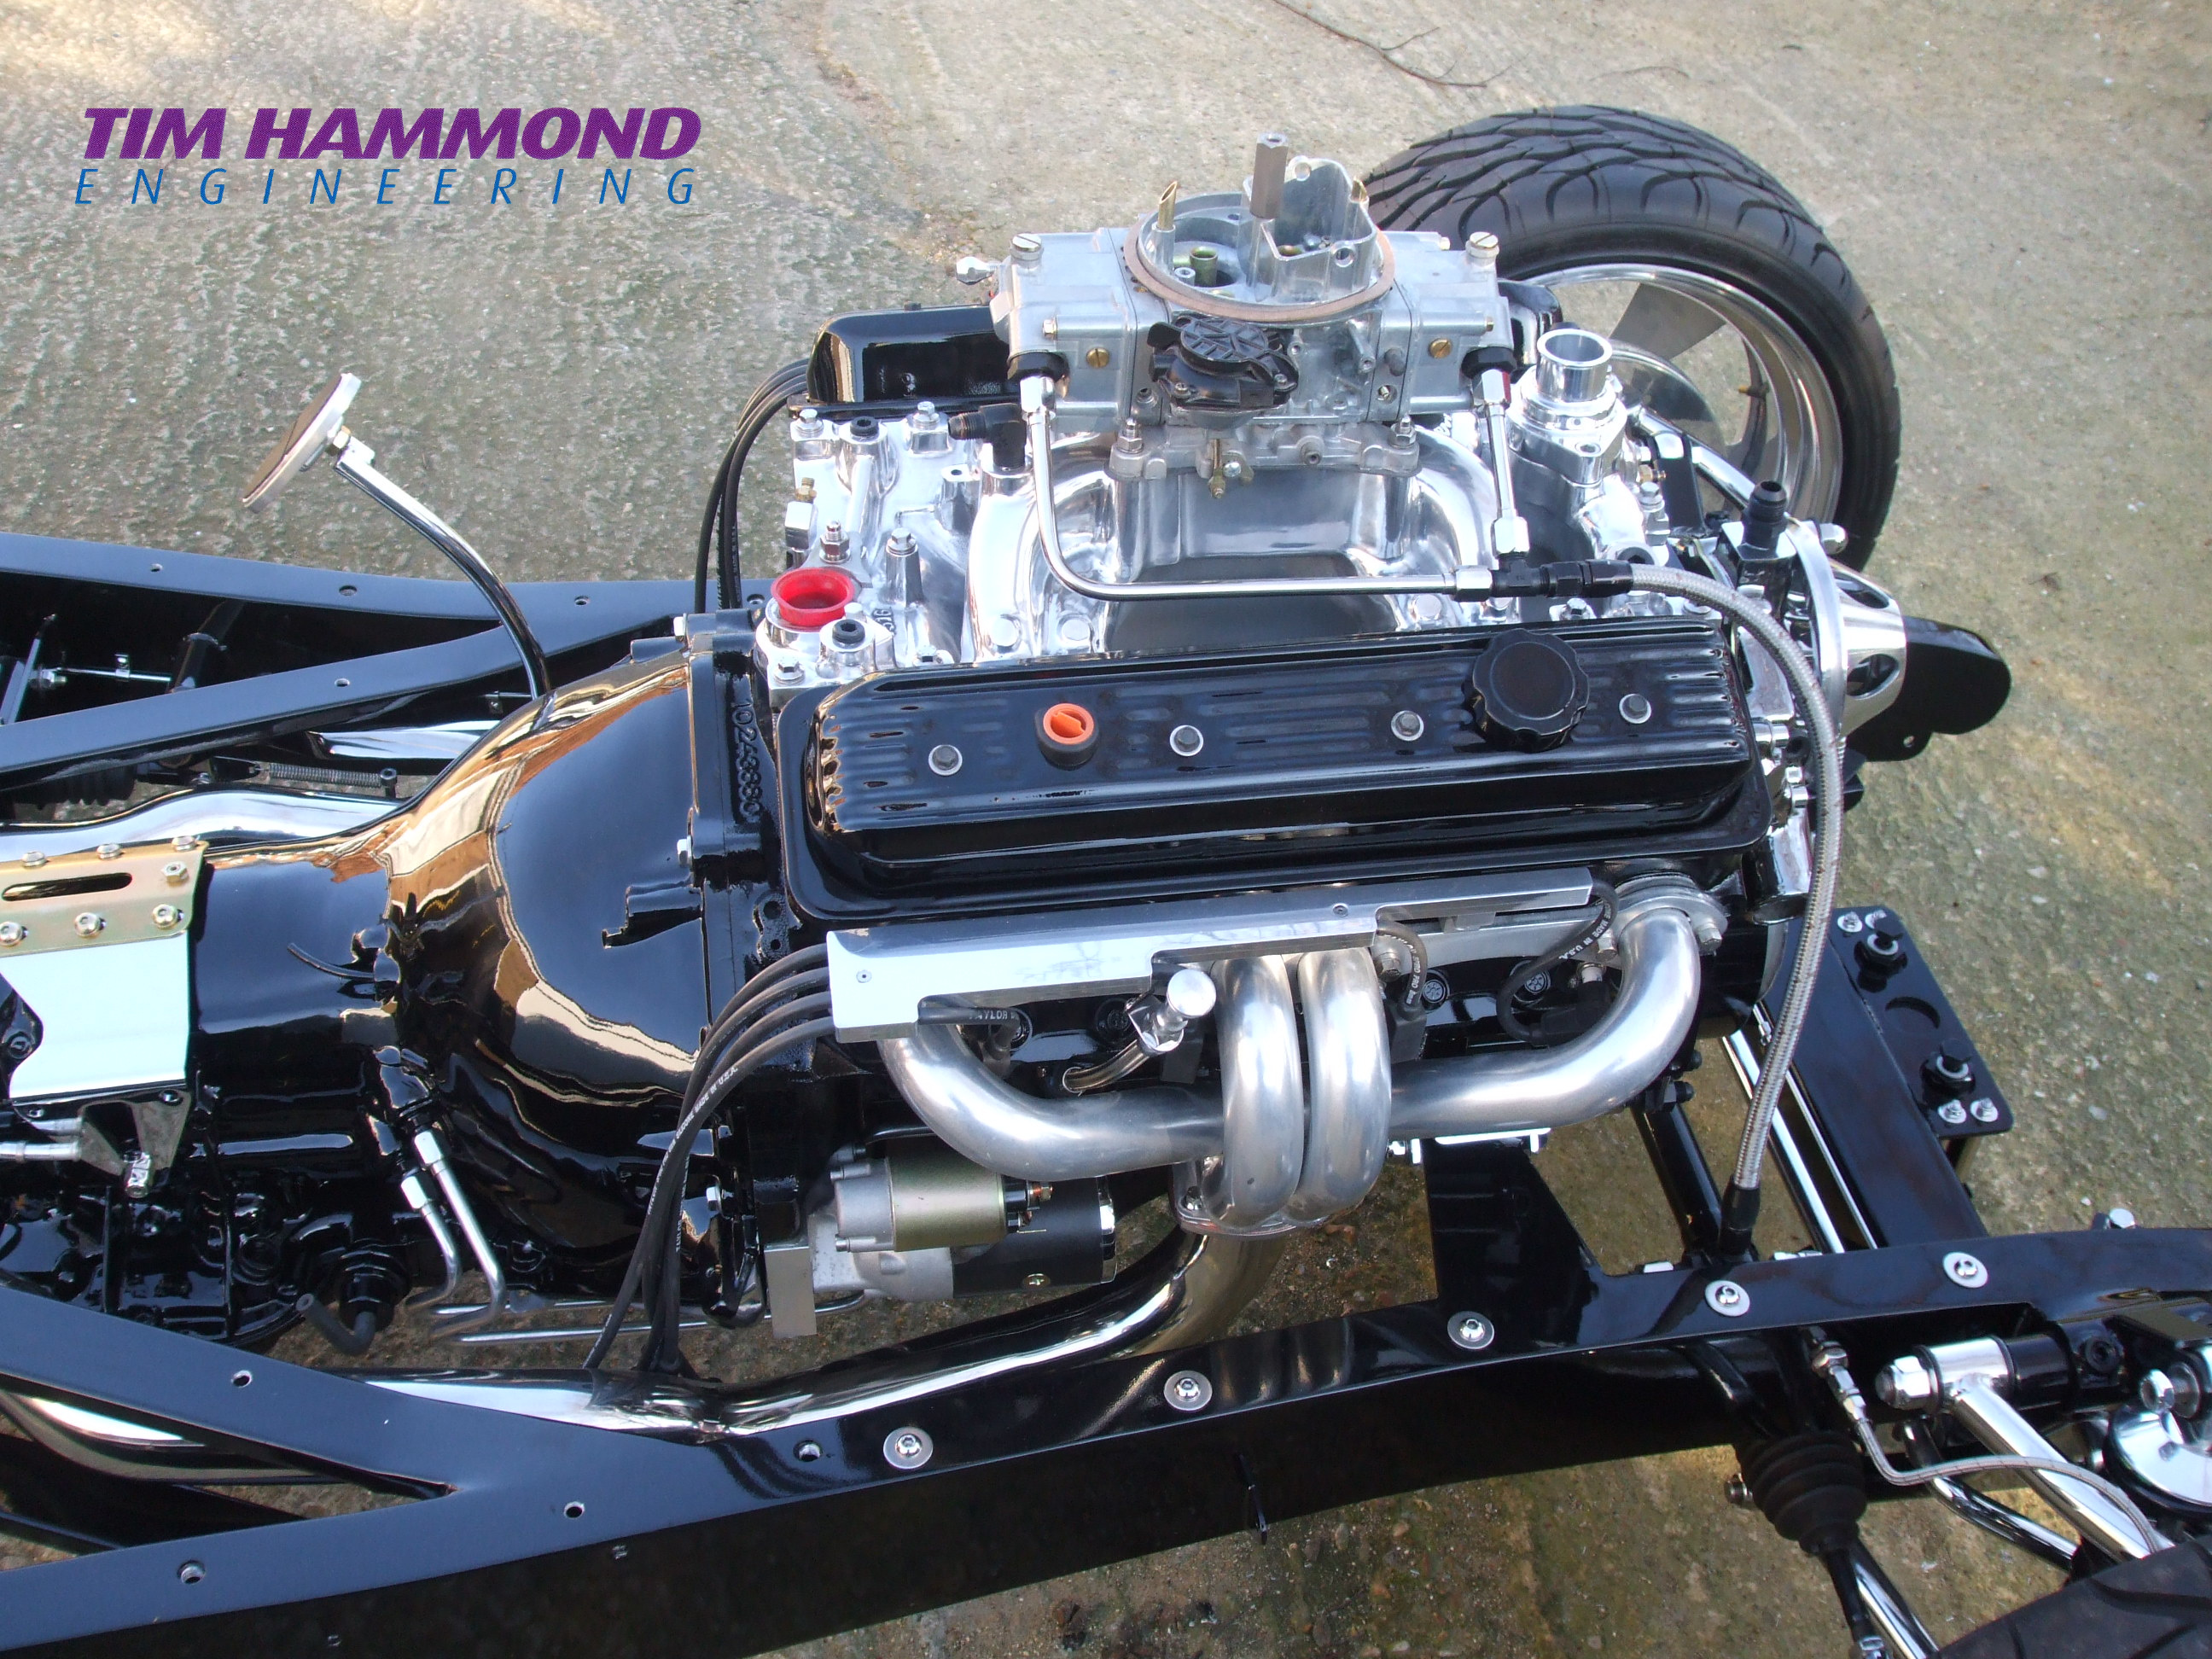
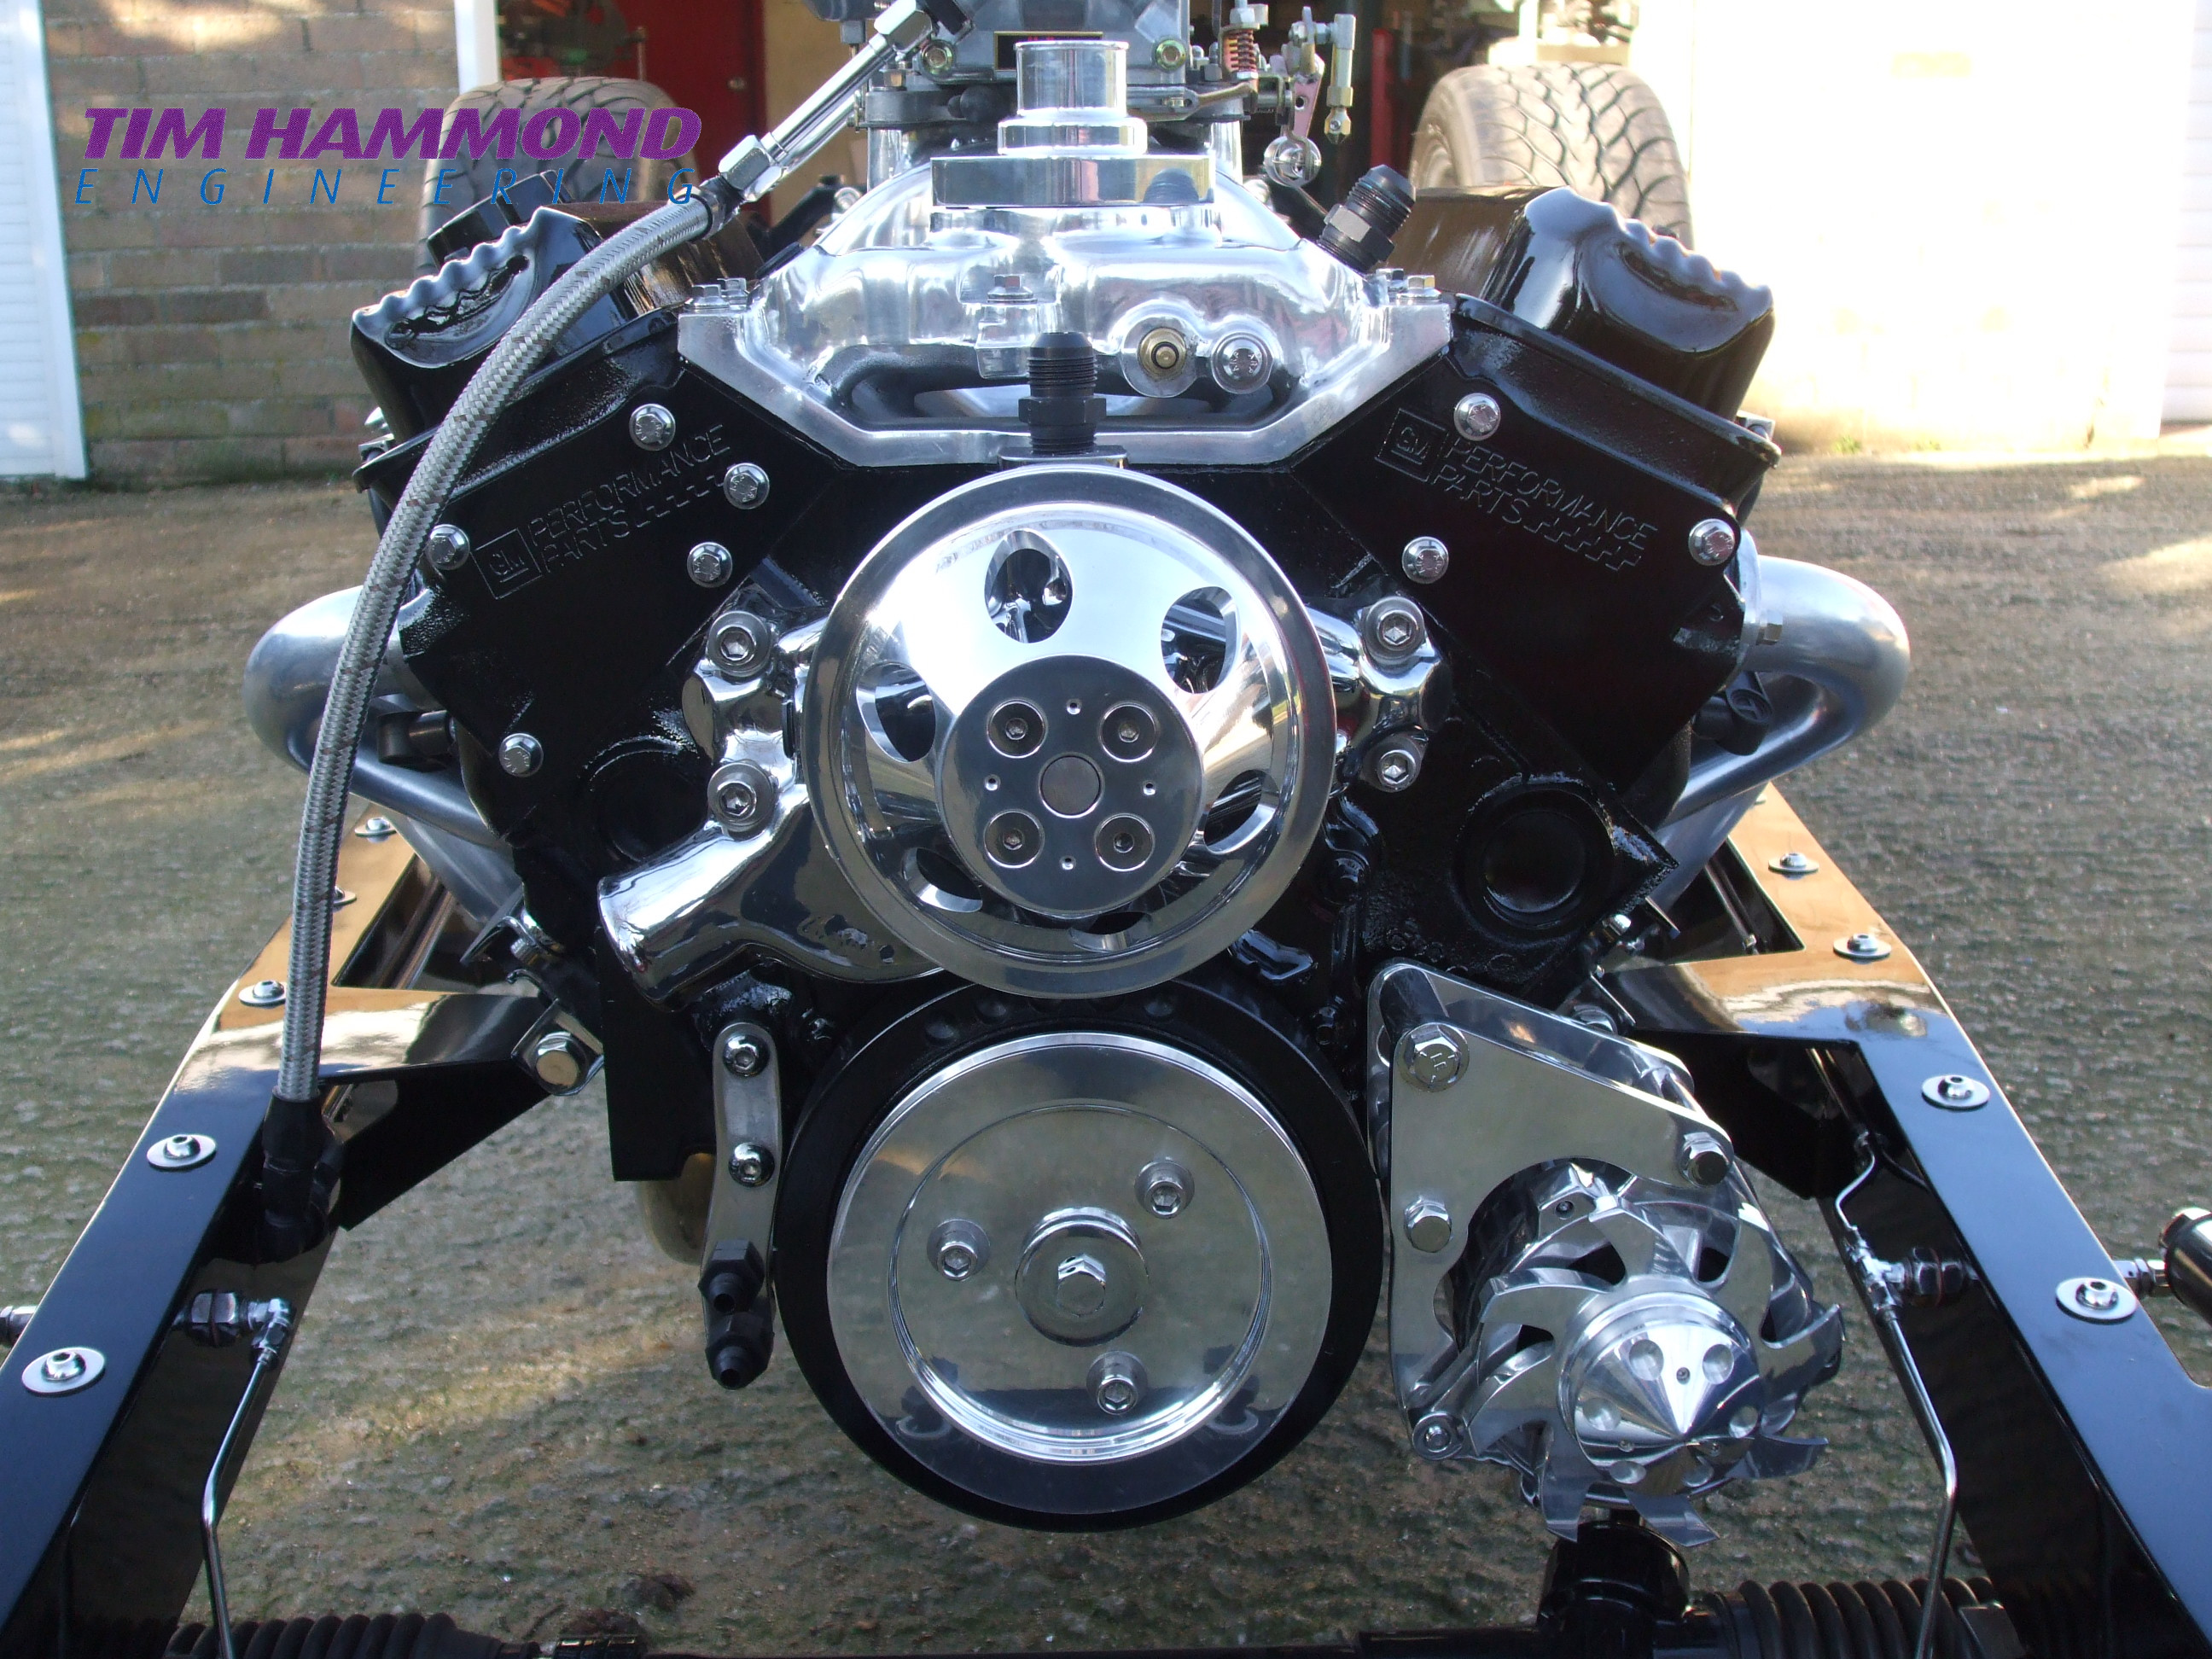
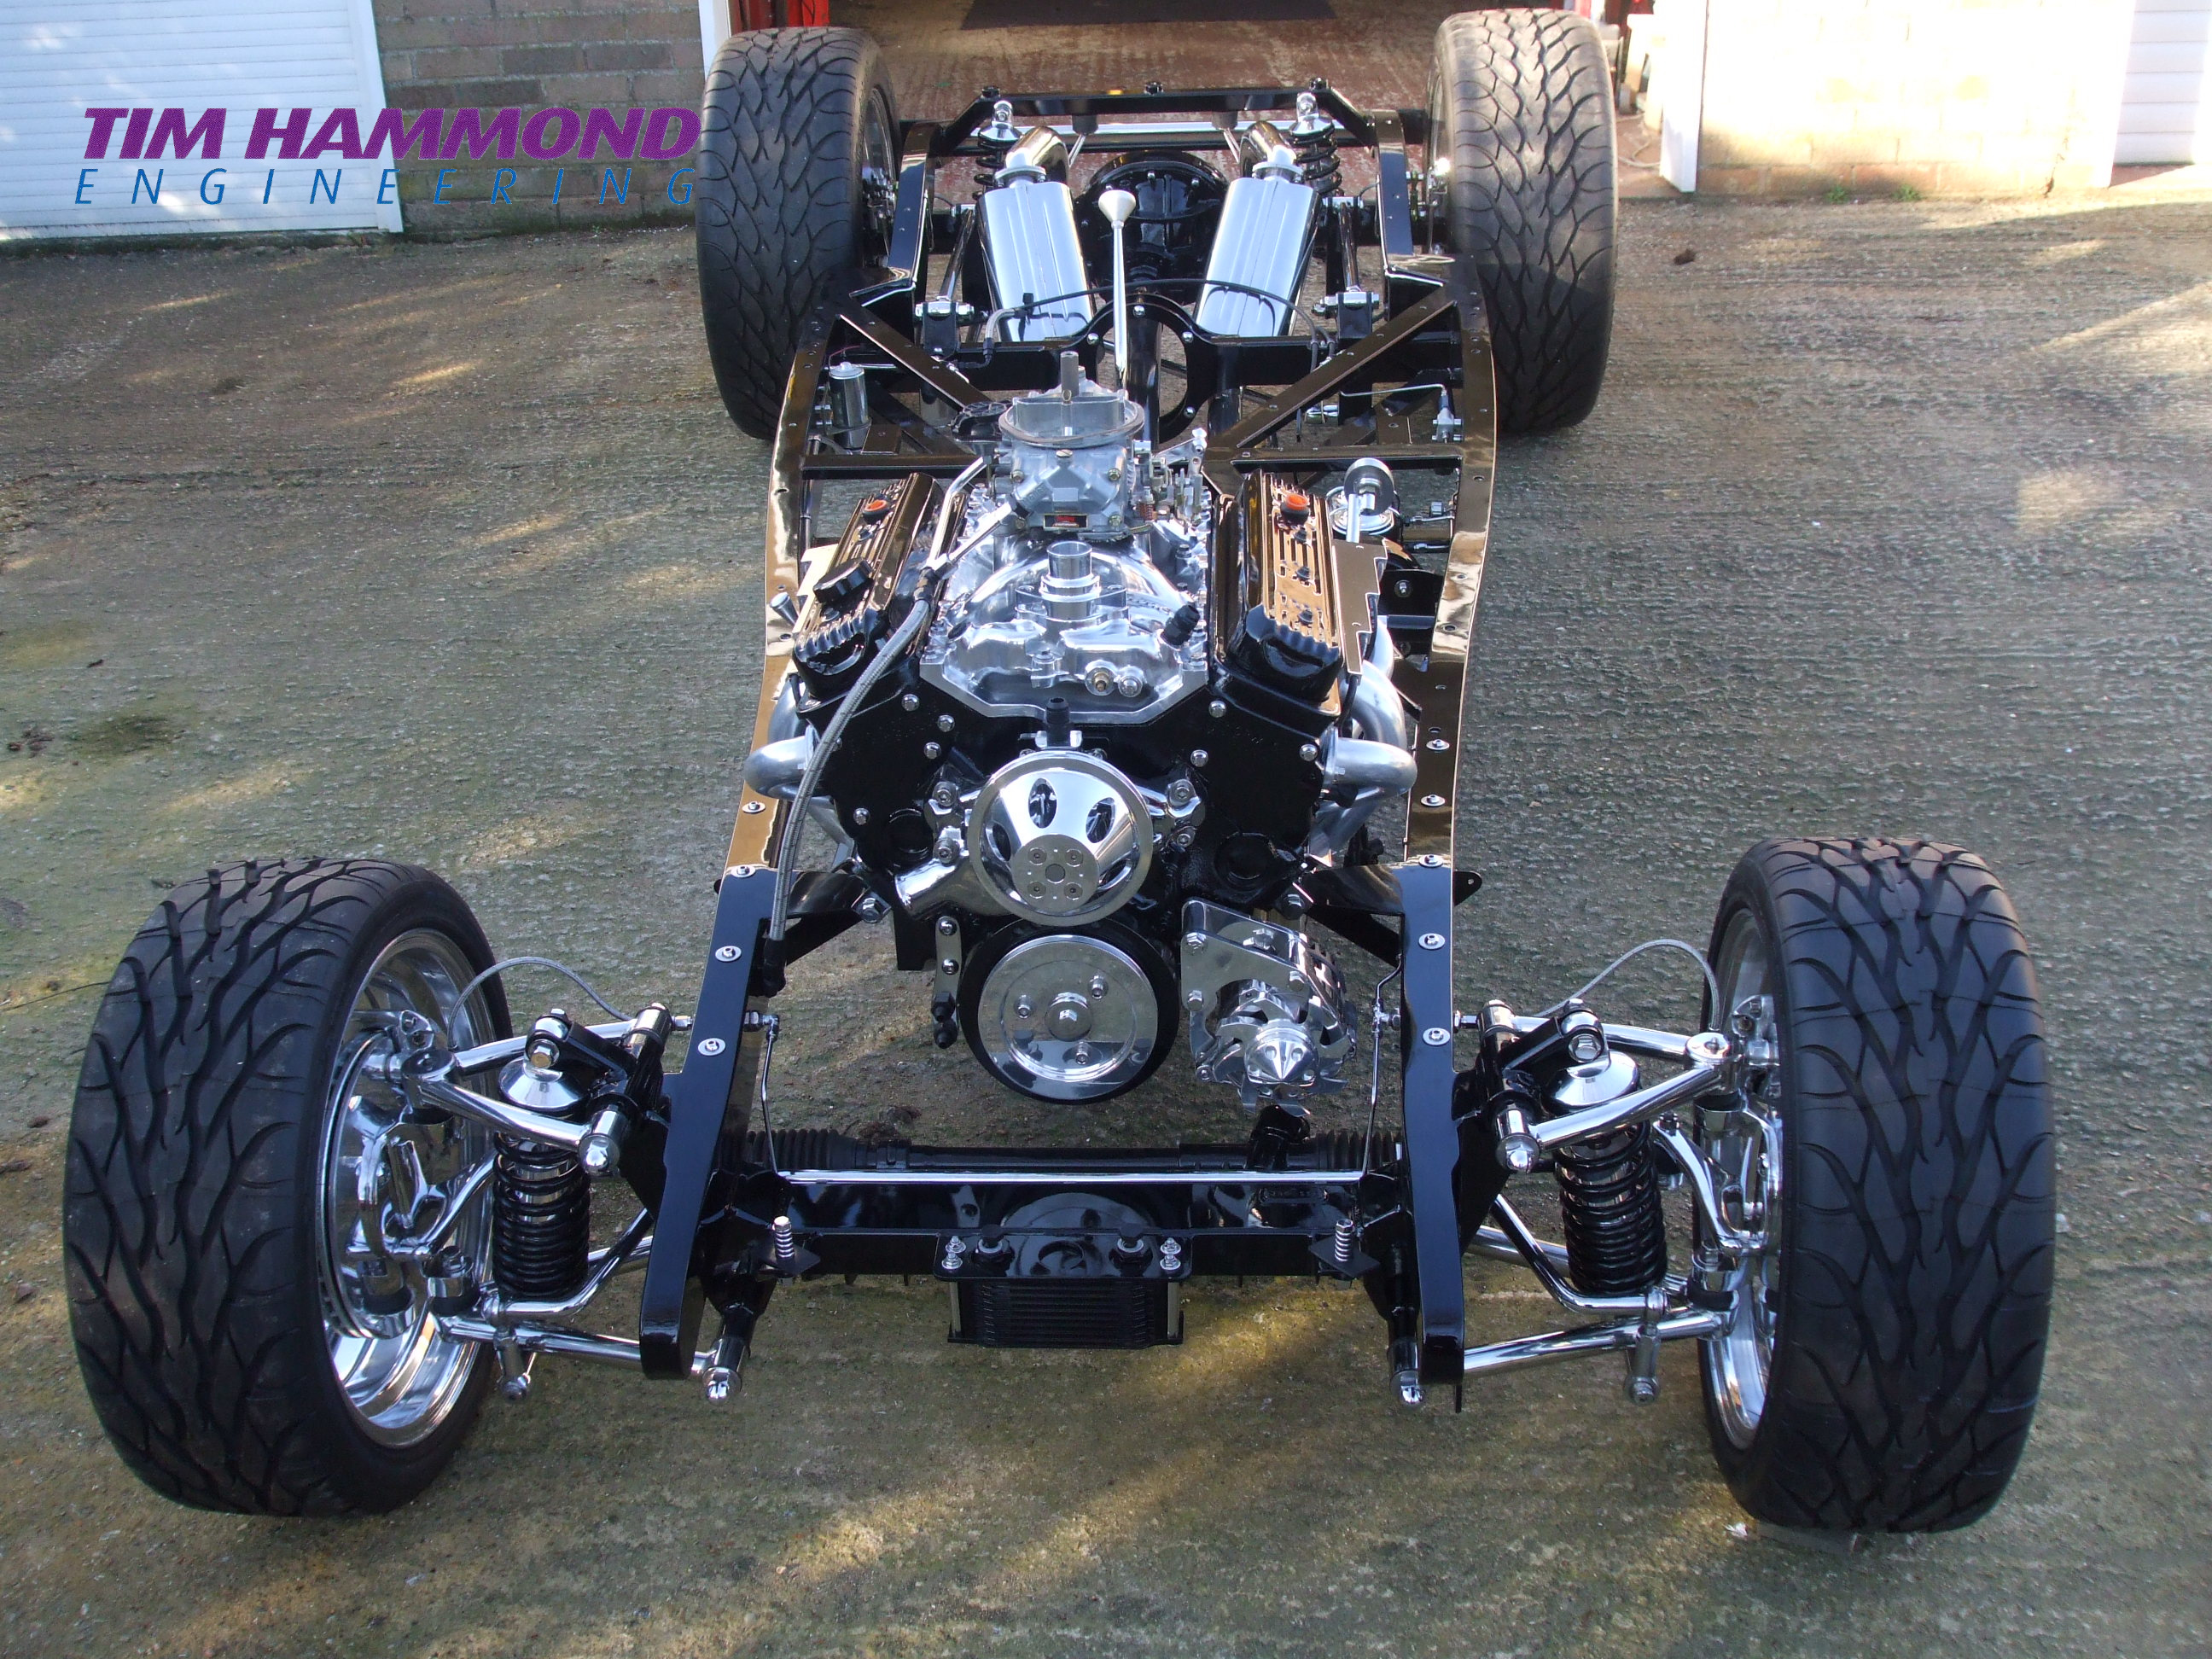
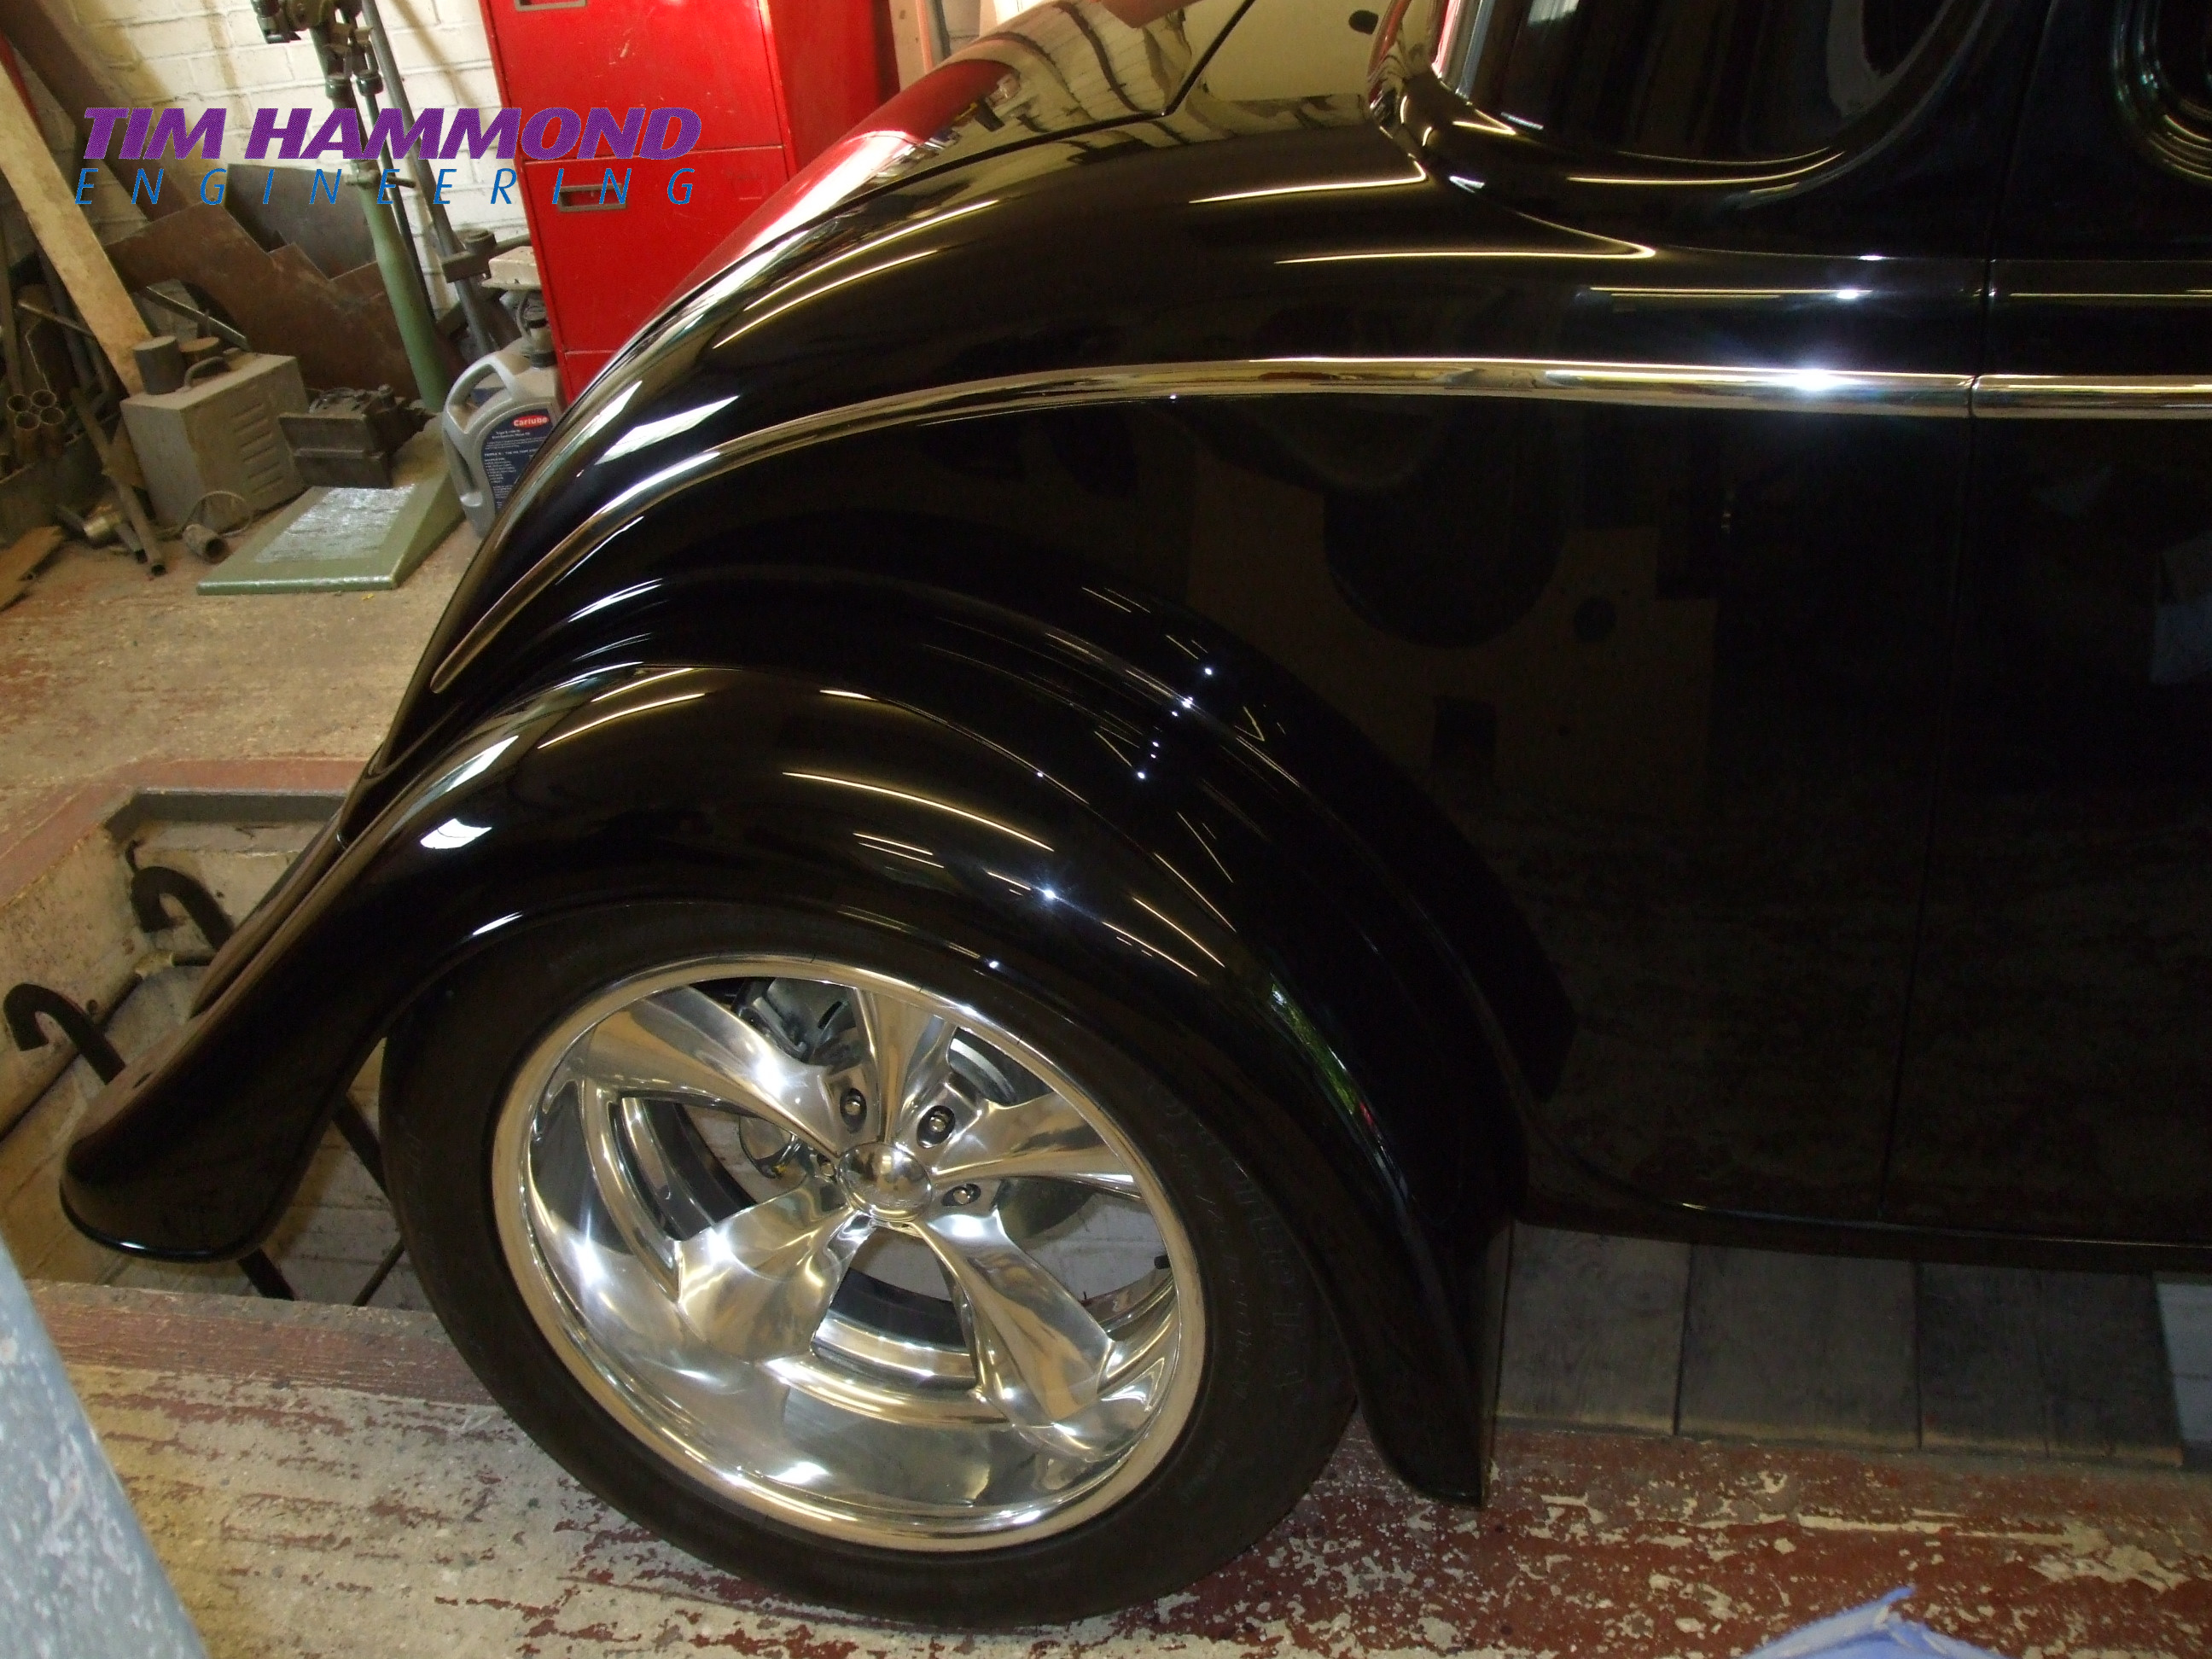
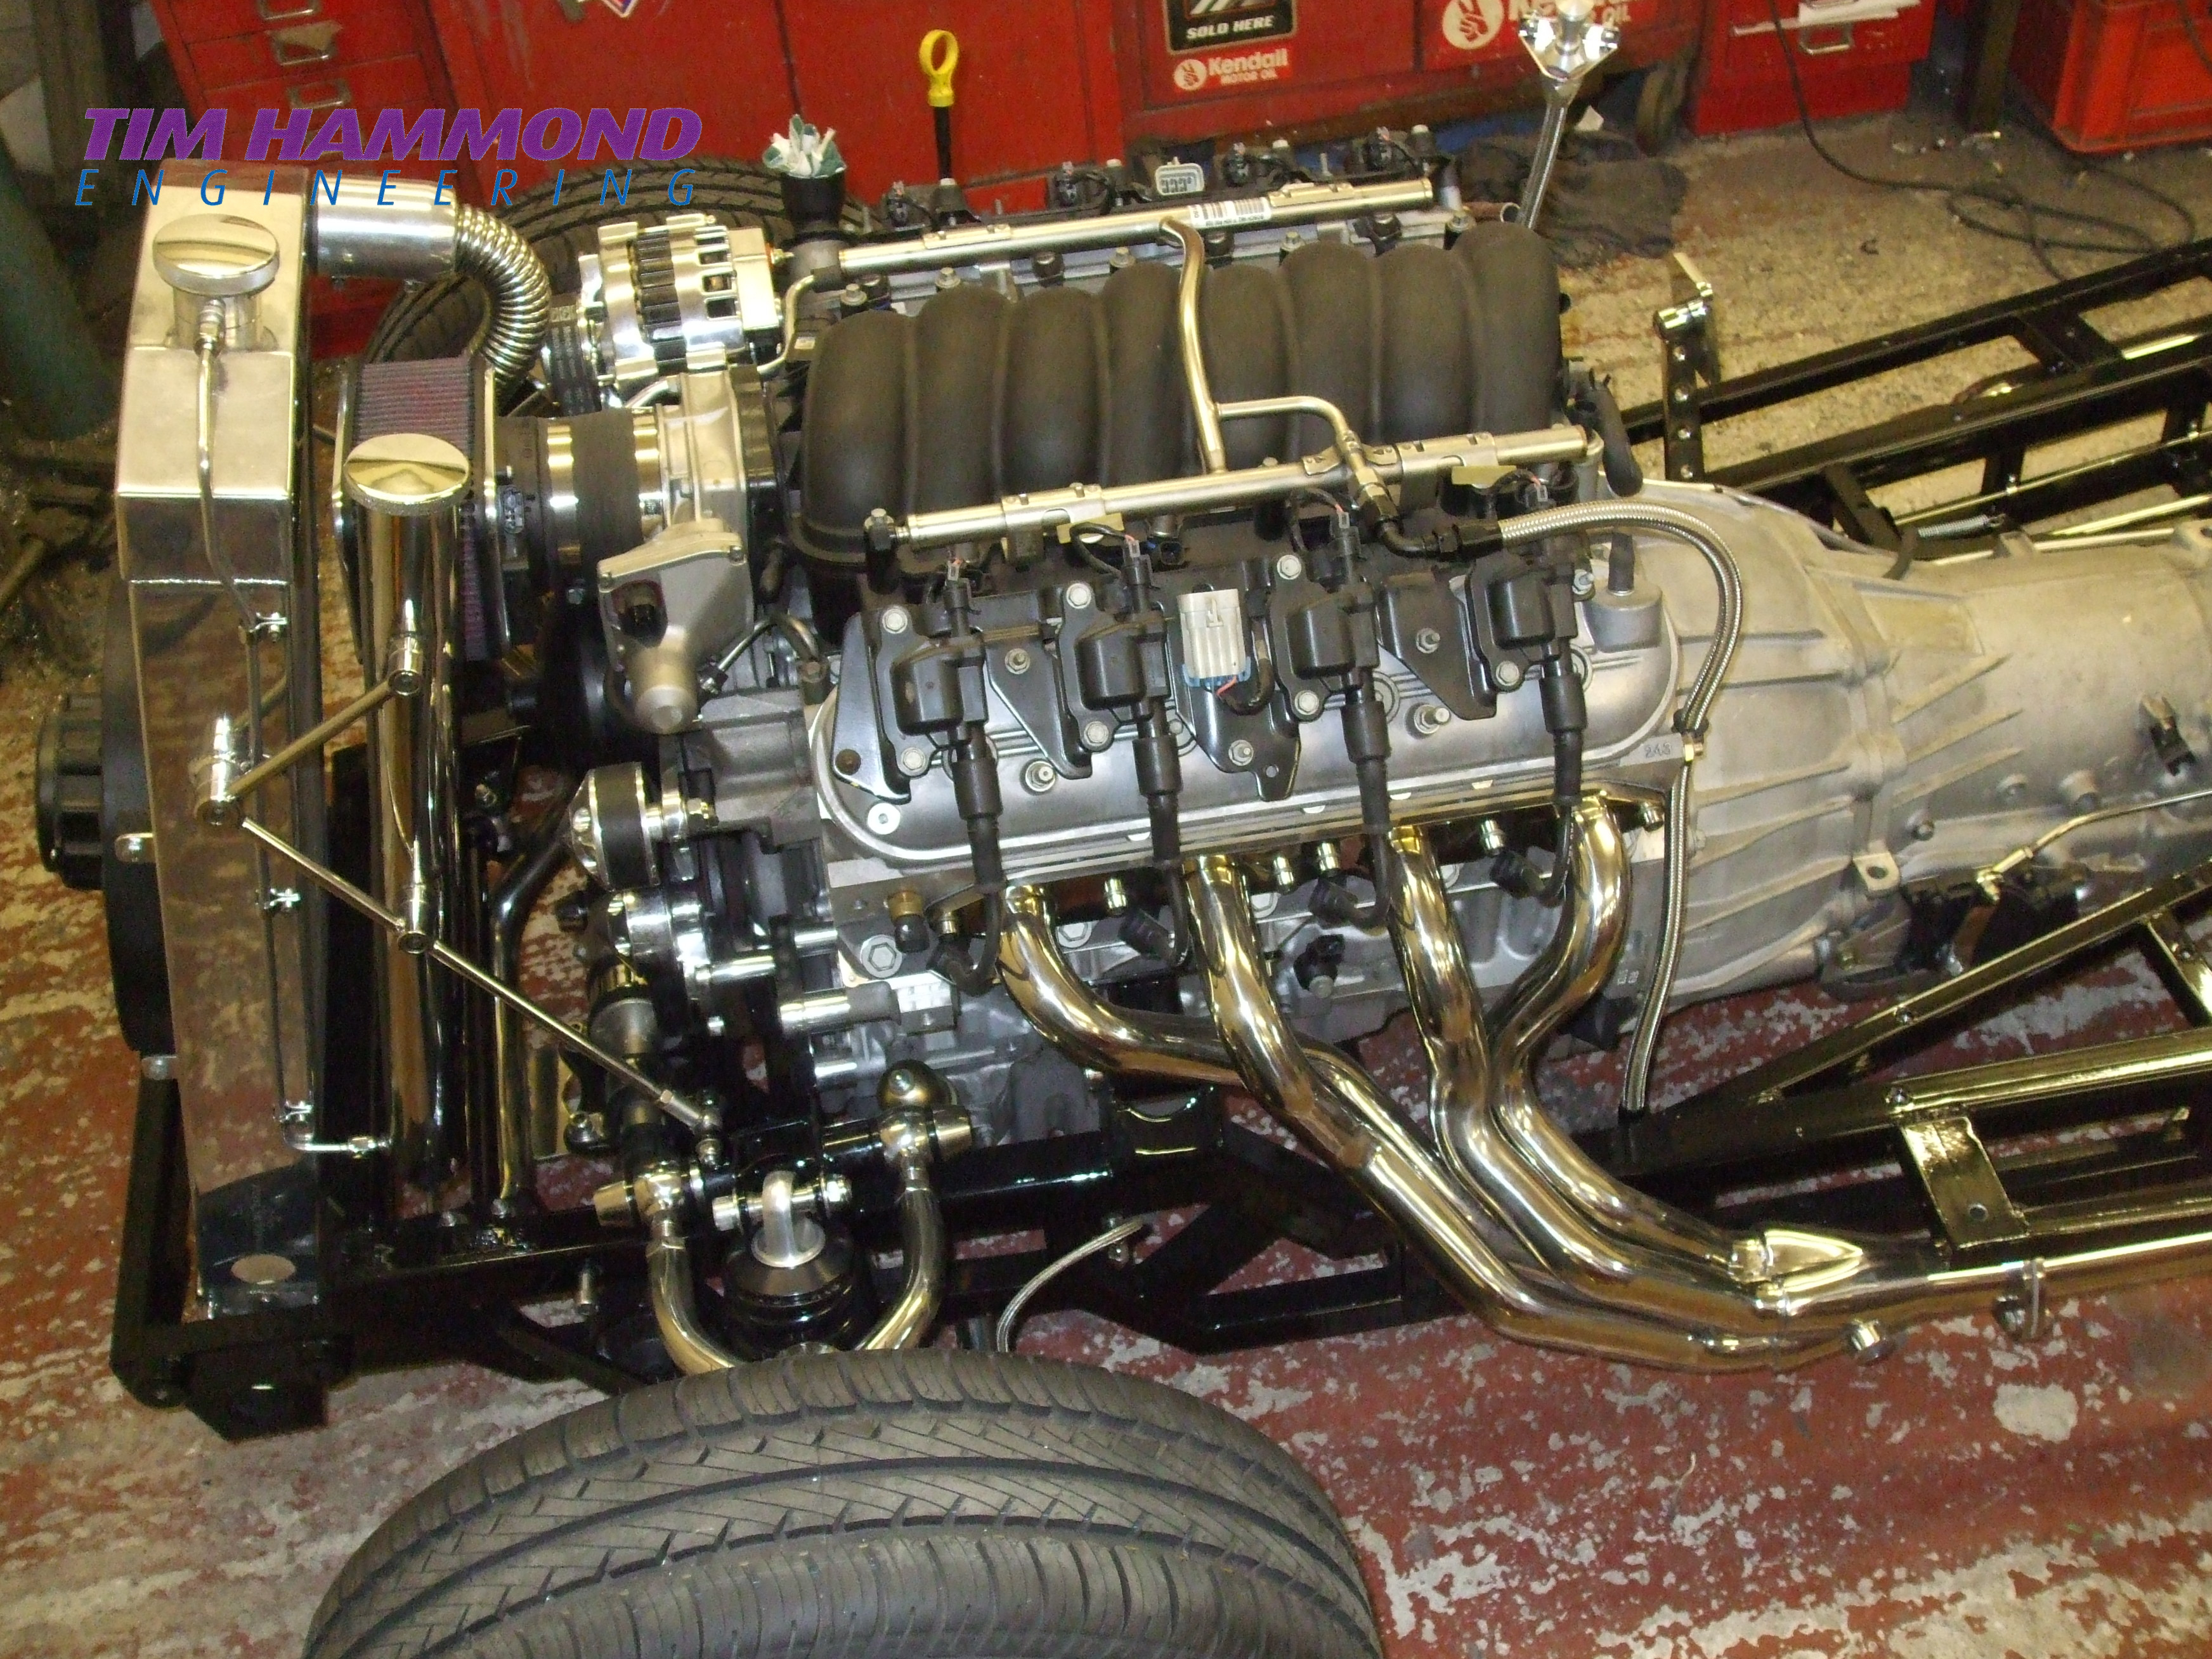
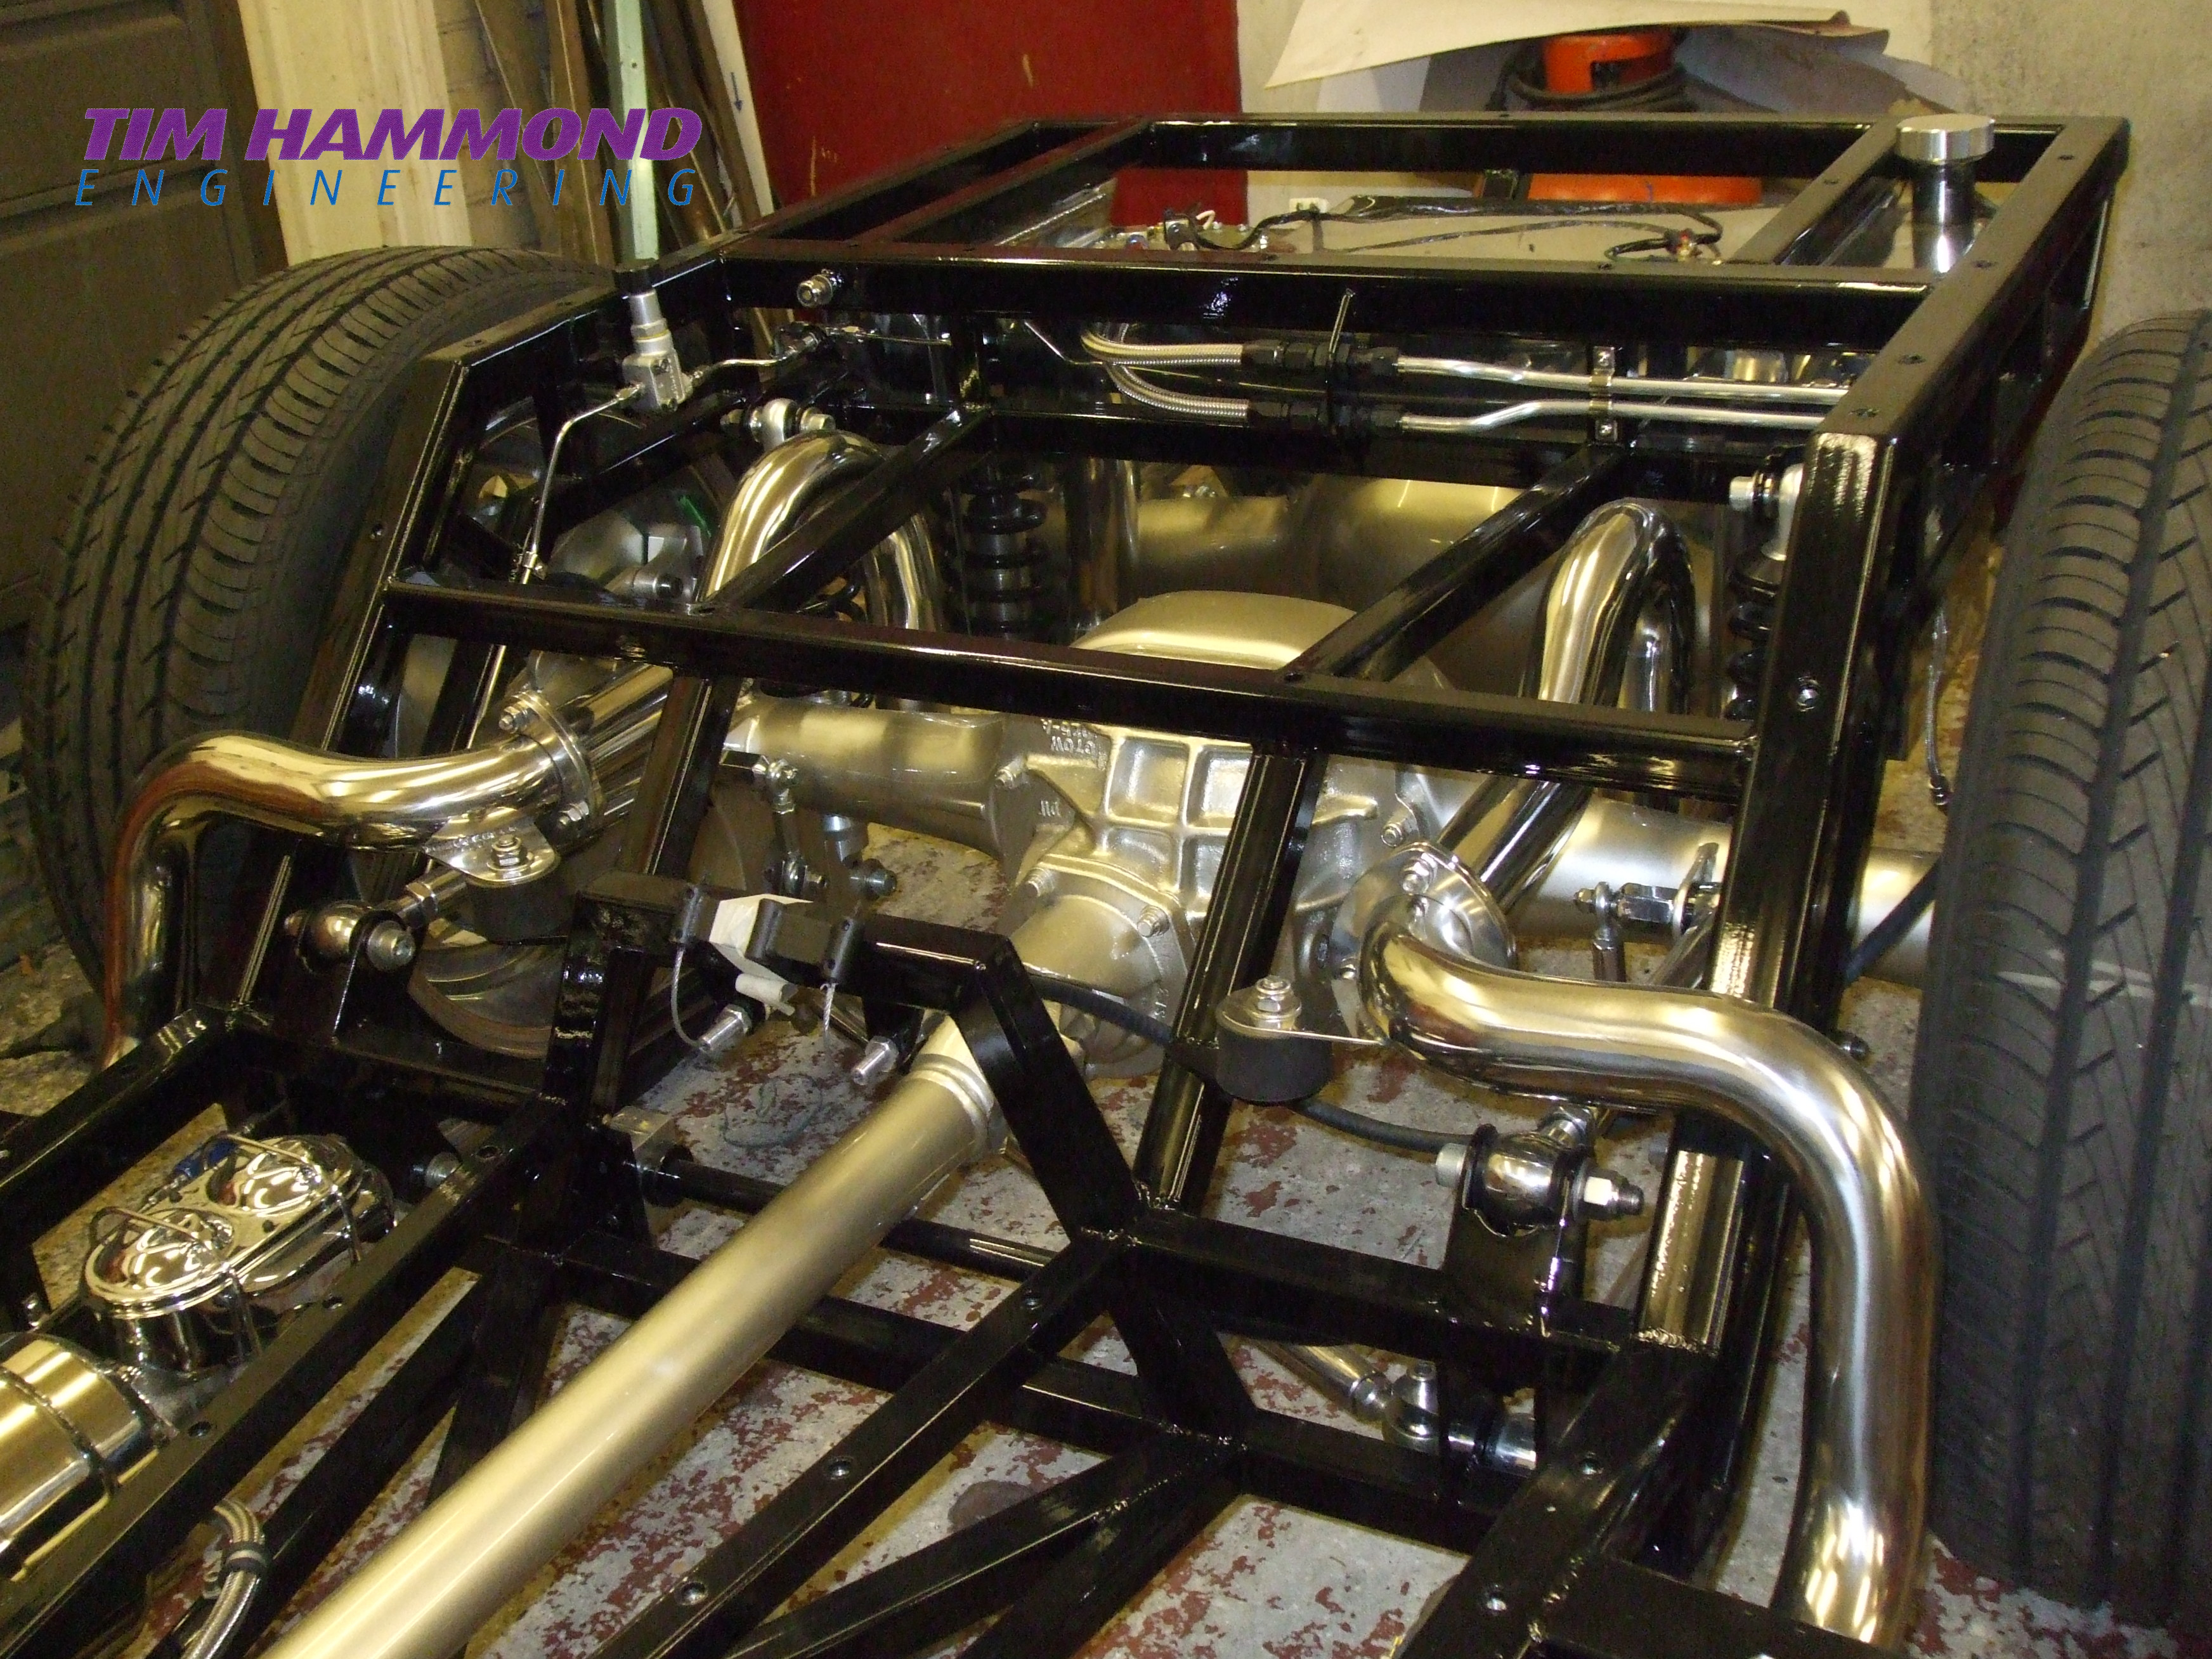
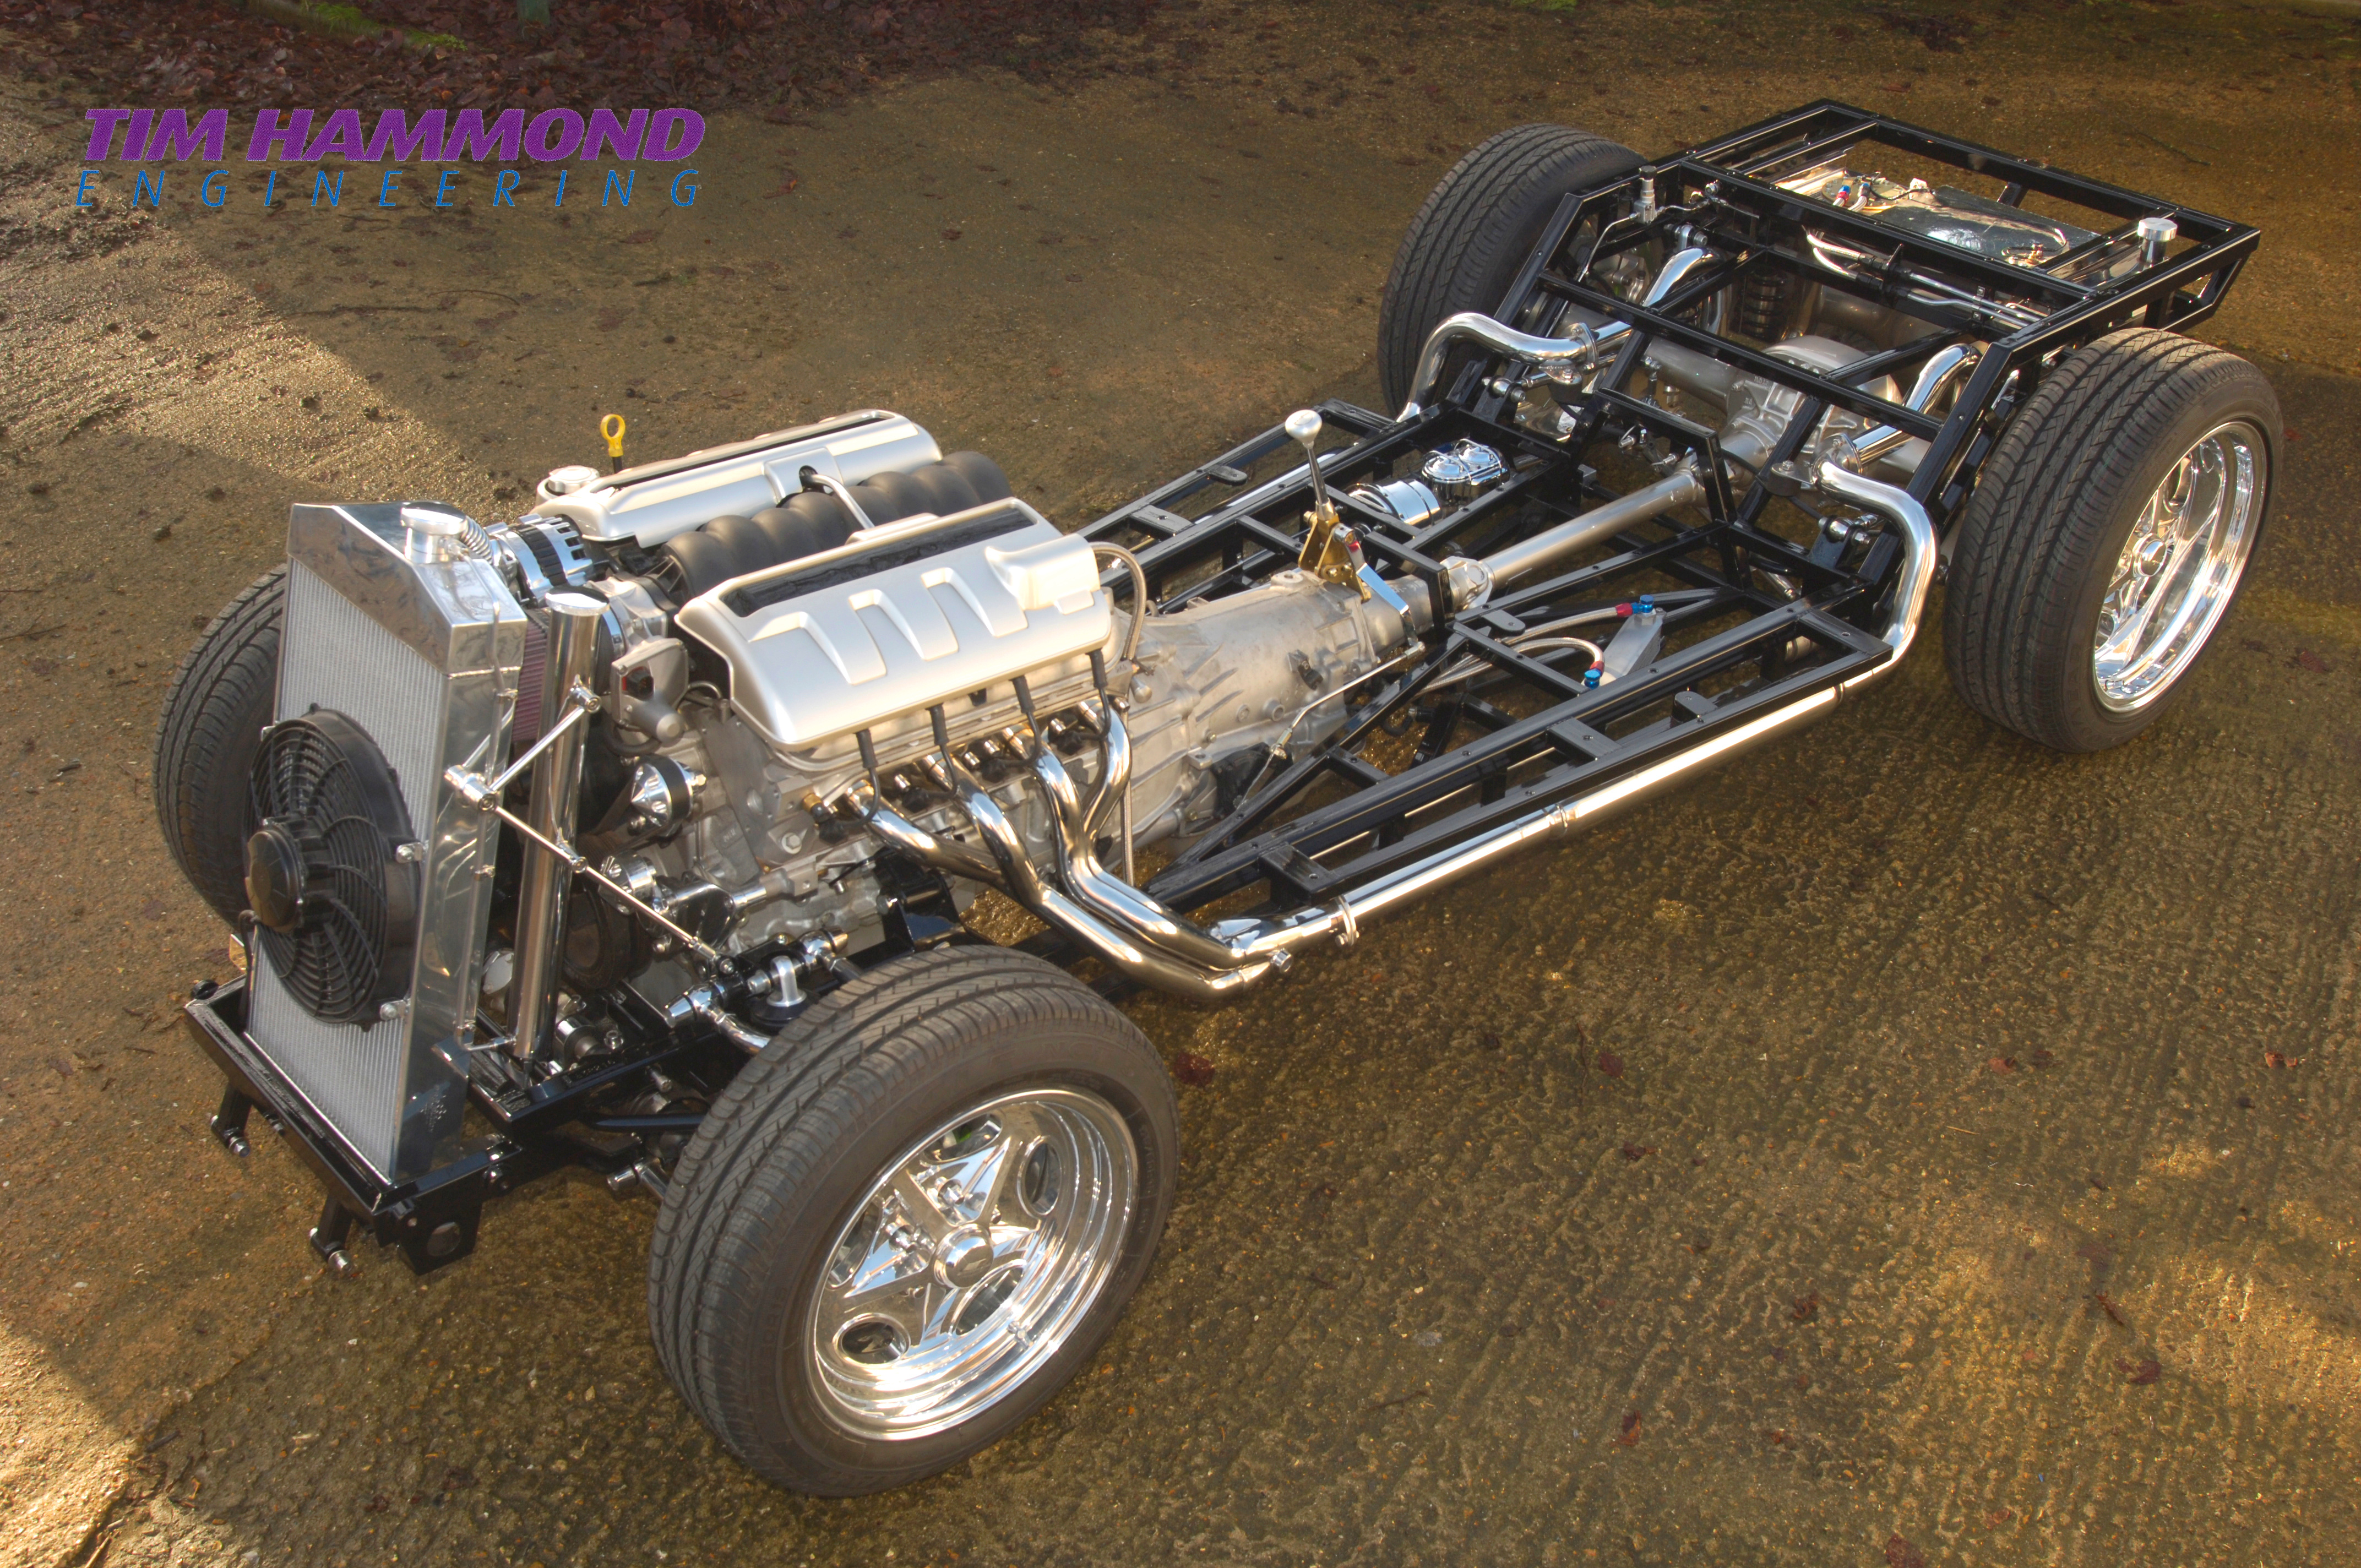
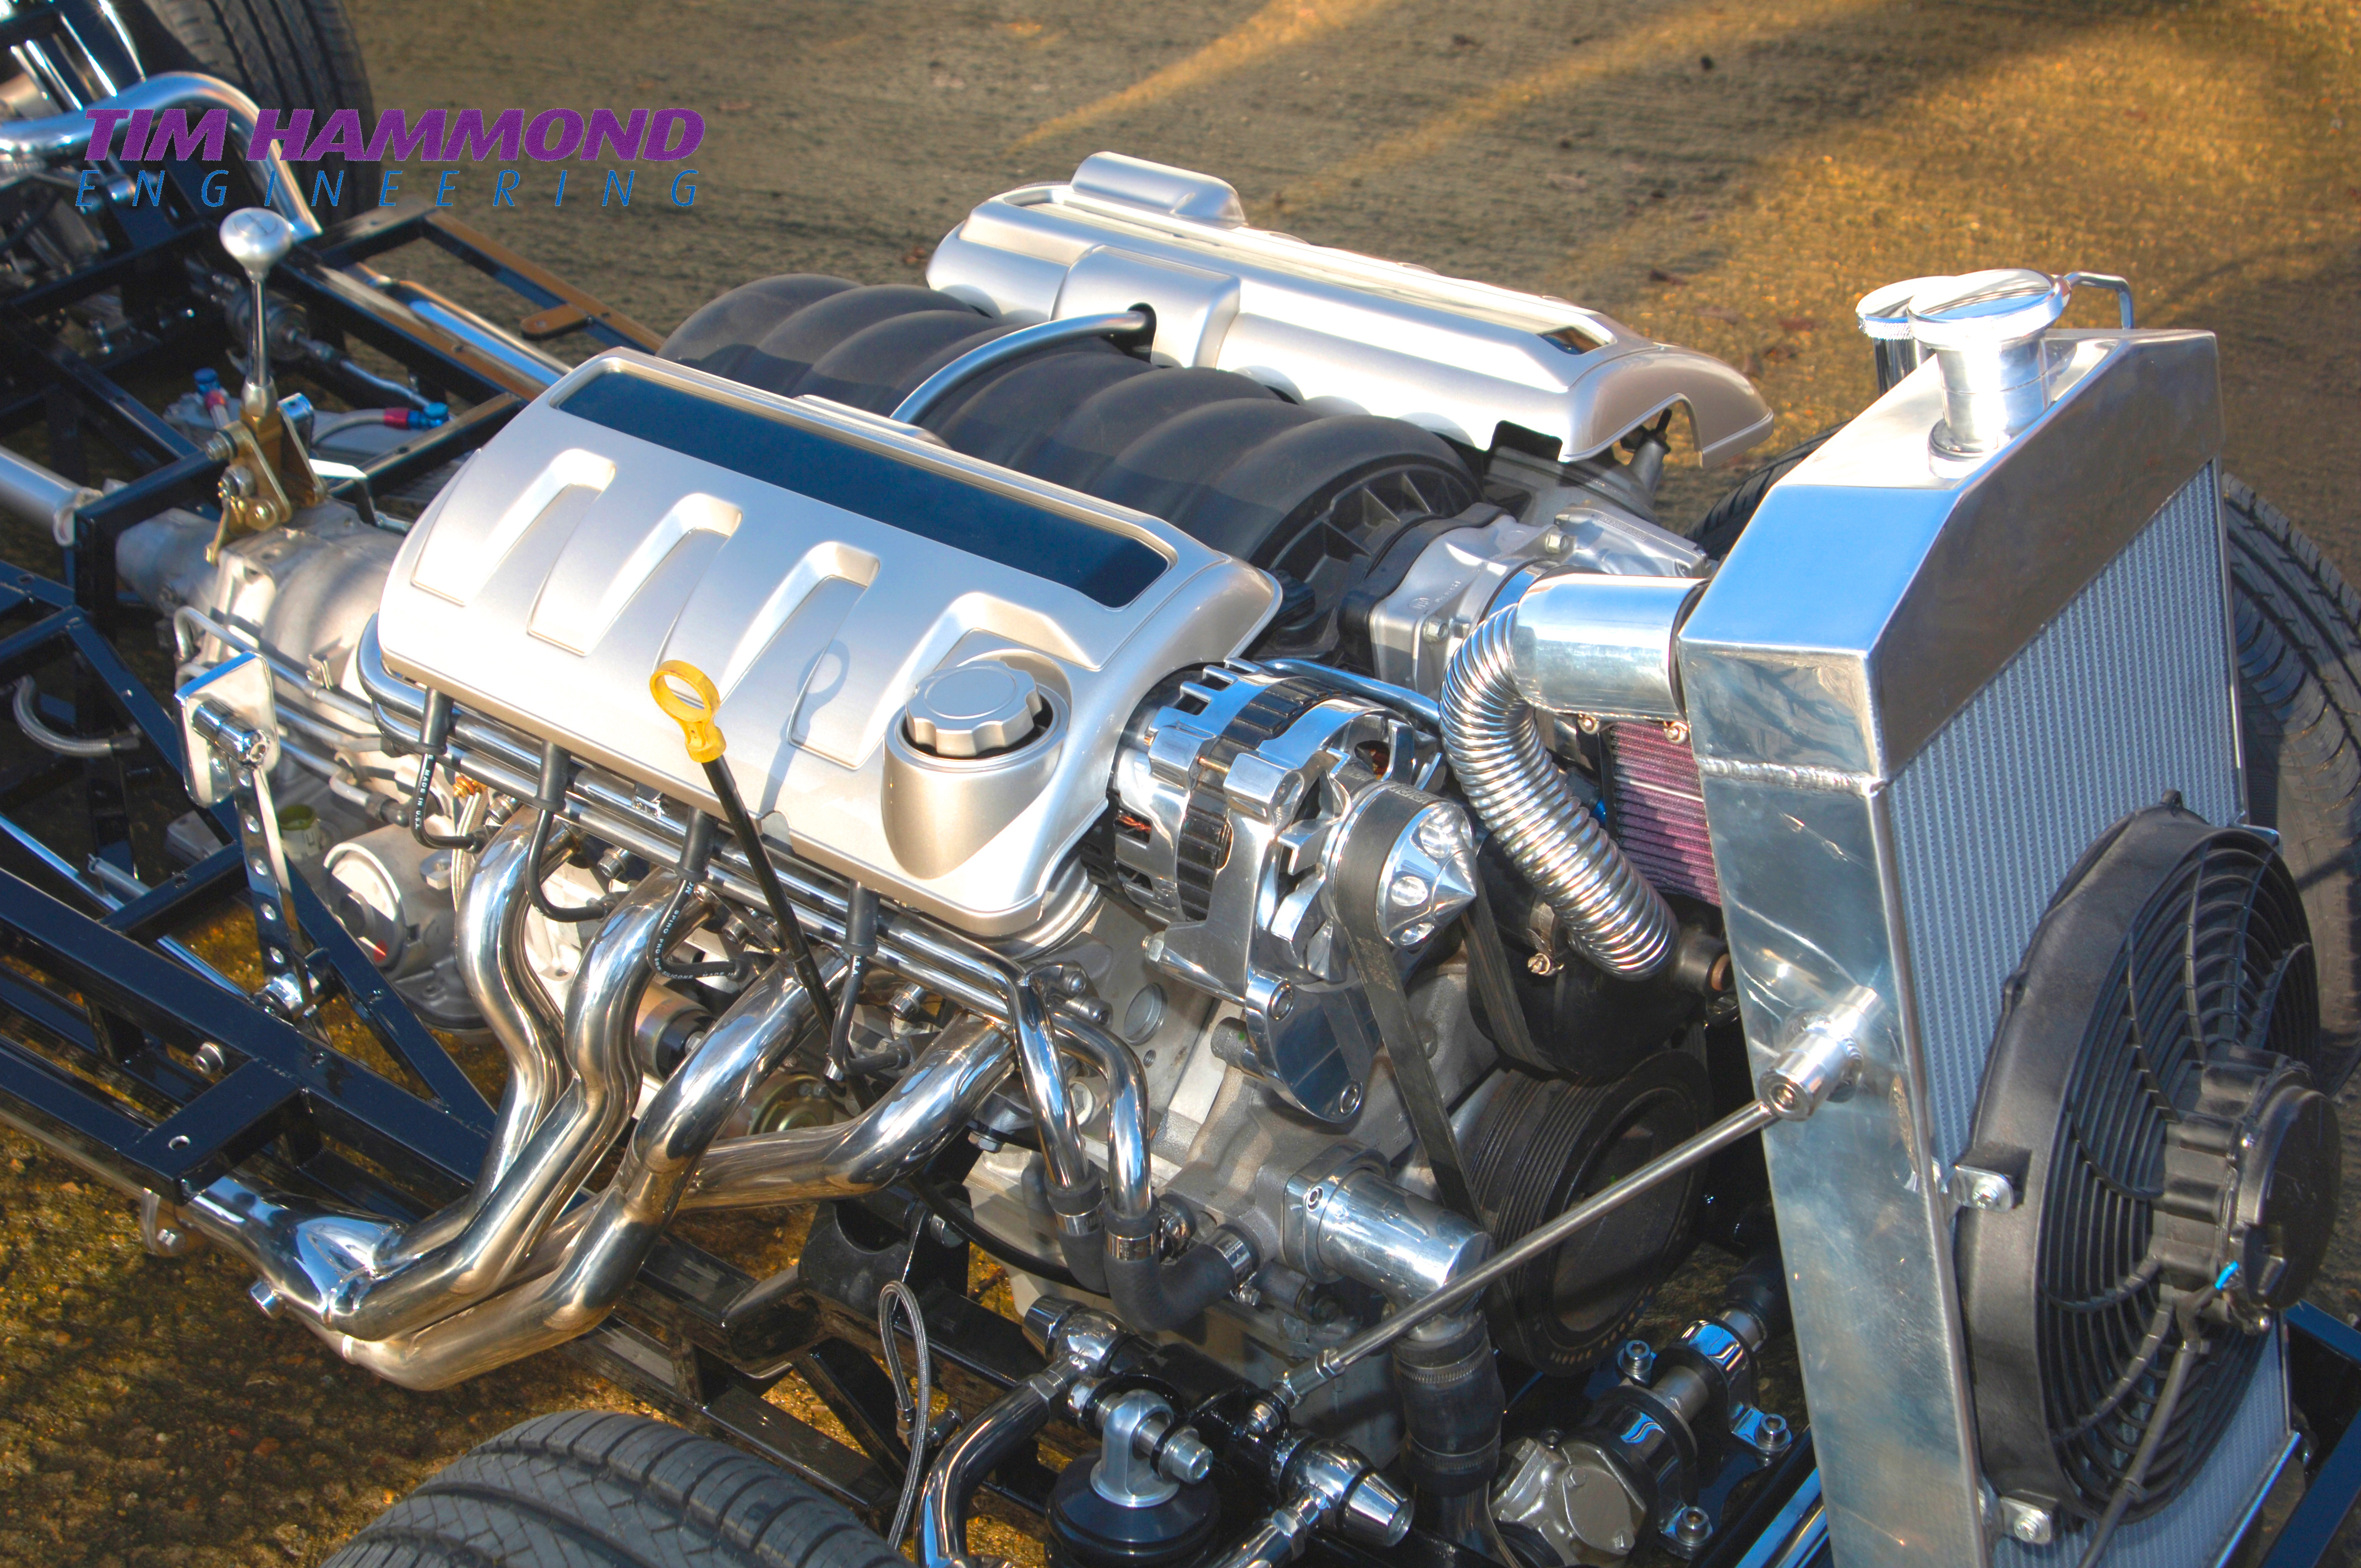
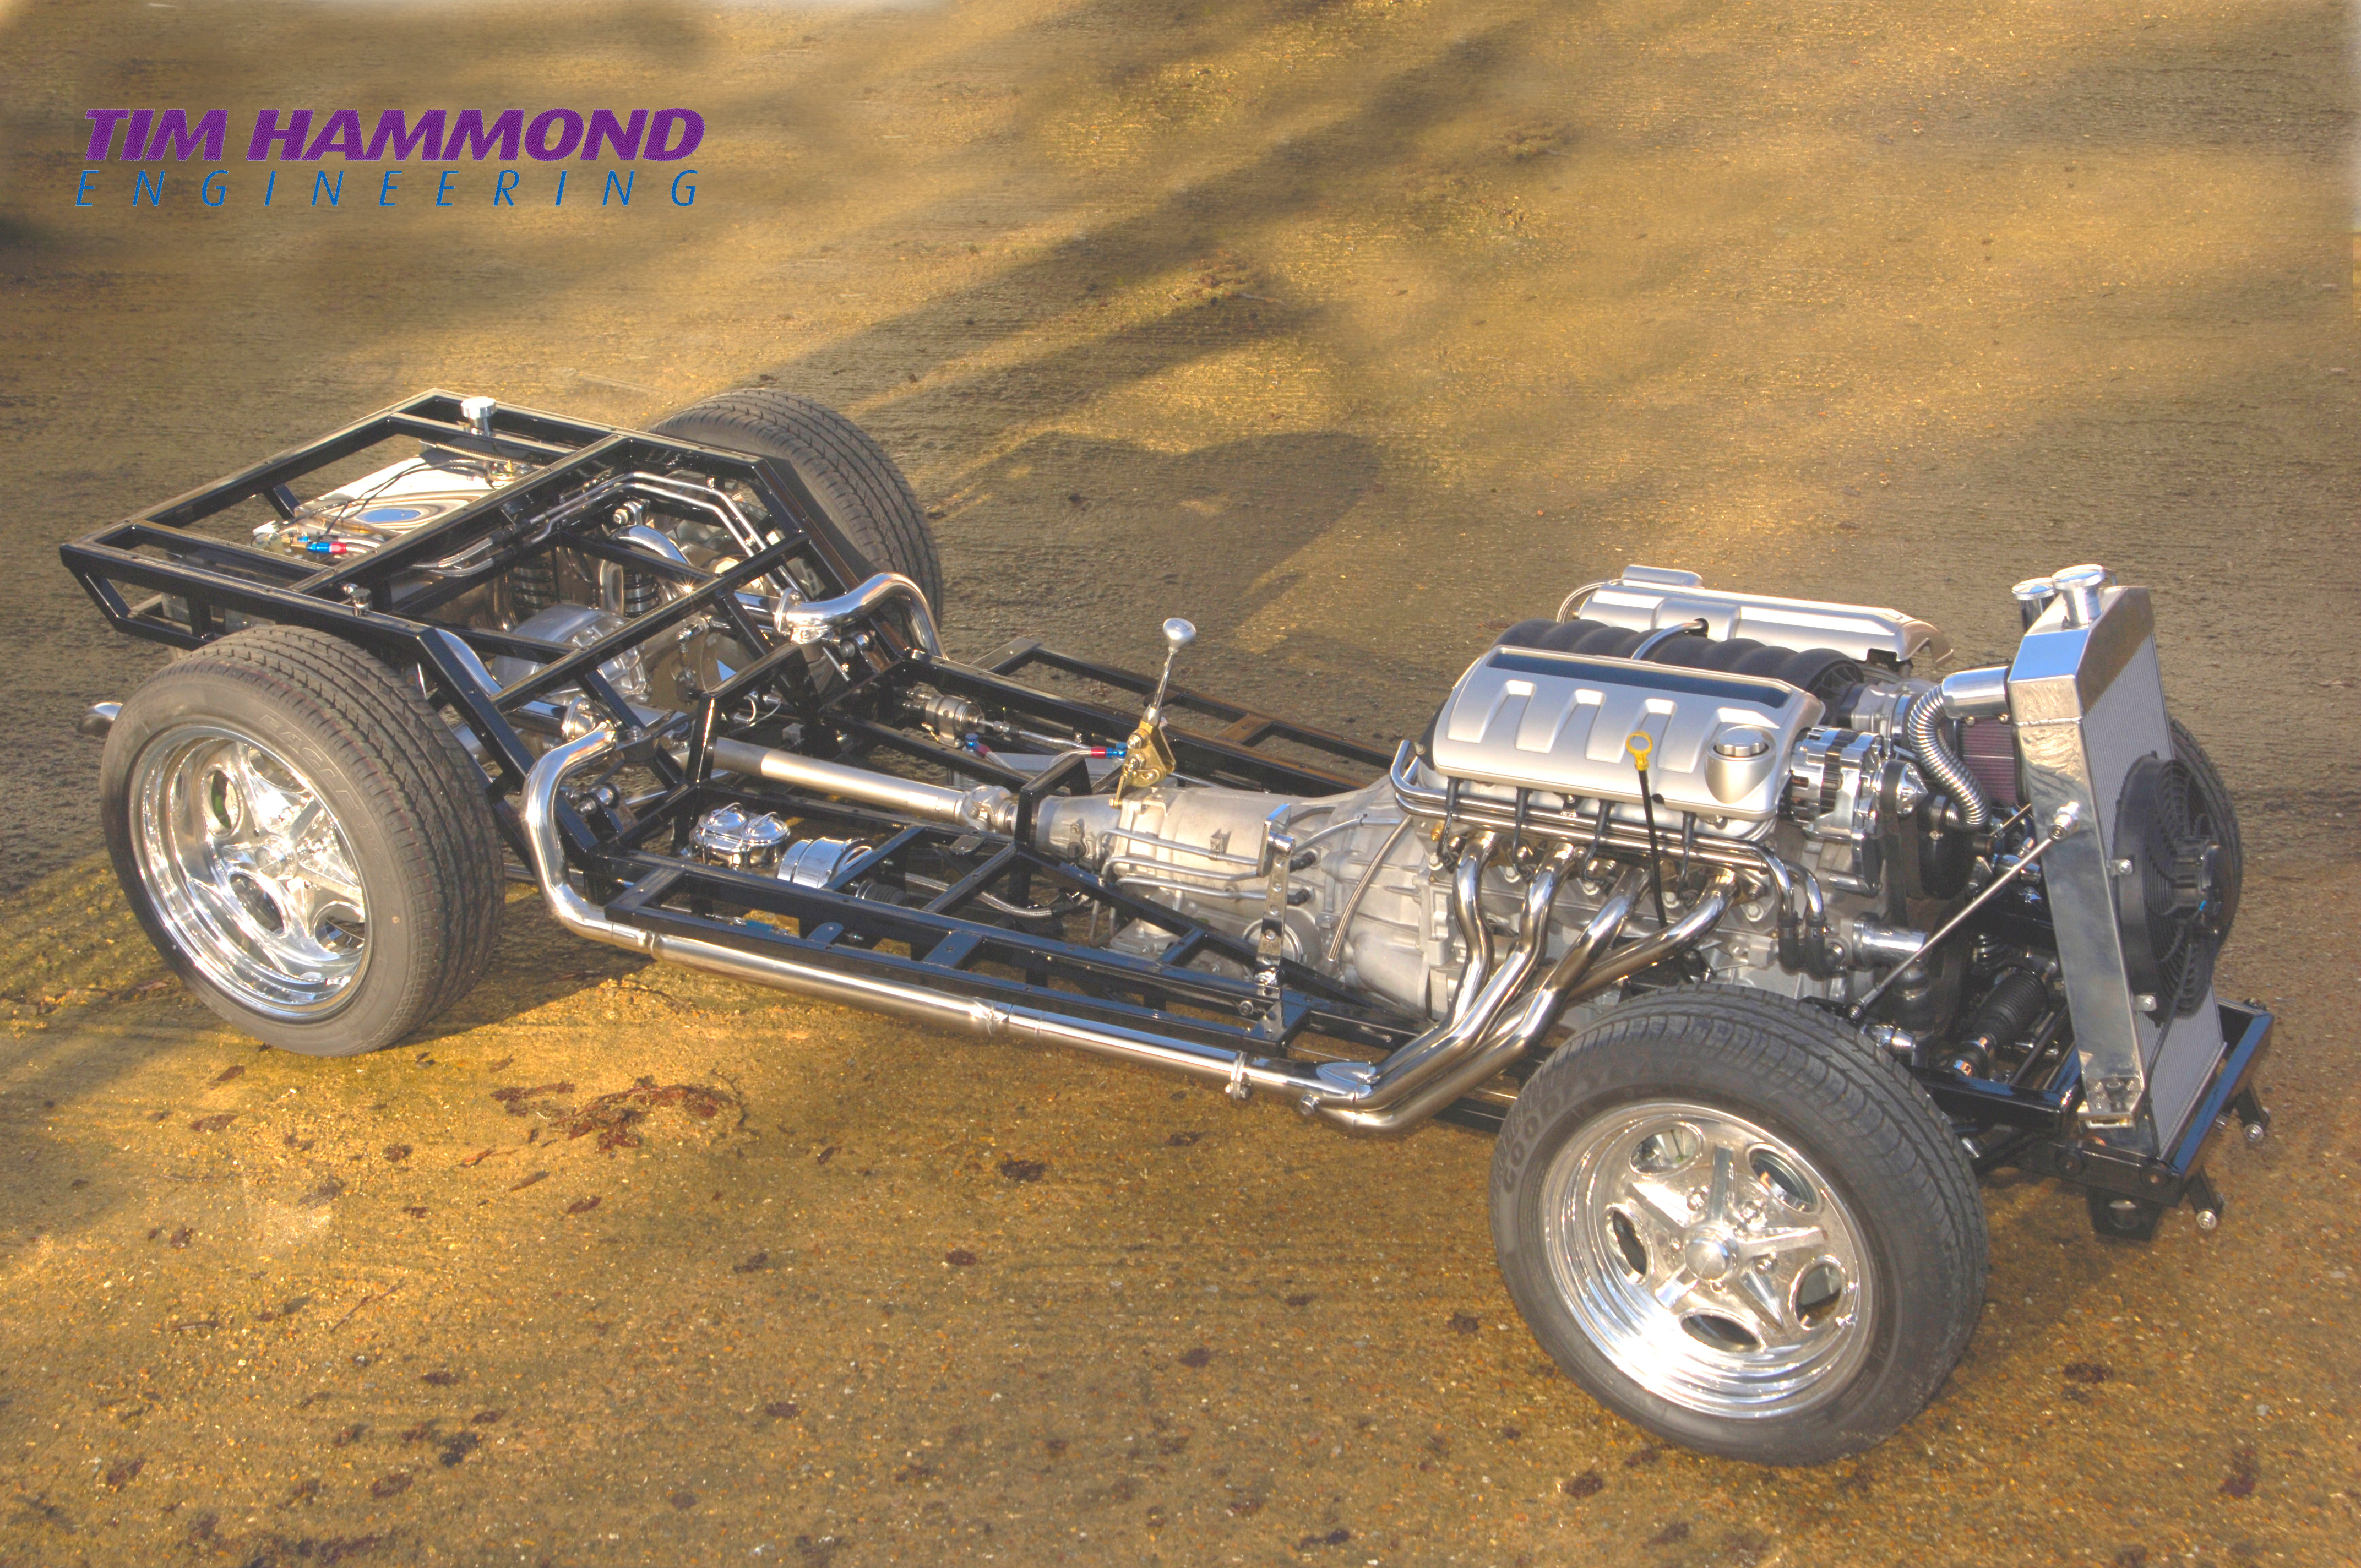
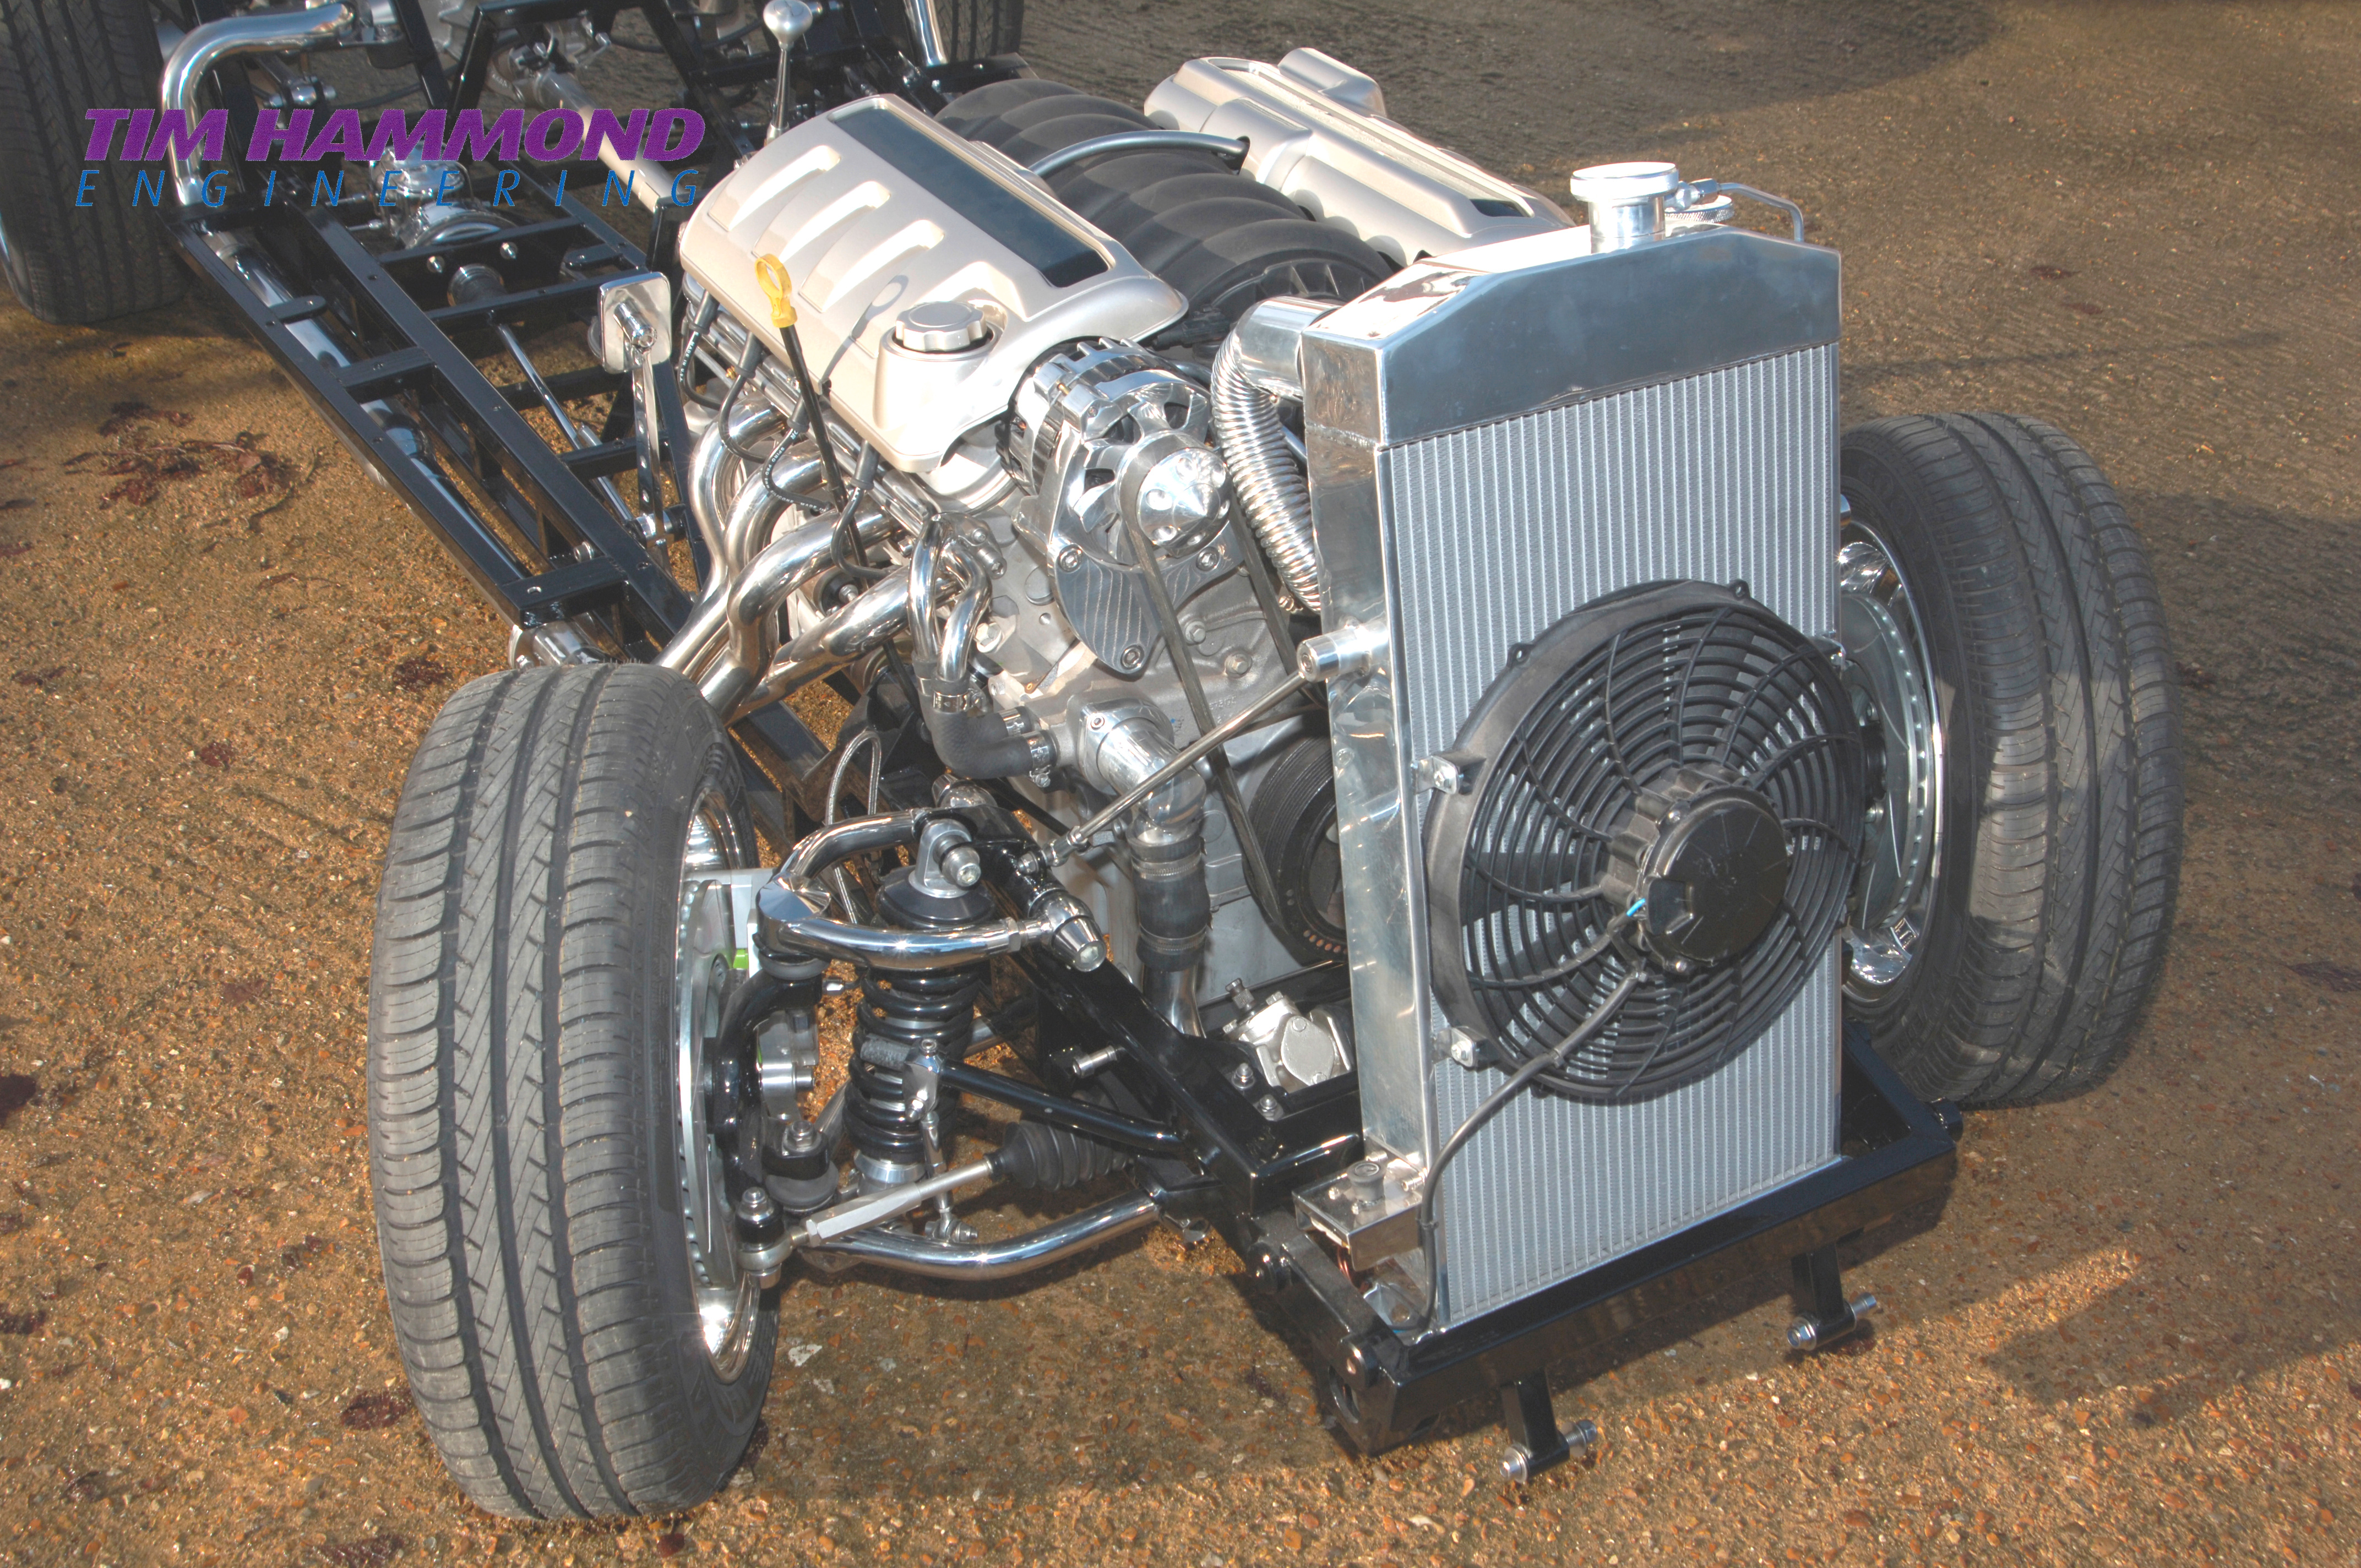
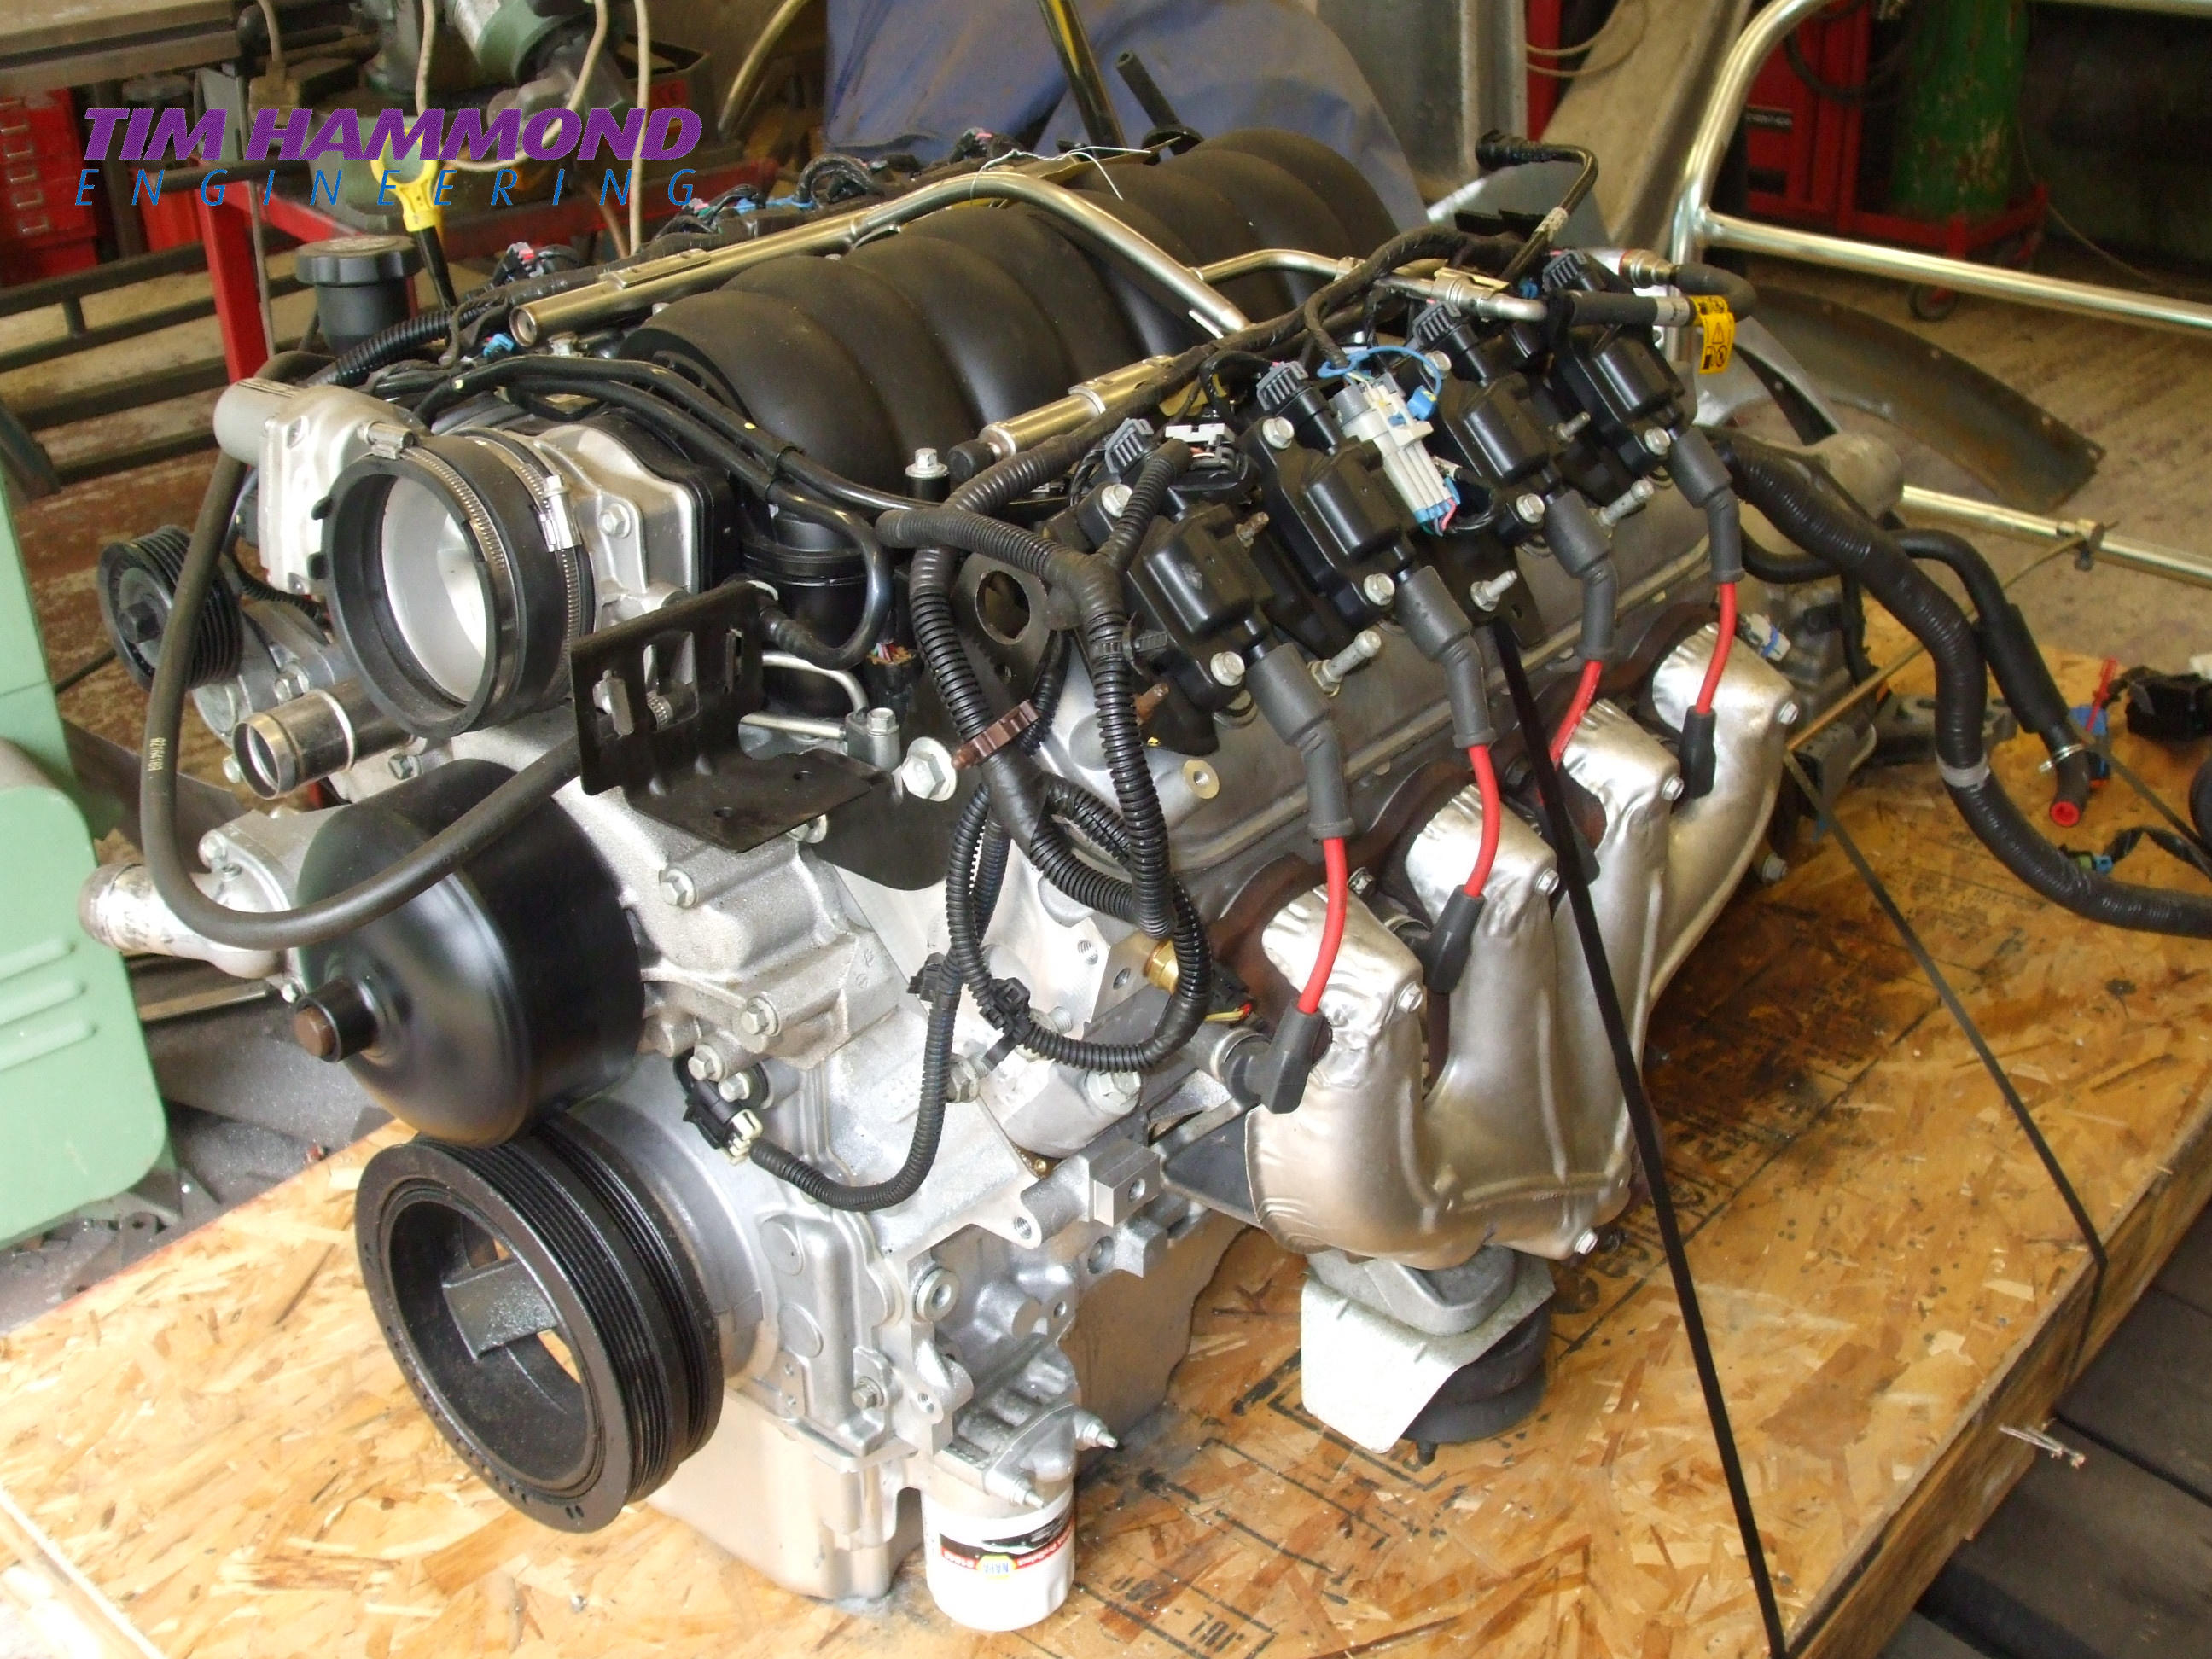
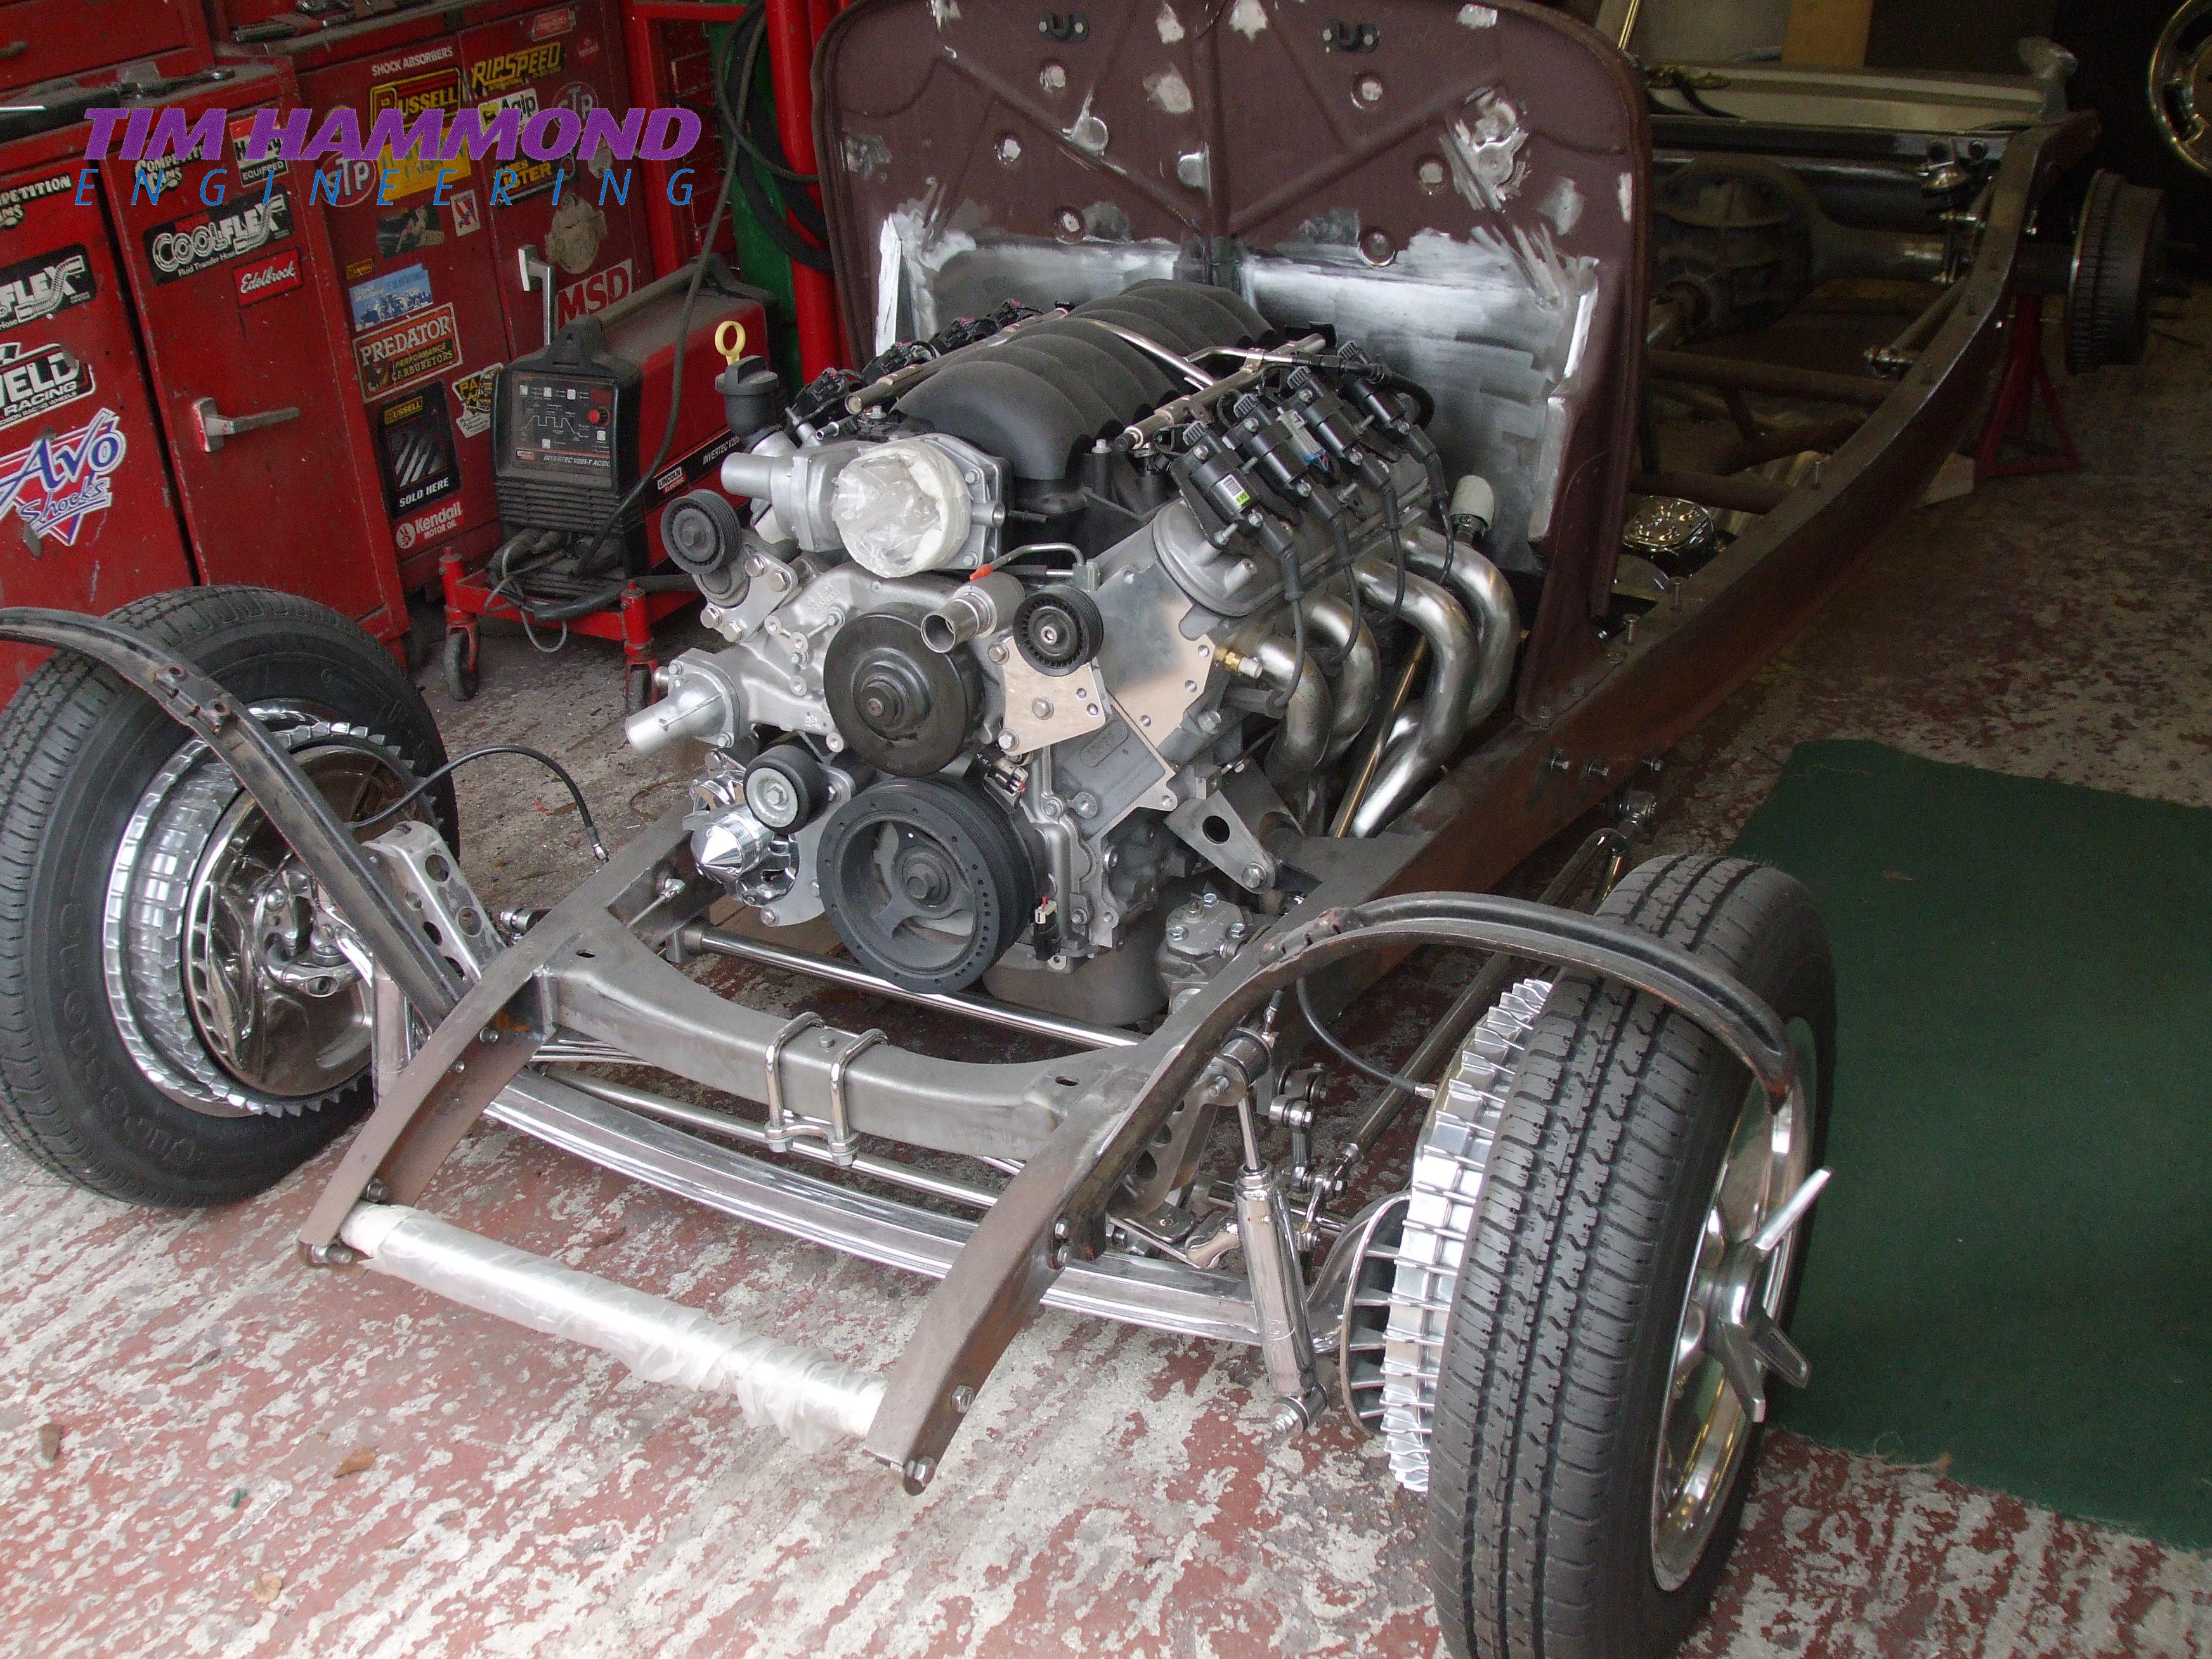
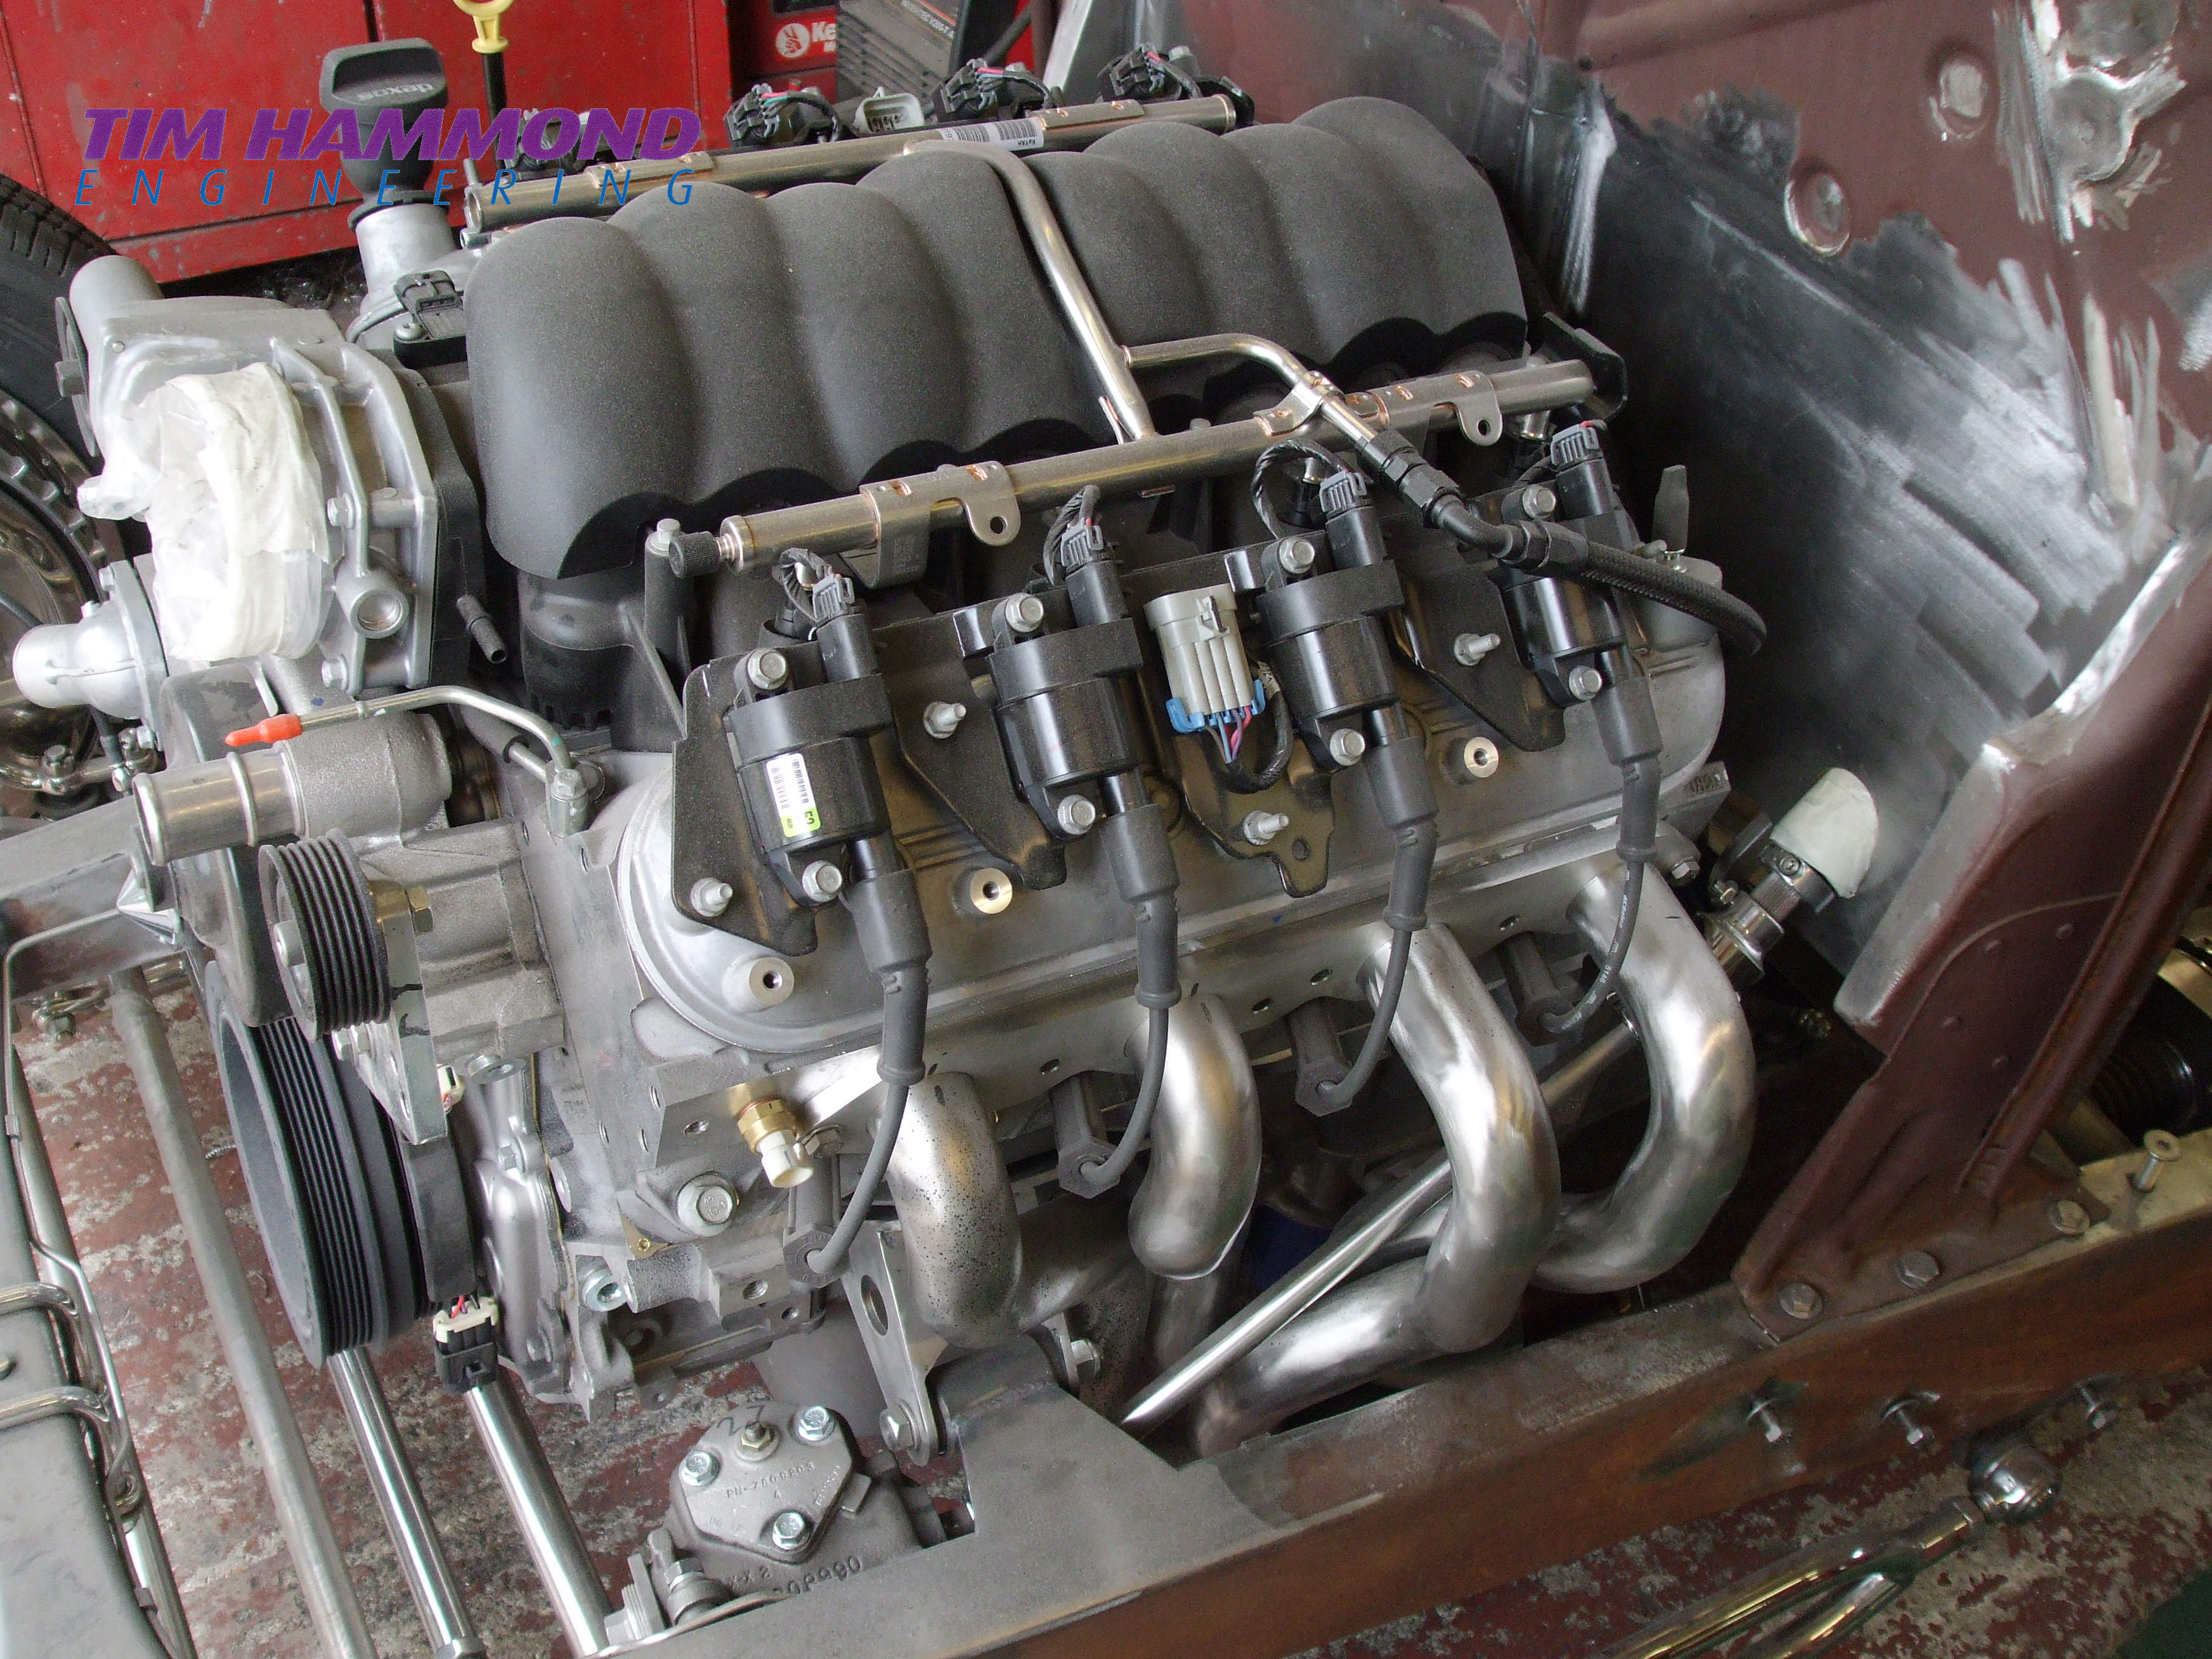
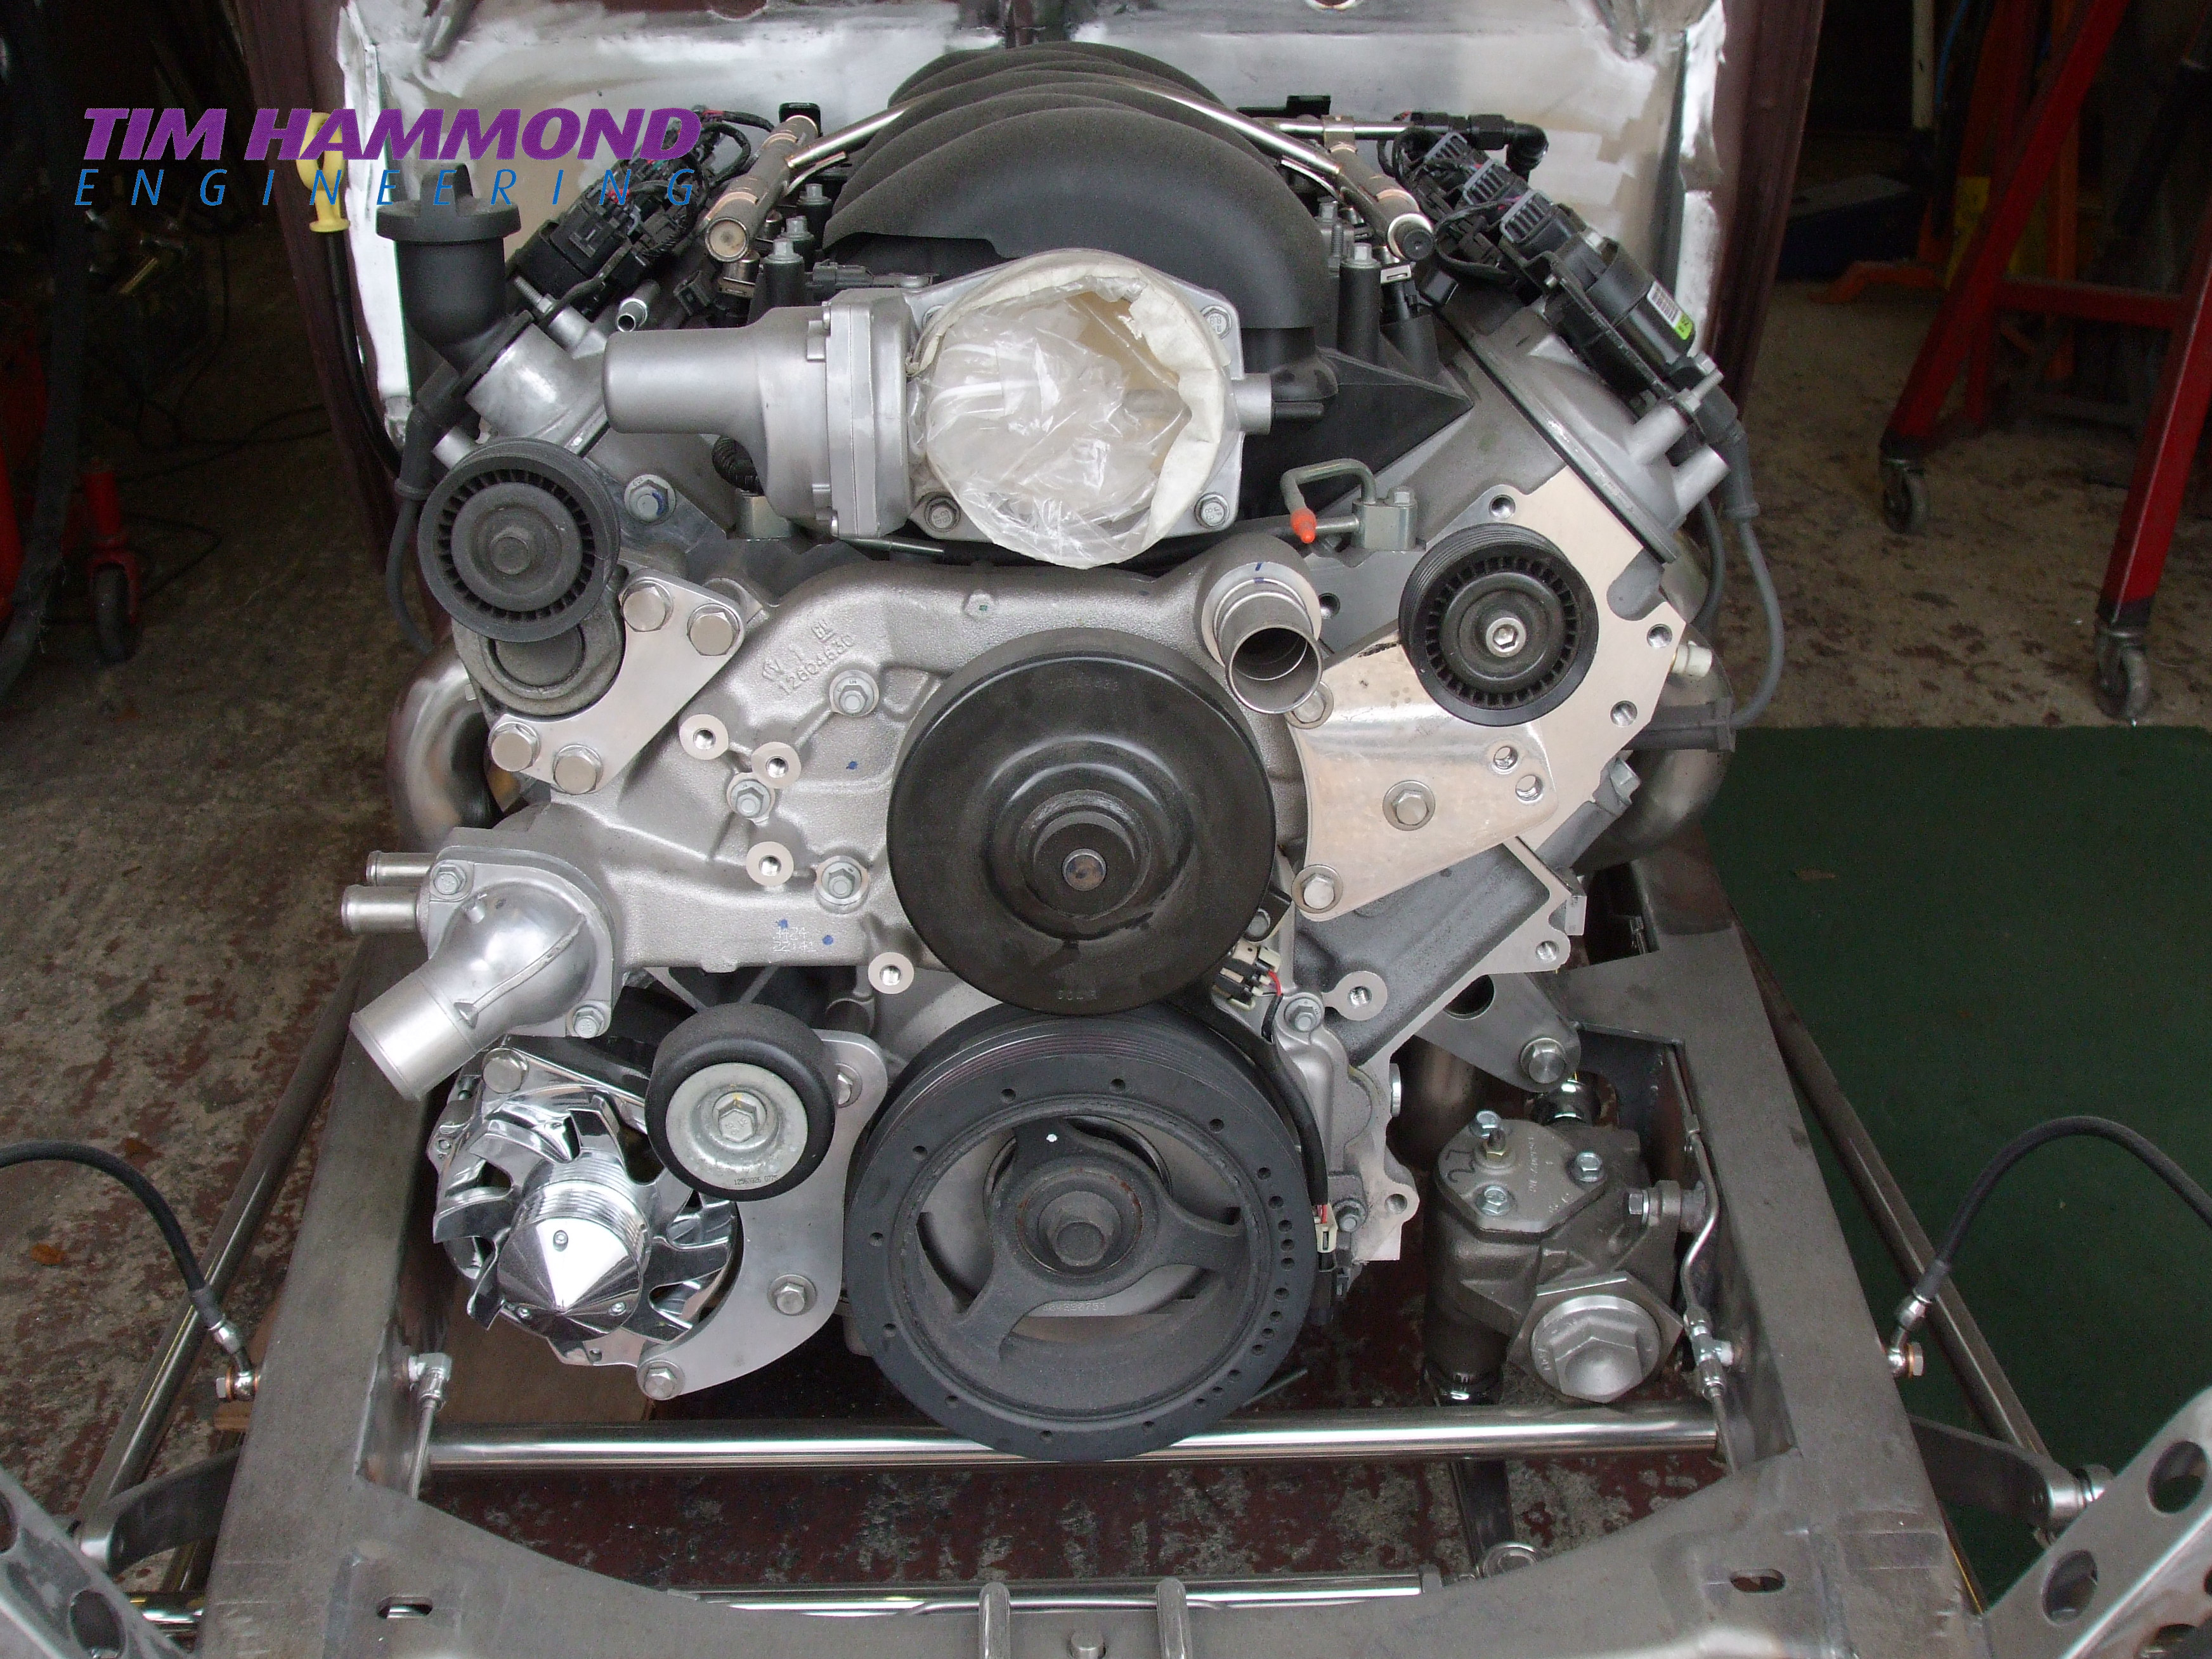
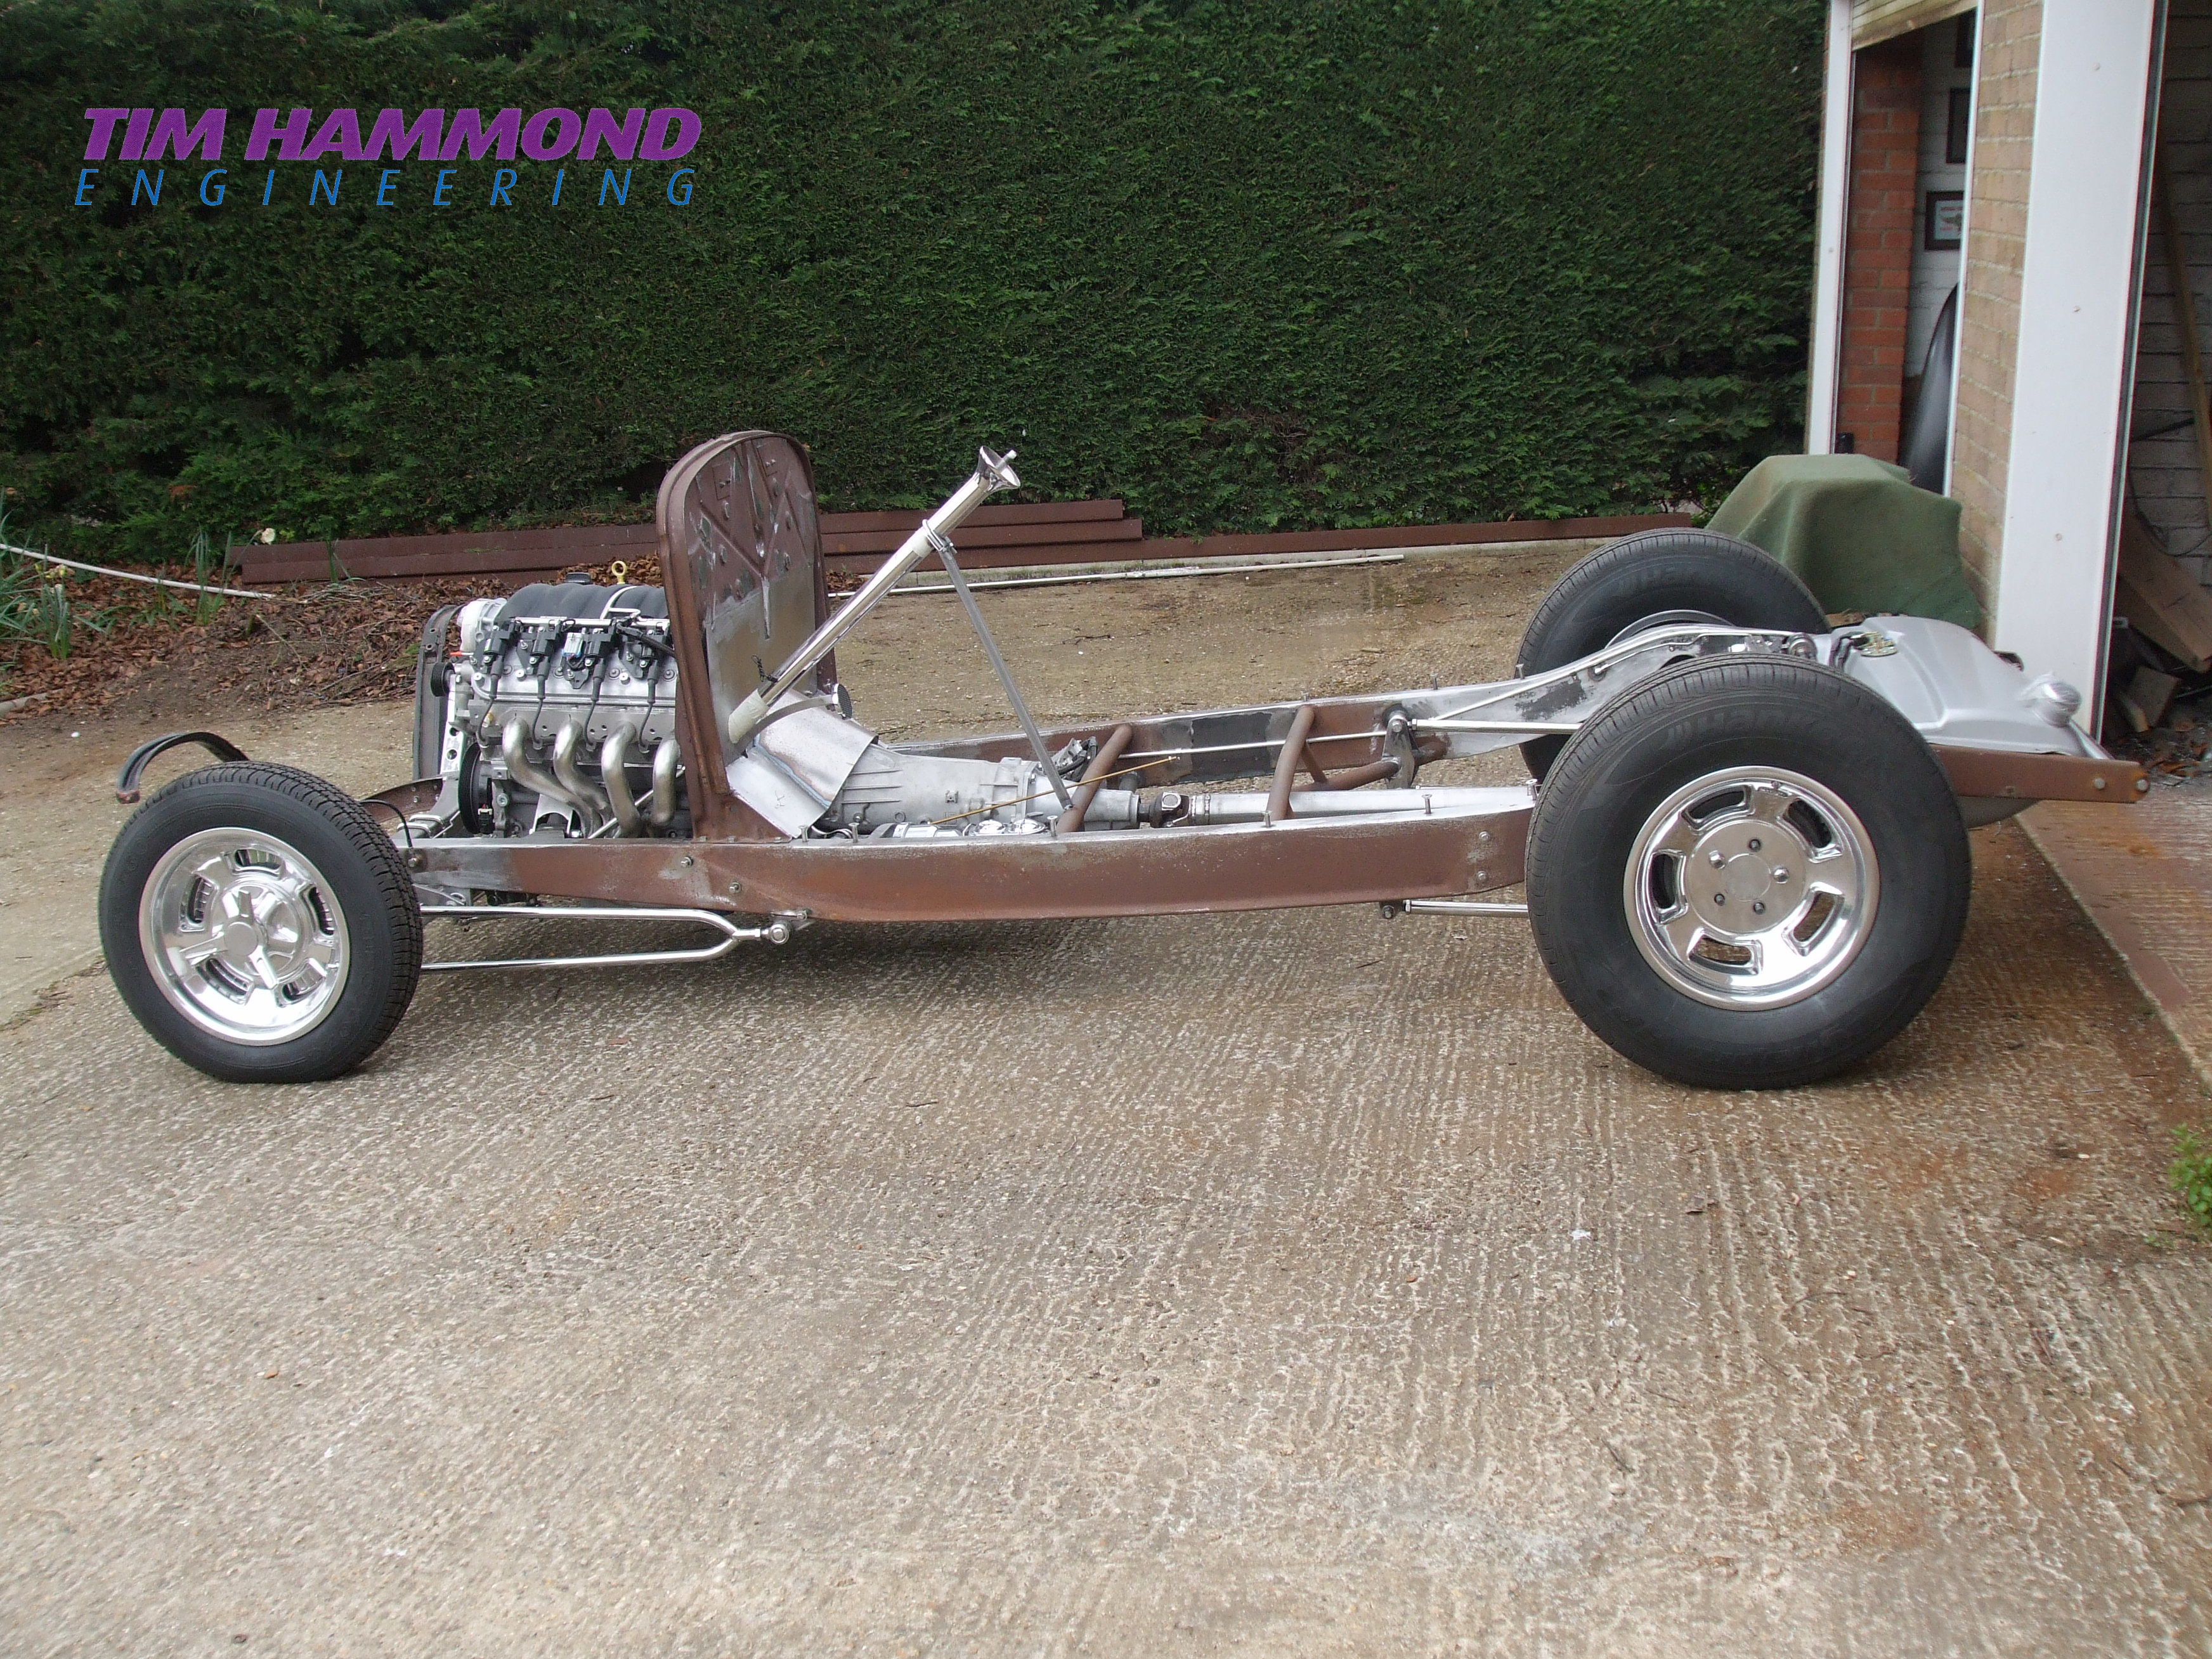
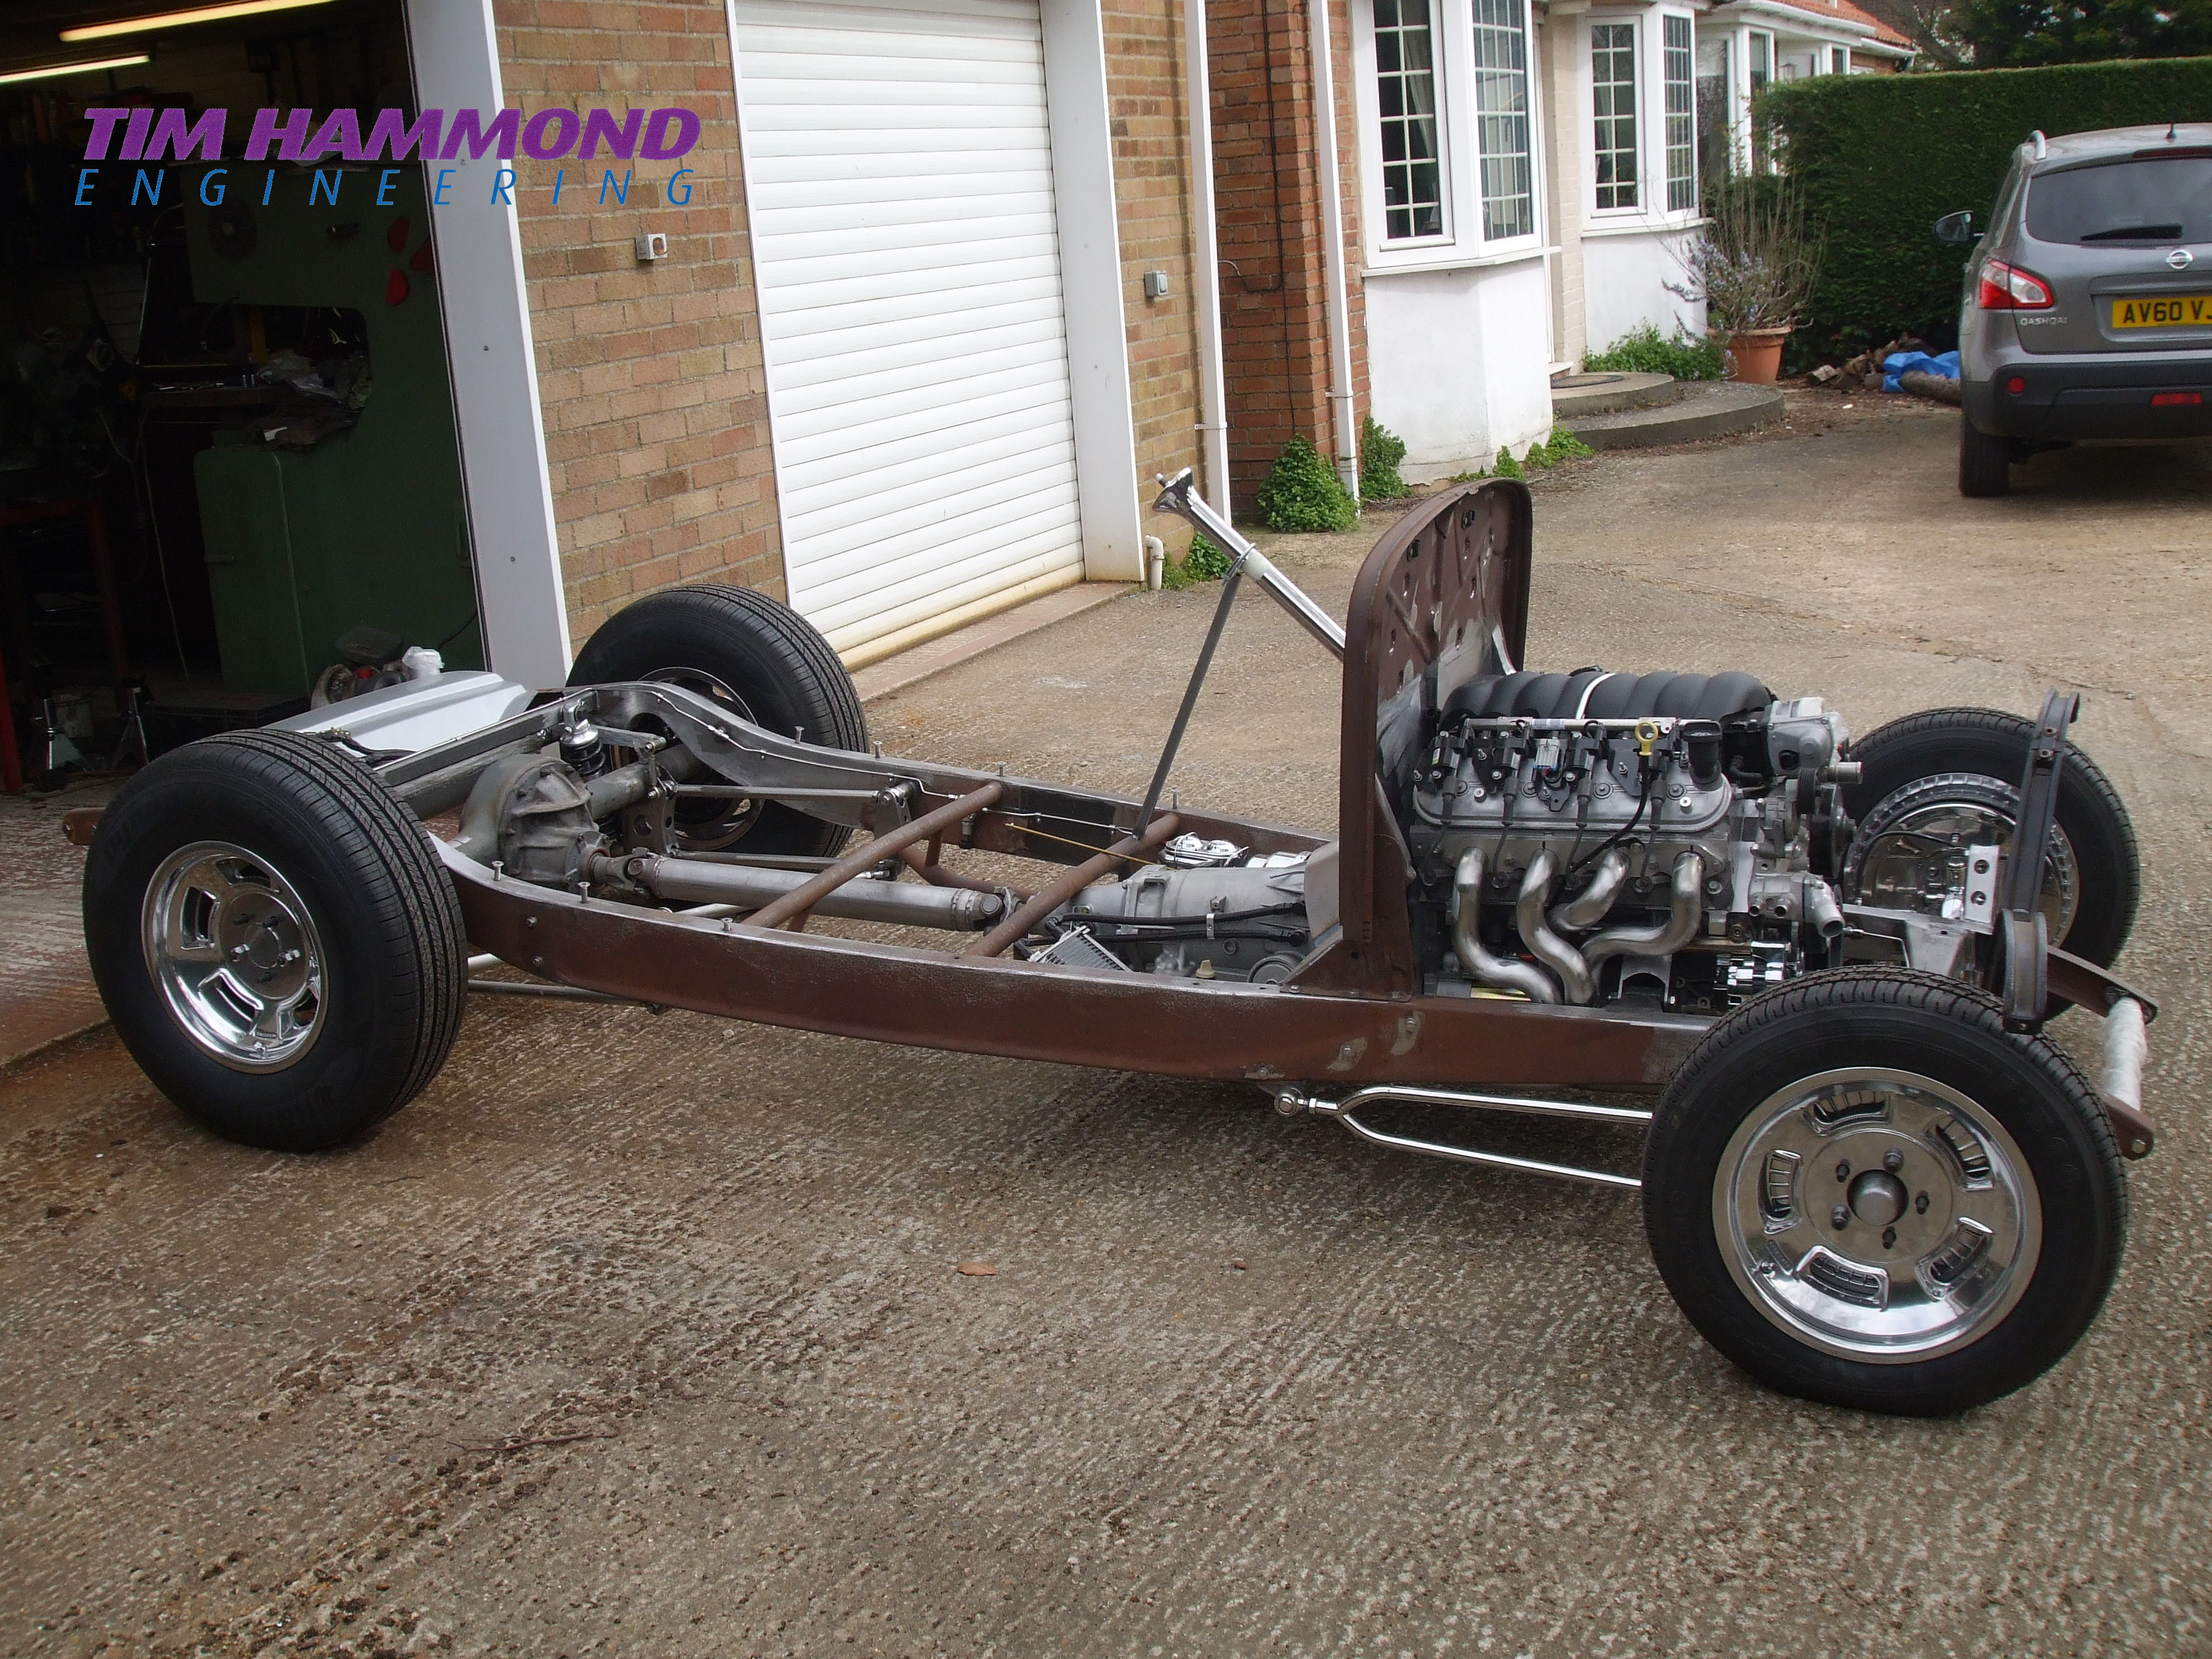
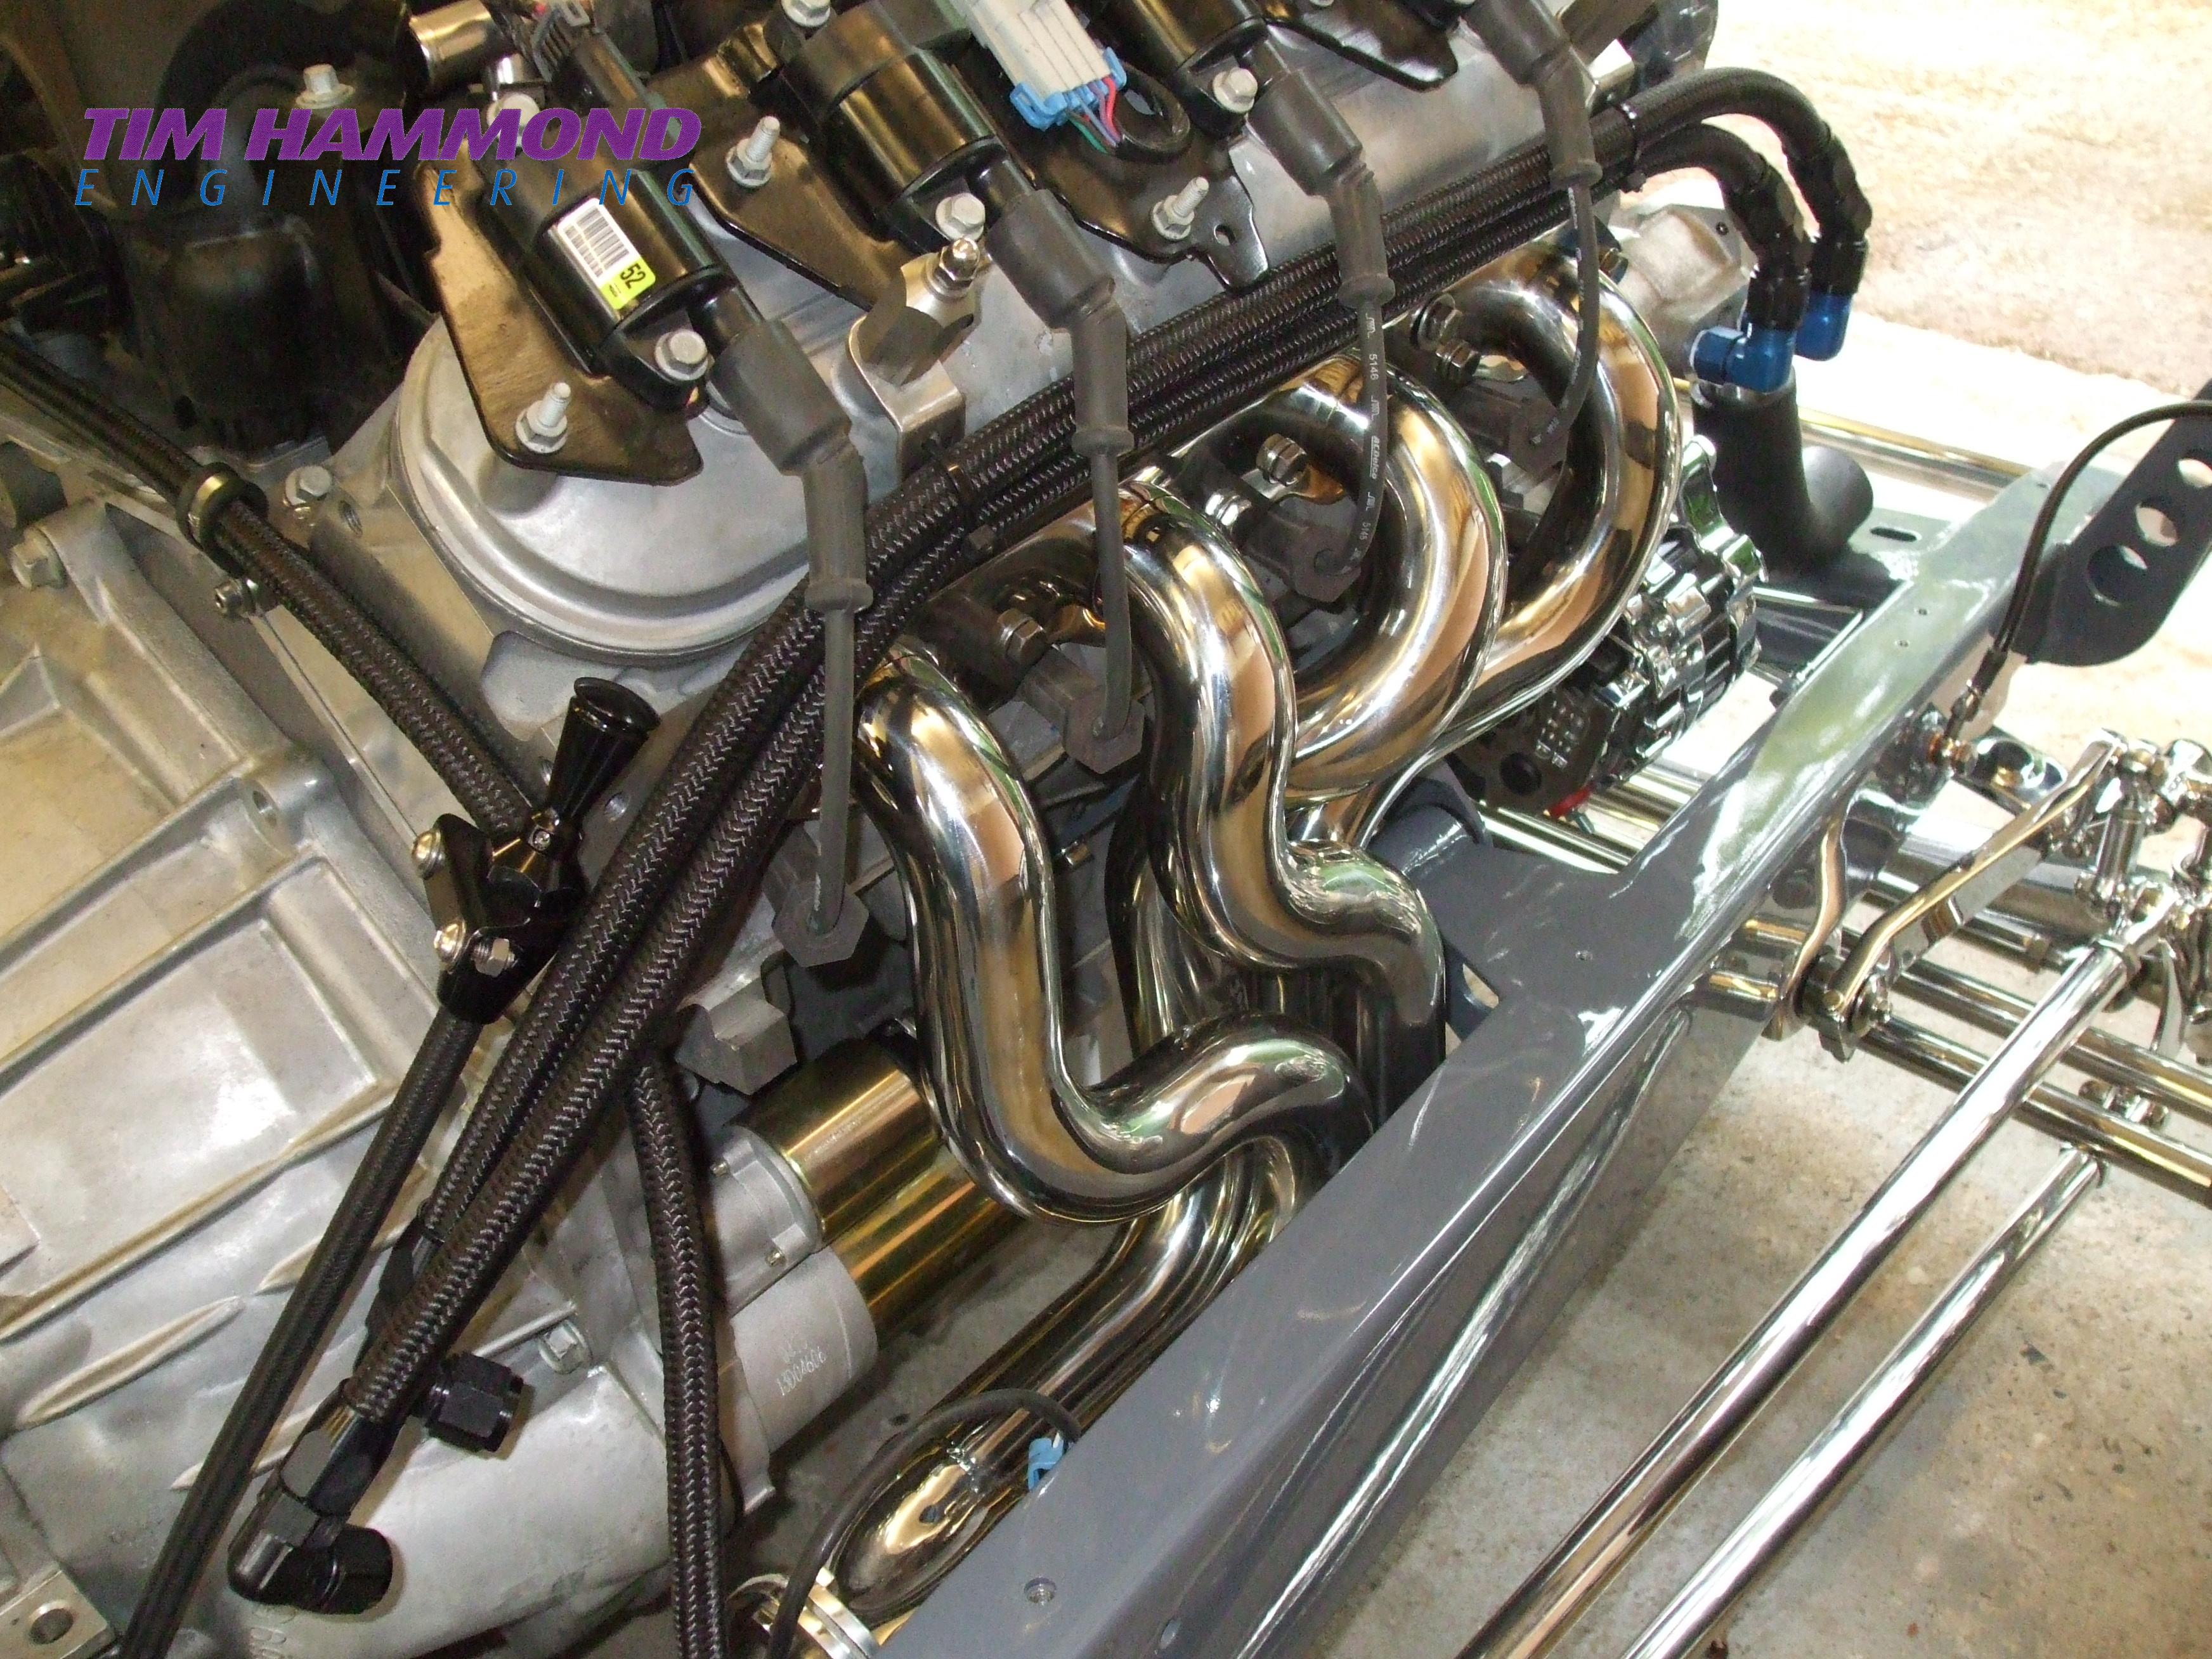
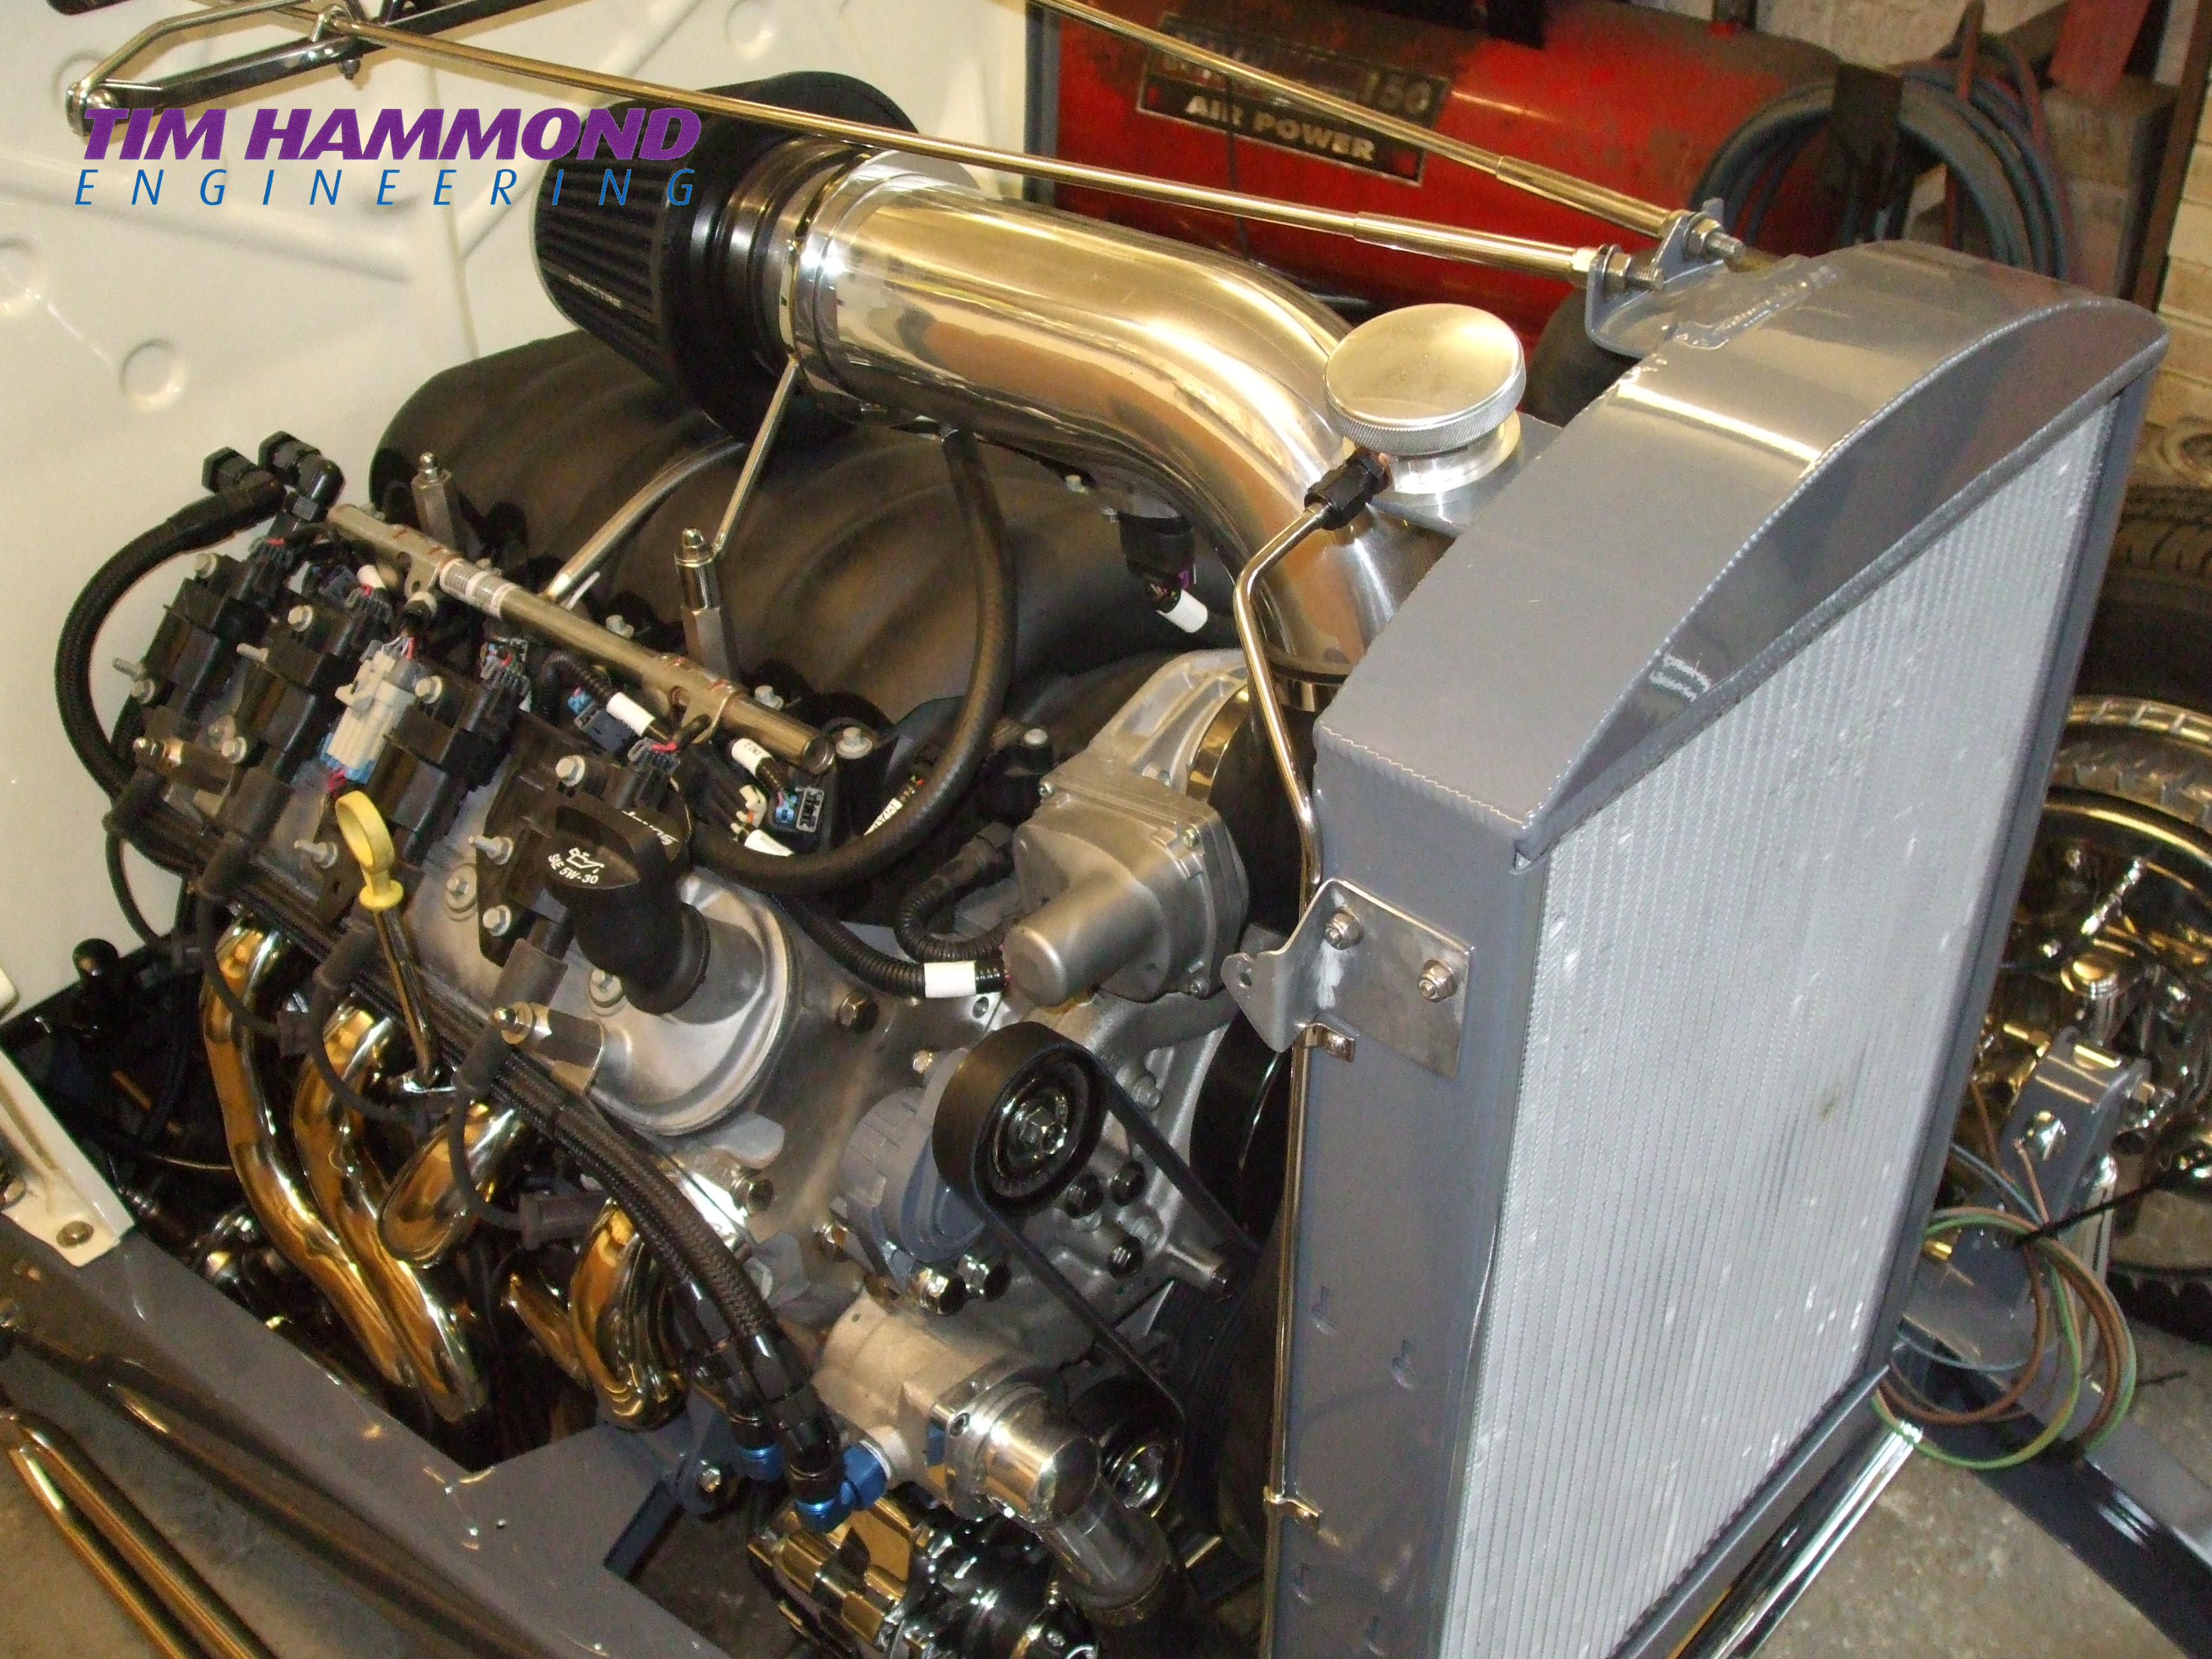
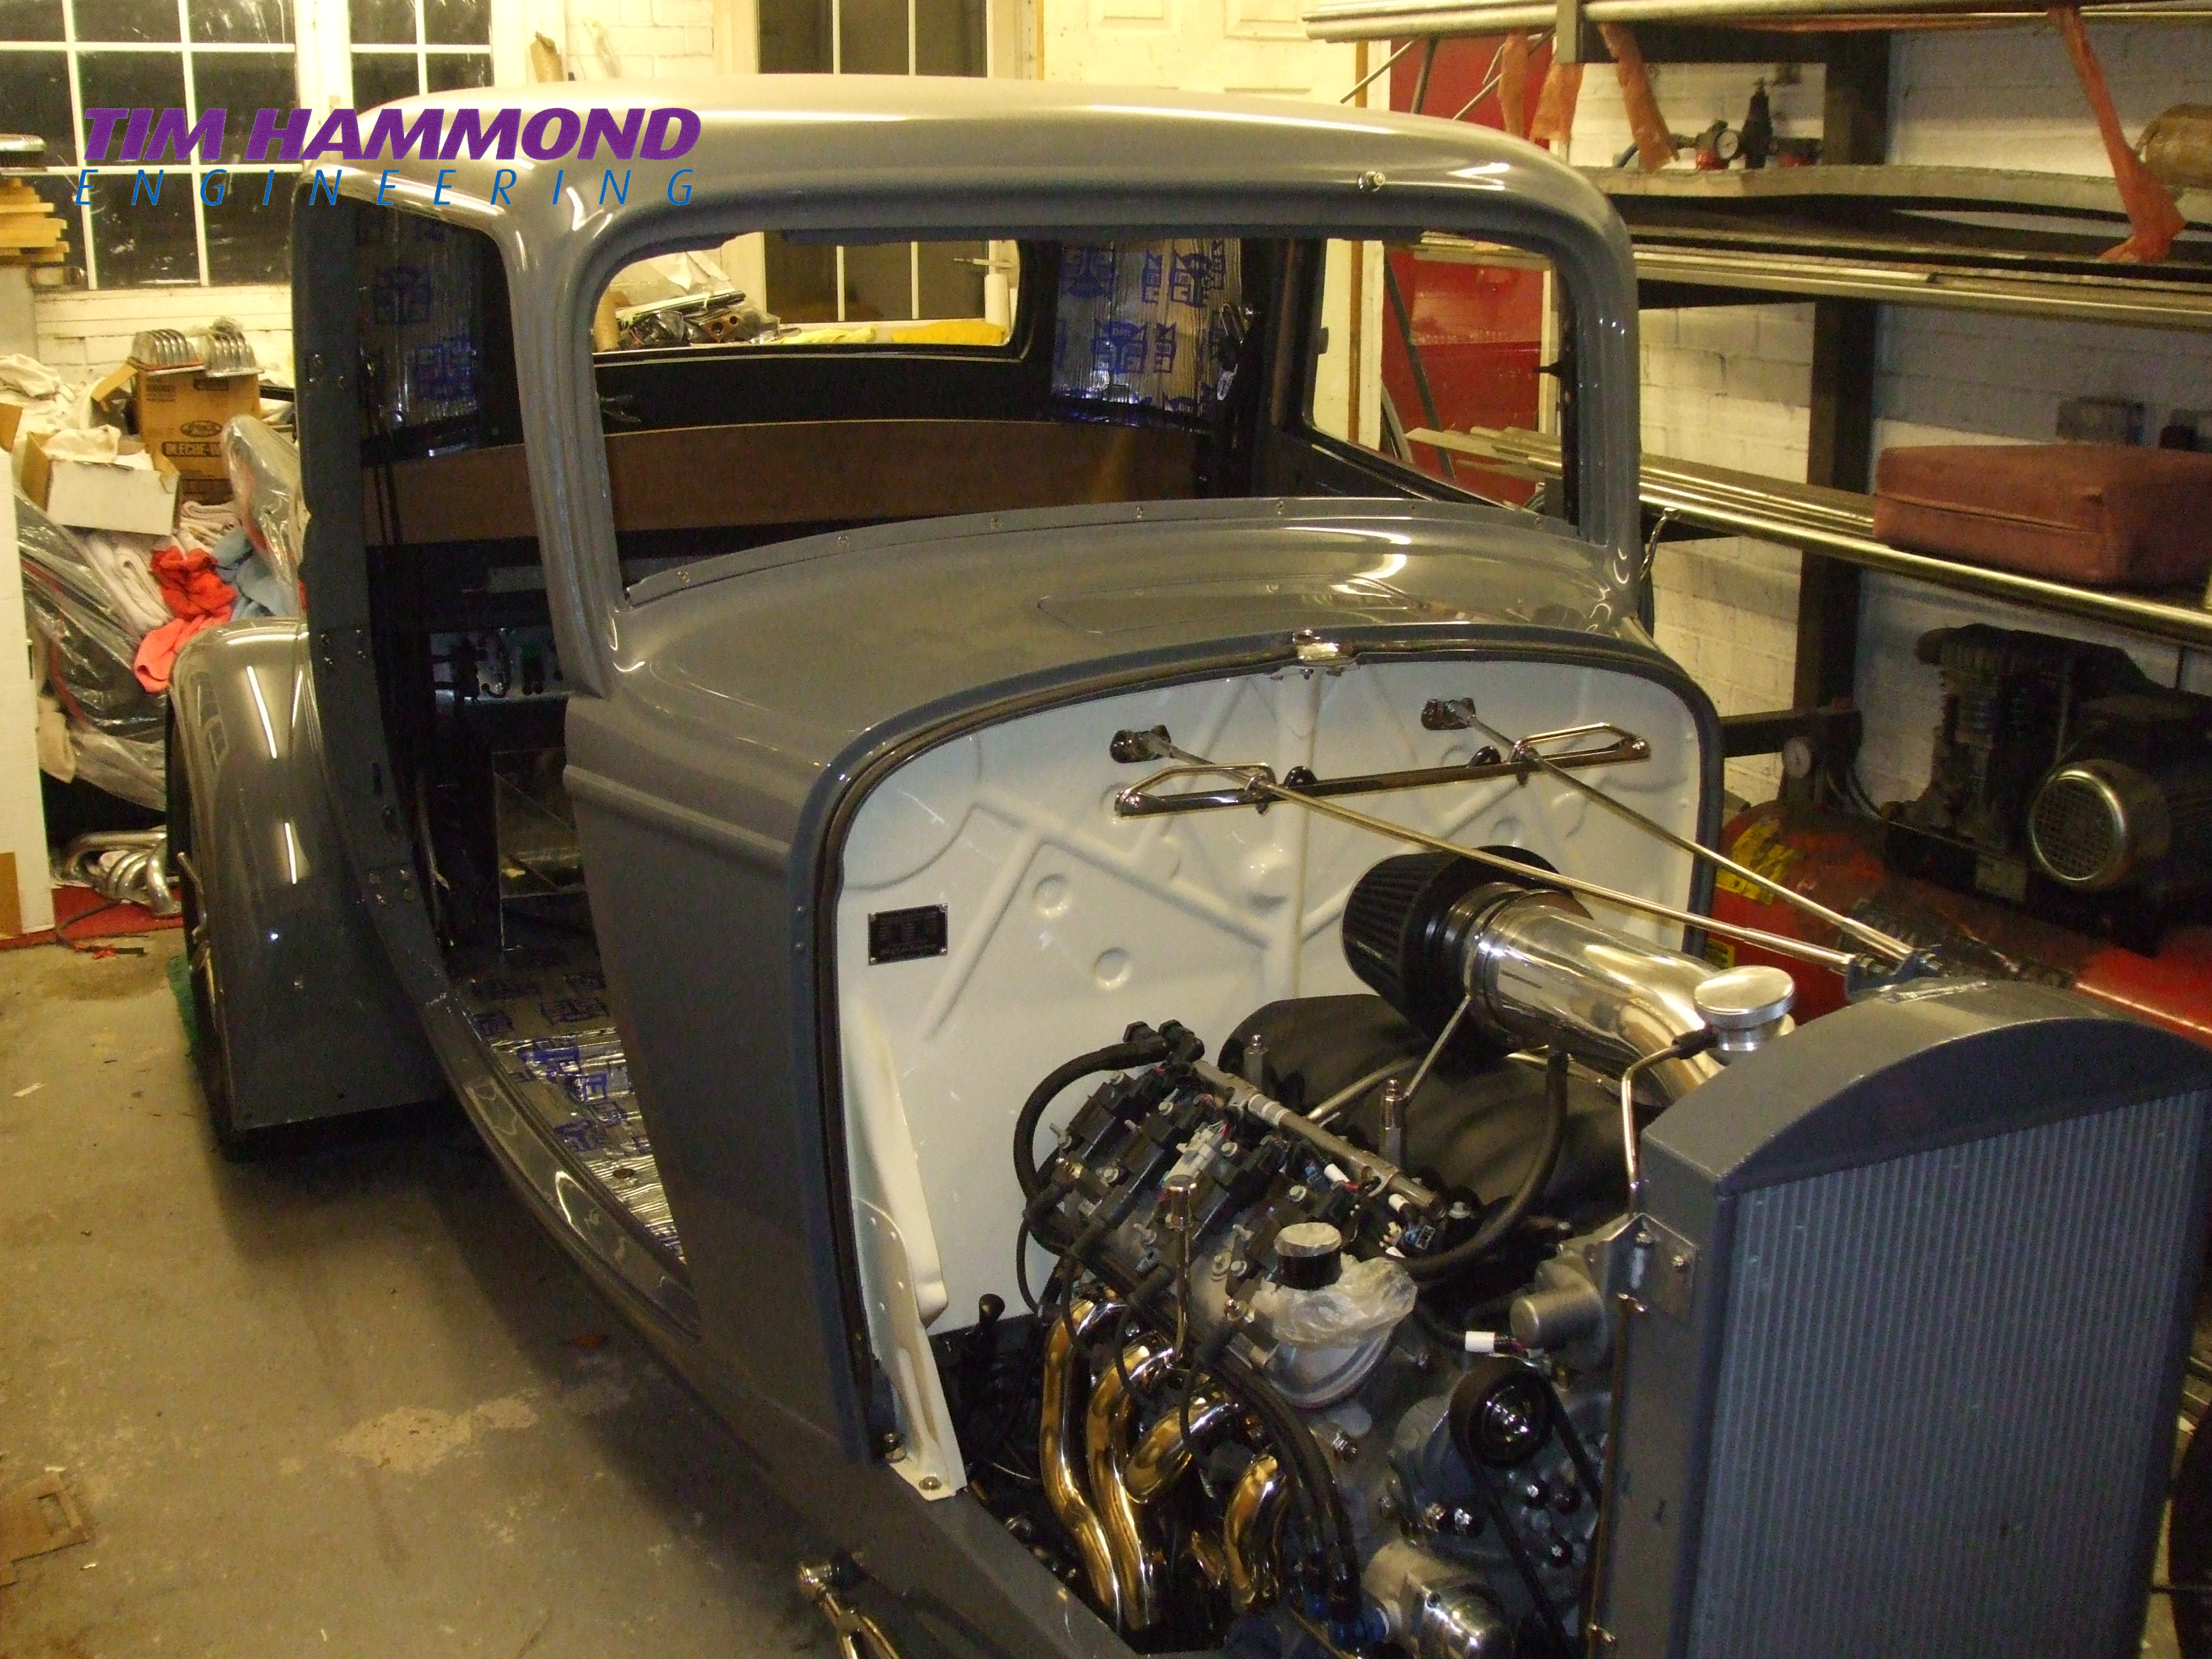
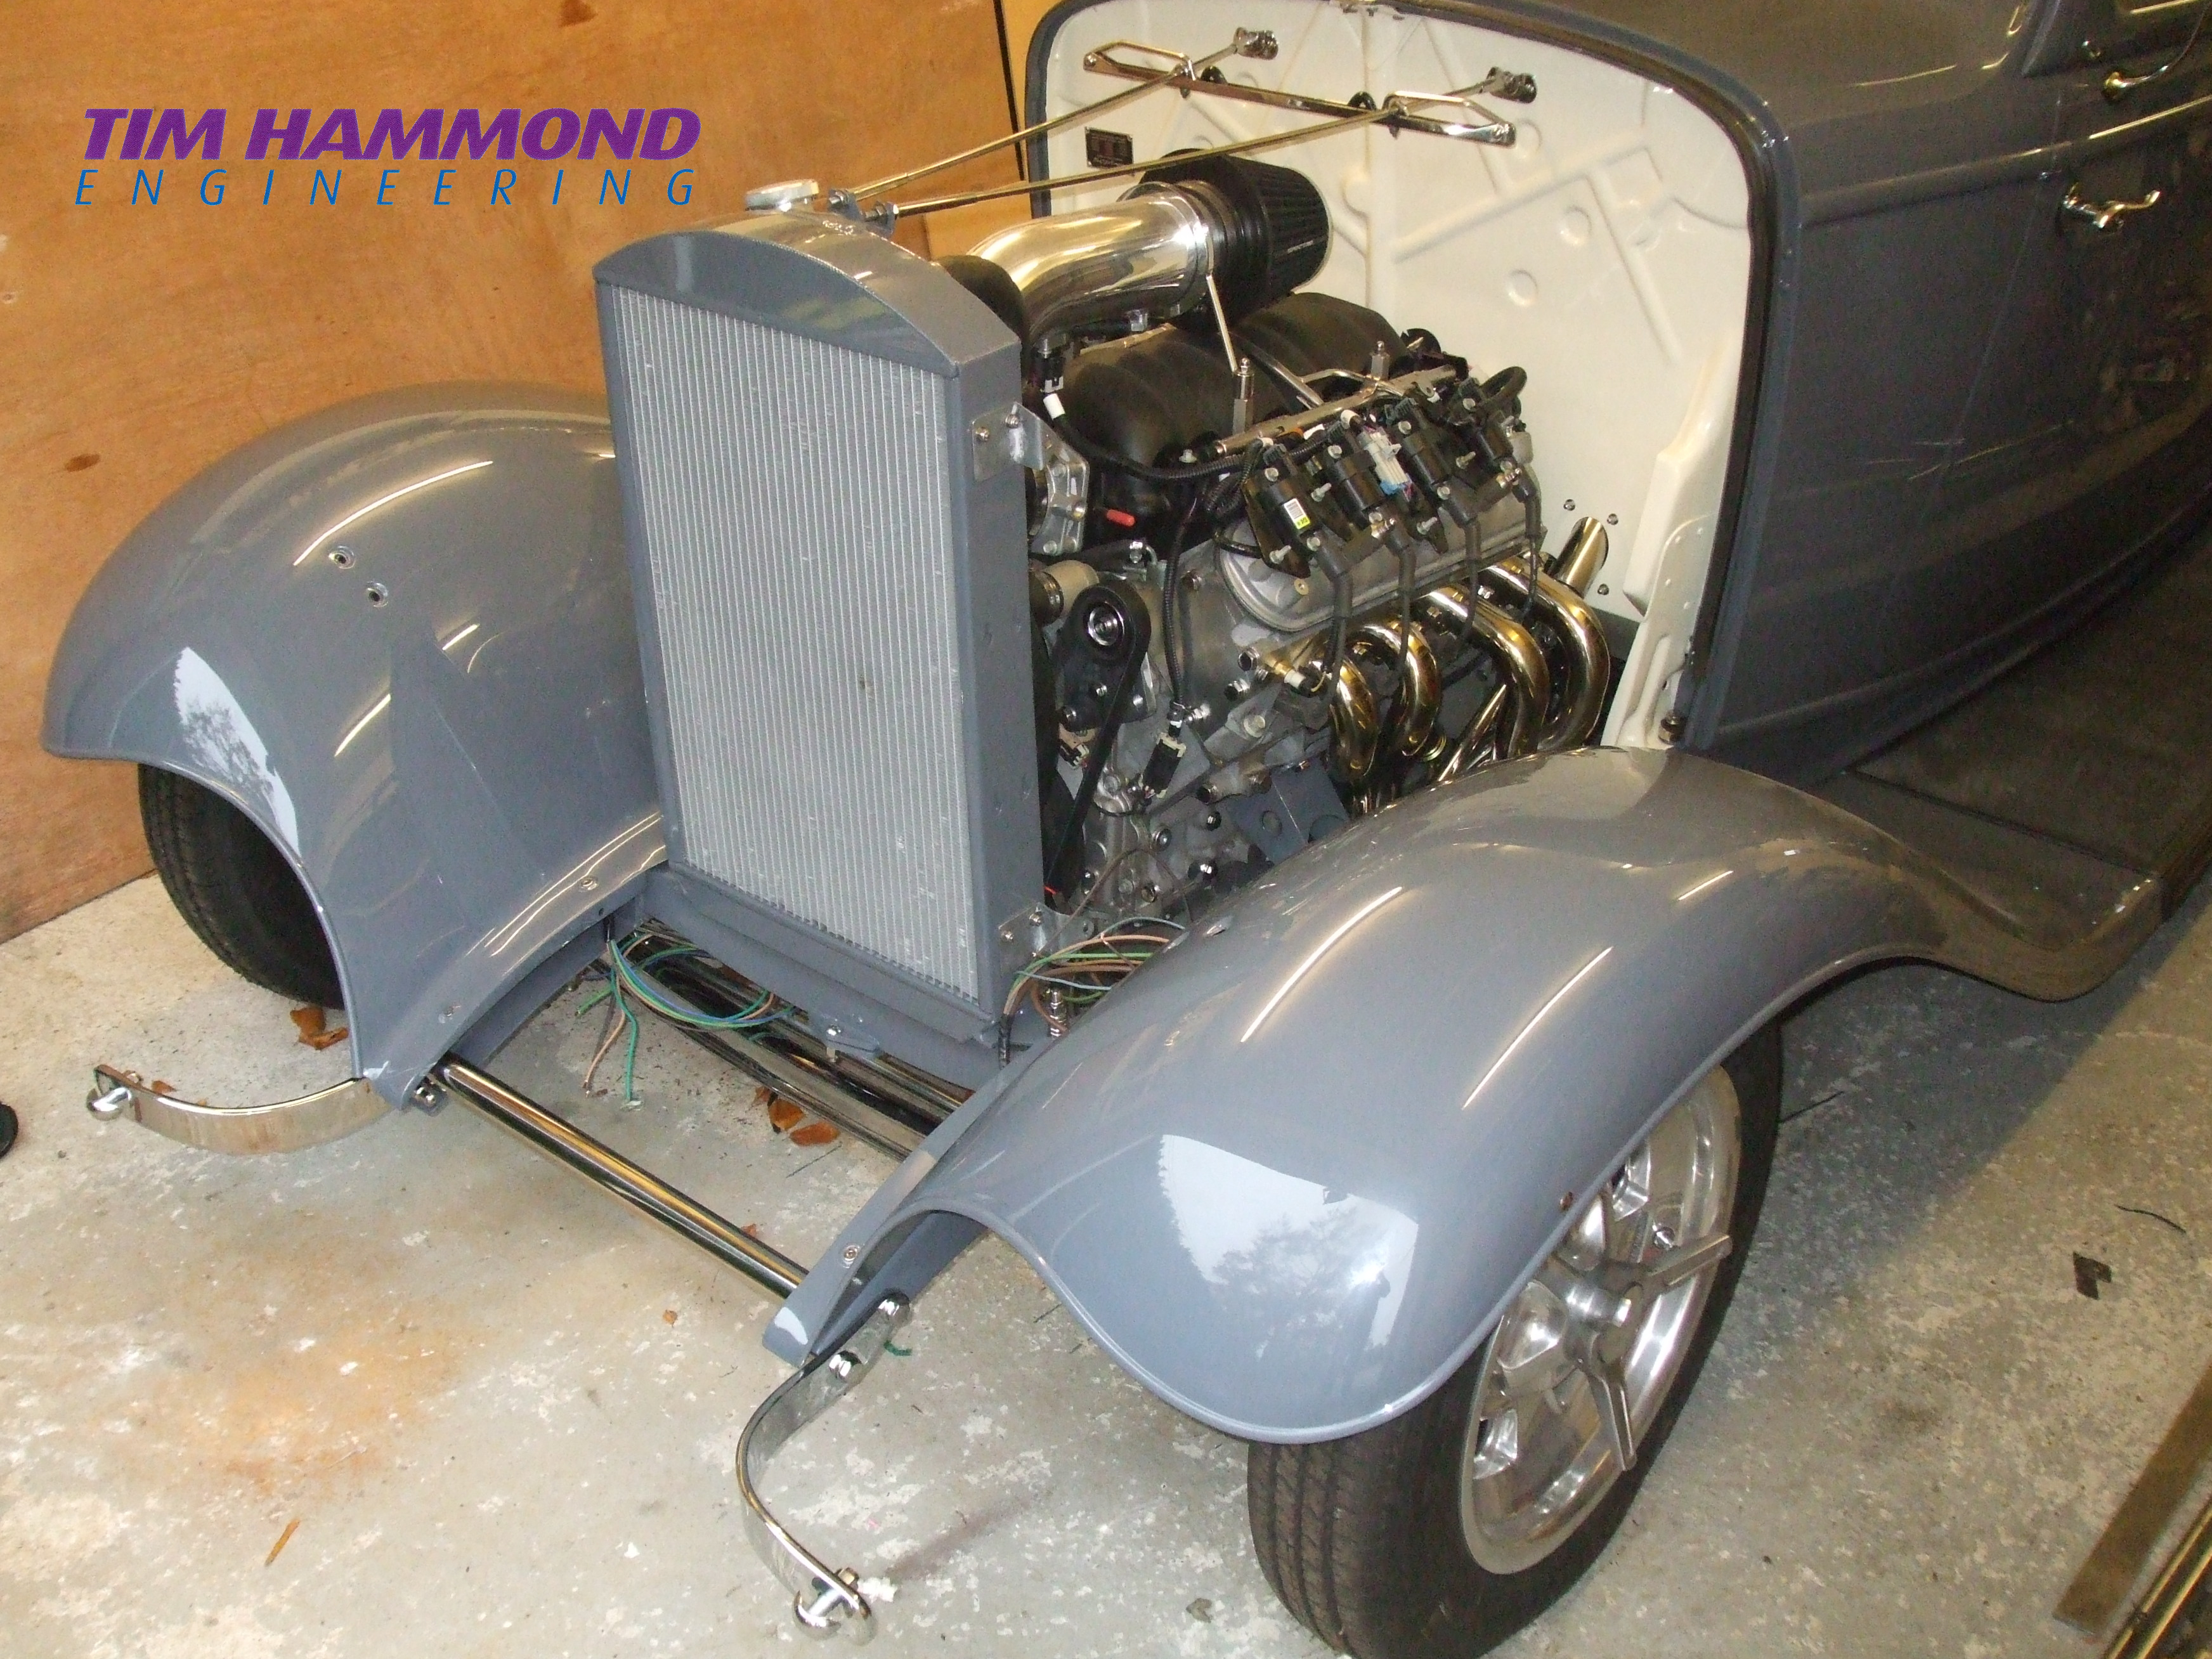
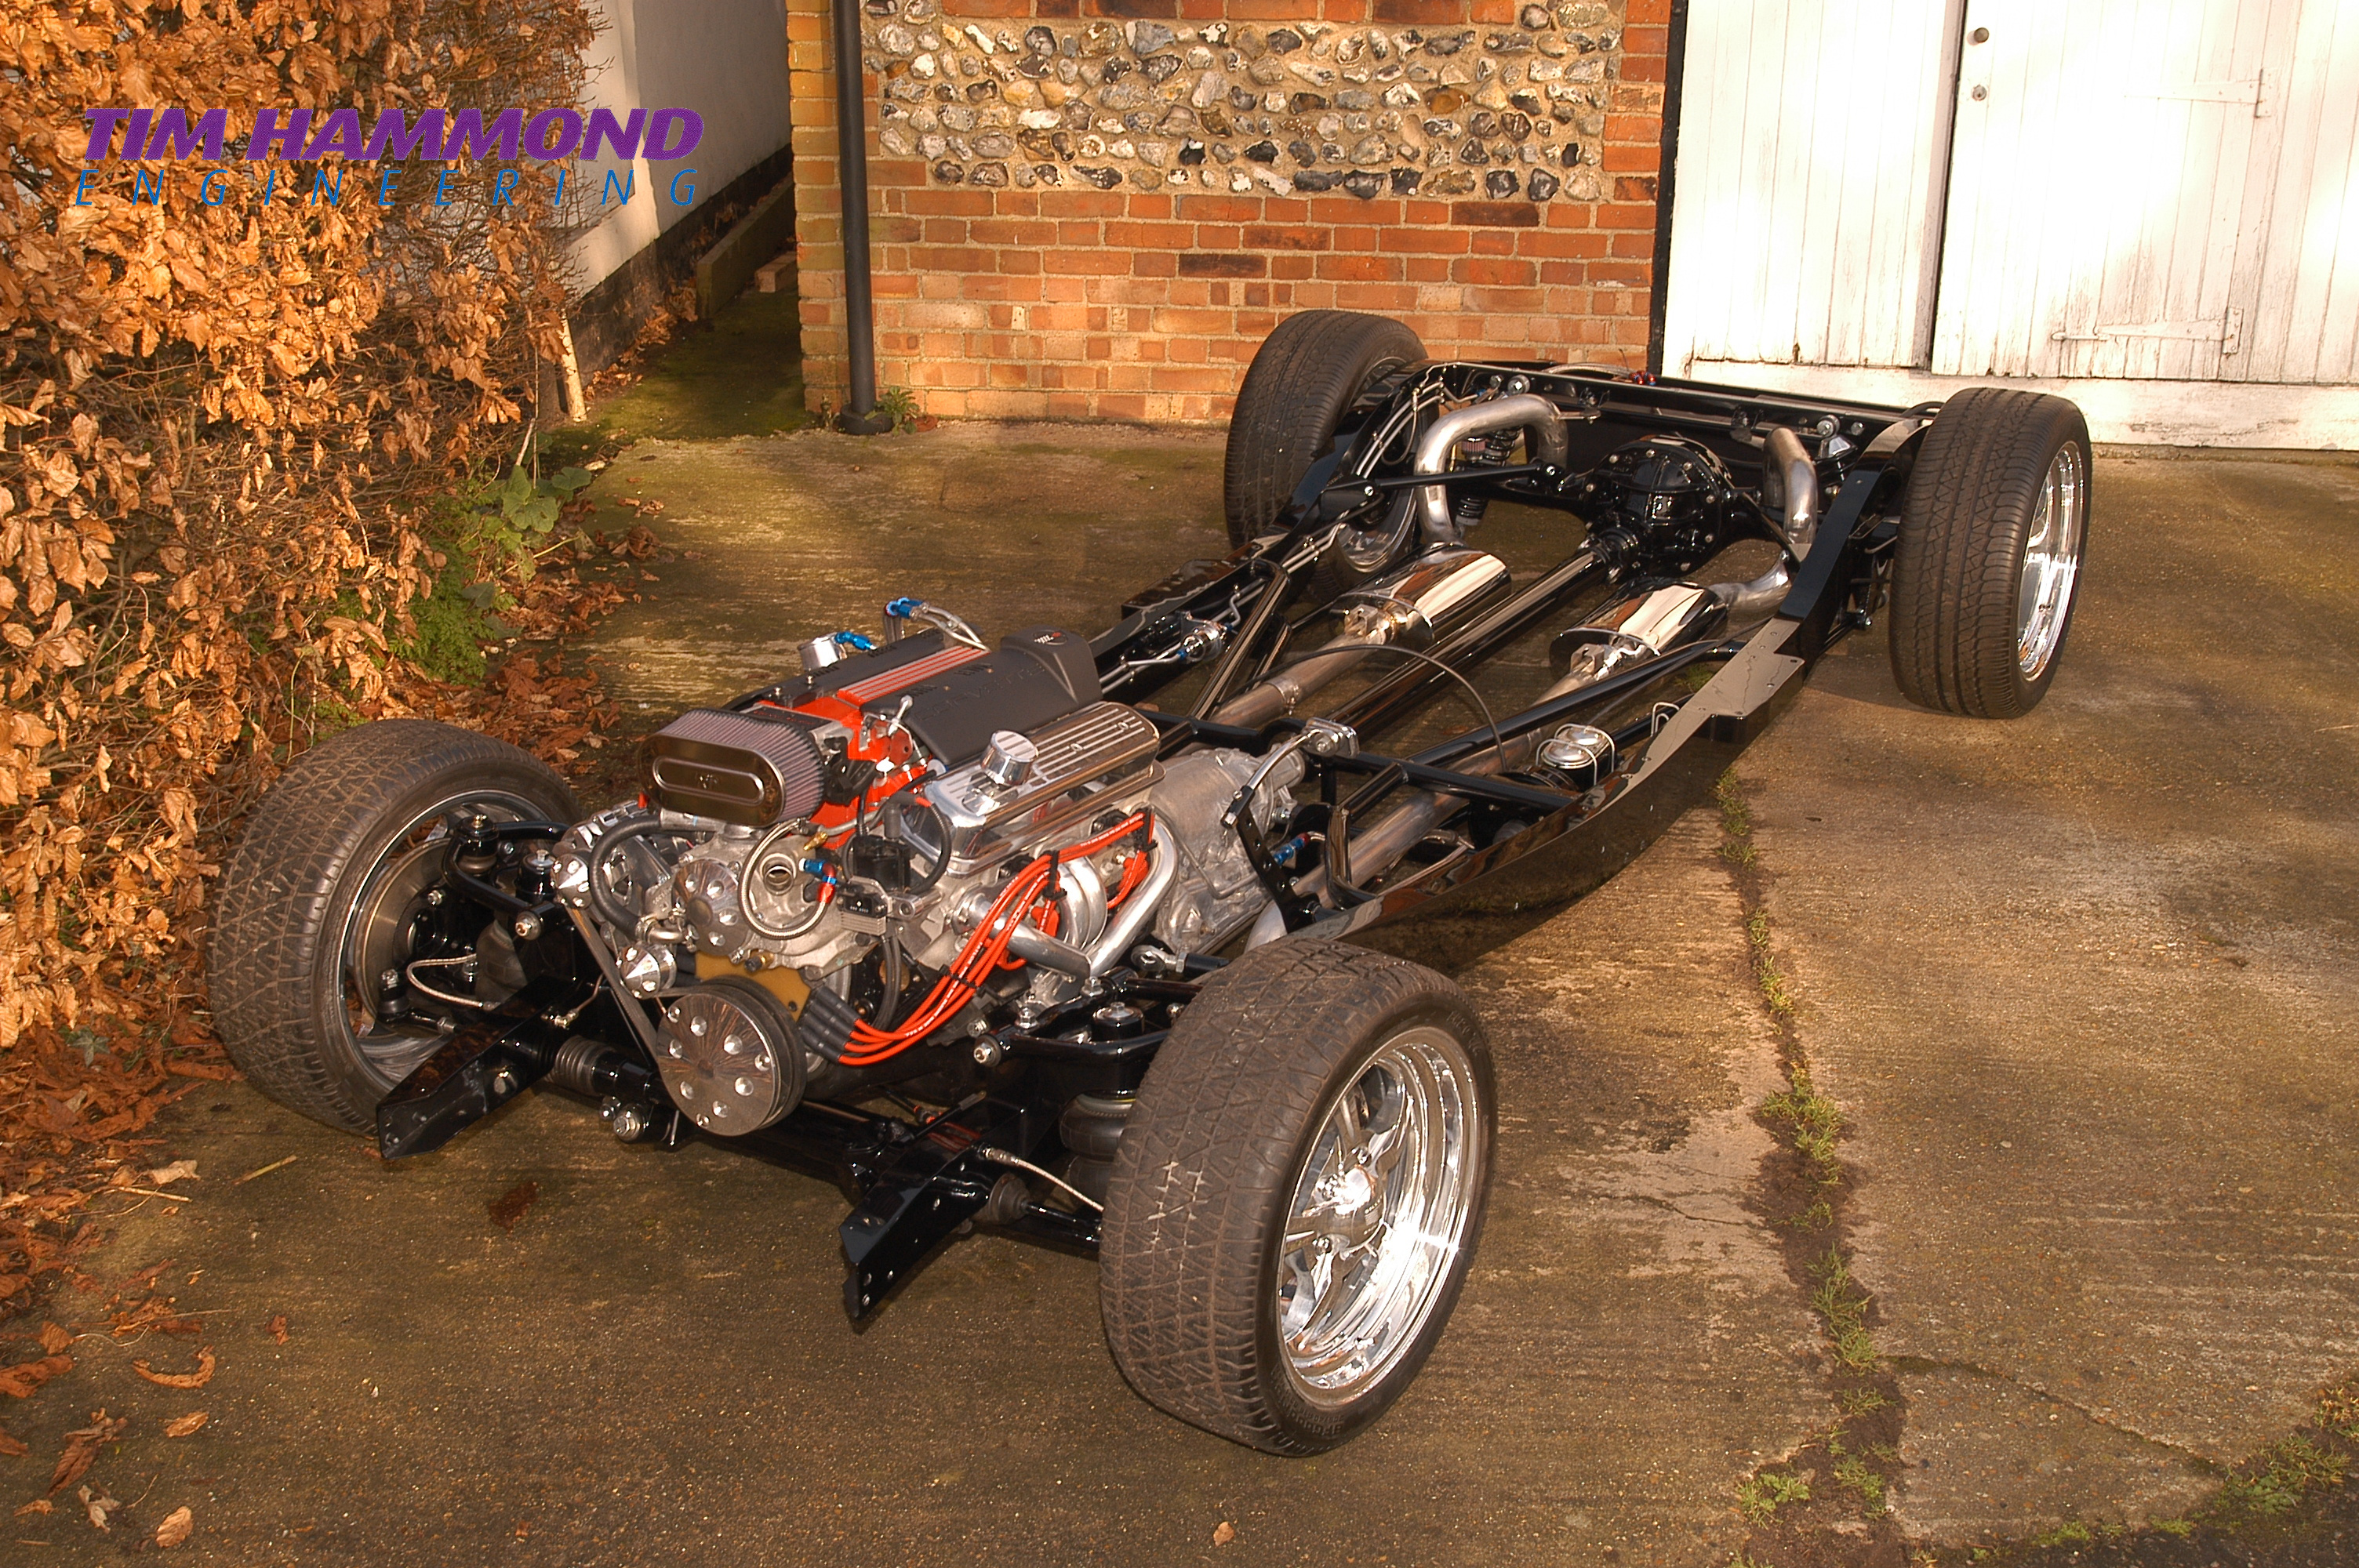
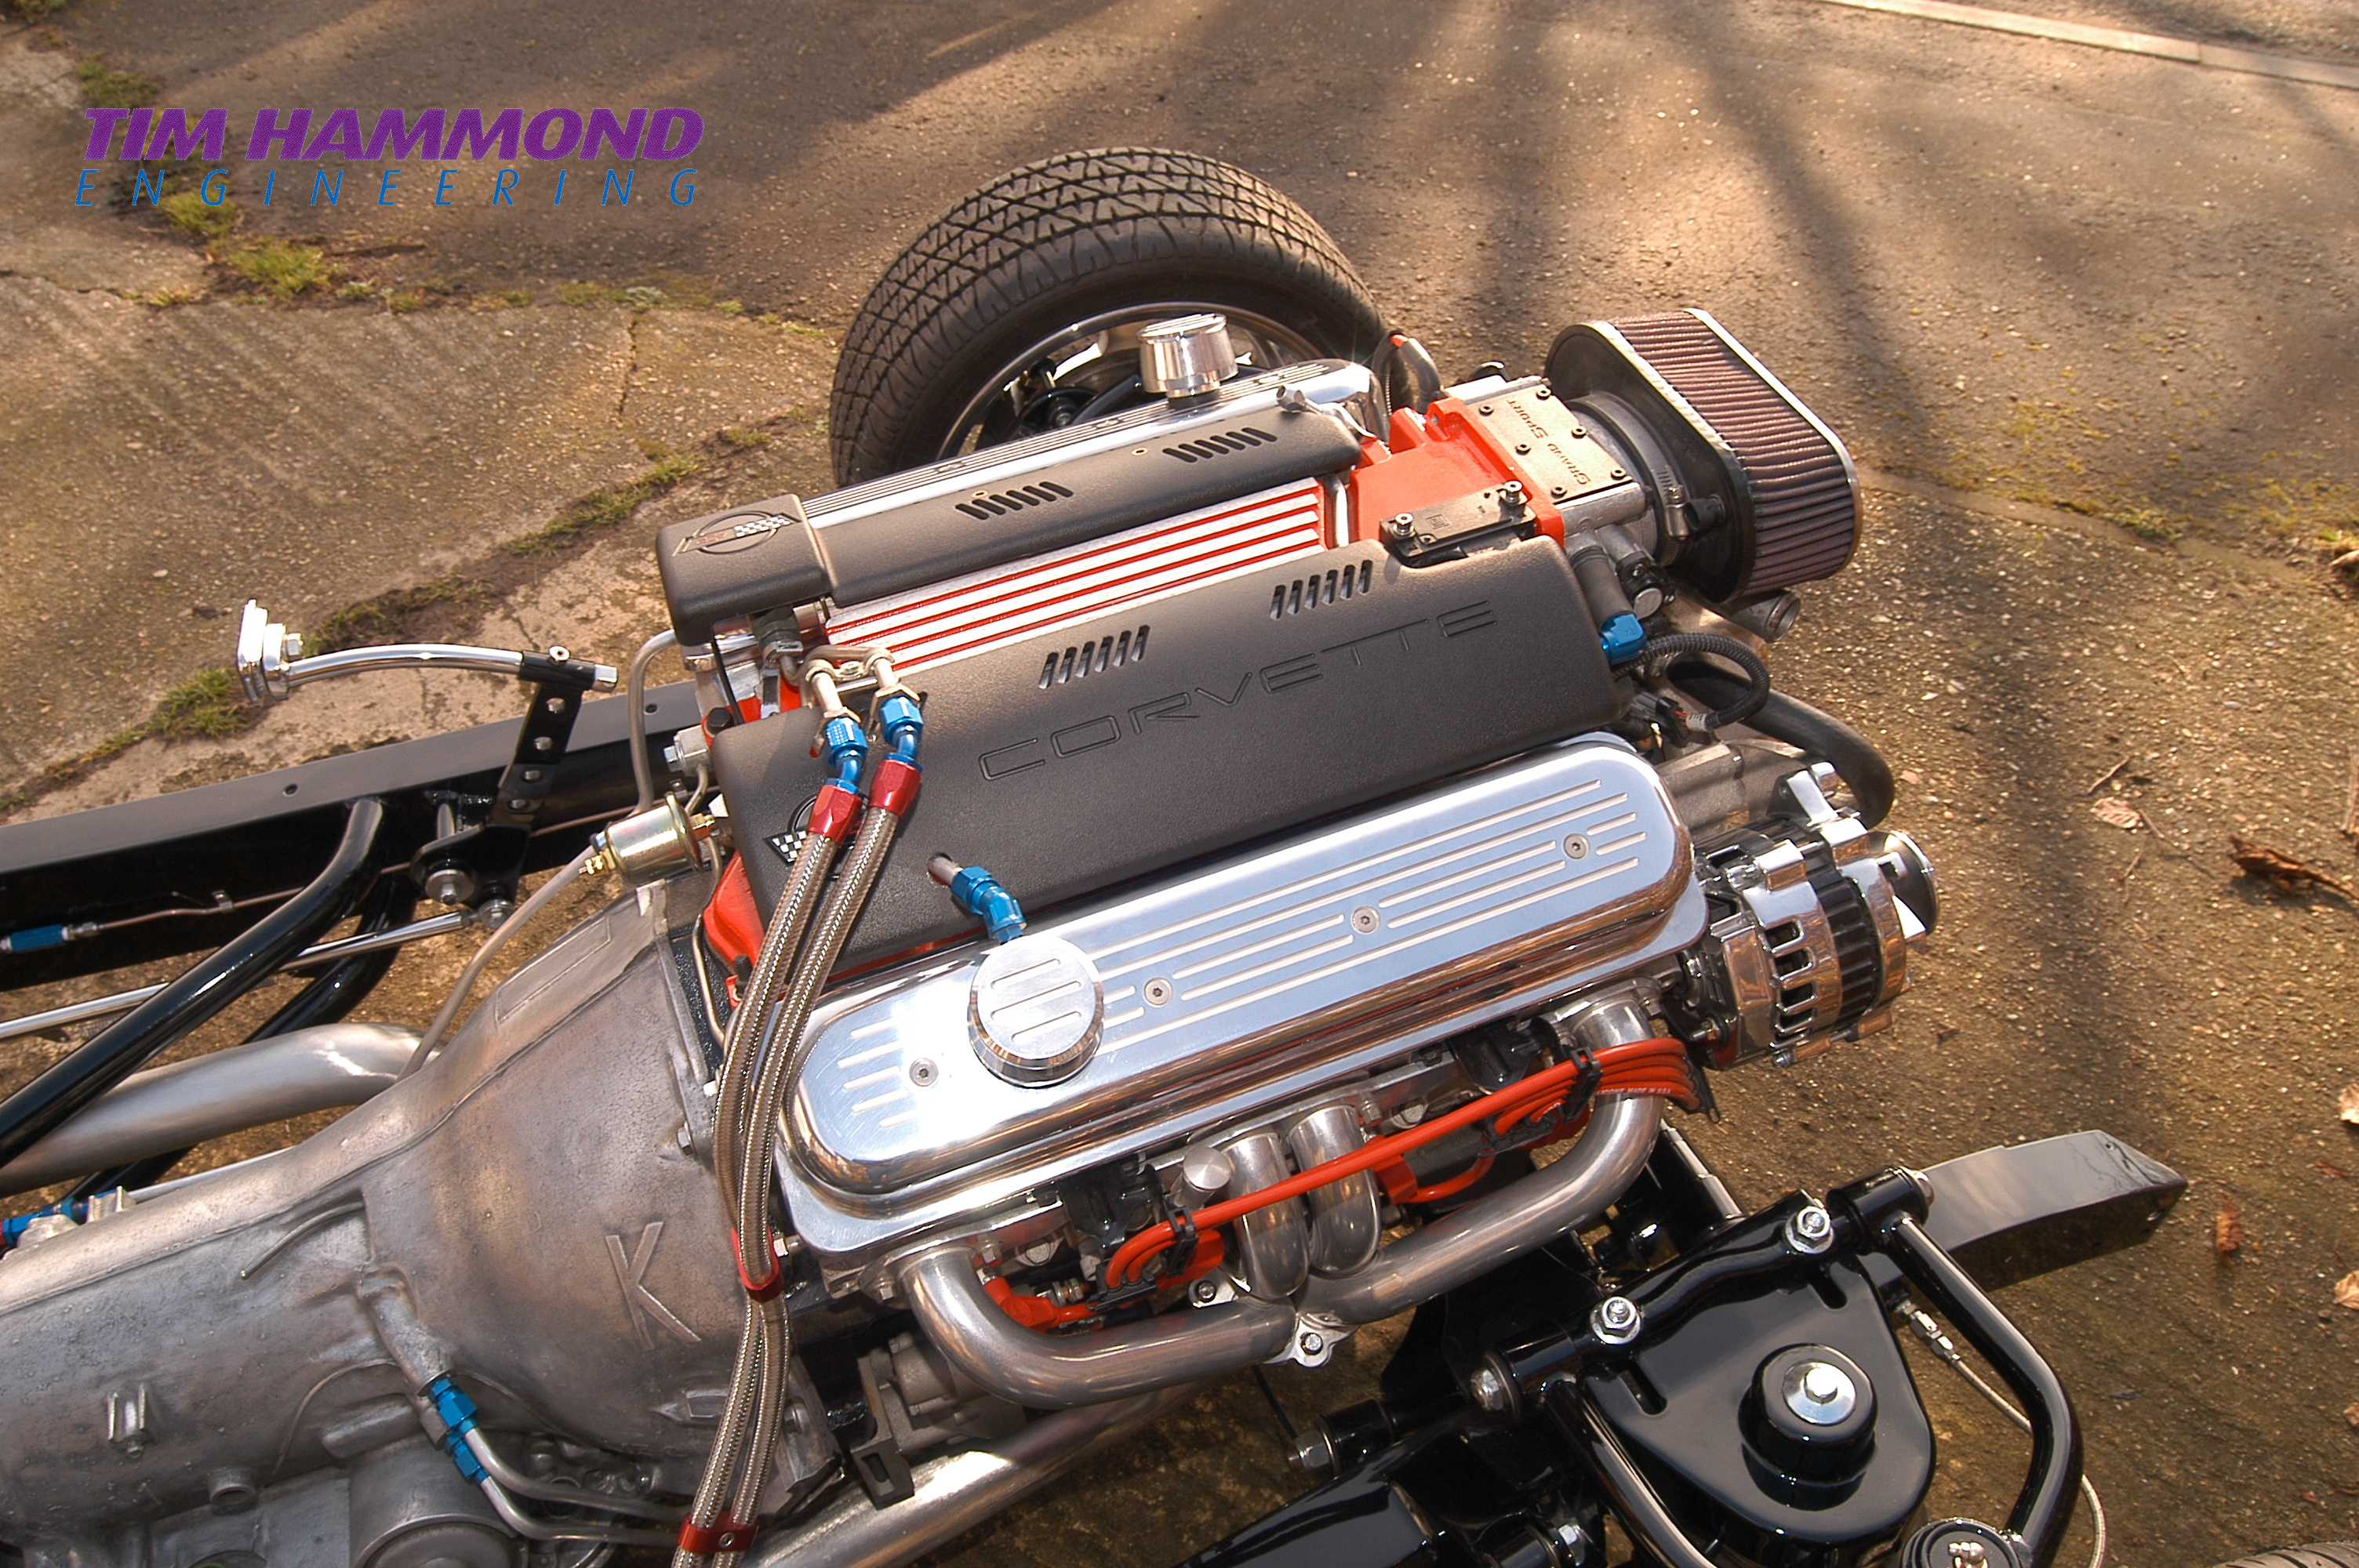
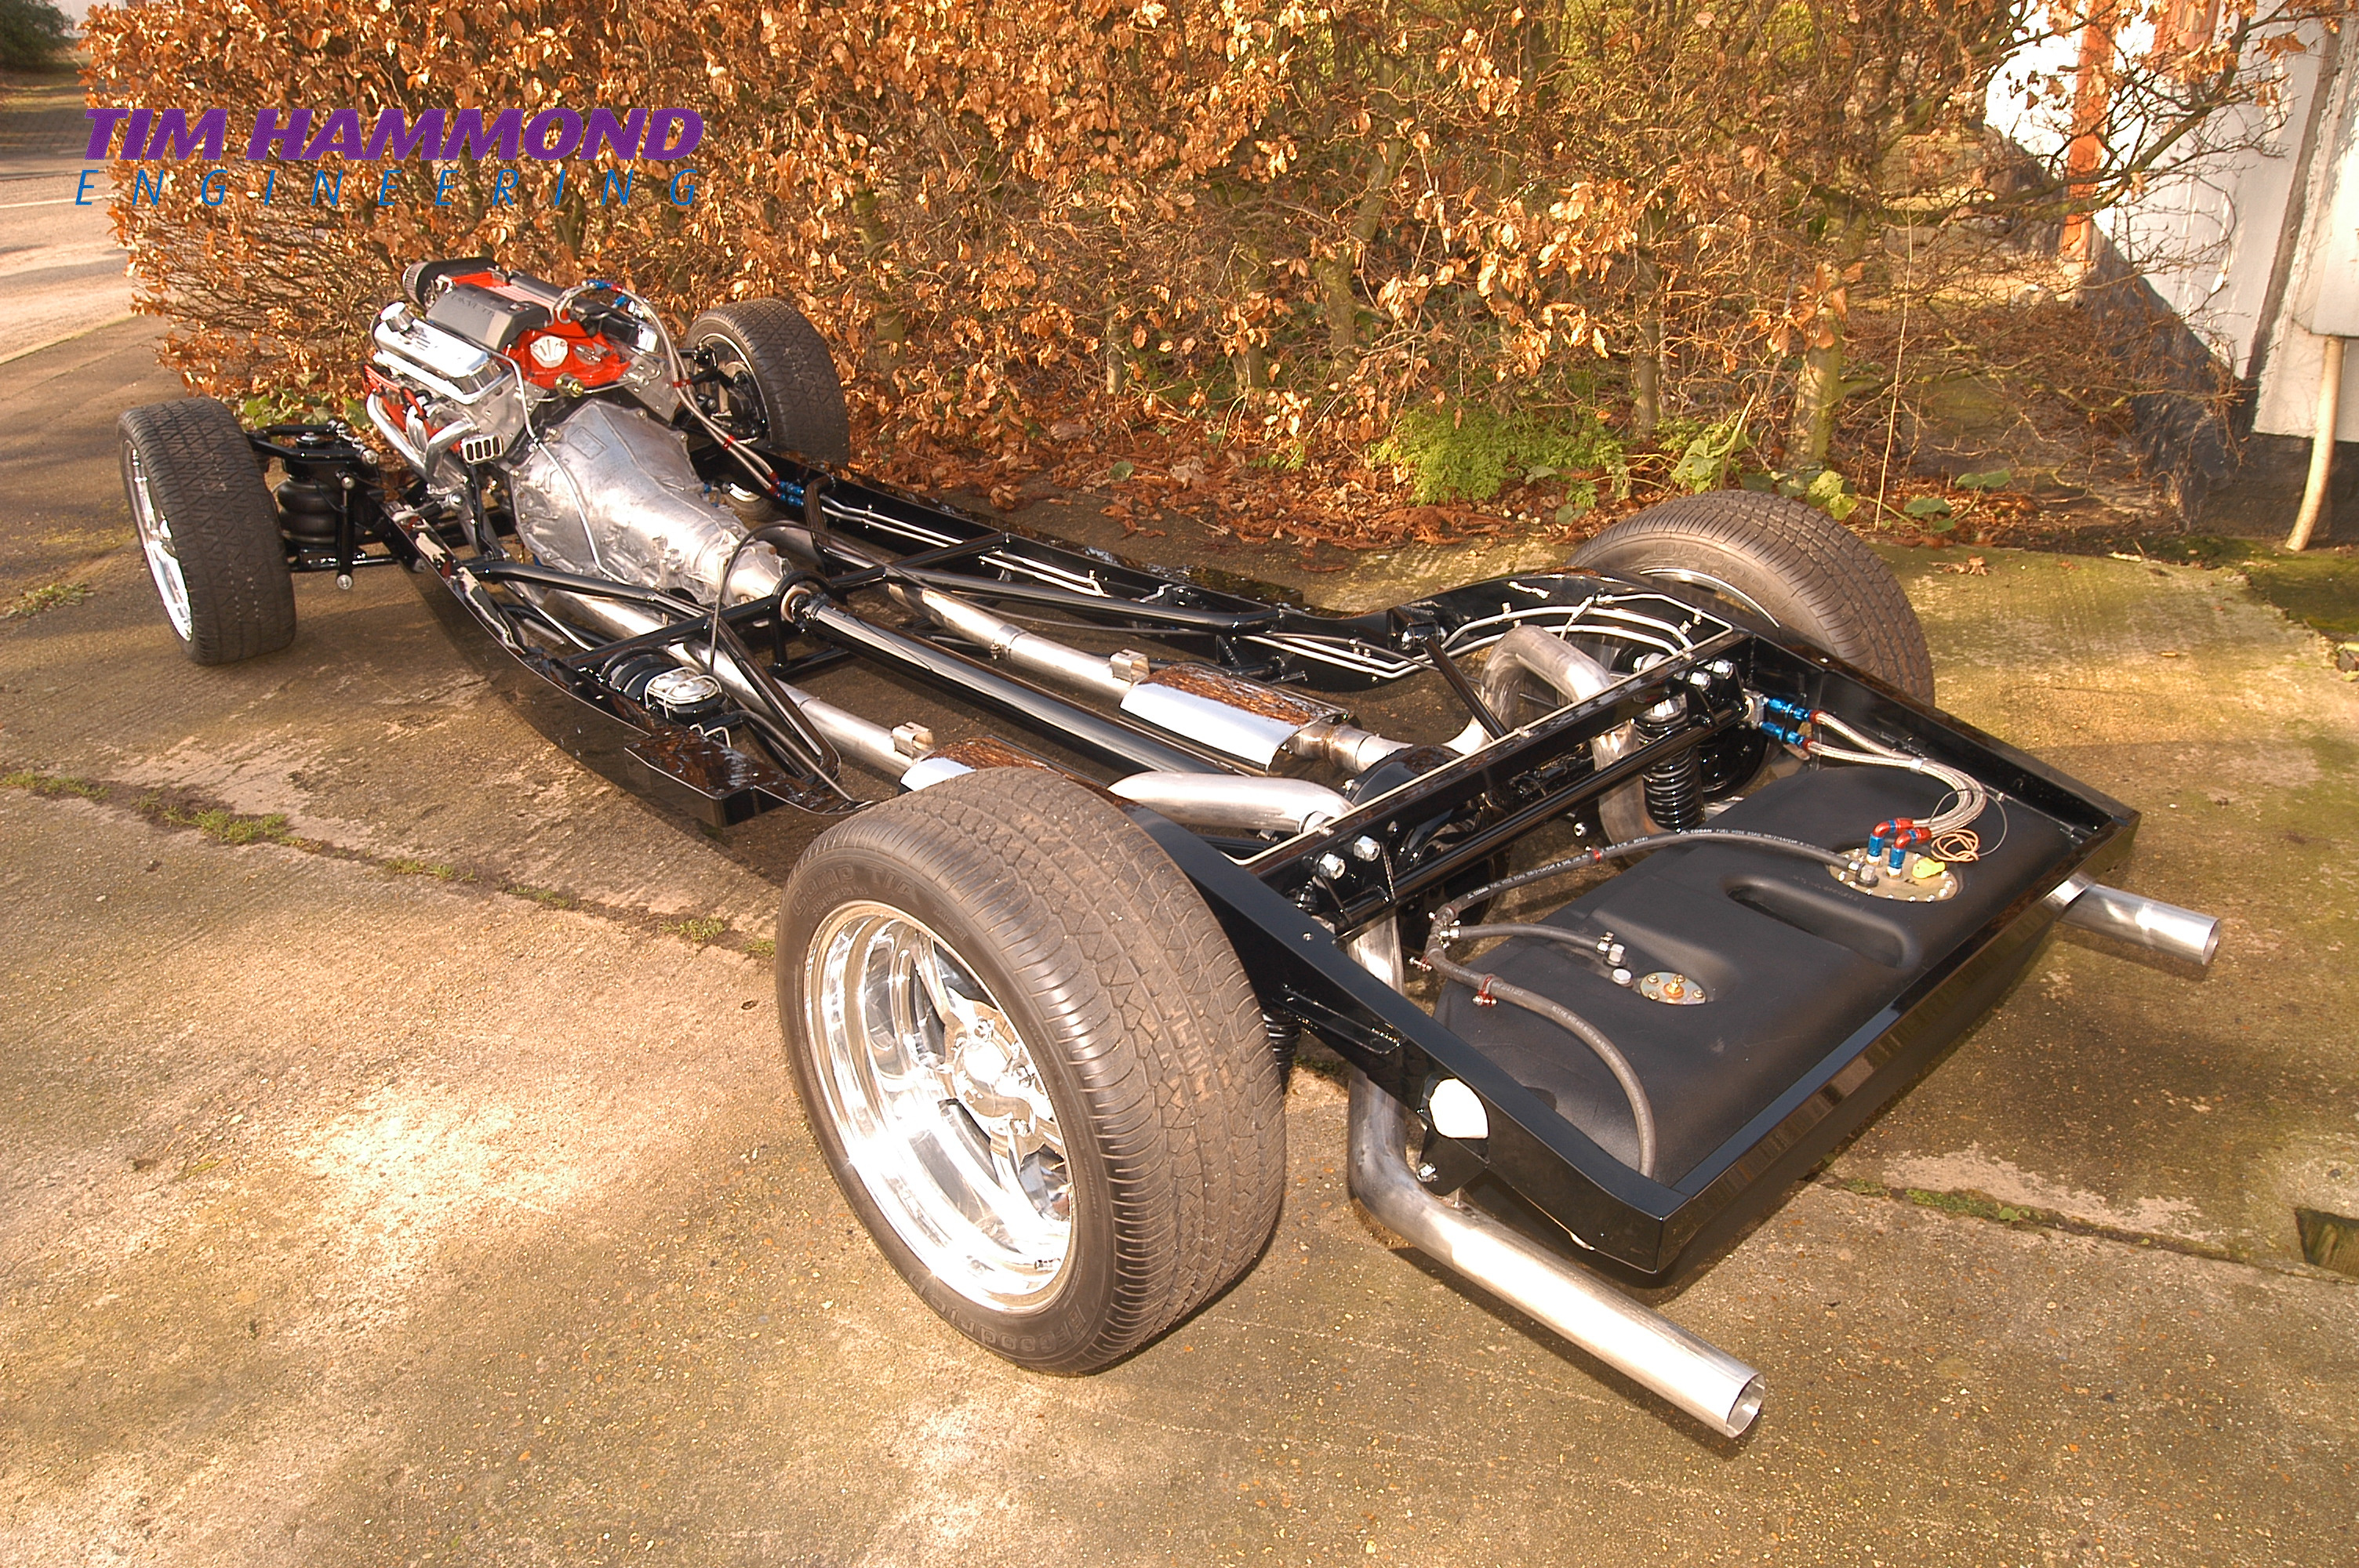
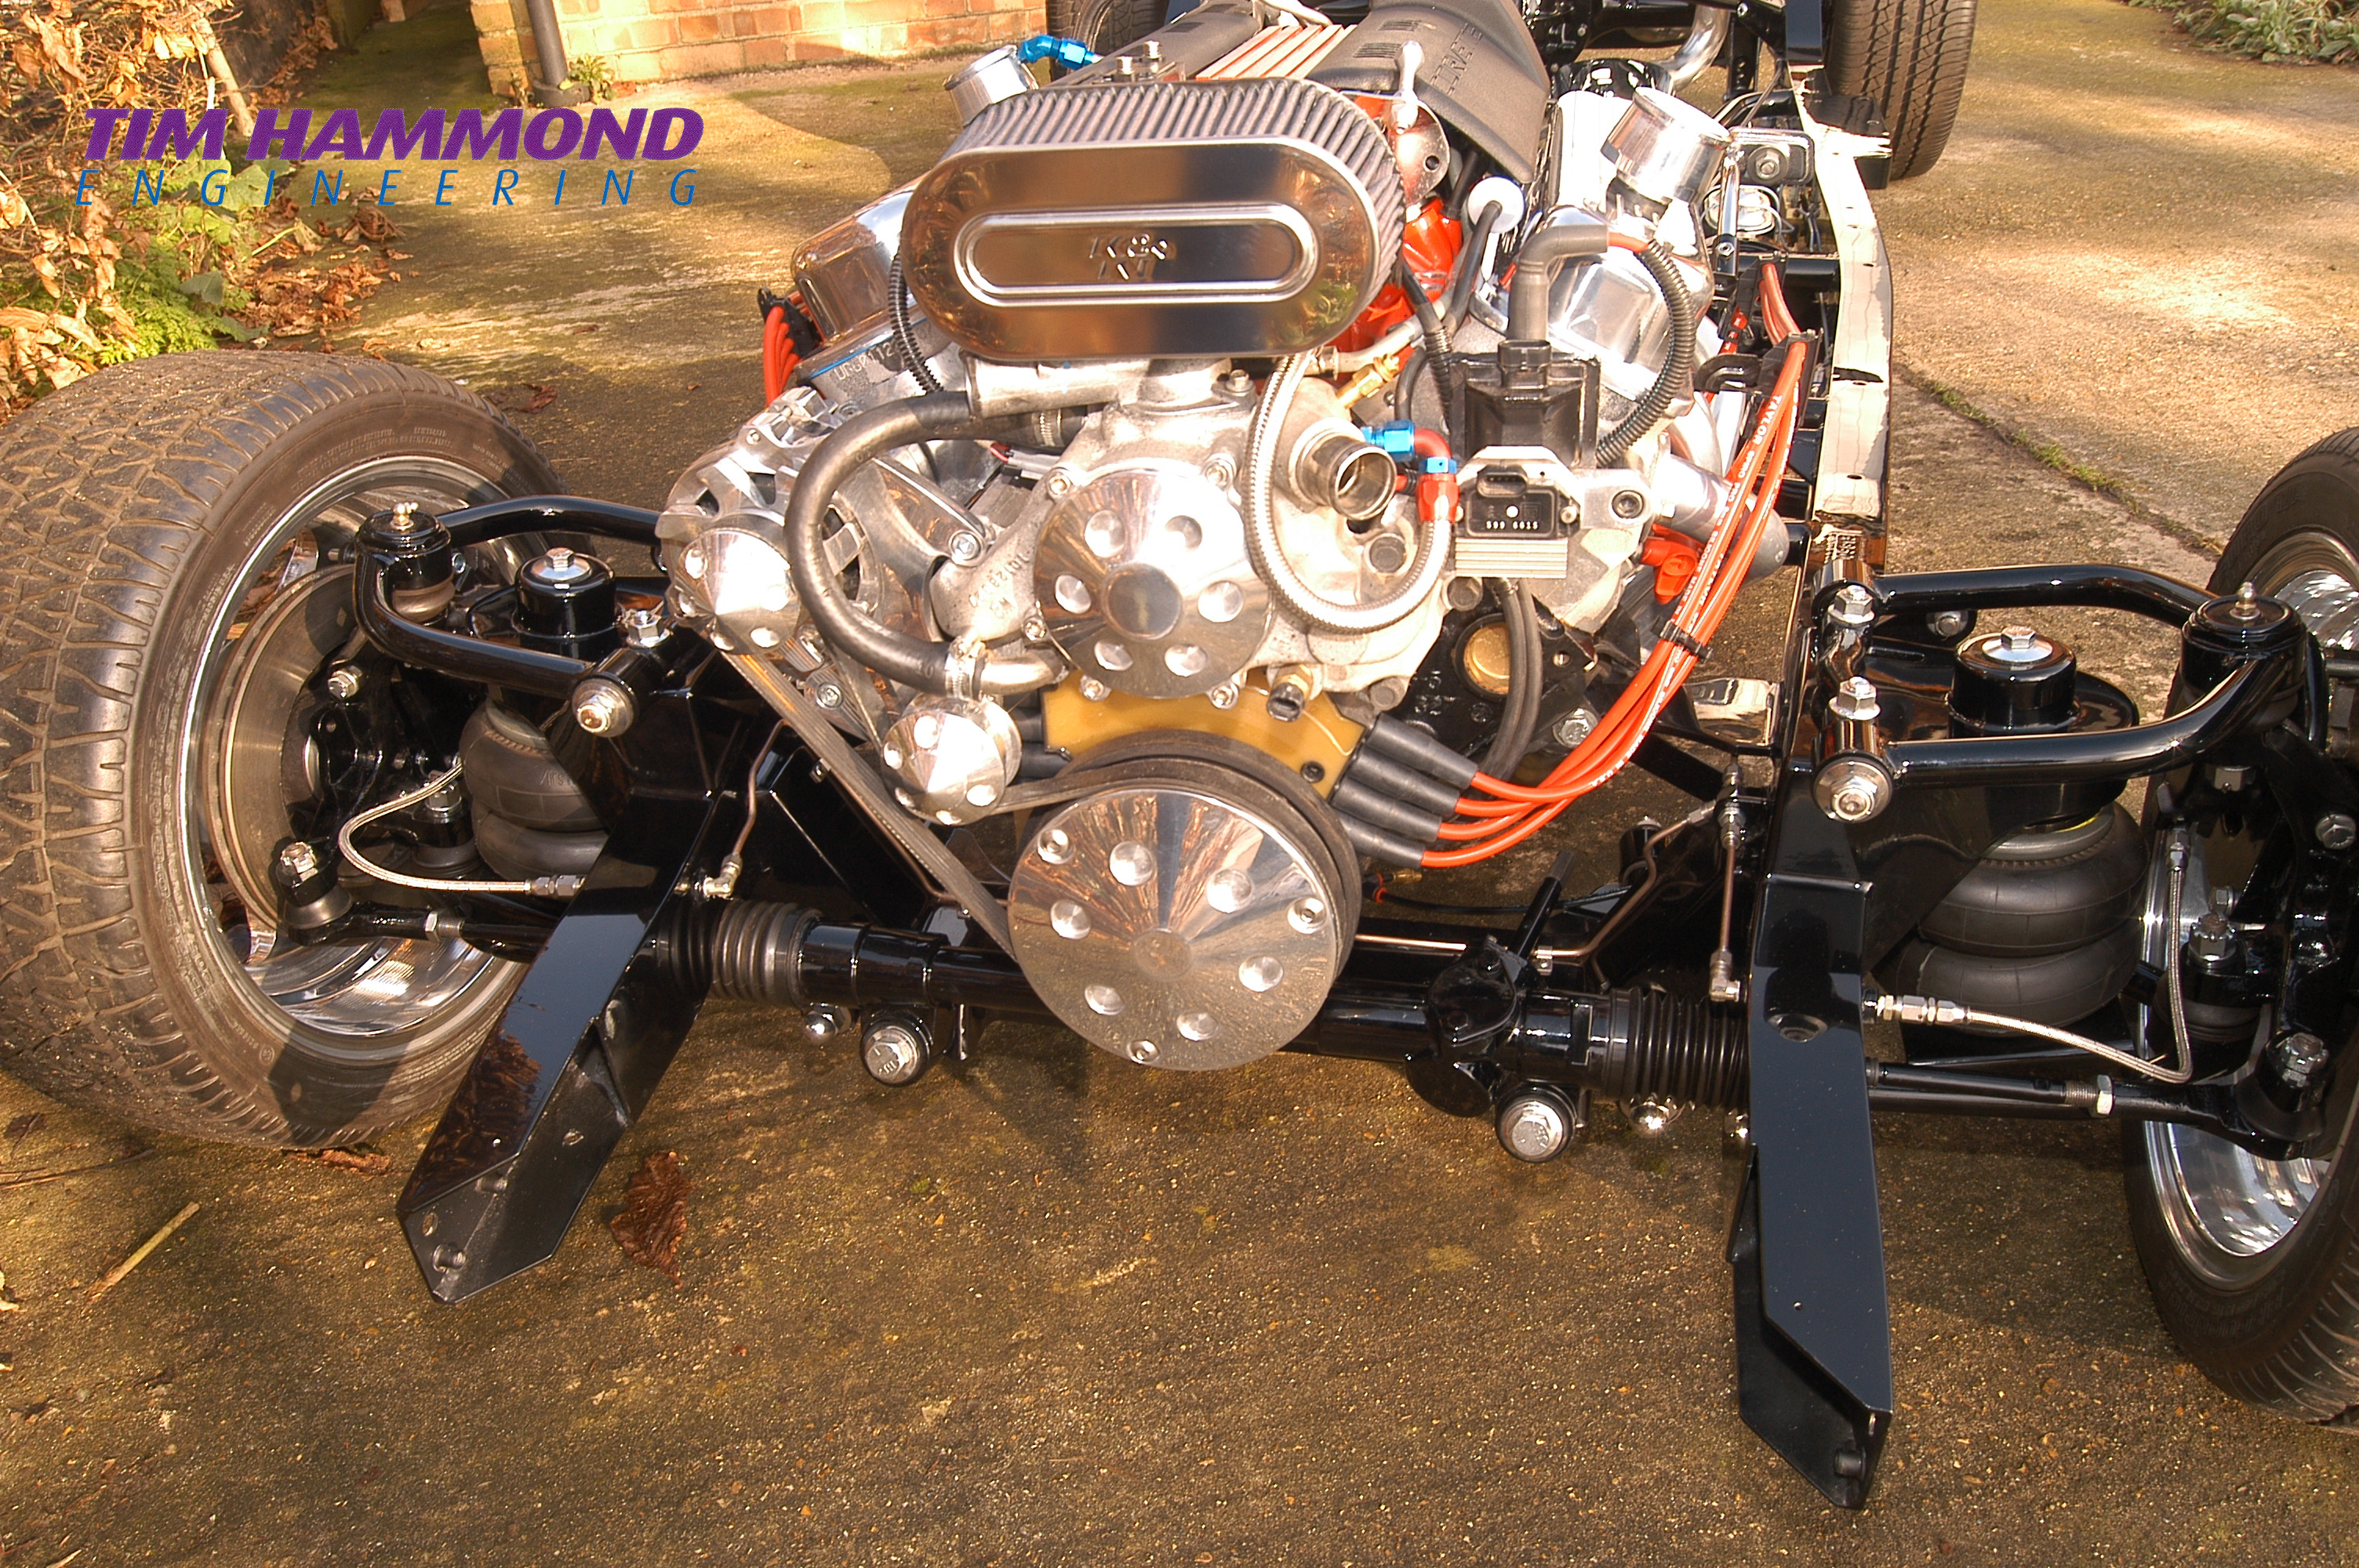
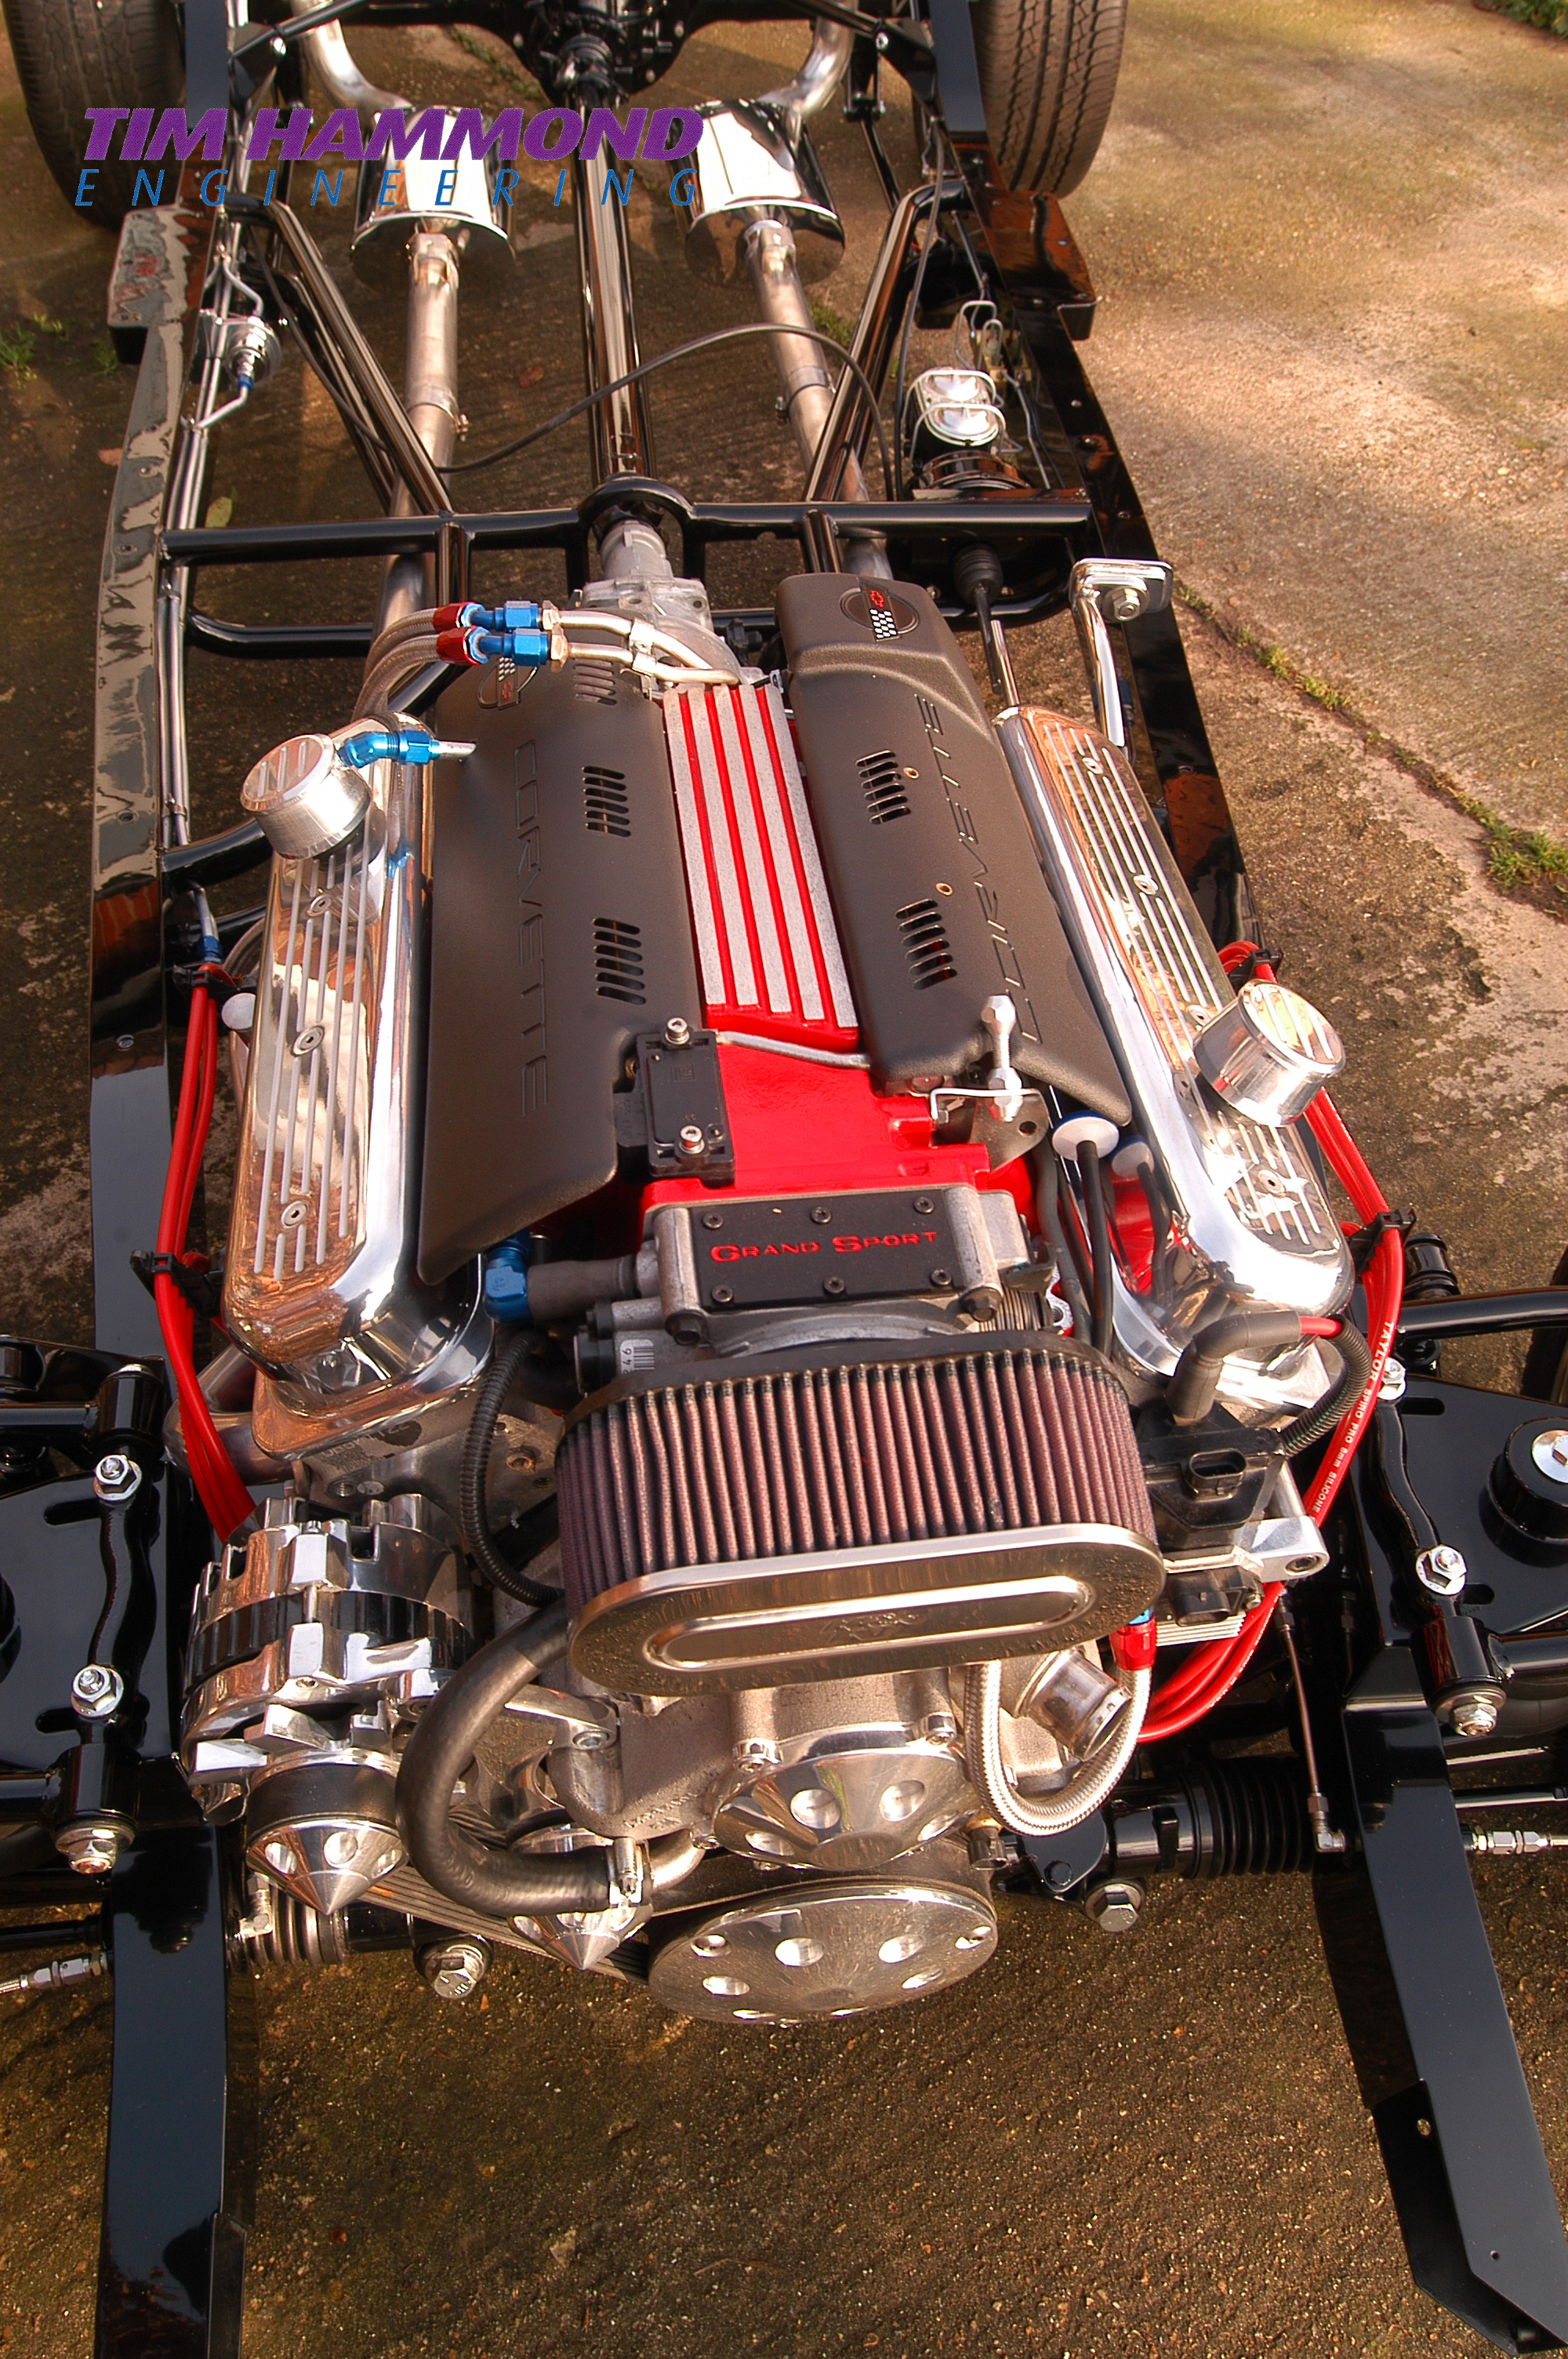
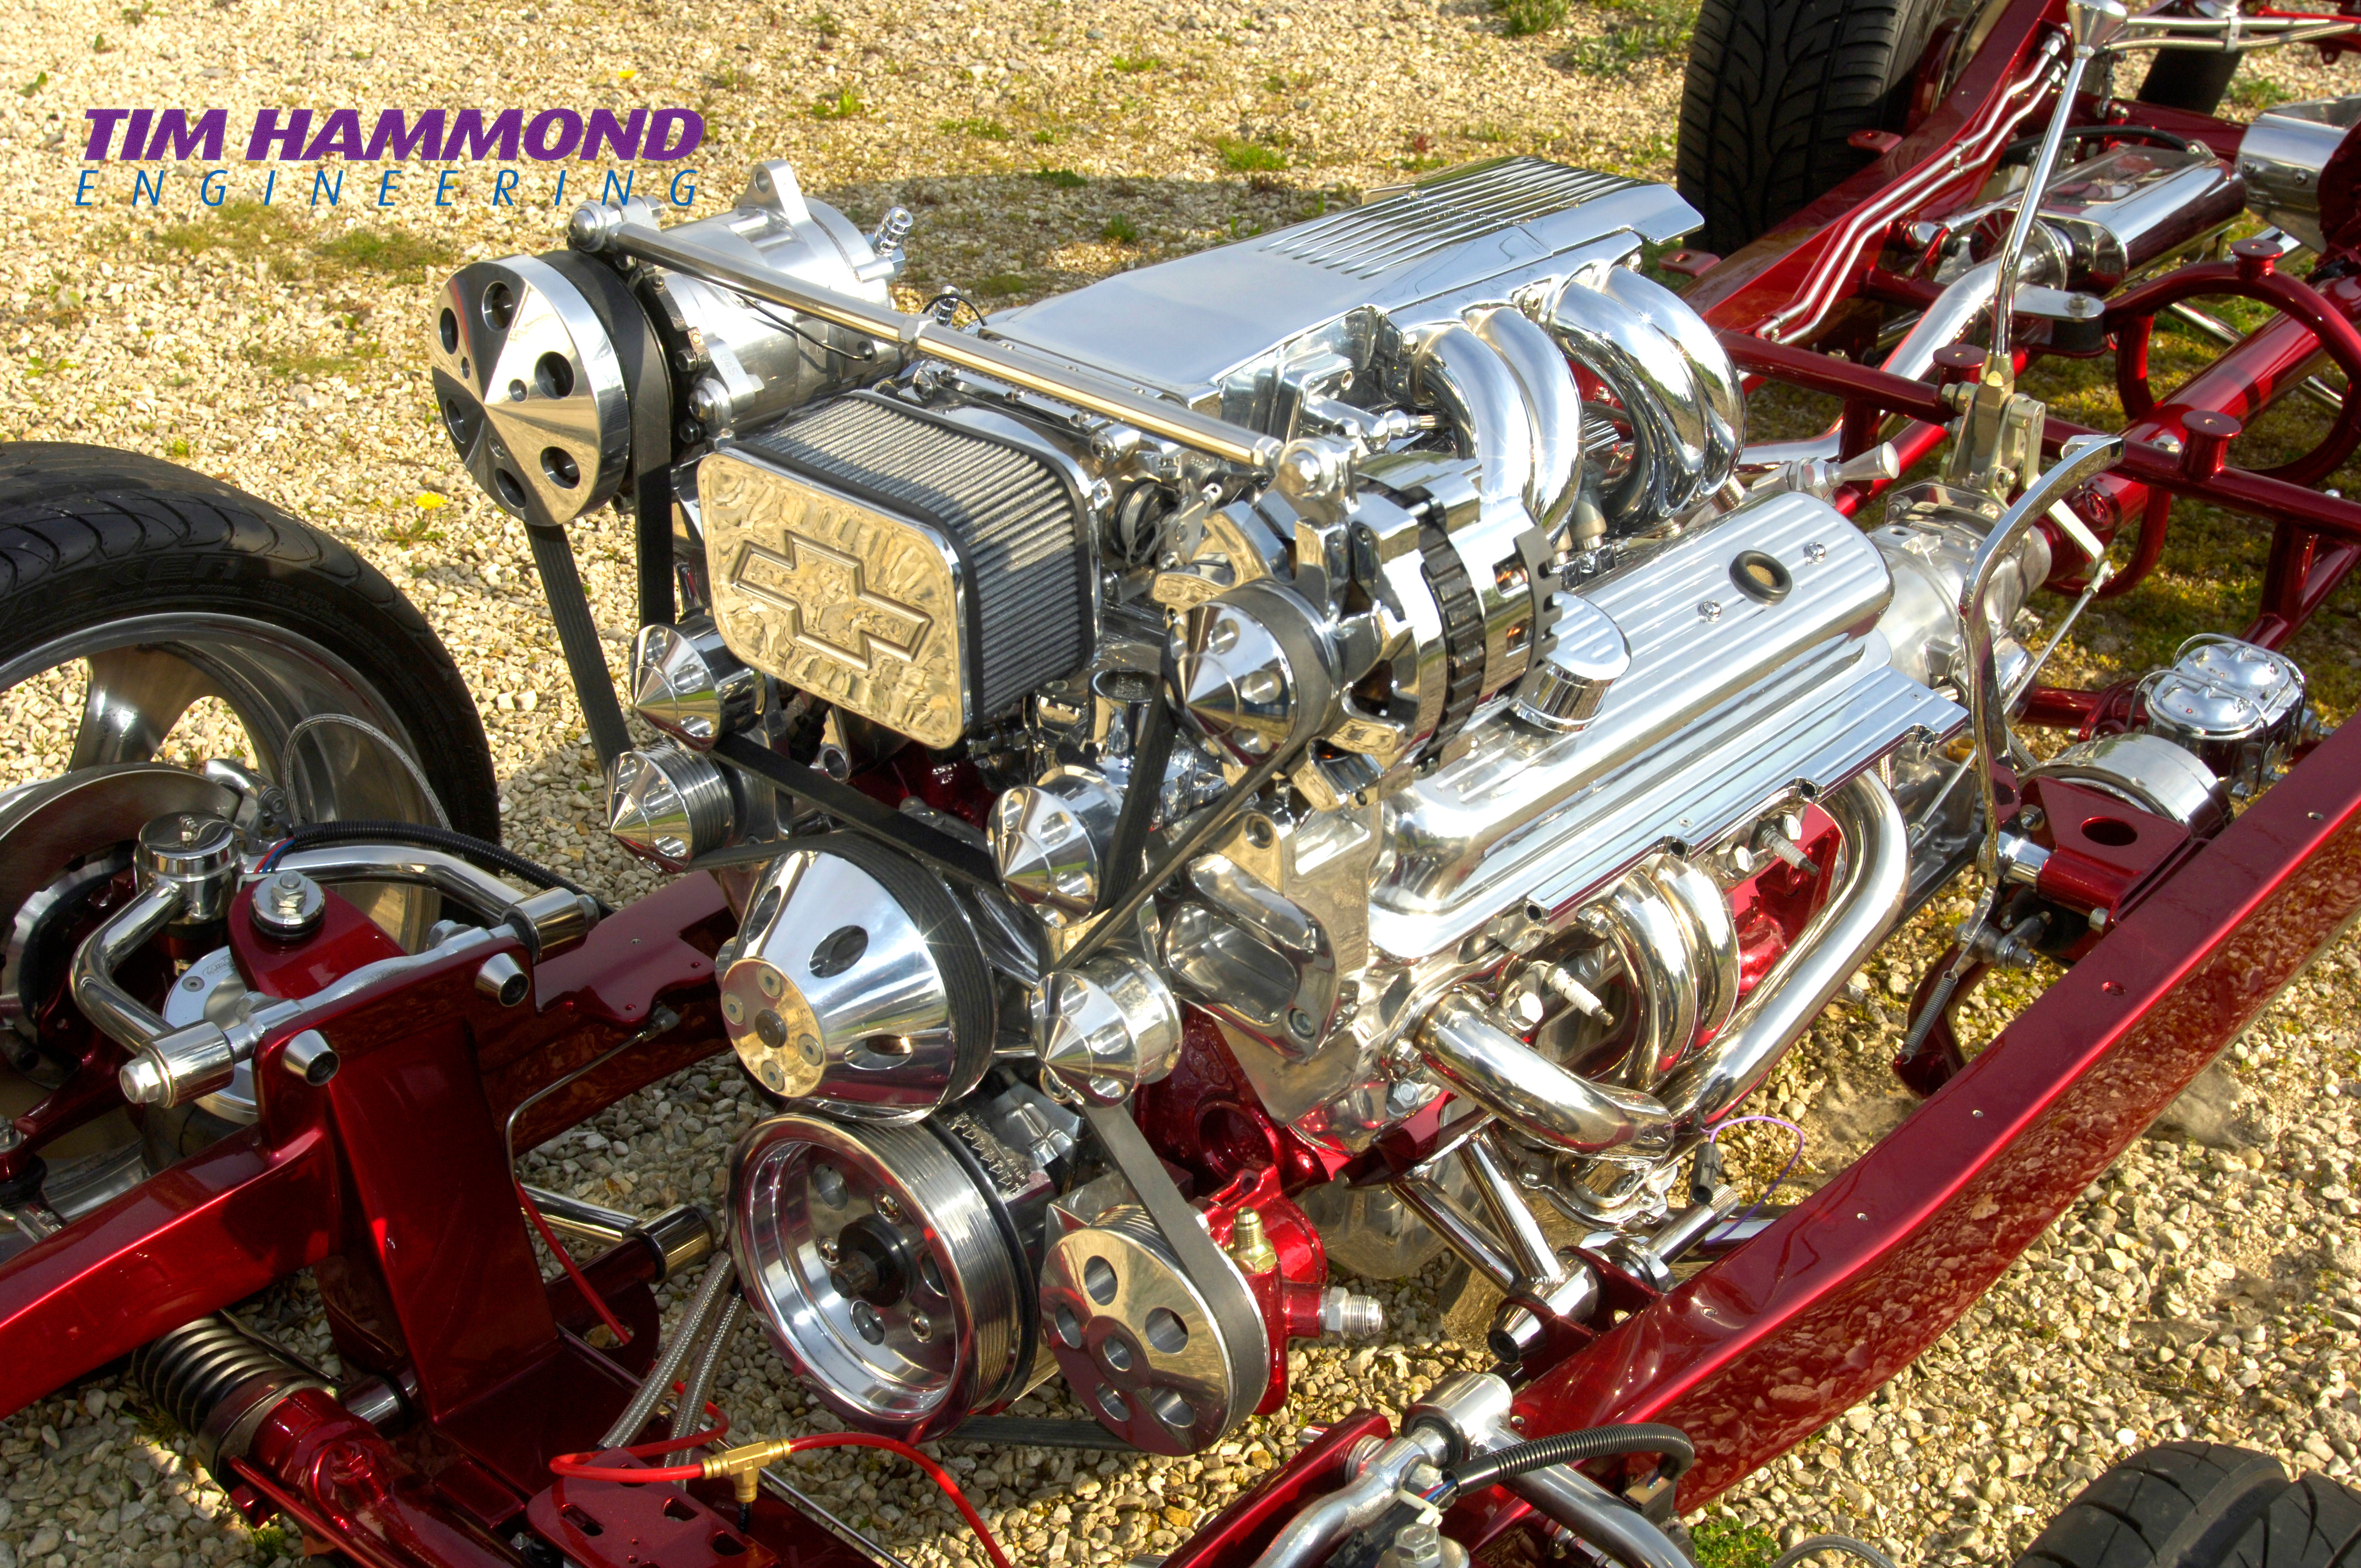
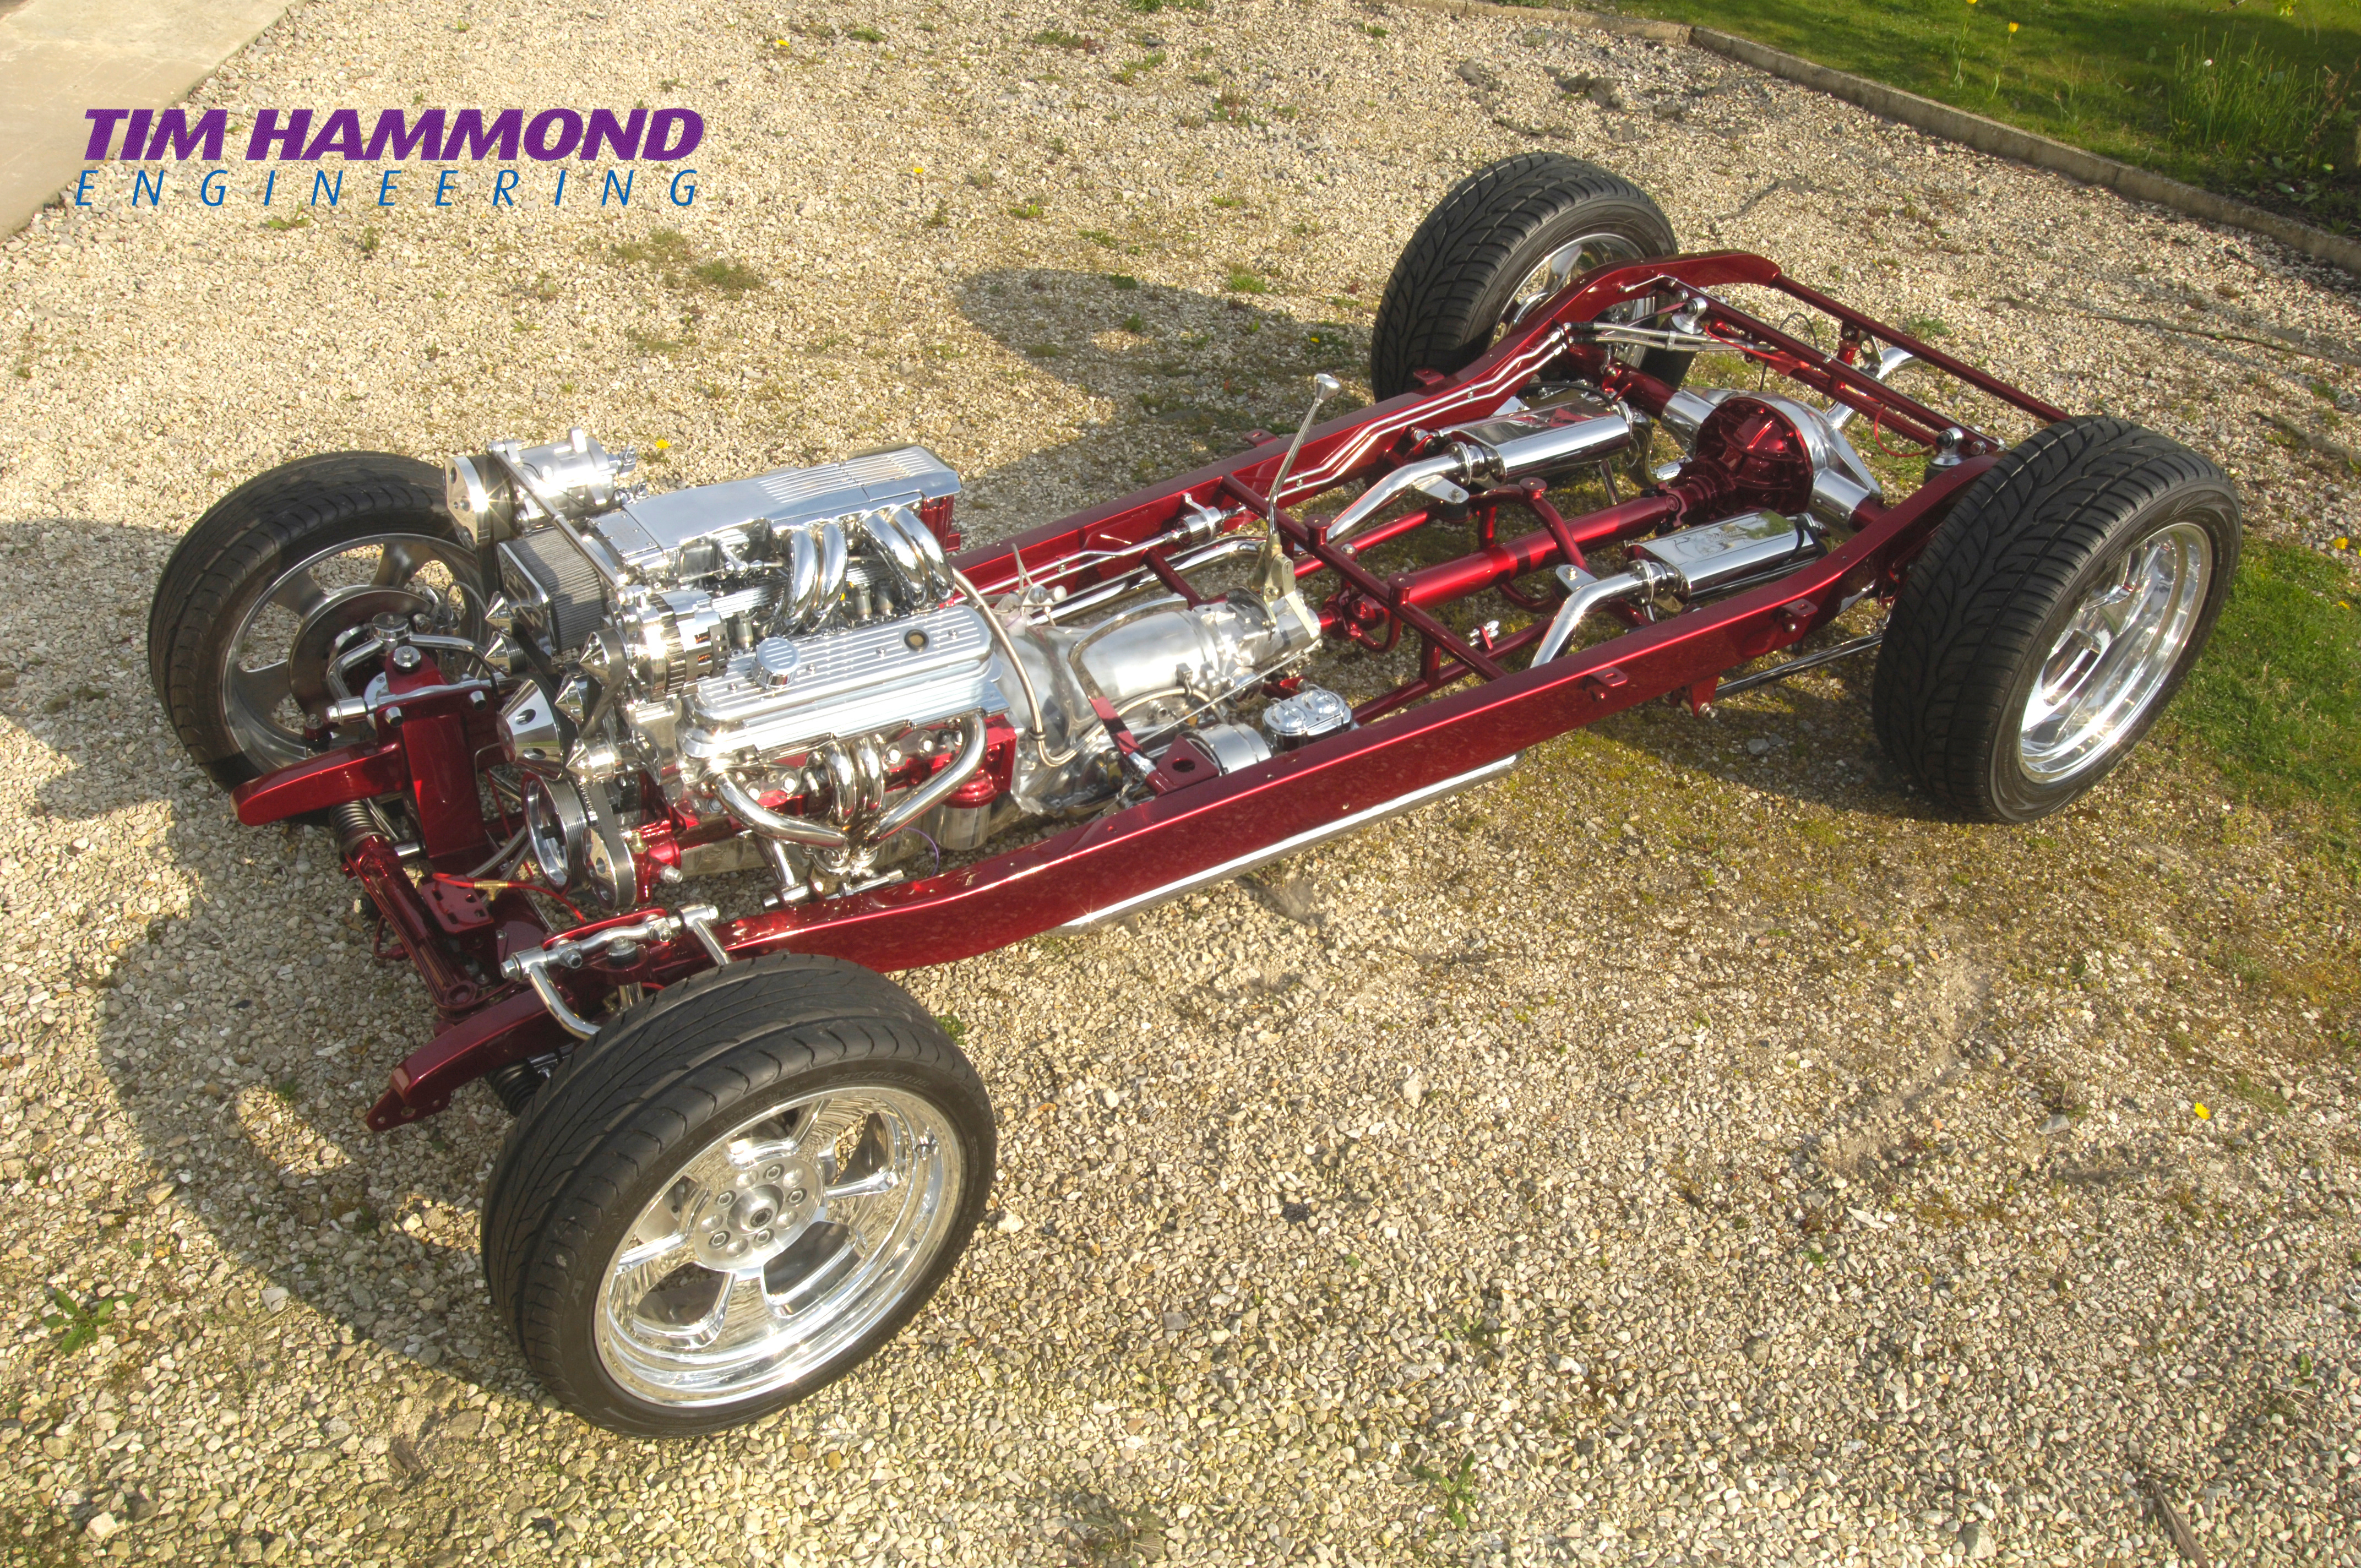
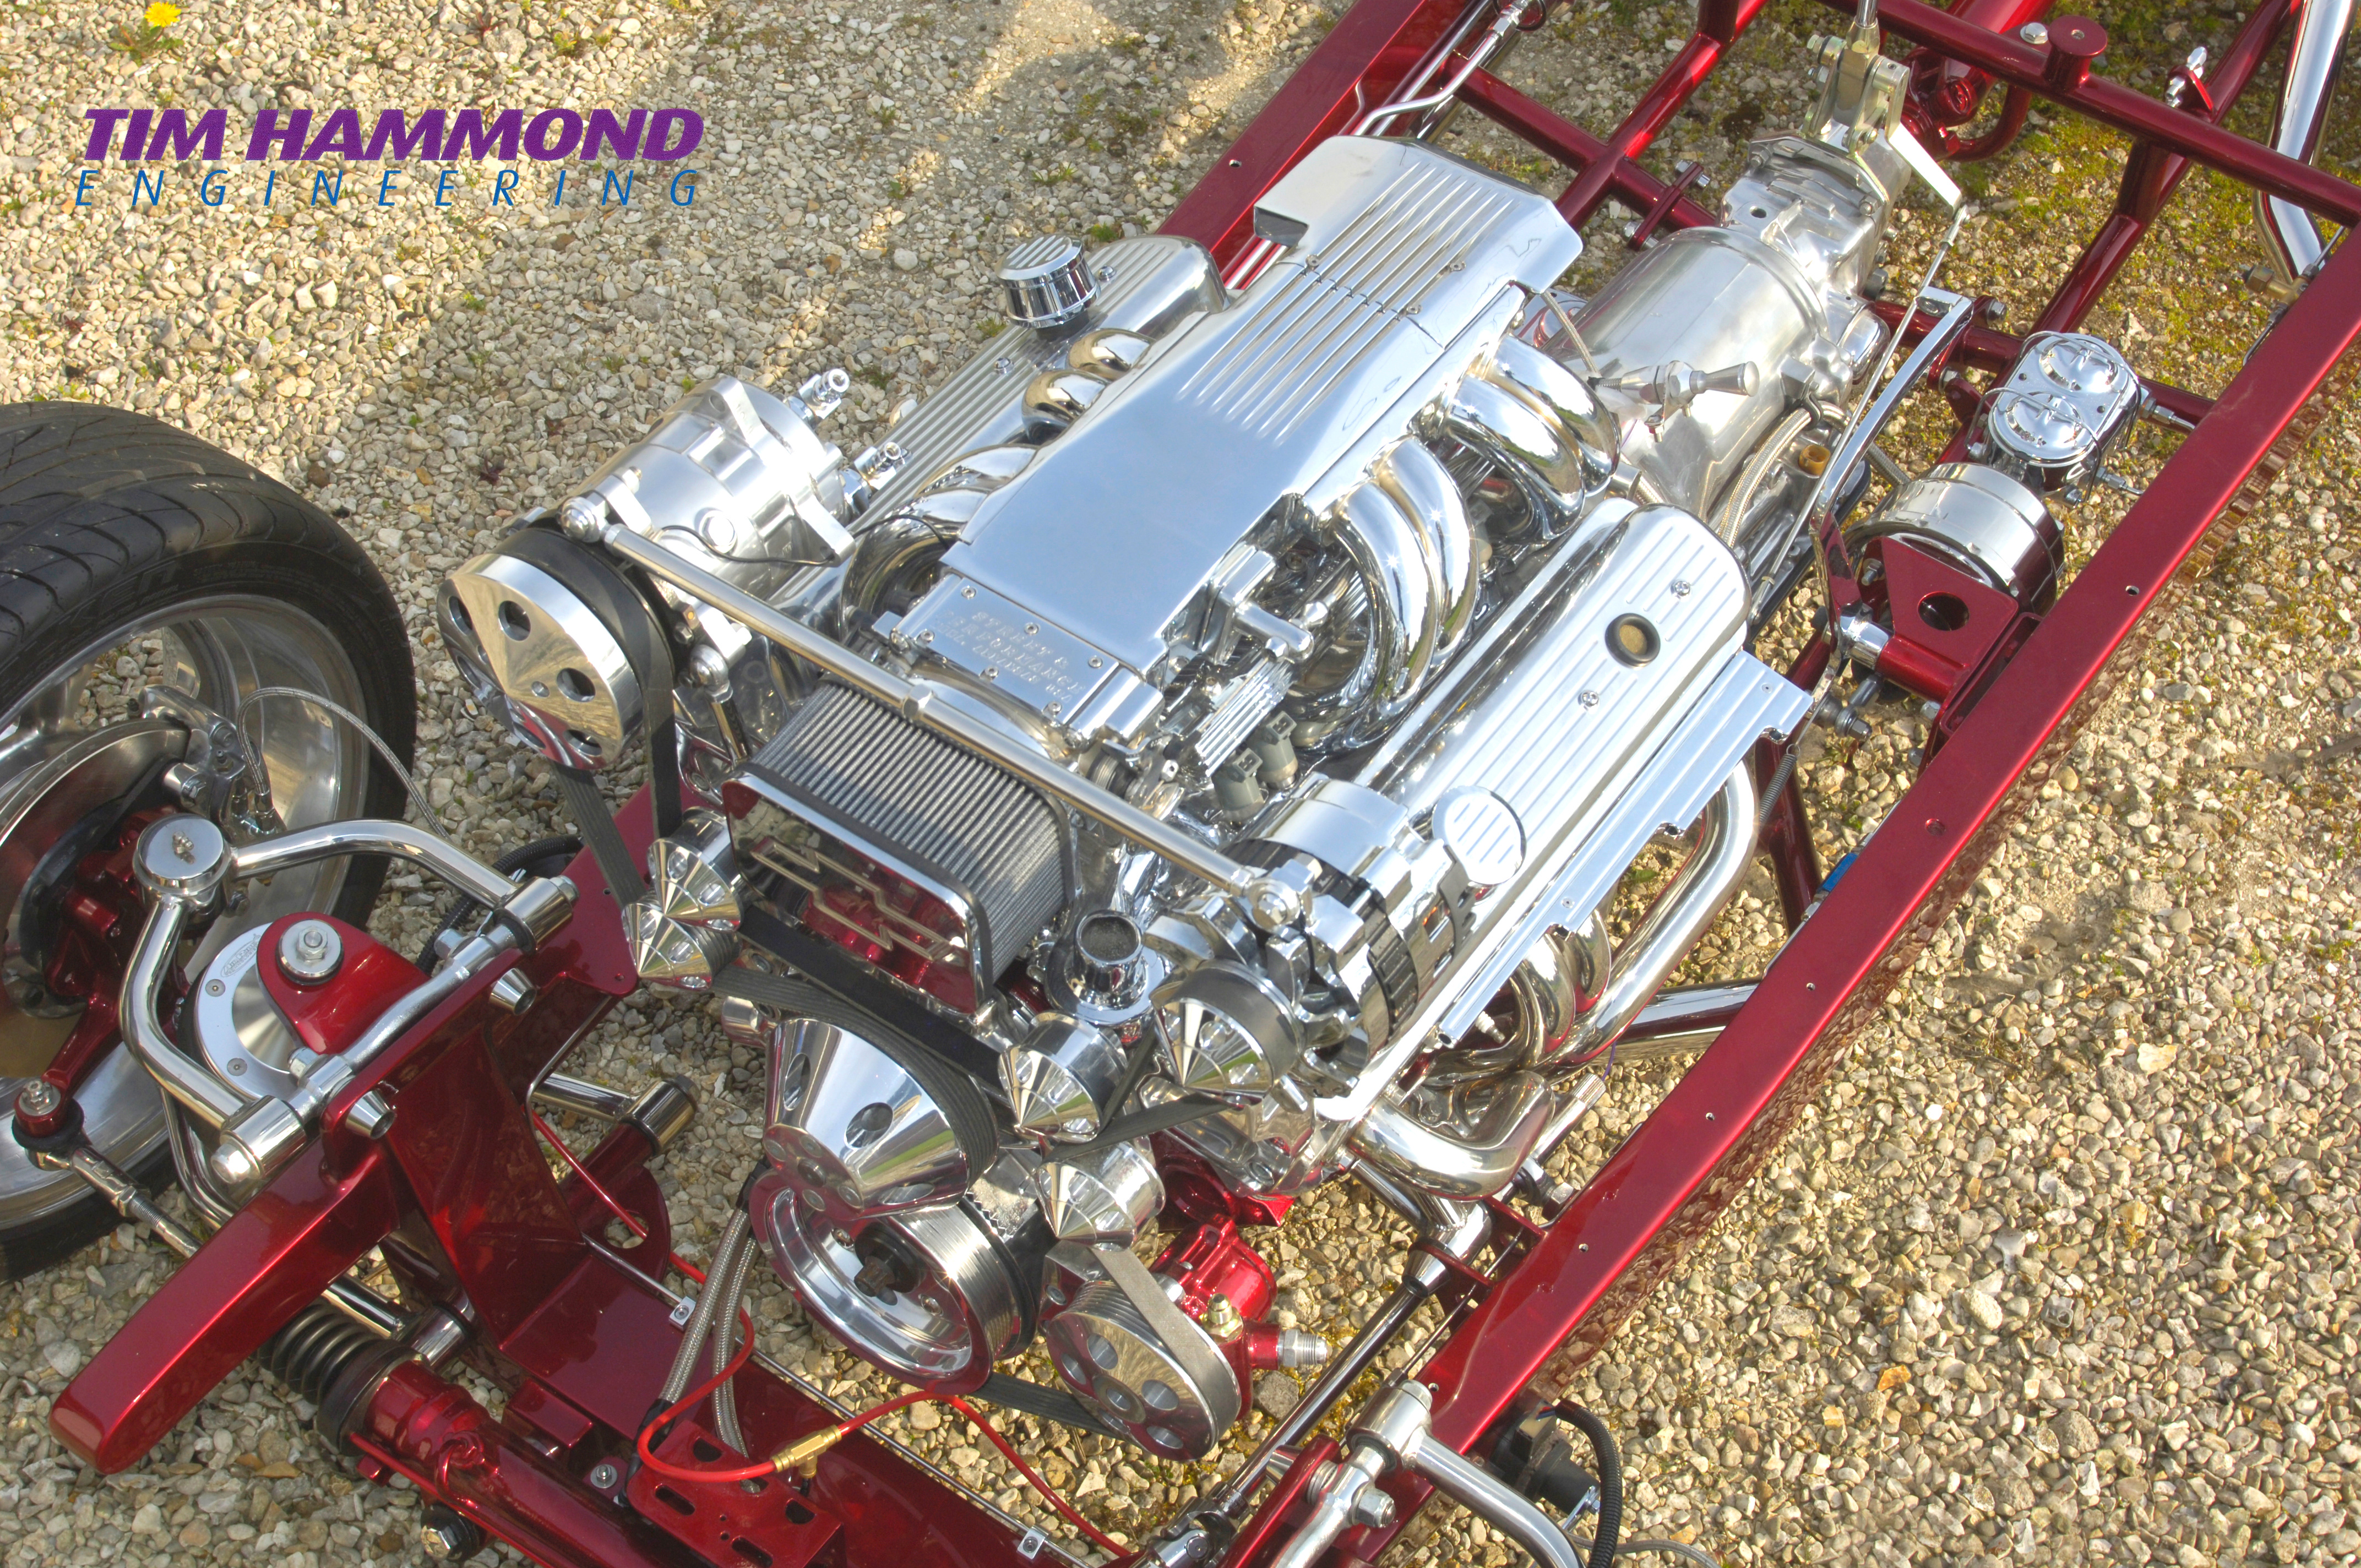
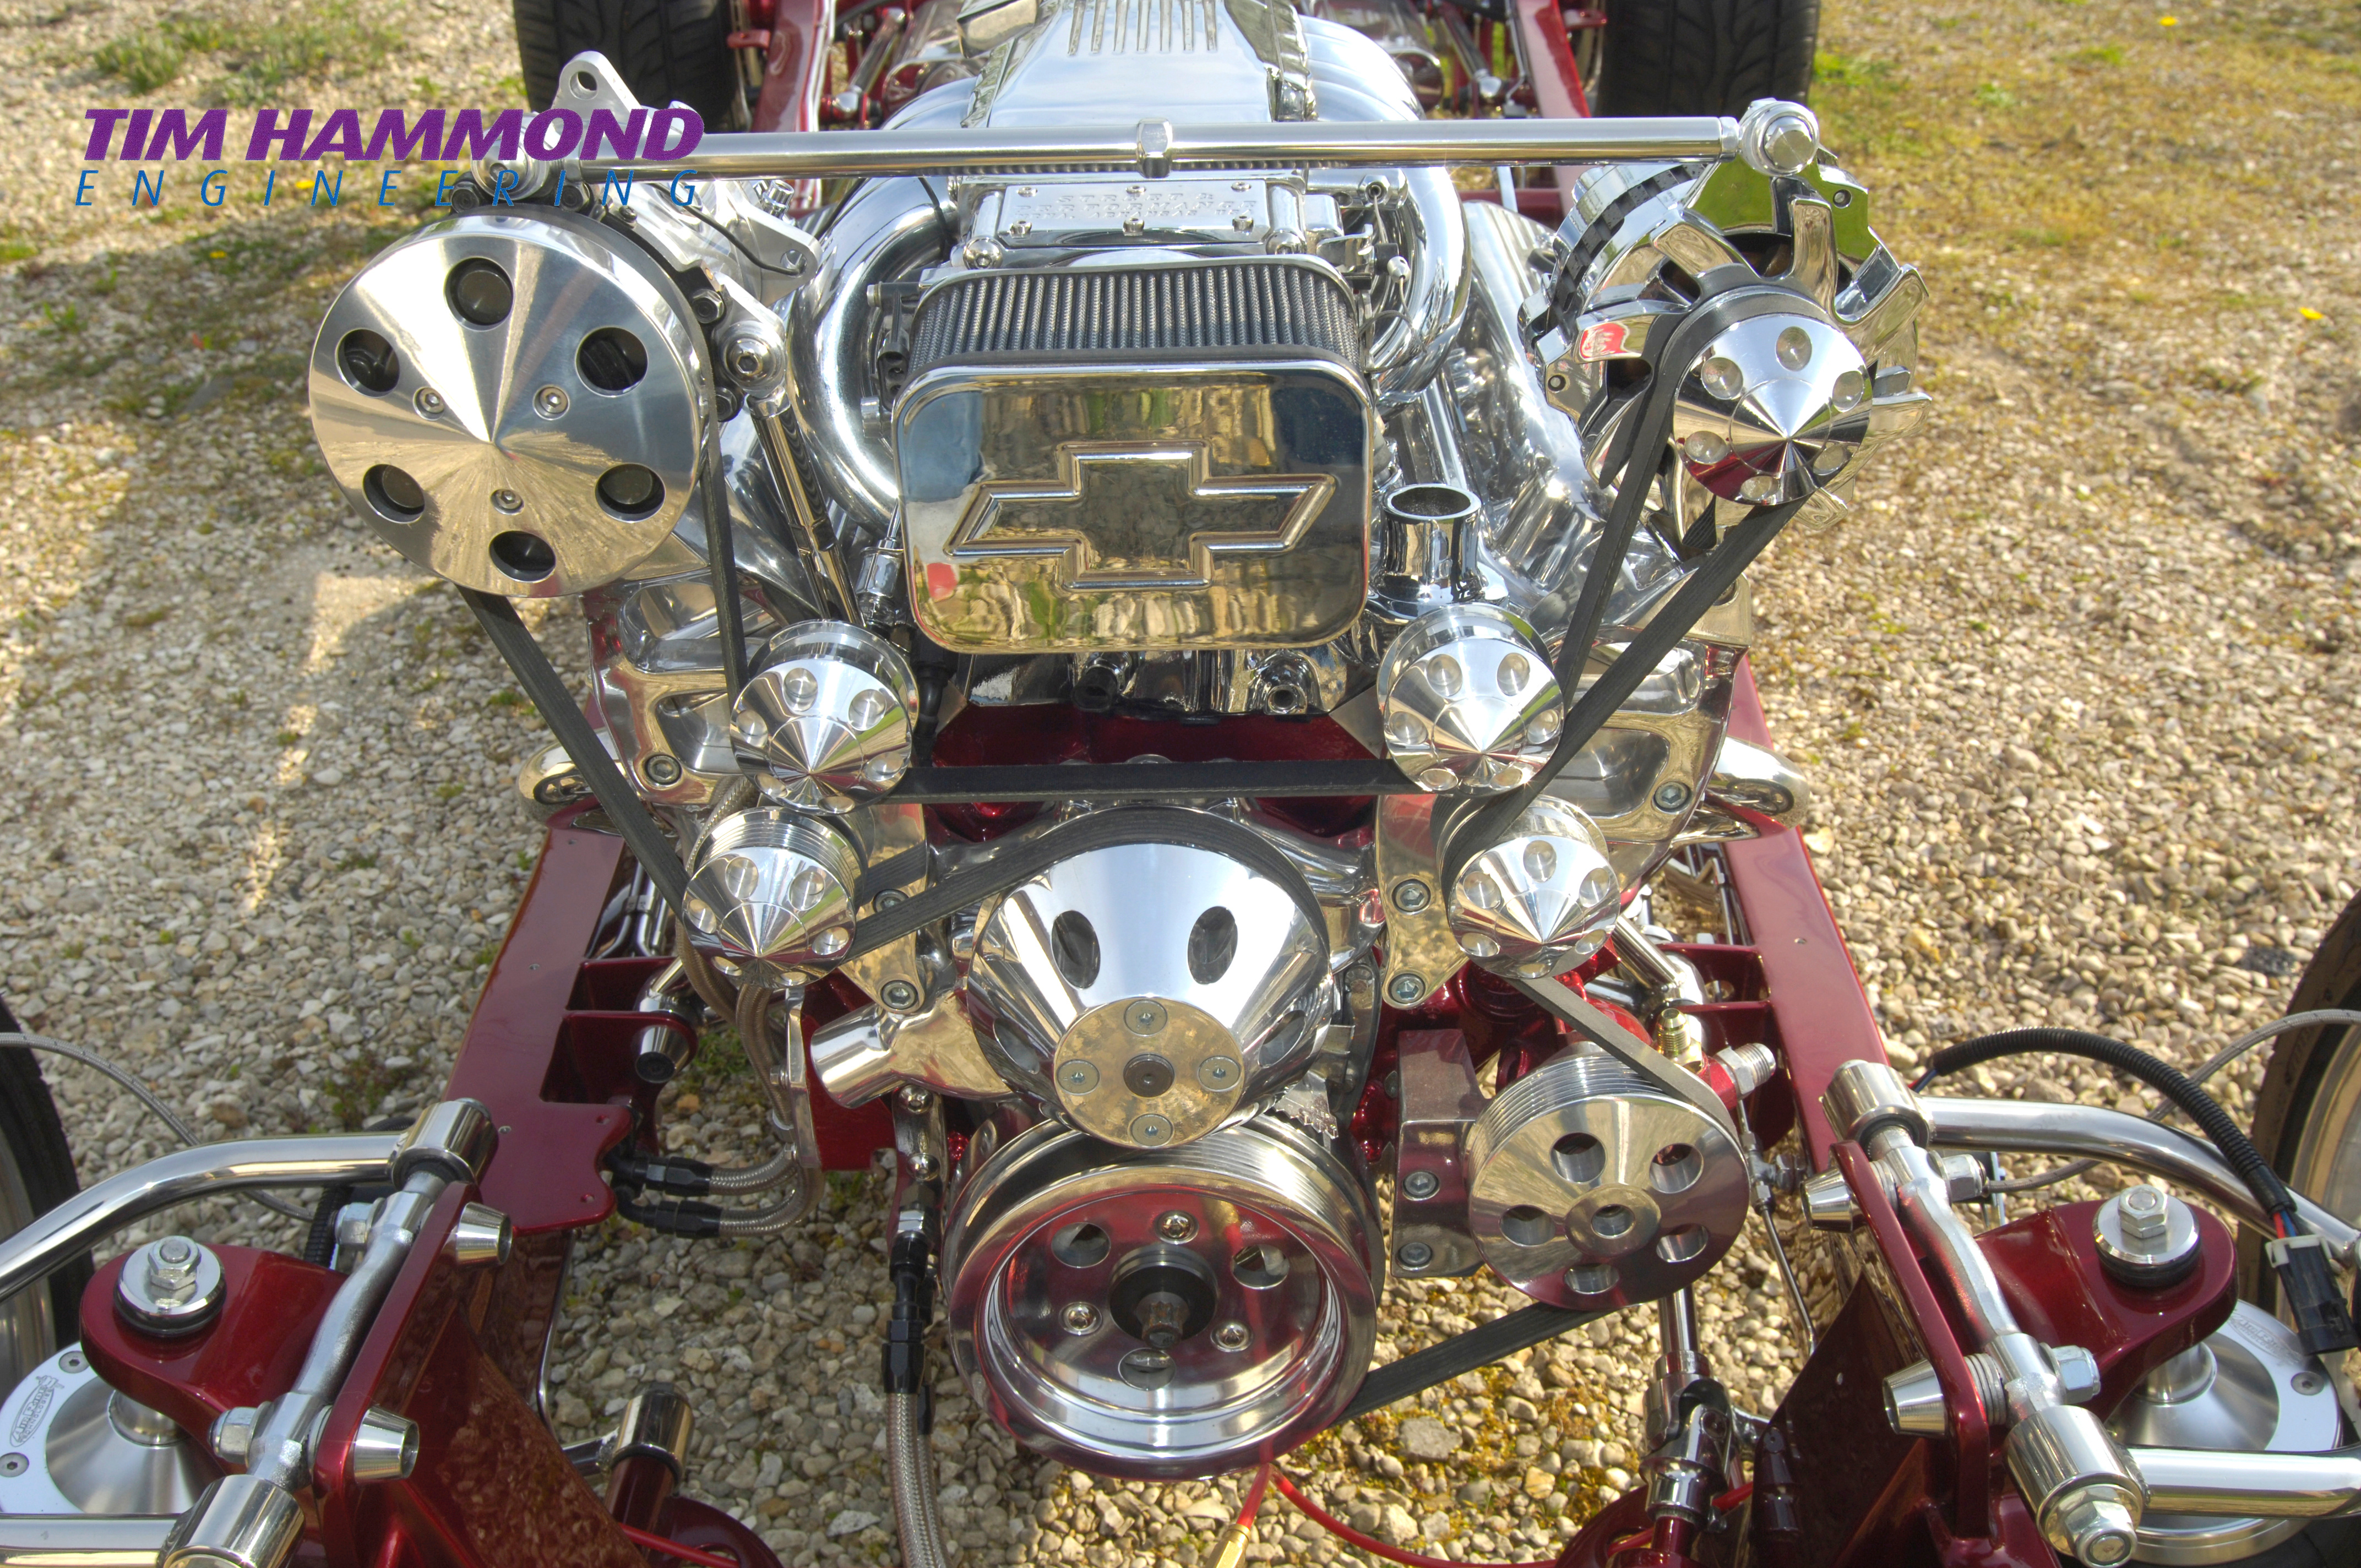
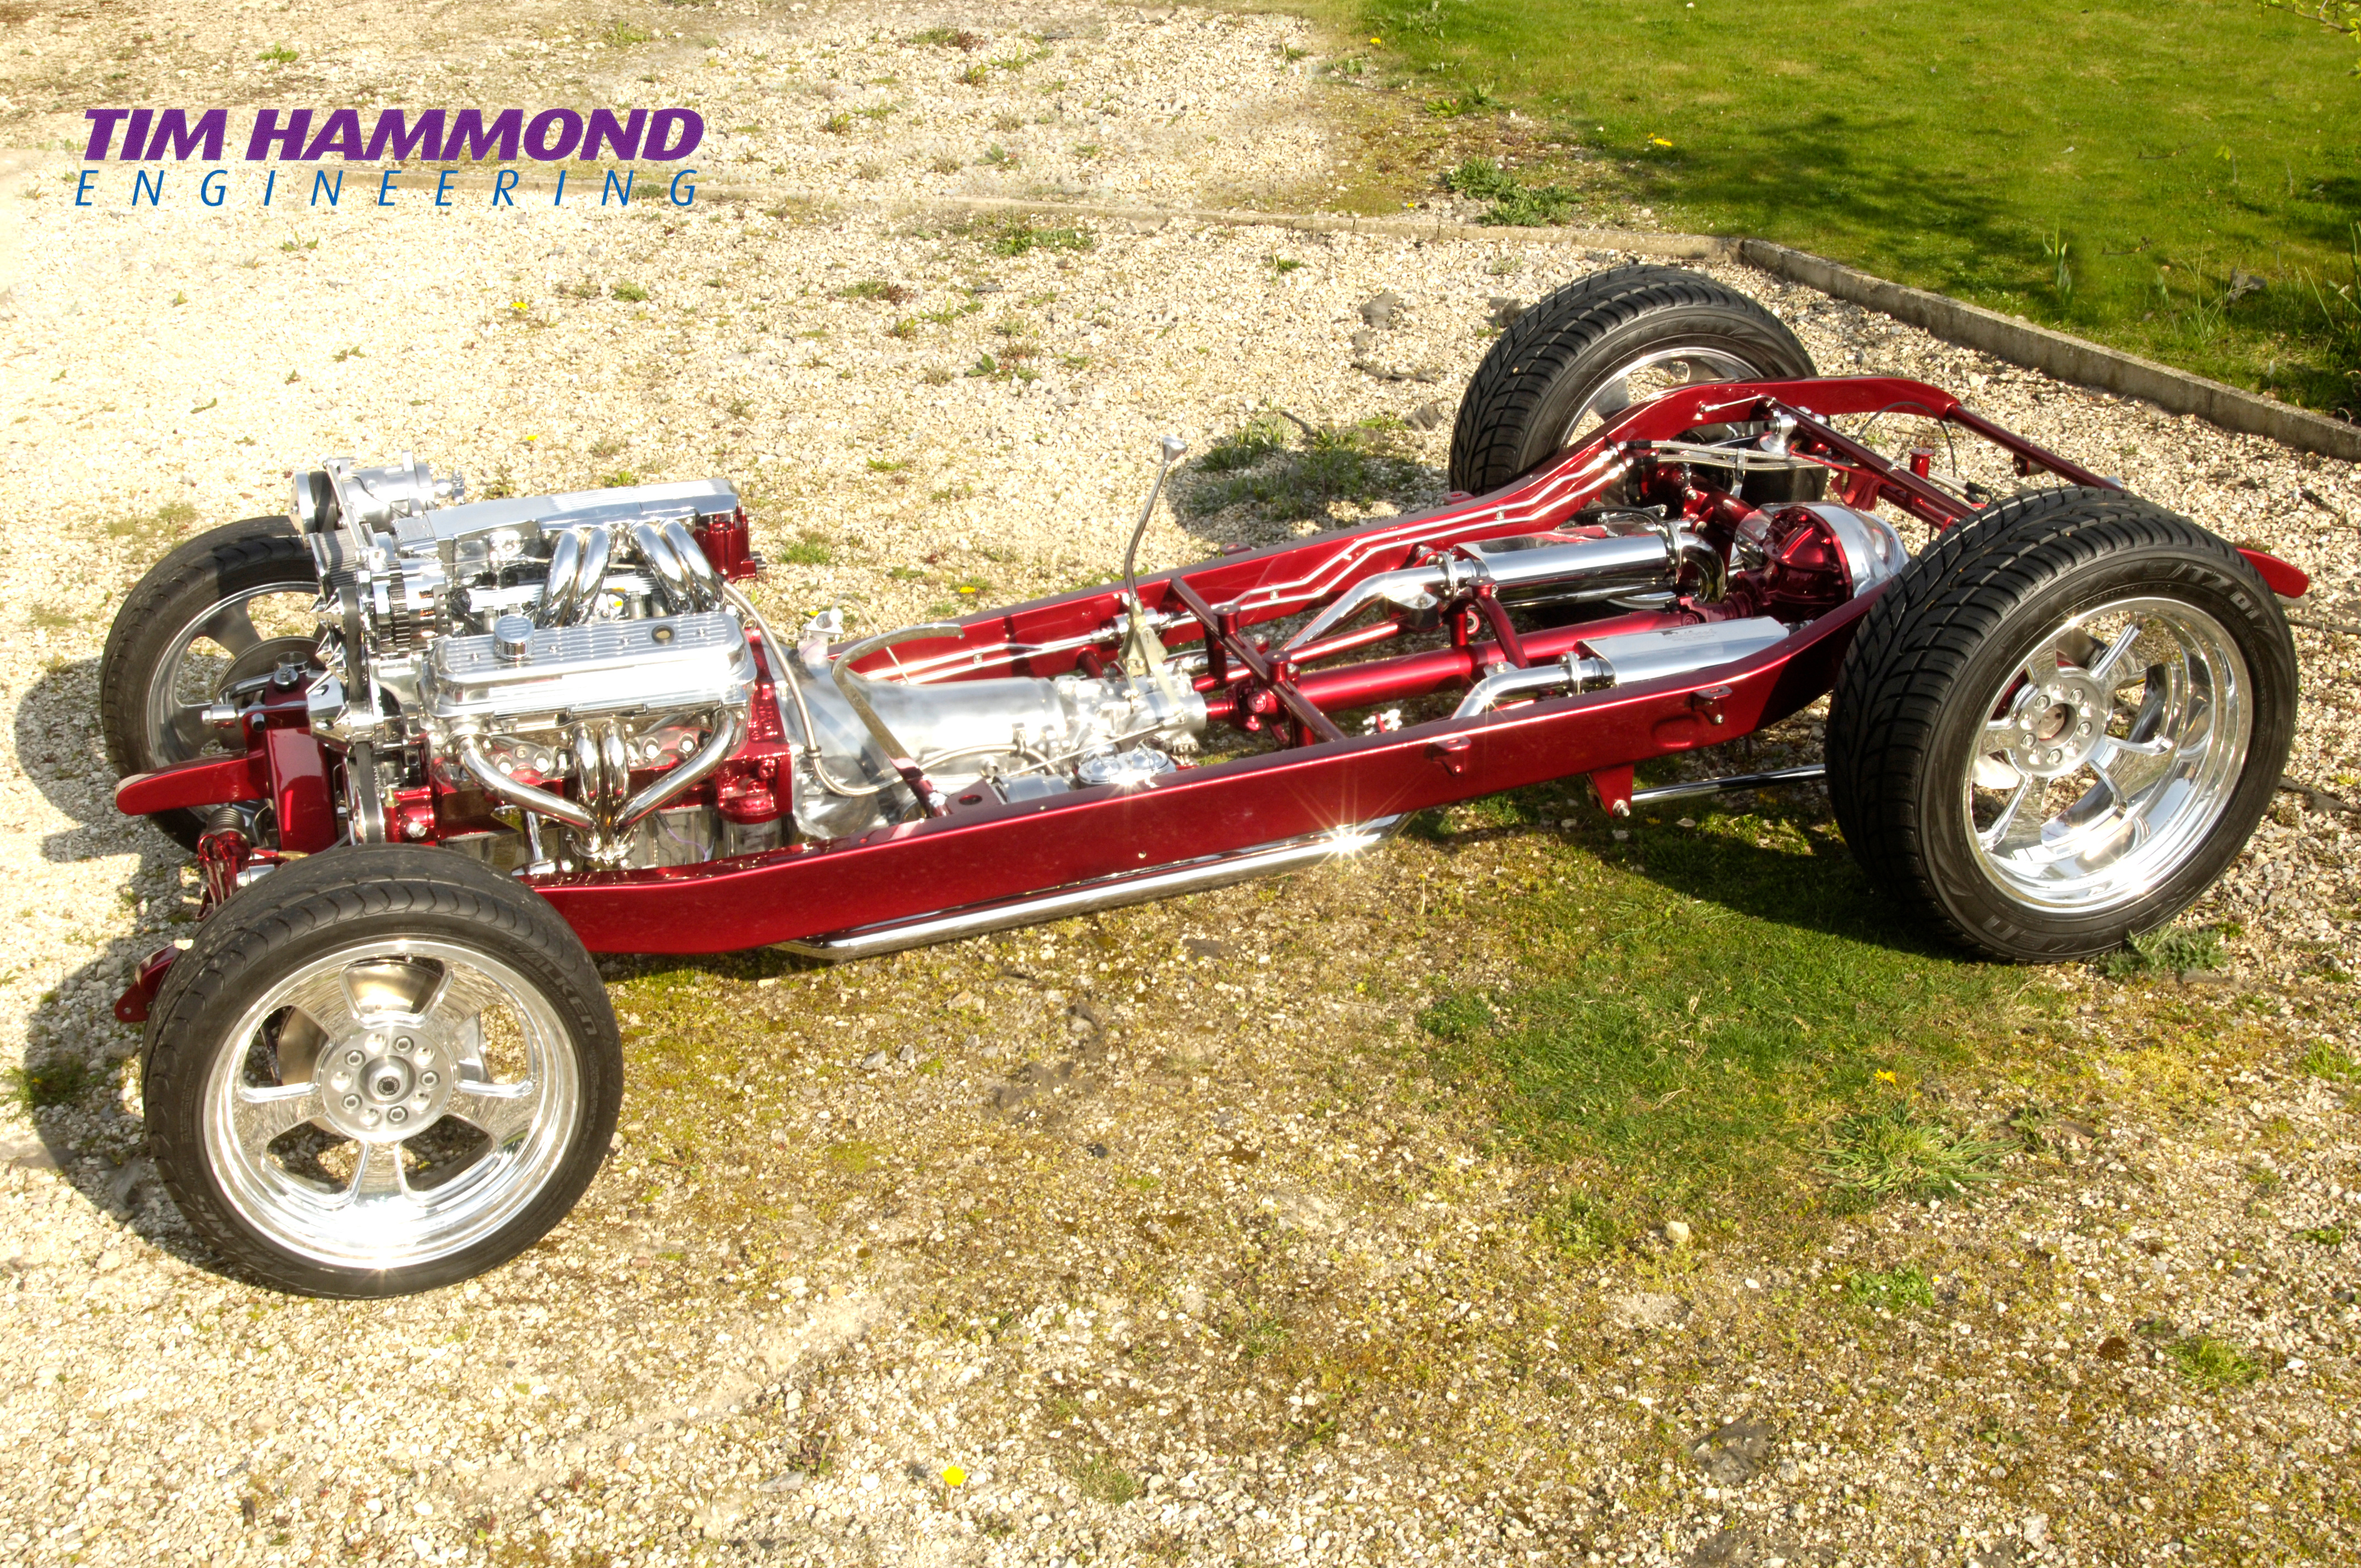
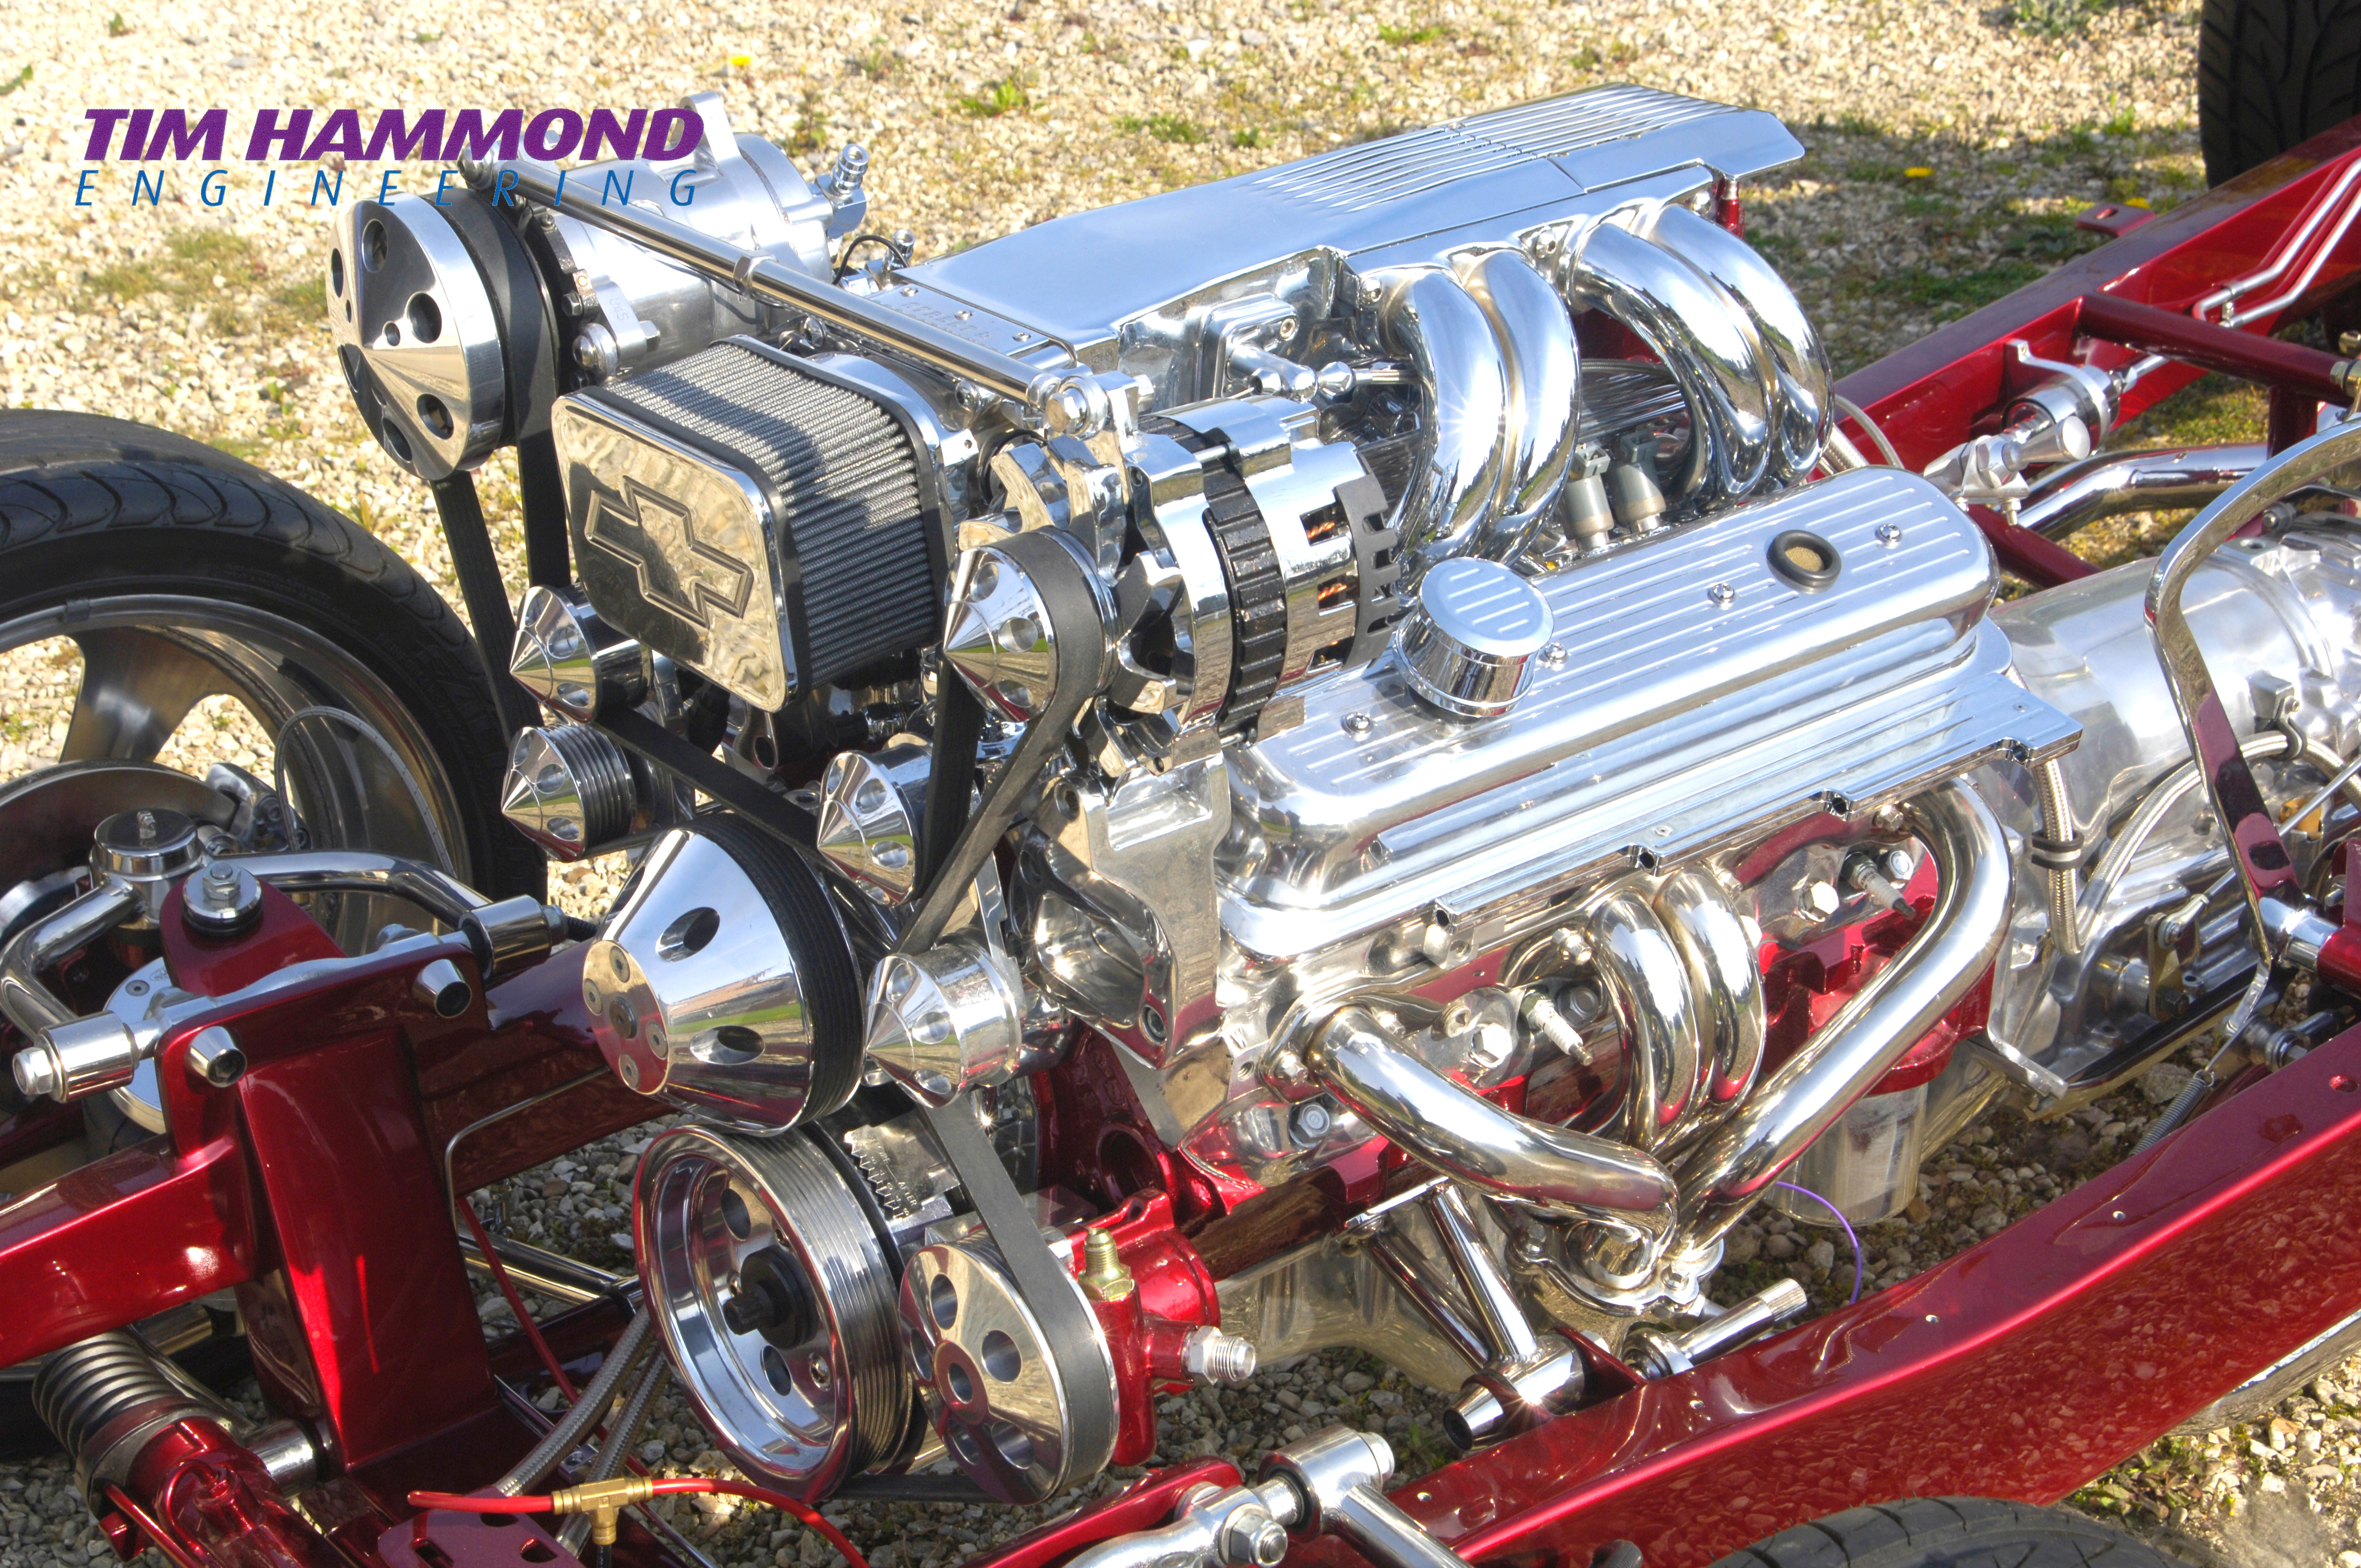
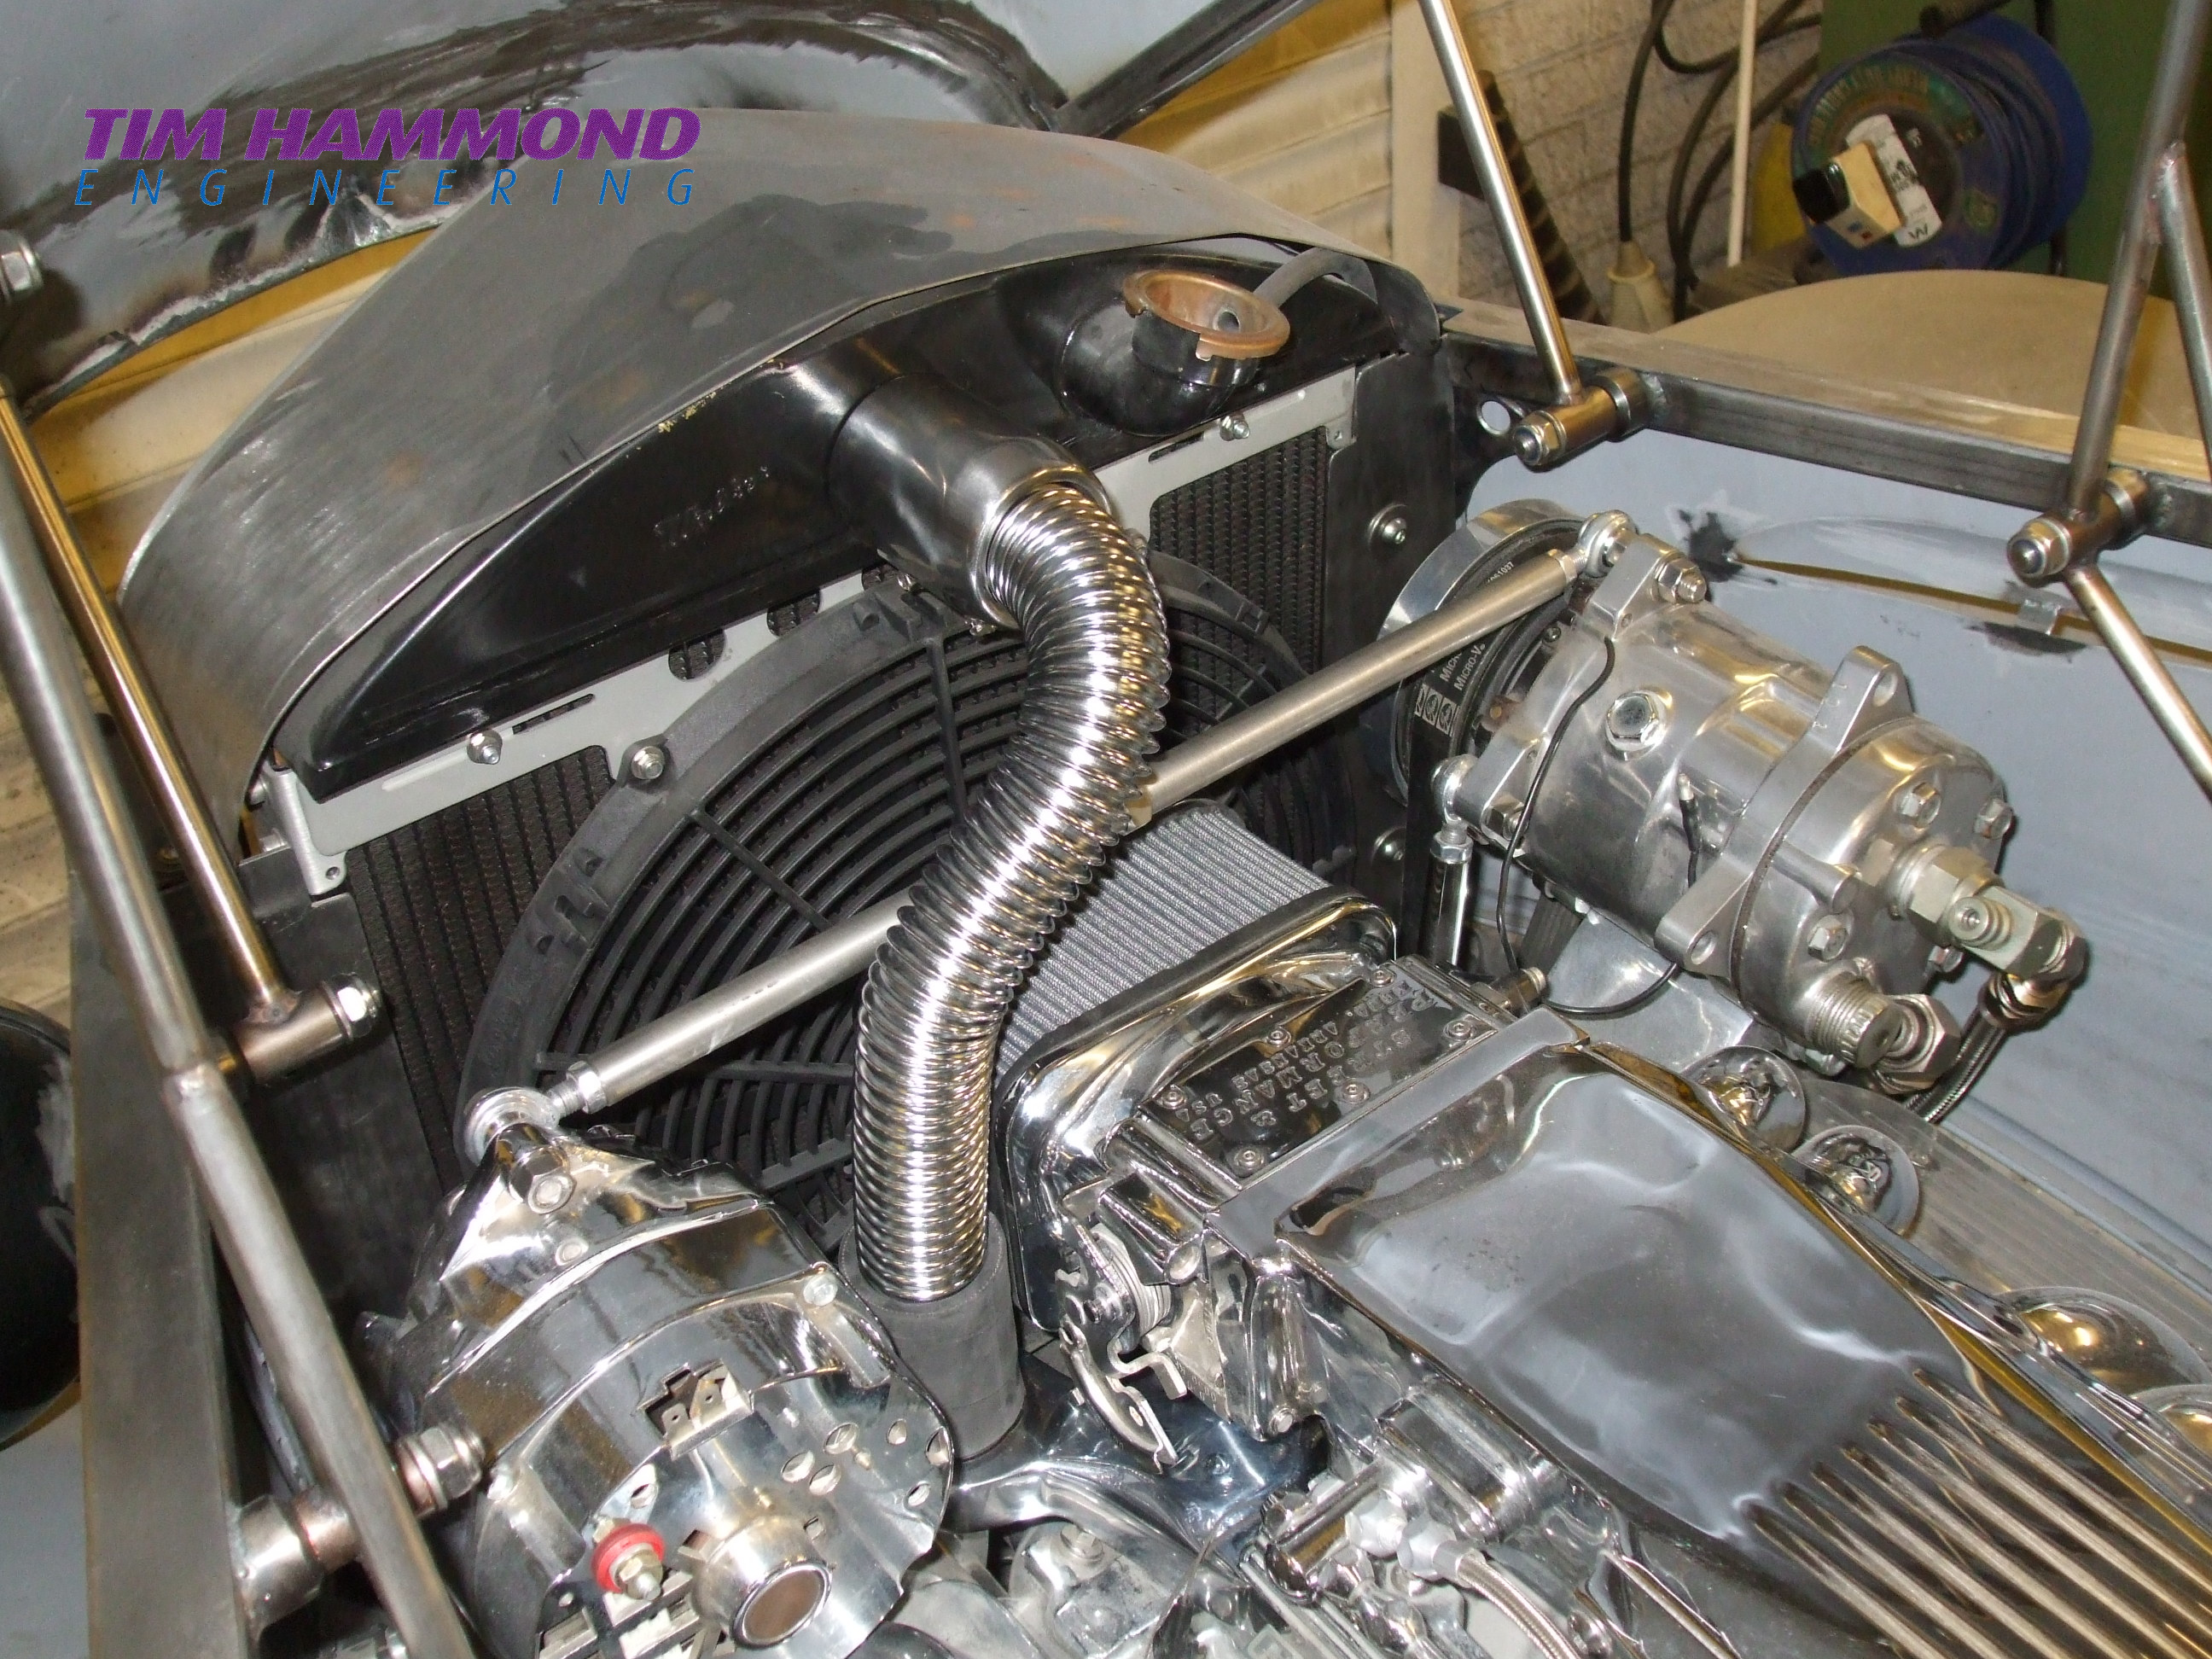
First thing on the agenda were the wheels and tyres. Billet Speciality Dagger style were chosen, 7 x 17 on the front and 20 x 8.5 on the rear. The tyres were Falken radials 205x40x17ZR on the front and 245x40x20ZR on the rear. A Jaguar XJ6 diff with a 3.3:1 ratio. The engine was a 1992 Corvette LT1 fuel injected and the gearbox was a Chevy 700R4. With all of these components we had everything that we needed to begin mocking up the car, including ride height, stance, and correct engine/diff ratio for good economy – at this point no steel had been cut or shaped.
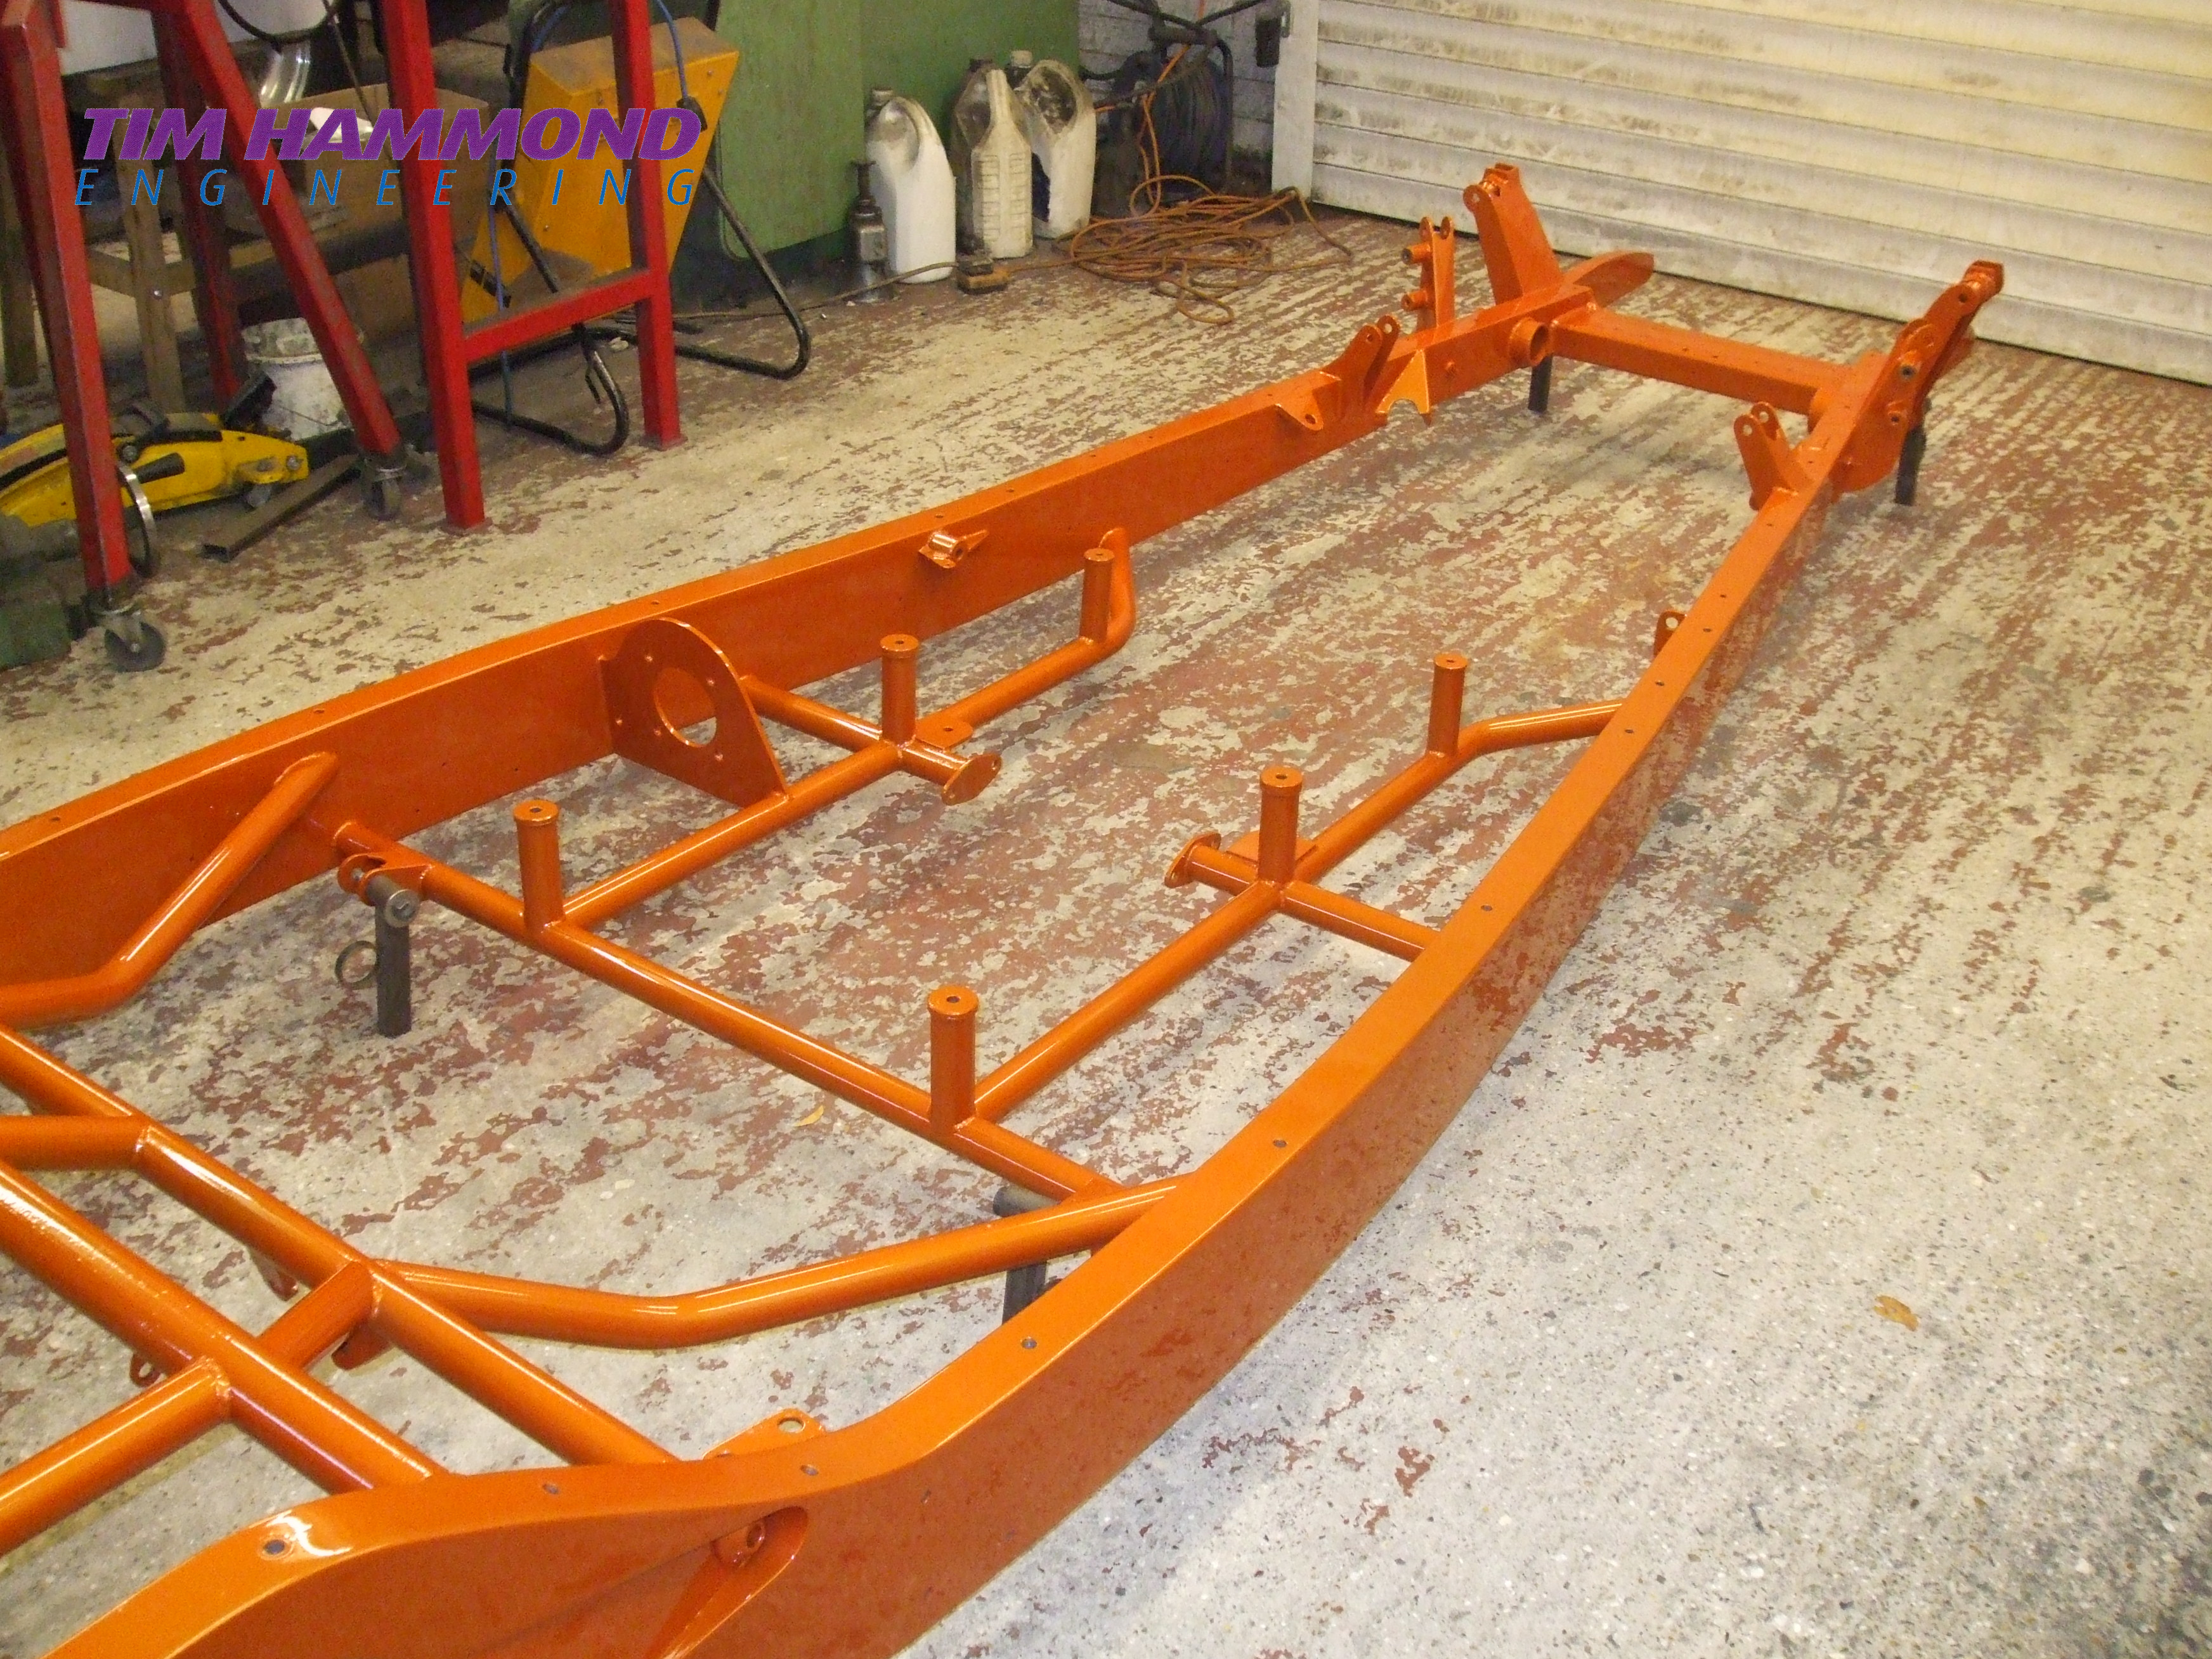
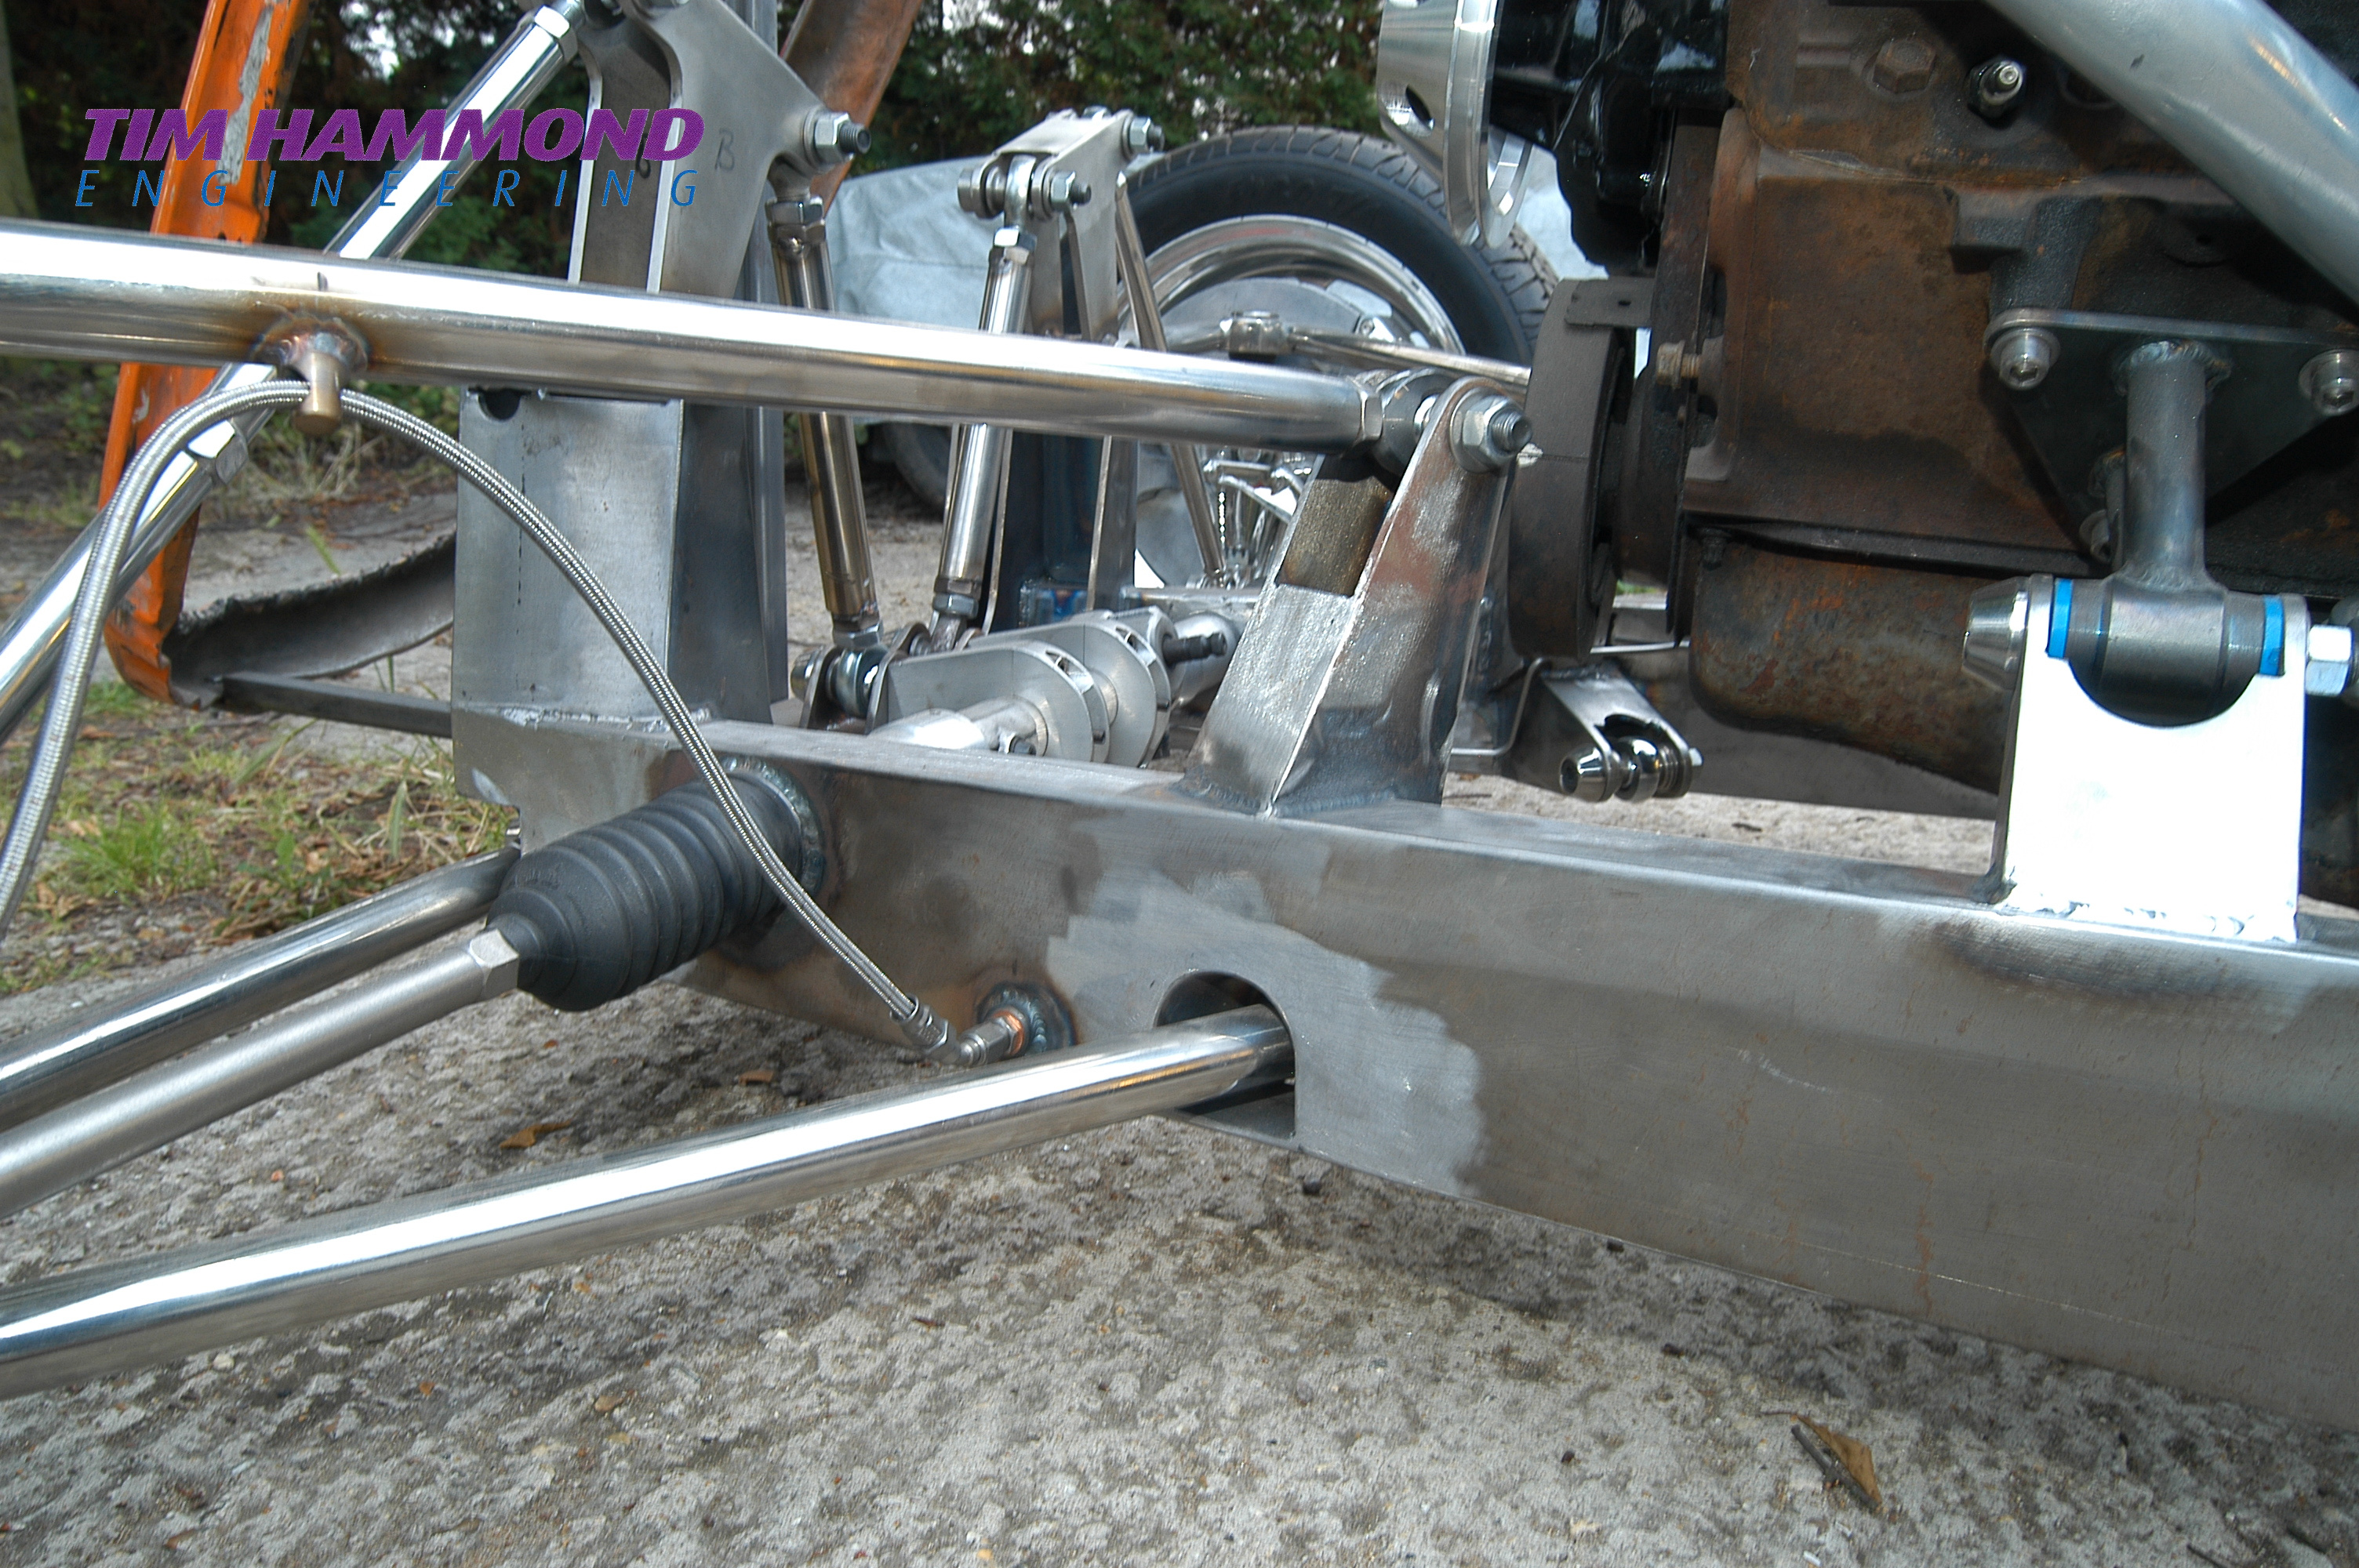
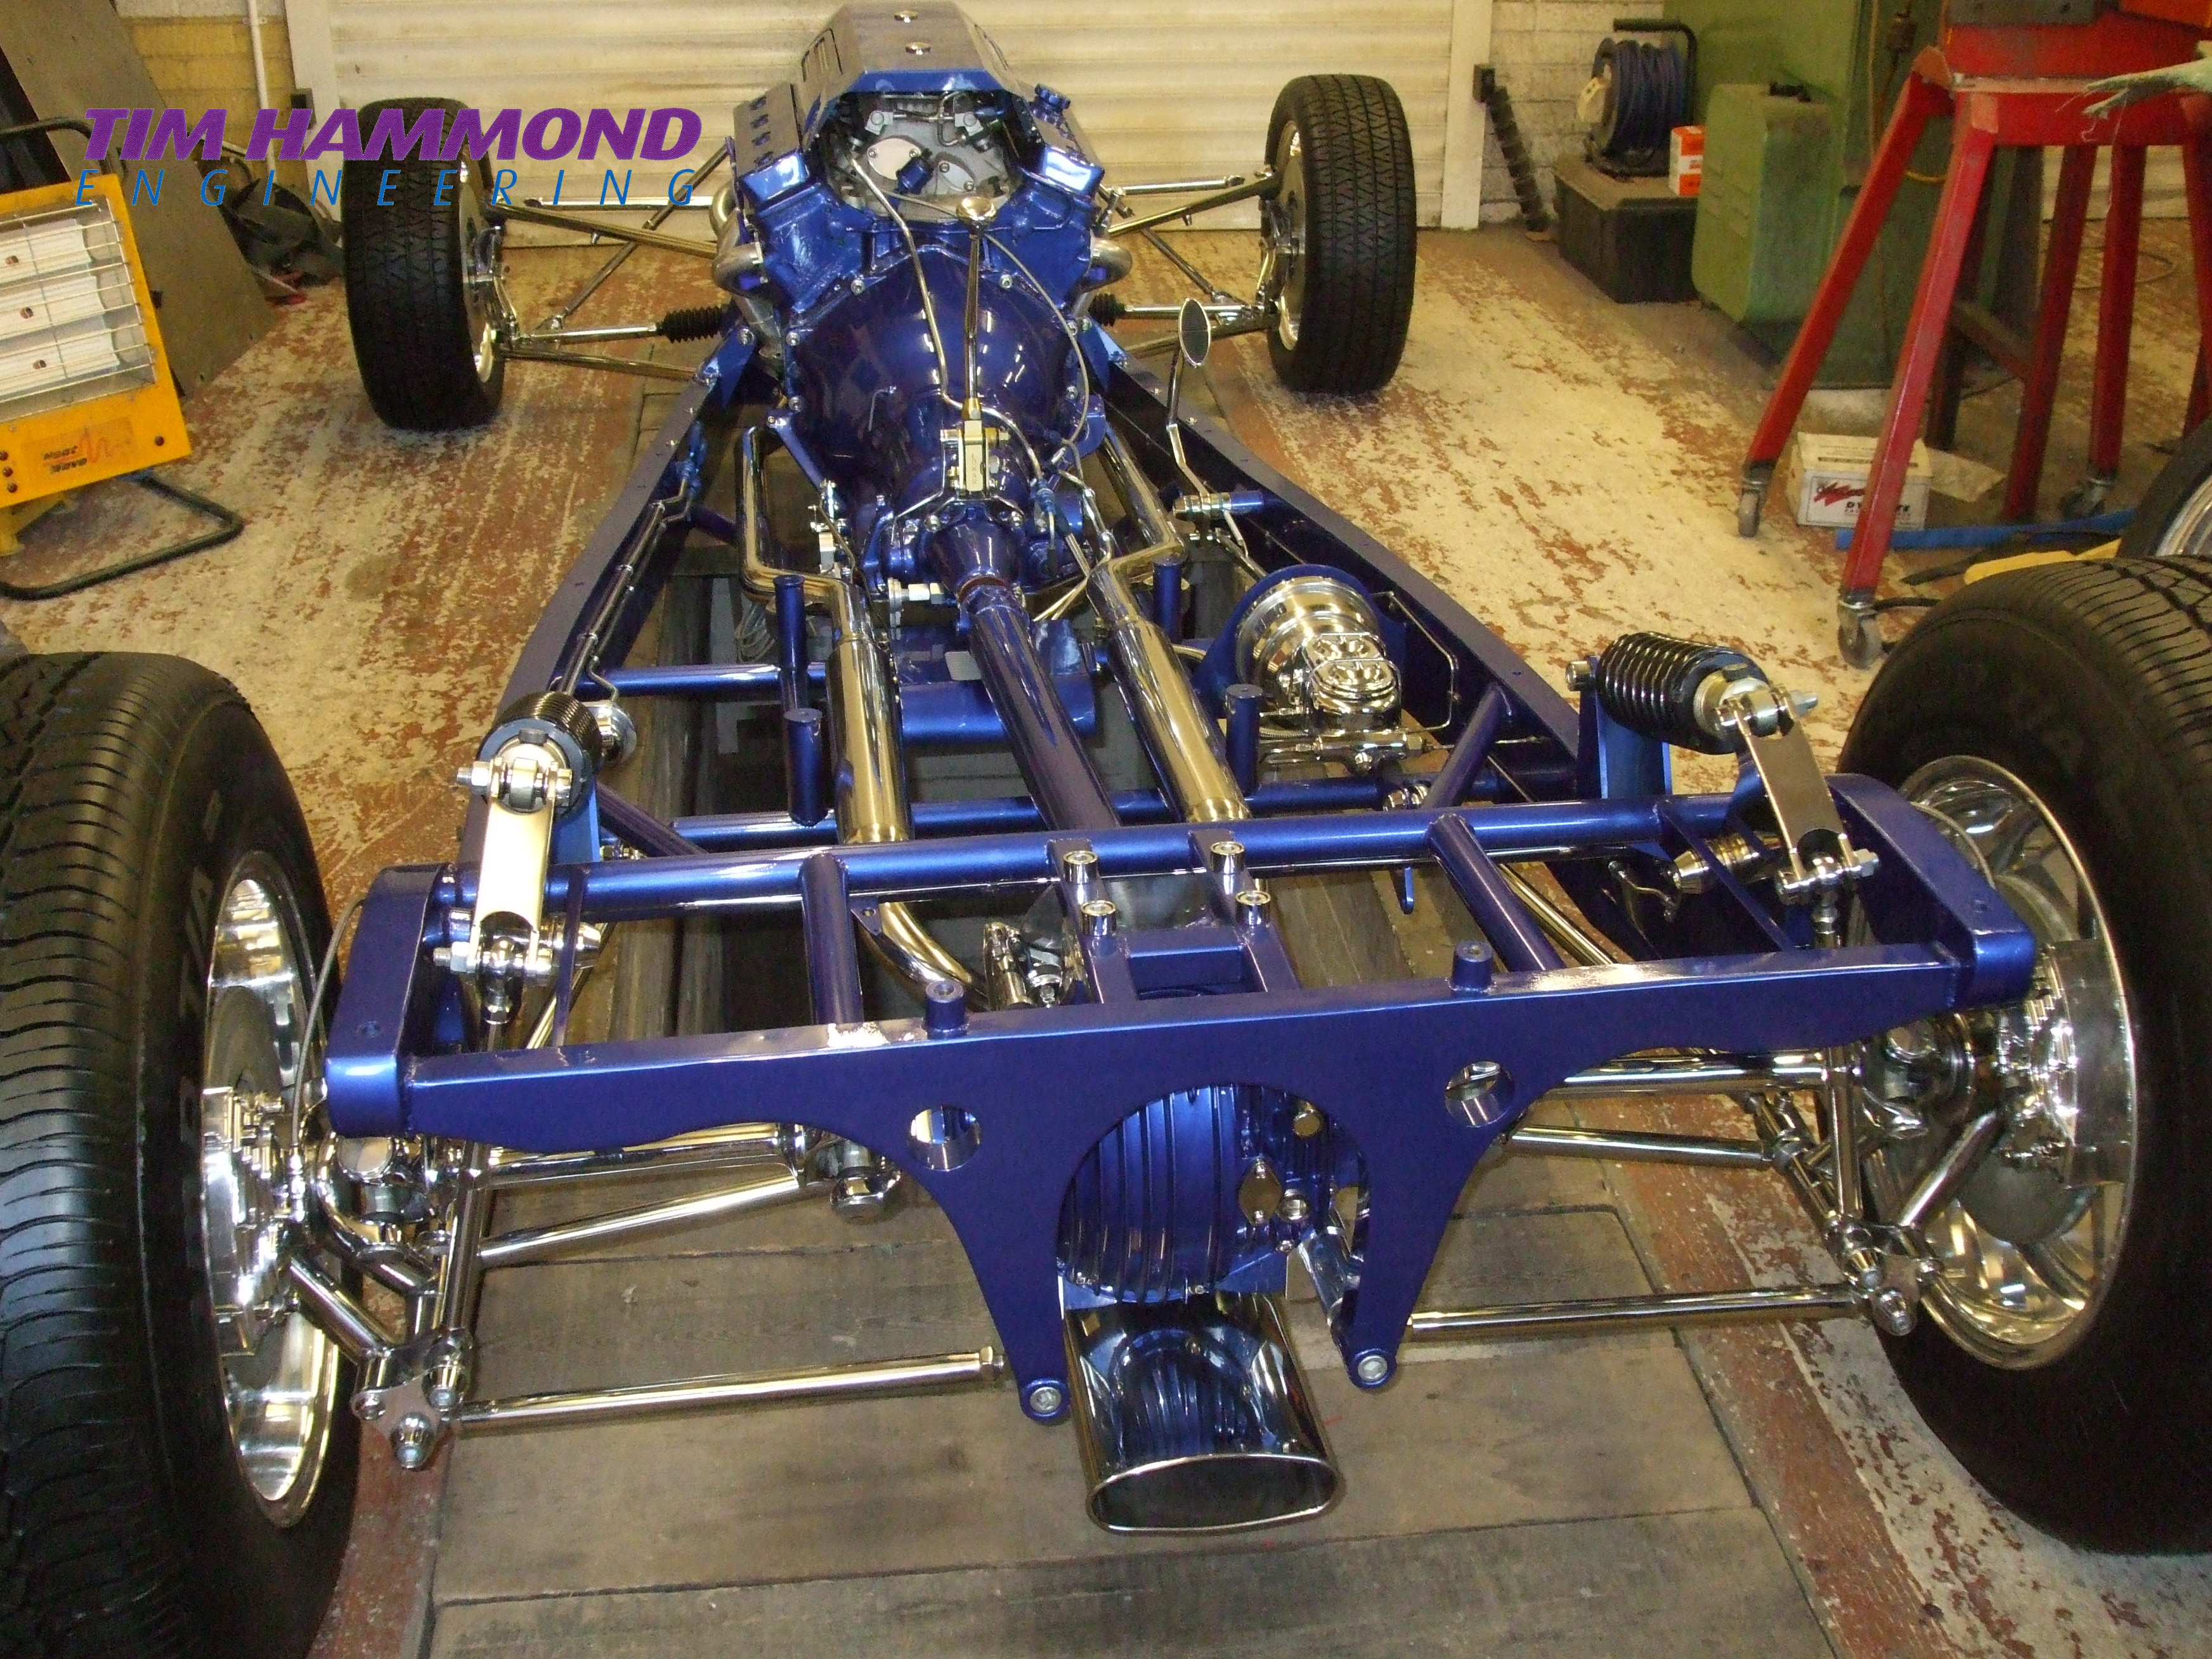
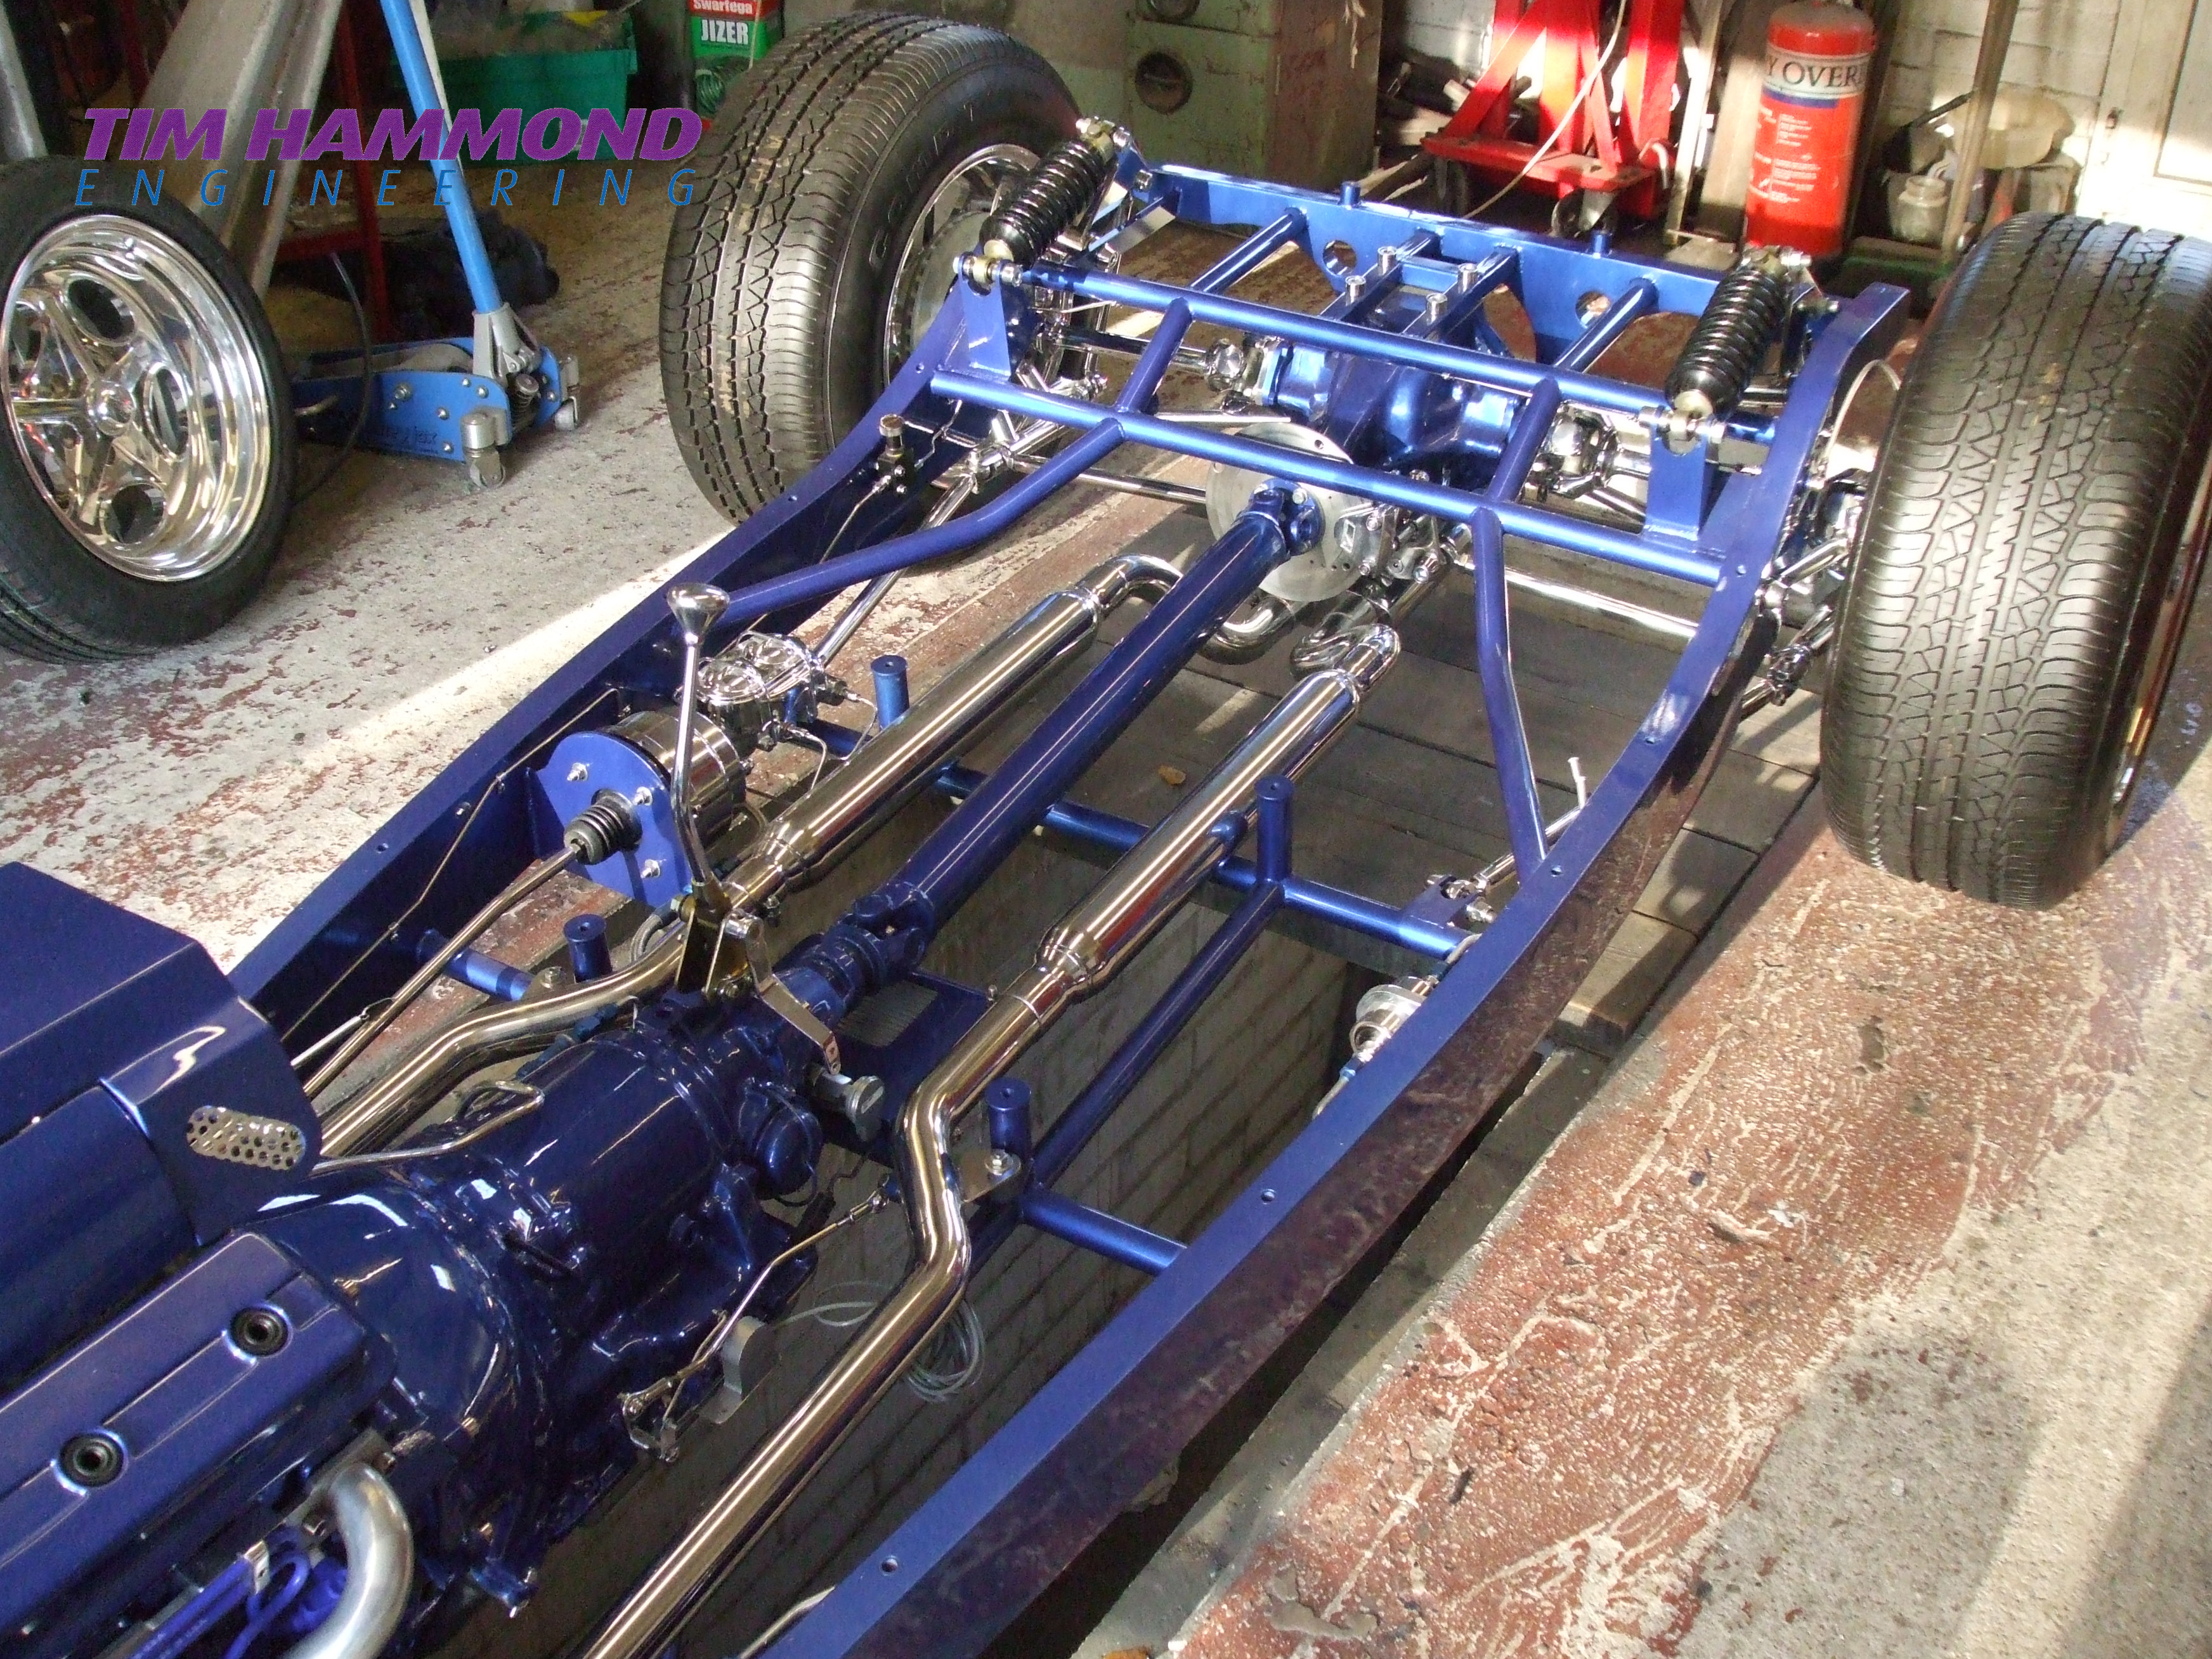
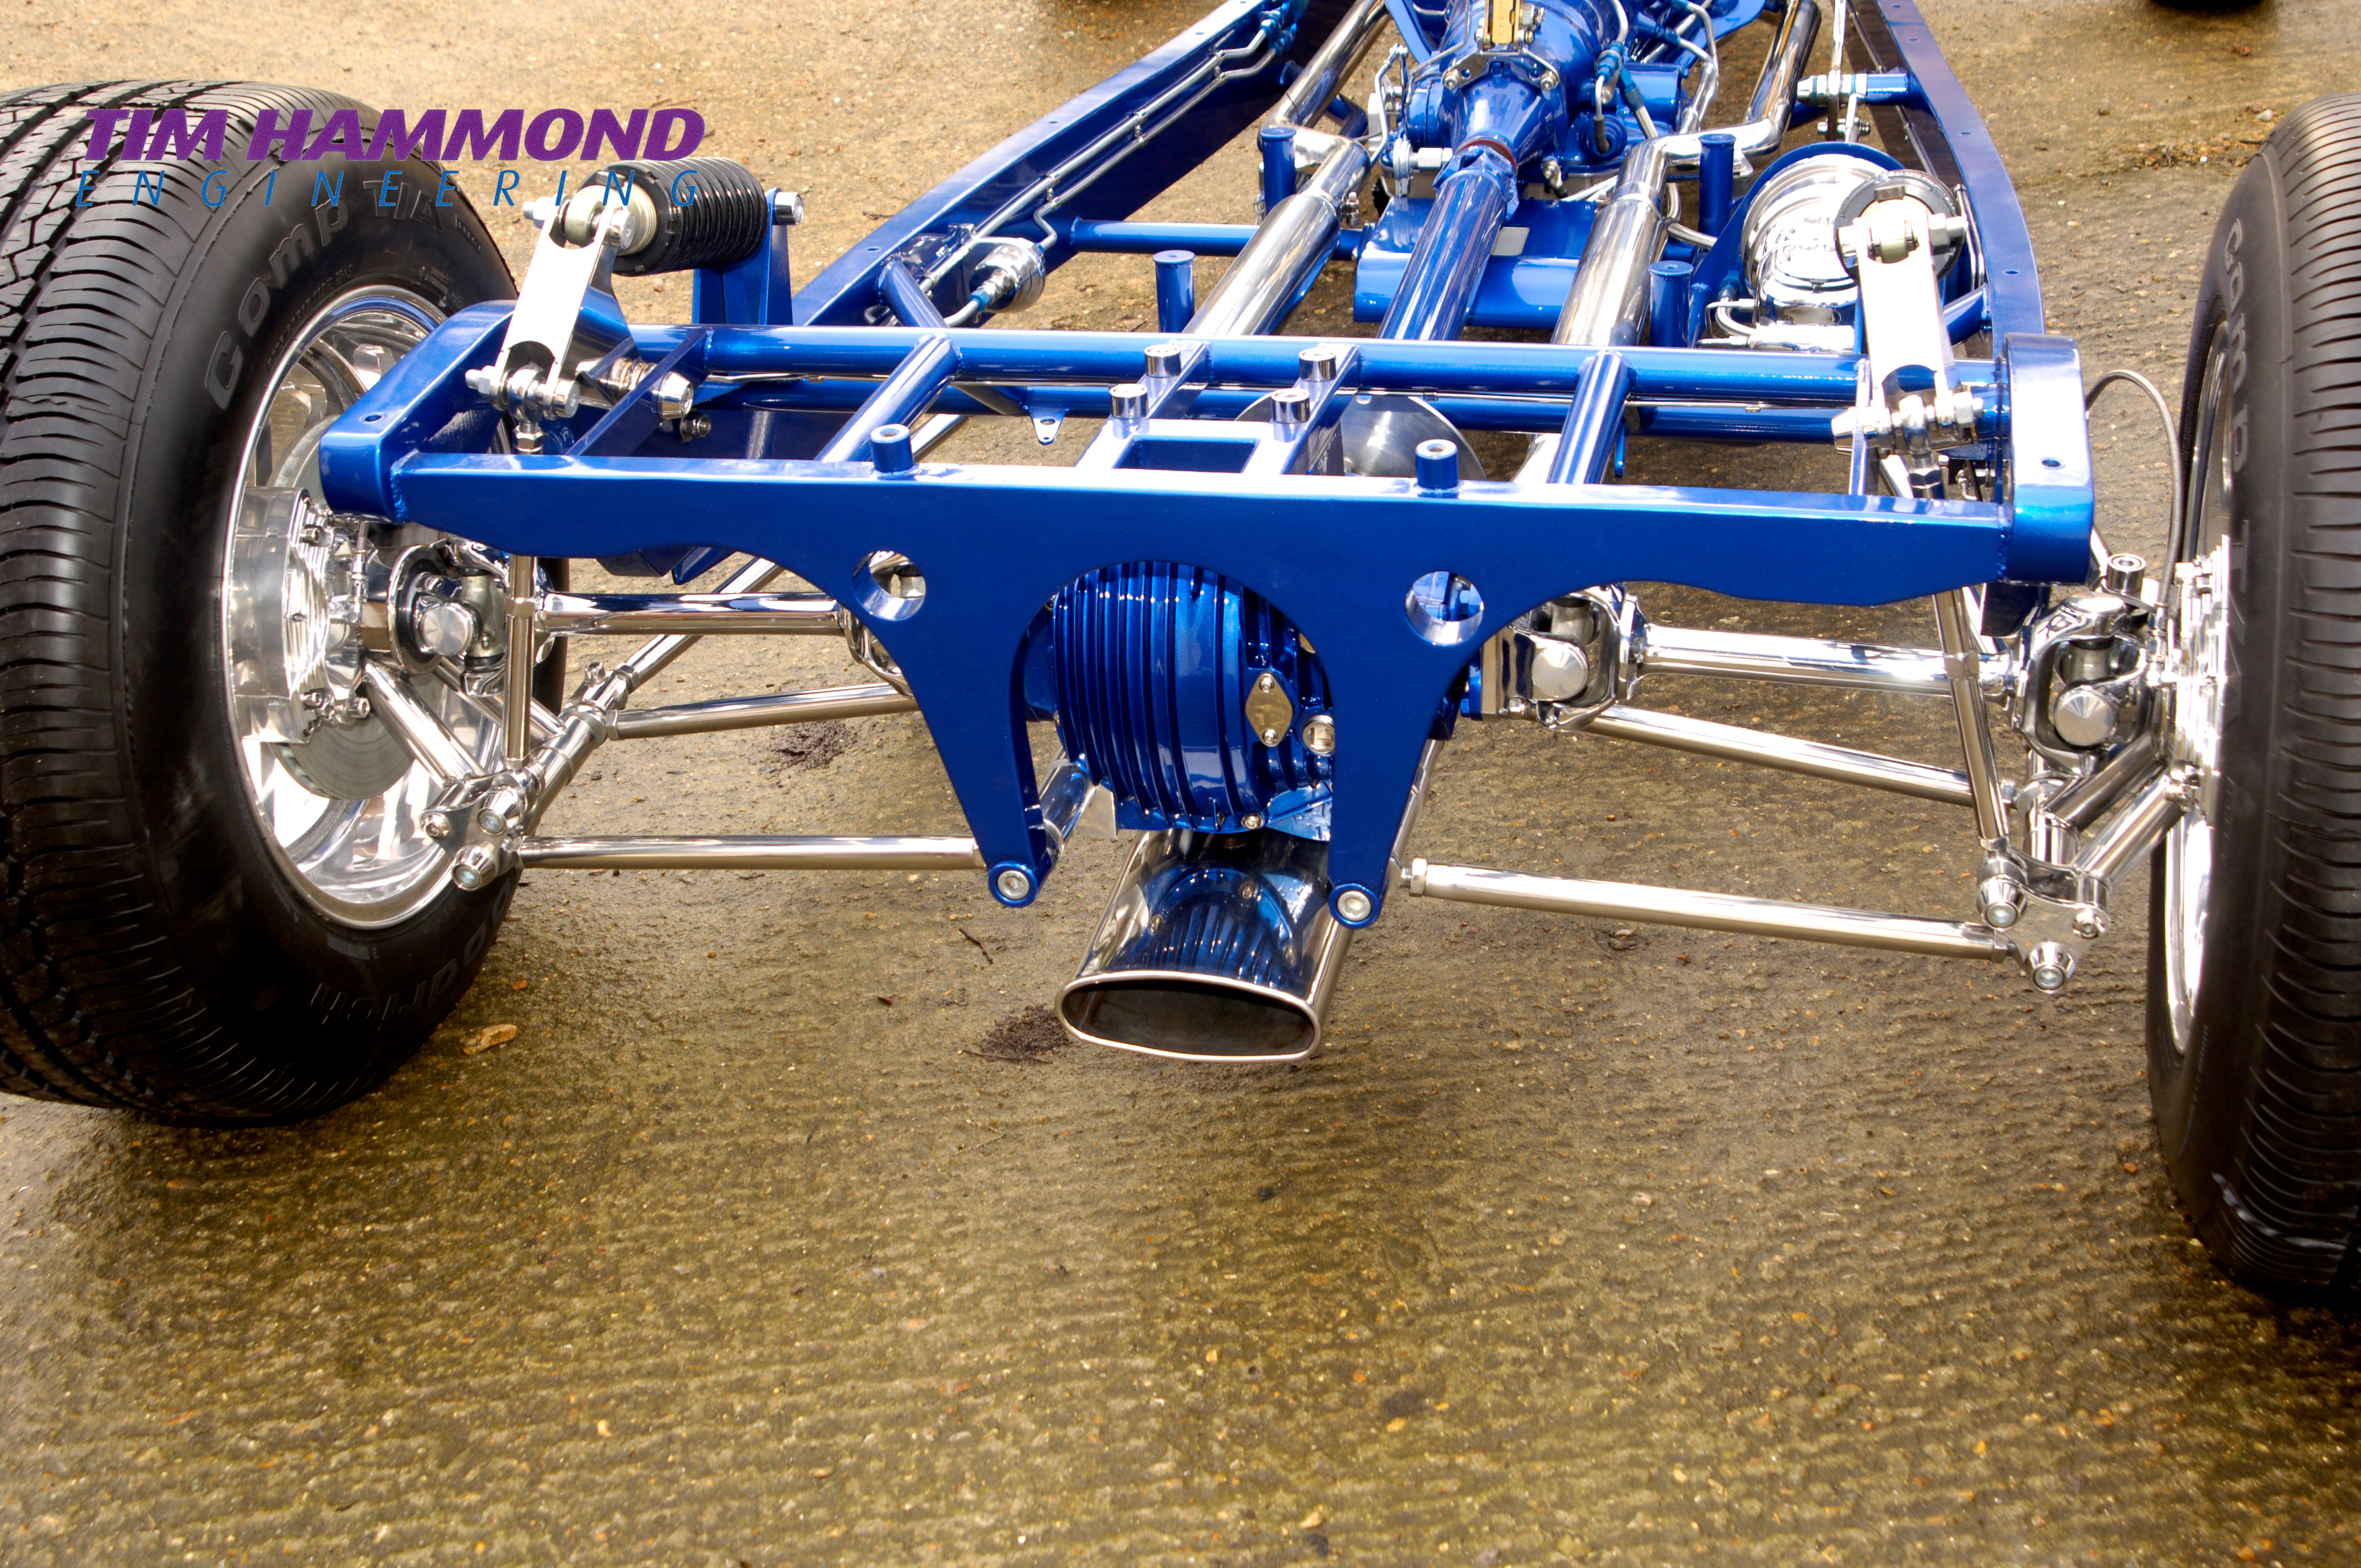
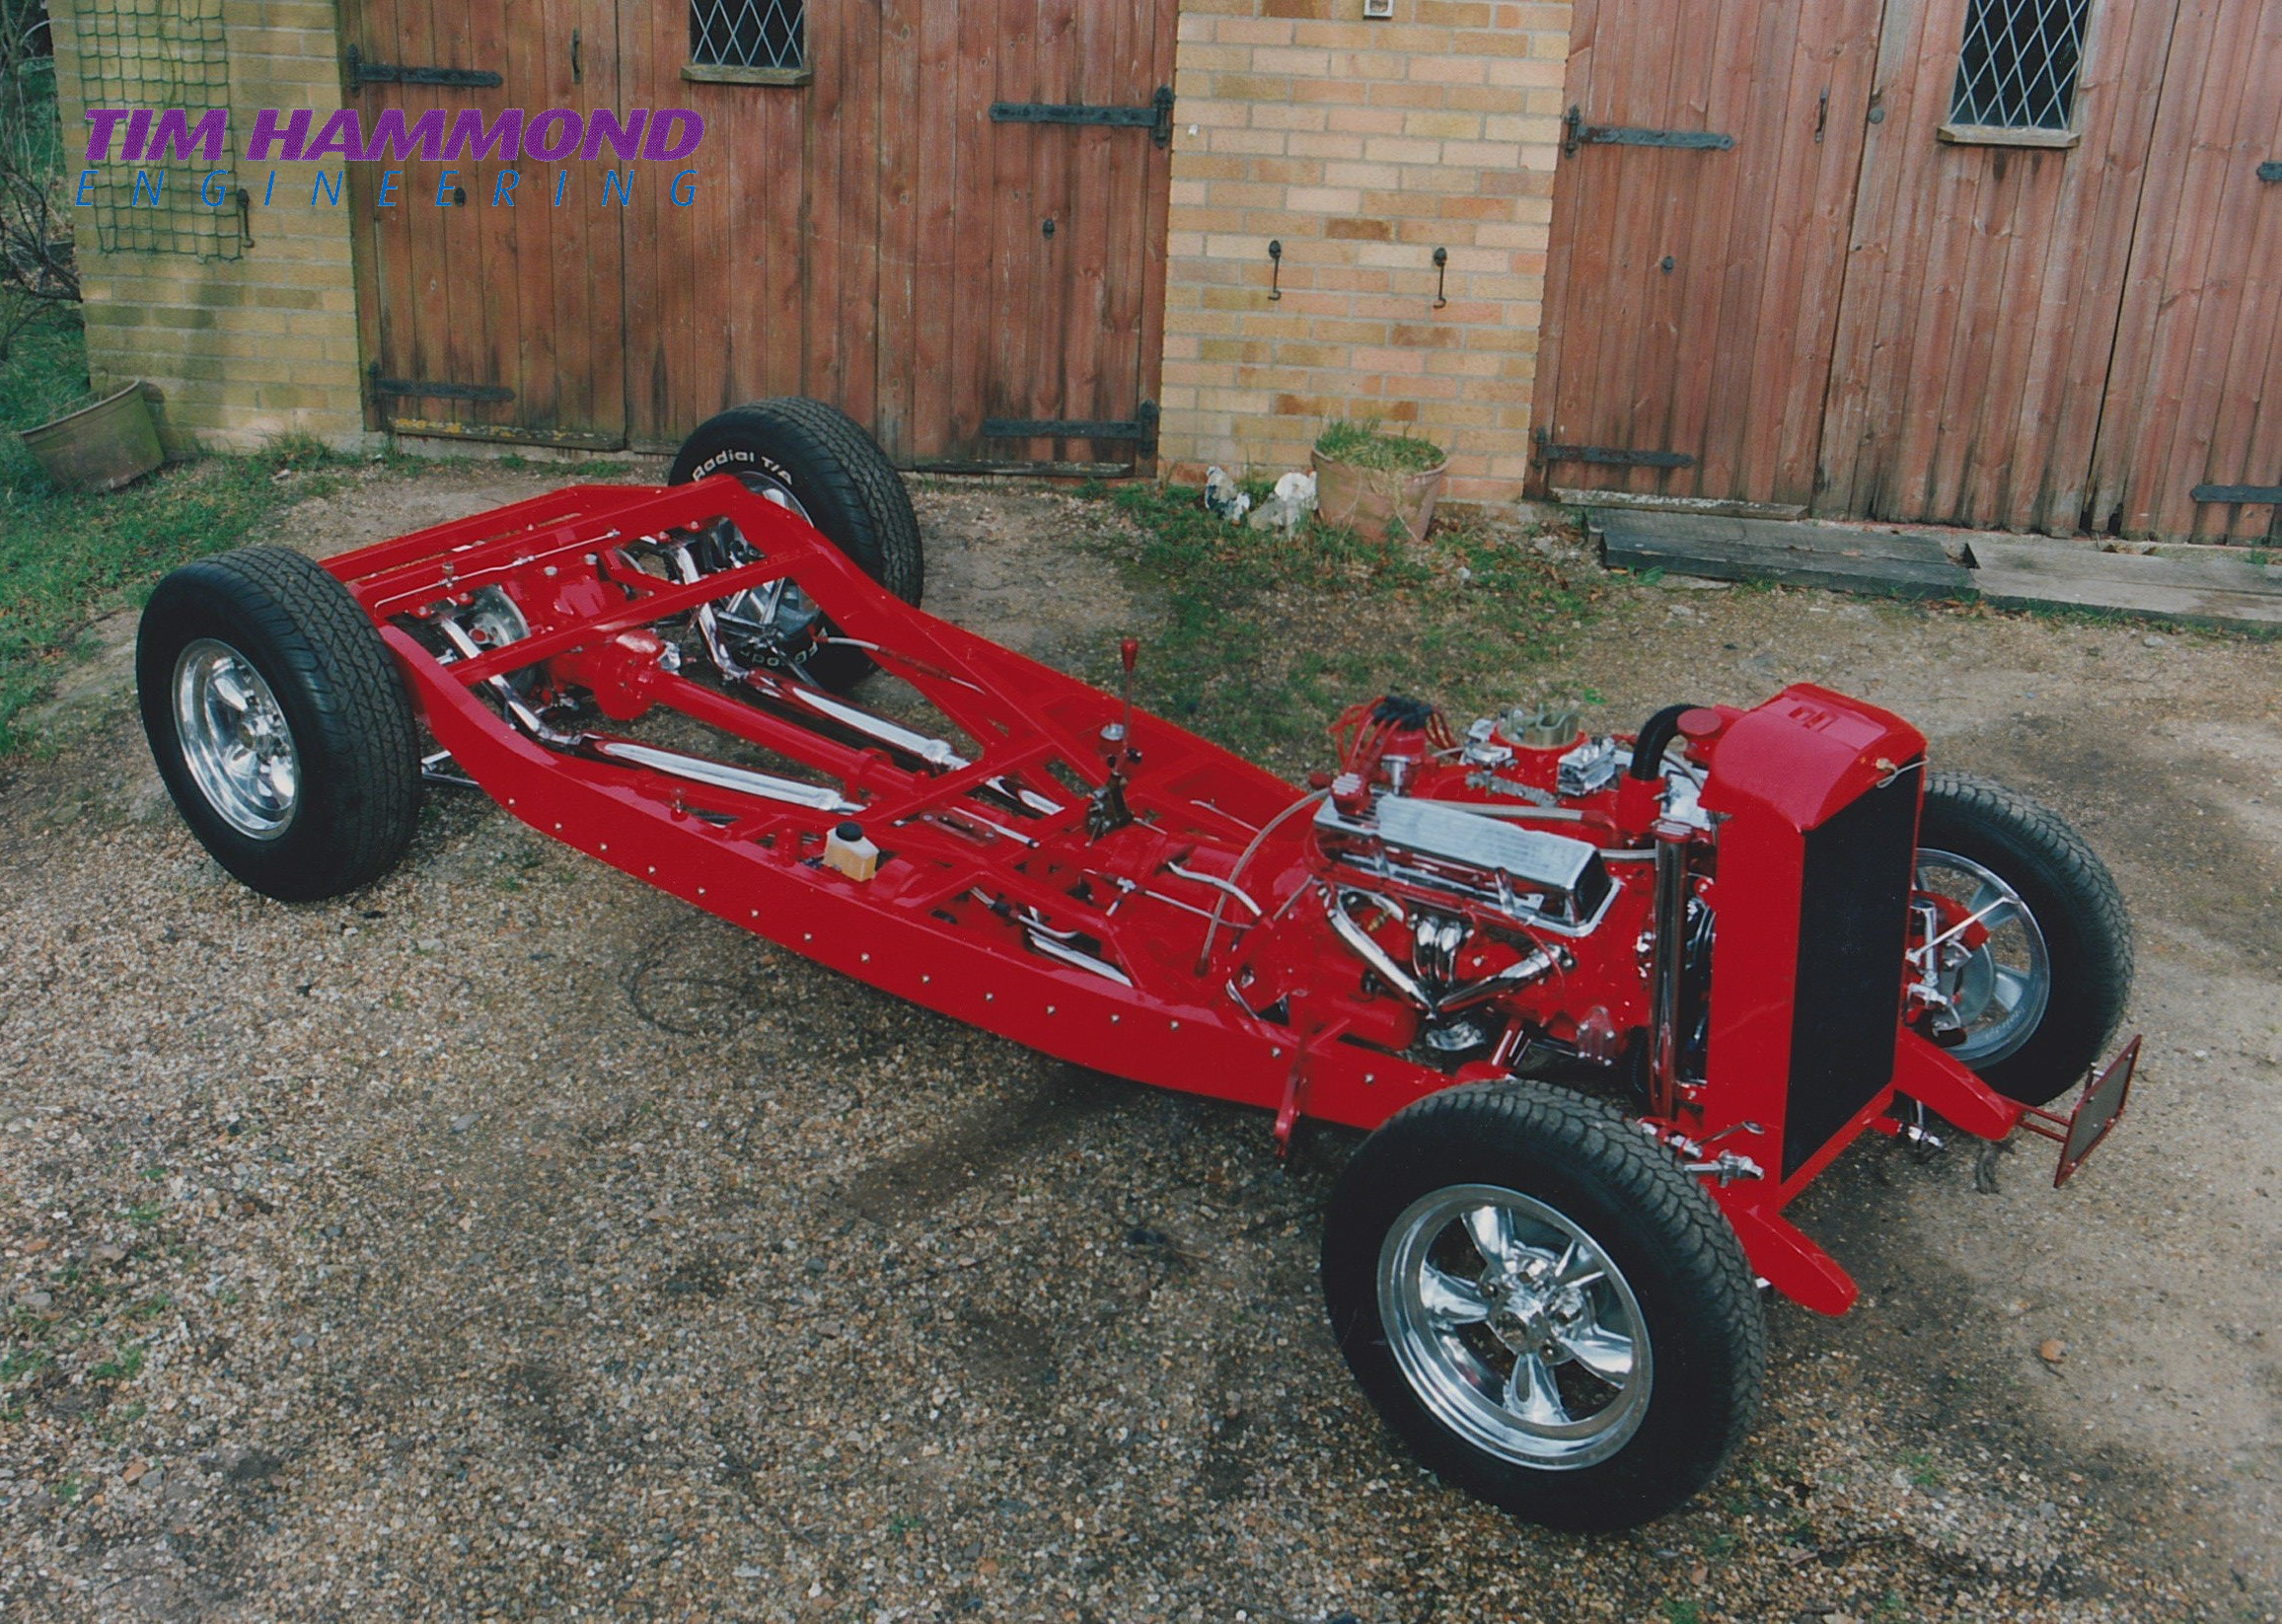
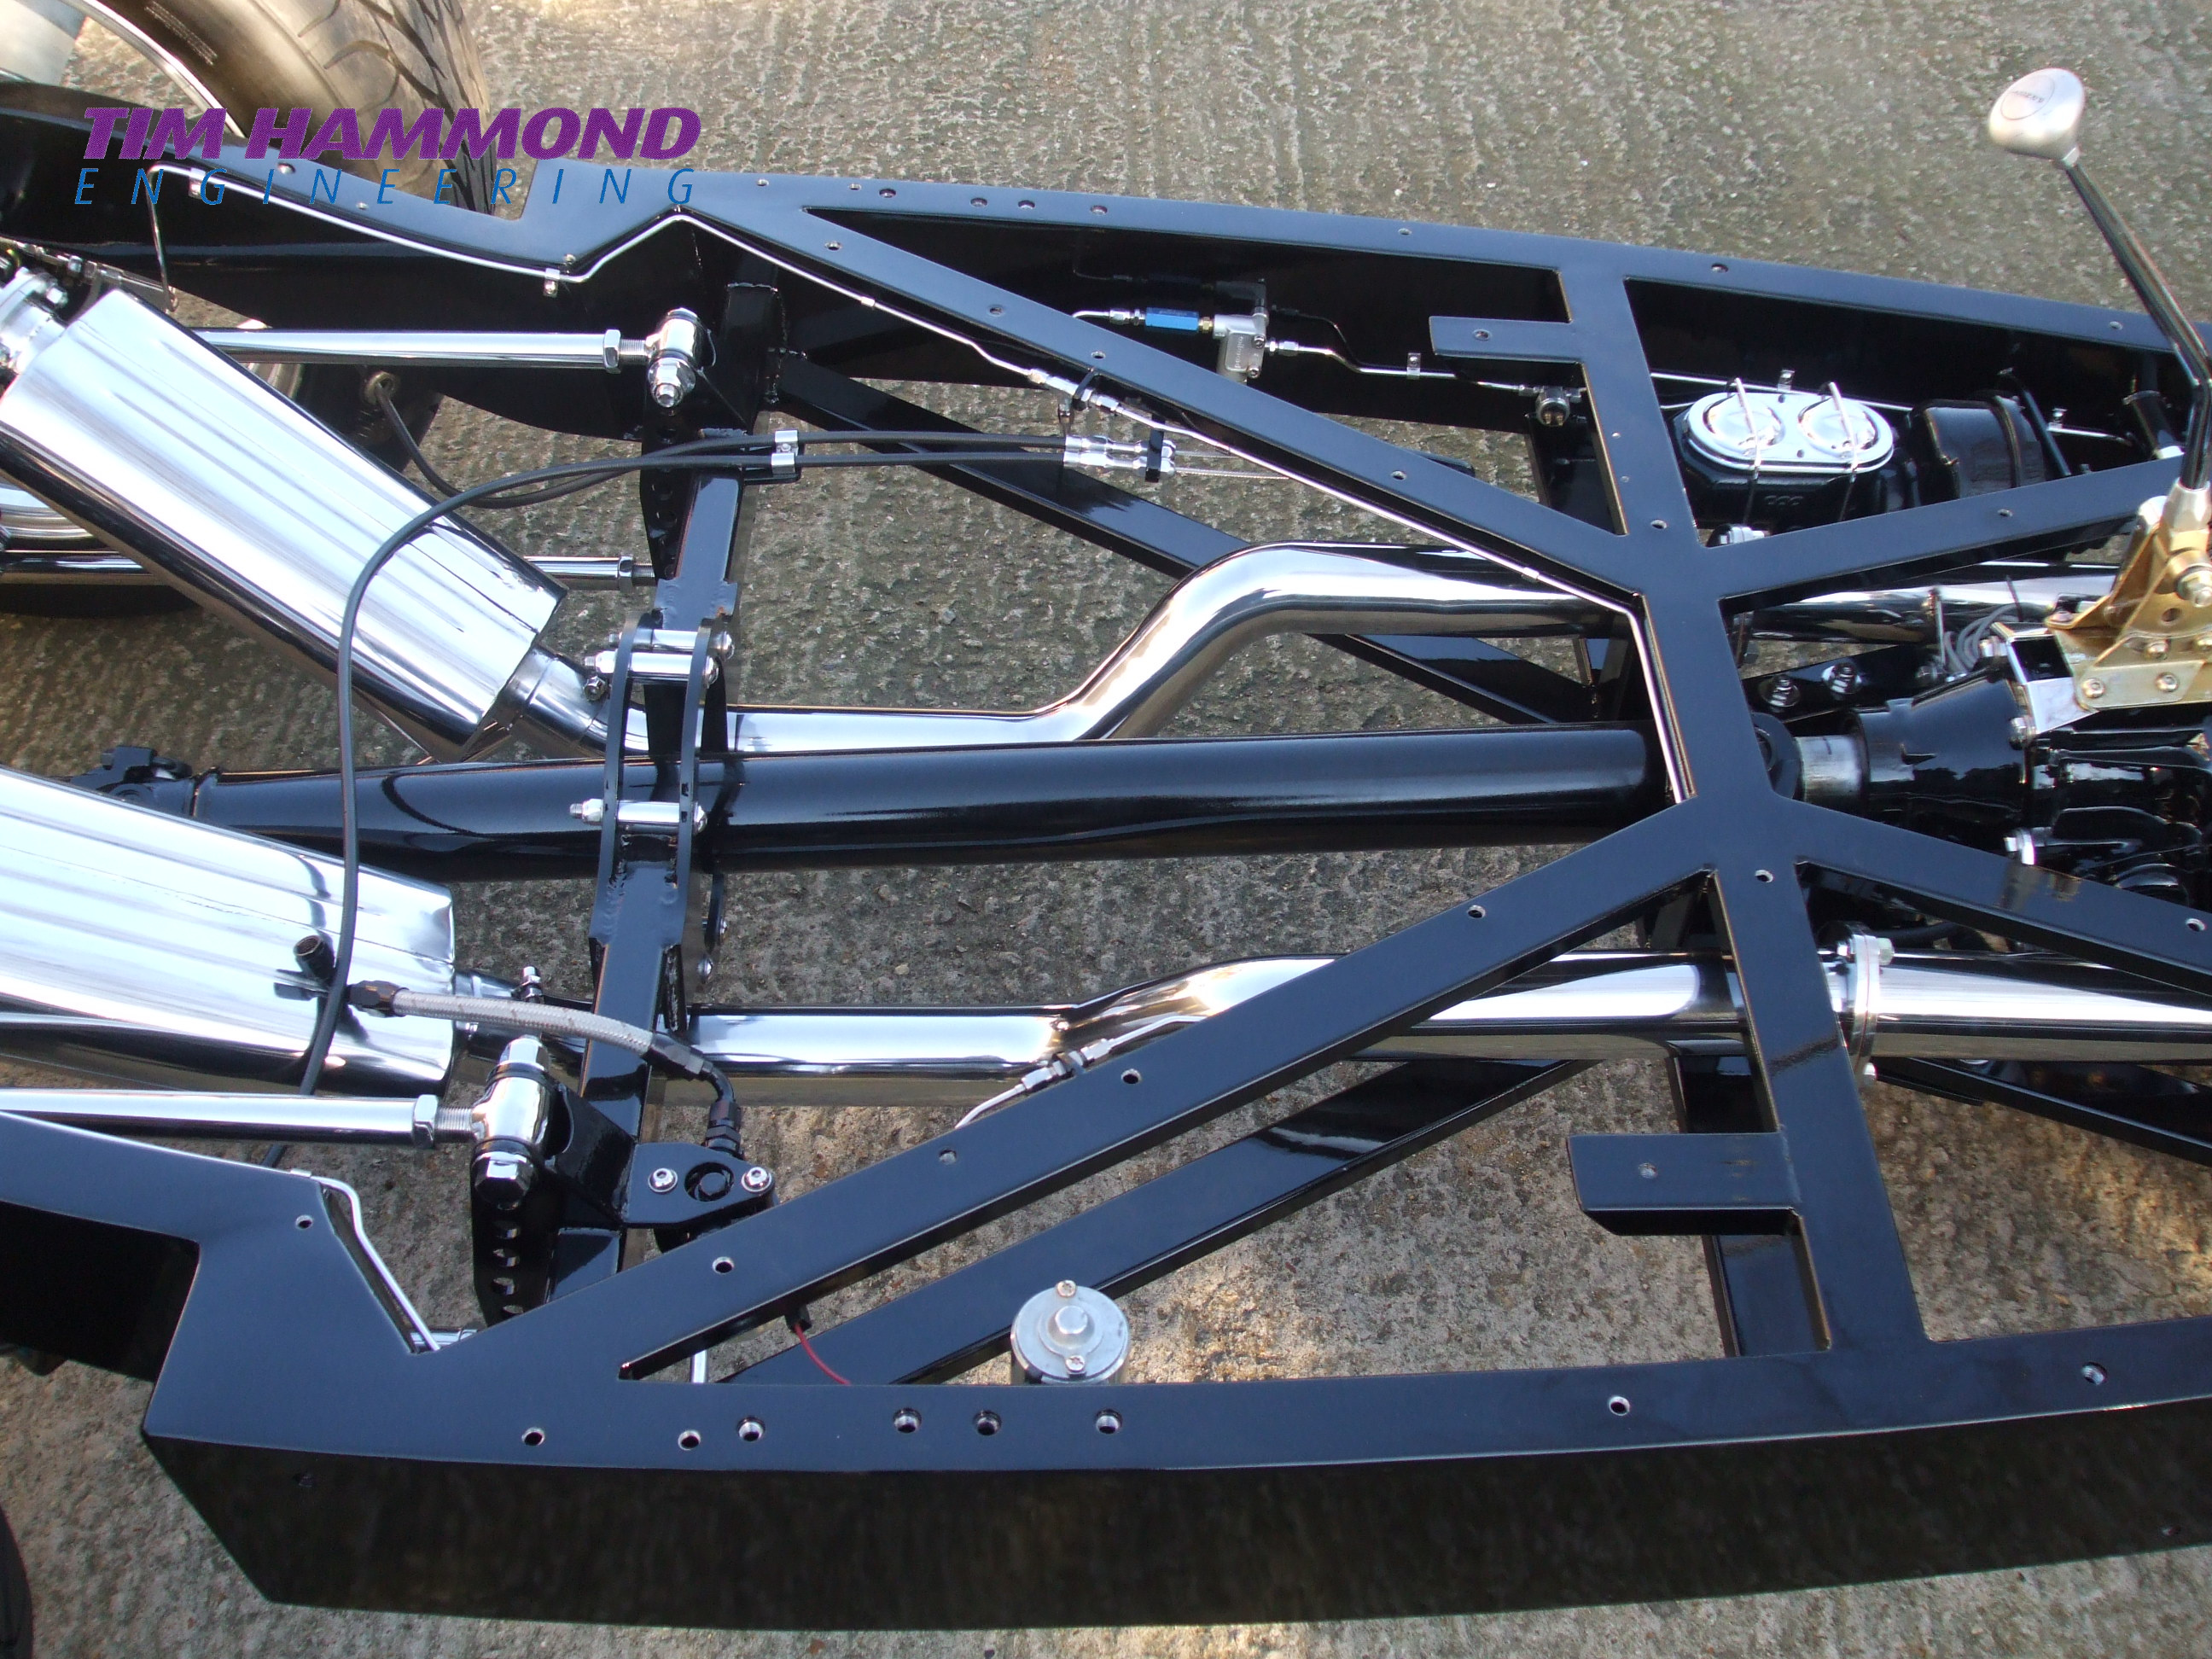
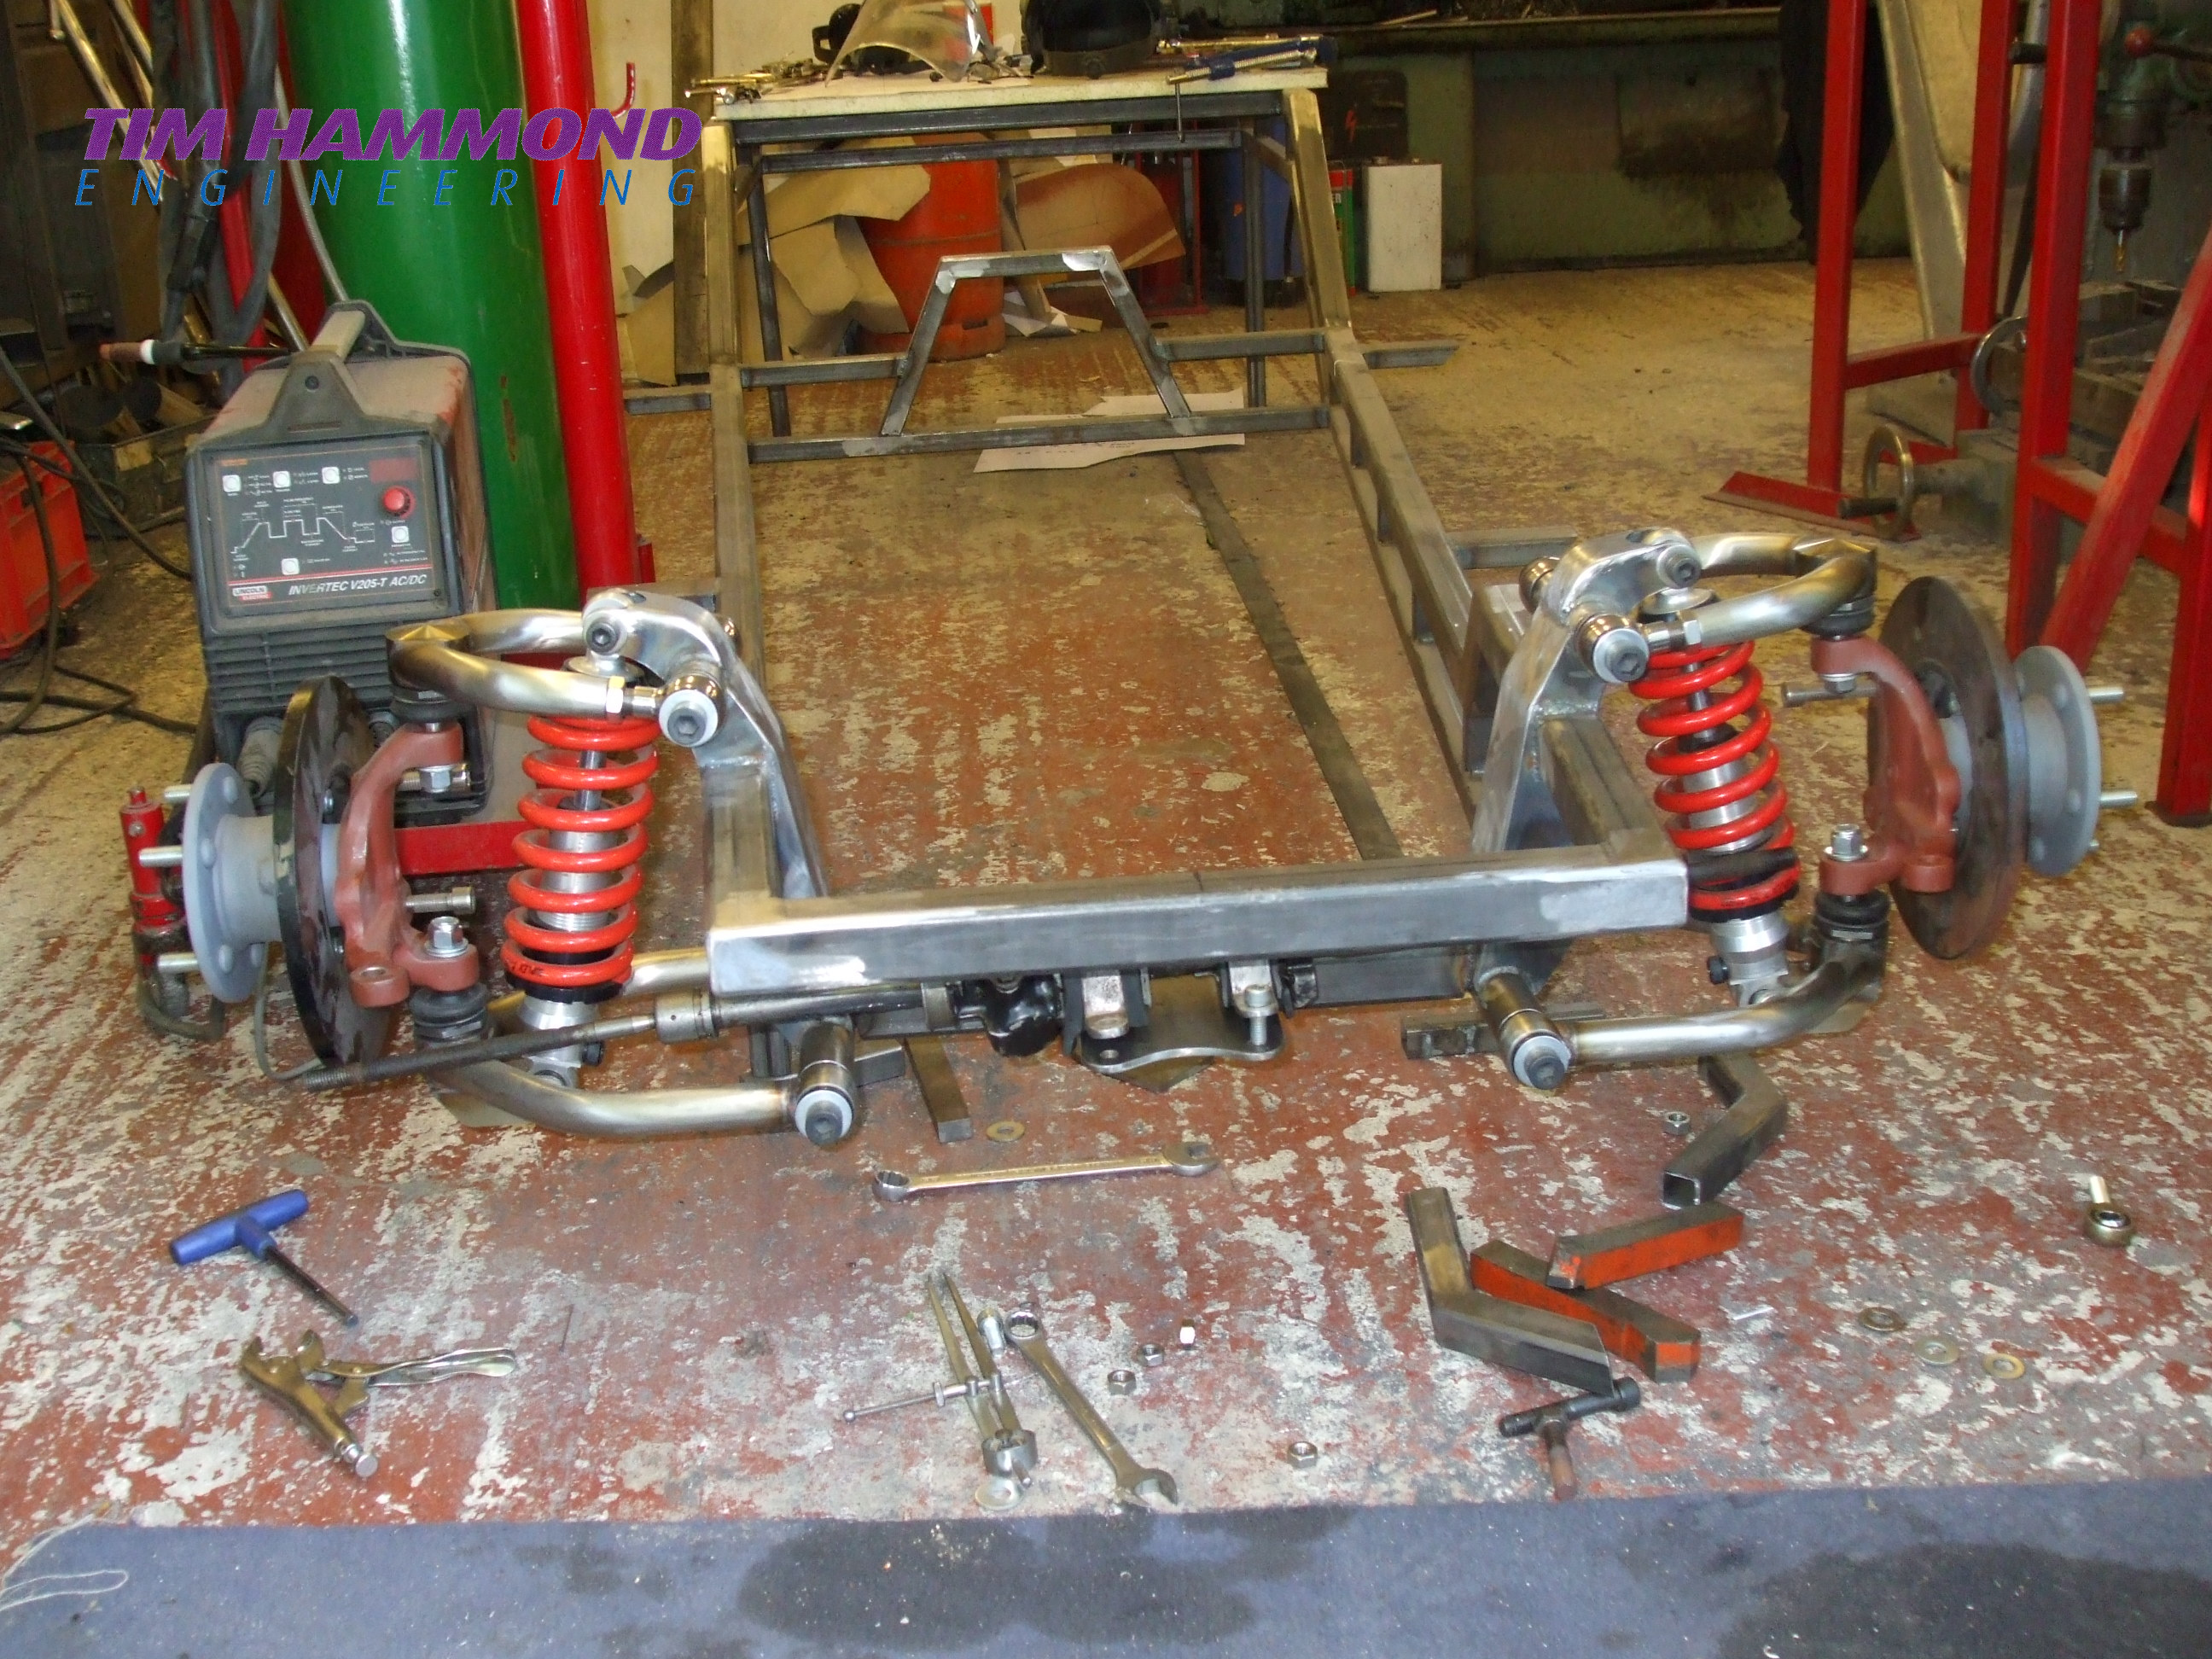
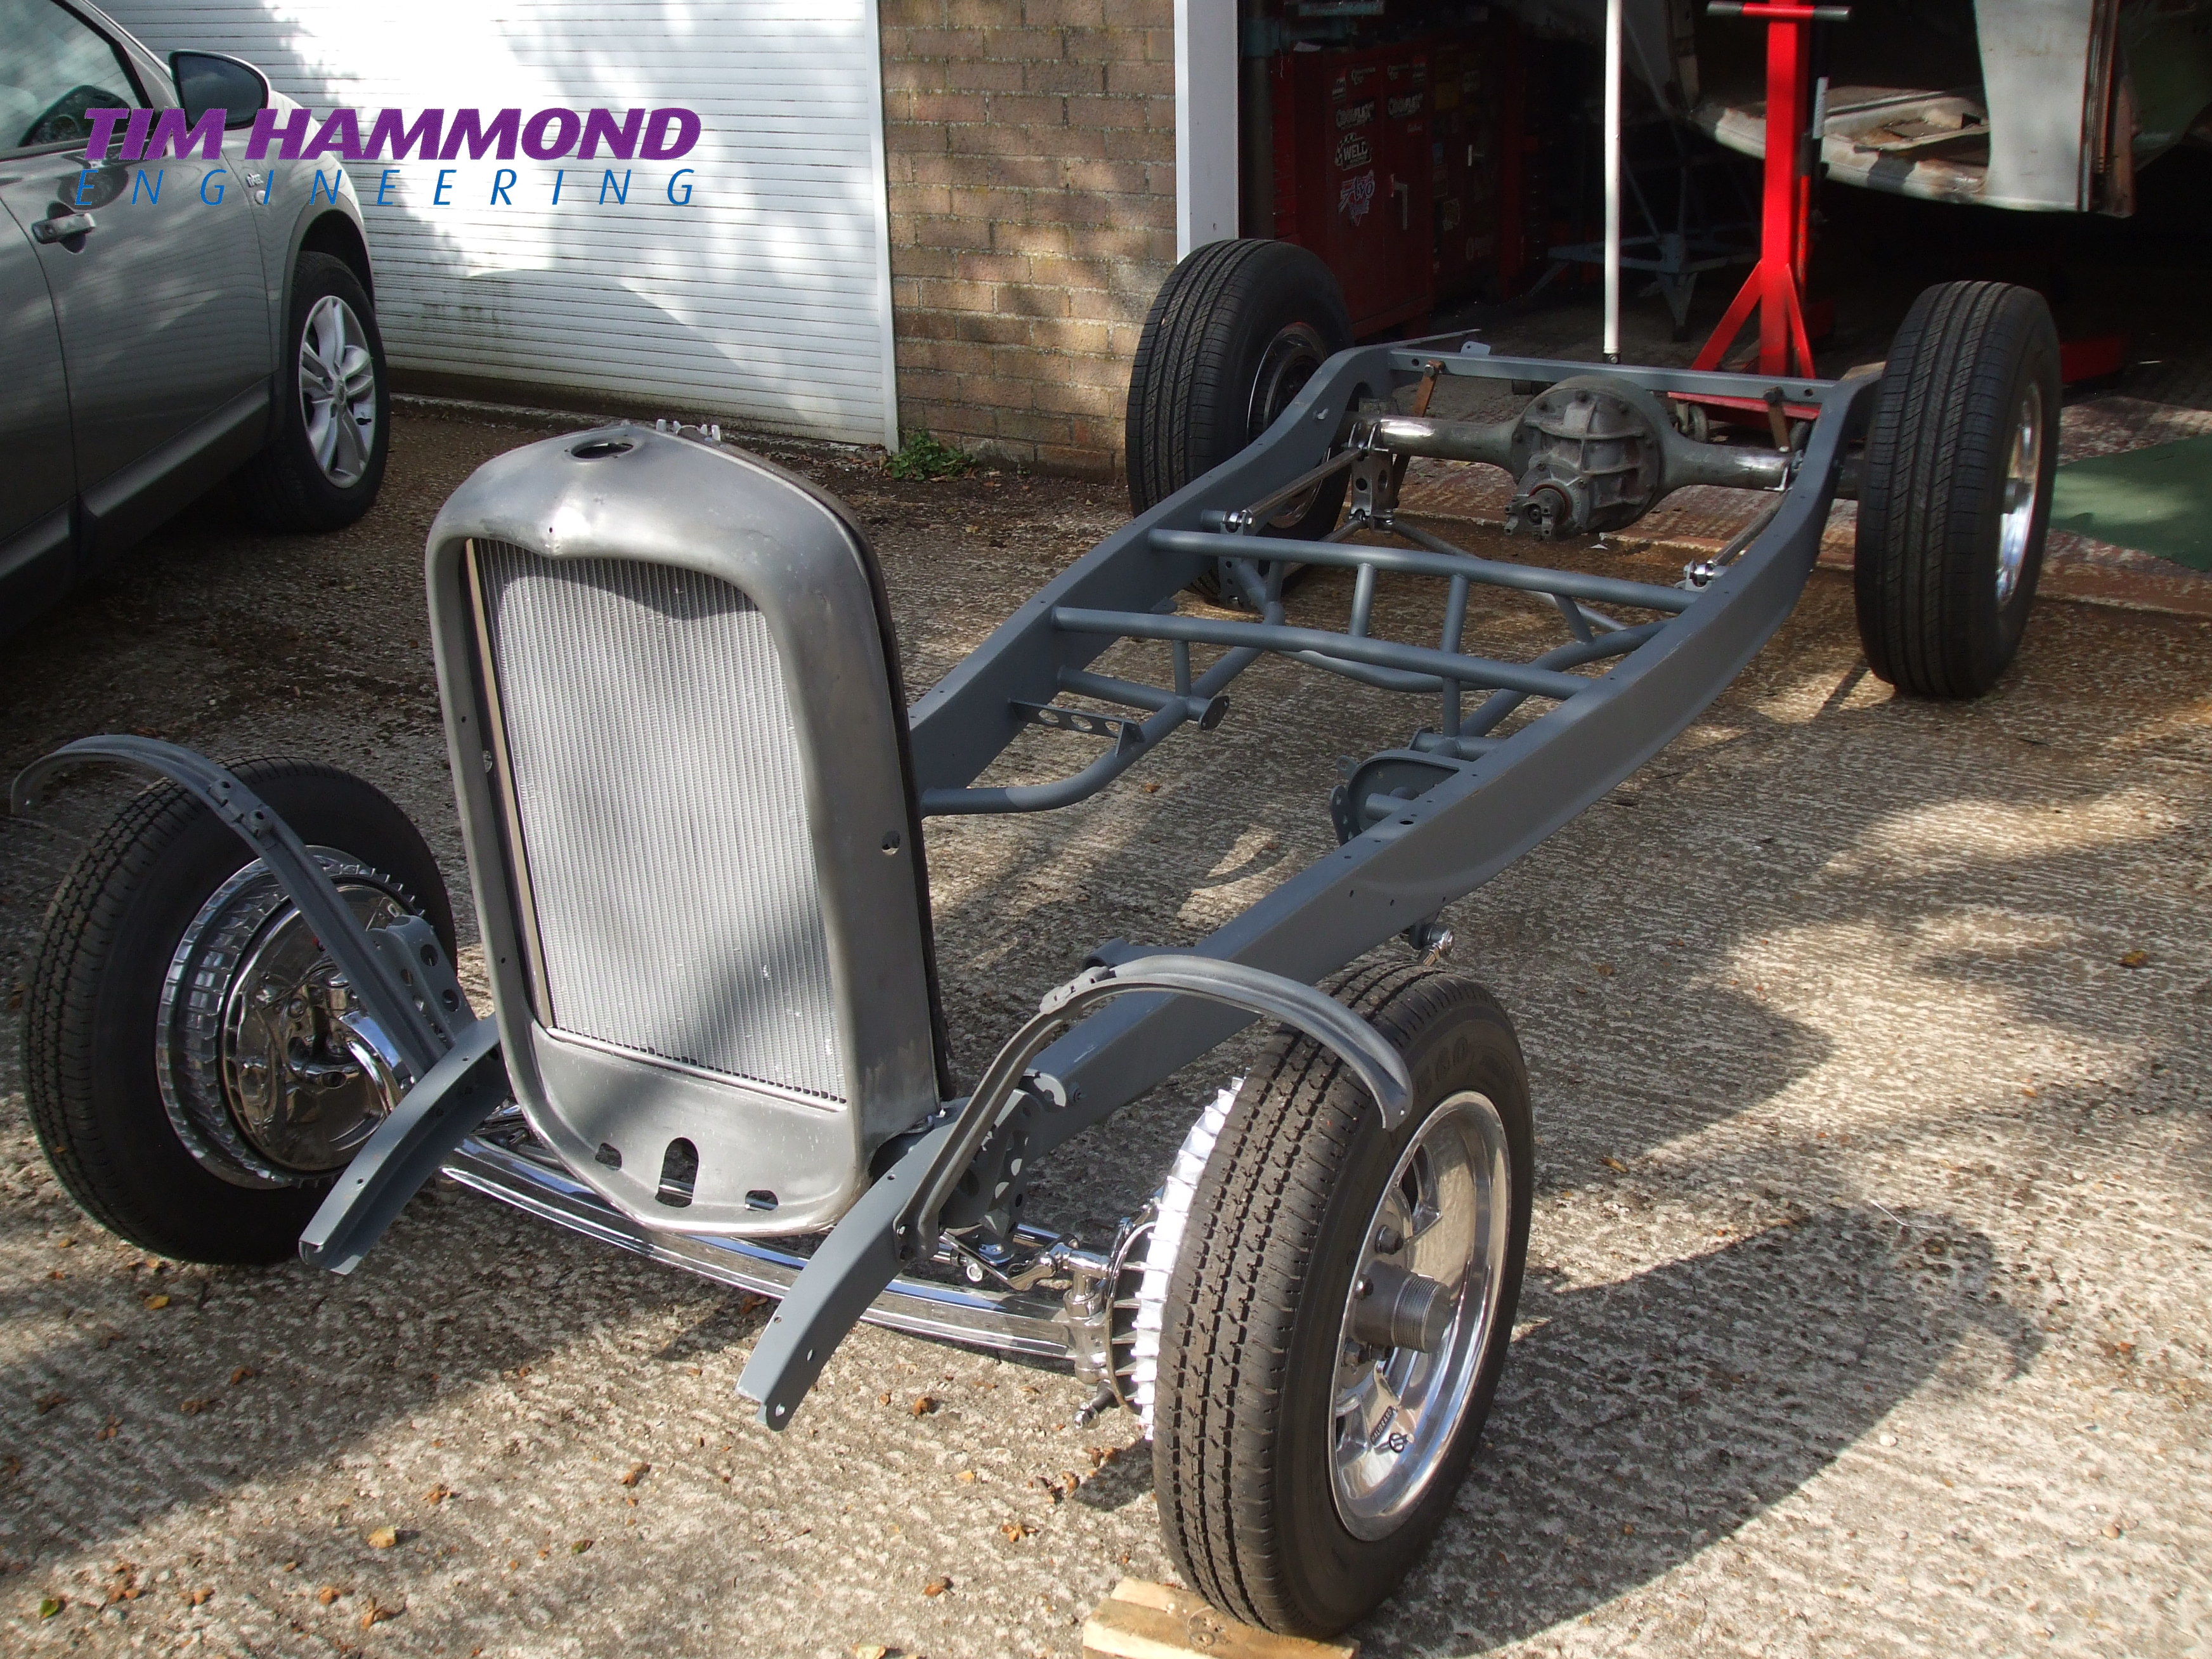
Two chassis rails were fabricated from our own design from 4mm sheet; they run parallel from front to the start of the rear kick up. Then with a very high kick up and “c” to clear the rear drive shafts. The car was always going to have a low stance, but not to have anything below scrub line. Low meaning, the steering rack would be doing through the middle of the chassis rails and the top A arms would be on tall fabricated brackets.
Inside the frame 1 ½” by 1/8” CDS tubing was welded to the inside of the chassis rails and the boxing plates were cut around the tubes and then welded to the chassis and the tubes for double strength.
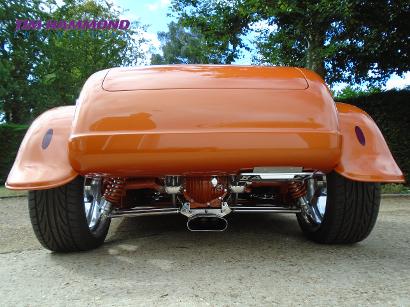
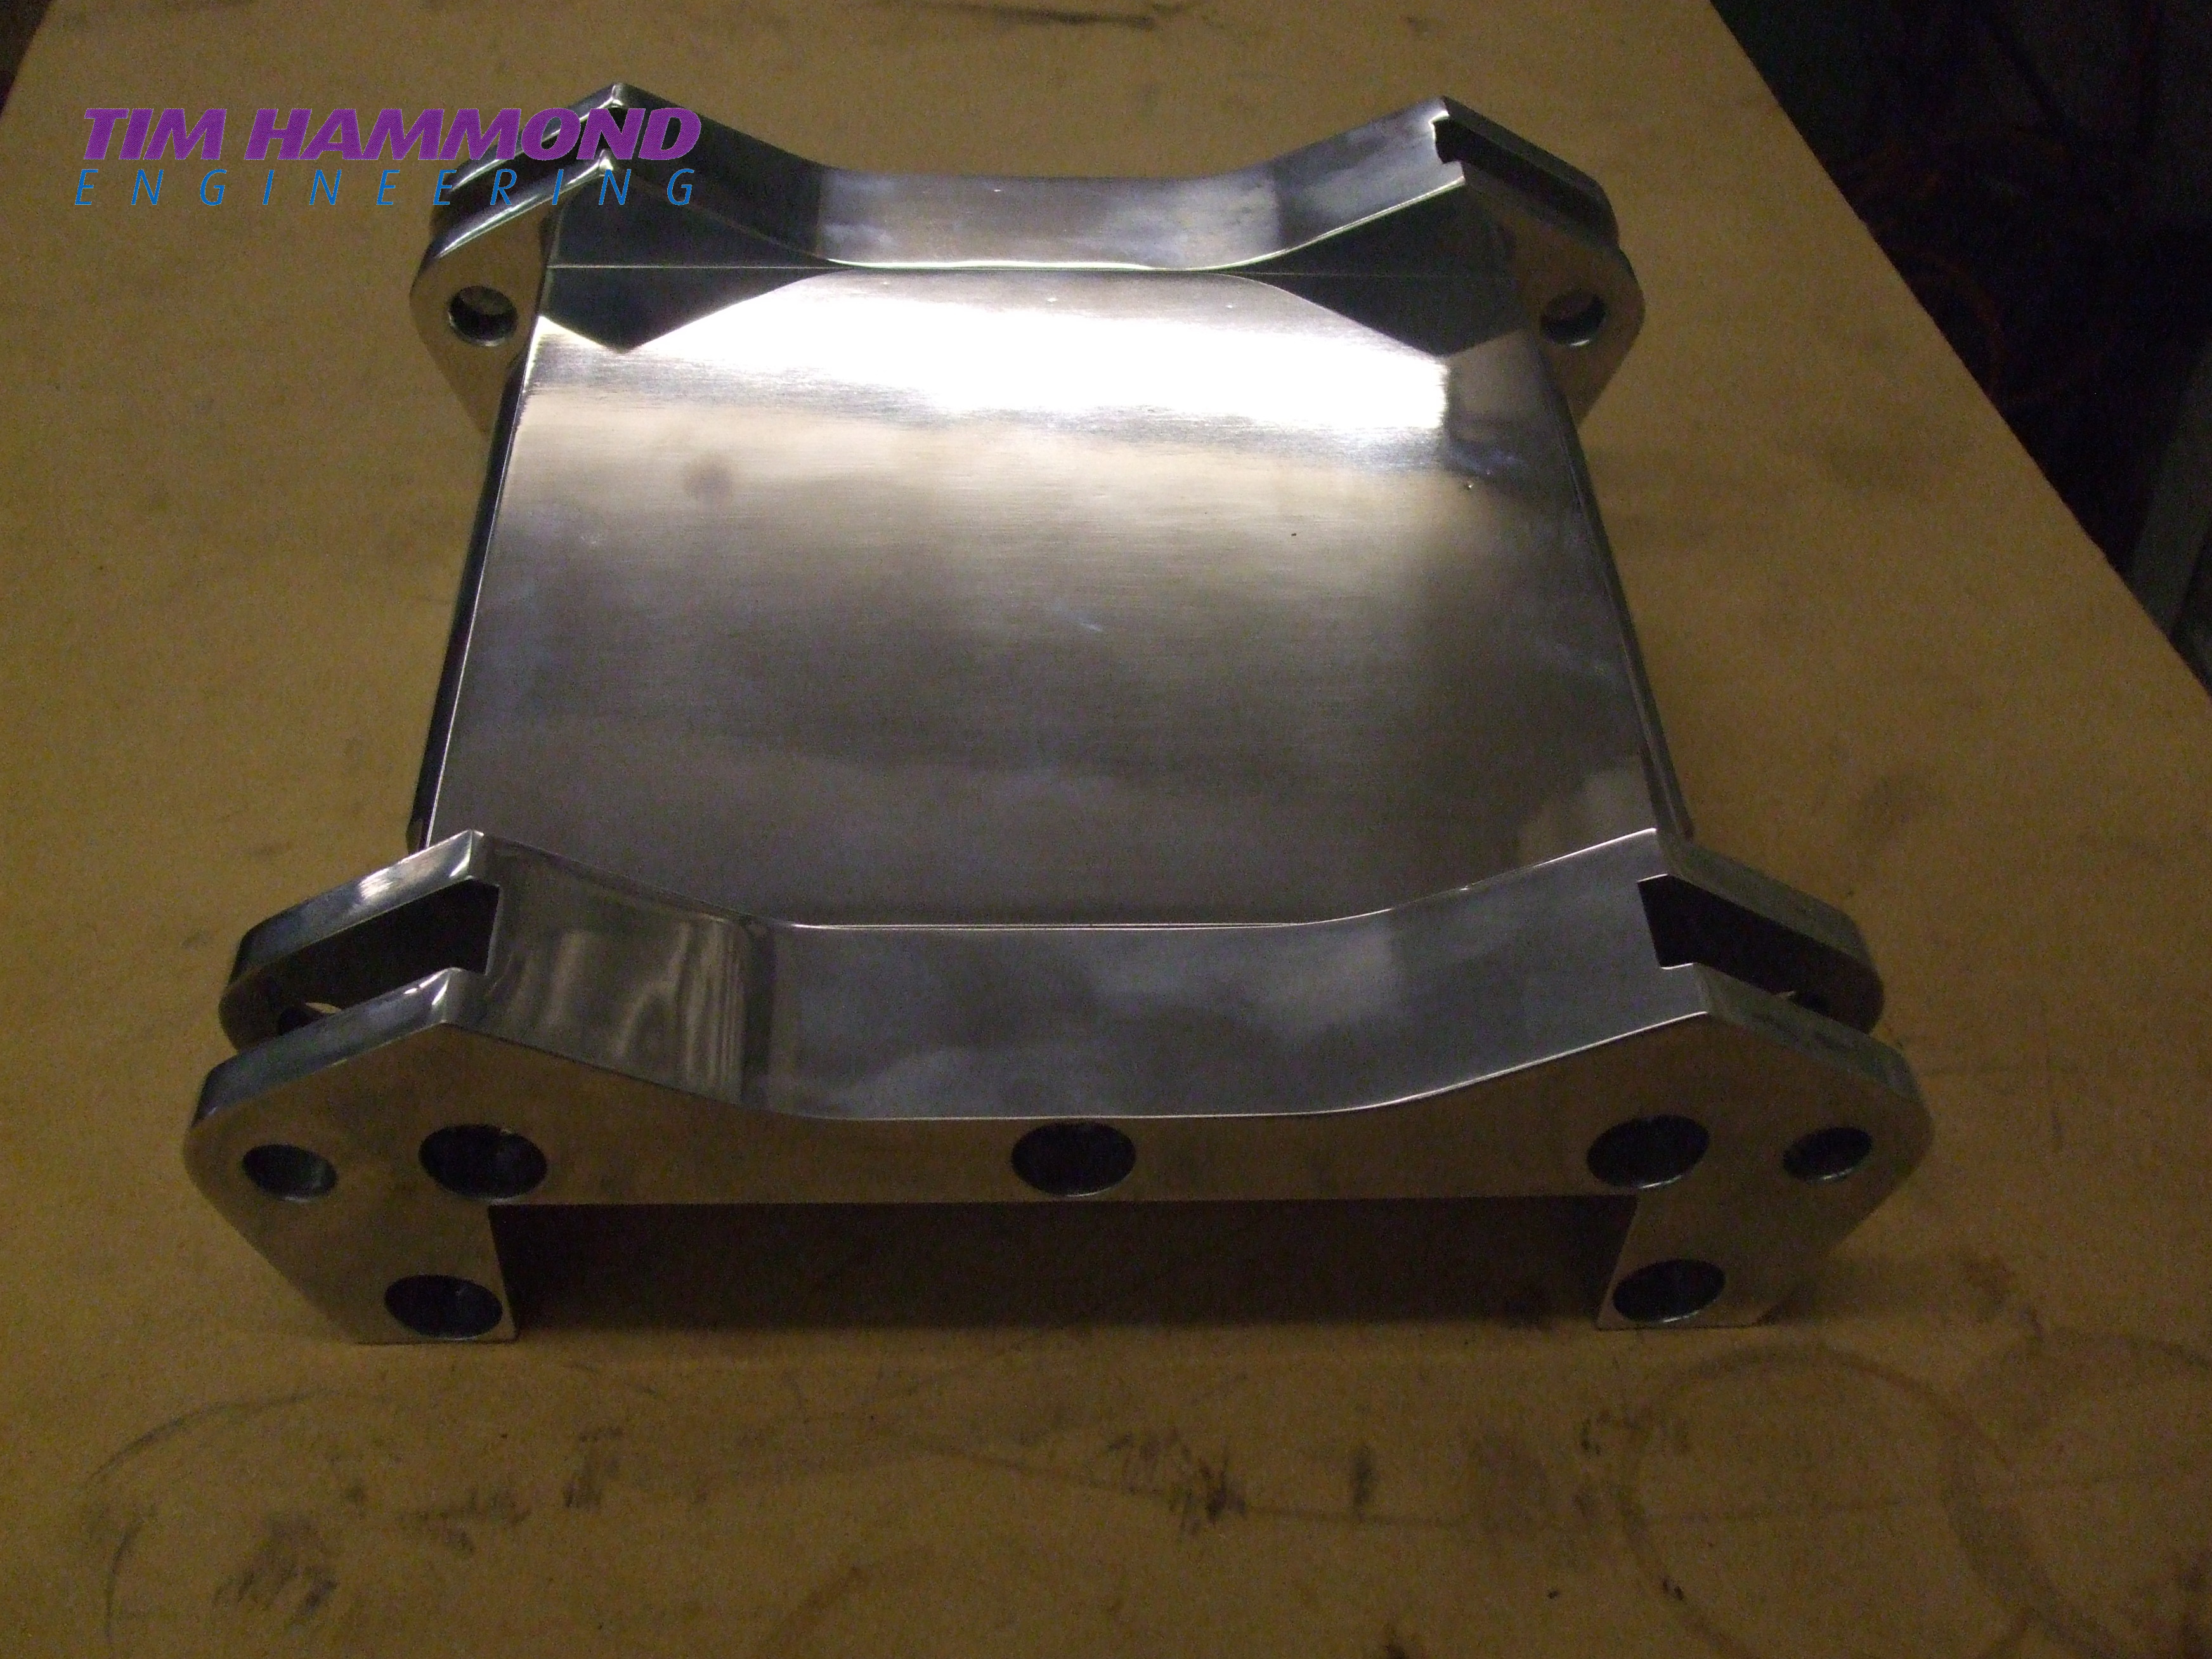
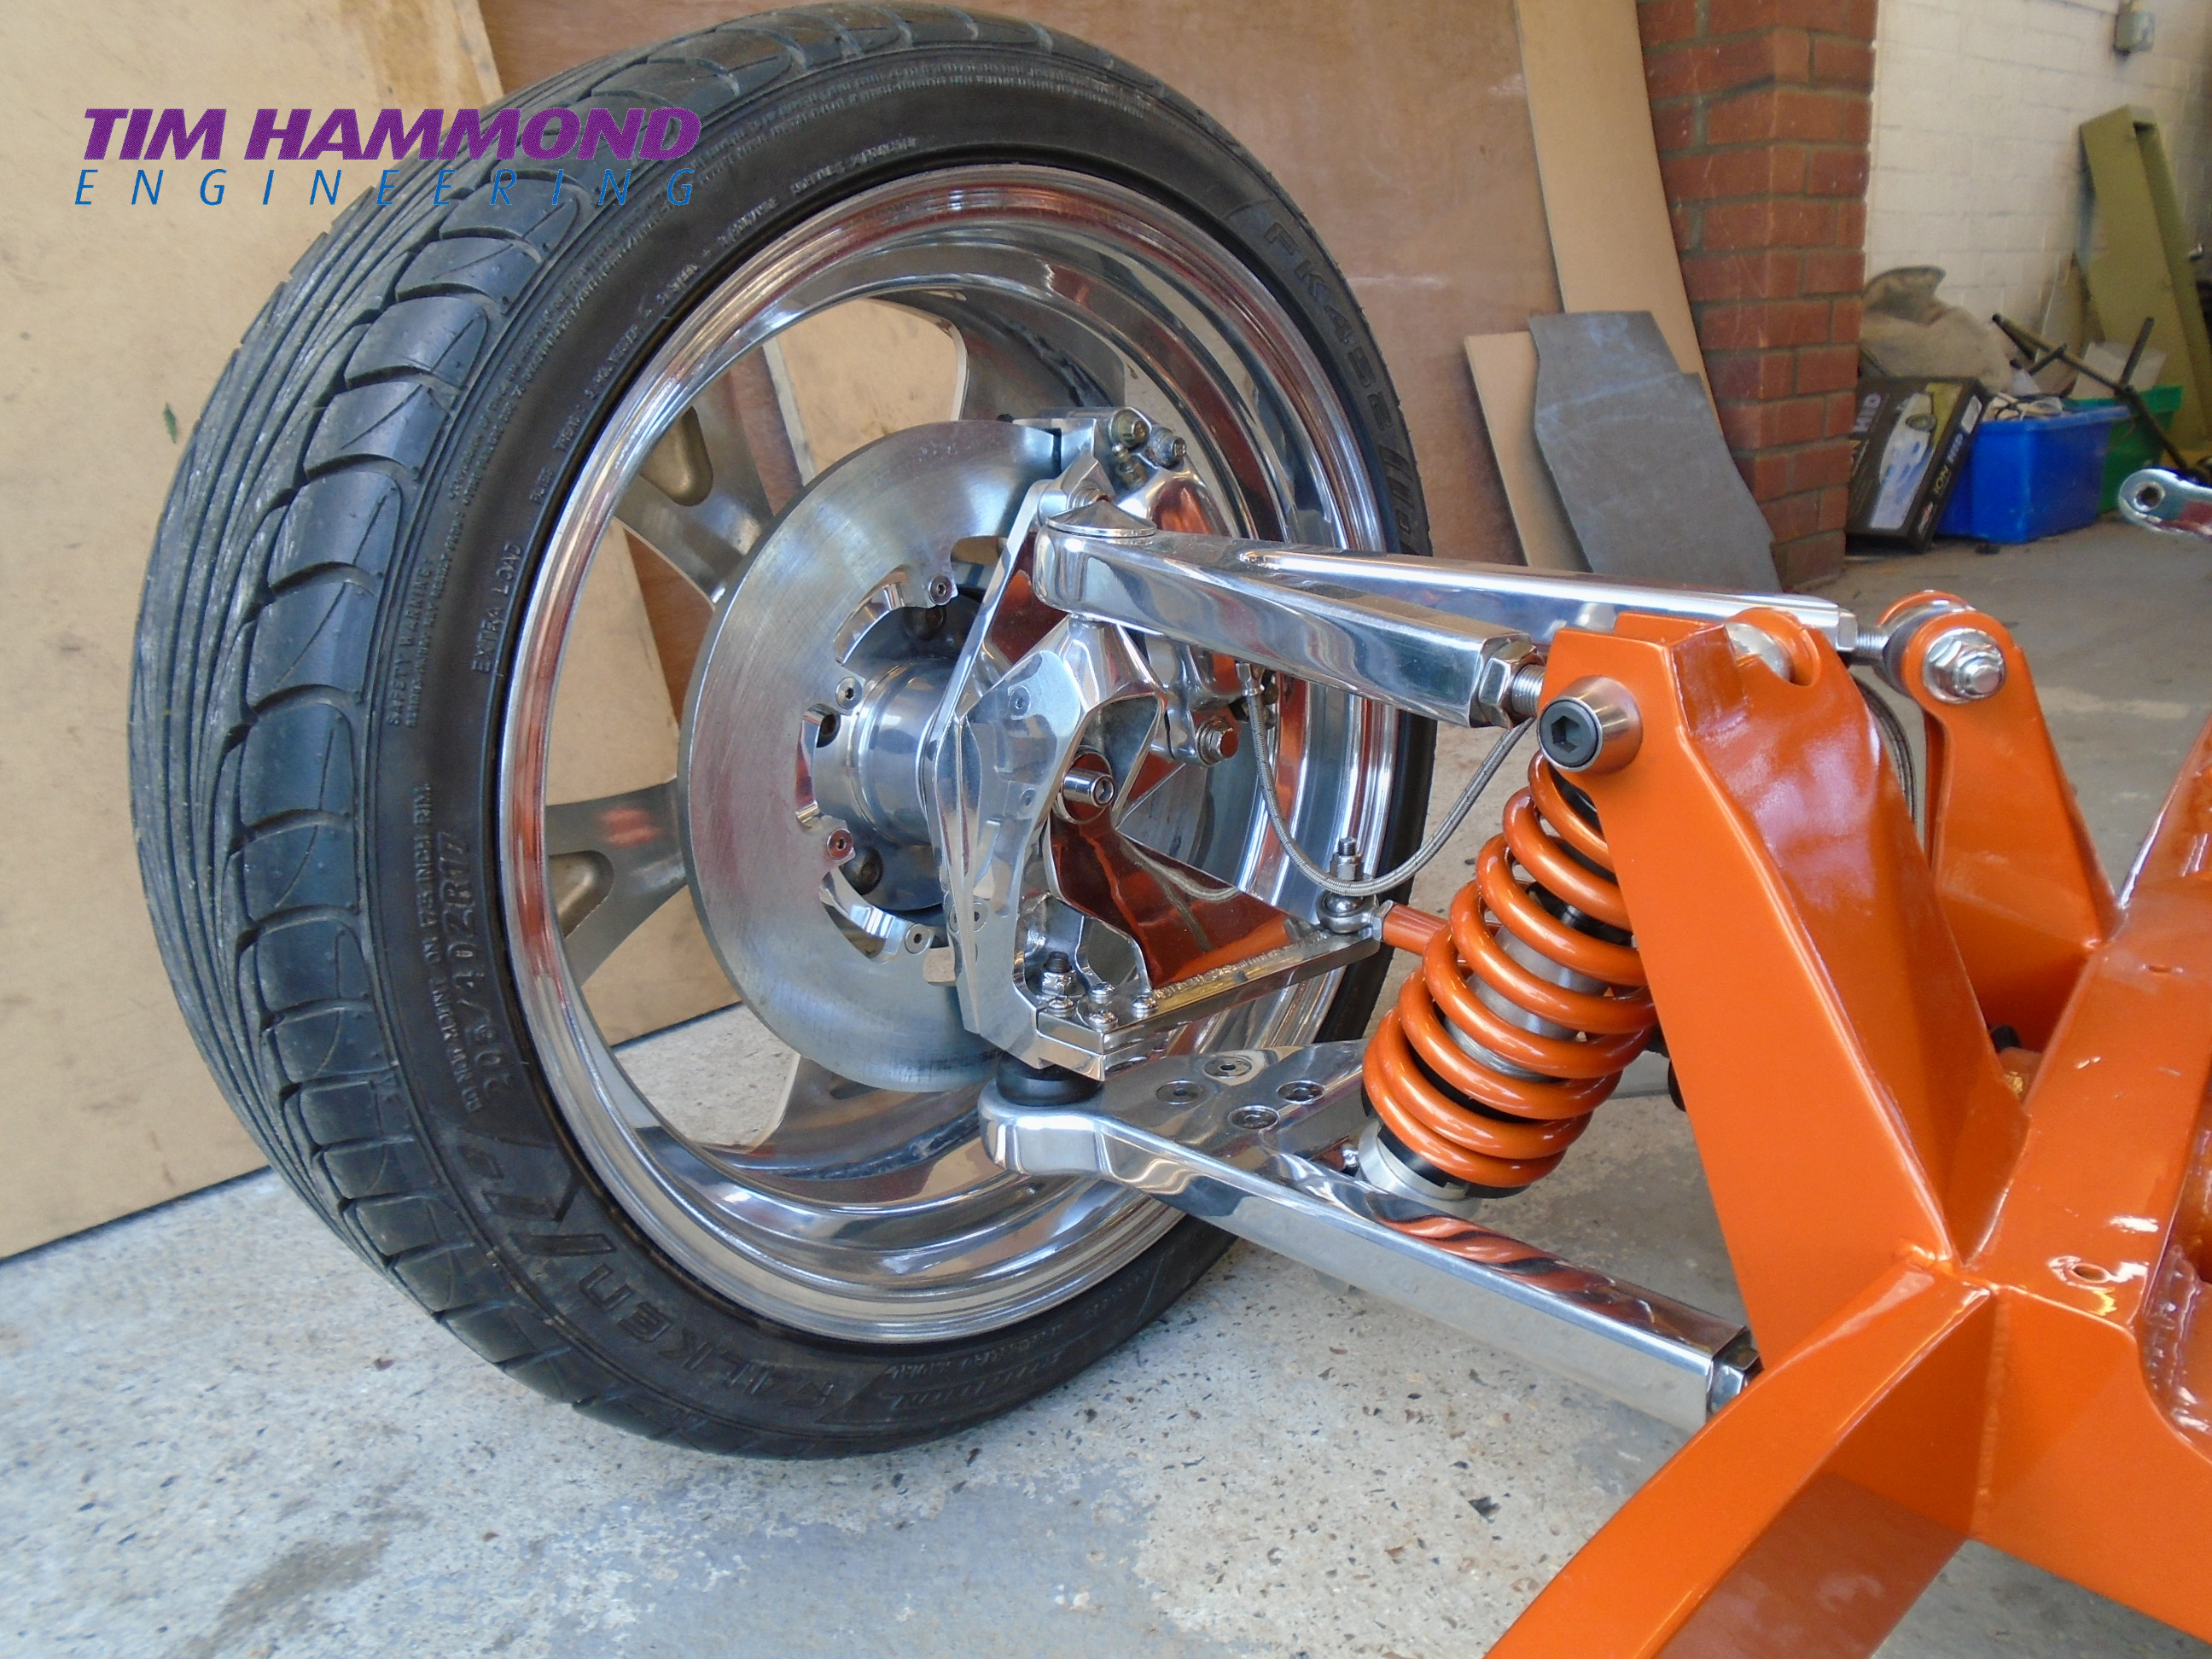
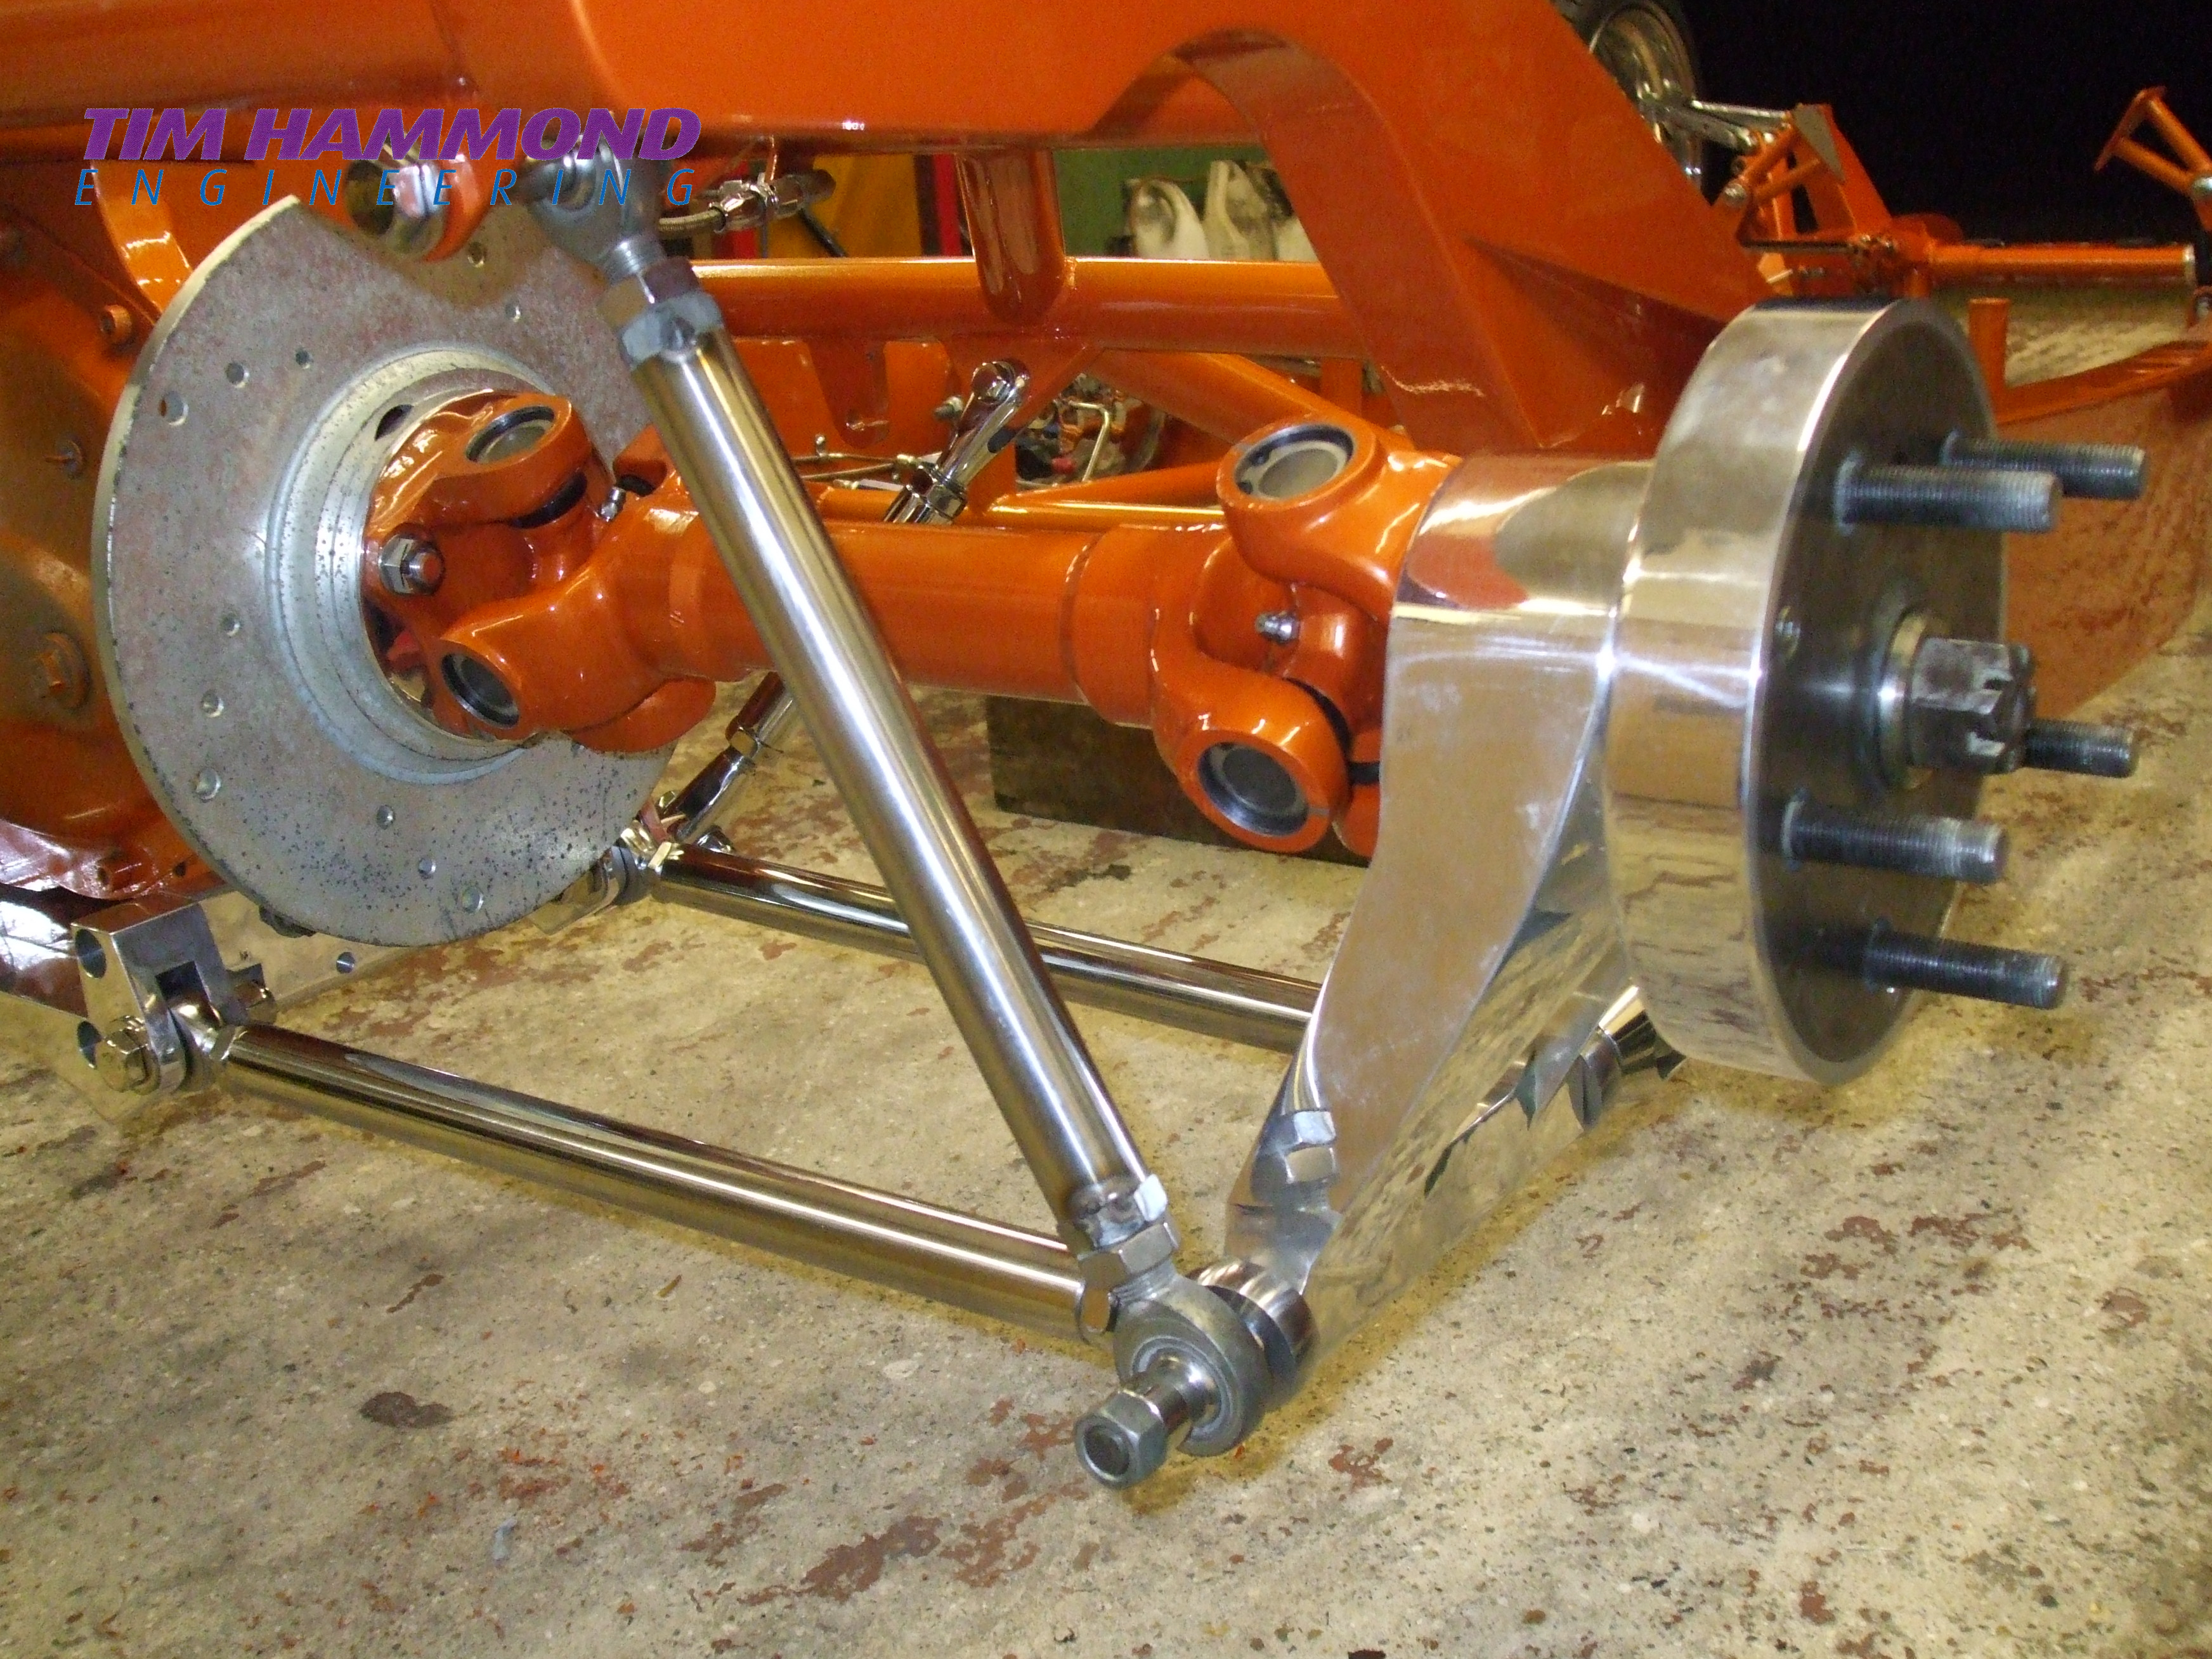
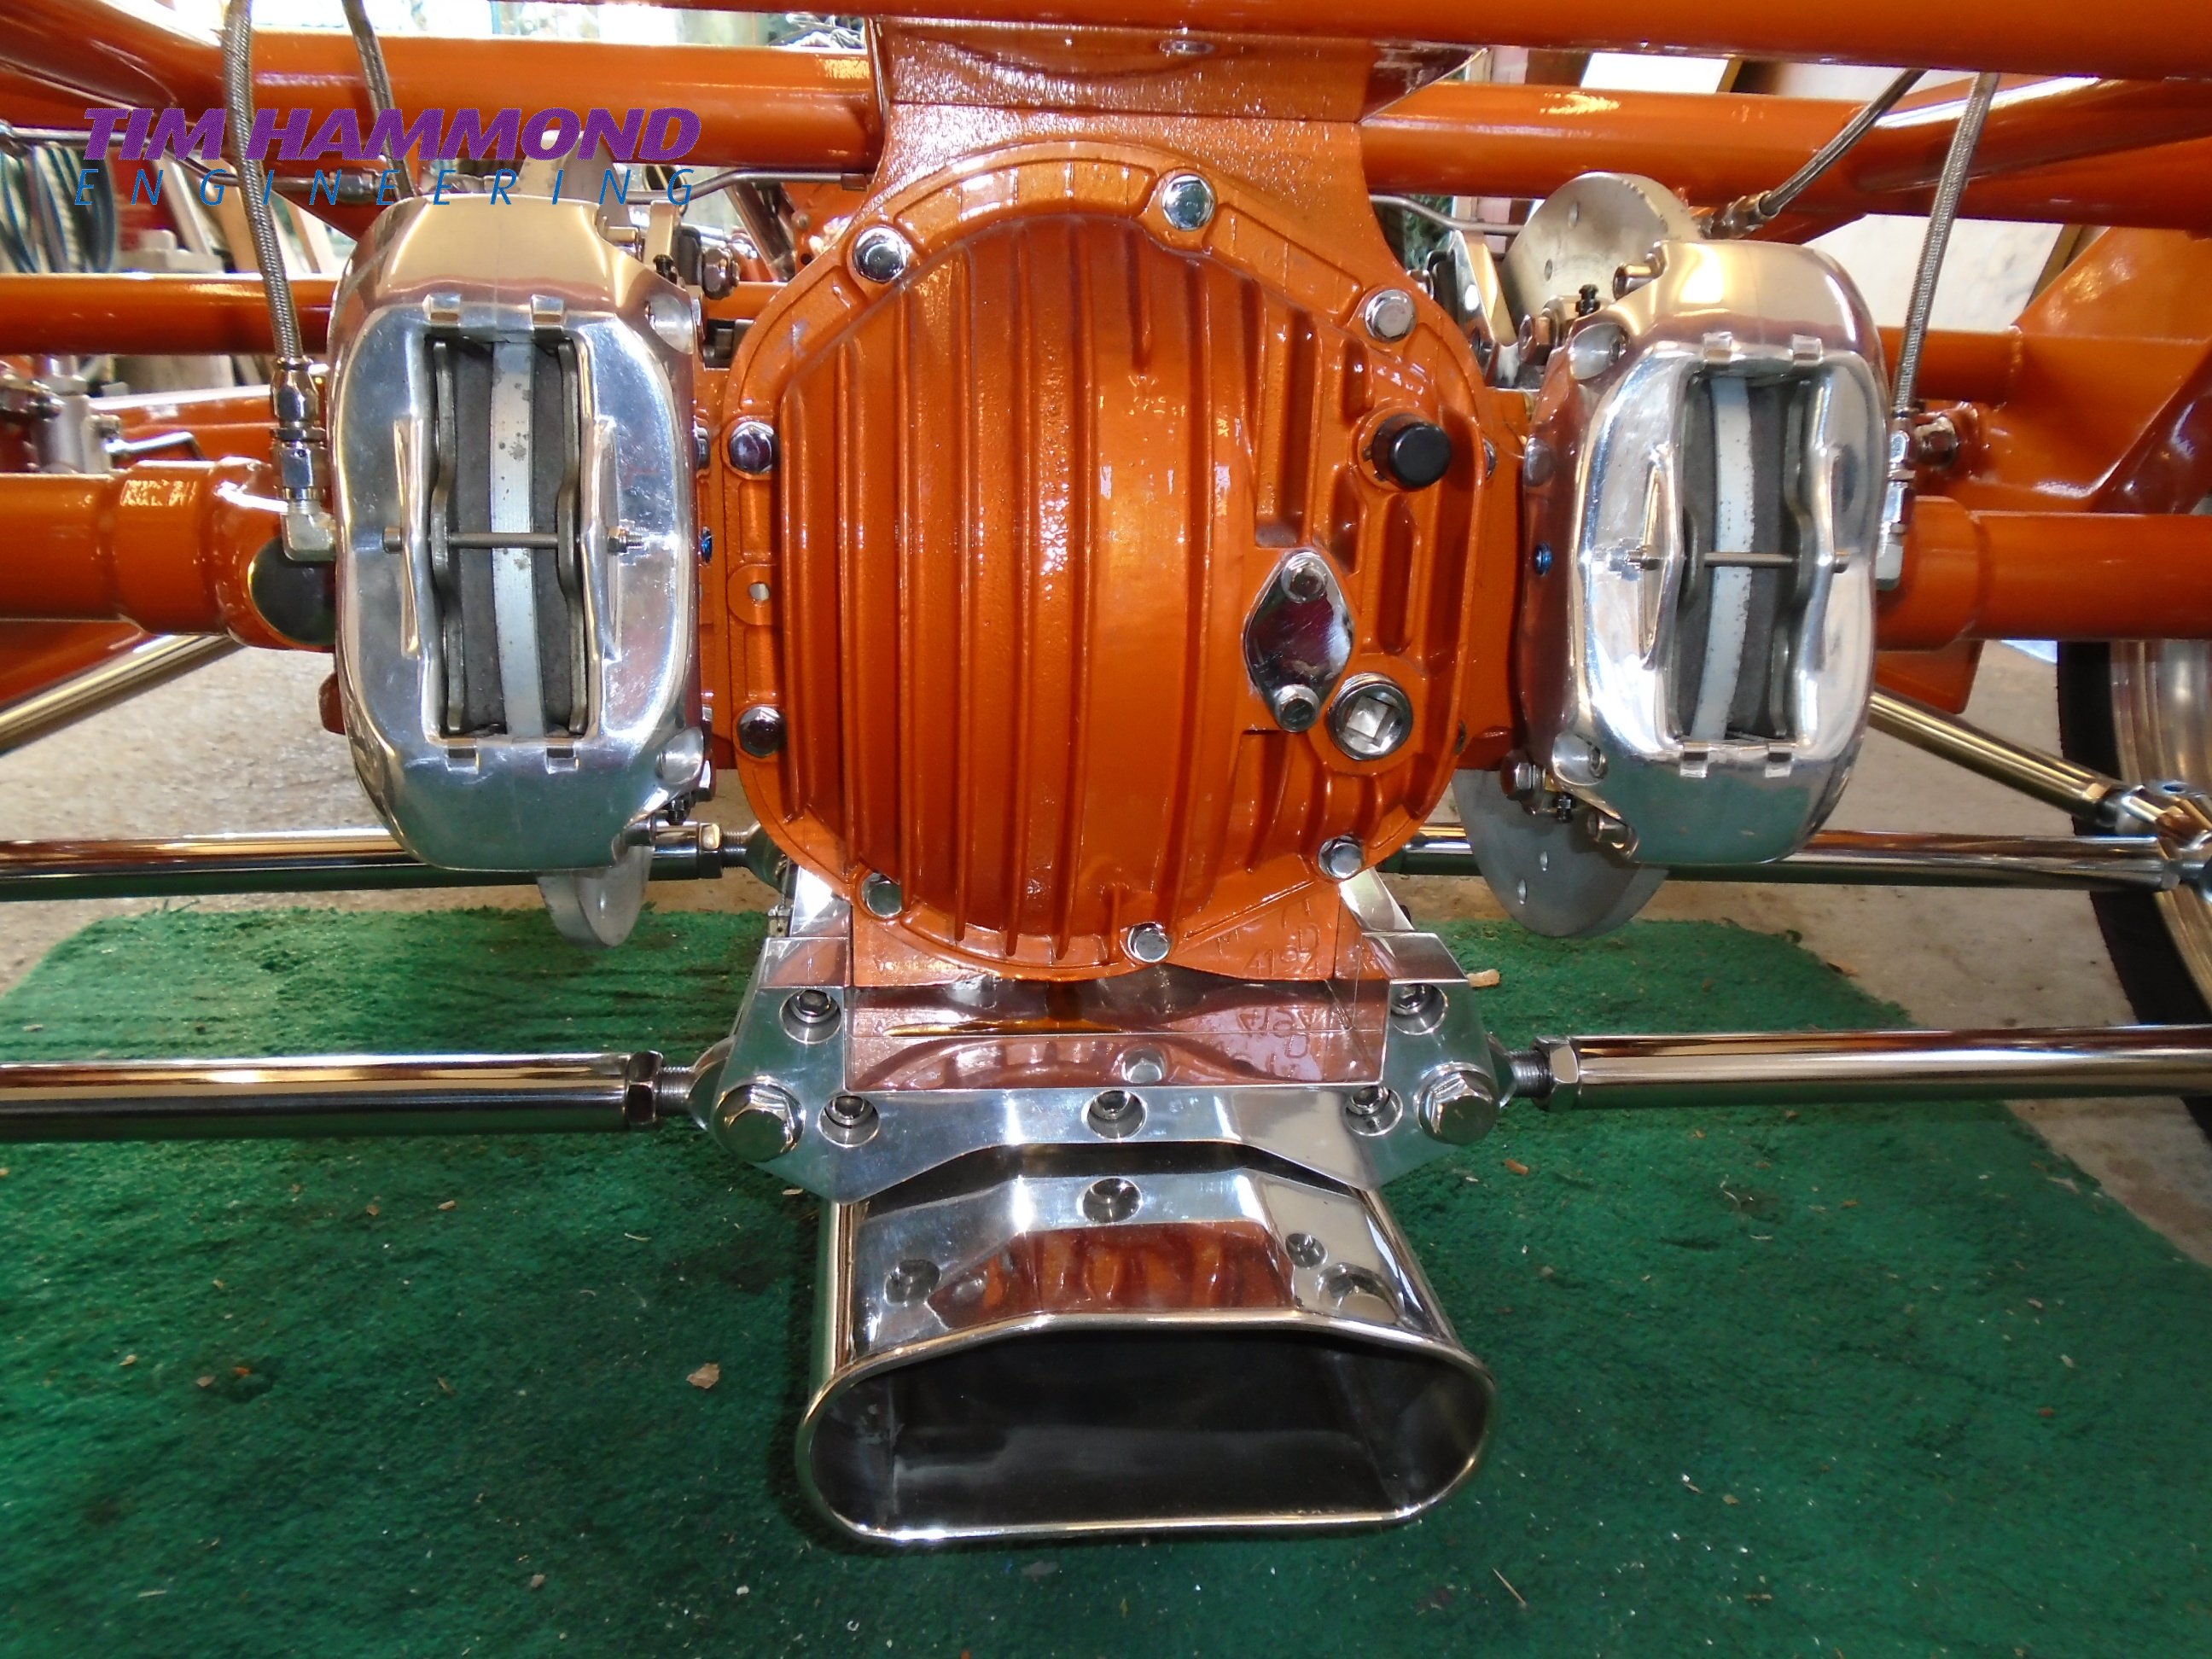
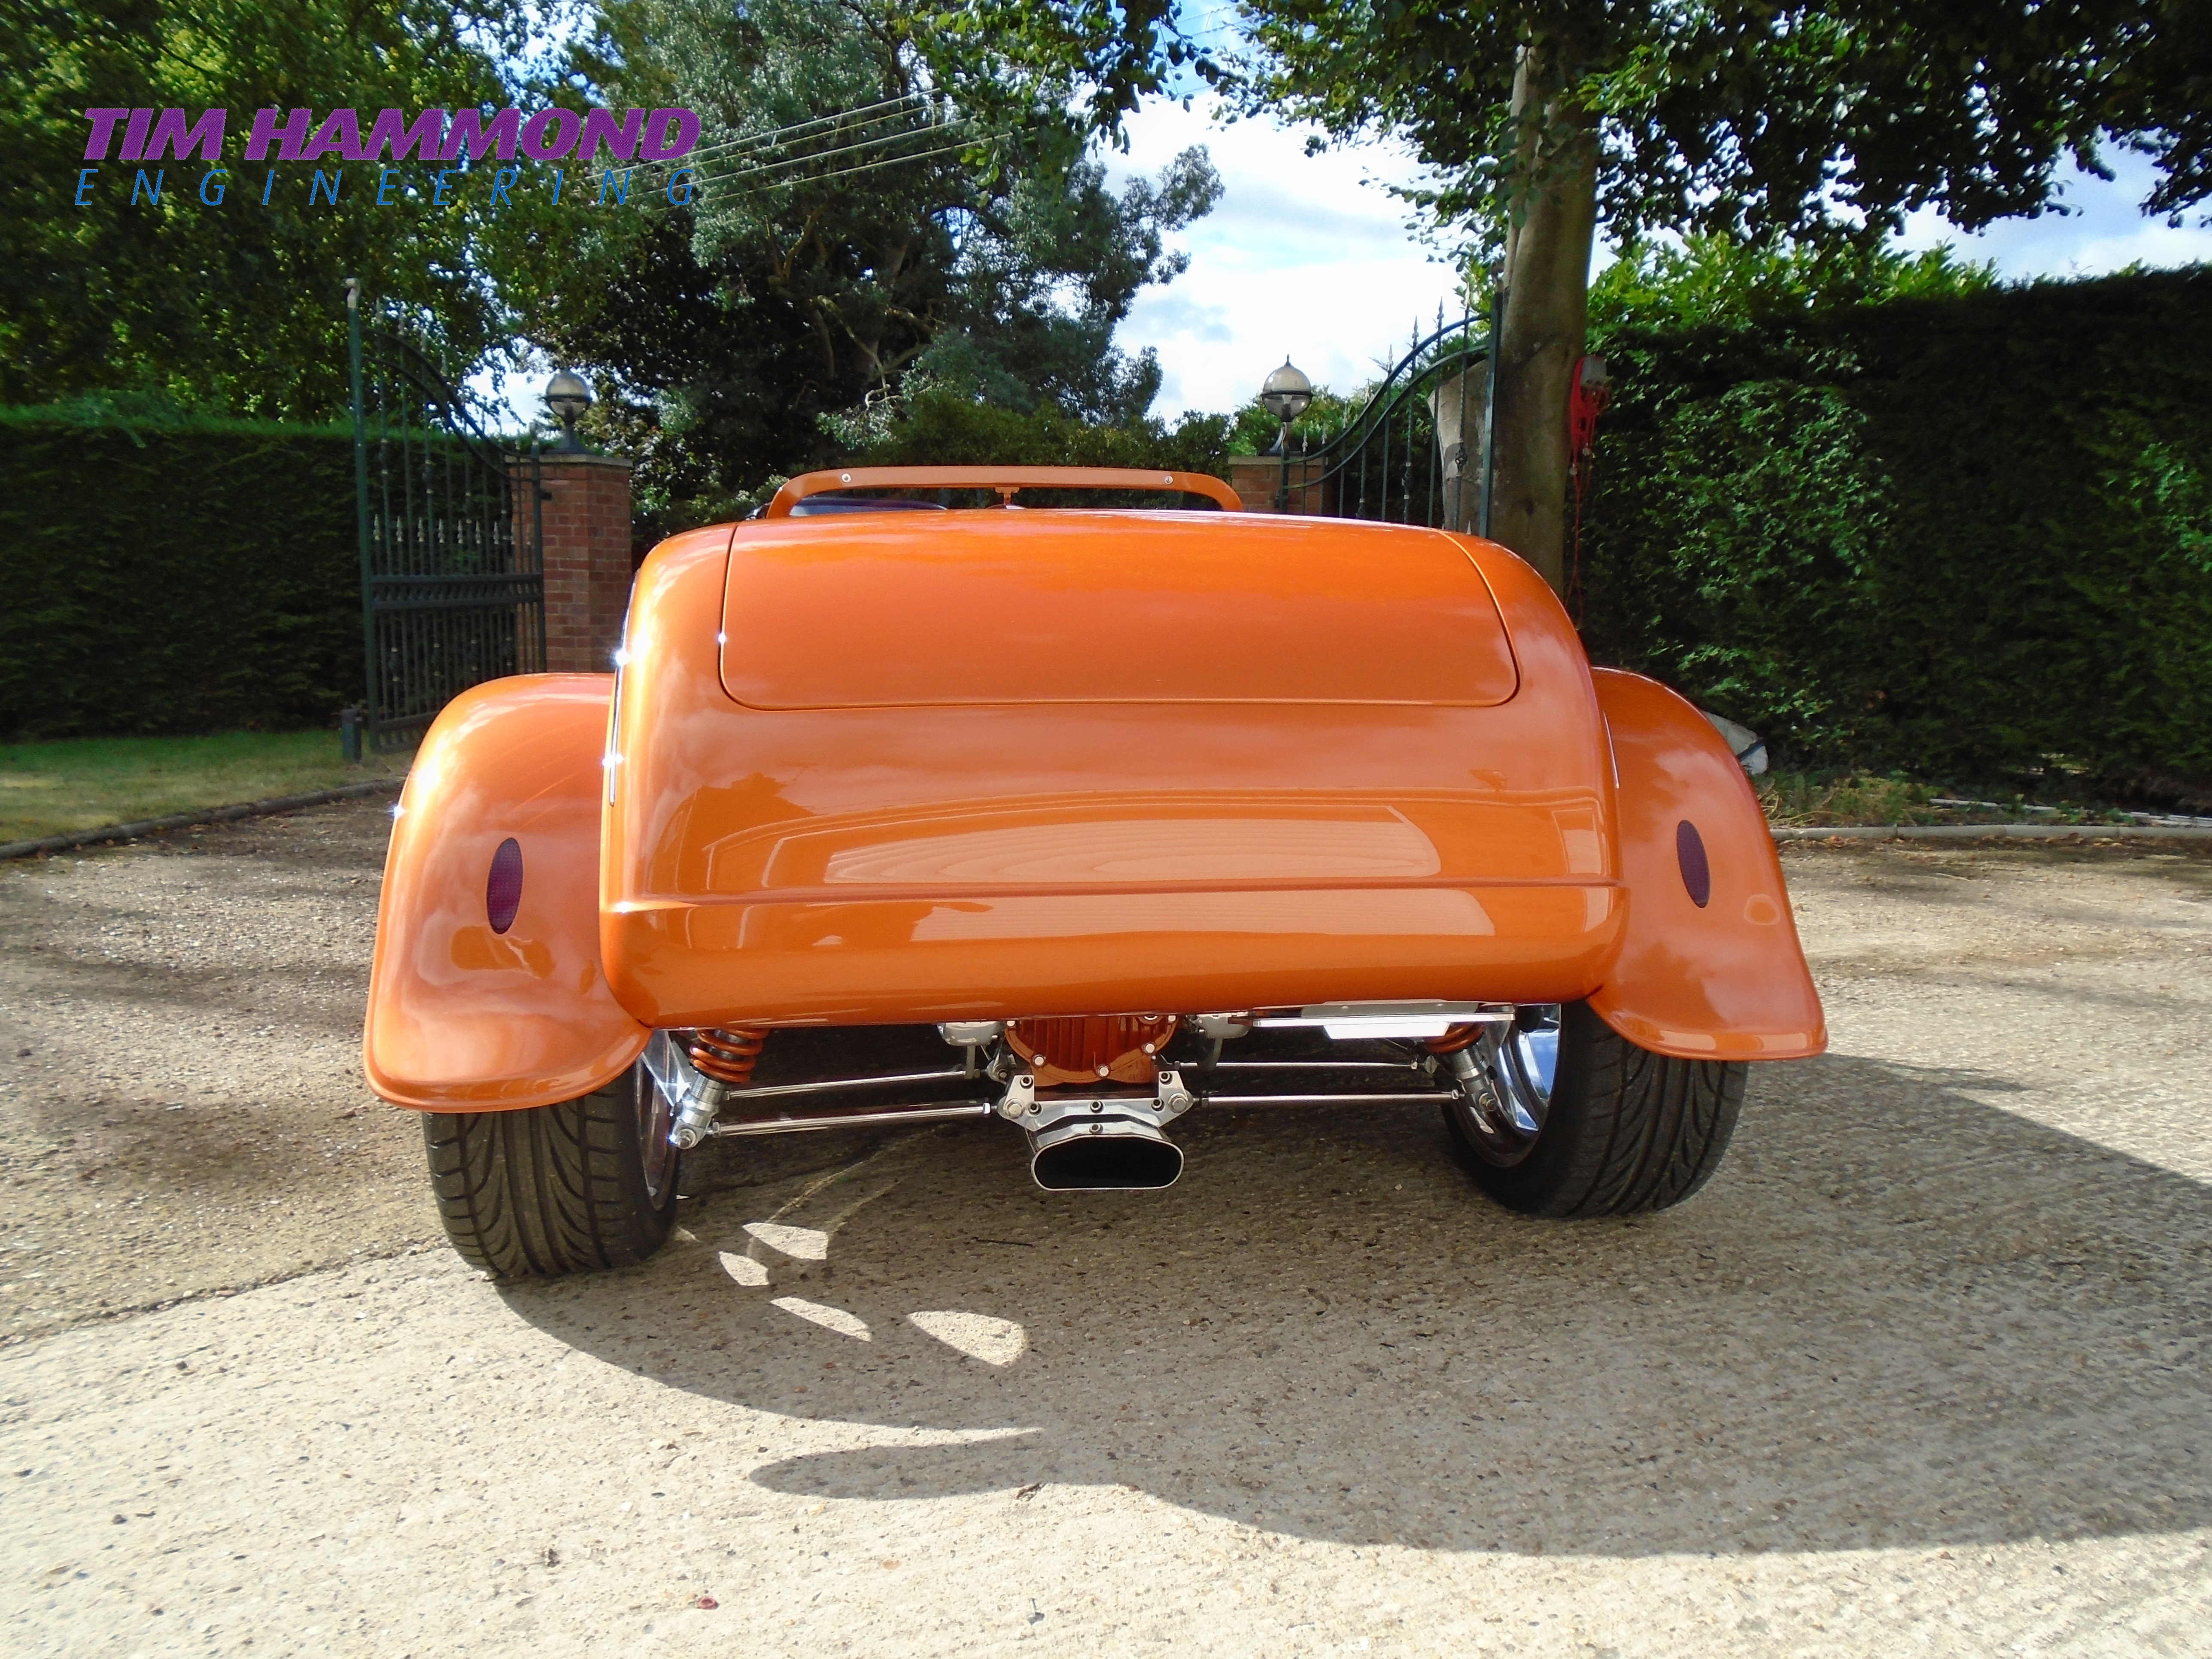
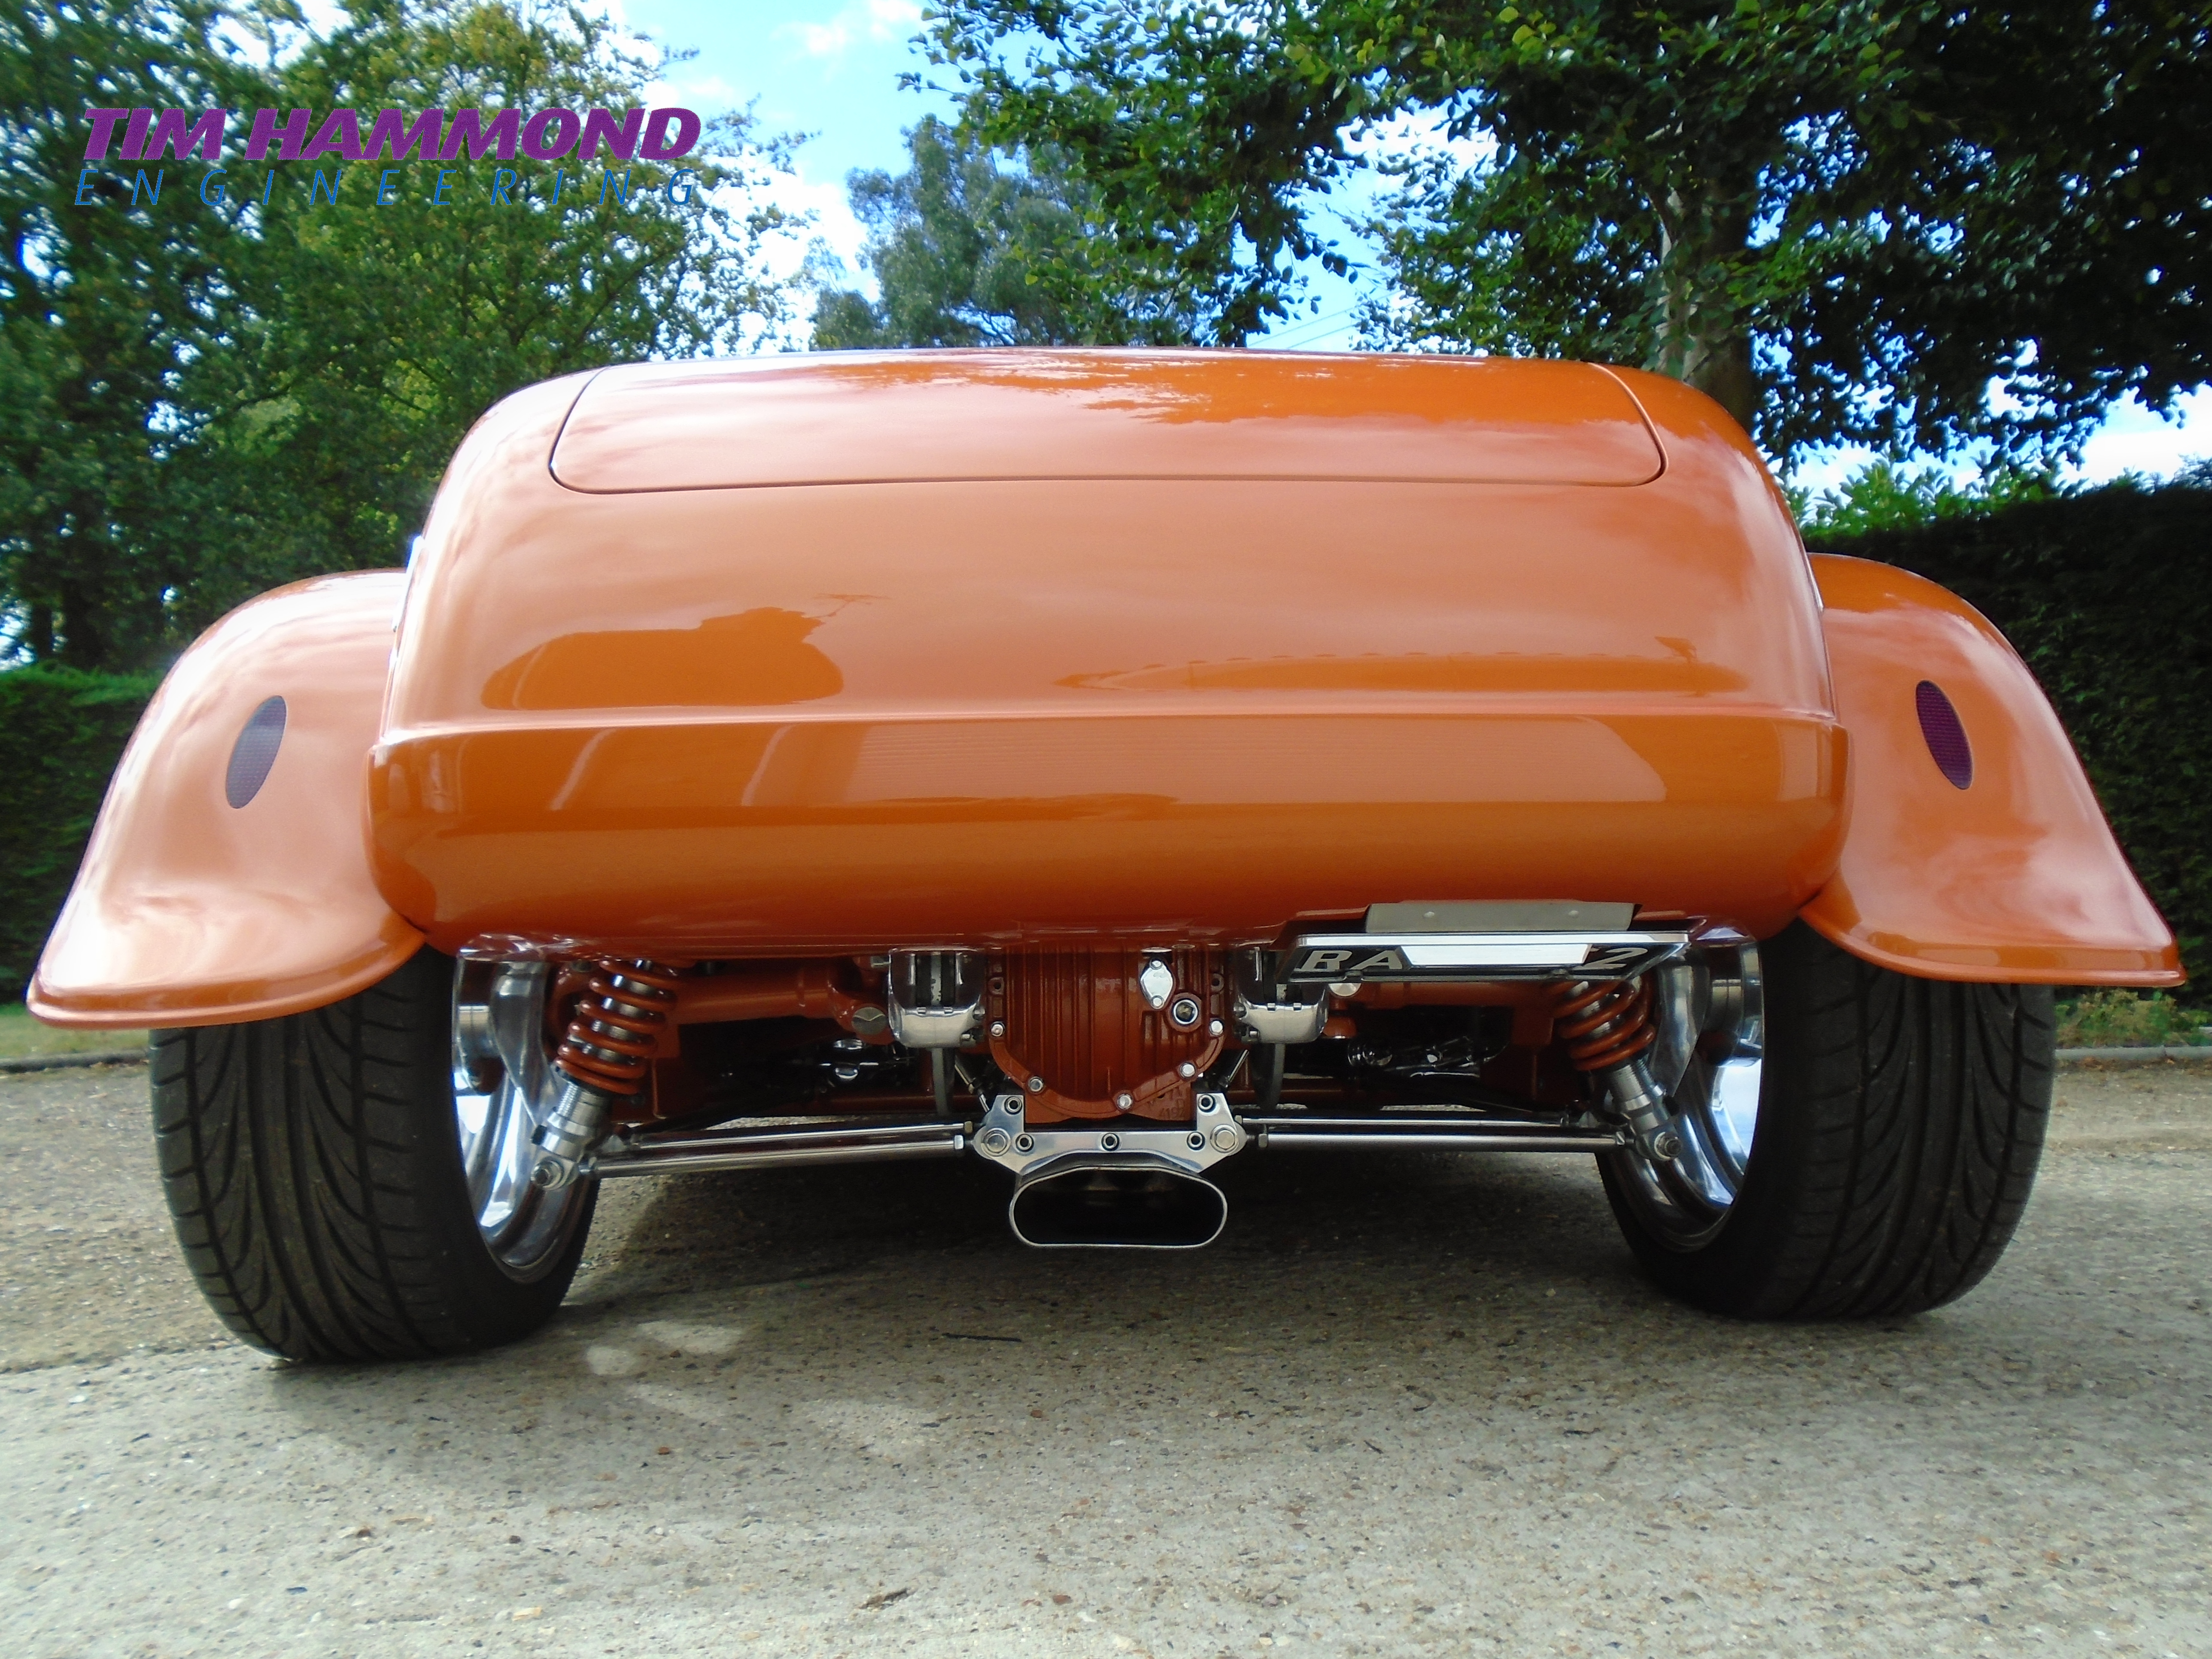
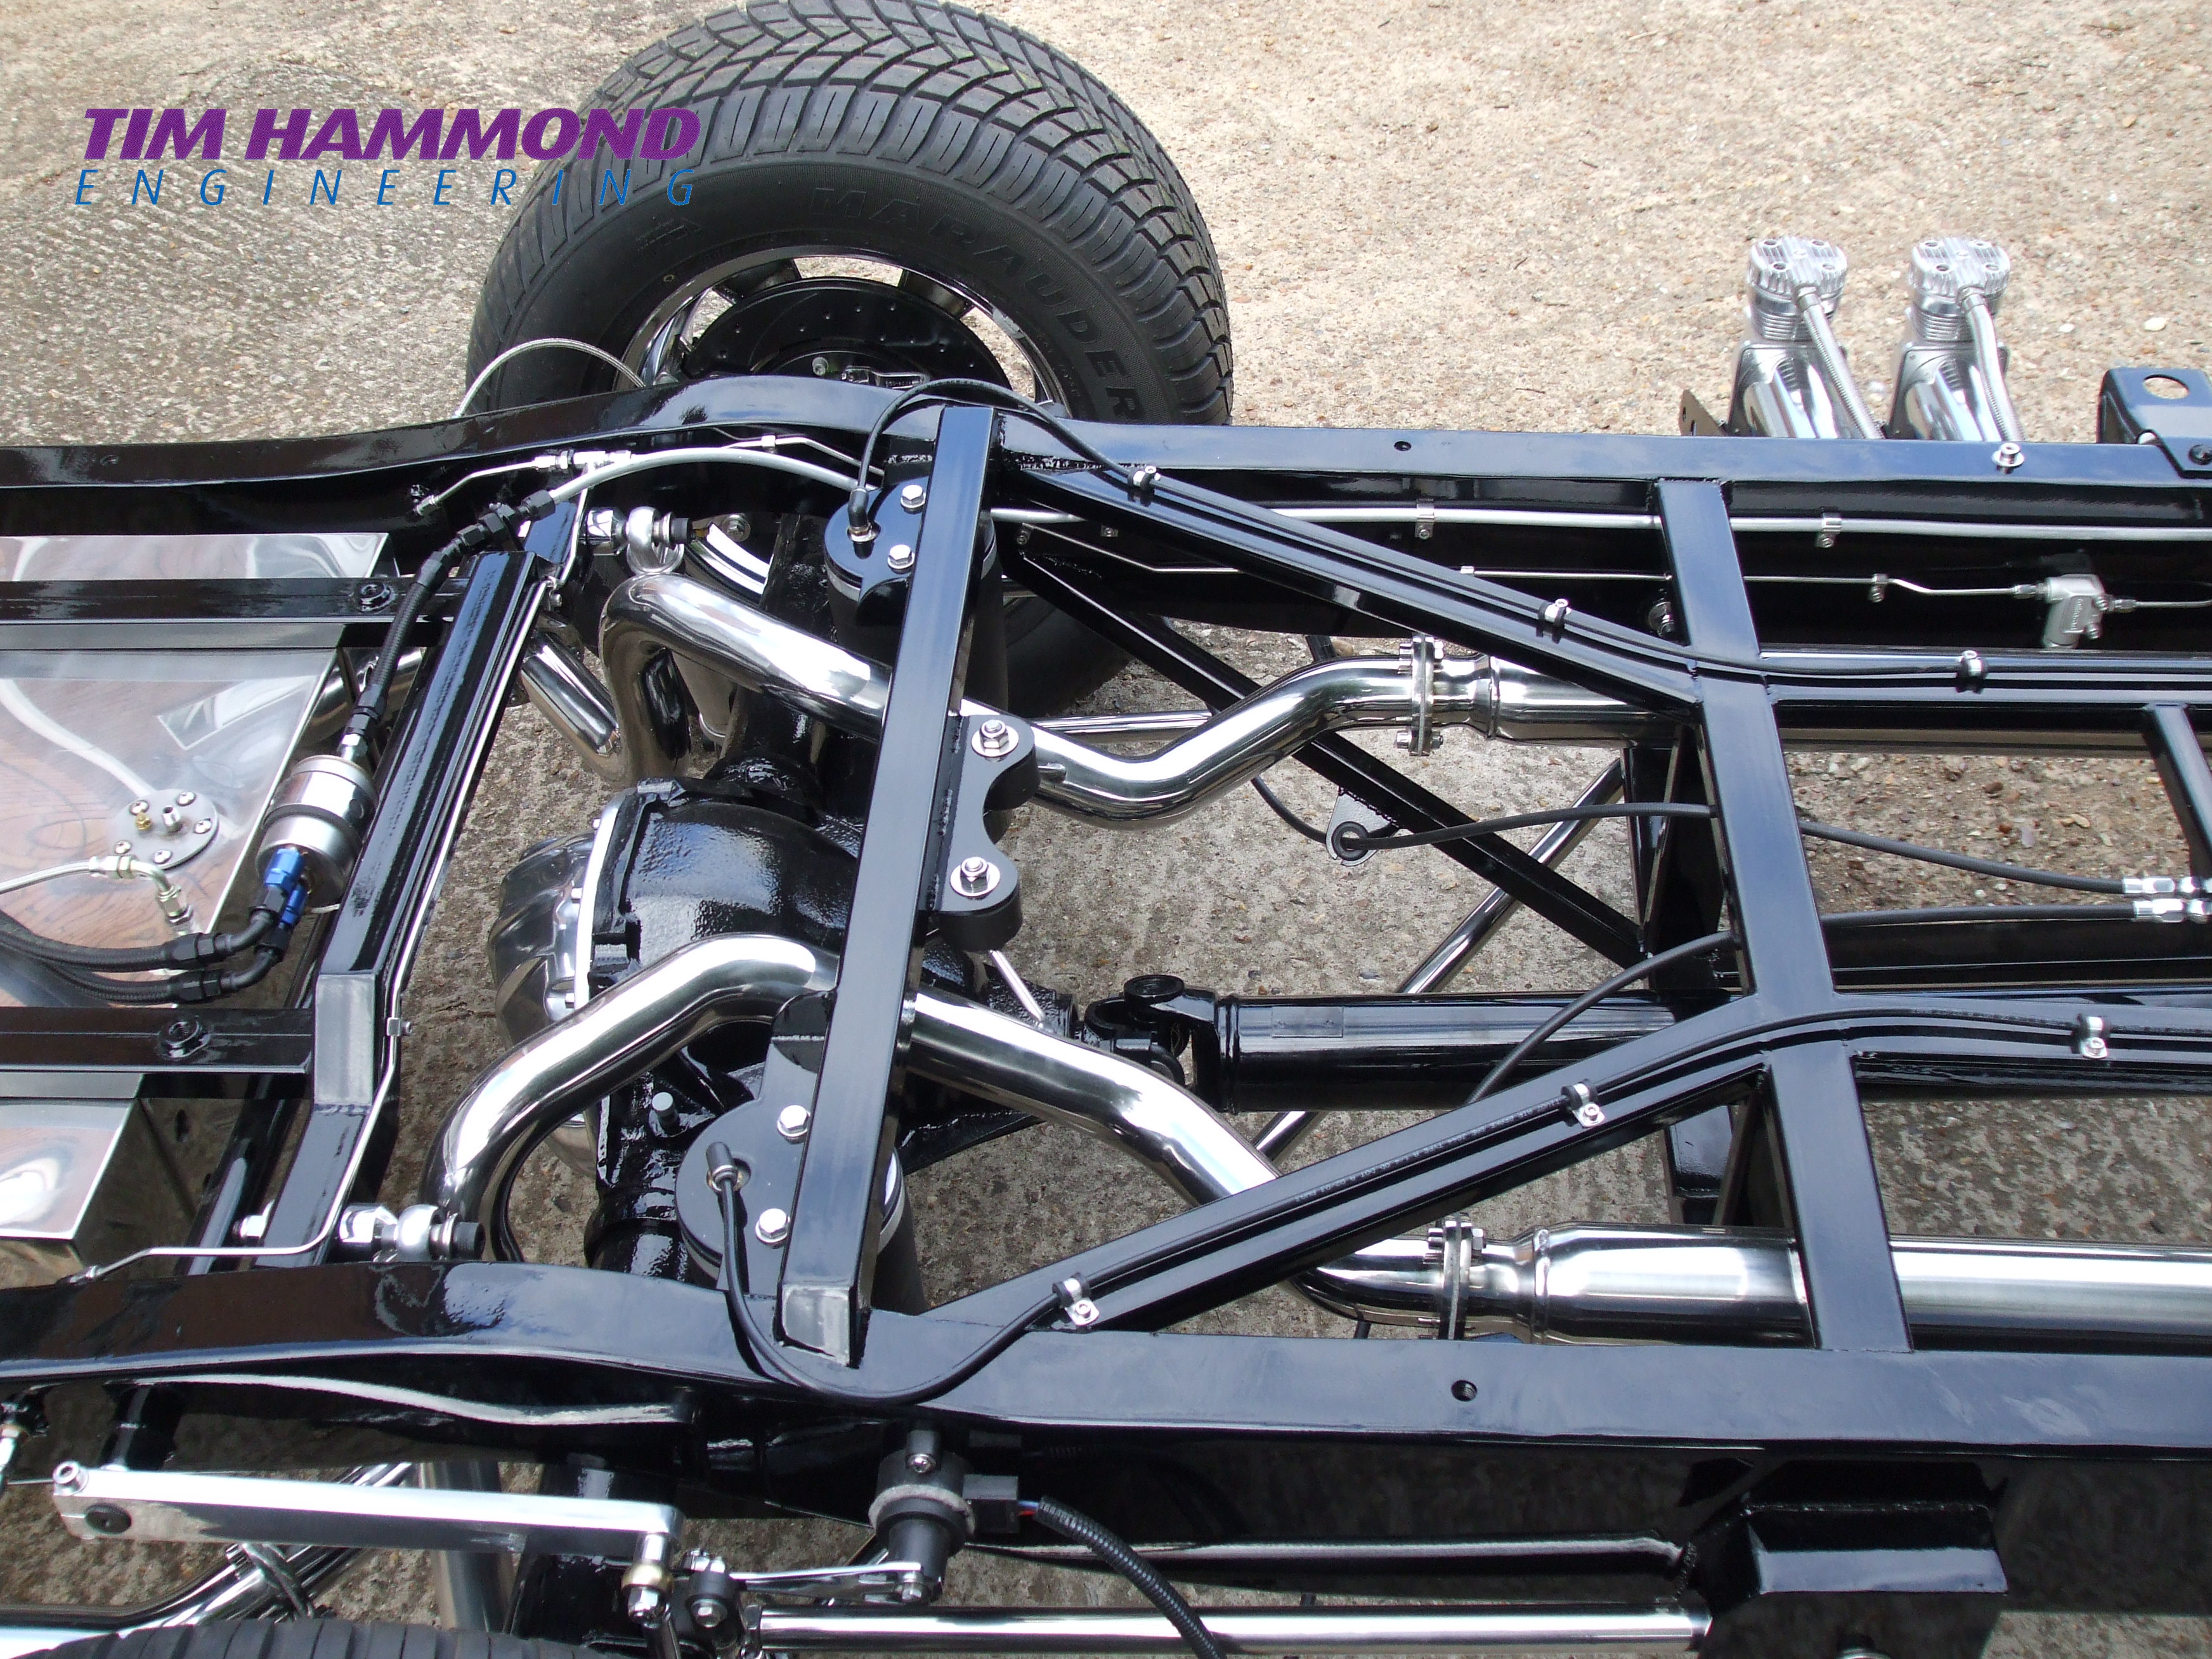
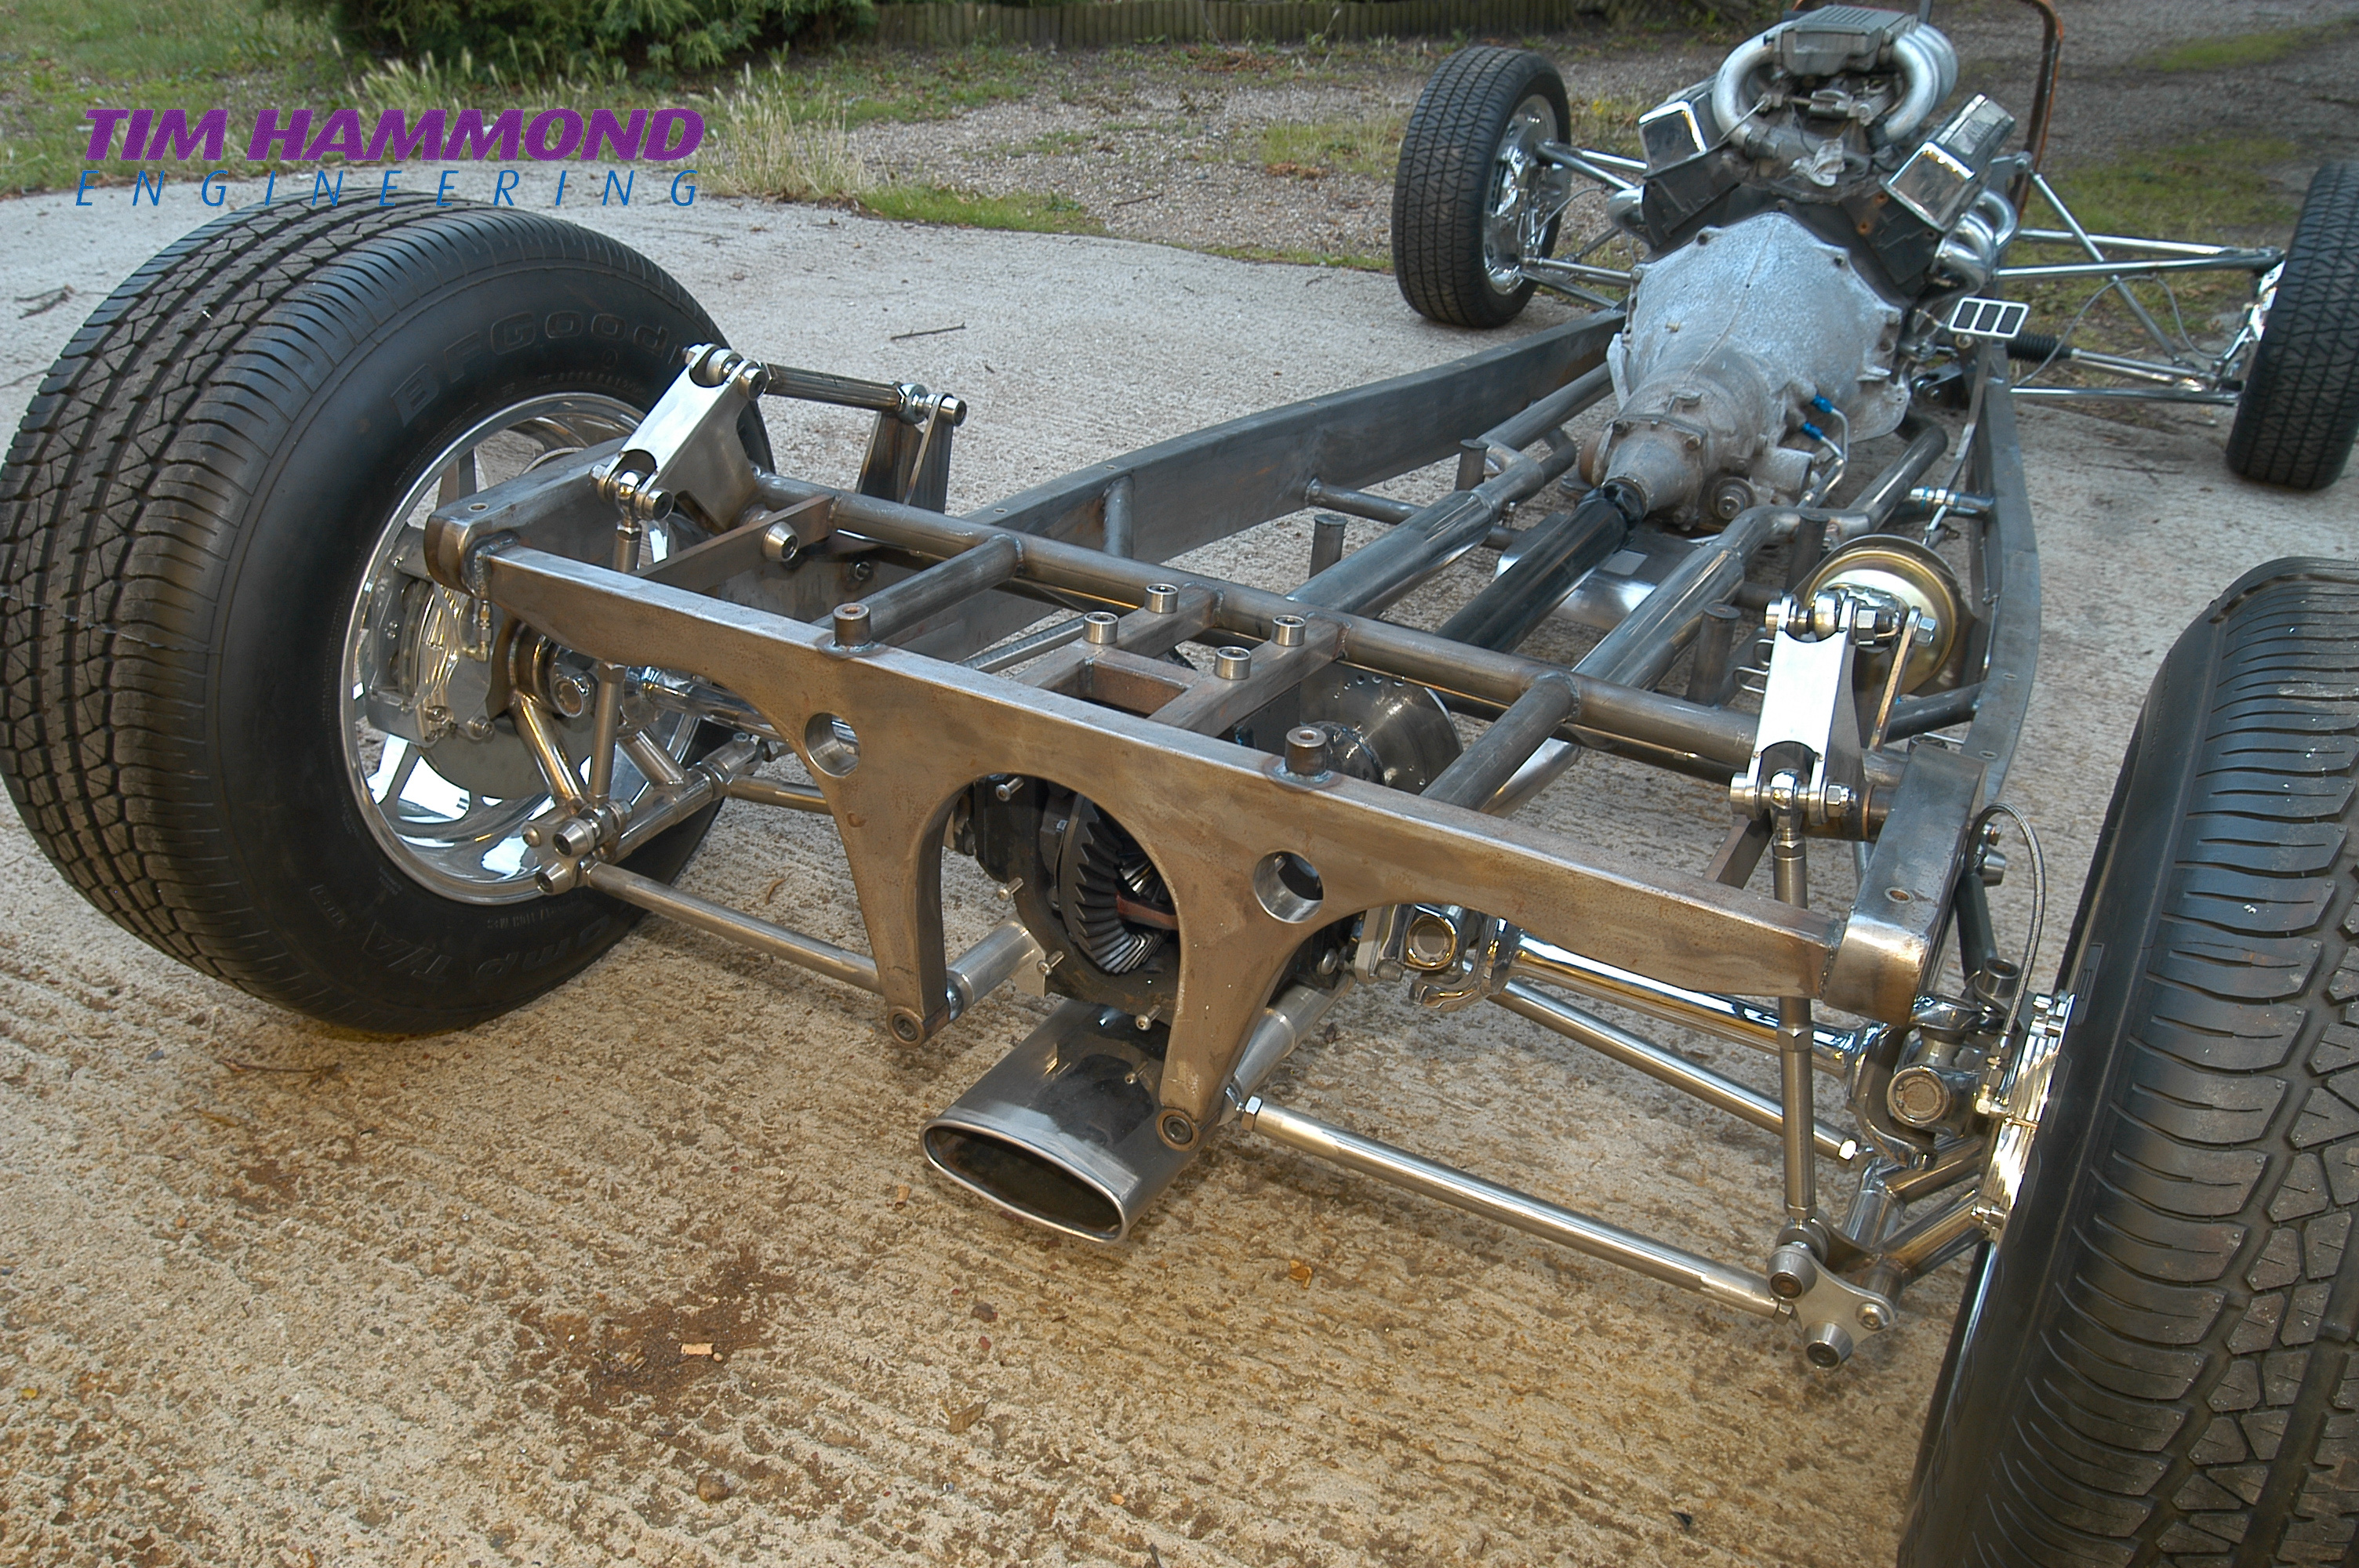
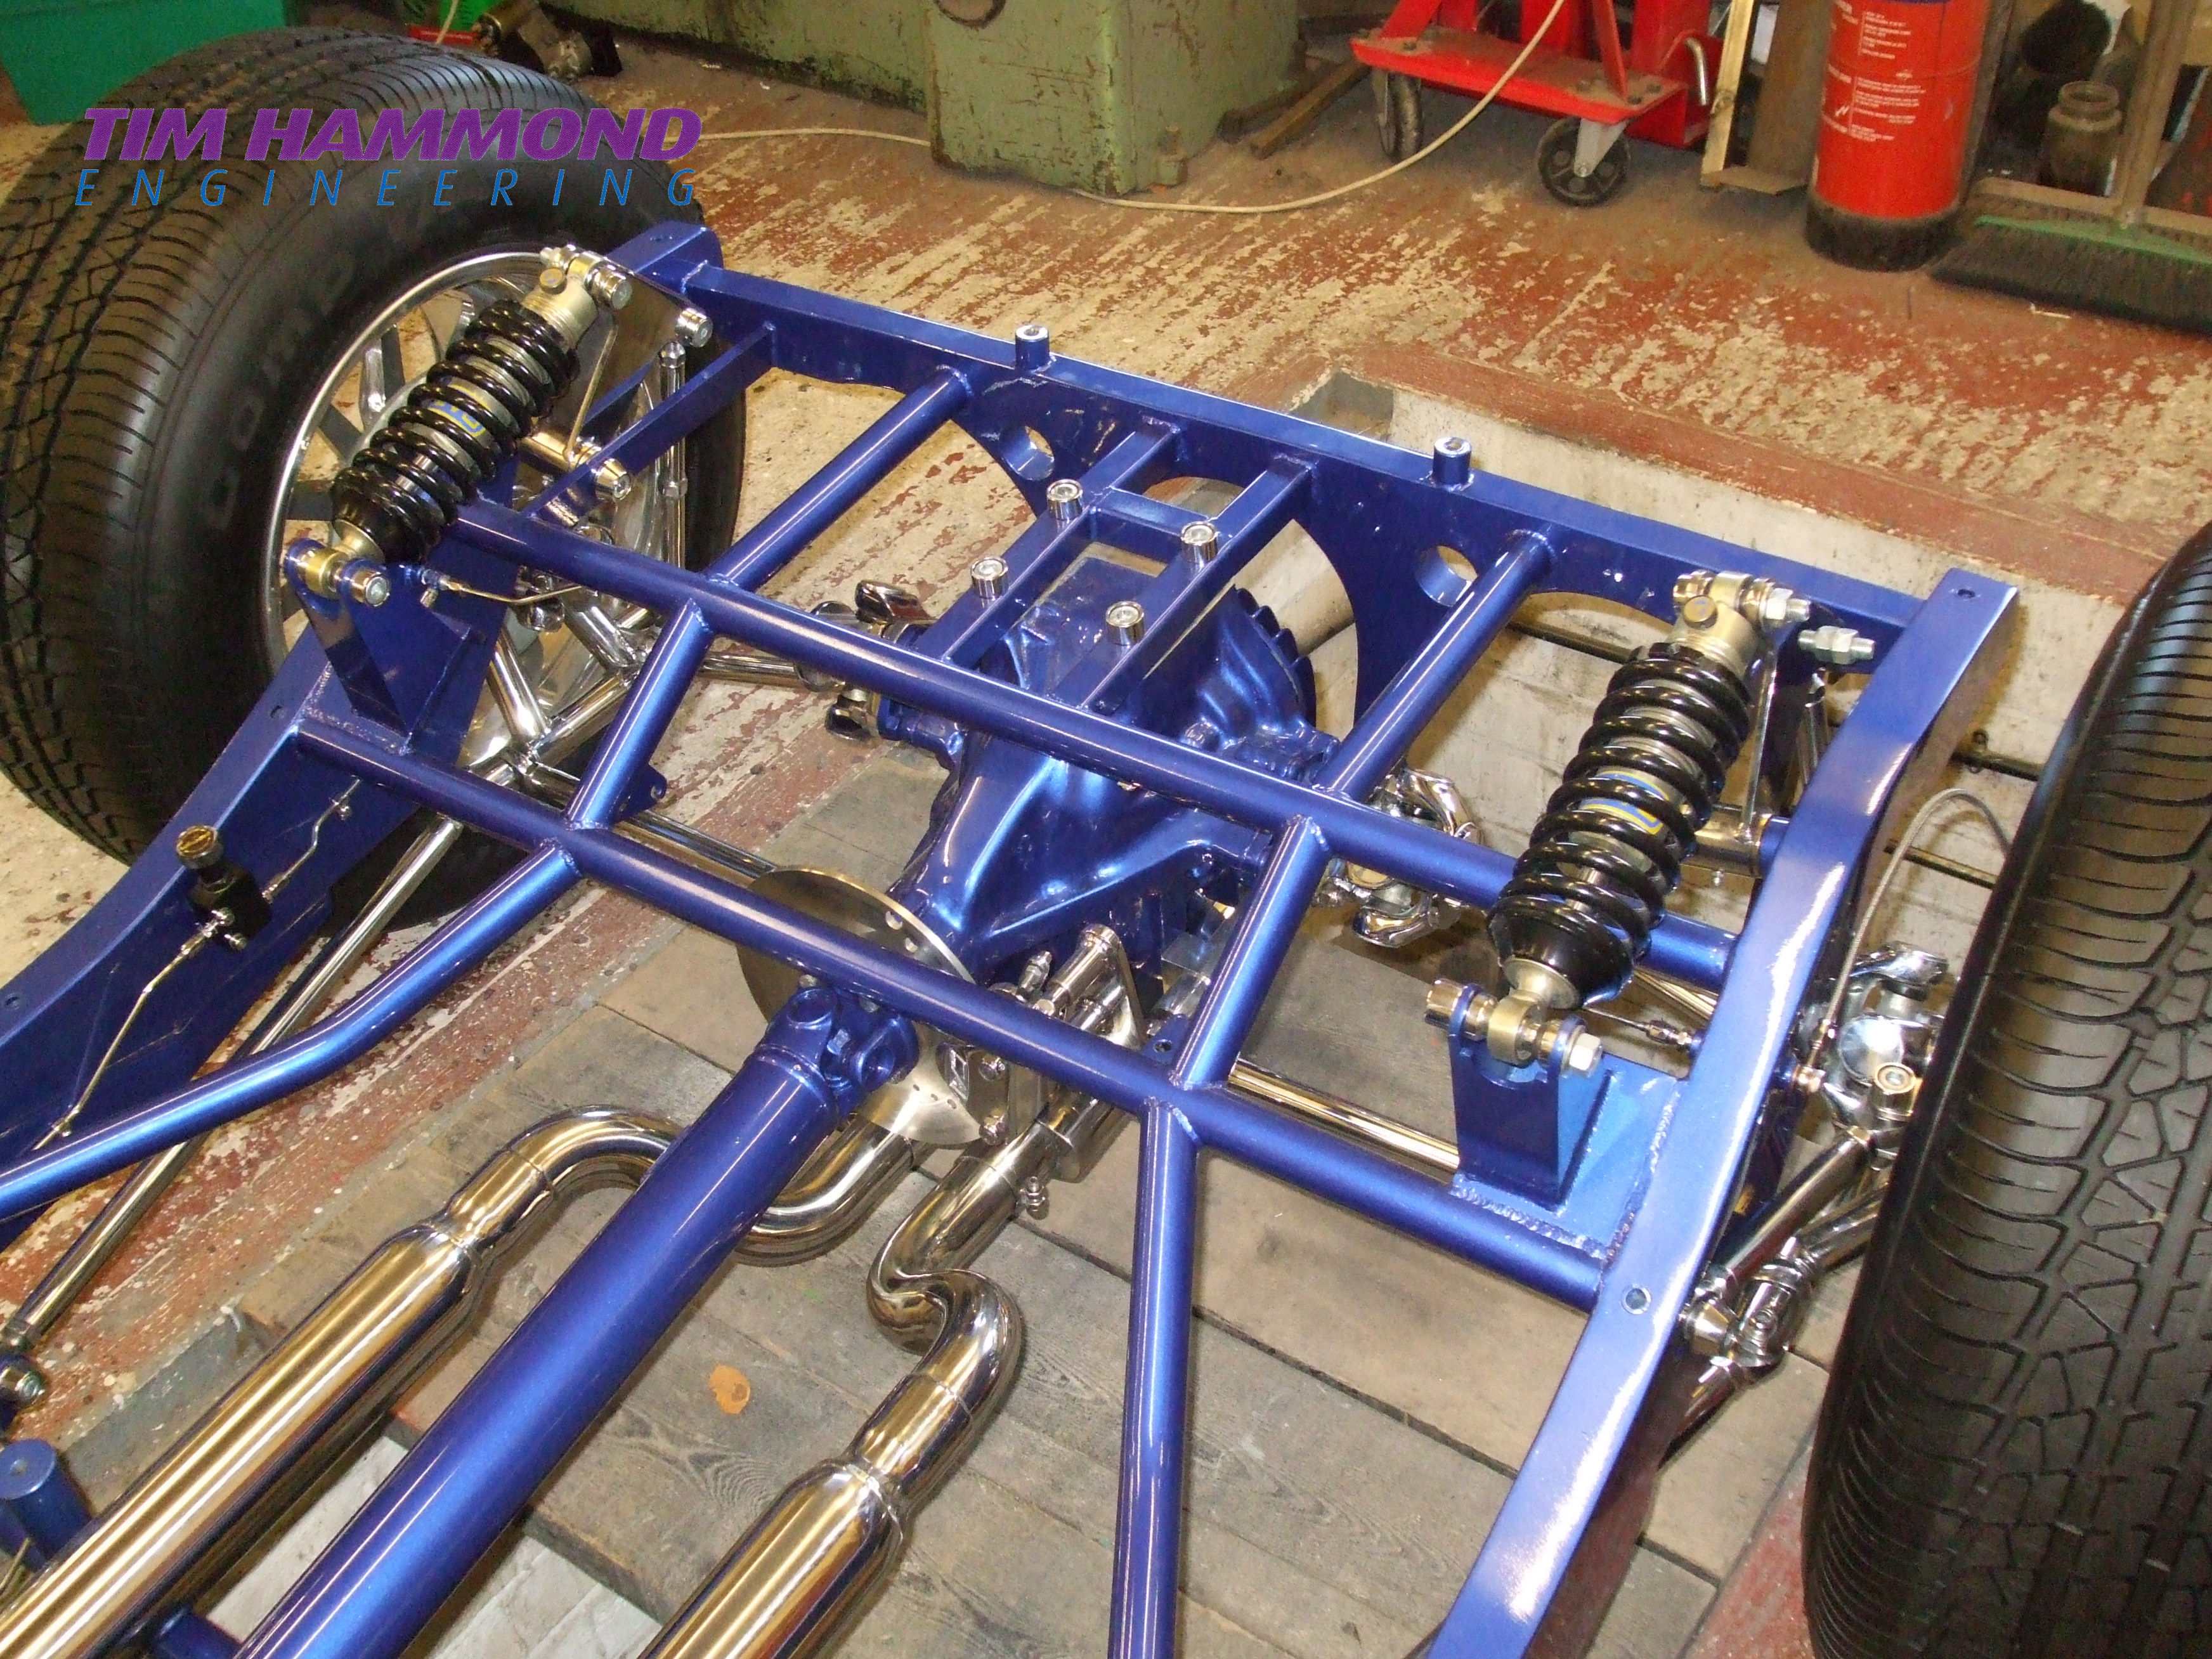
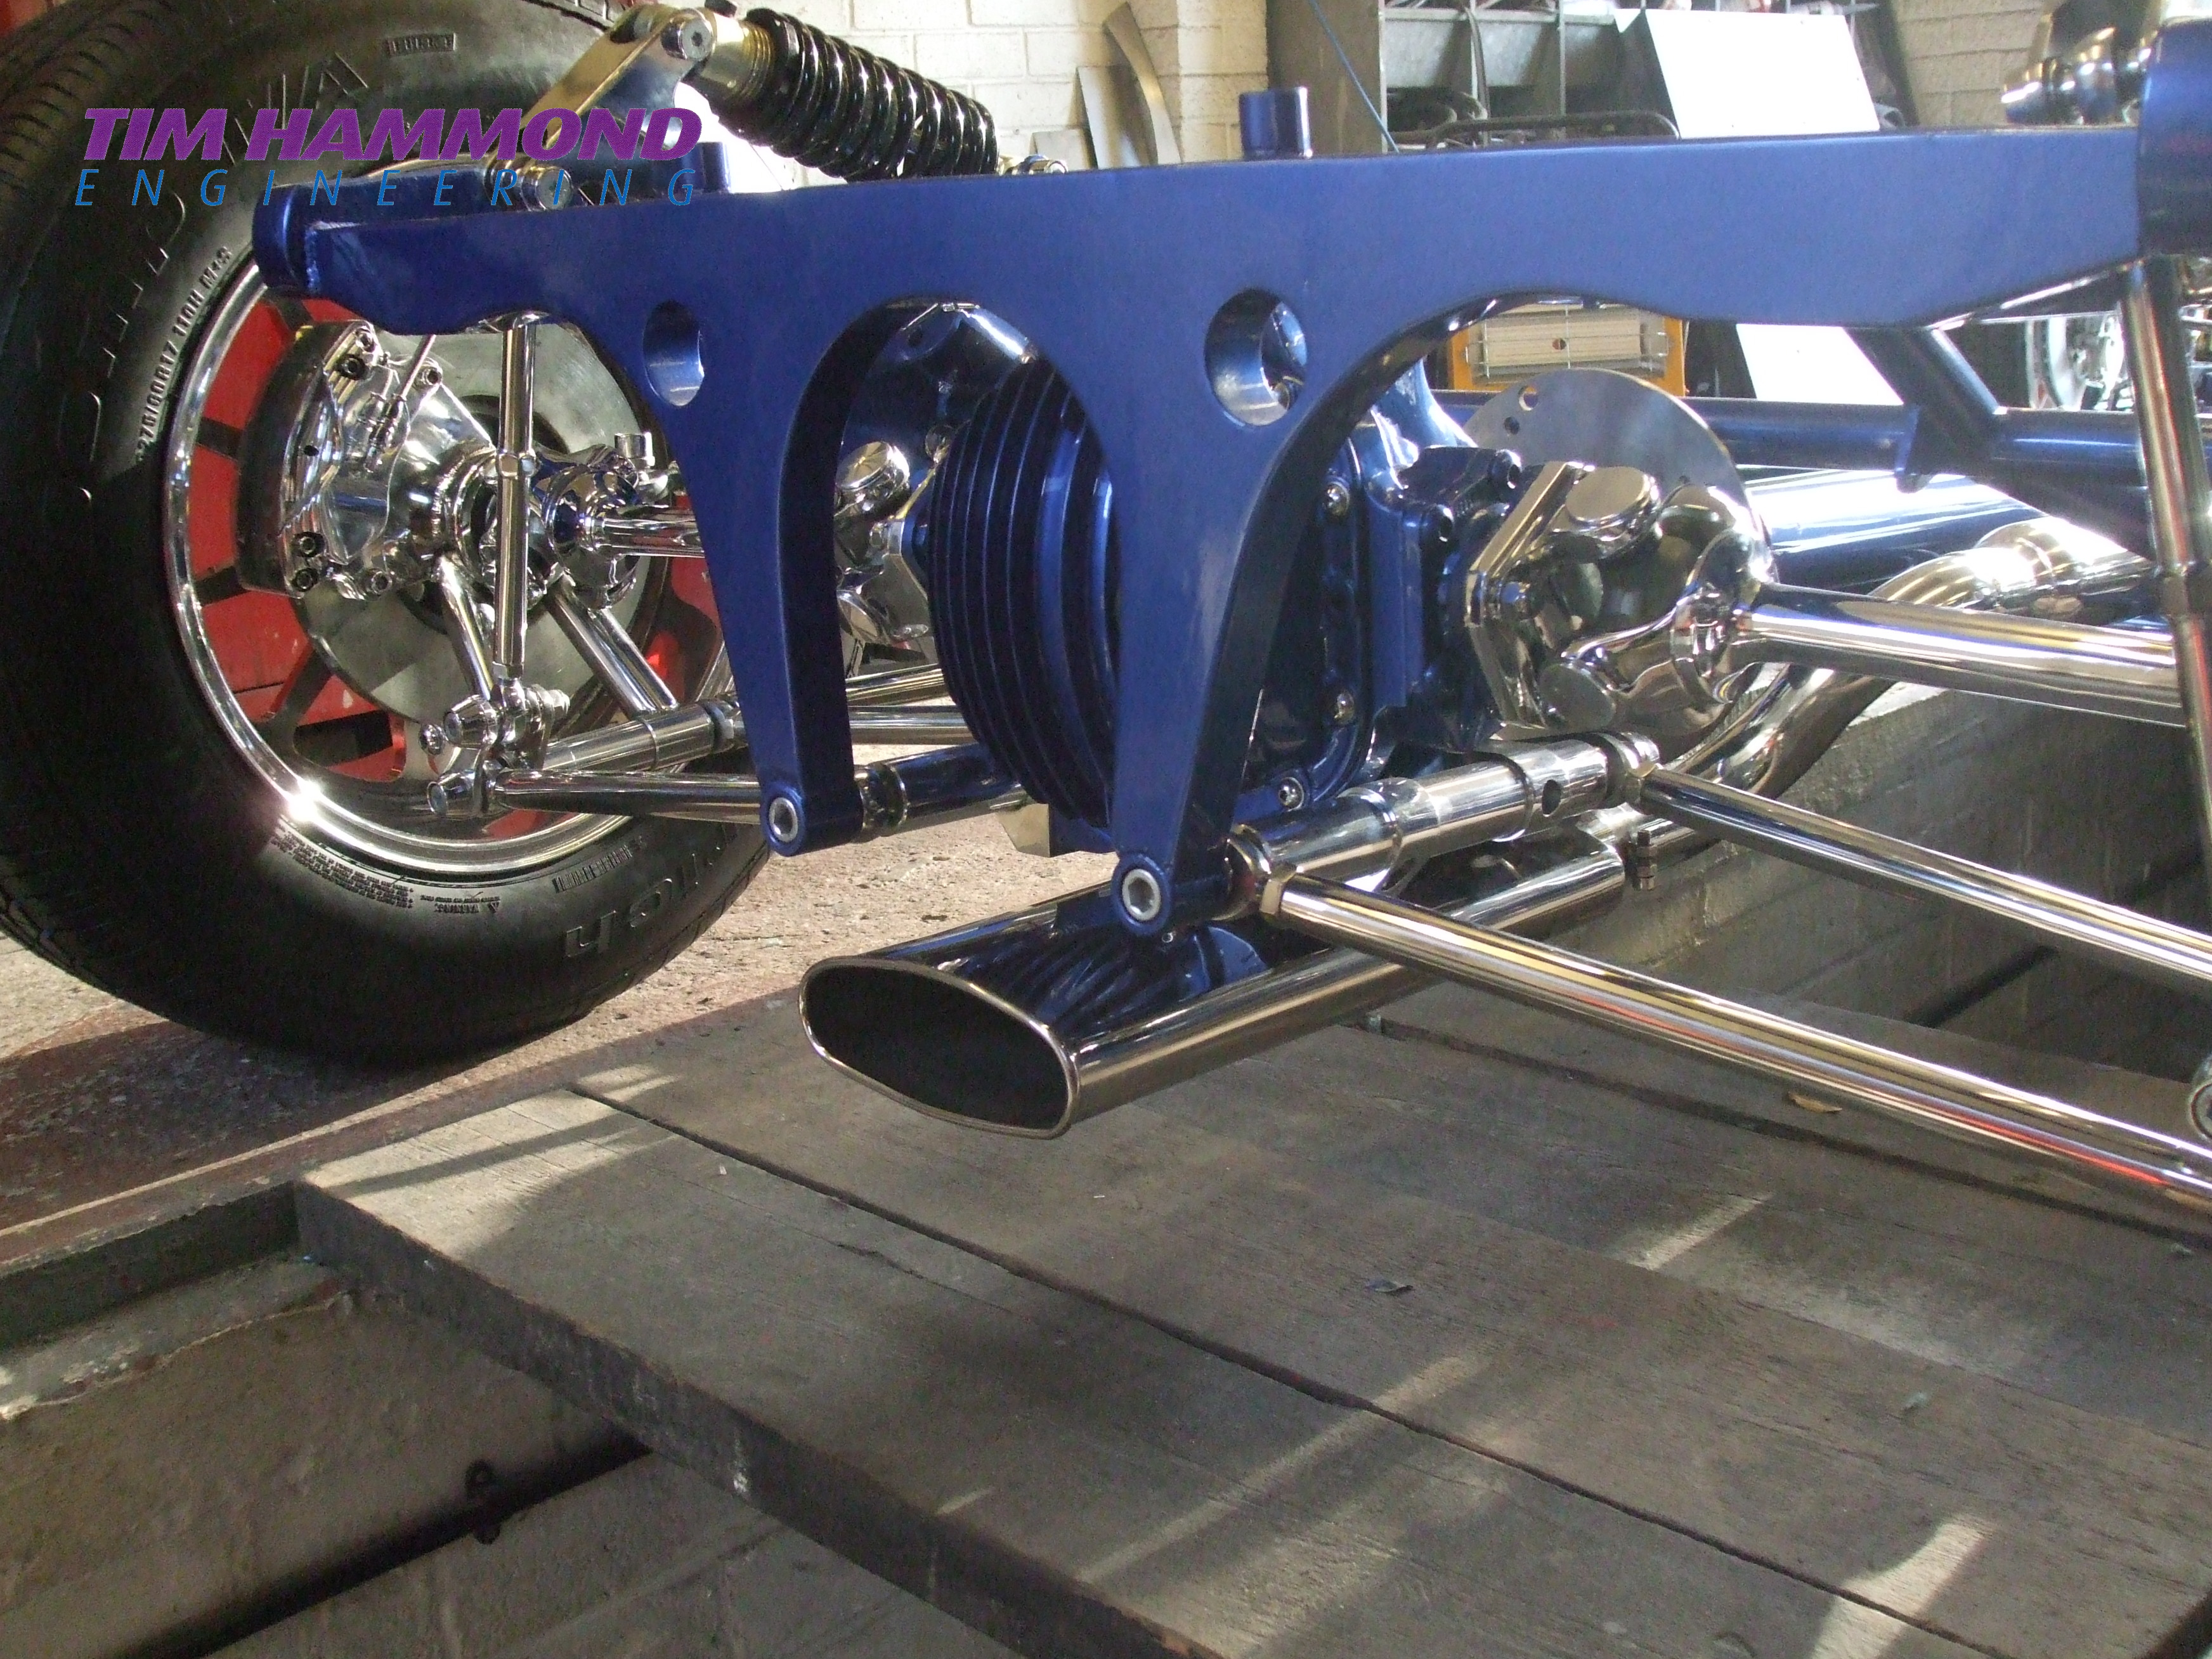
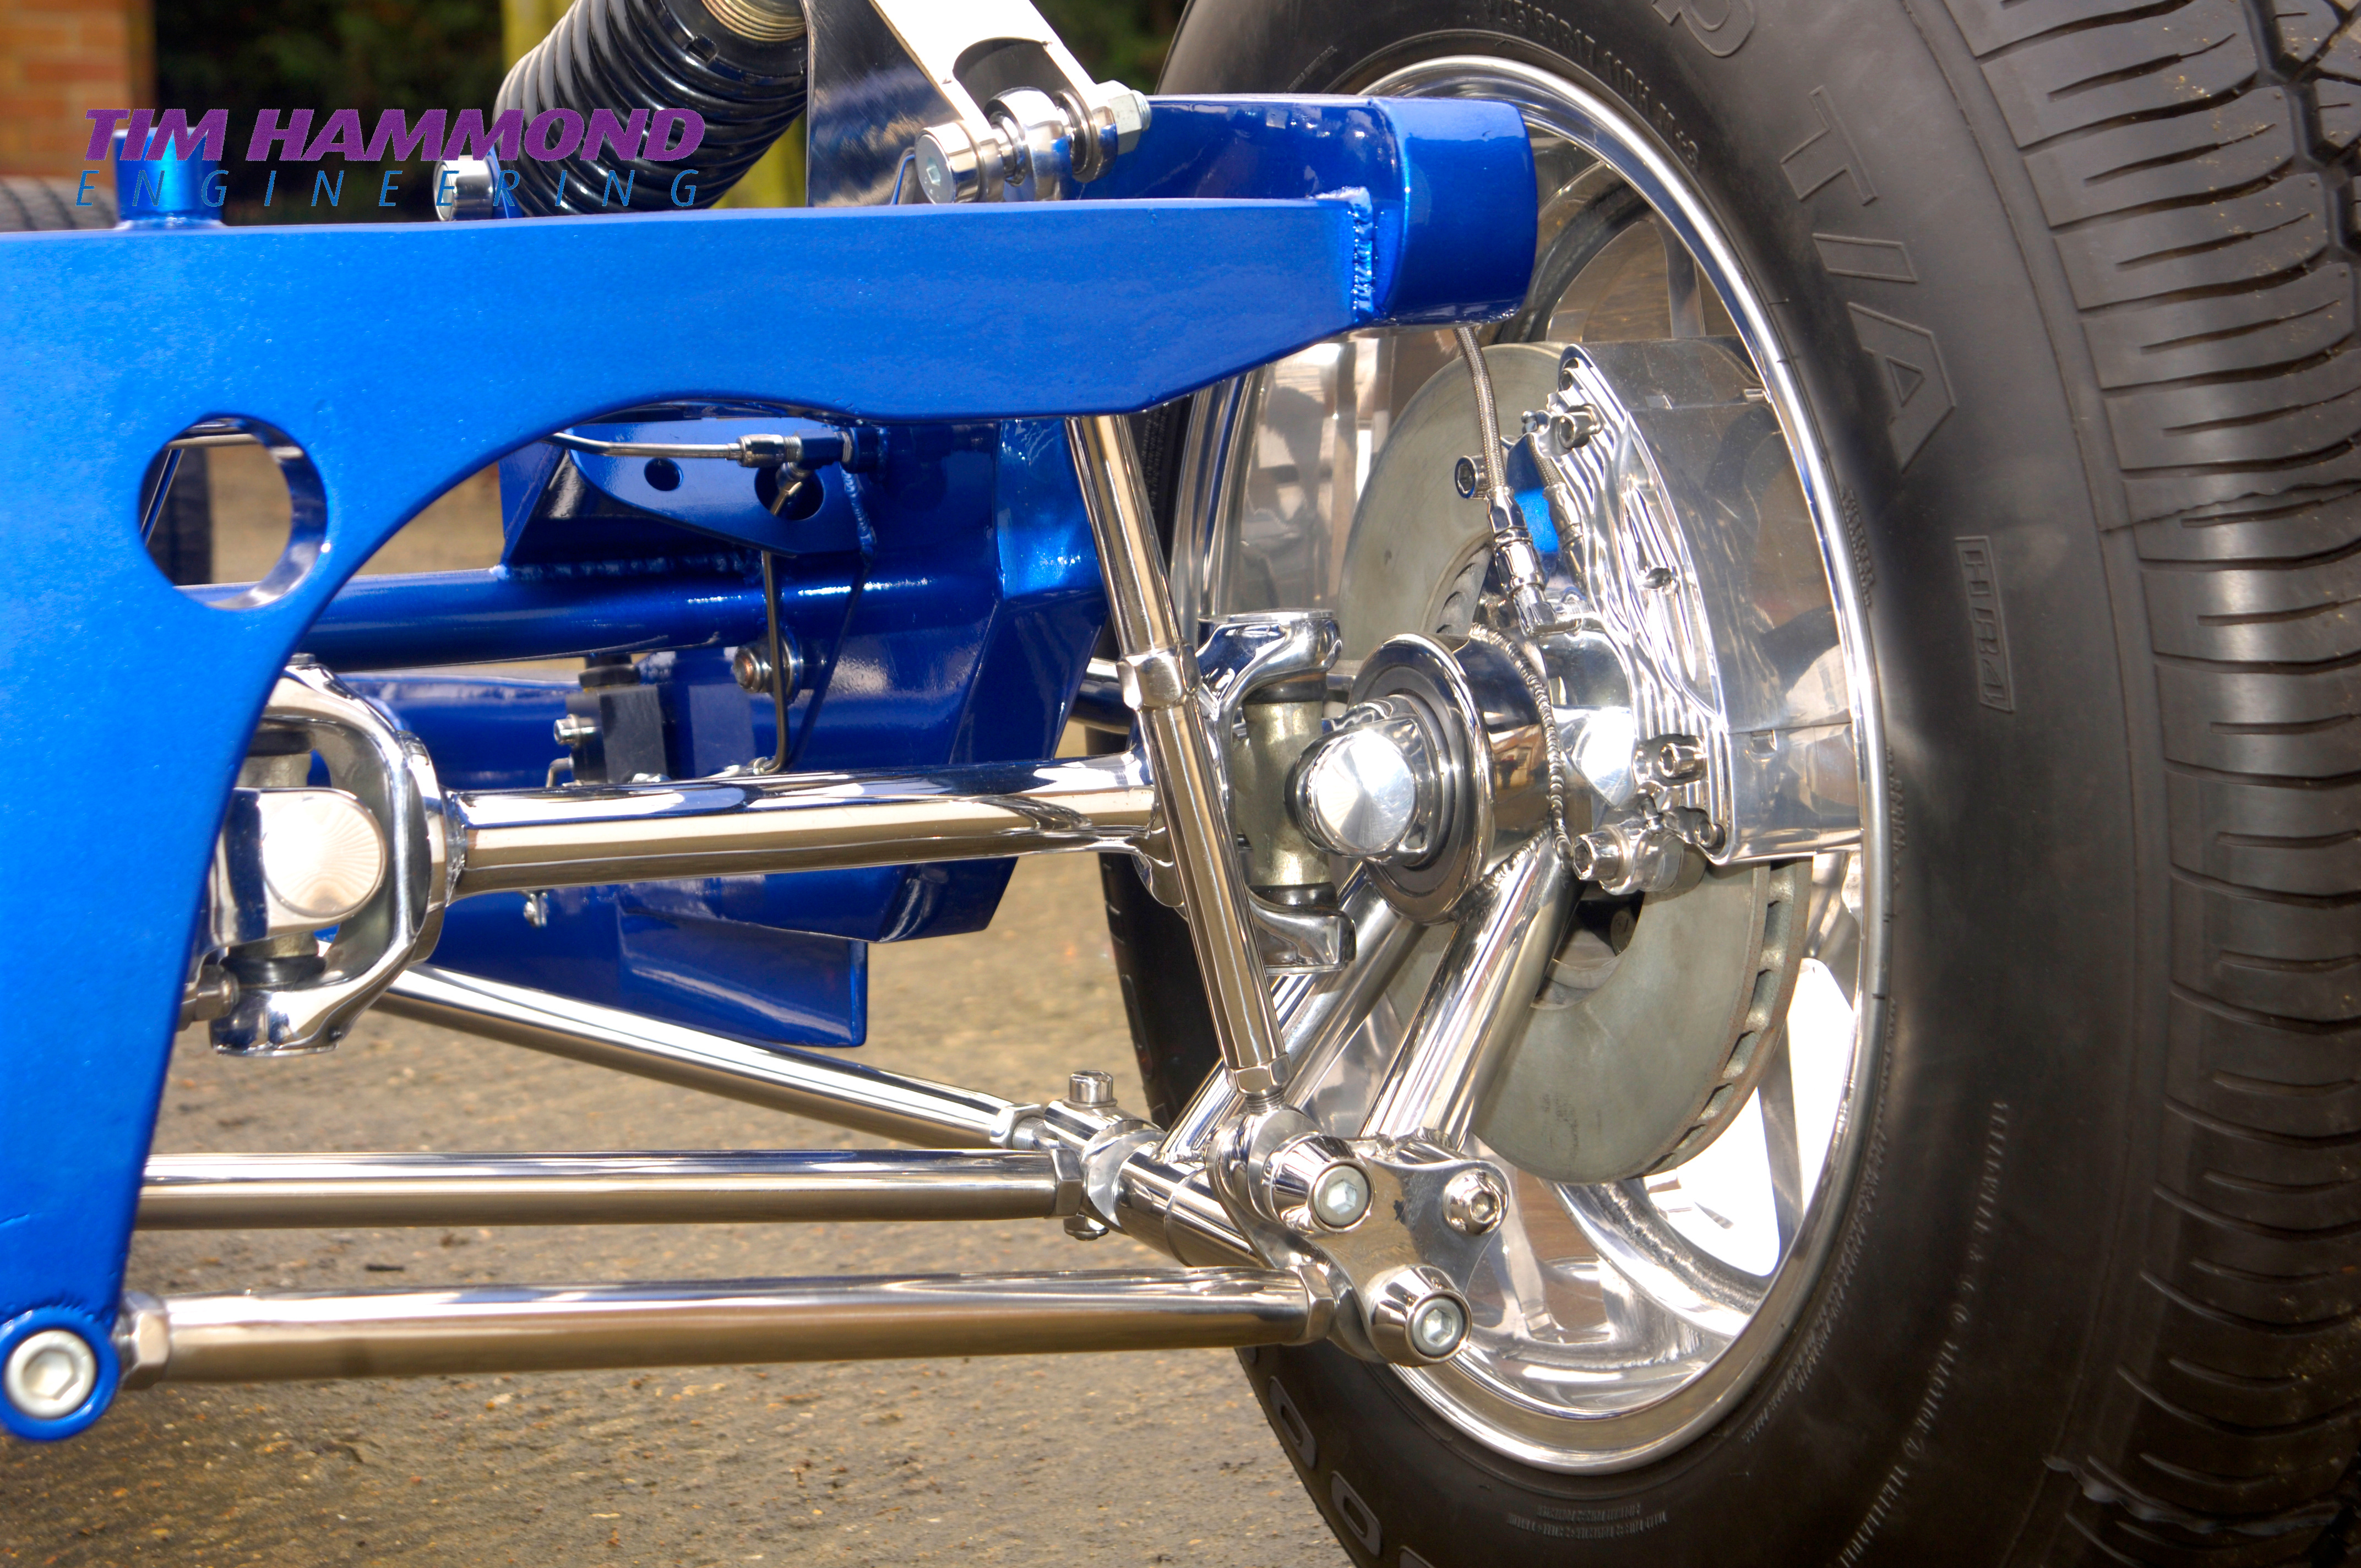
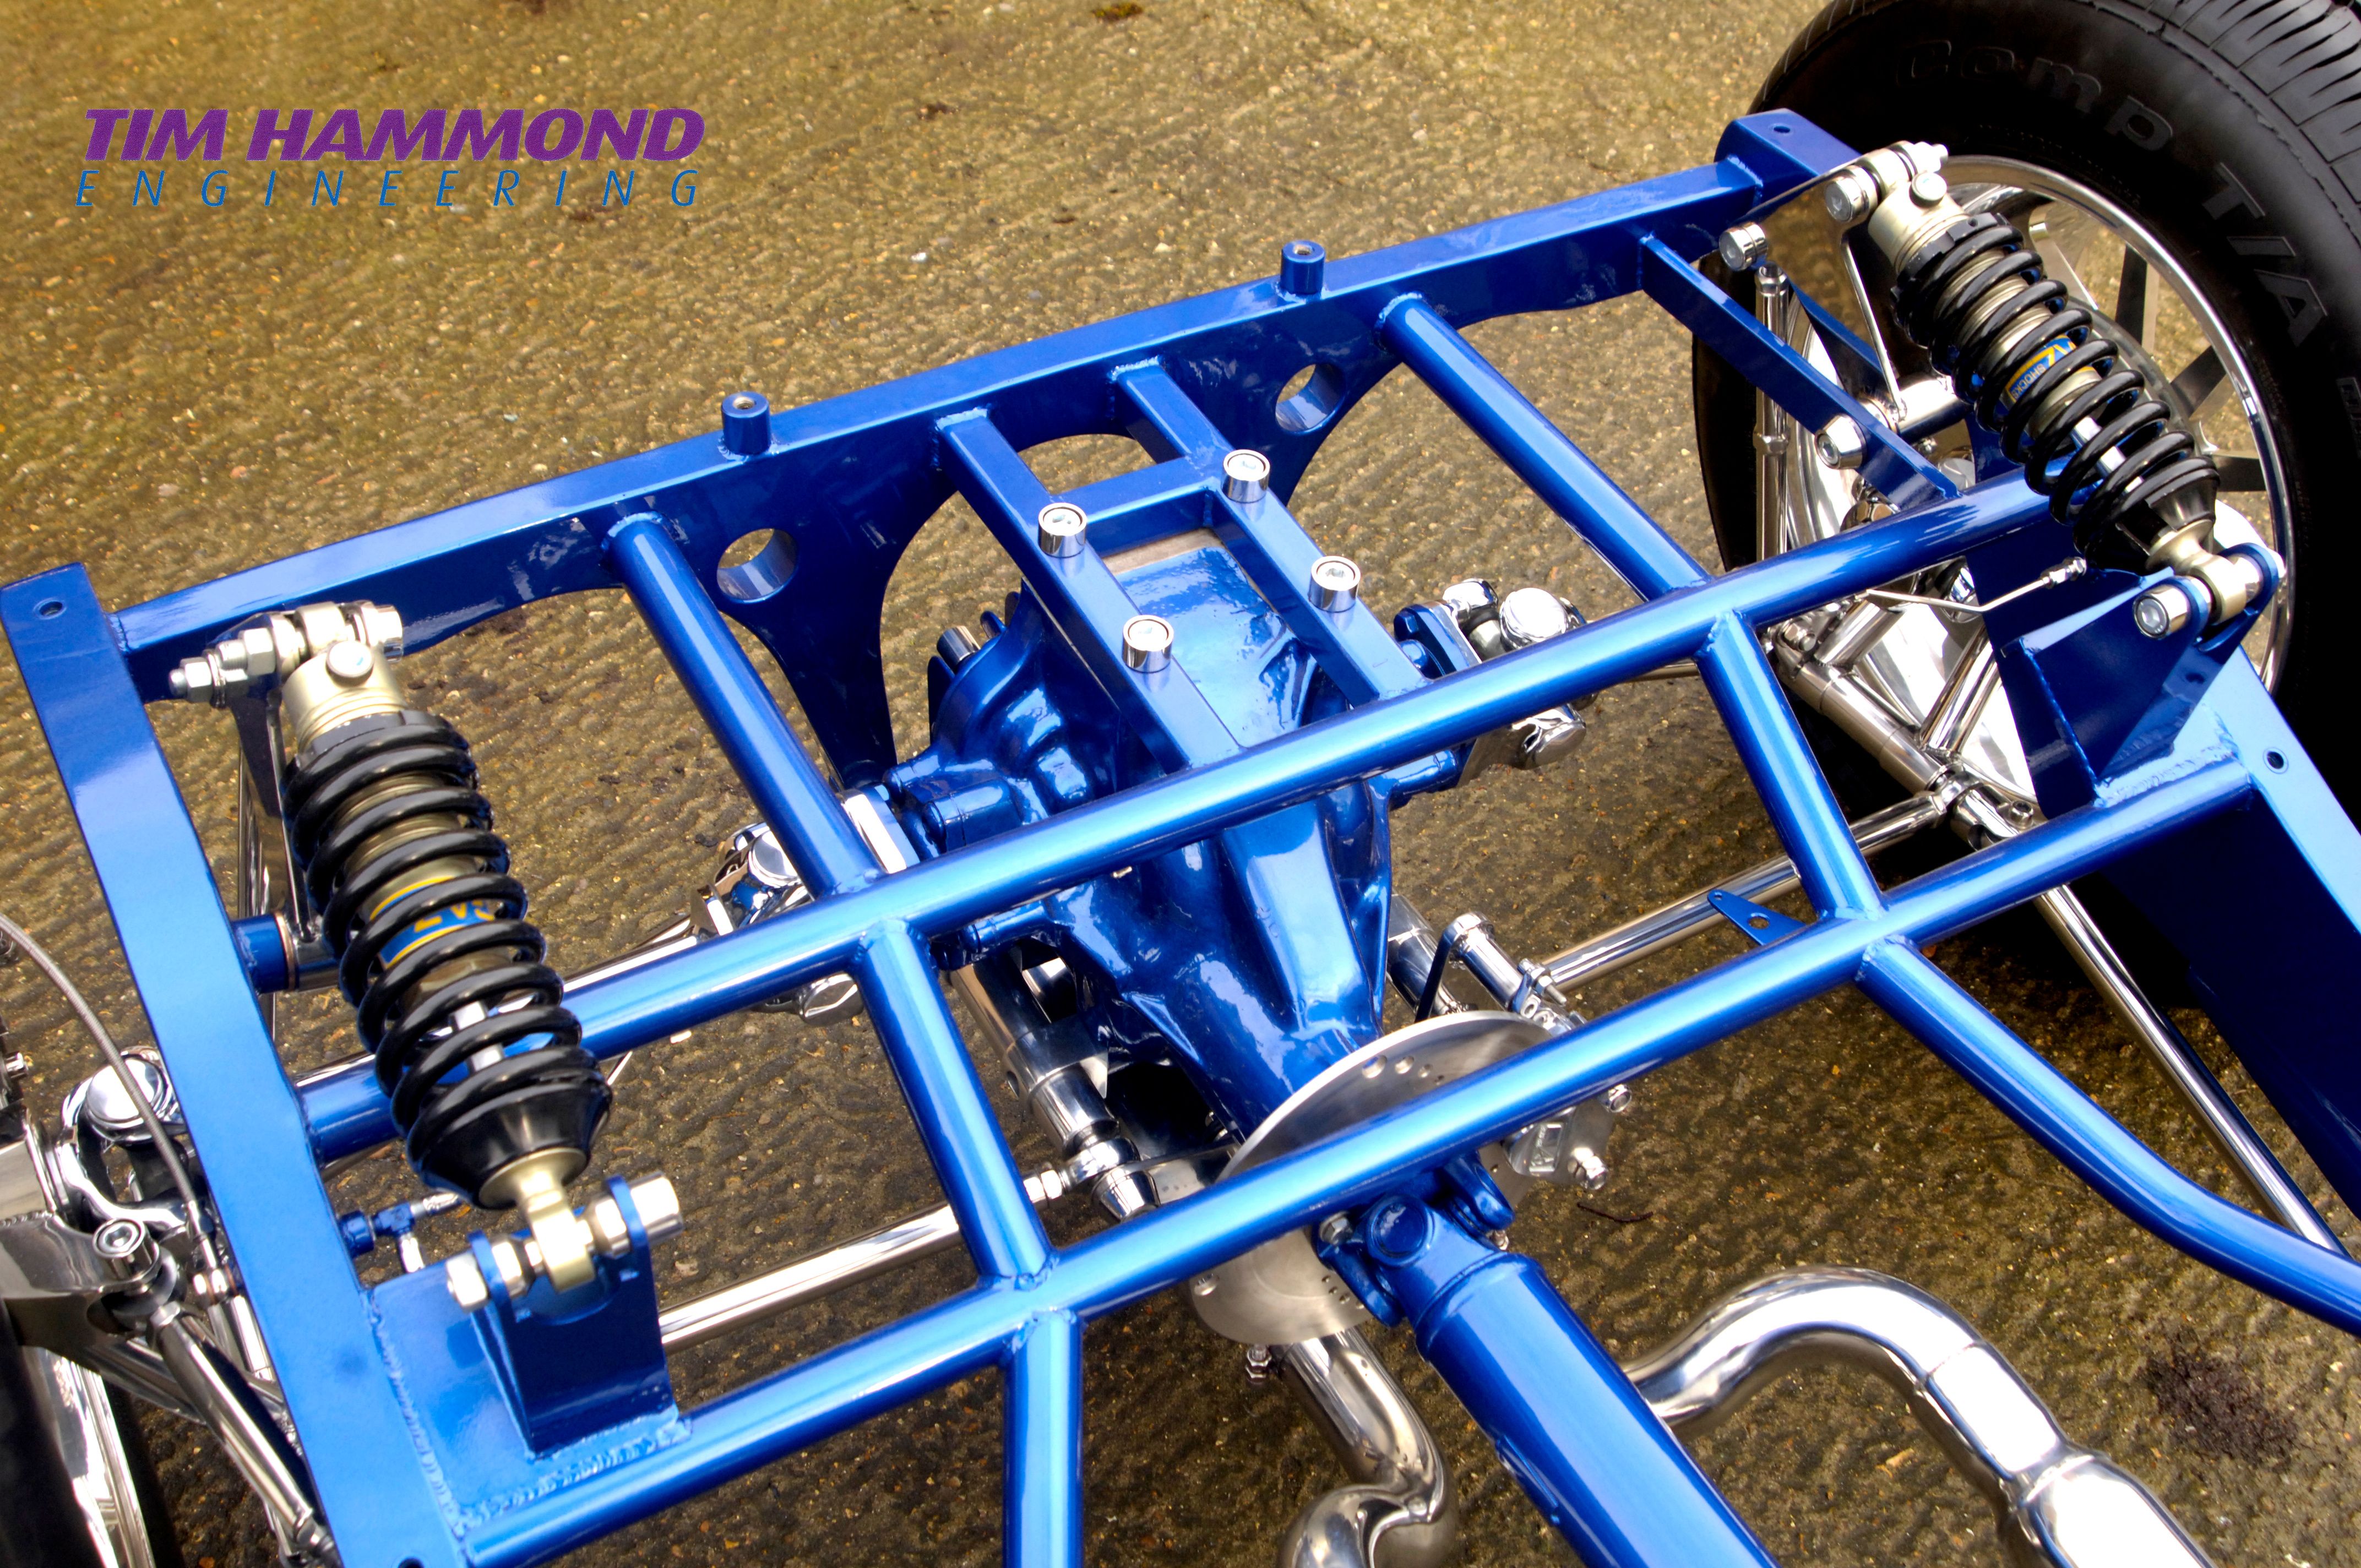
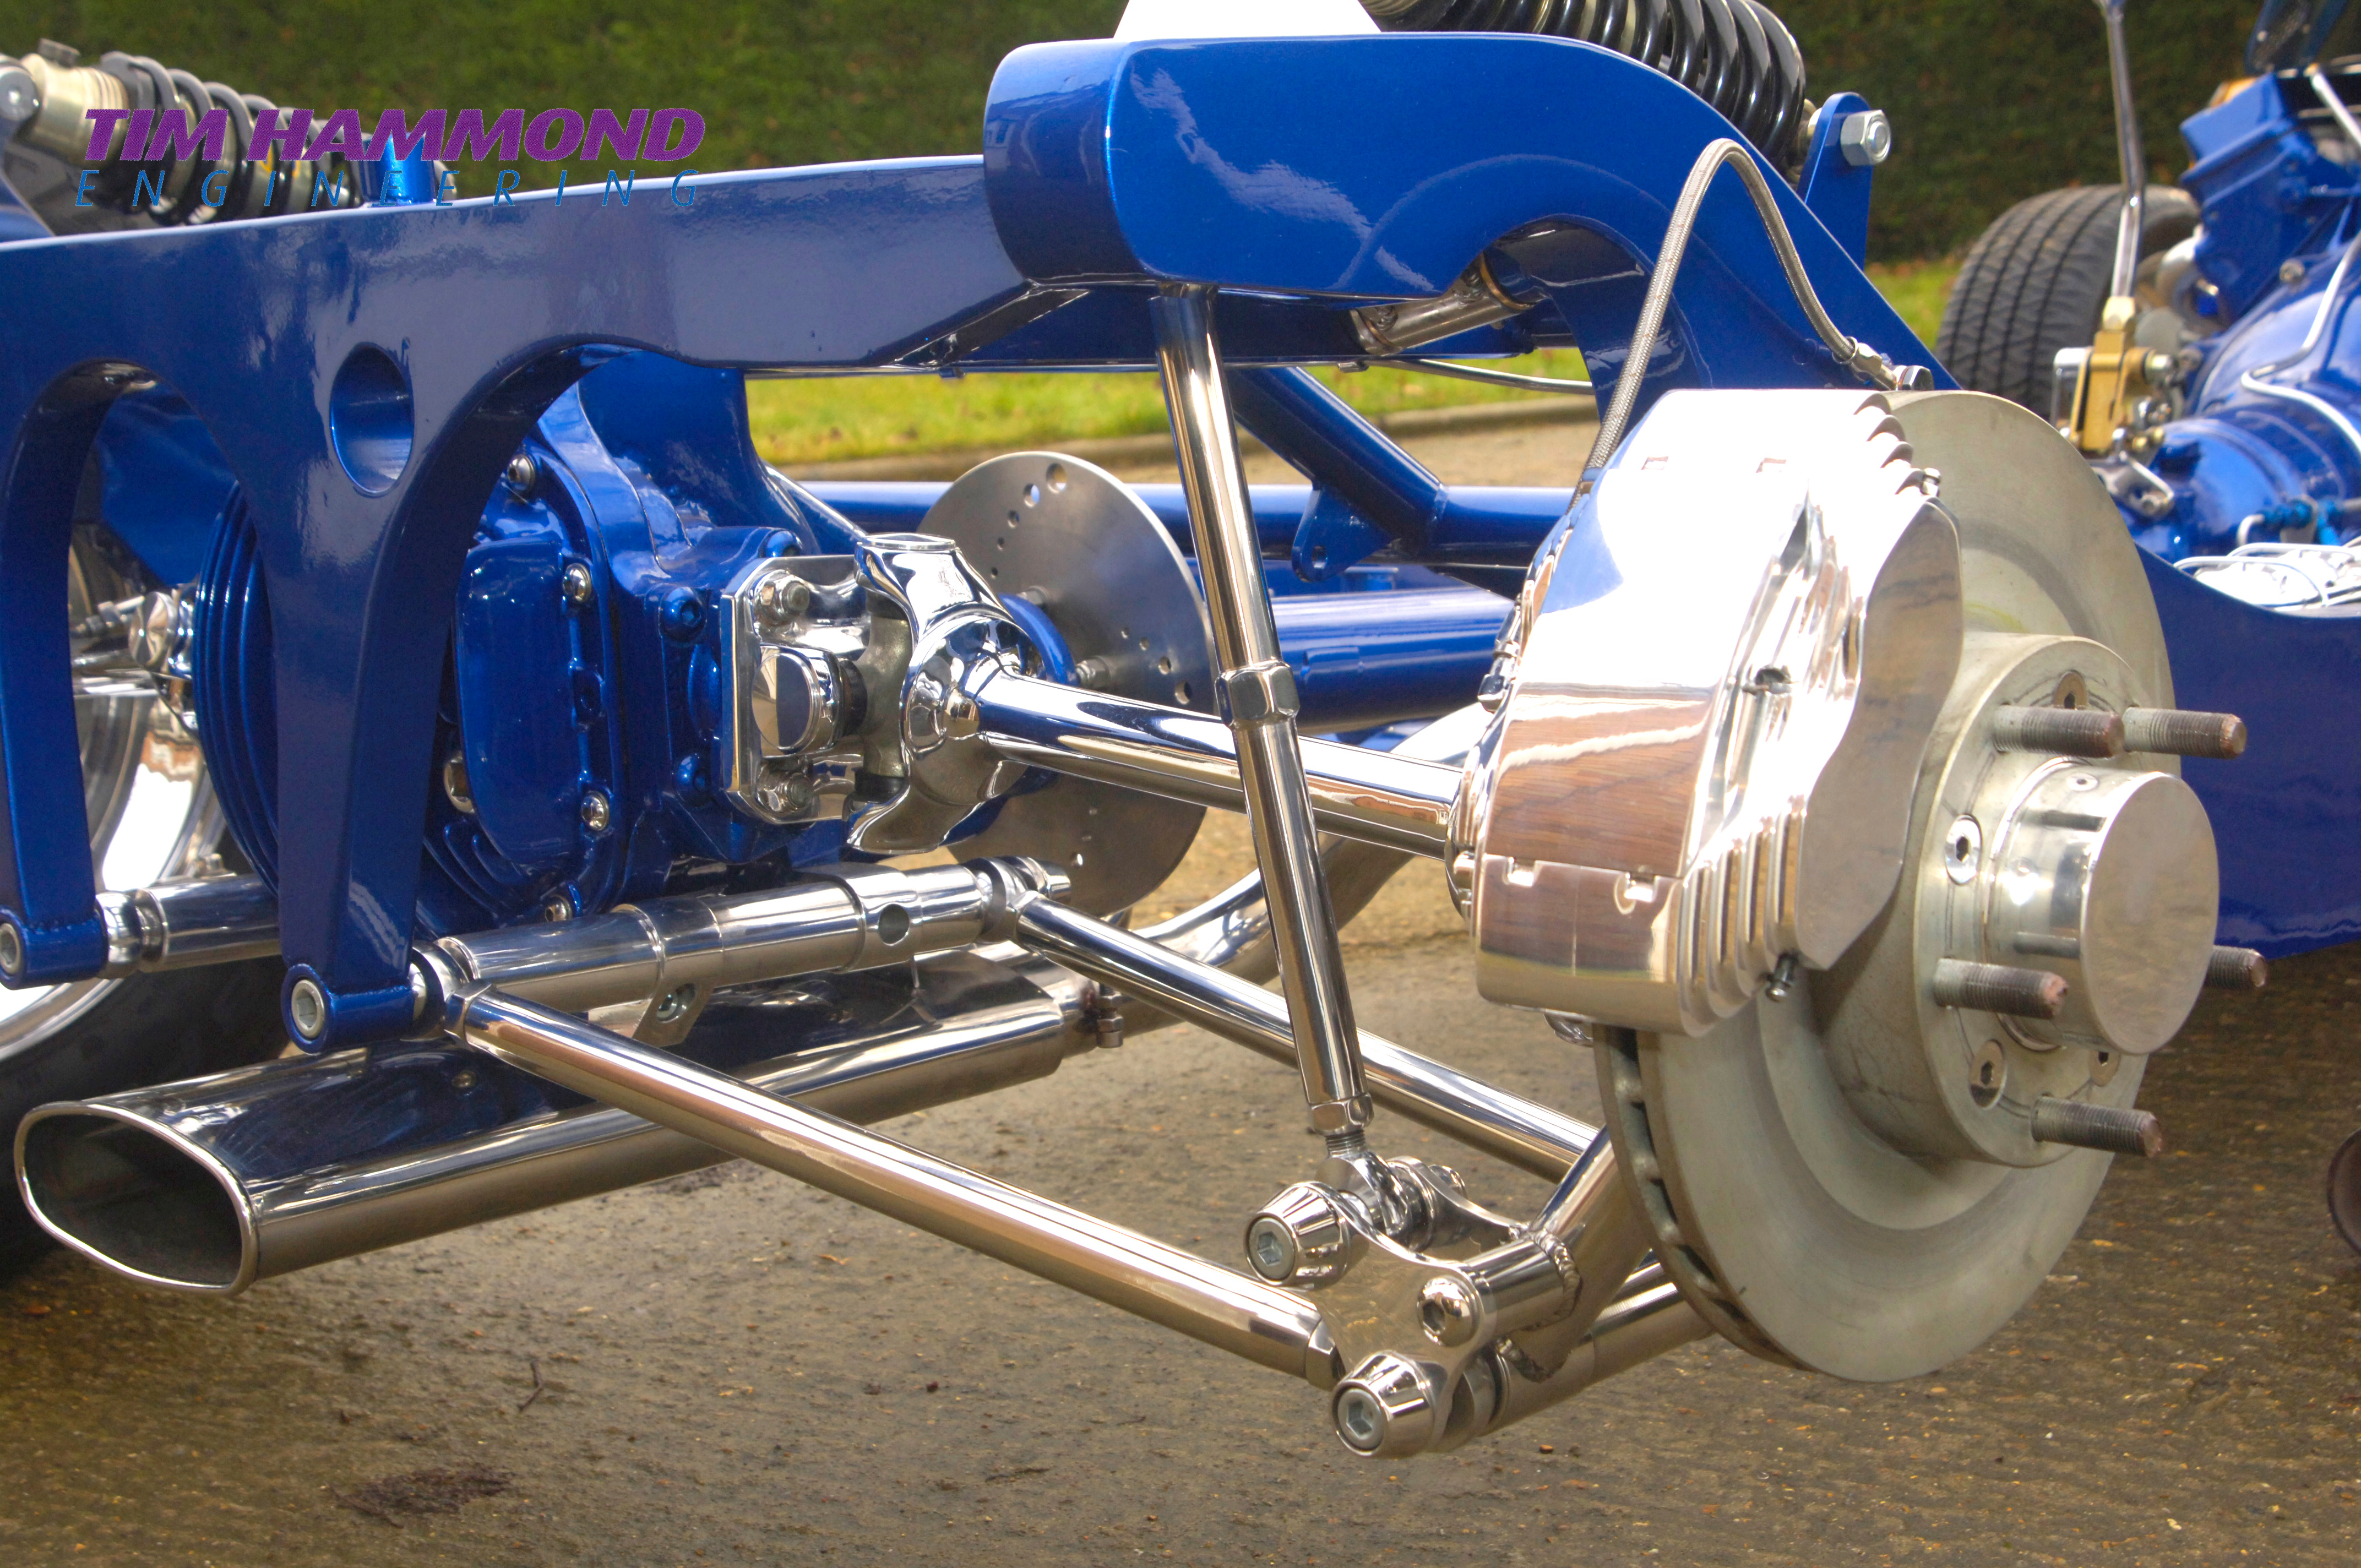
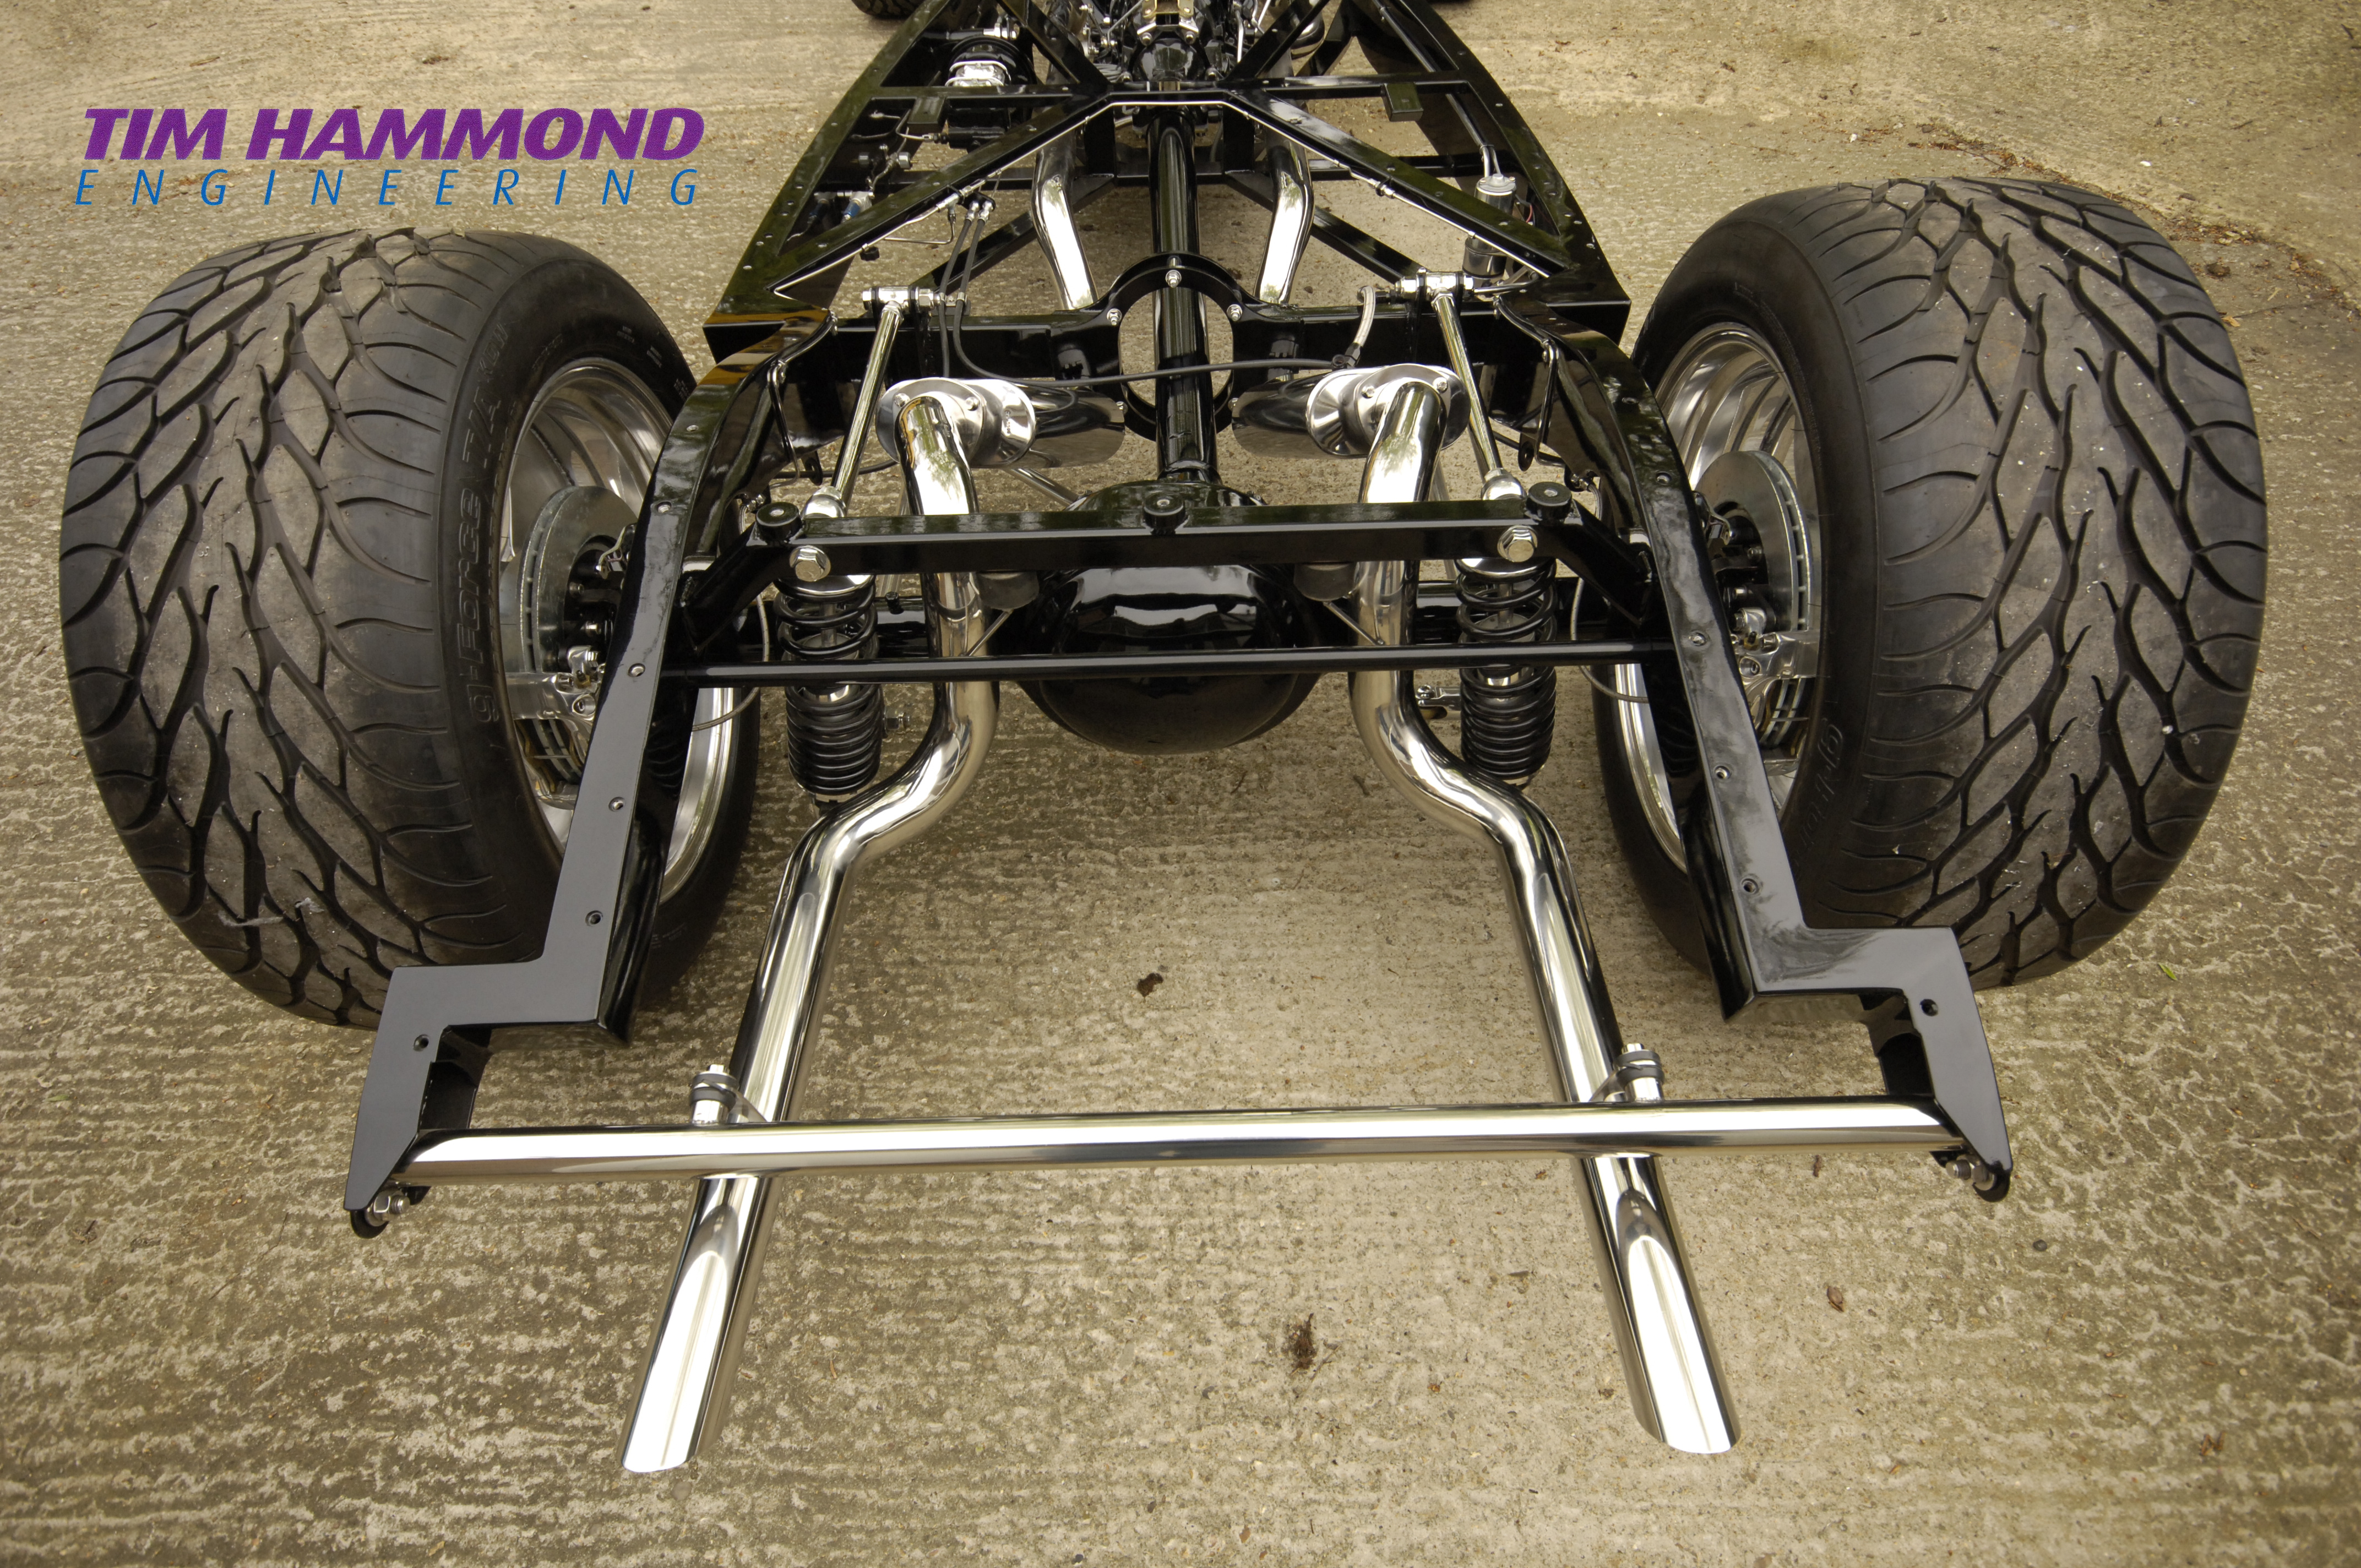
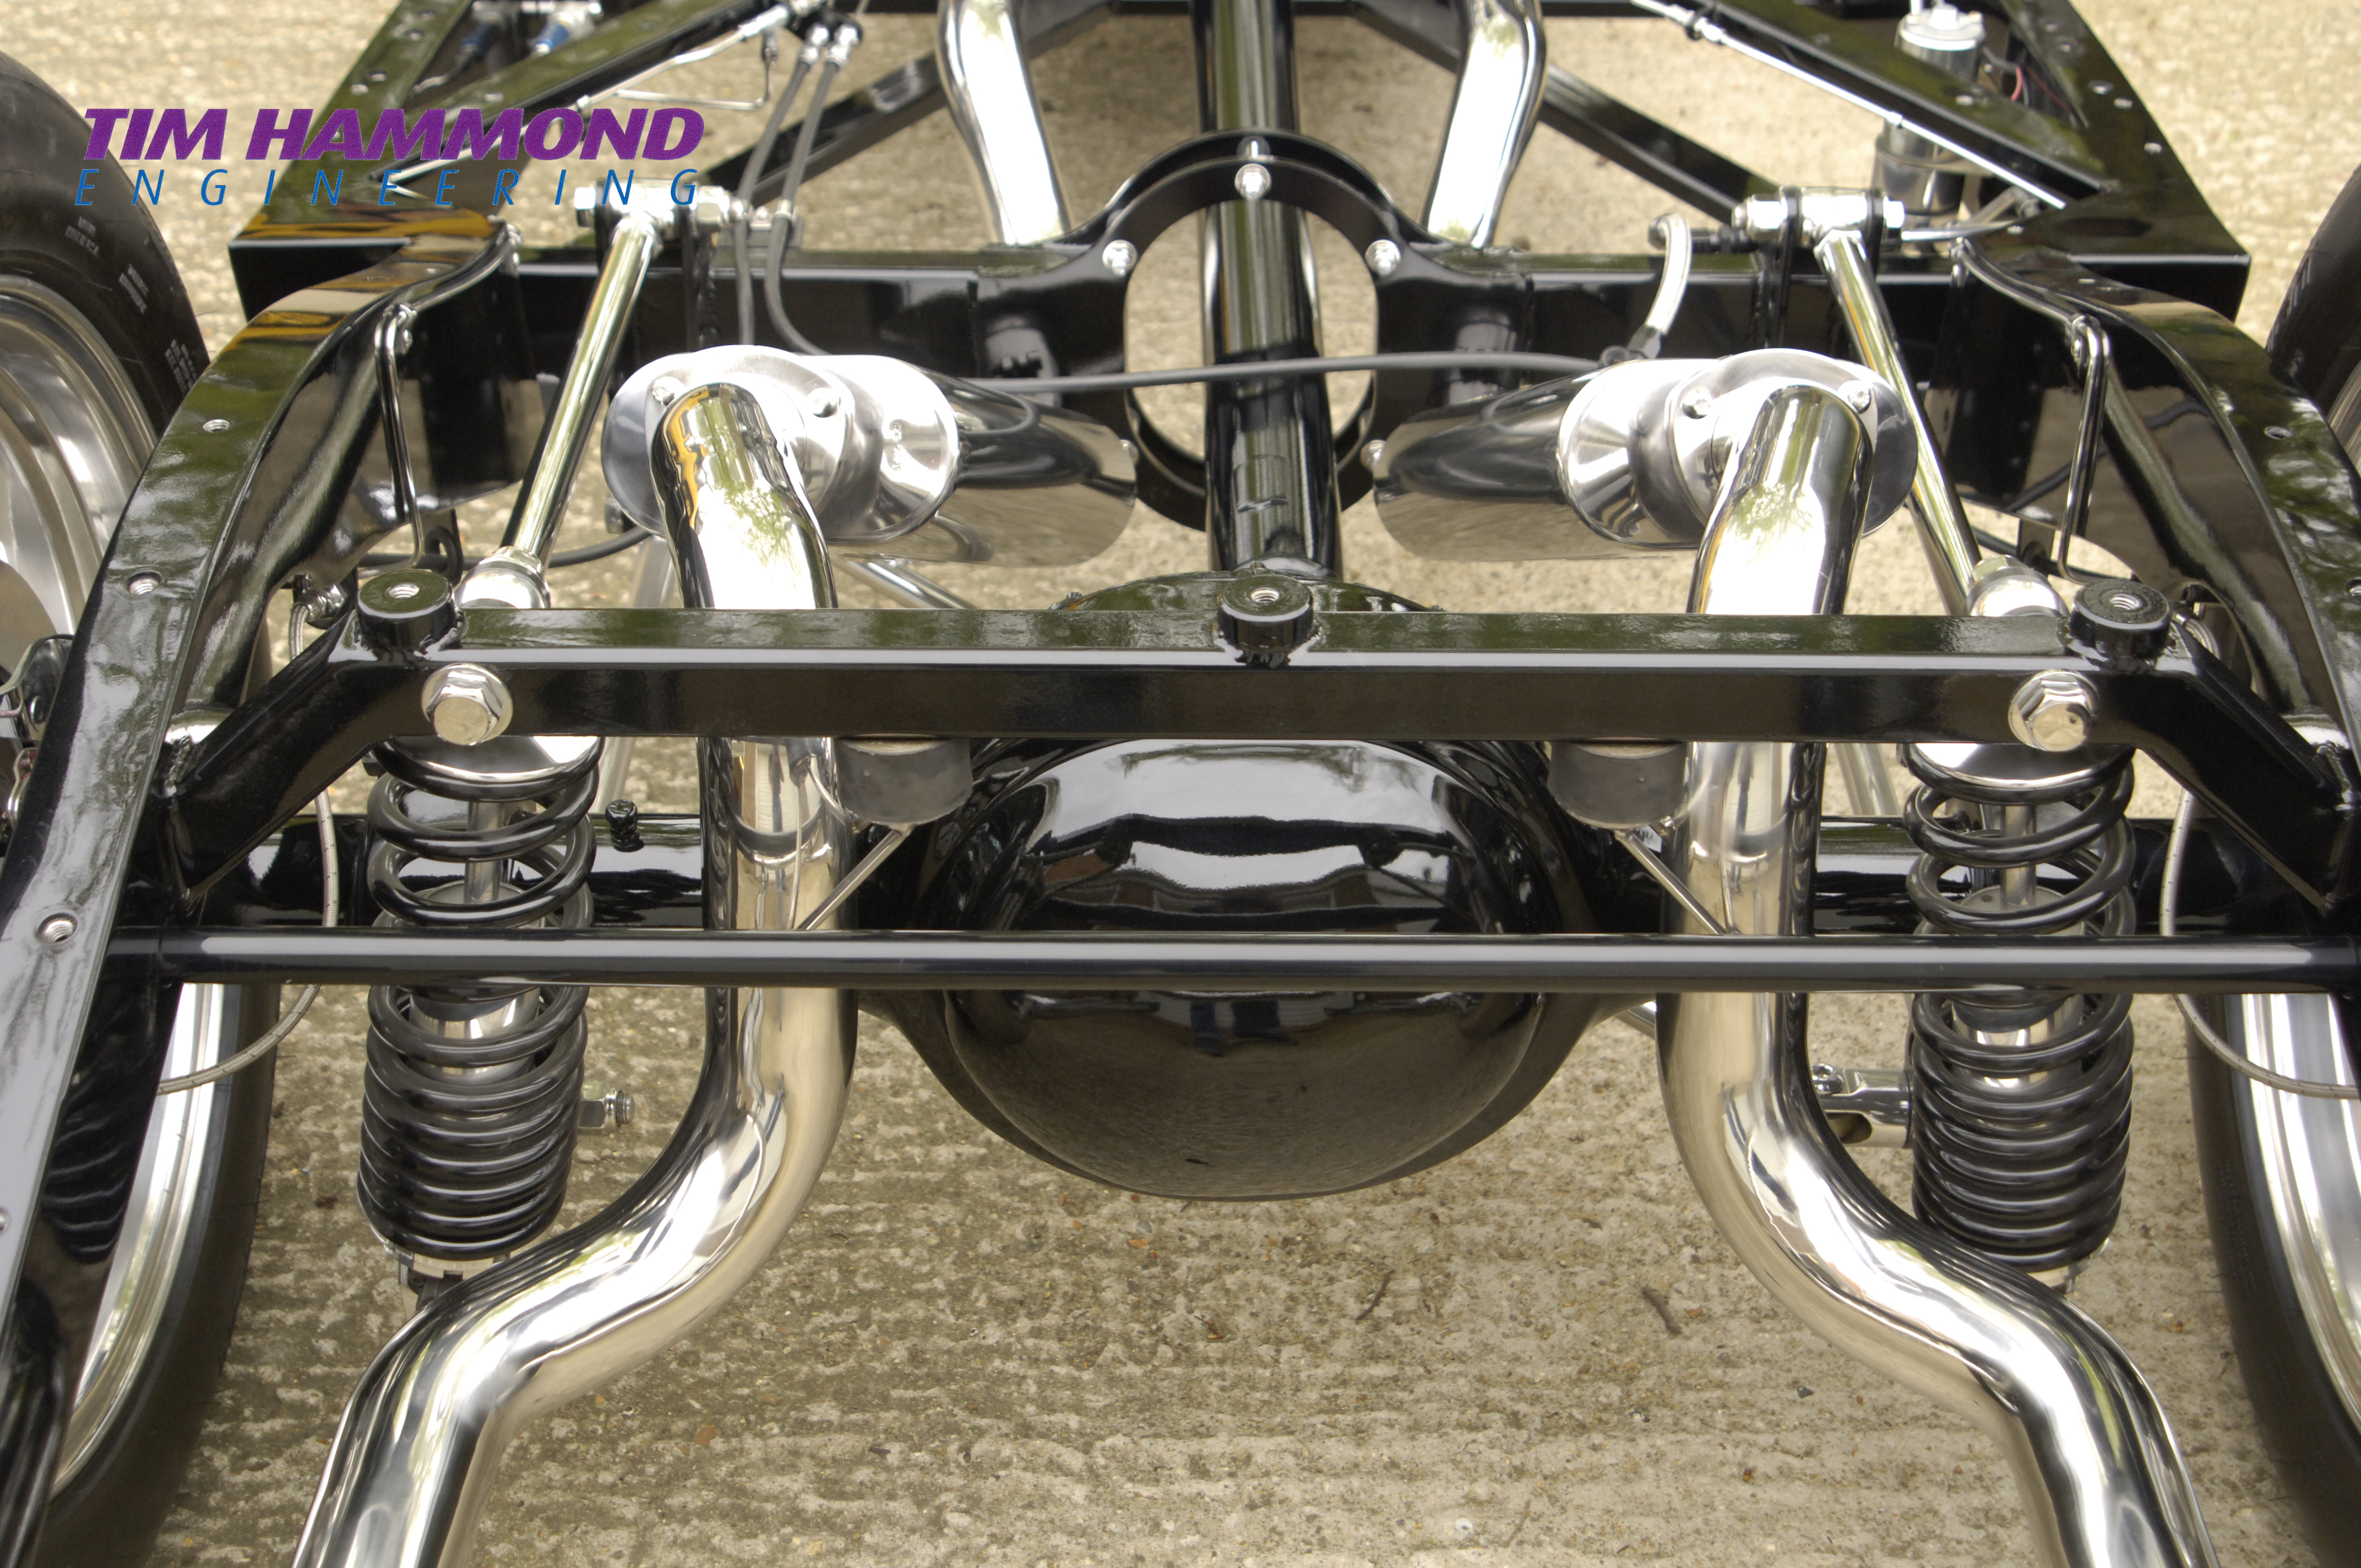
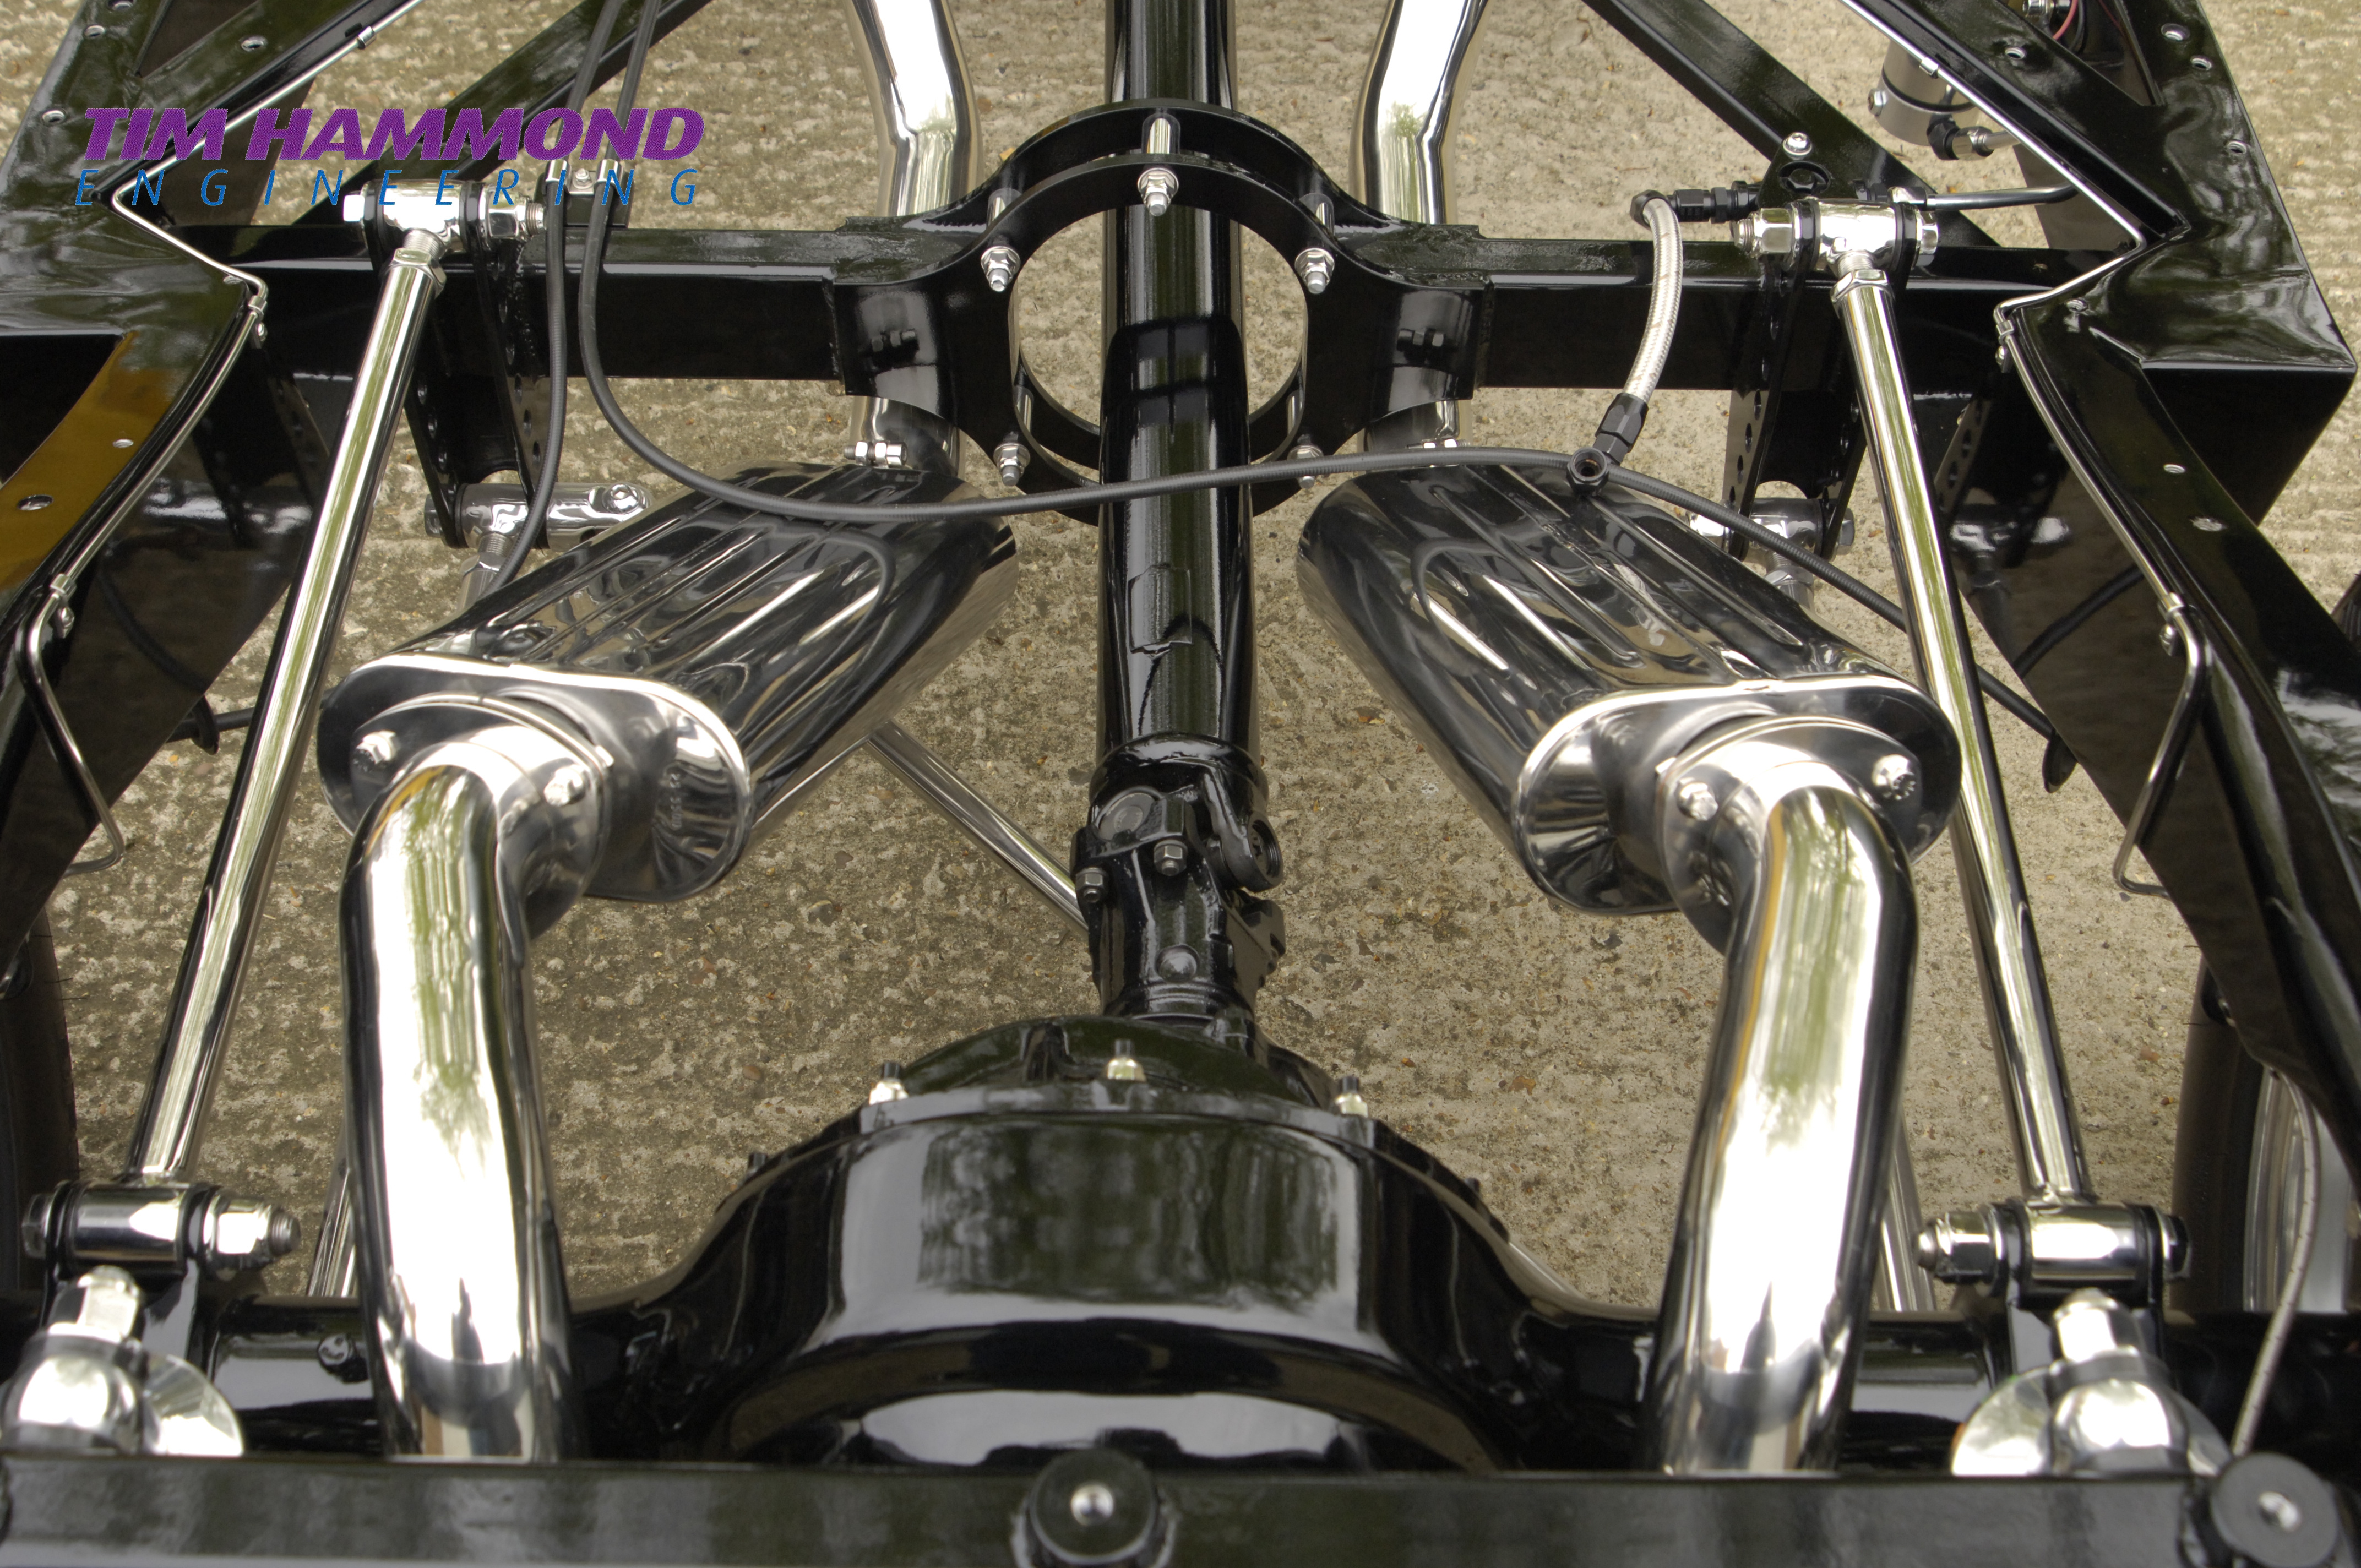
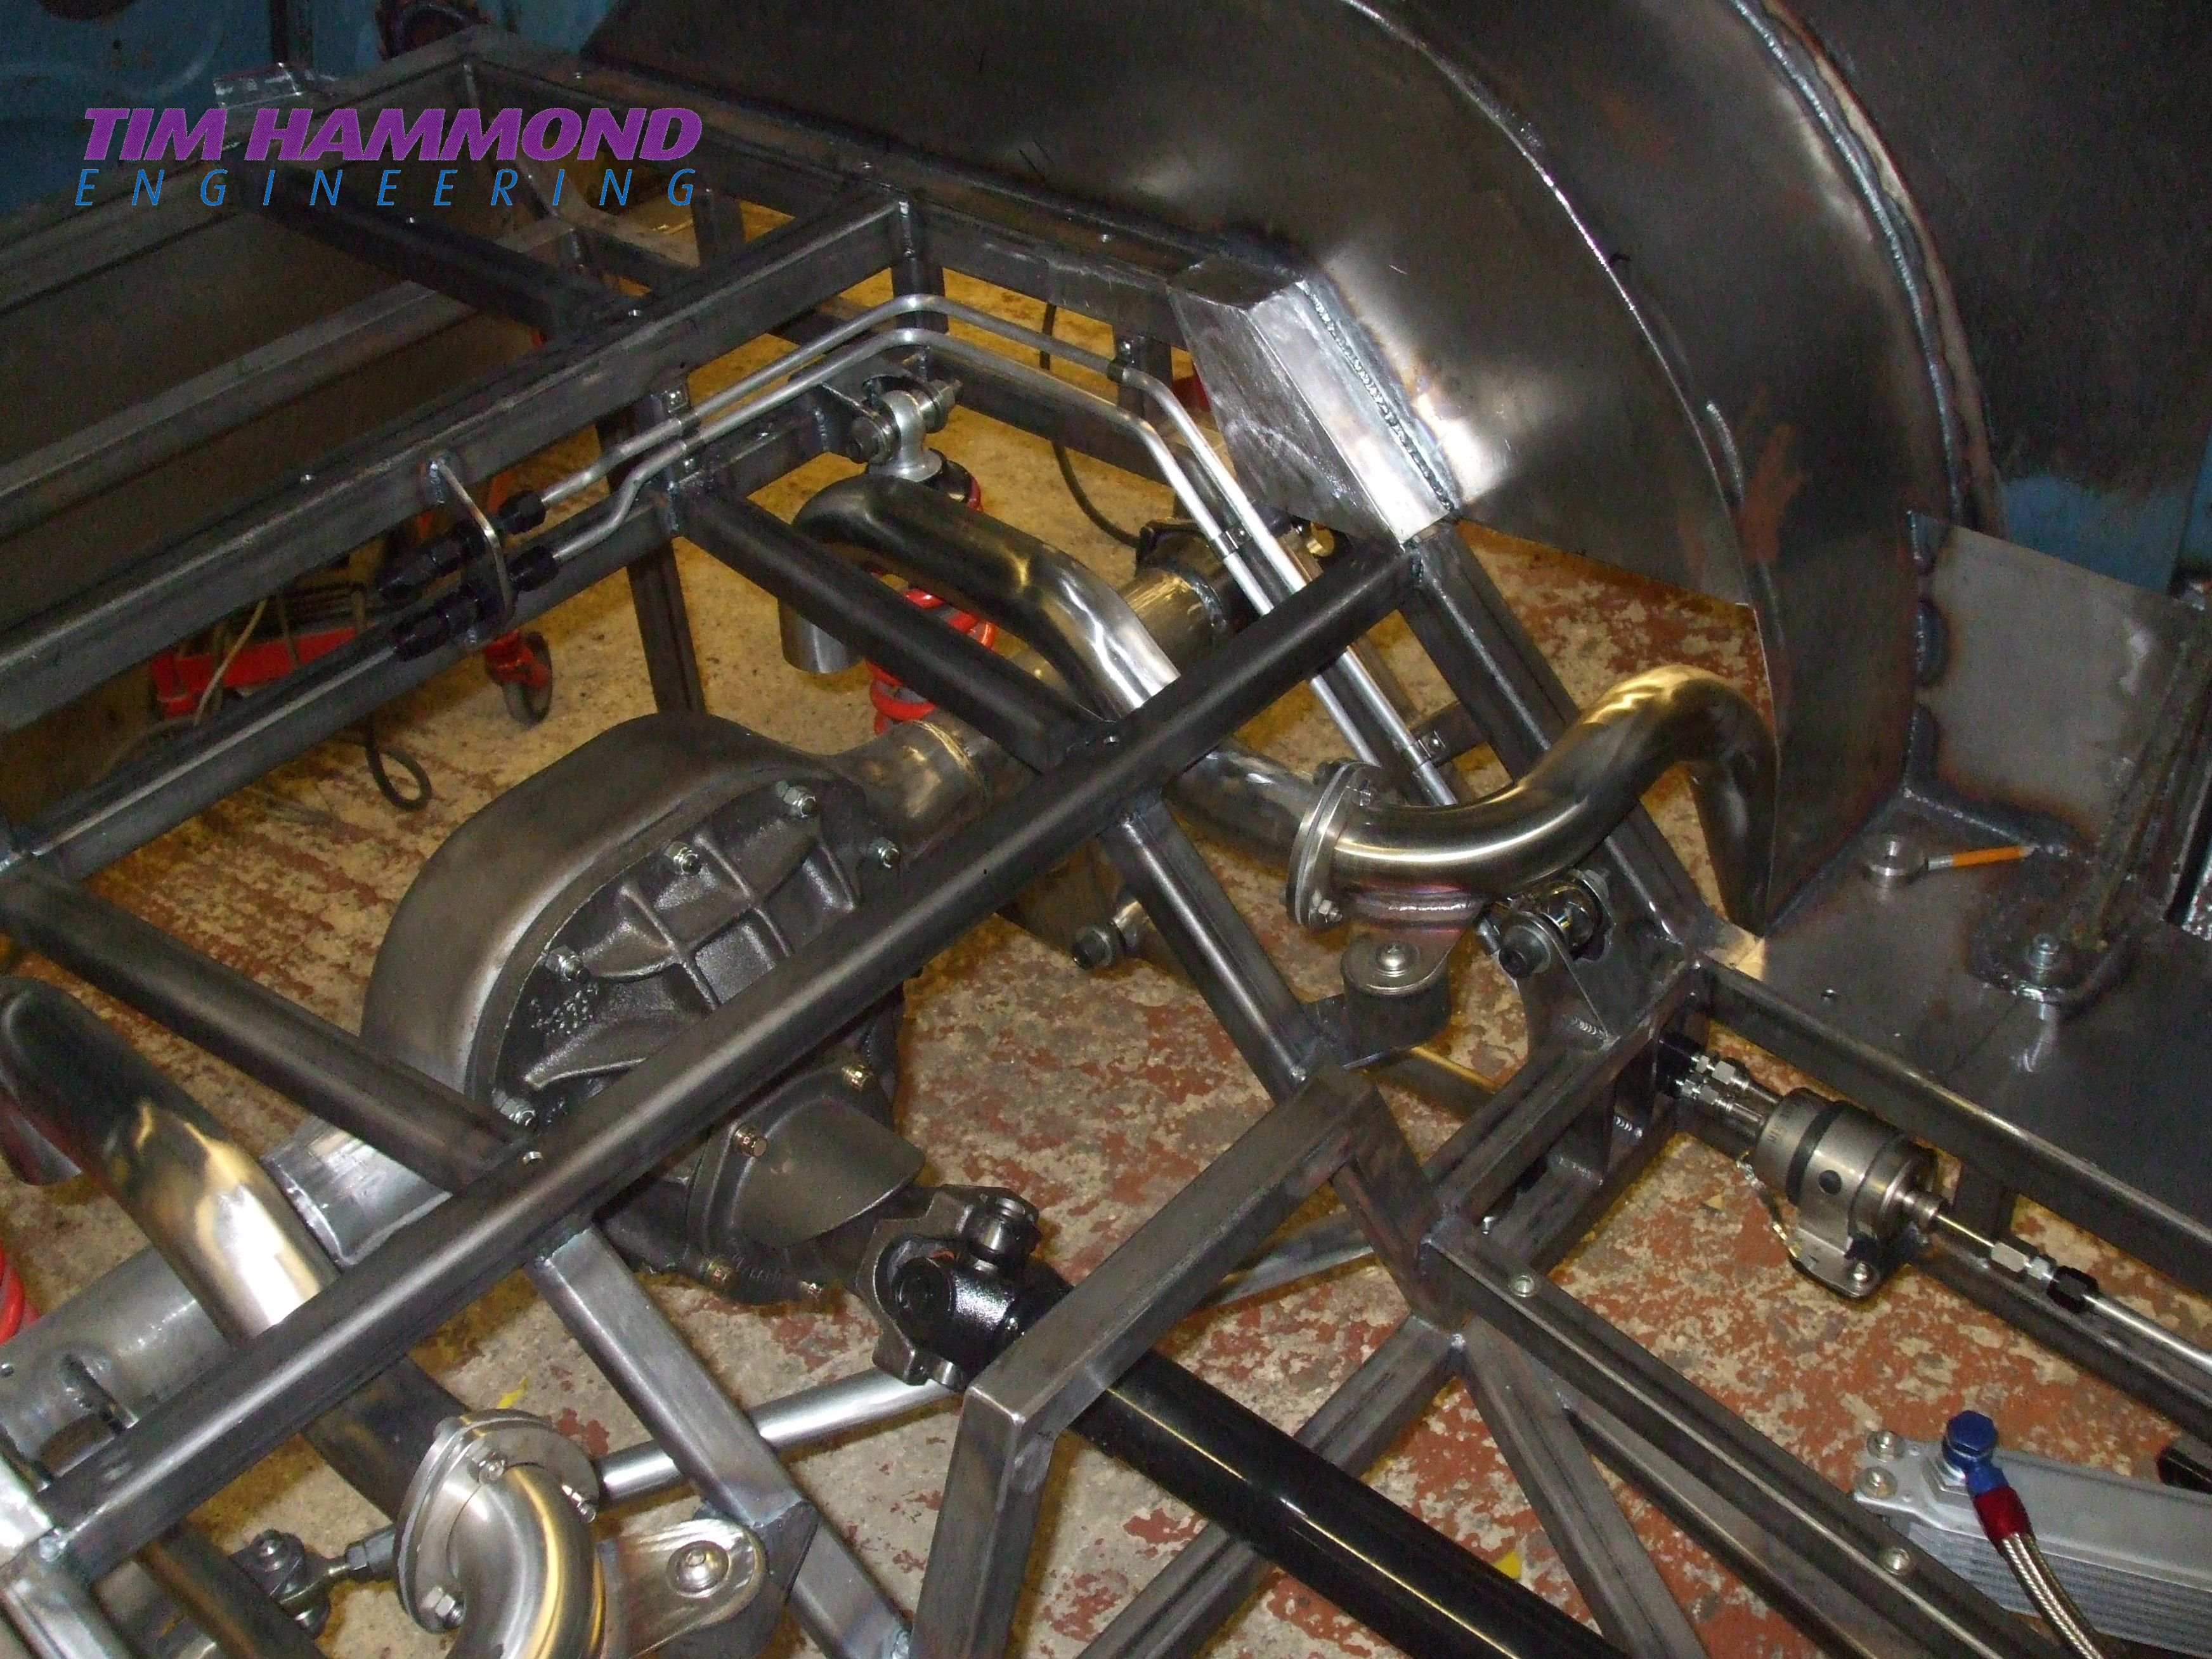
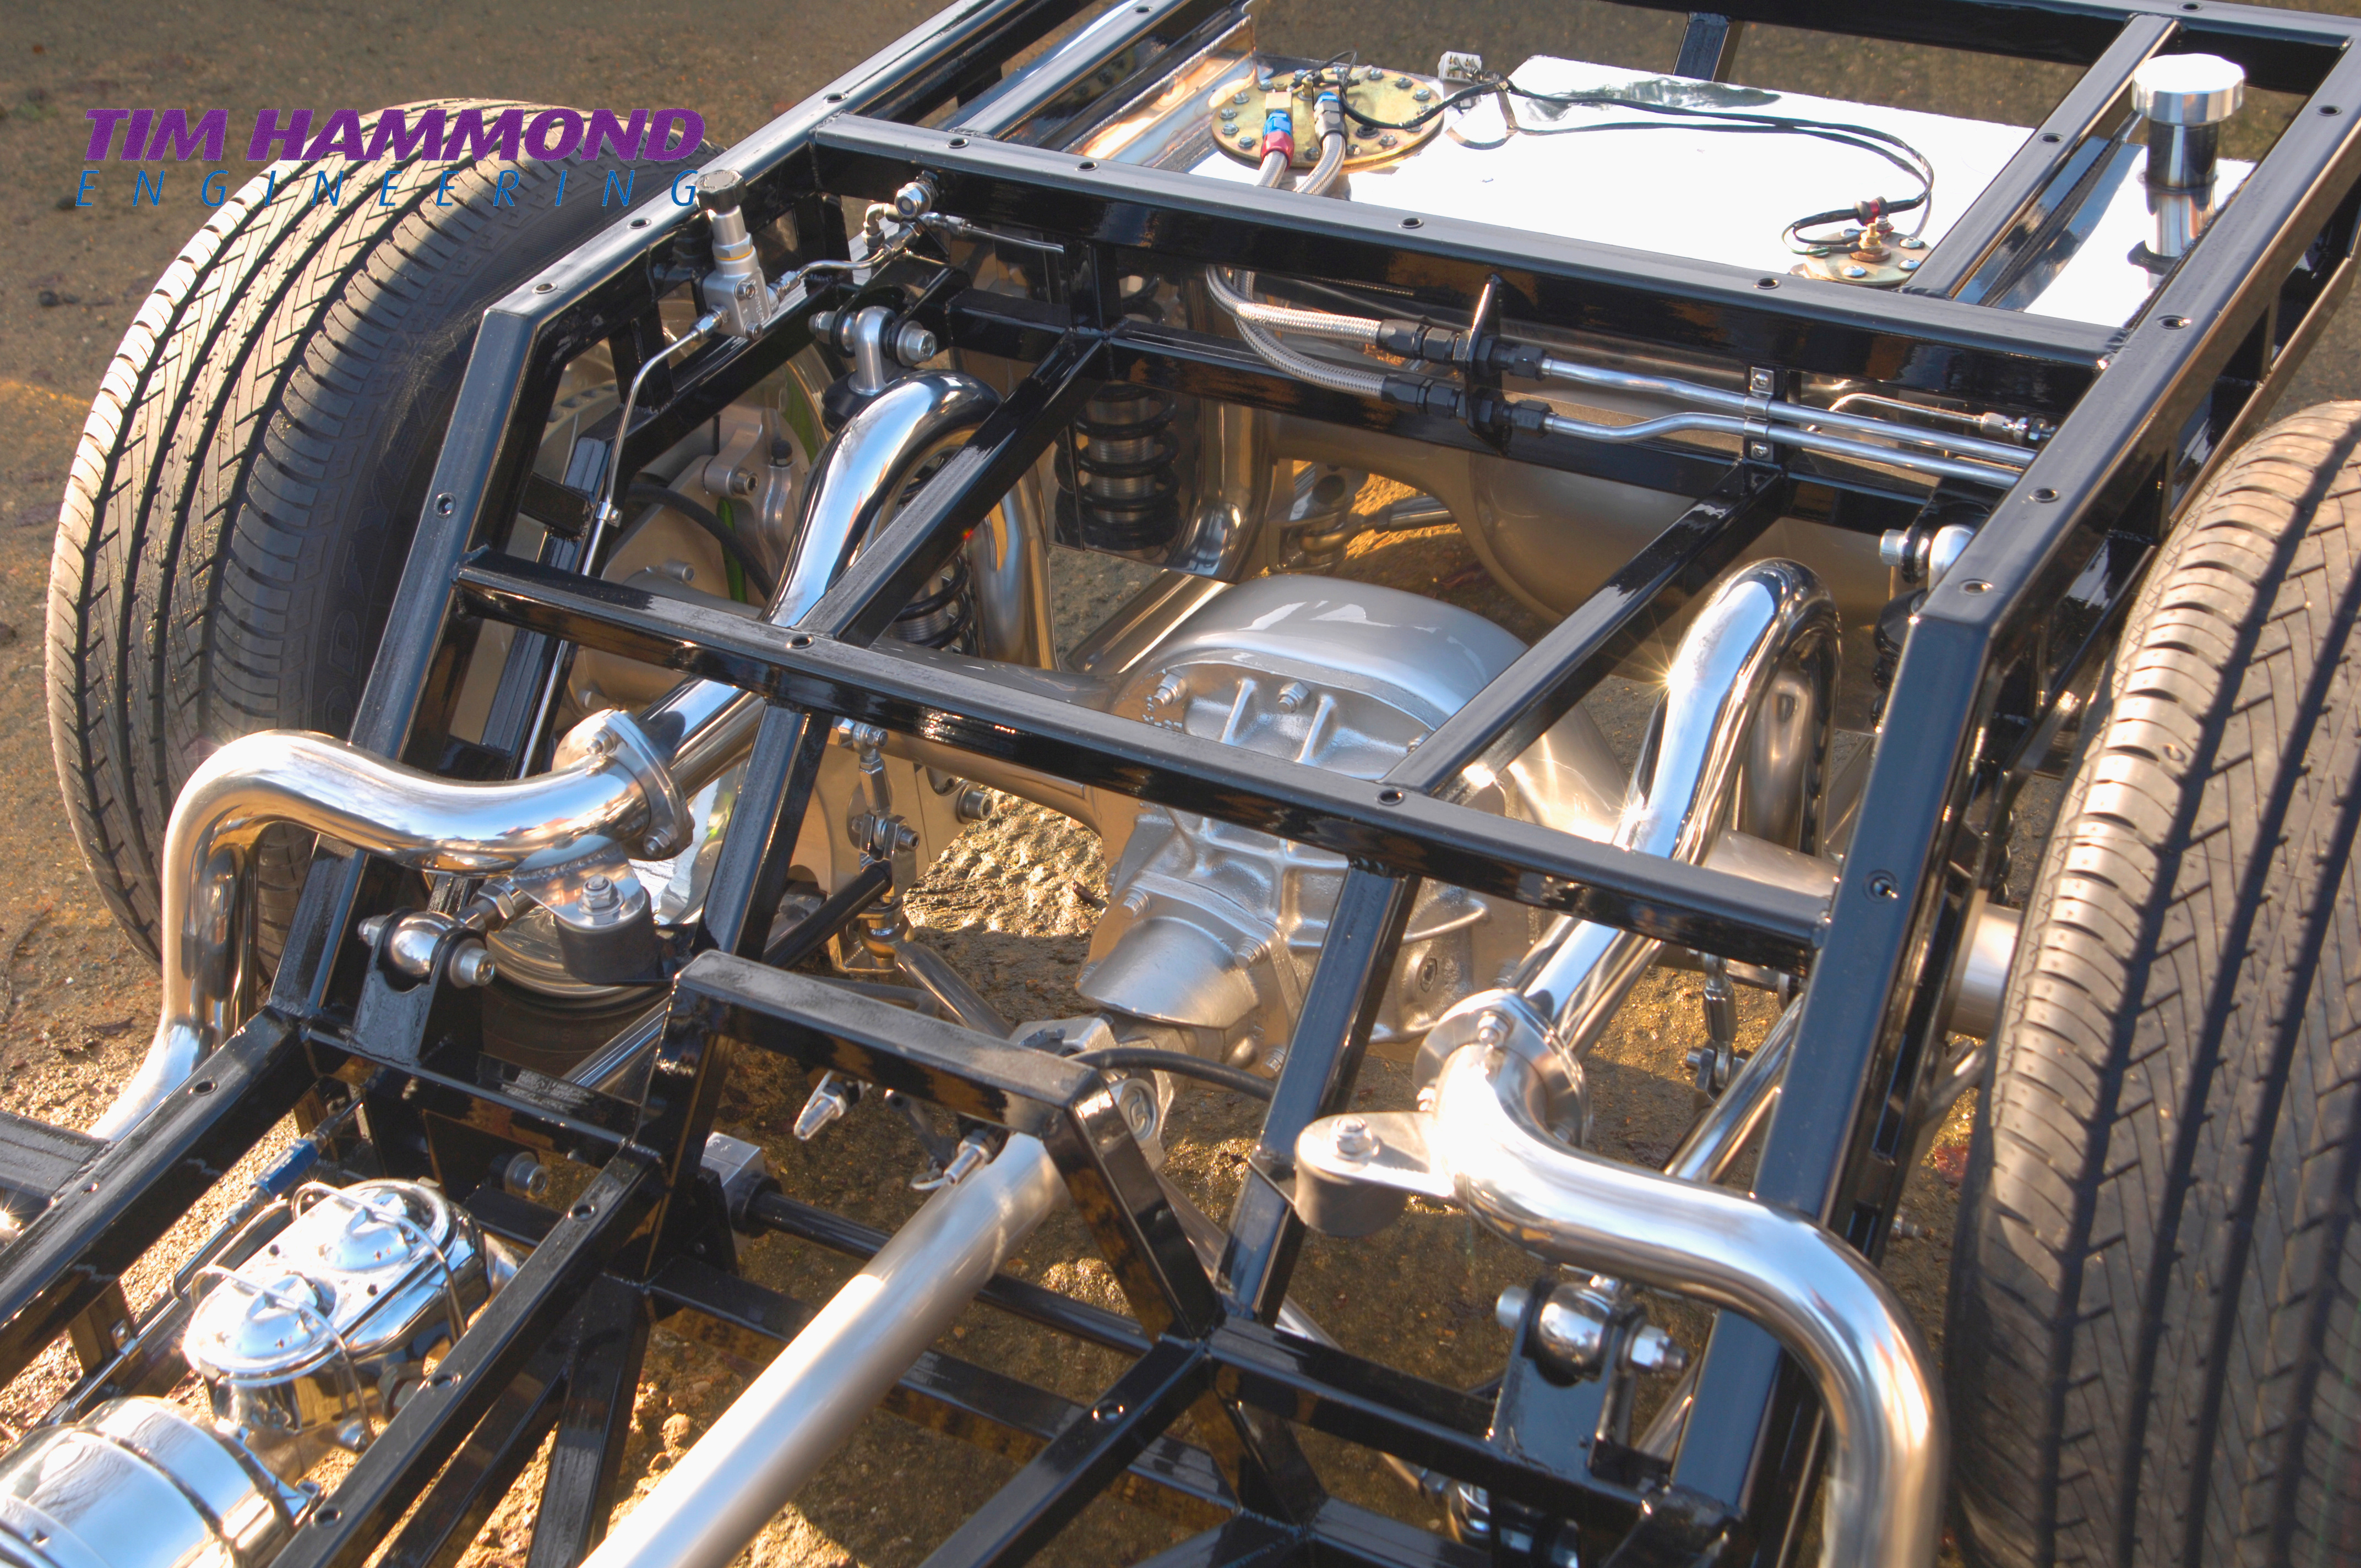
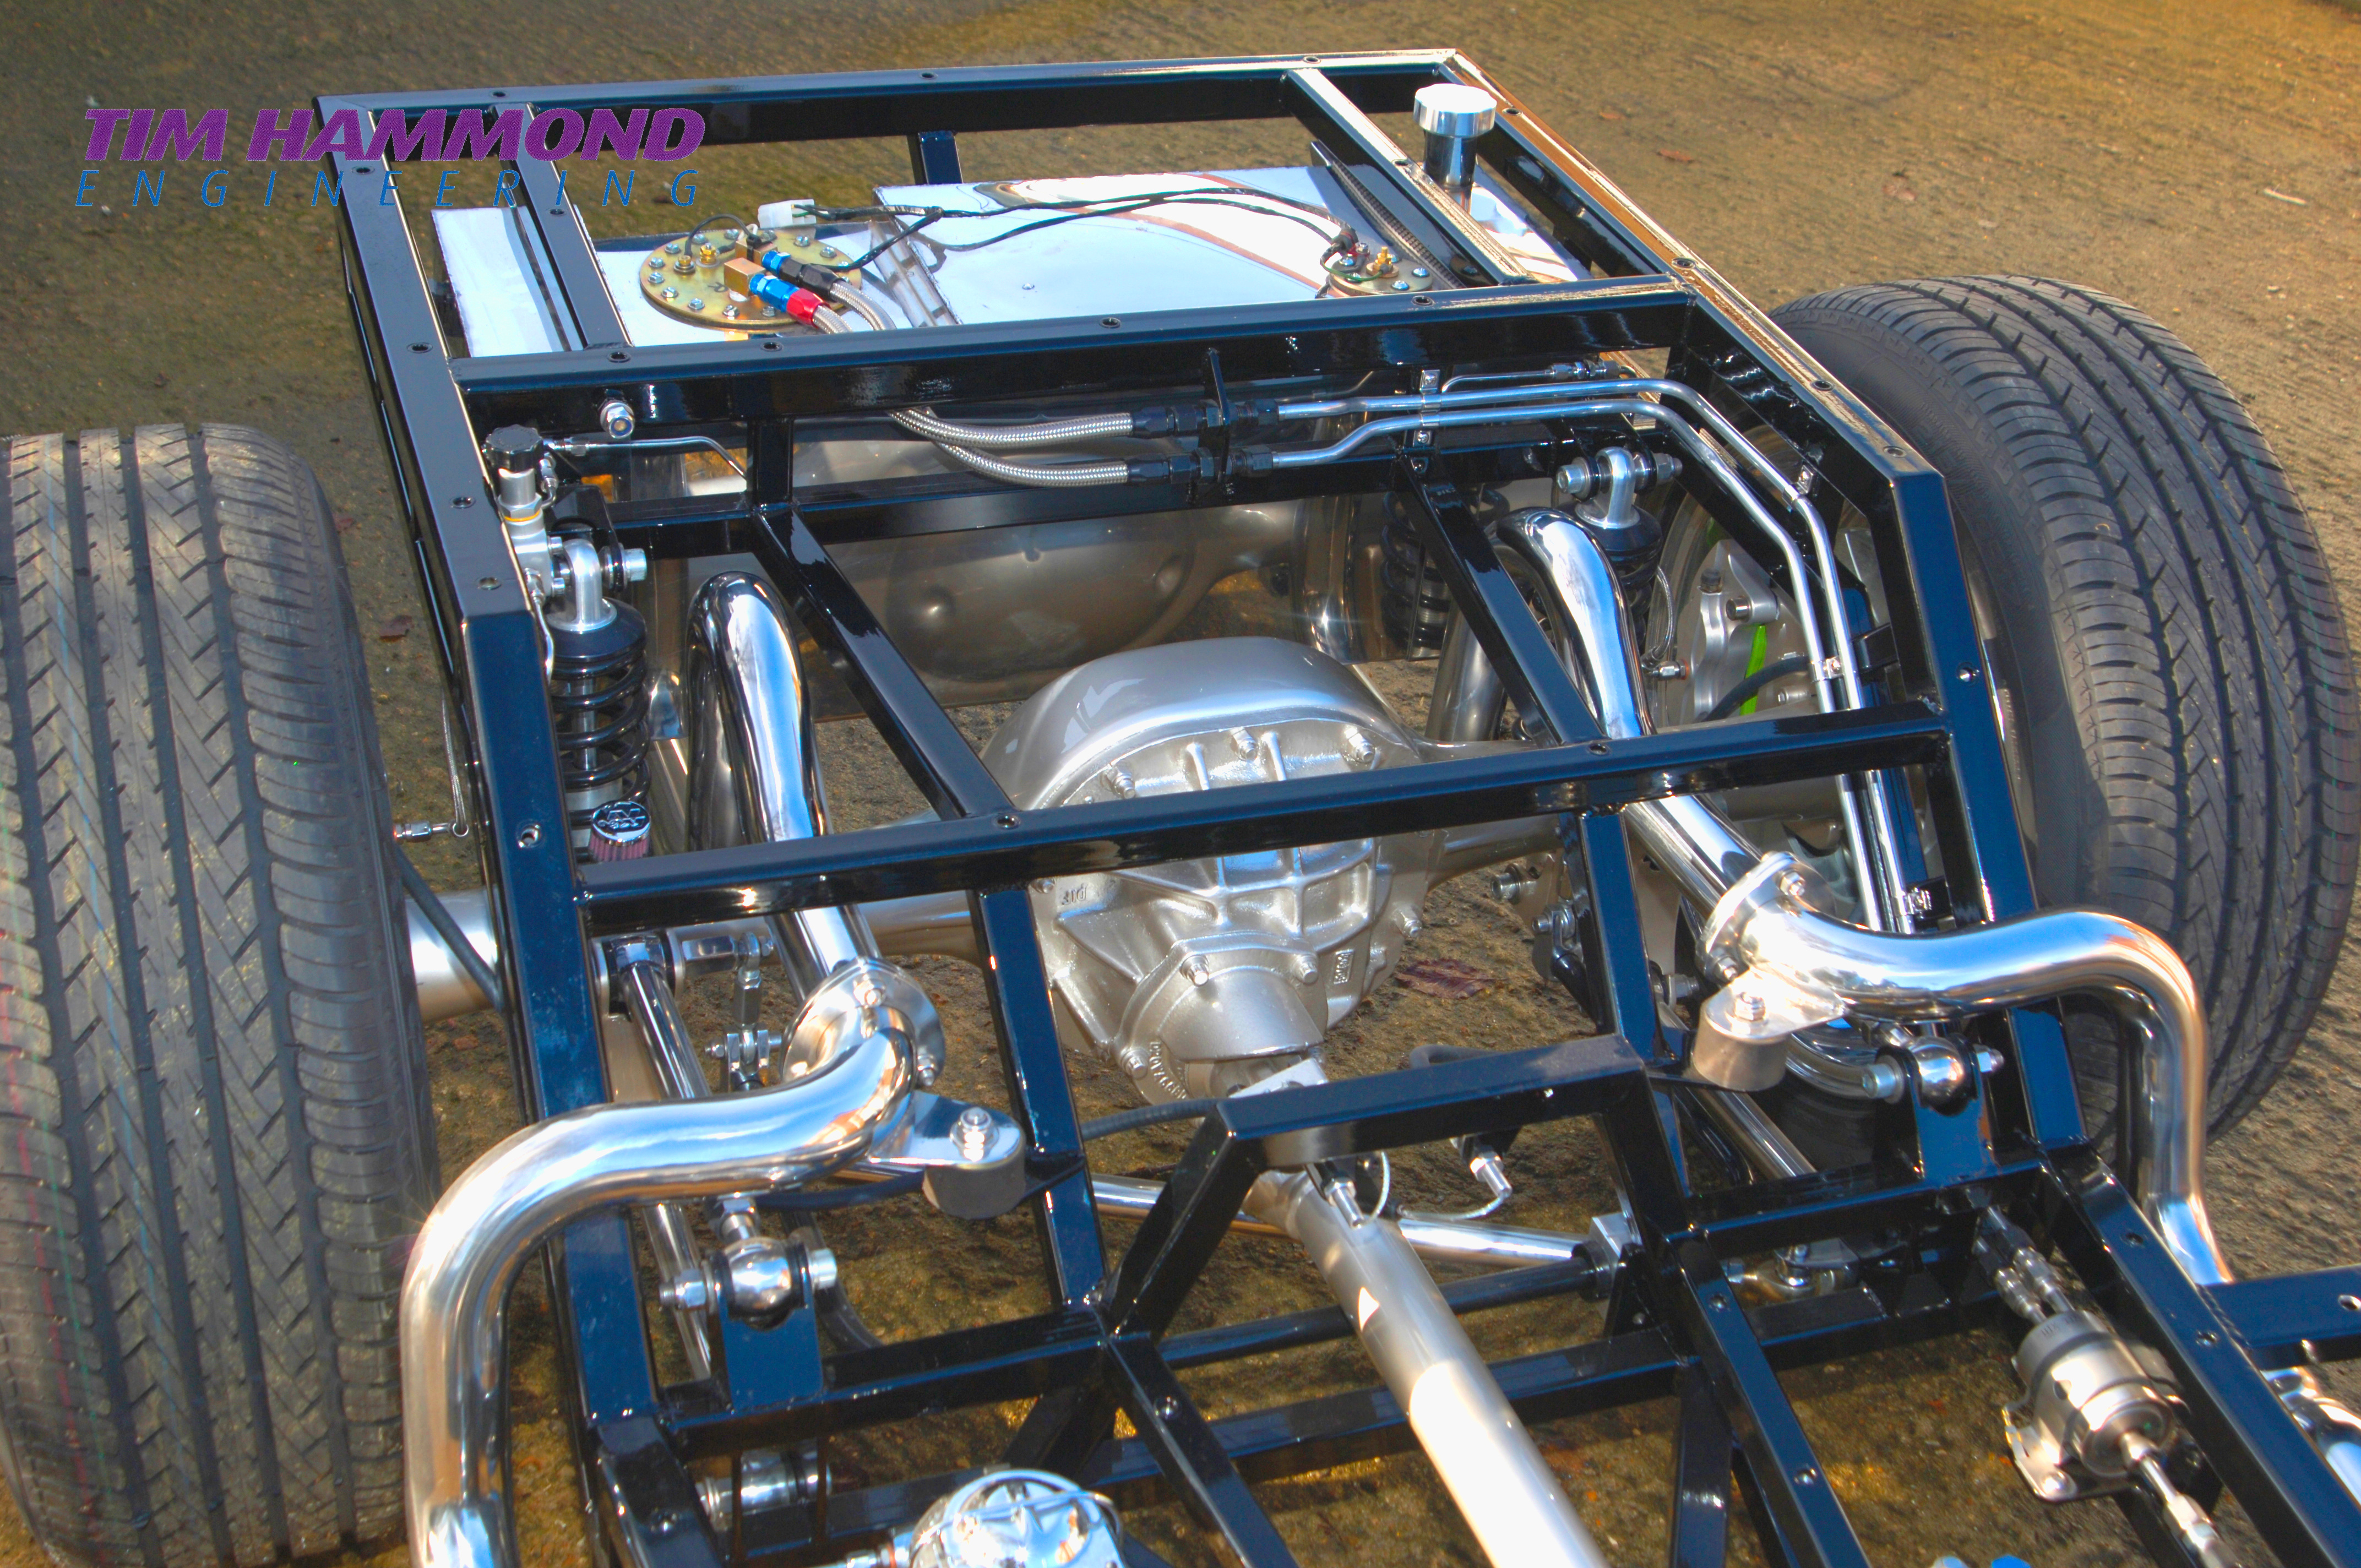
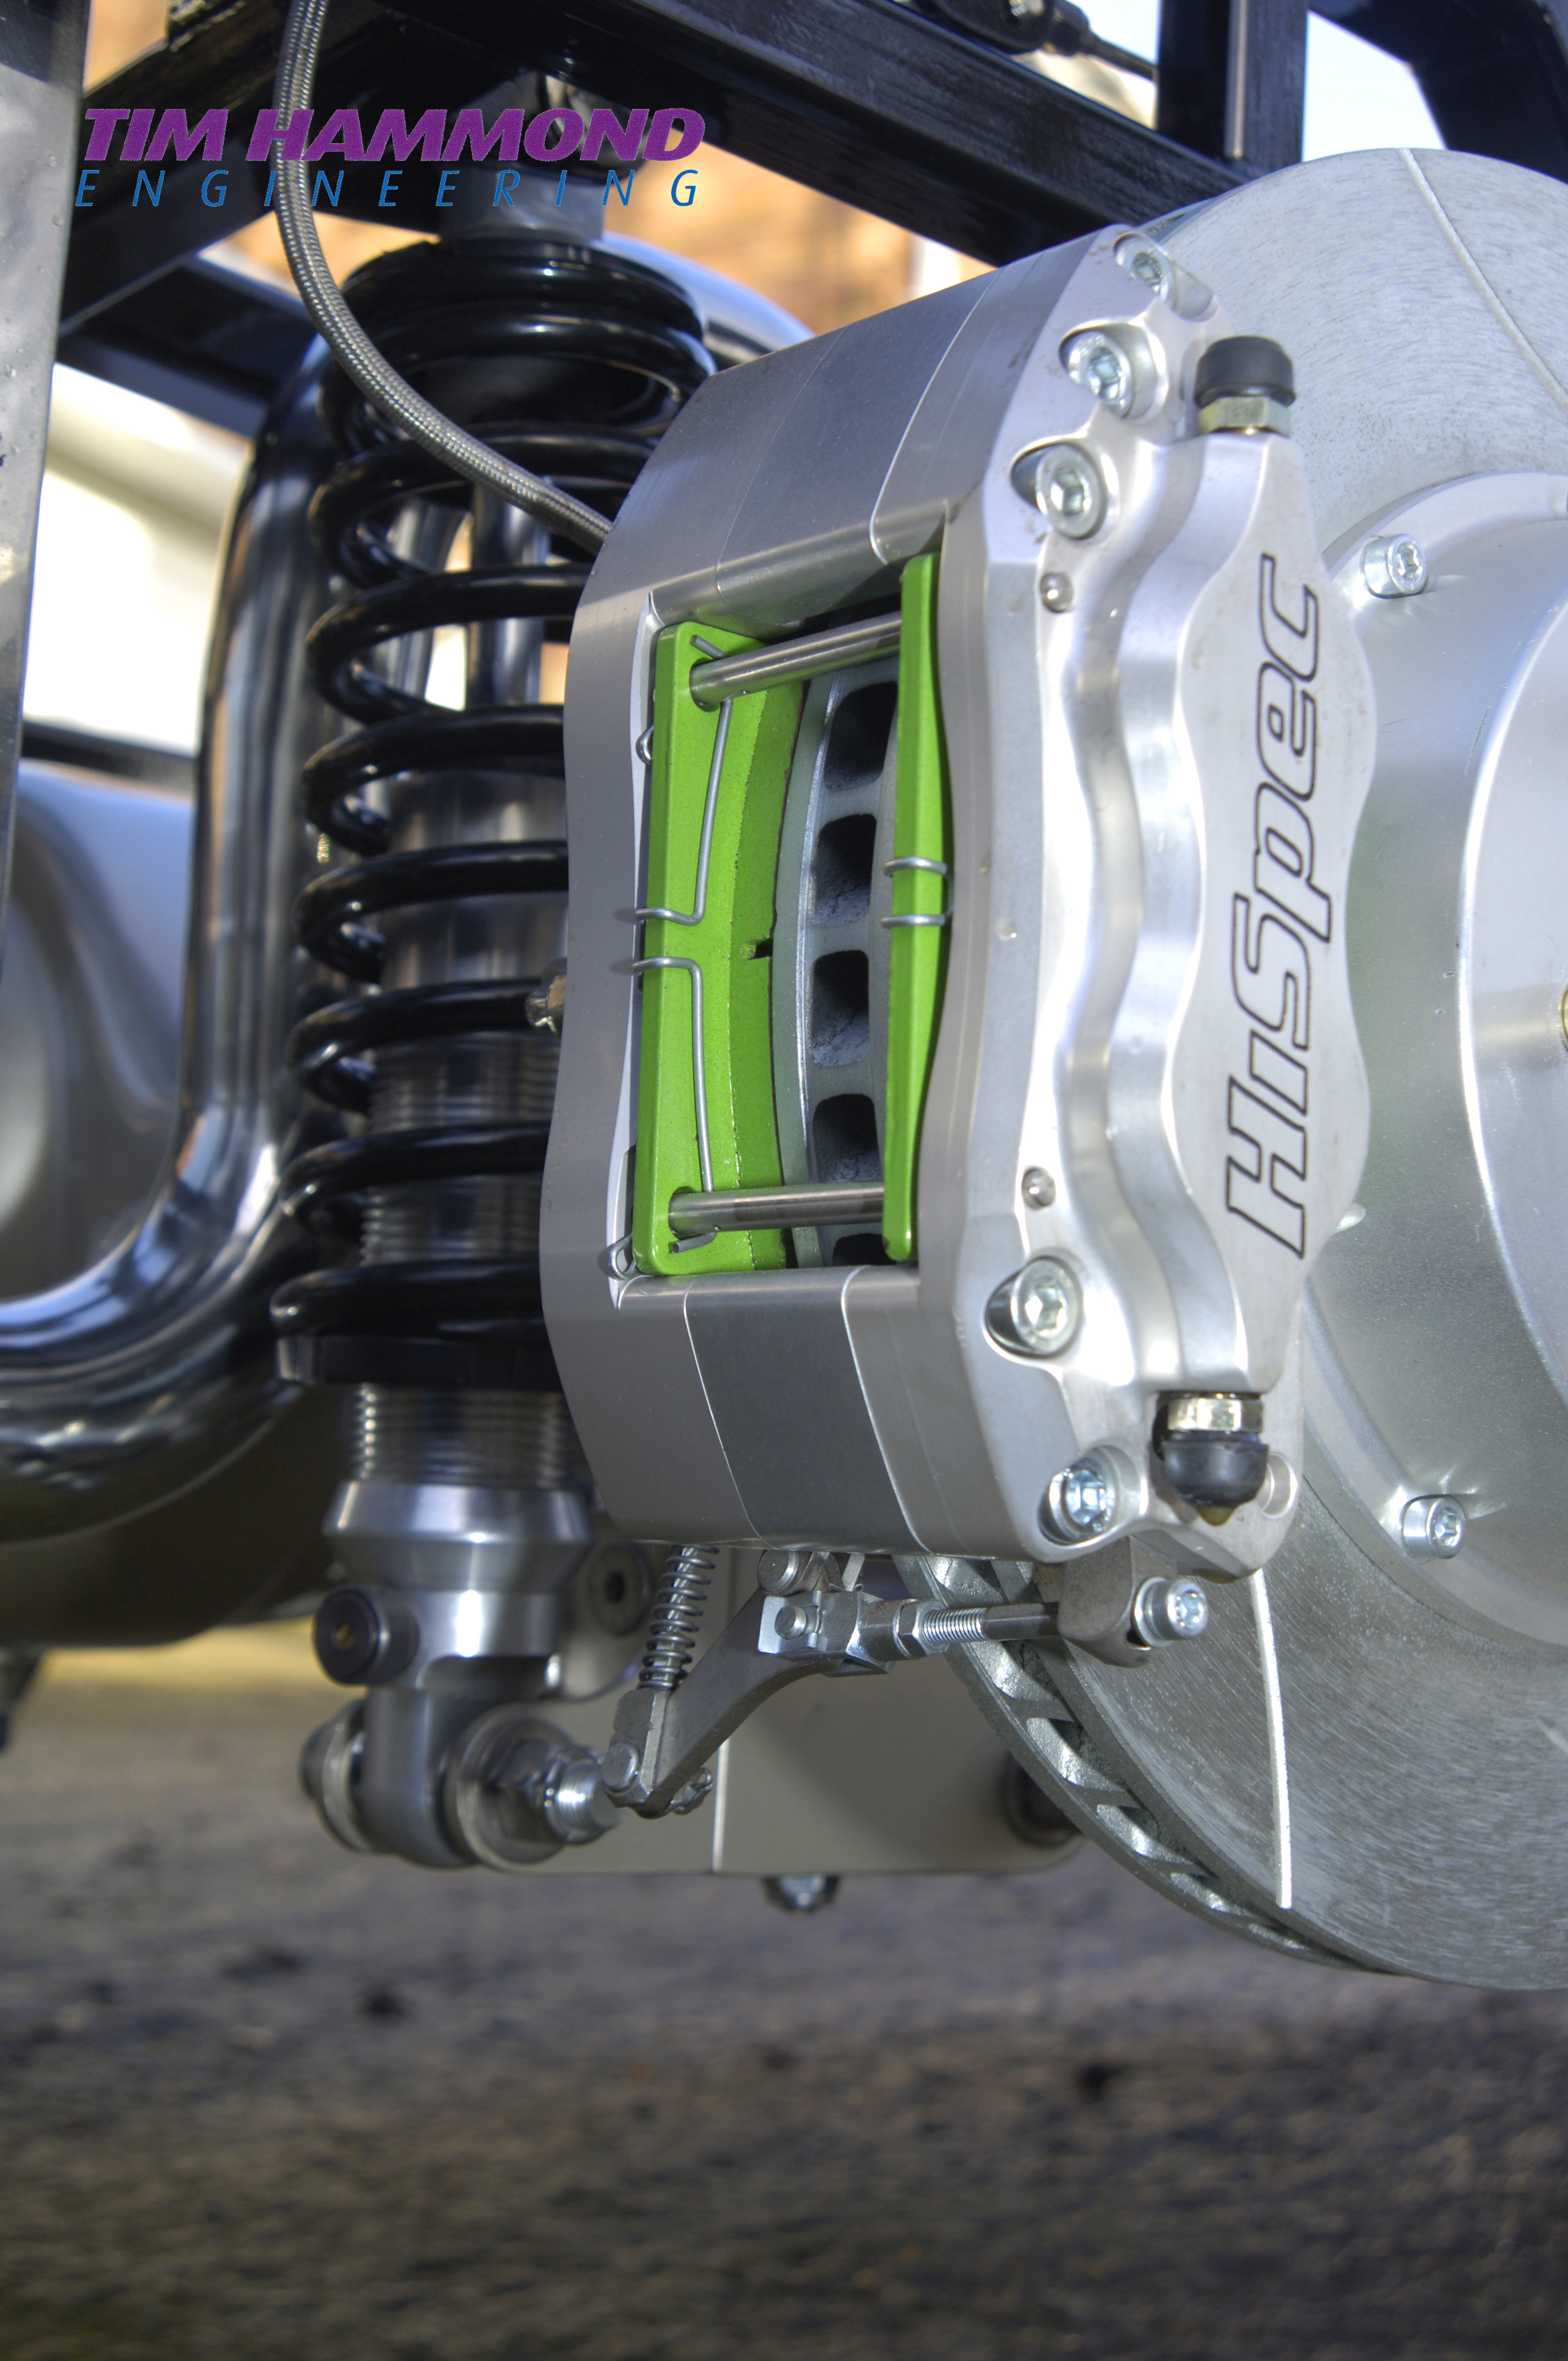
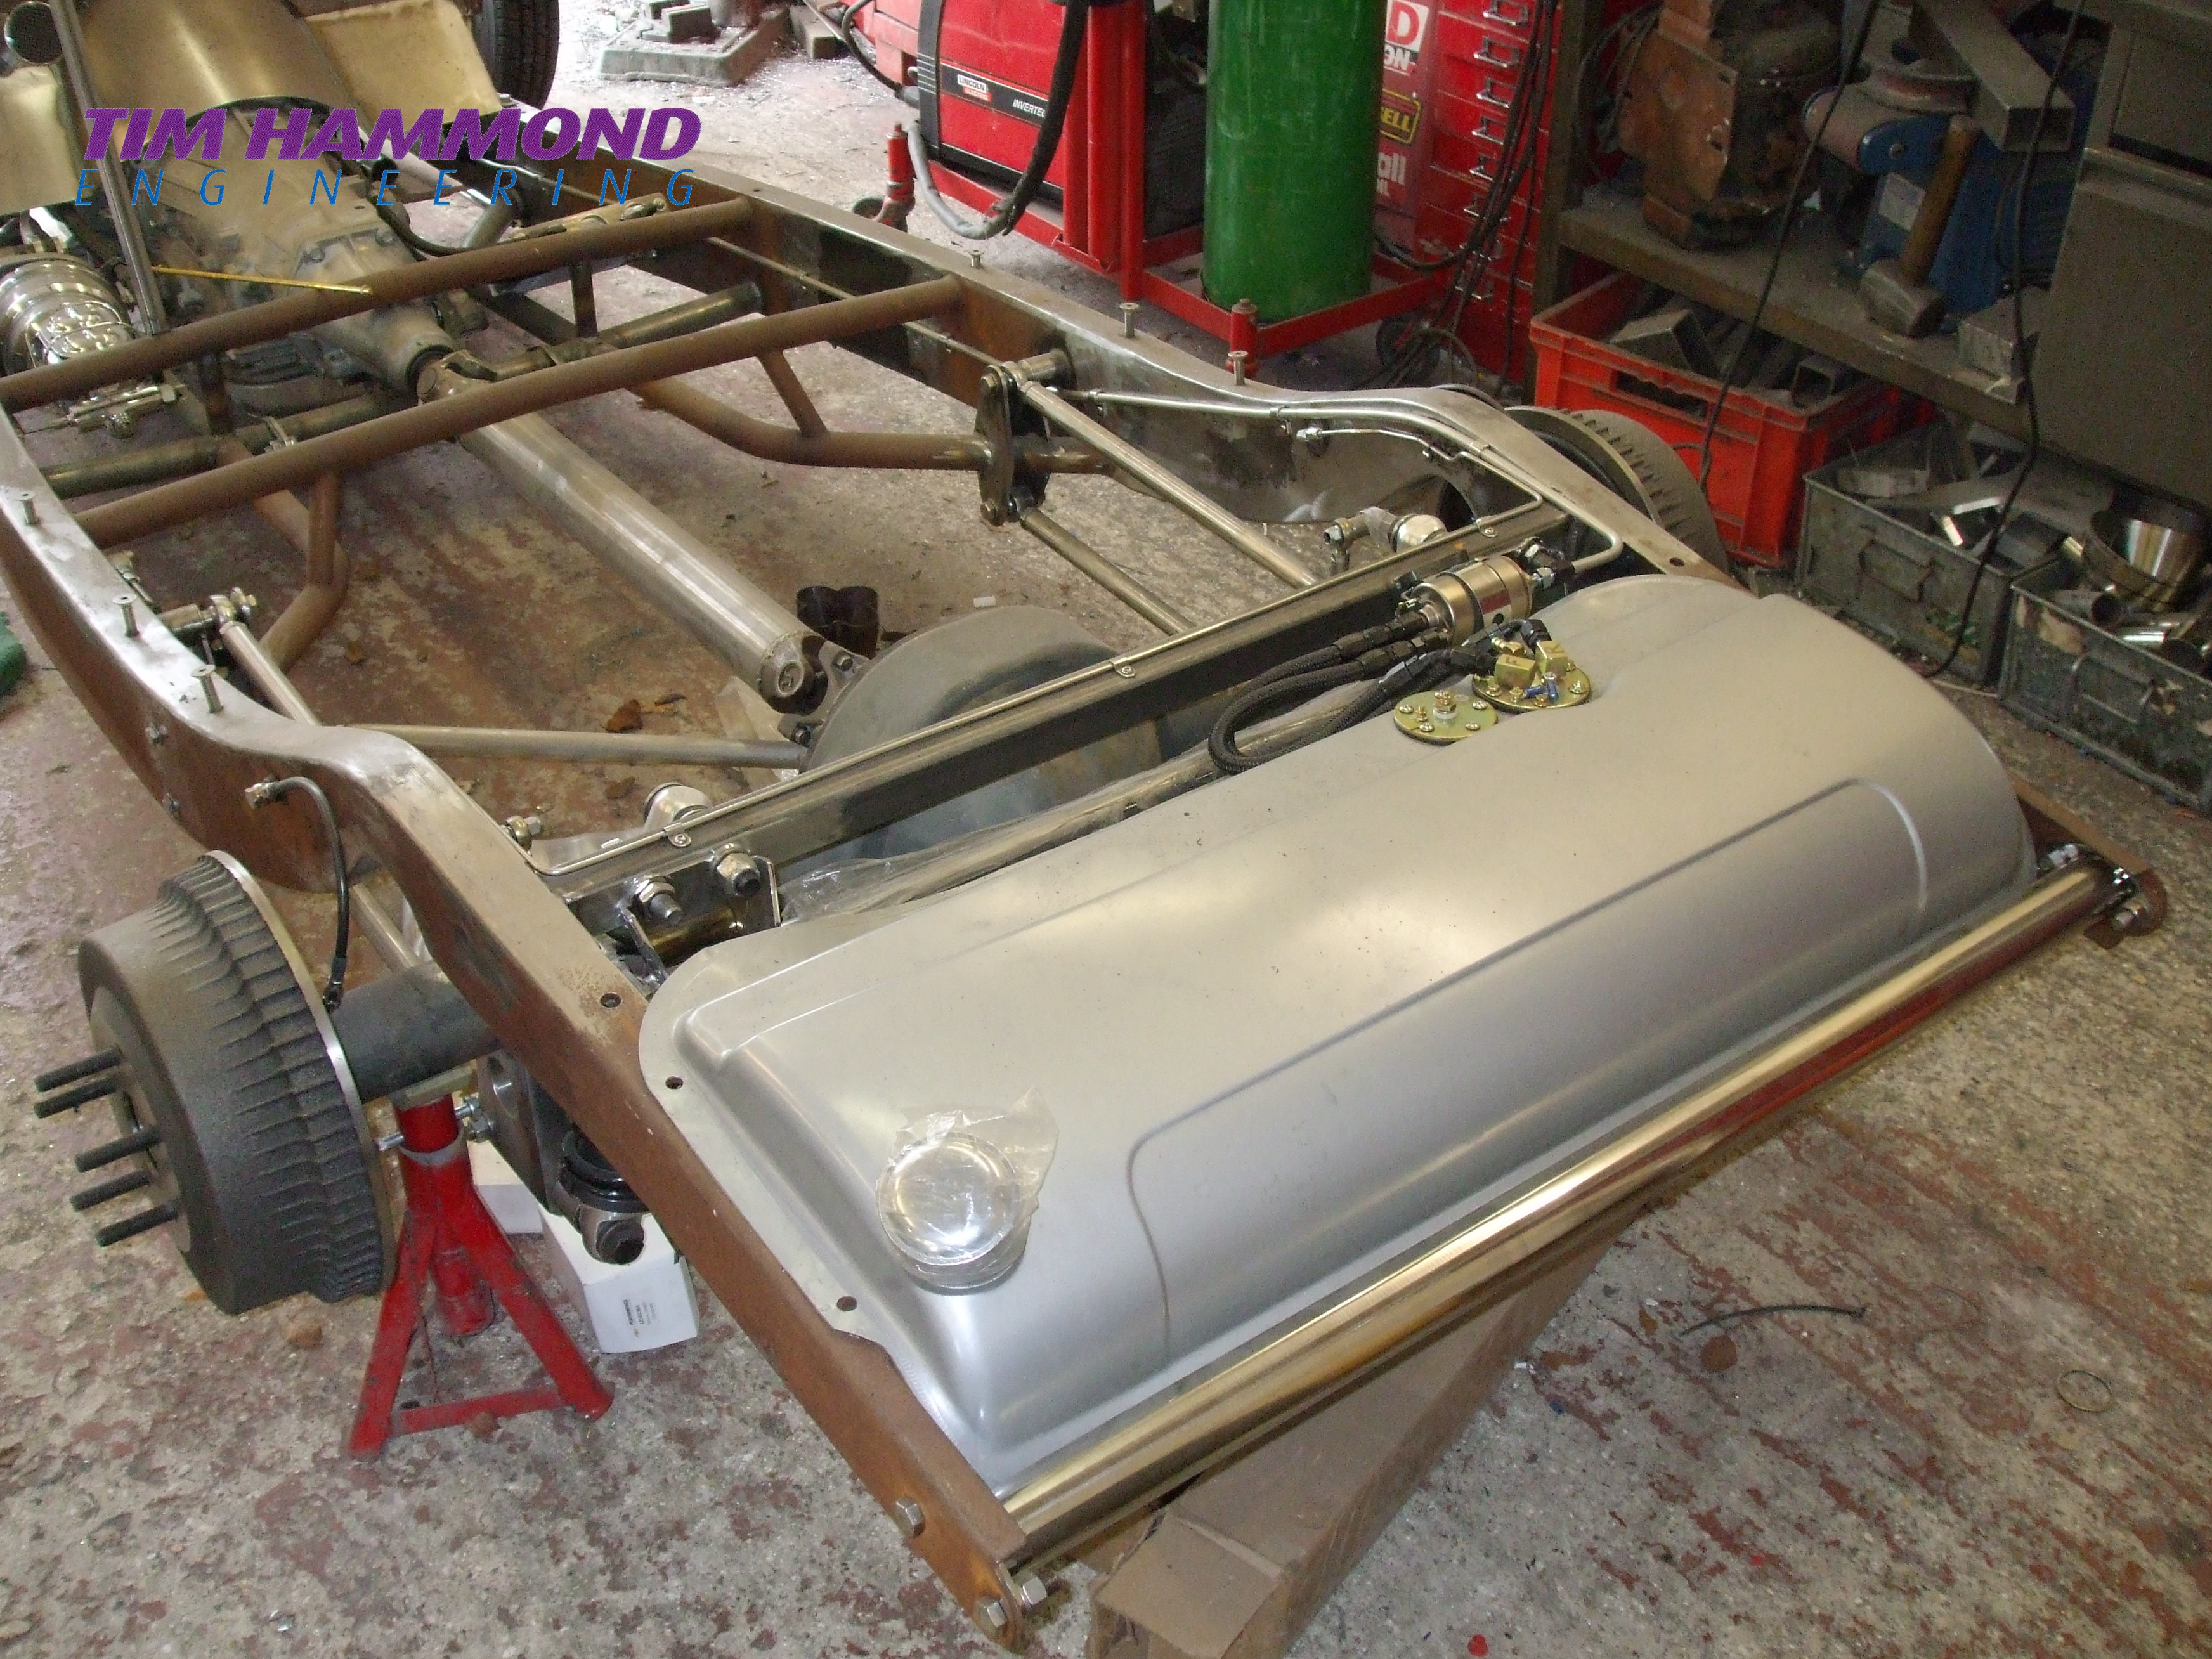
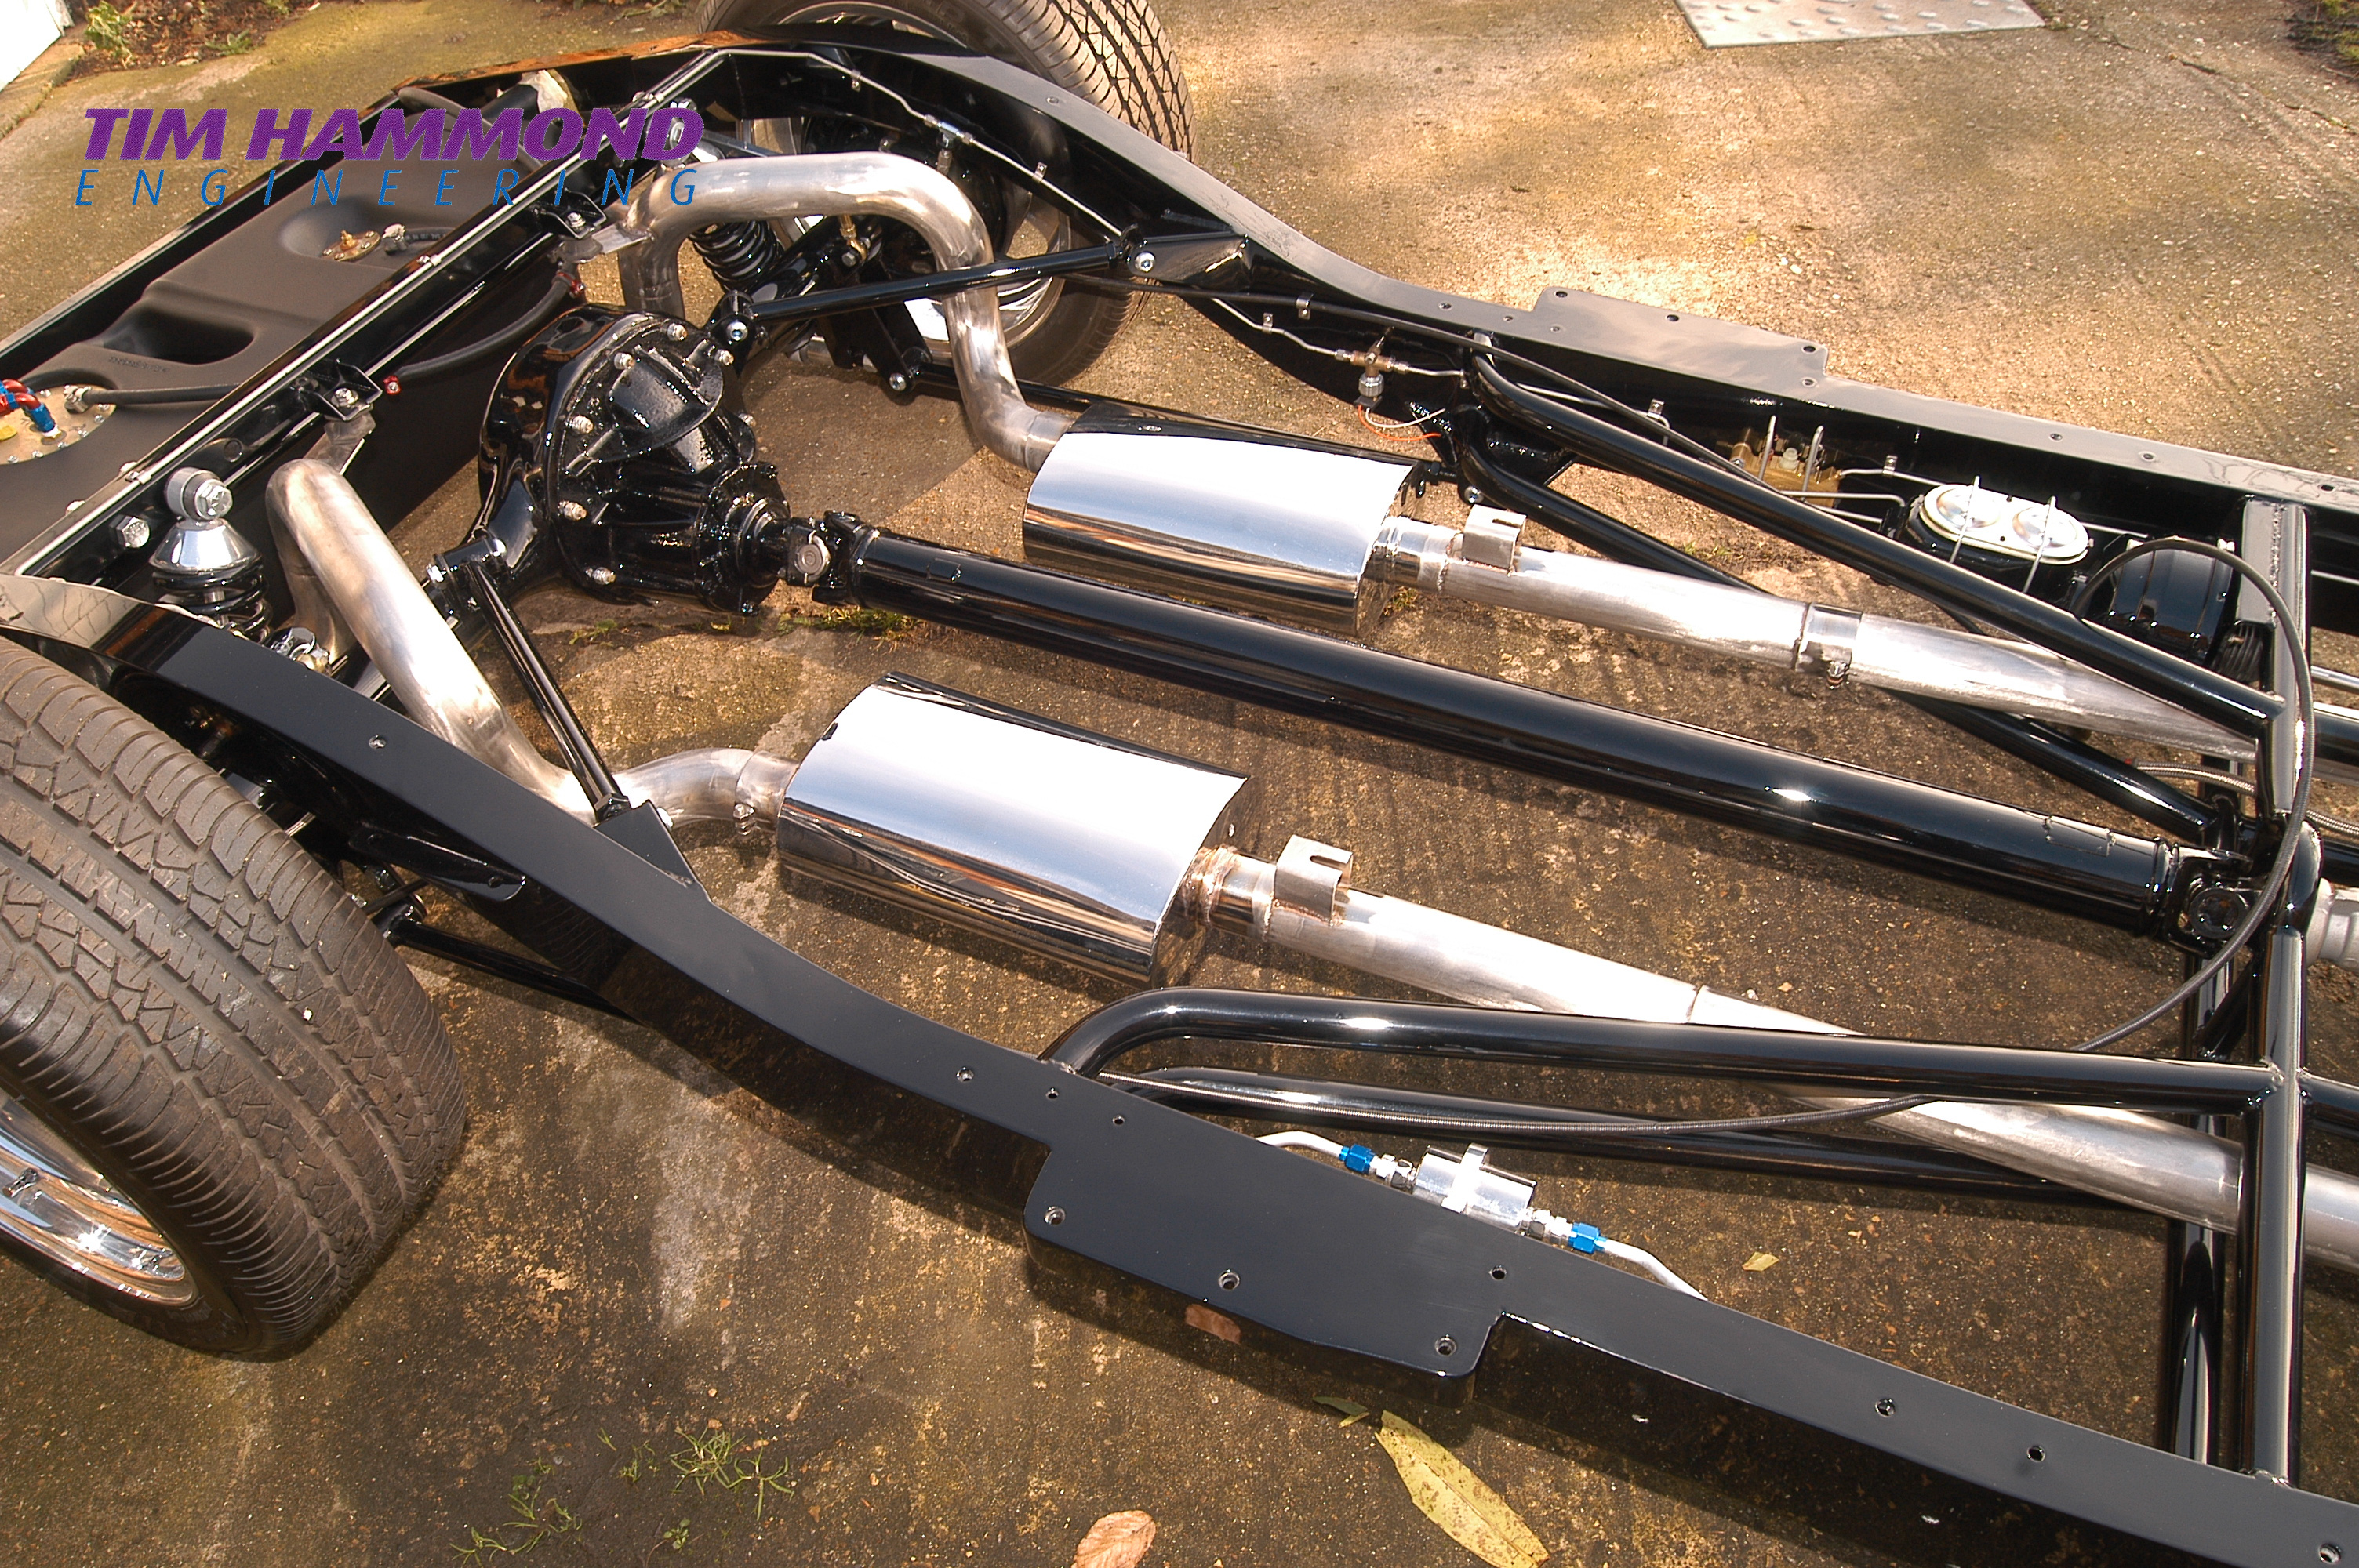
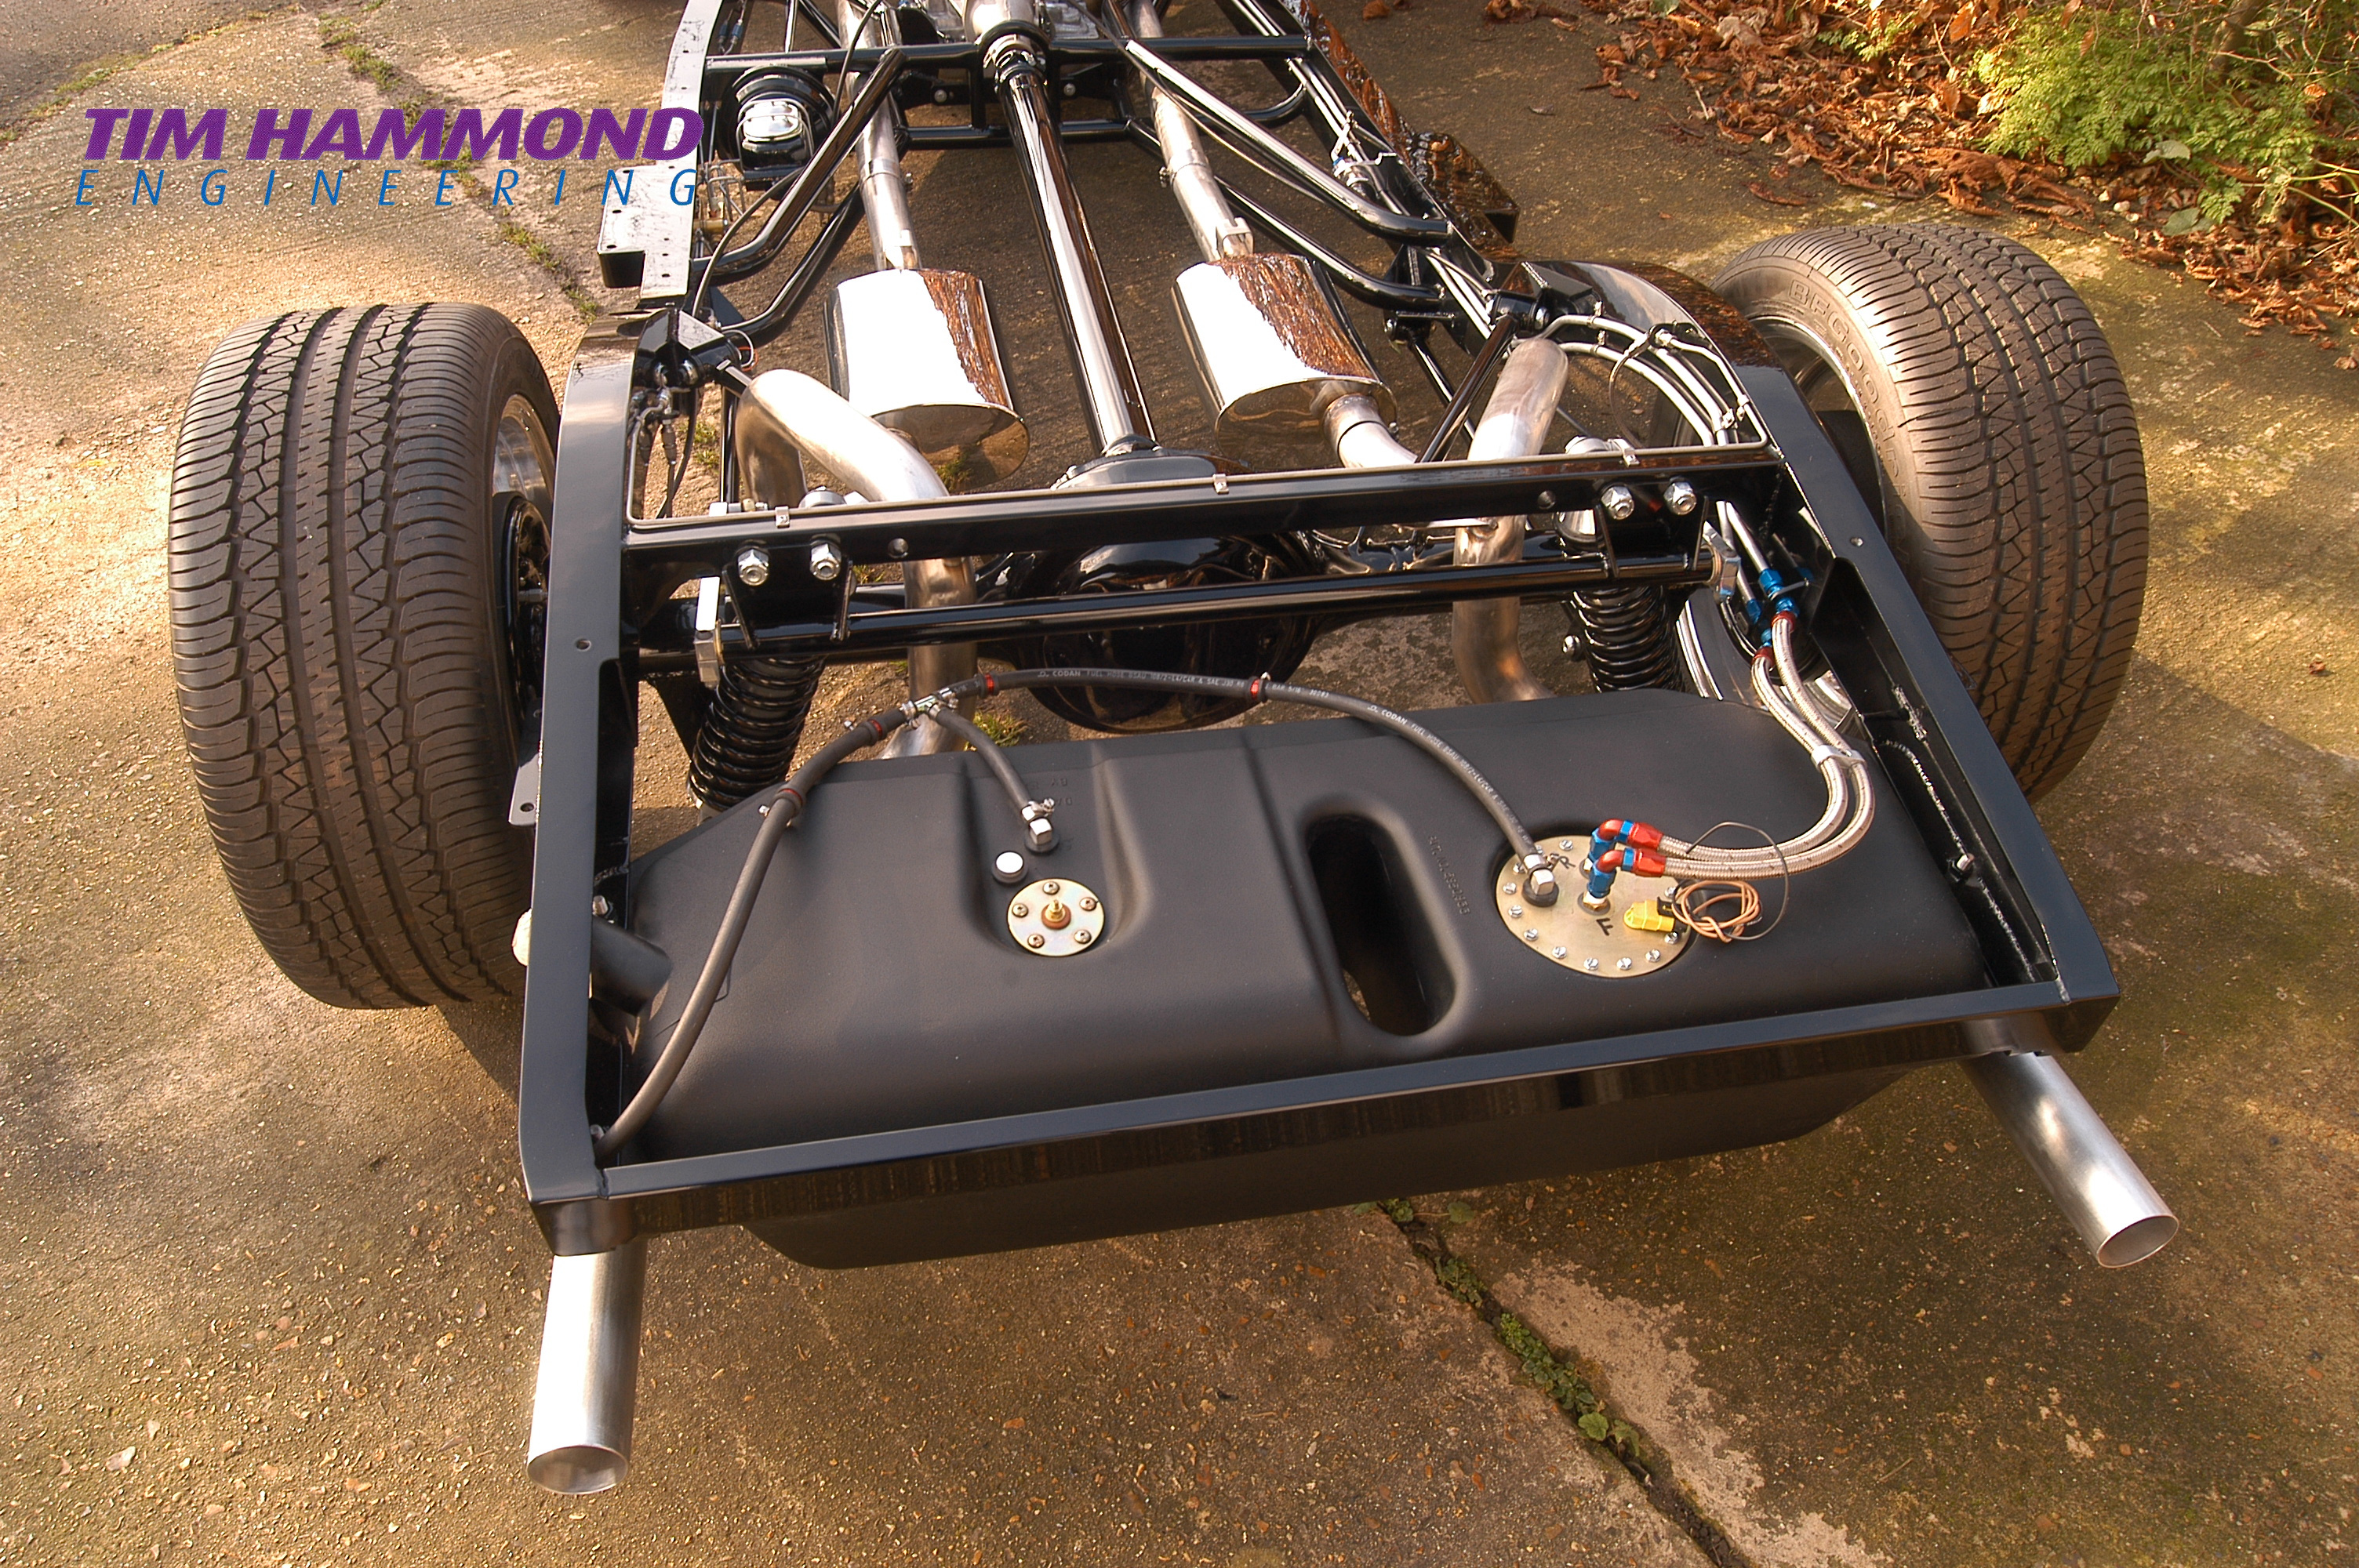
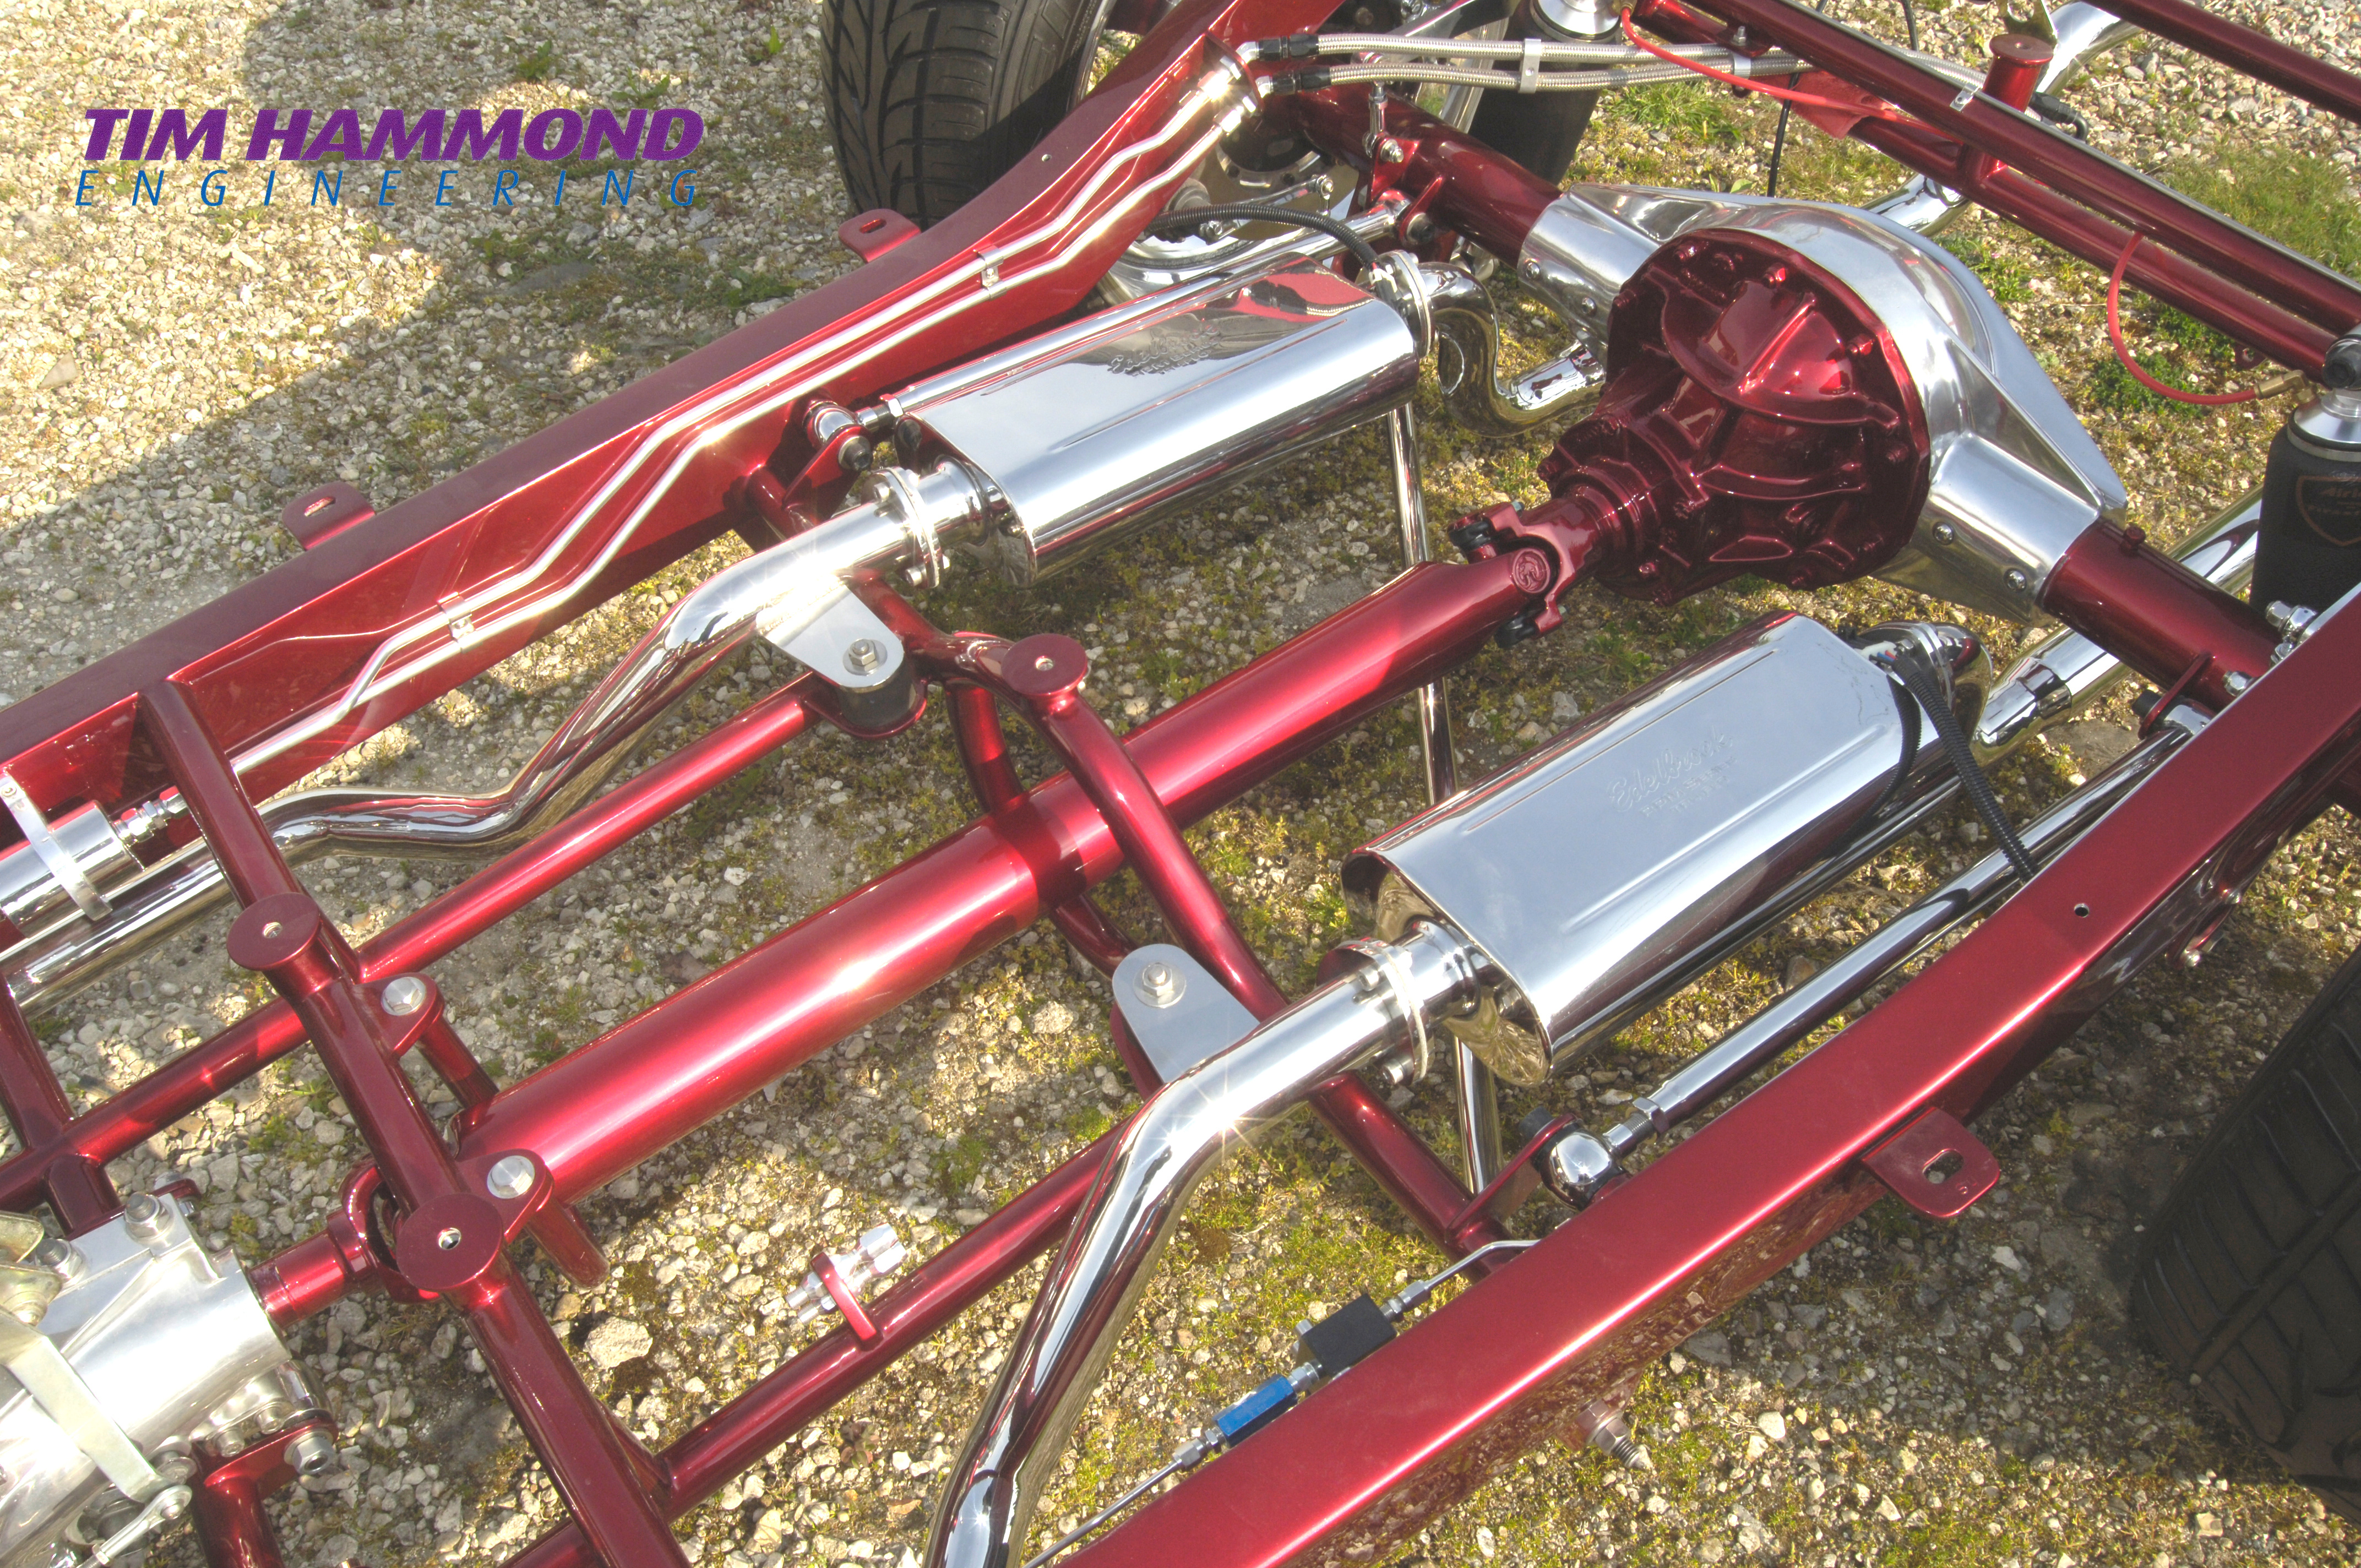
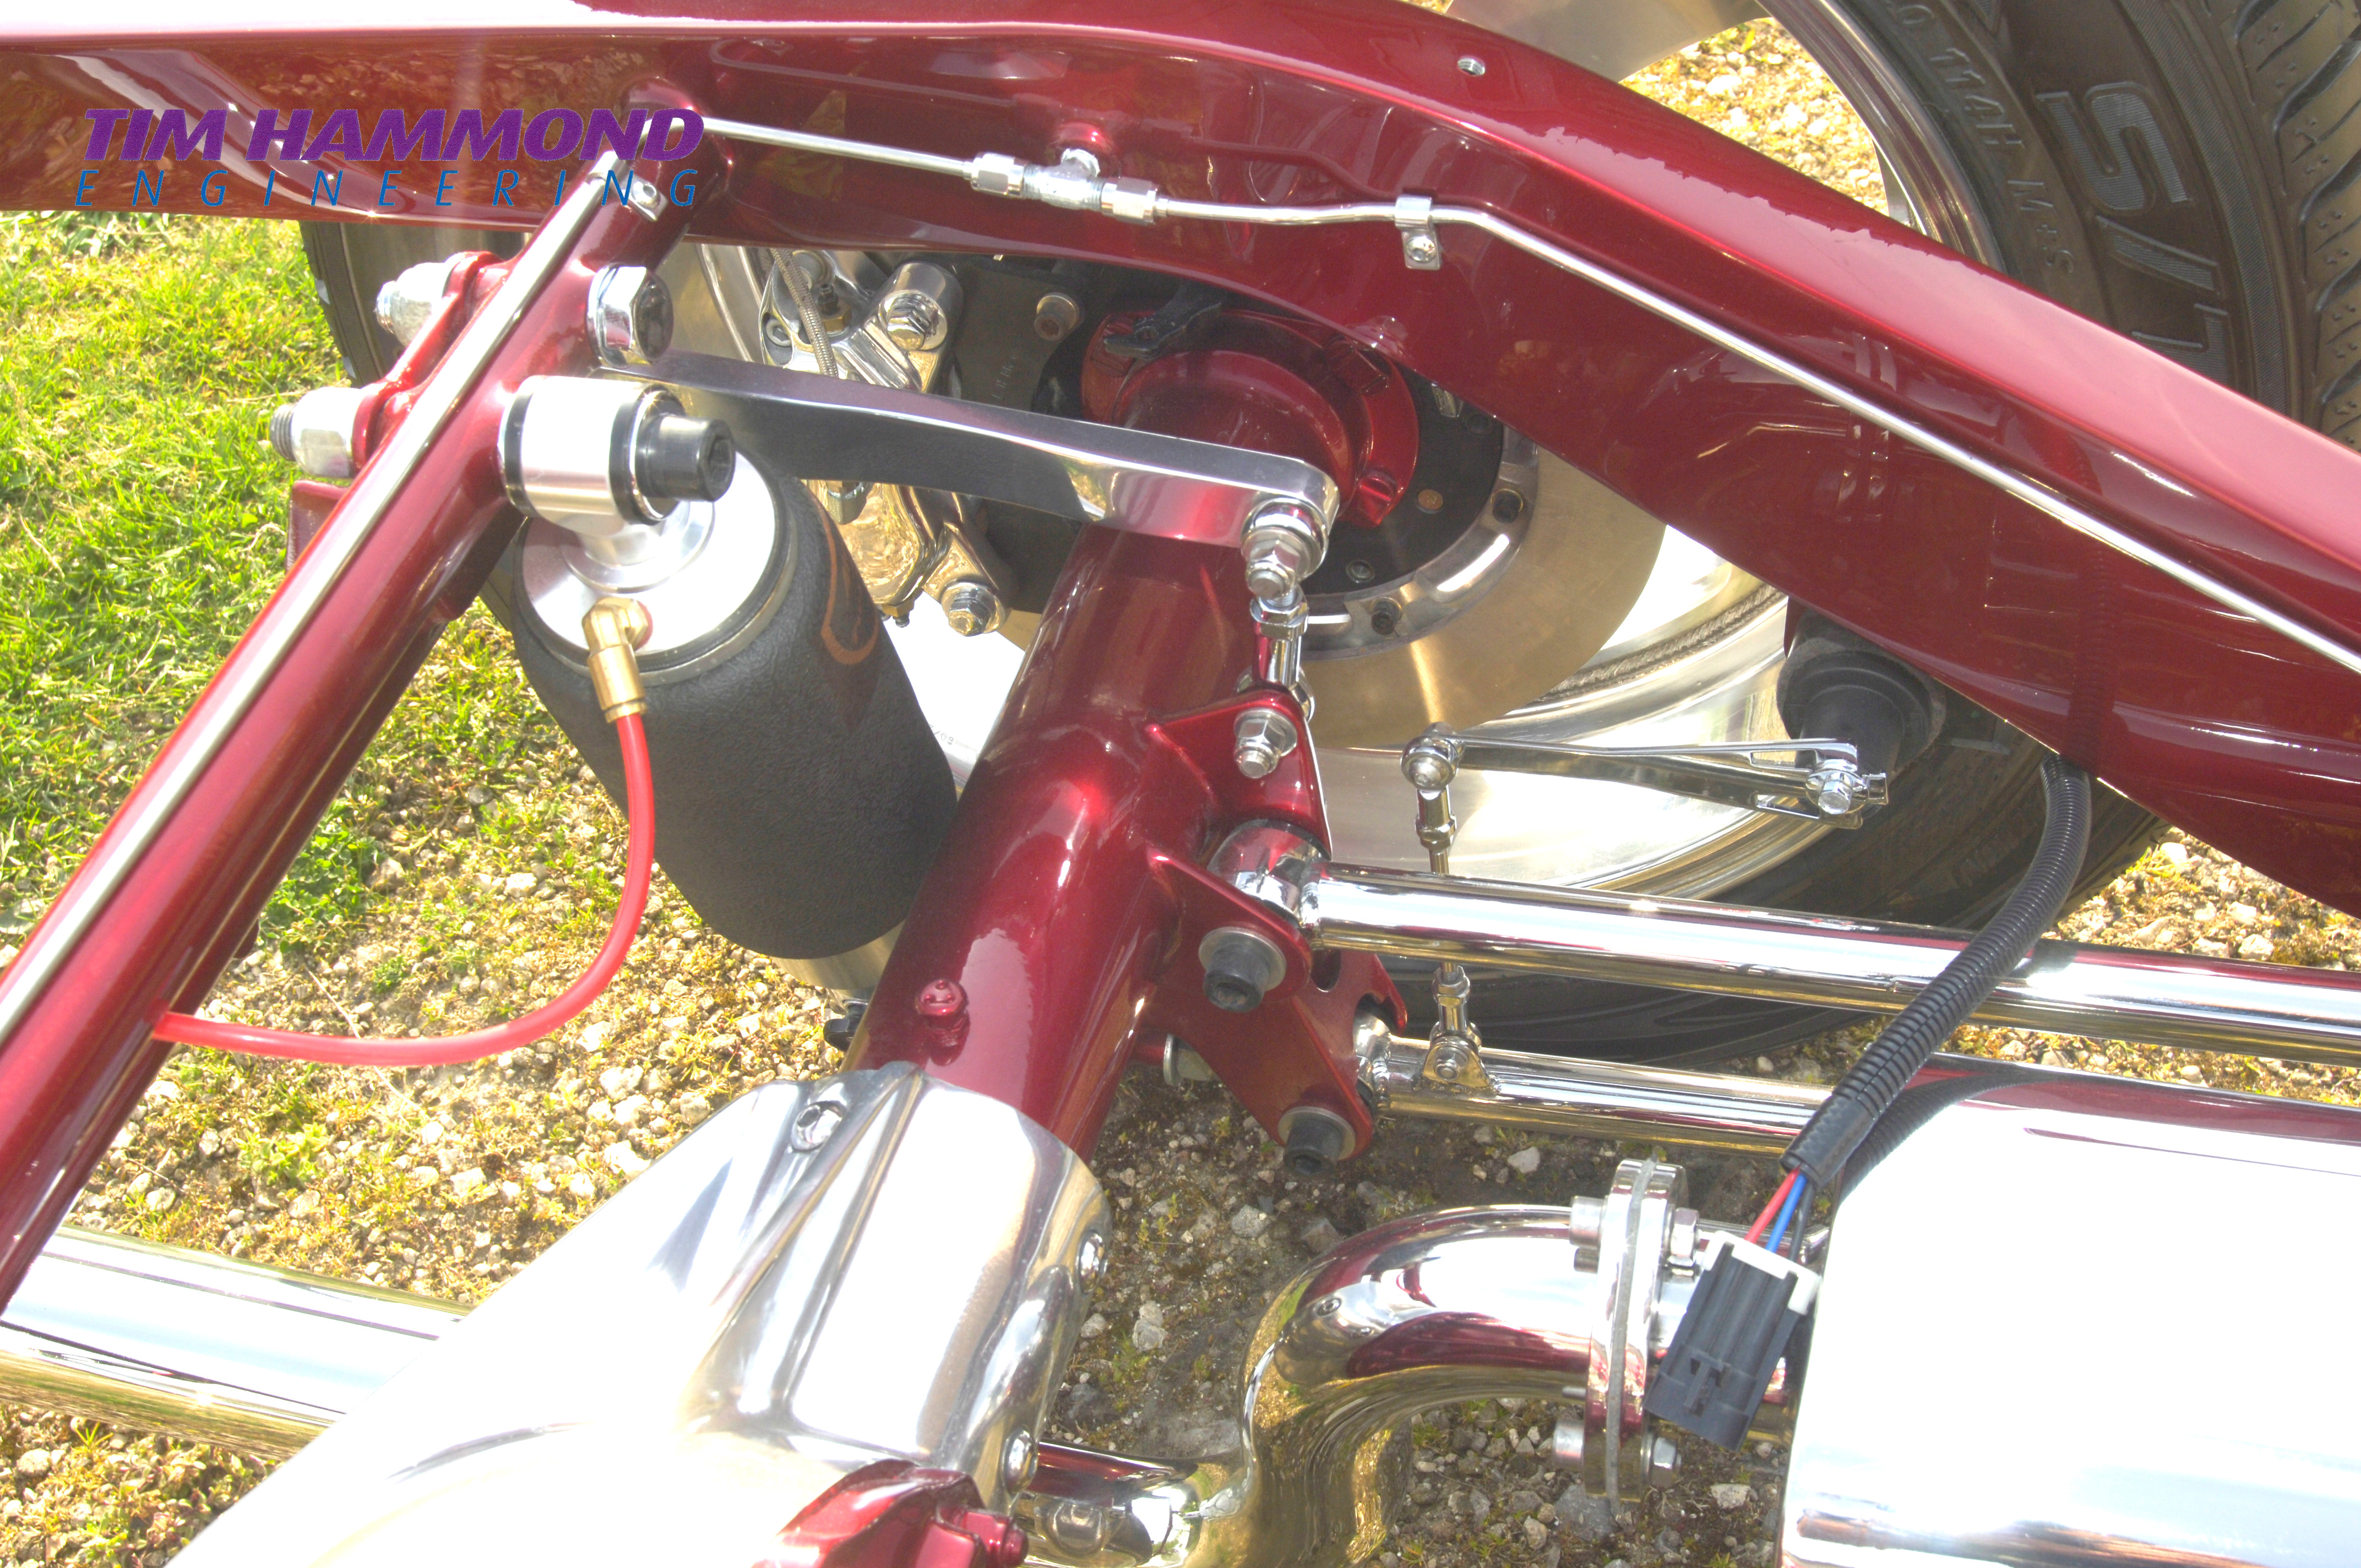
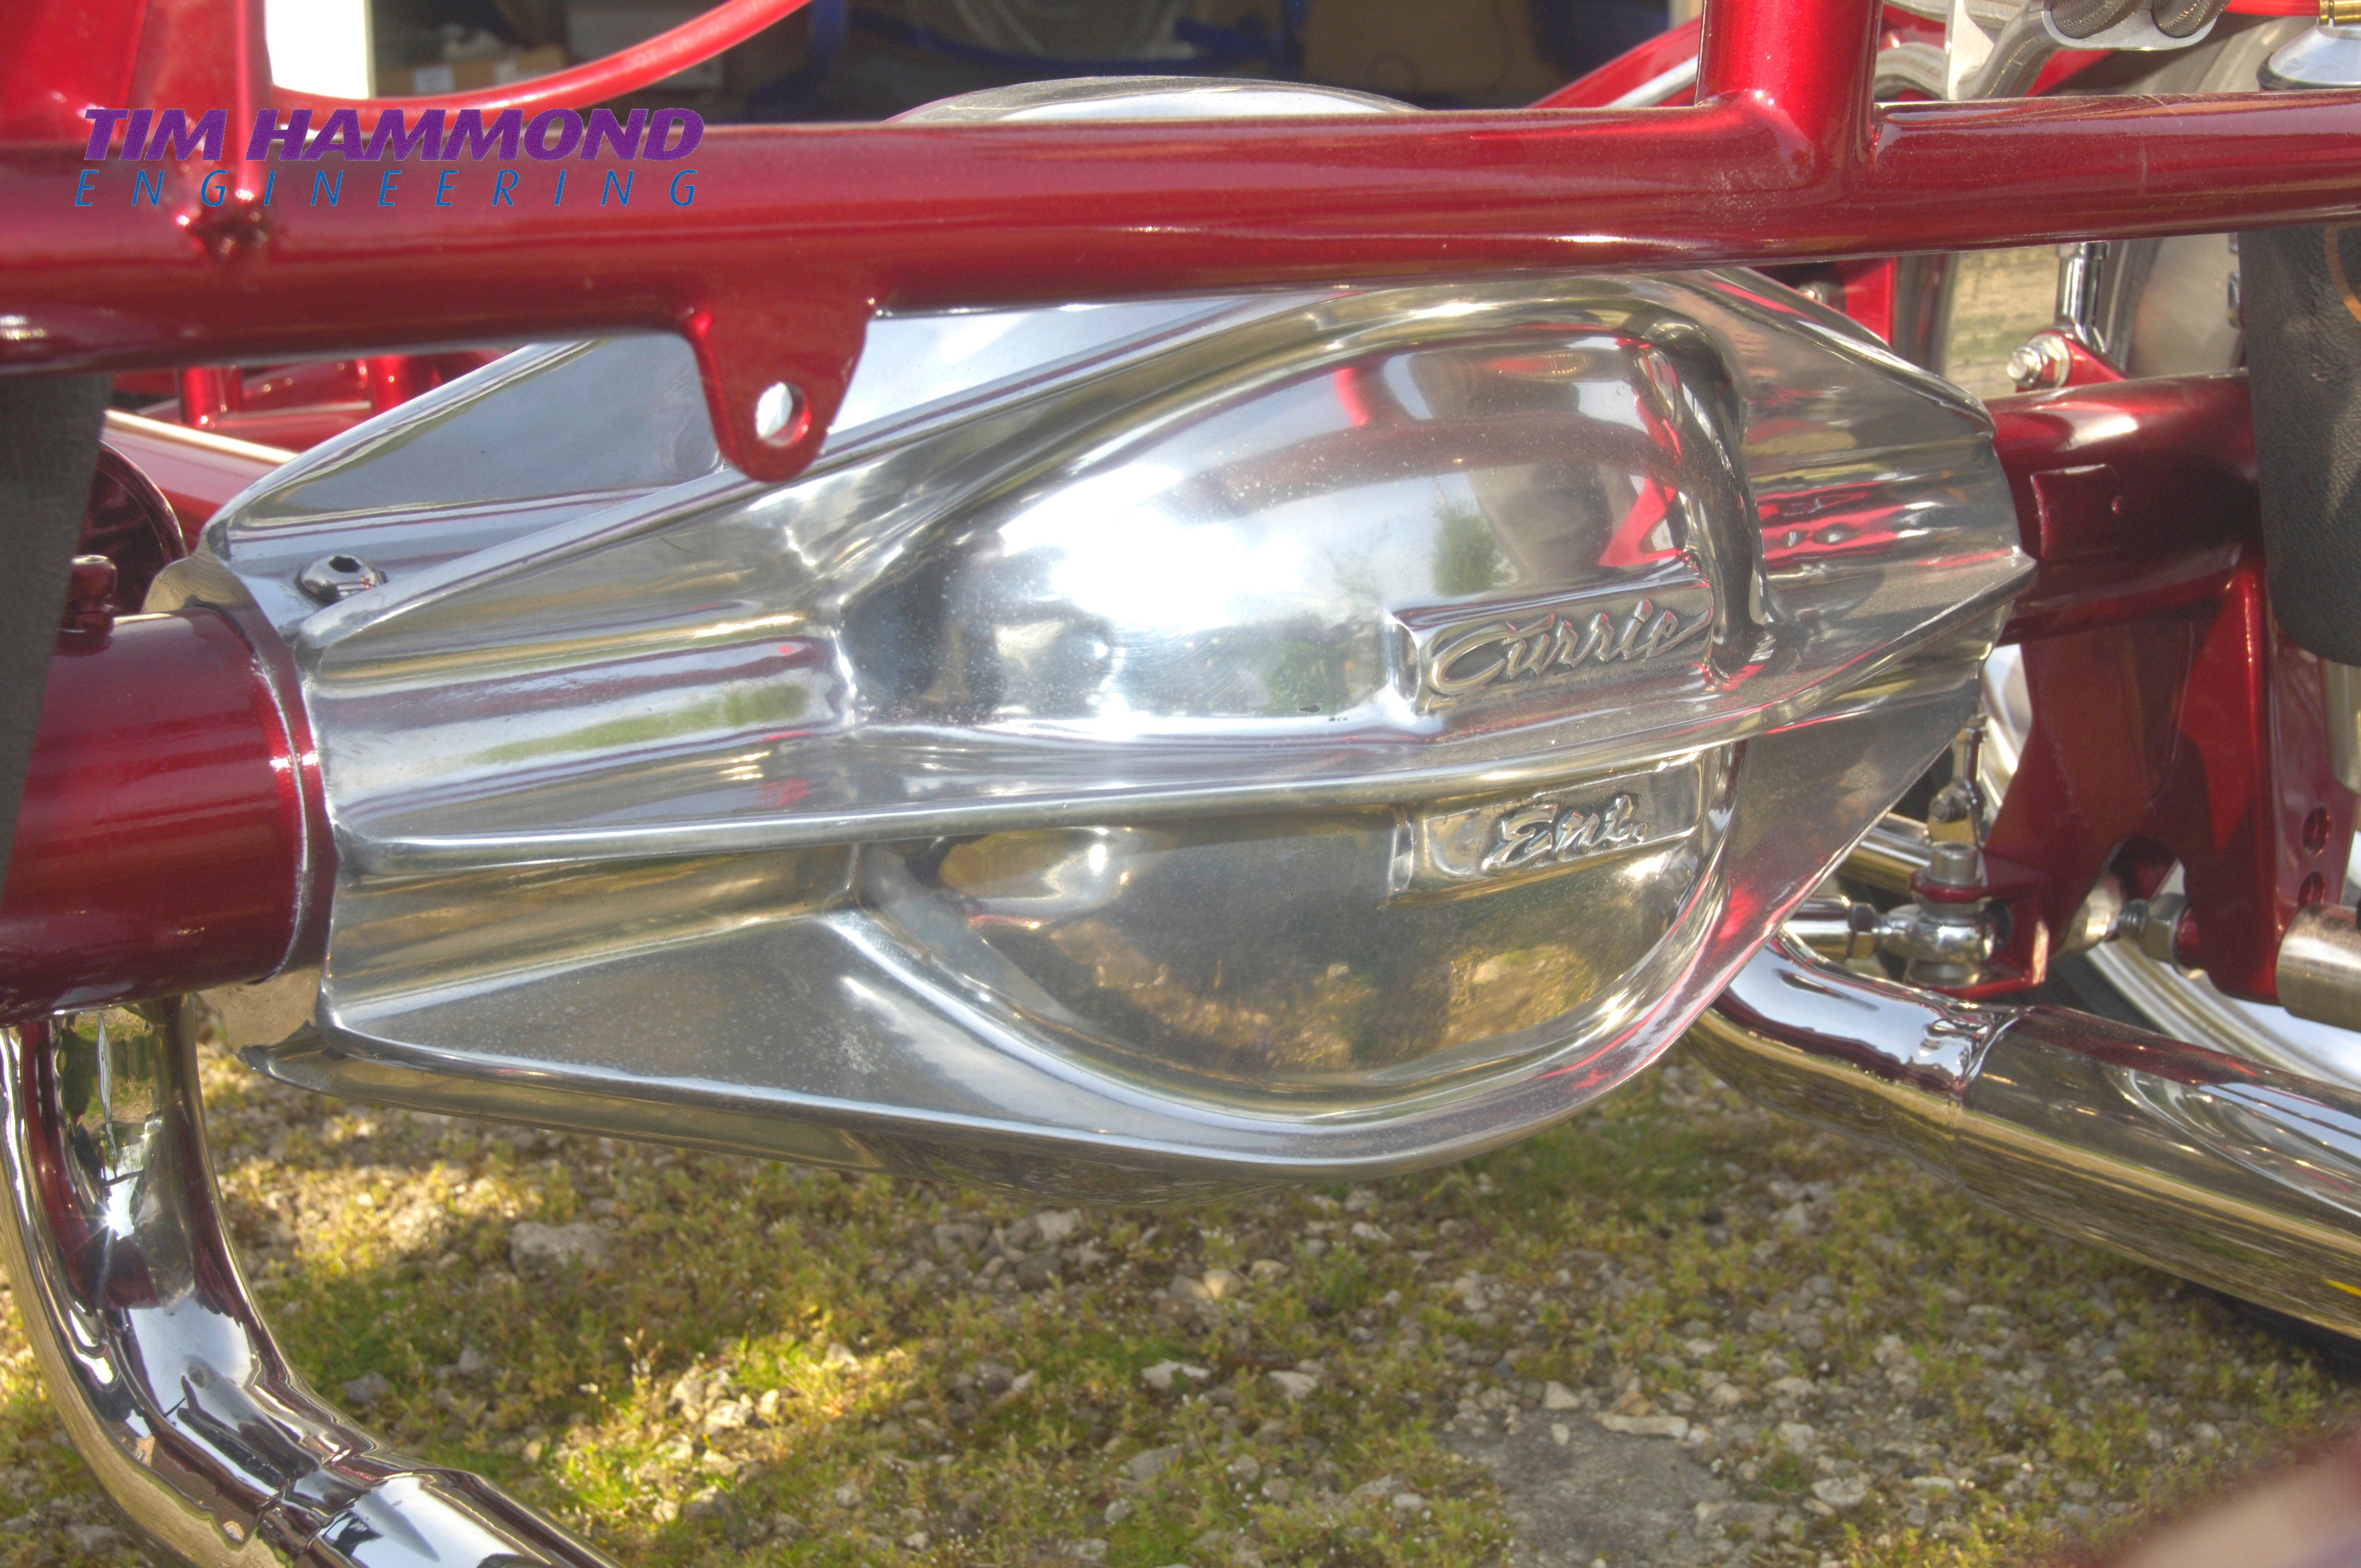
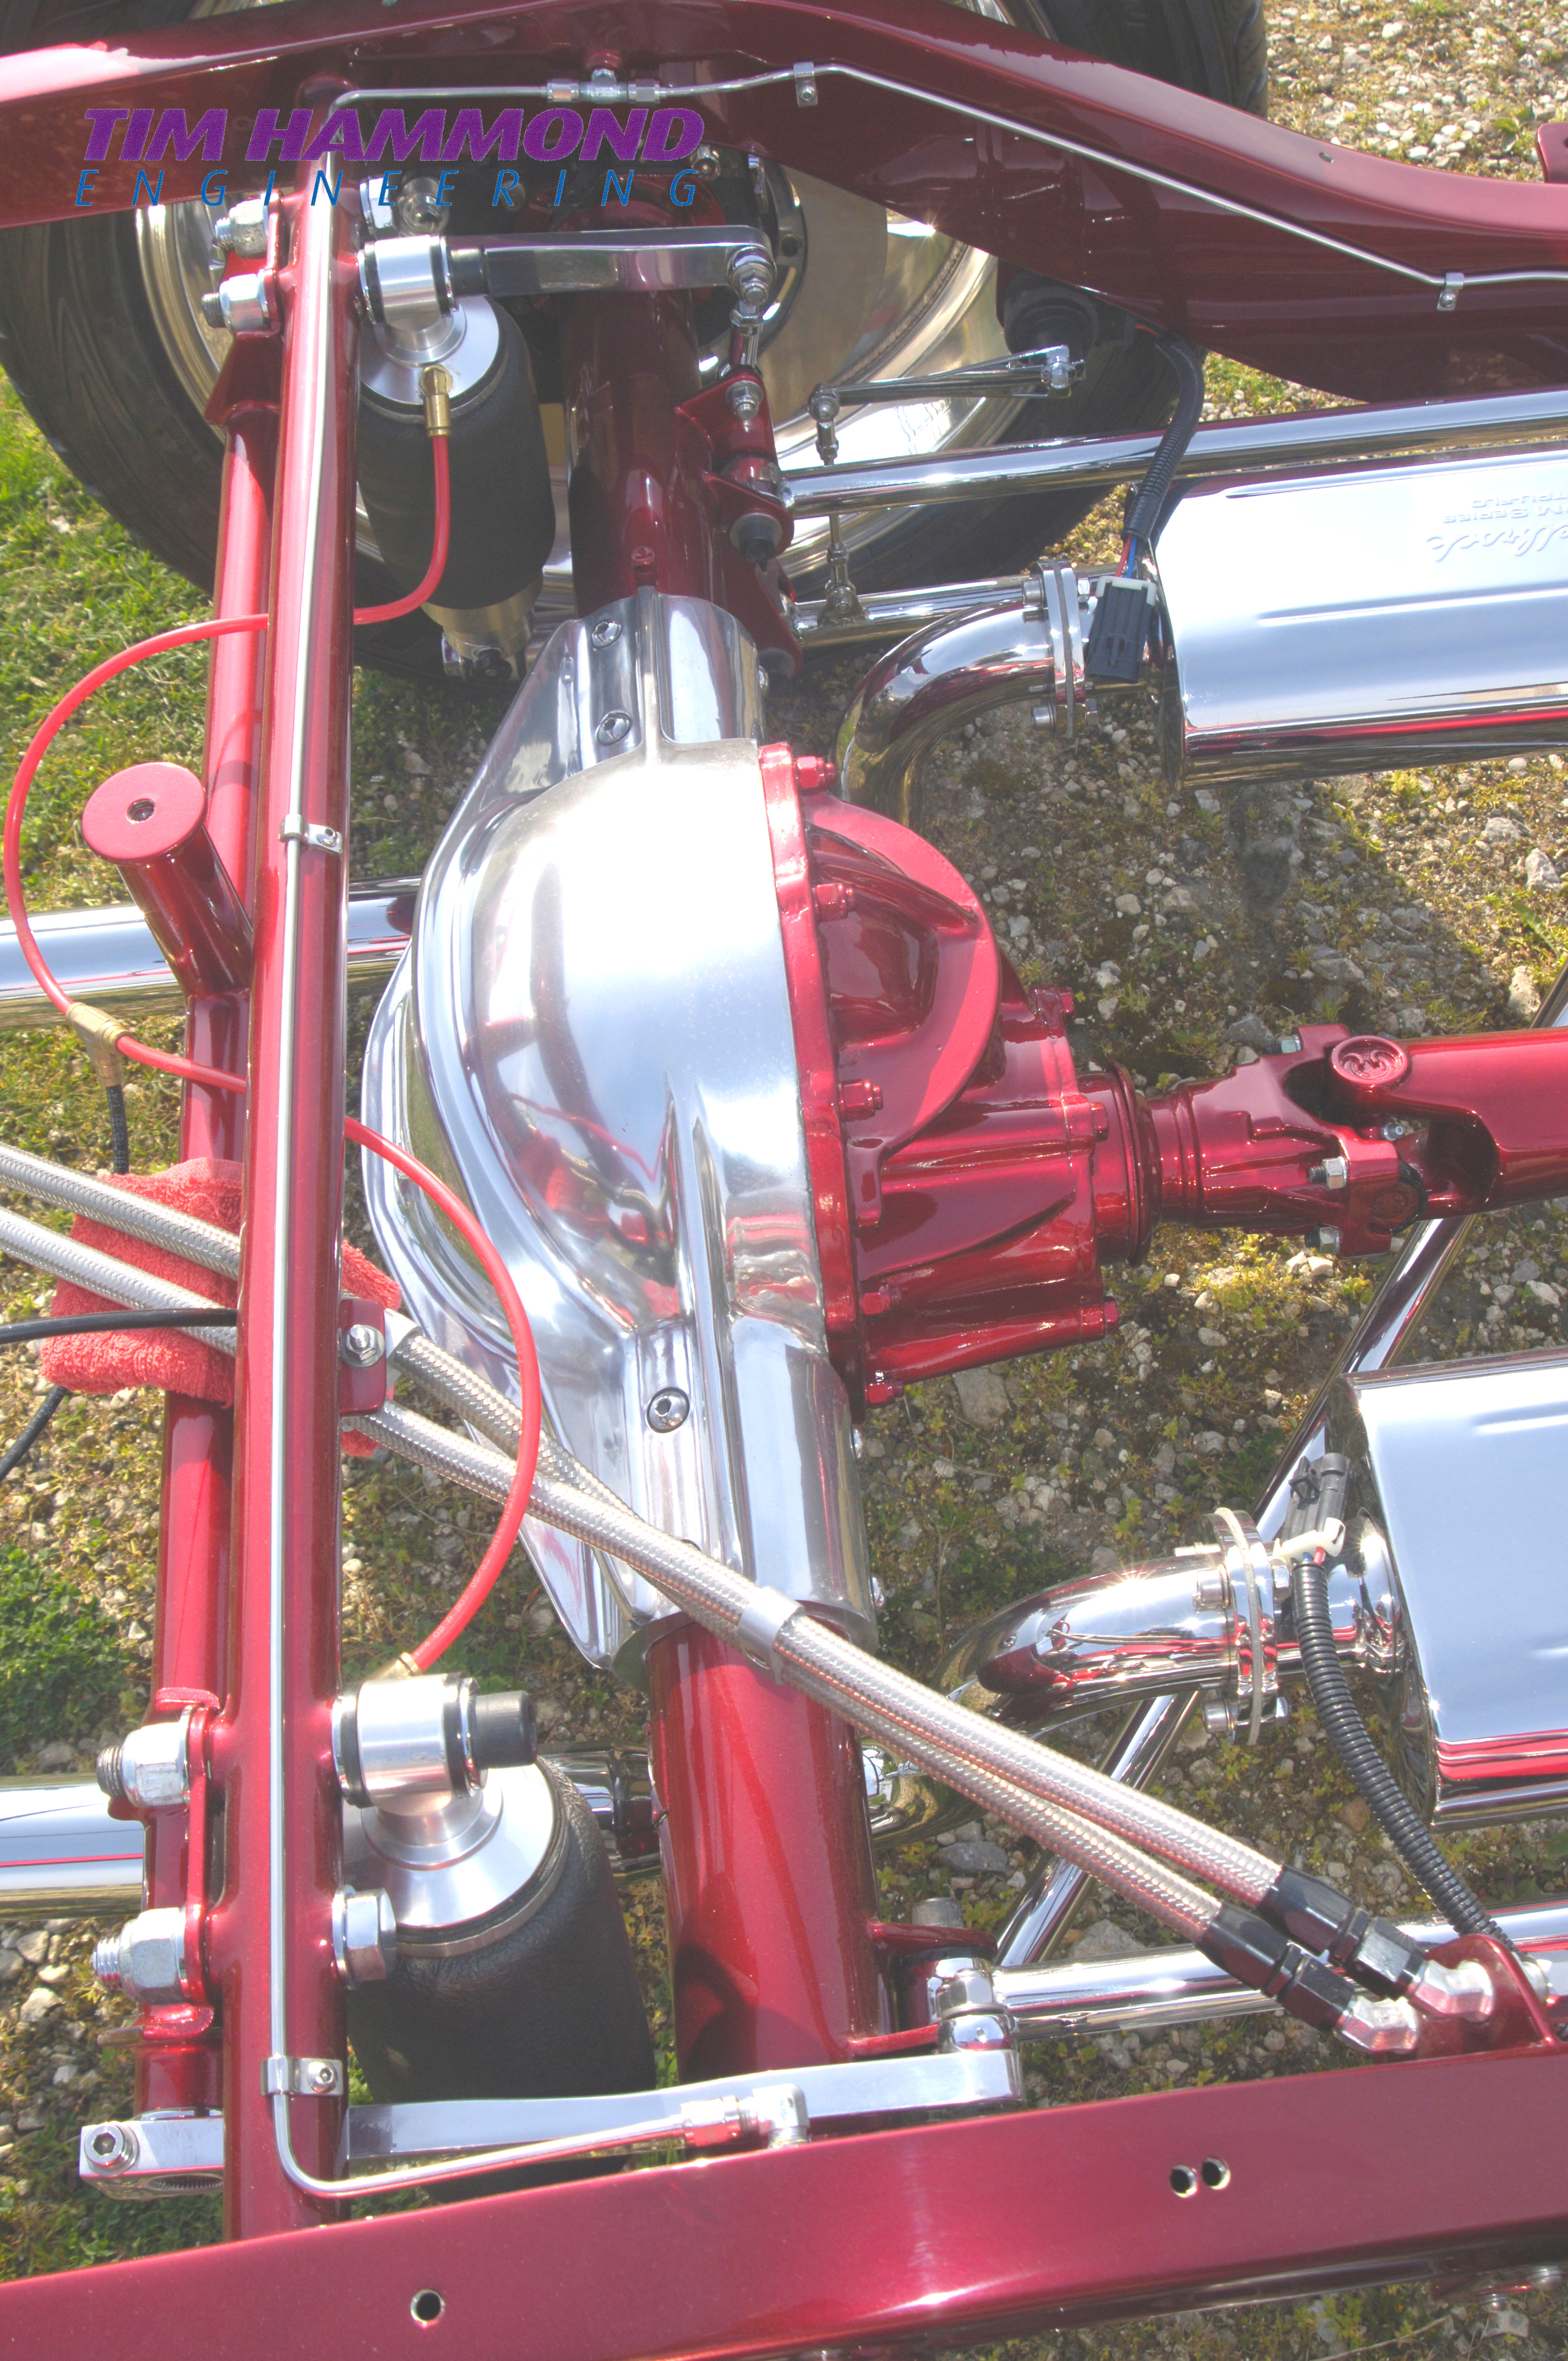
Next we set to designing and creating the rear suspension. We started off with a Jaguar diff and narrowed S type drive shafts. The aluminium hub carriers were scratch built and machined by Tim from solid blocks of HE30 aluminium. These would take the Jaguar rear bearings and wheel flanges, bottom and side links. Machined aluminium plates were made to bolt to the diff to take Willwood callipers and handbrake callipers. The diff cover was an XJ40. Three aluminium blocks were machined into a channel and mounting plates for the bottom links. 8 stainless steel 1 inch bars were machined and threaded with 16 rose joints for the multilink rear suspension. 1 pair of Protech 16” fully adjustable aluminium coil overs, fully adjustable, 16 machined aluminium UJ caps and aluminium covers were machined to cover the rear Jag flanges to complete the rear suspension.
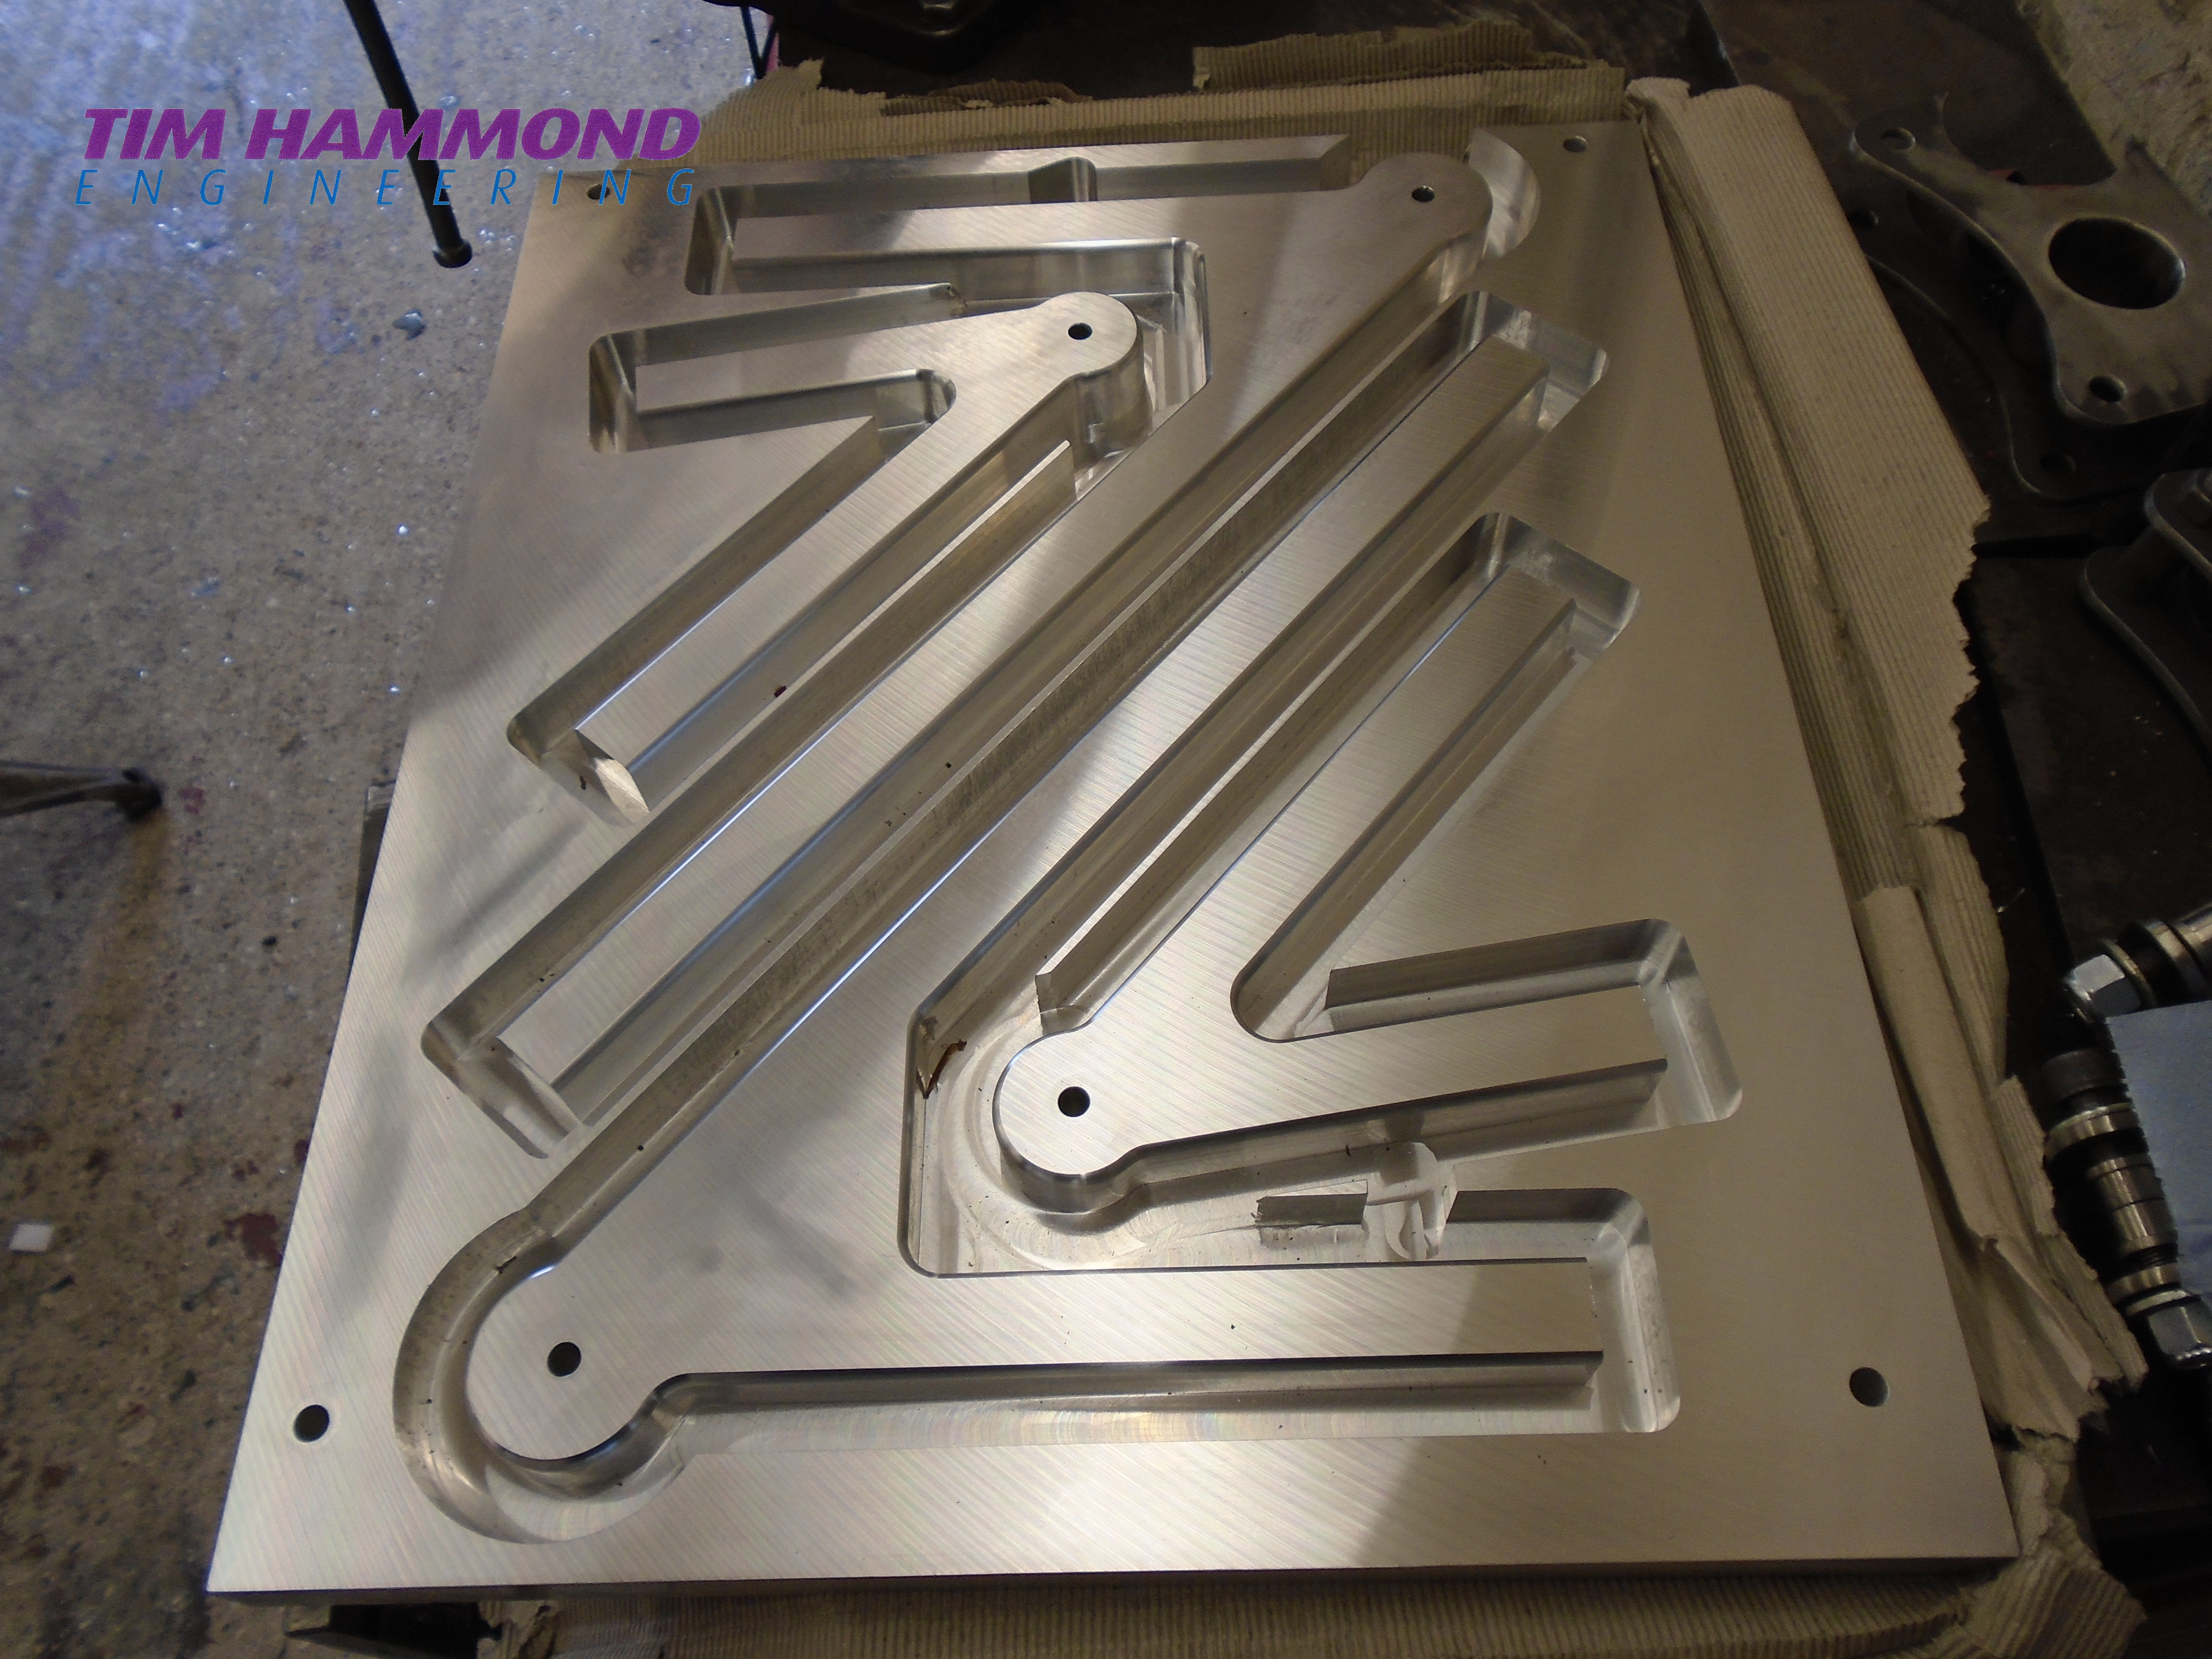
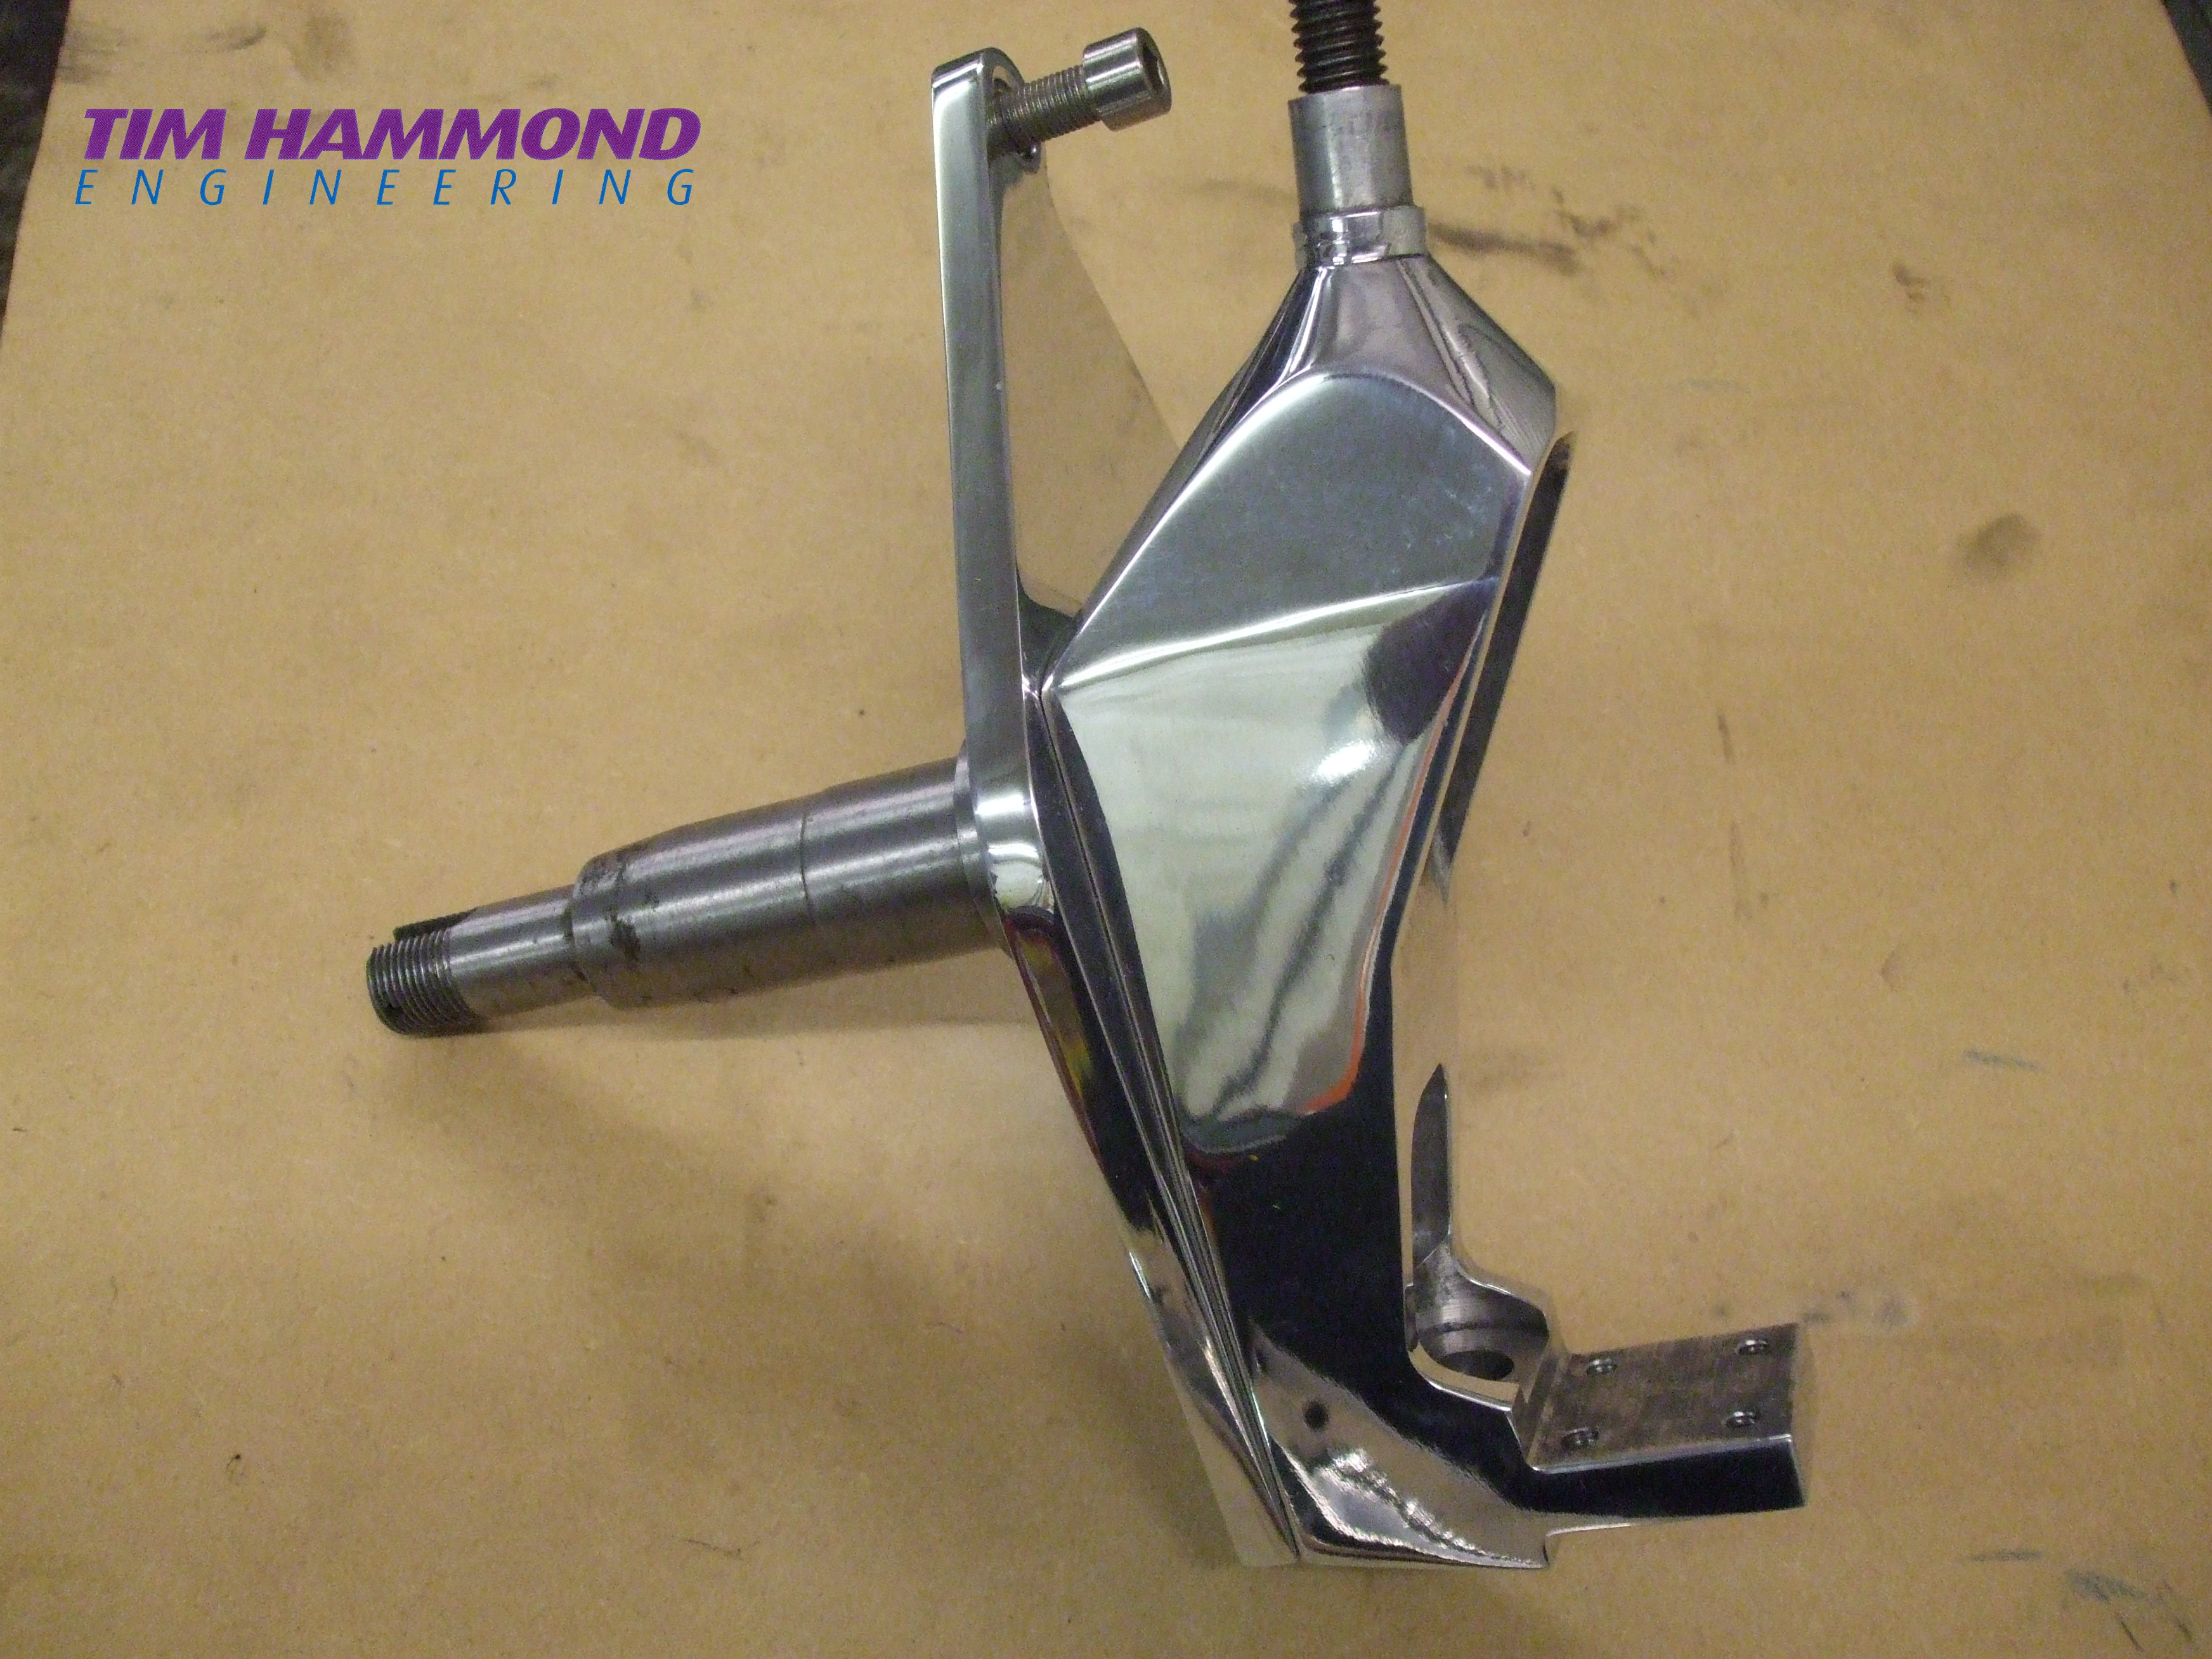
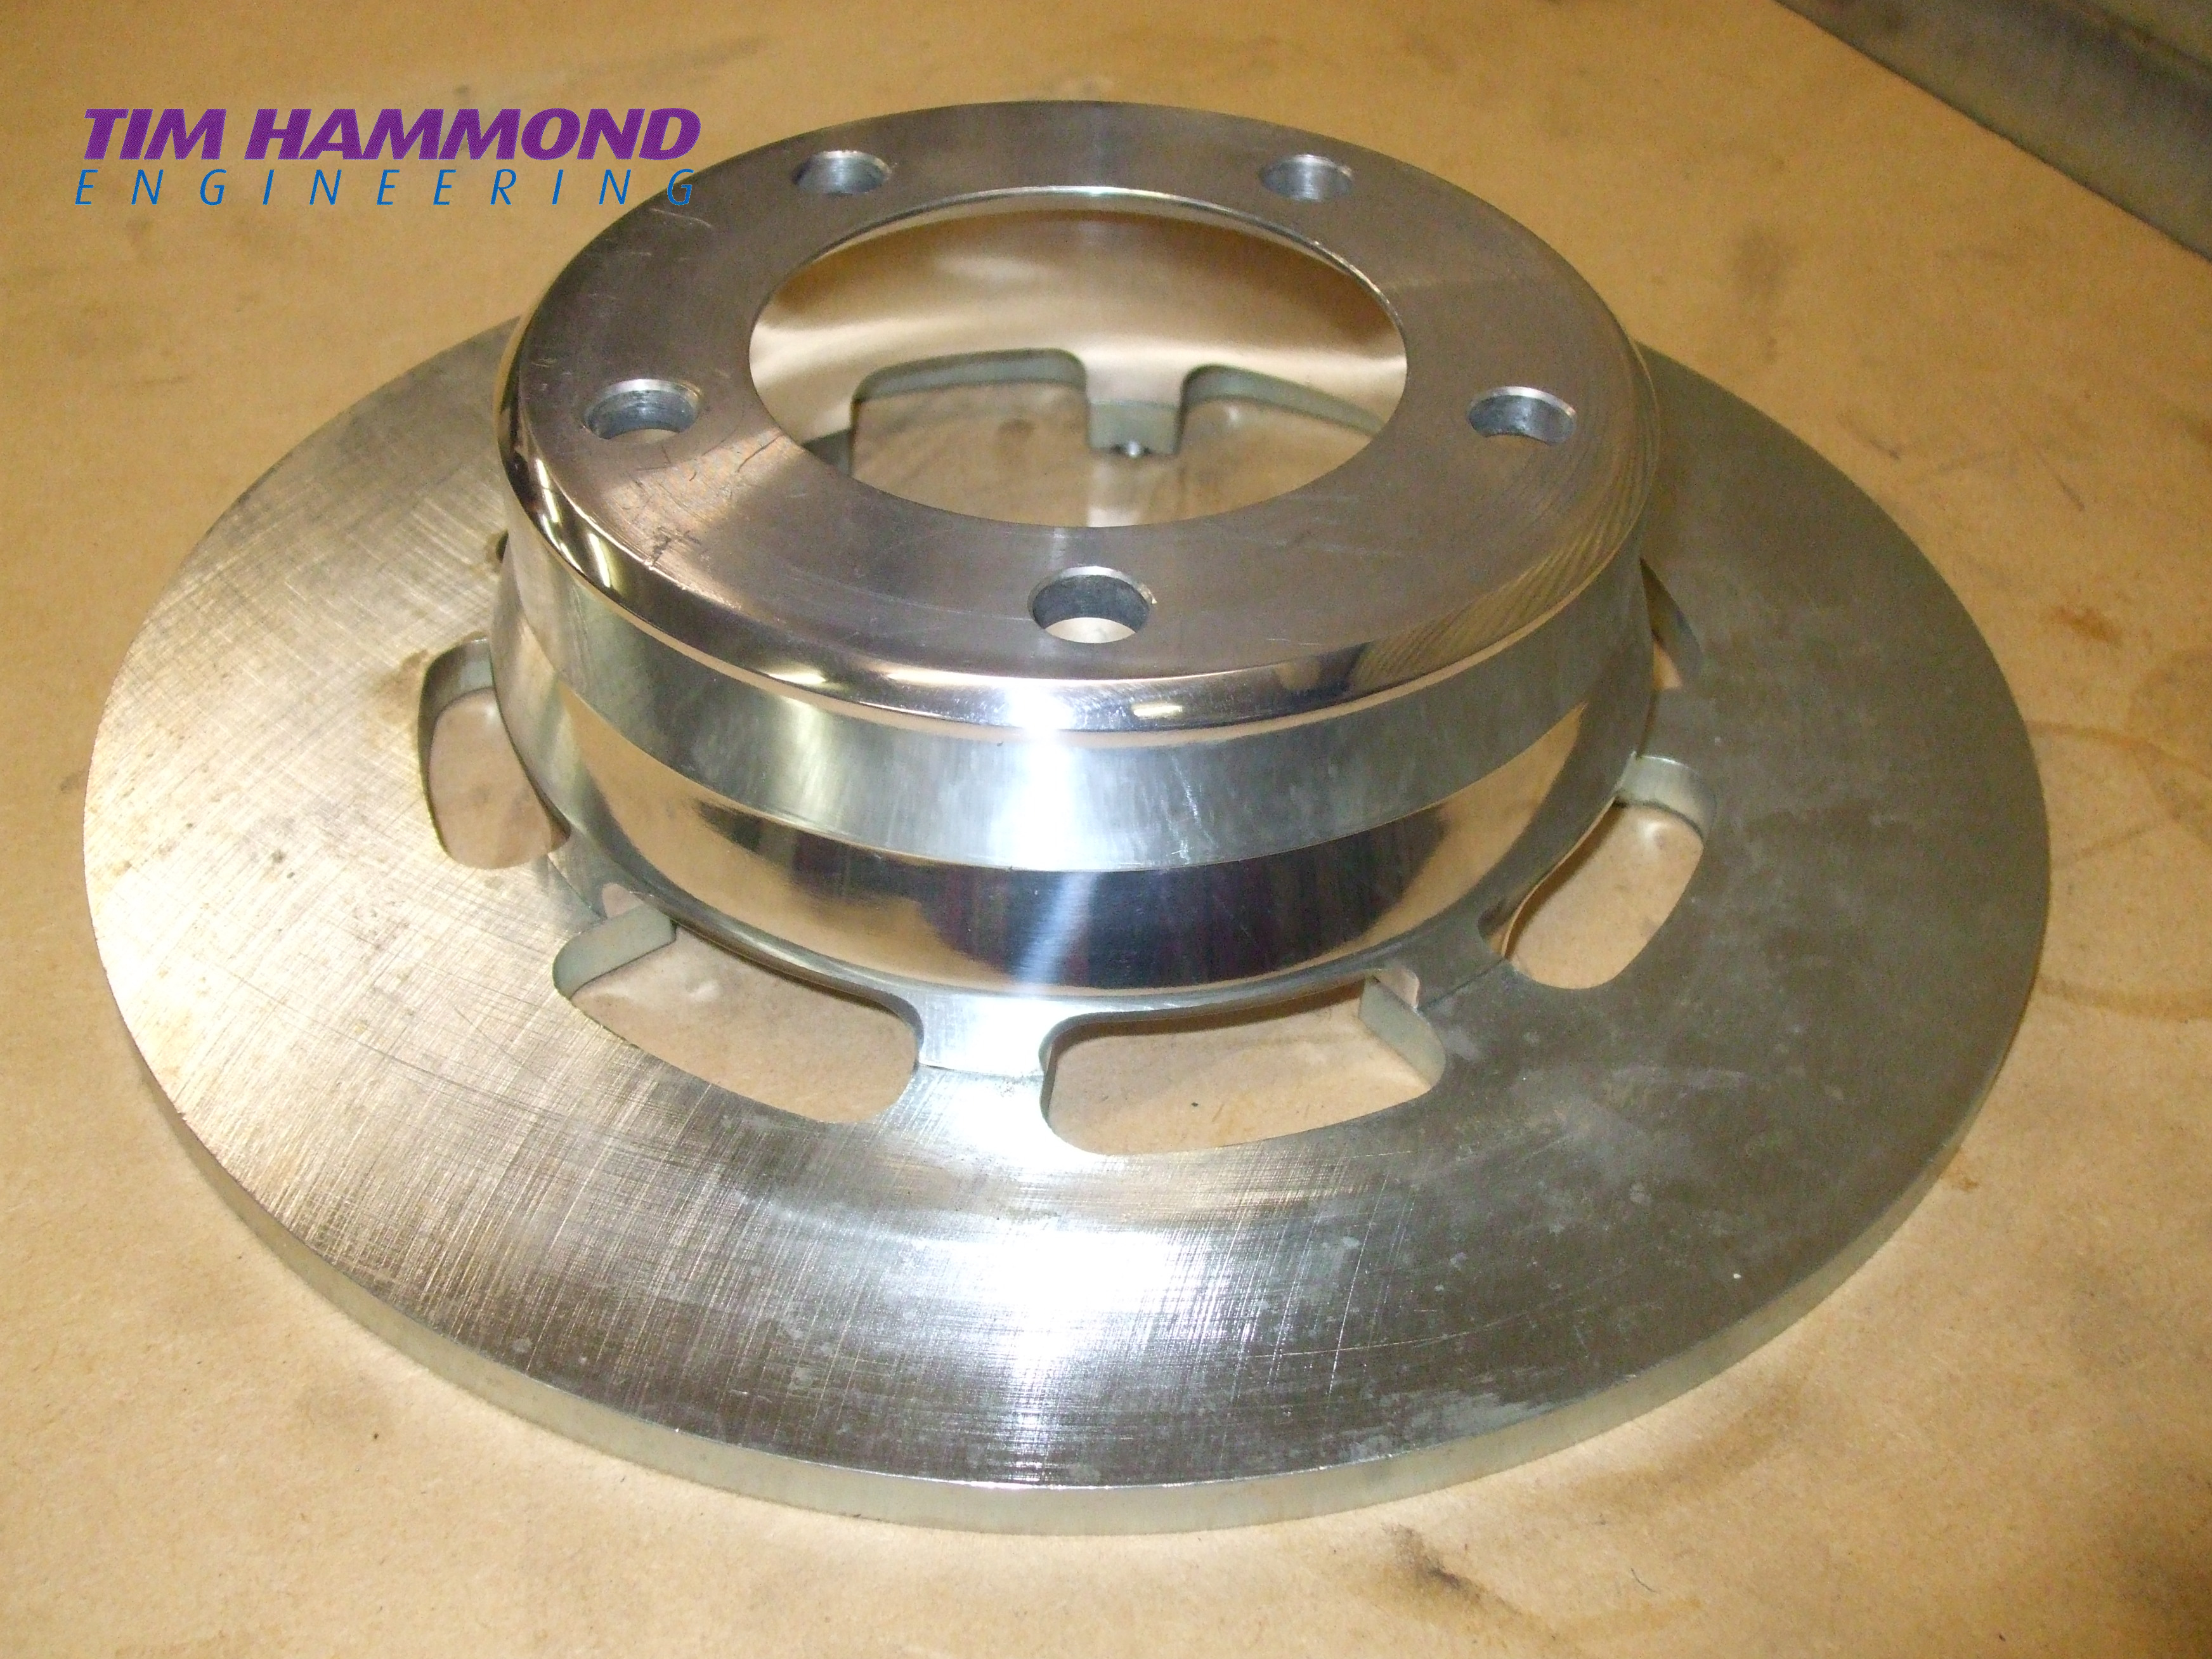
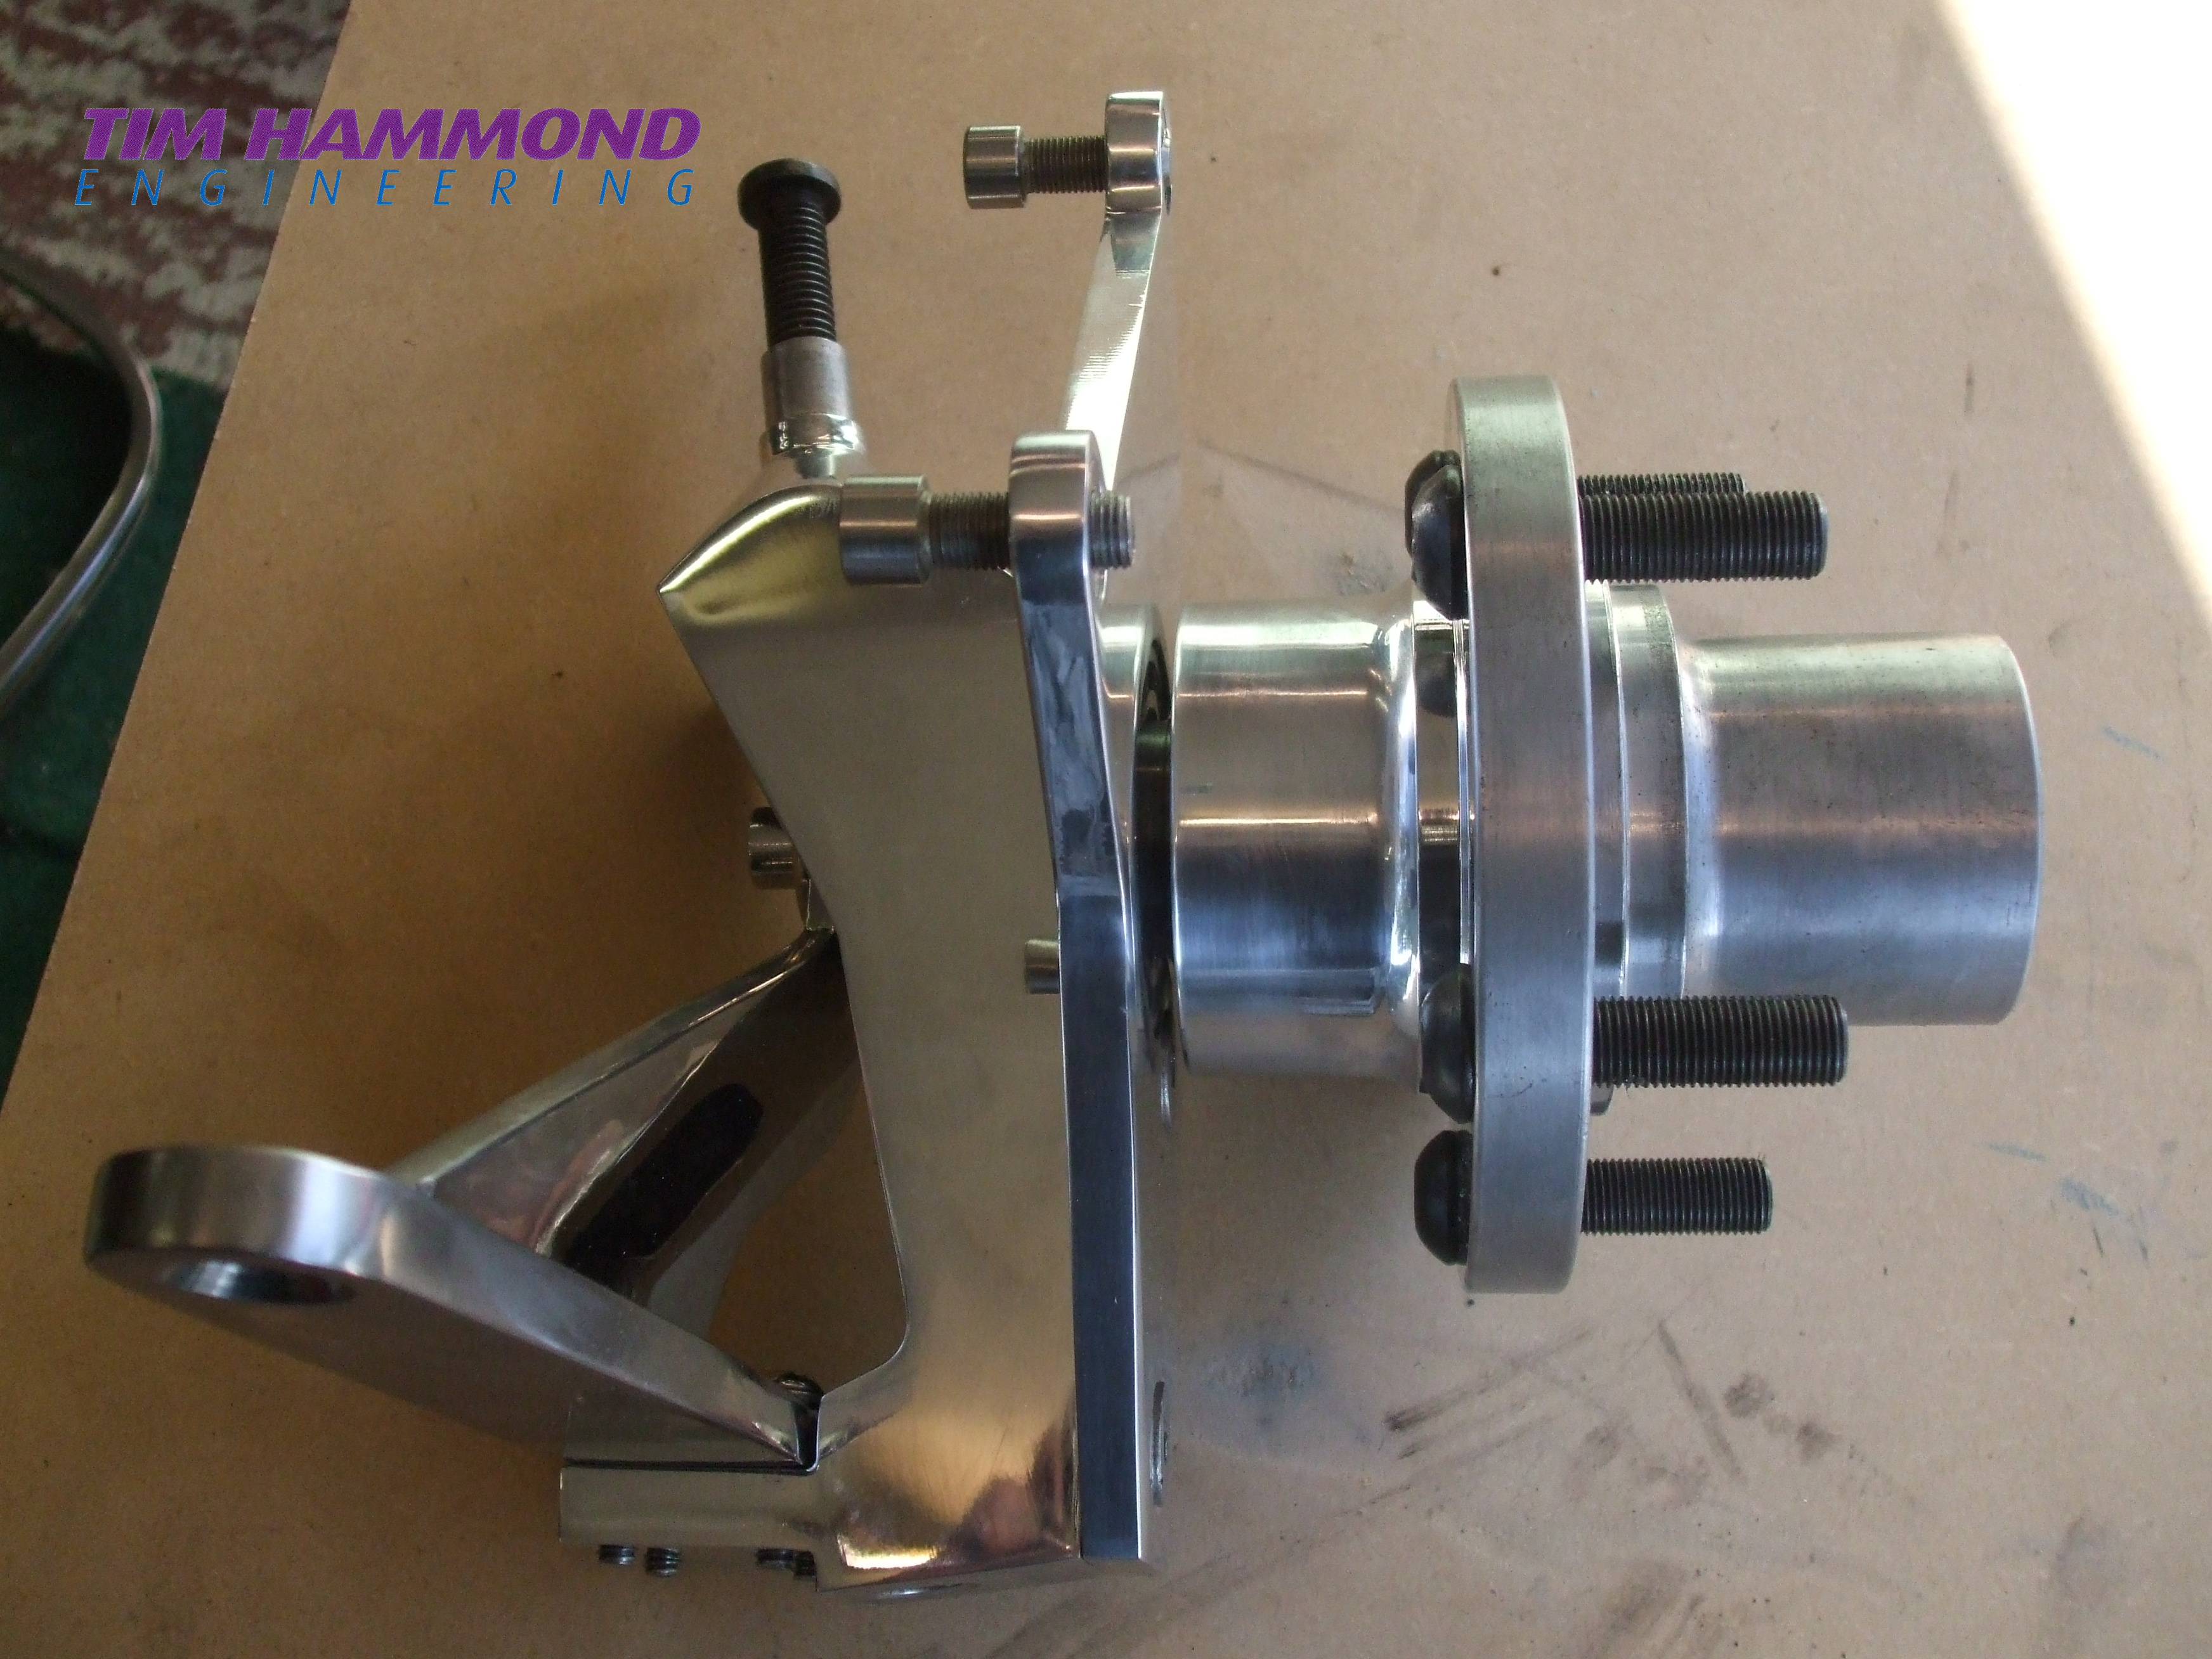
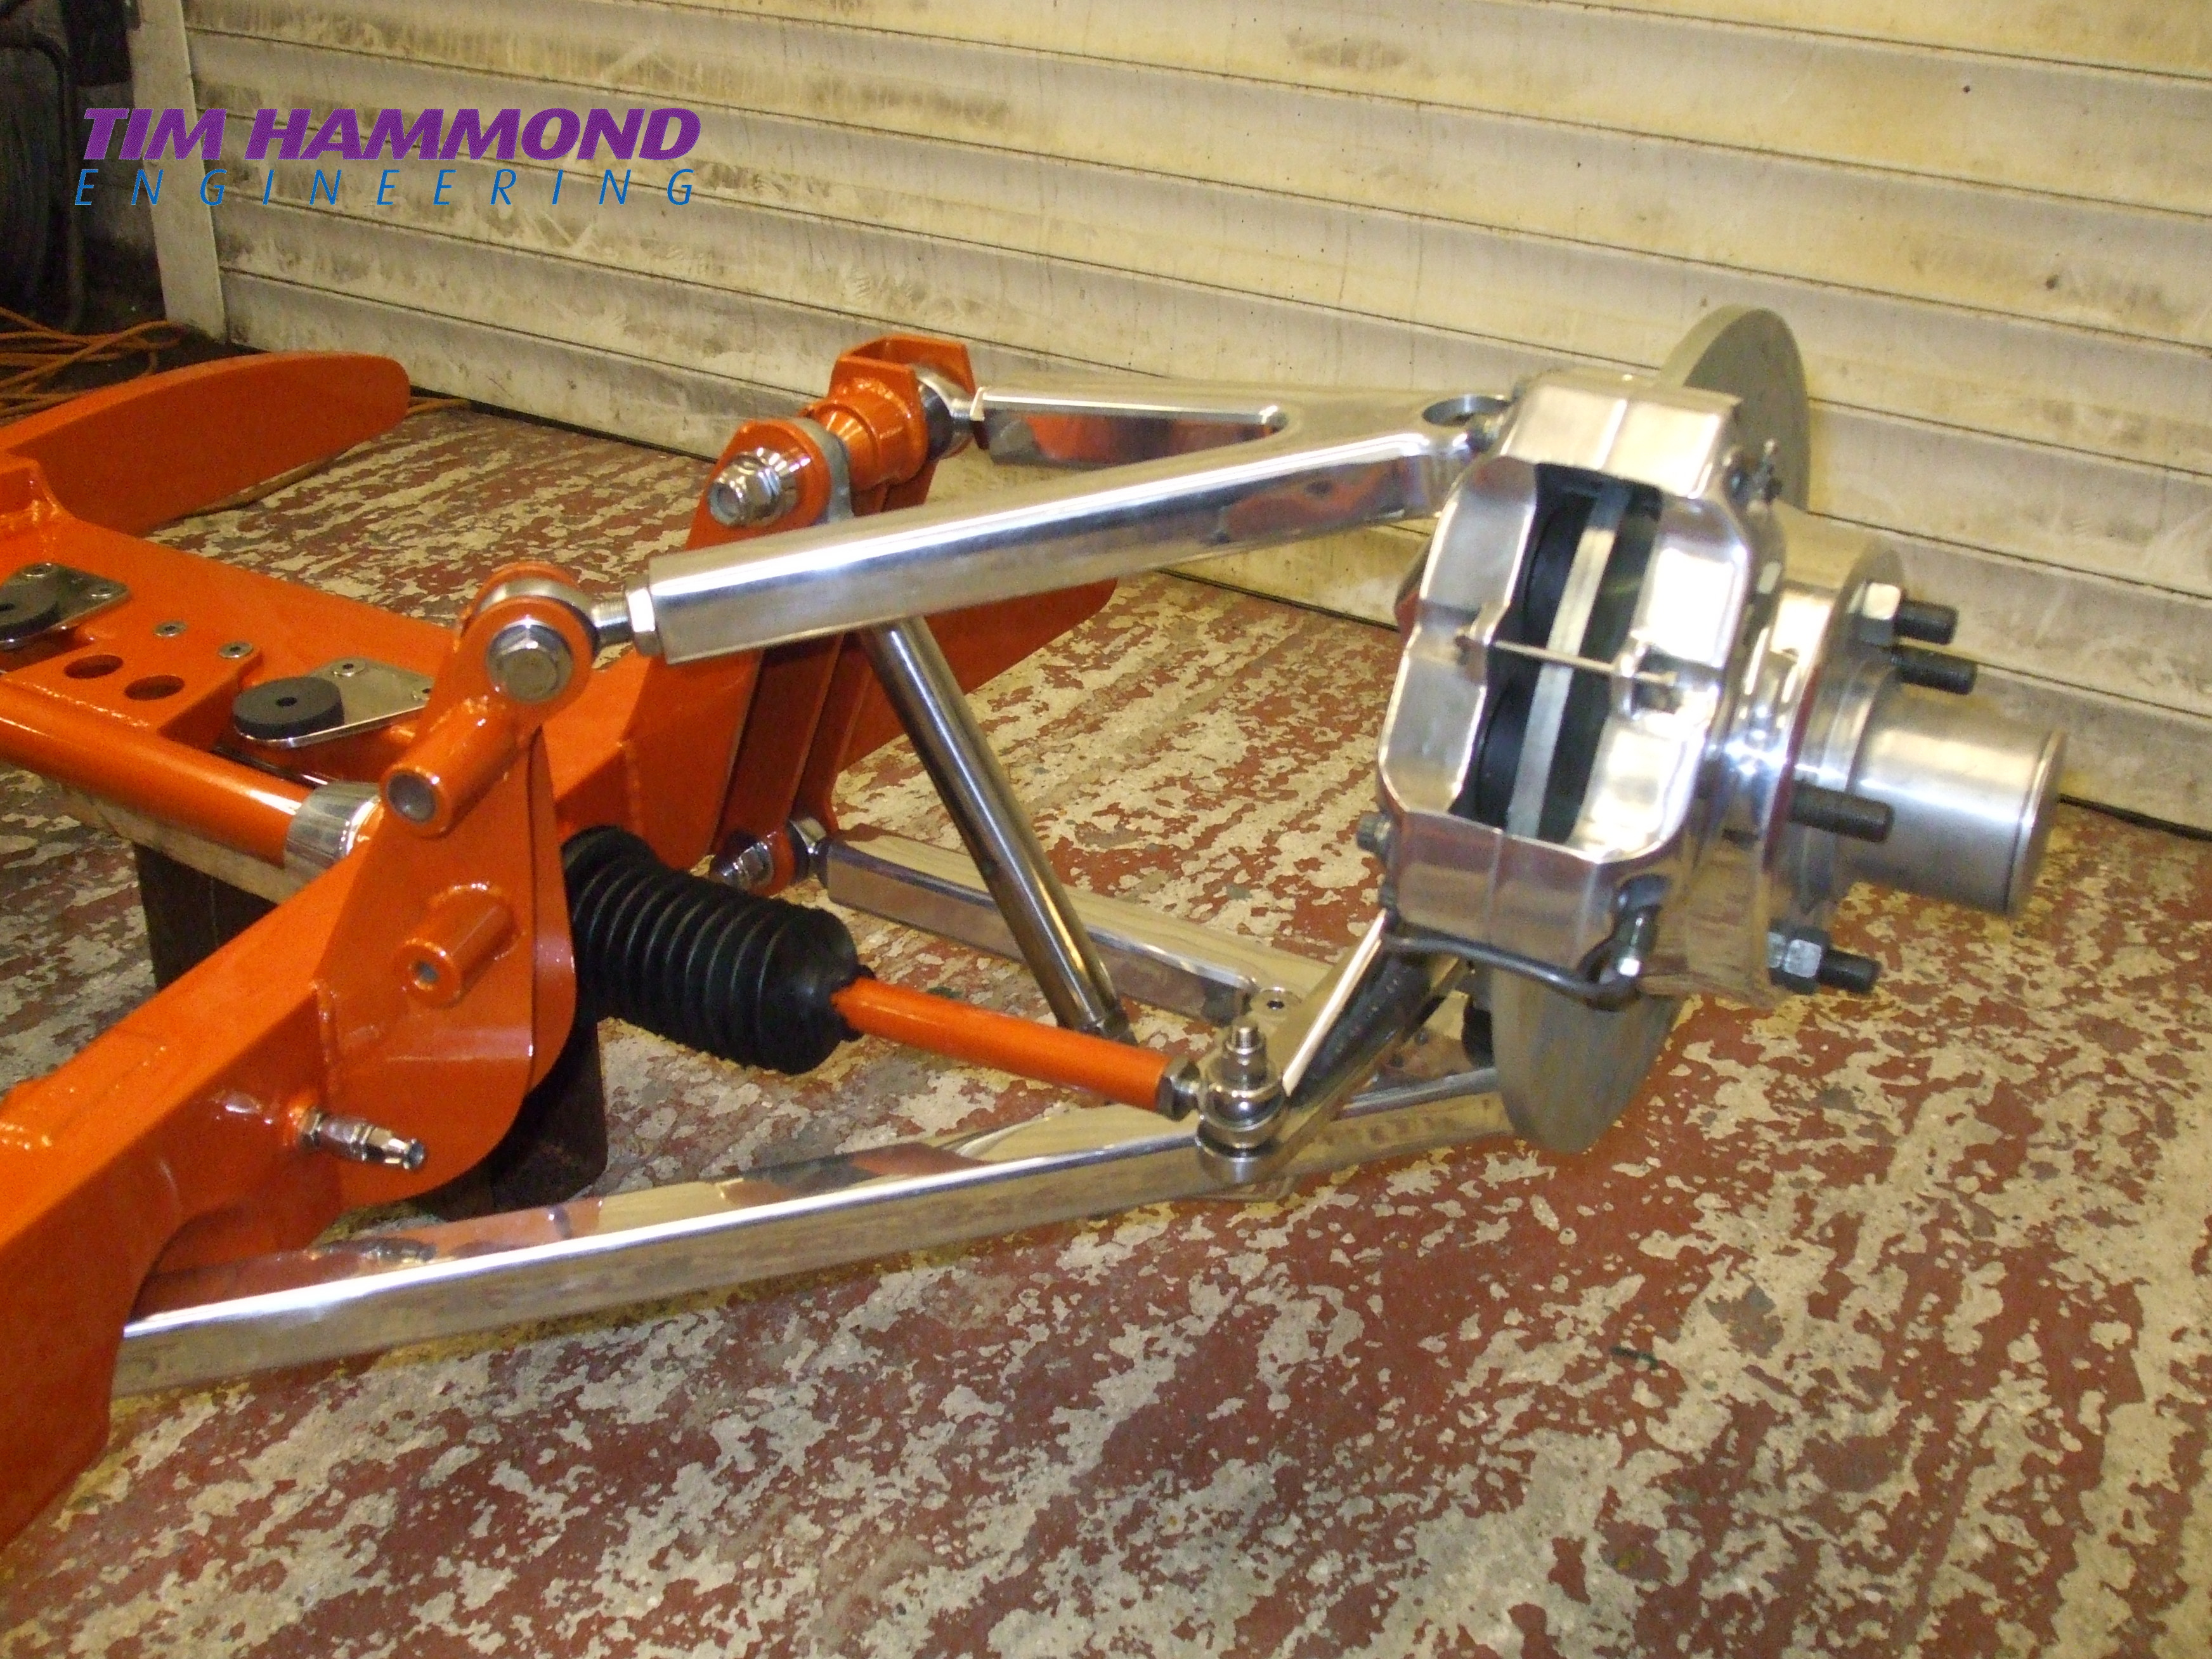
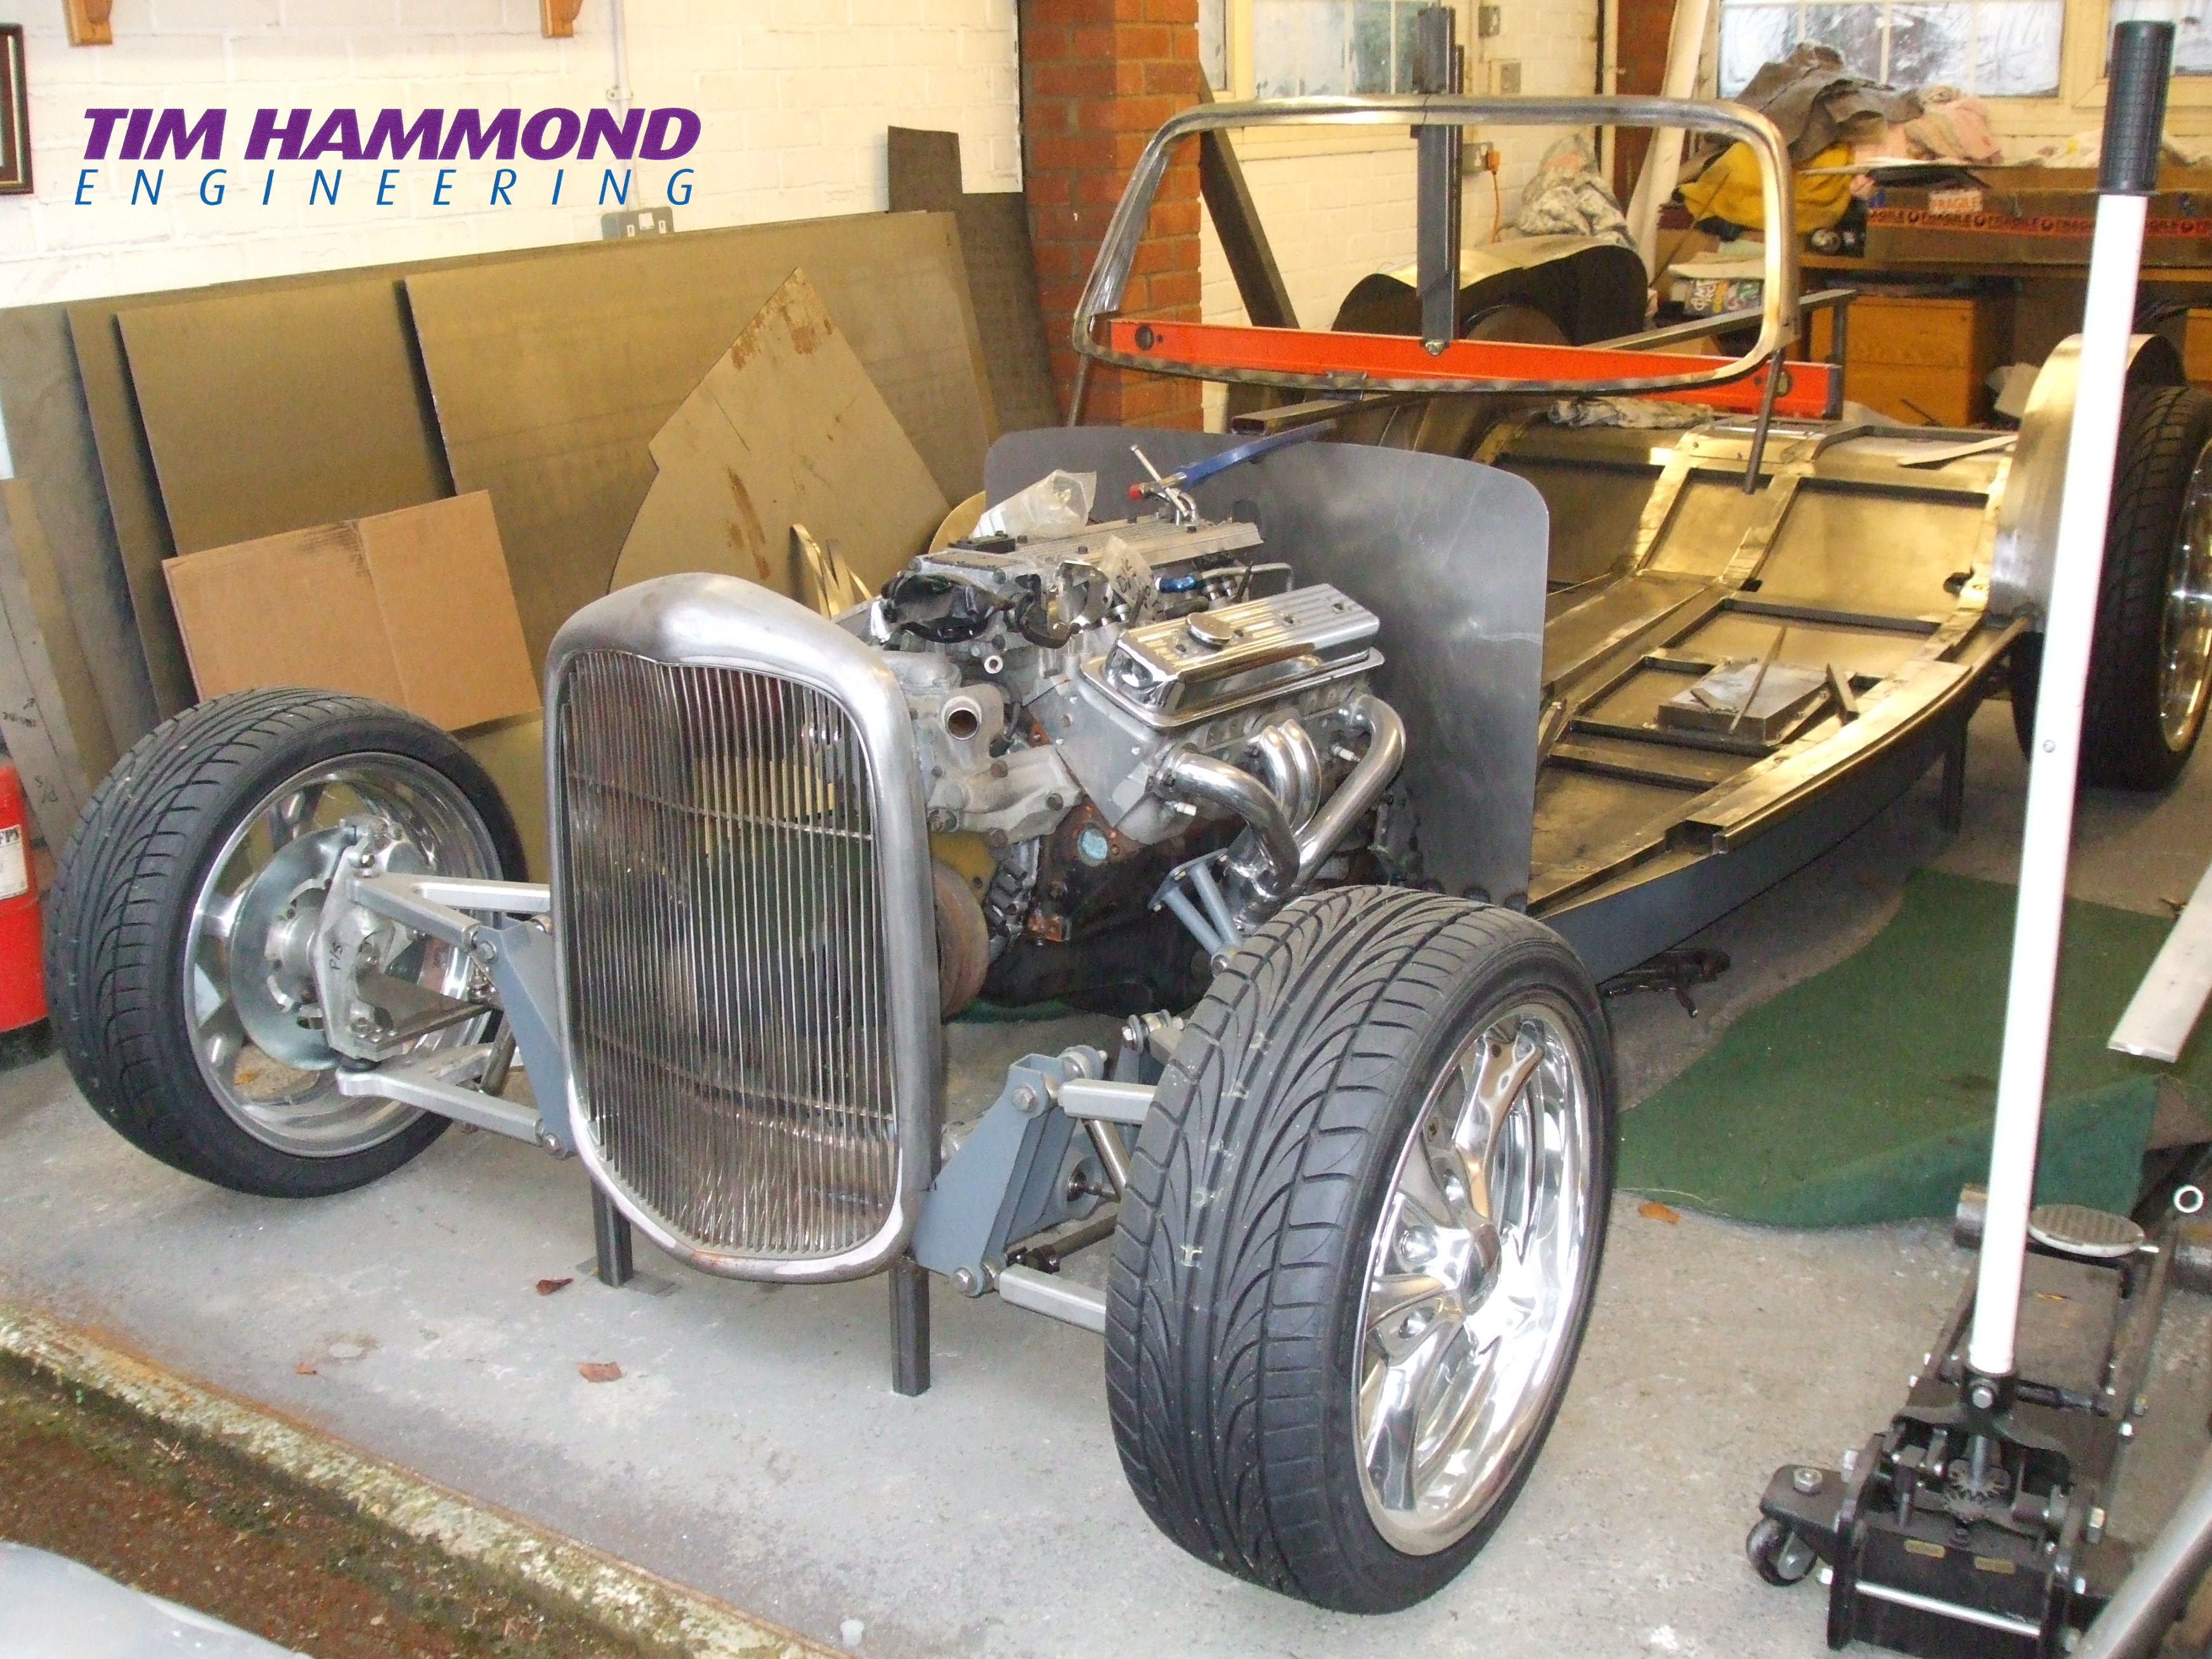
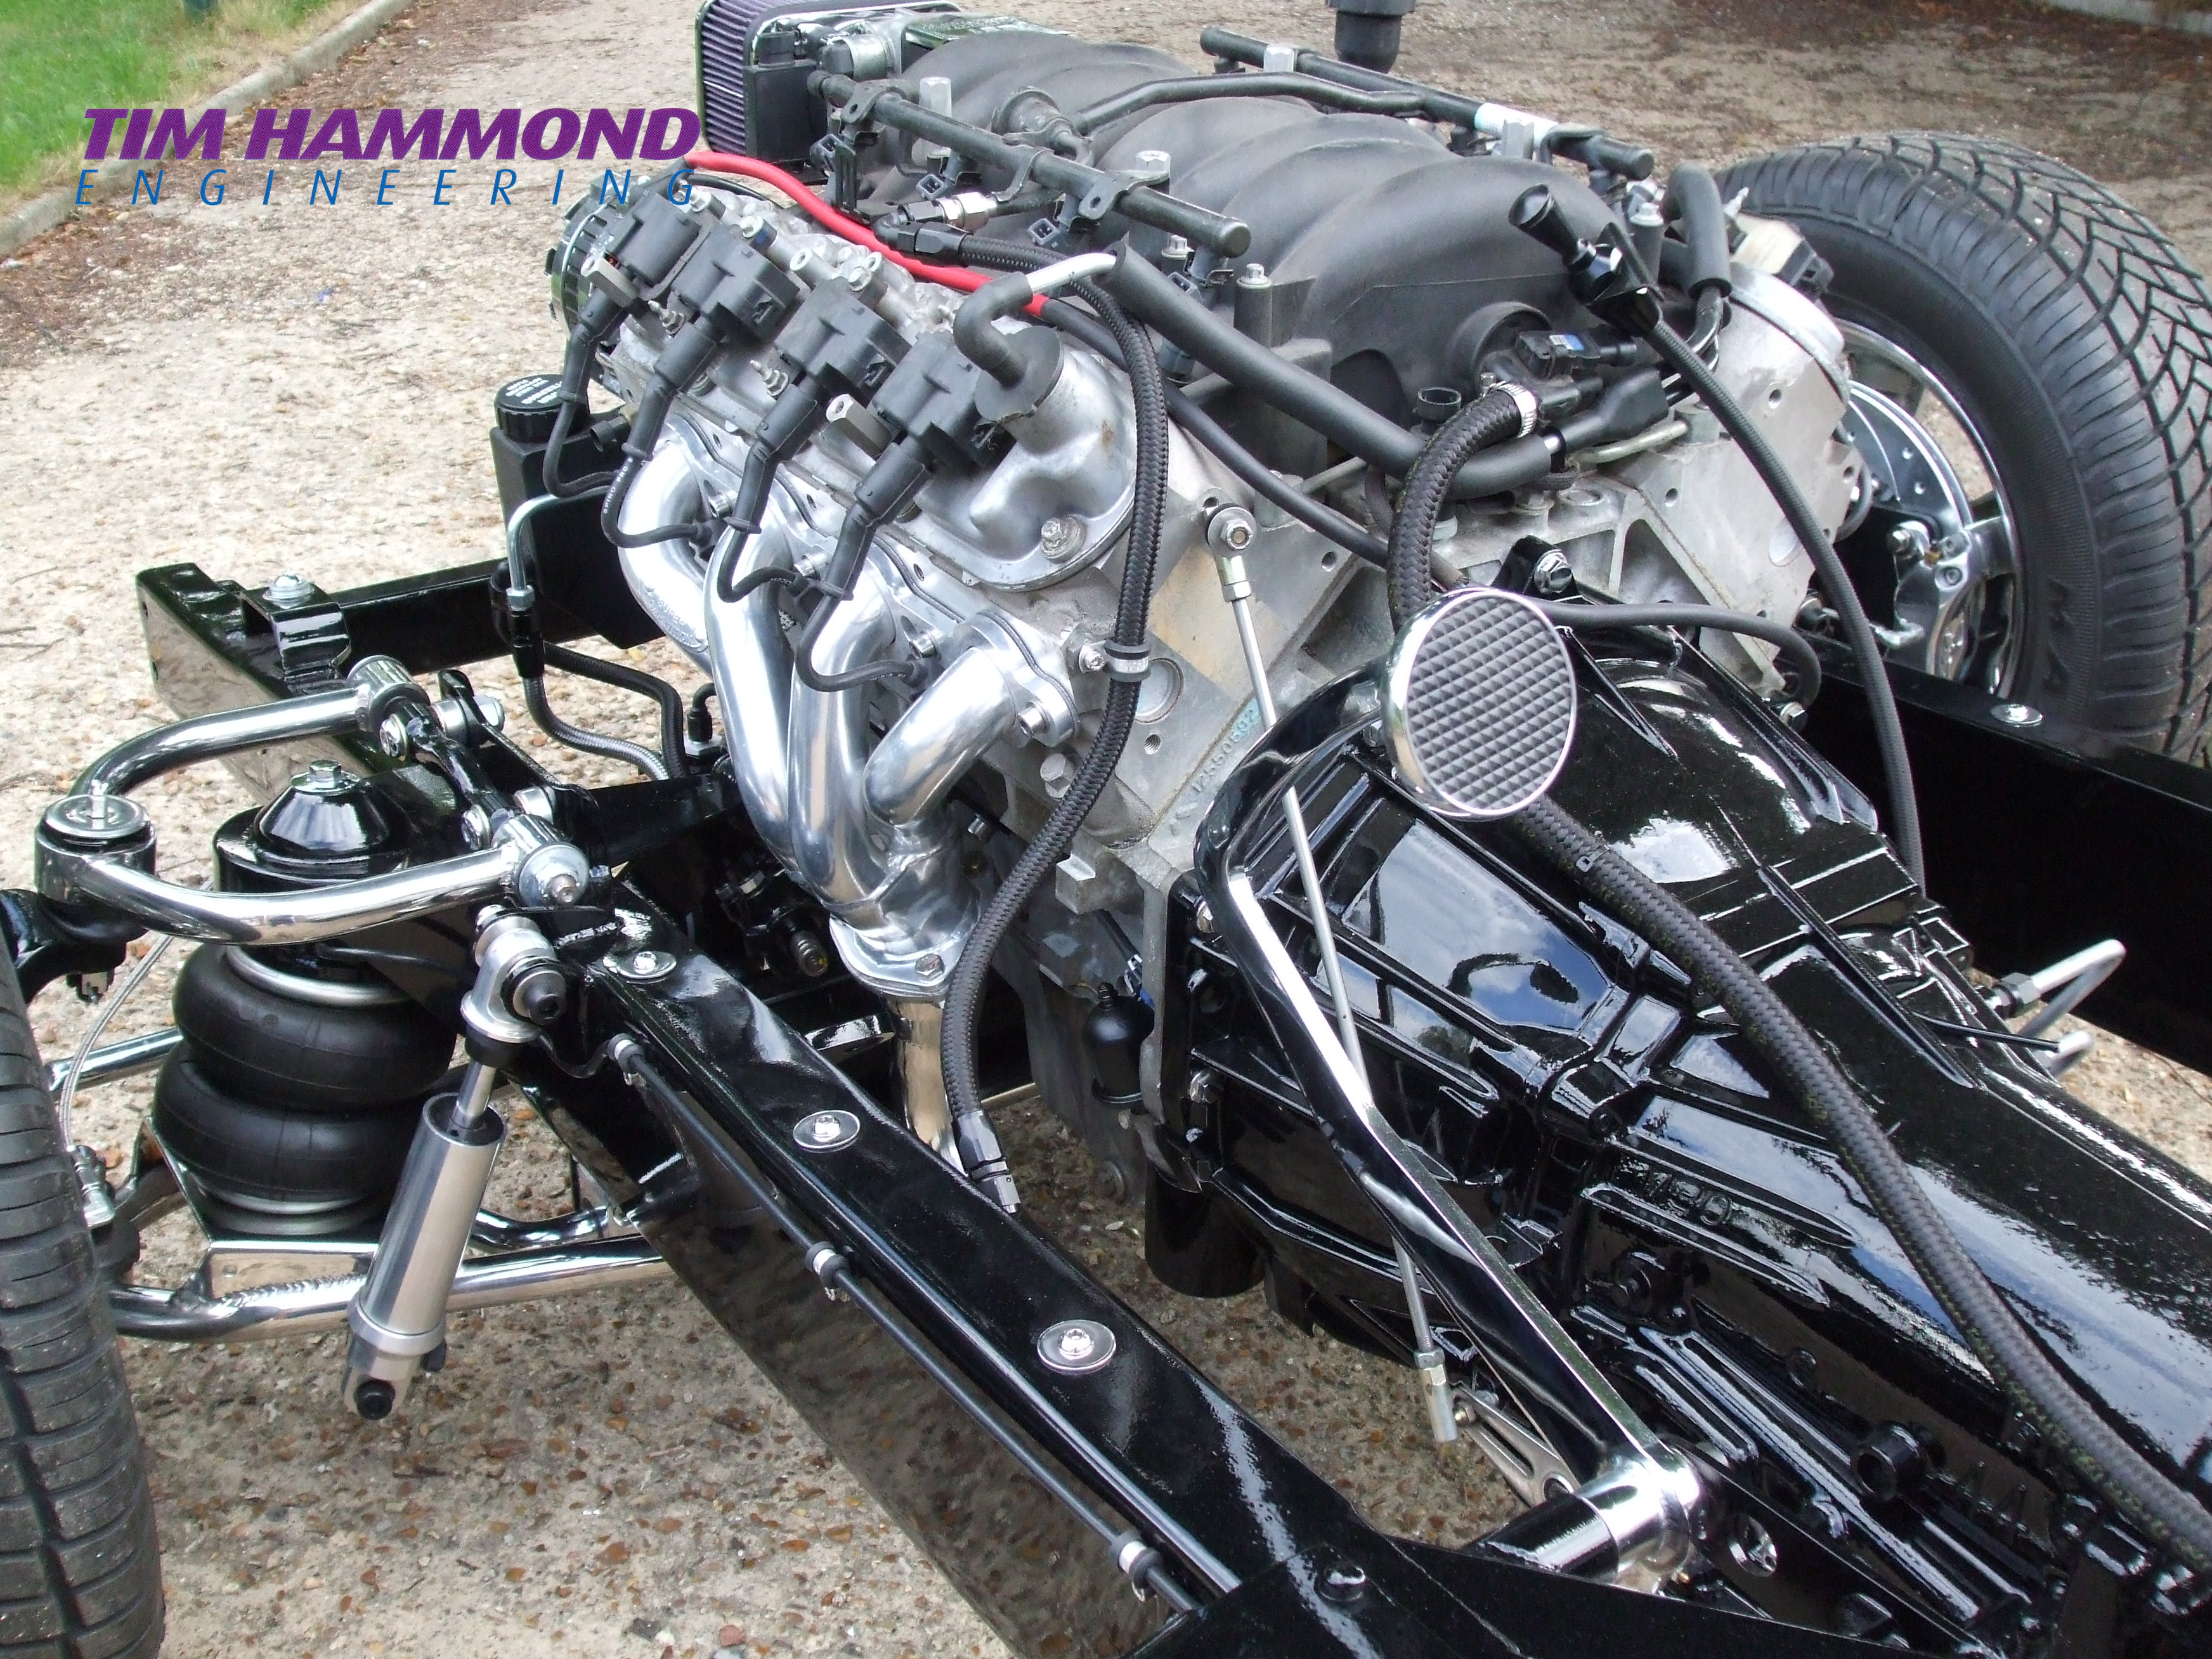
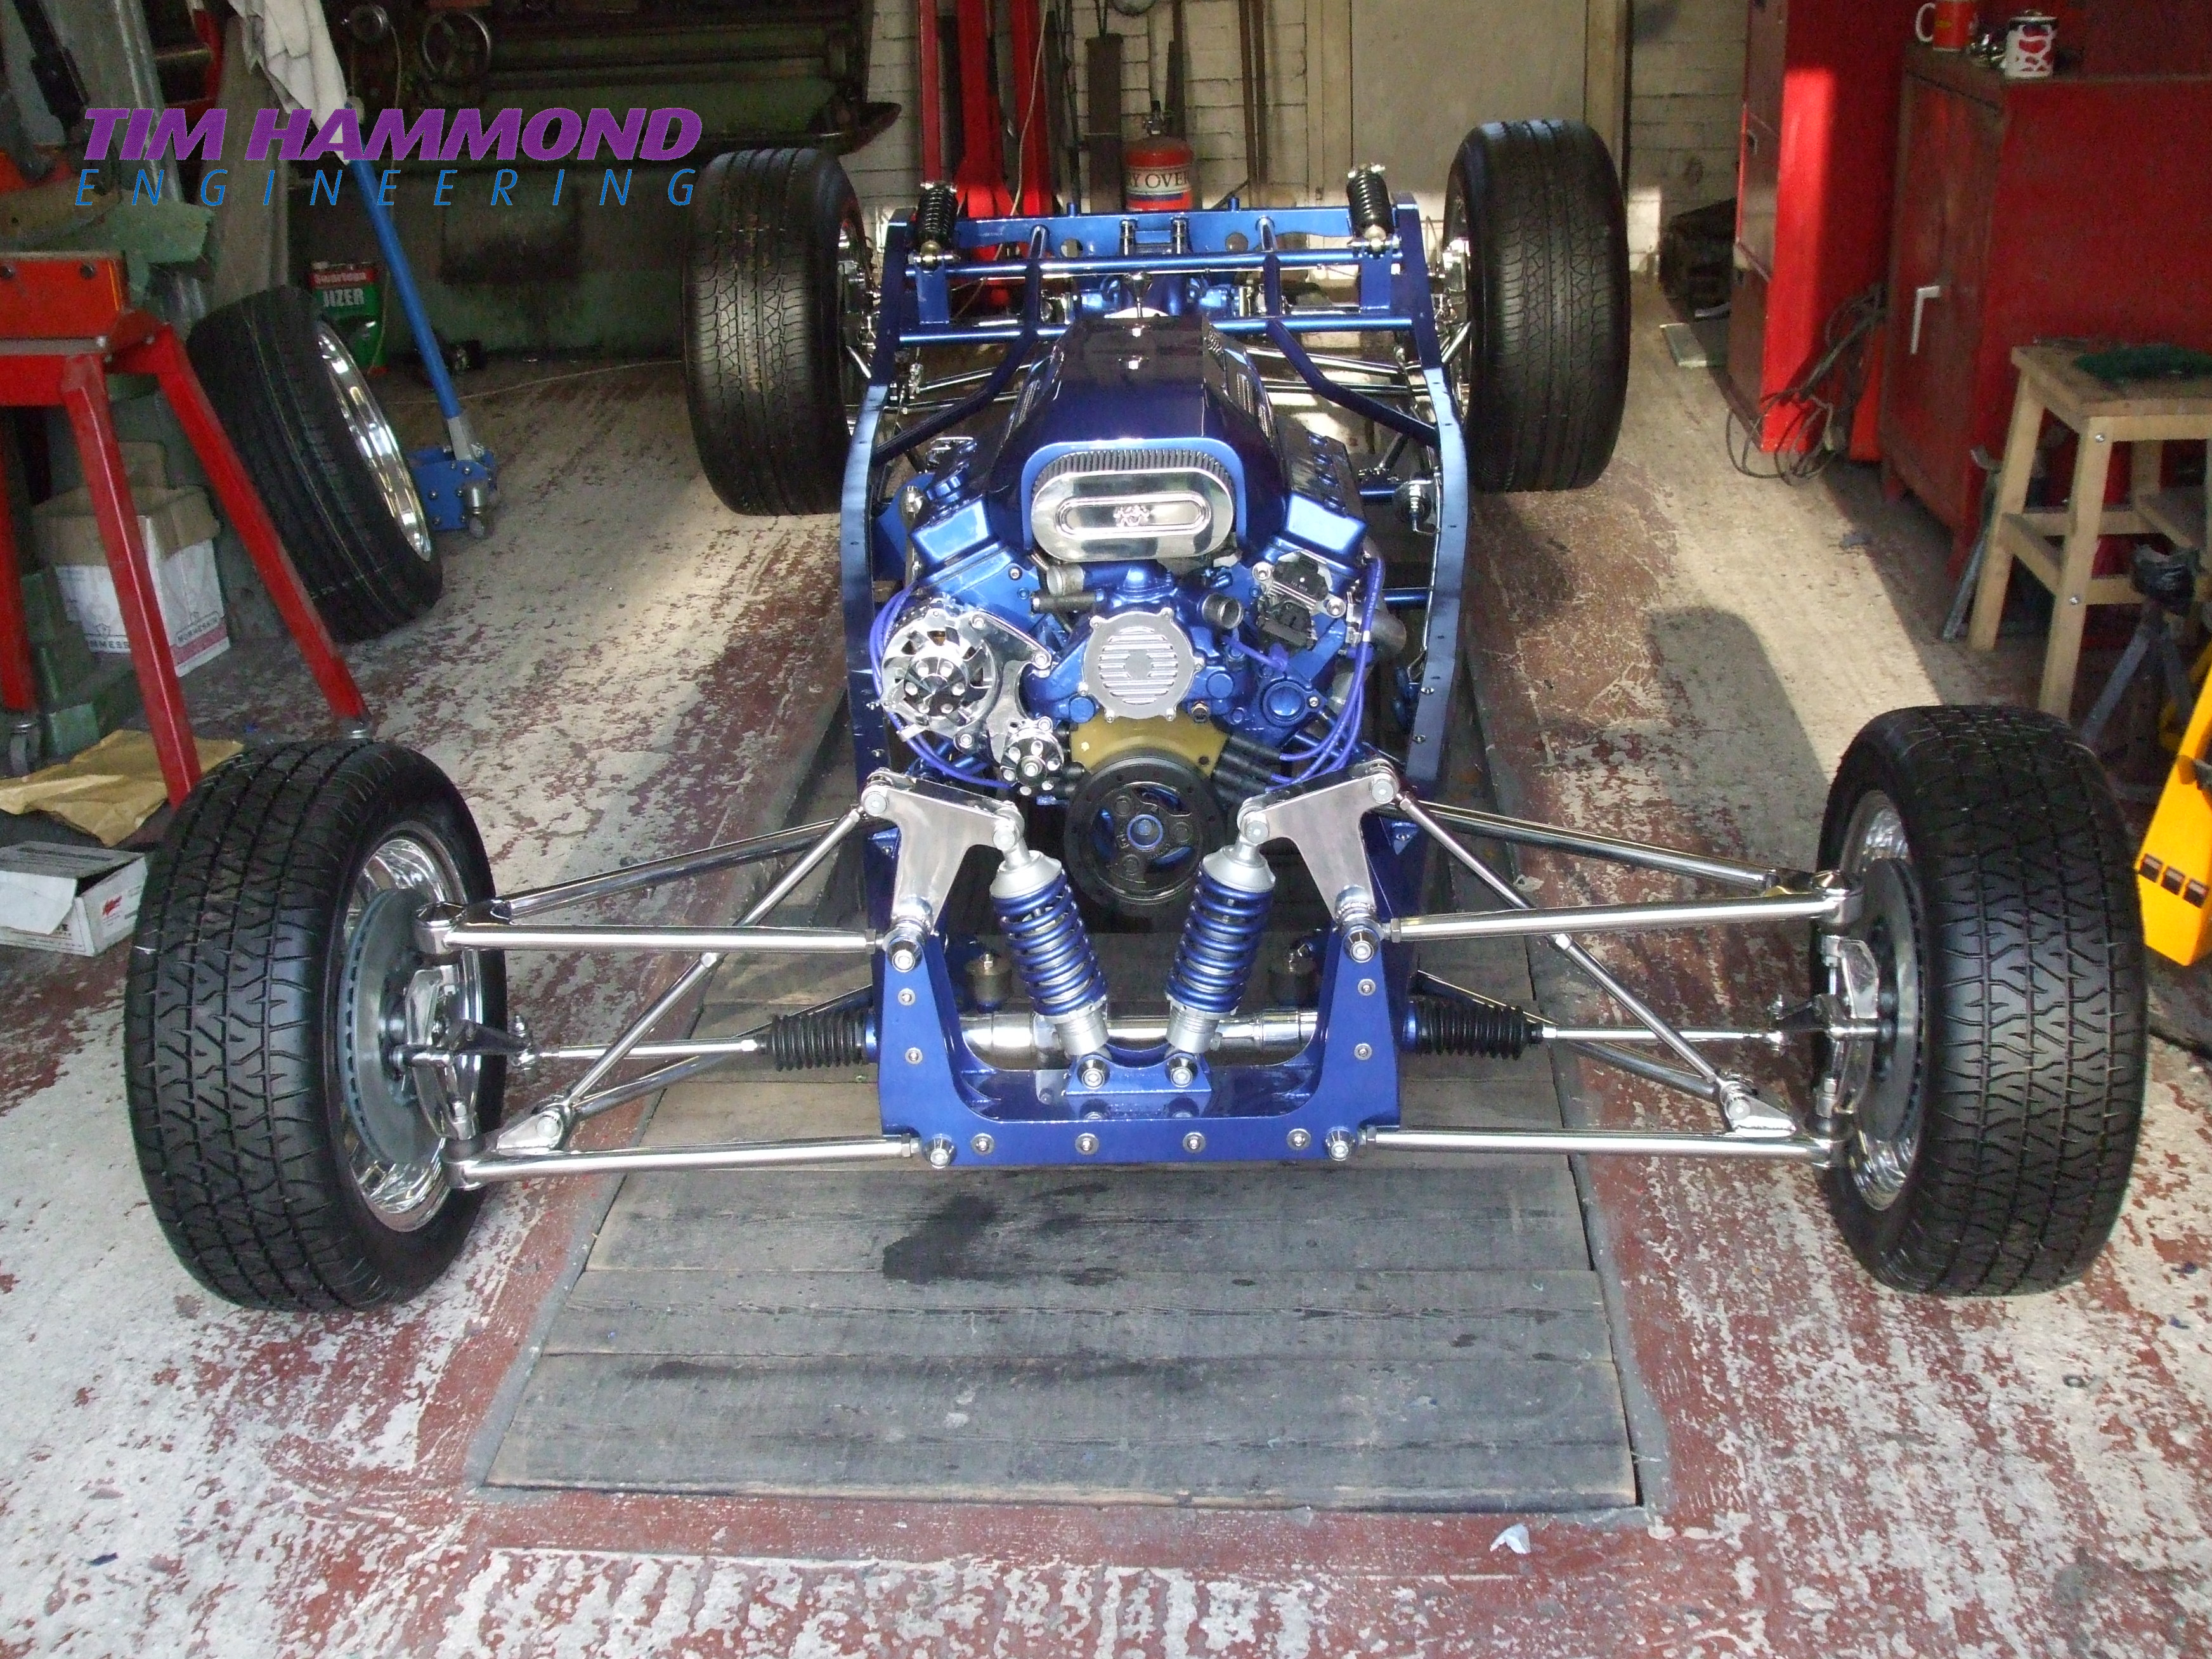
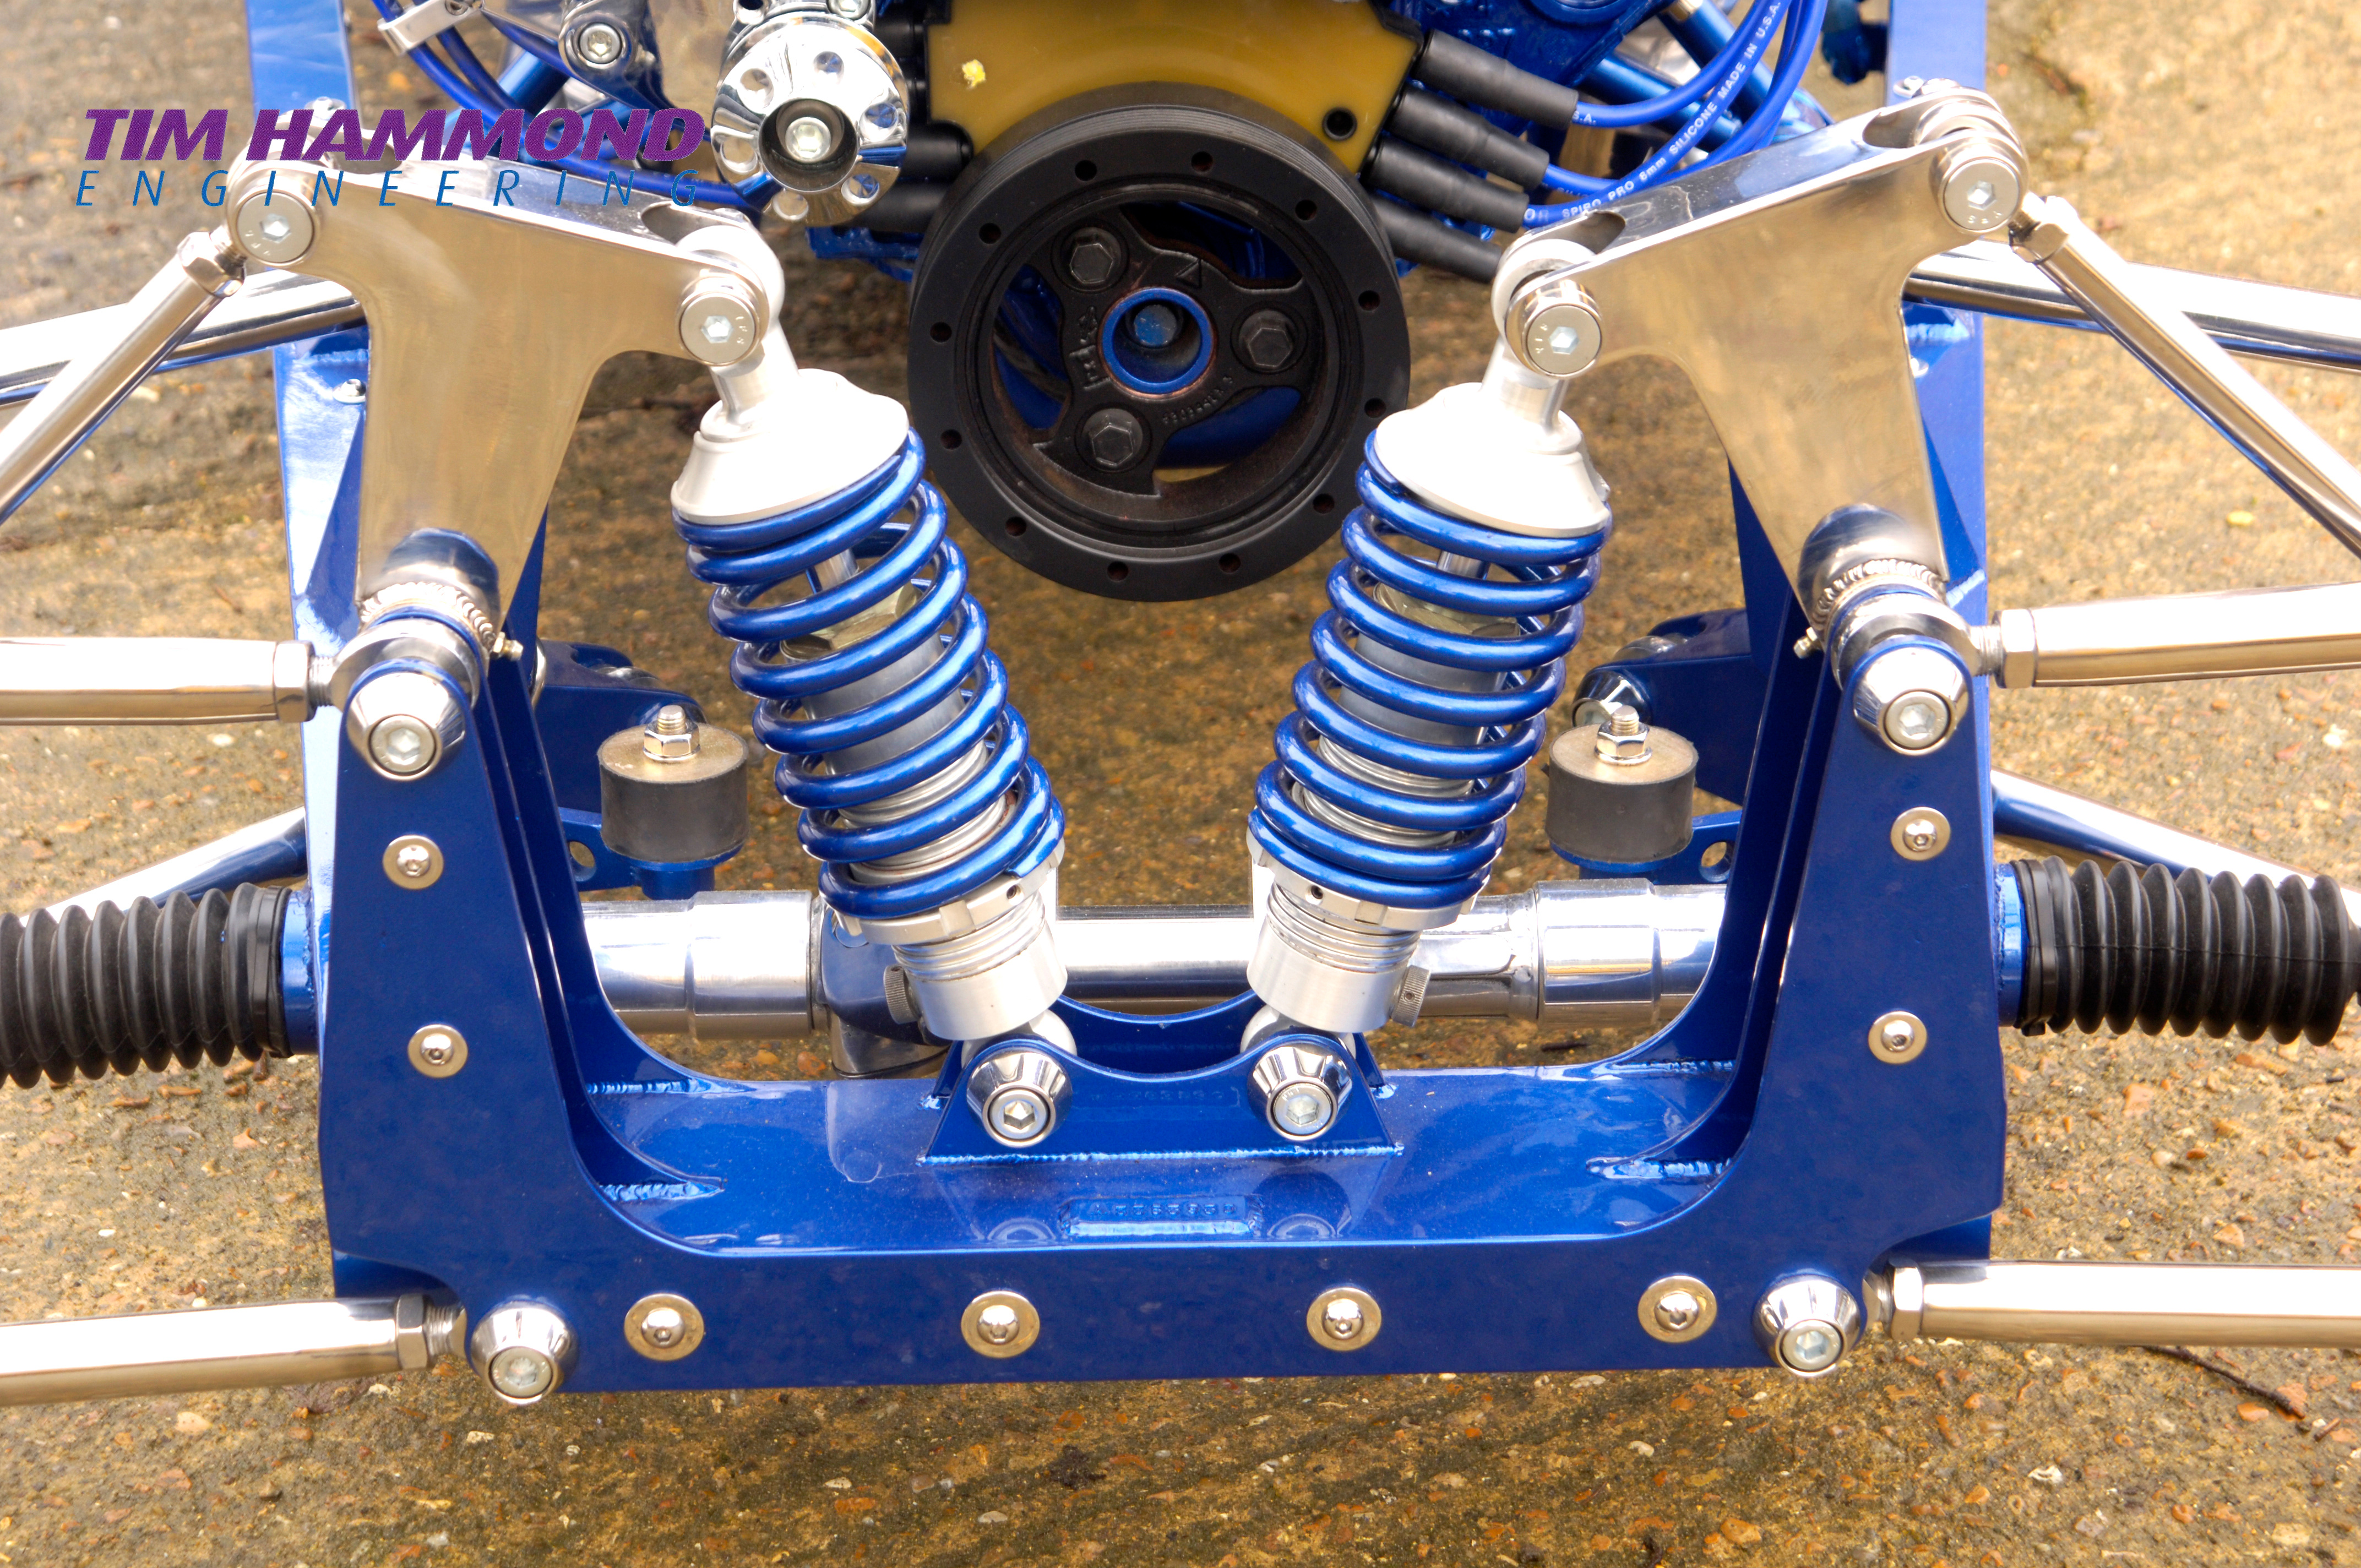
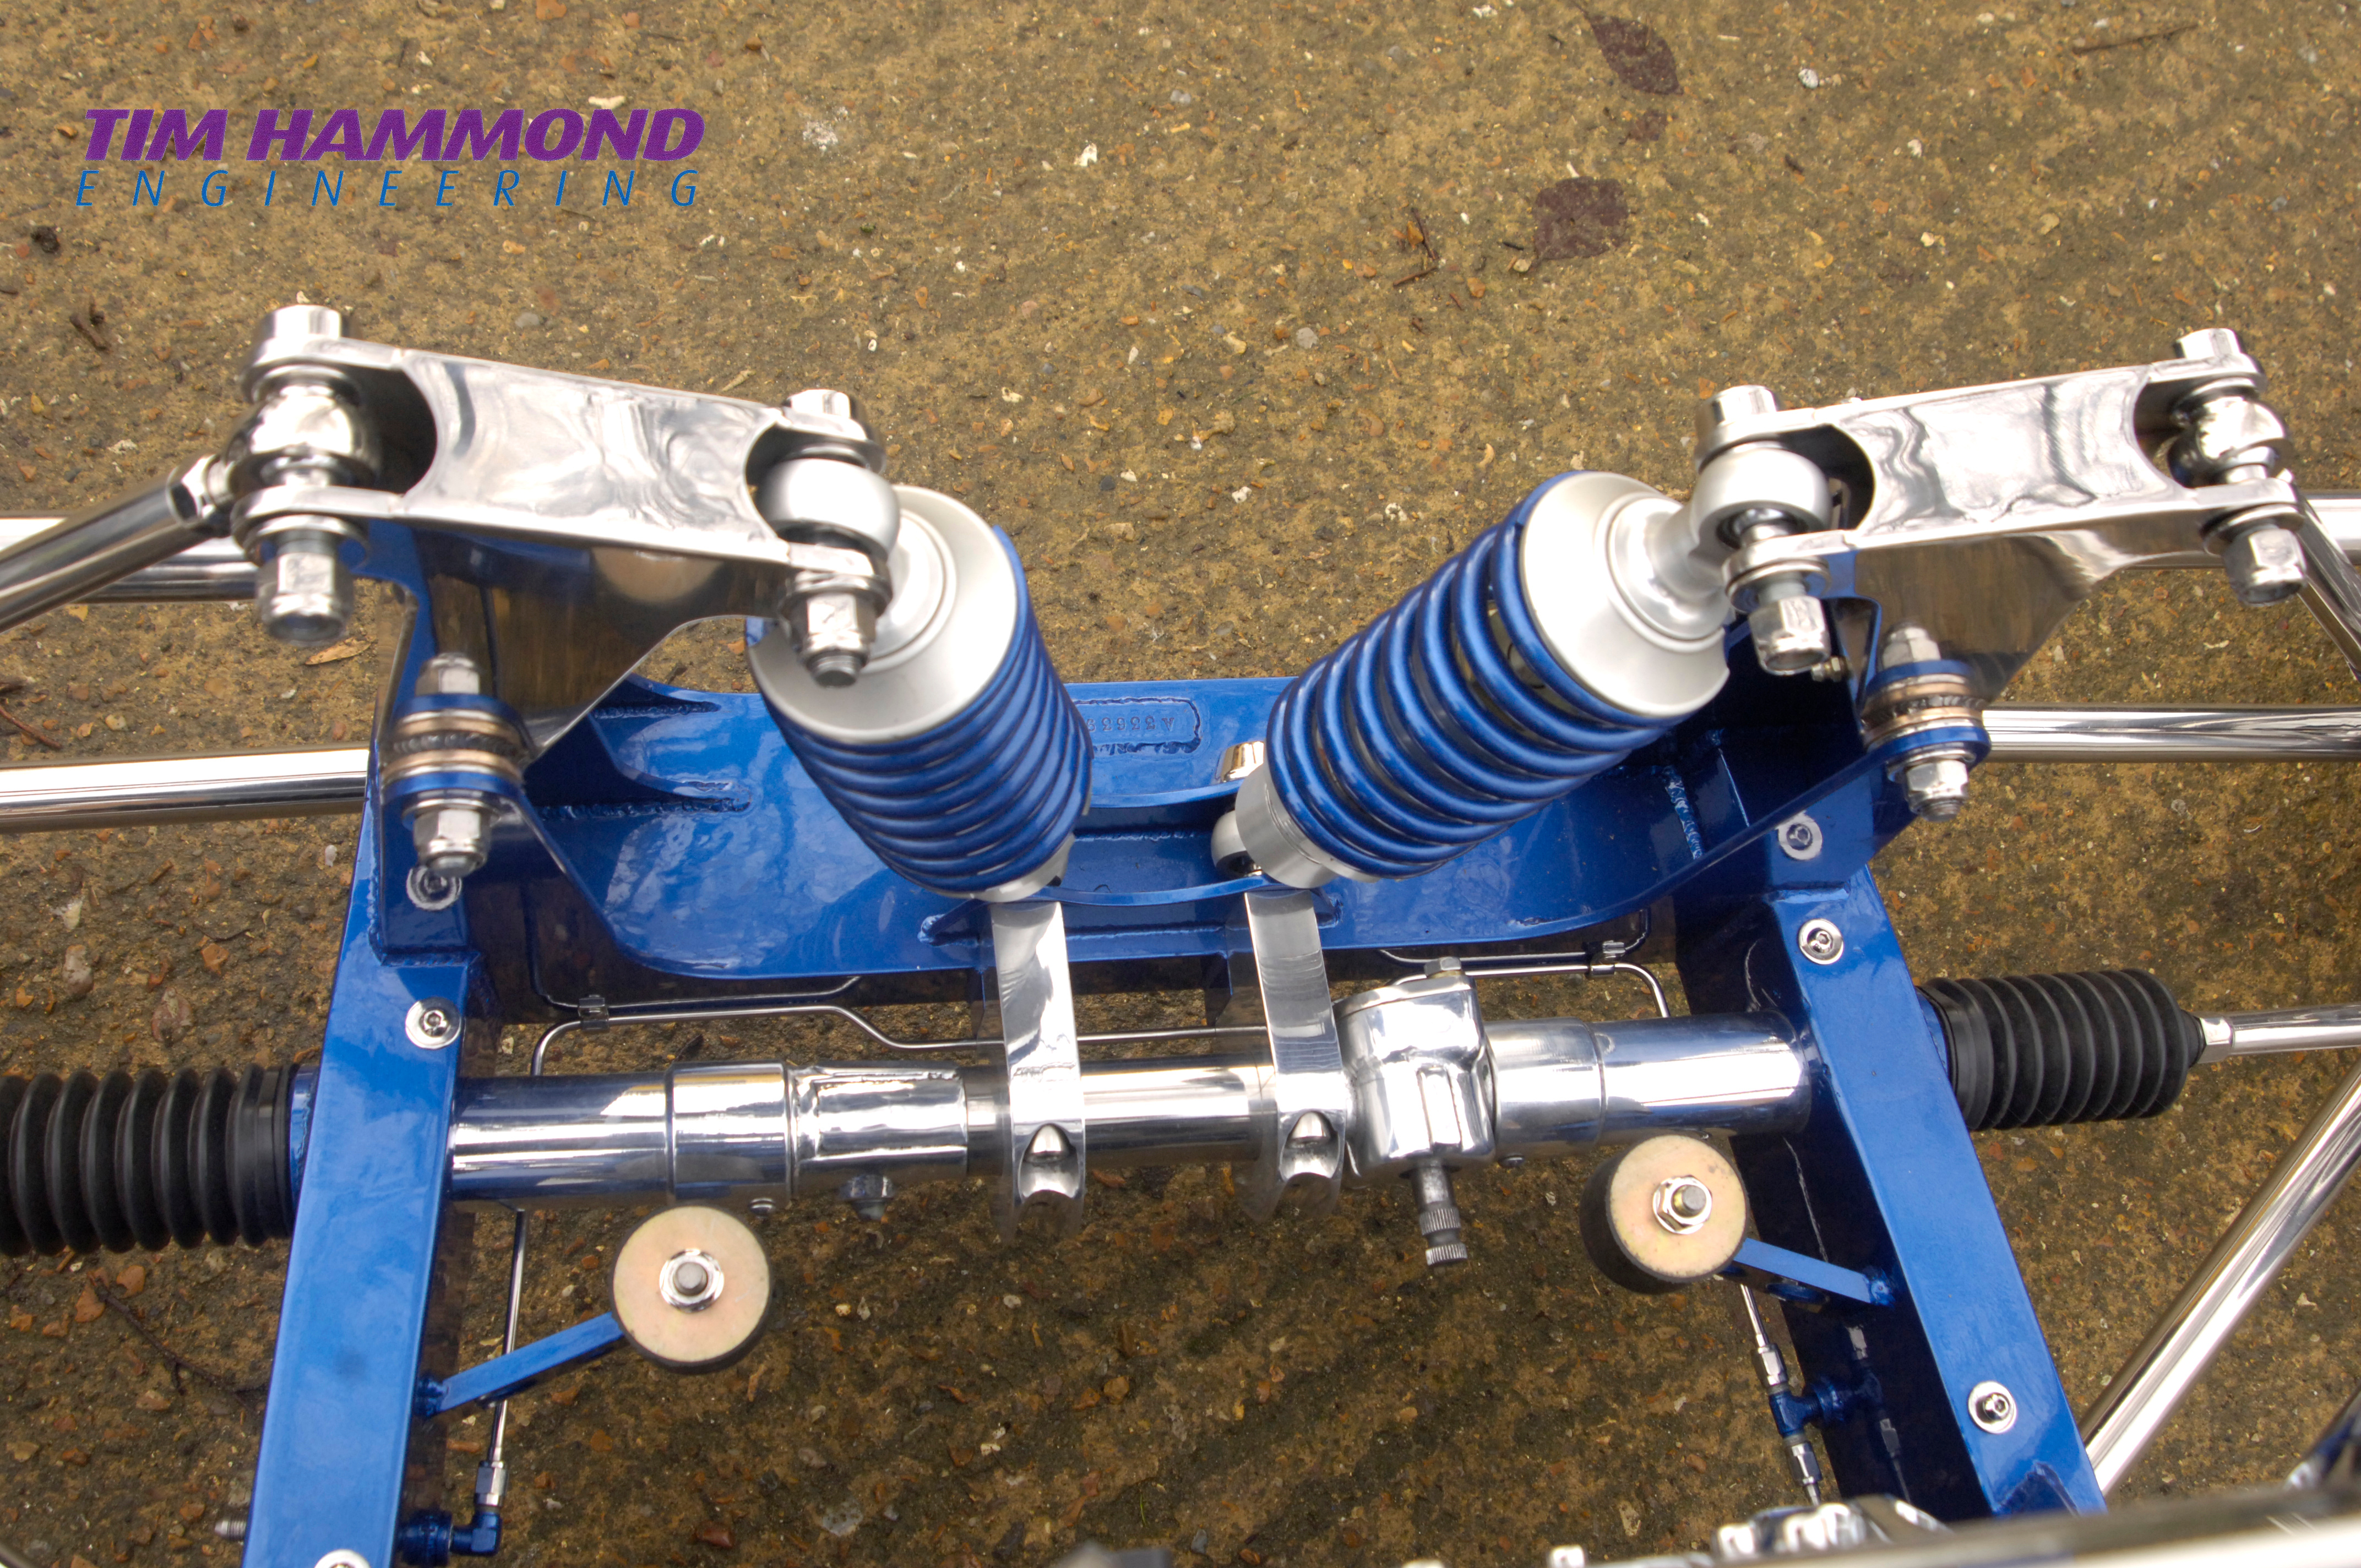
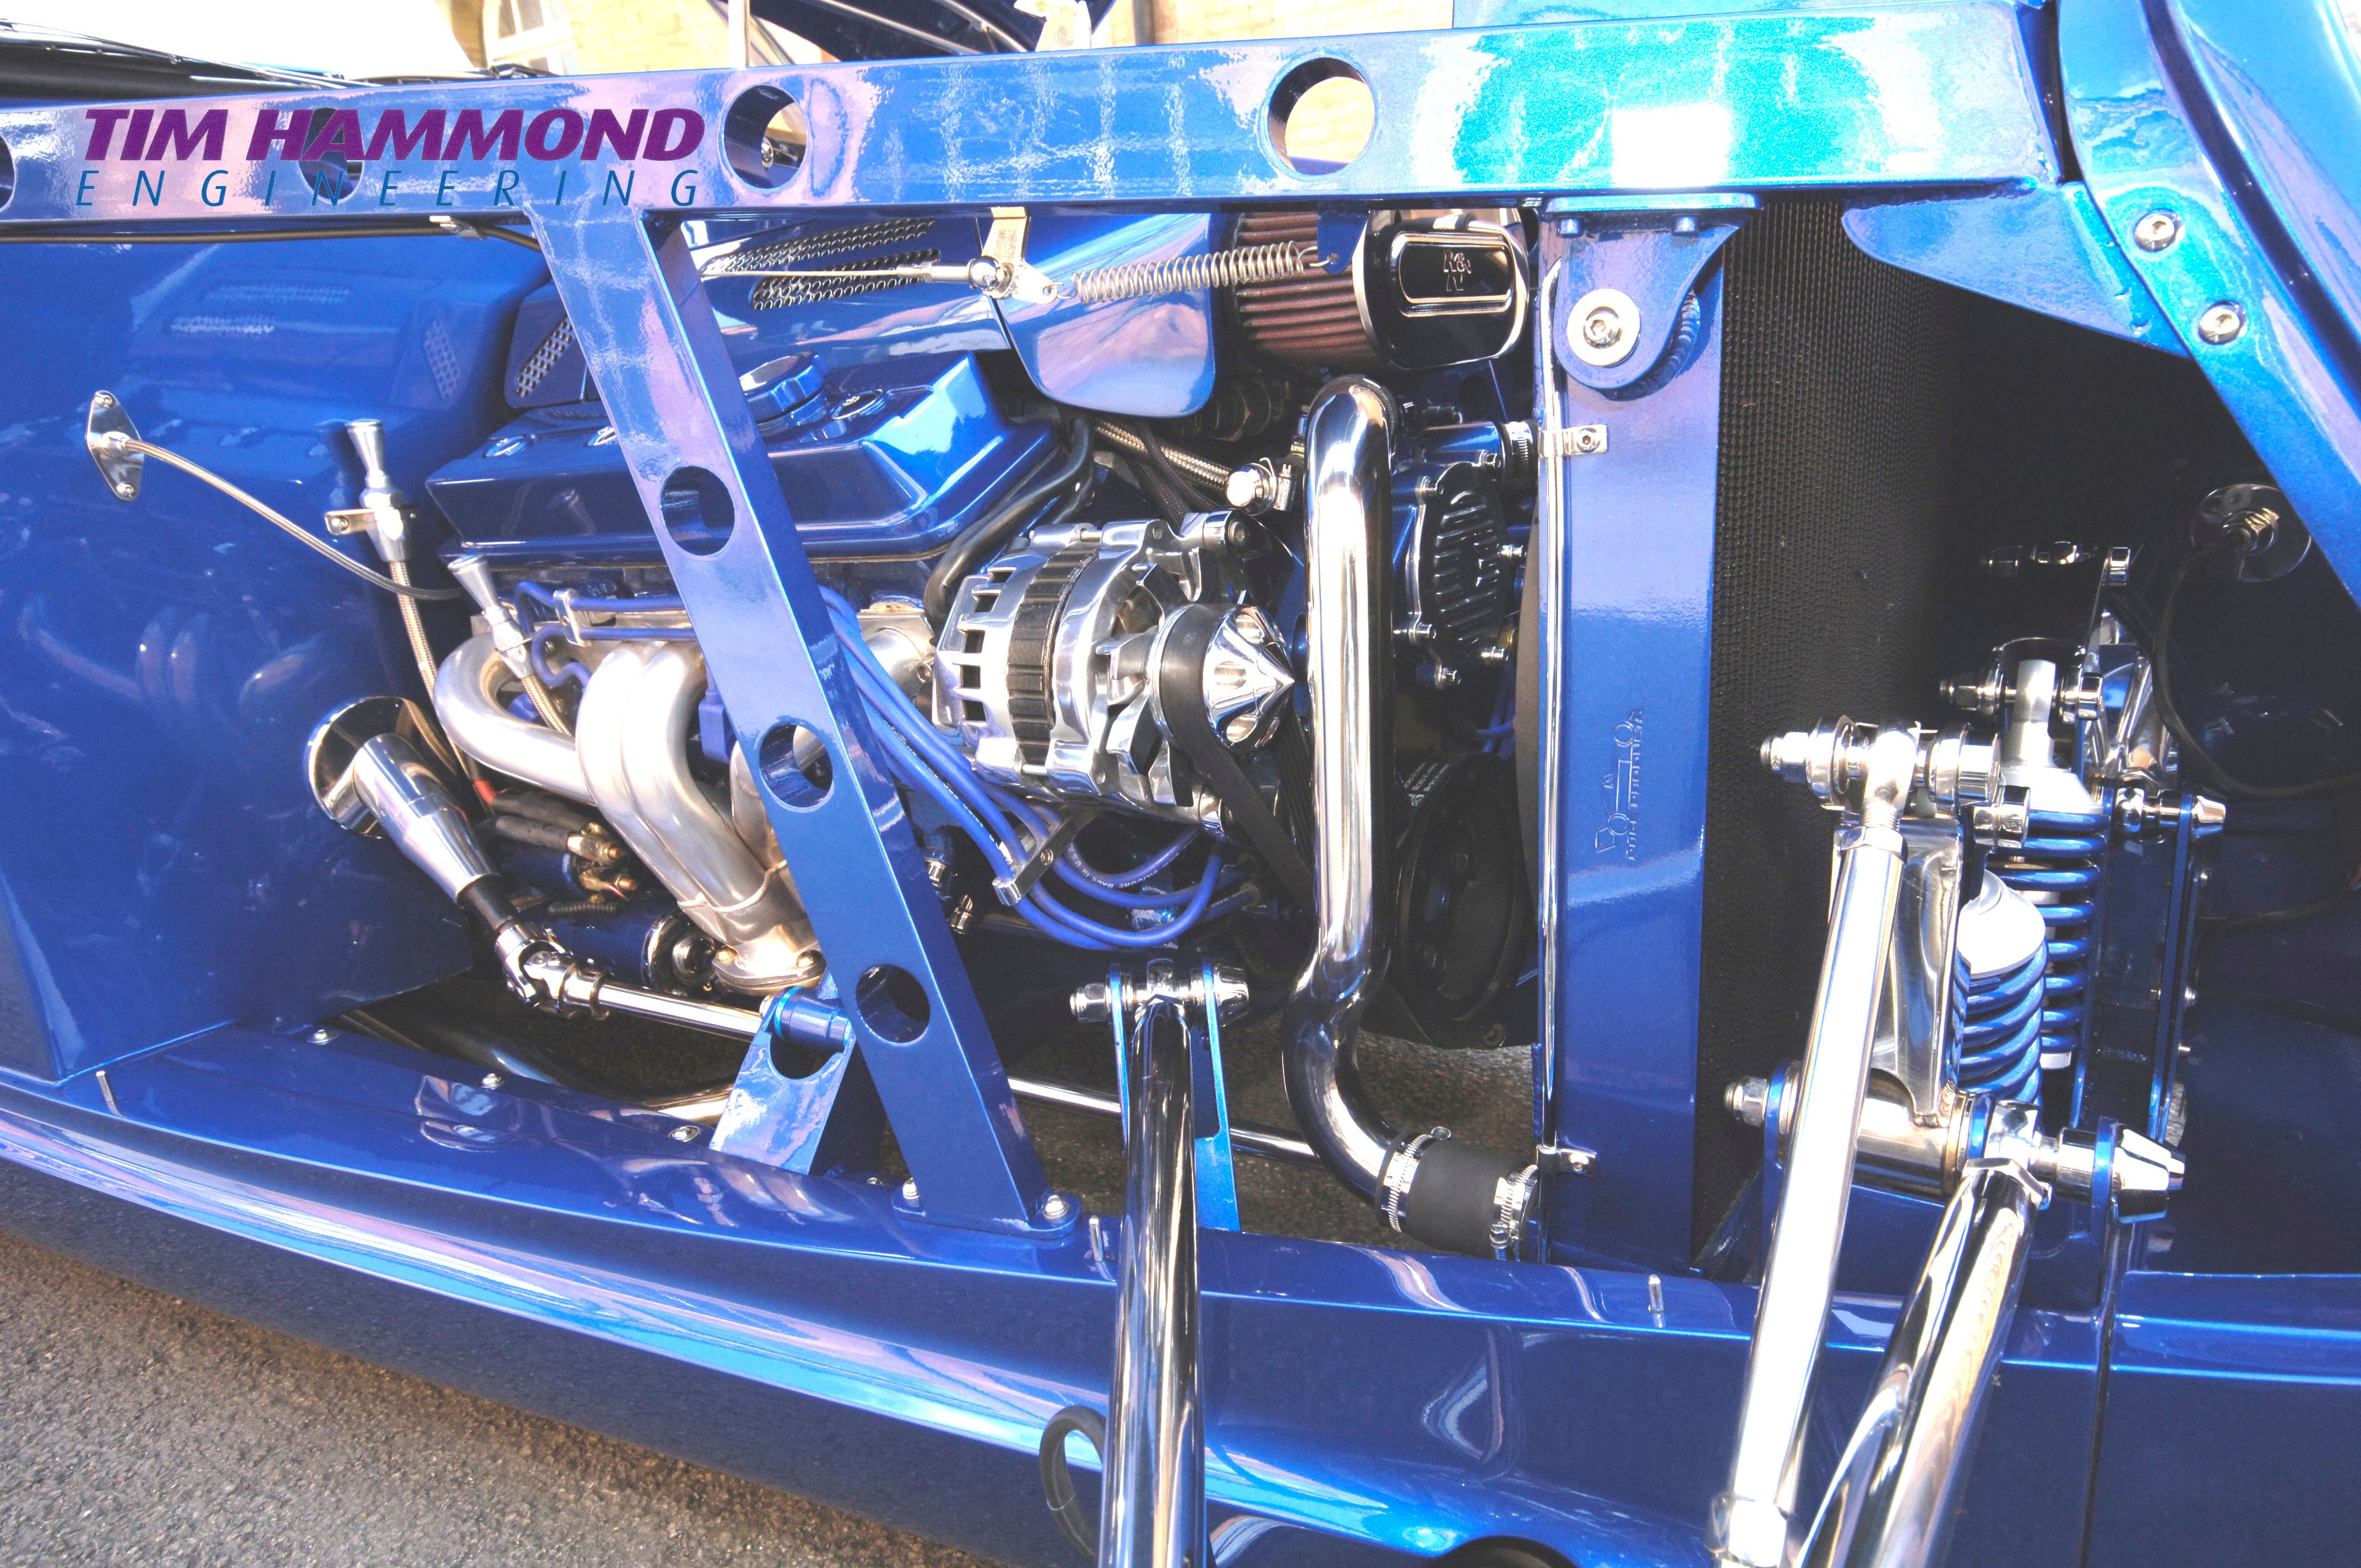
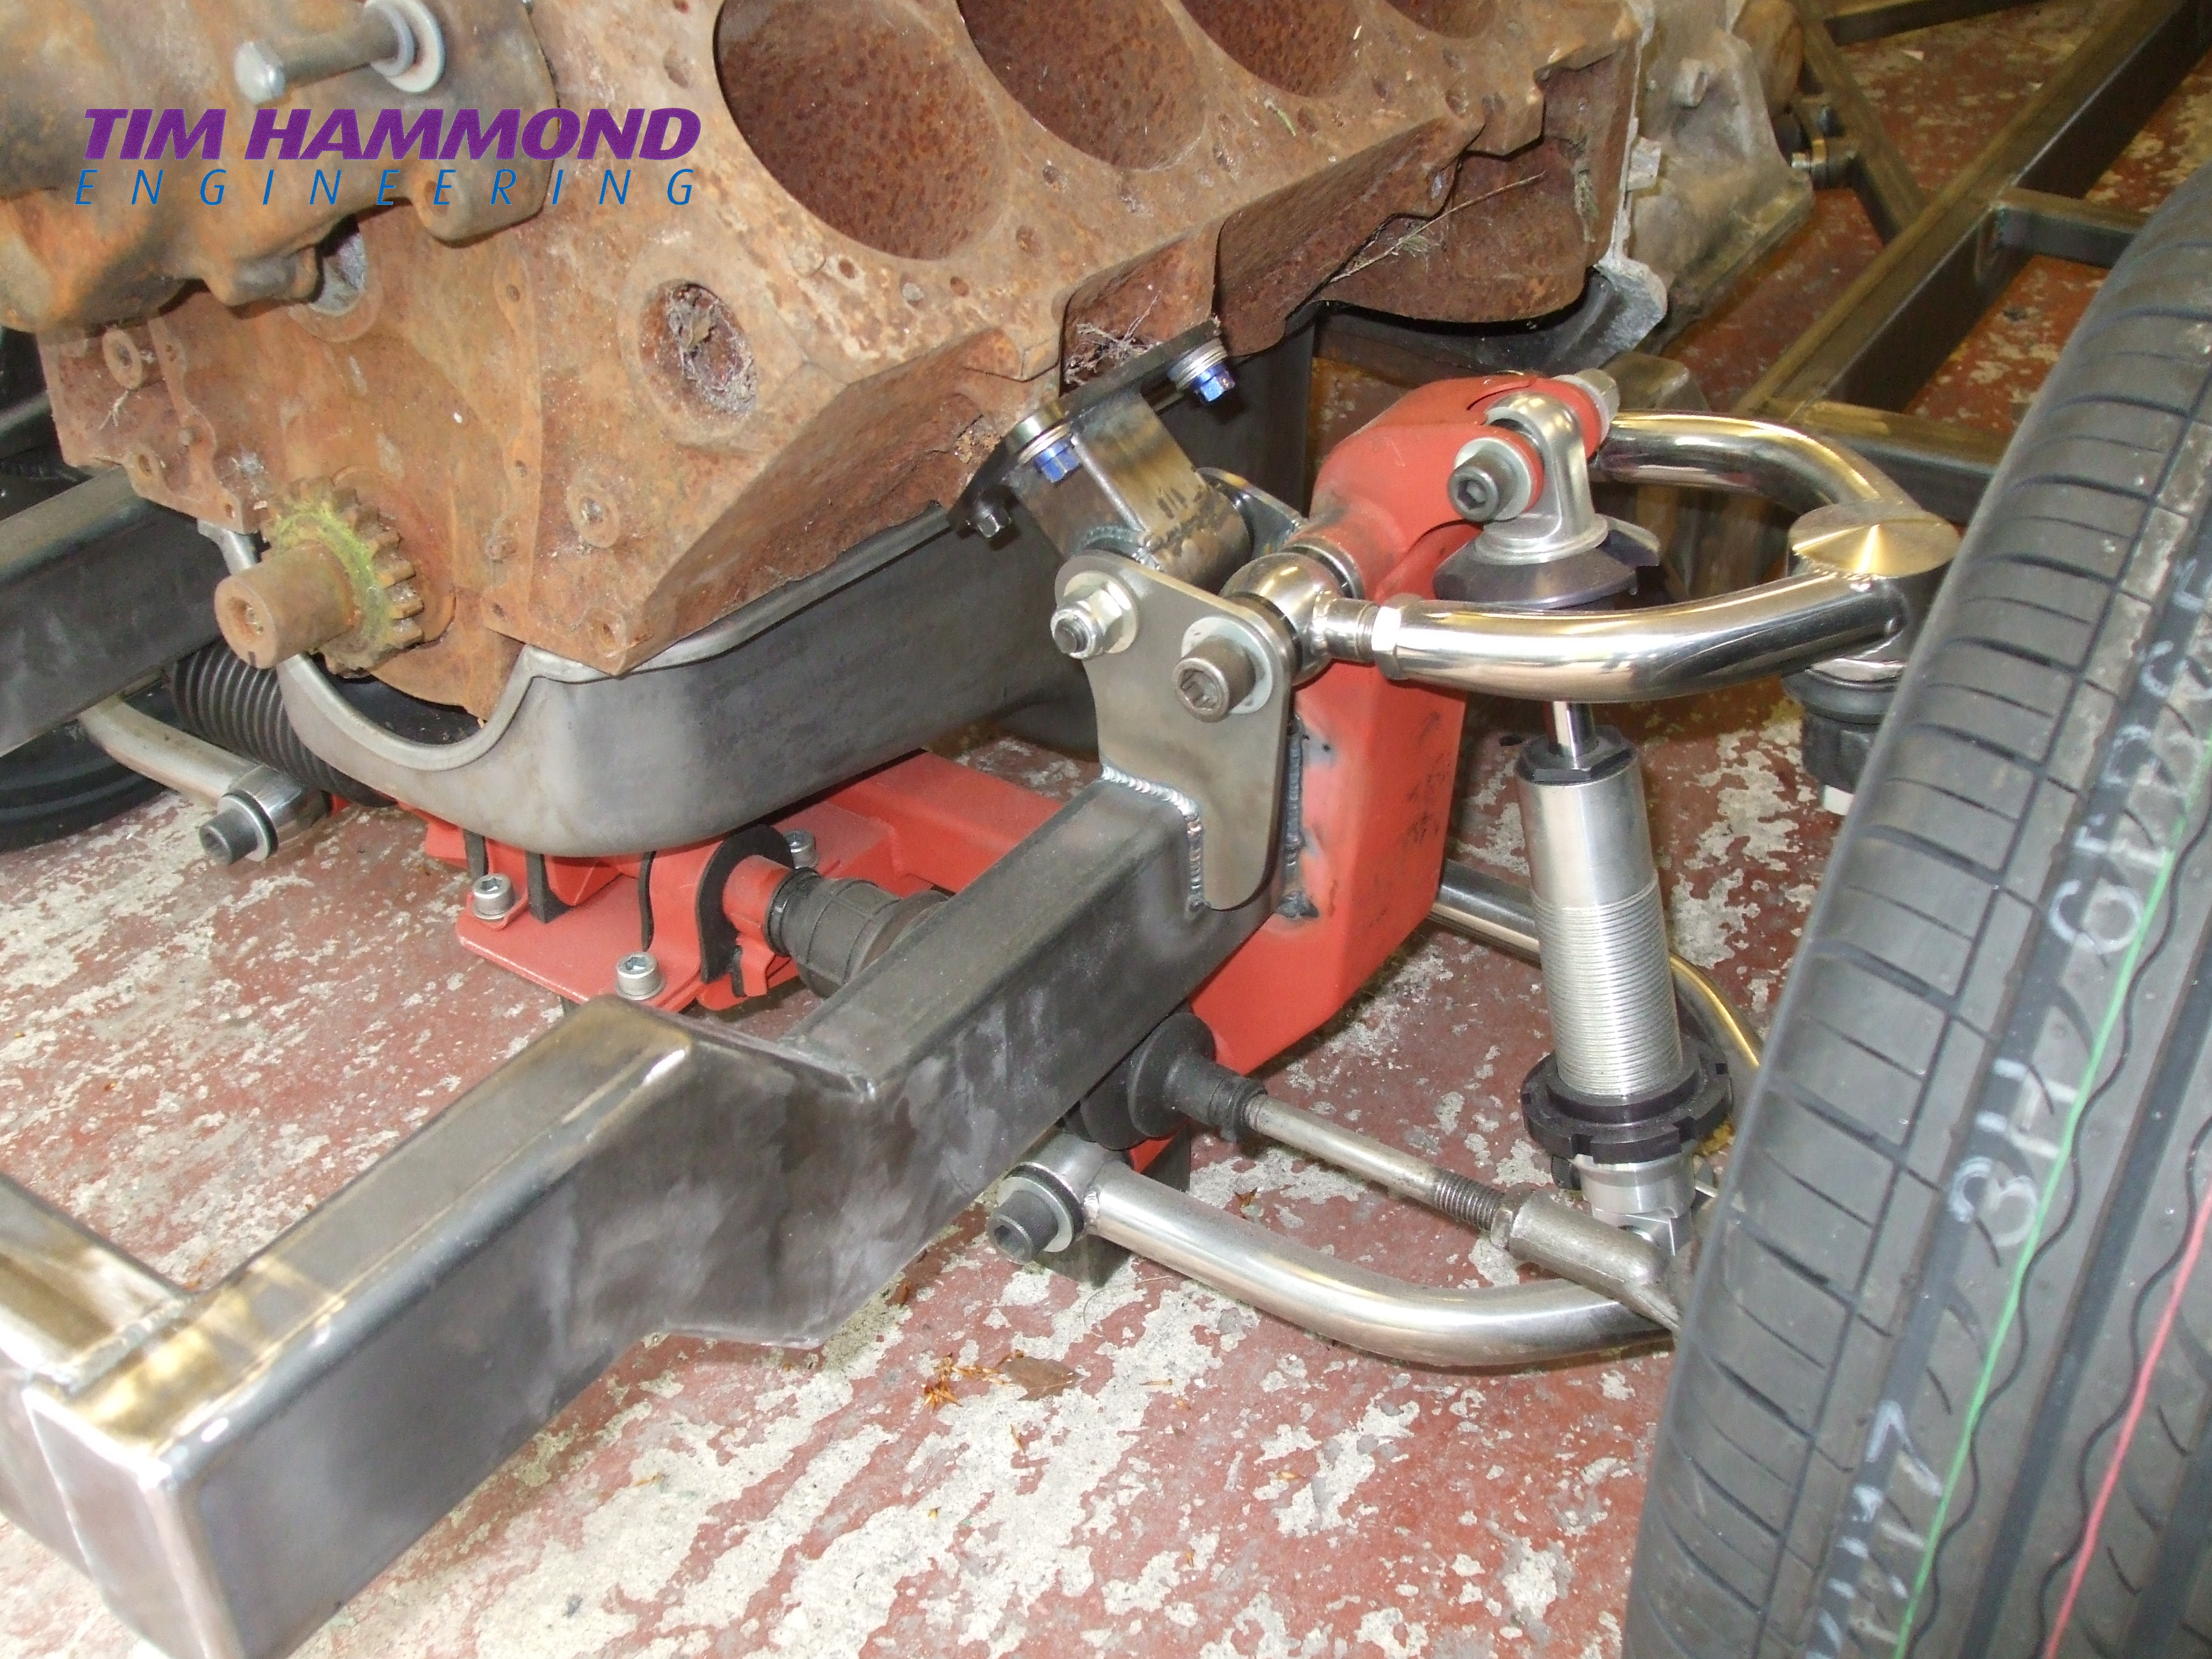
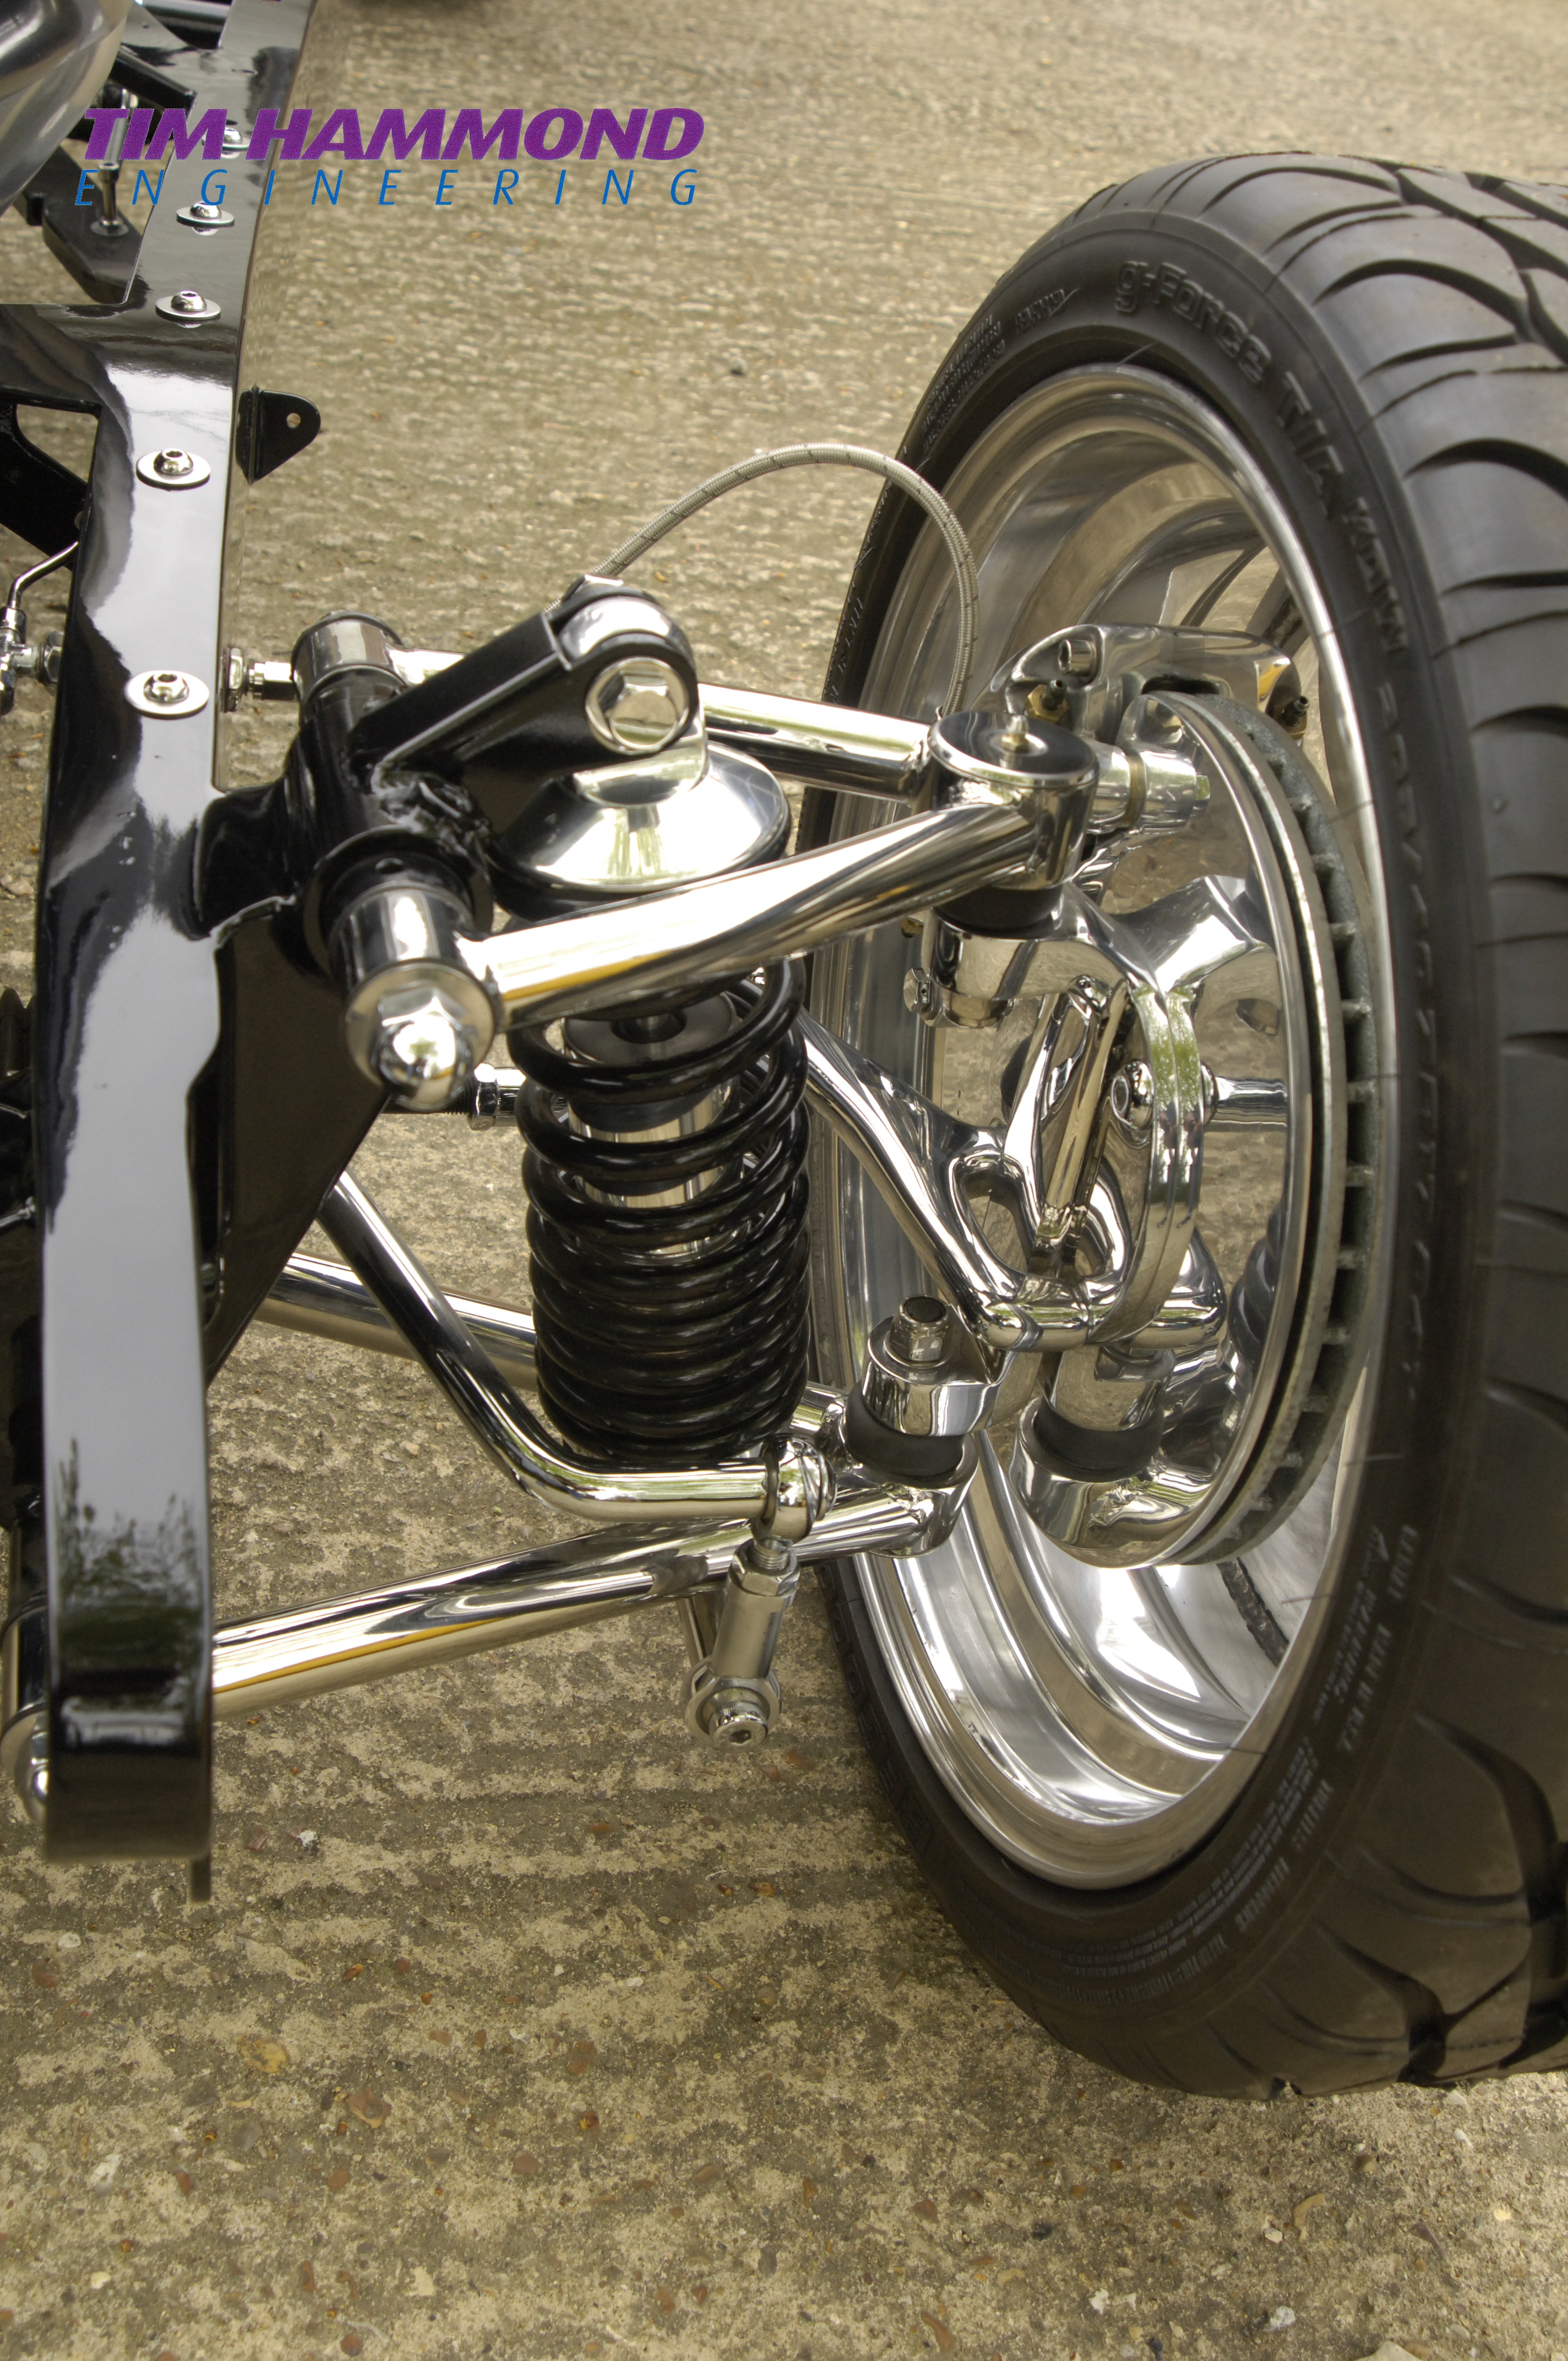
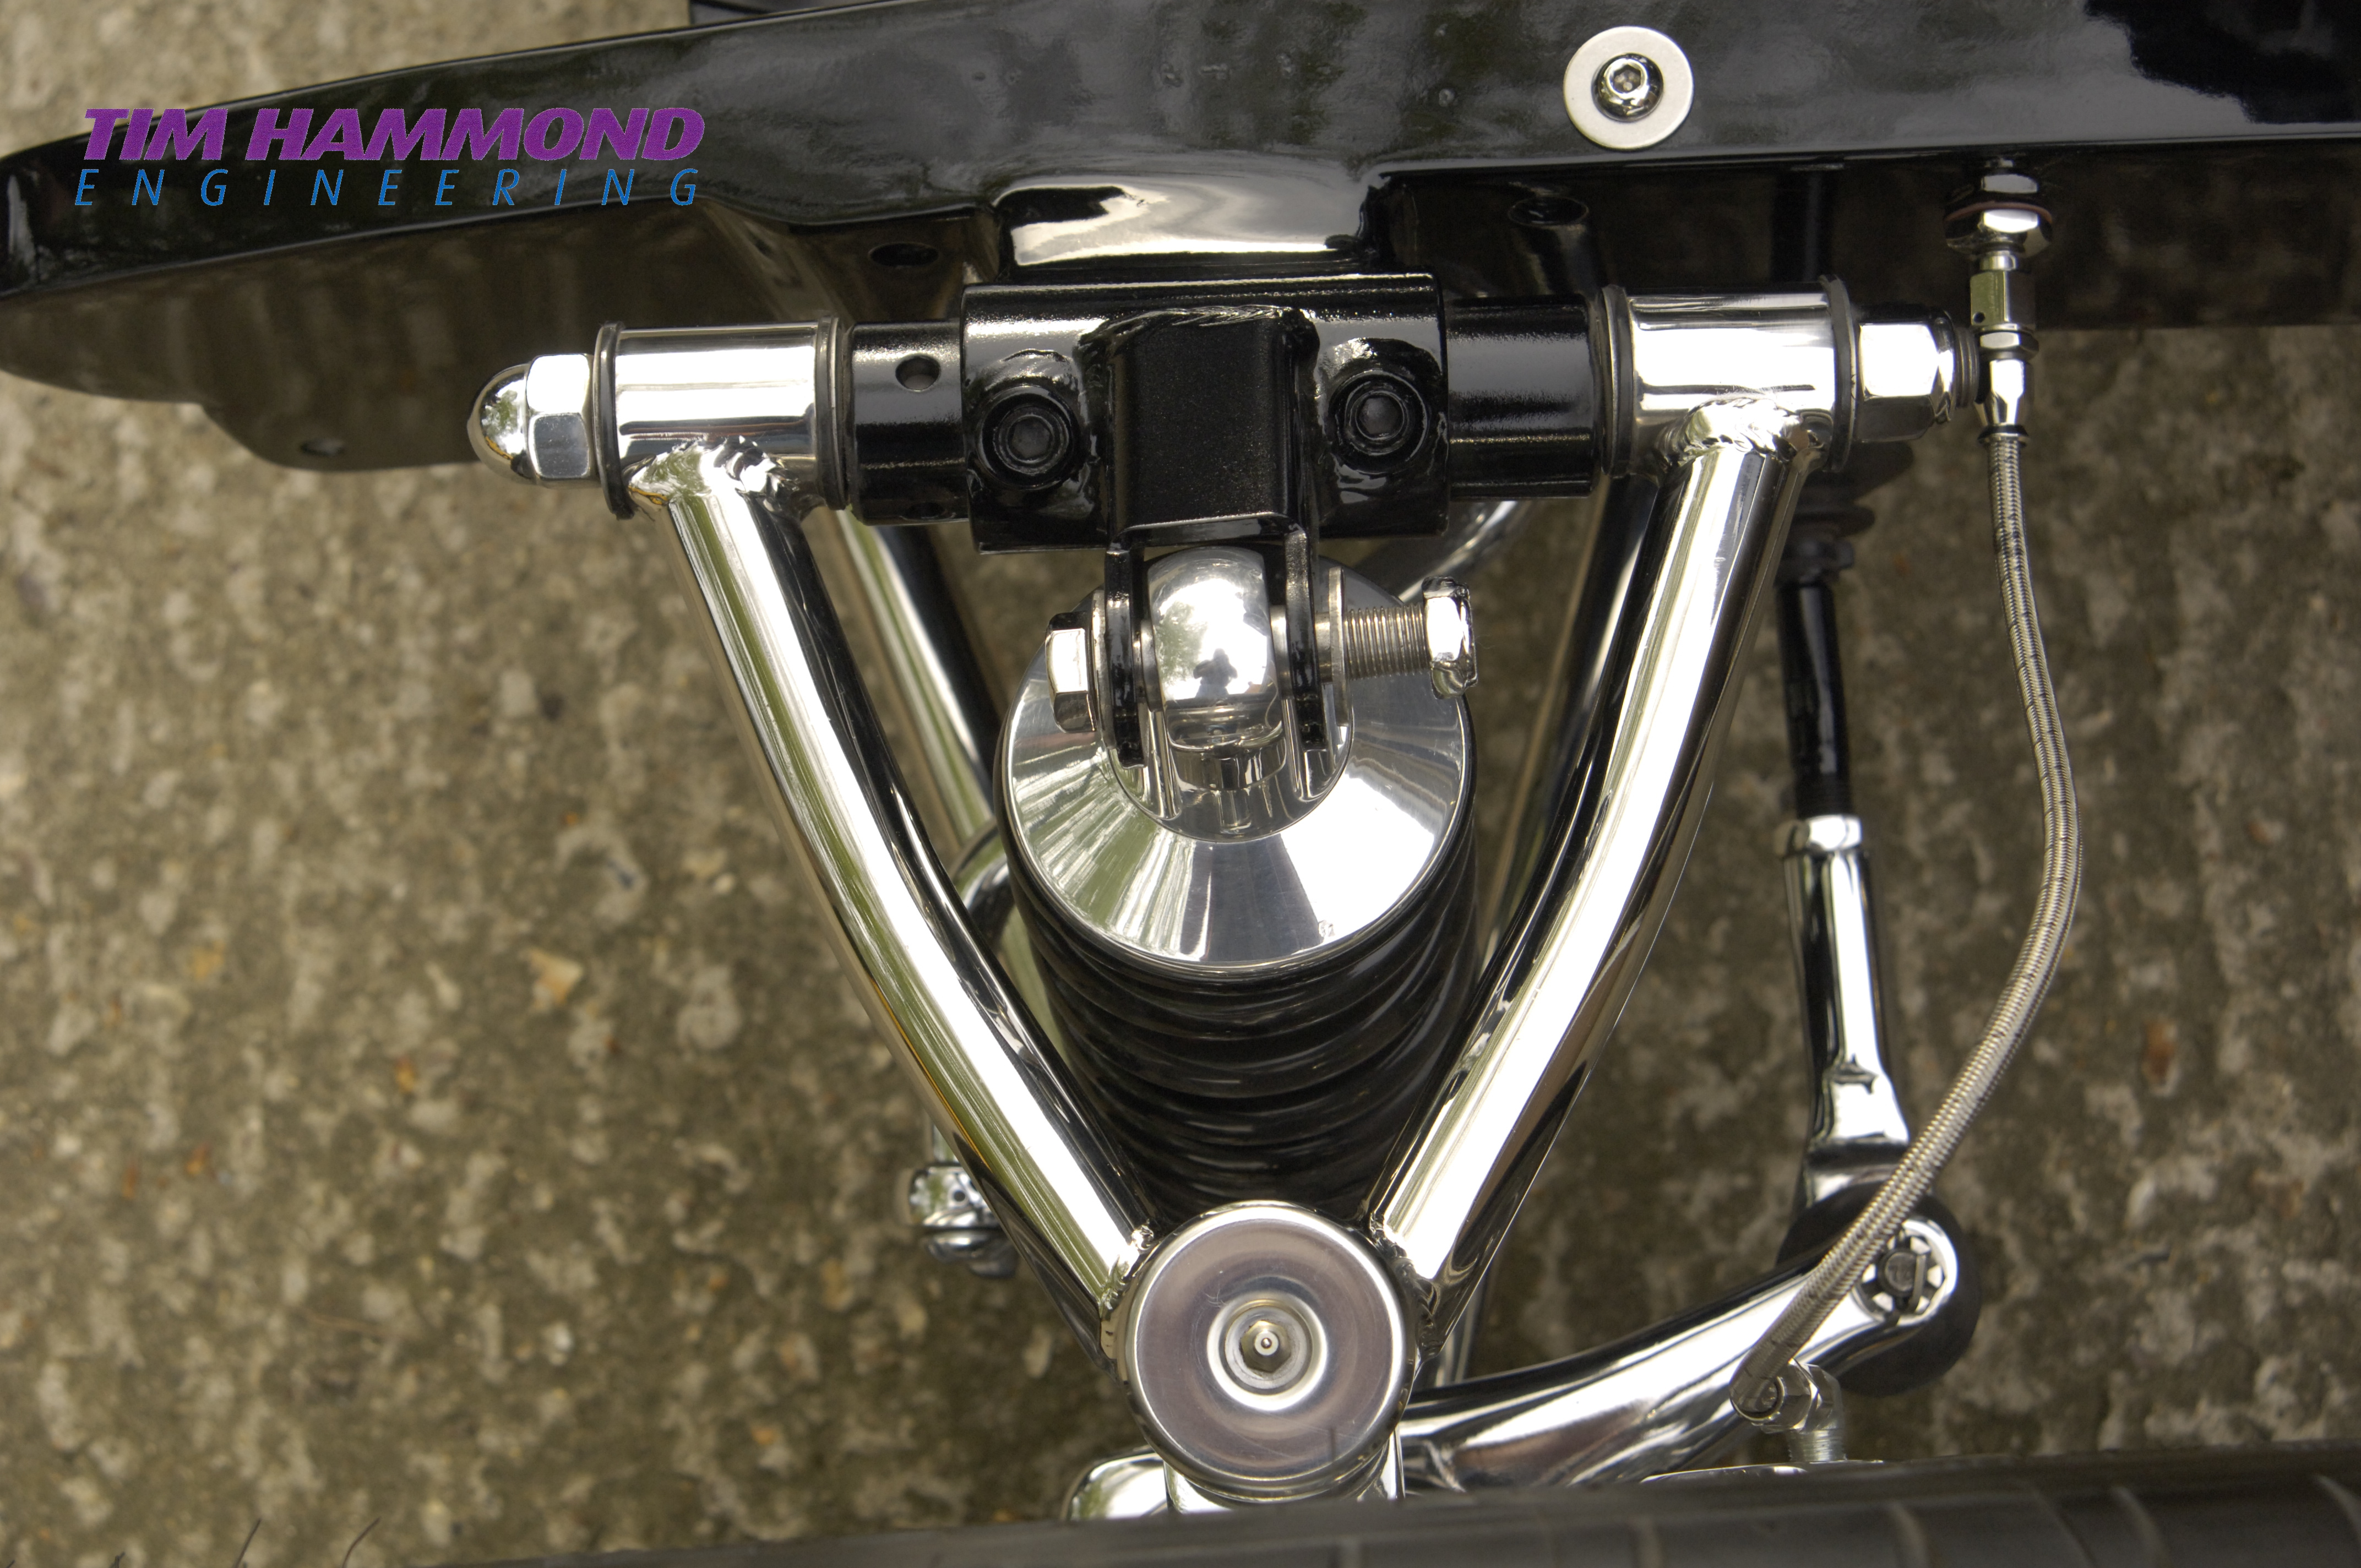
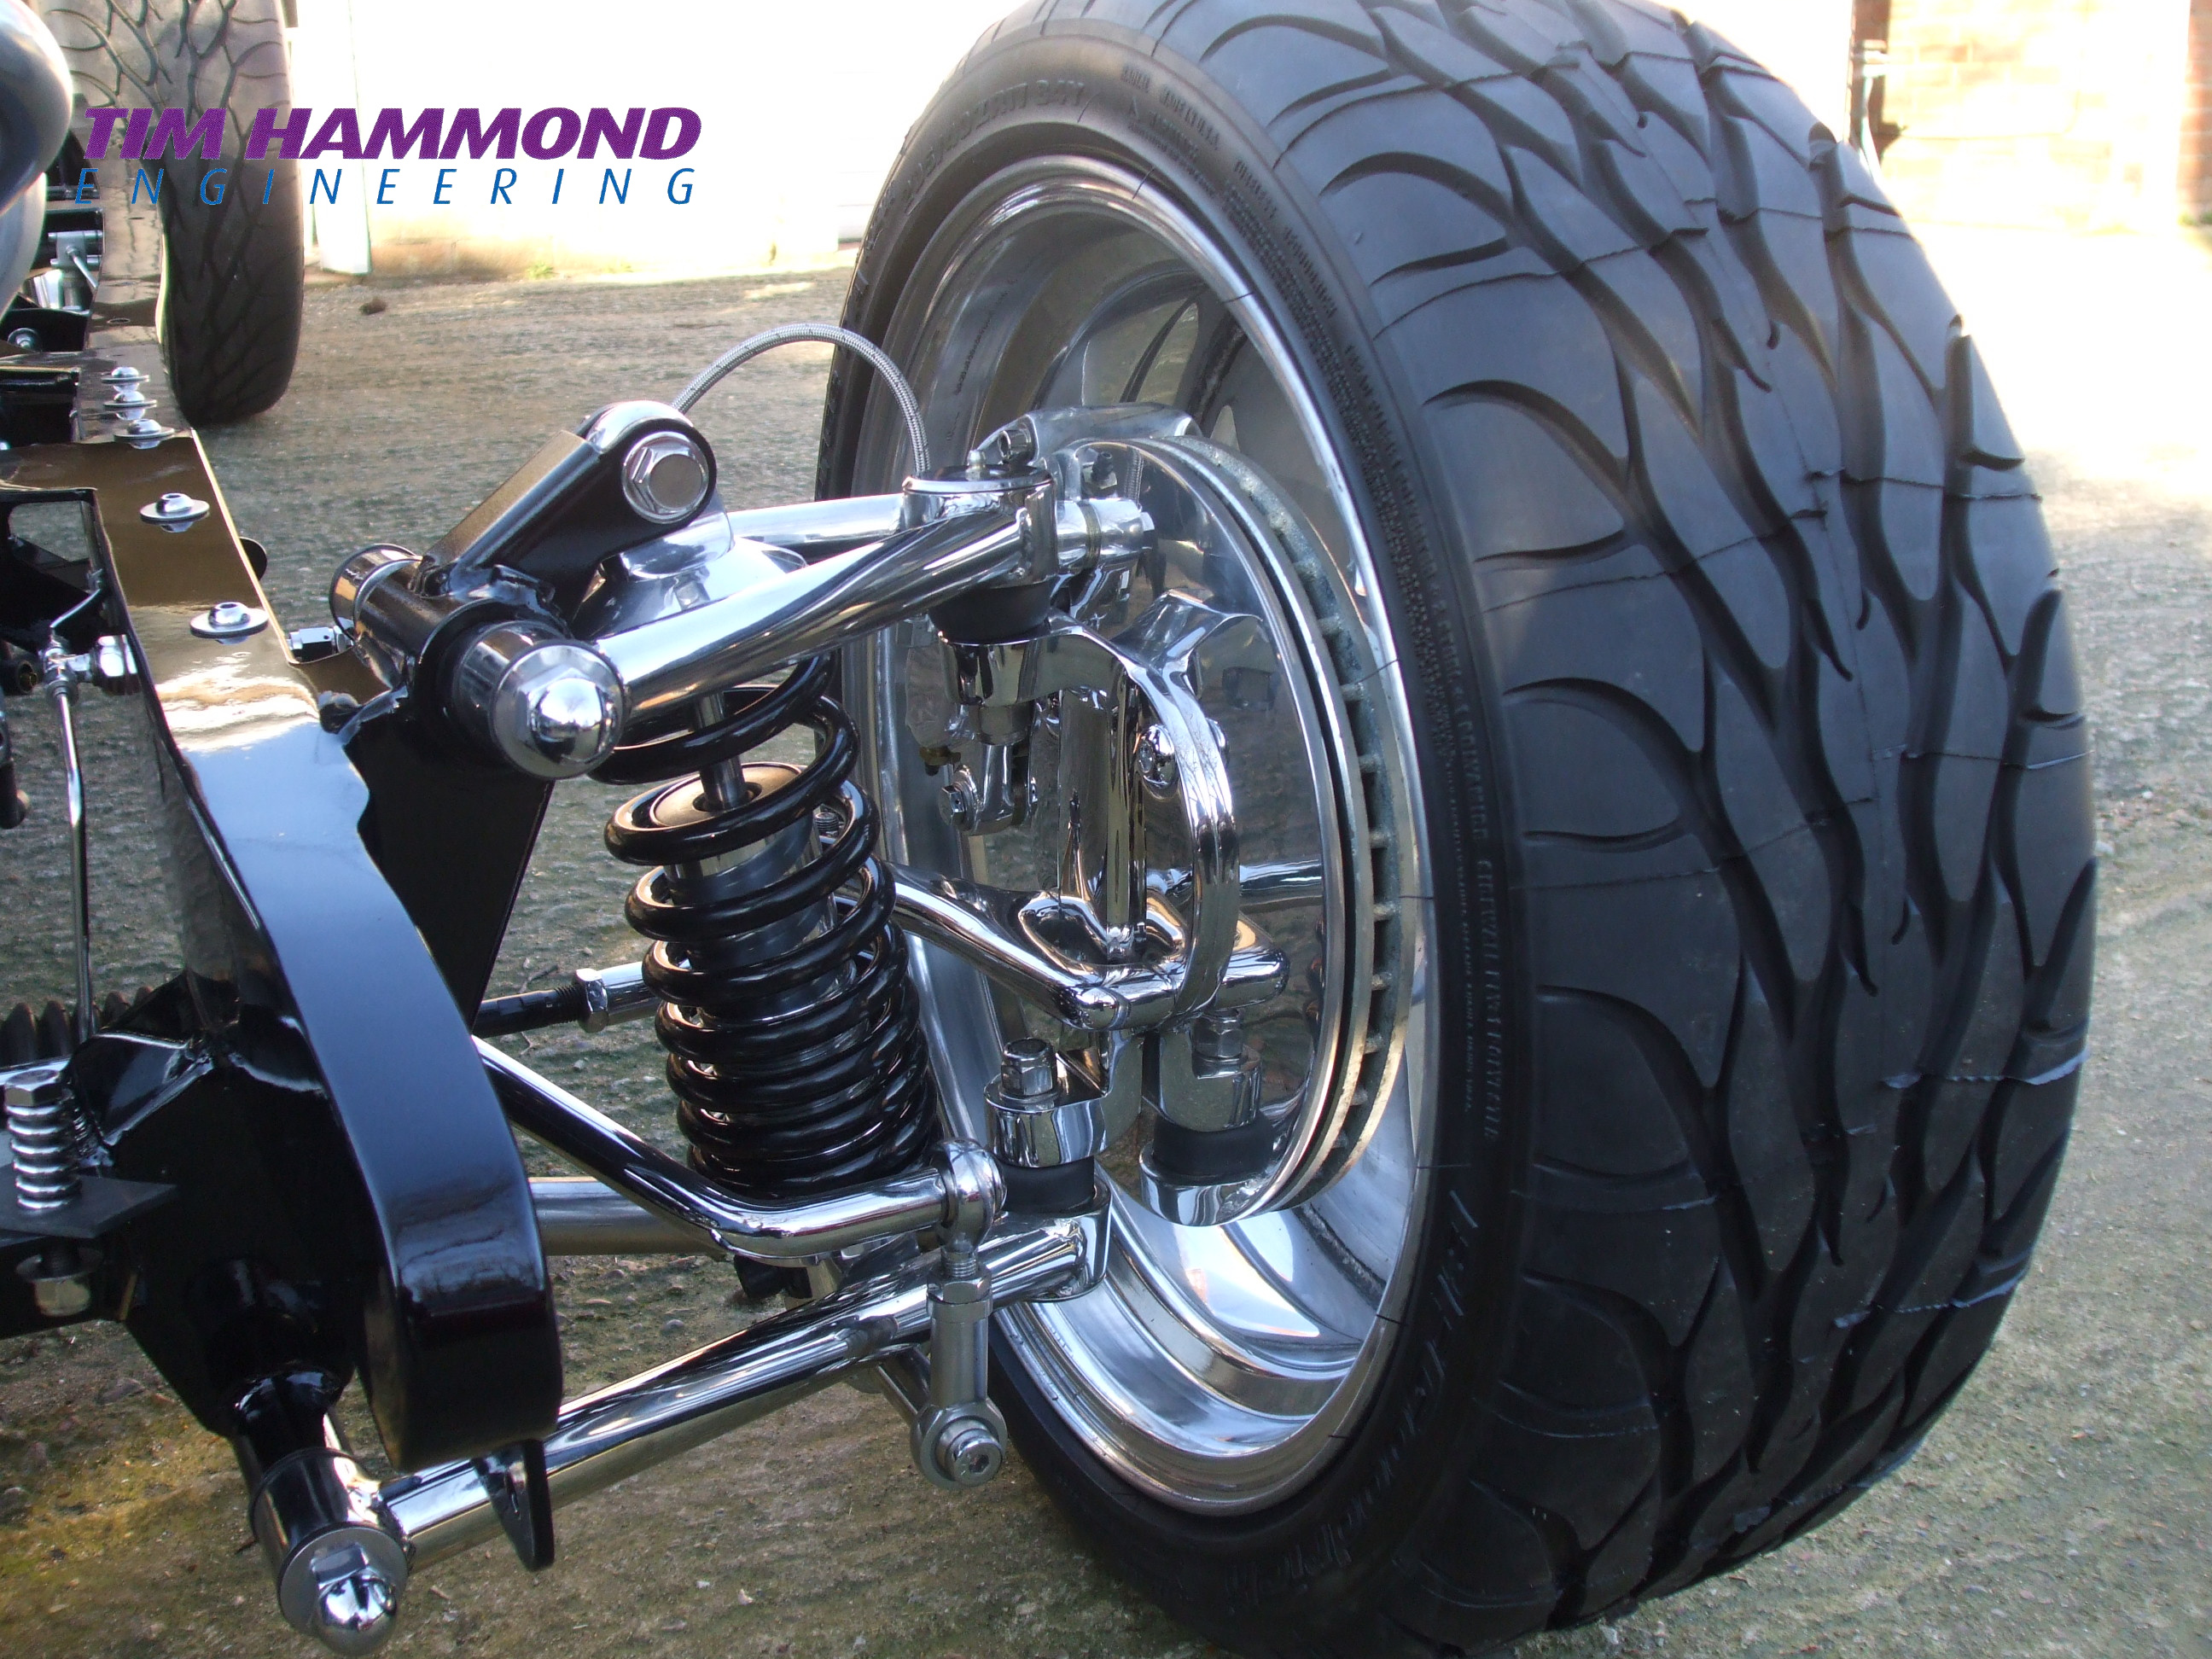
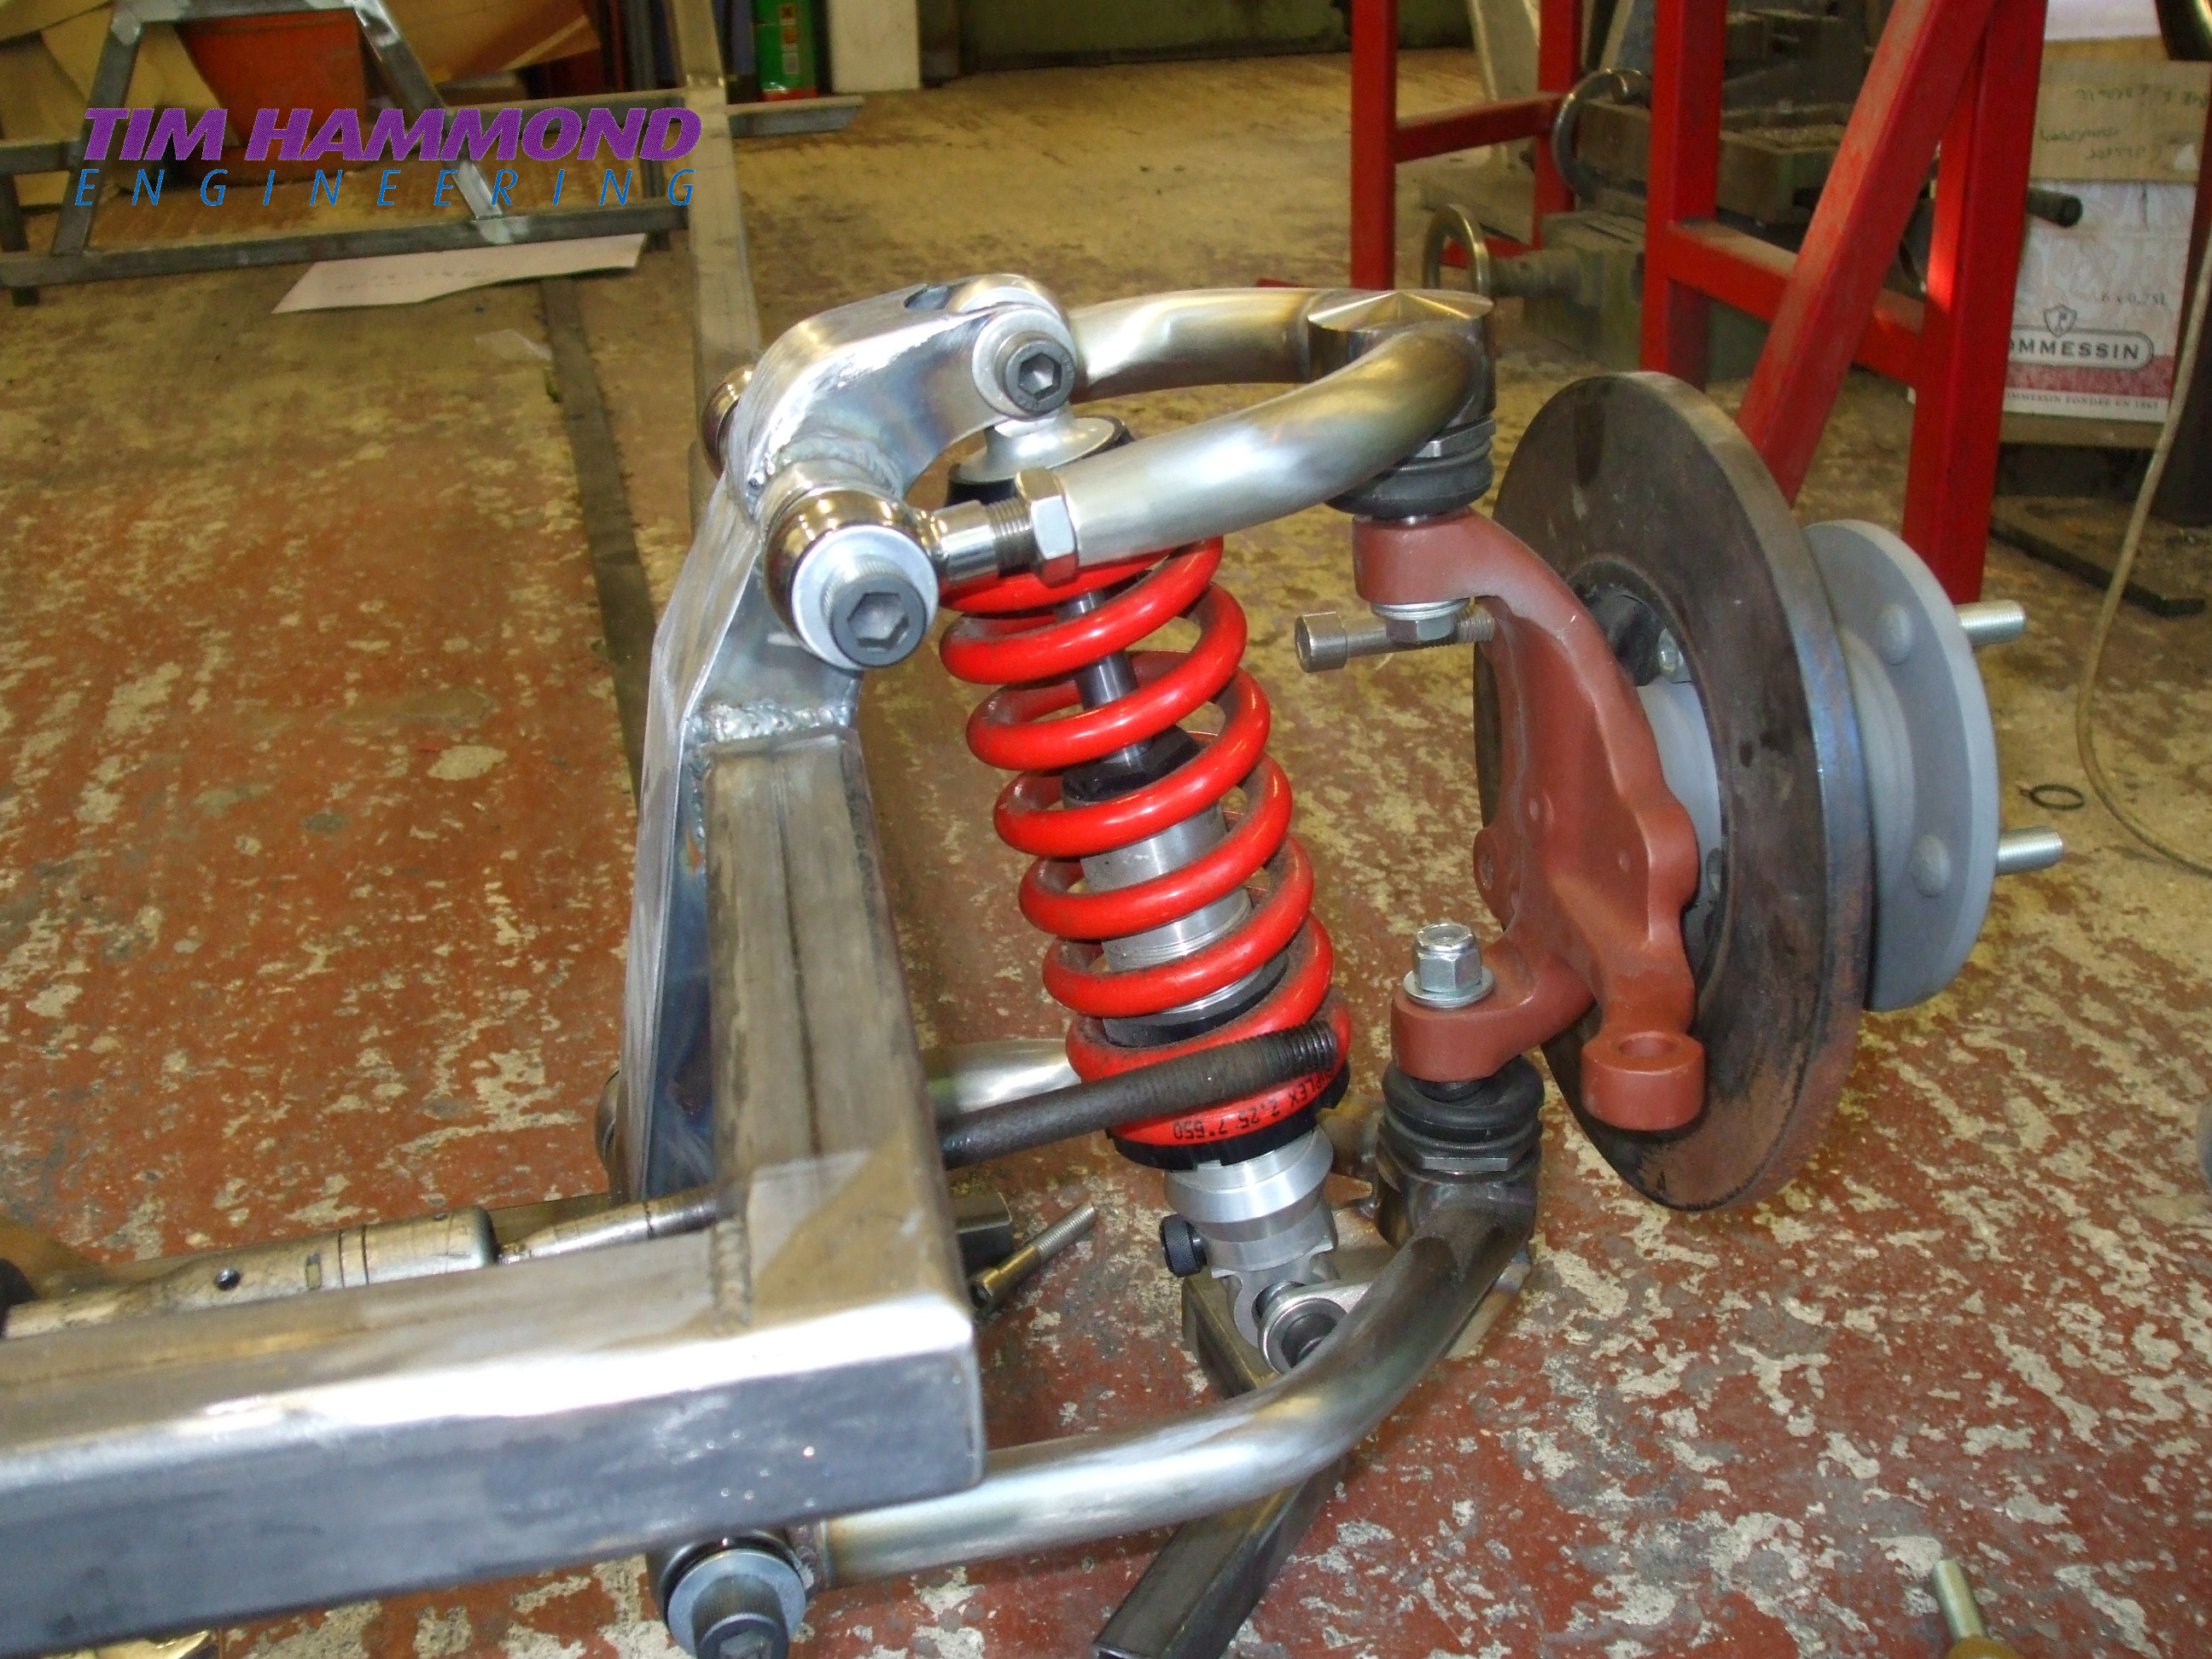
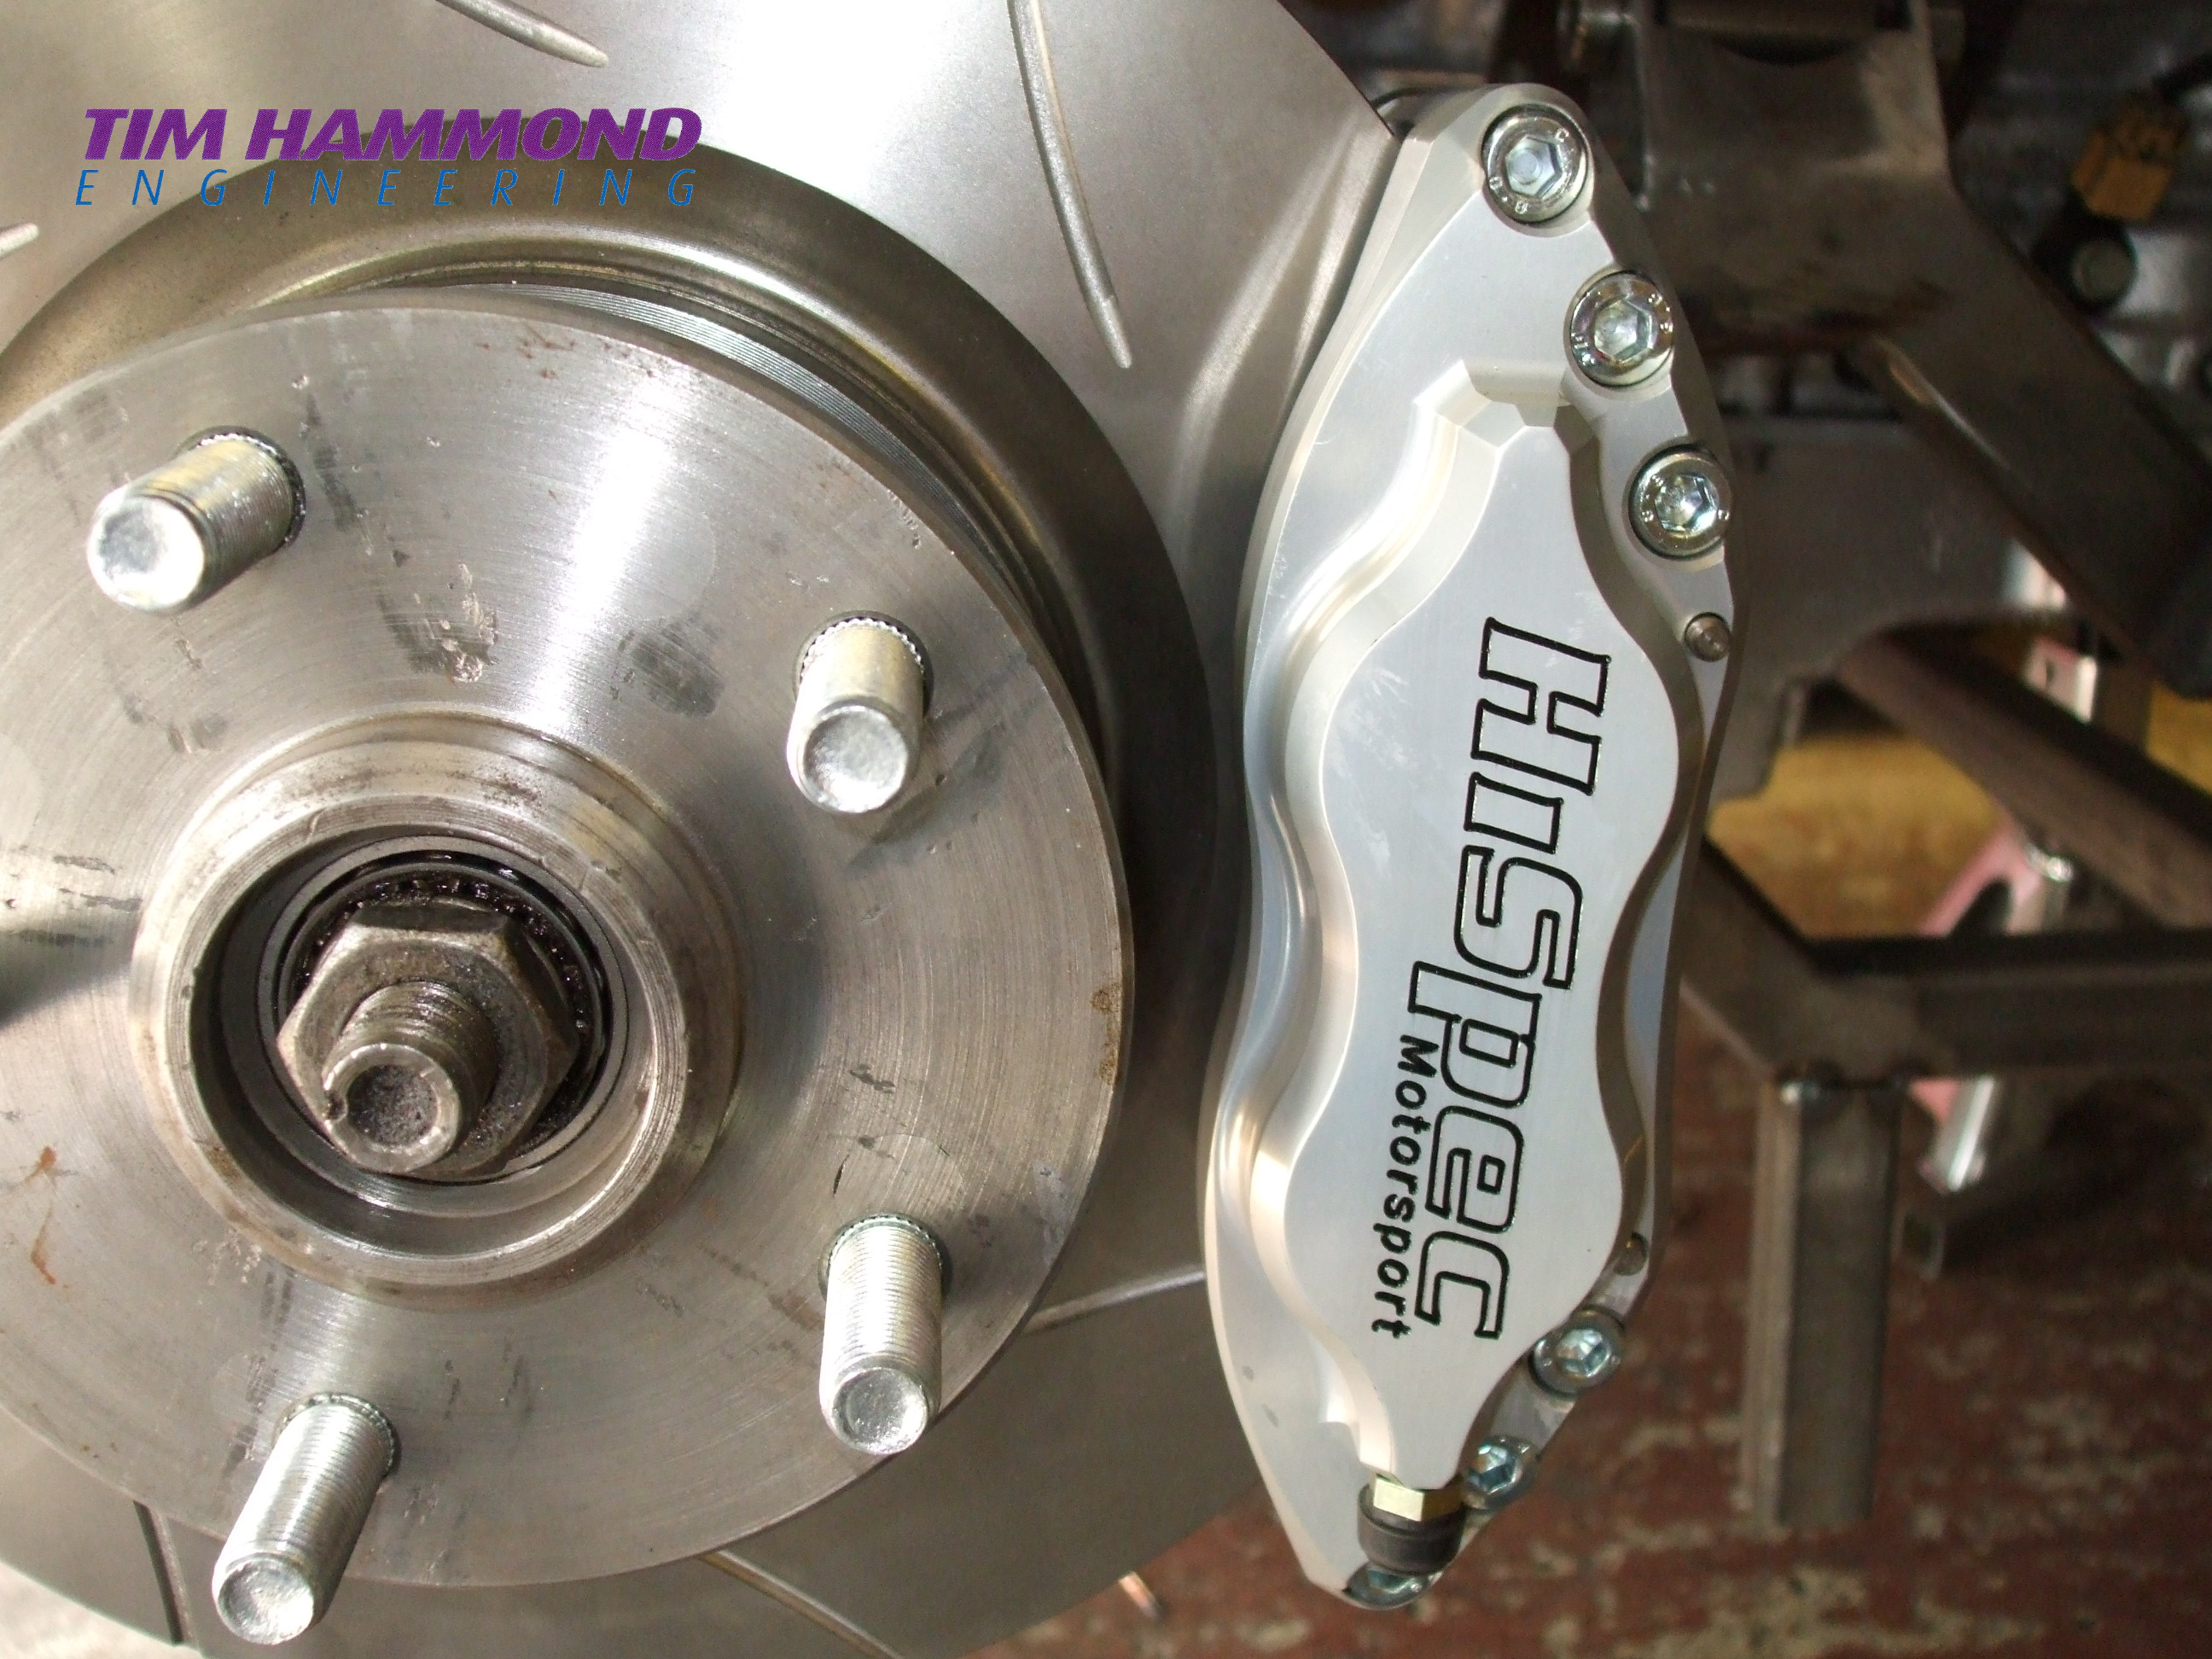
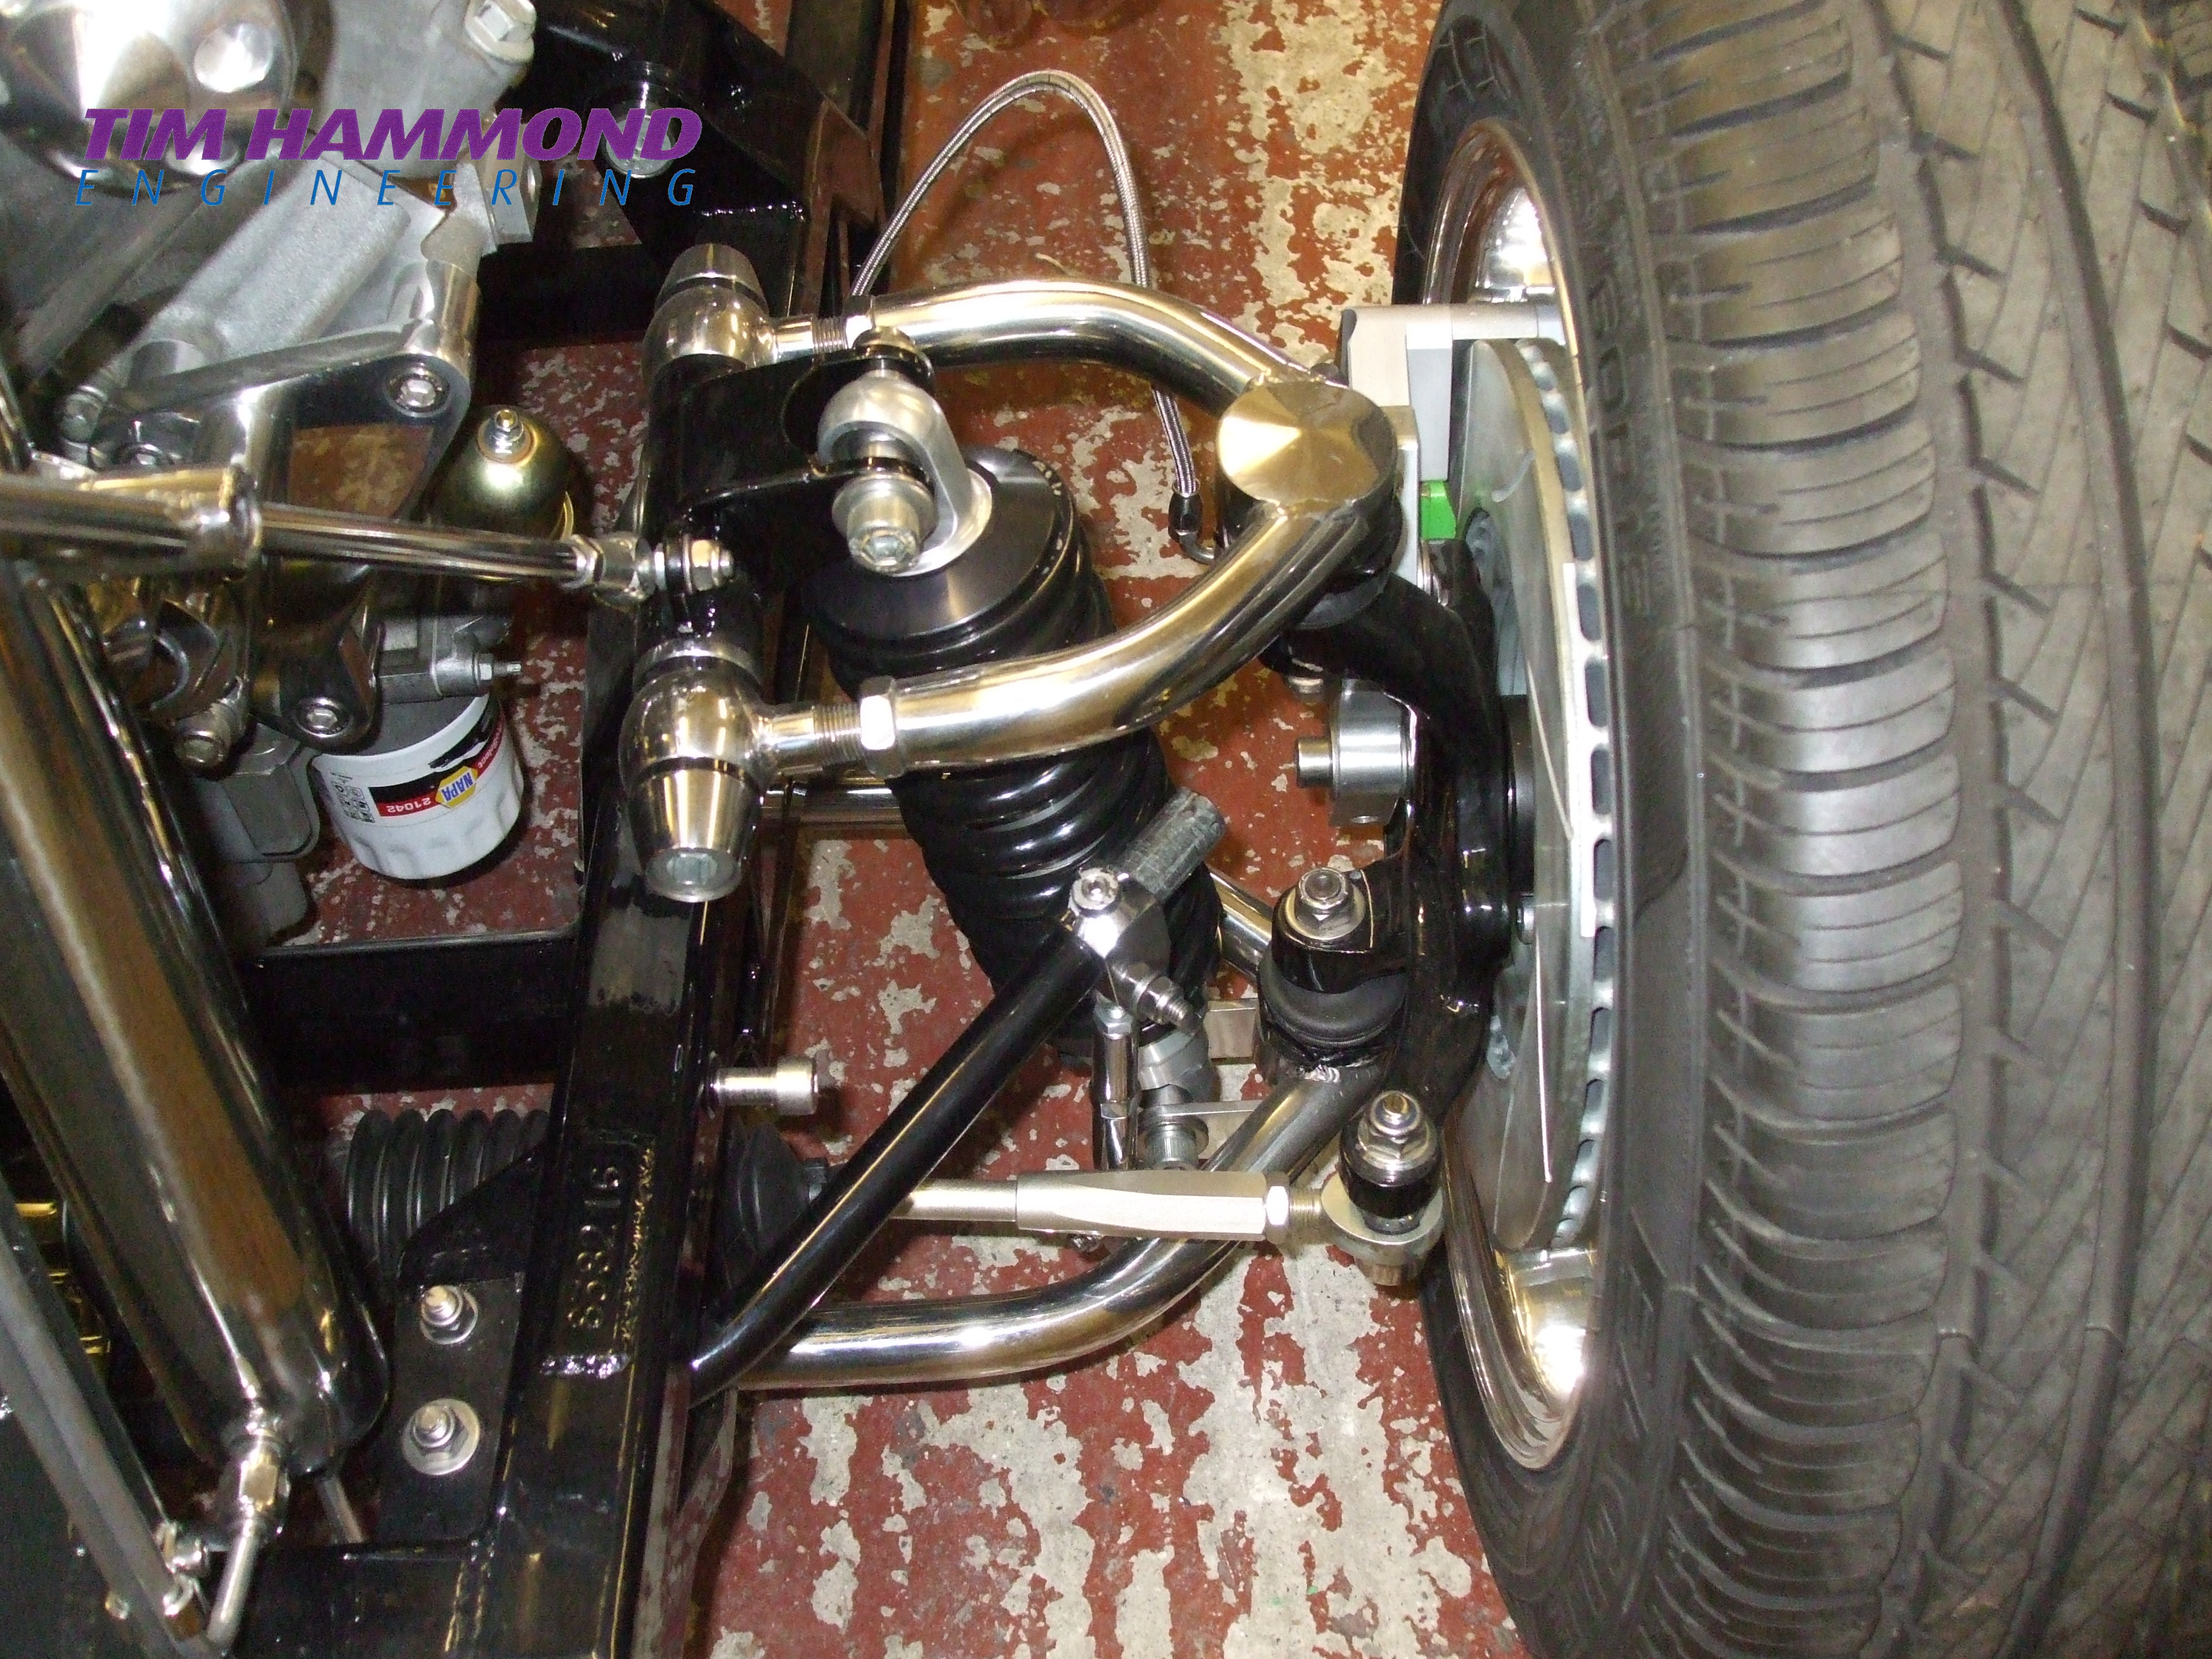
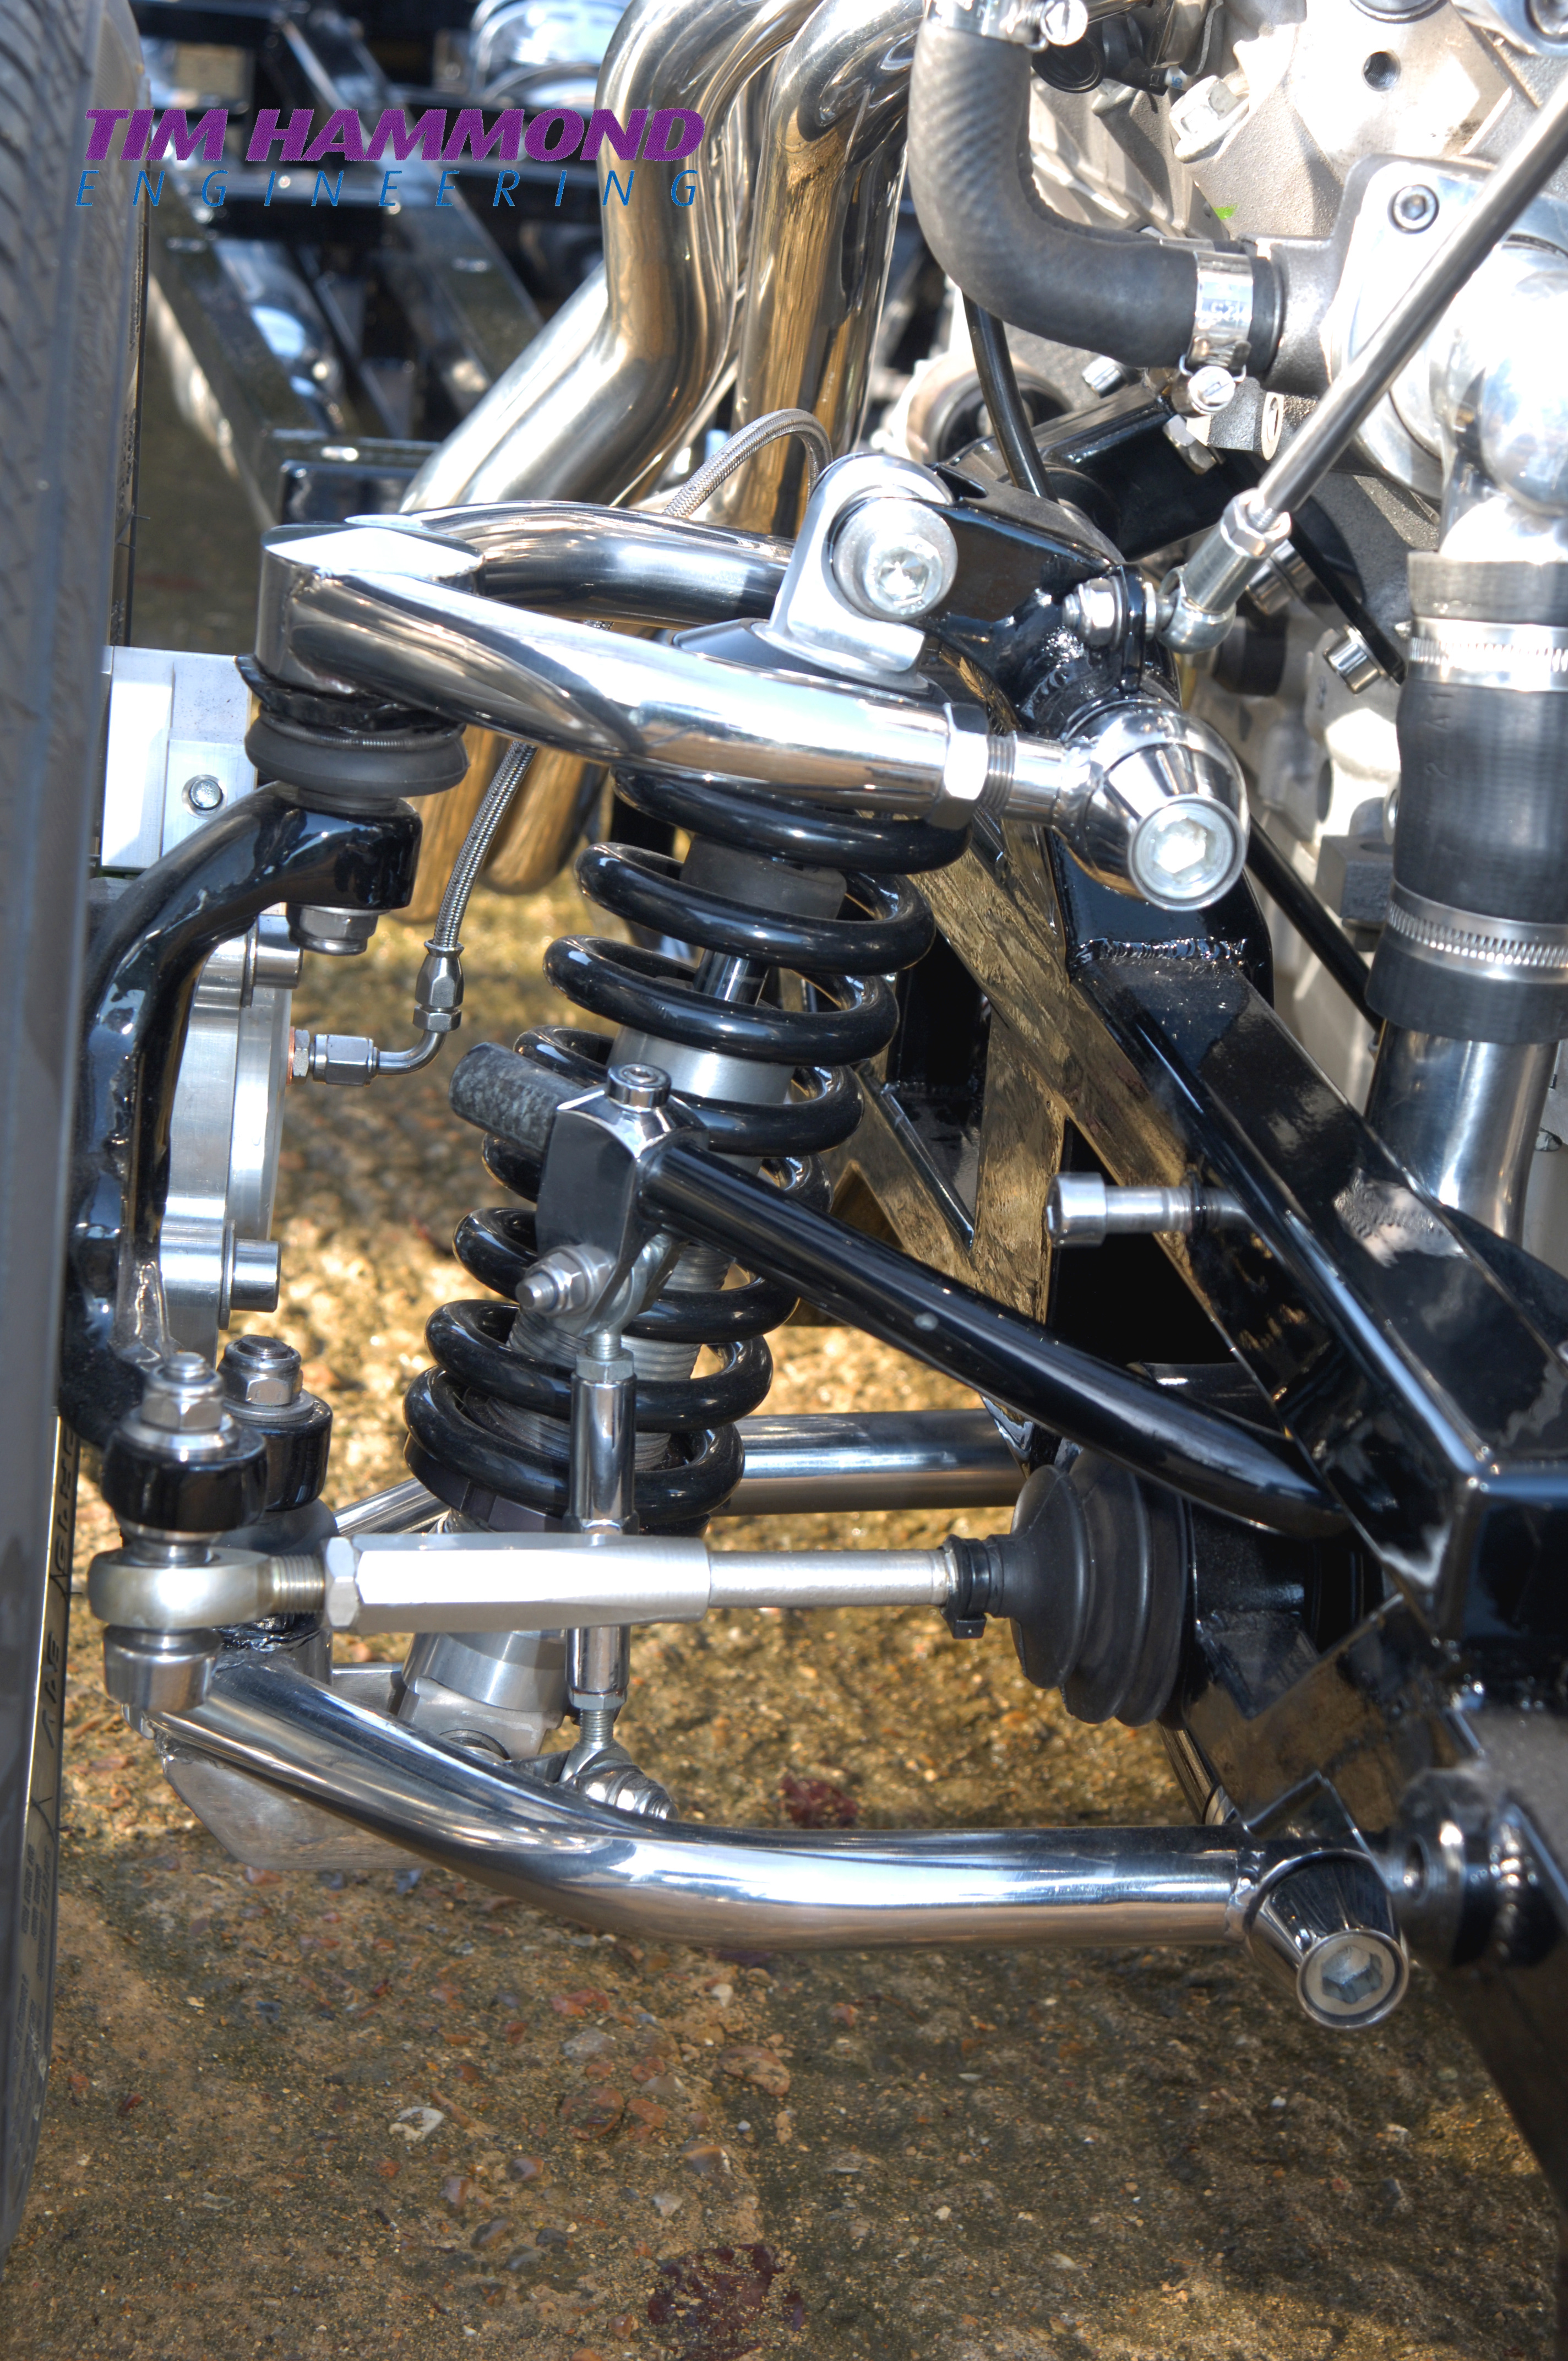
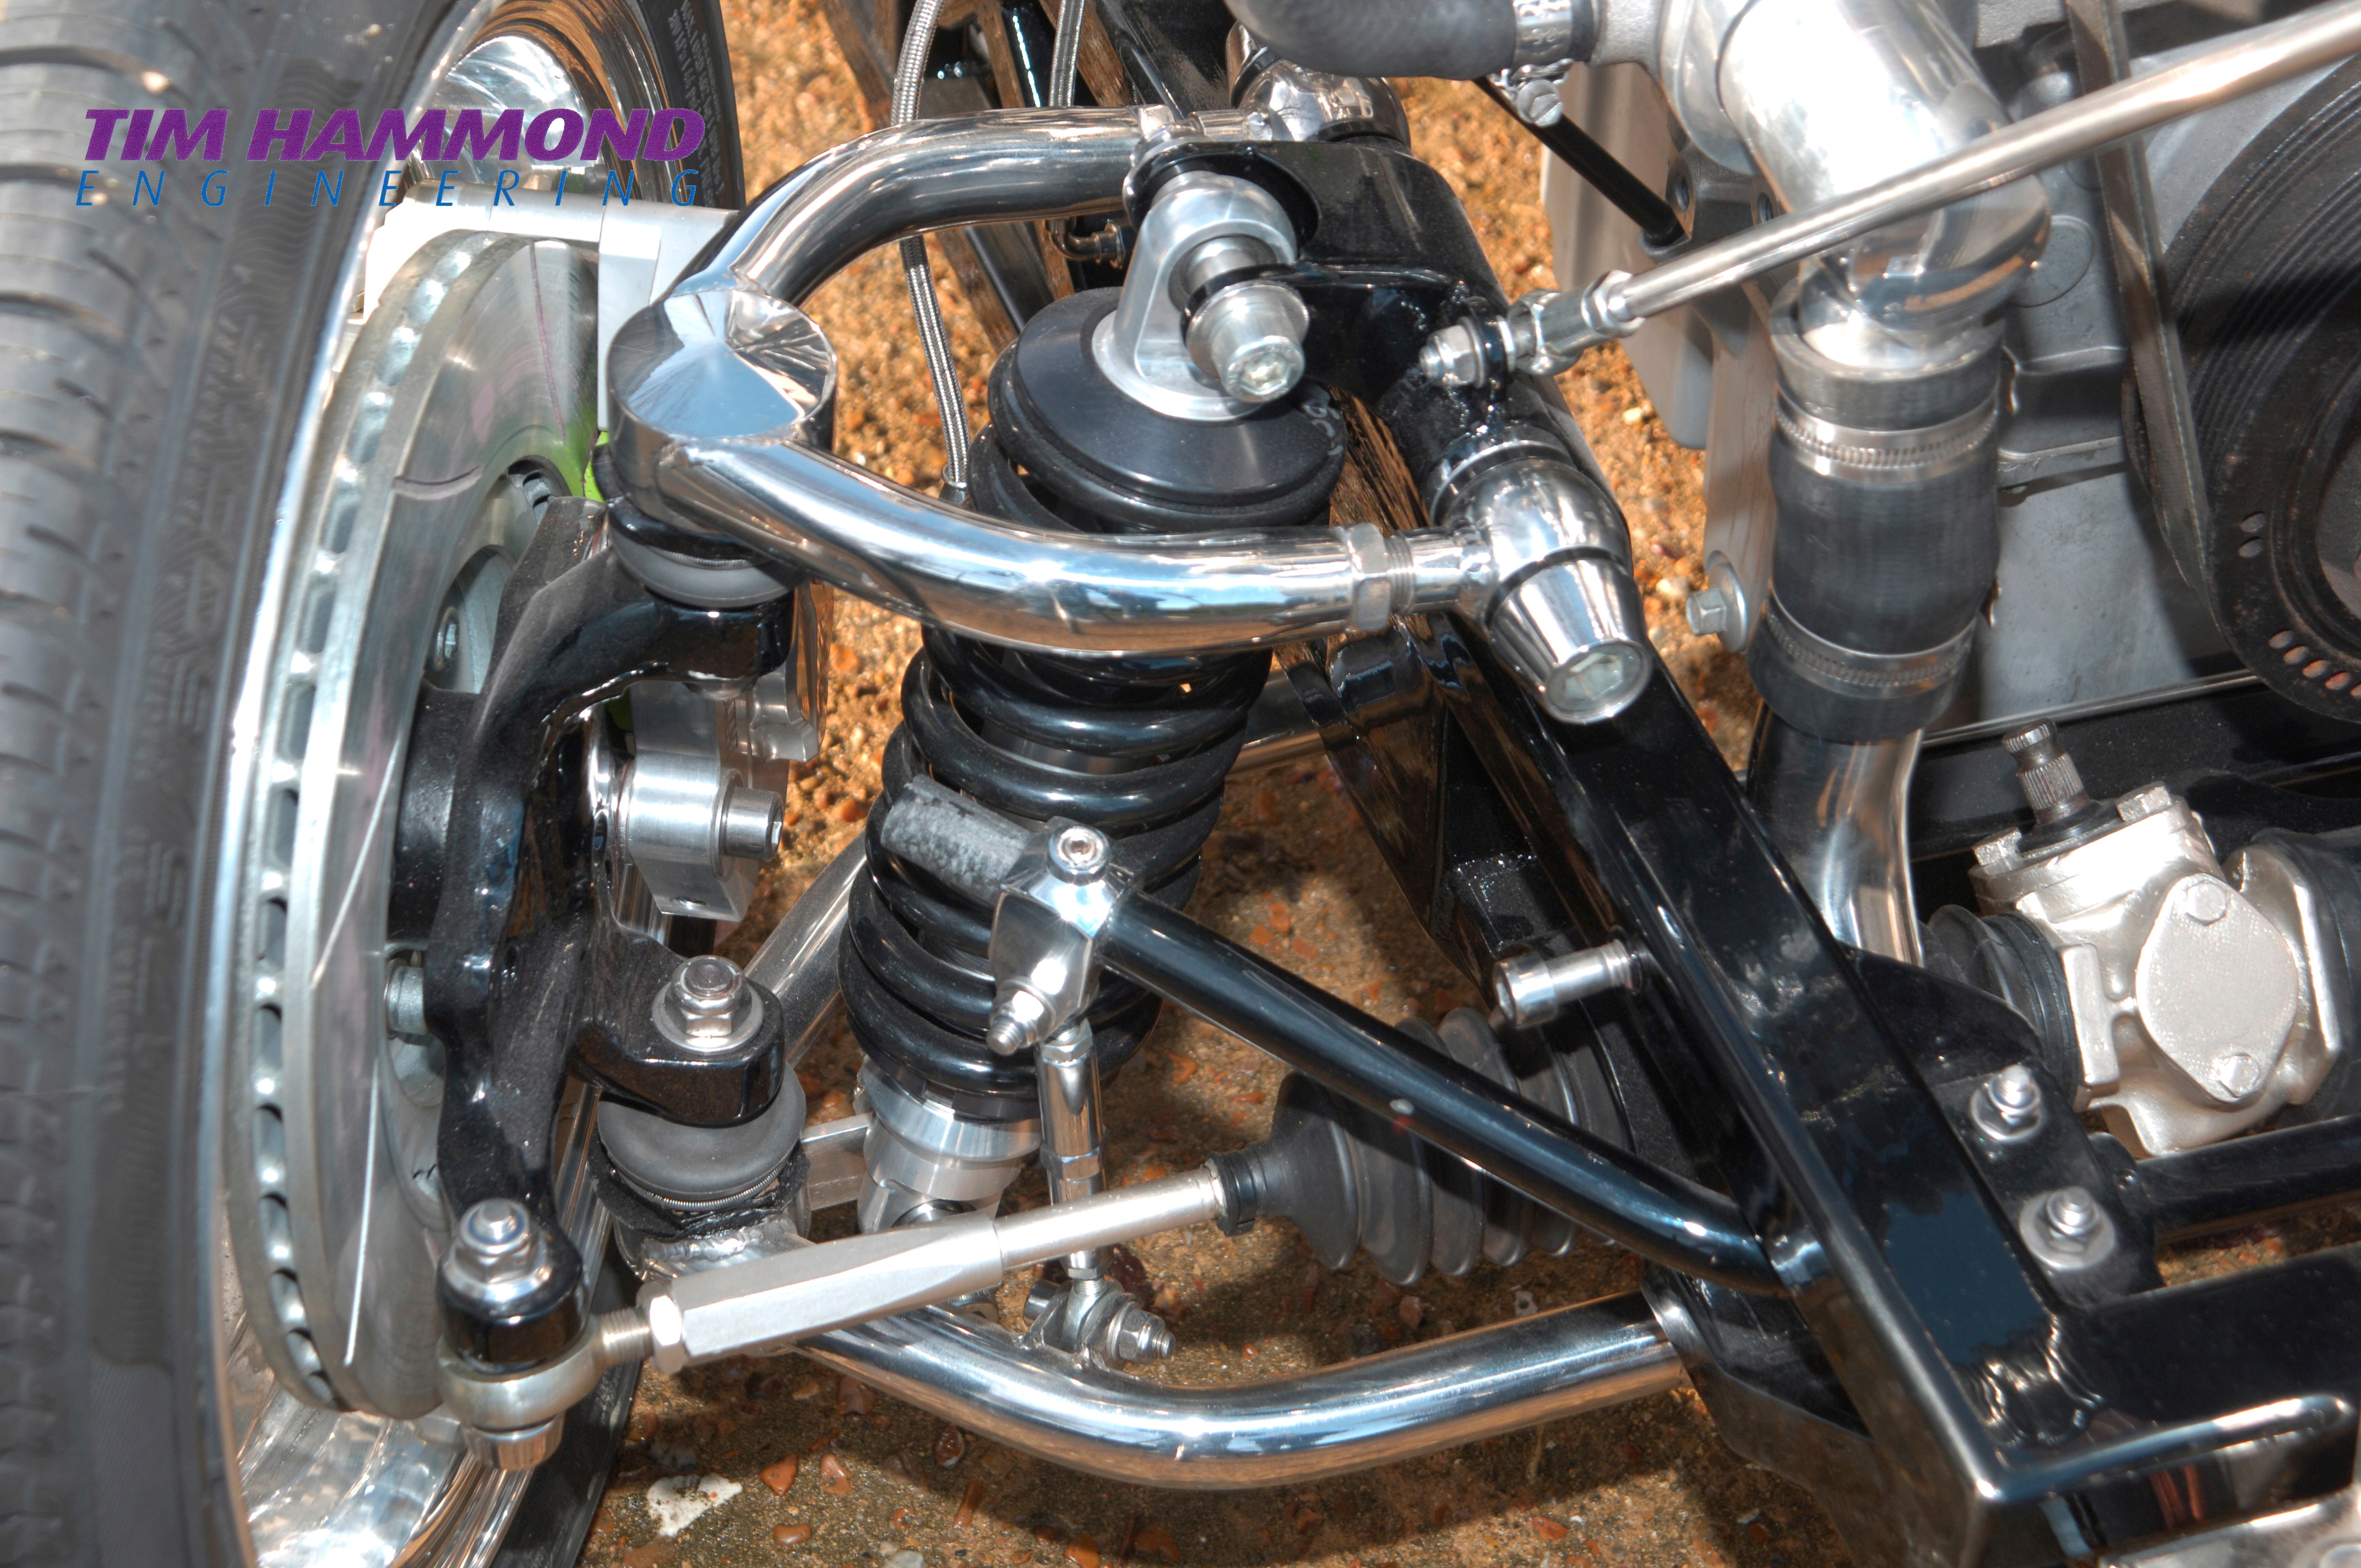
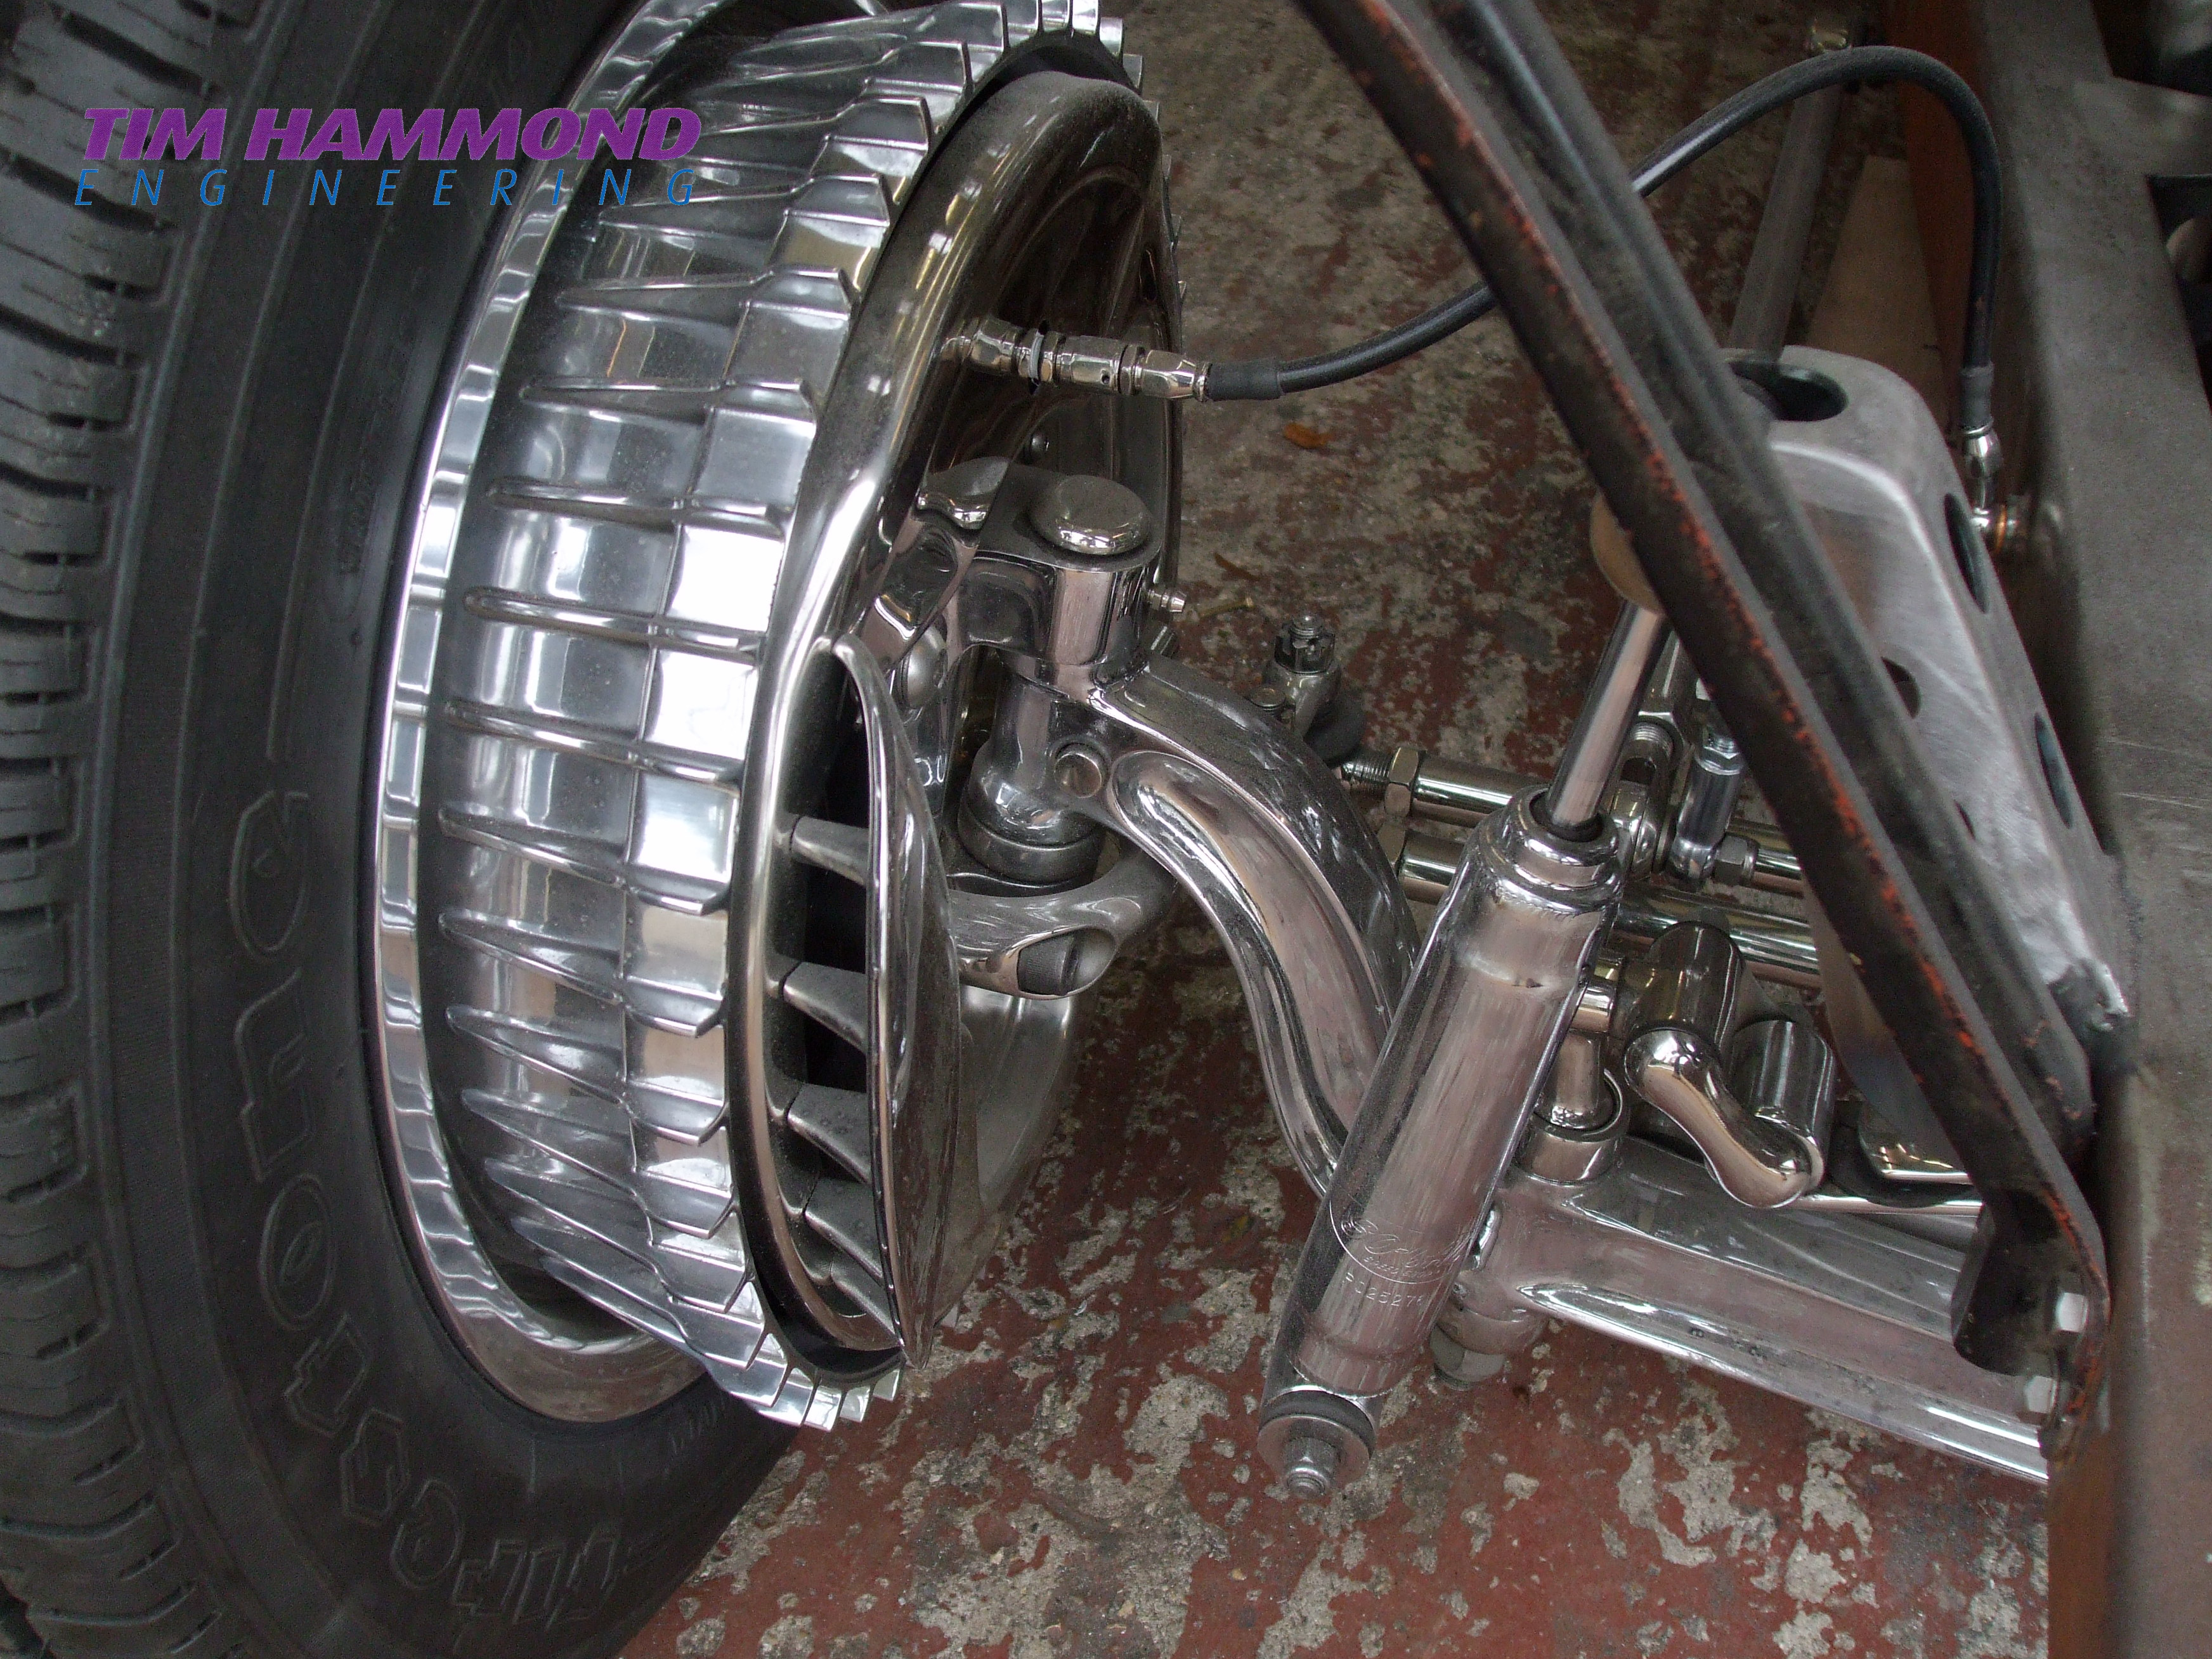
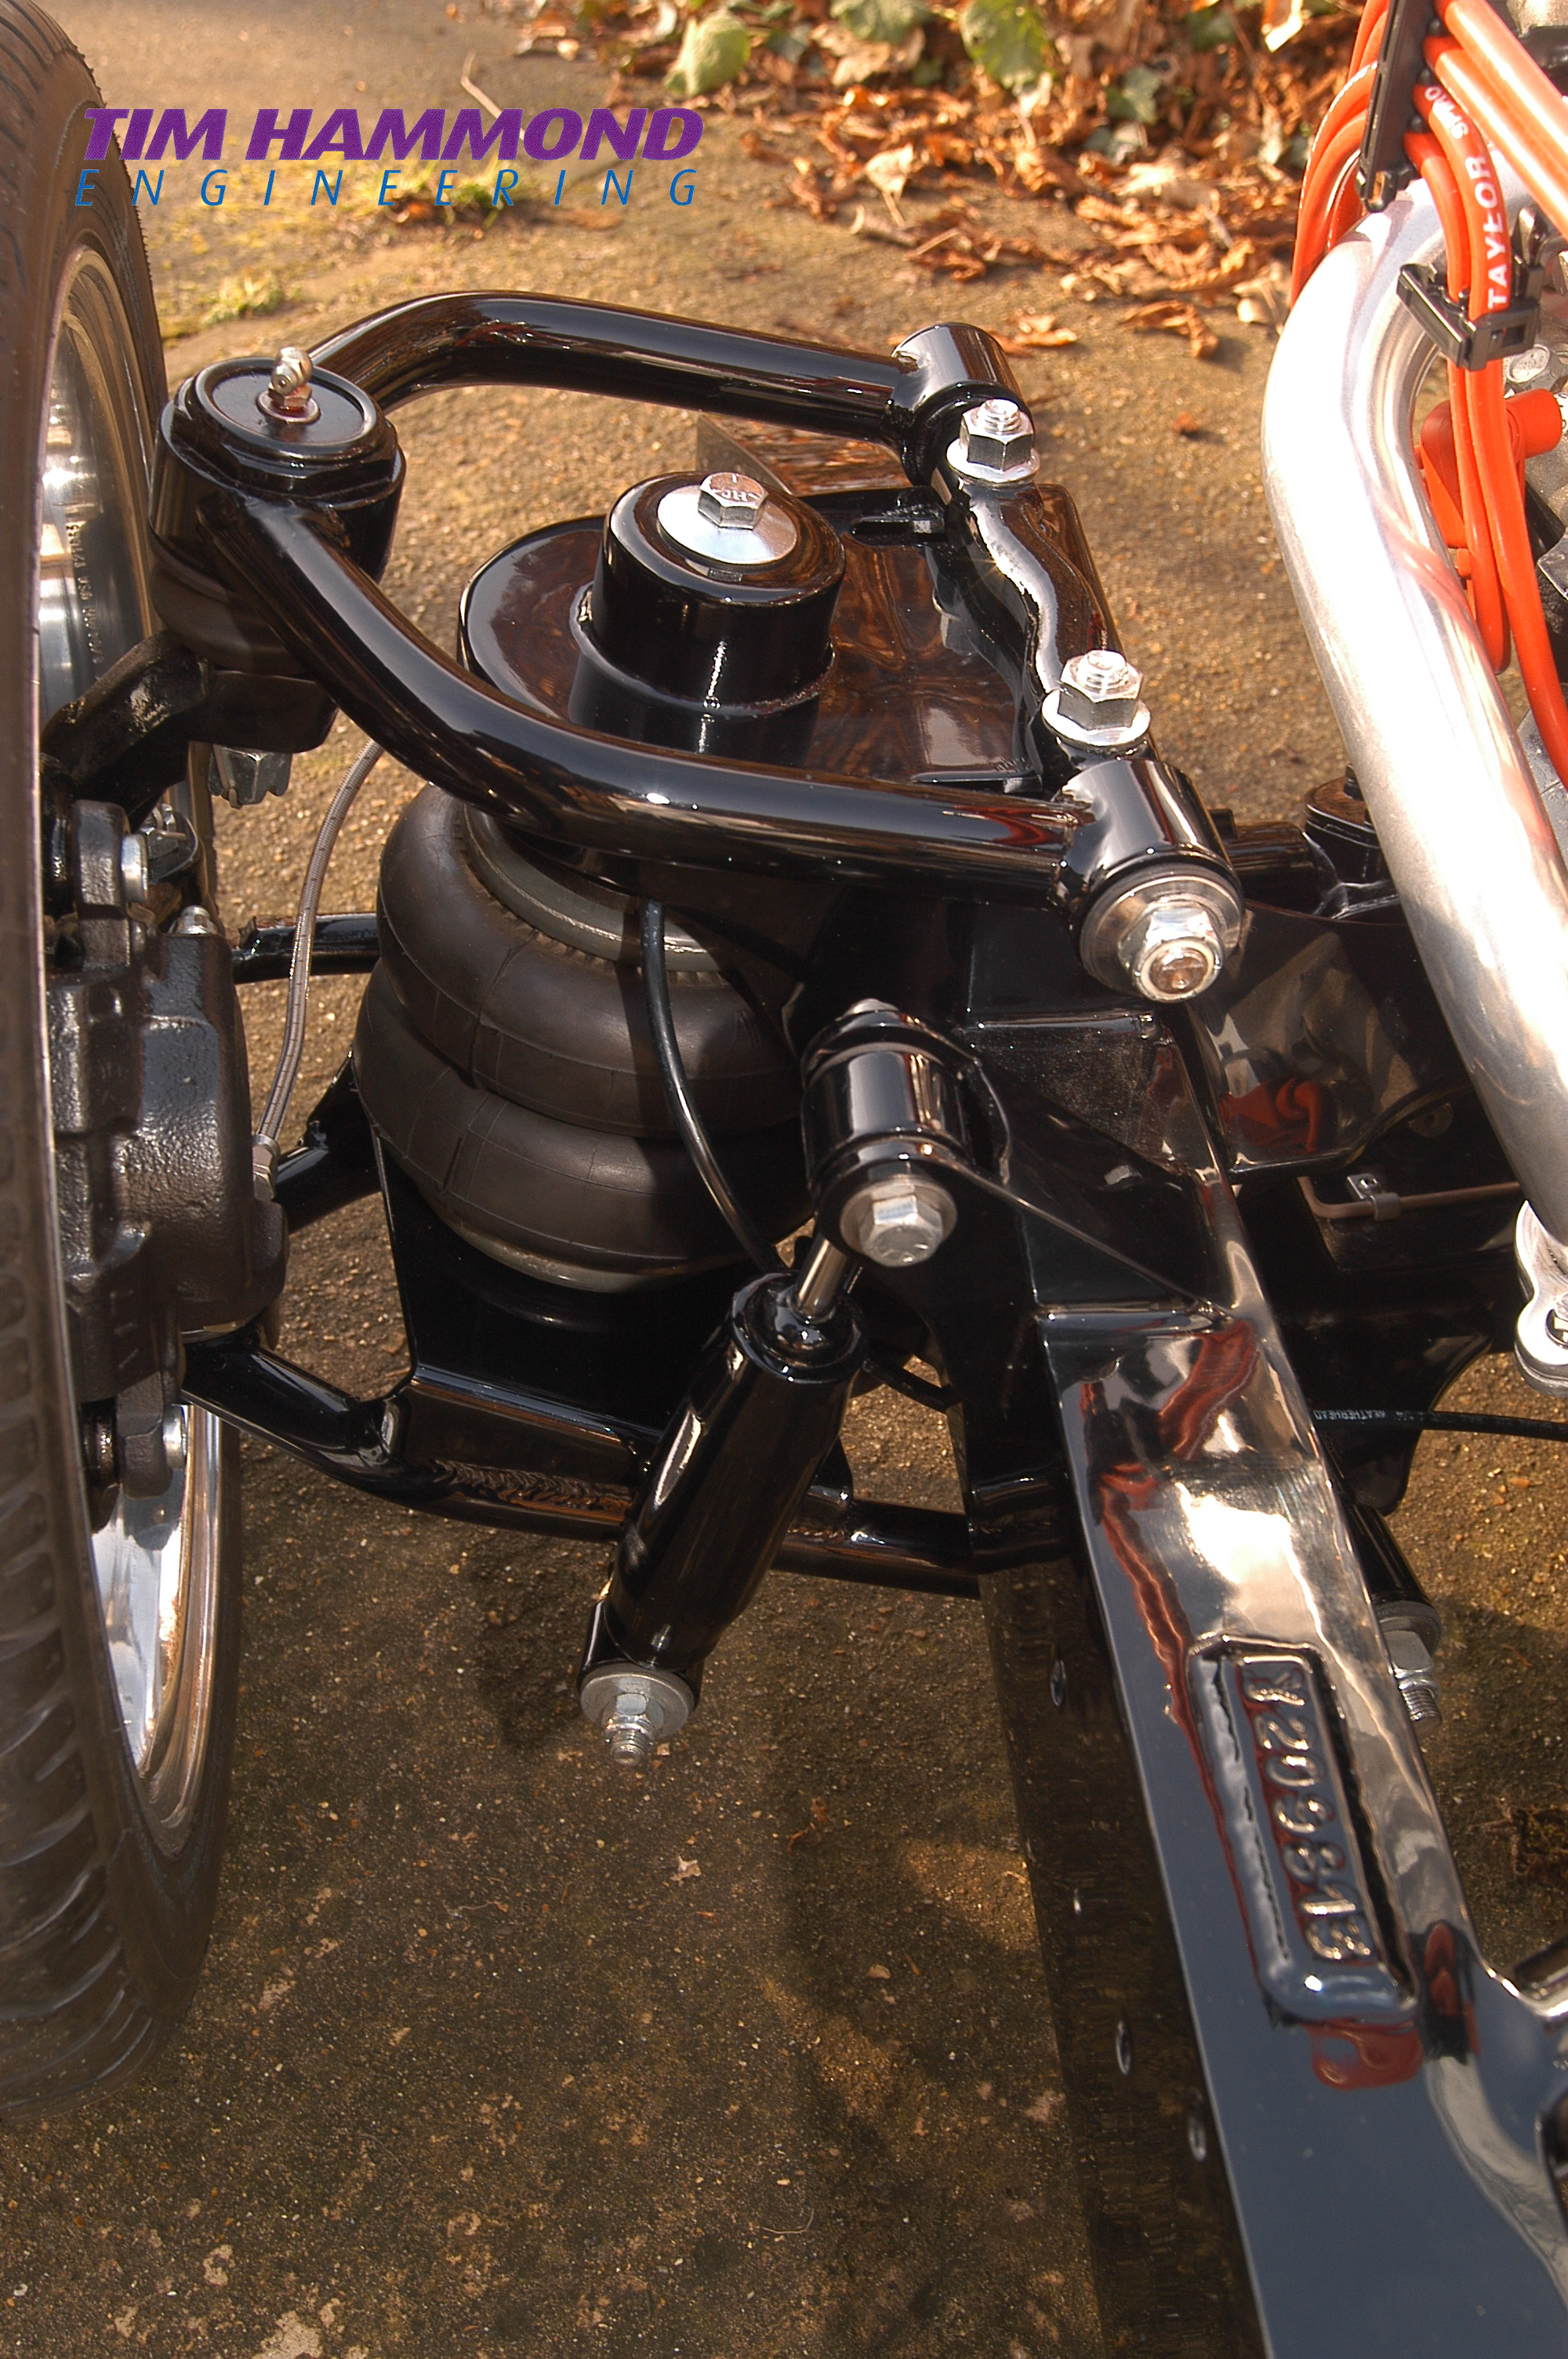
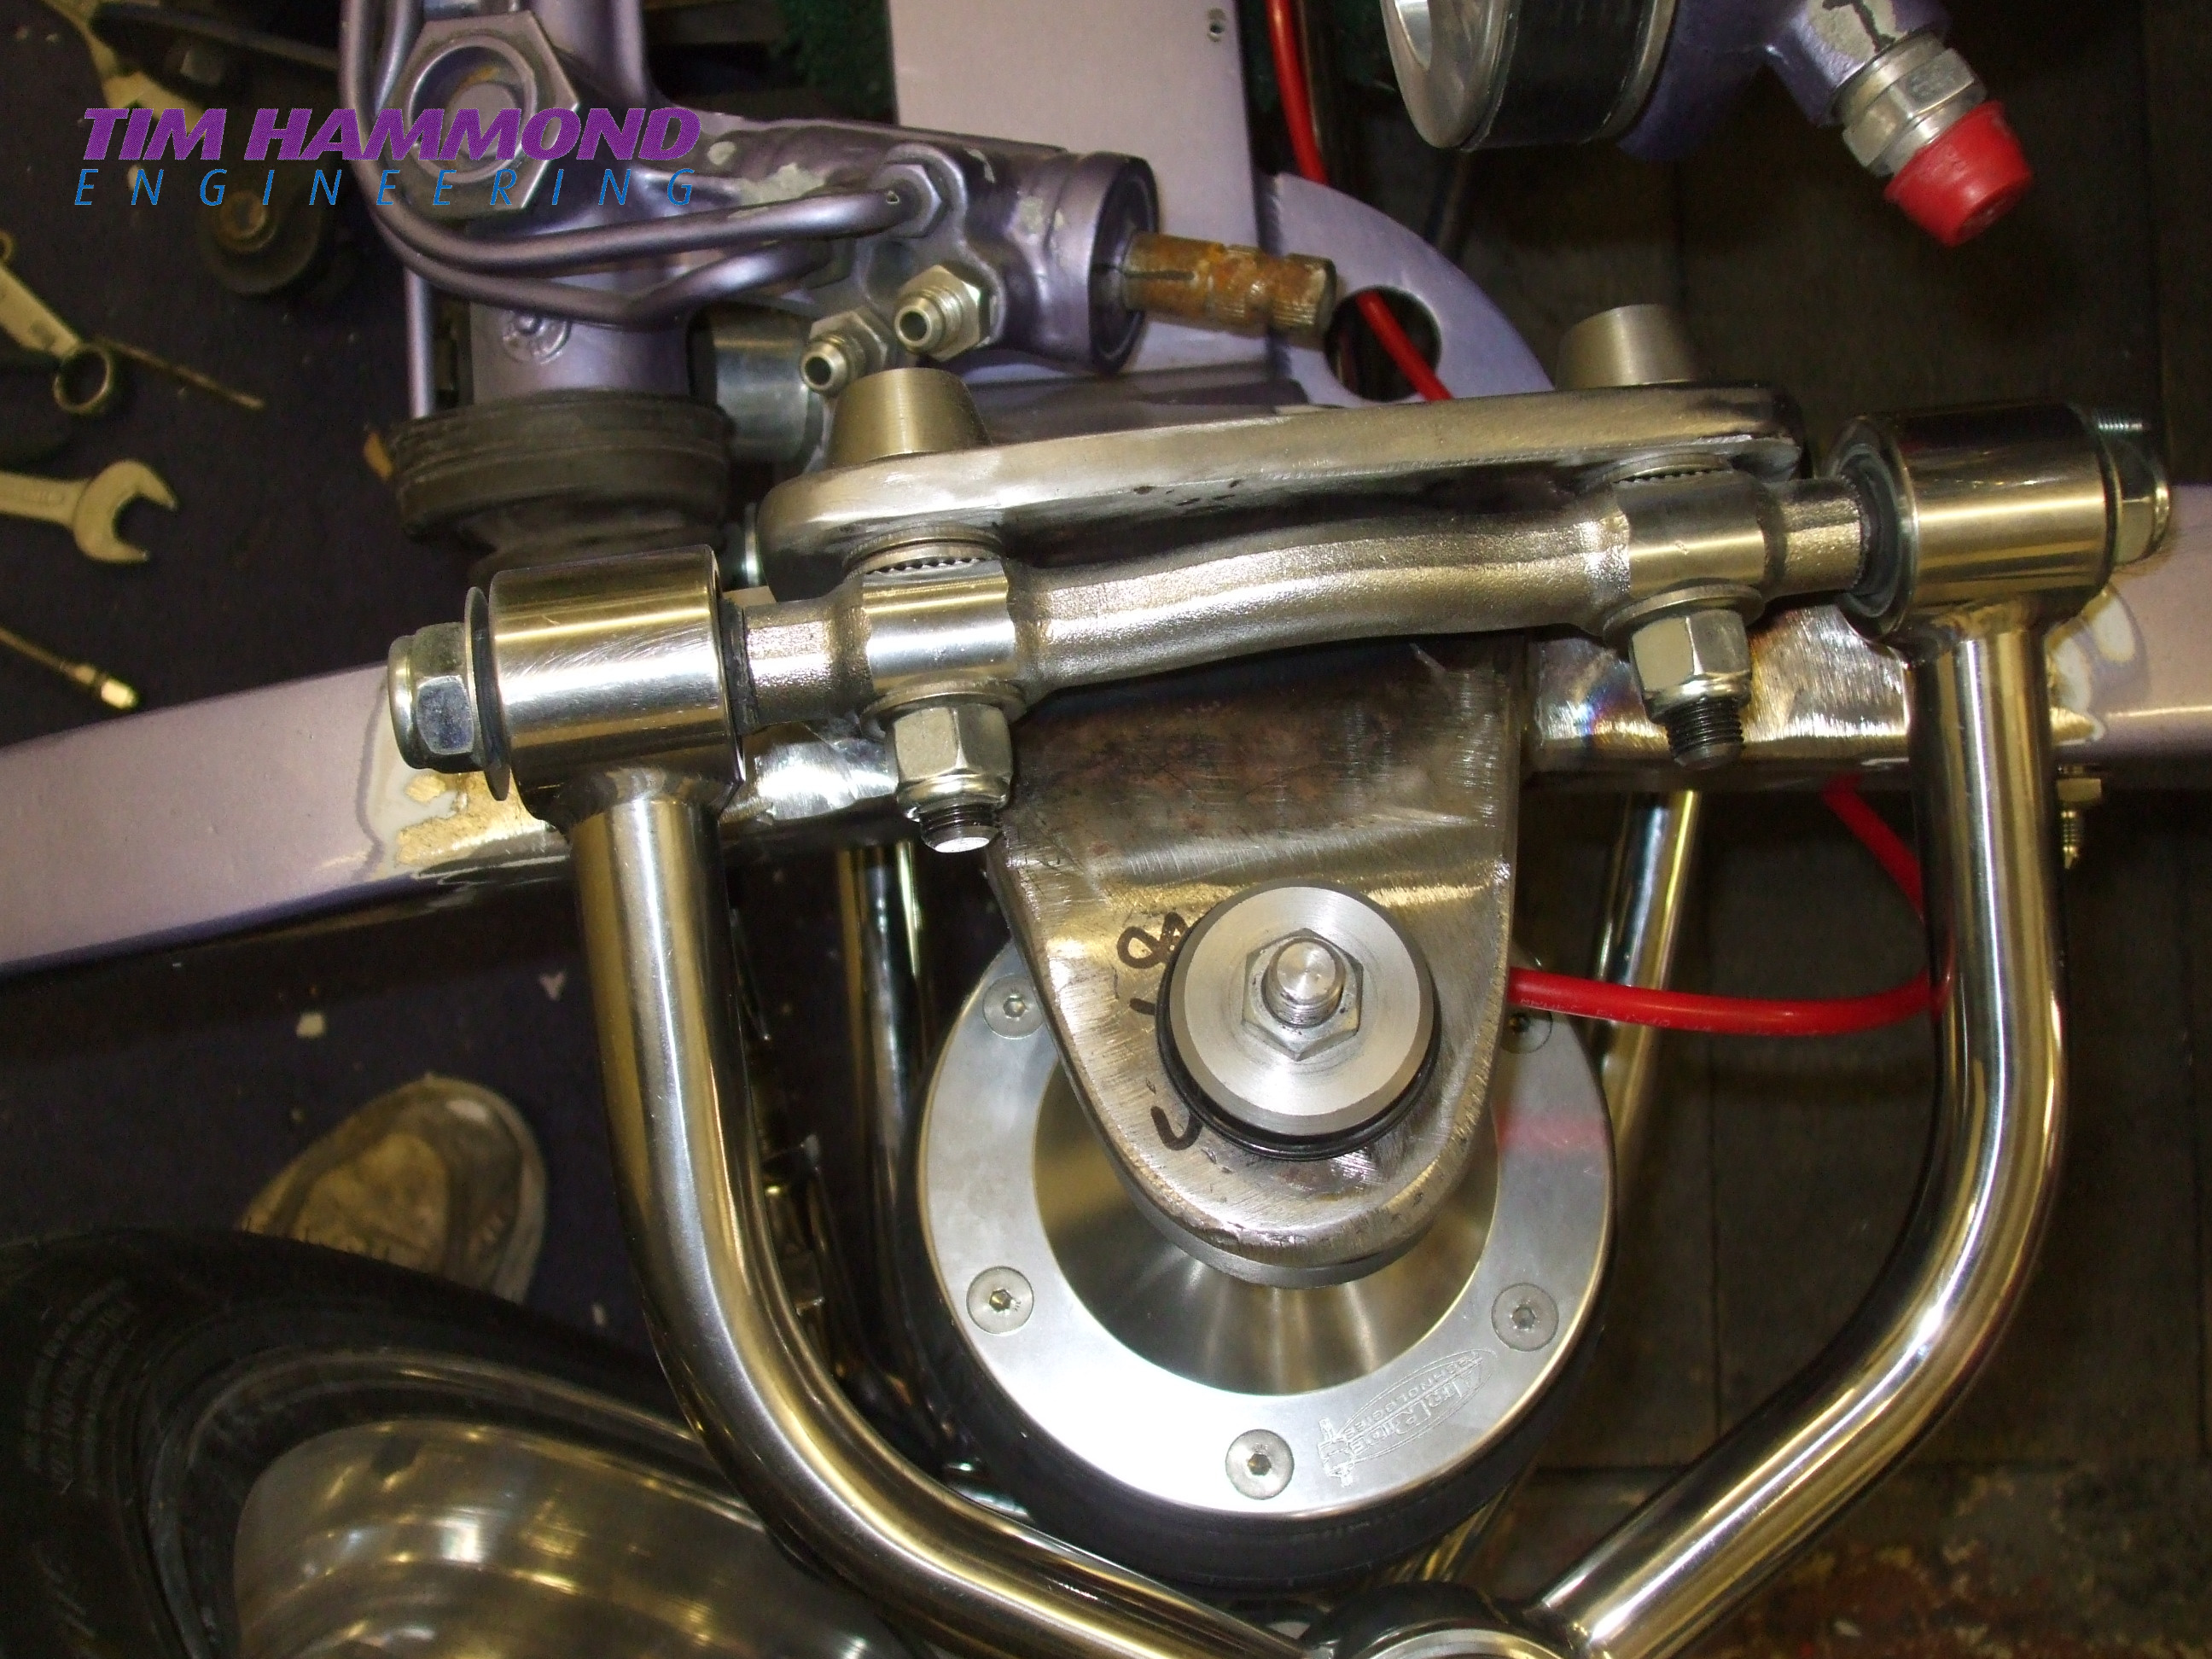
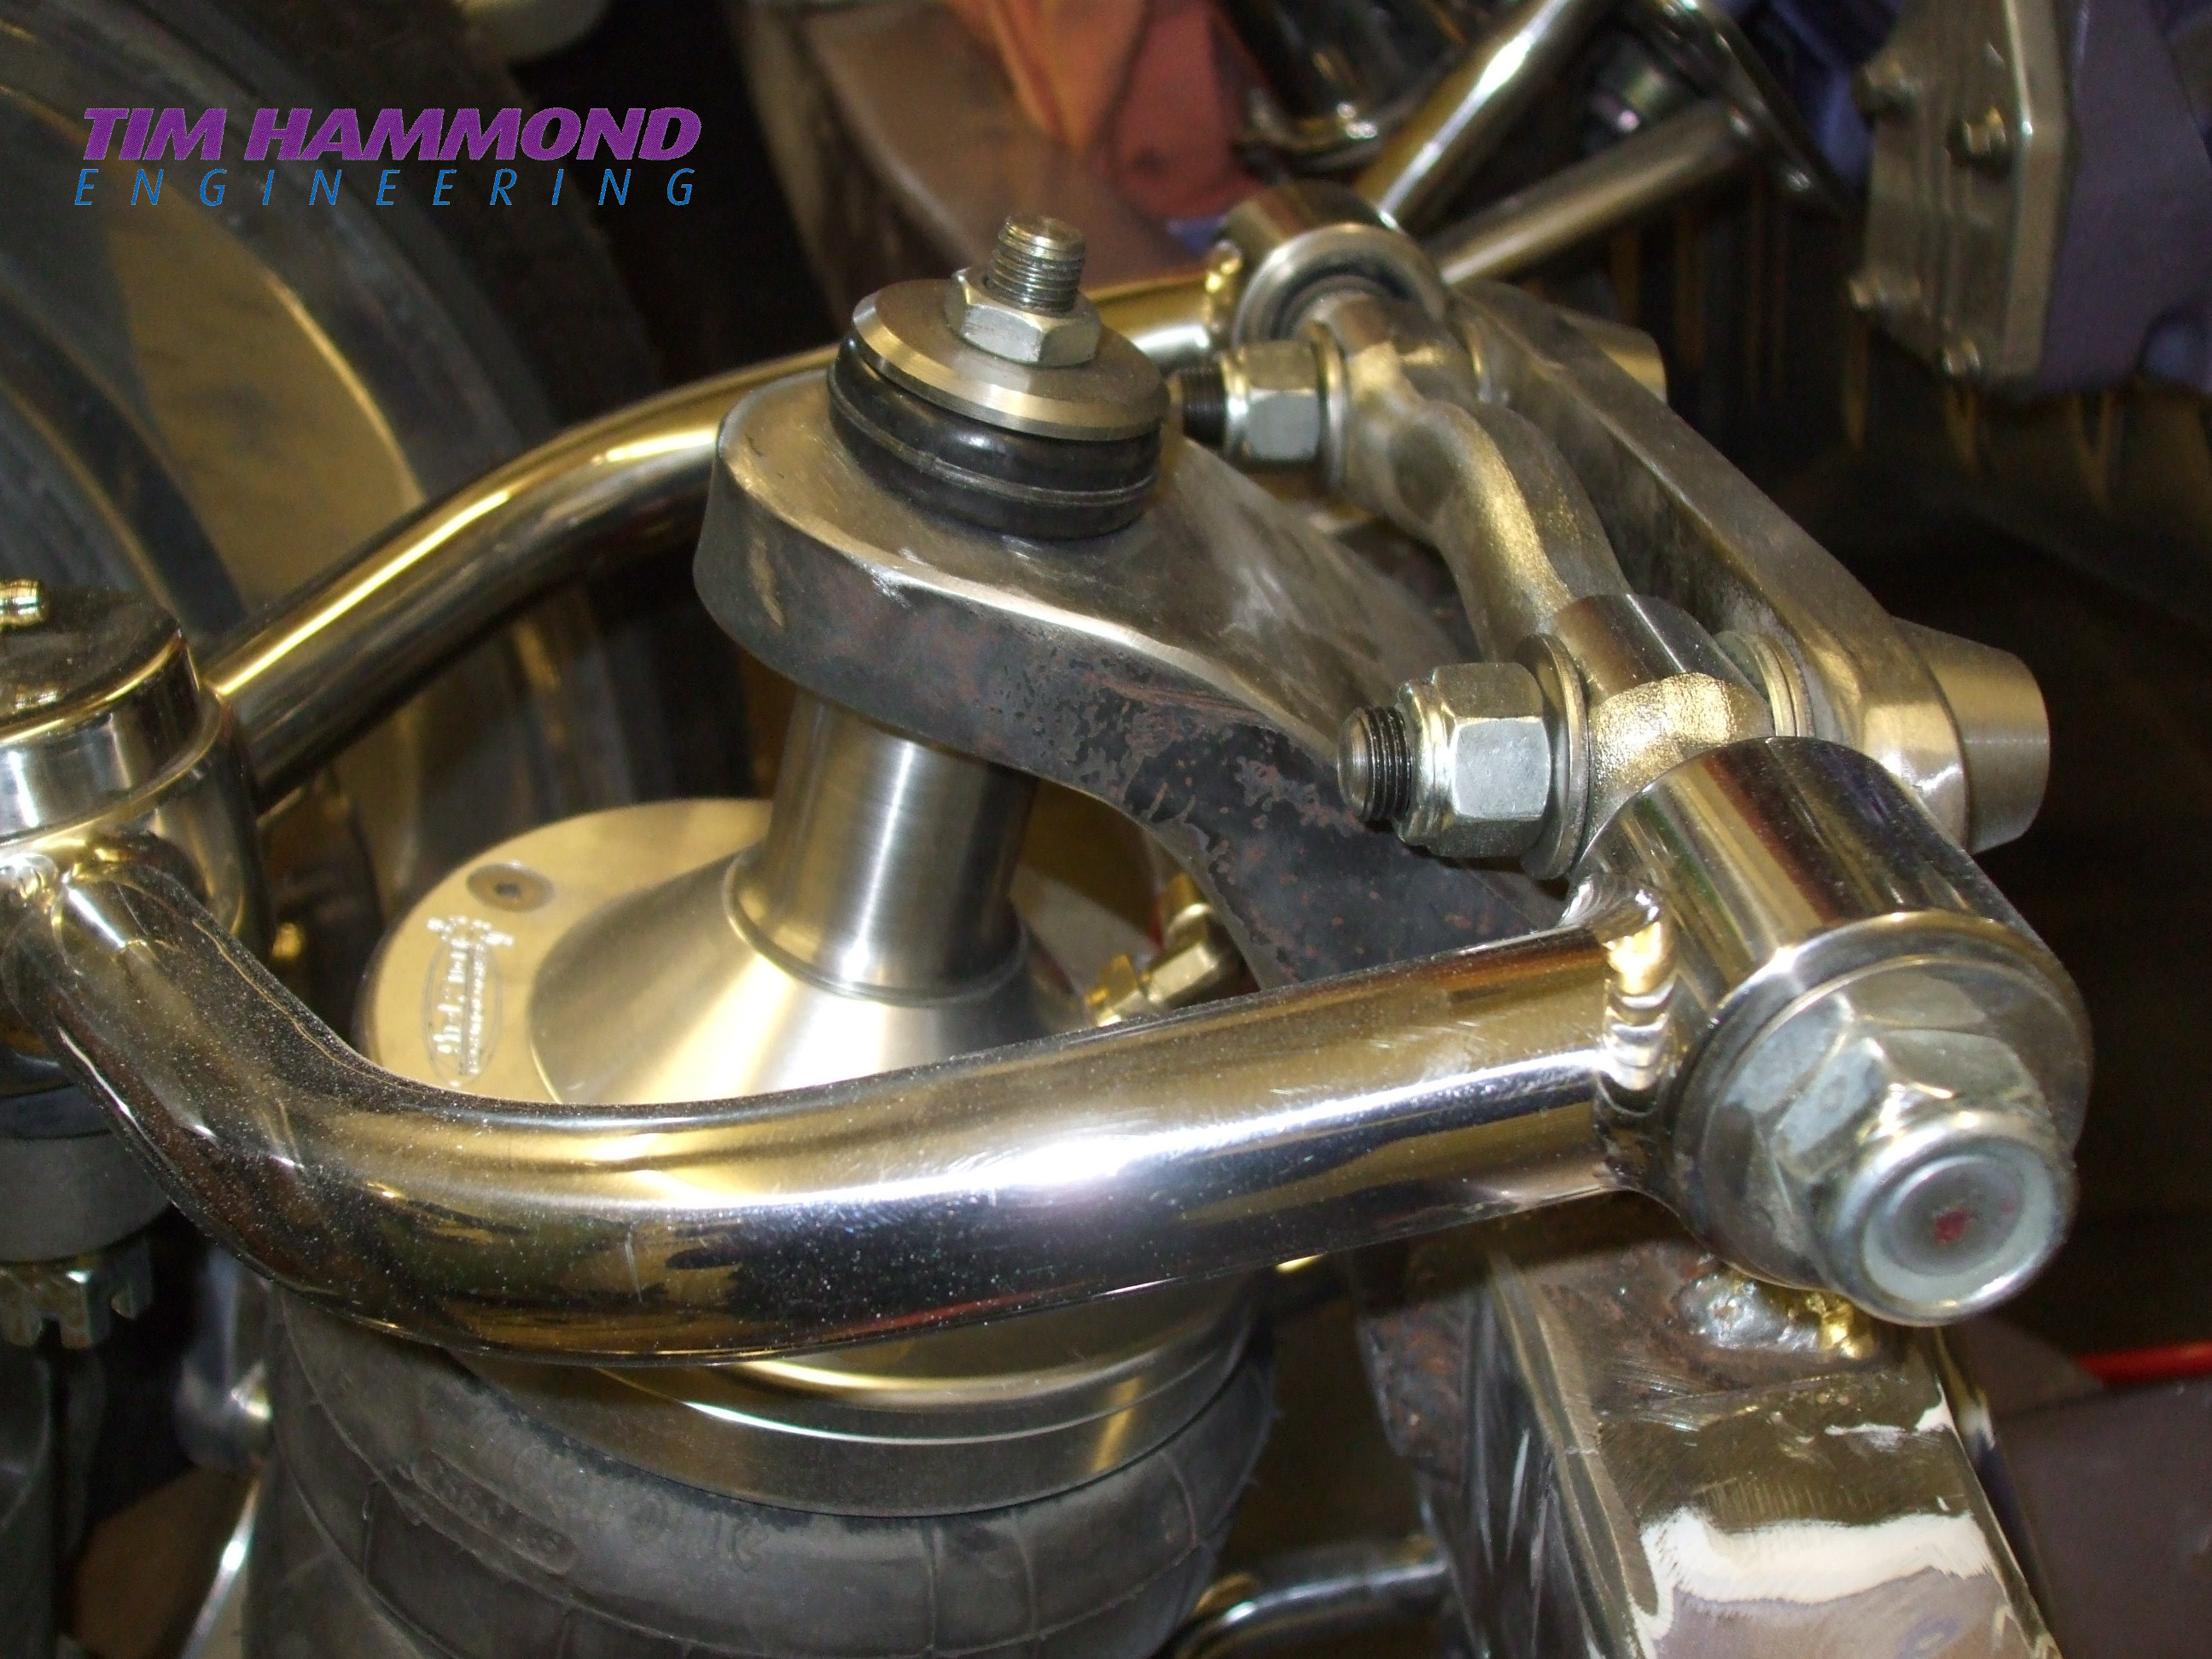
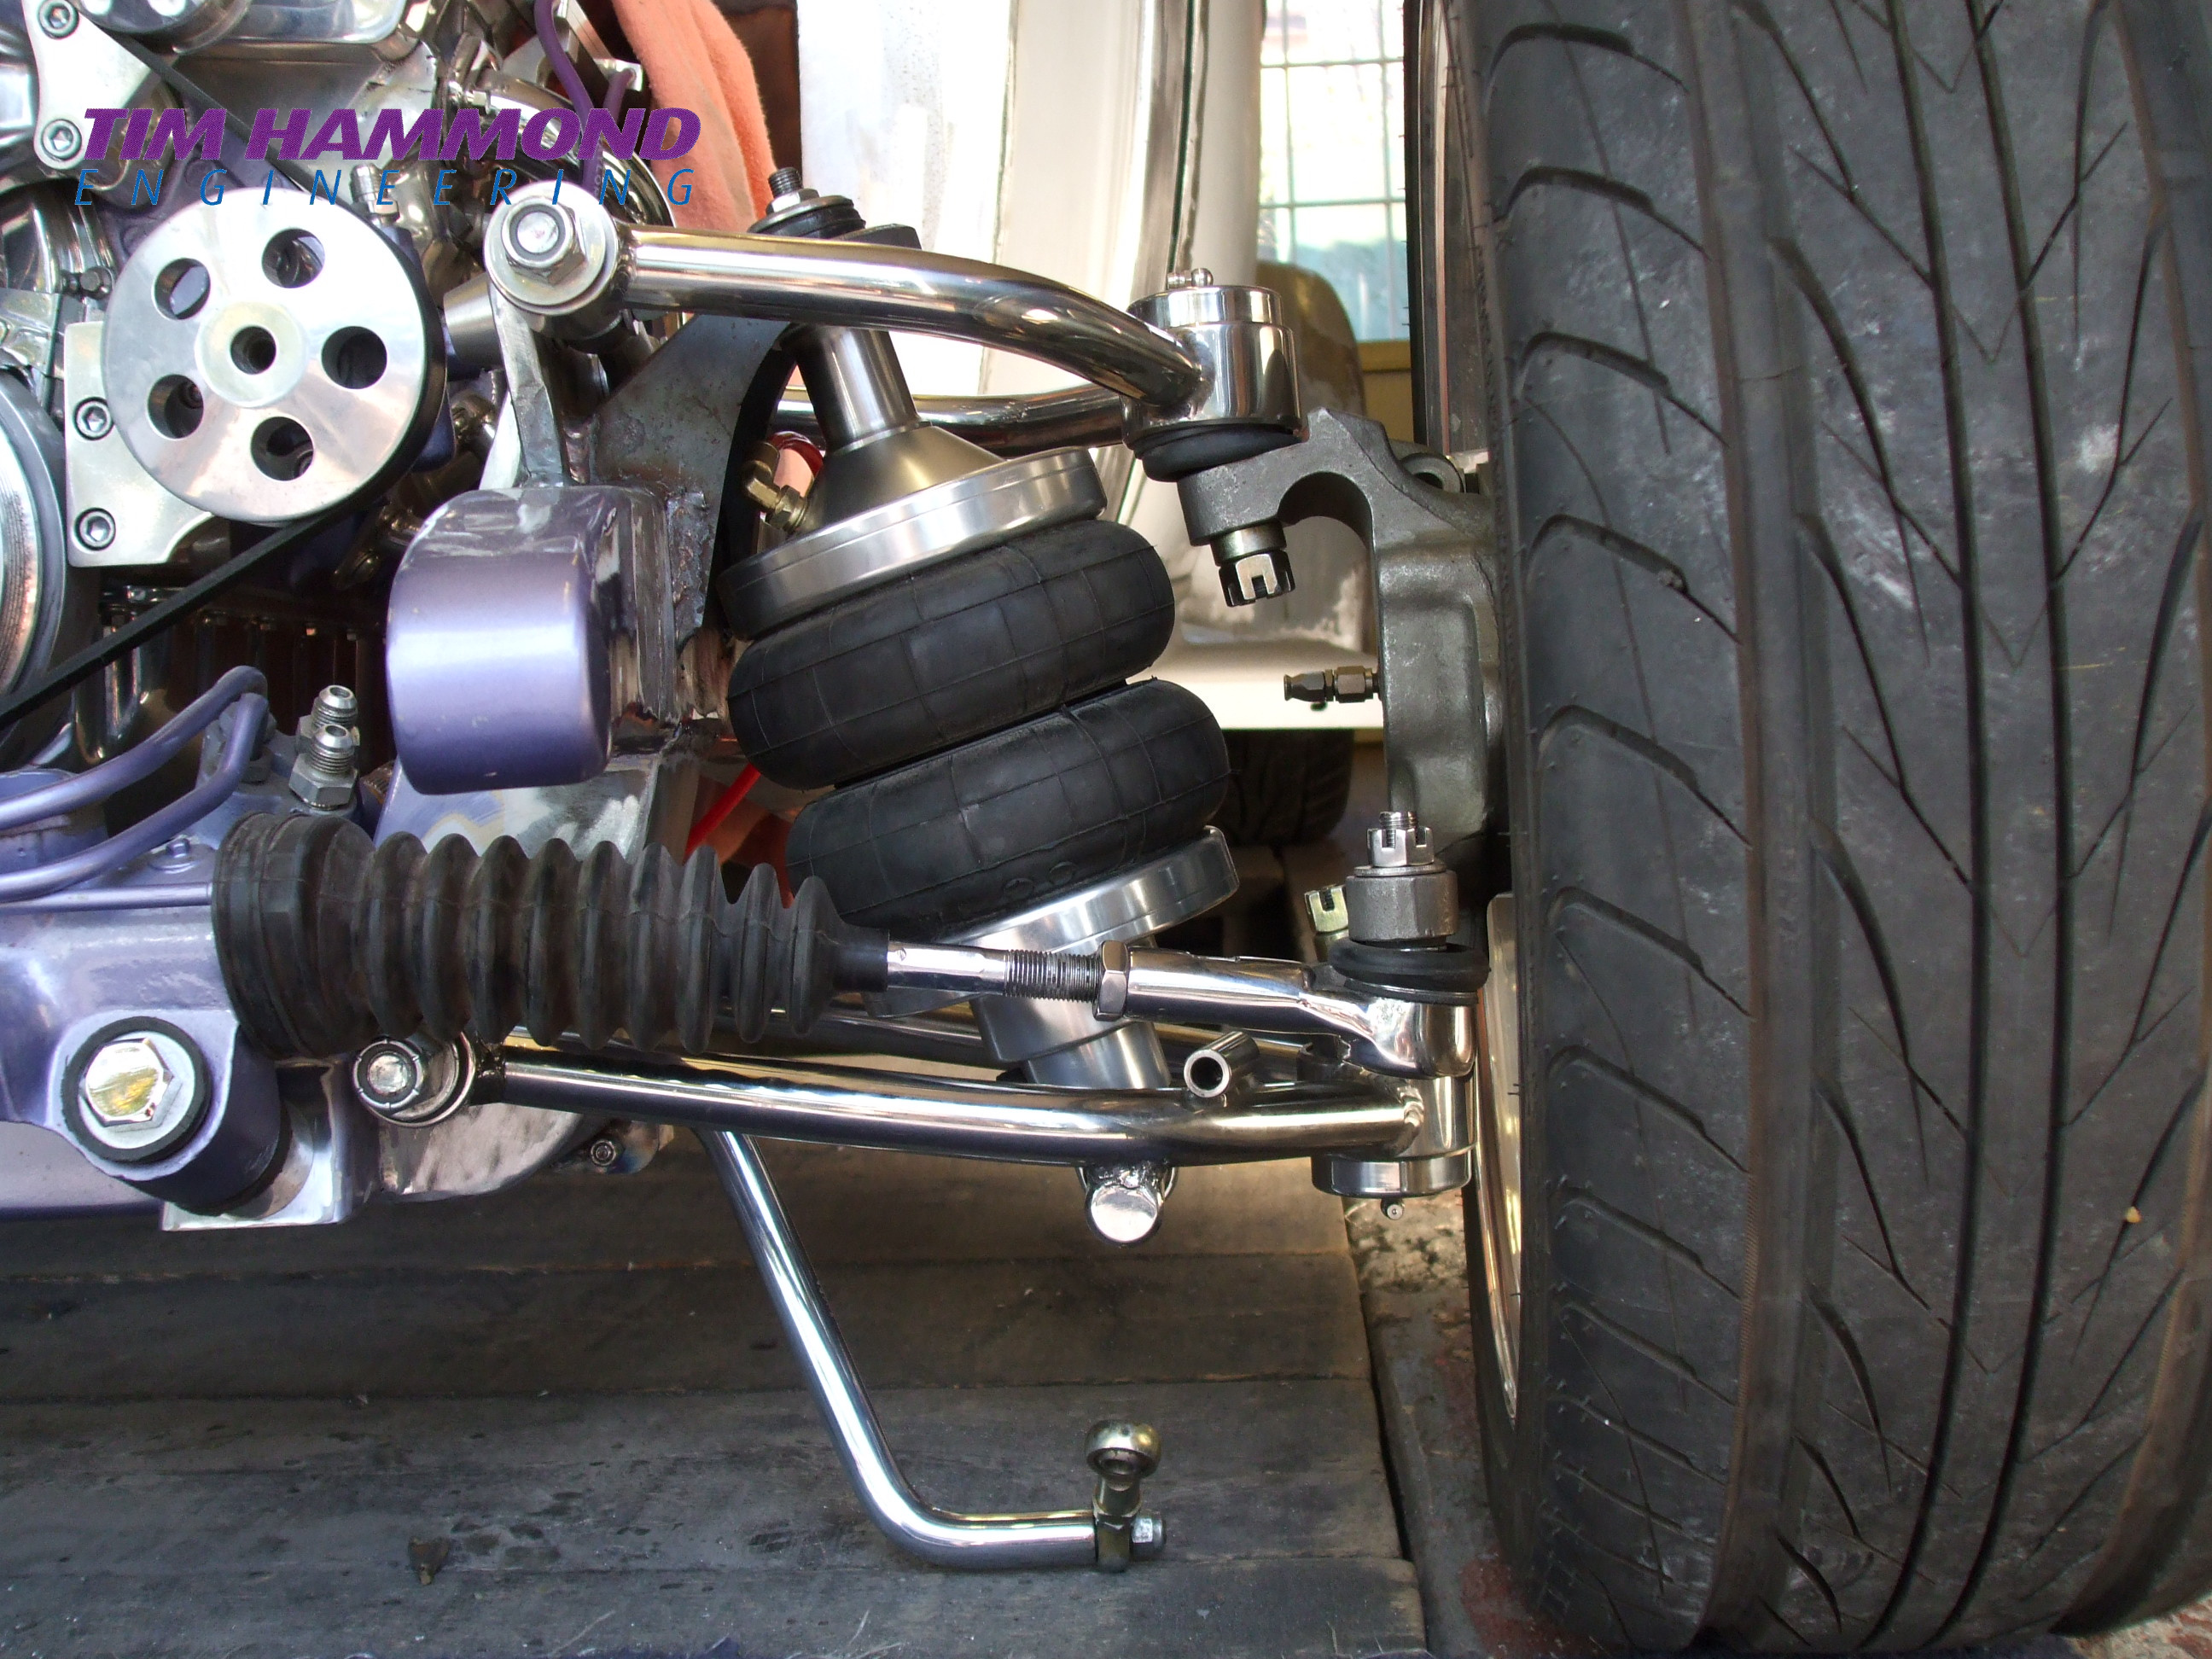
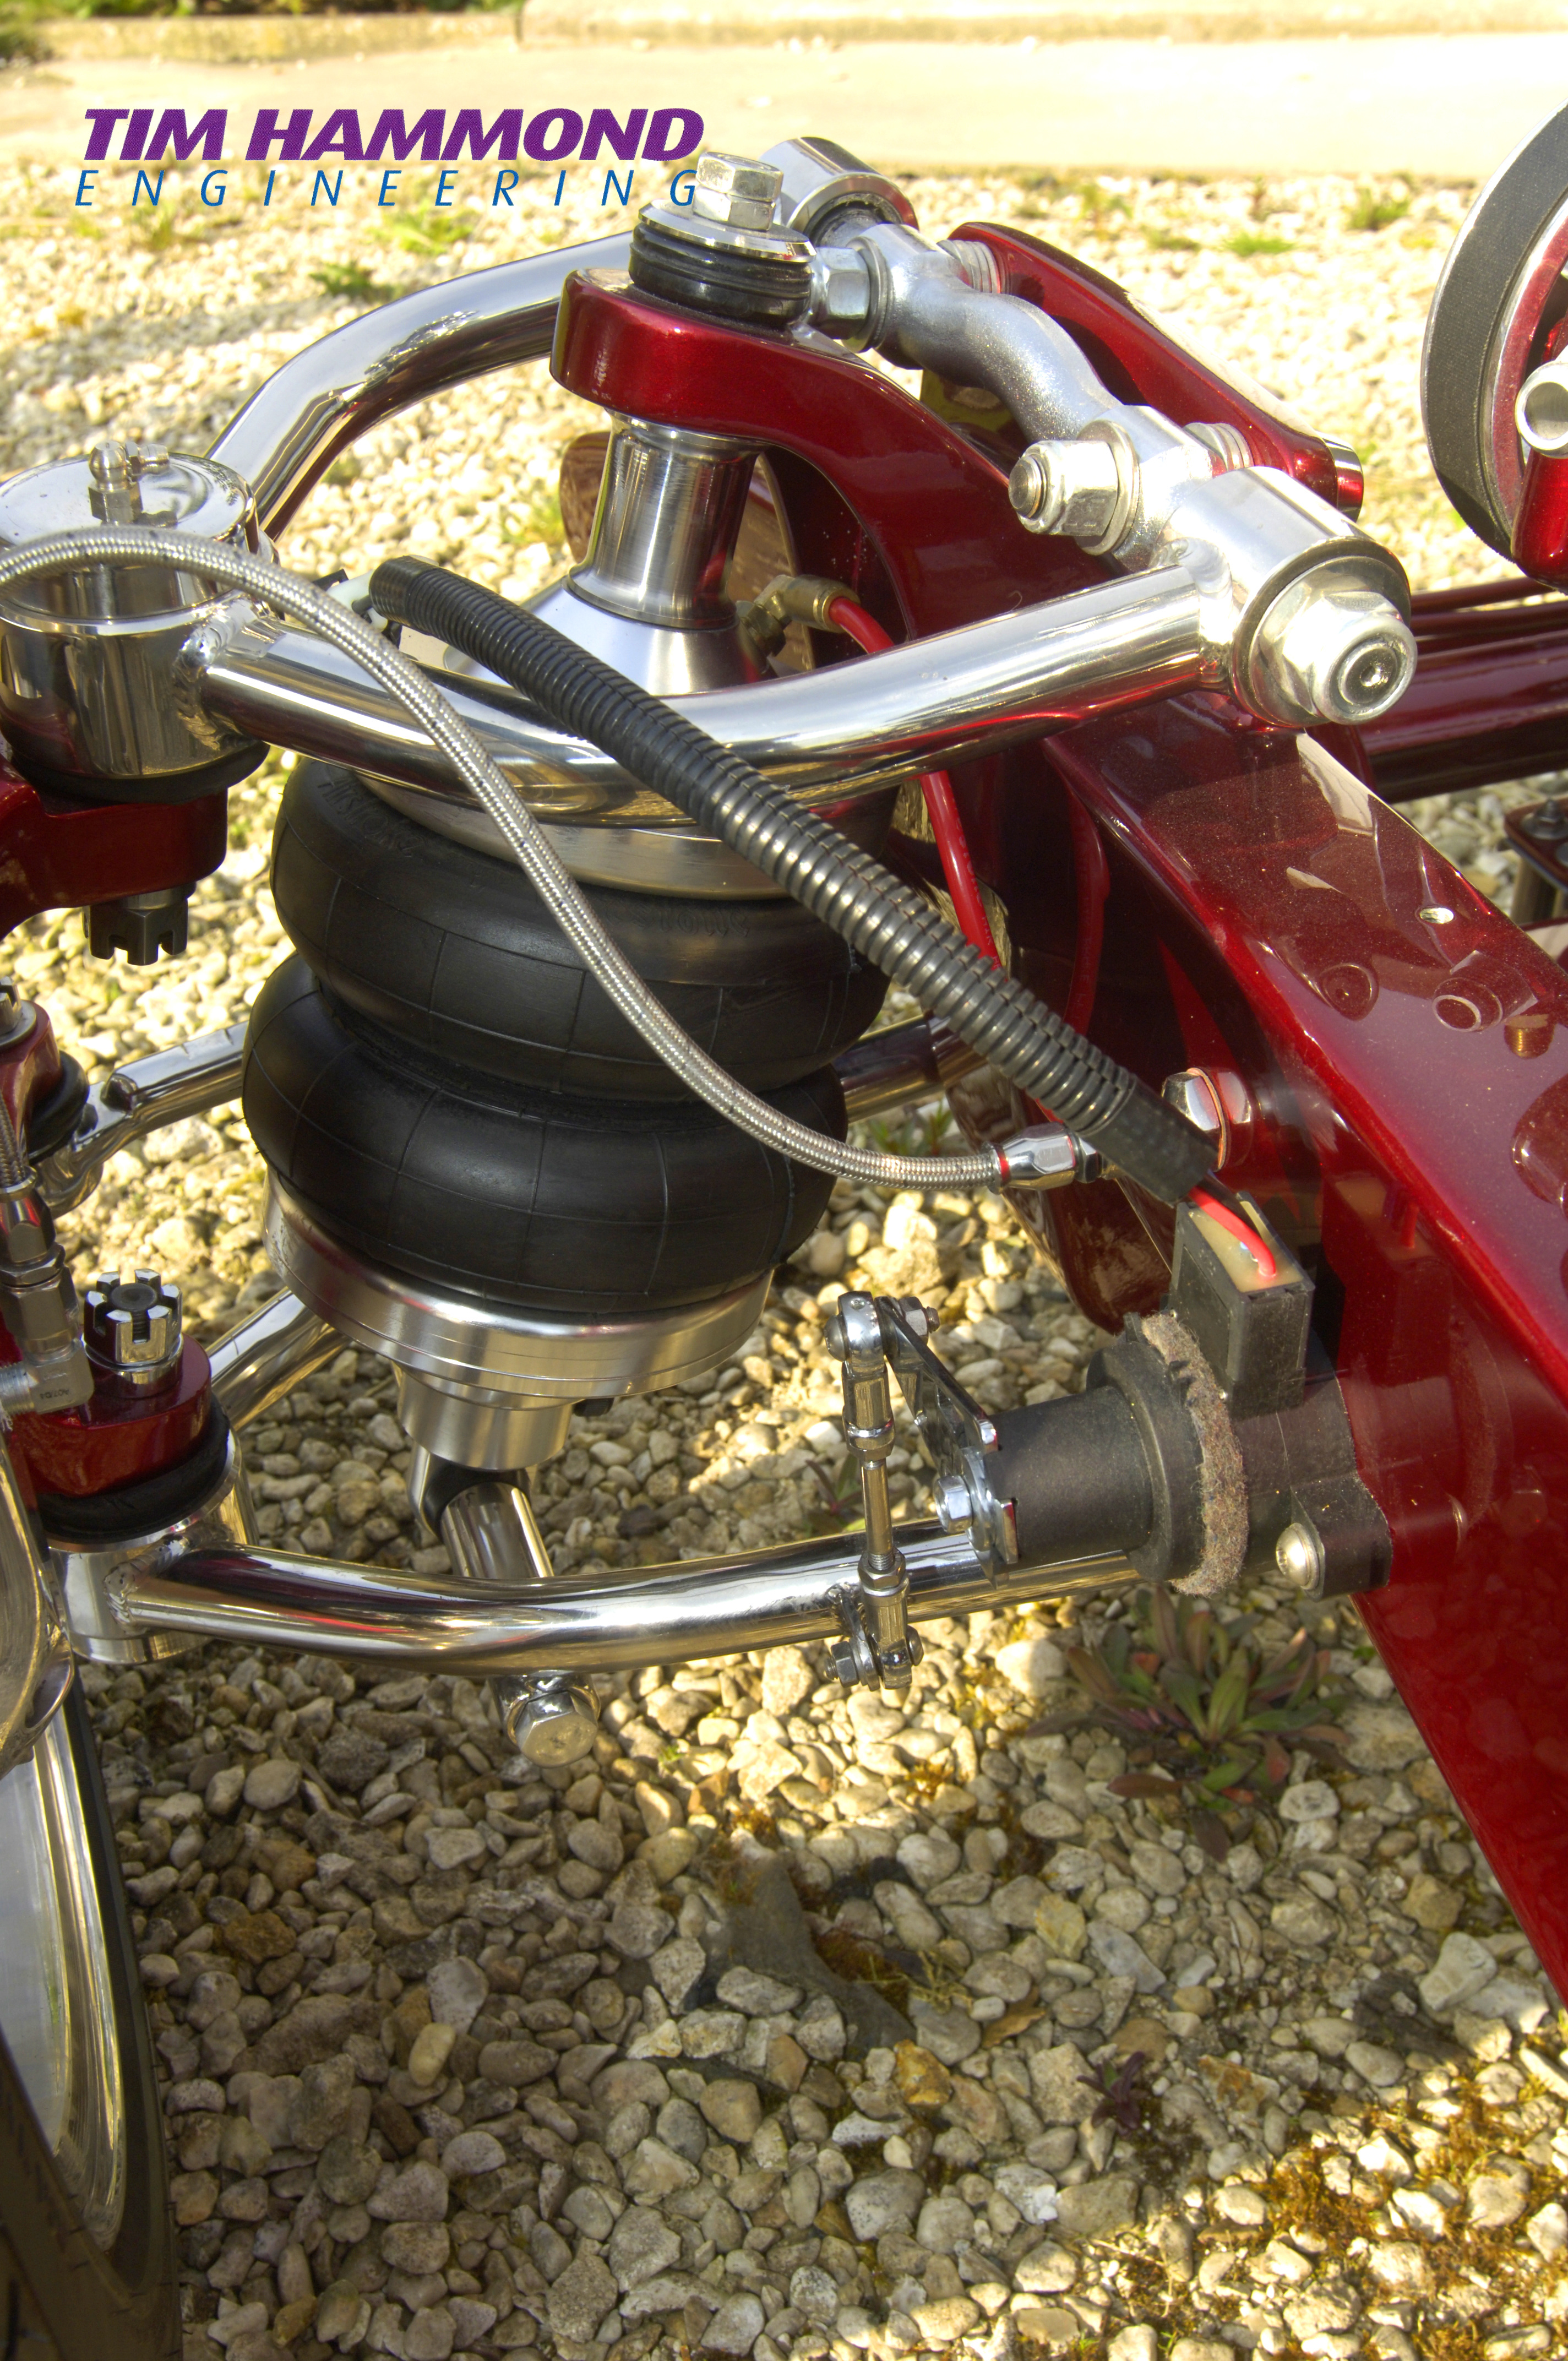
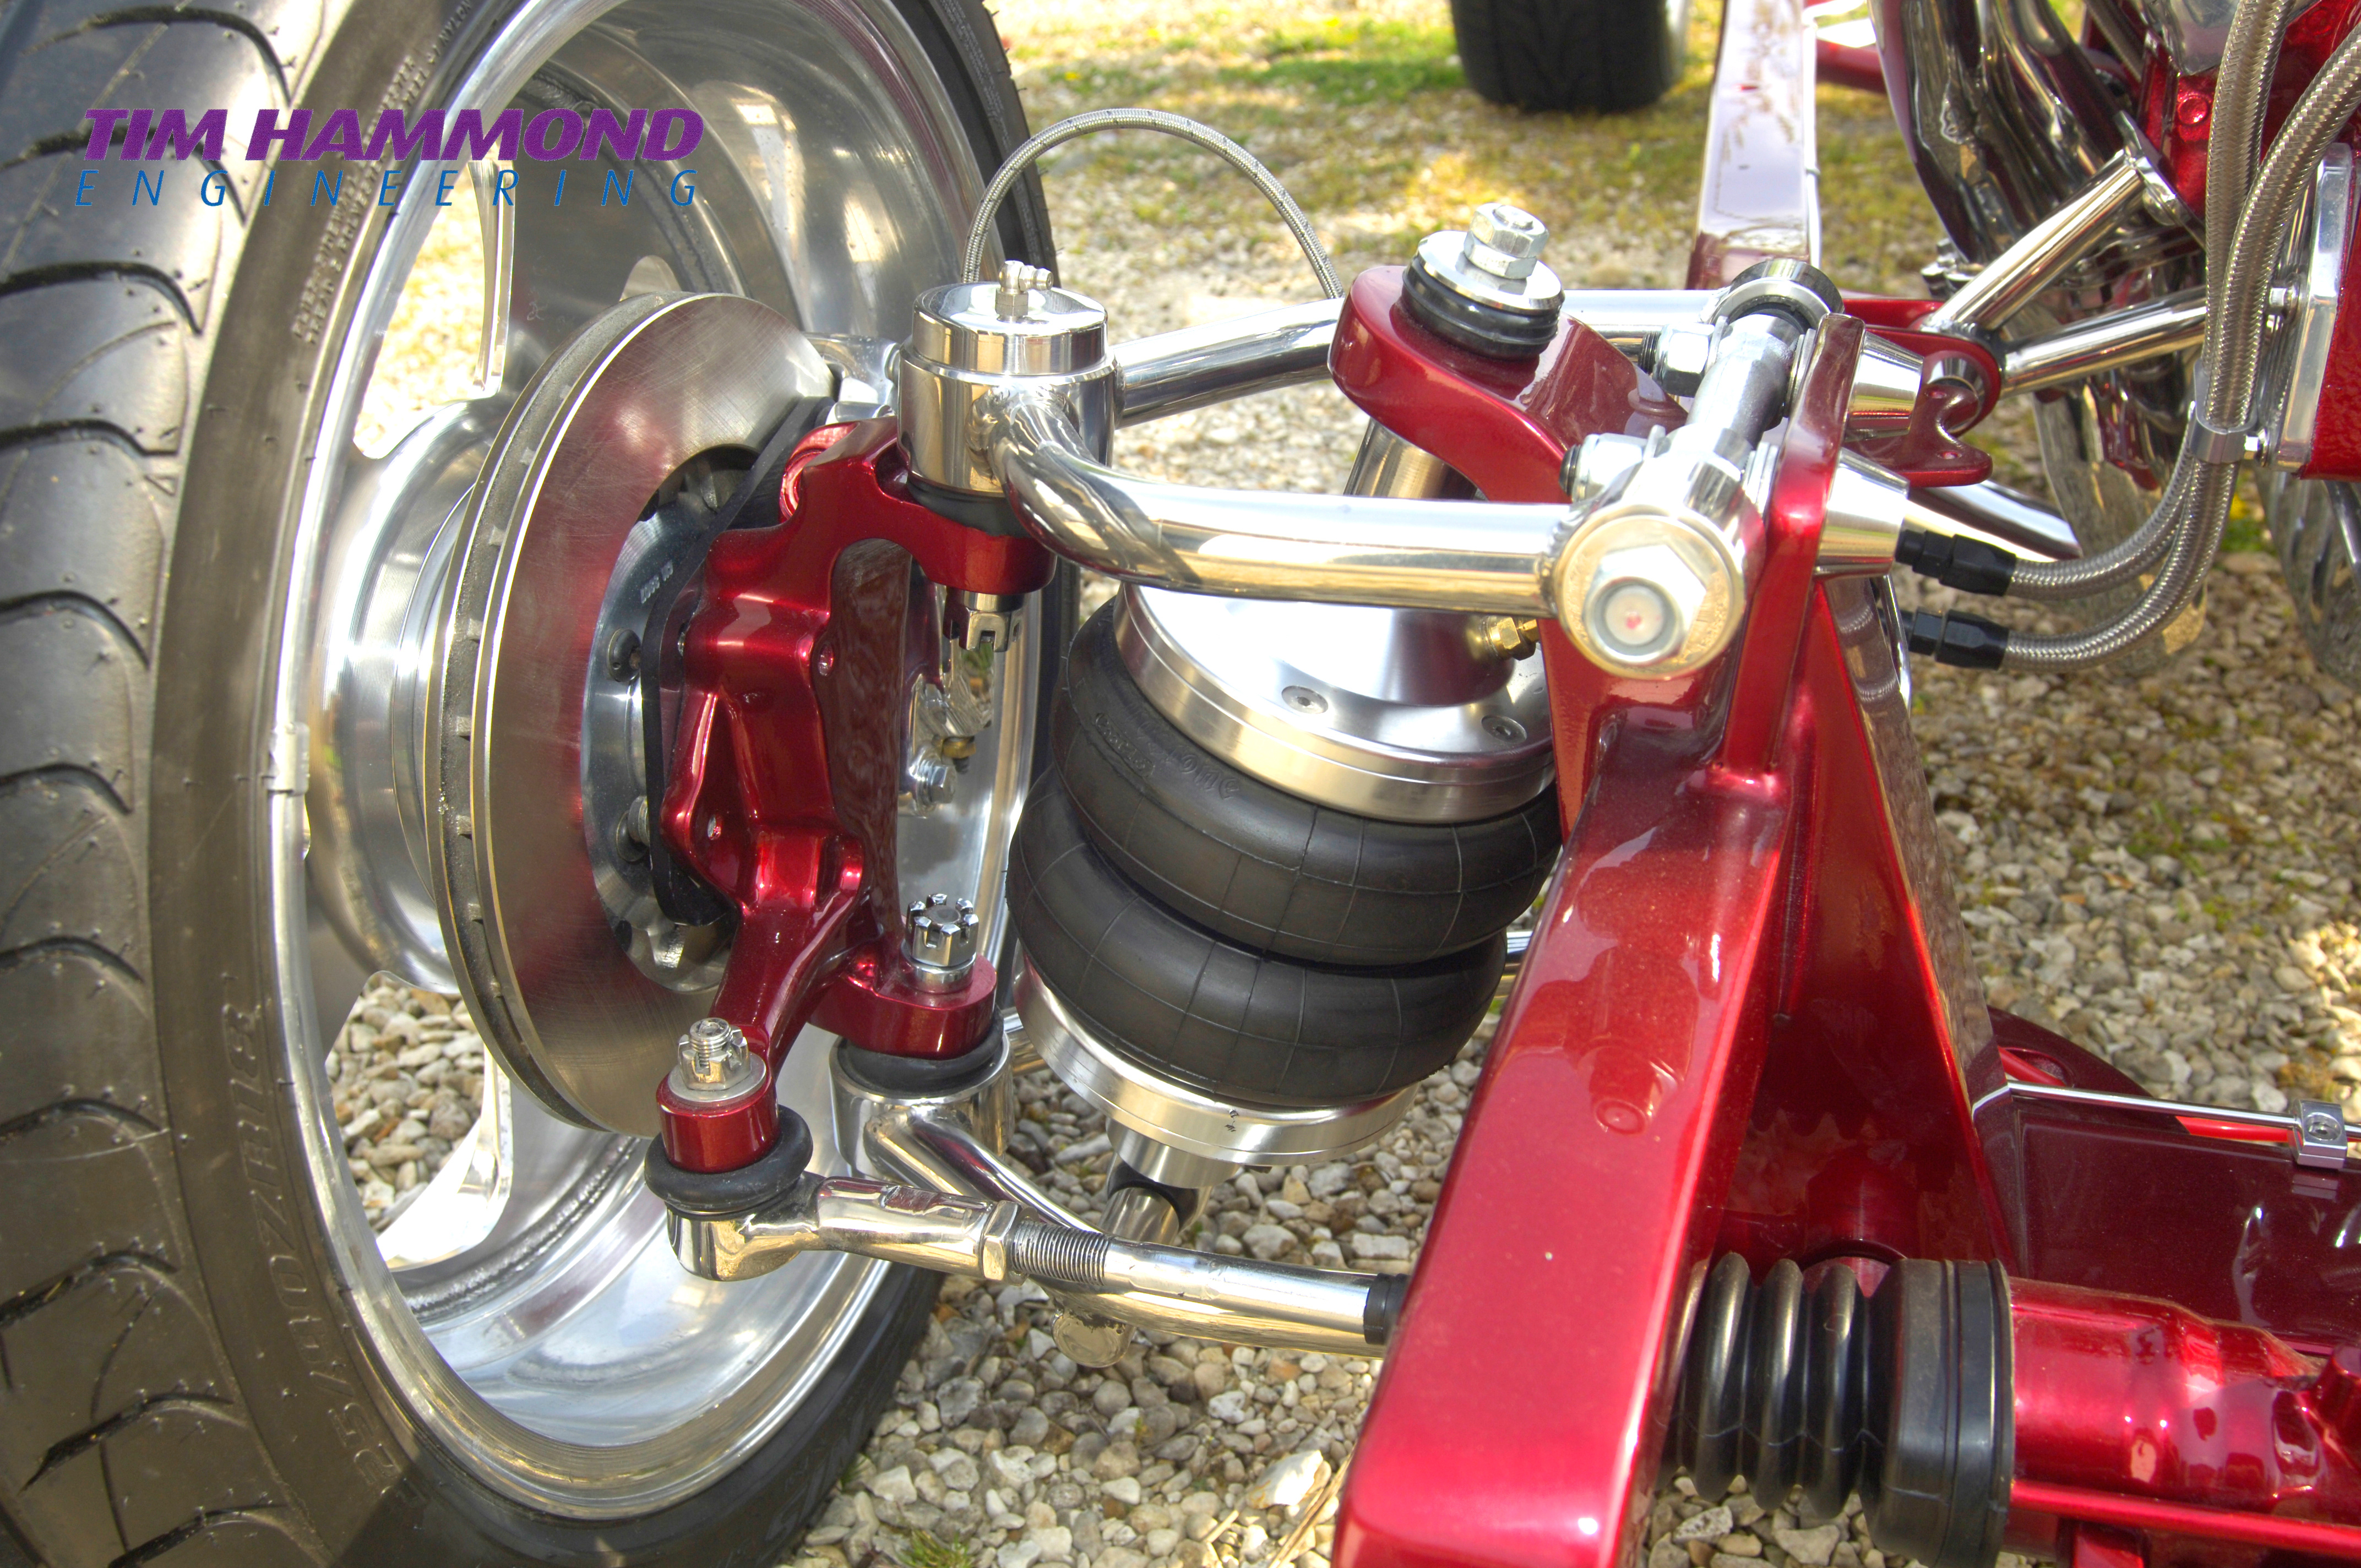
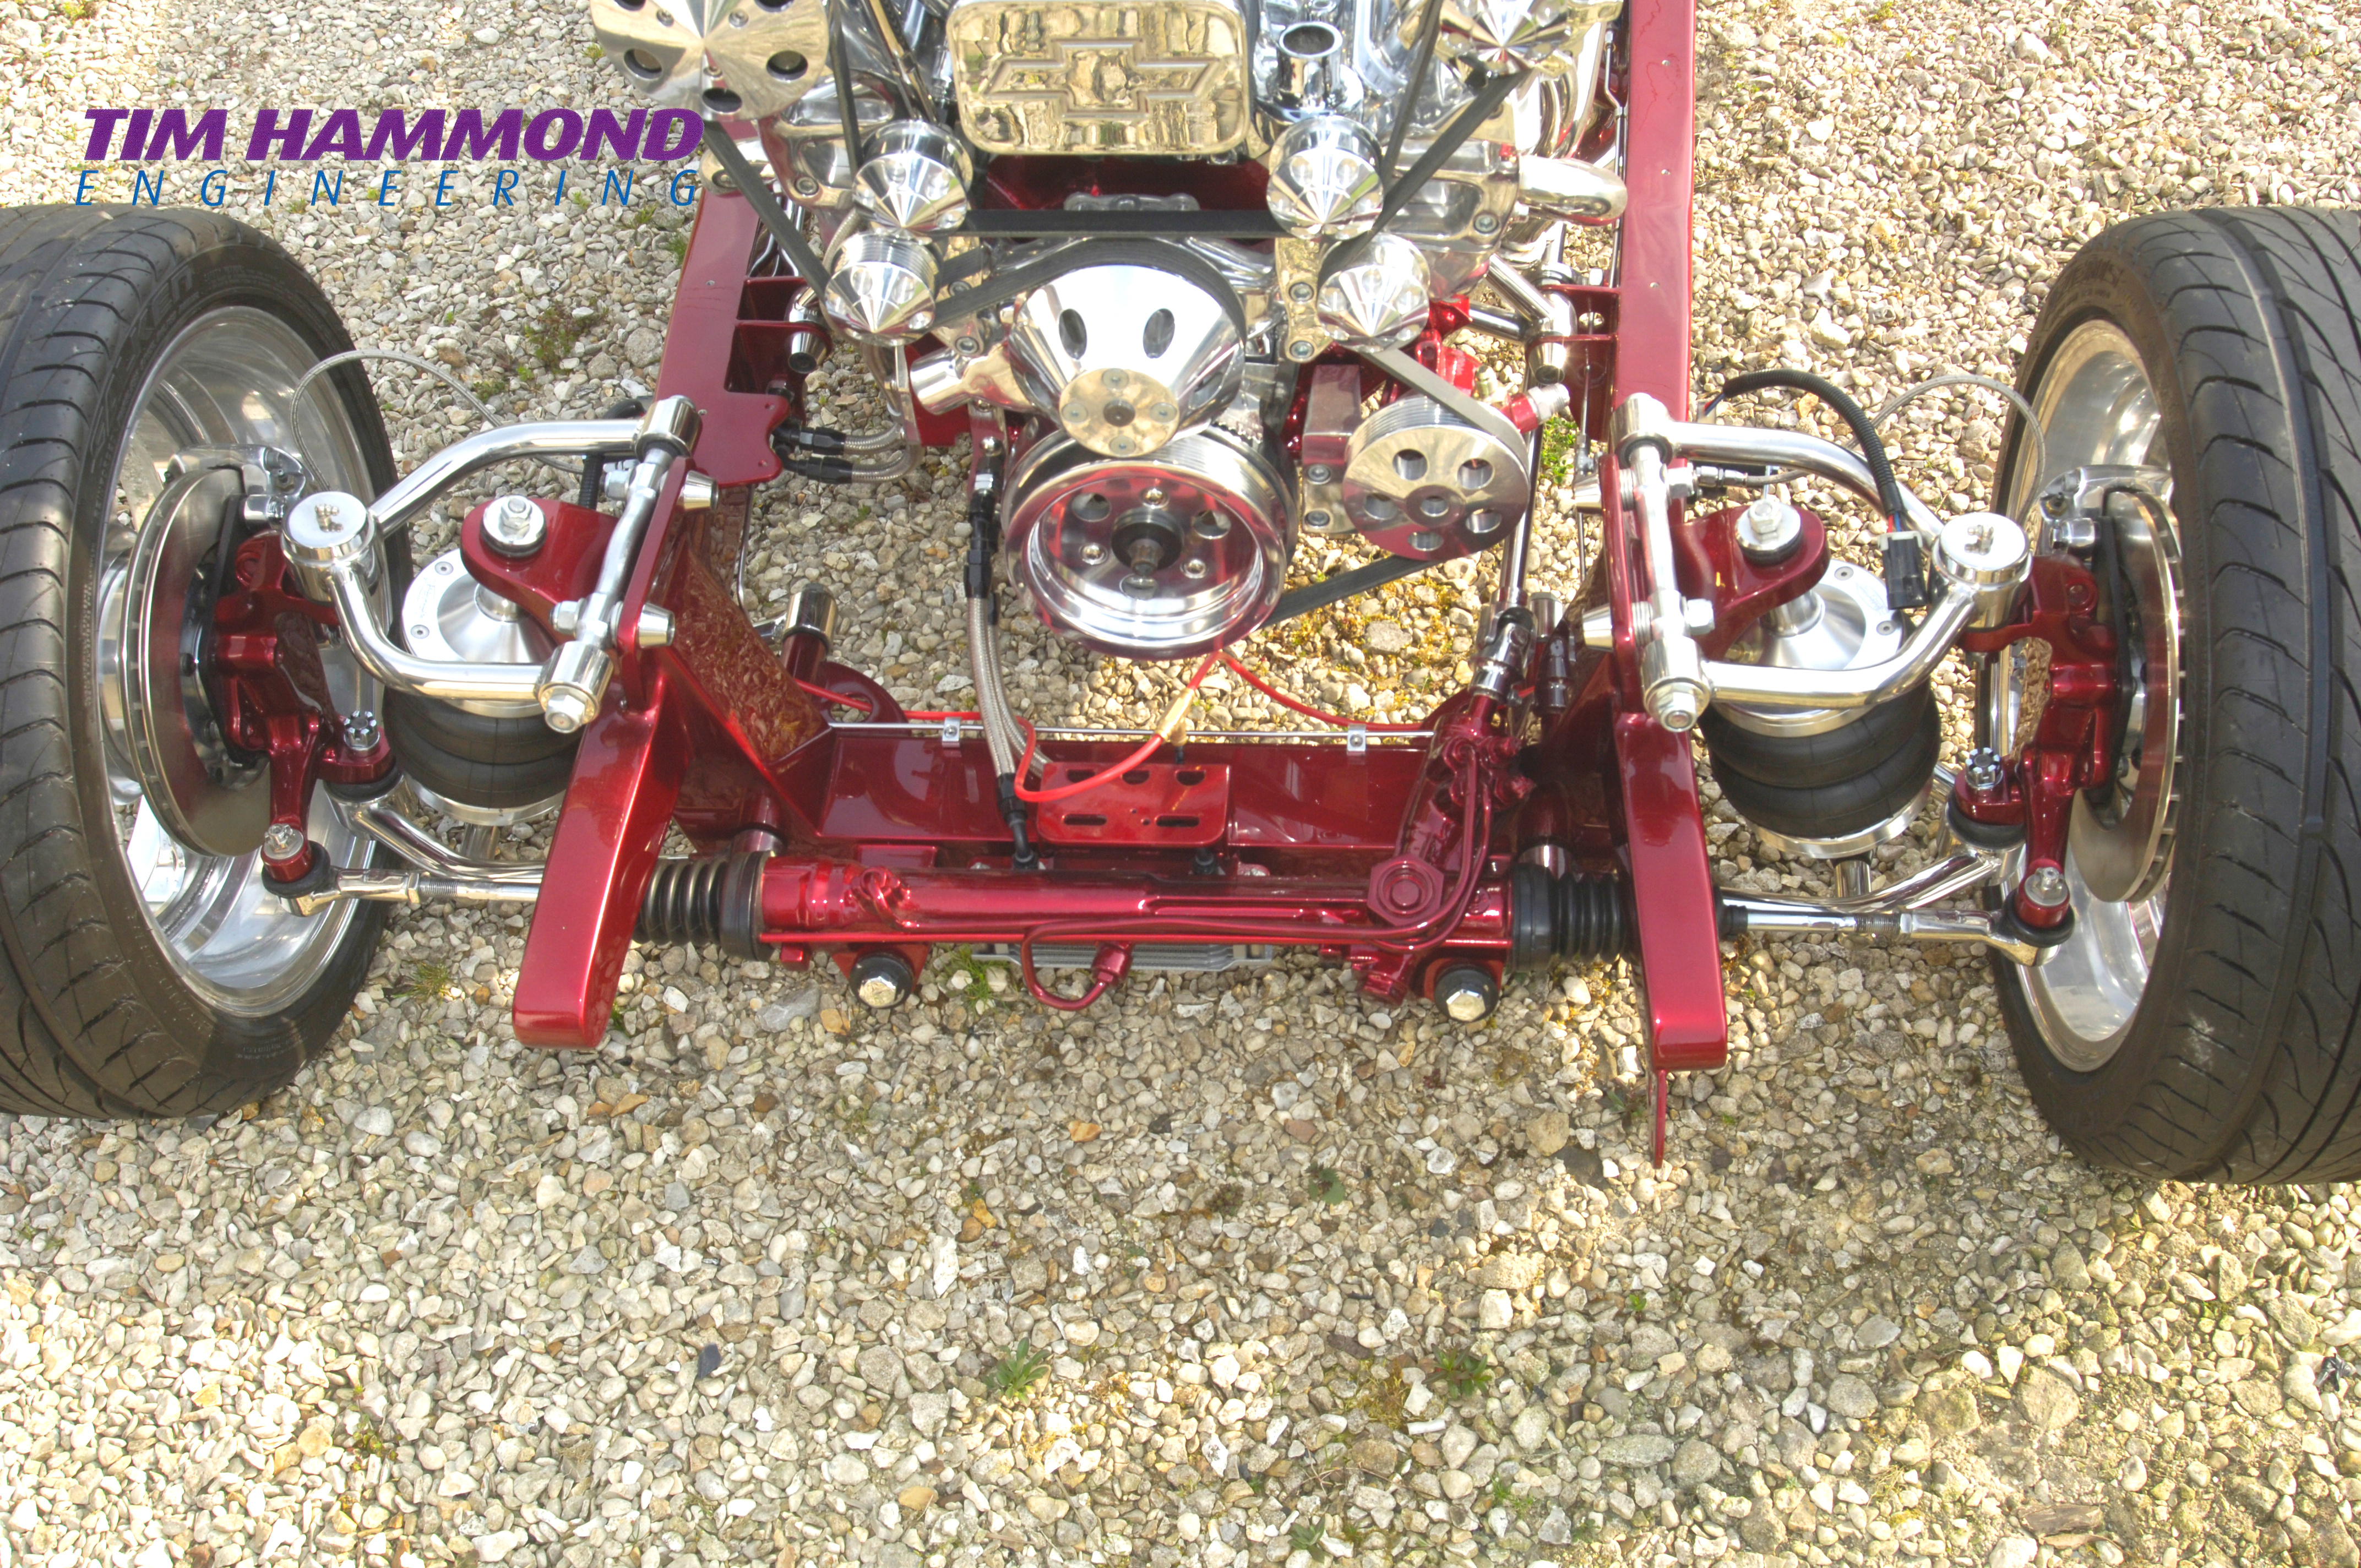
As for the front suspension; the uprights, front hubs, disc bells, top and bottom A arms were all machined from billet aluminium. The spindle was machined and press fitted to the front uprights. The top A arm has a female rose jointed bearing cir-clipped and the bottom ball joint is press fit Chevy Vega. The front discs were machined from 3/8” plate along with aluminium backing plates to take the Willwood front callipers. The steering rack is a Fiat 127, along with 8 rose joints for the front A arms. The front shocks are Protech 13” aluminium rose jointed and fully adjustable.
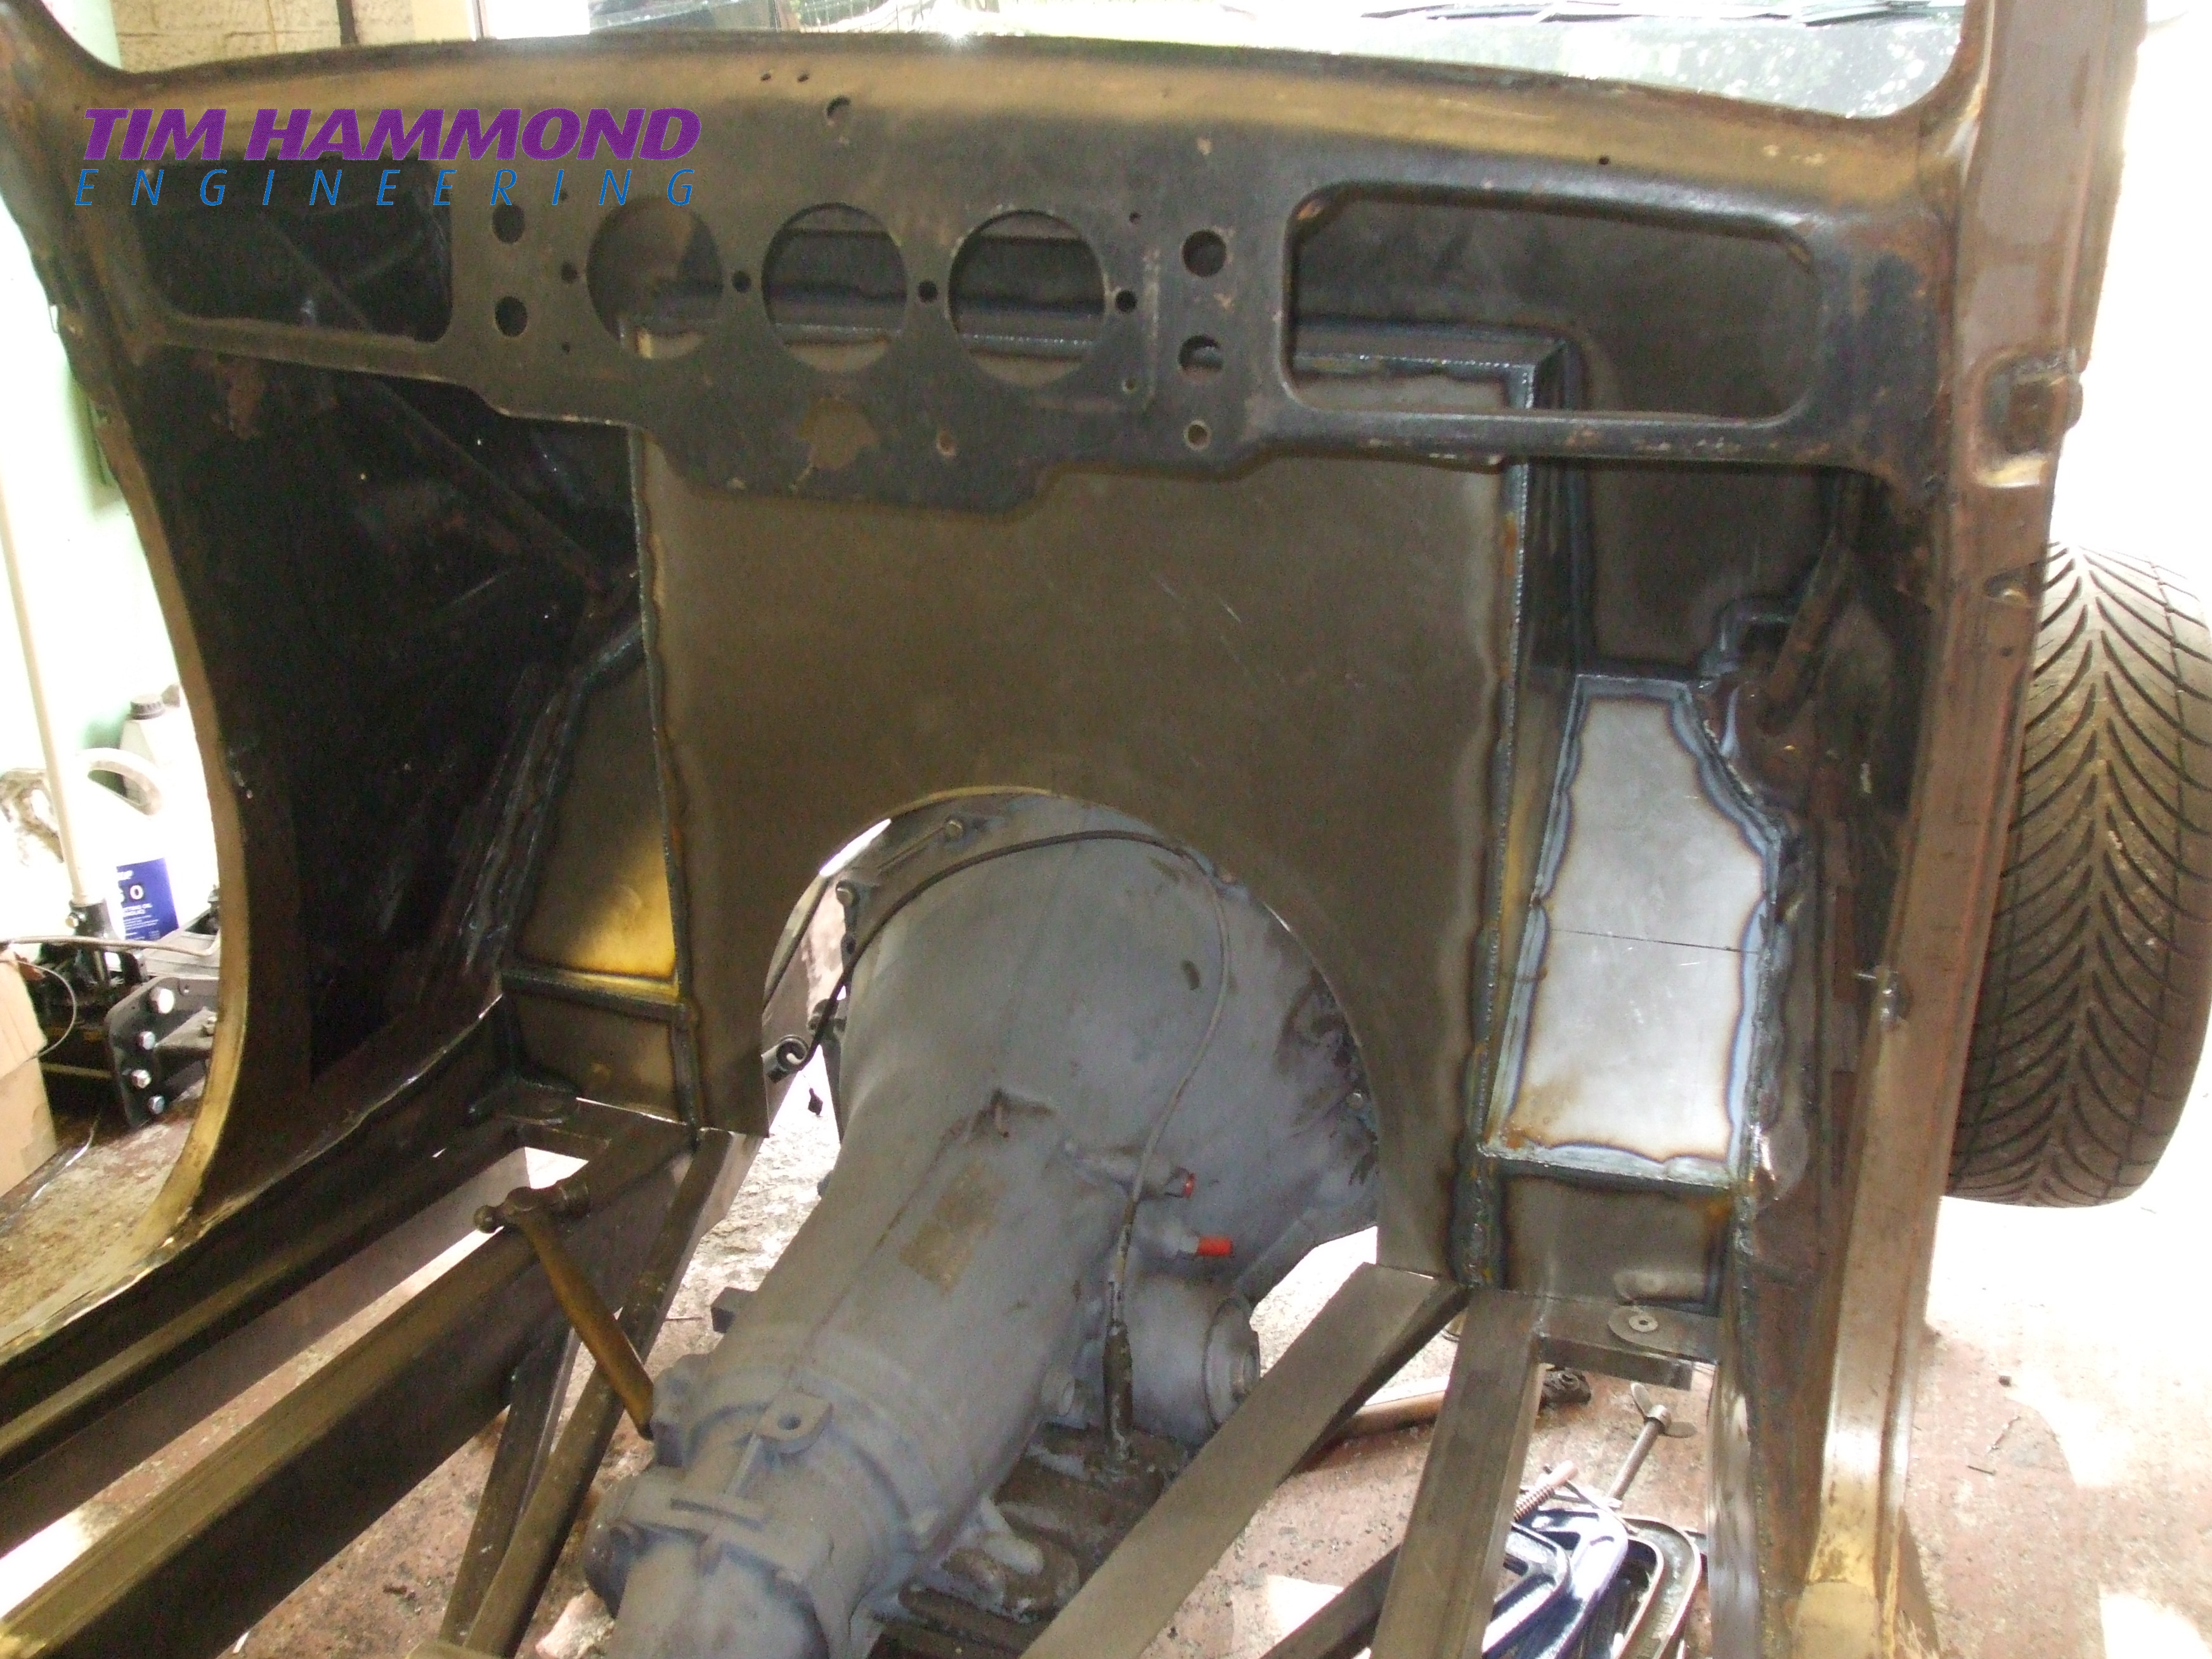
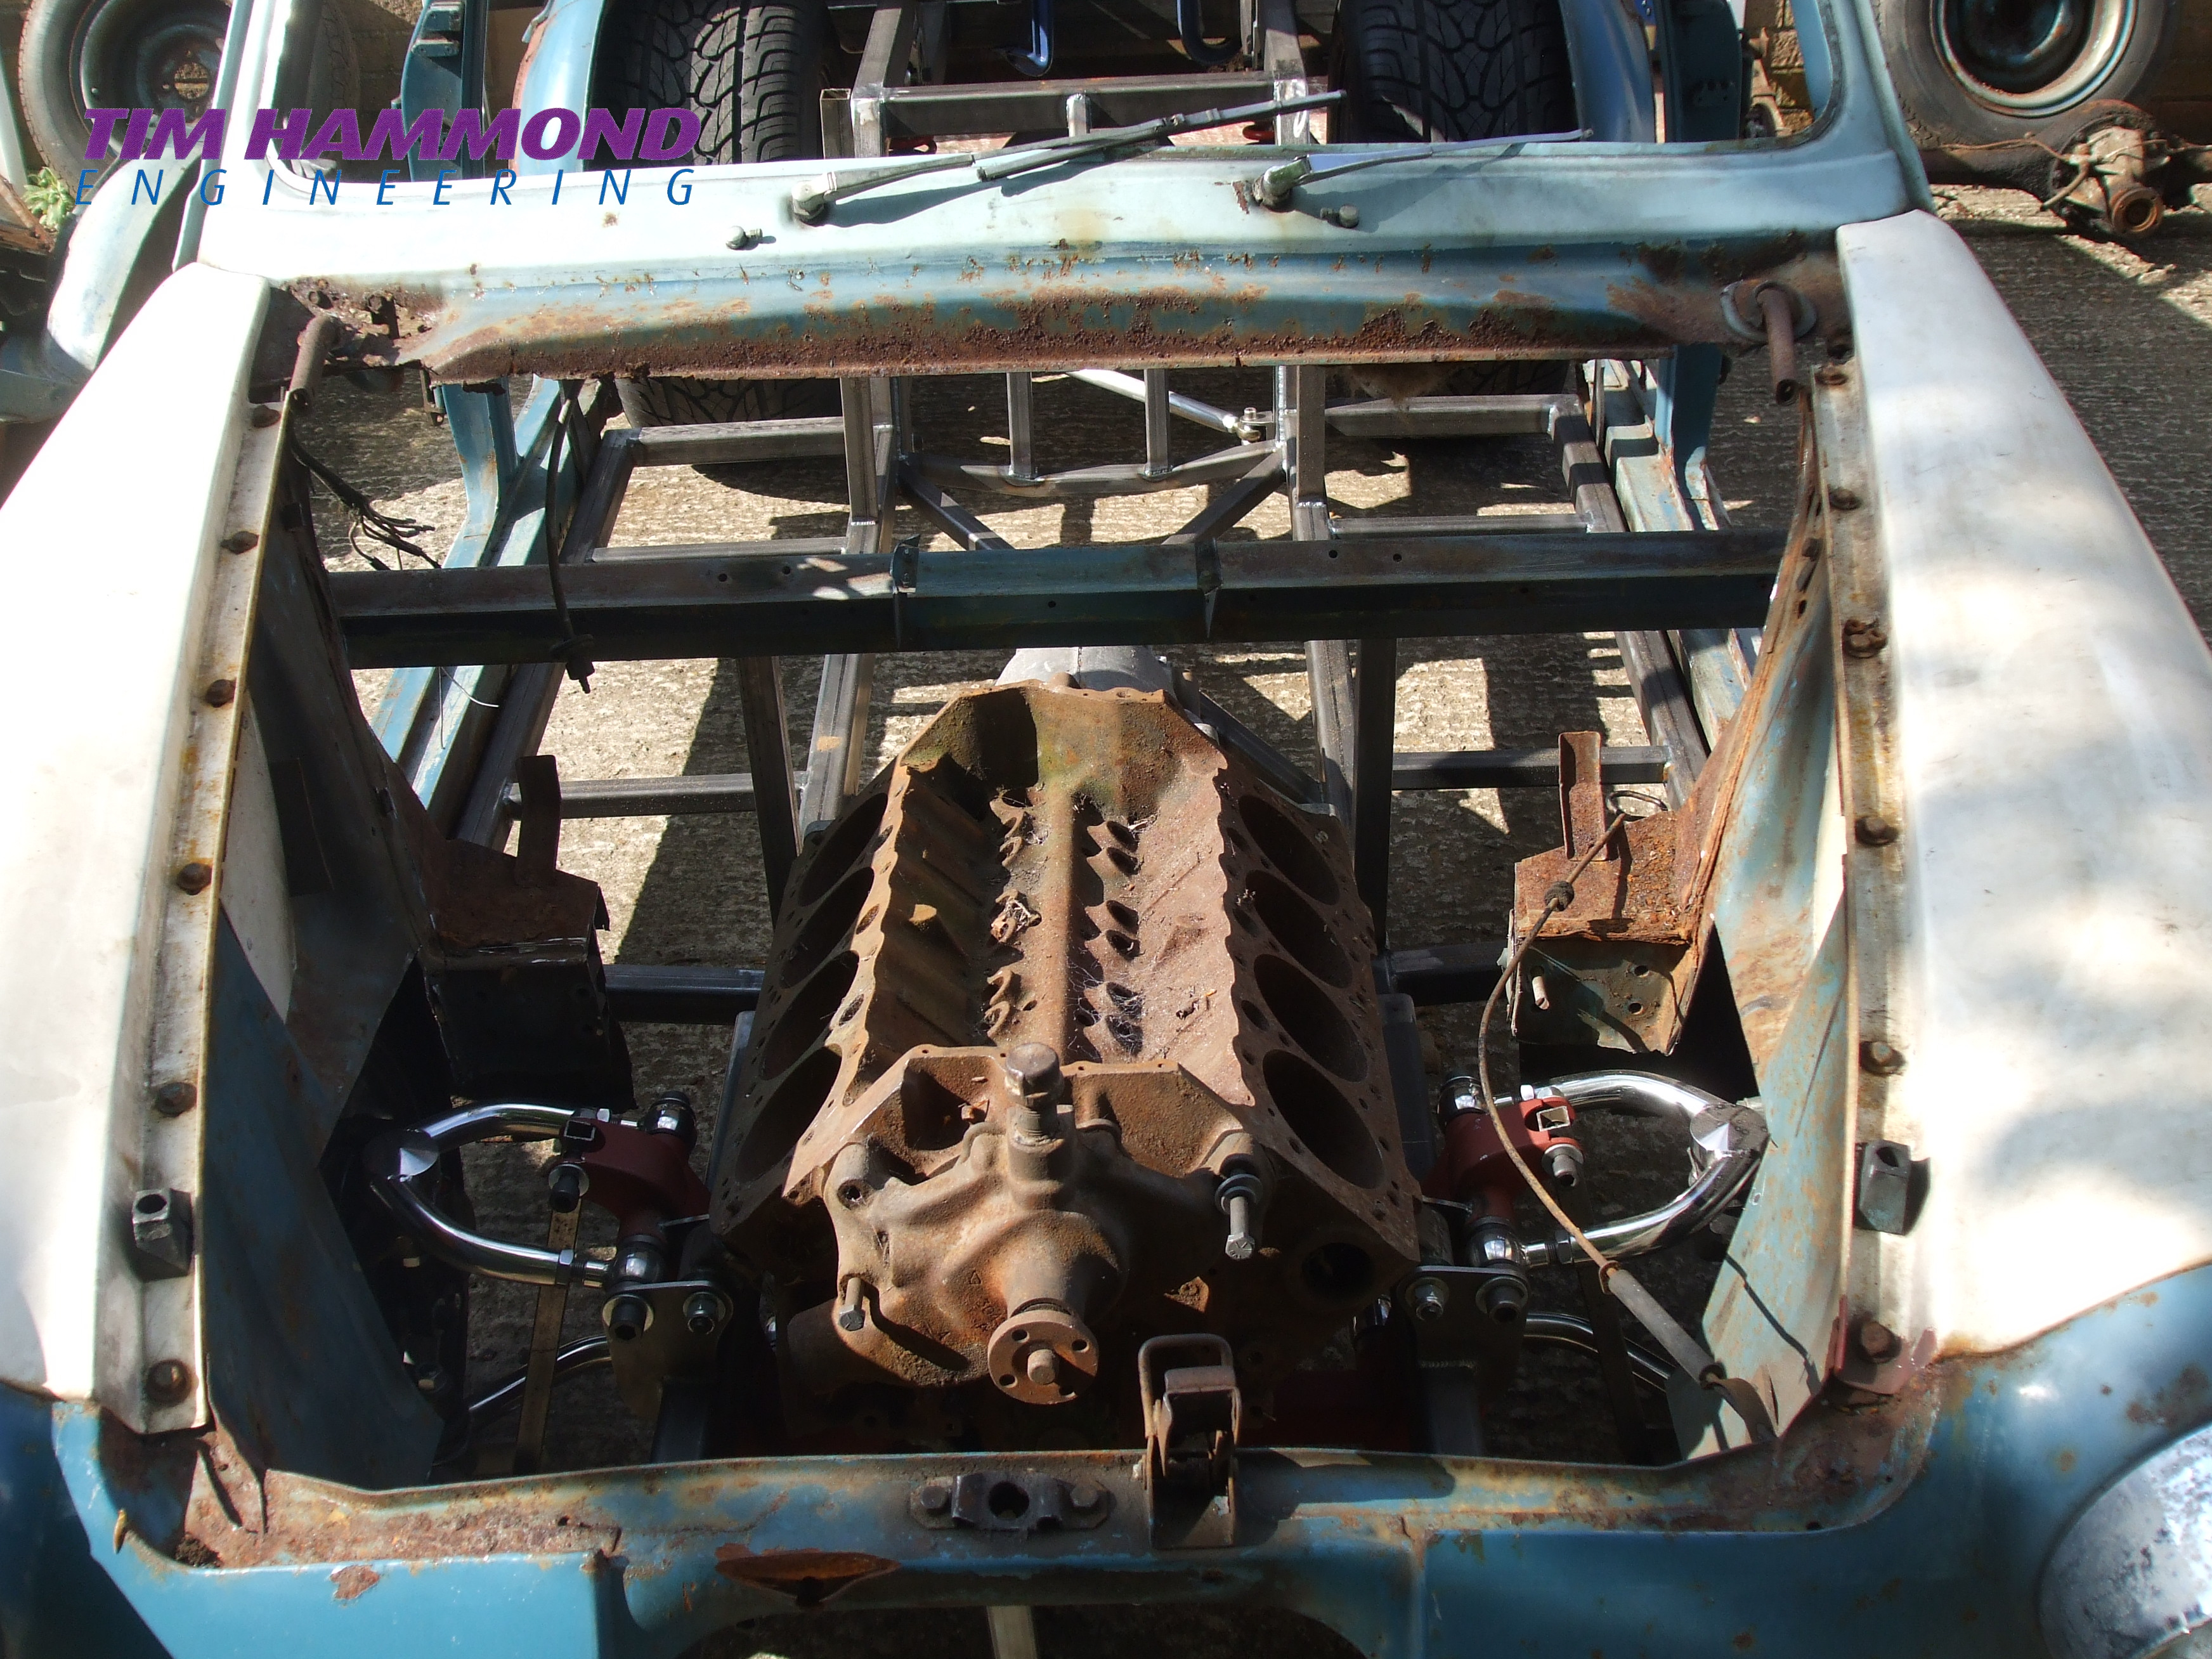
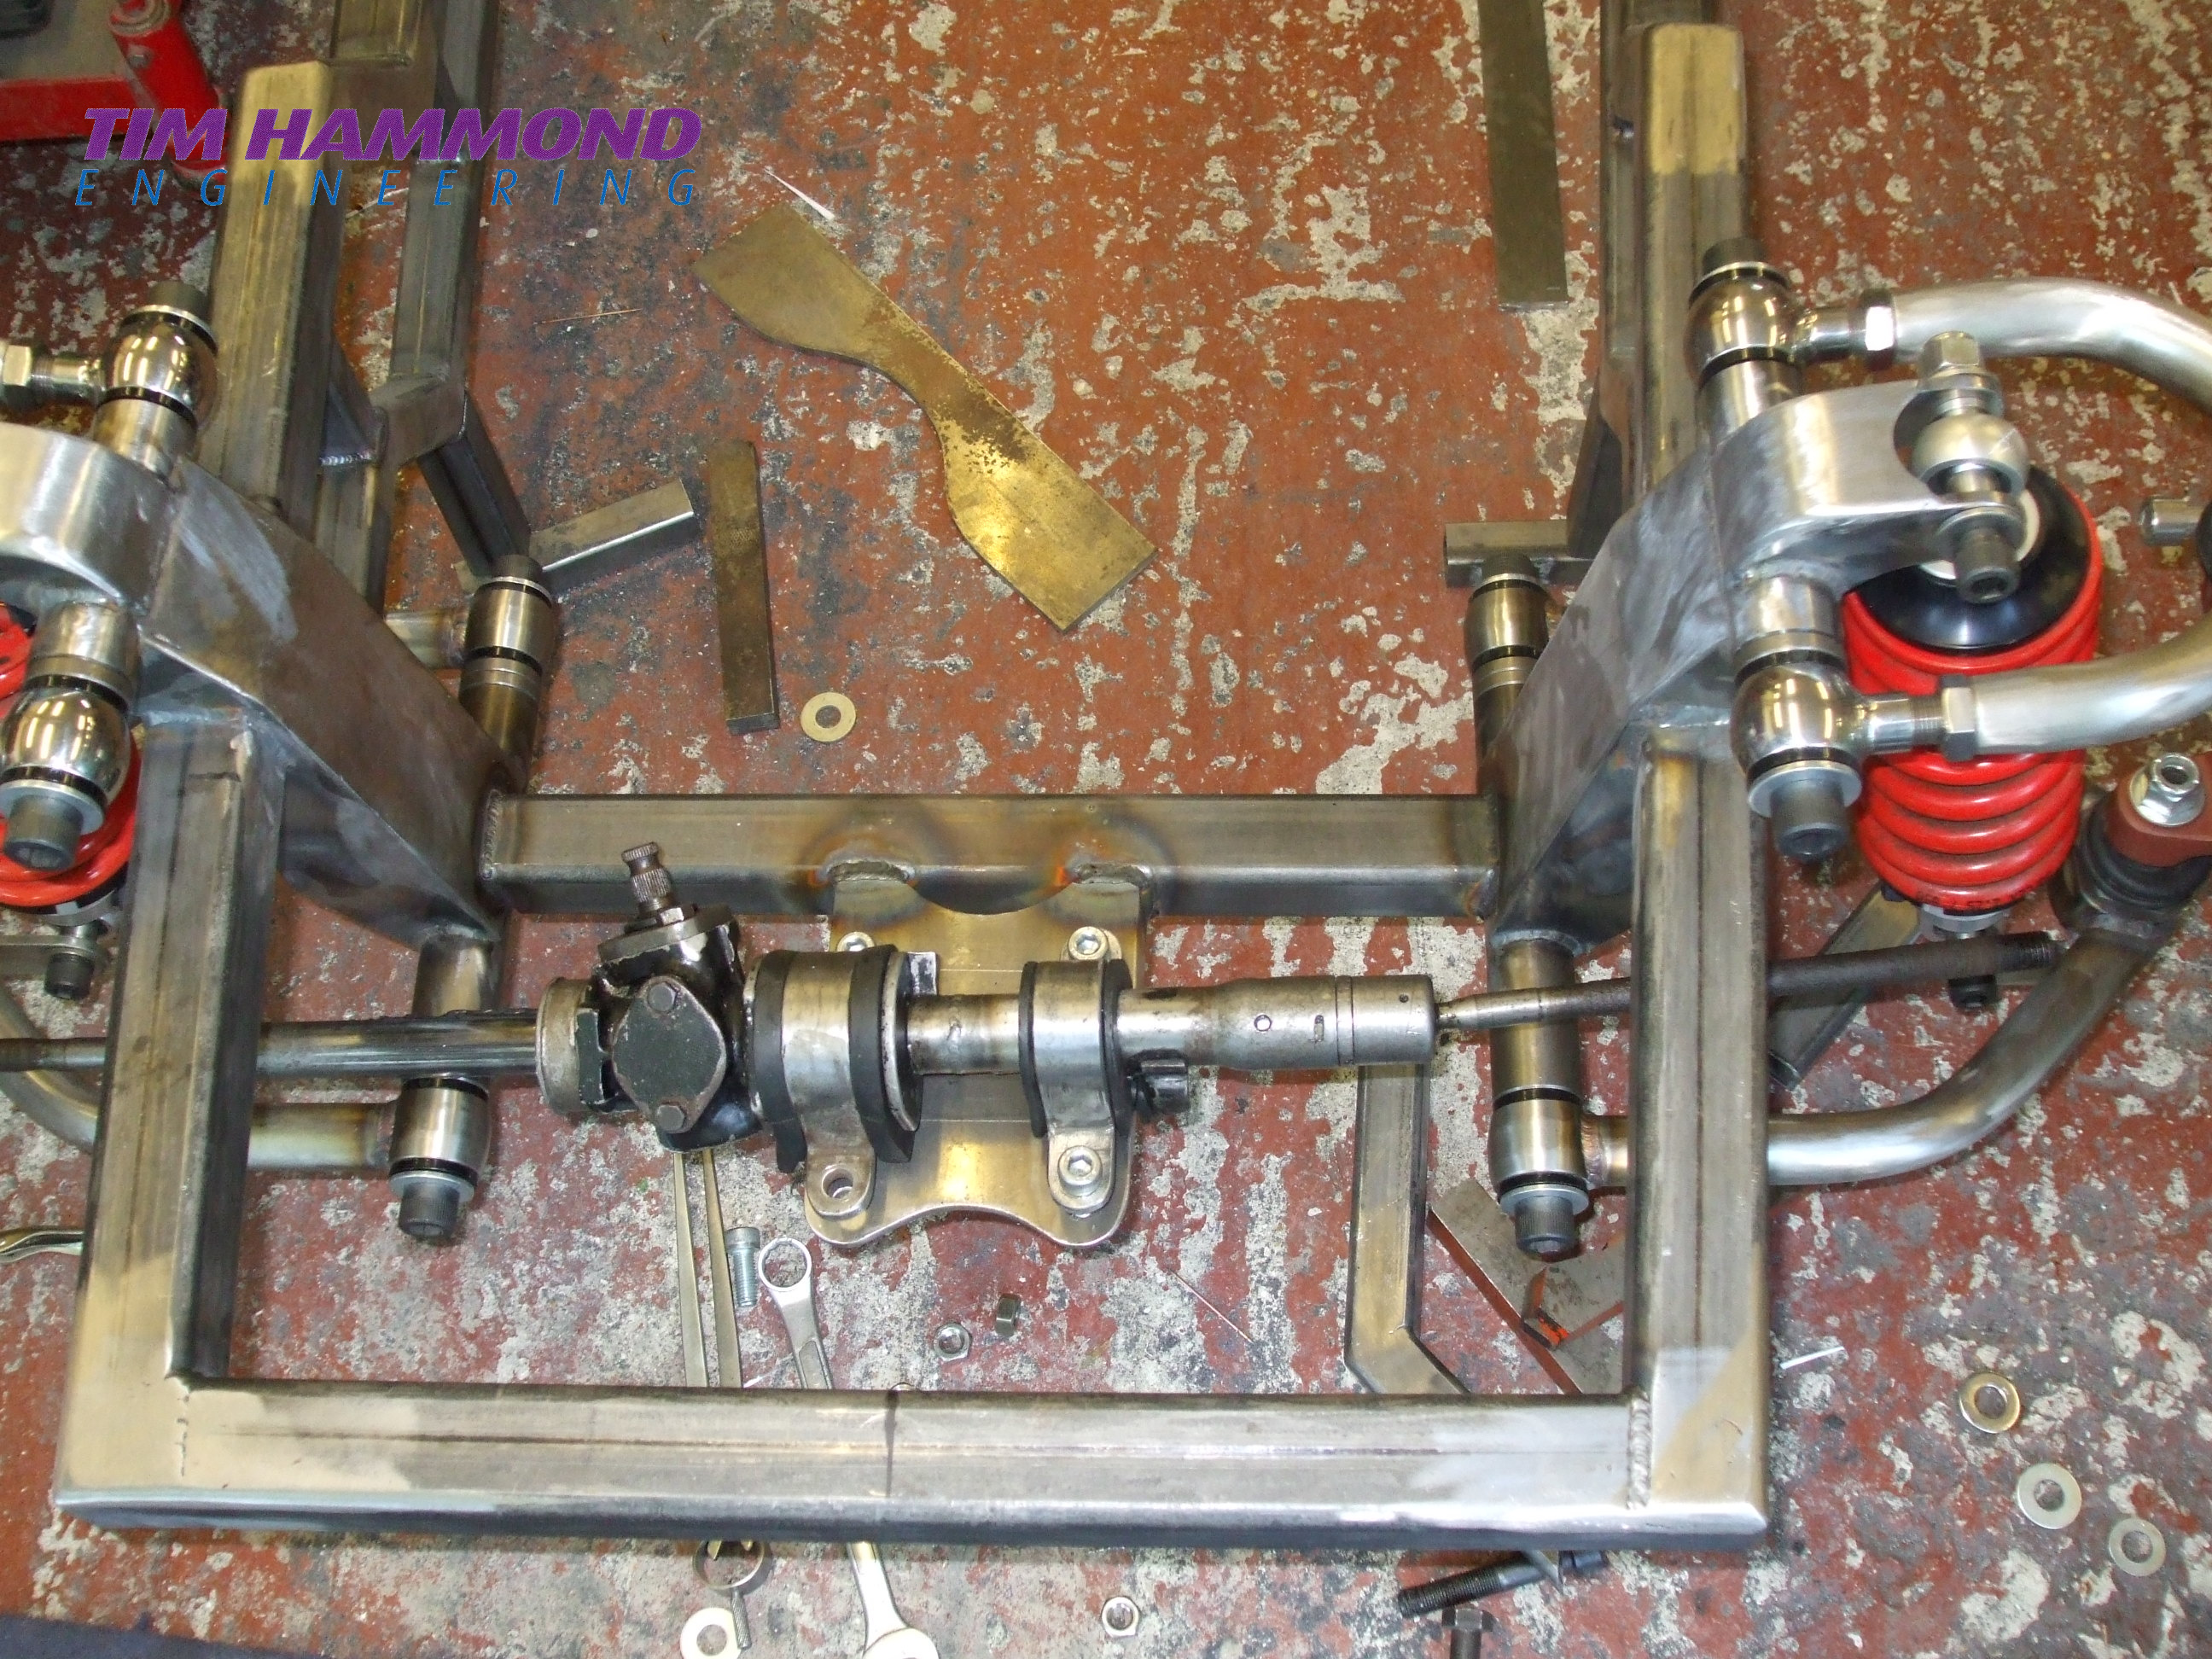
With the front and rear suspension completed and the basic frame fabricated we could then start to mock up and lay out the chassis. This was going to be a totally different way of building a car and chassis. We agreed that we had to go from 106” wheel base for a standard 32 to 112” to make it look long and sleek and to give us the additional leg room and wider doors for ease. The bottom of the chassis rails were going to become the bottom of the body to maintain this particularly low look. The front bottom A arms went through the bottom of the chassis rails and the top A arms were mounted on 6 ½” high brackets. Holes had to be cut through the middle of chassis rails and sleeved with aluminium spacers to mount the steering rack and steering arms. Steering rack boots would be fixed to the outside of the chassis rails. The hardest part was making all this so you could remove the steering rack. The front suspension was set up with 2 degrees of anti dive, 4 degrees of caster and 1 degree of camber.
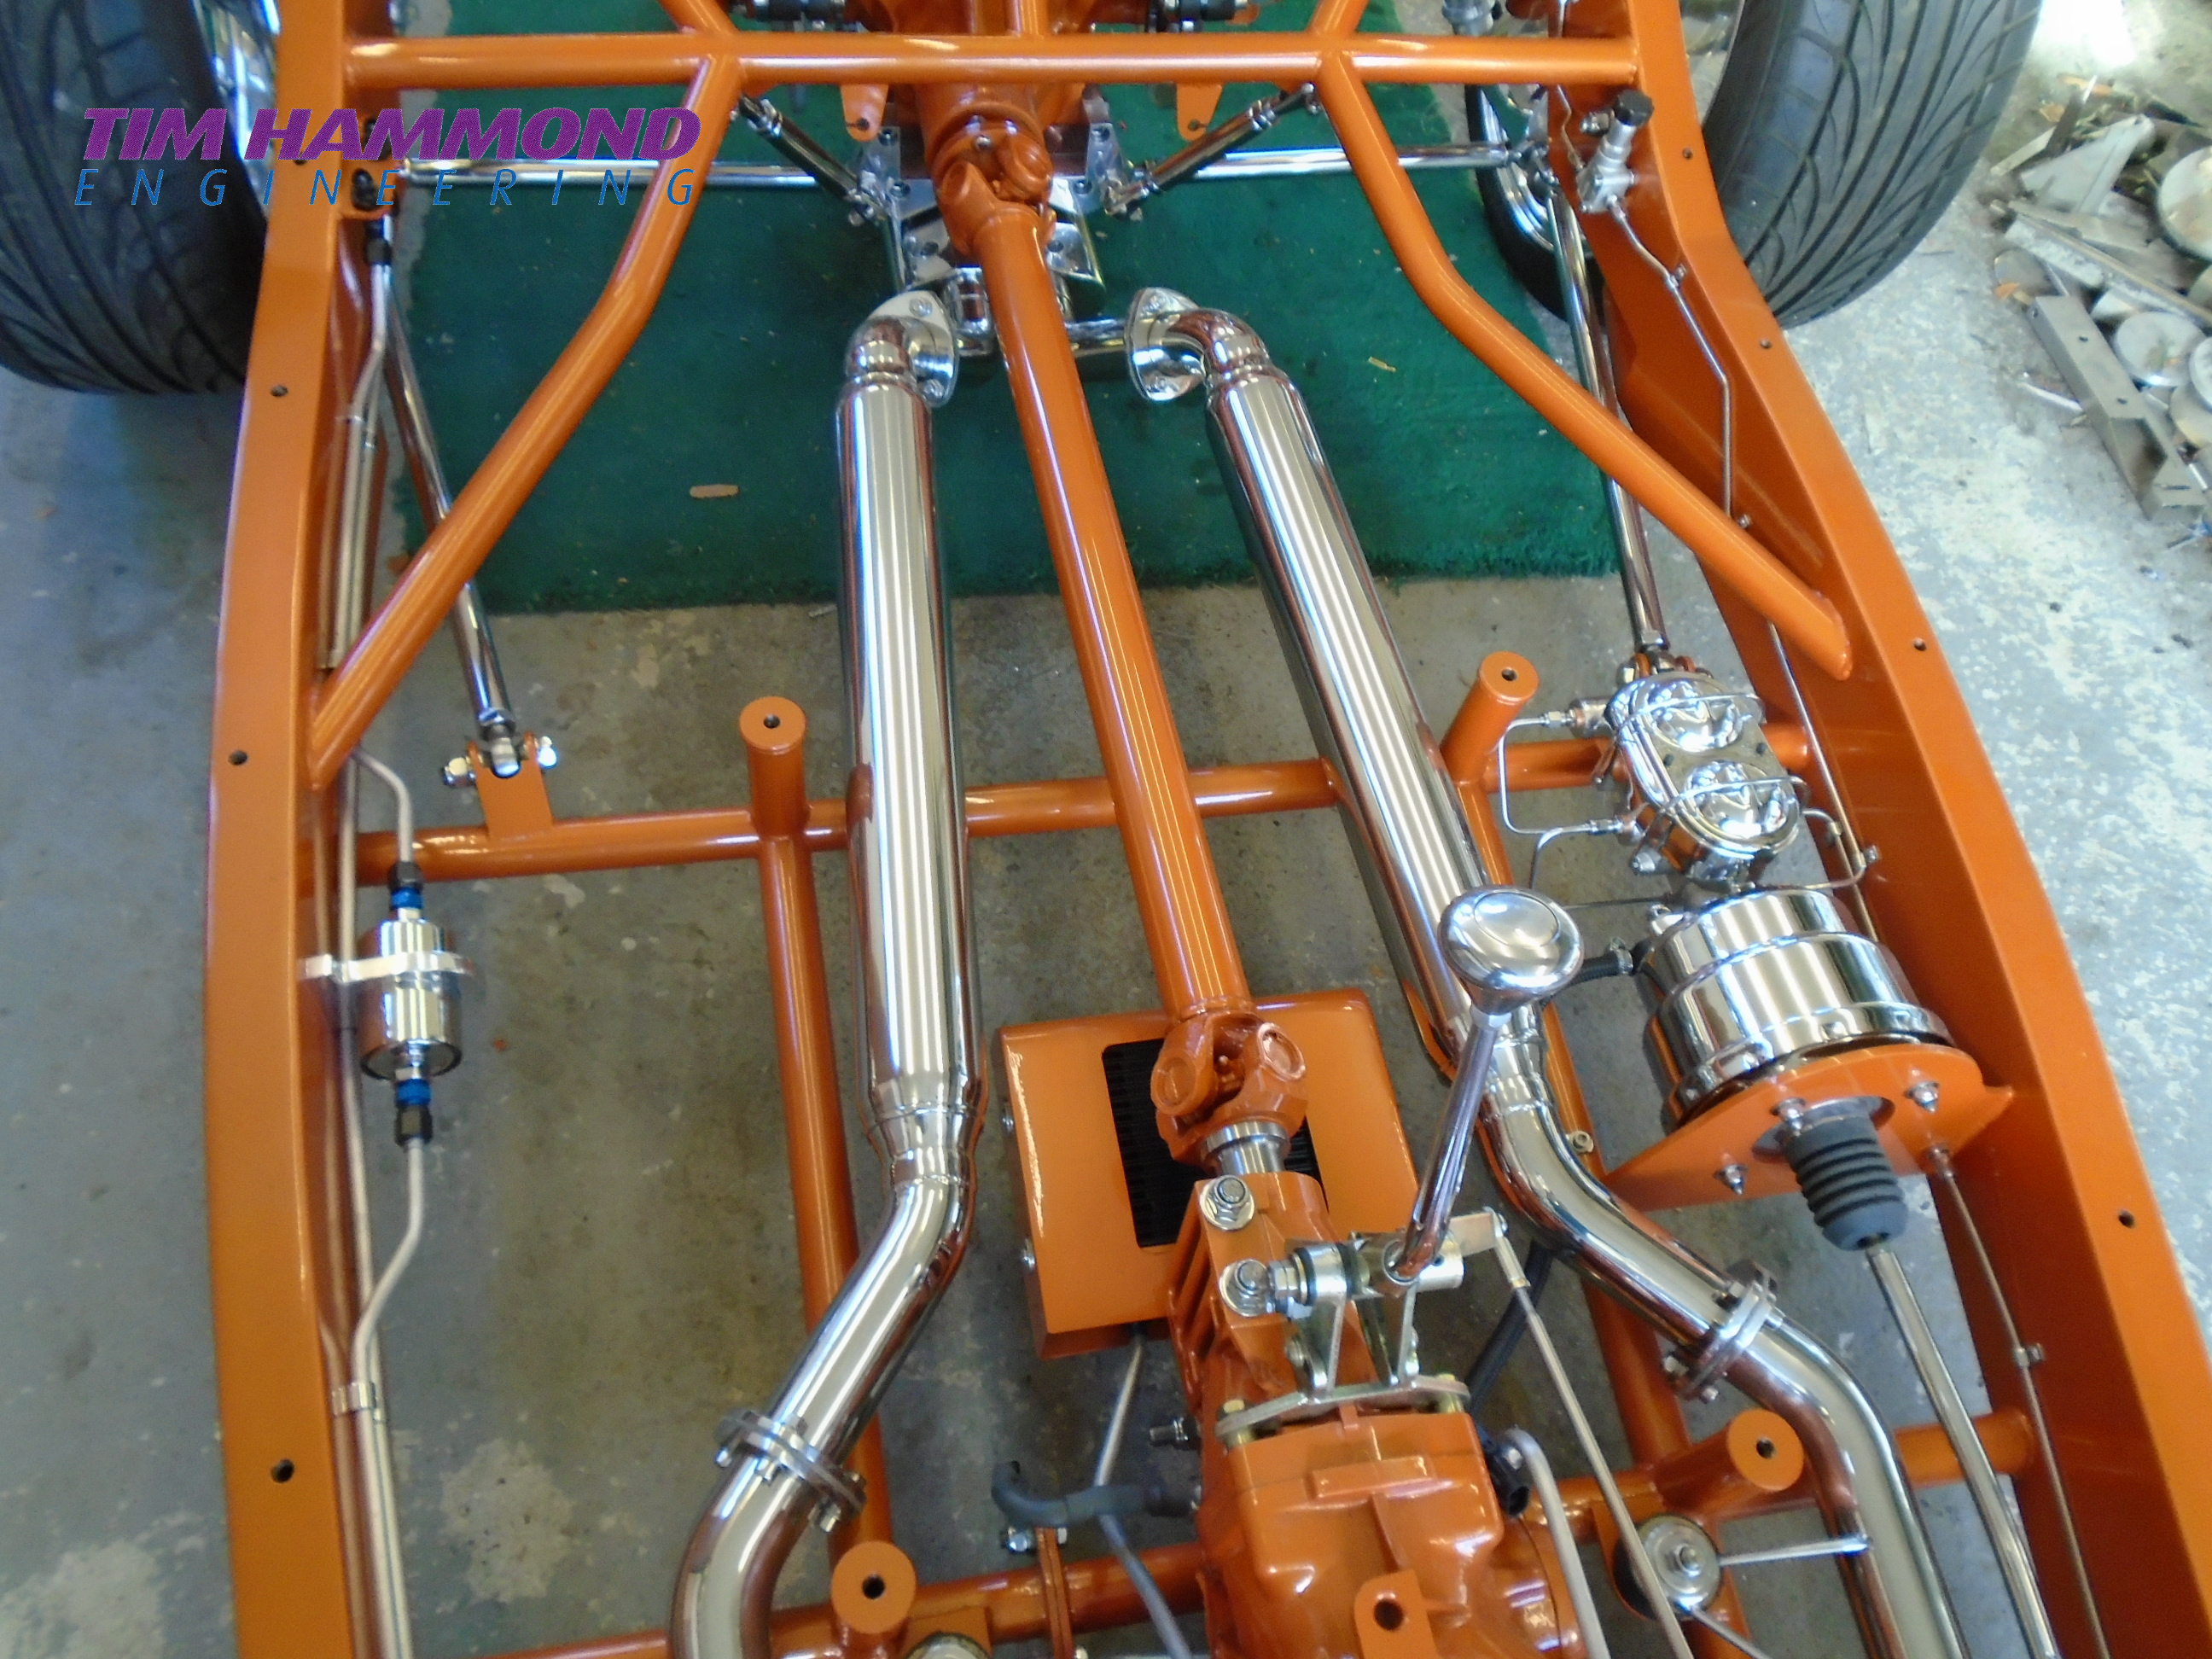
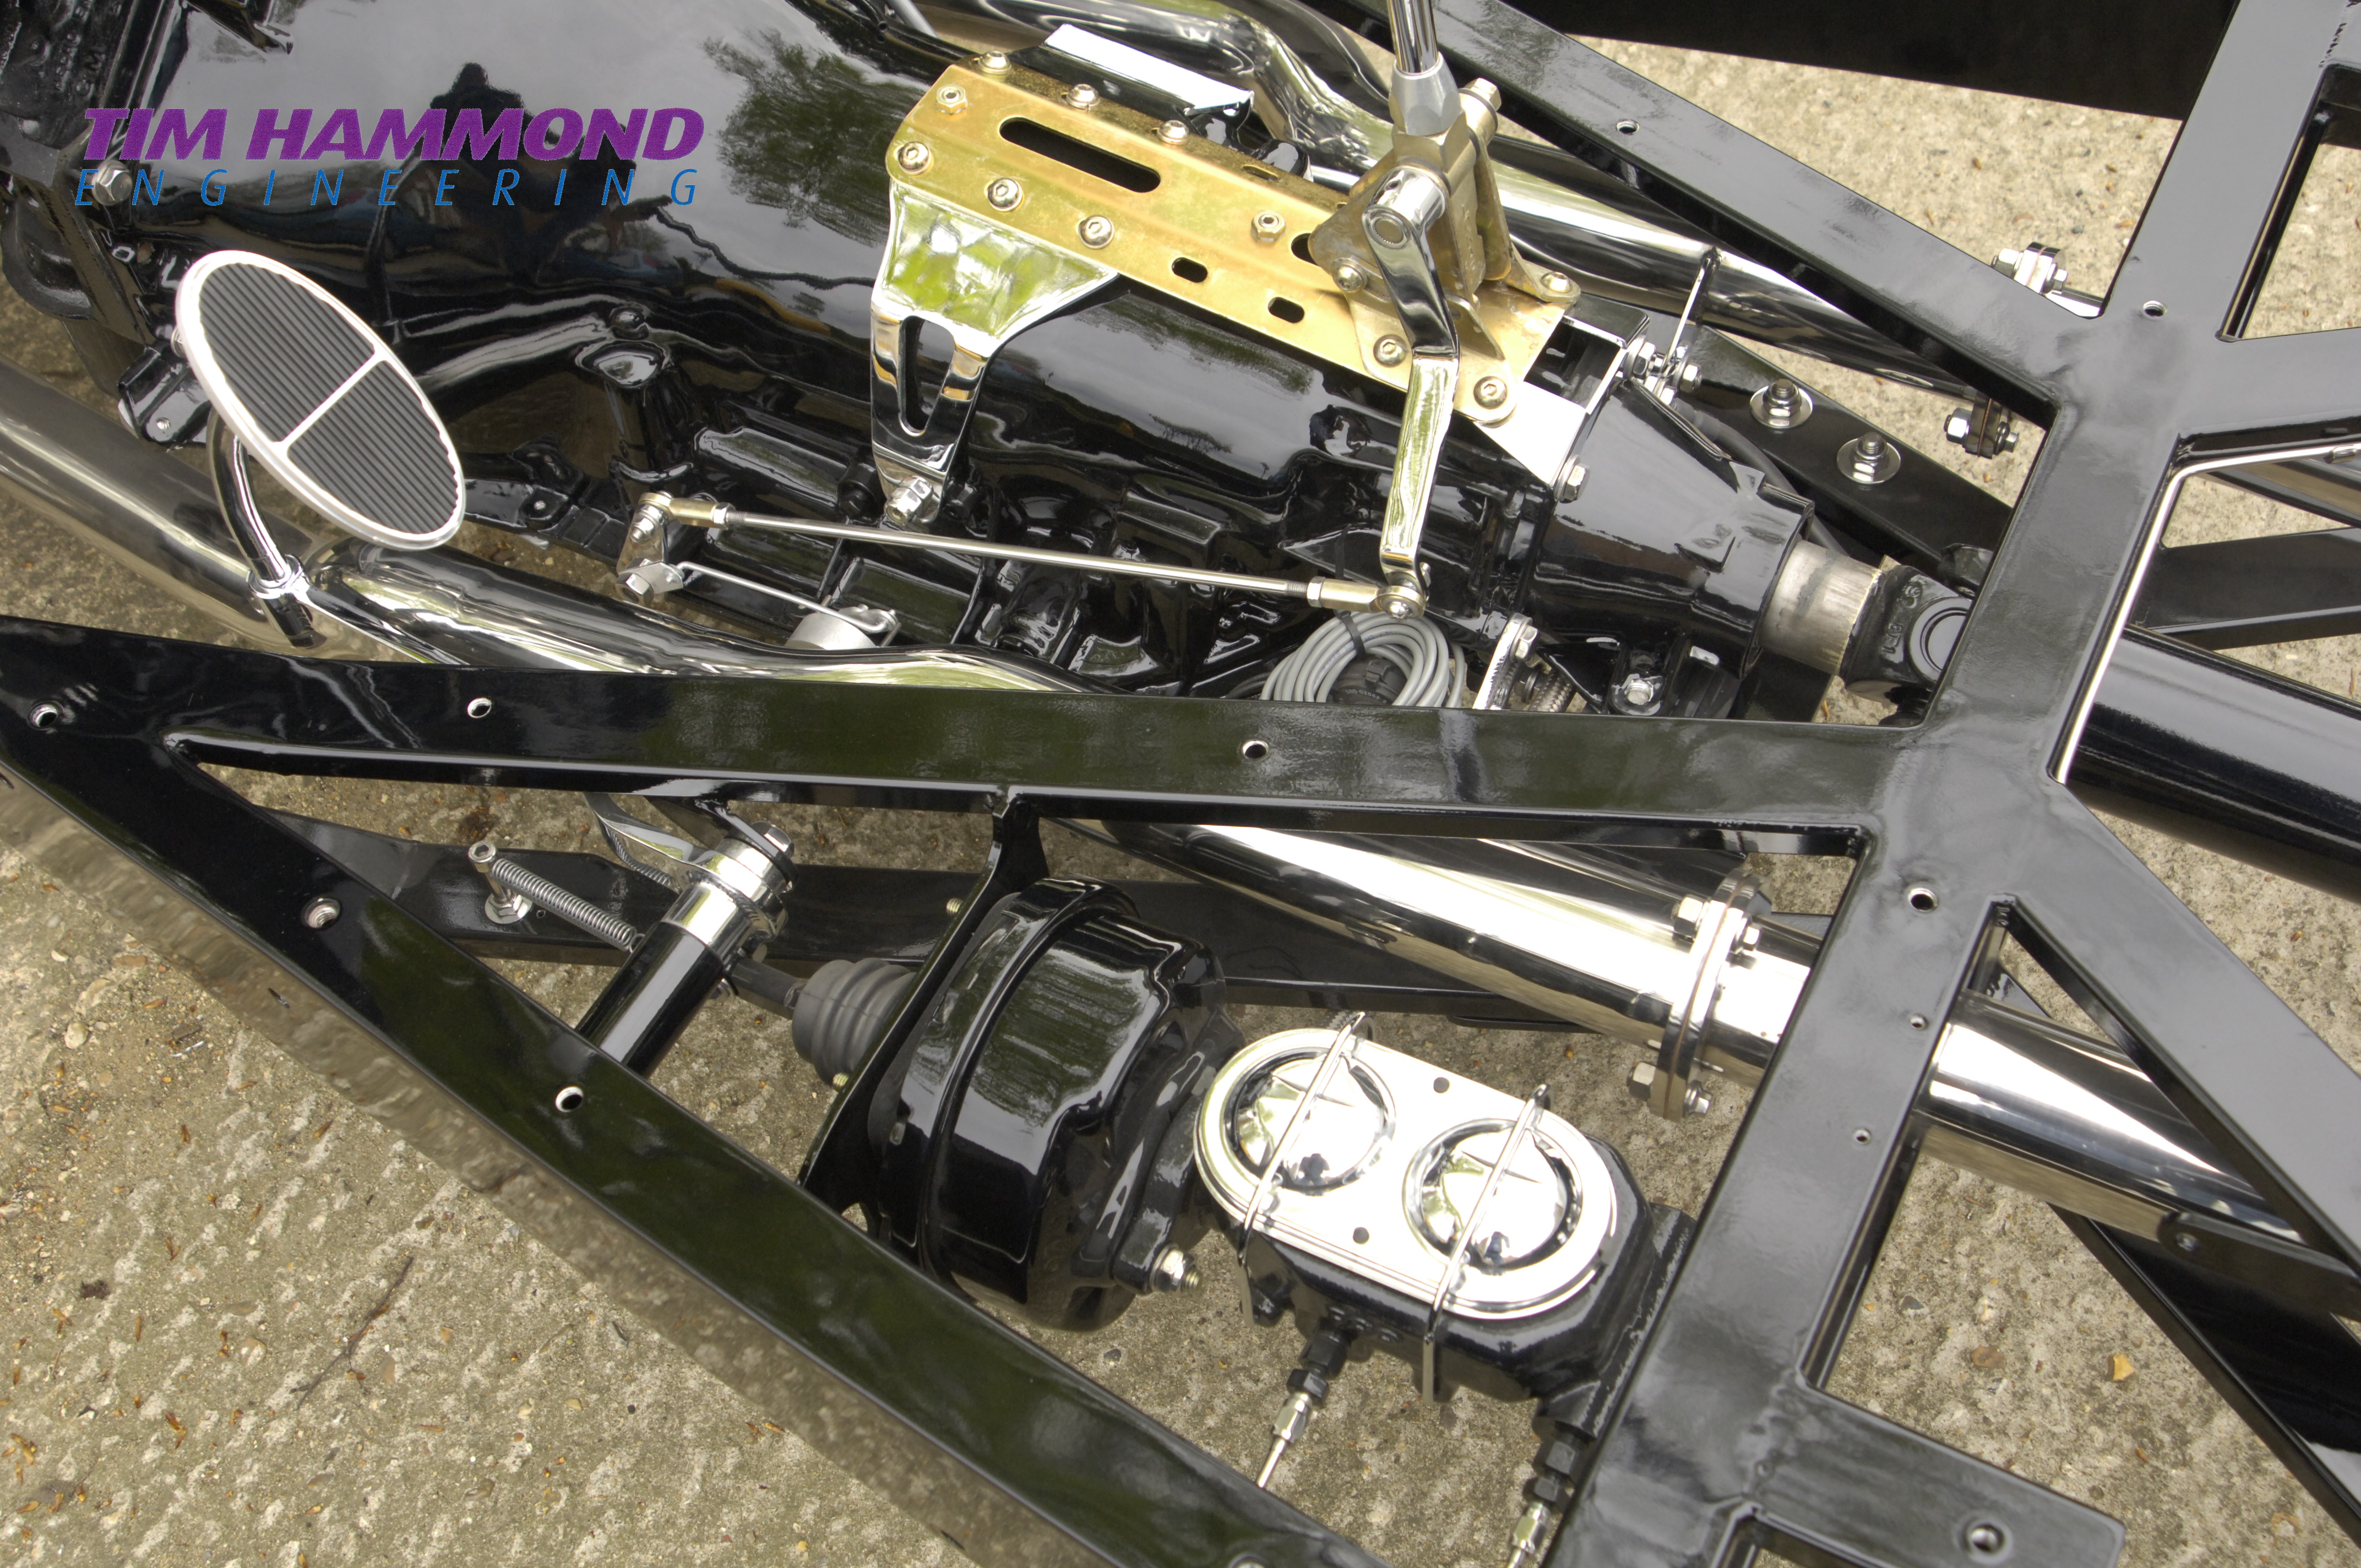
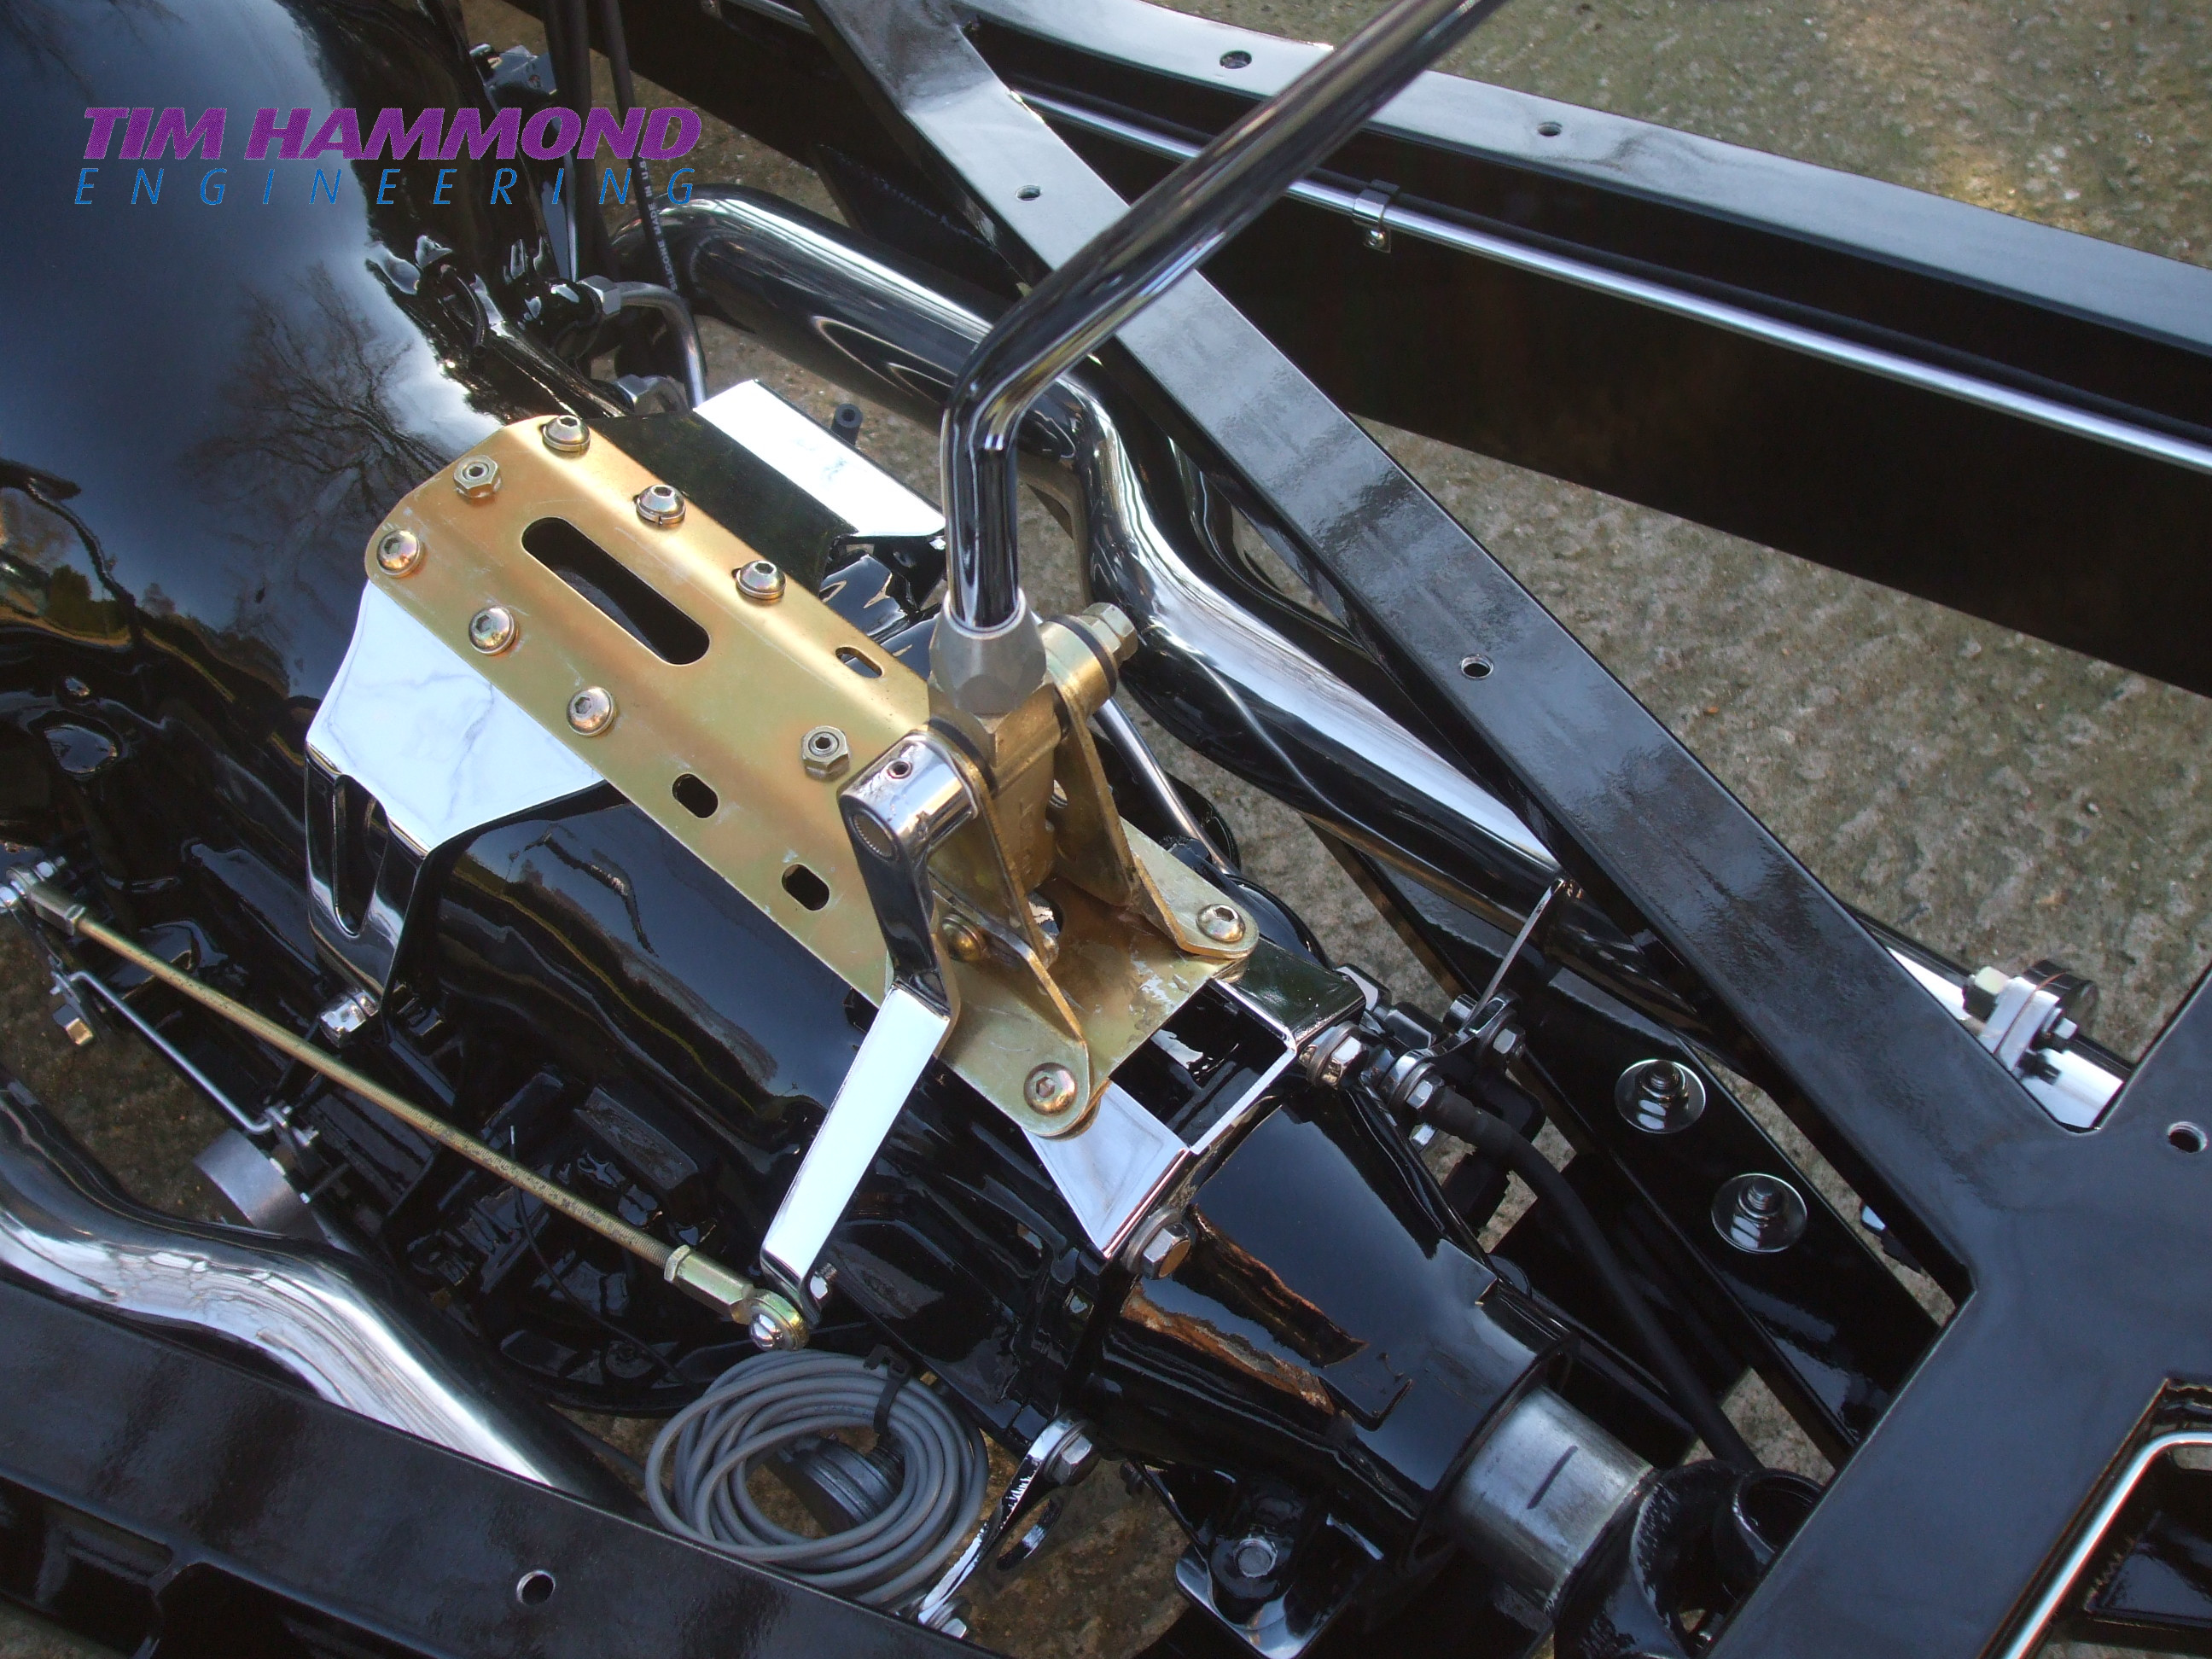
The engine and gearbox was fitted with the bottom of the oil pan level with the bottom of the frame rails. This made the engine and transmission mounts fairly high, but as a bonus you could drop the engine and gearbox from below.
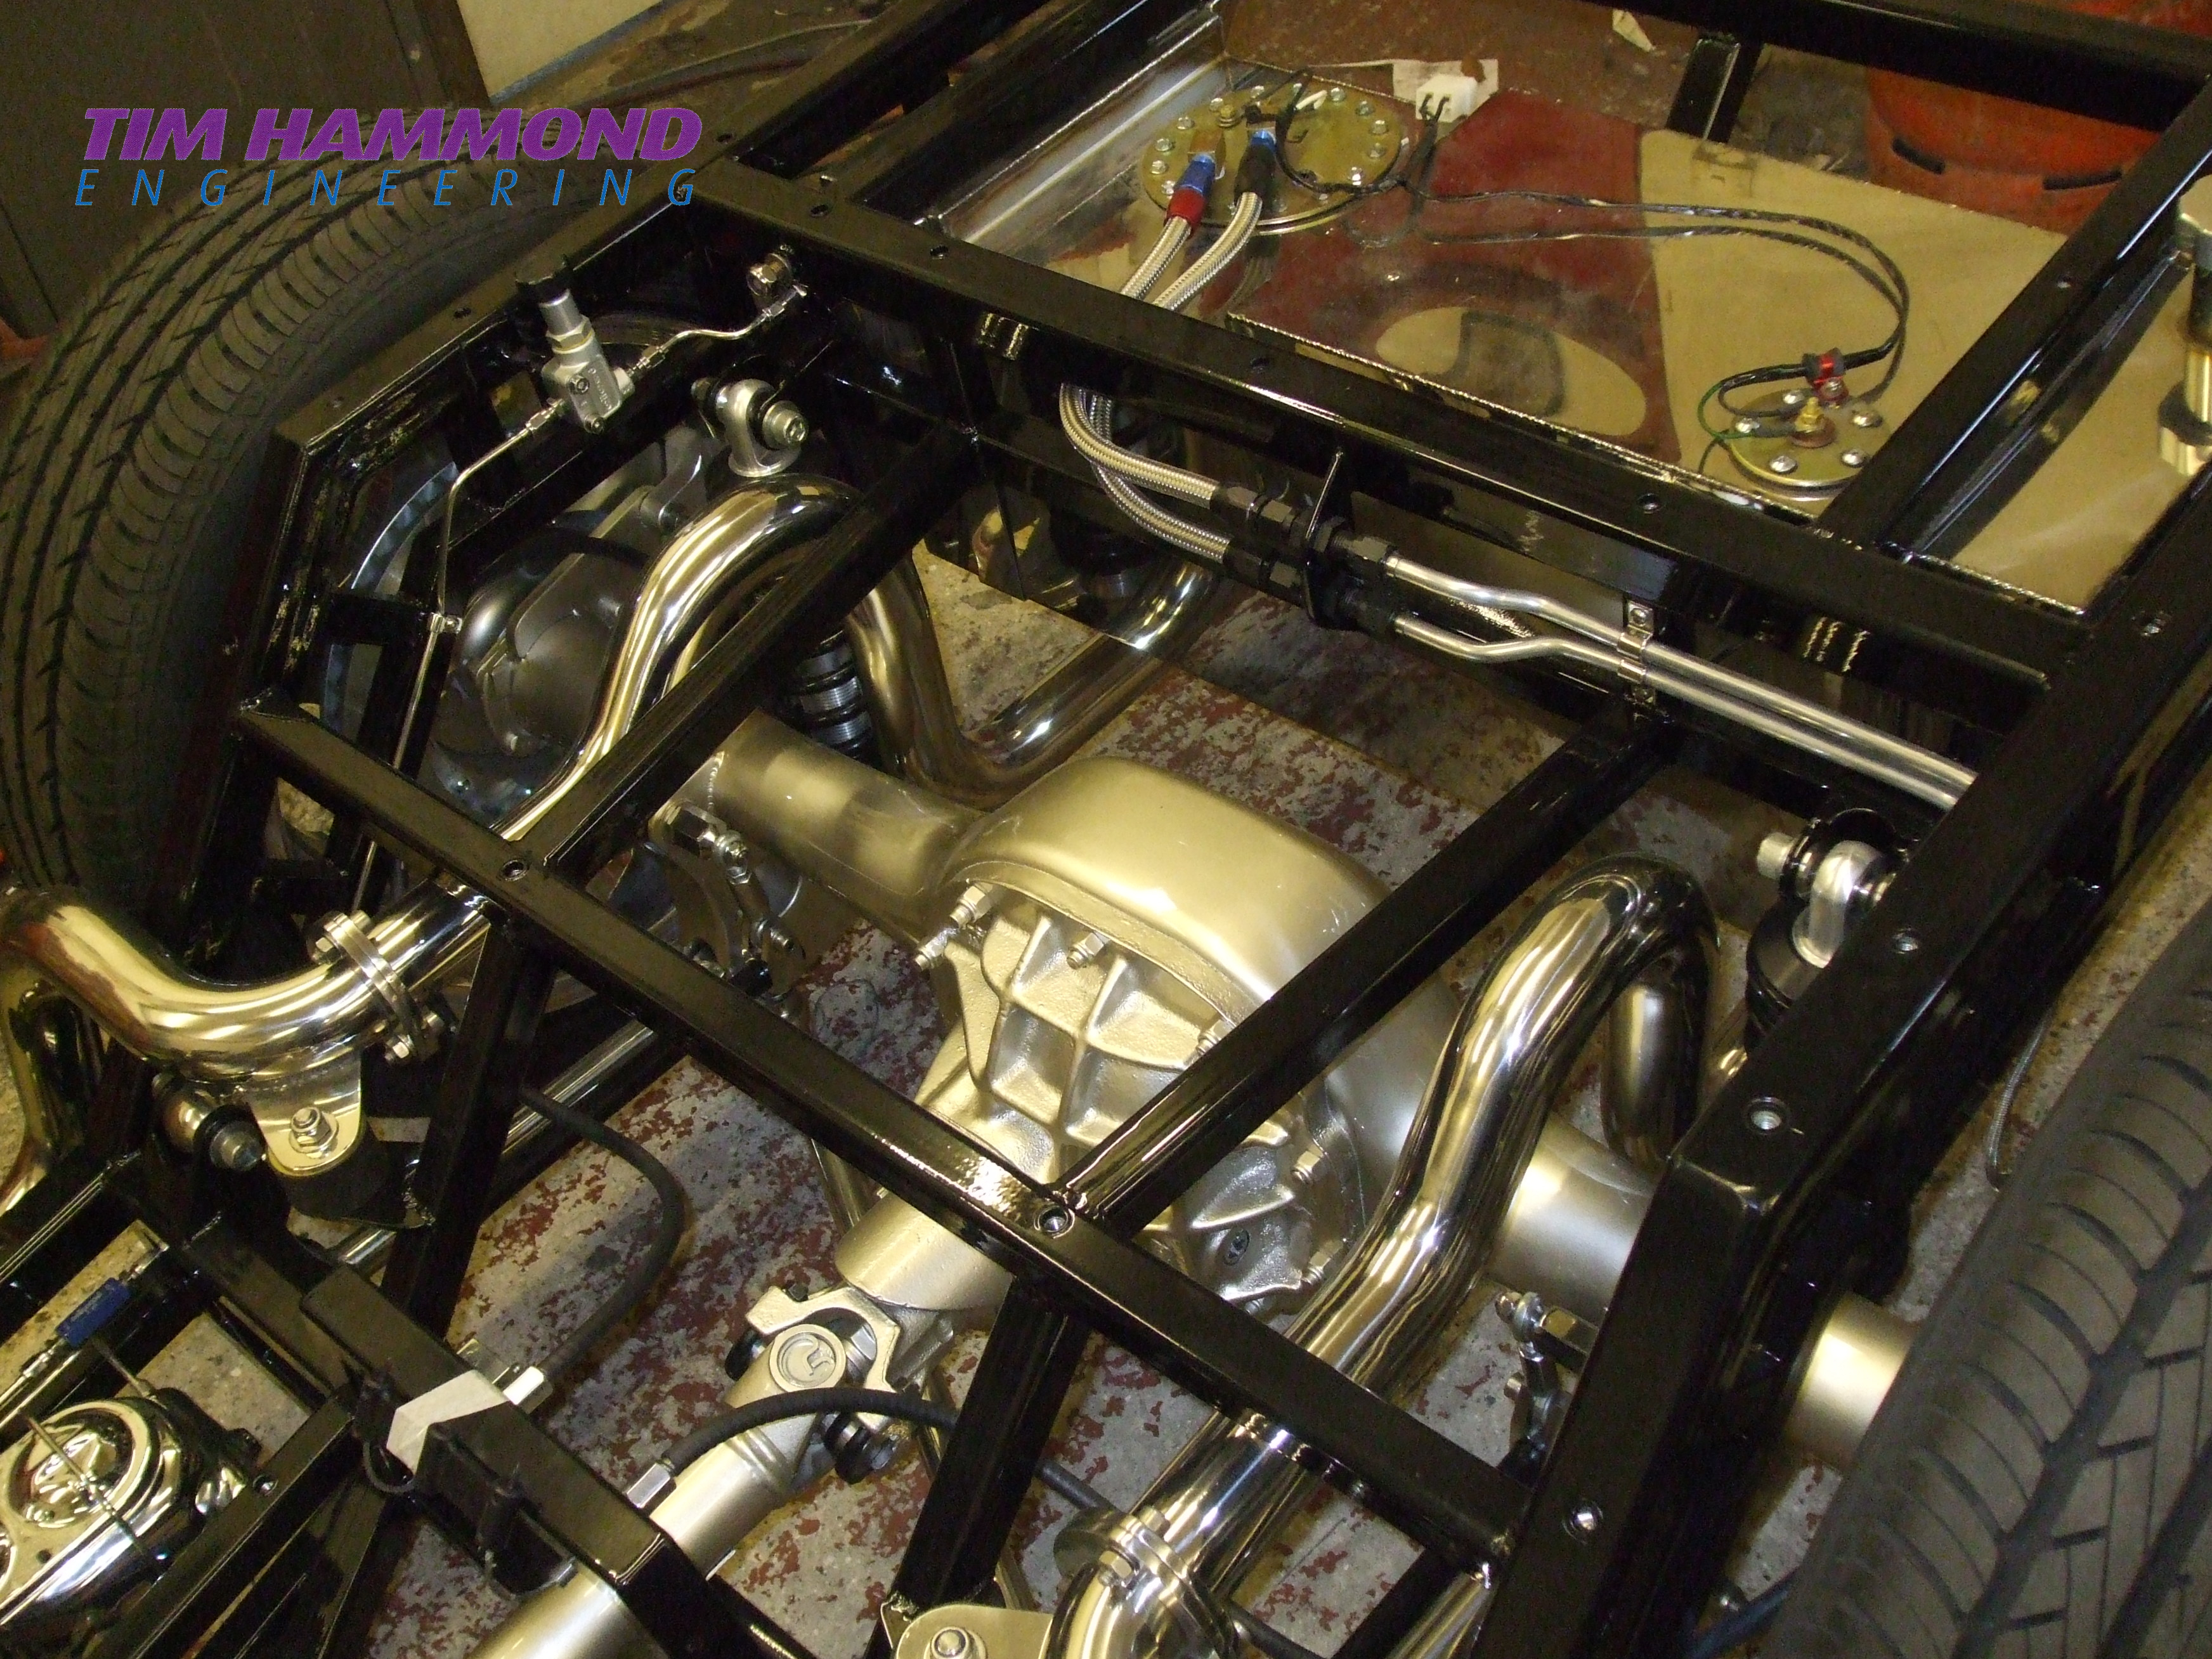
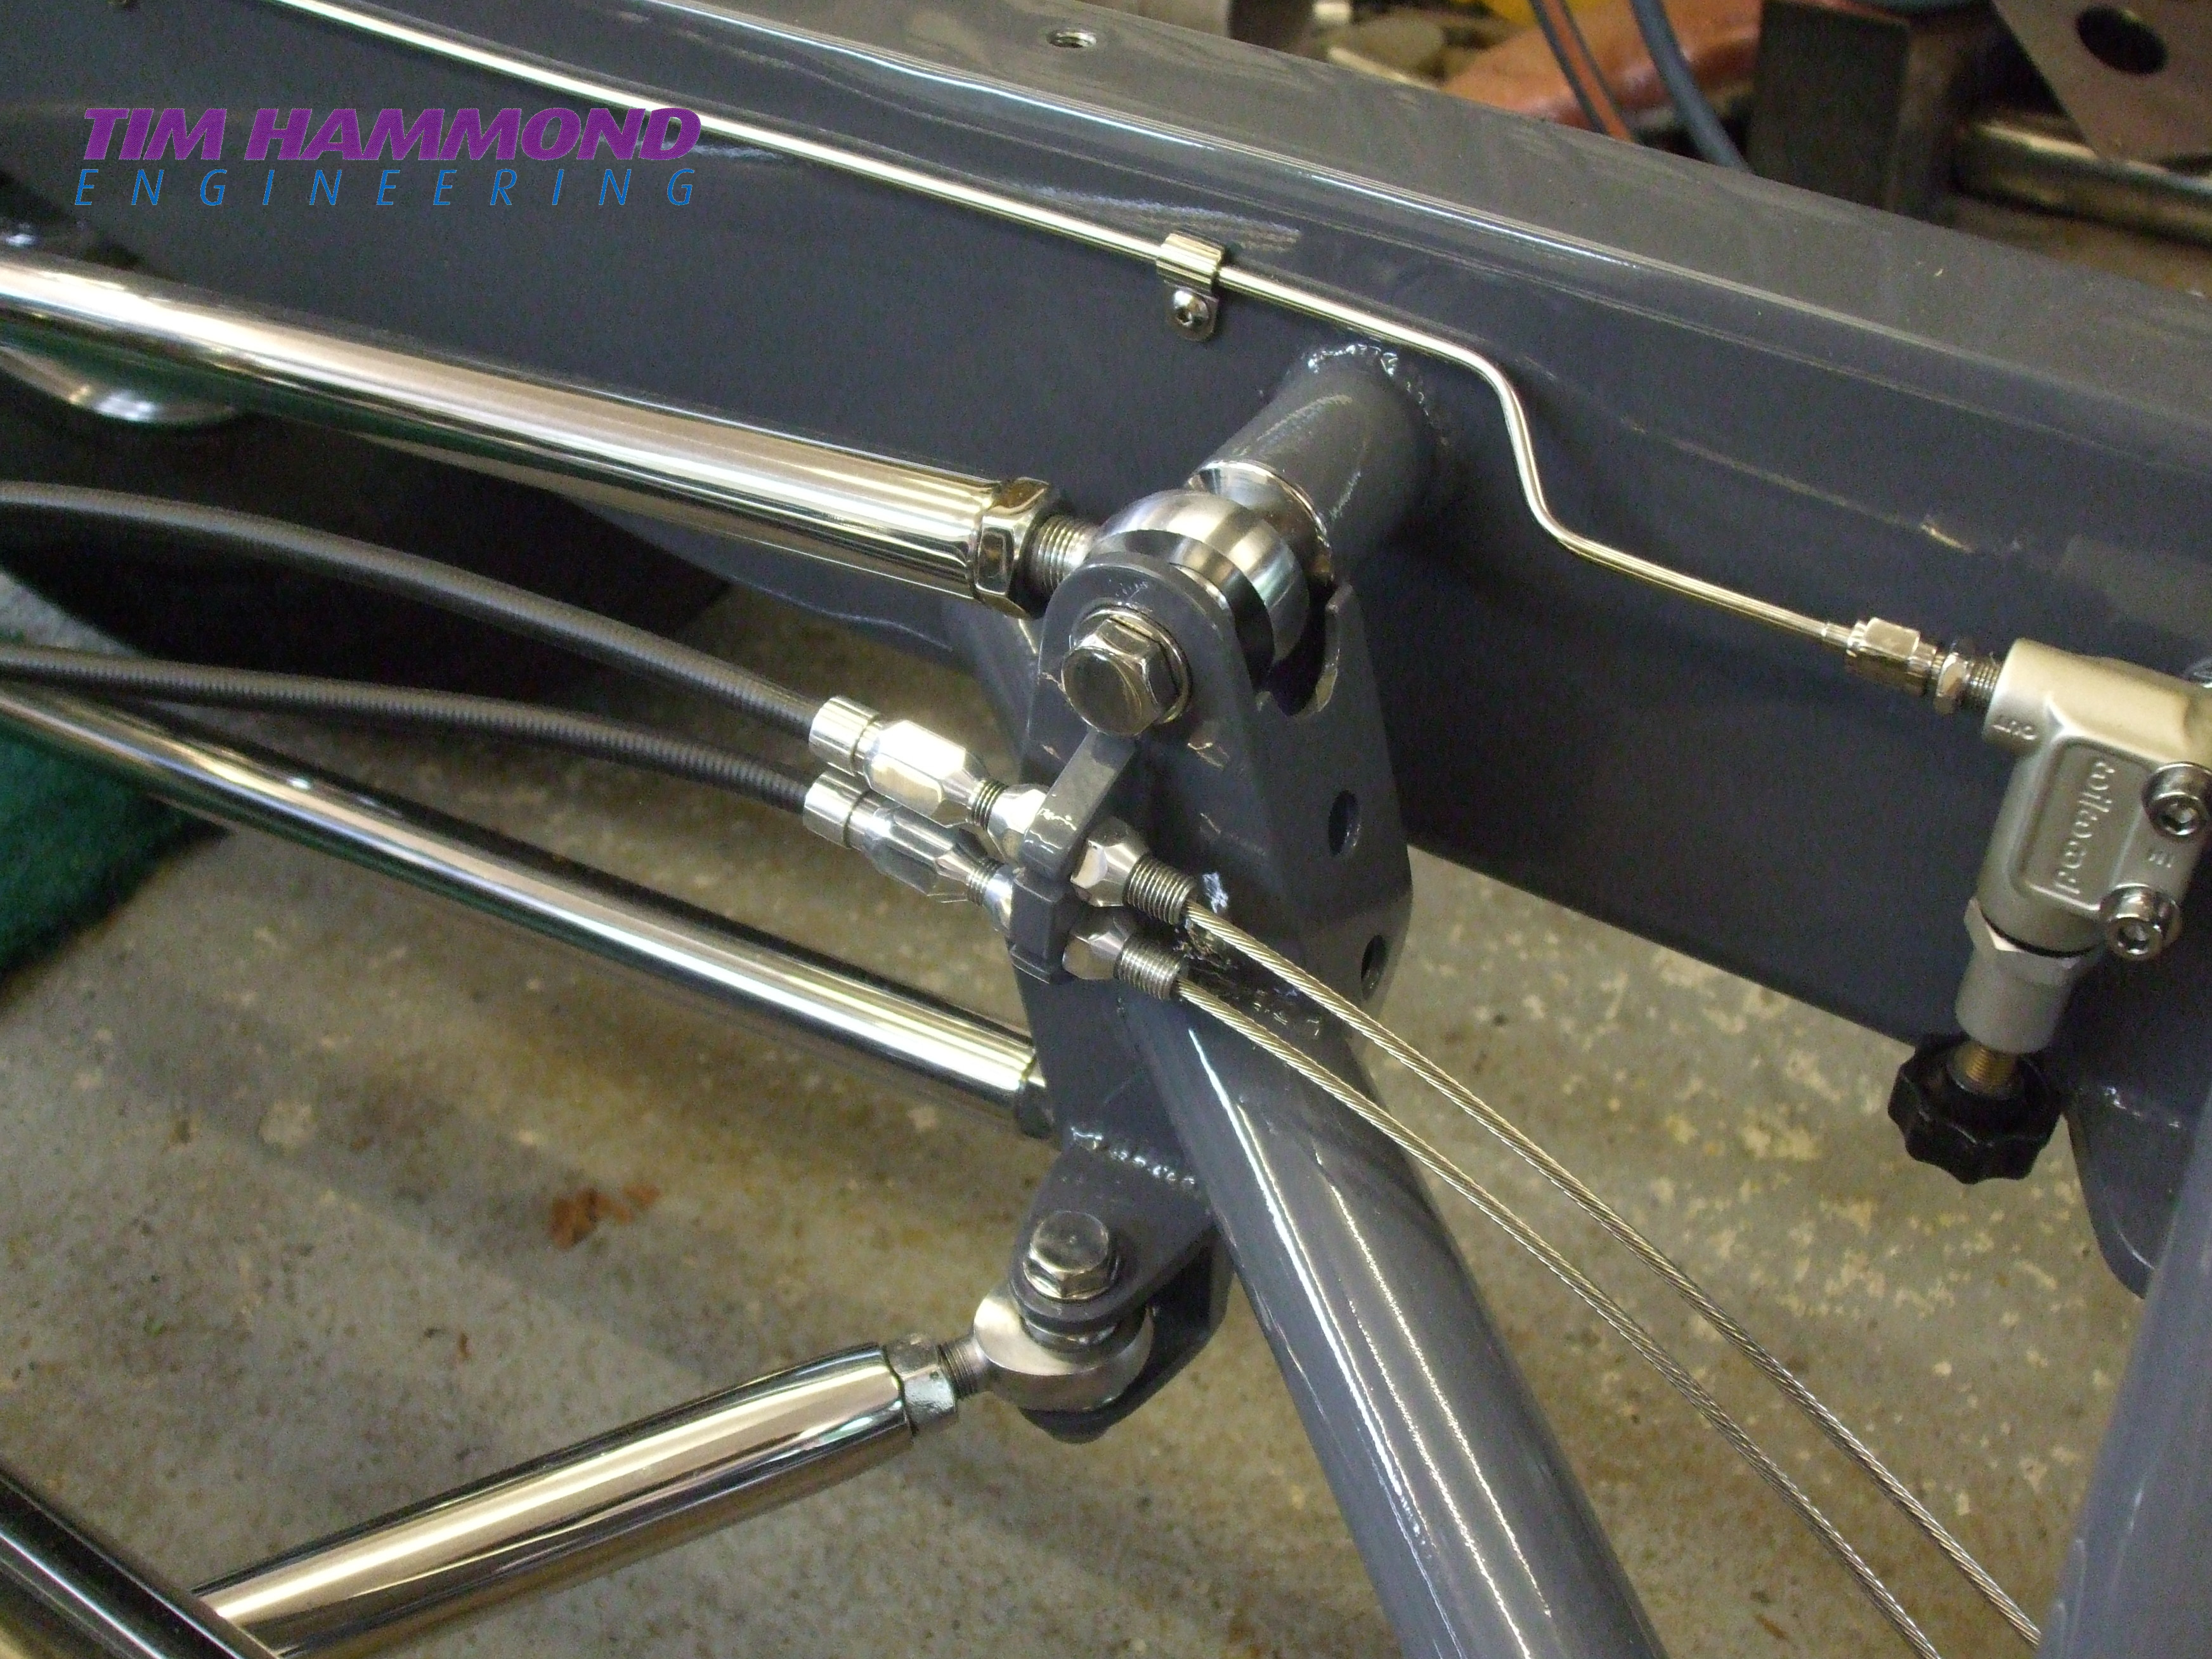
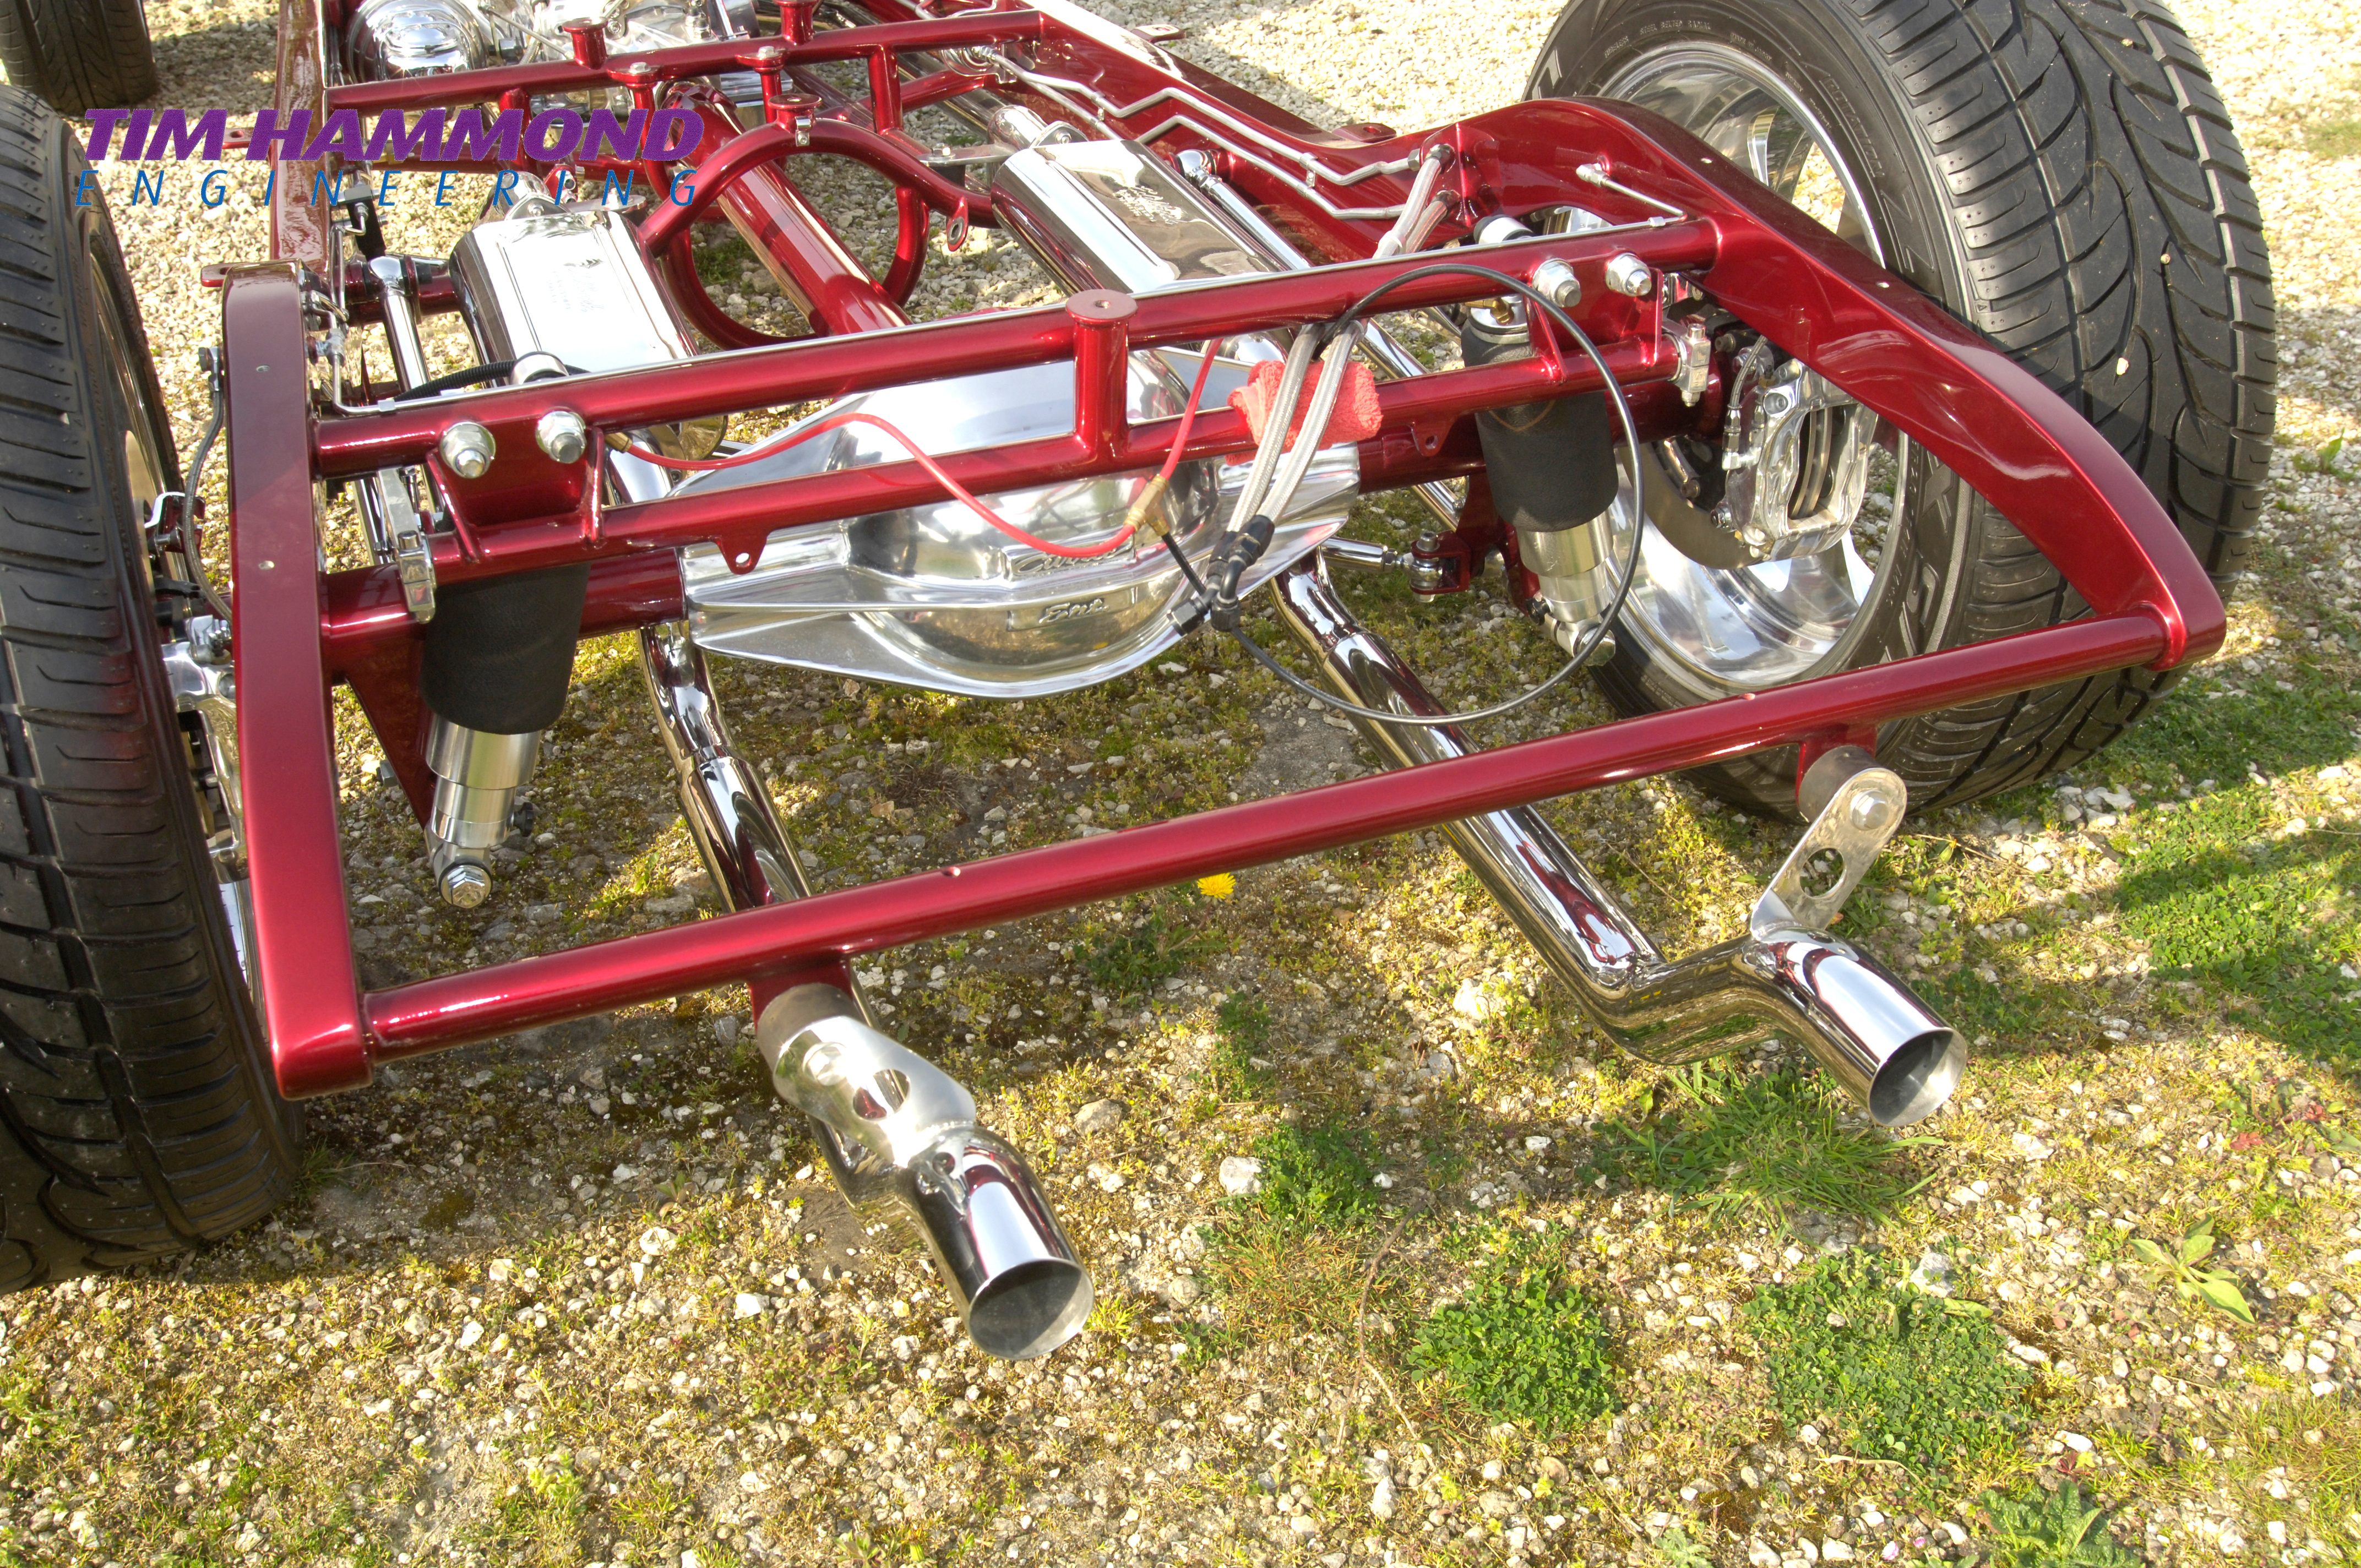
The next job was mounting the rear suspension, which was mounted on 1 ½” x 1/8” cross members, with stainless steel clevices and links mounted at the front of the diff for support. The rest of the side links were mounted to the chassis to complete the rear suspension. 64 stainless steel top hats were machined to go between the rose joints and shock absorbers. 20 stainless steel wheel nuts were machined and polished. All the bolt heads were machined to remove the numbers and stainless steel nylocs and washers were used throughout.
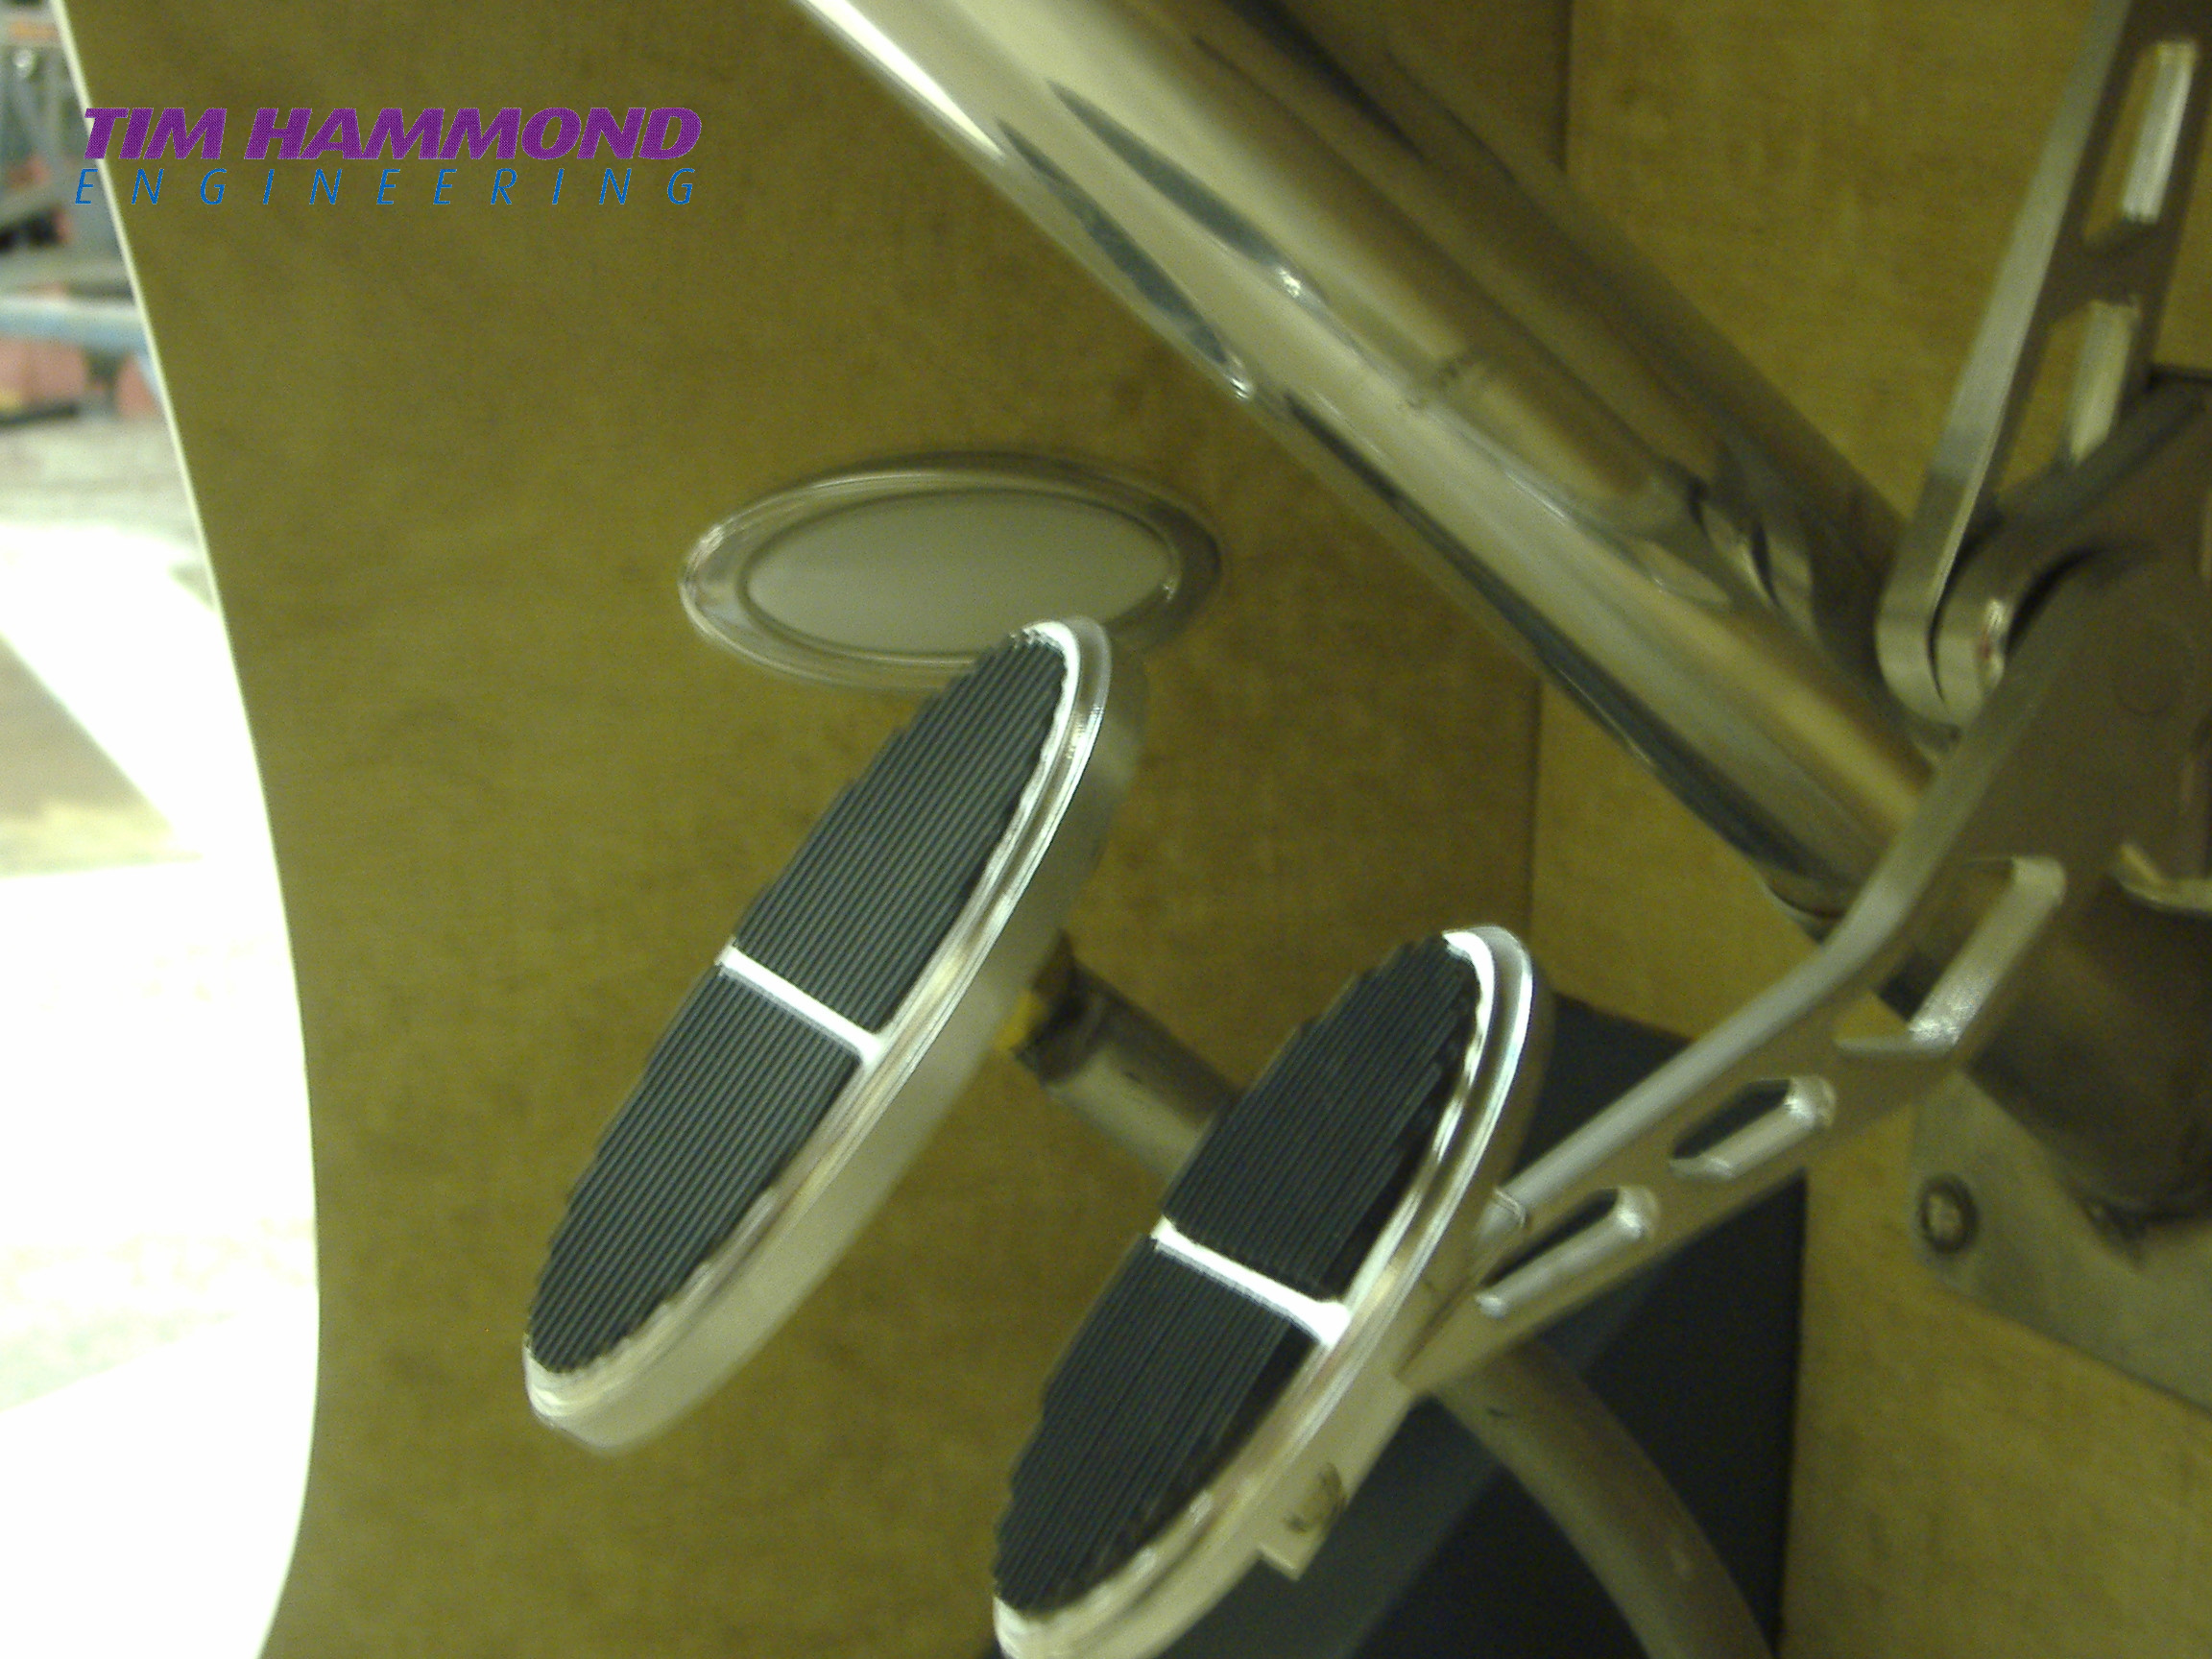
A stainless steel brake pedal was fabricated to give a 6:1 ratio and a 7” double diaphragm servo and Corvette master cylinder were fitted, along with stainless steel brake pipes, clamps and 4 polished Willwood dynalite callipers.
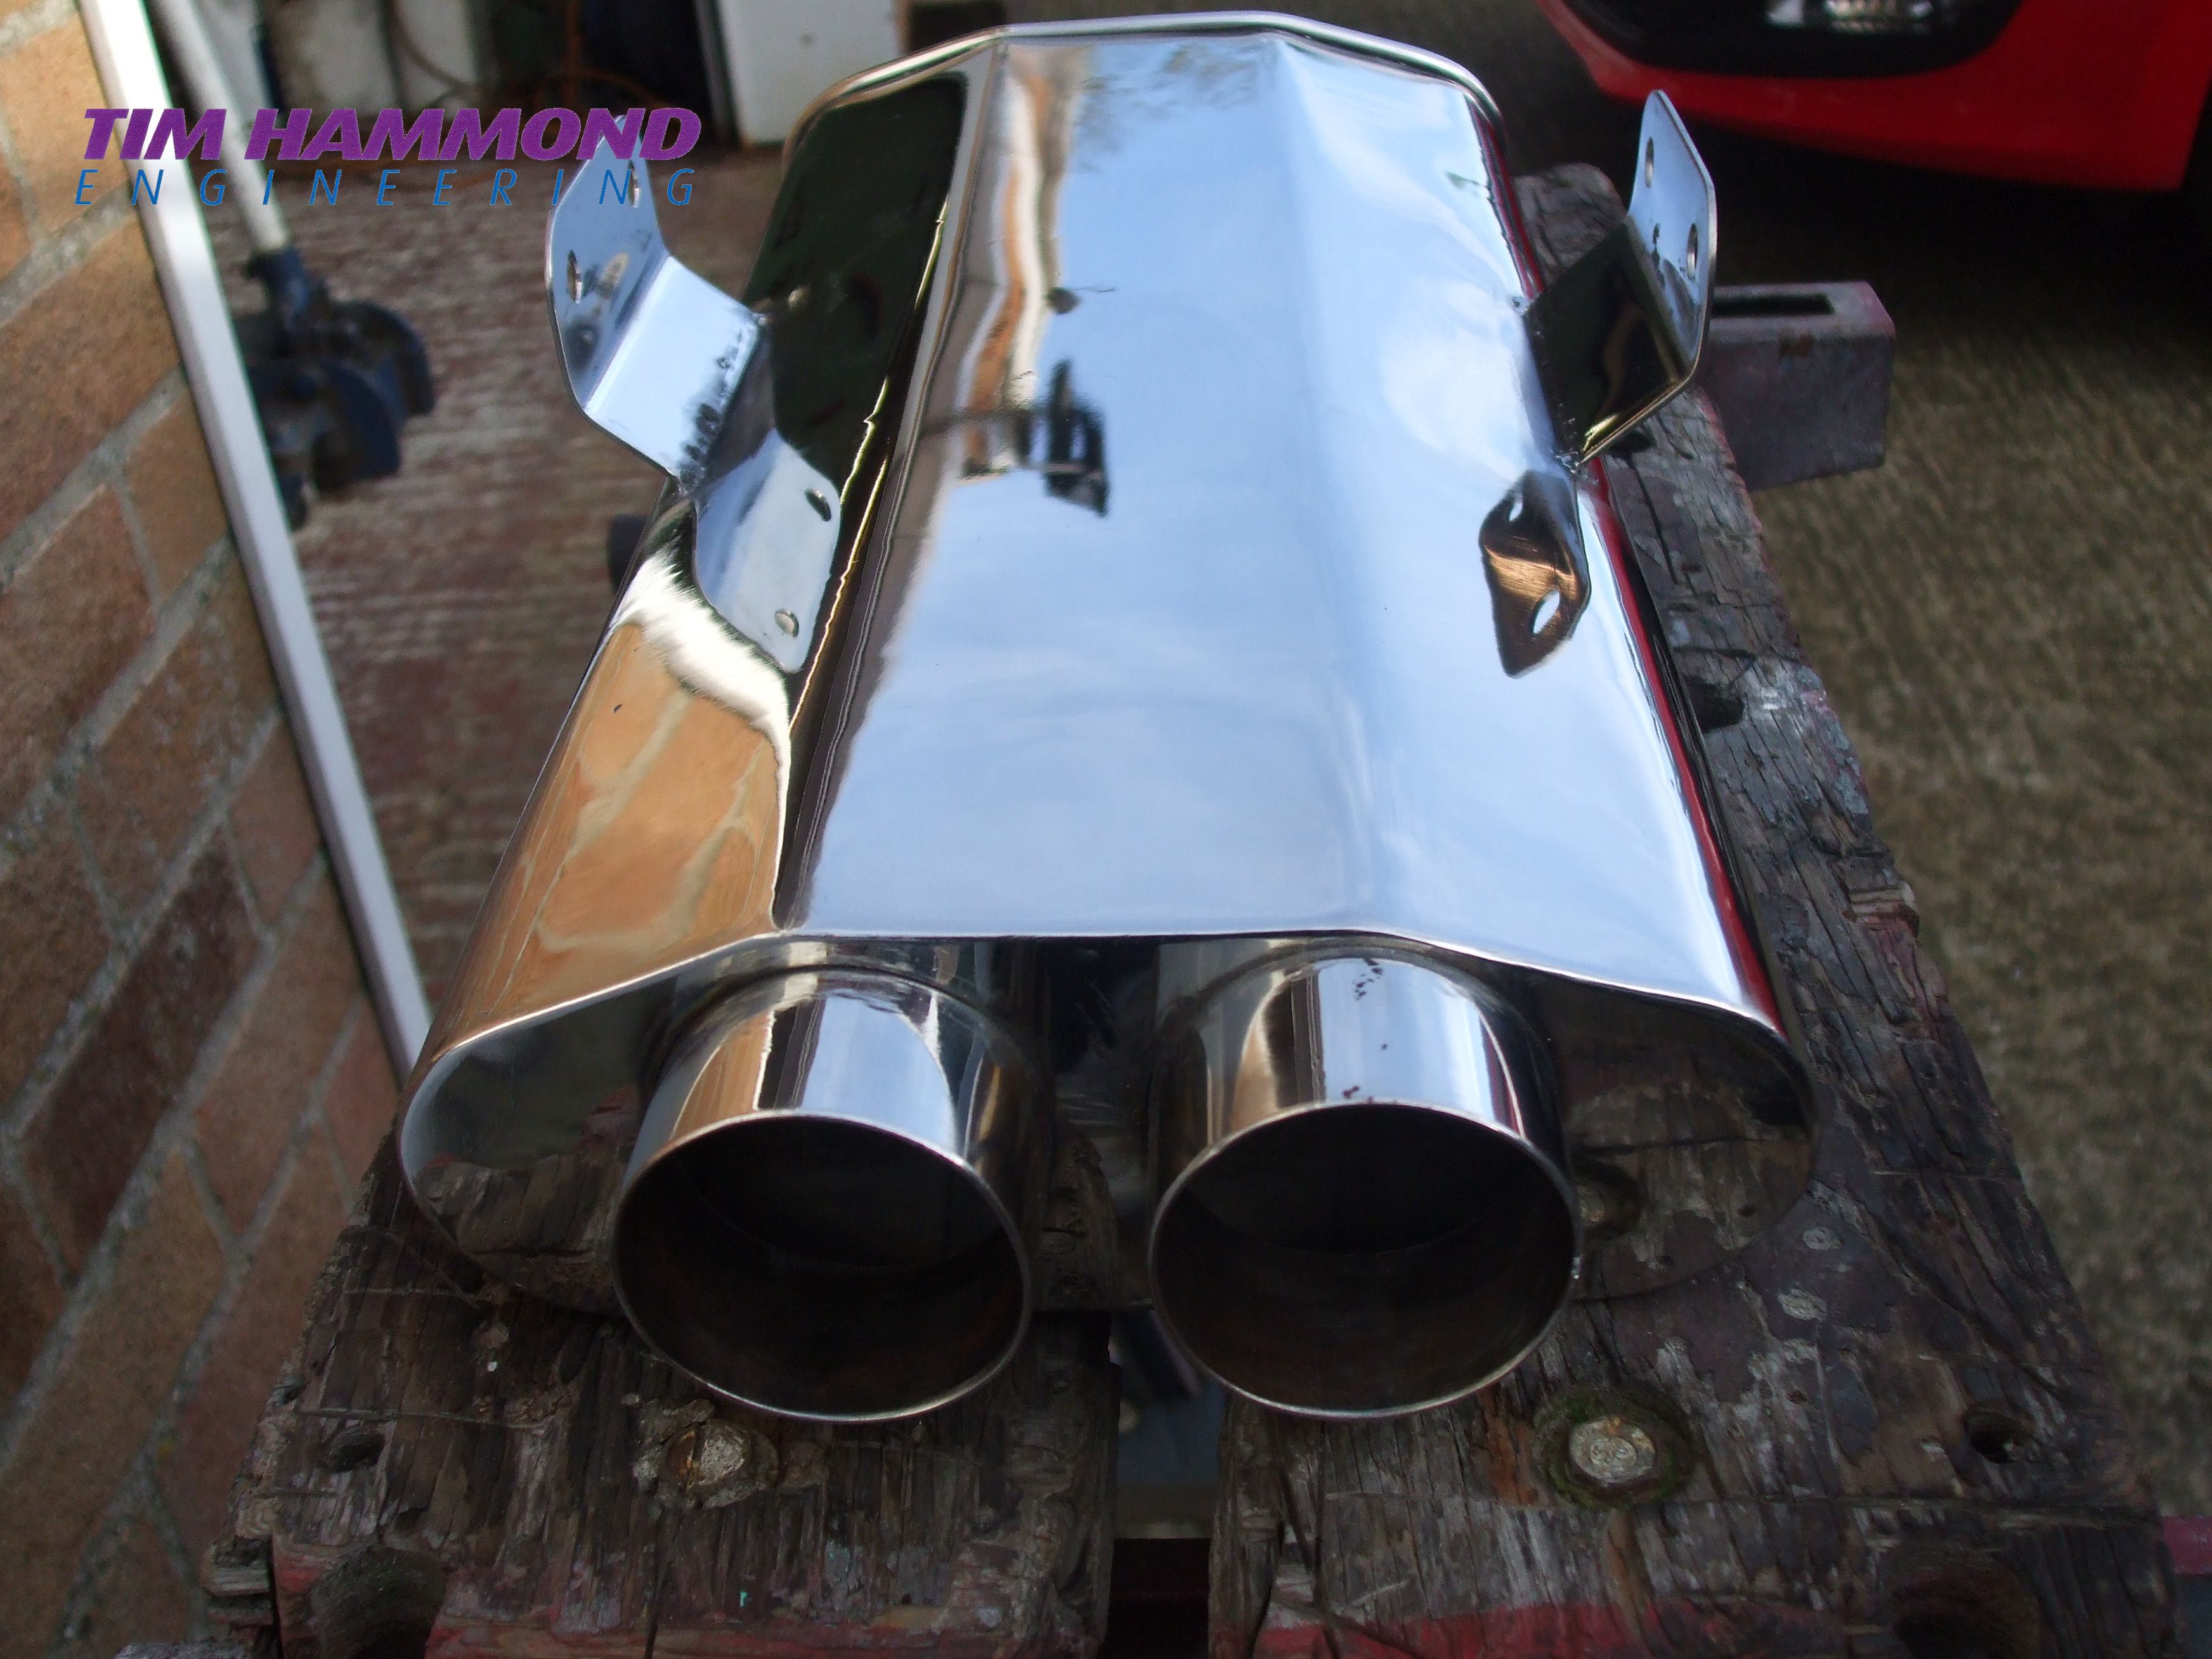
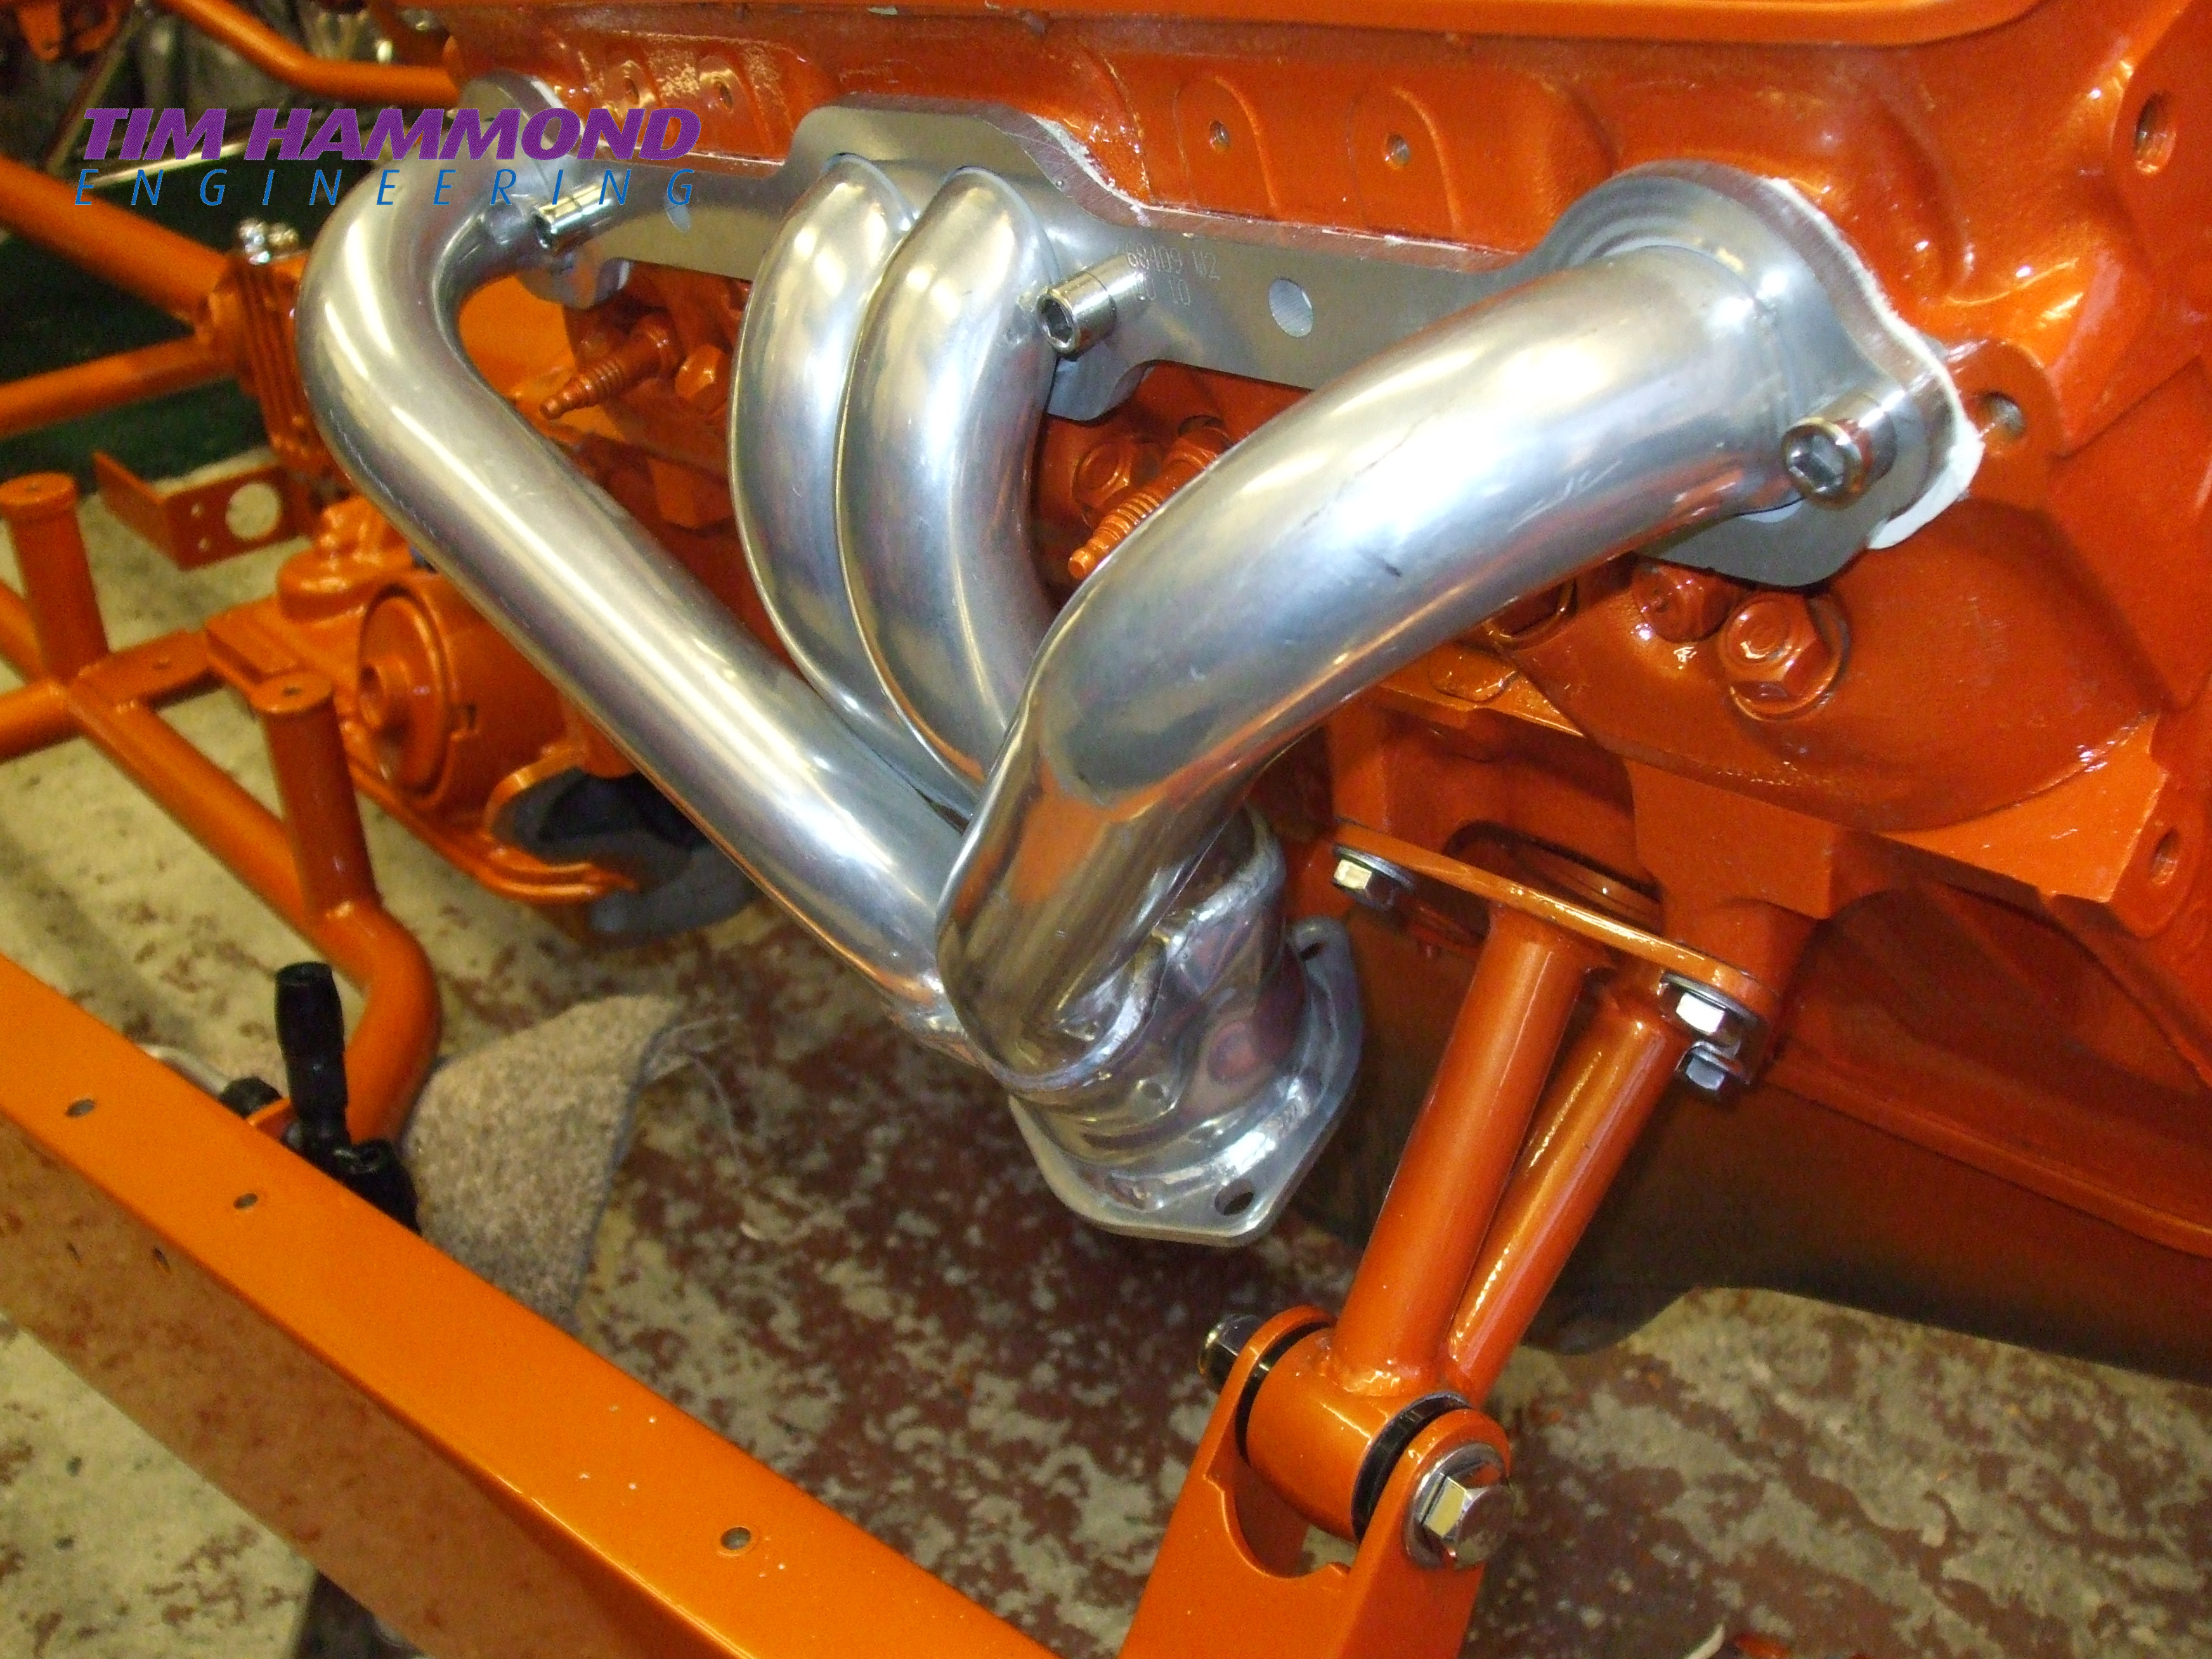
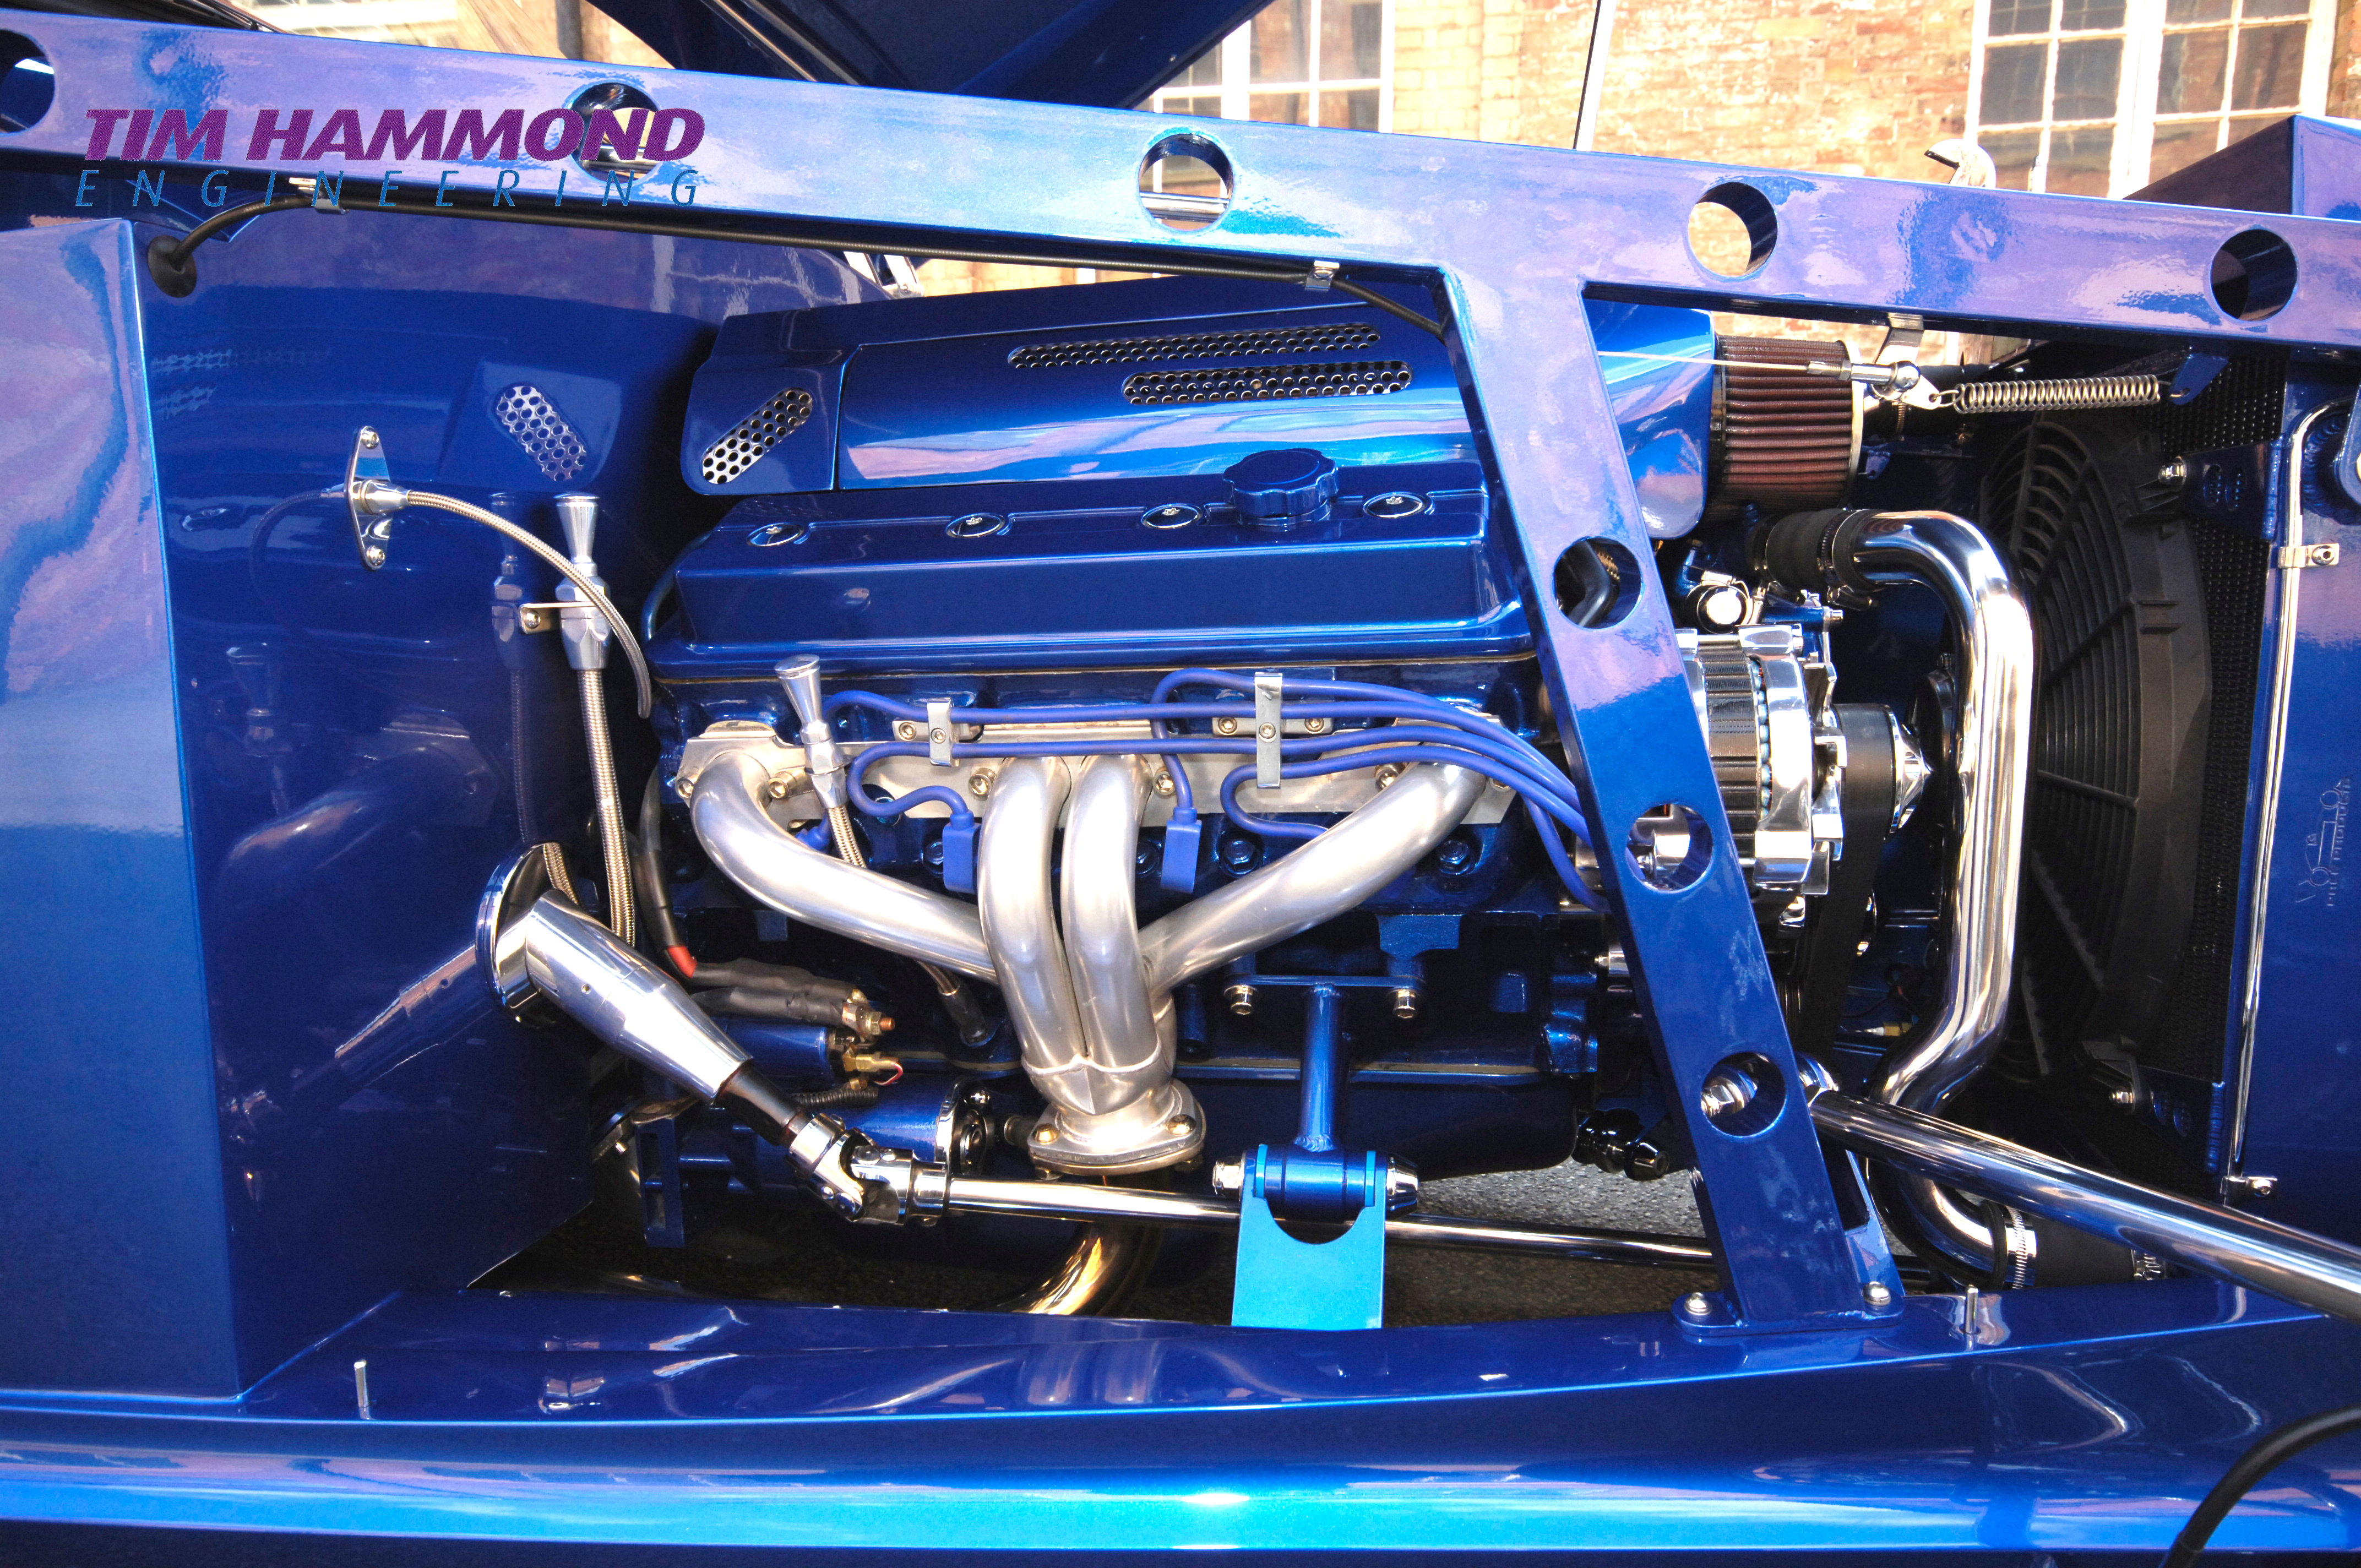
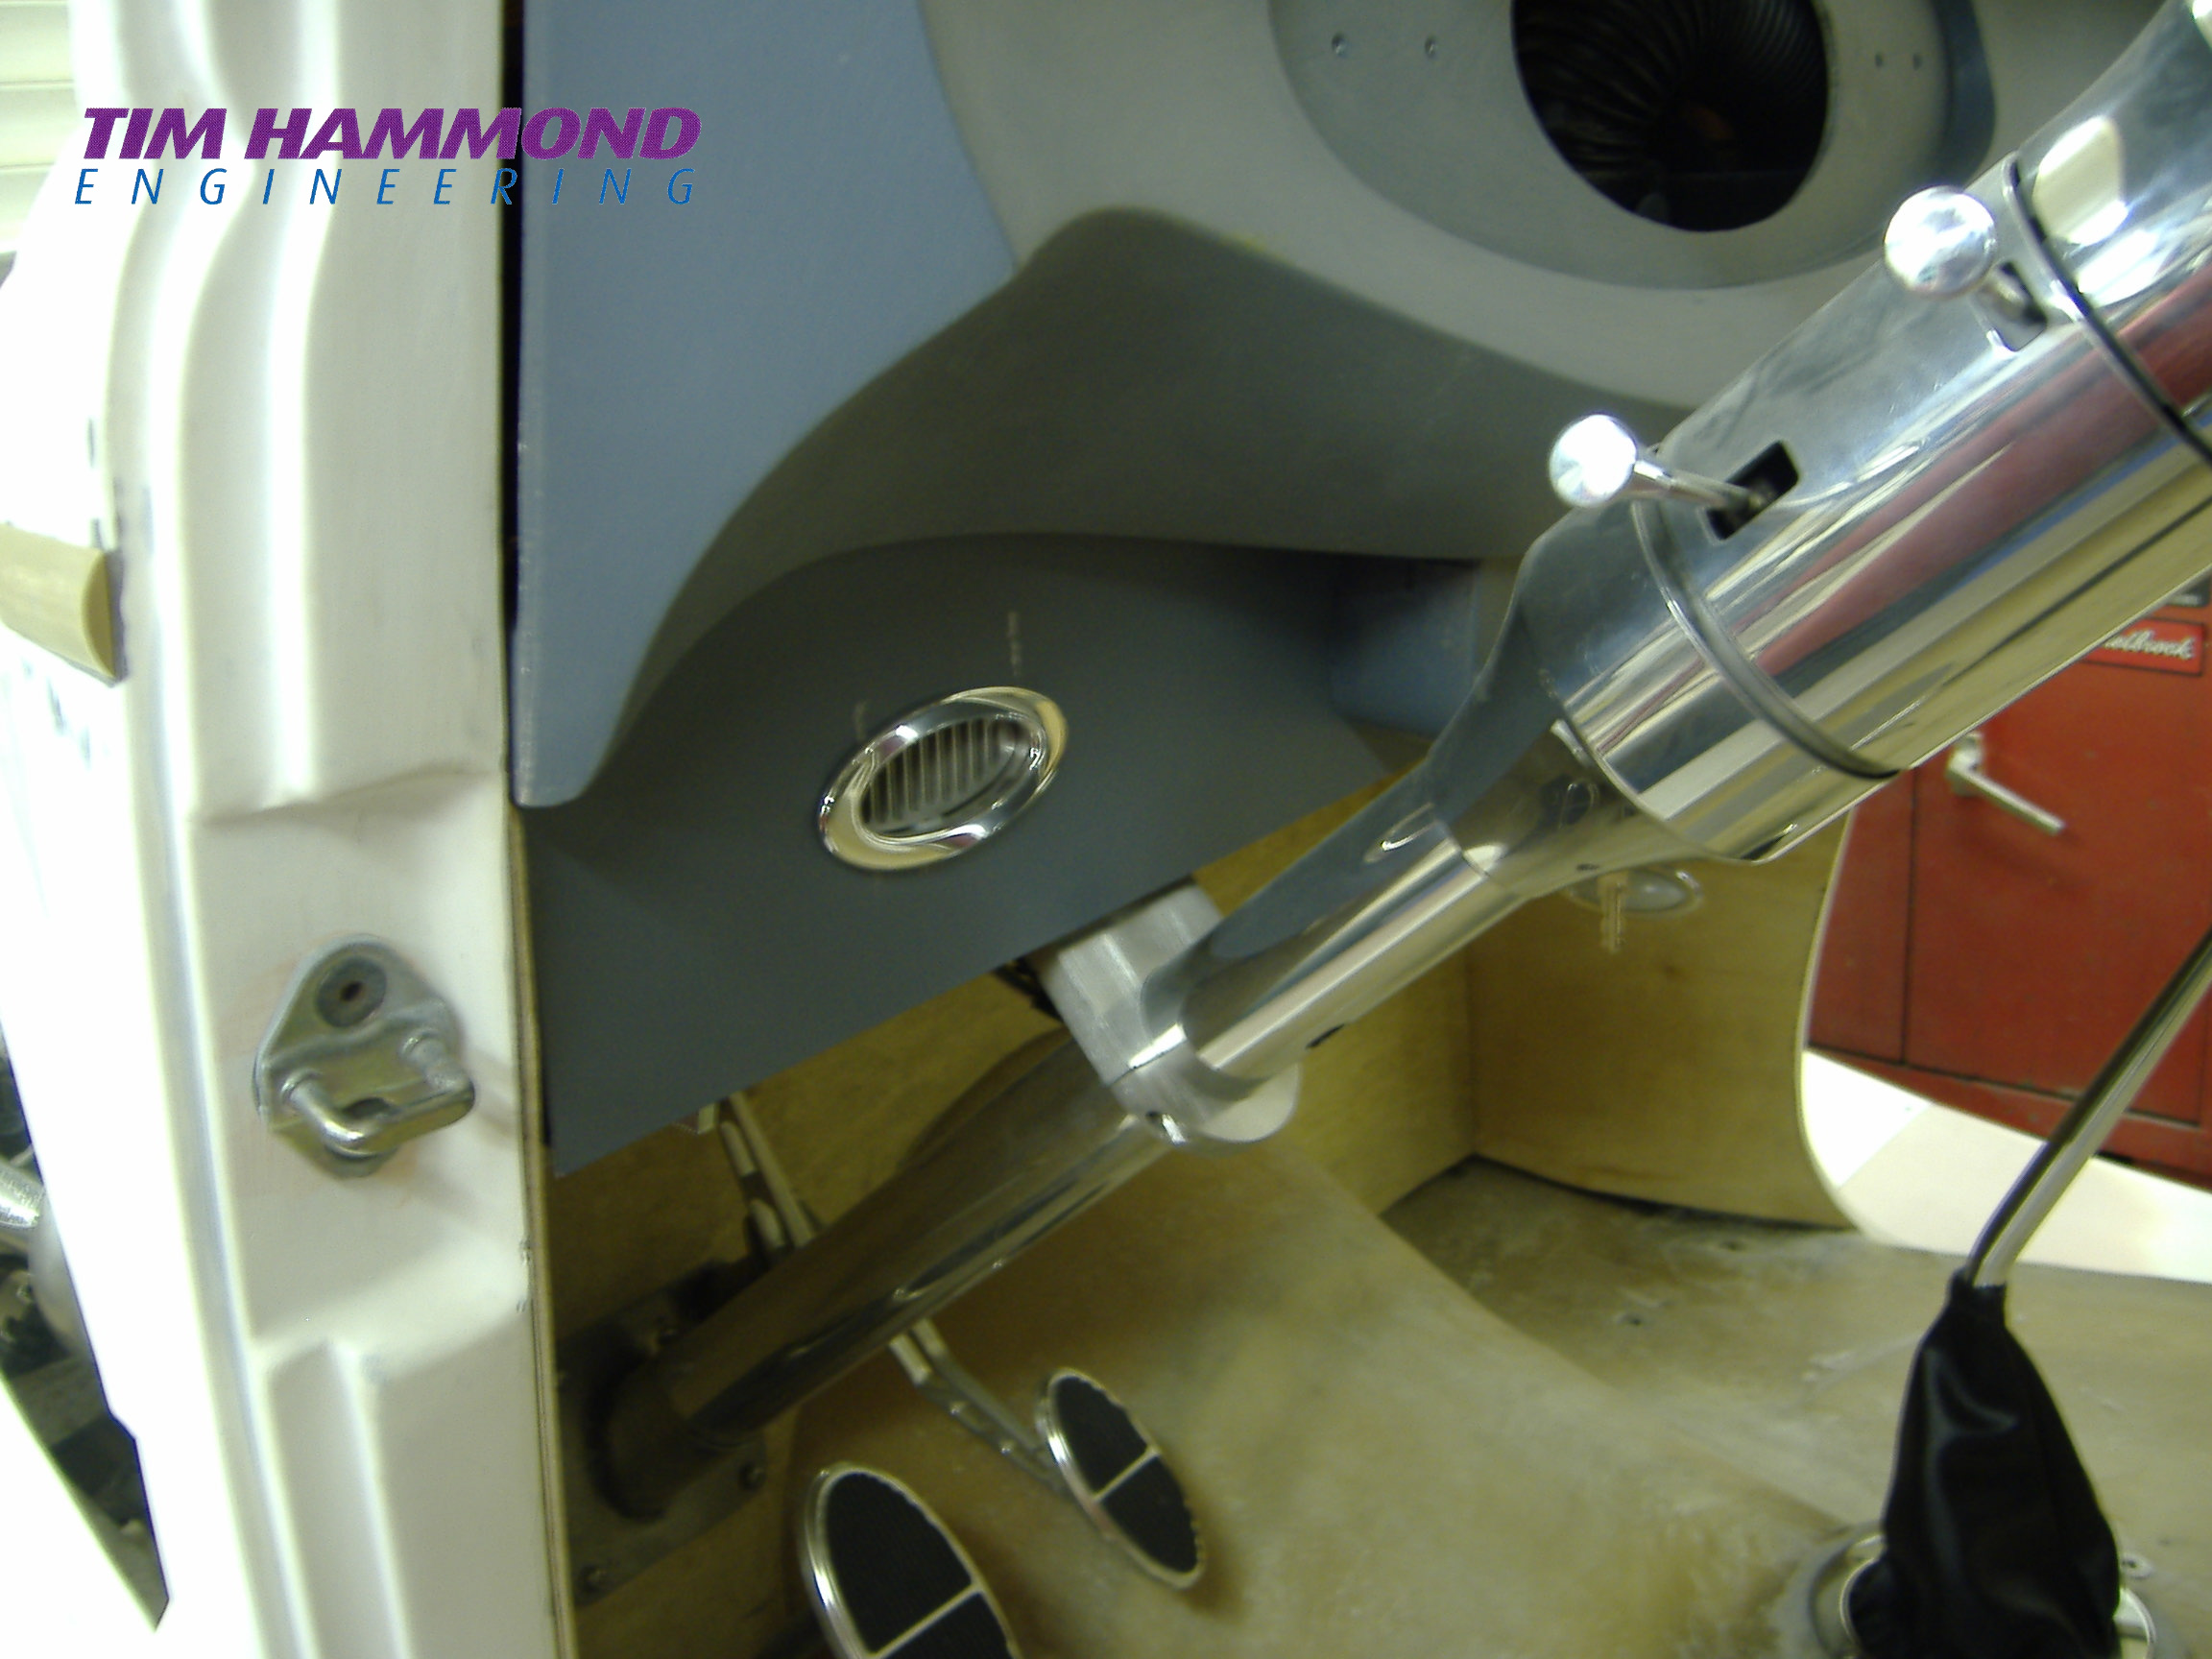
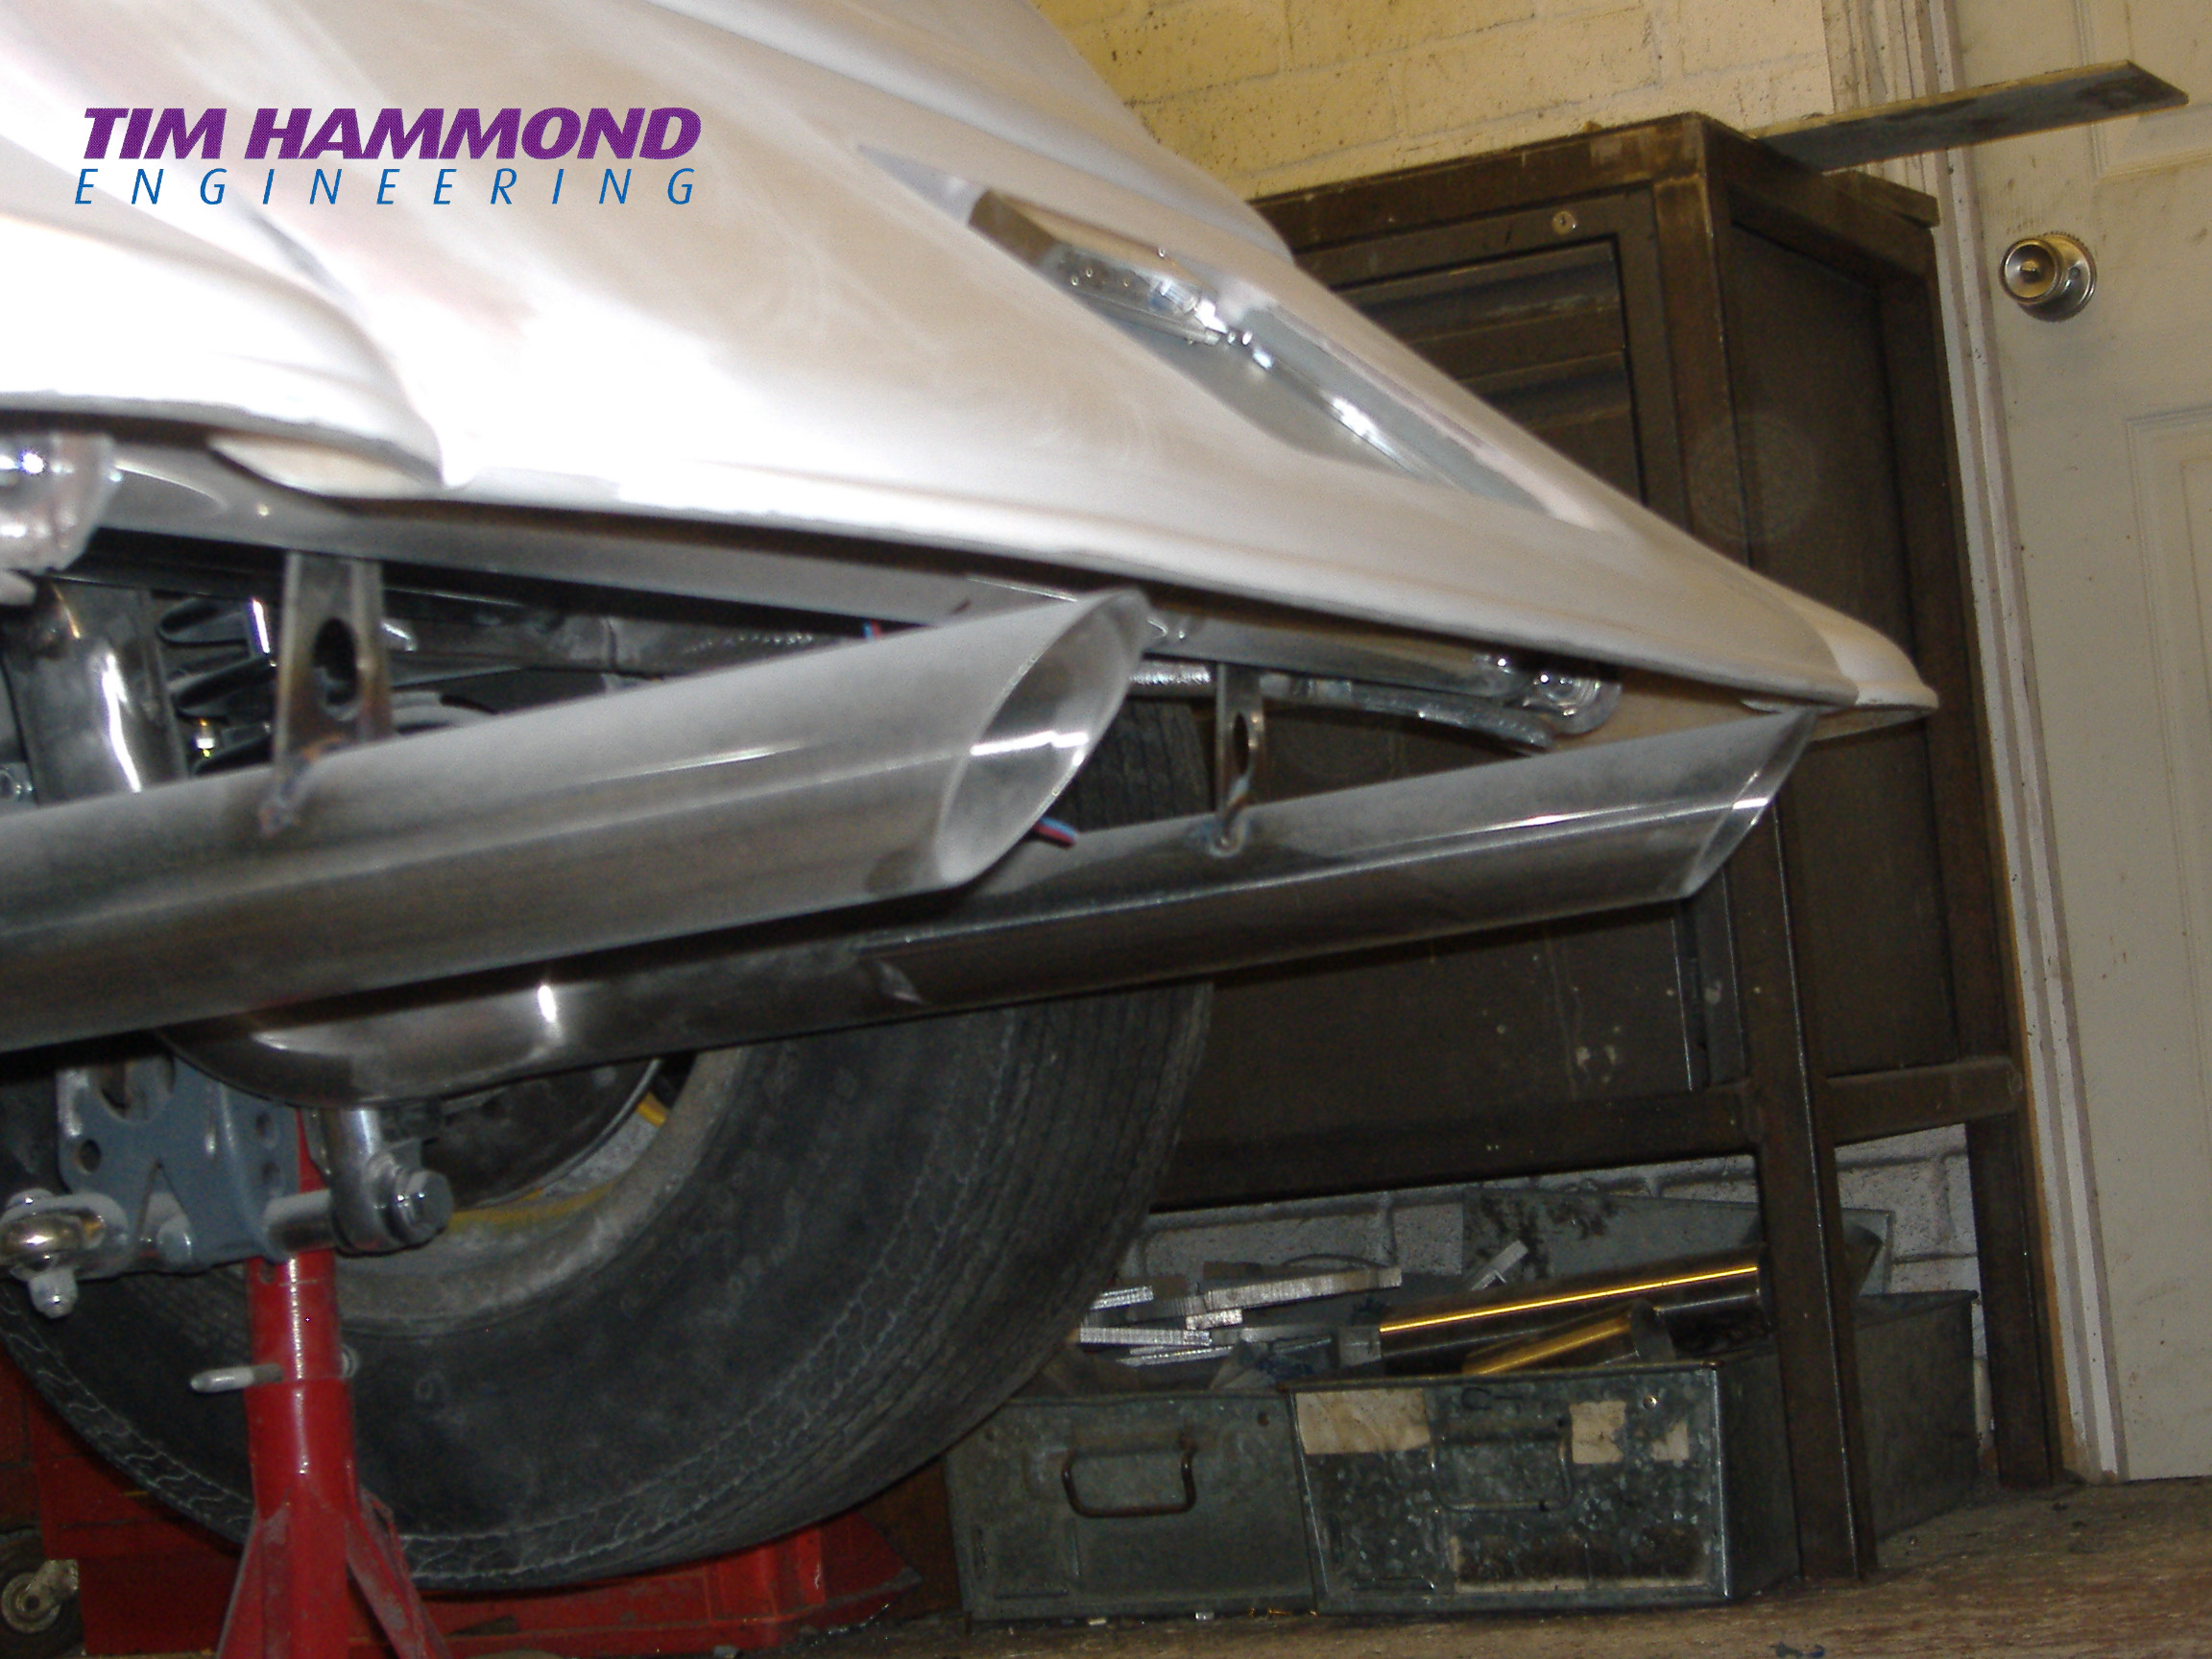
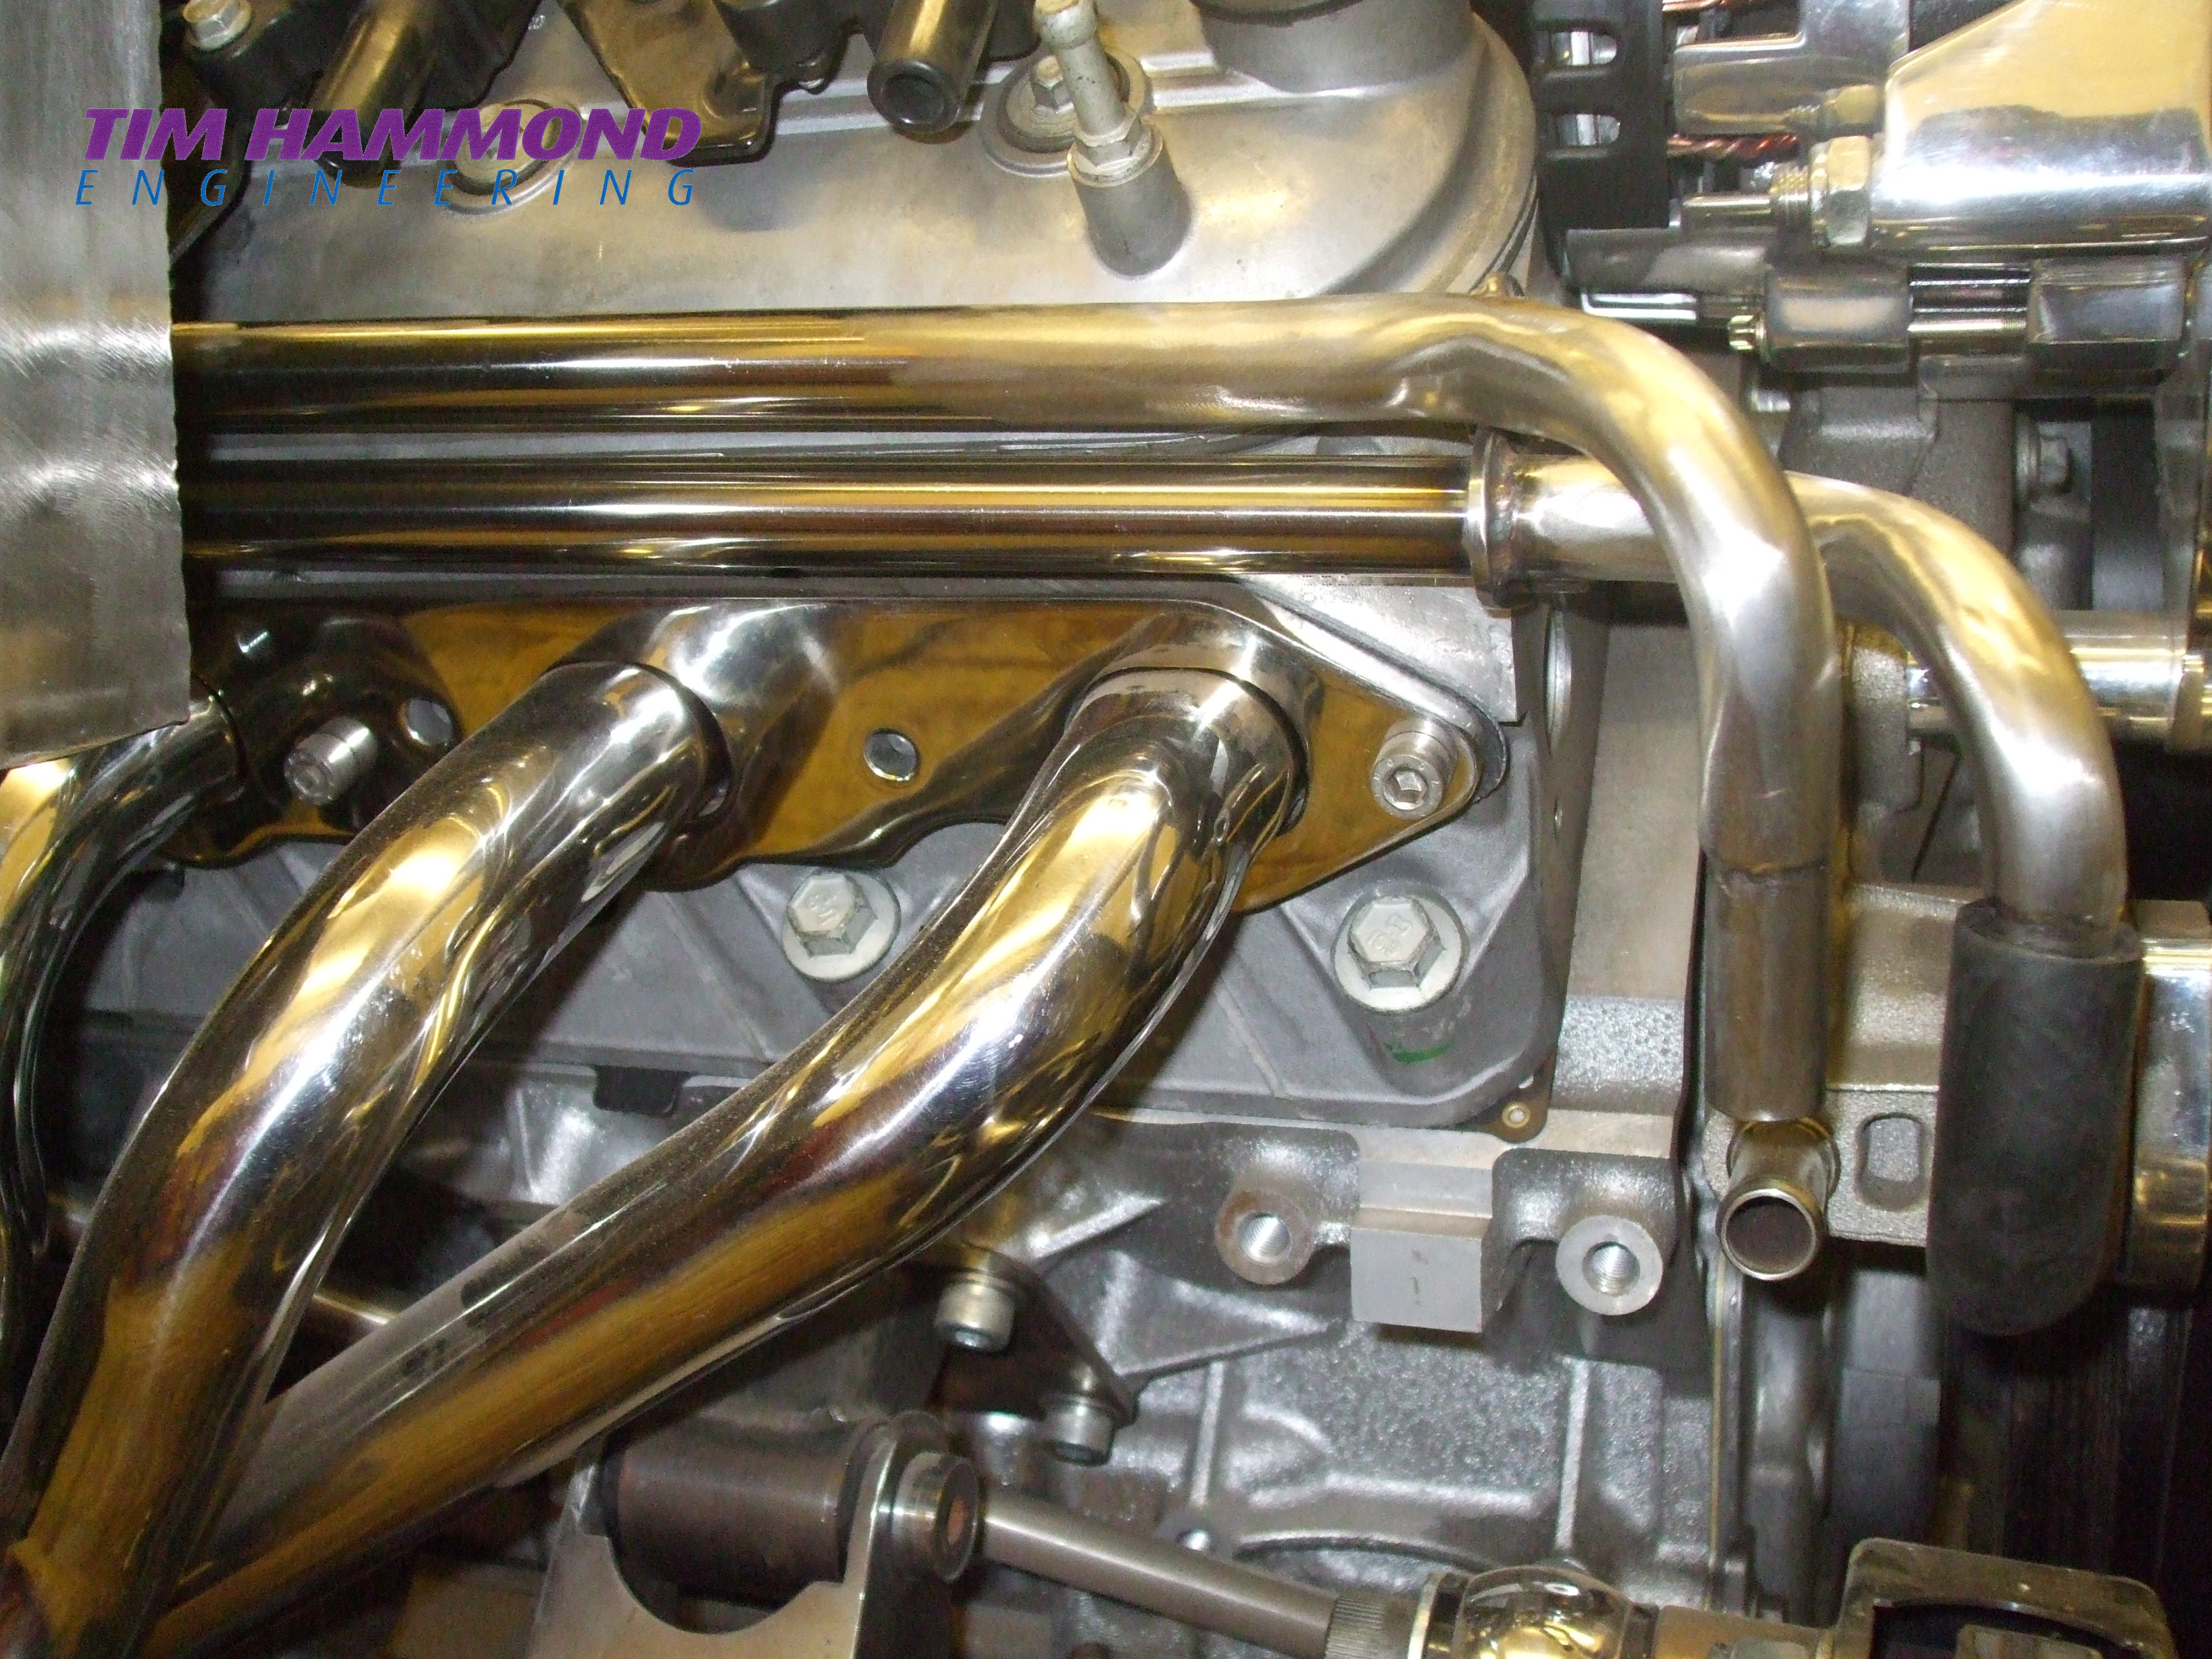
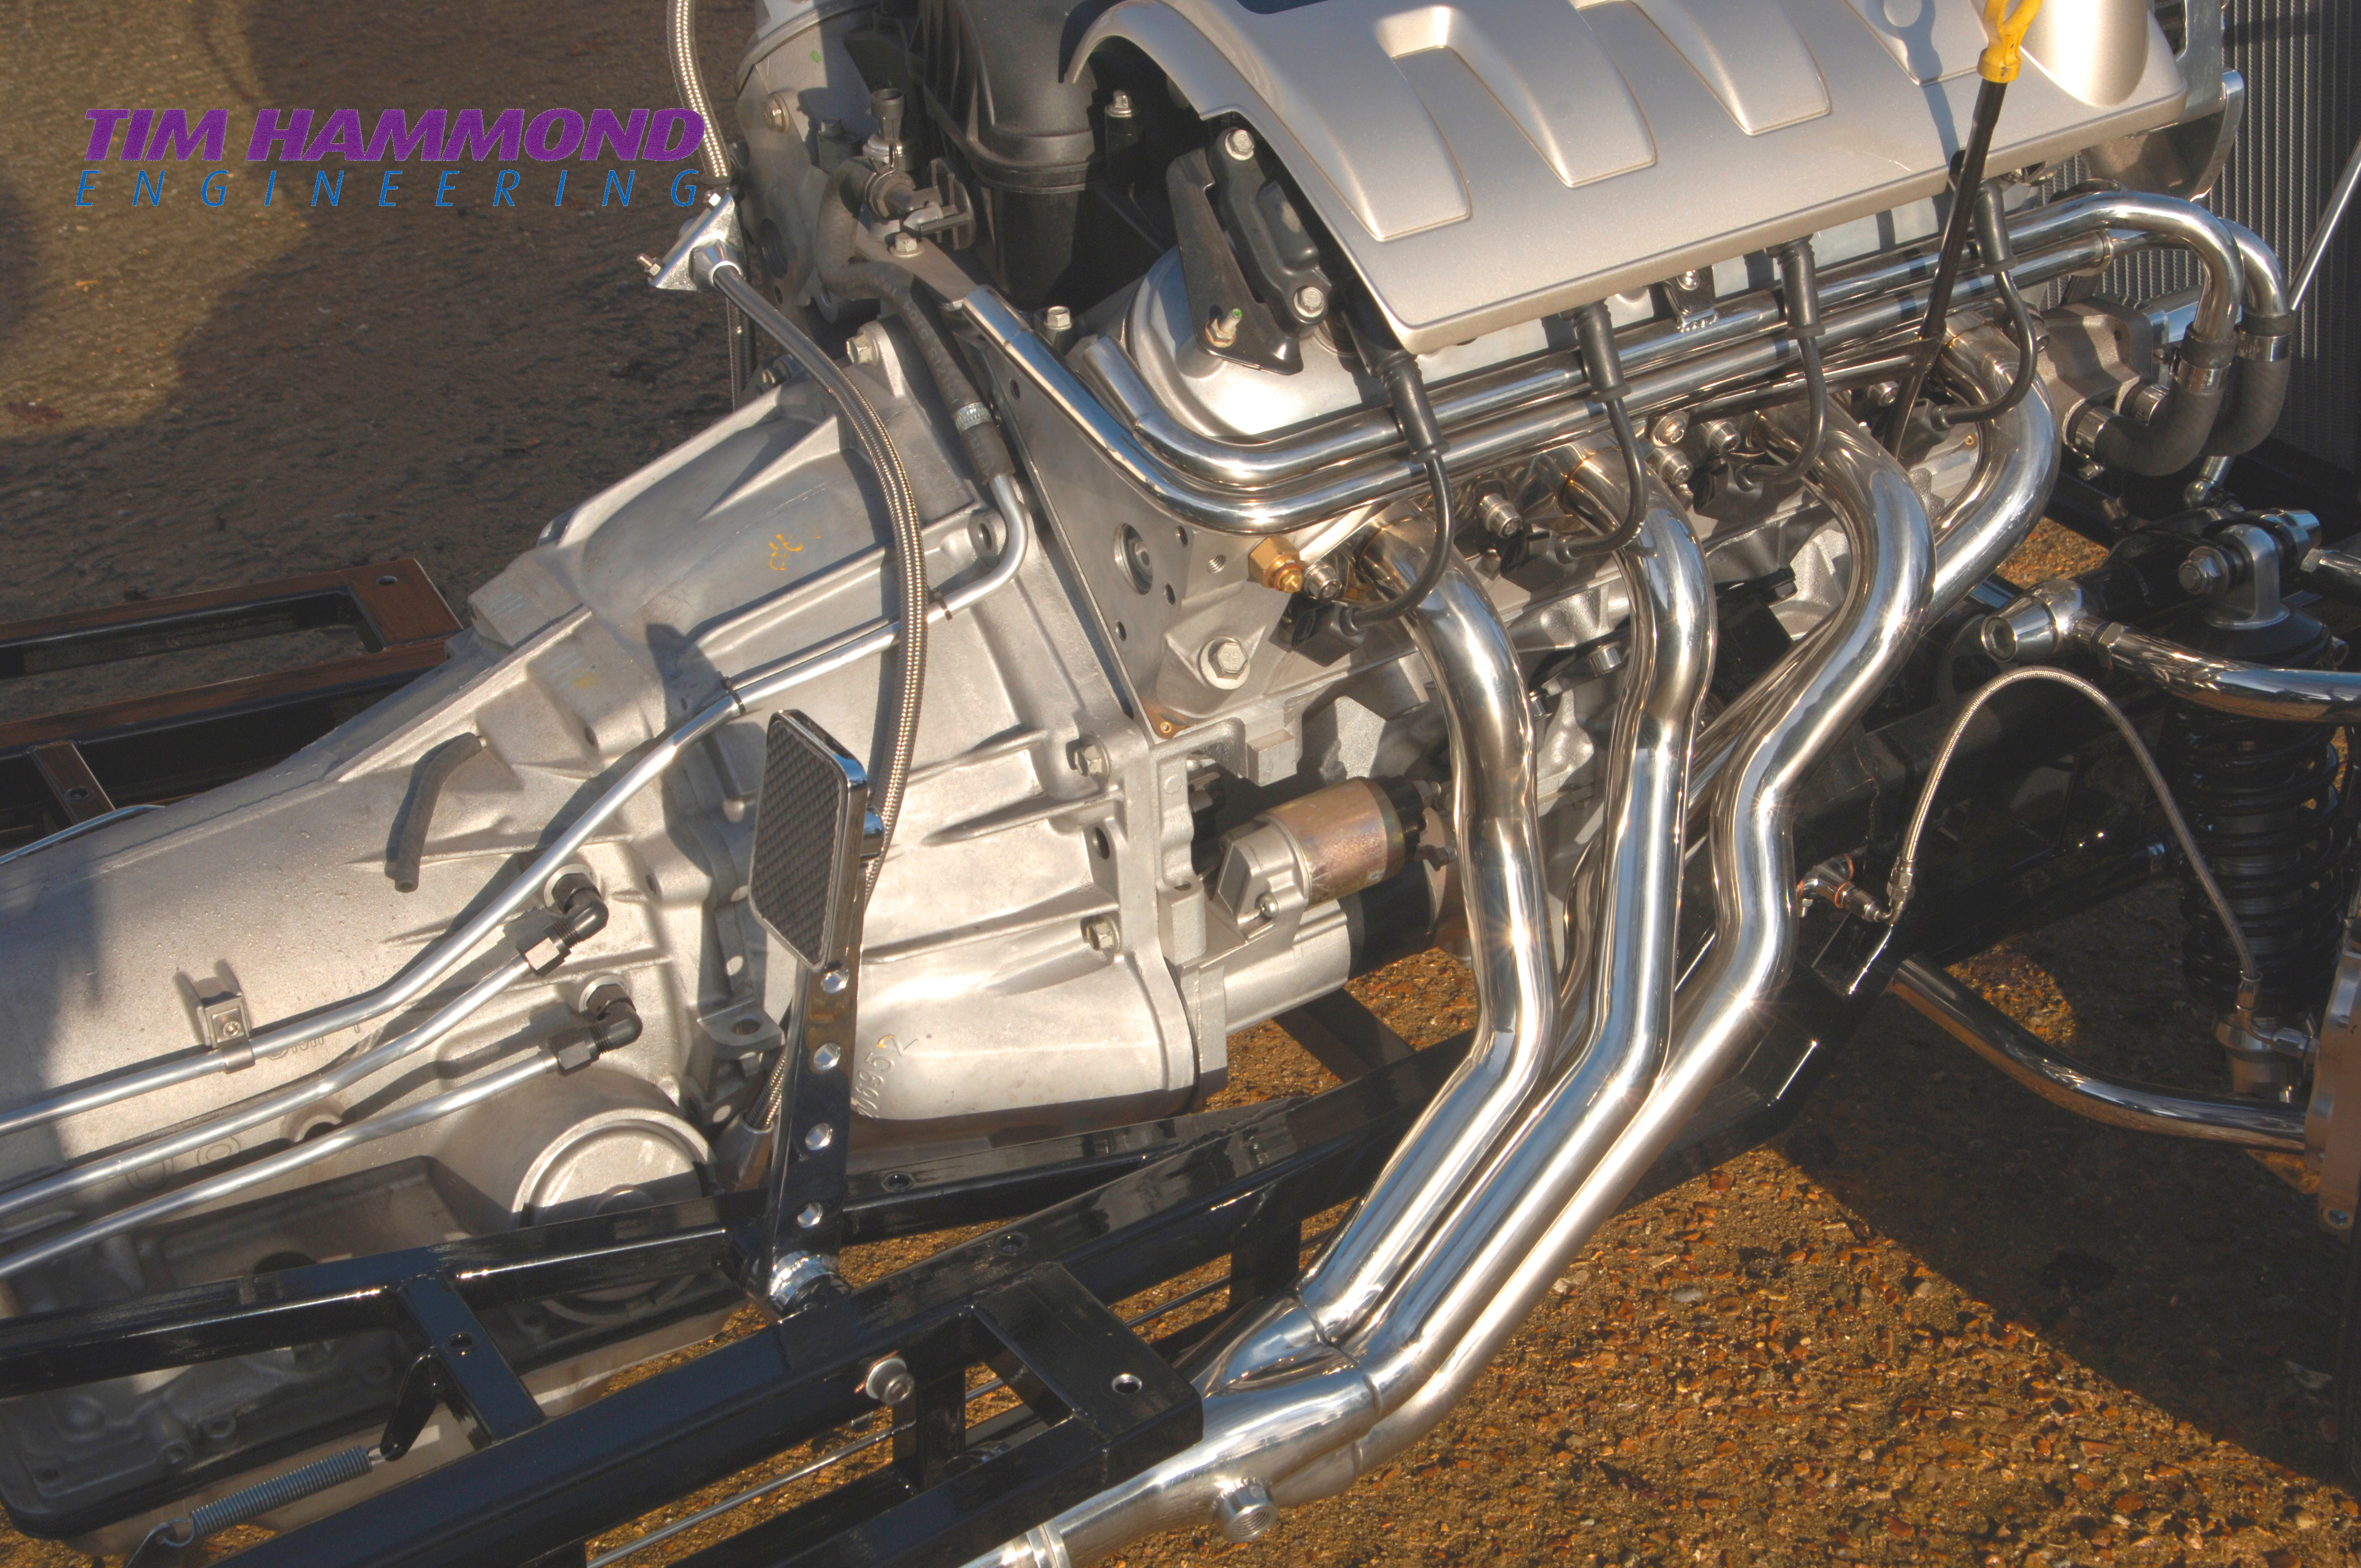
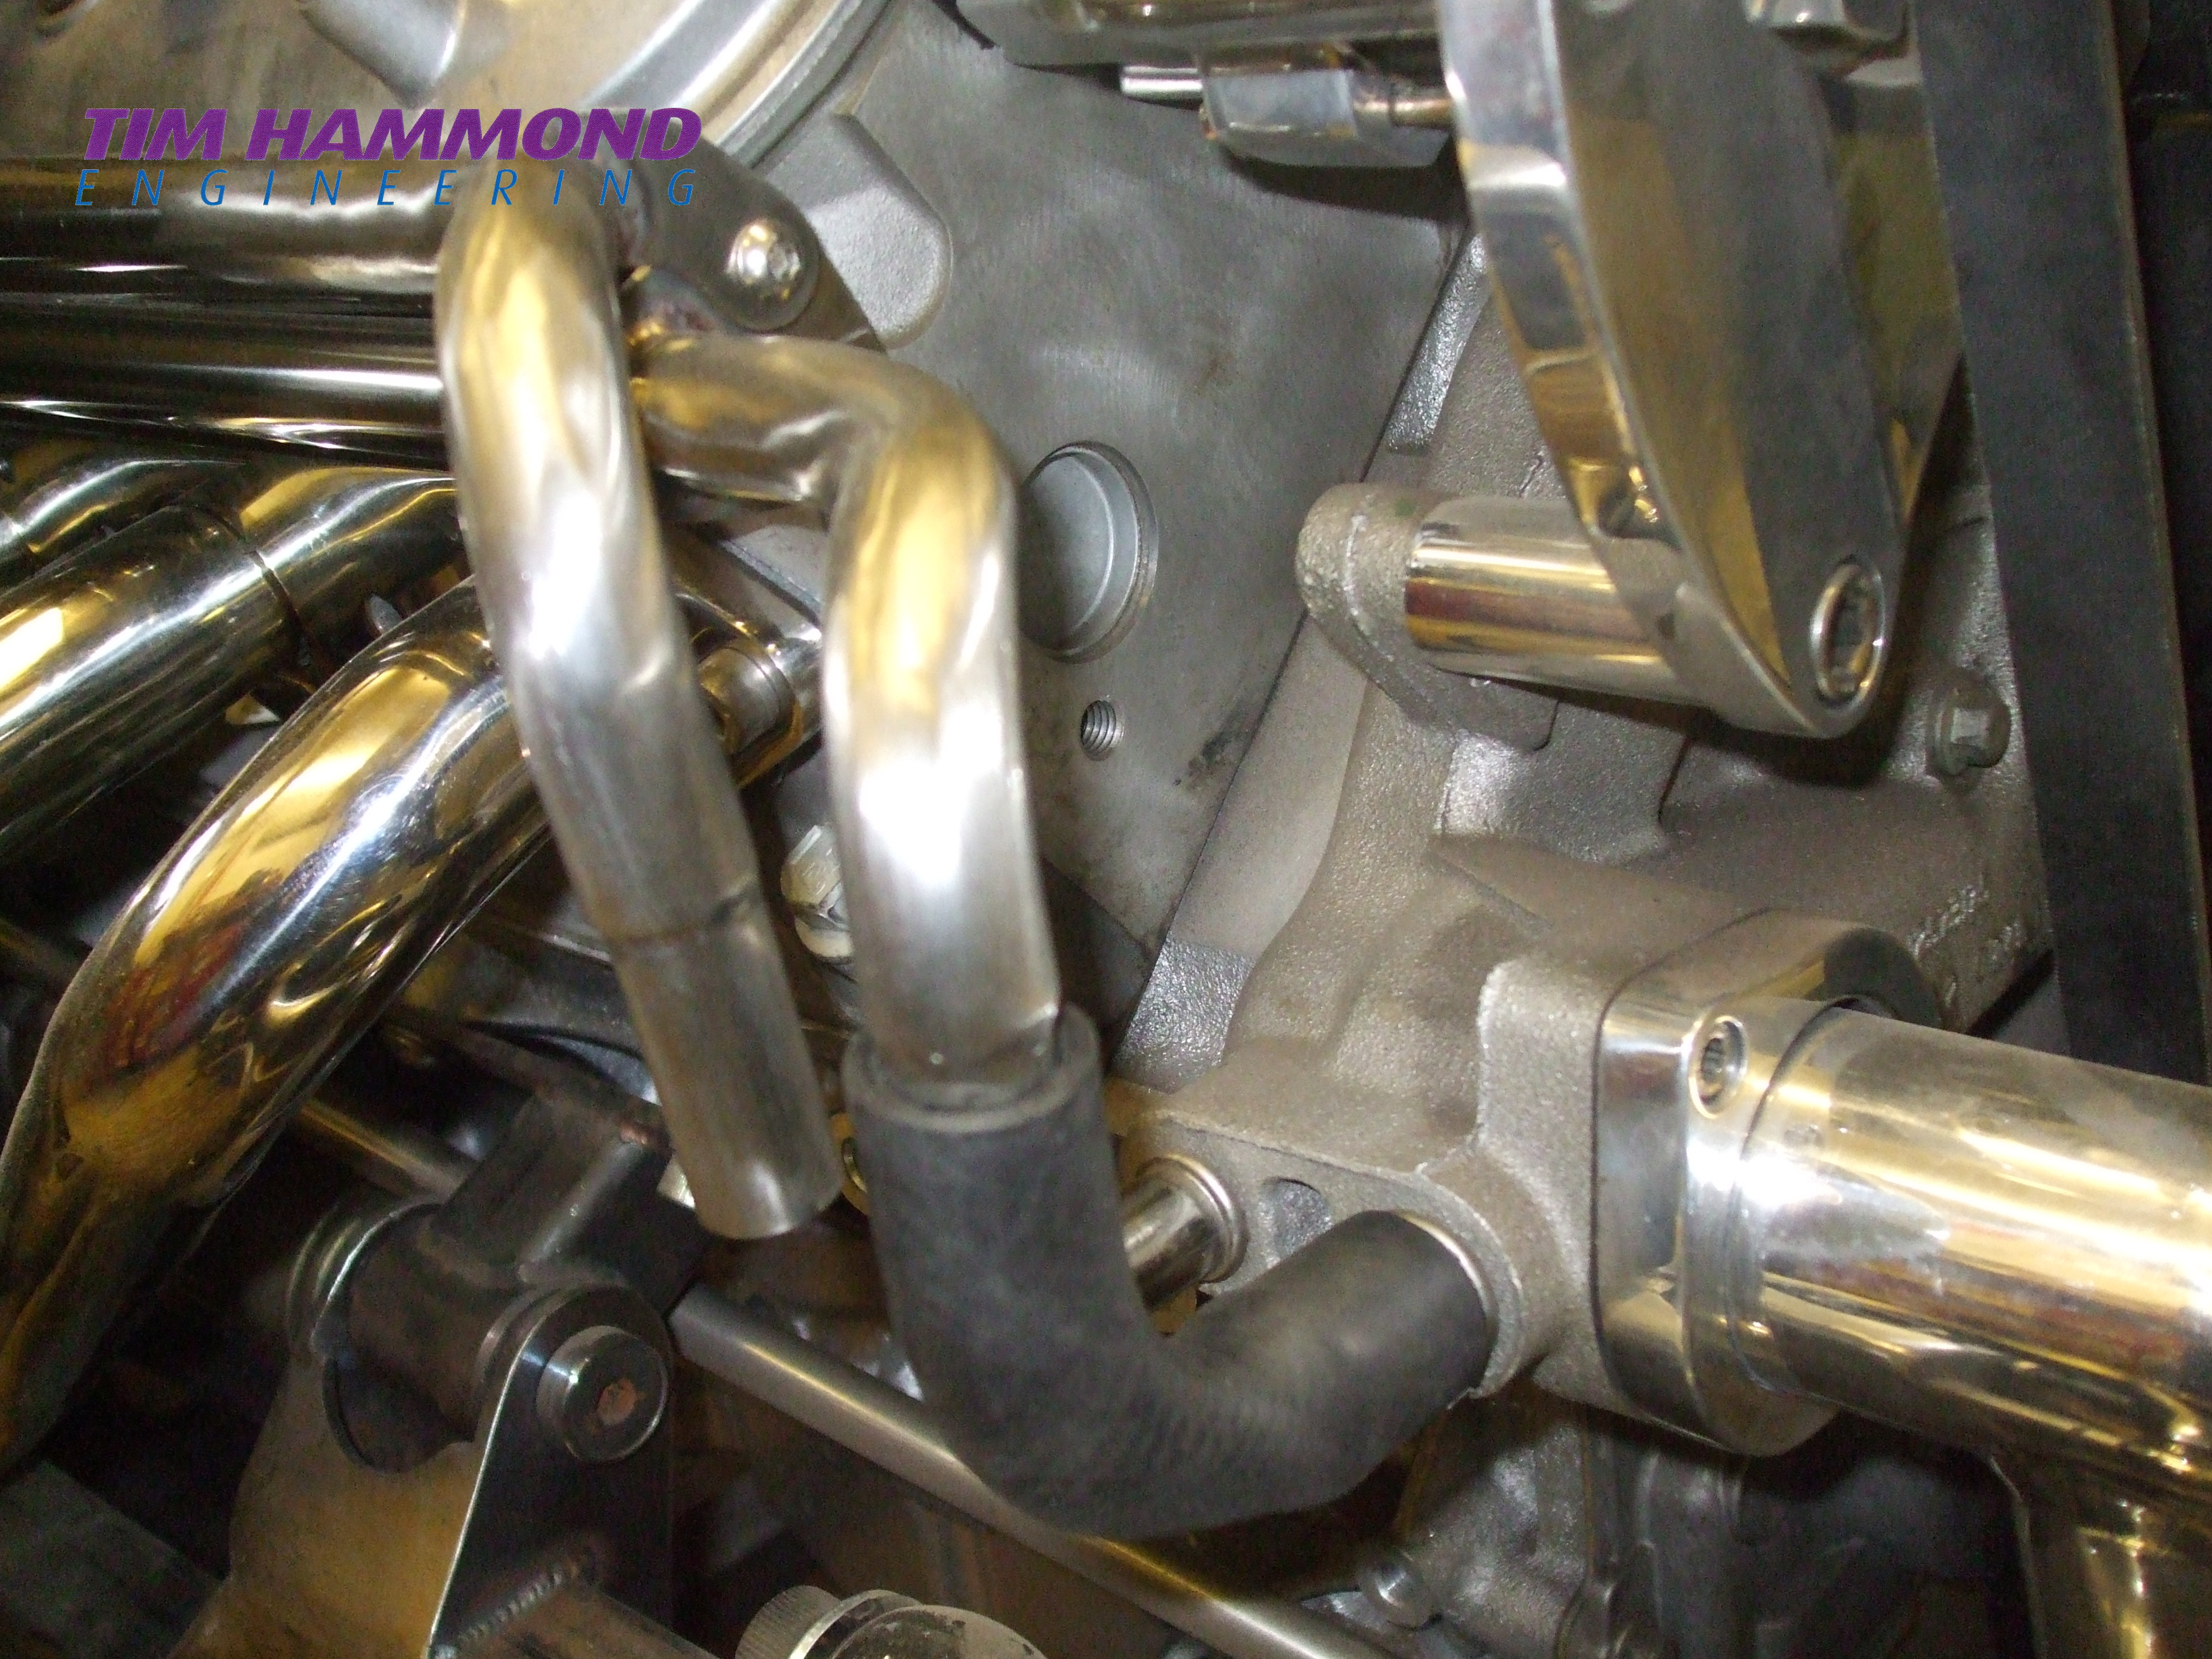
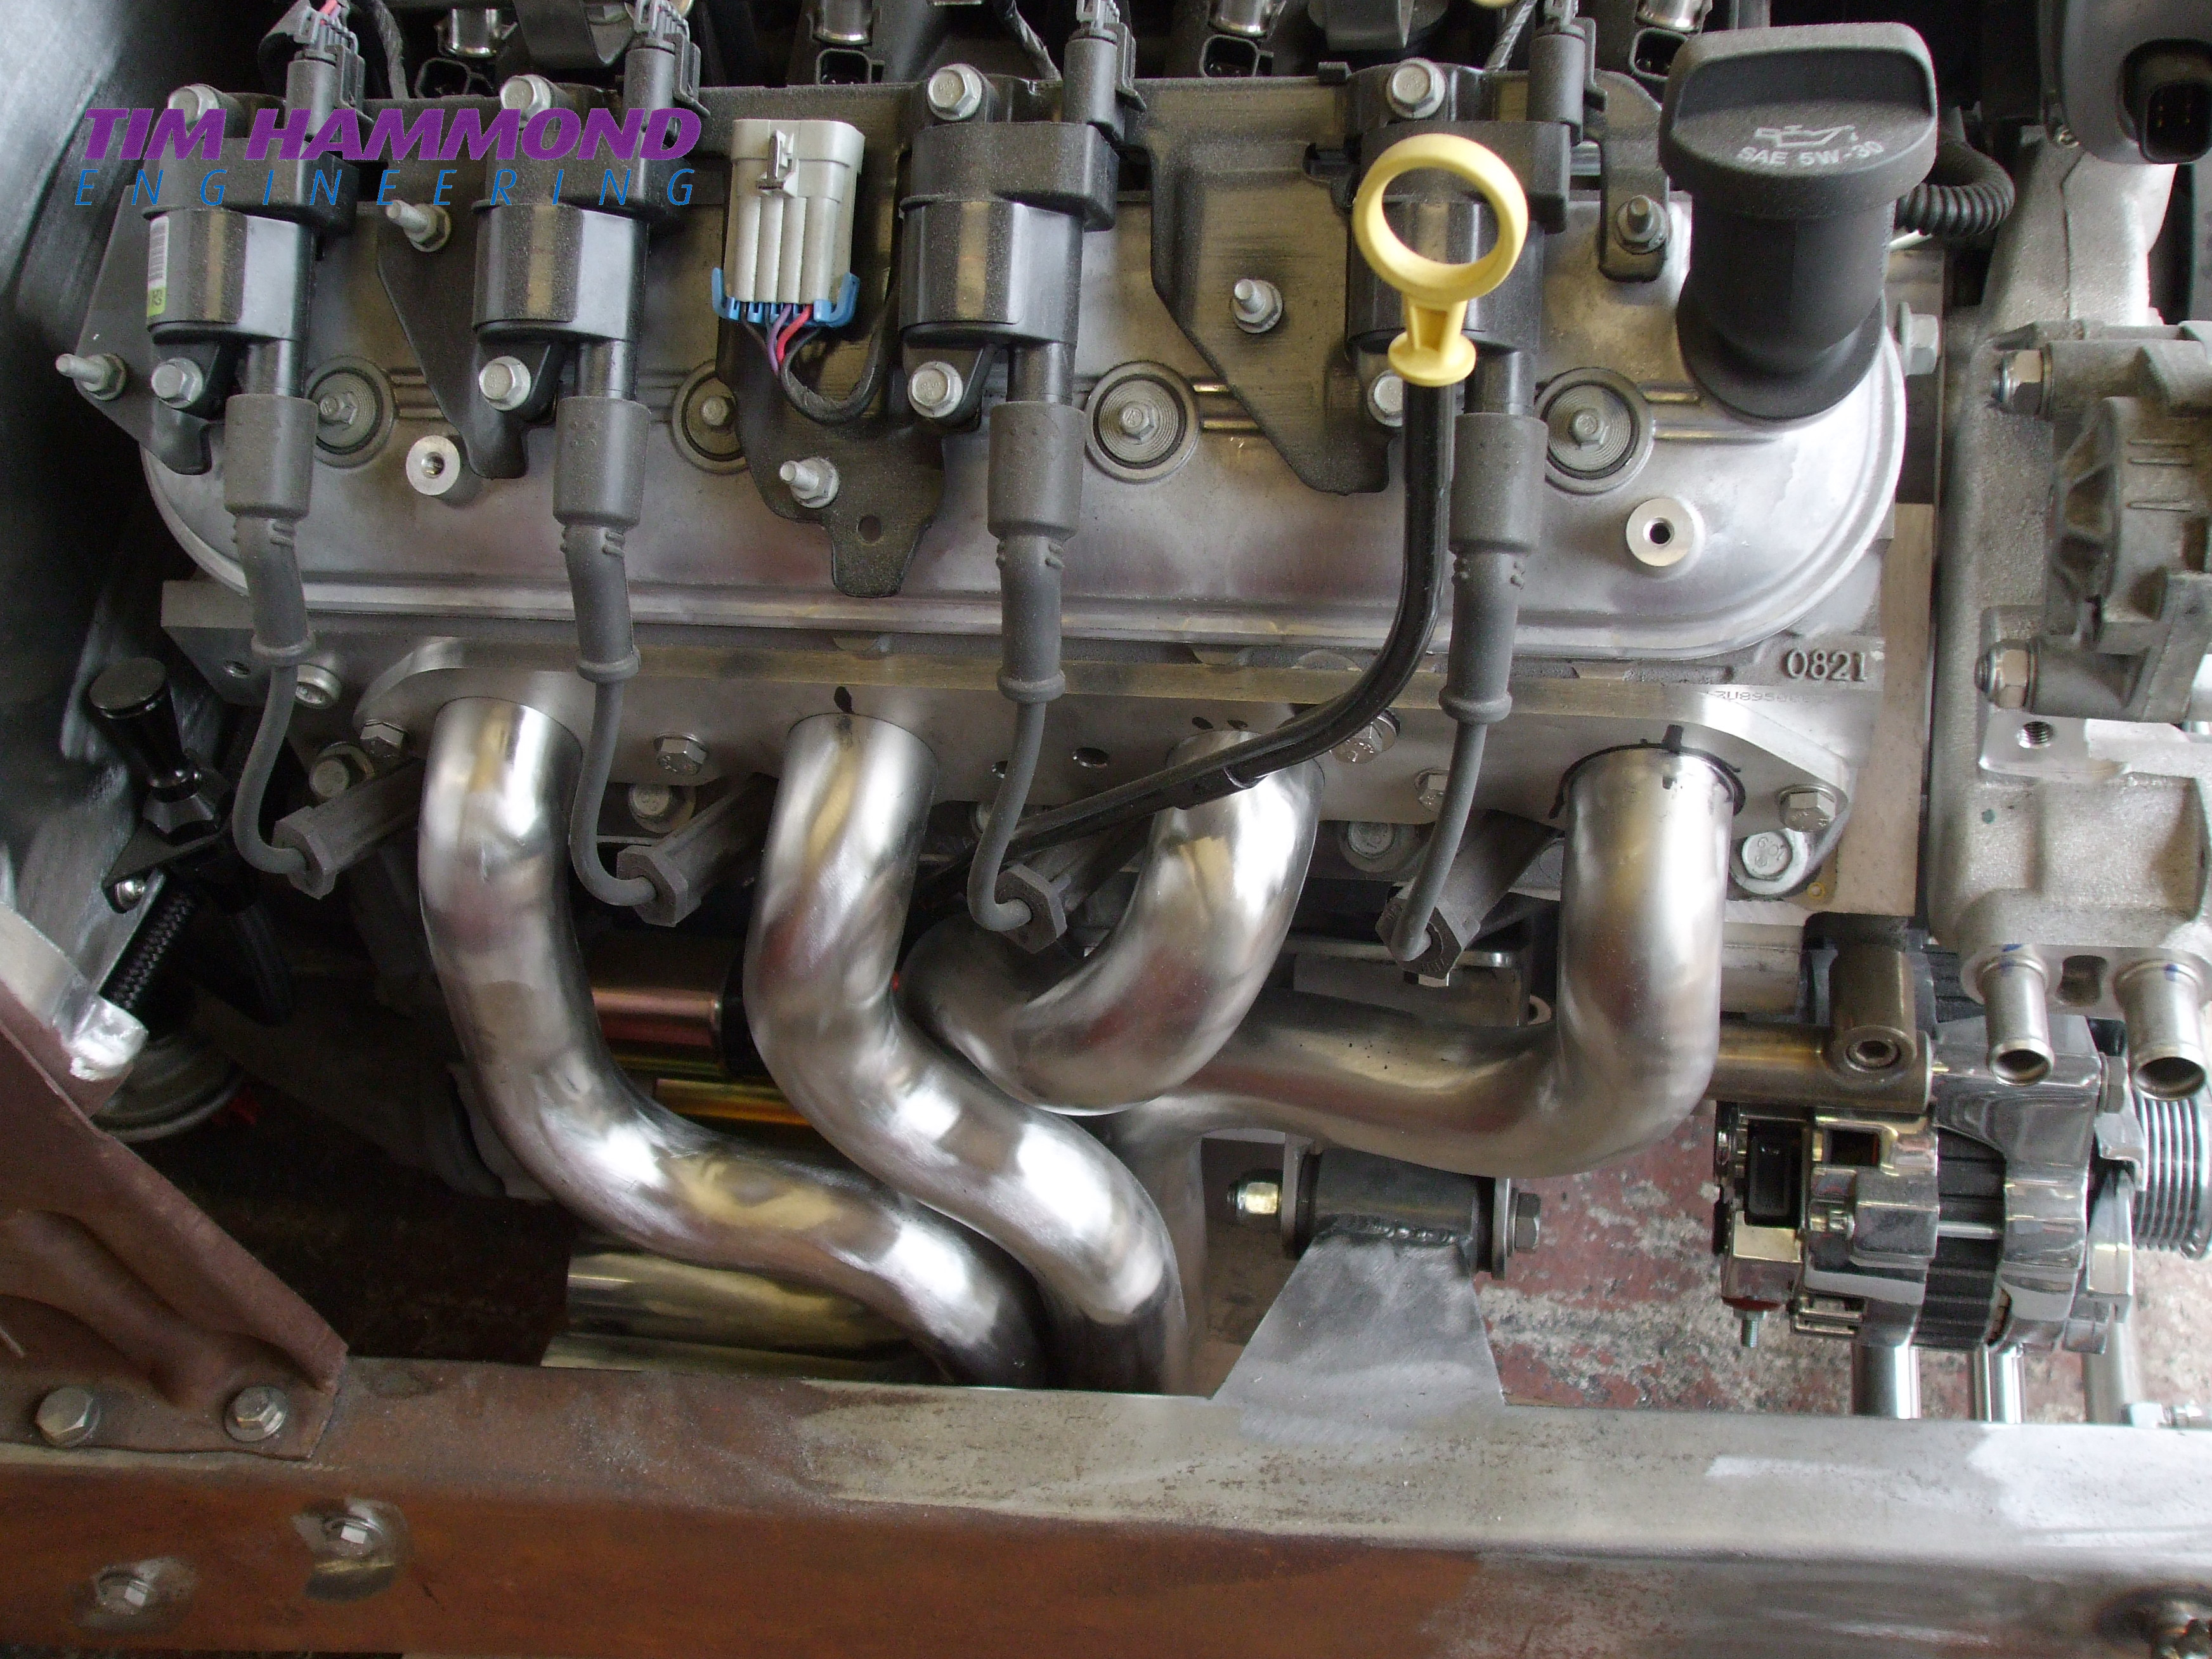
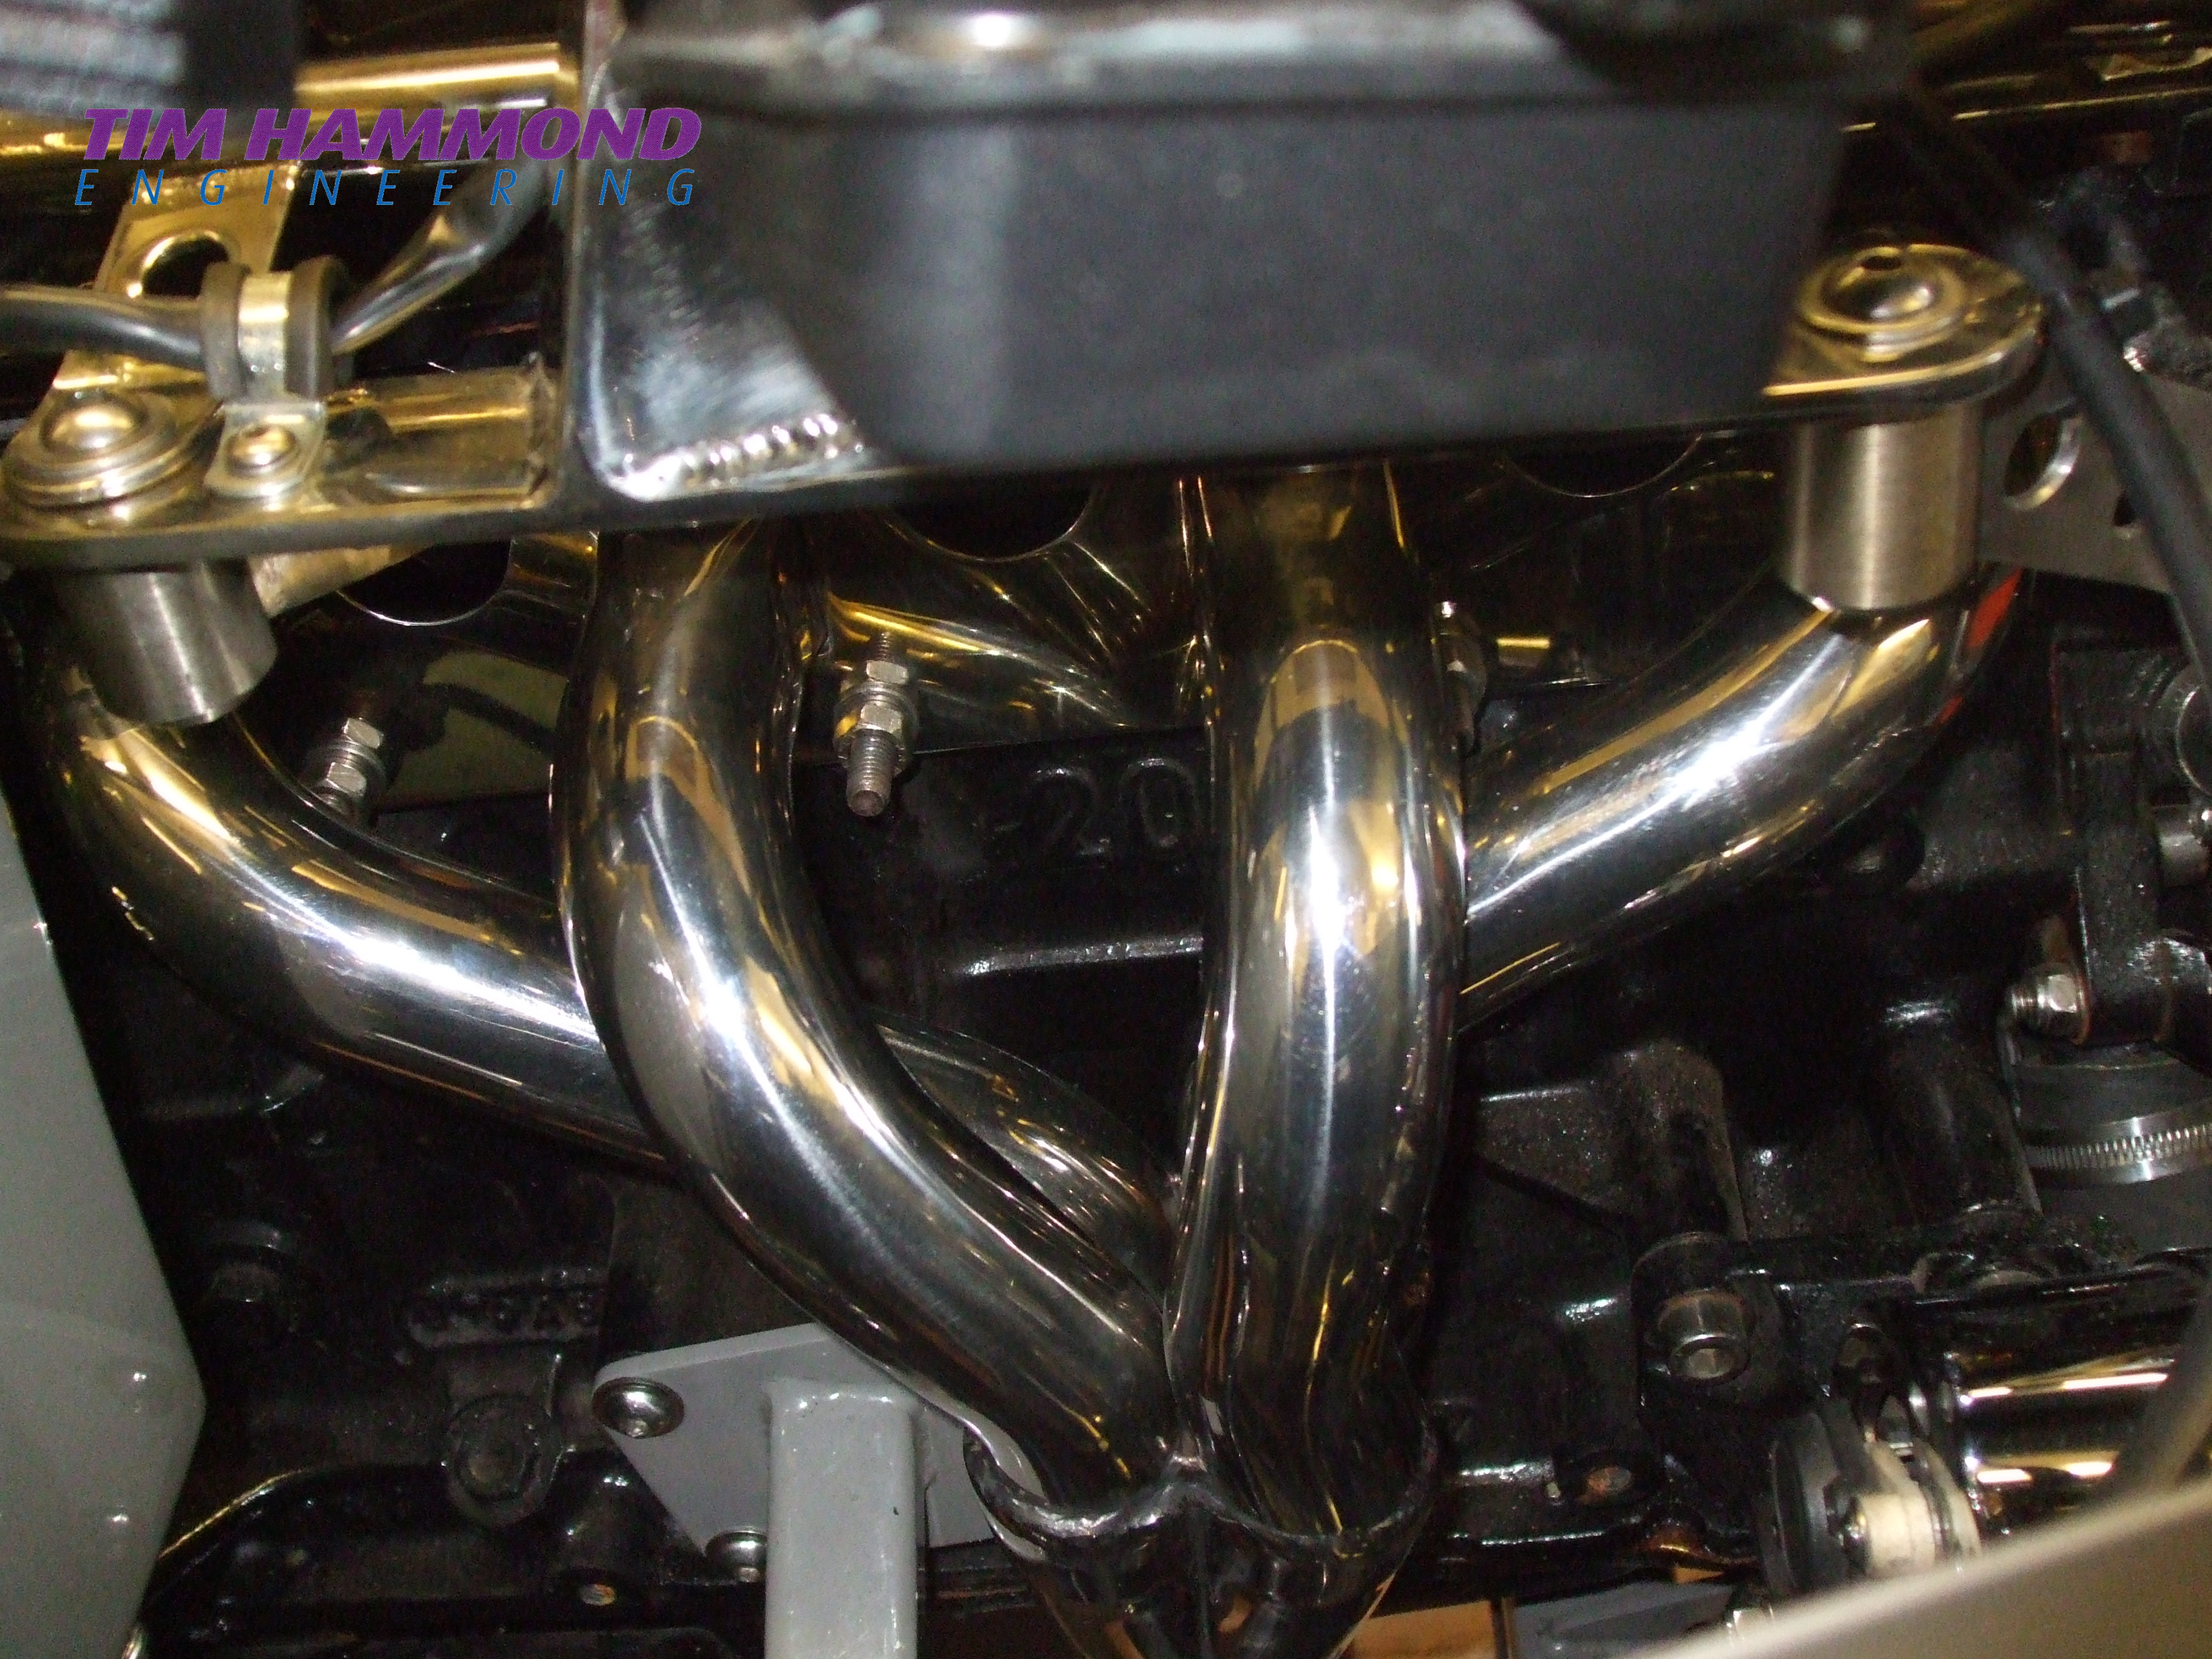
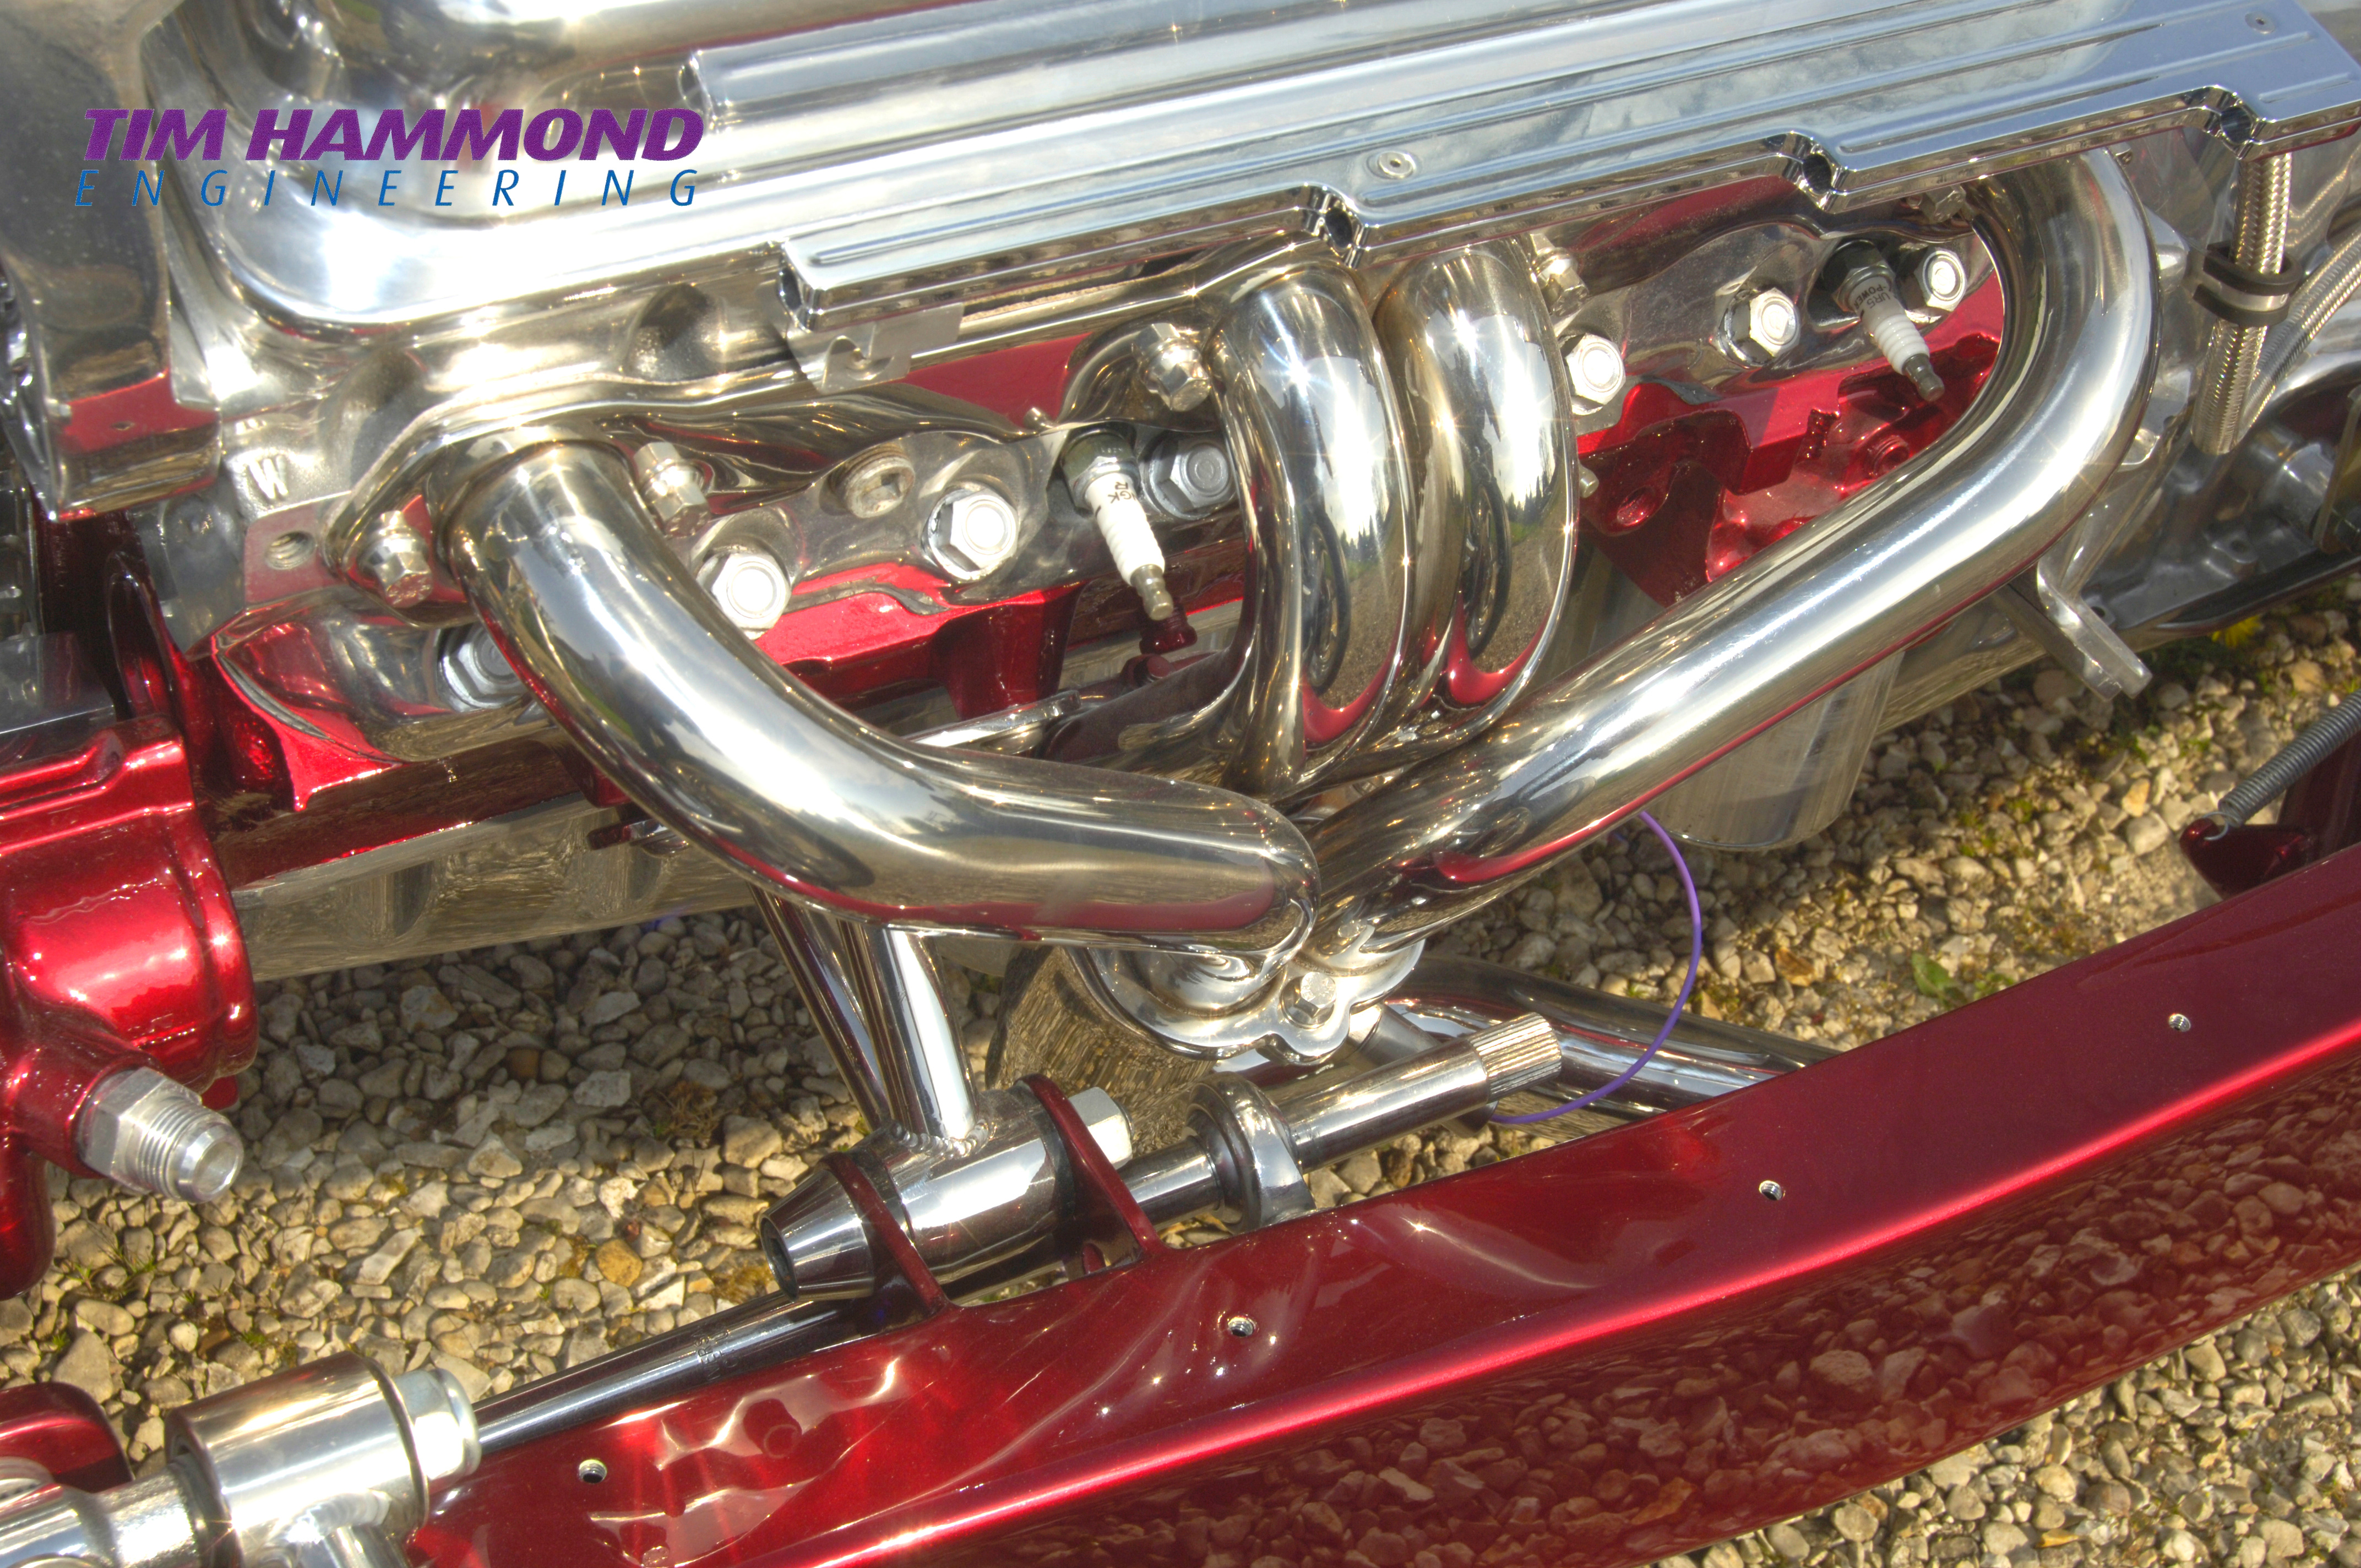
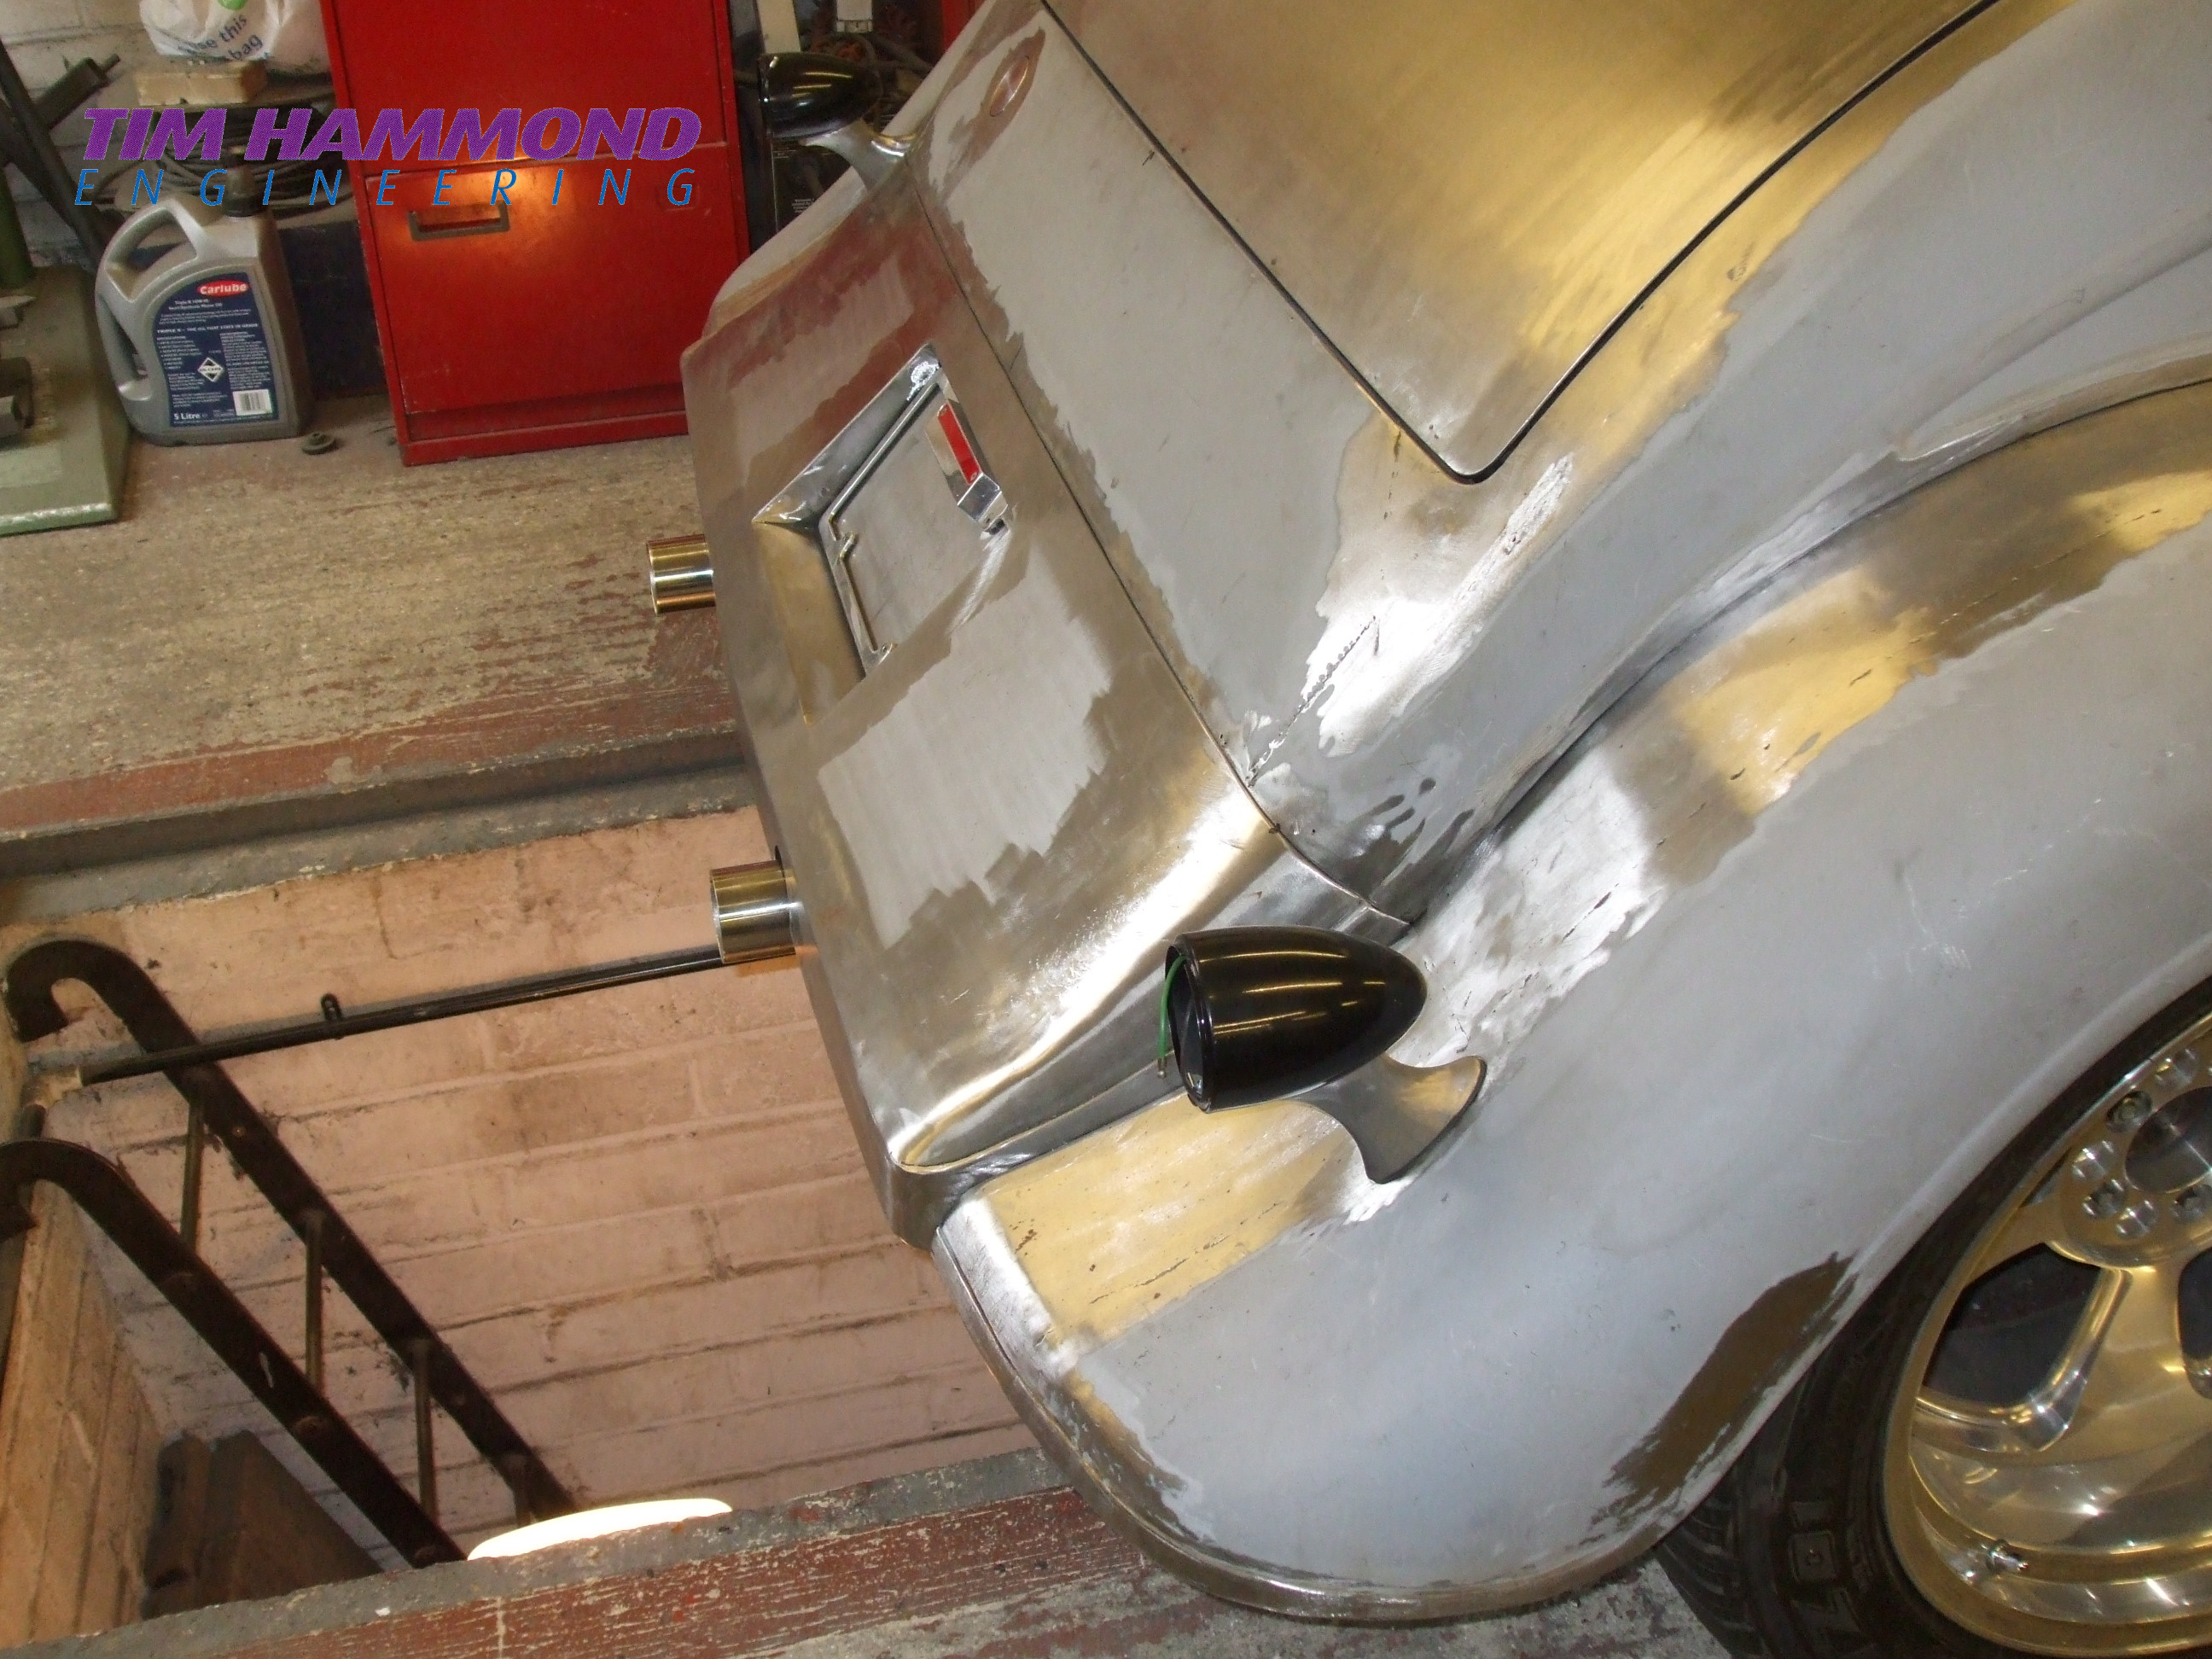
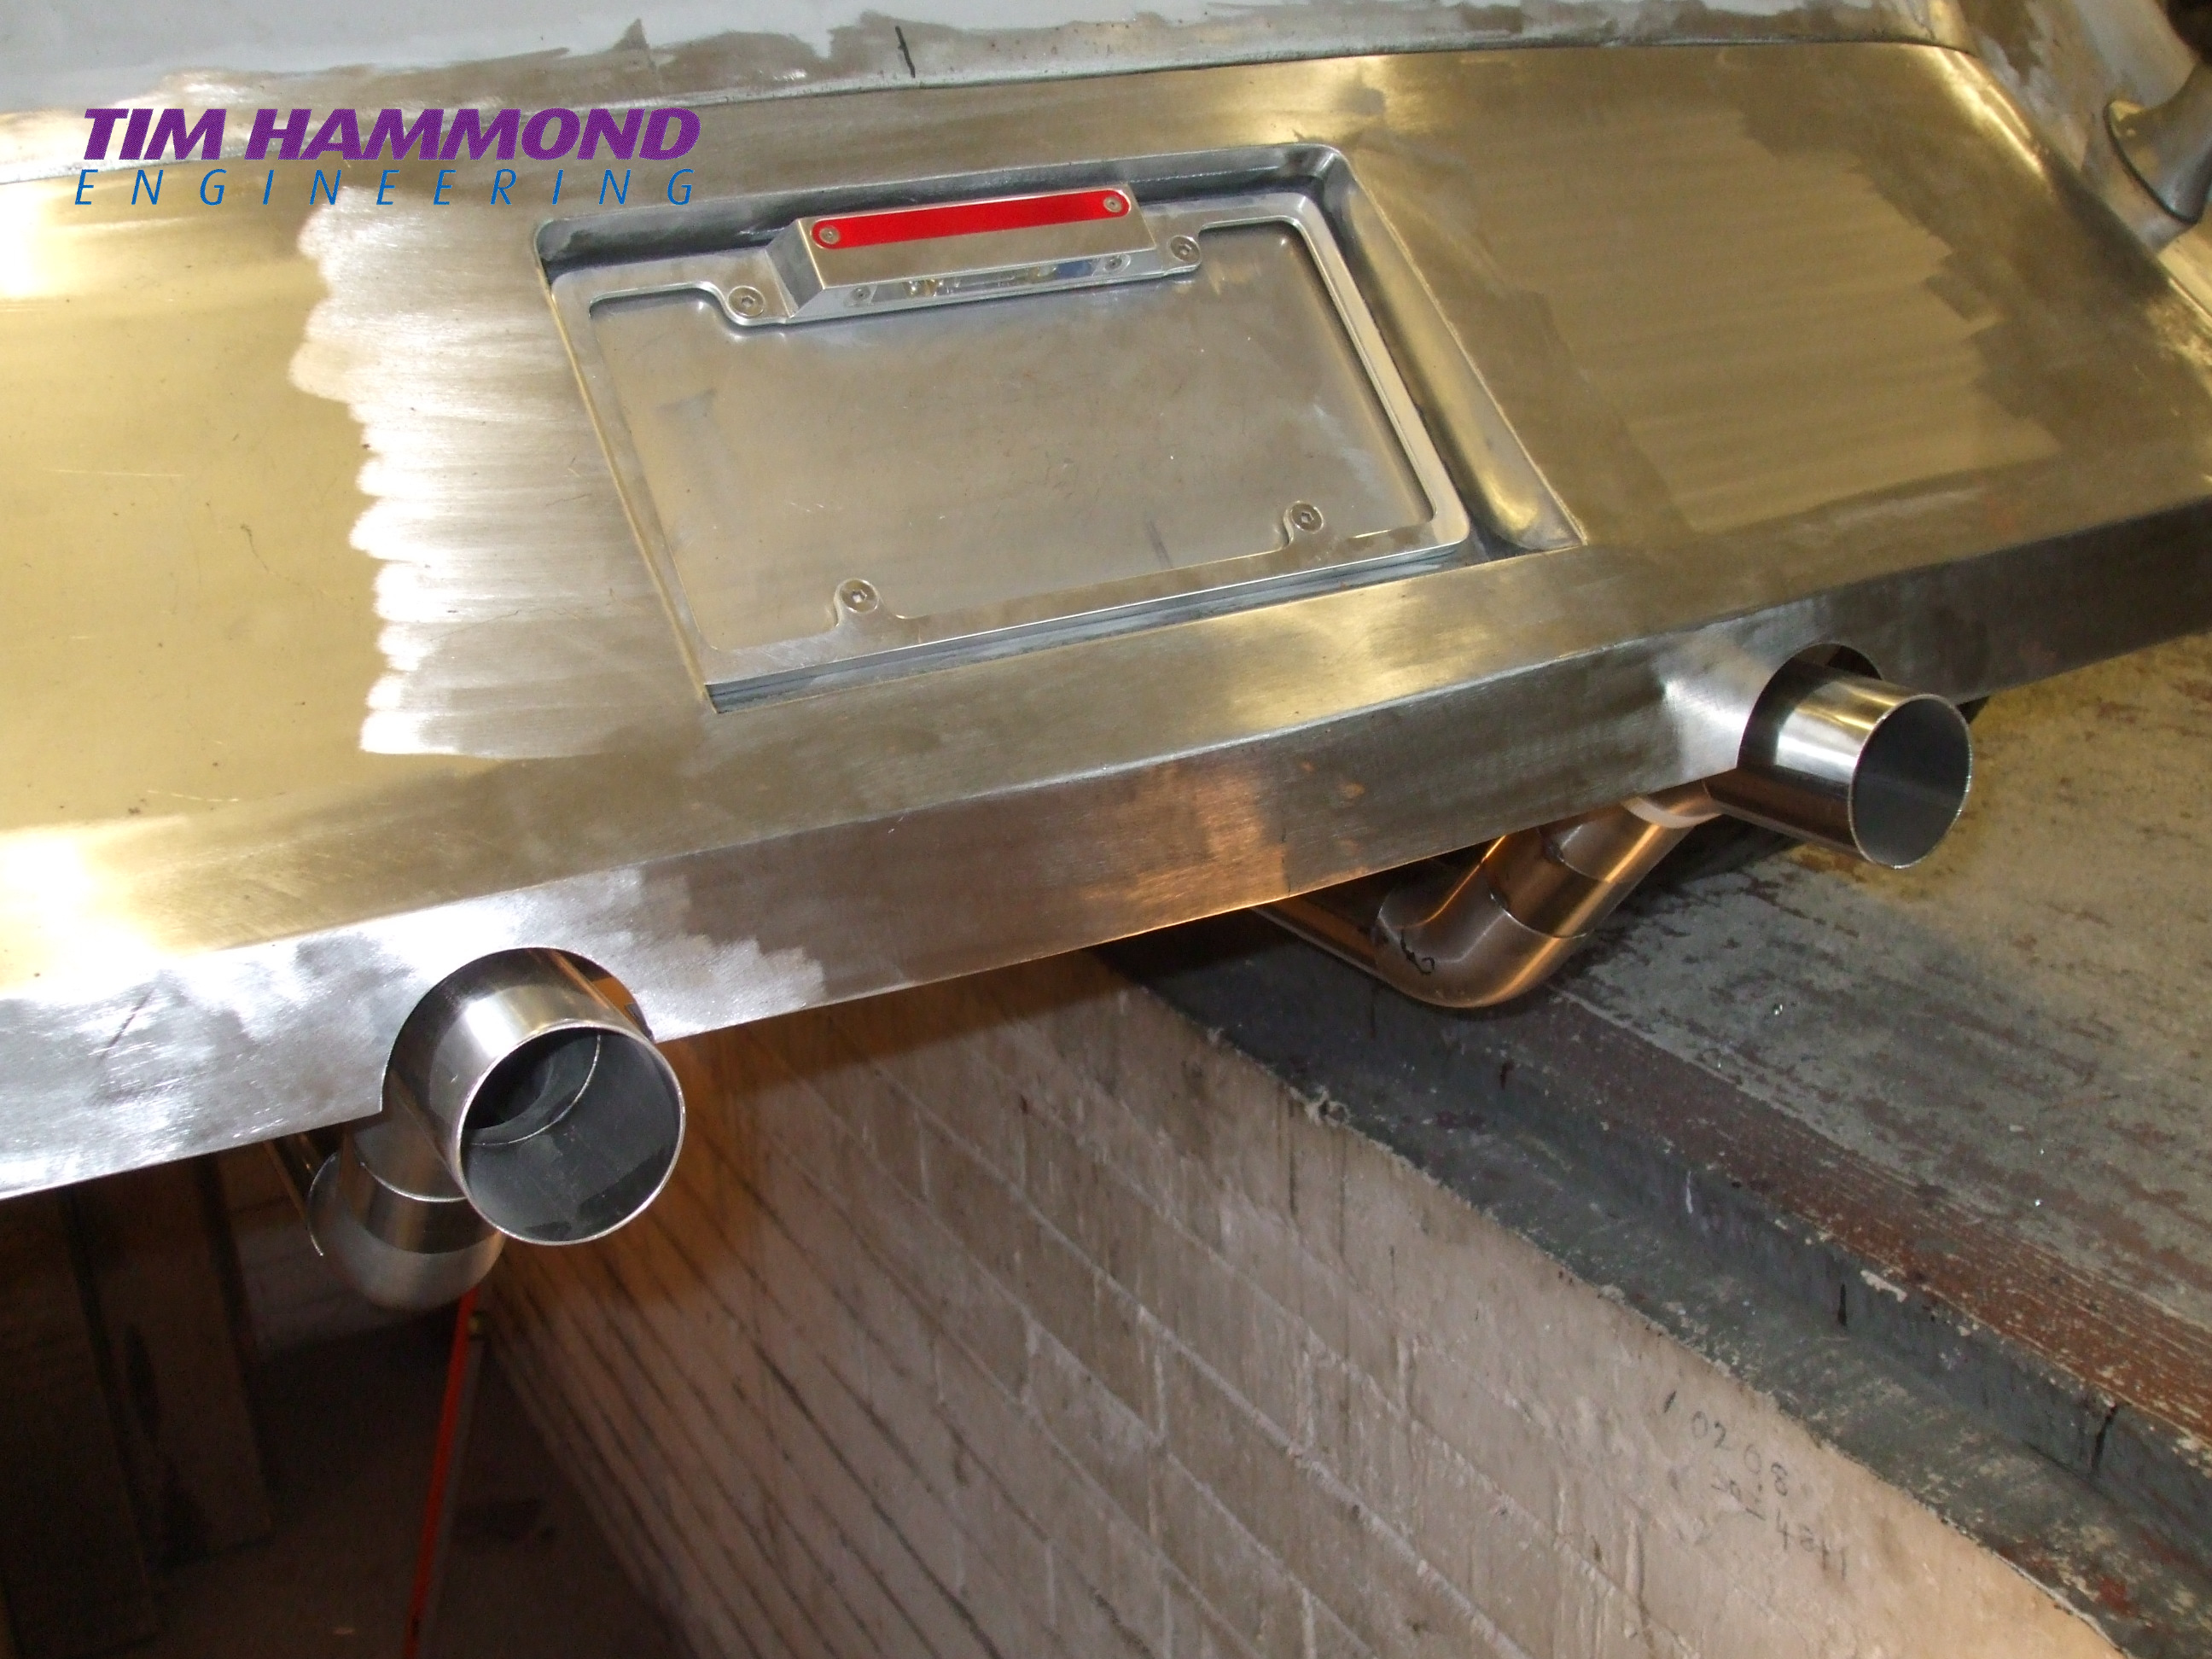
The exhaust system was Hooker block hugger headers HP coated and a complete 2” polished stainless steel exhaust system fabricated, with Patriot mufflers and a stainless steel exhaust chamber at the rear located under the diff.
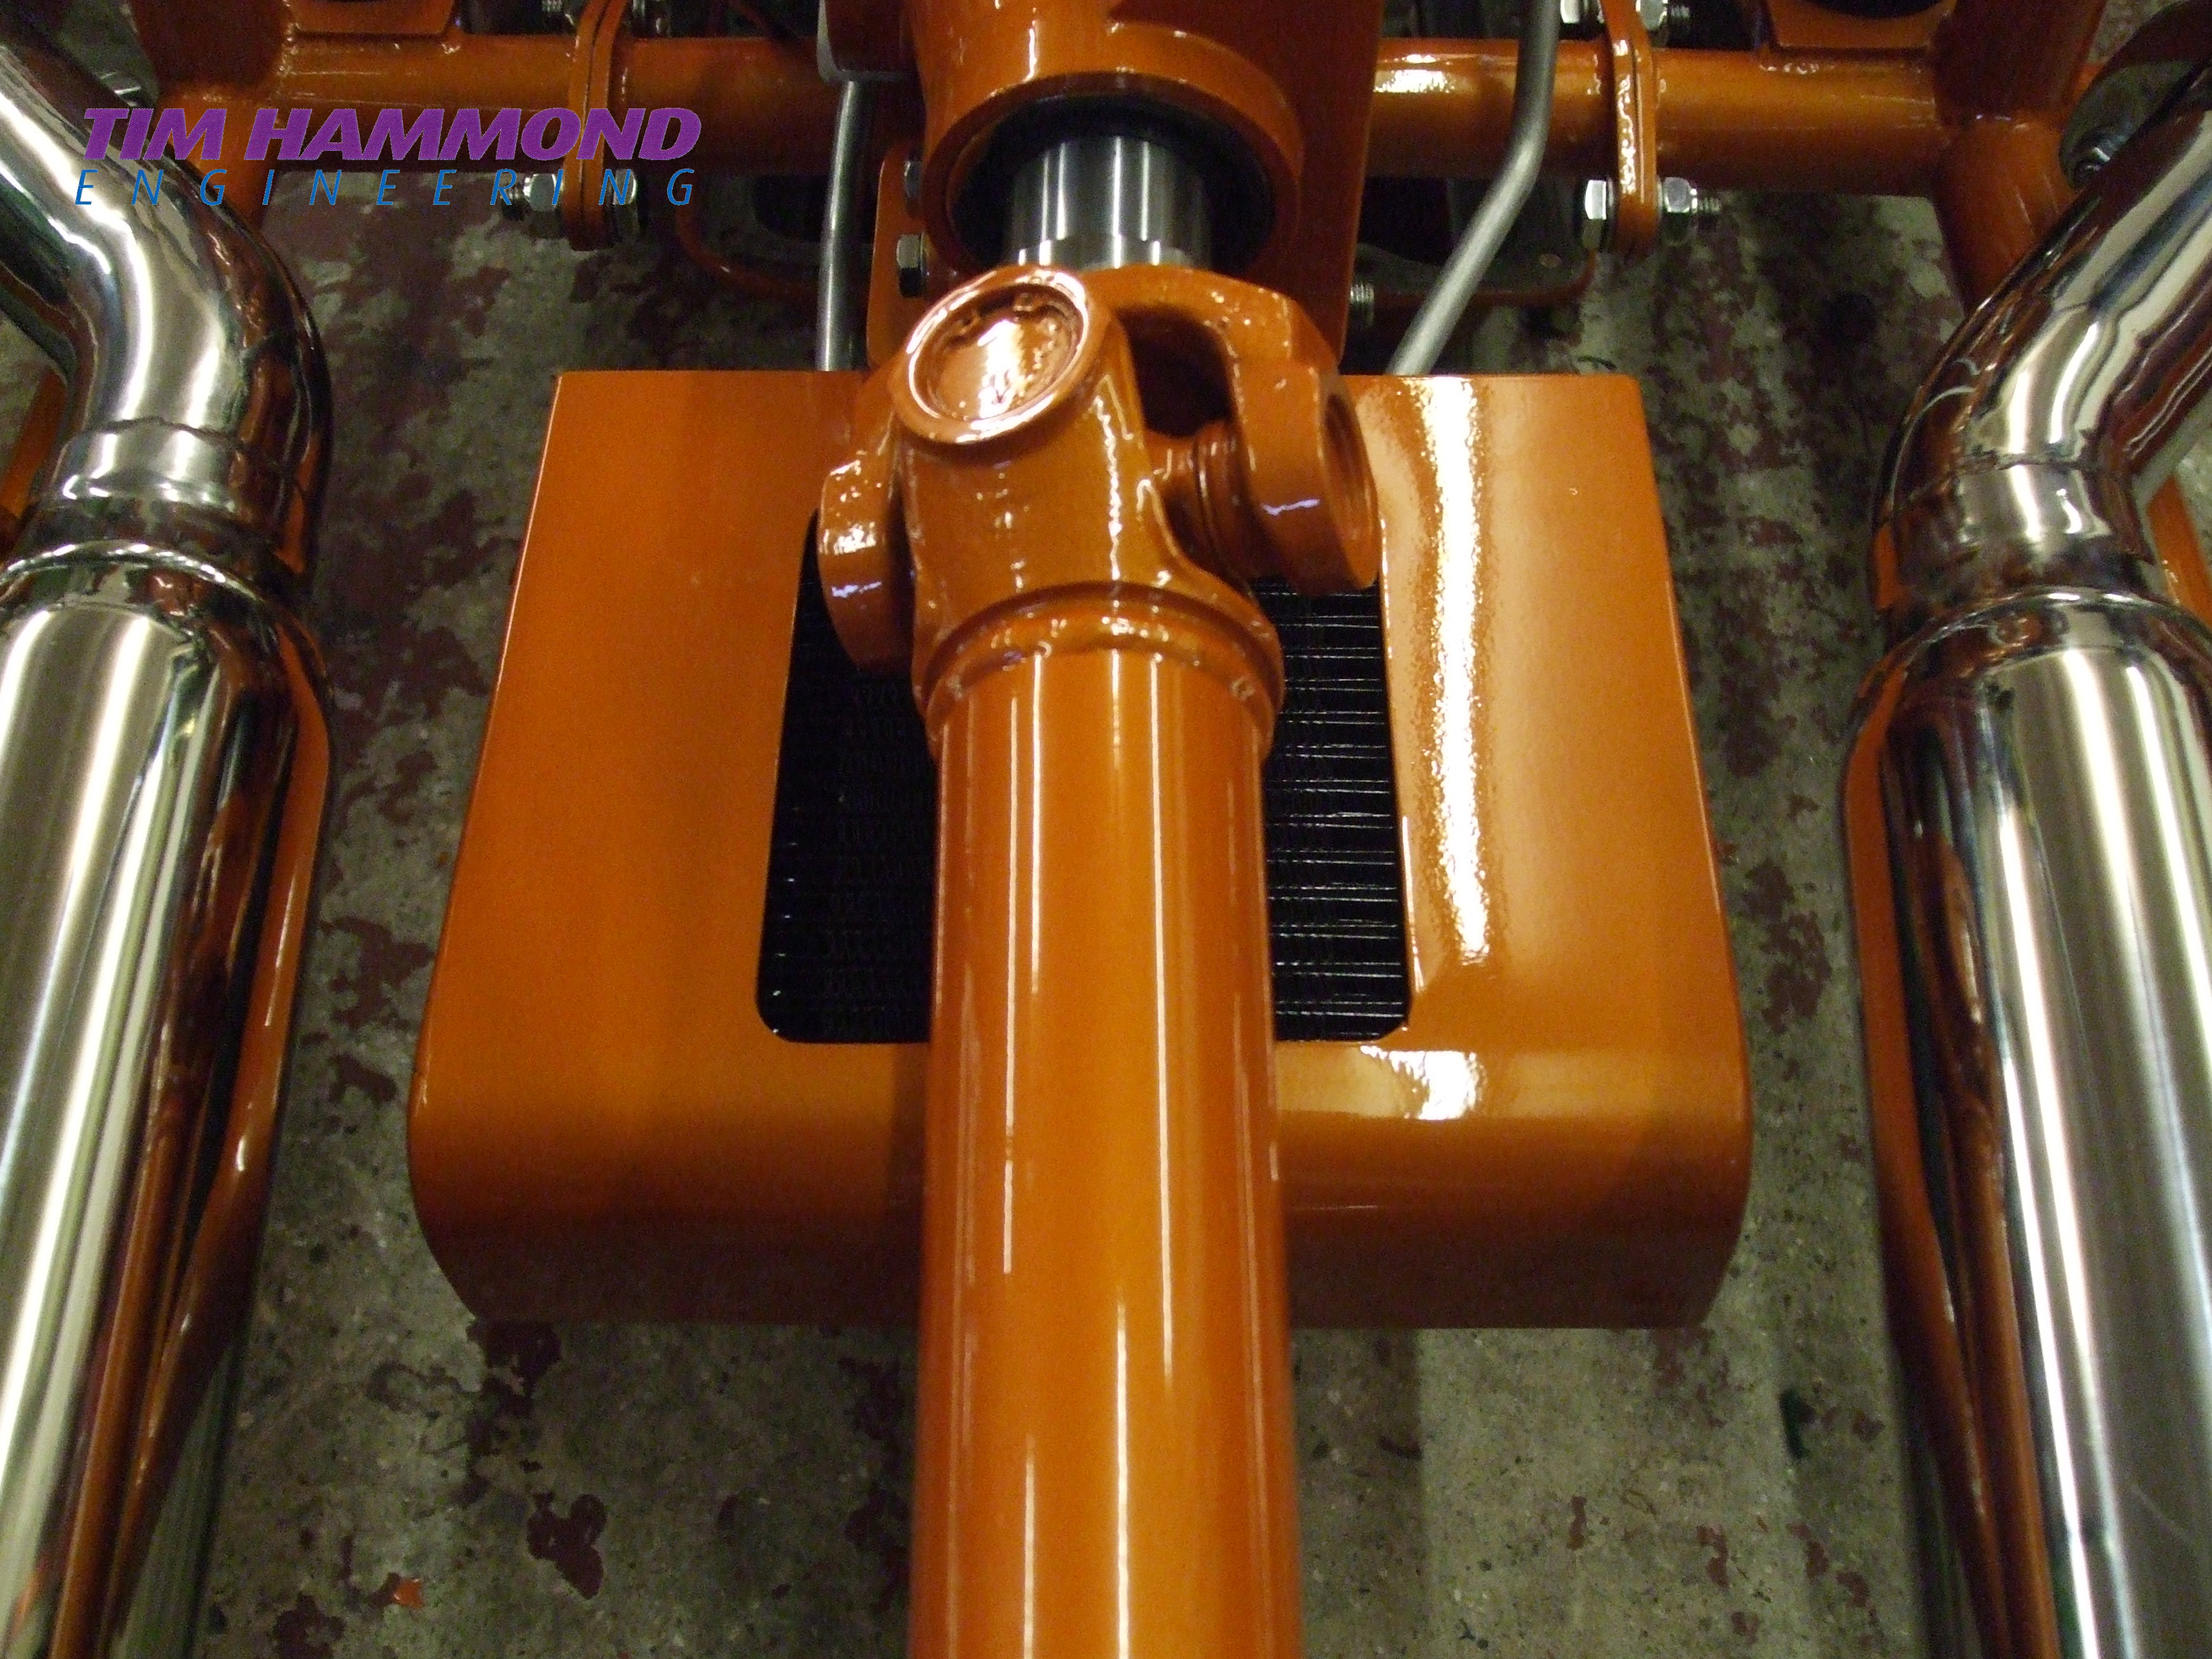
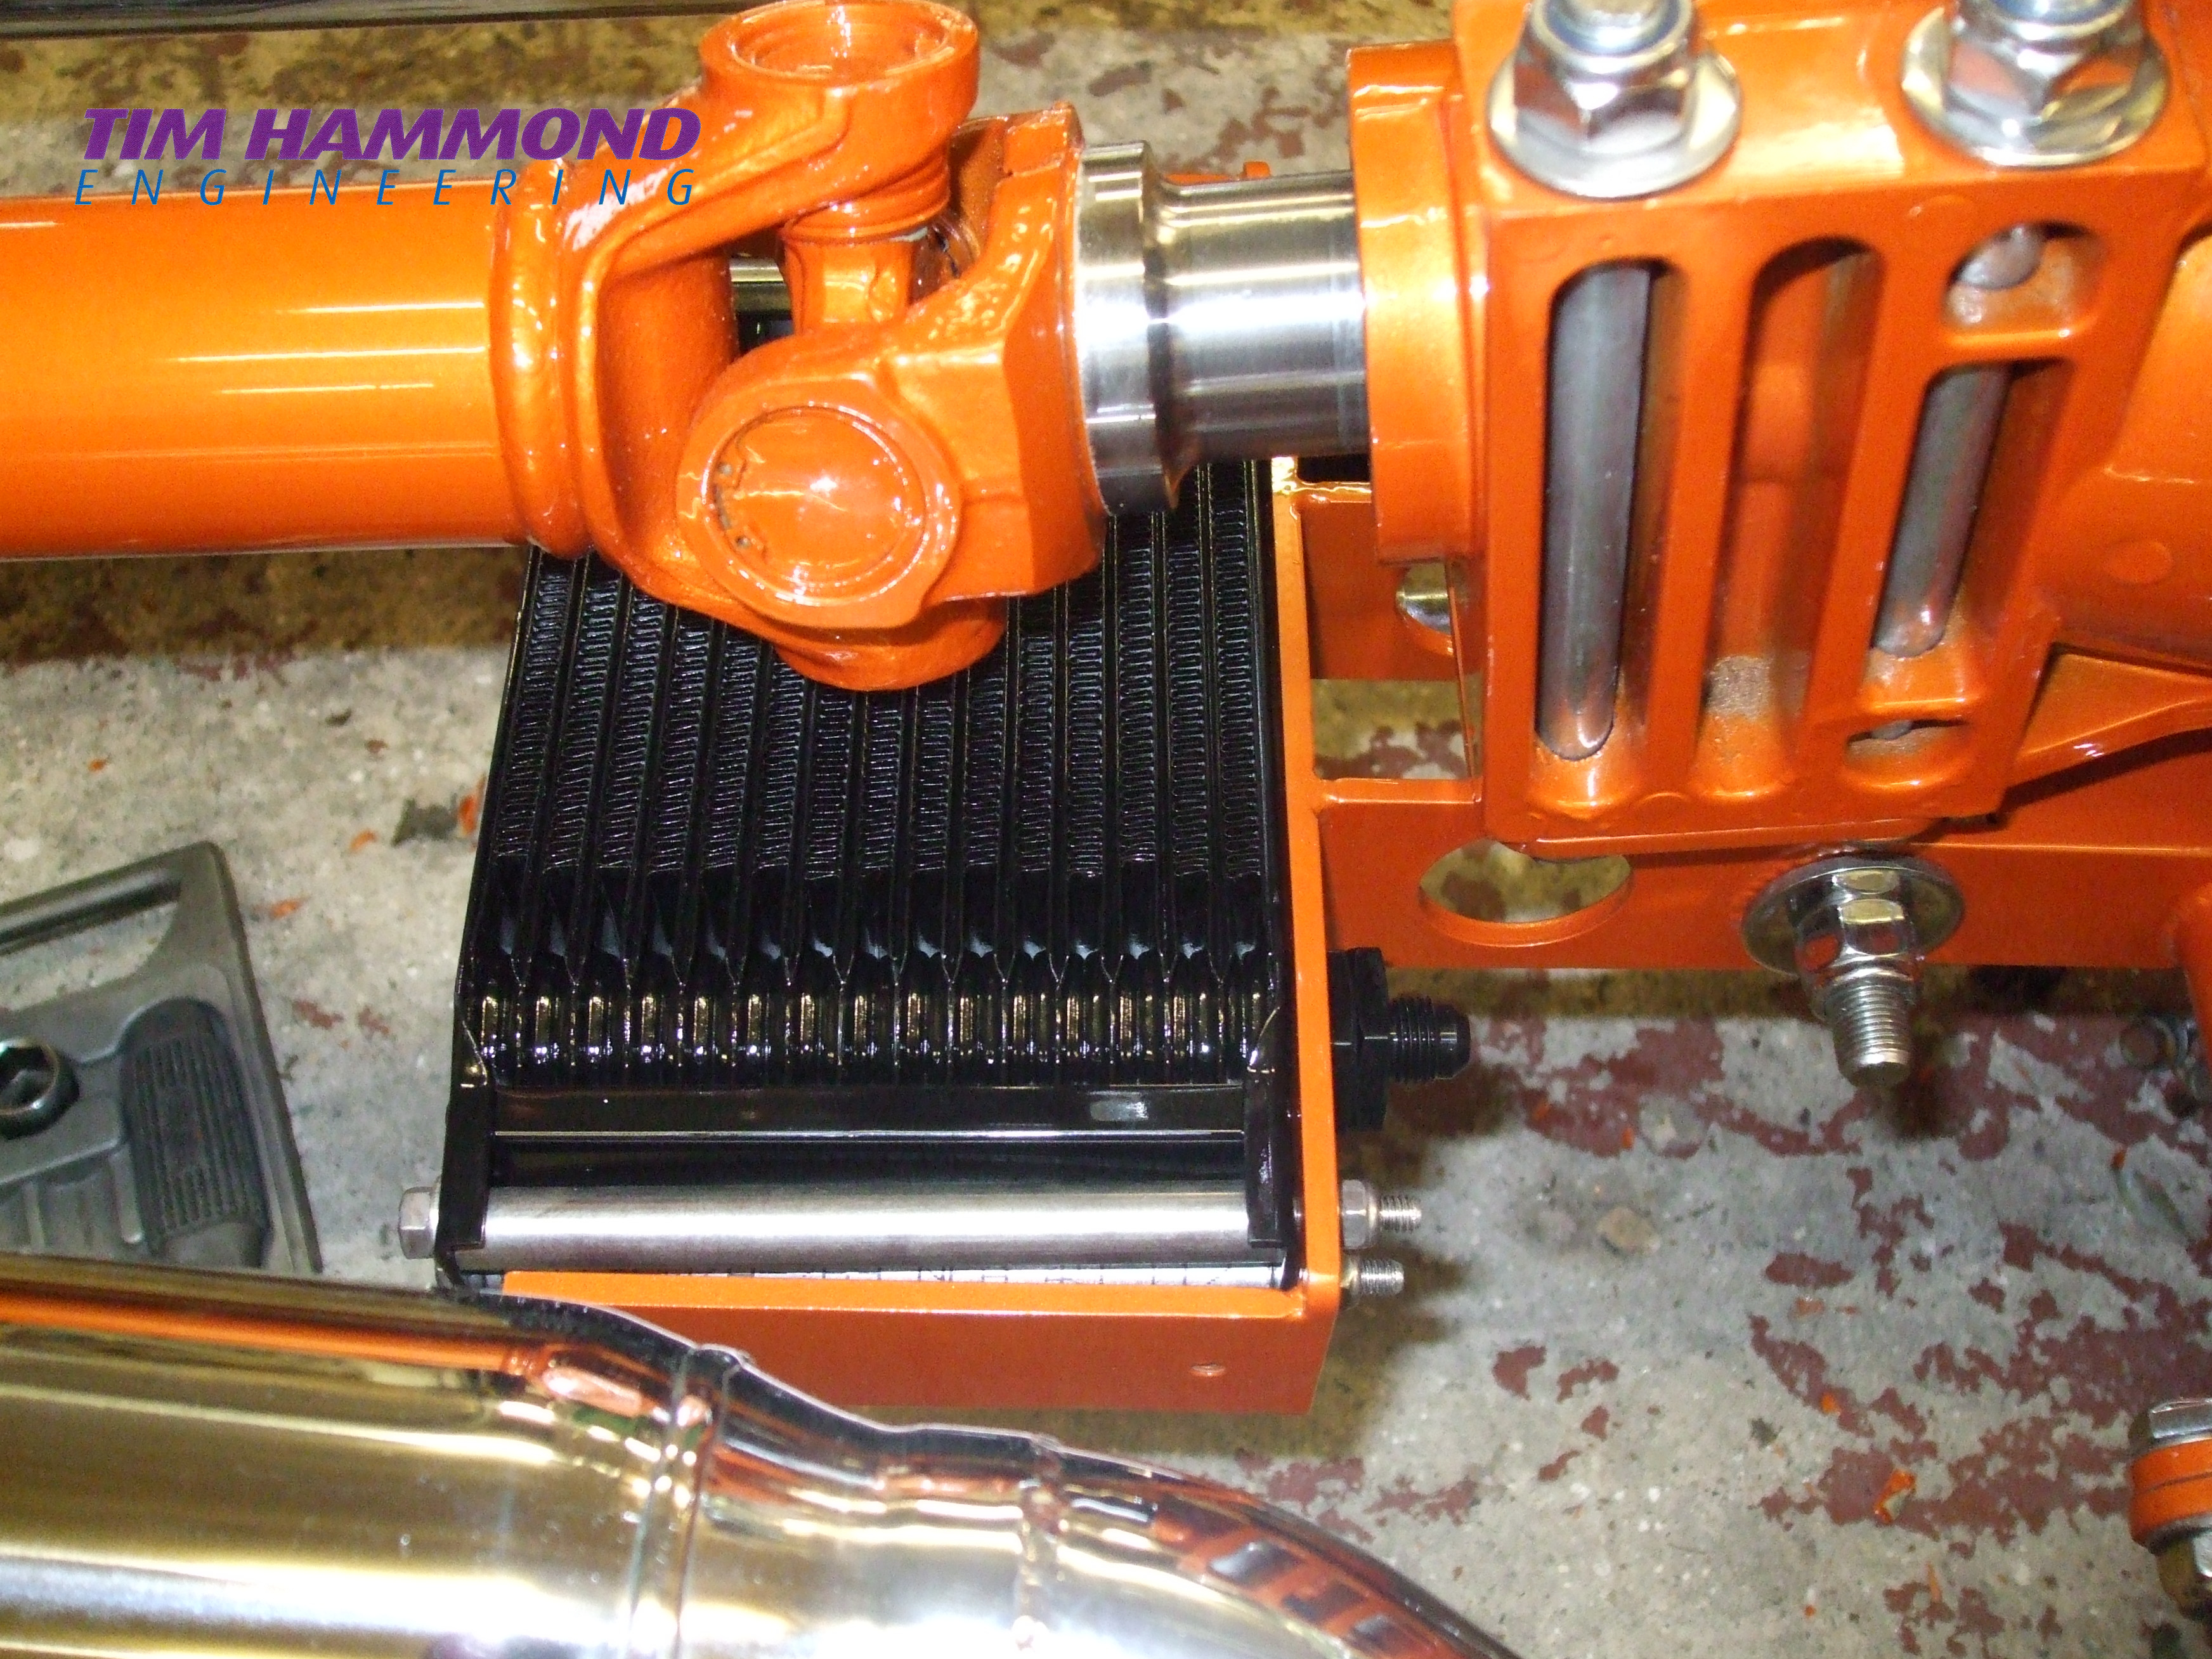
The transmission cooler was mounted horizontally in a steel box on the transmission cross member, just below the propshaft UJ. There is a scoop beneath and the idea is to use the UJ joint as a fan to draw air through the cooler.
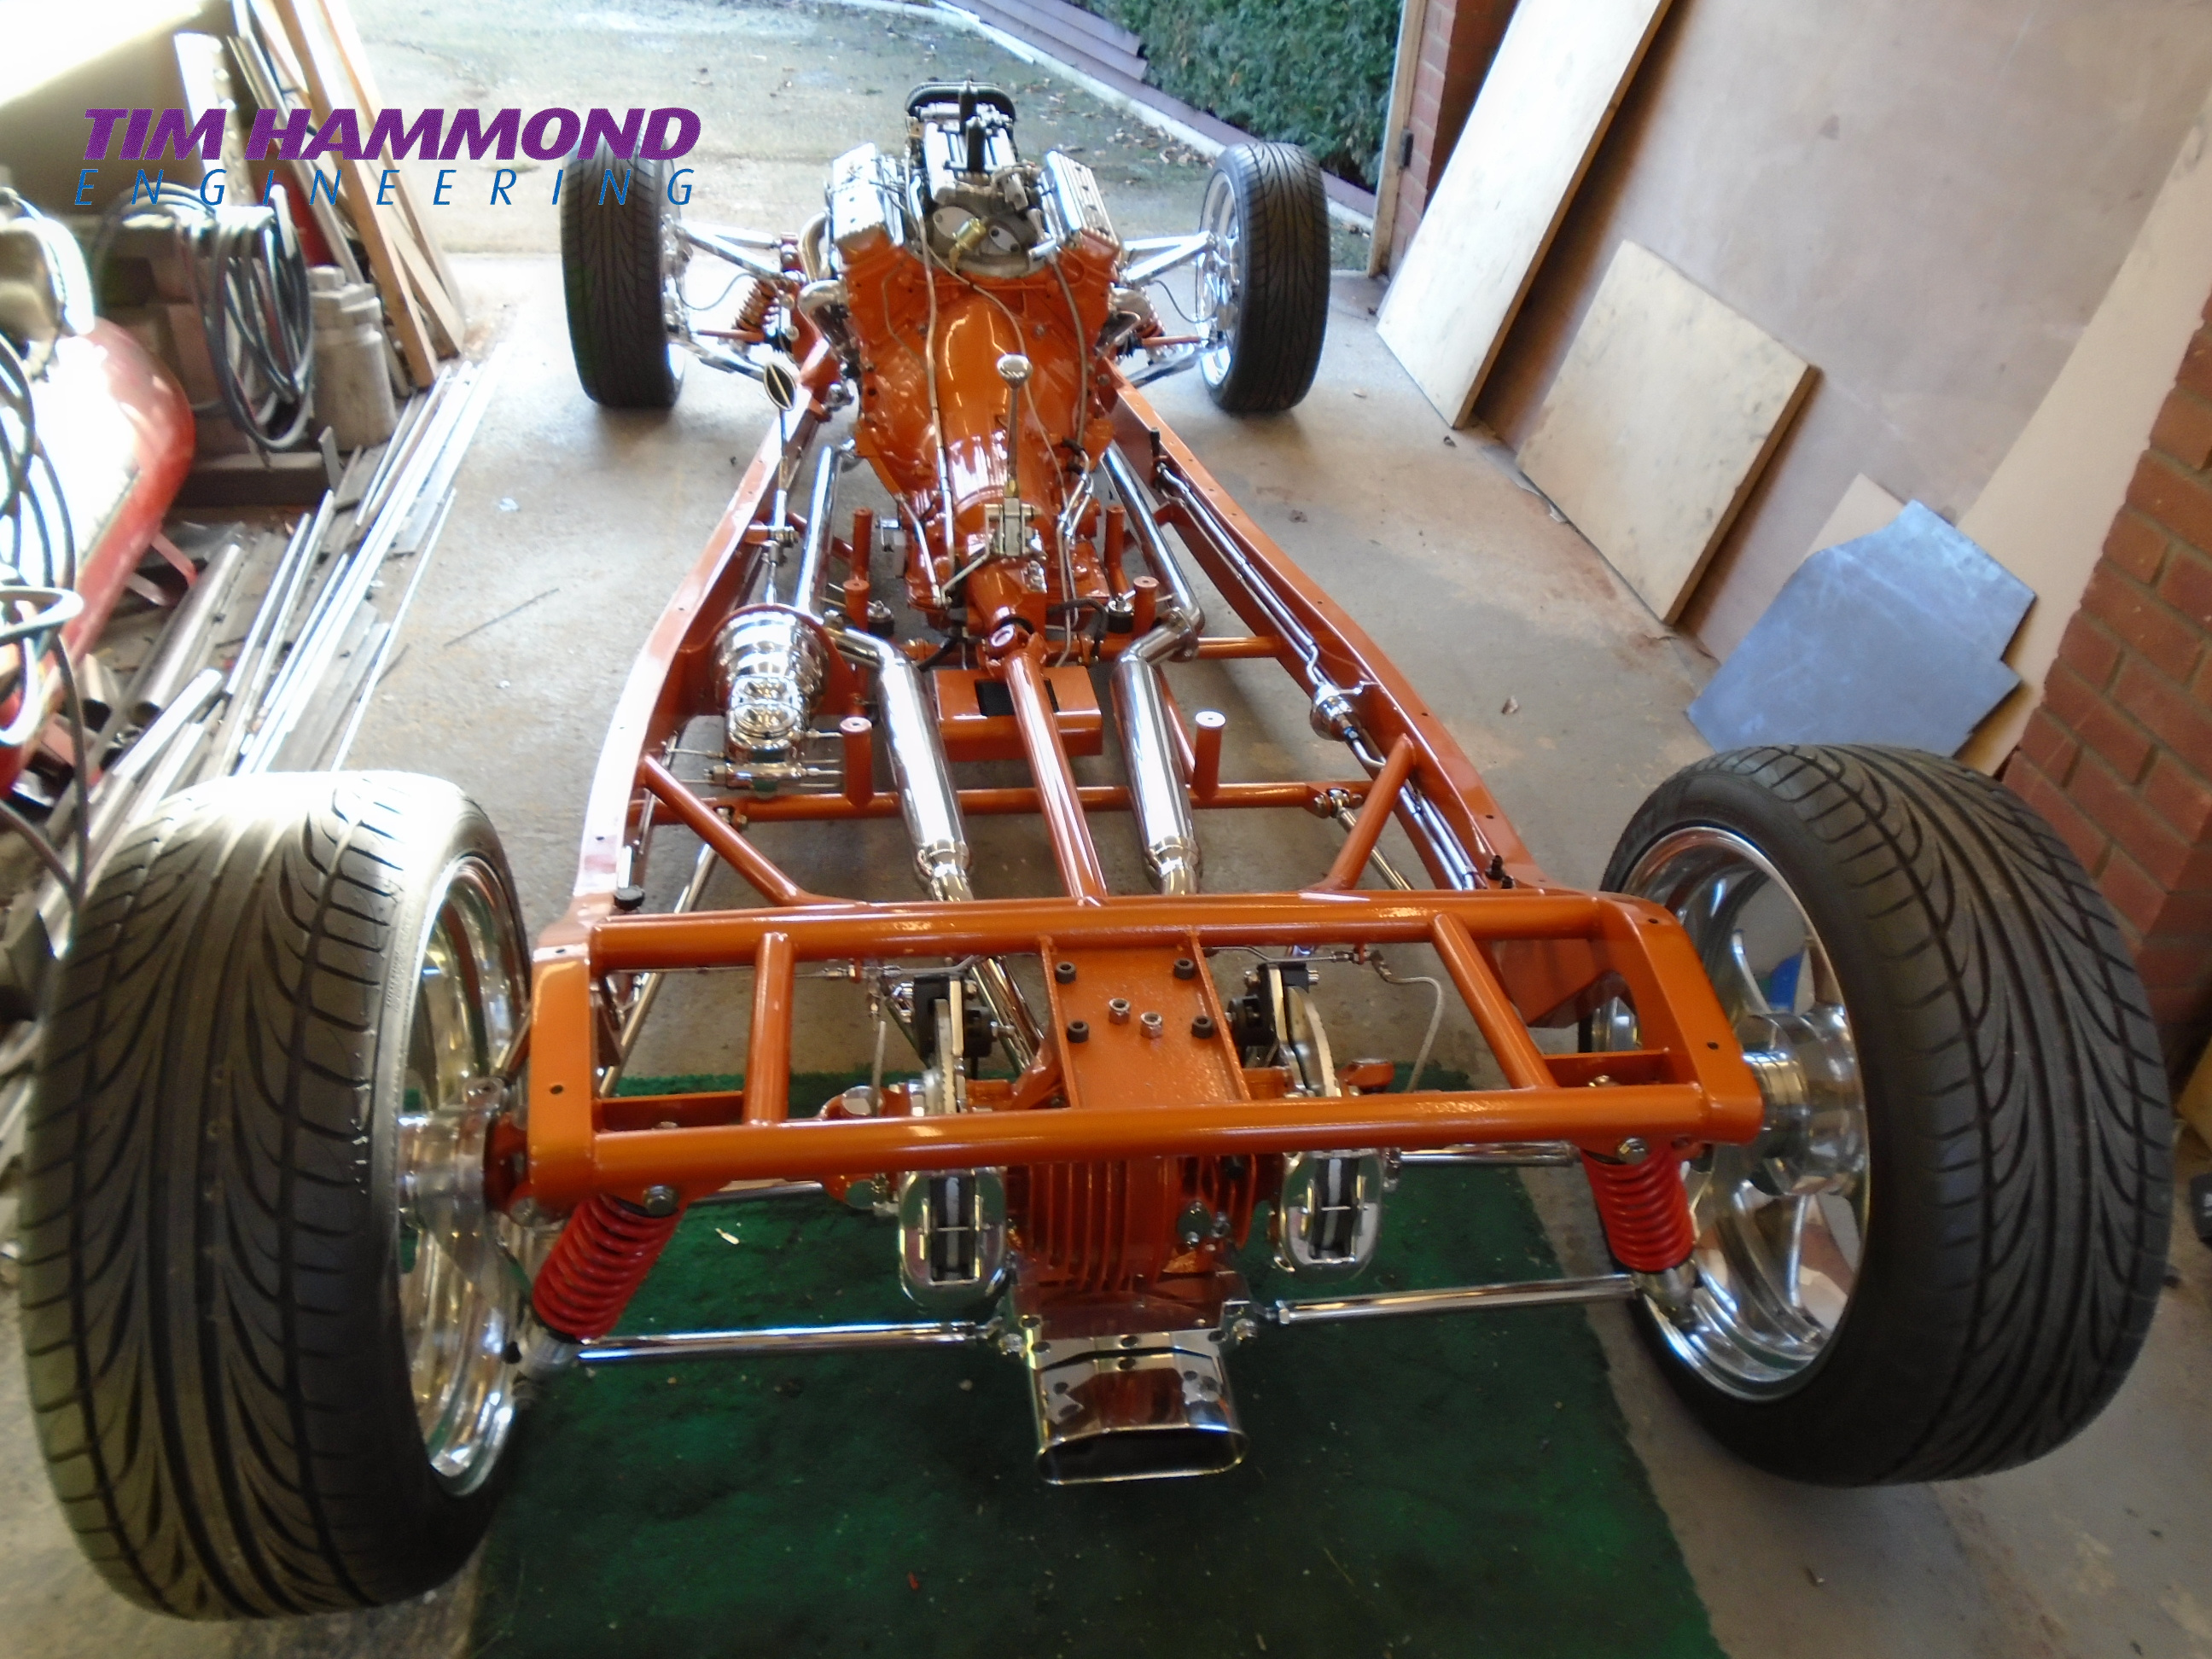
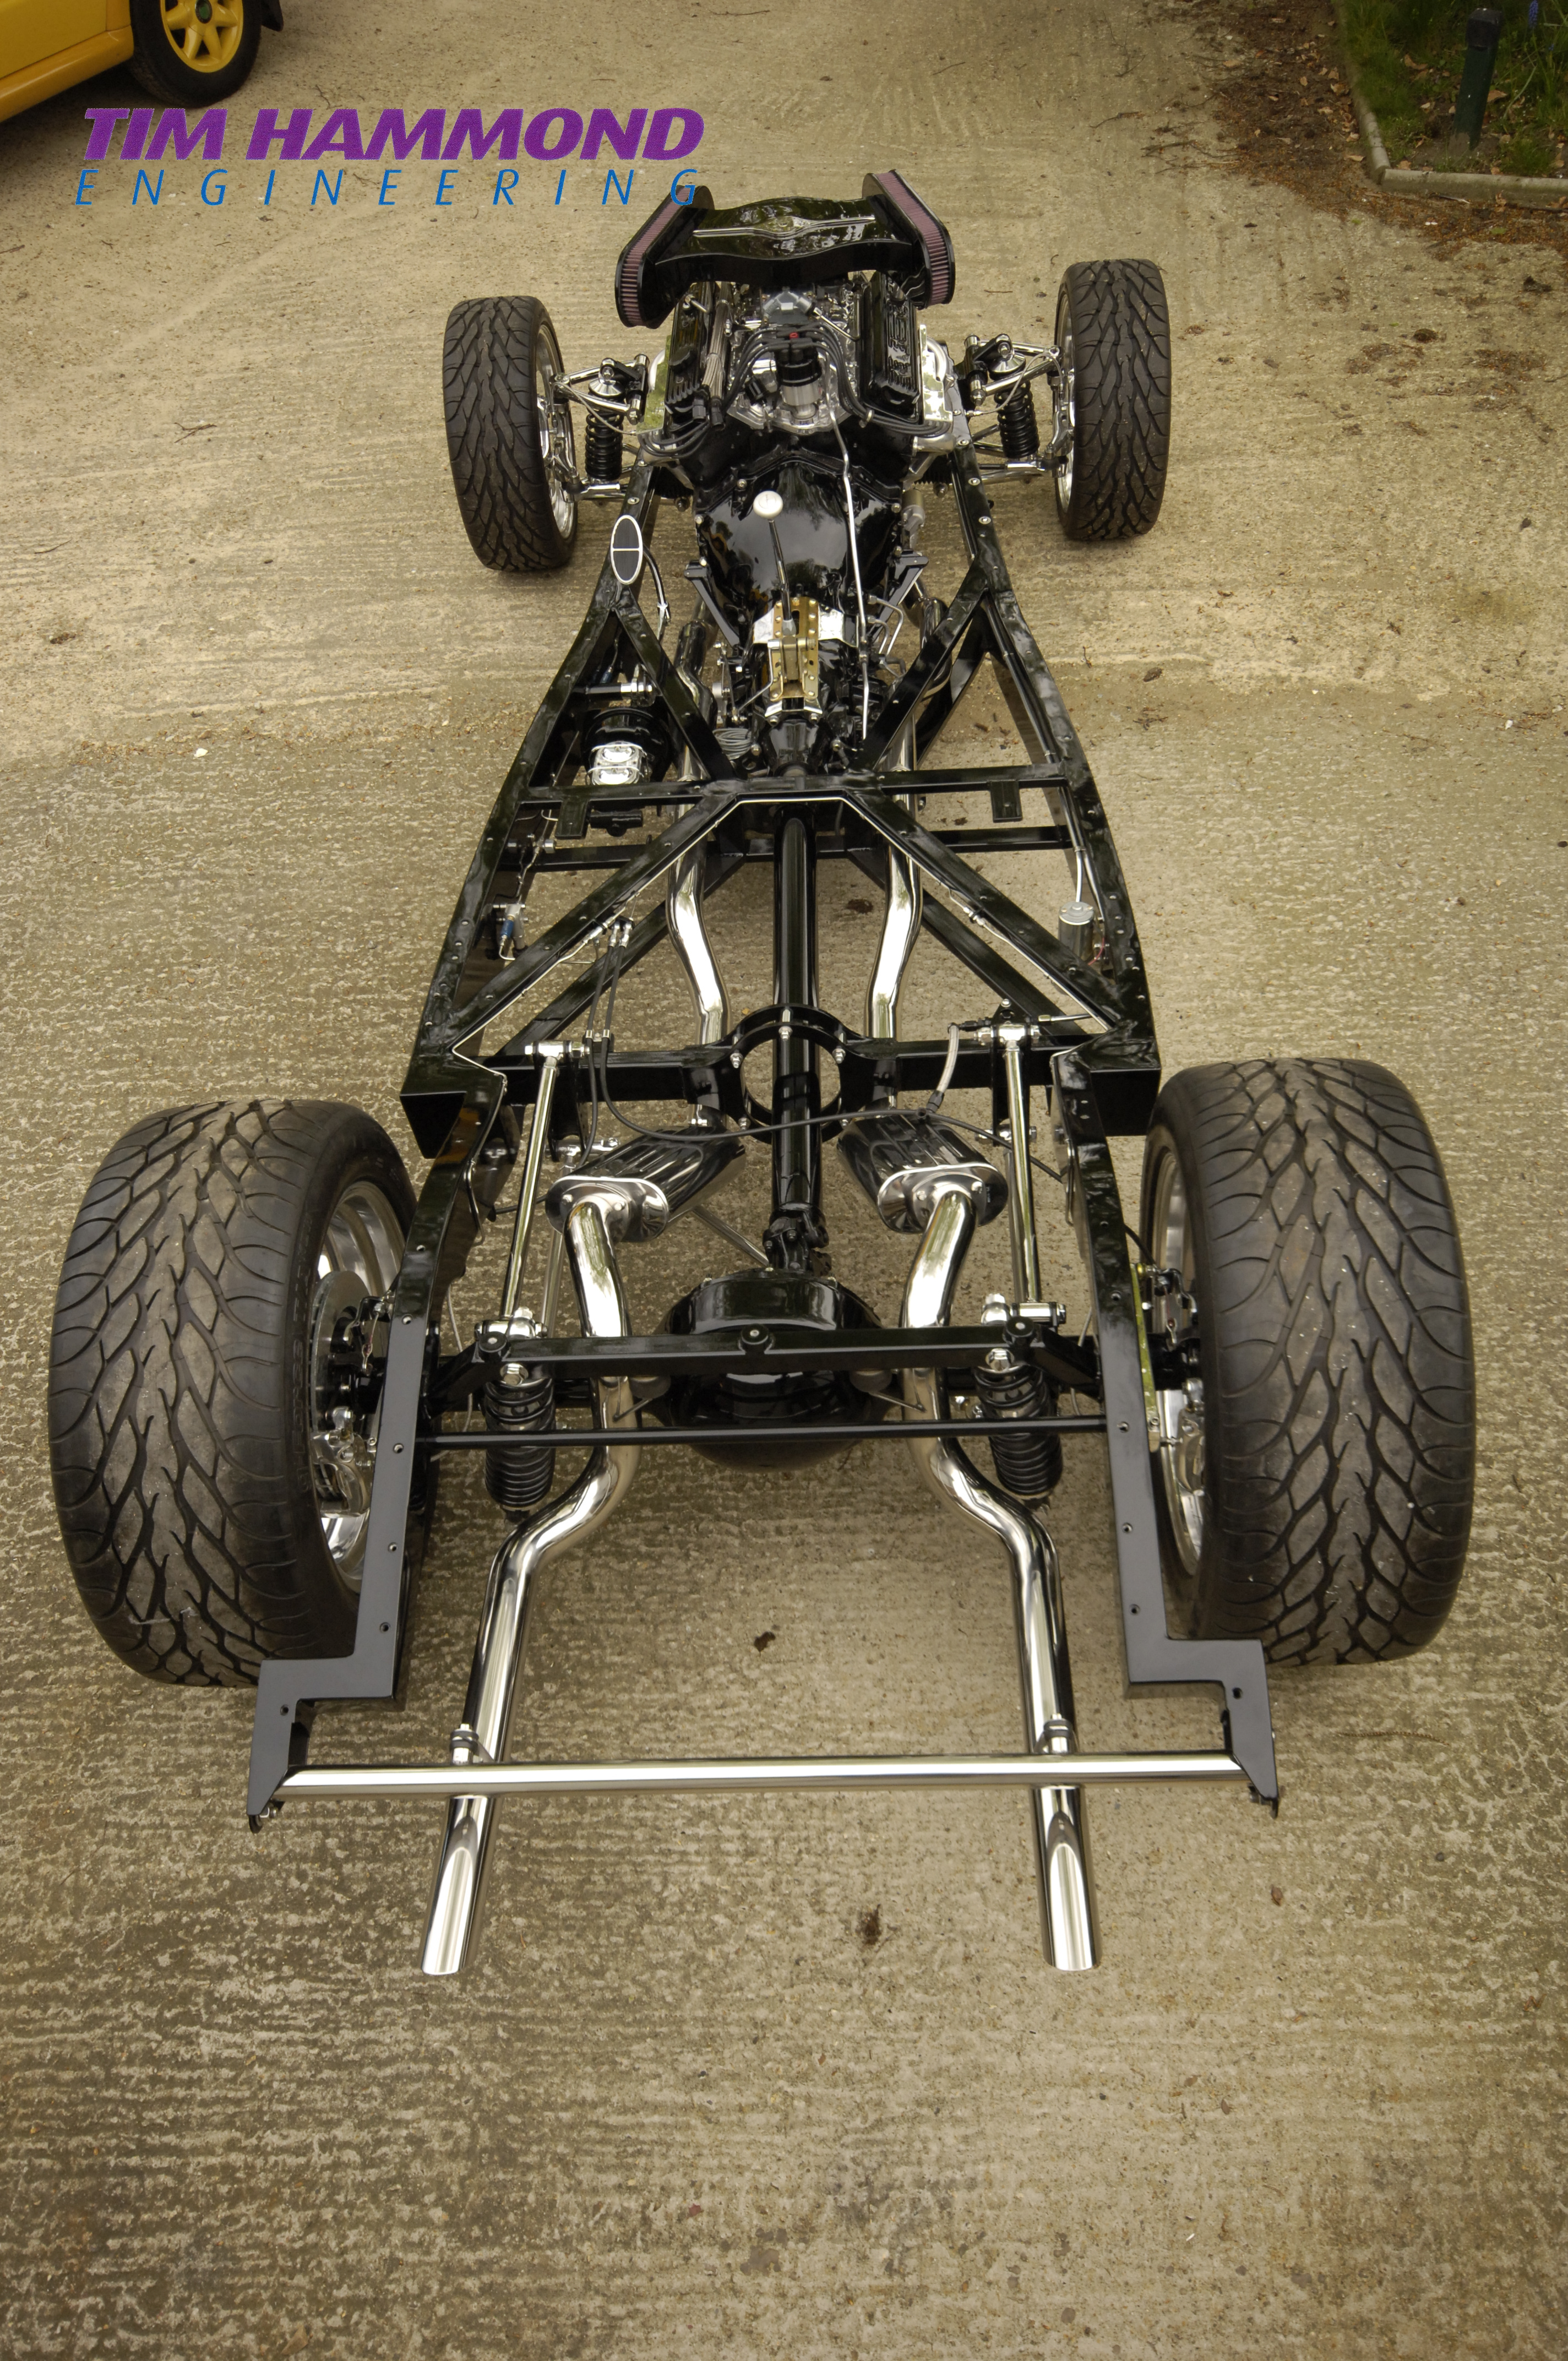
This completed the rolling chassis, now for the body.
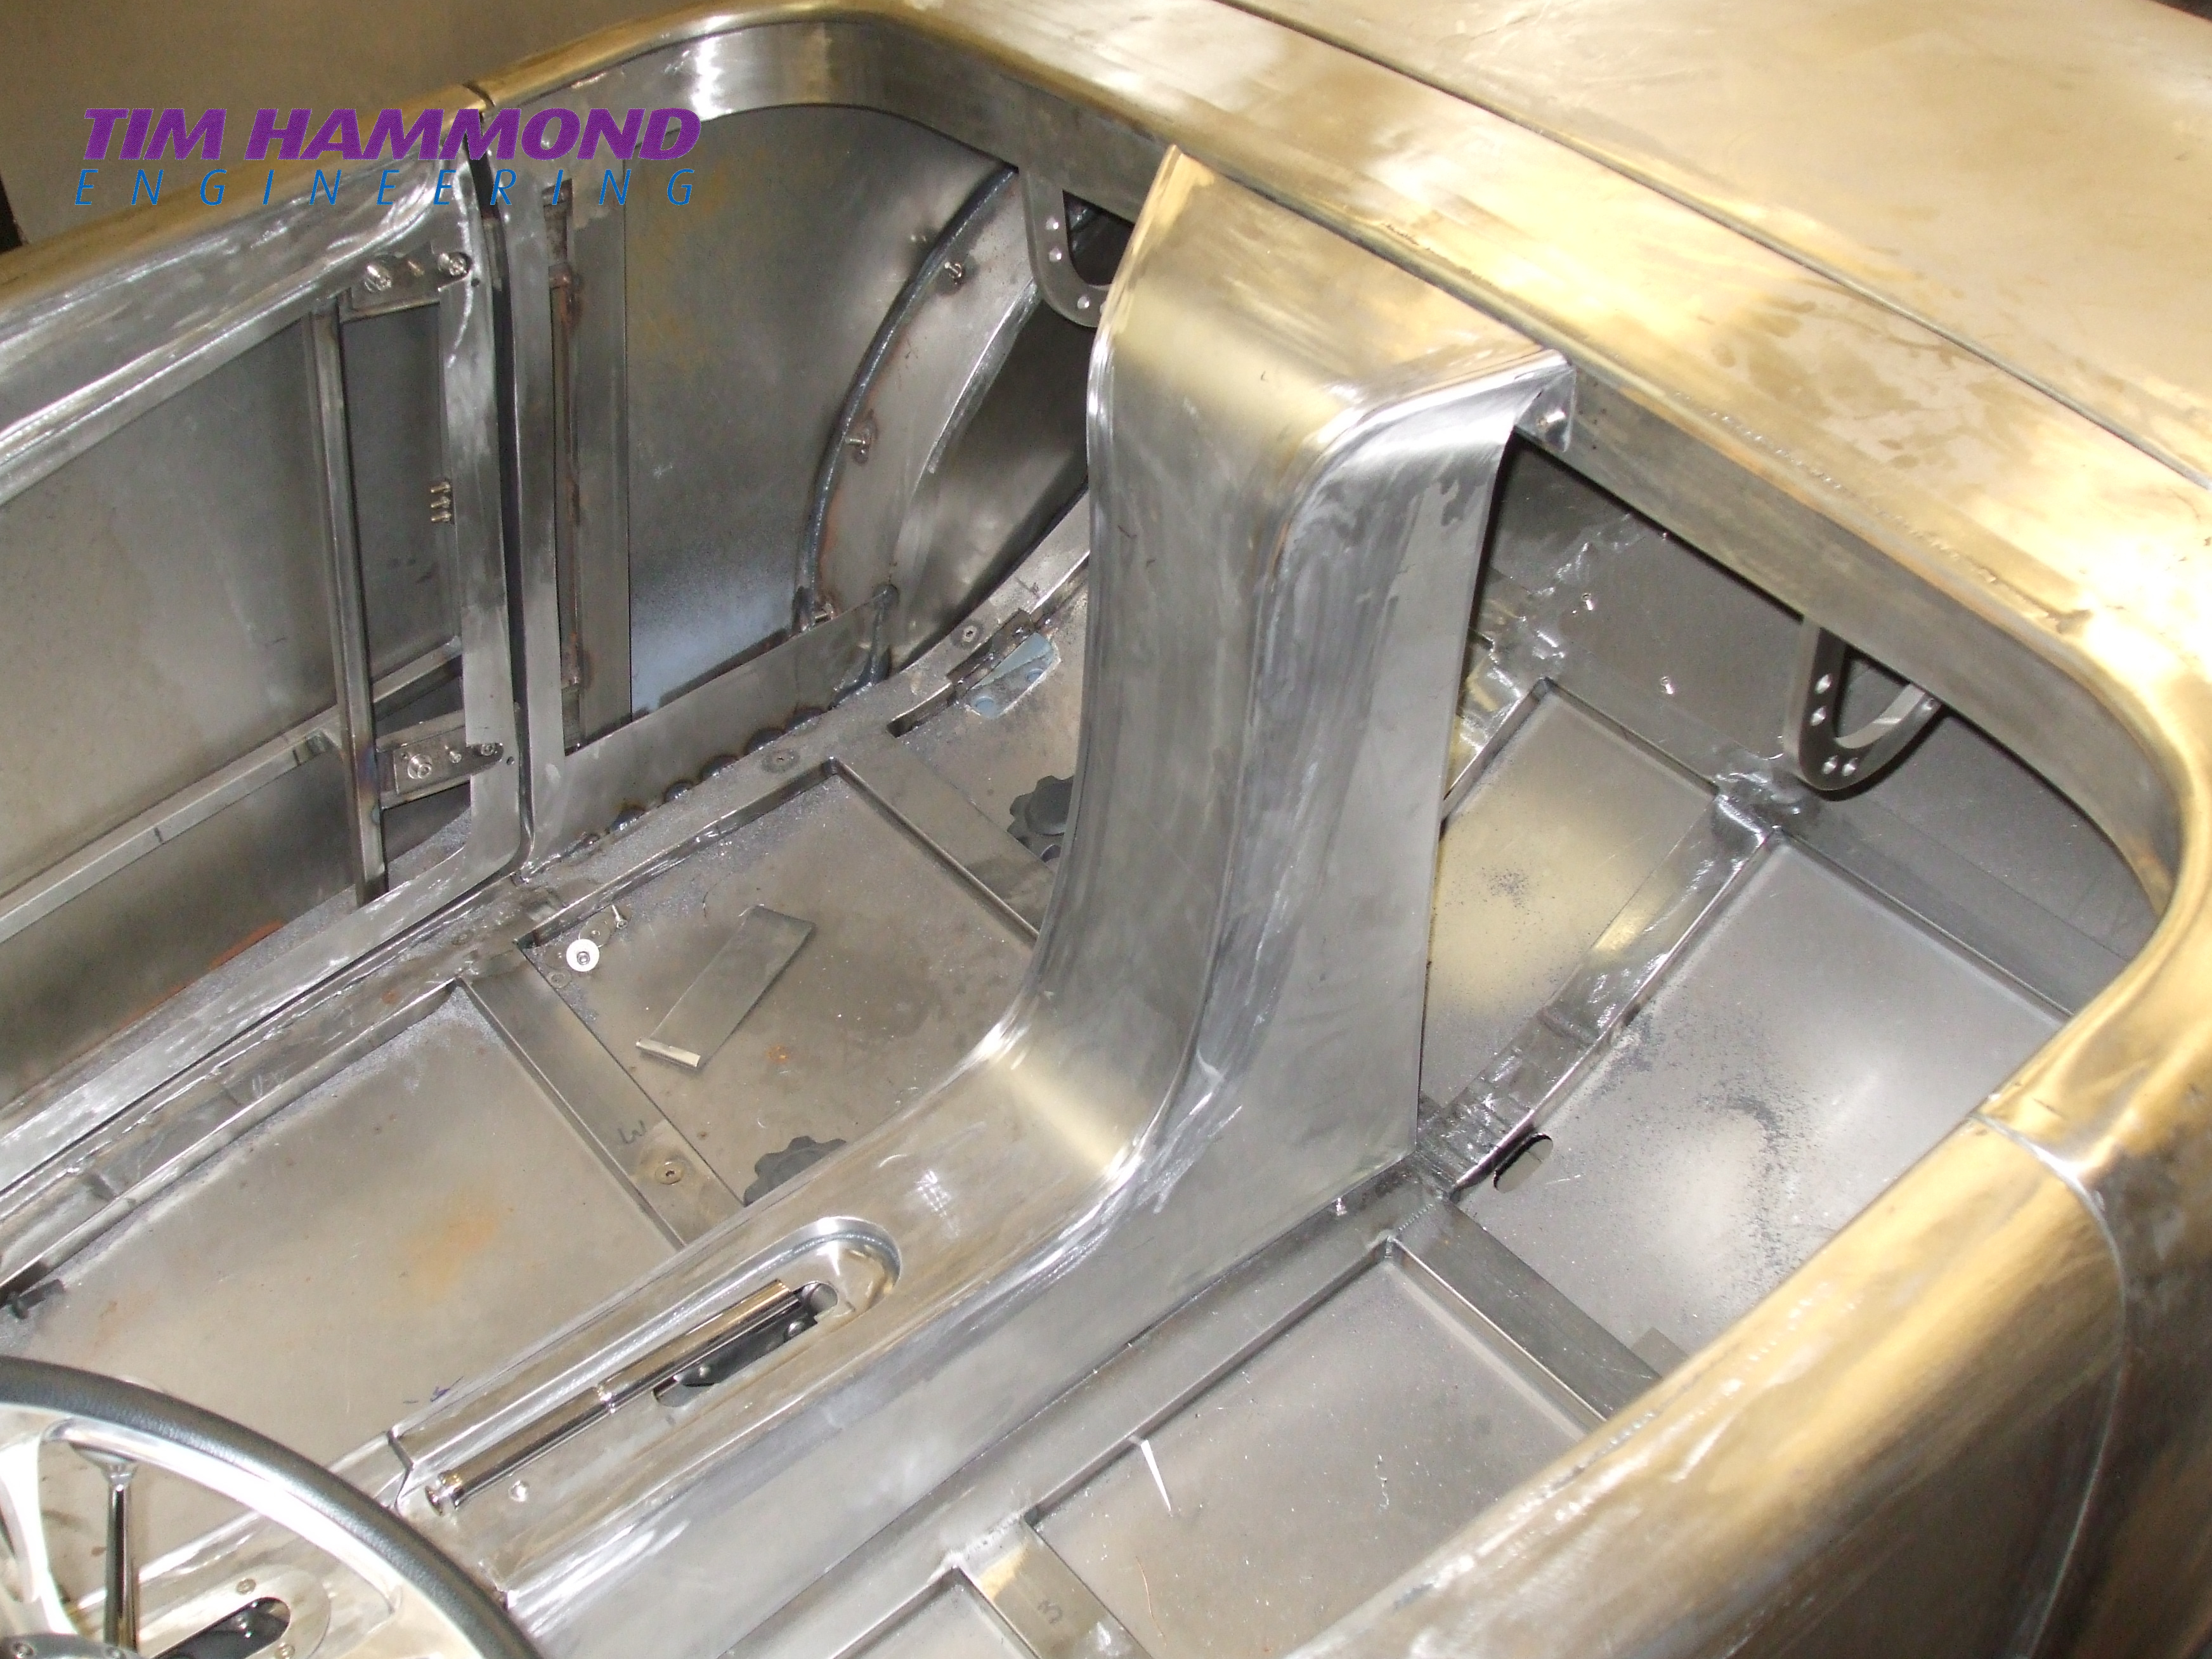
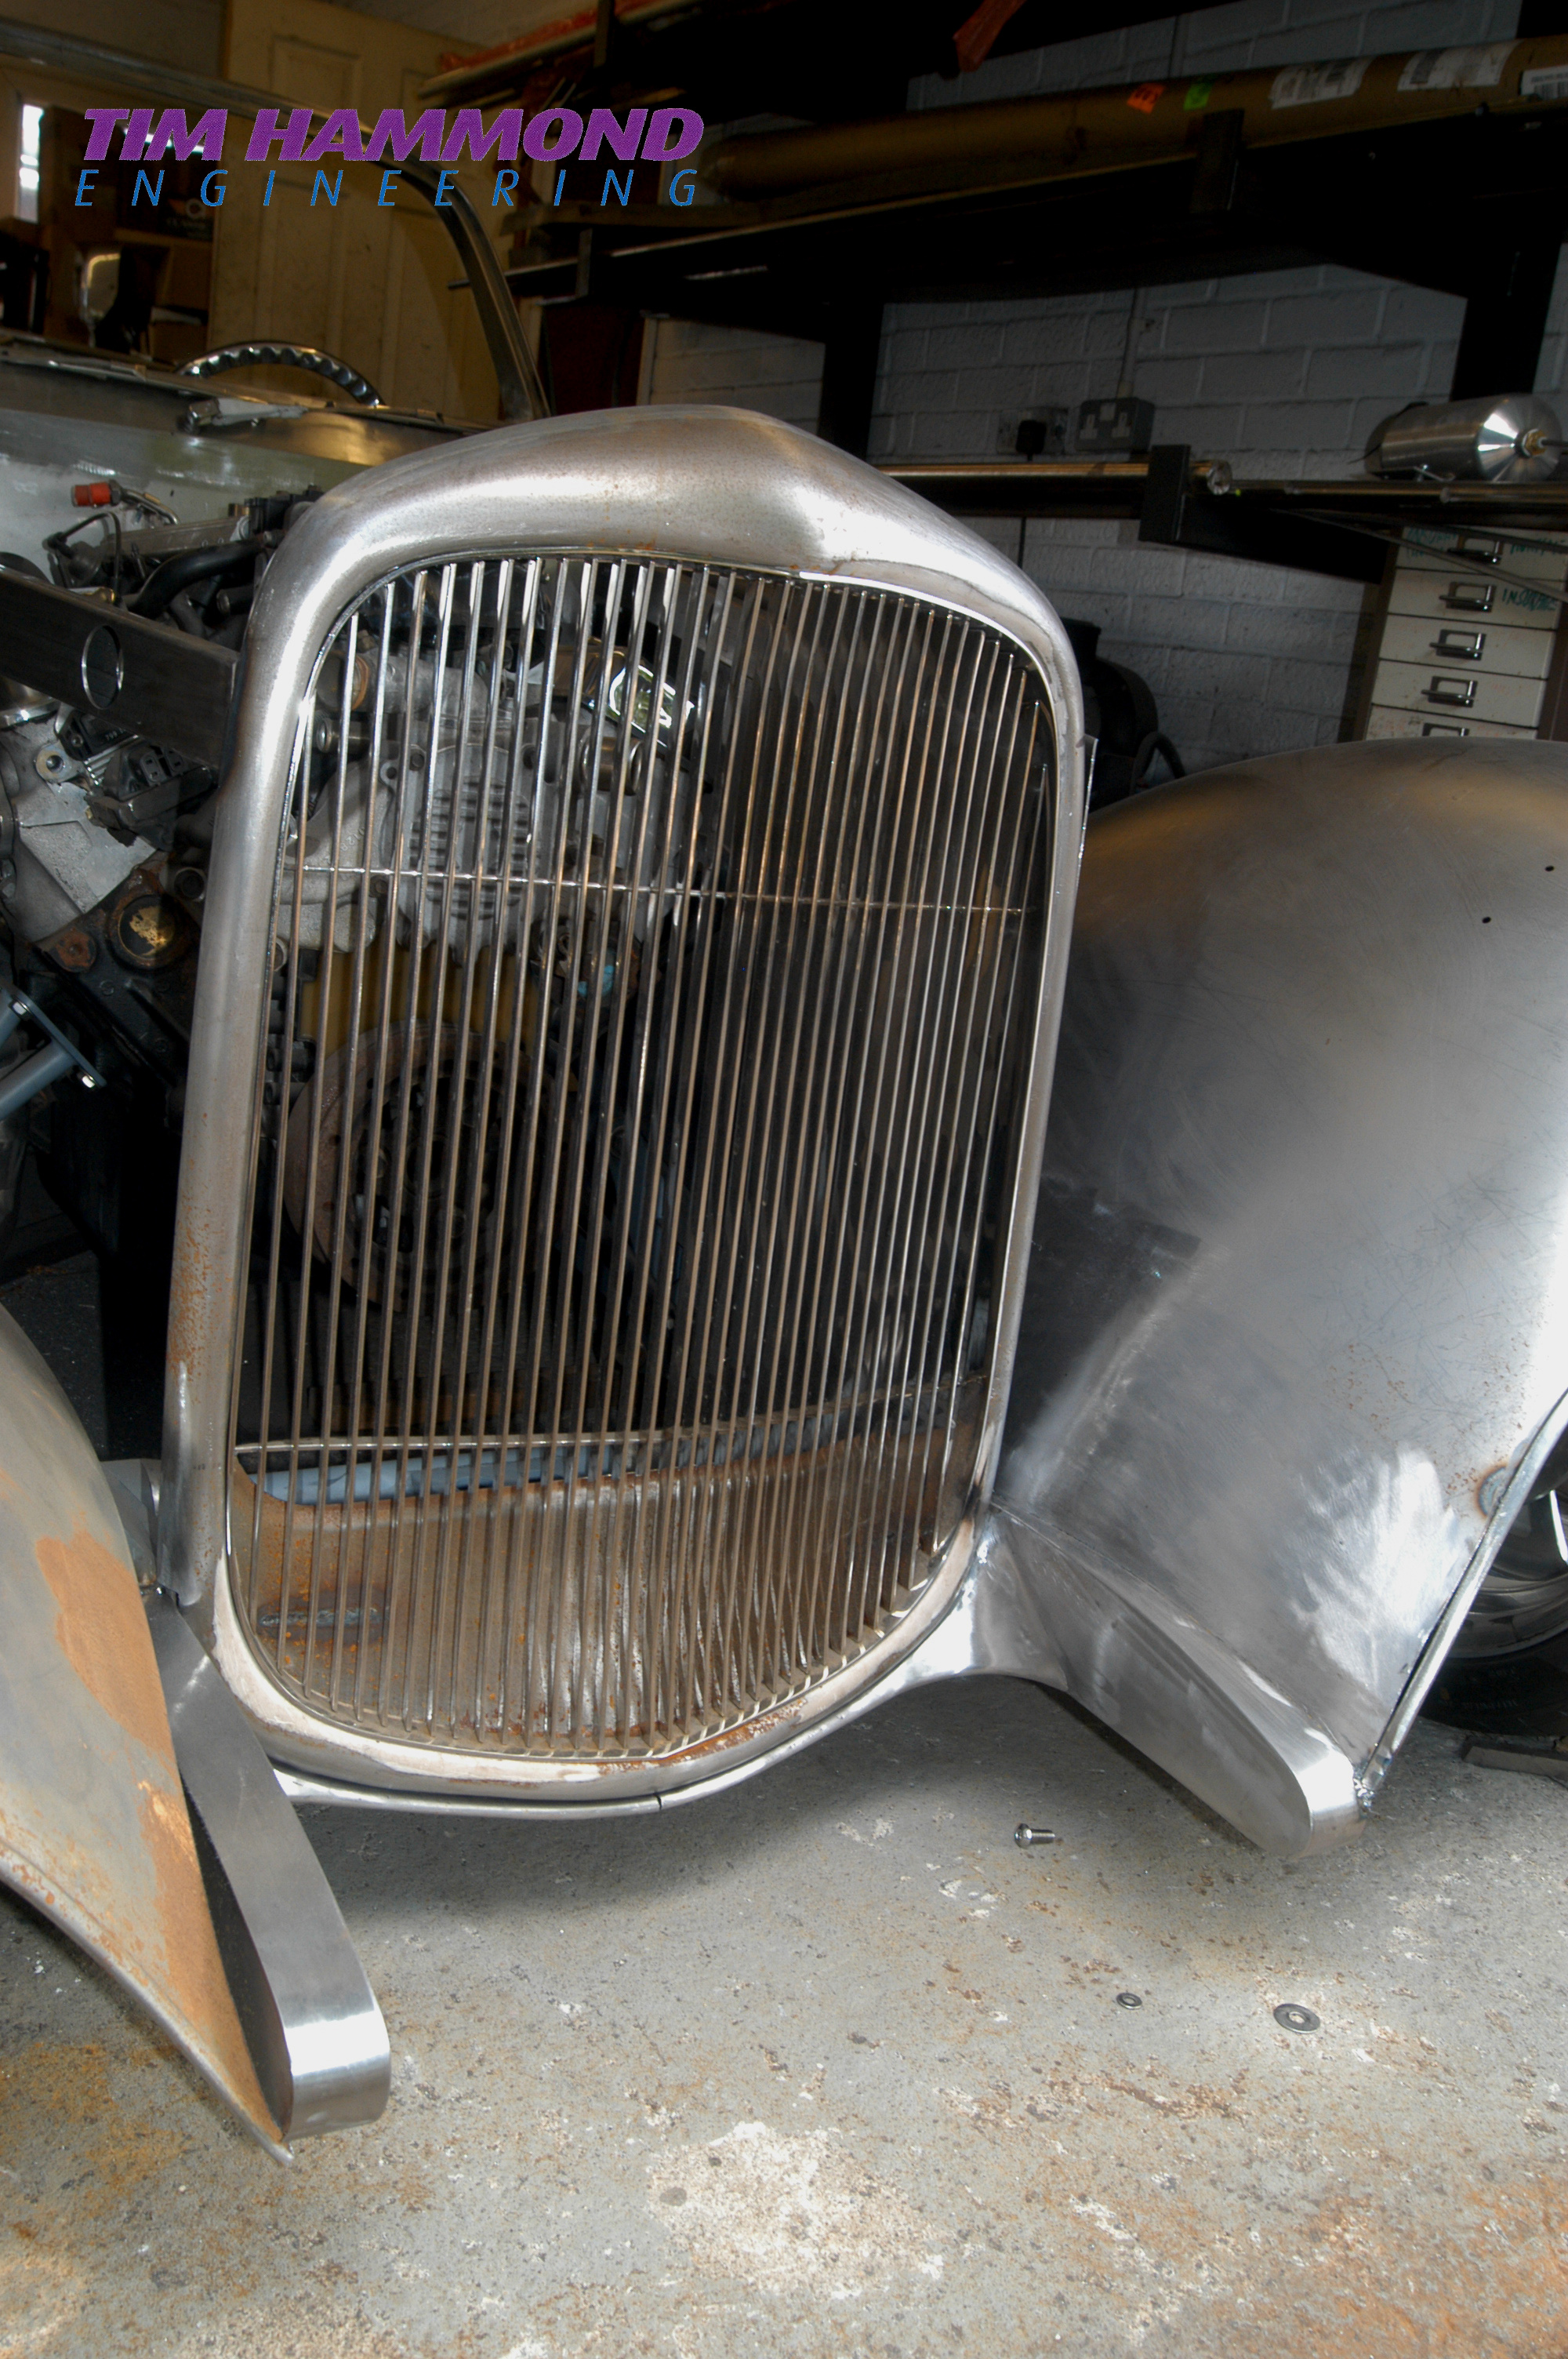
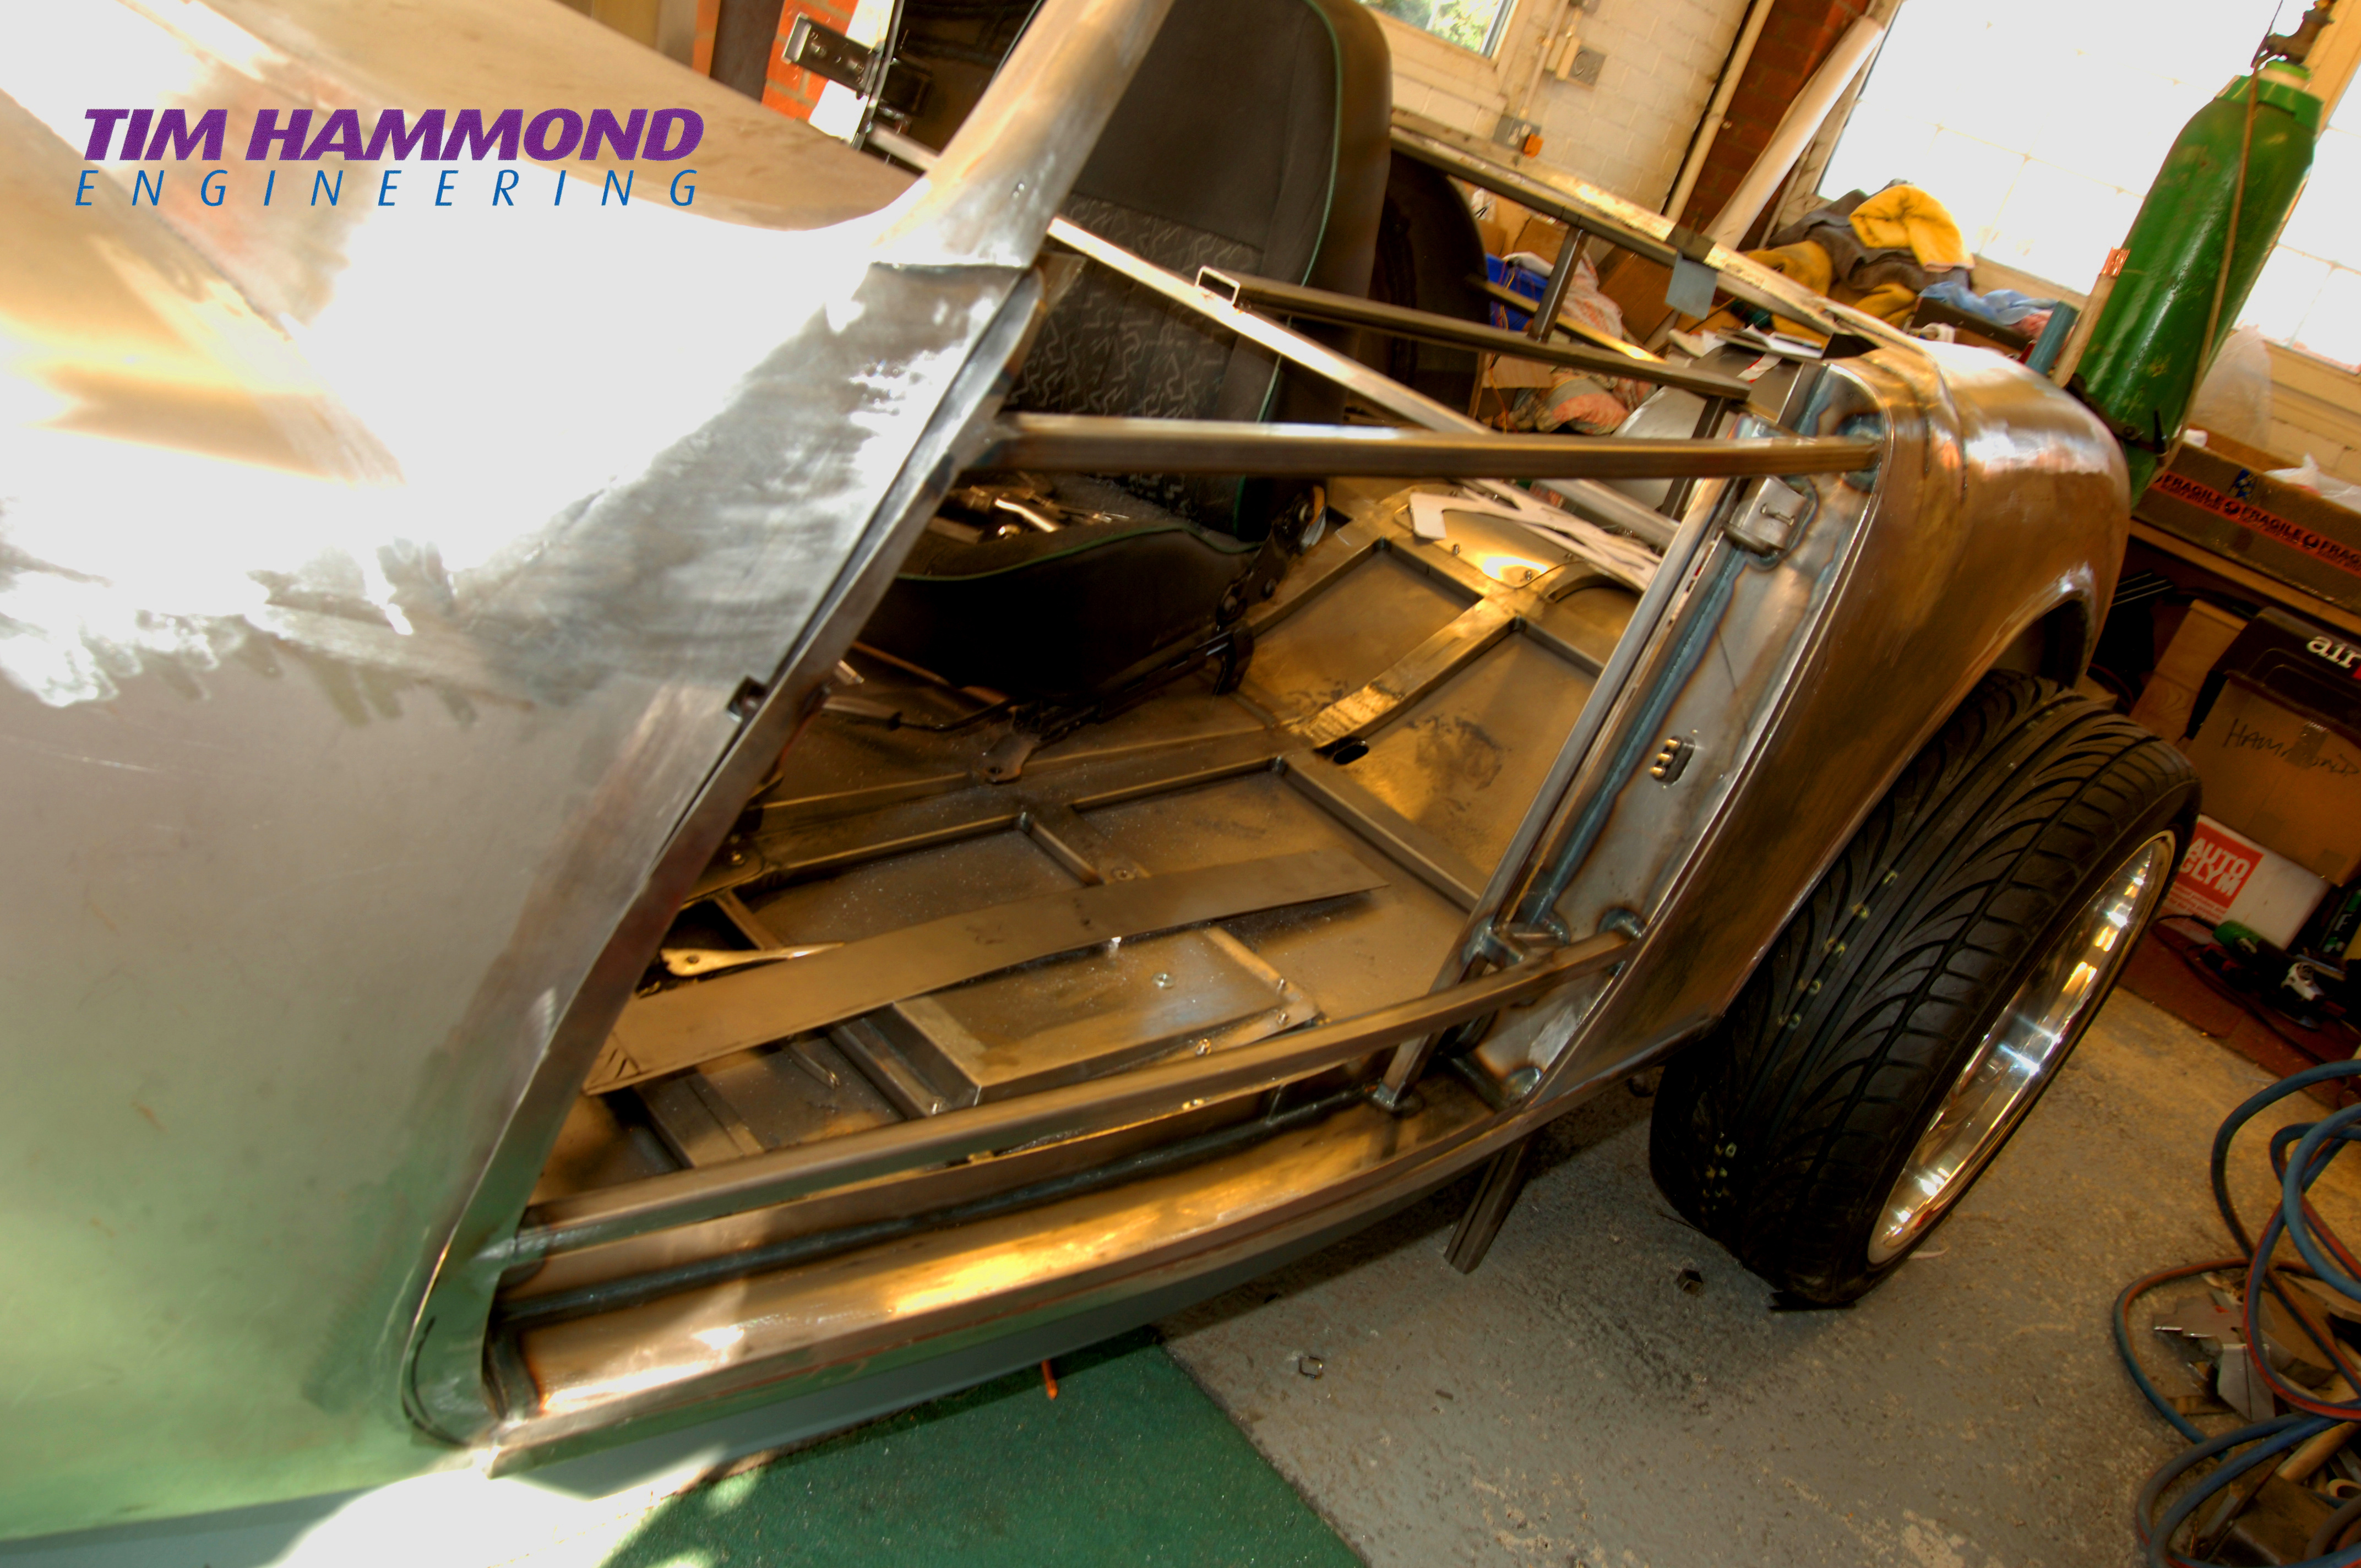
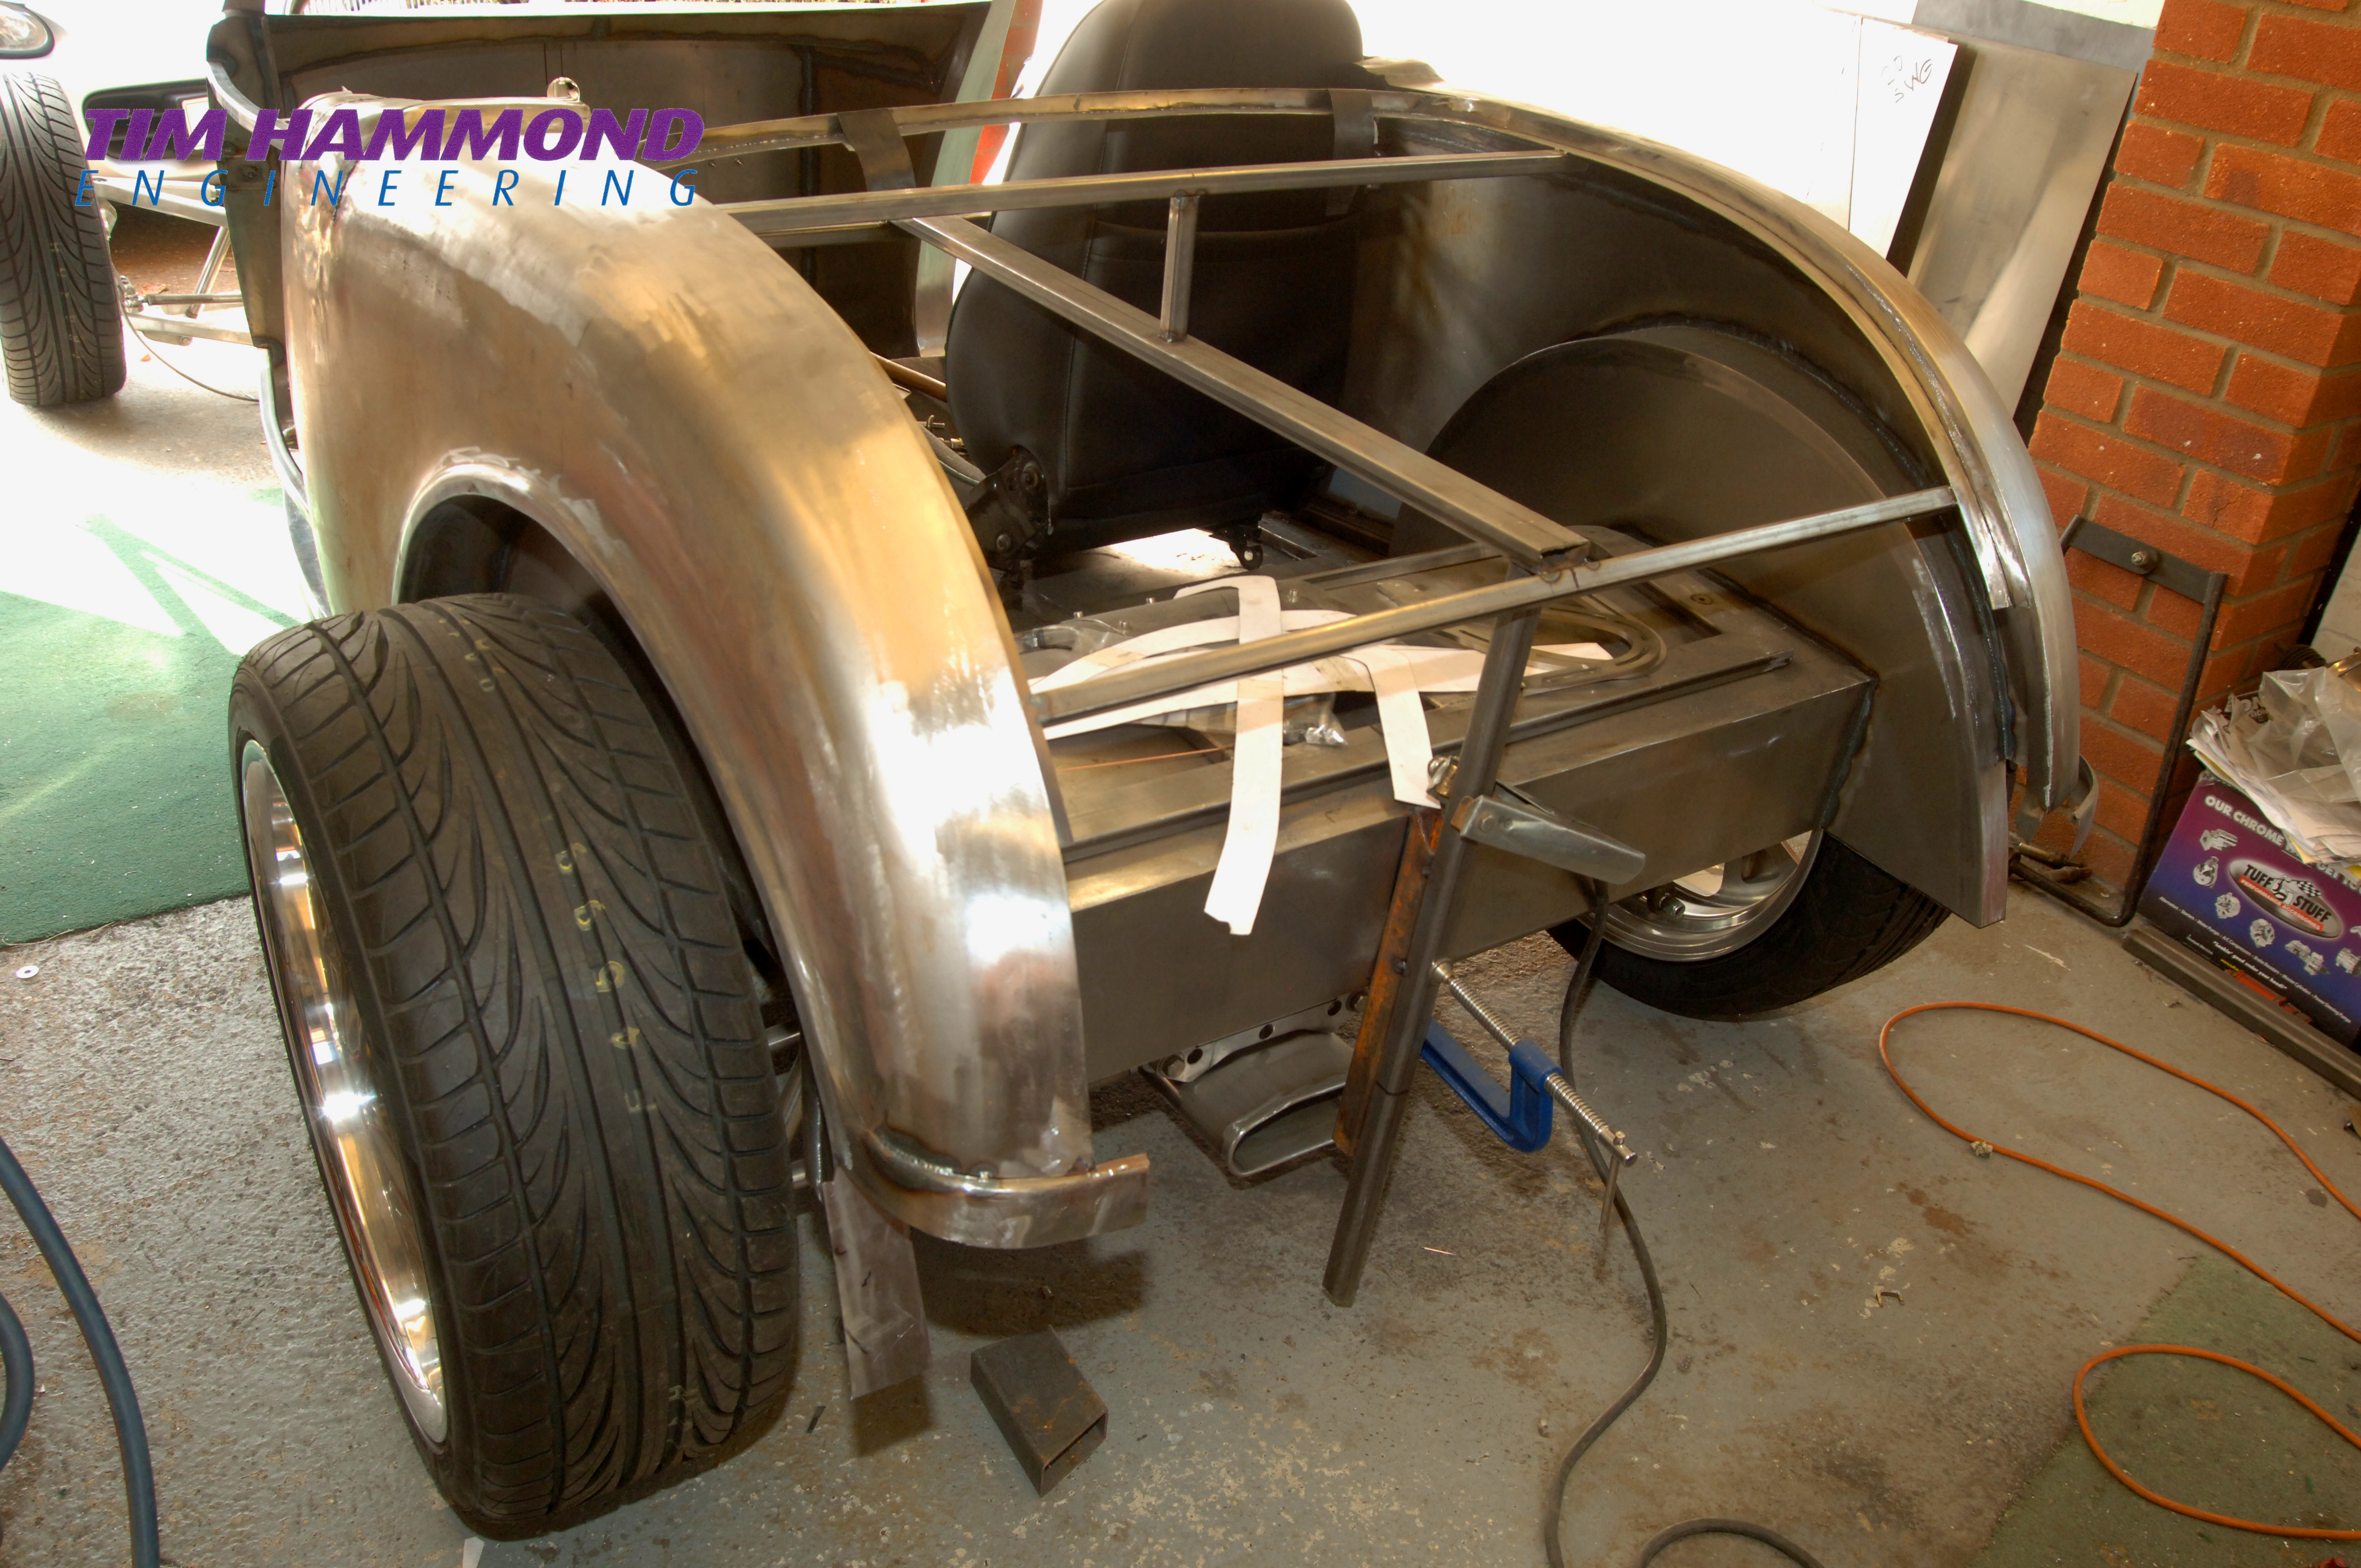
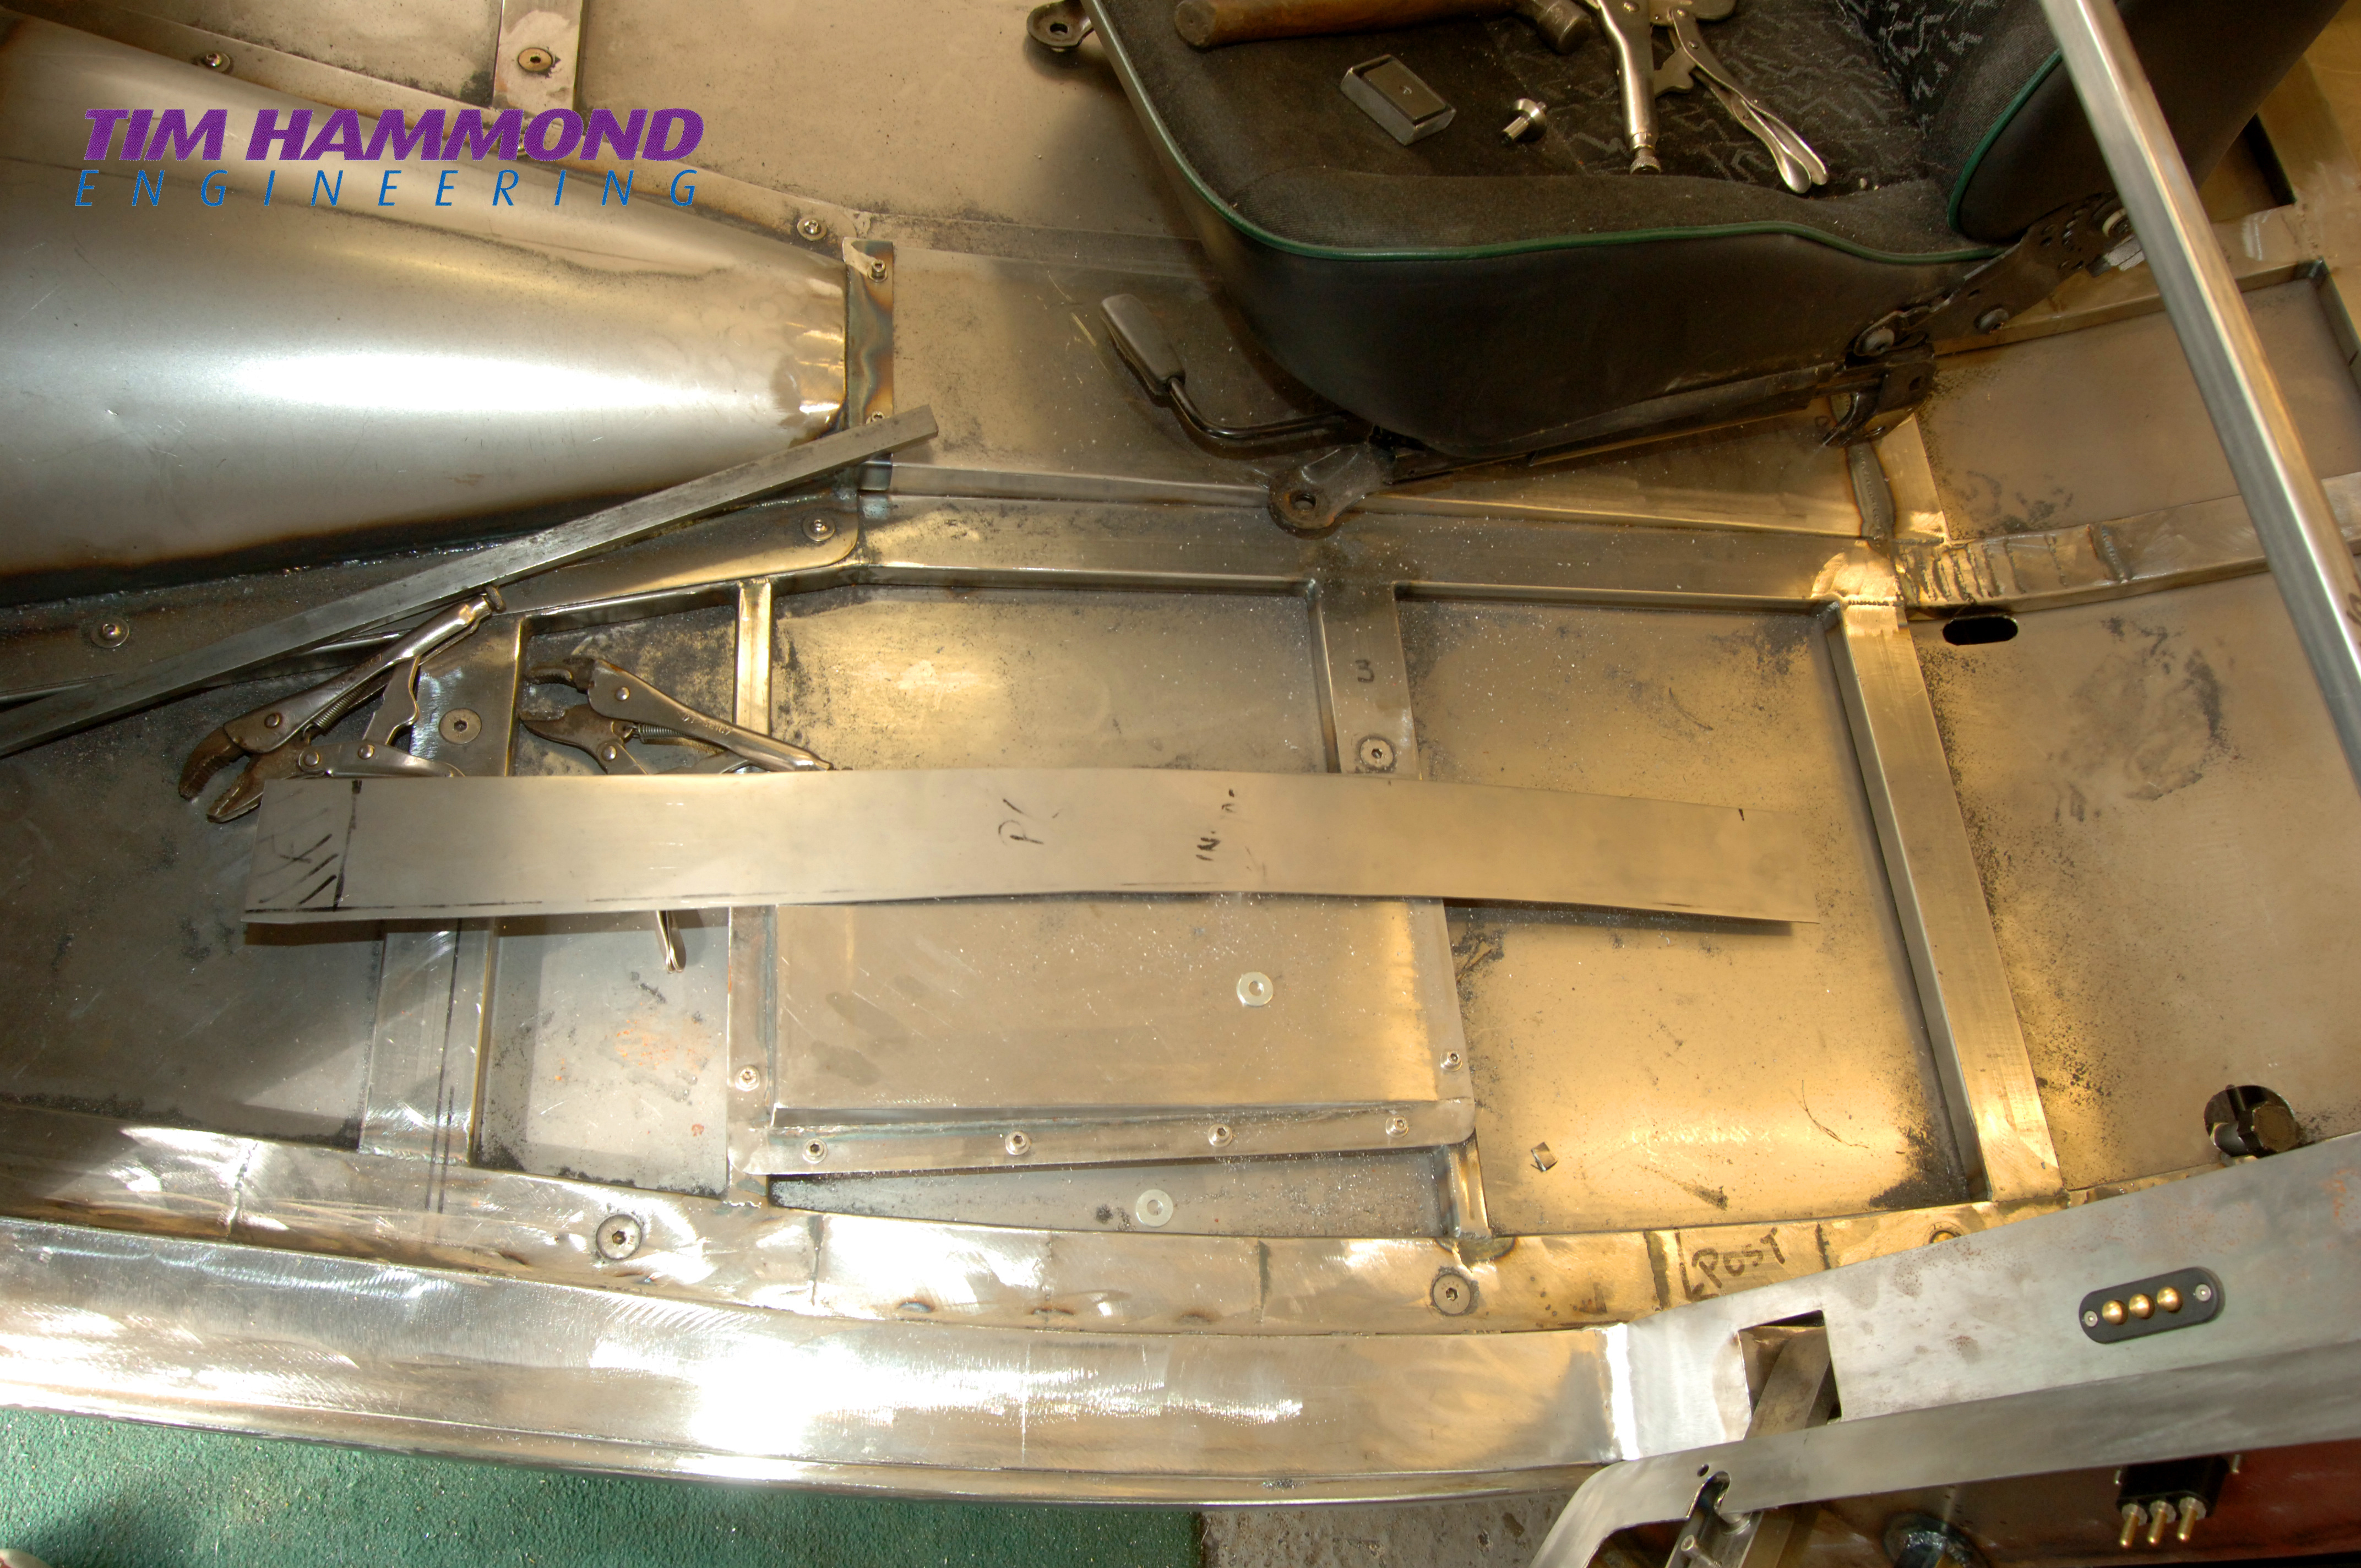
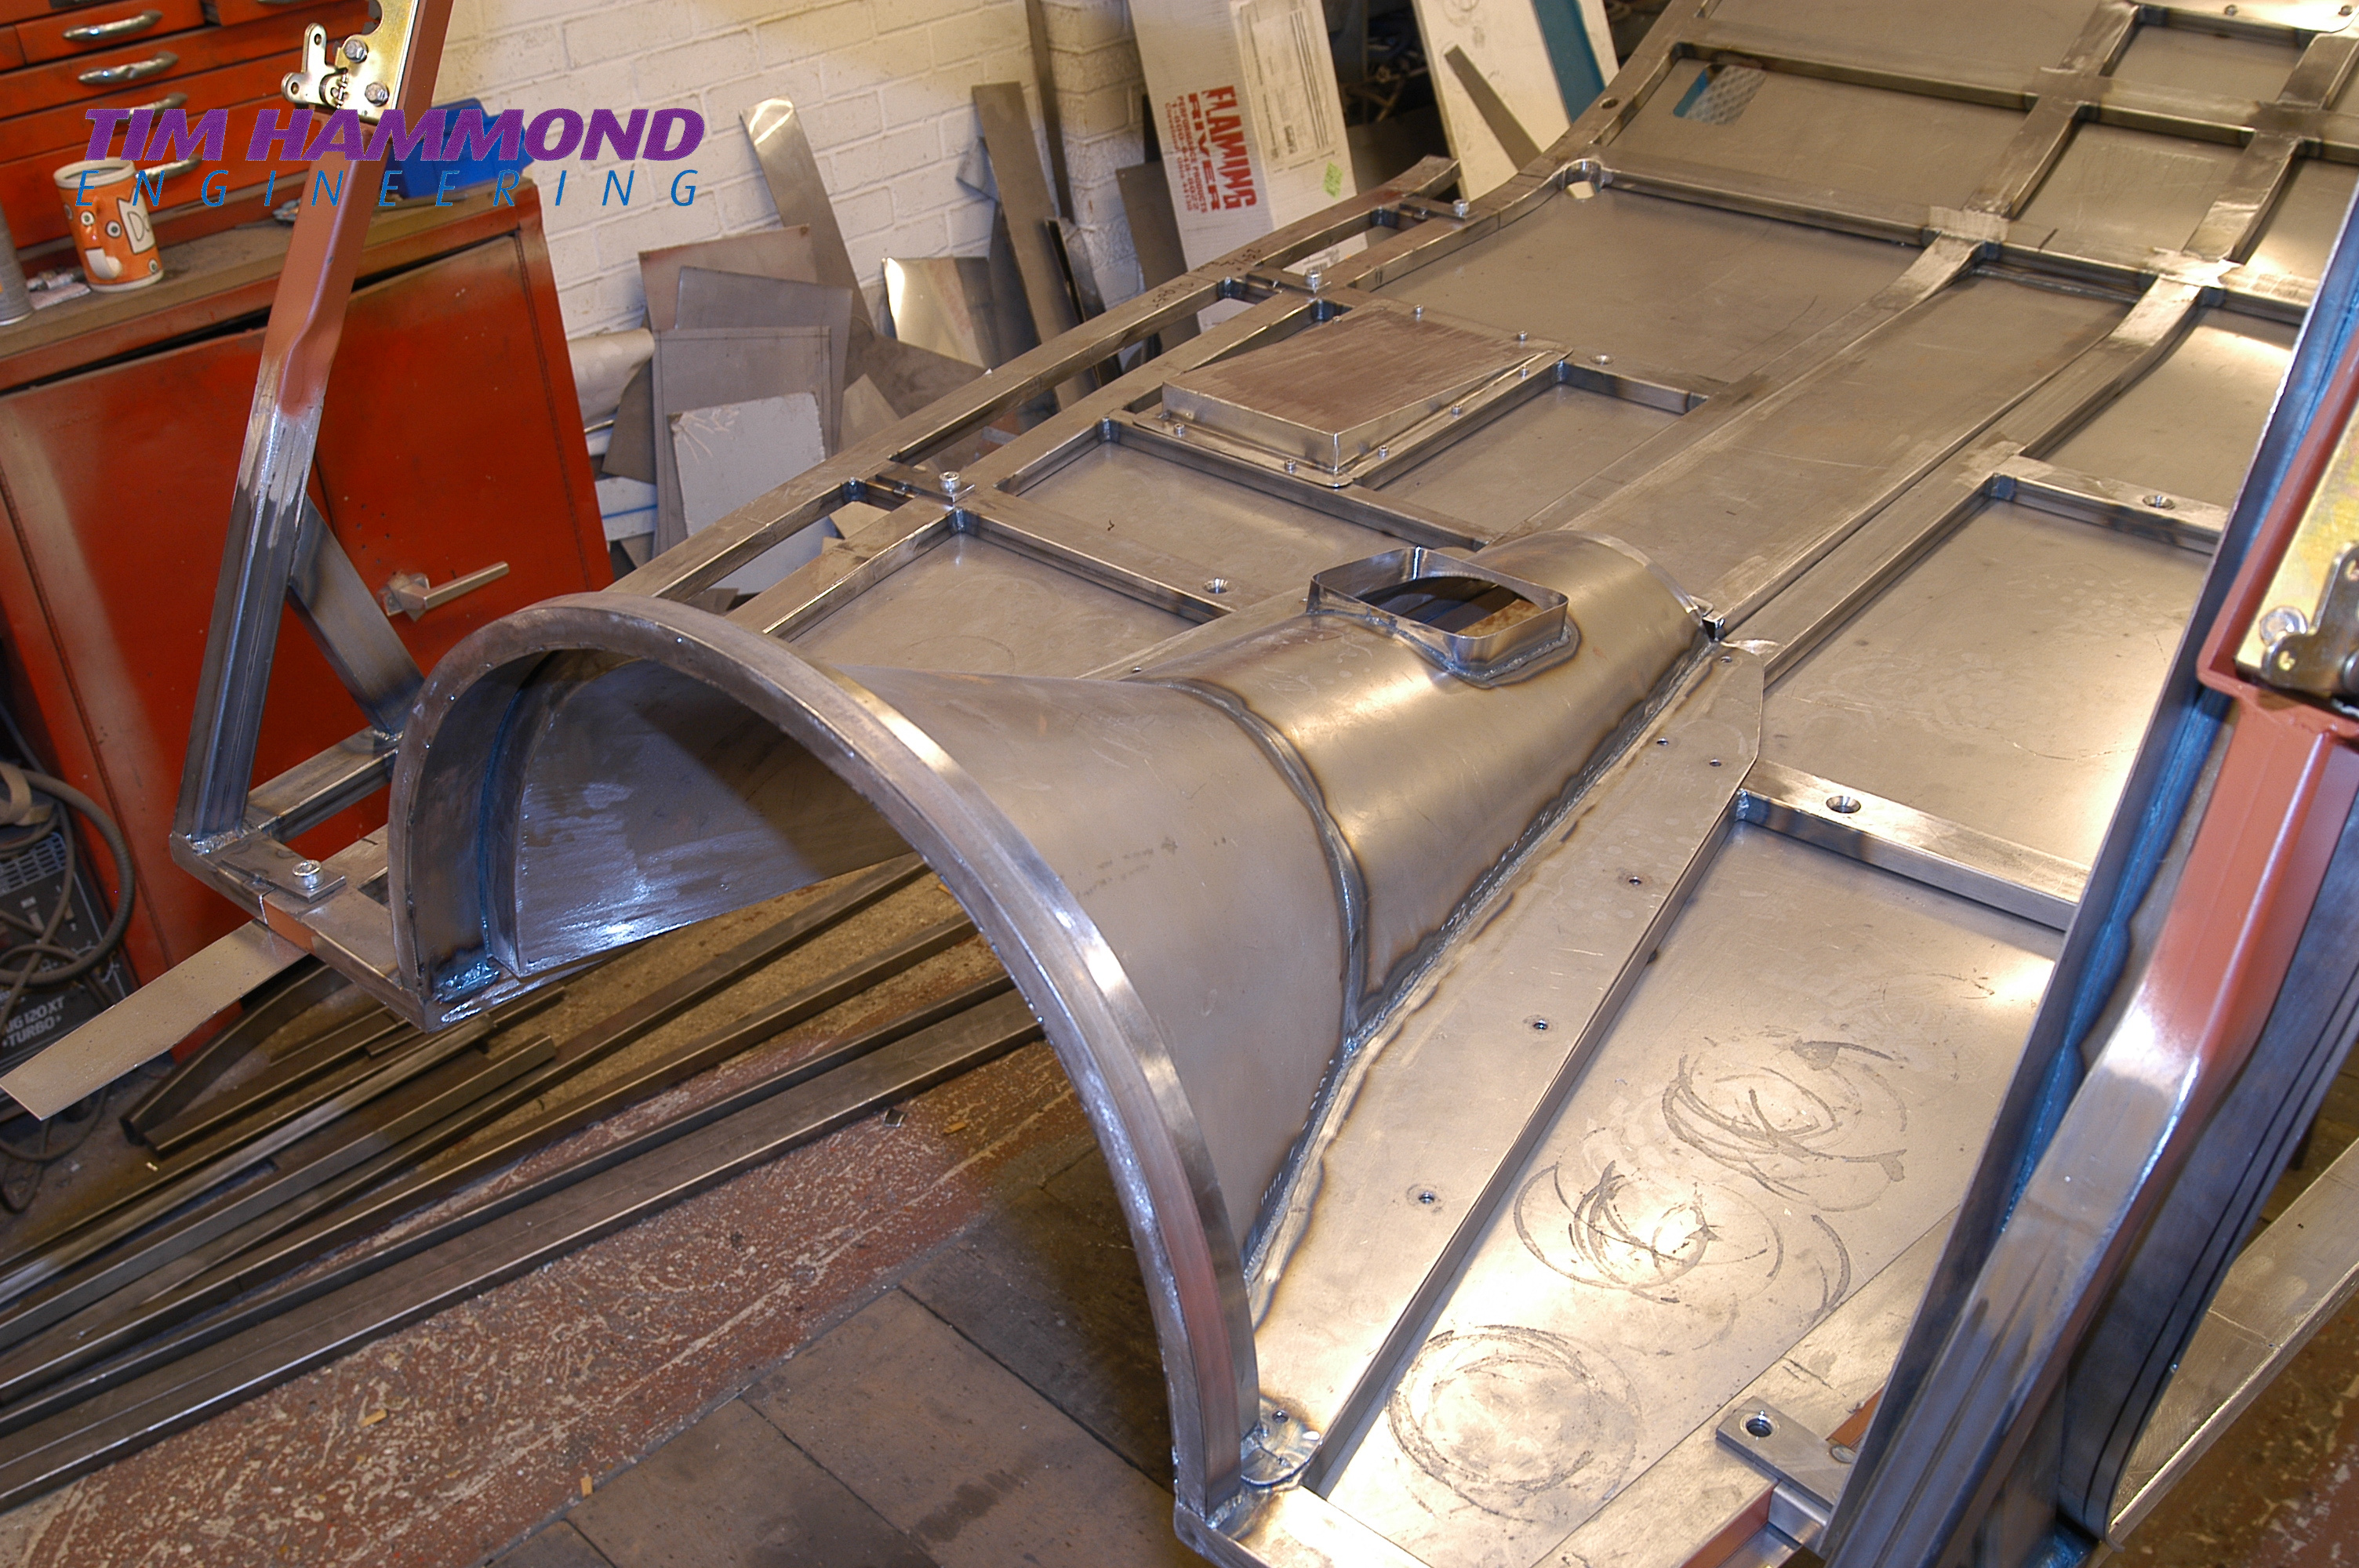
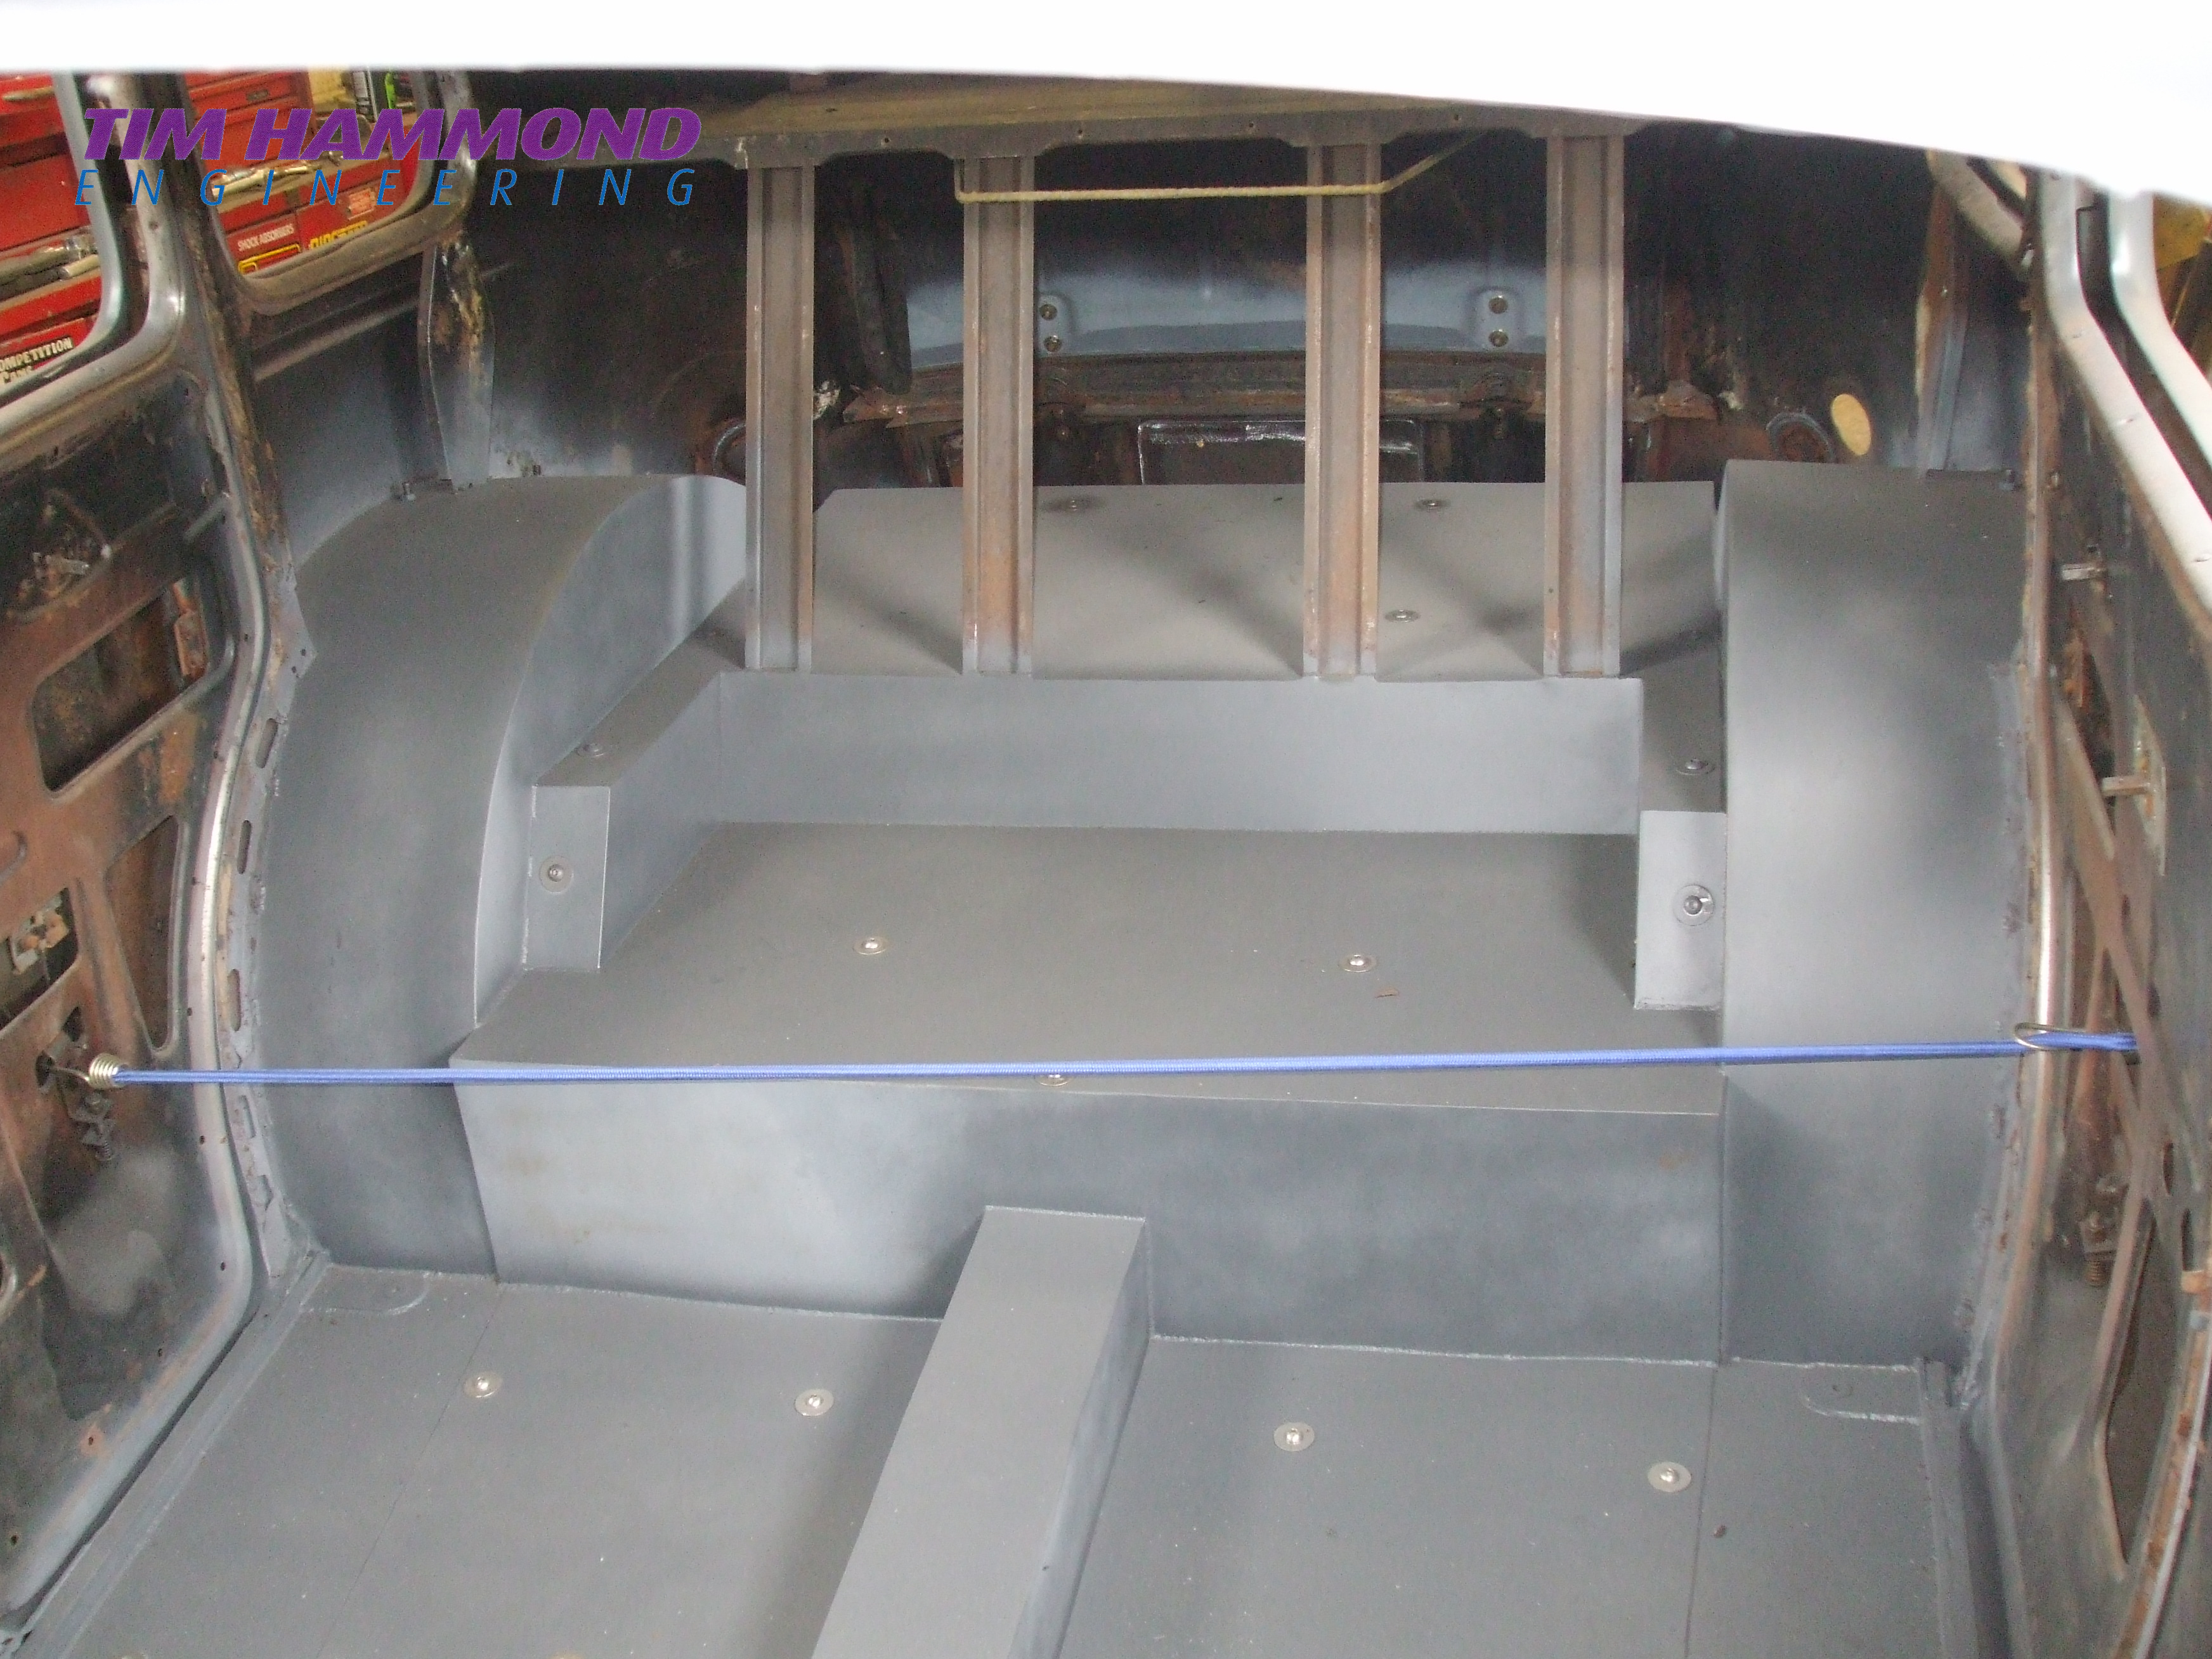
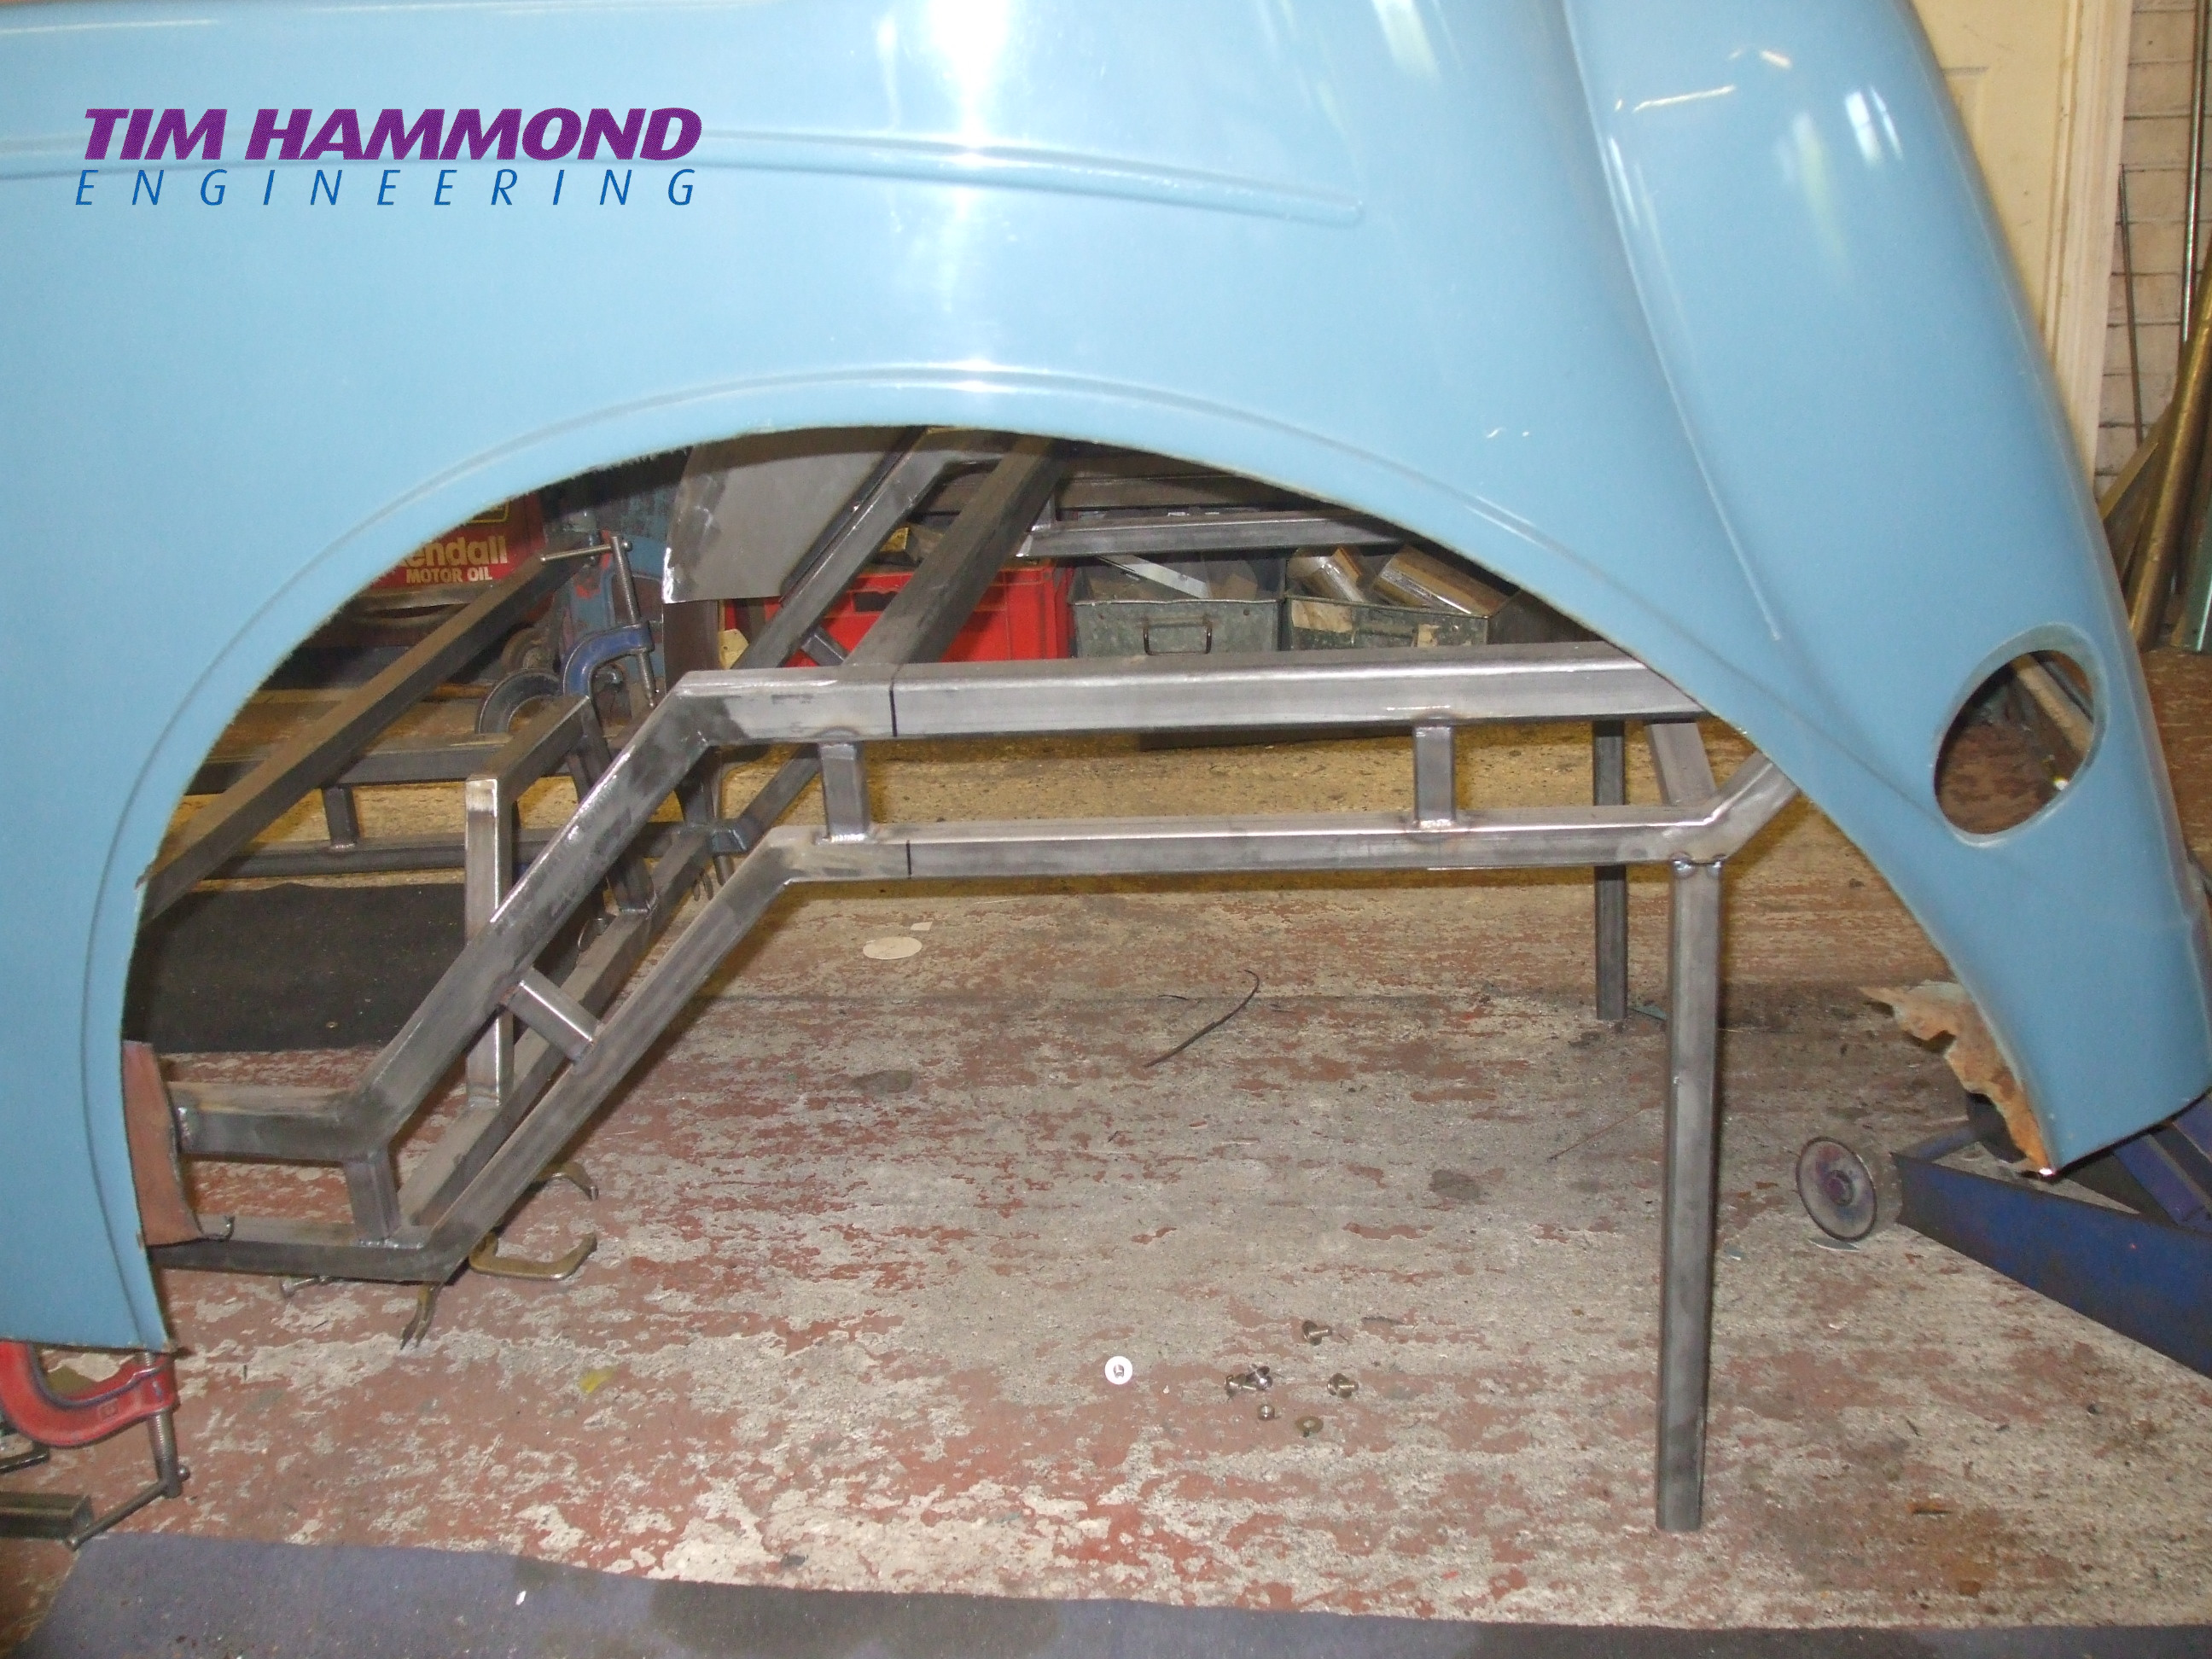
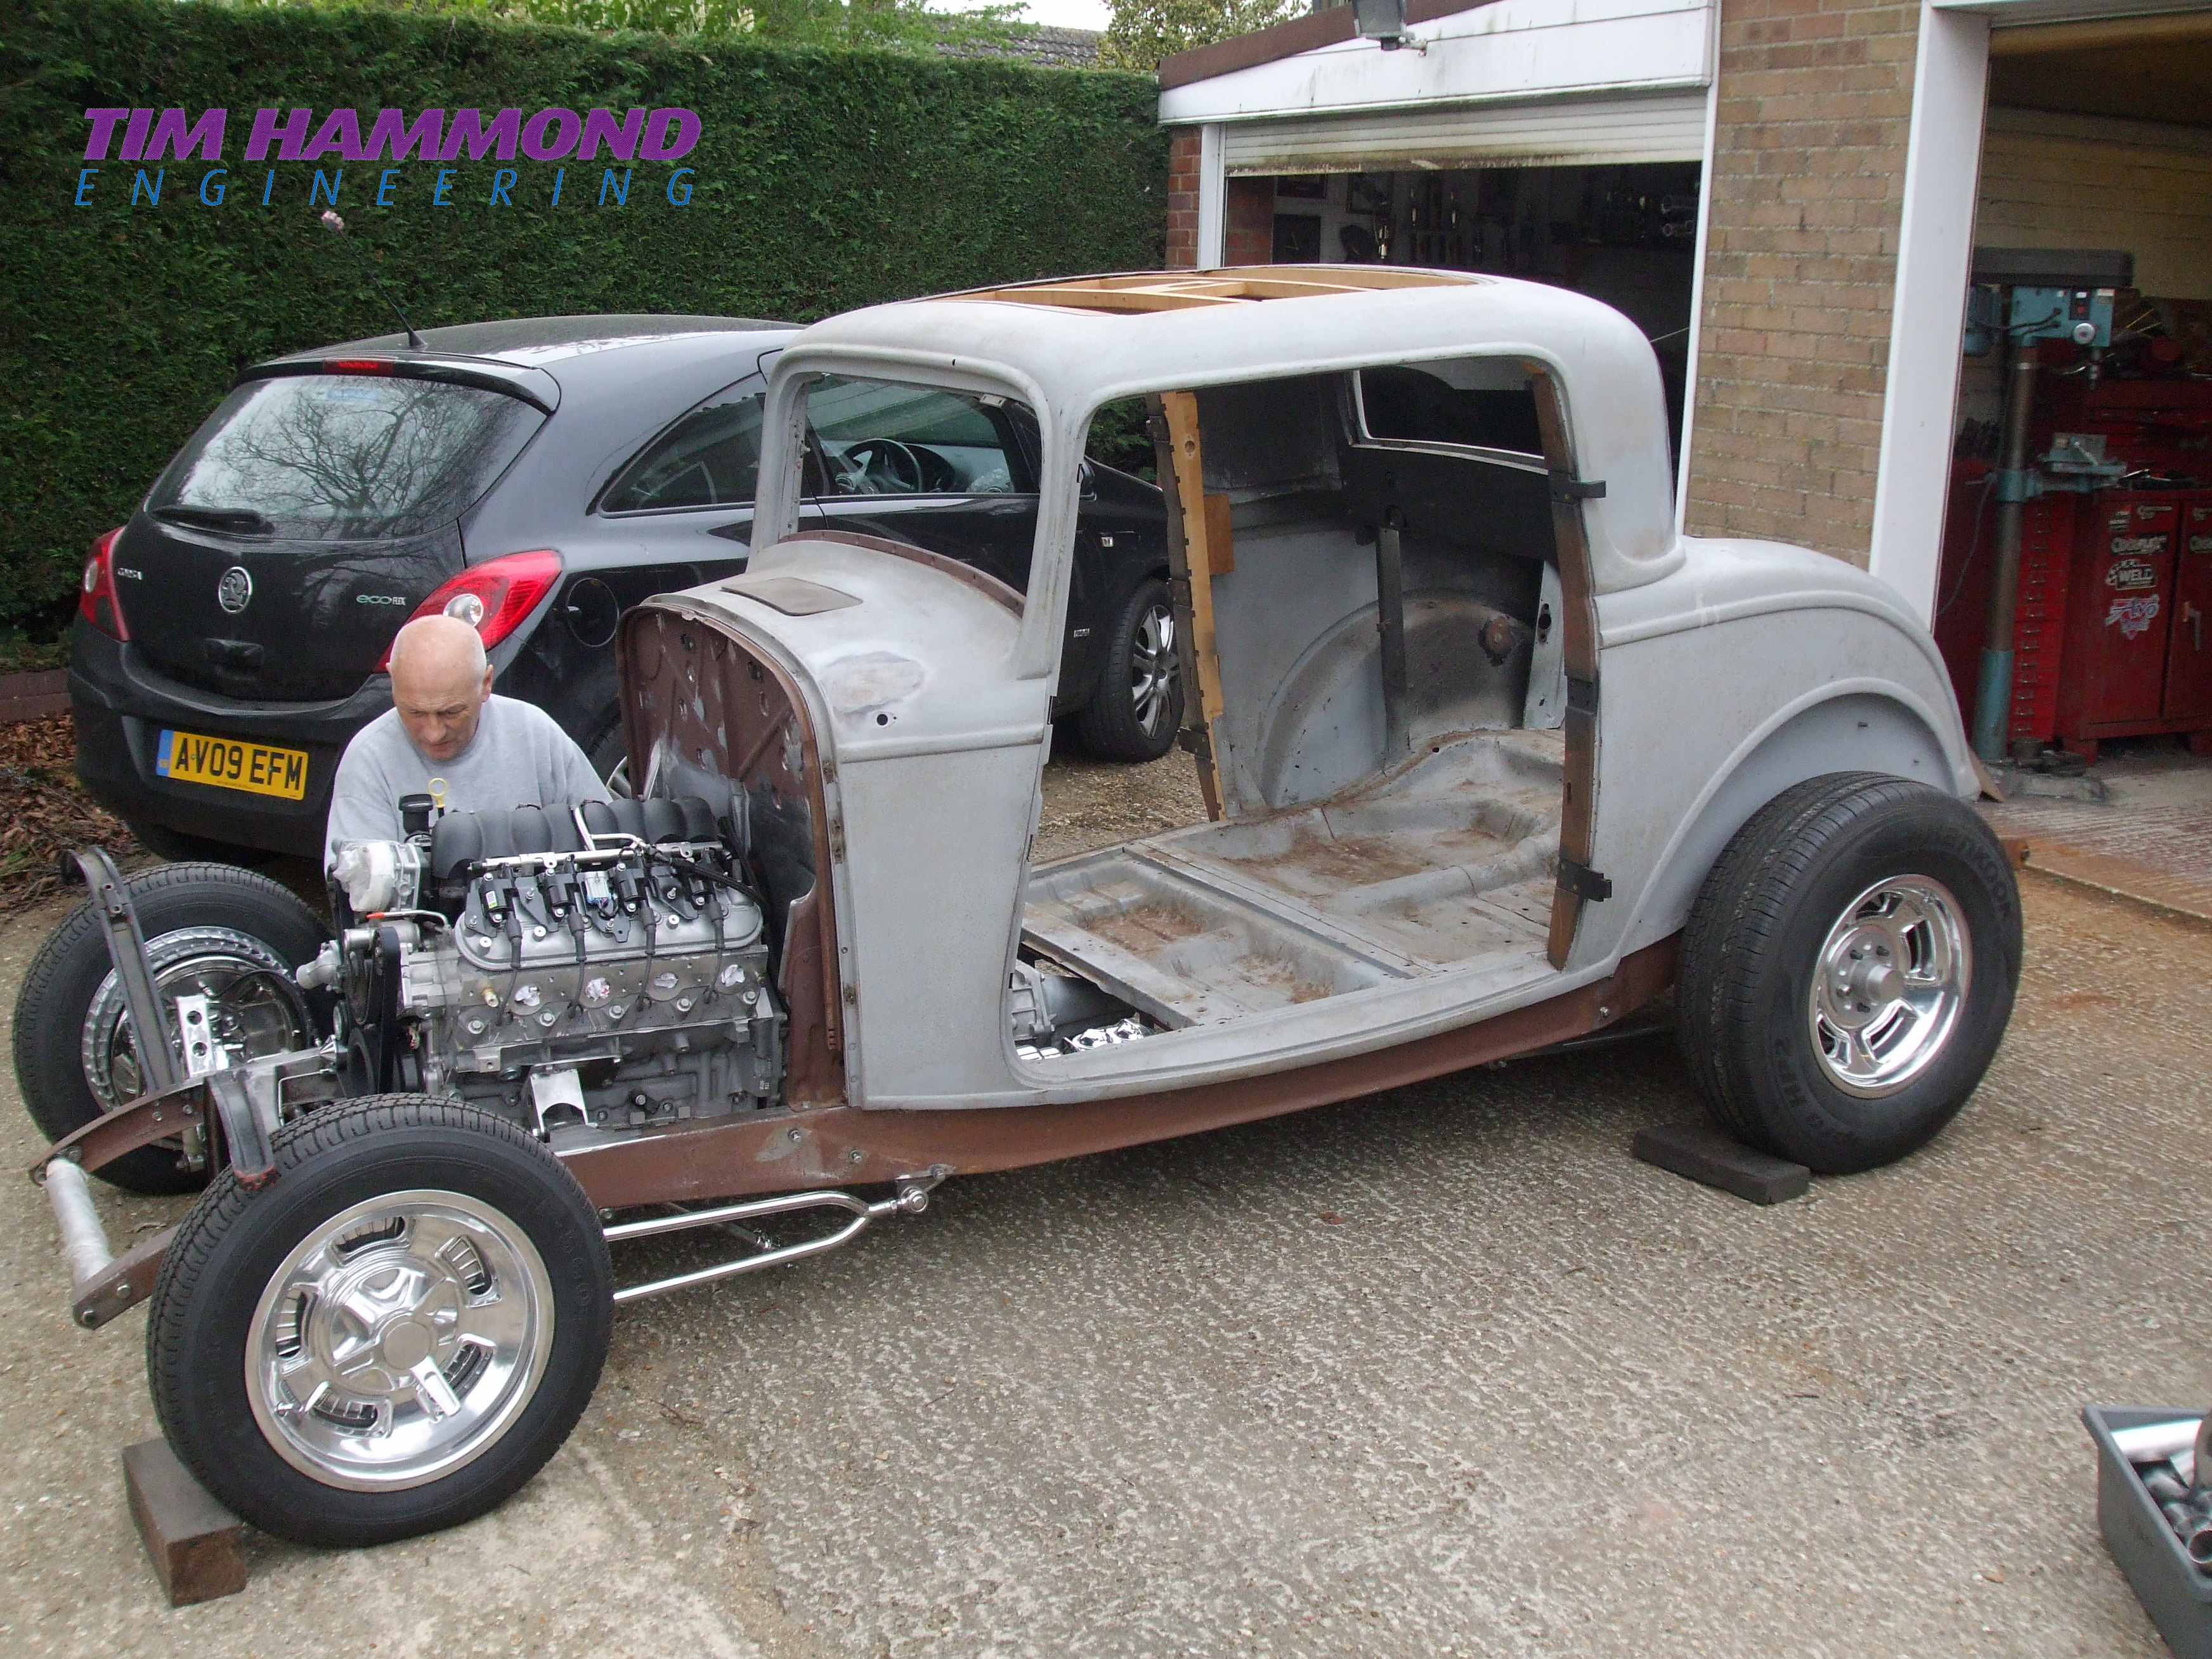
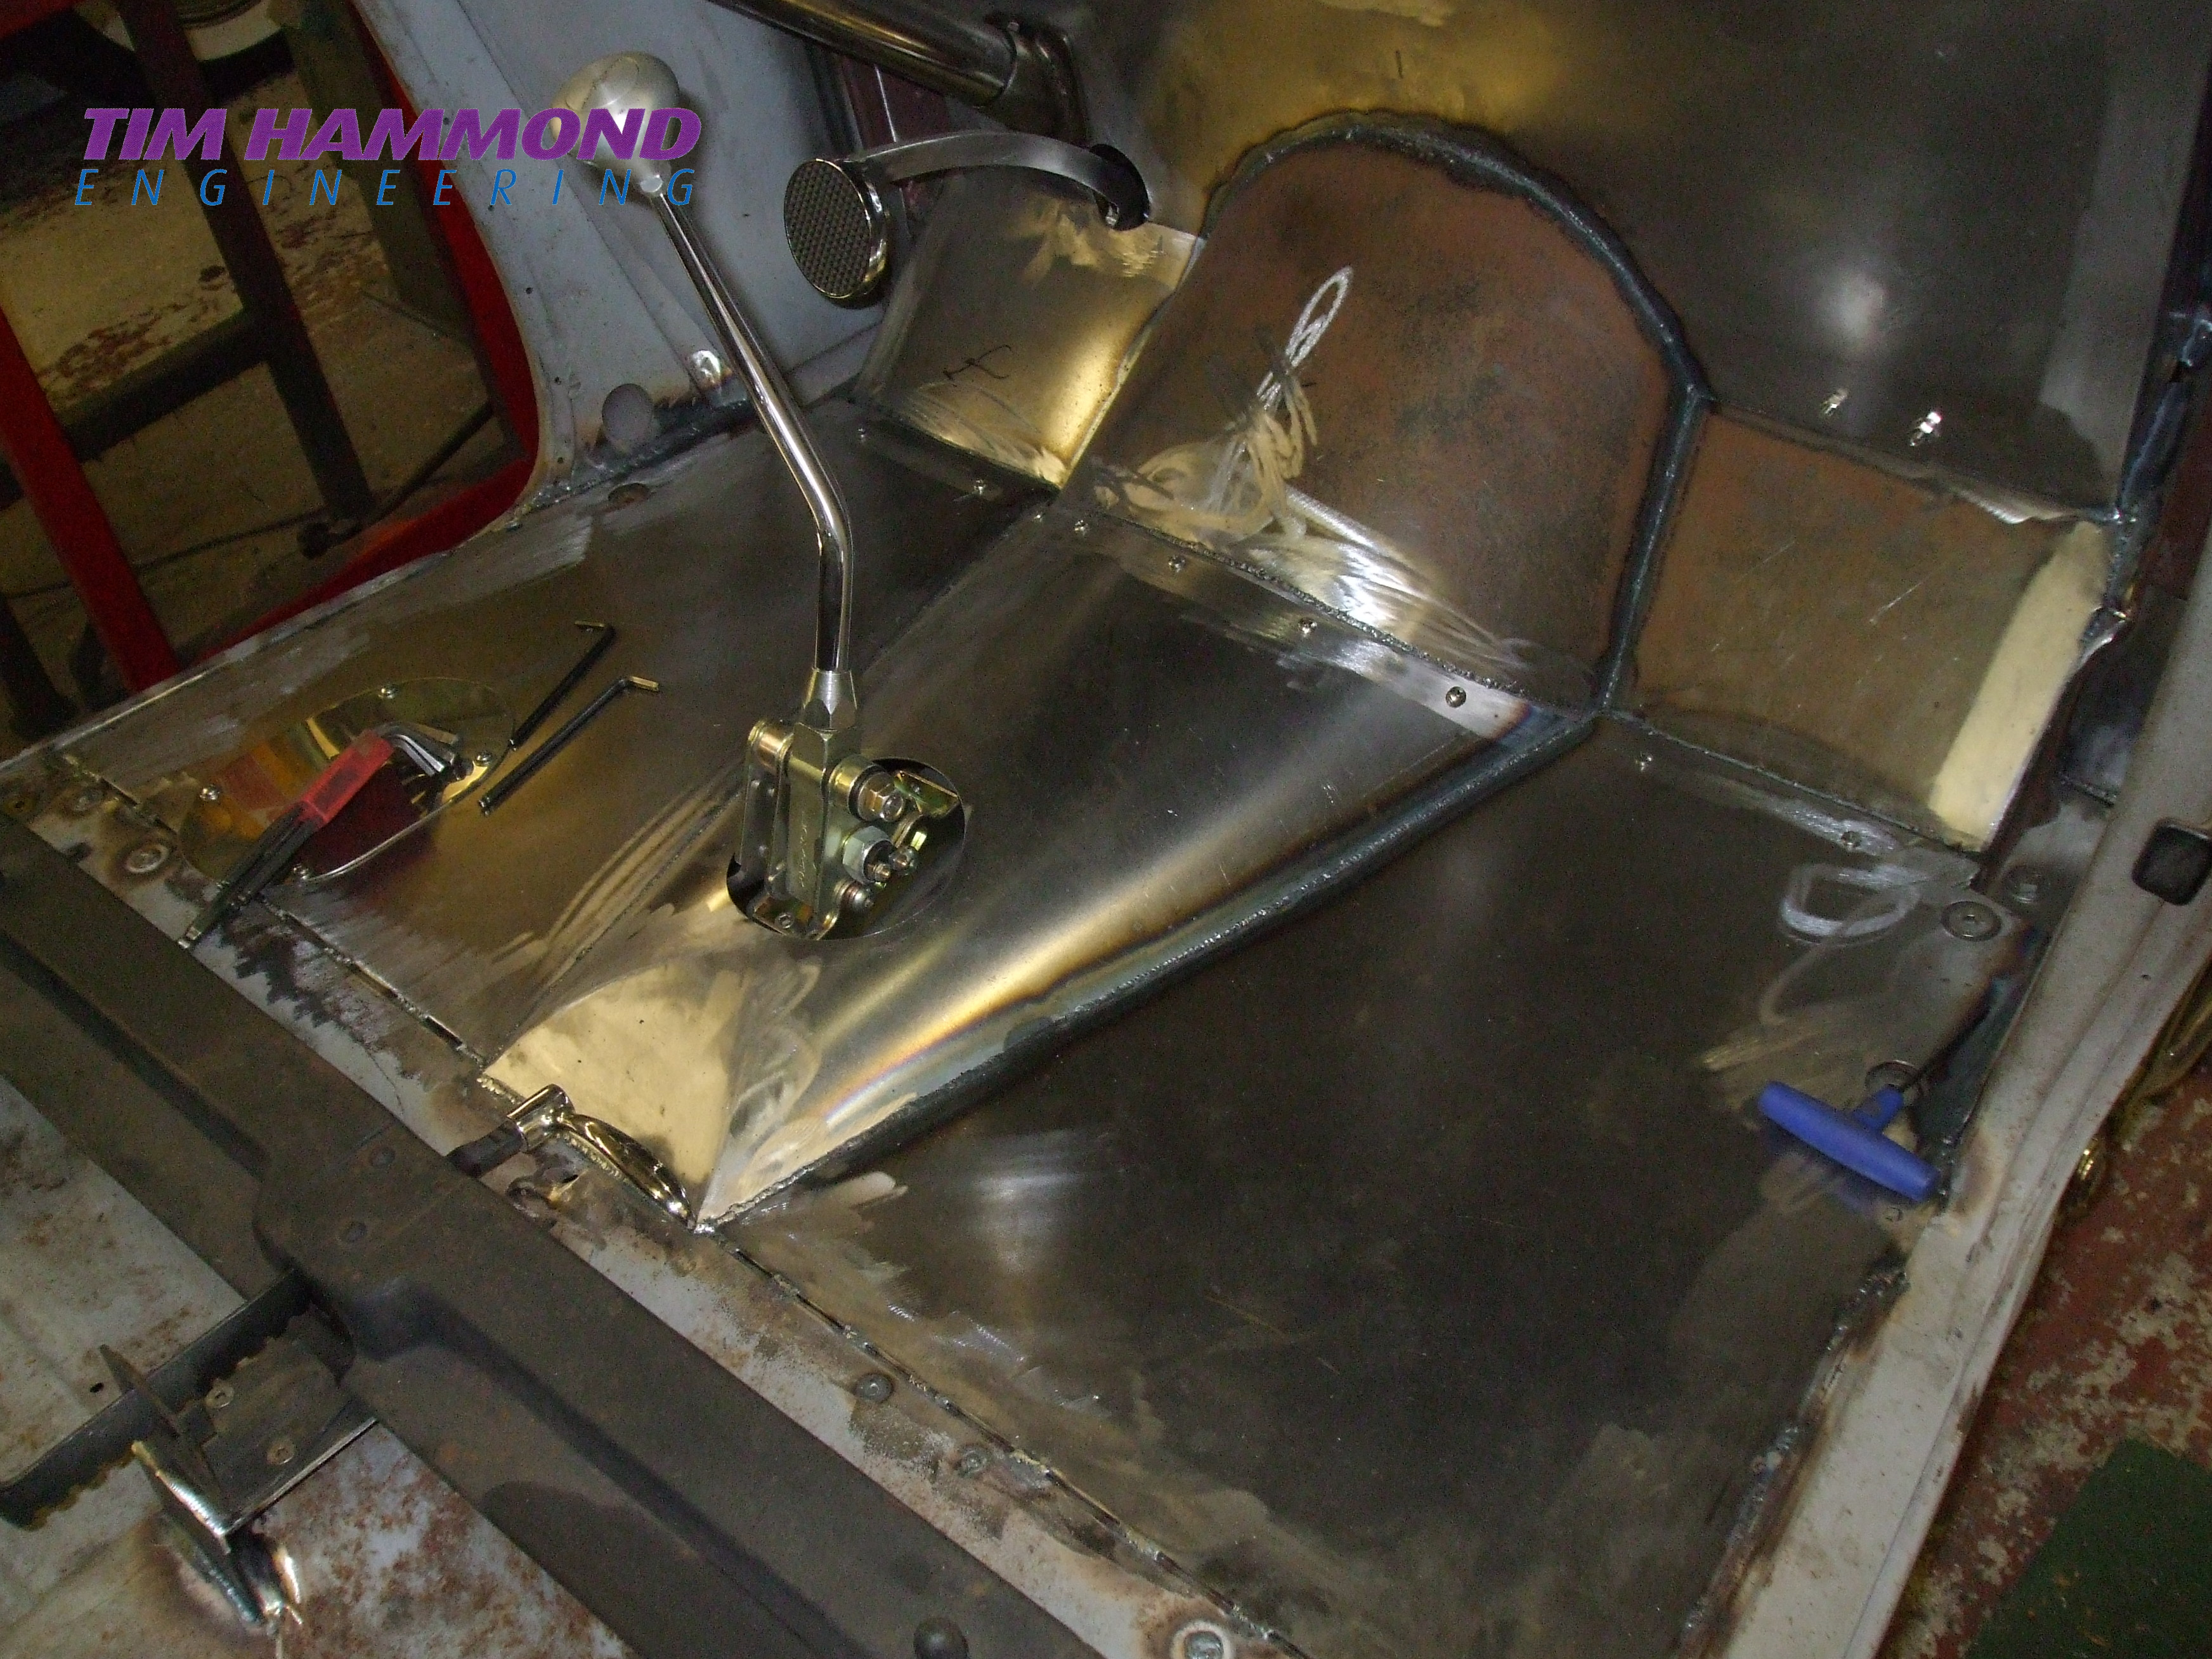
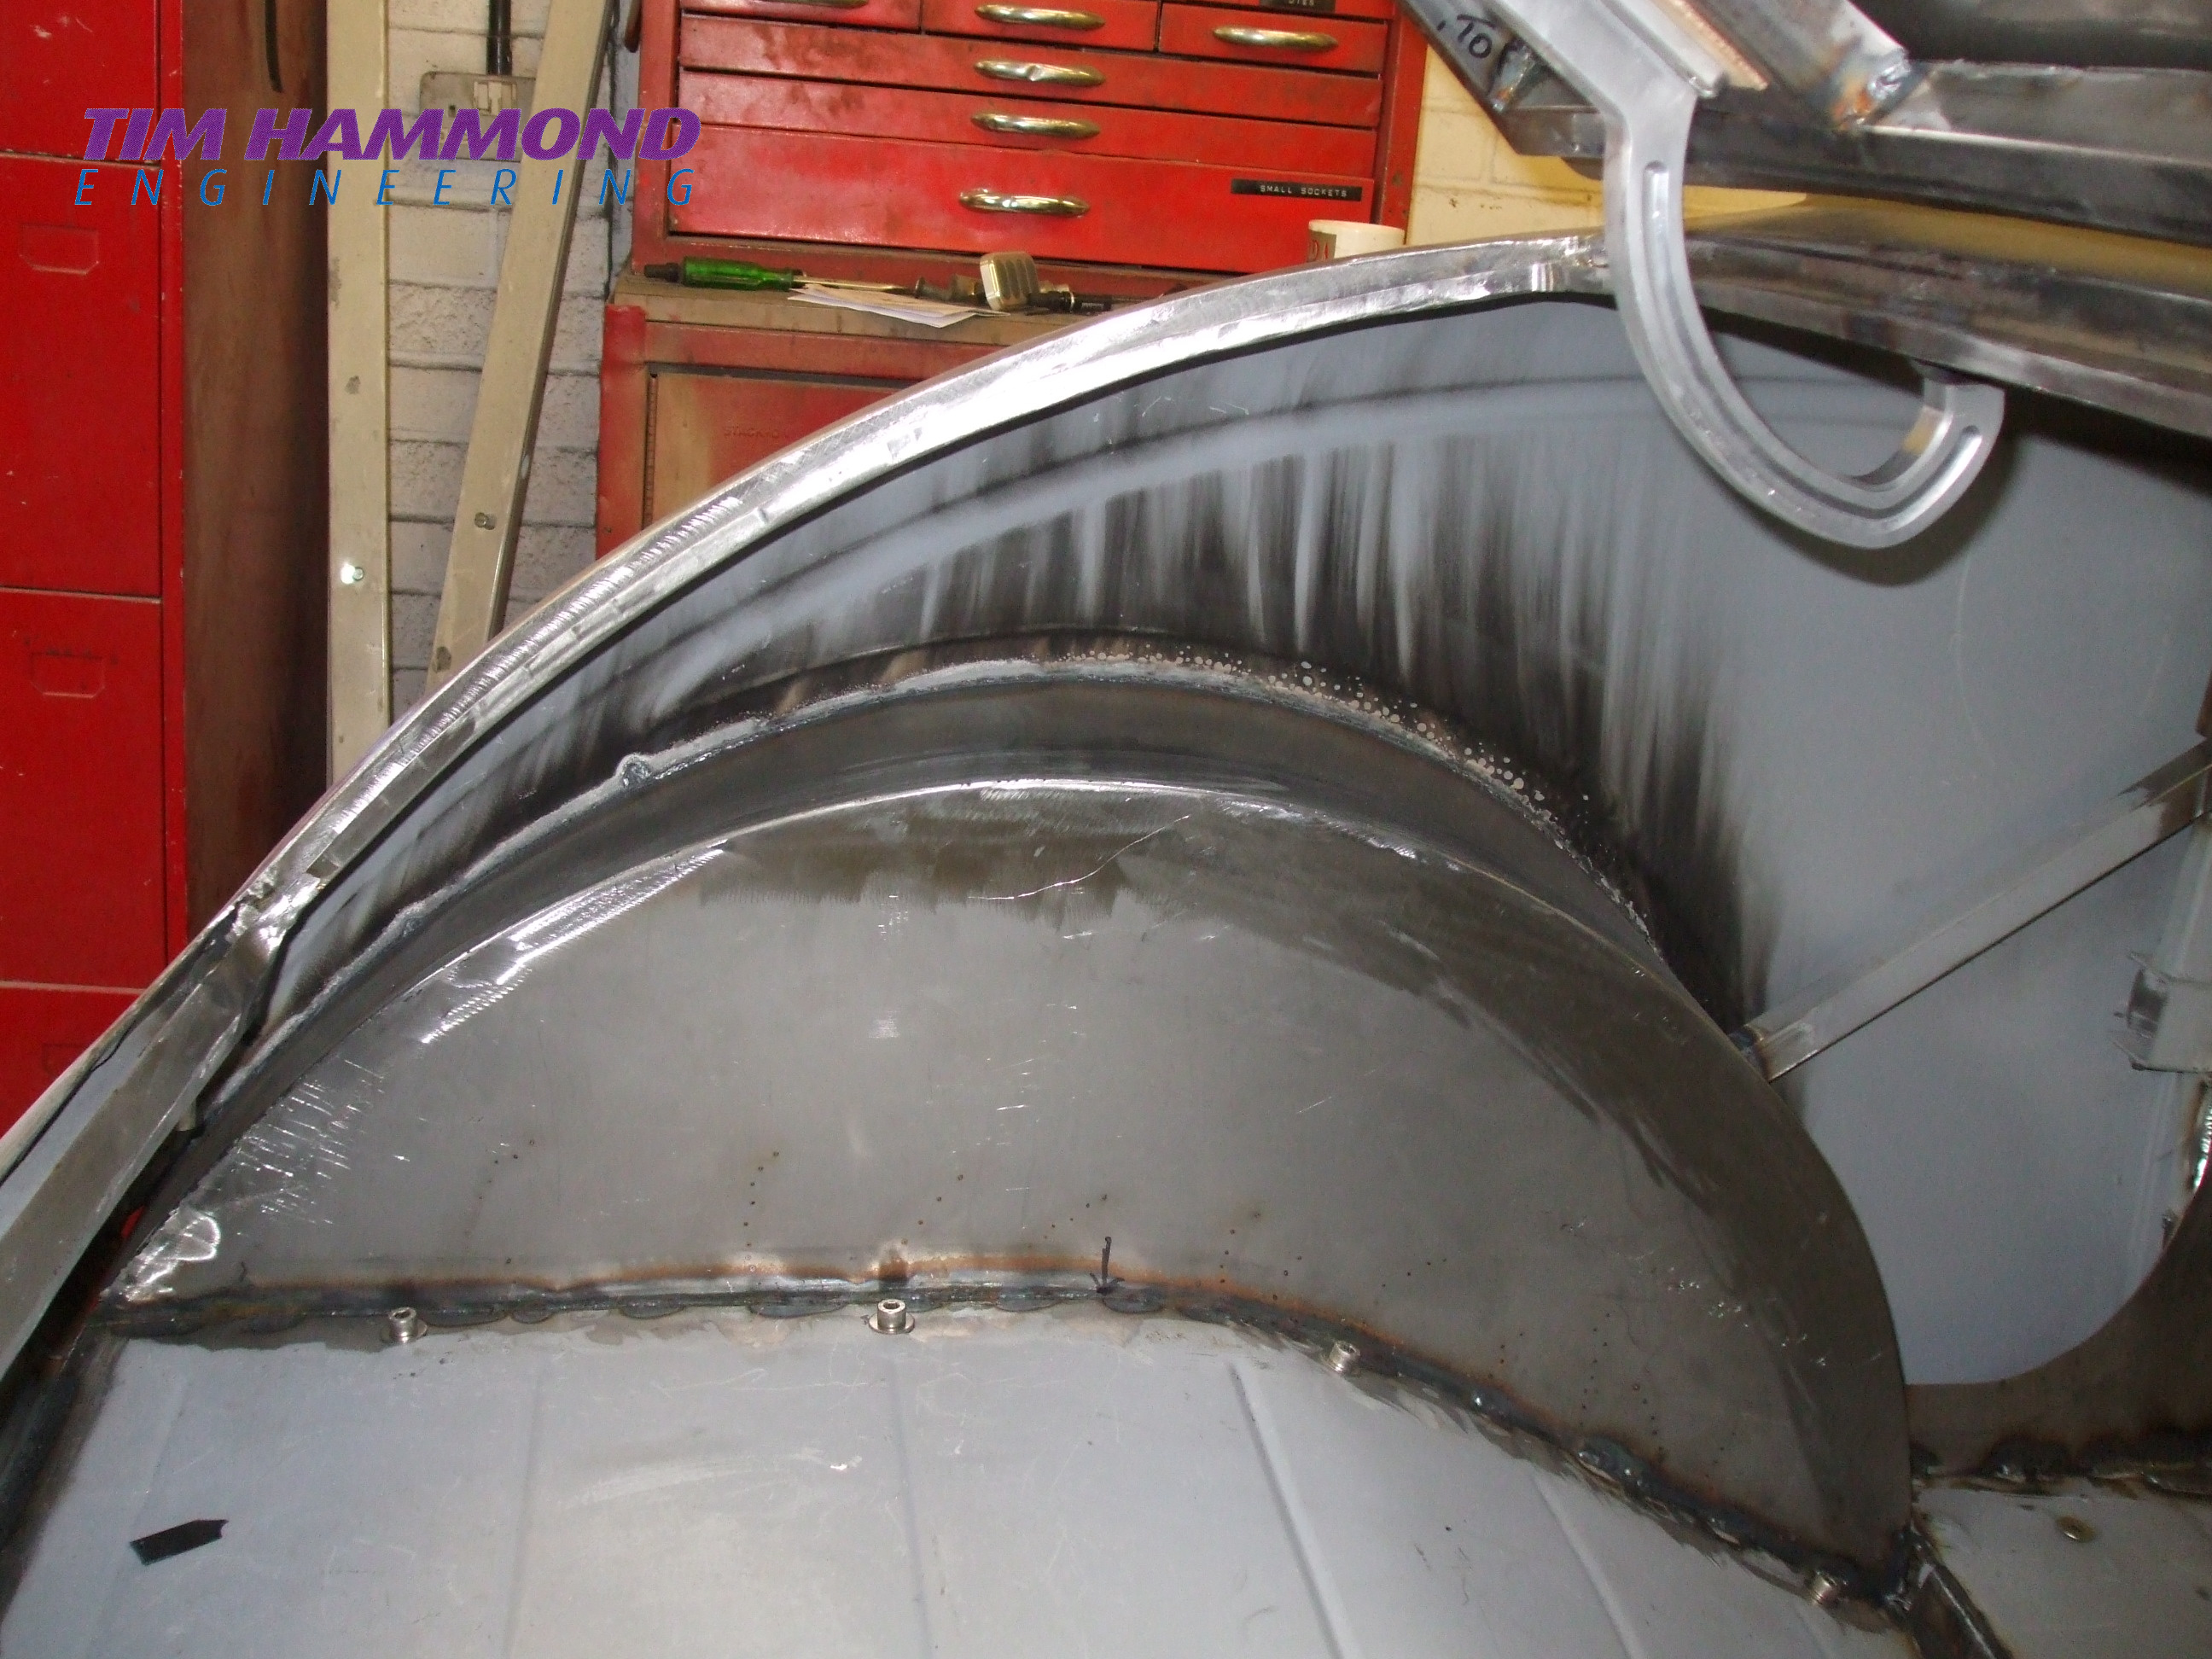
Compared to an original 32, this body was going to be not only lengthened, but also sectioned 6”. The grill had to be made 2” narrower and 4” shorter in height. We then came up with the idea of using 2” x 1” box section and fabricated a complete floor pan, to be bolted down on top of the chassis. This had a big sheet of 16 gauge steel welded to the bottom of the frame to give a smooth floor pan effect. We could then mount off this box section the bulkhead mounts, door pillars, make a frame work for the wheel arches and trunk surround. It was more or less a metal buck from which to fabricate the remainder of the body, whilst providing additional chassis strength – almost a chassis on a chassis.
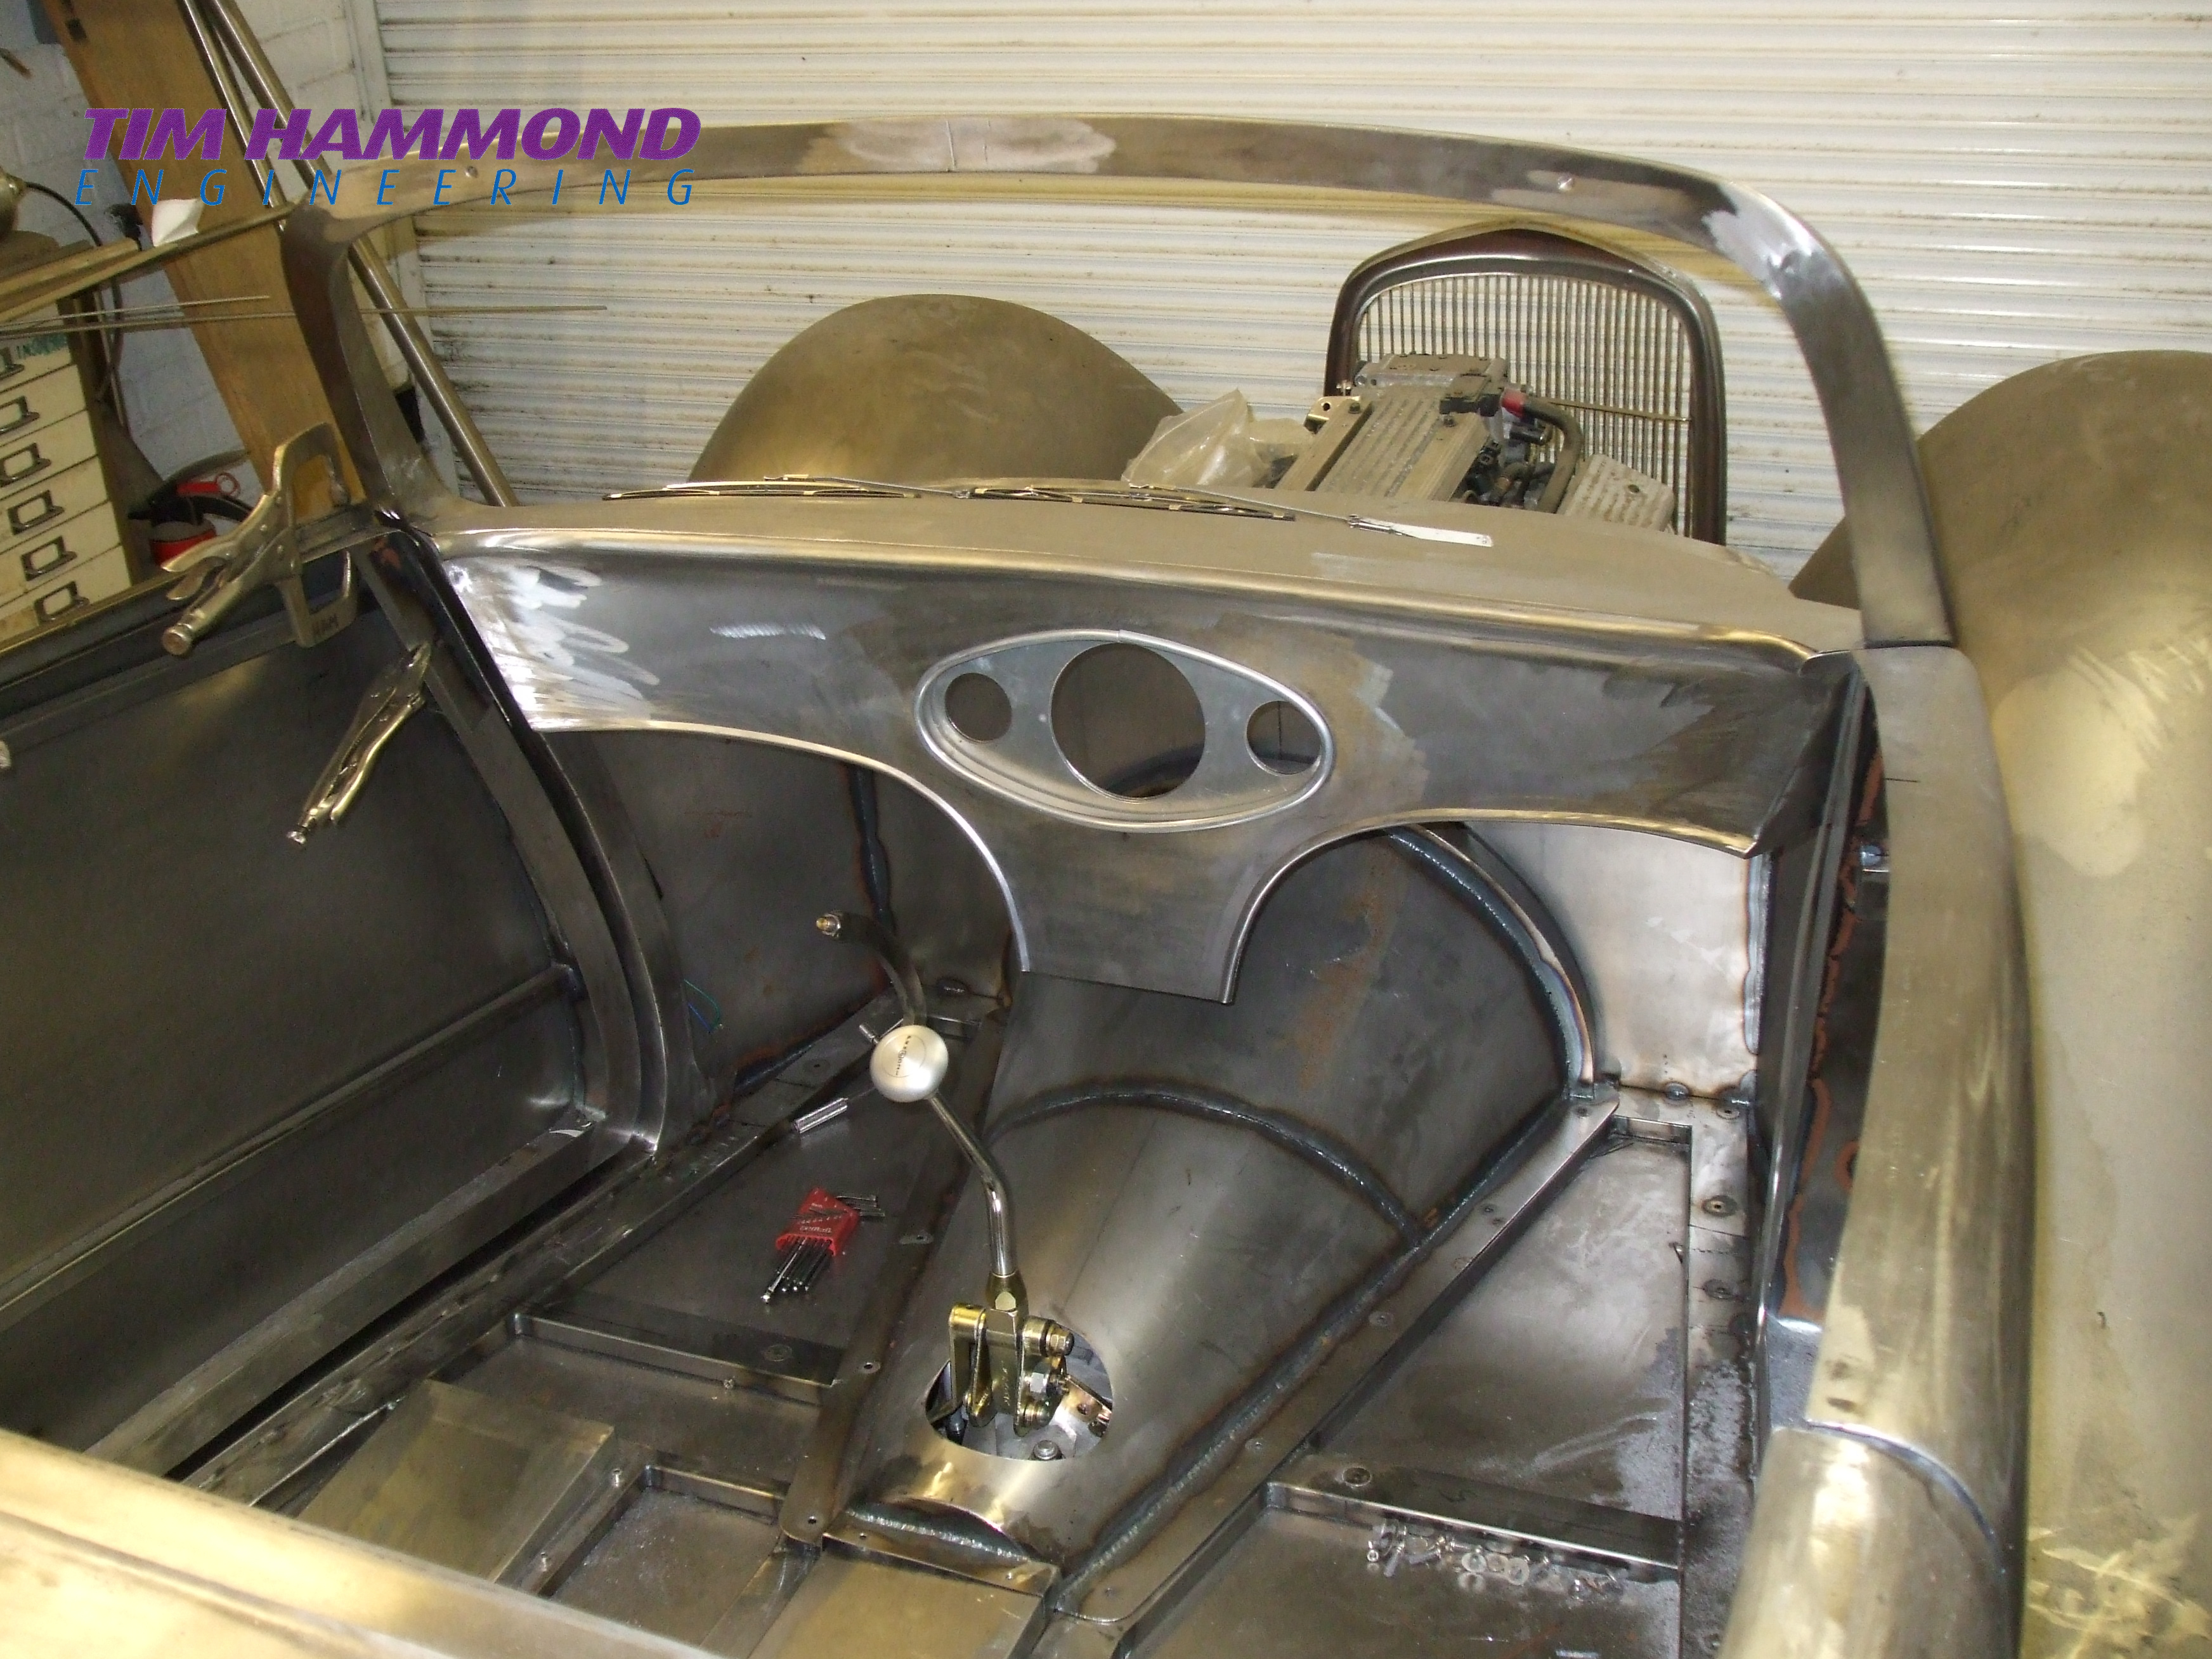
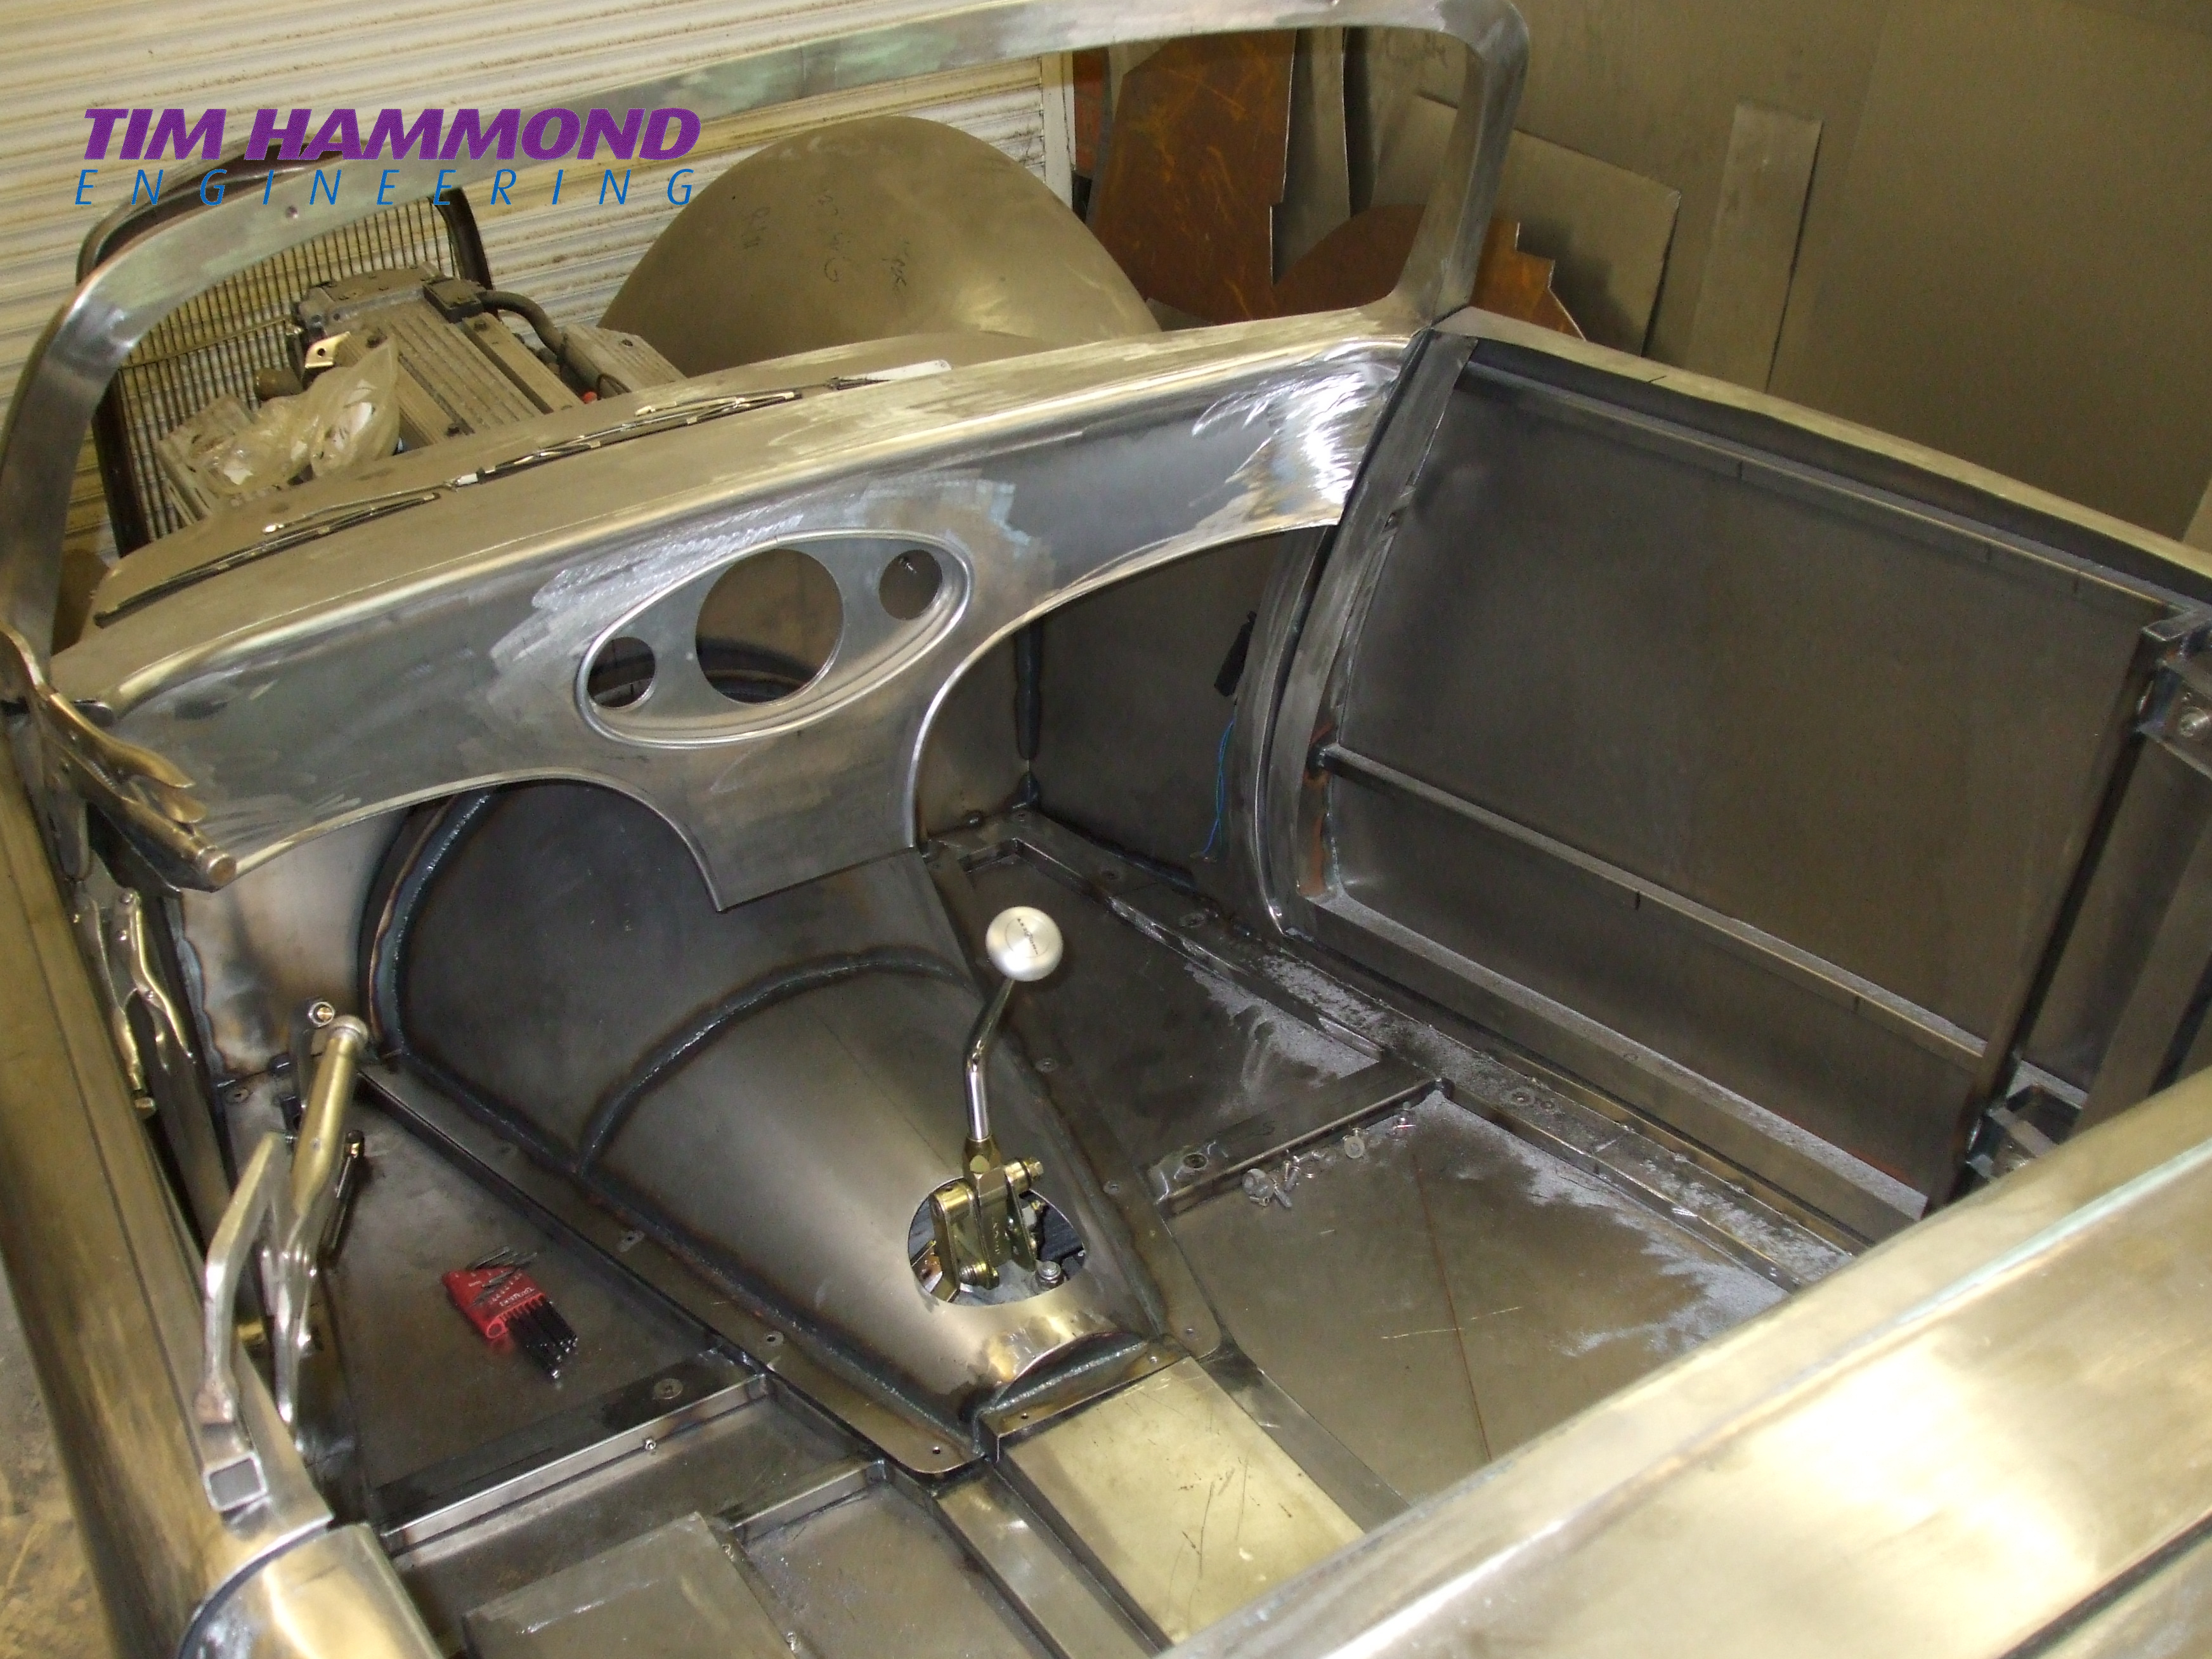
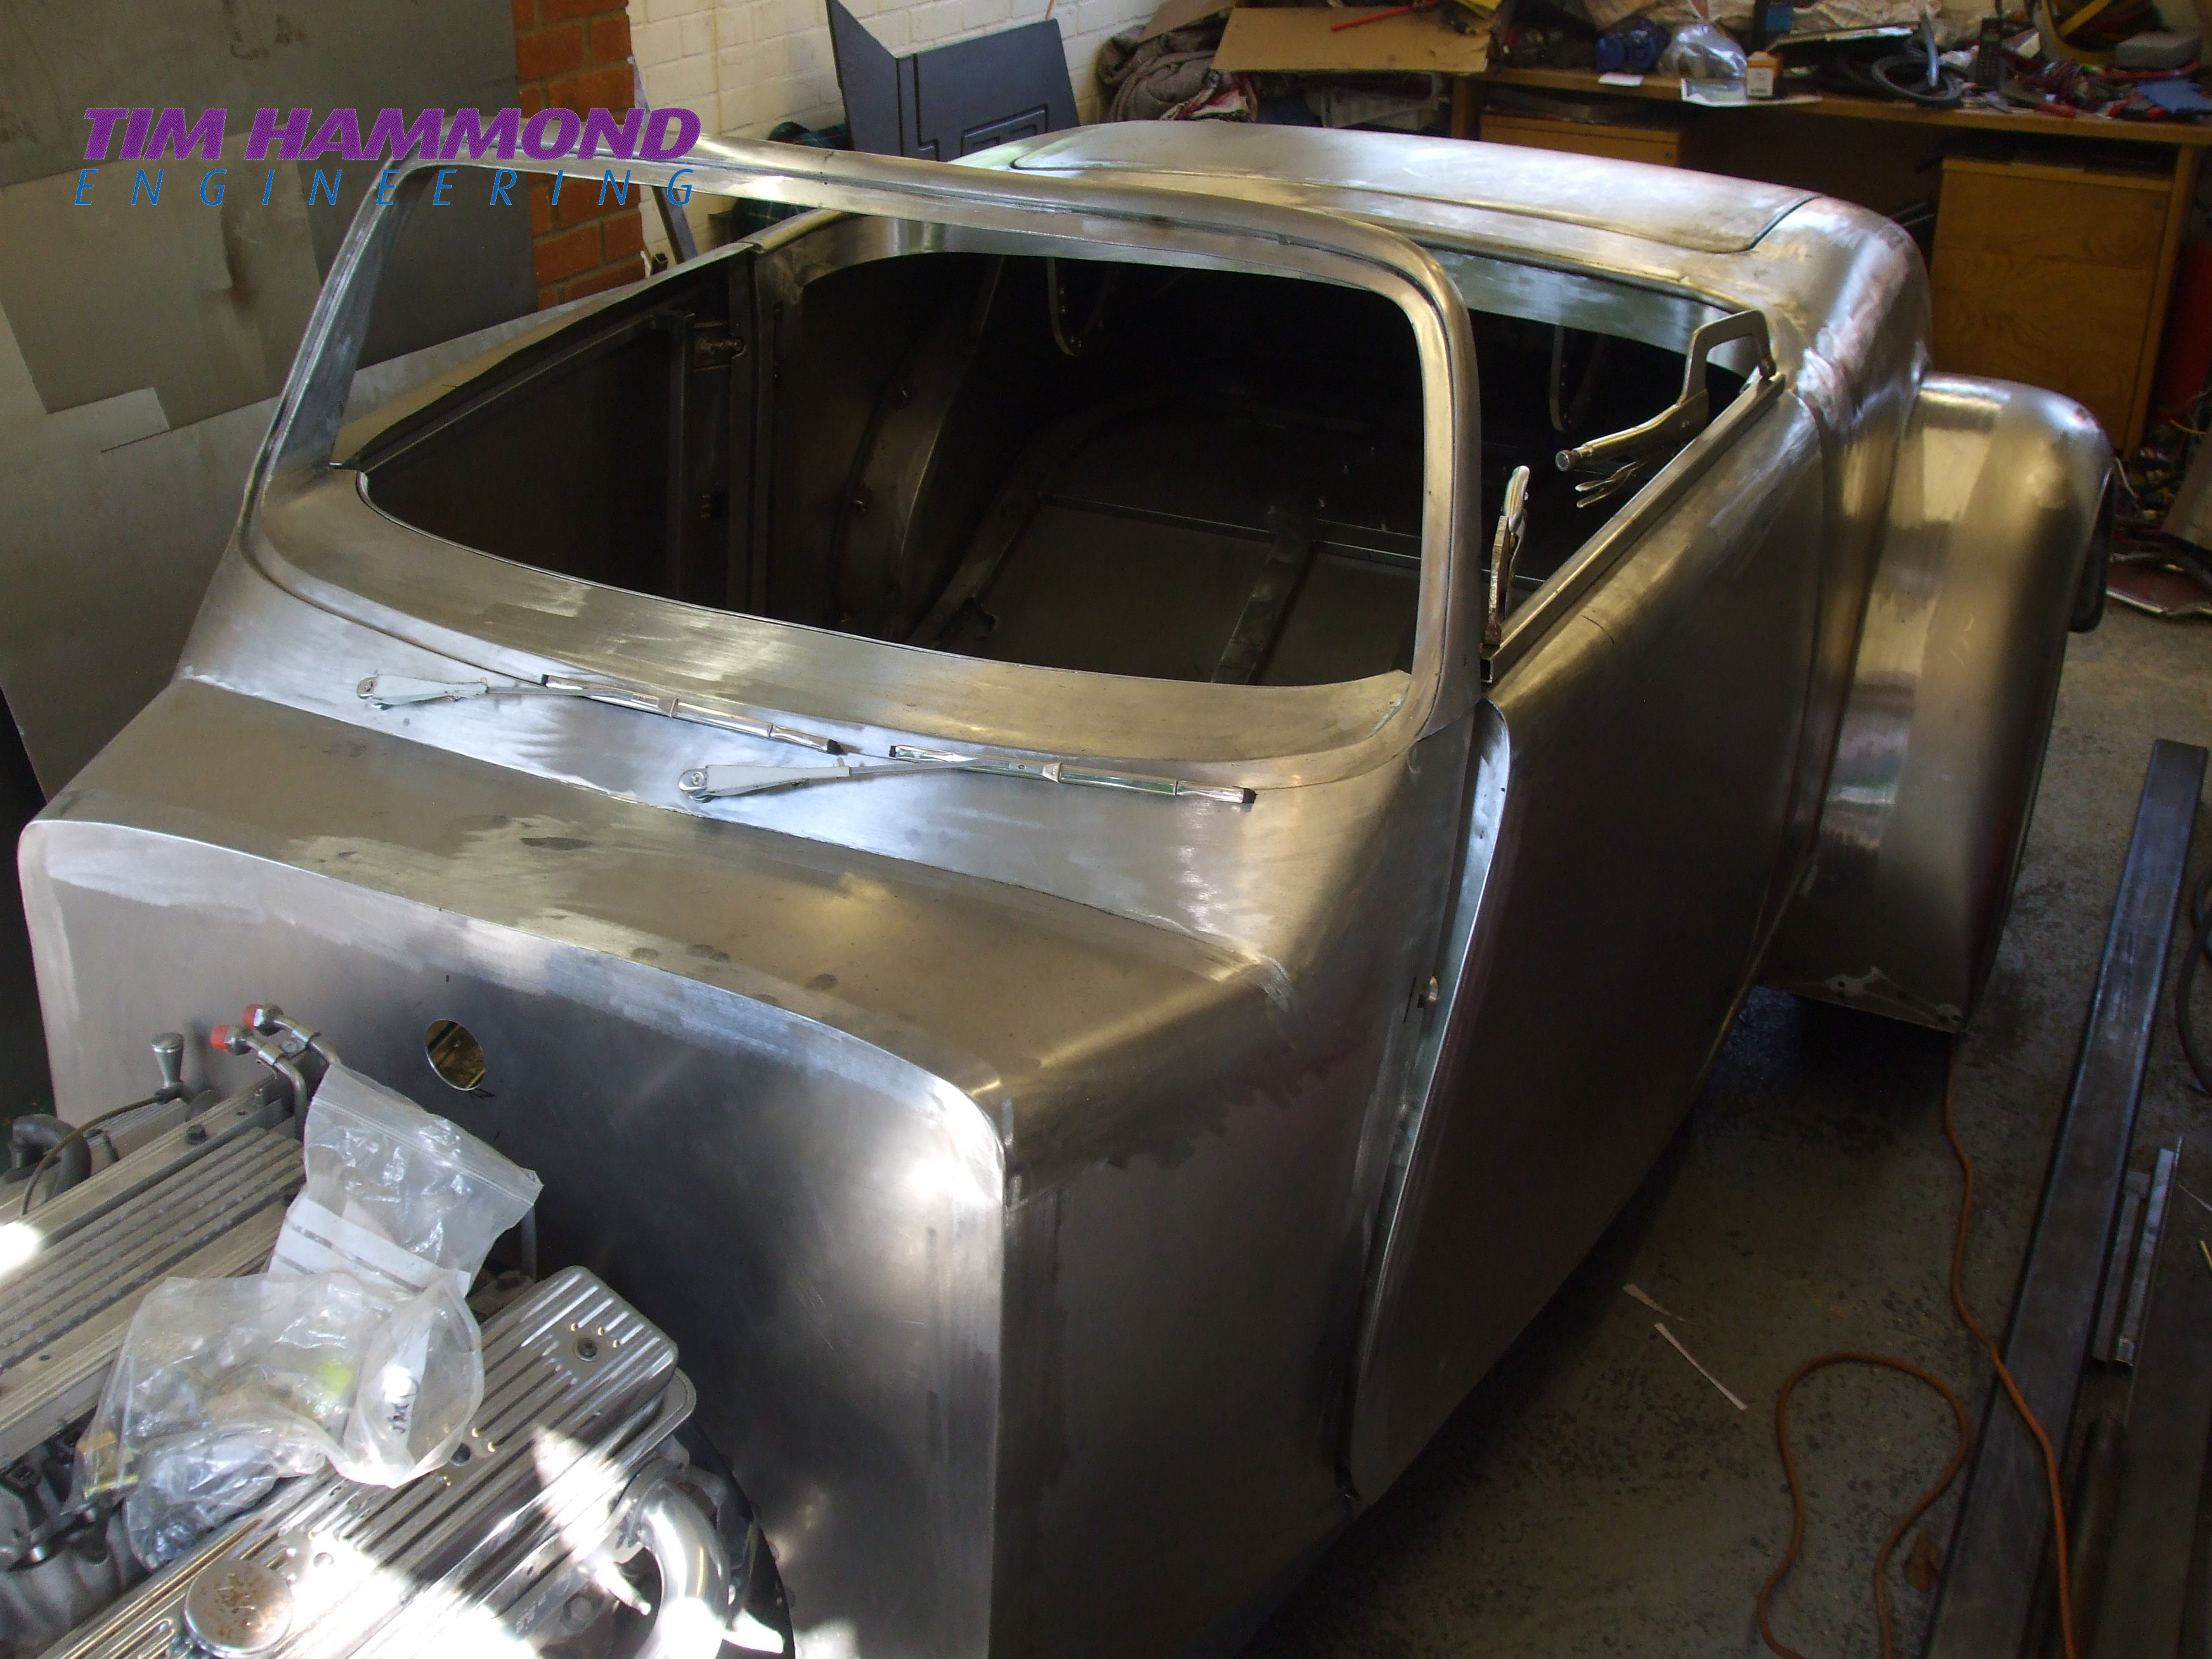
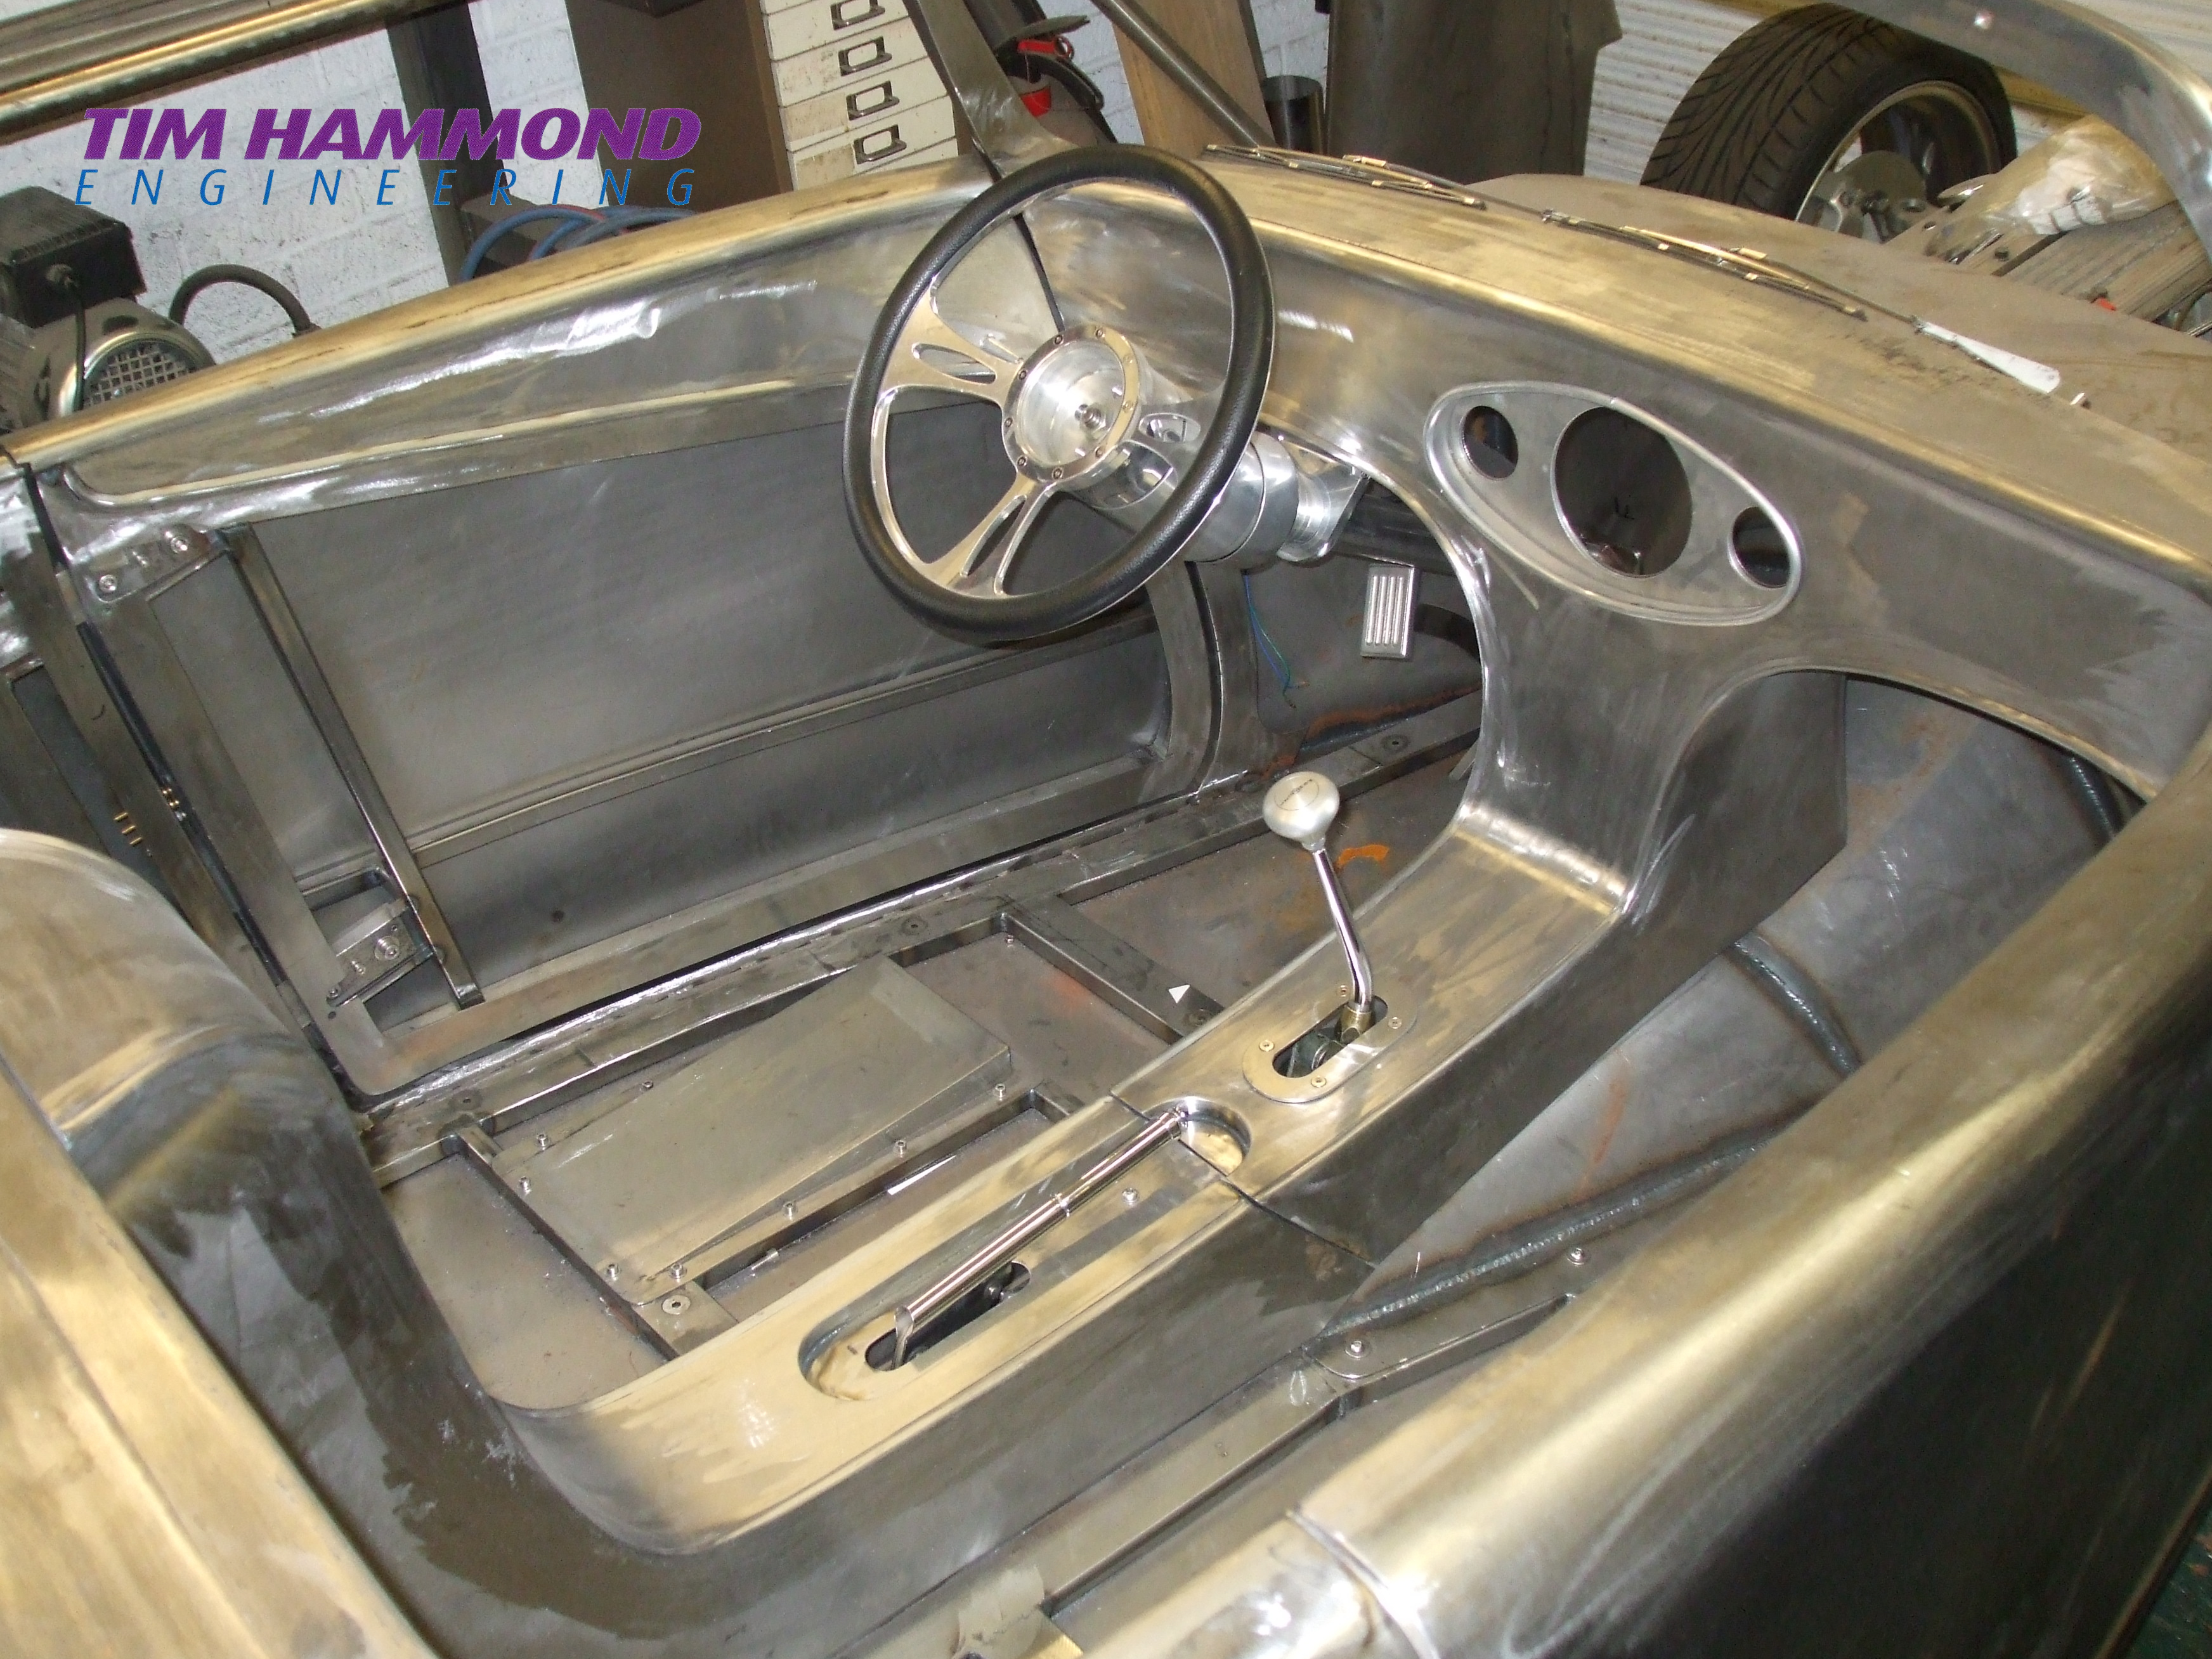
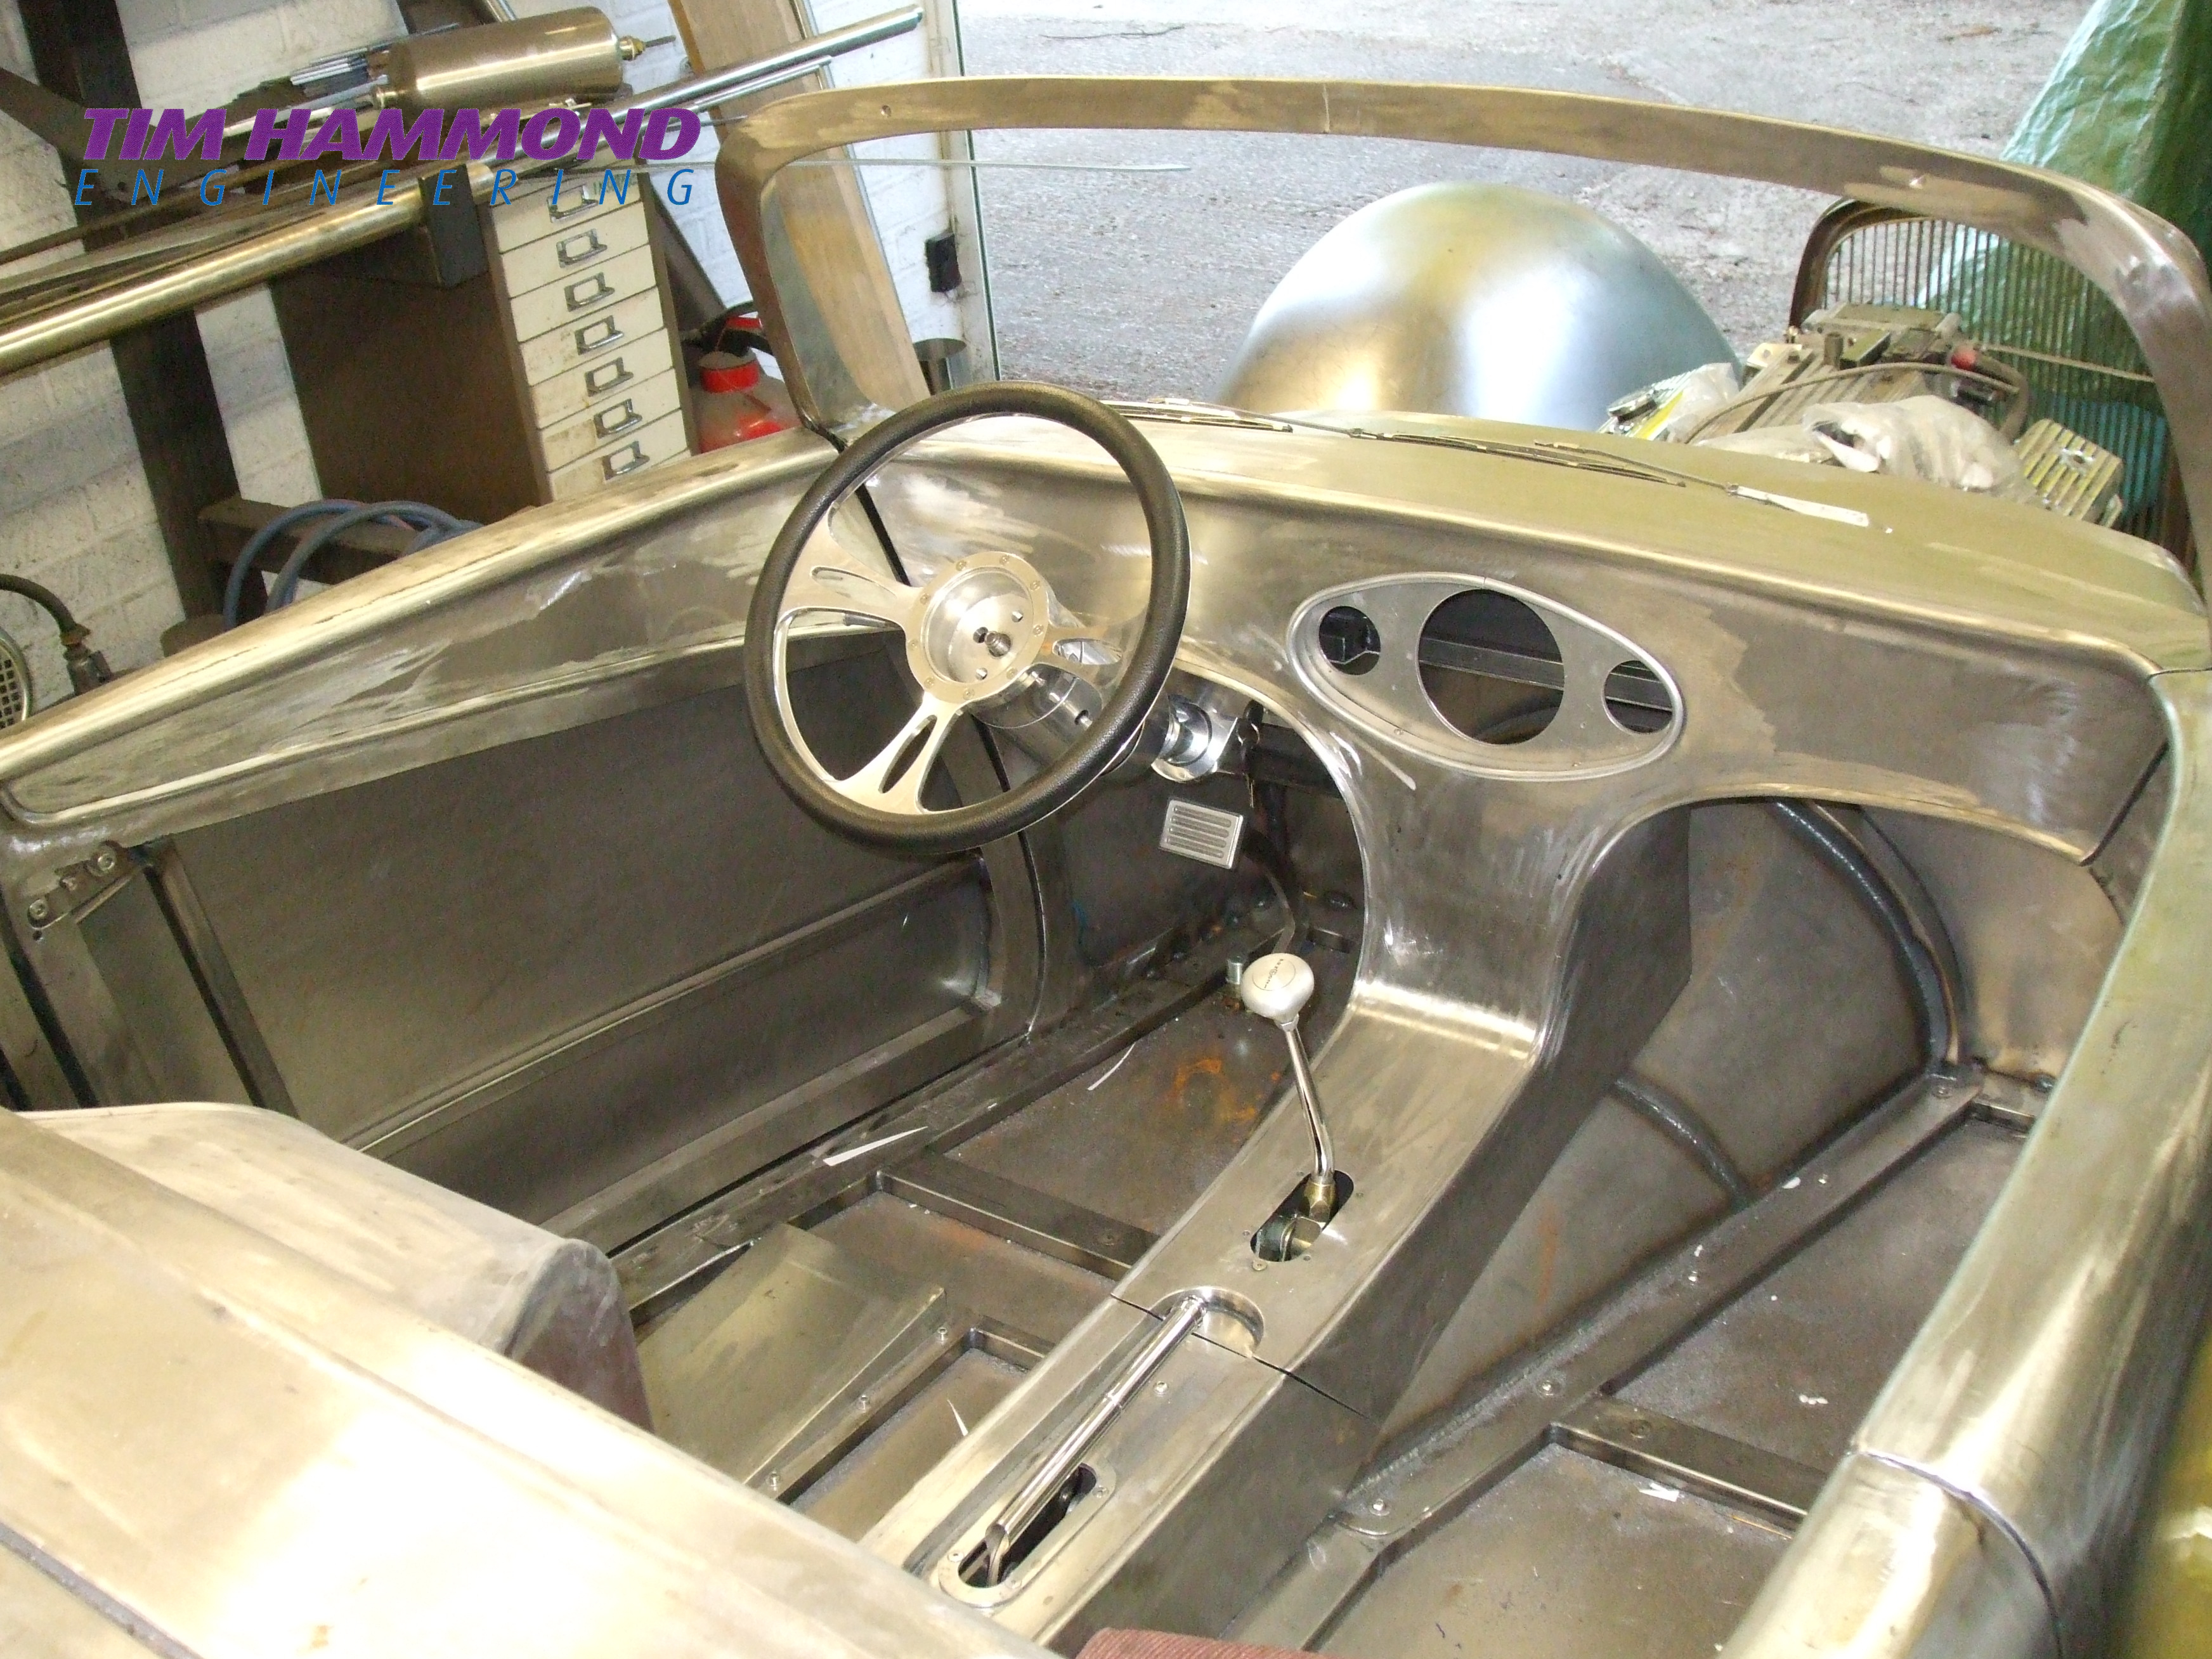
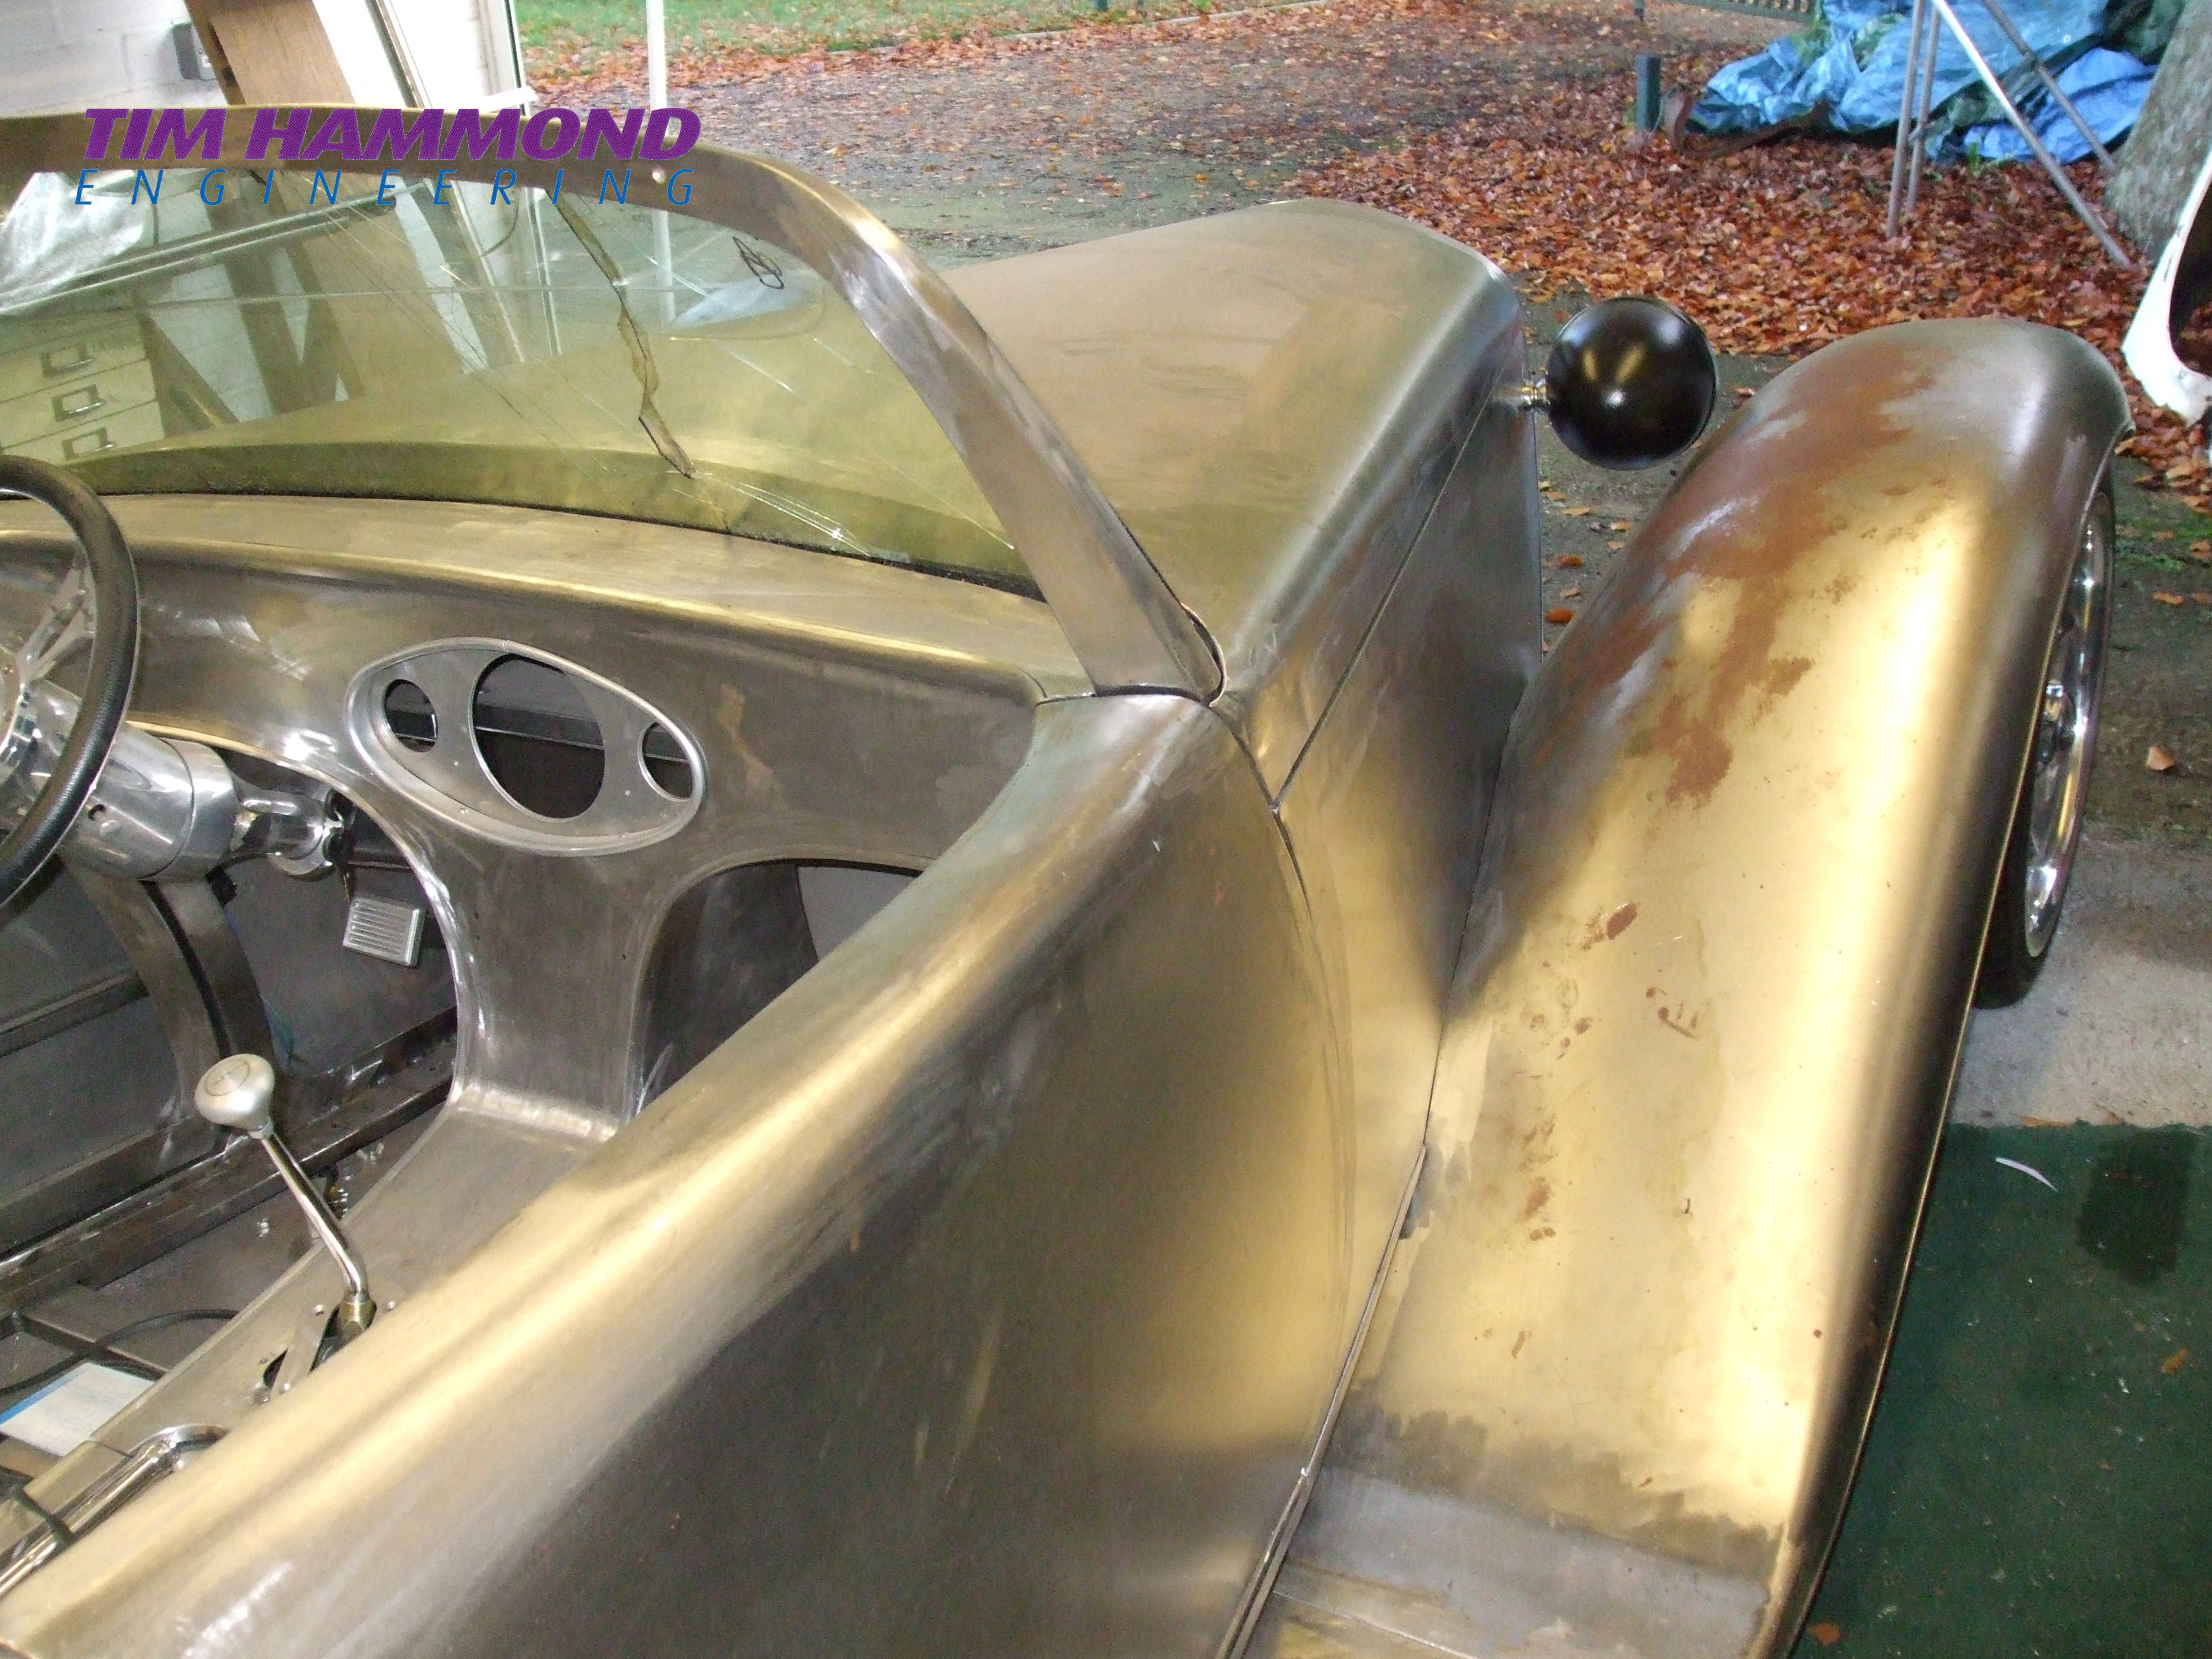
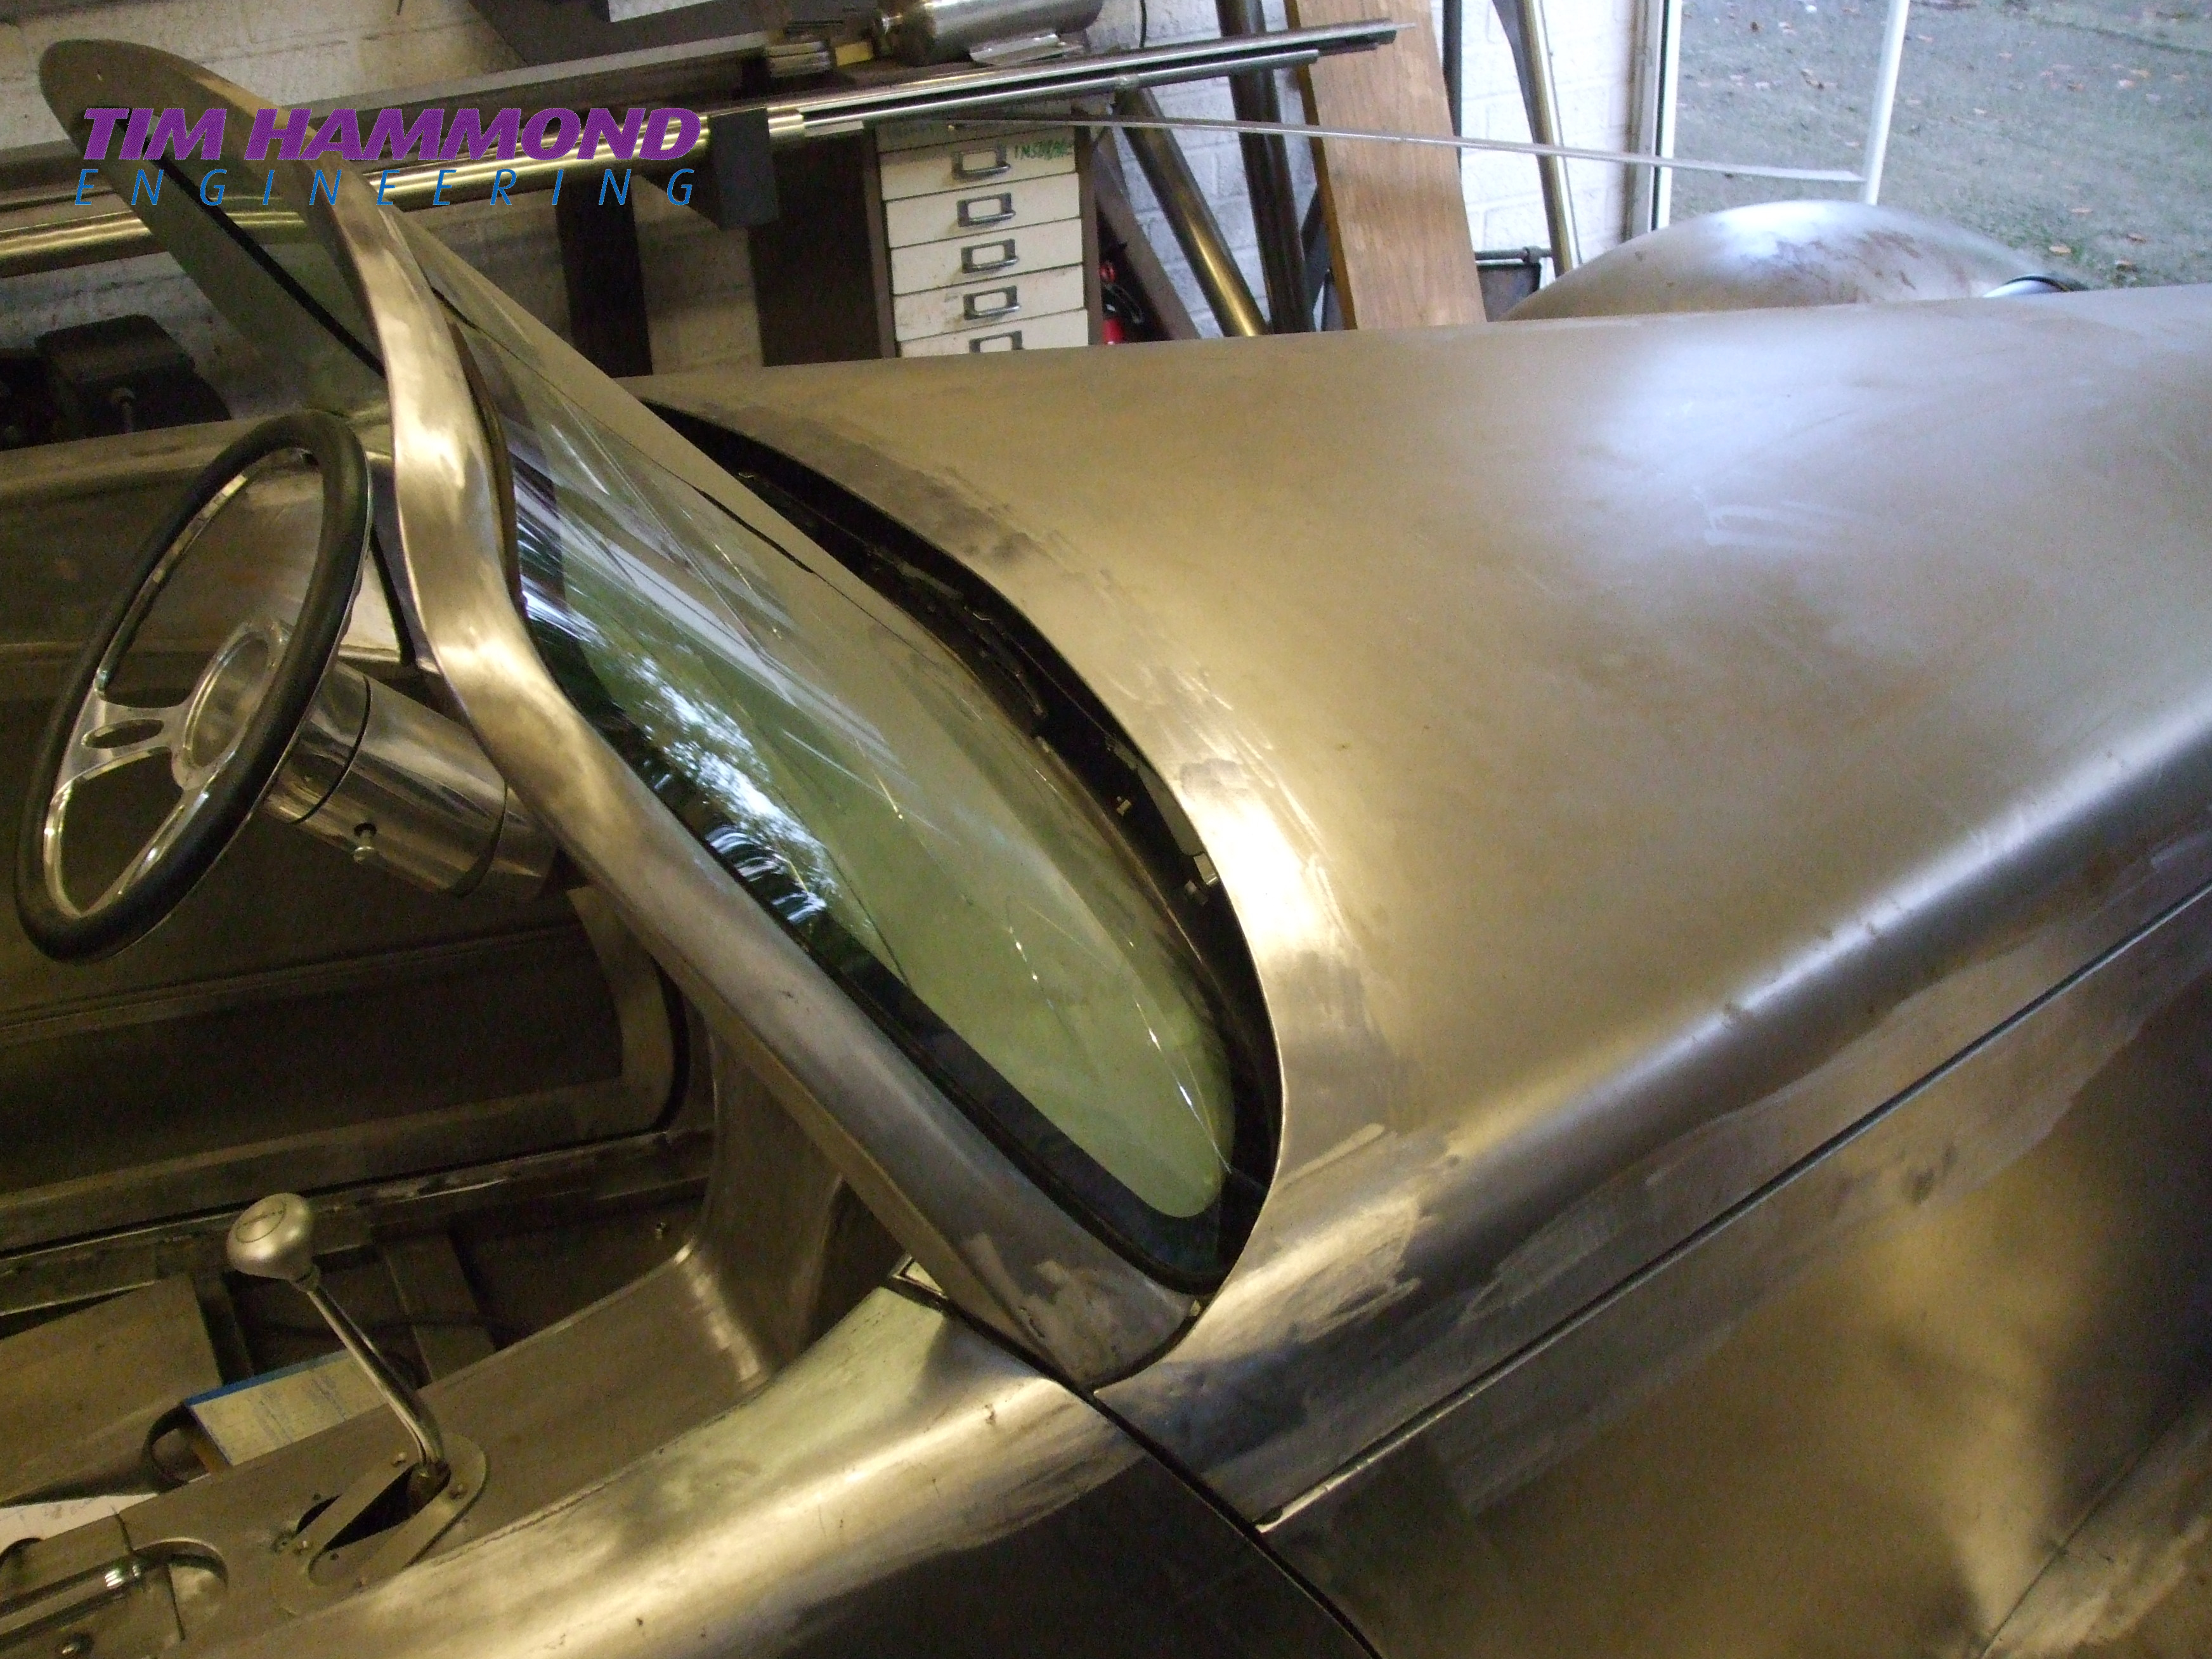
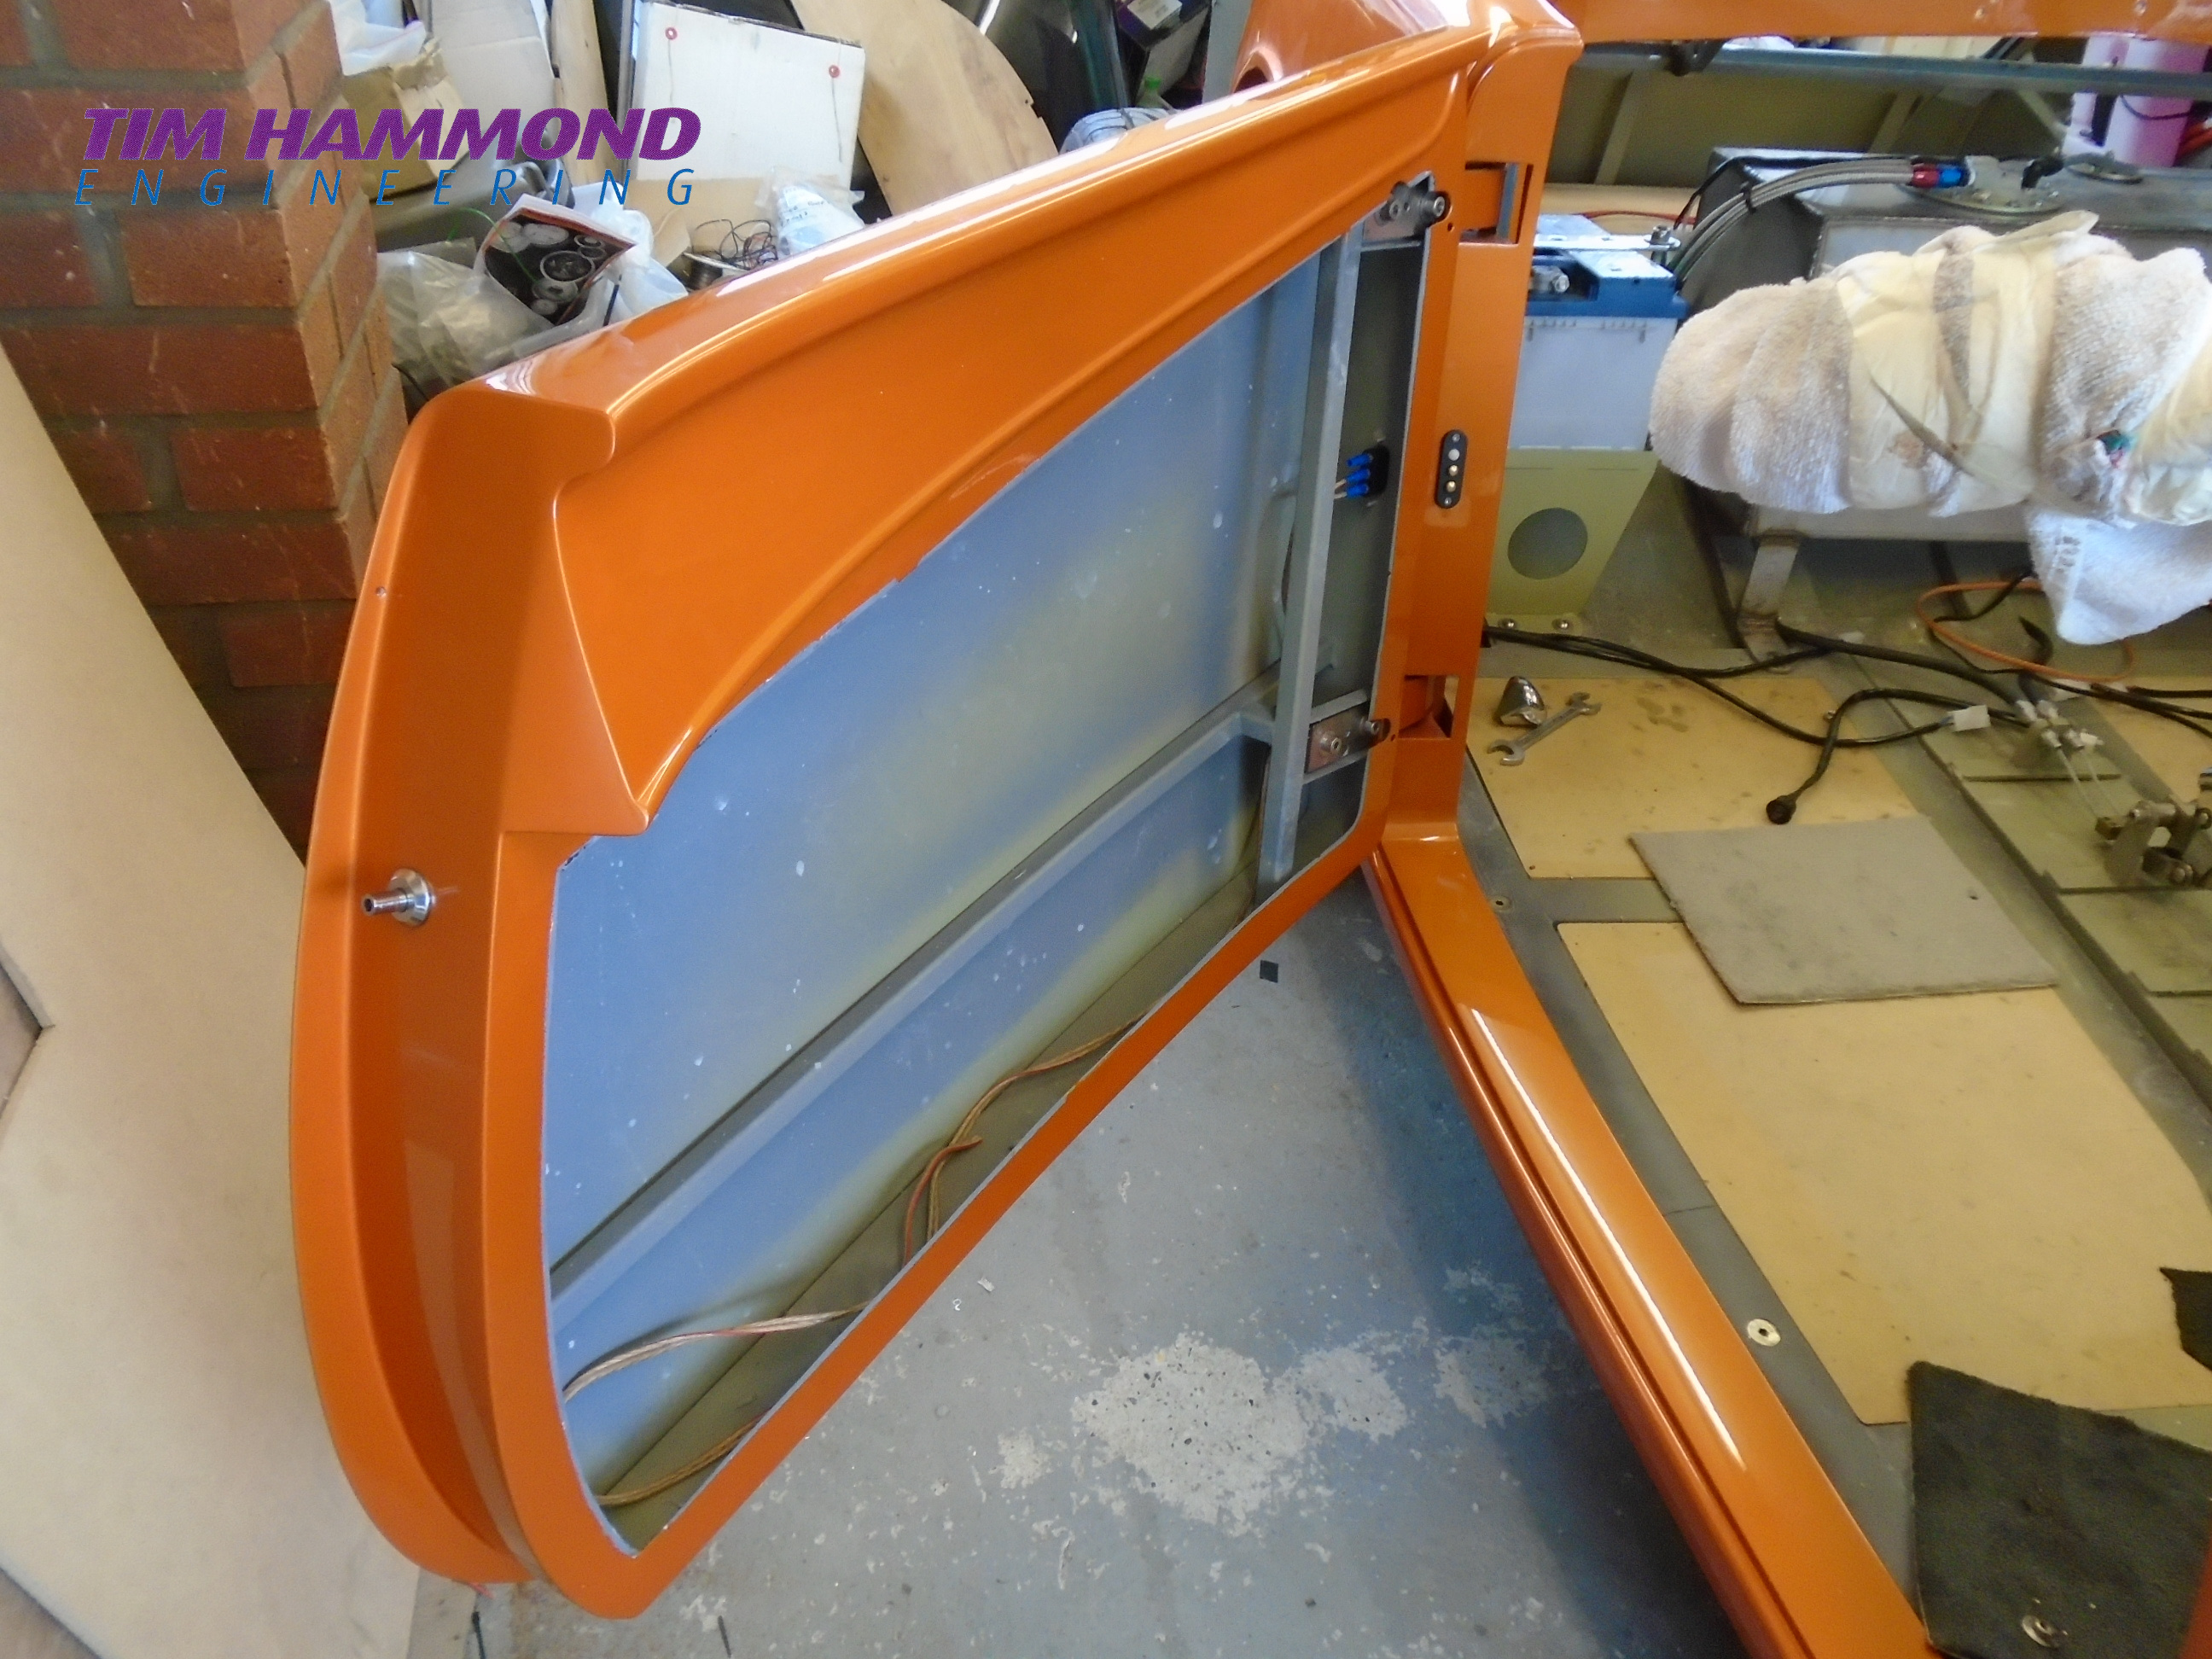
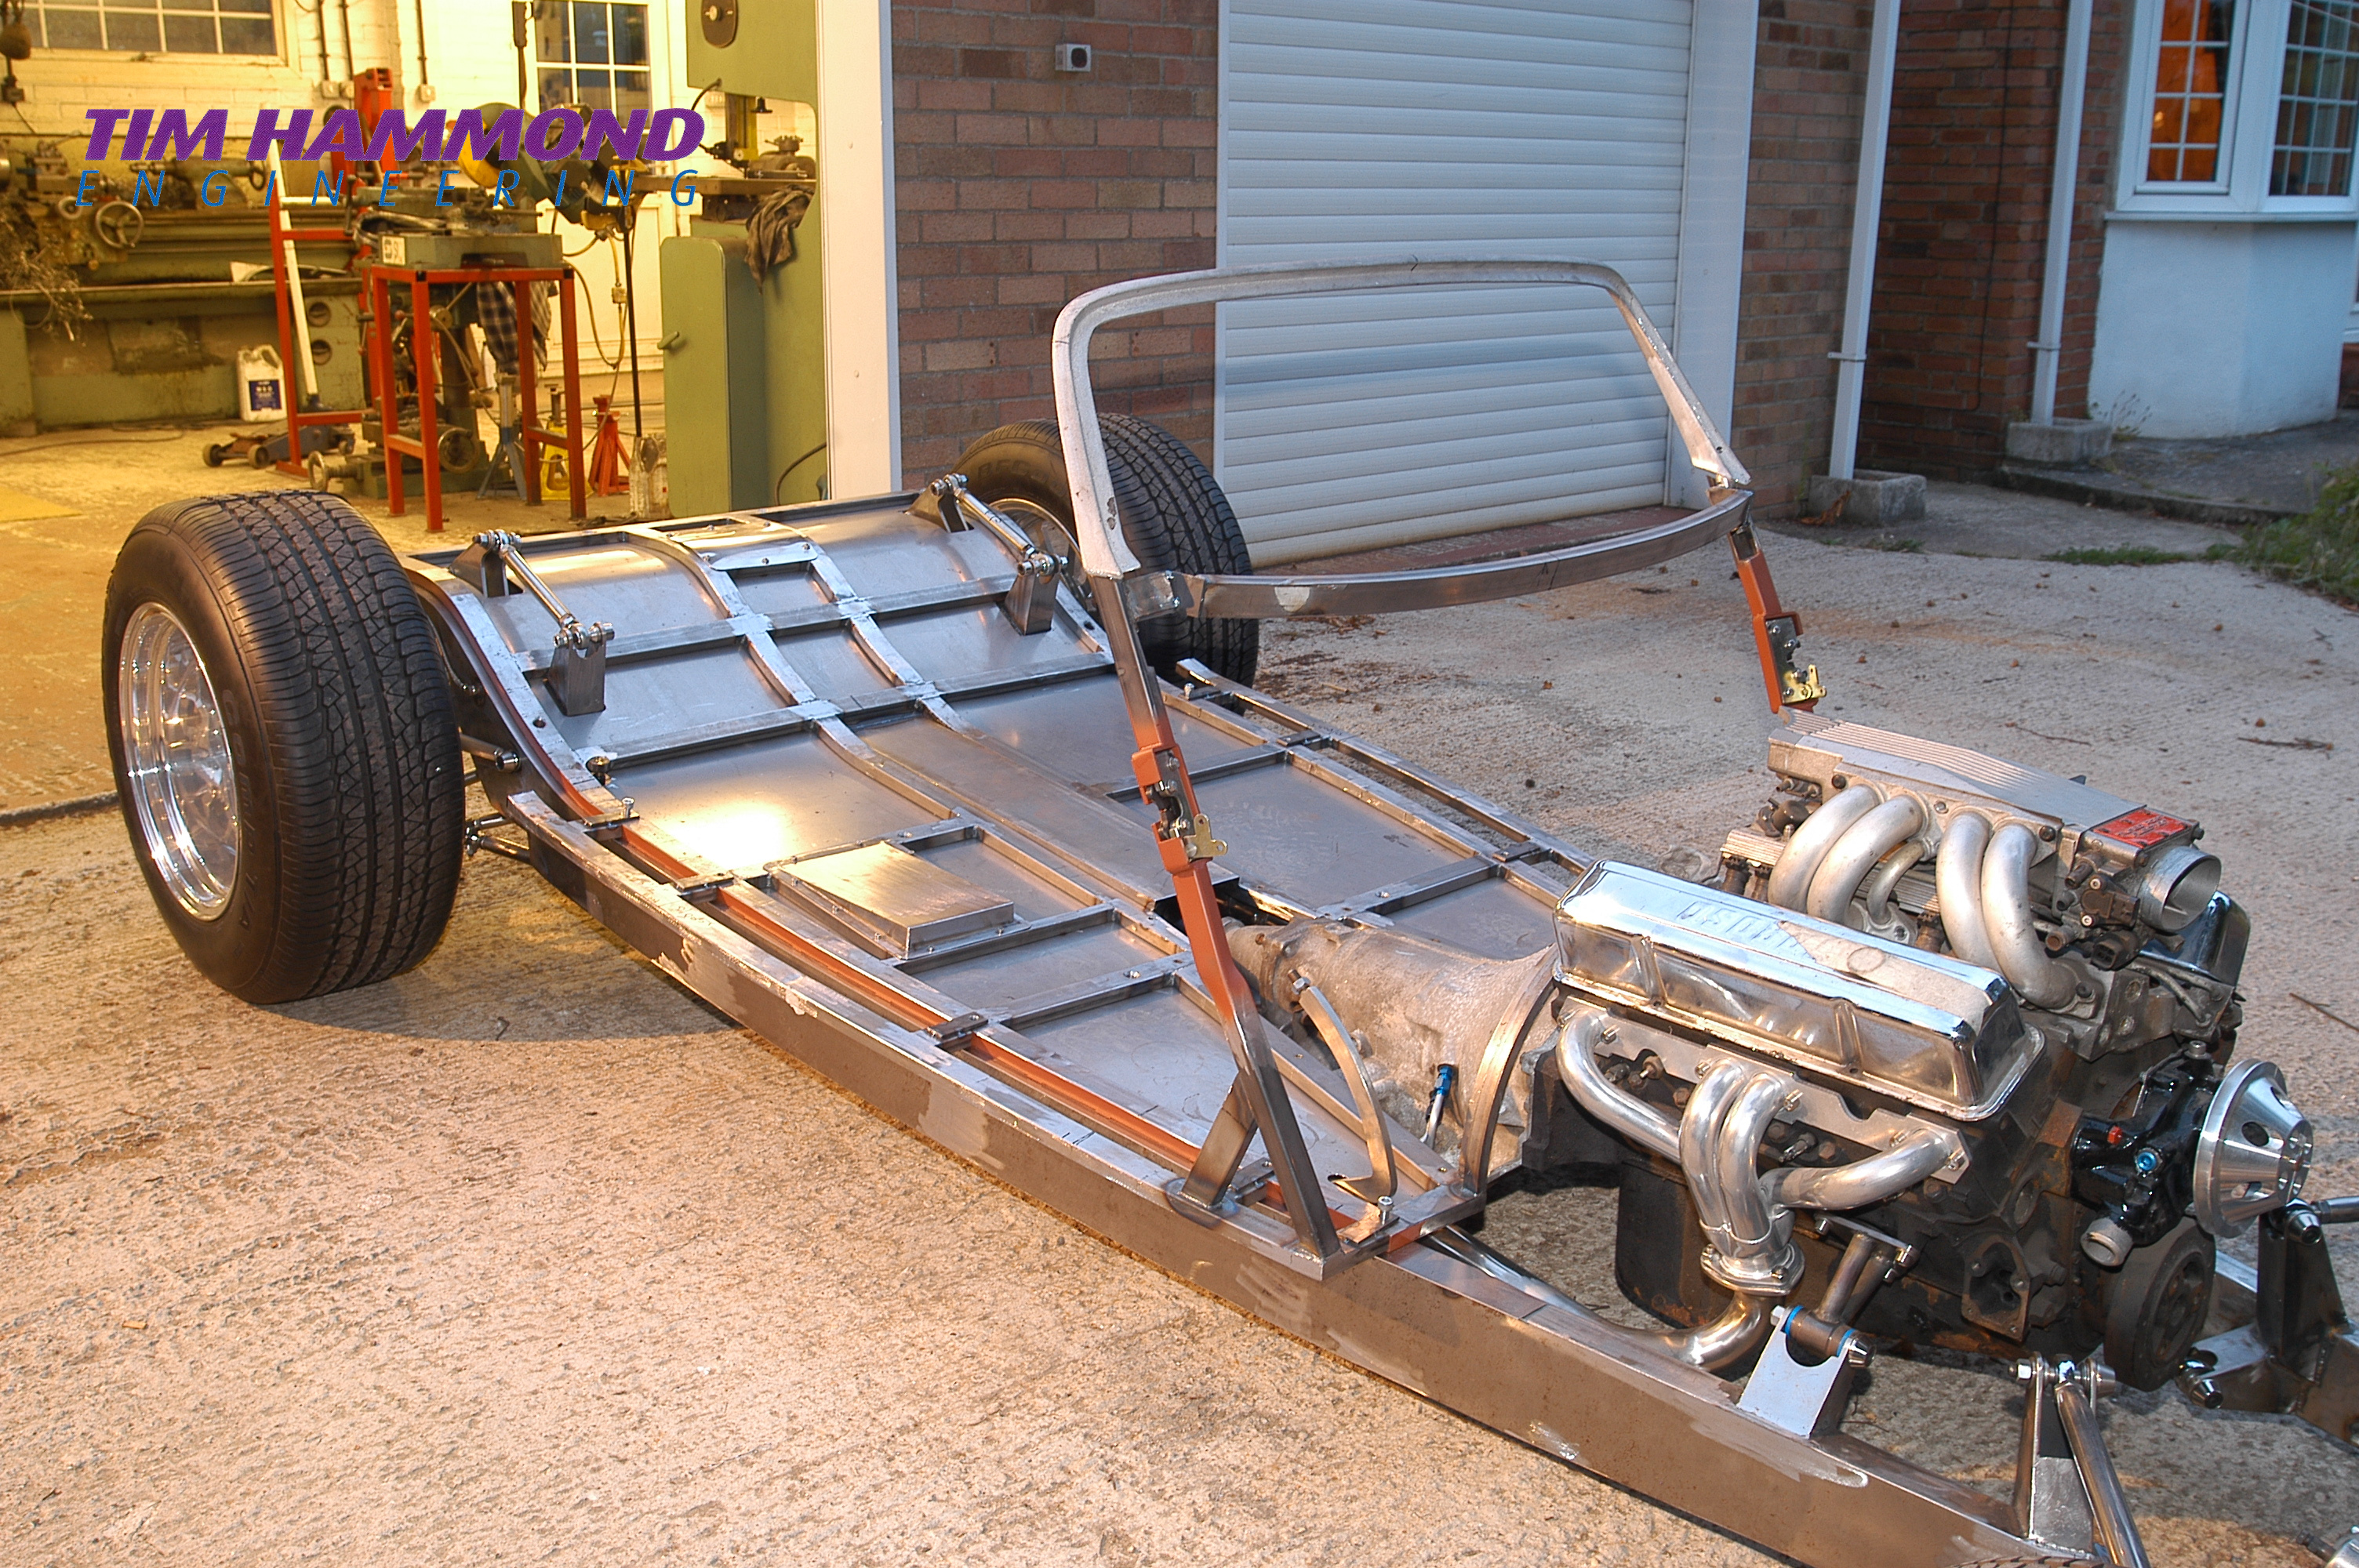
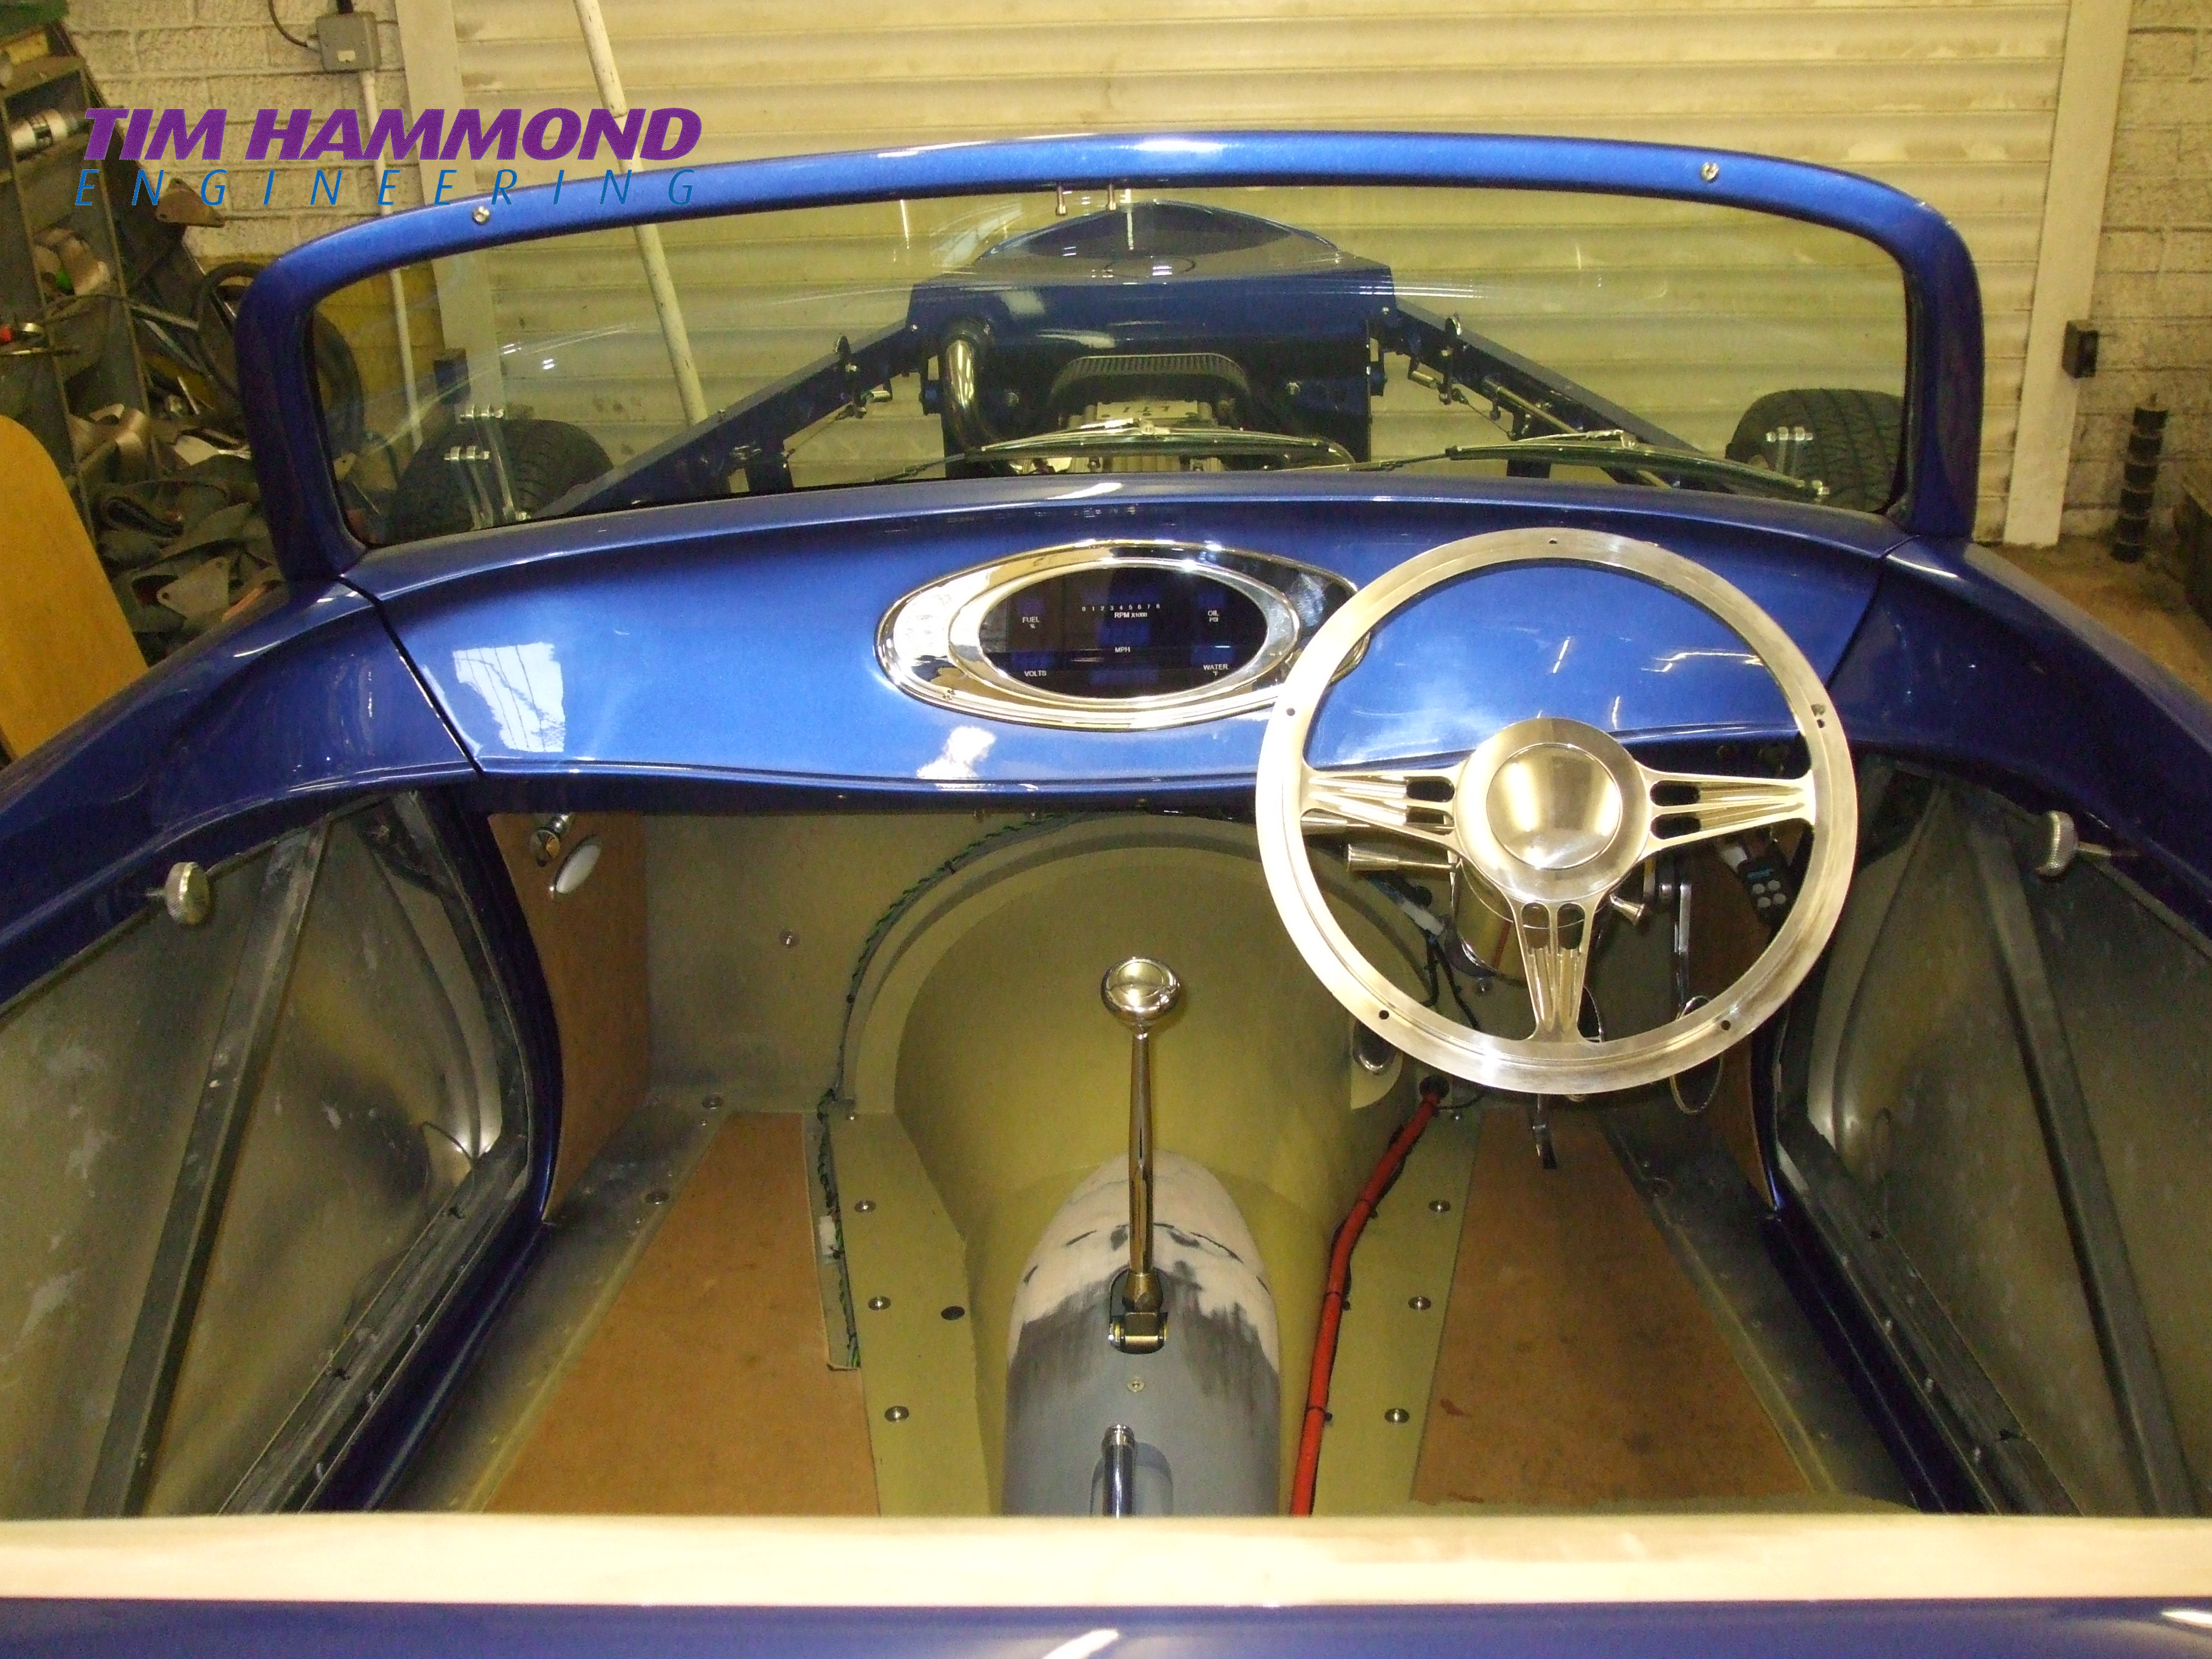
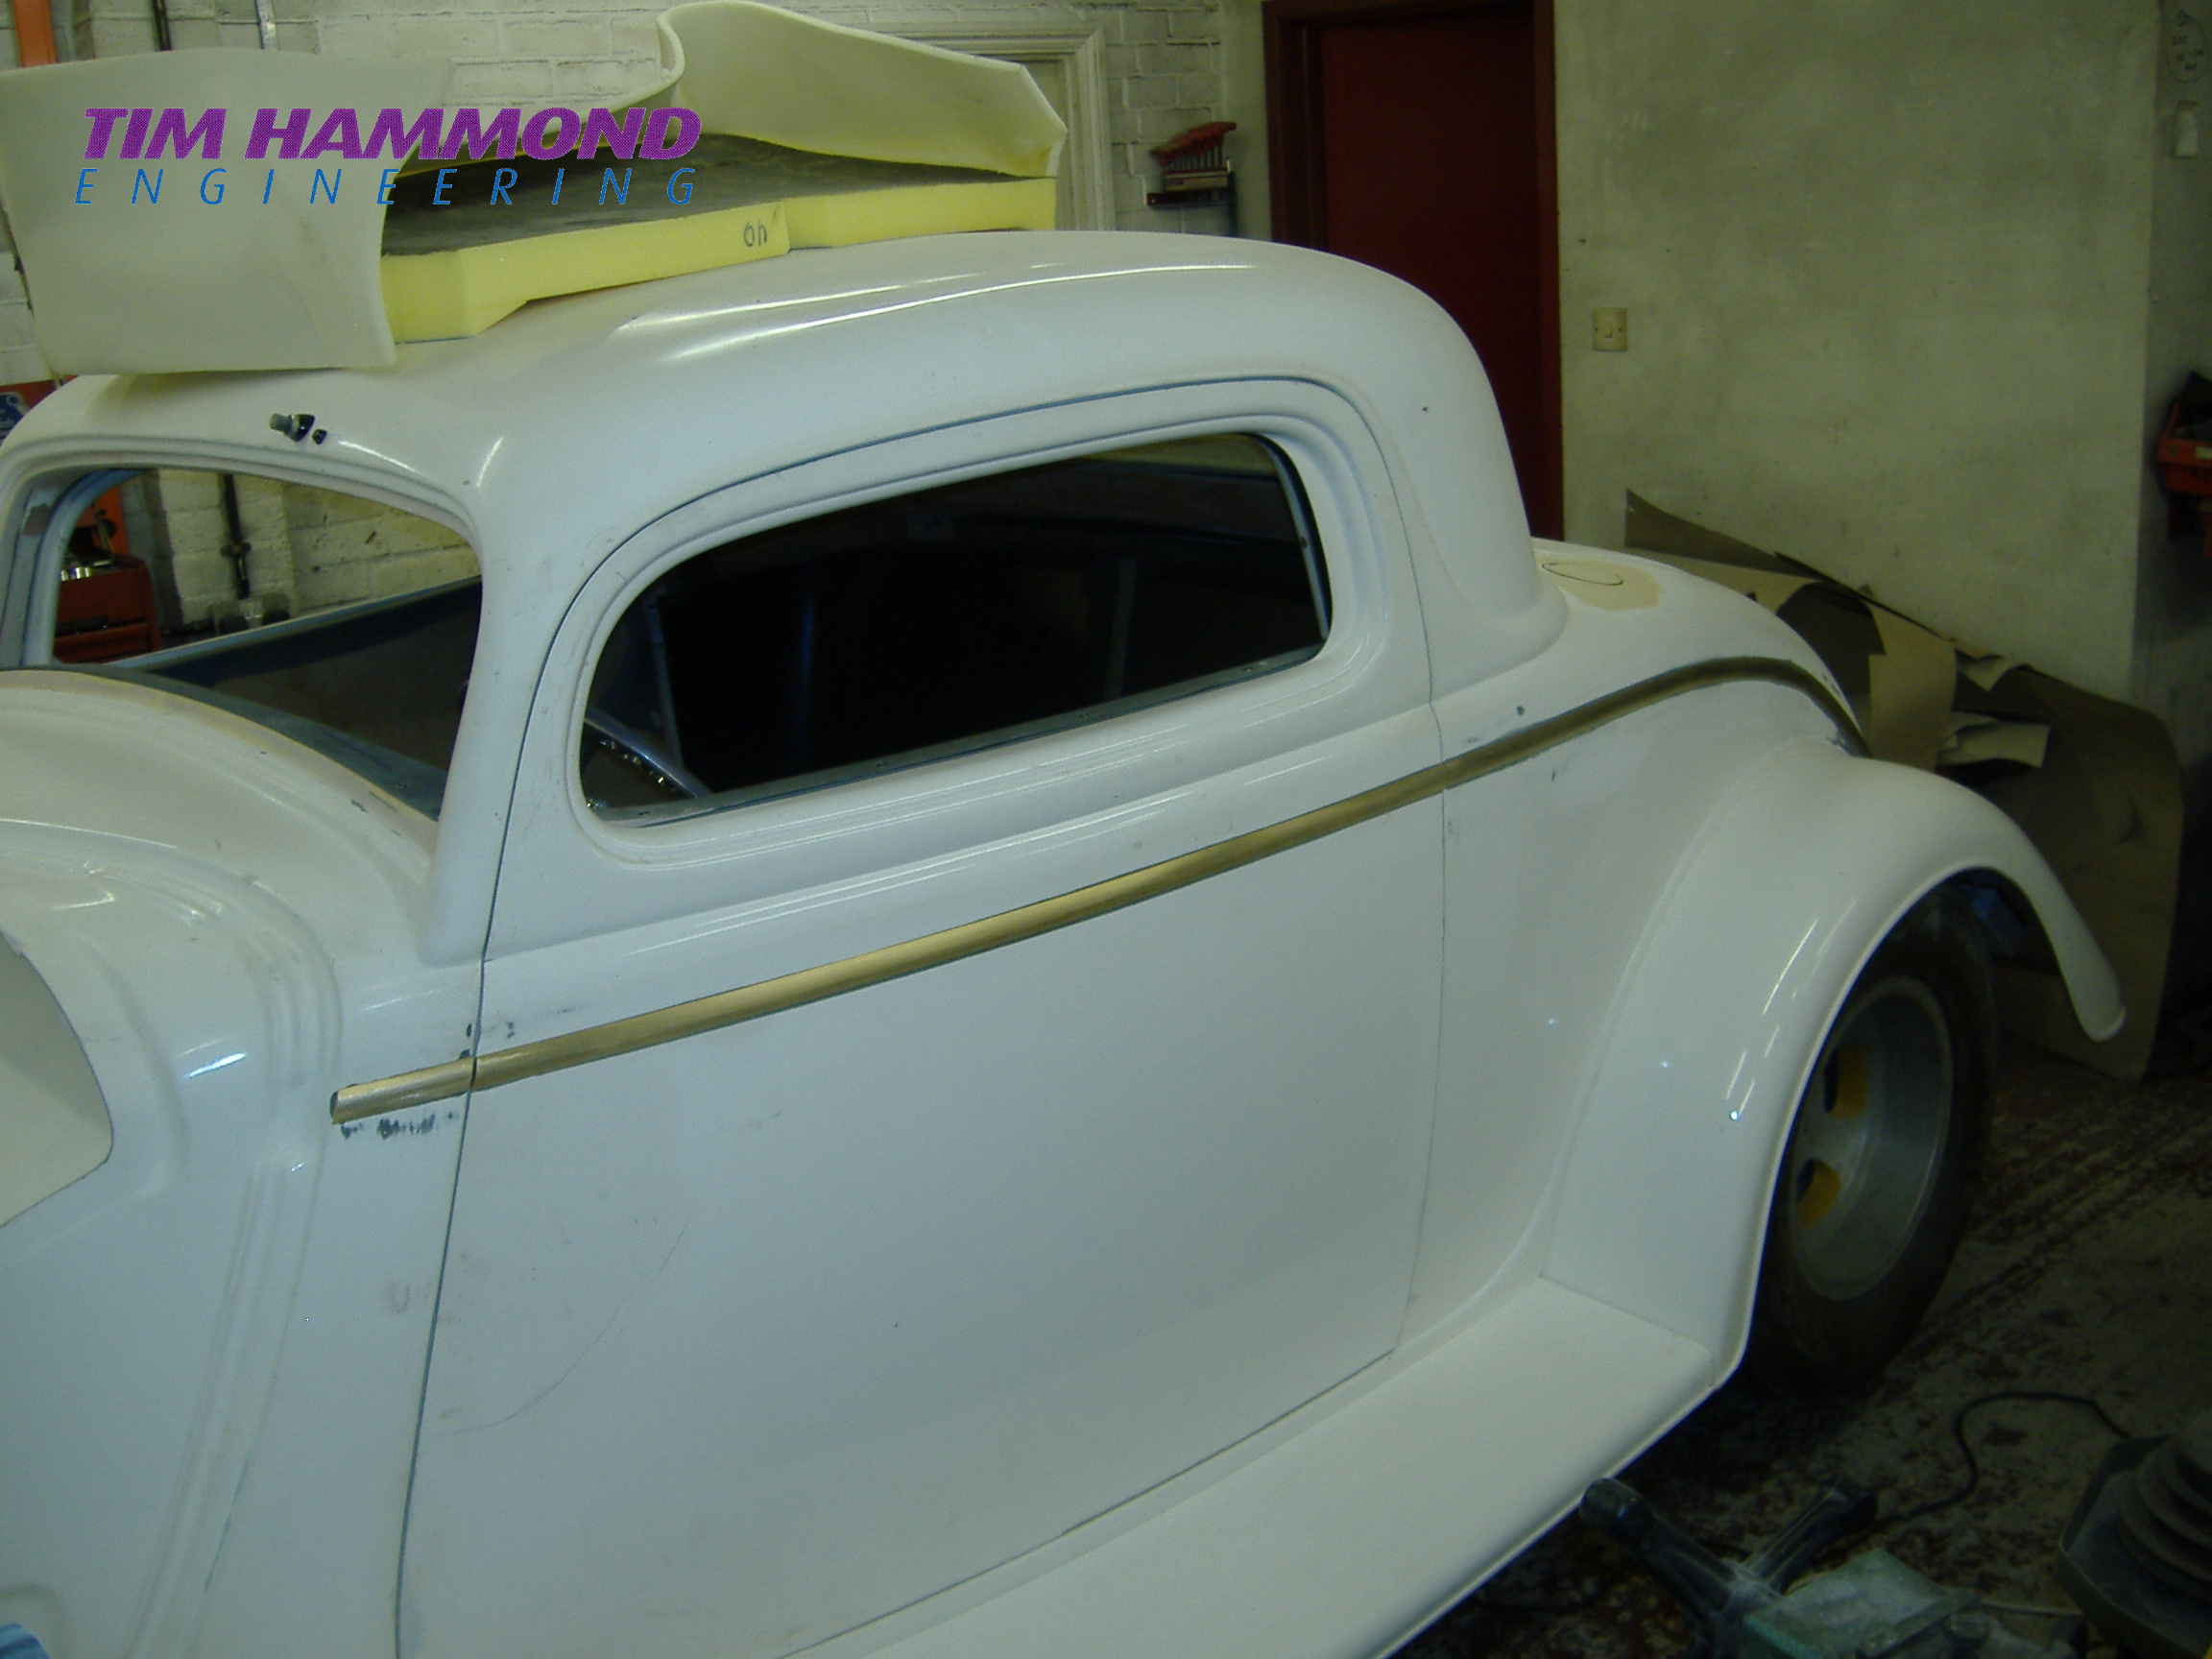
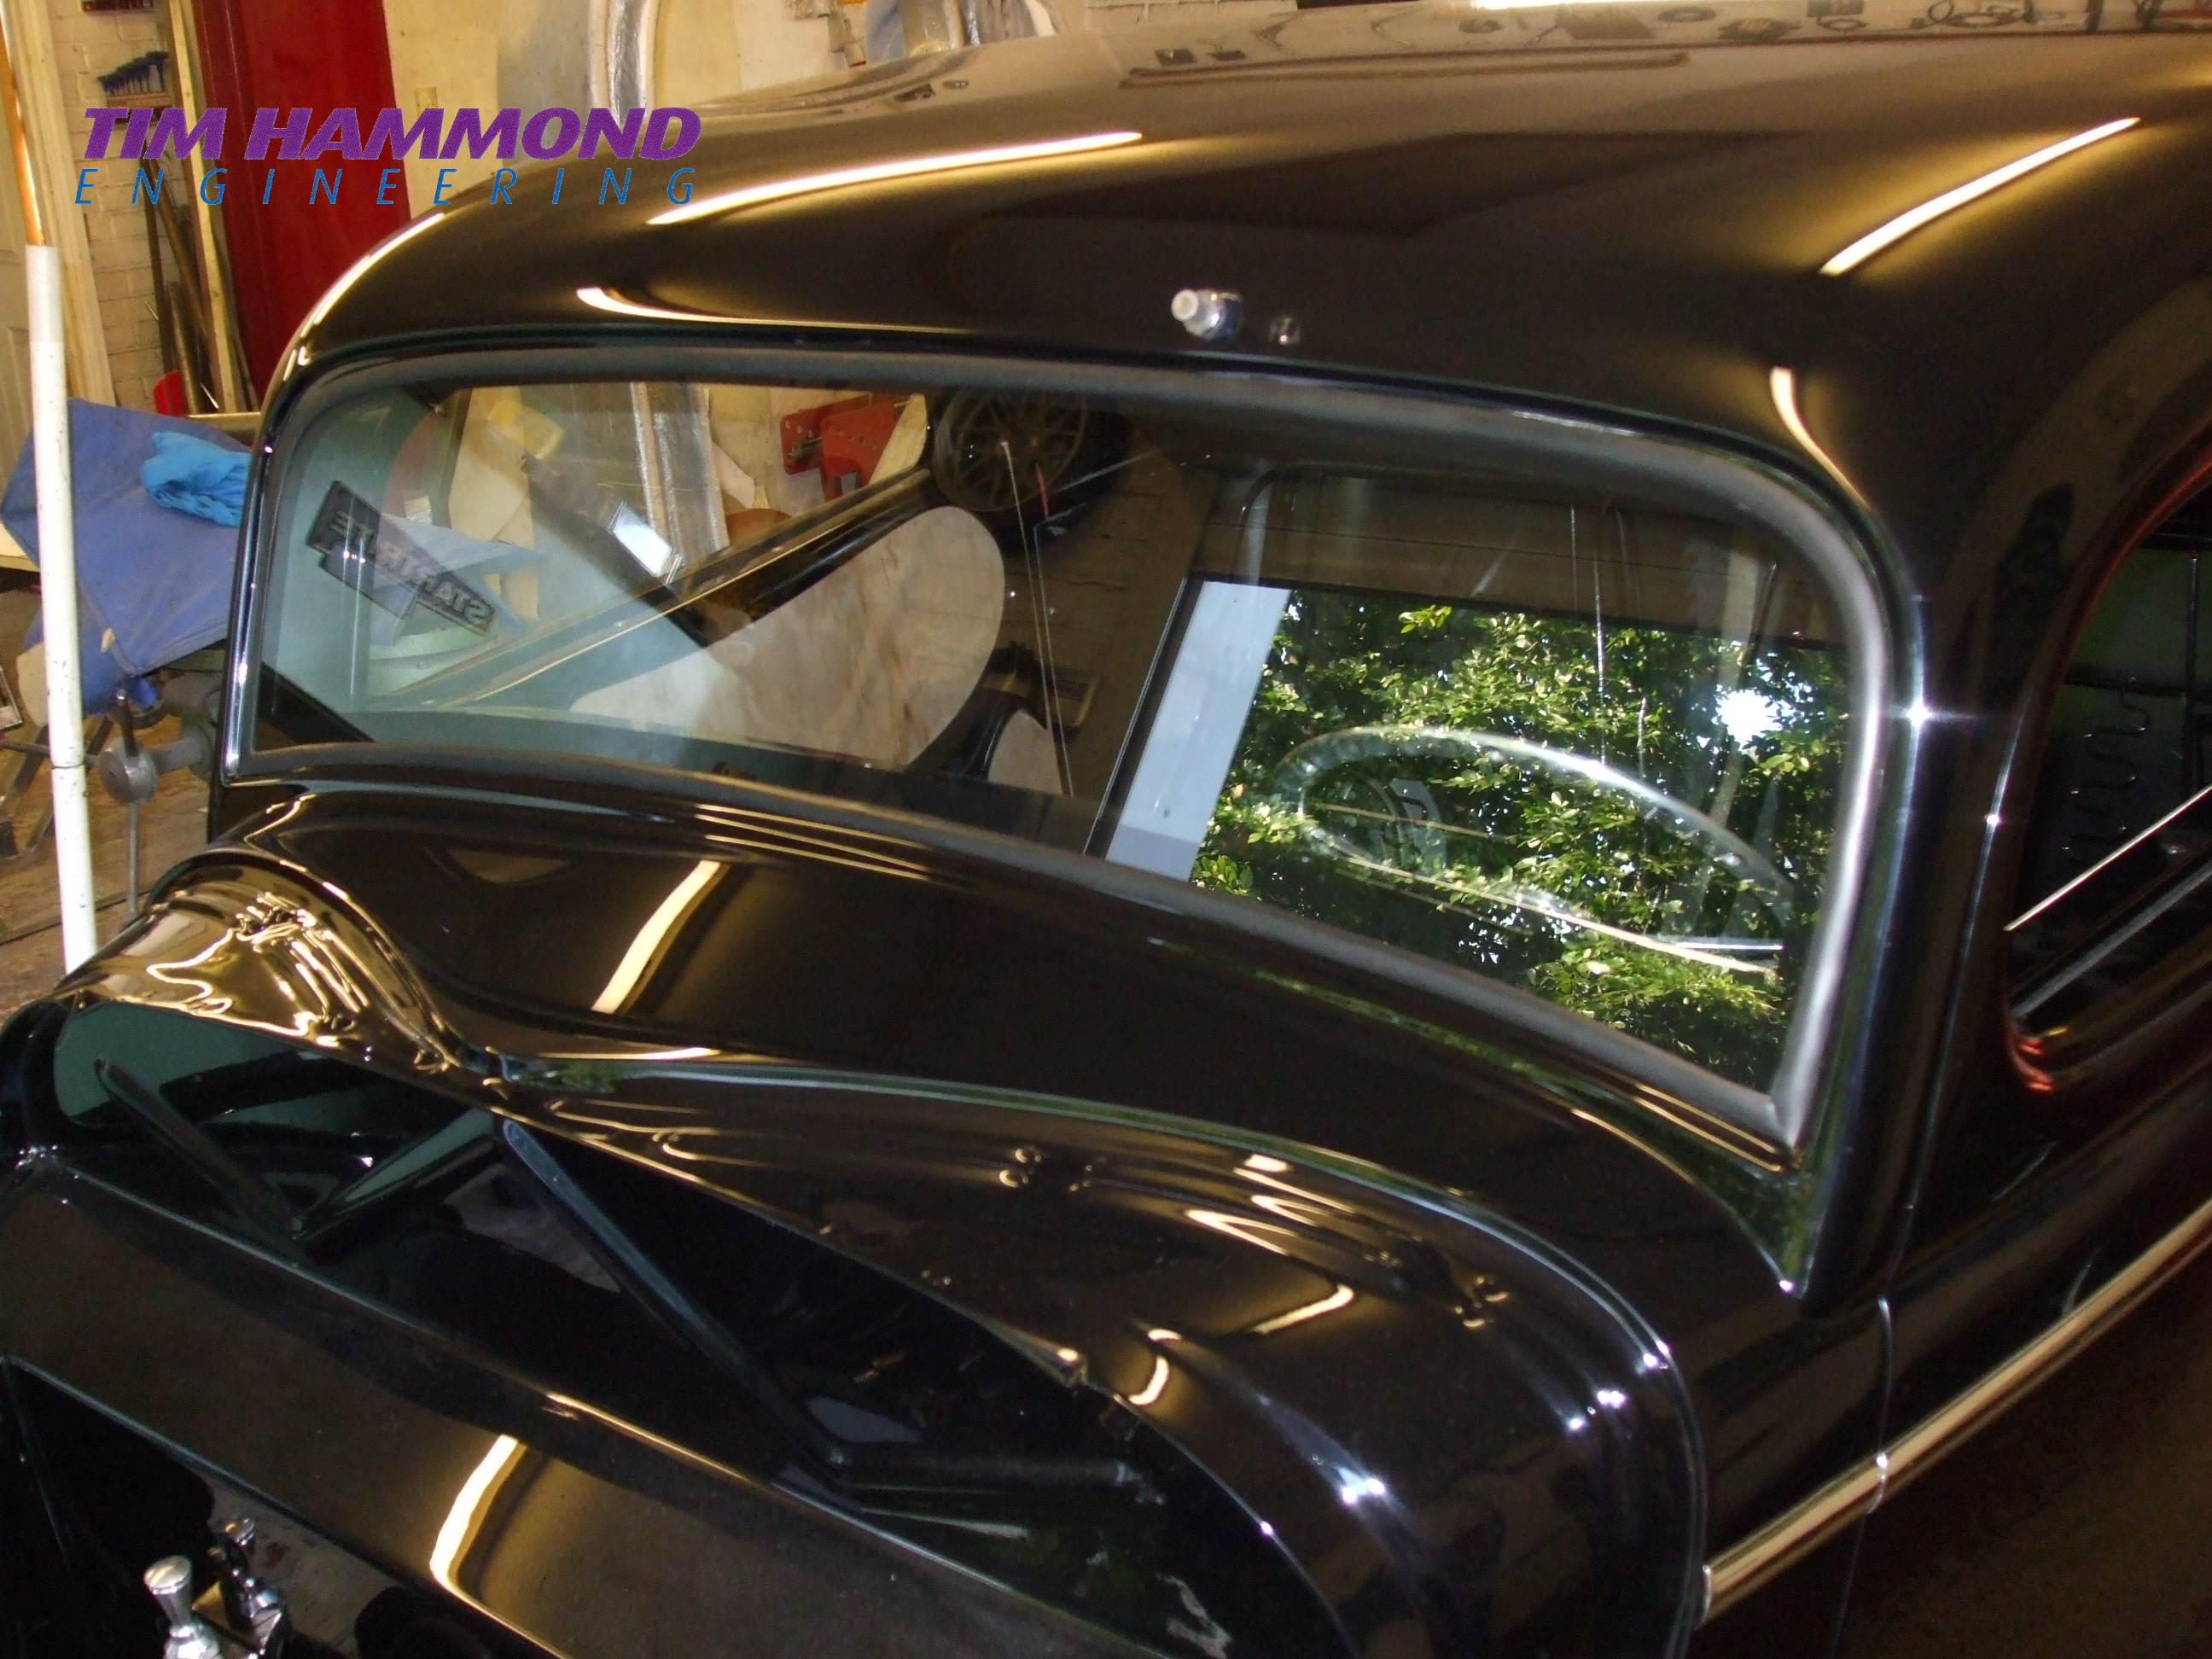
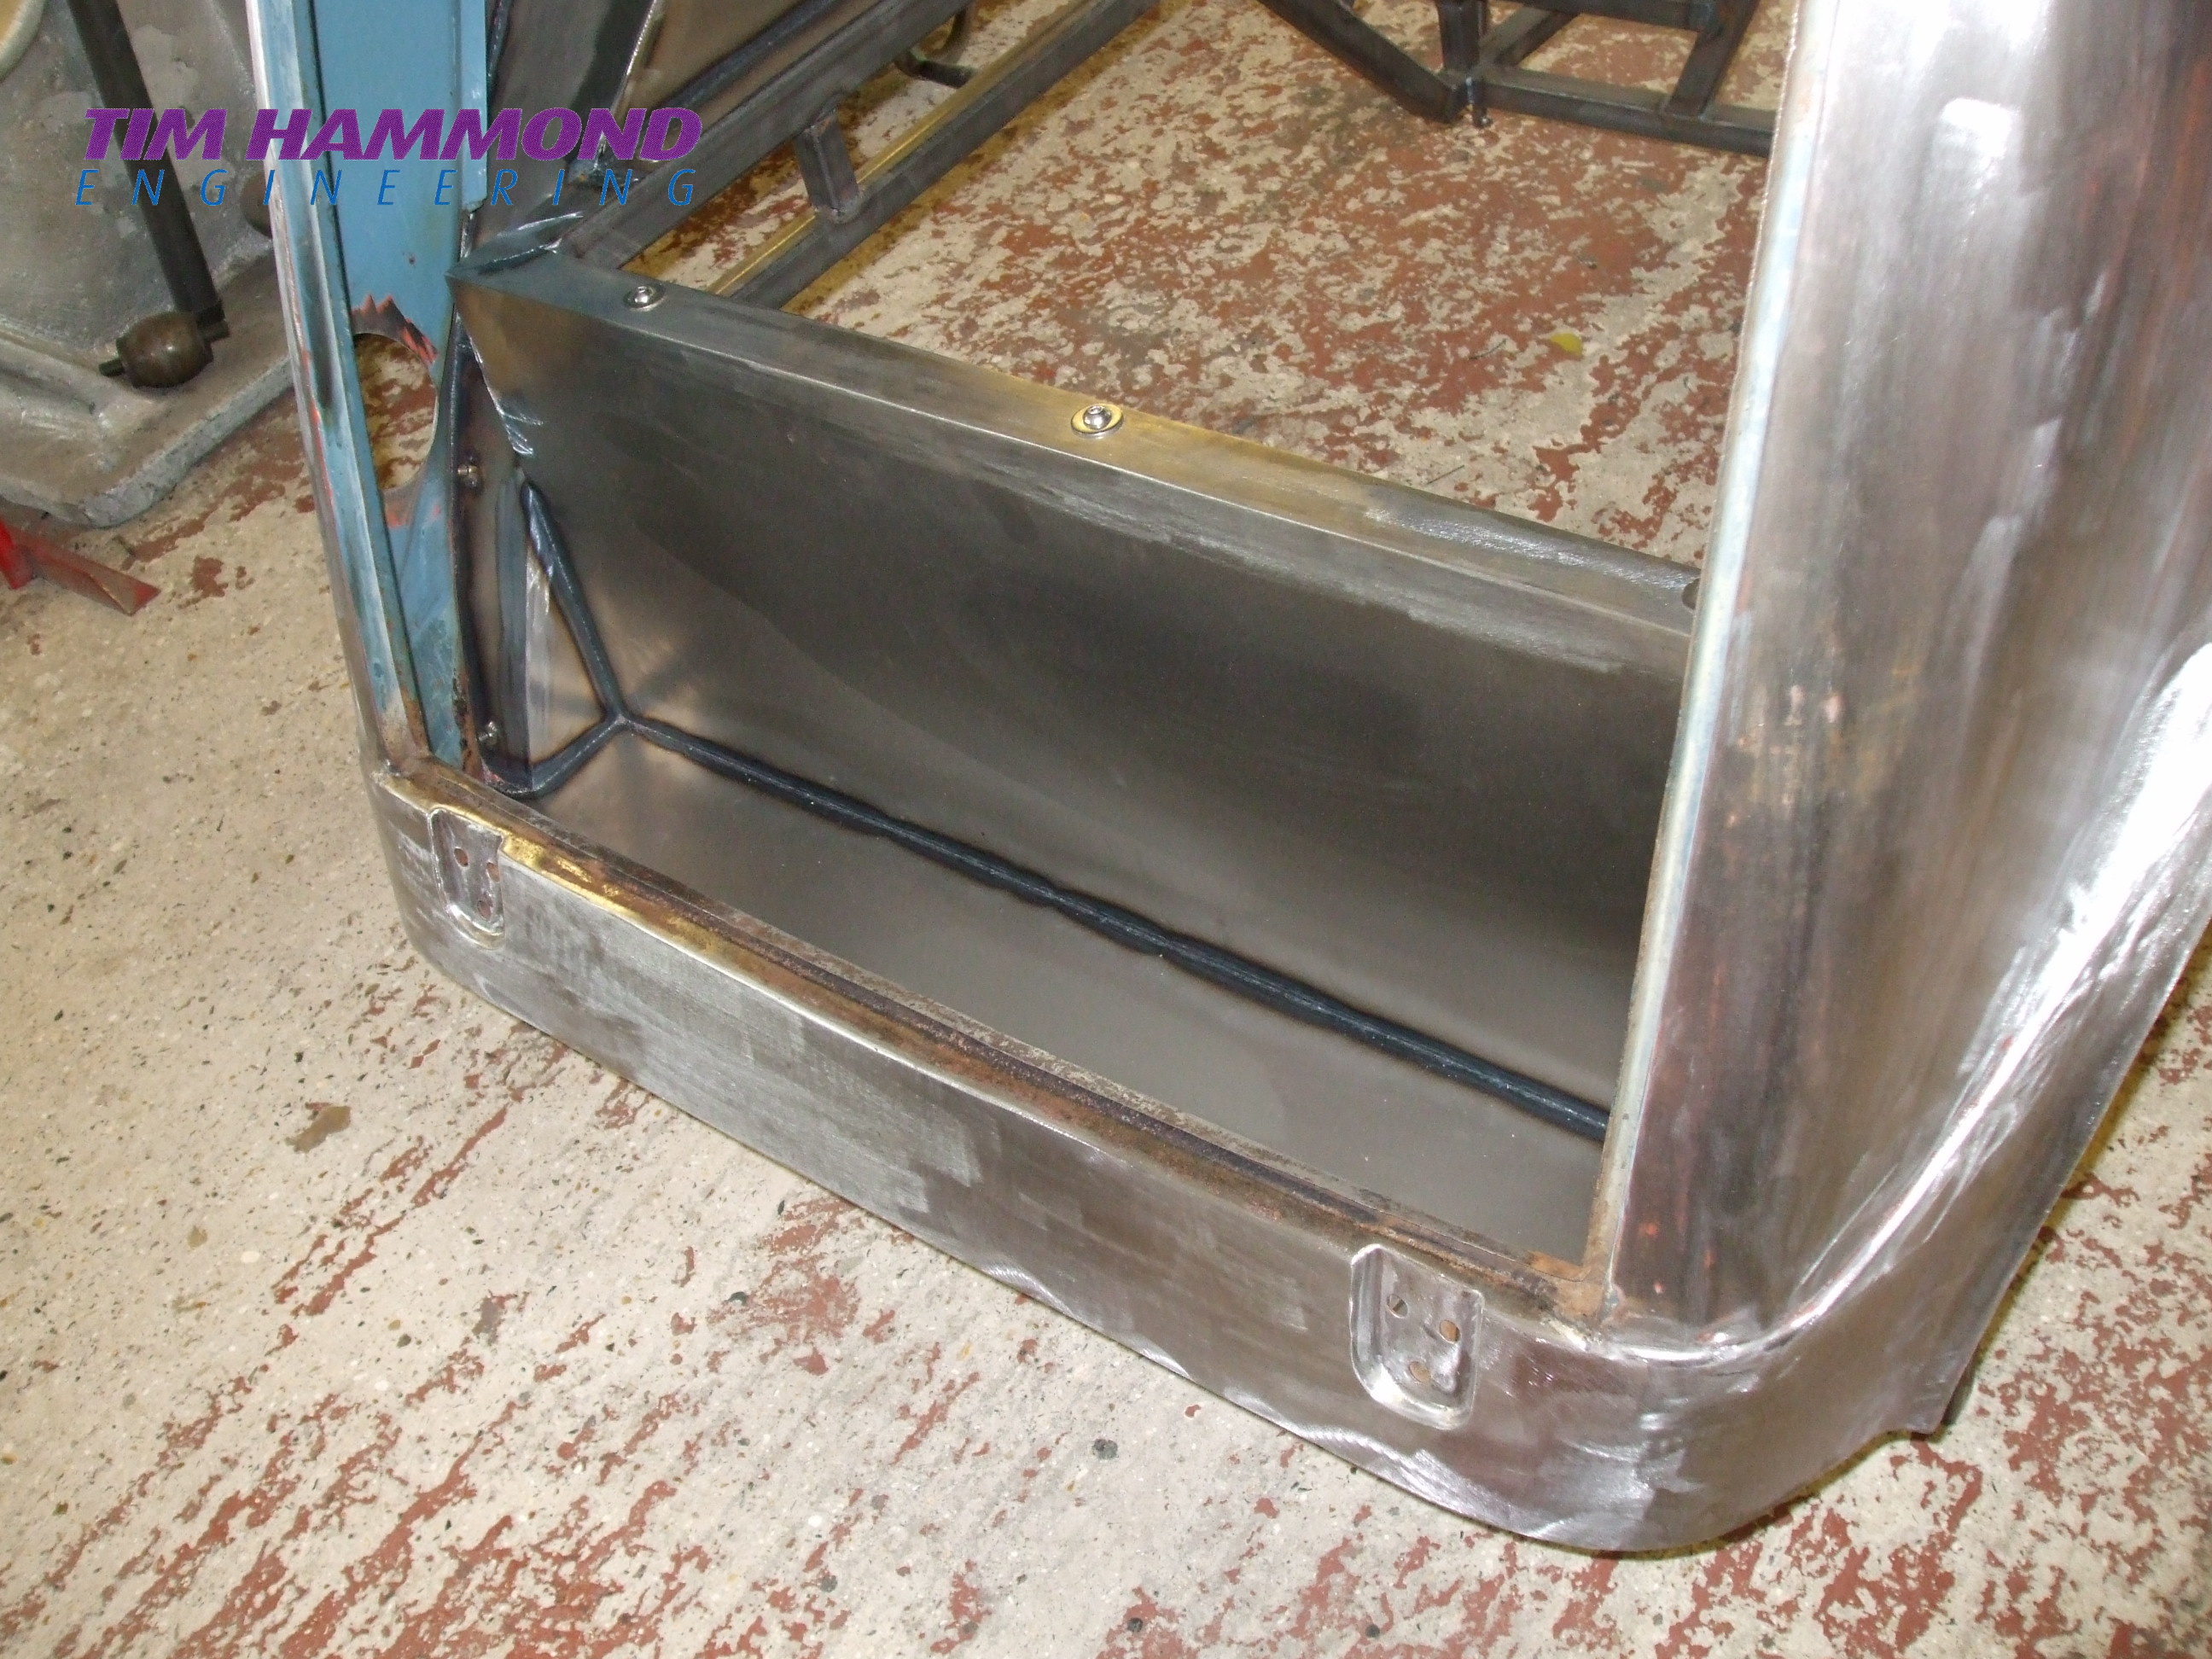
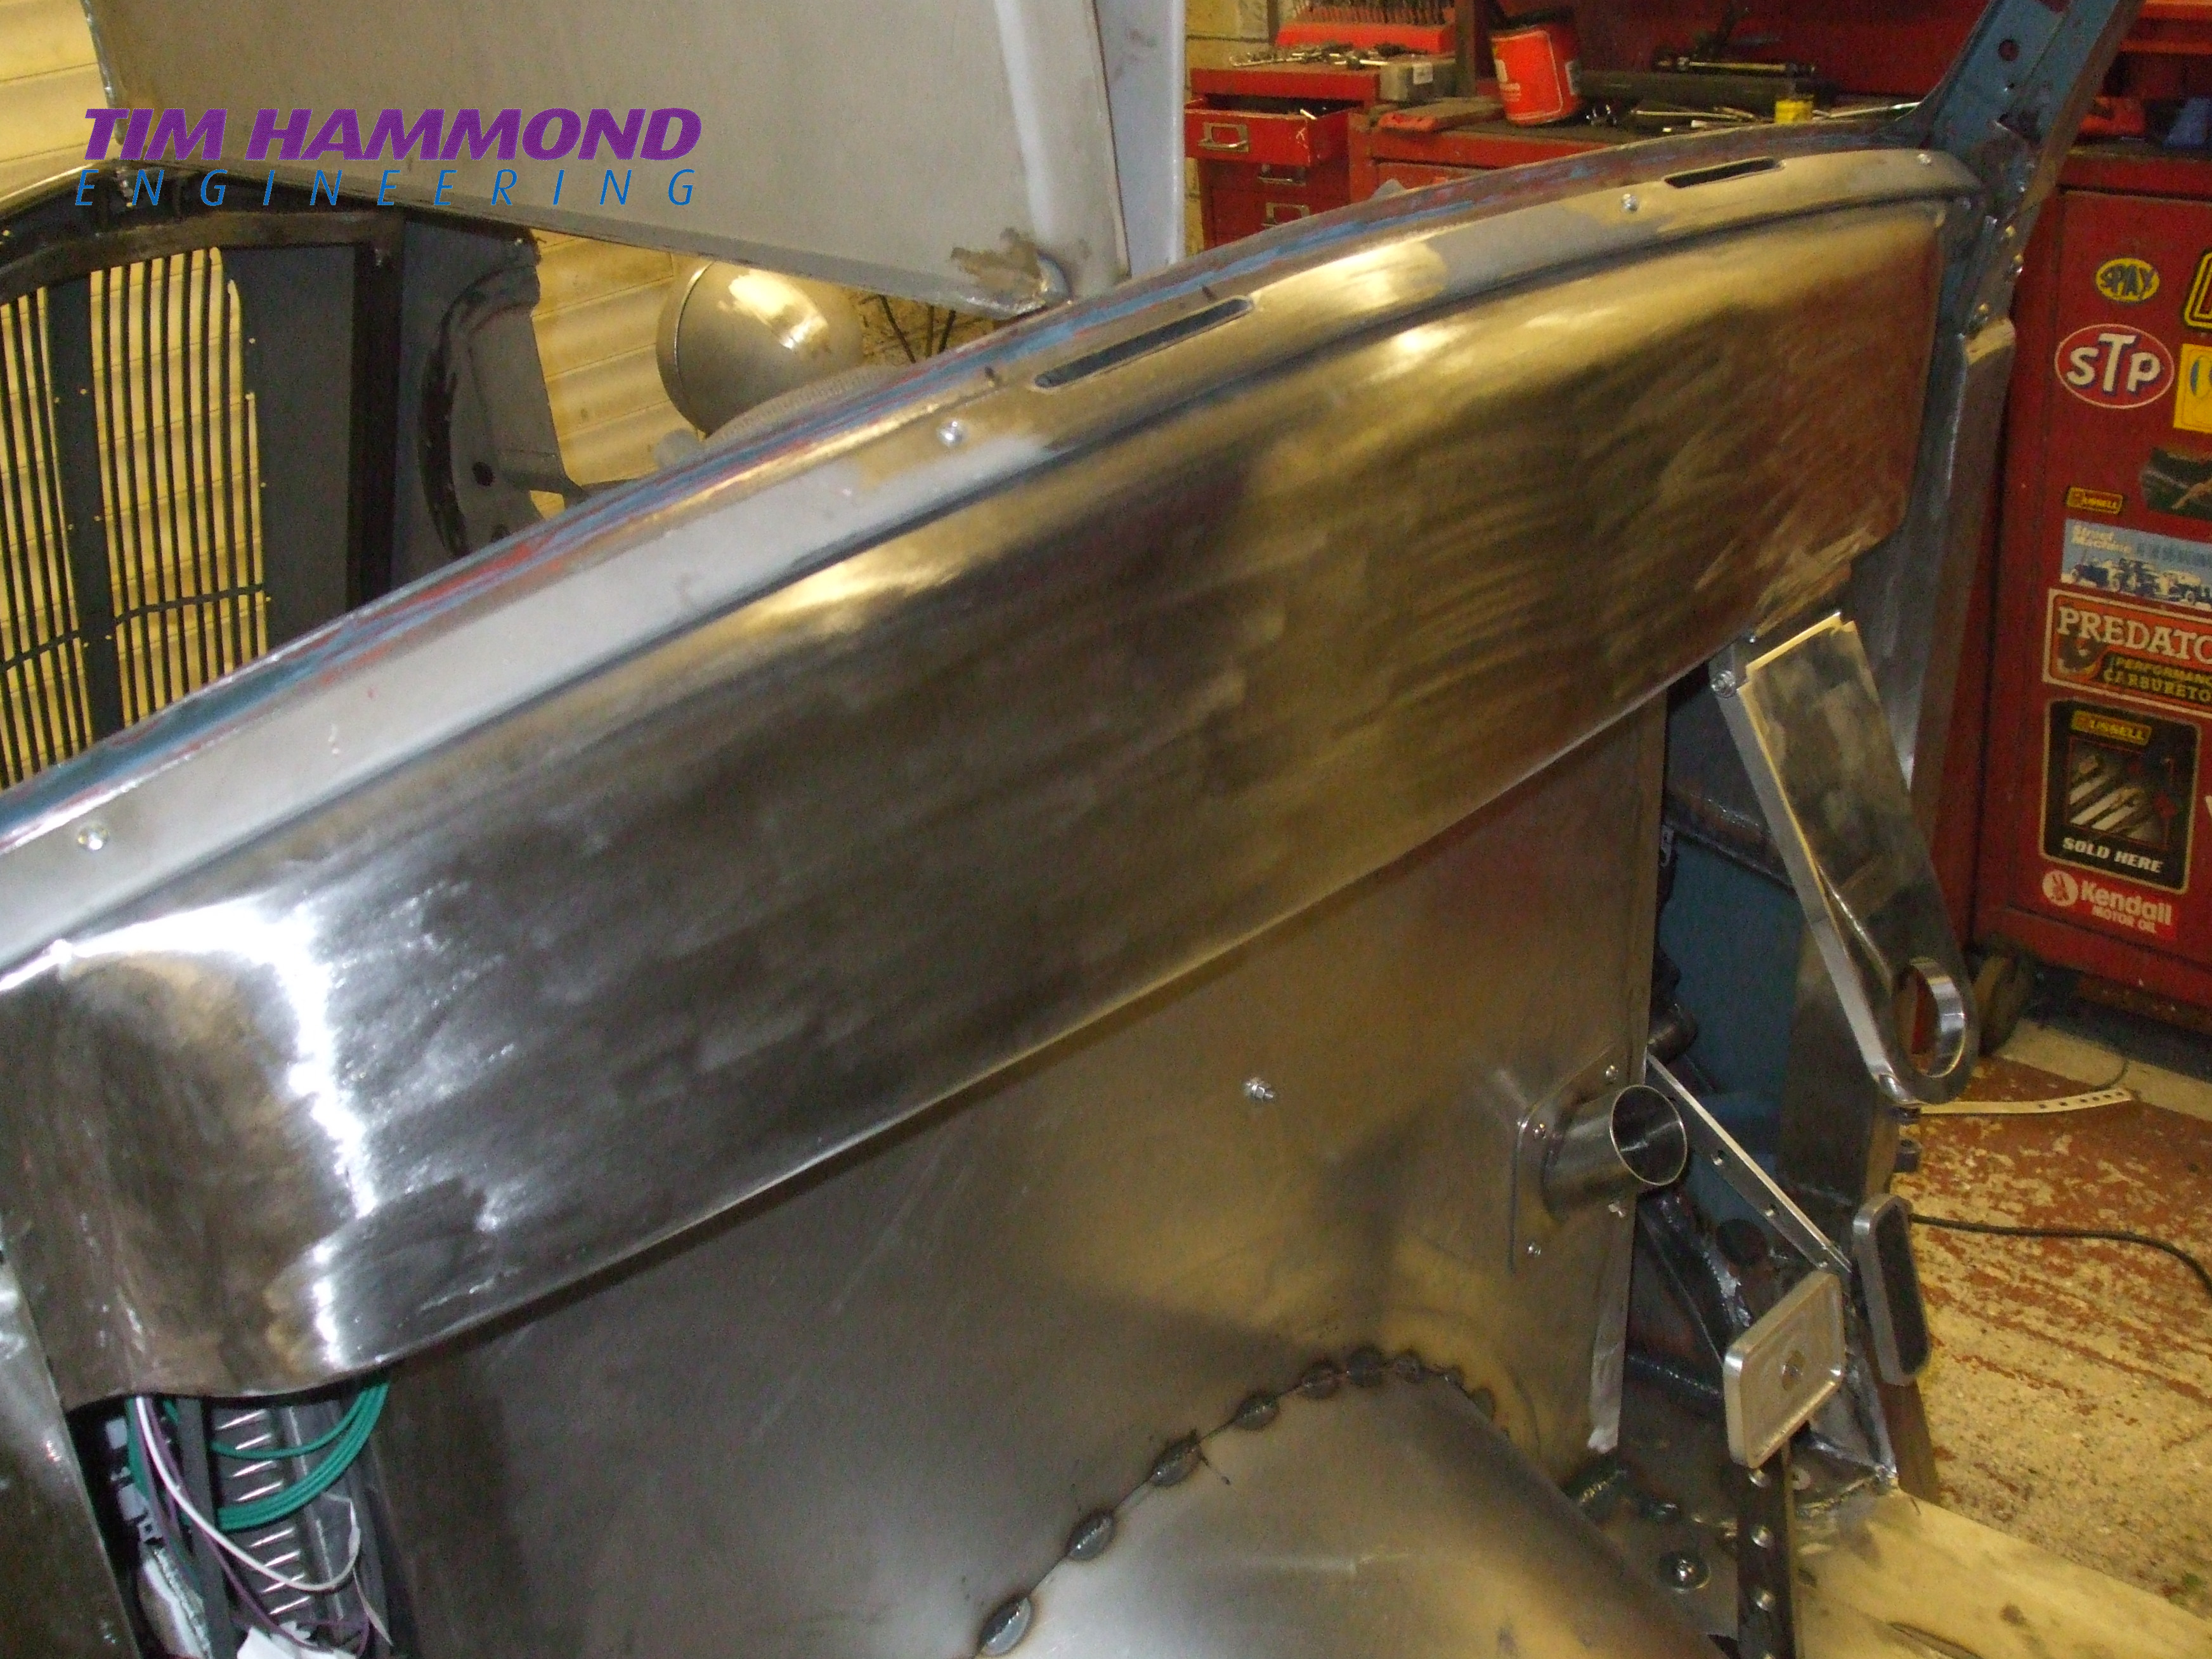
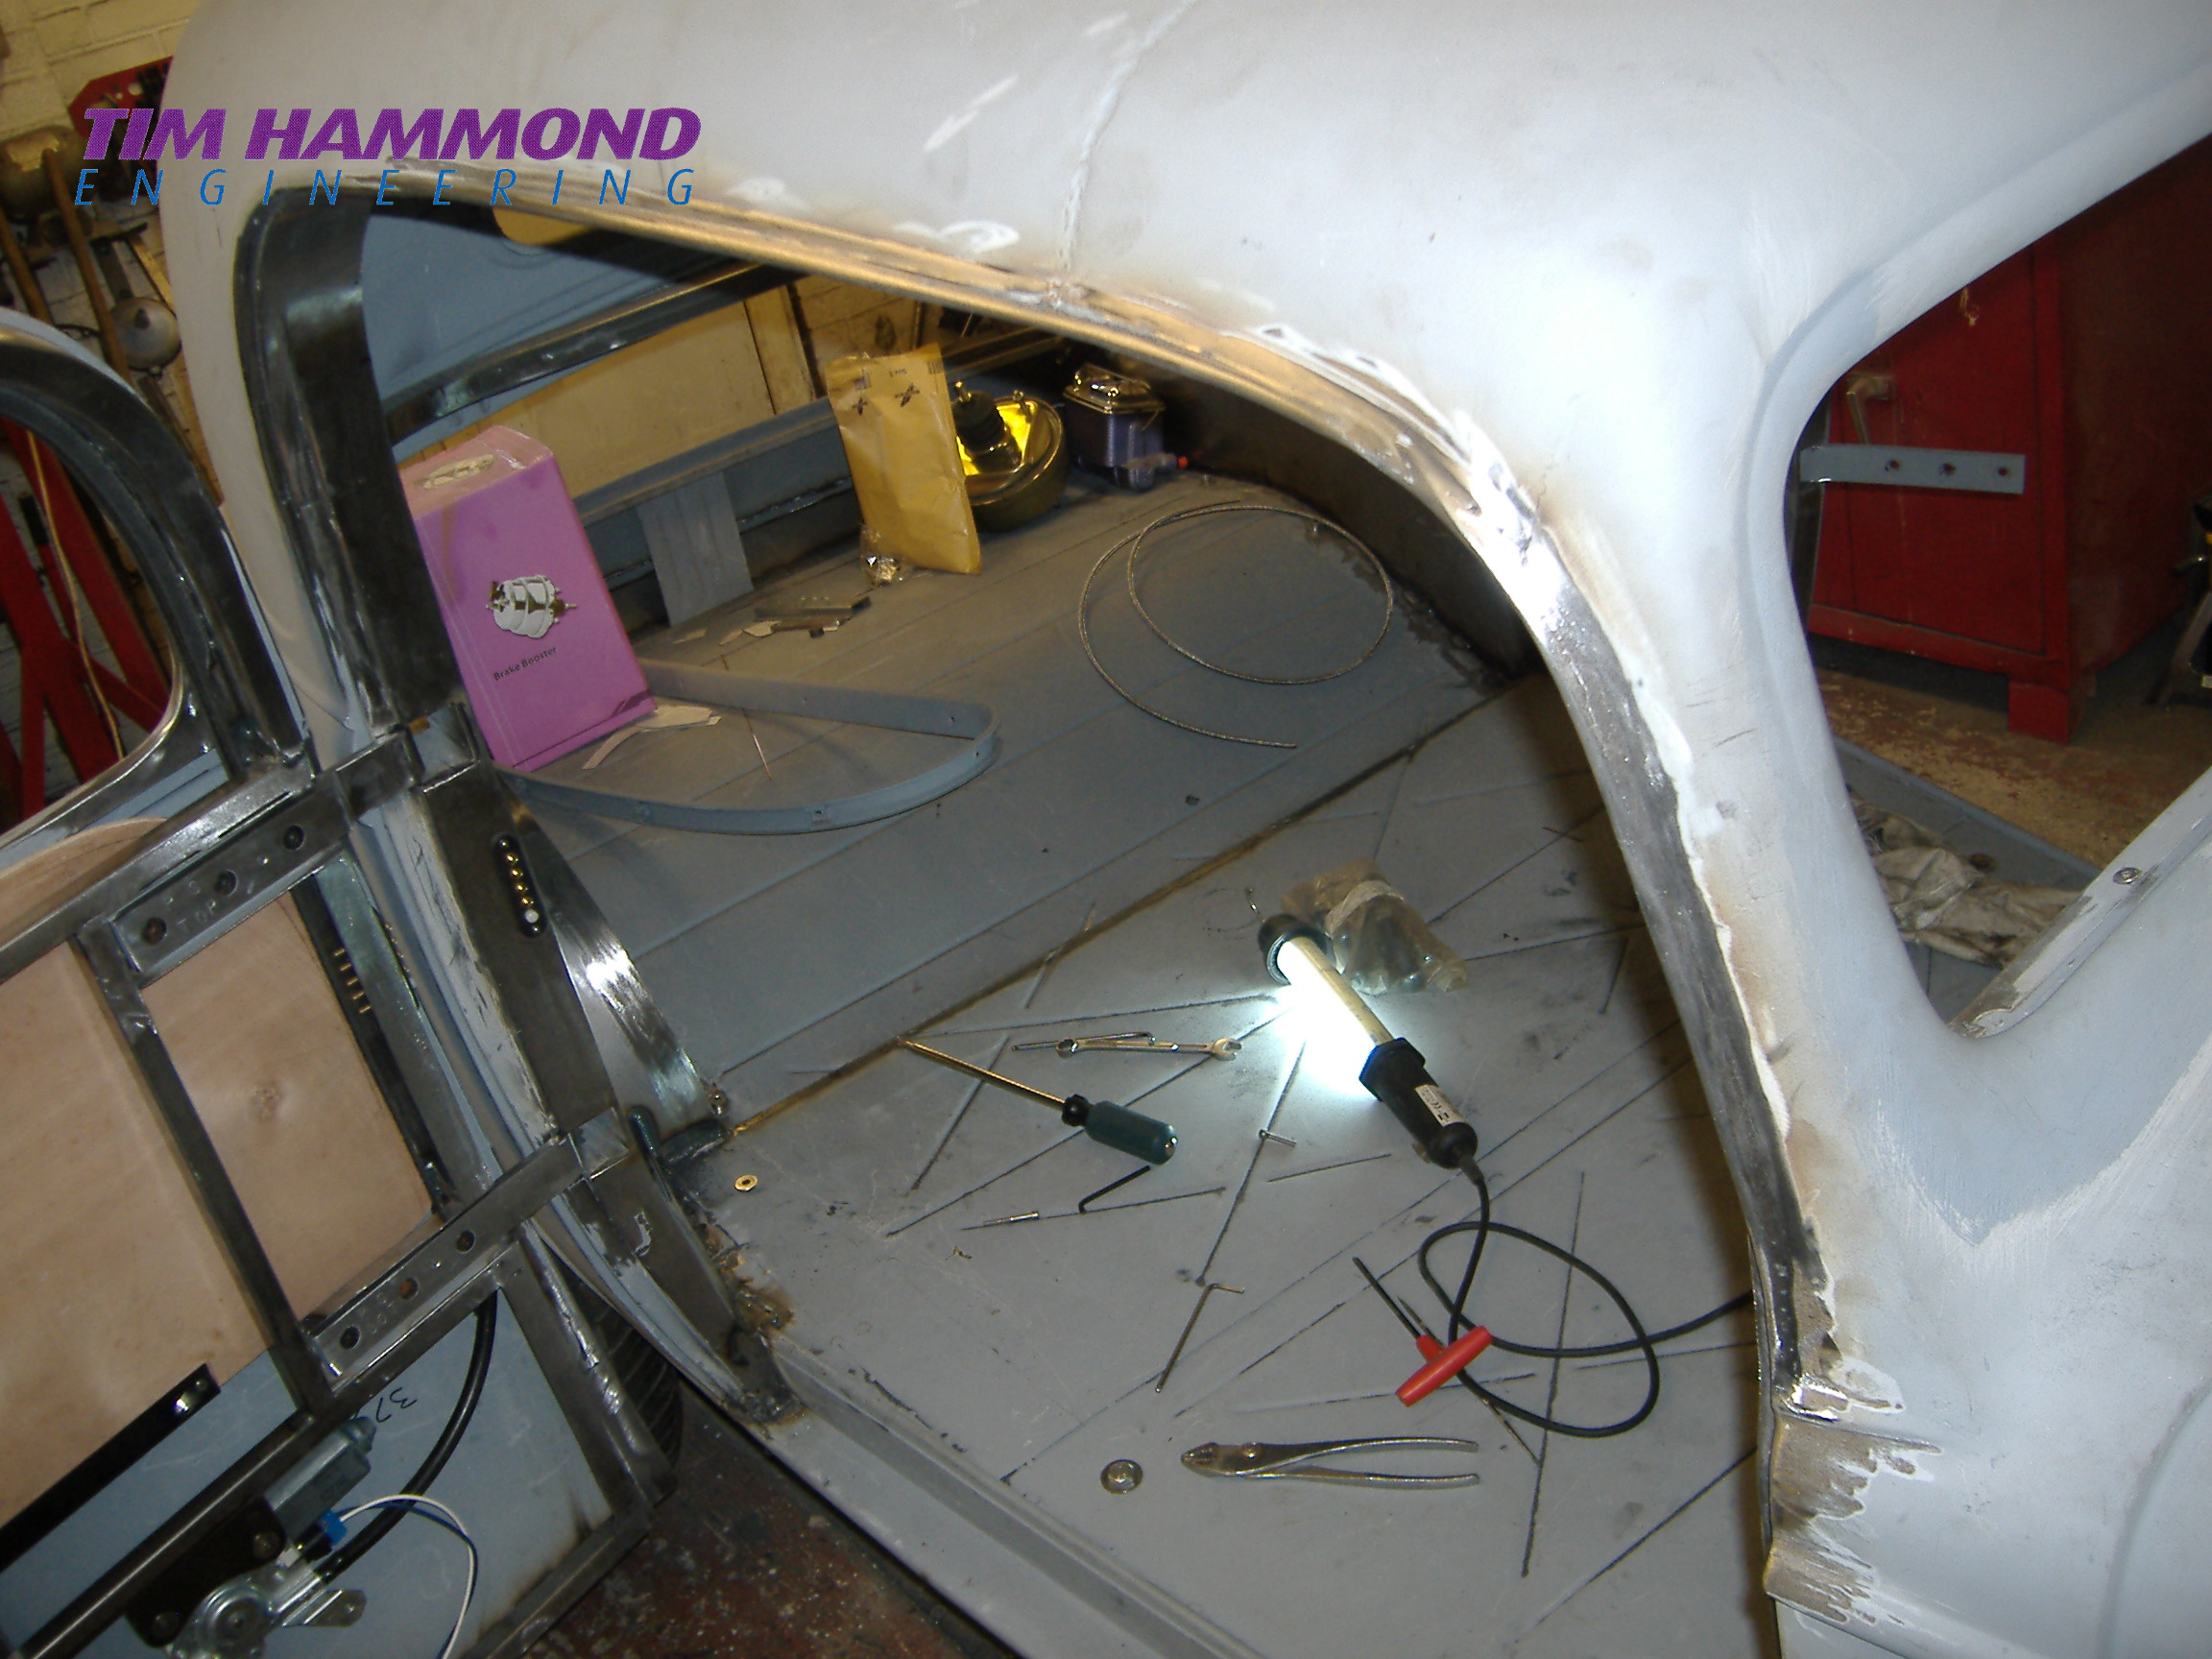
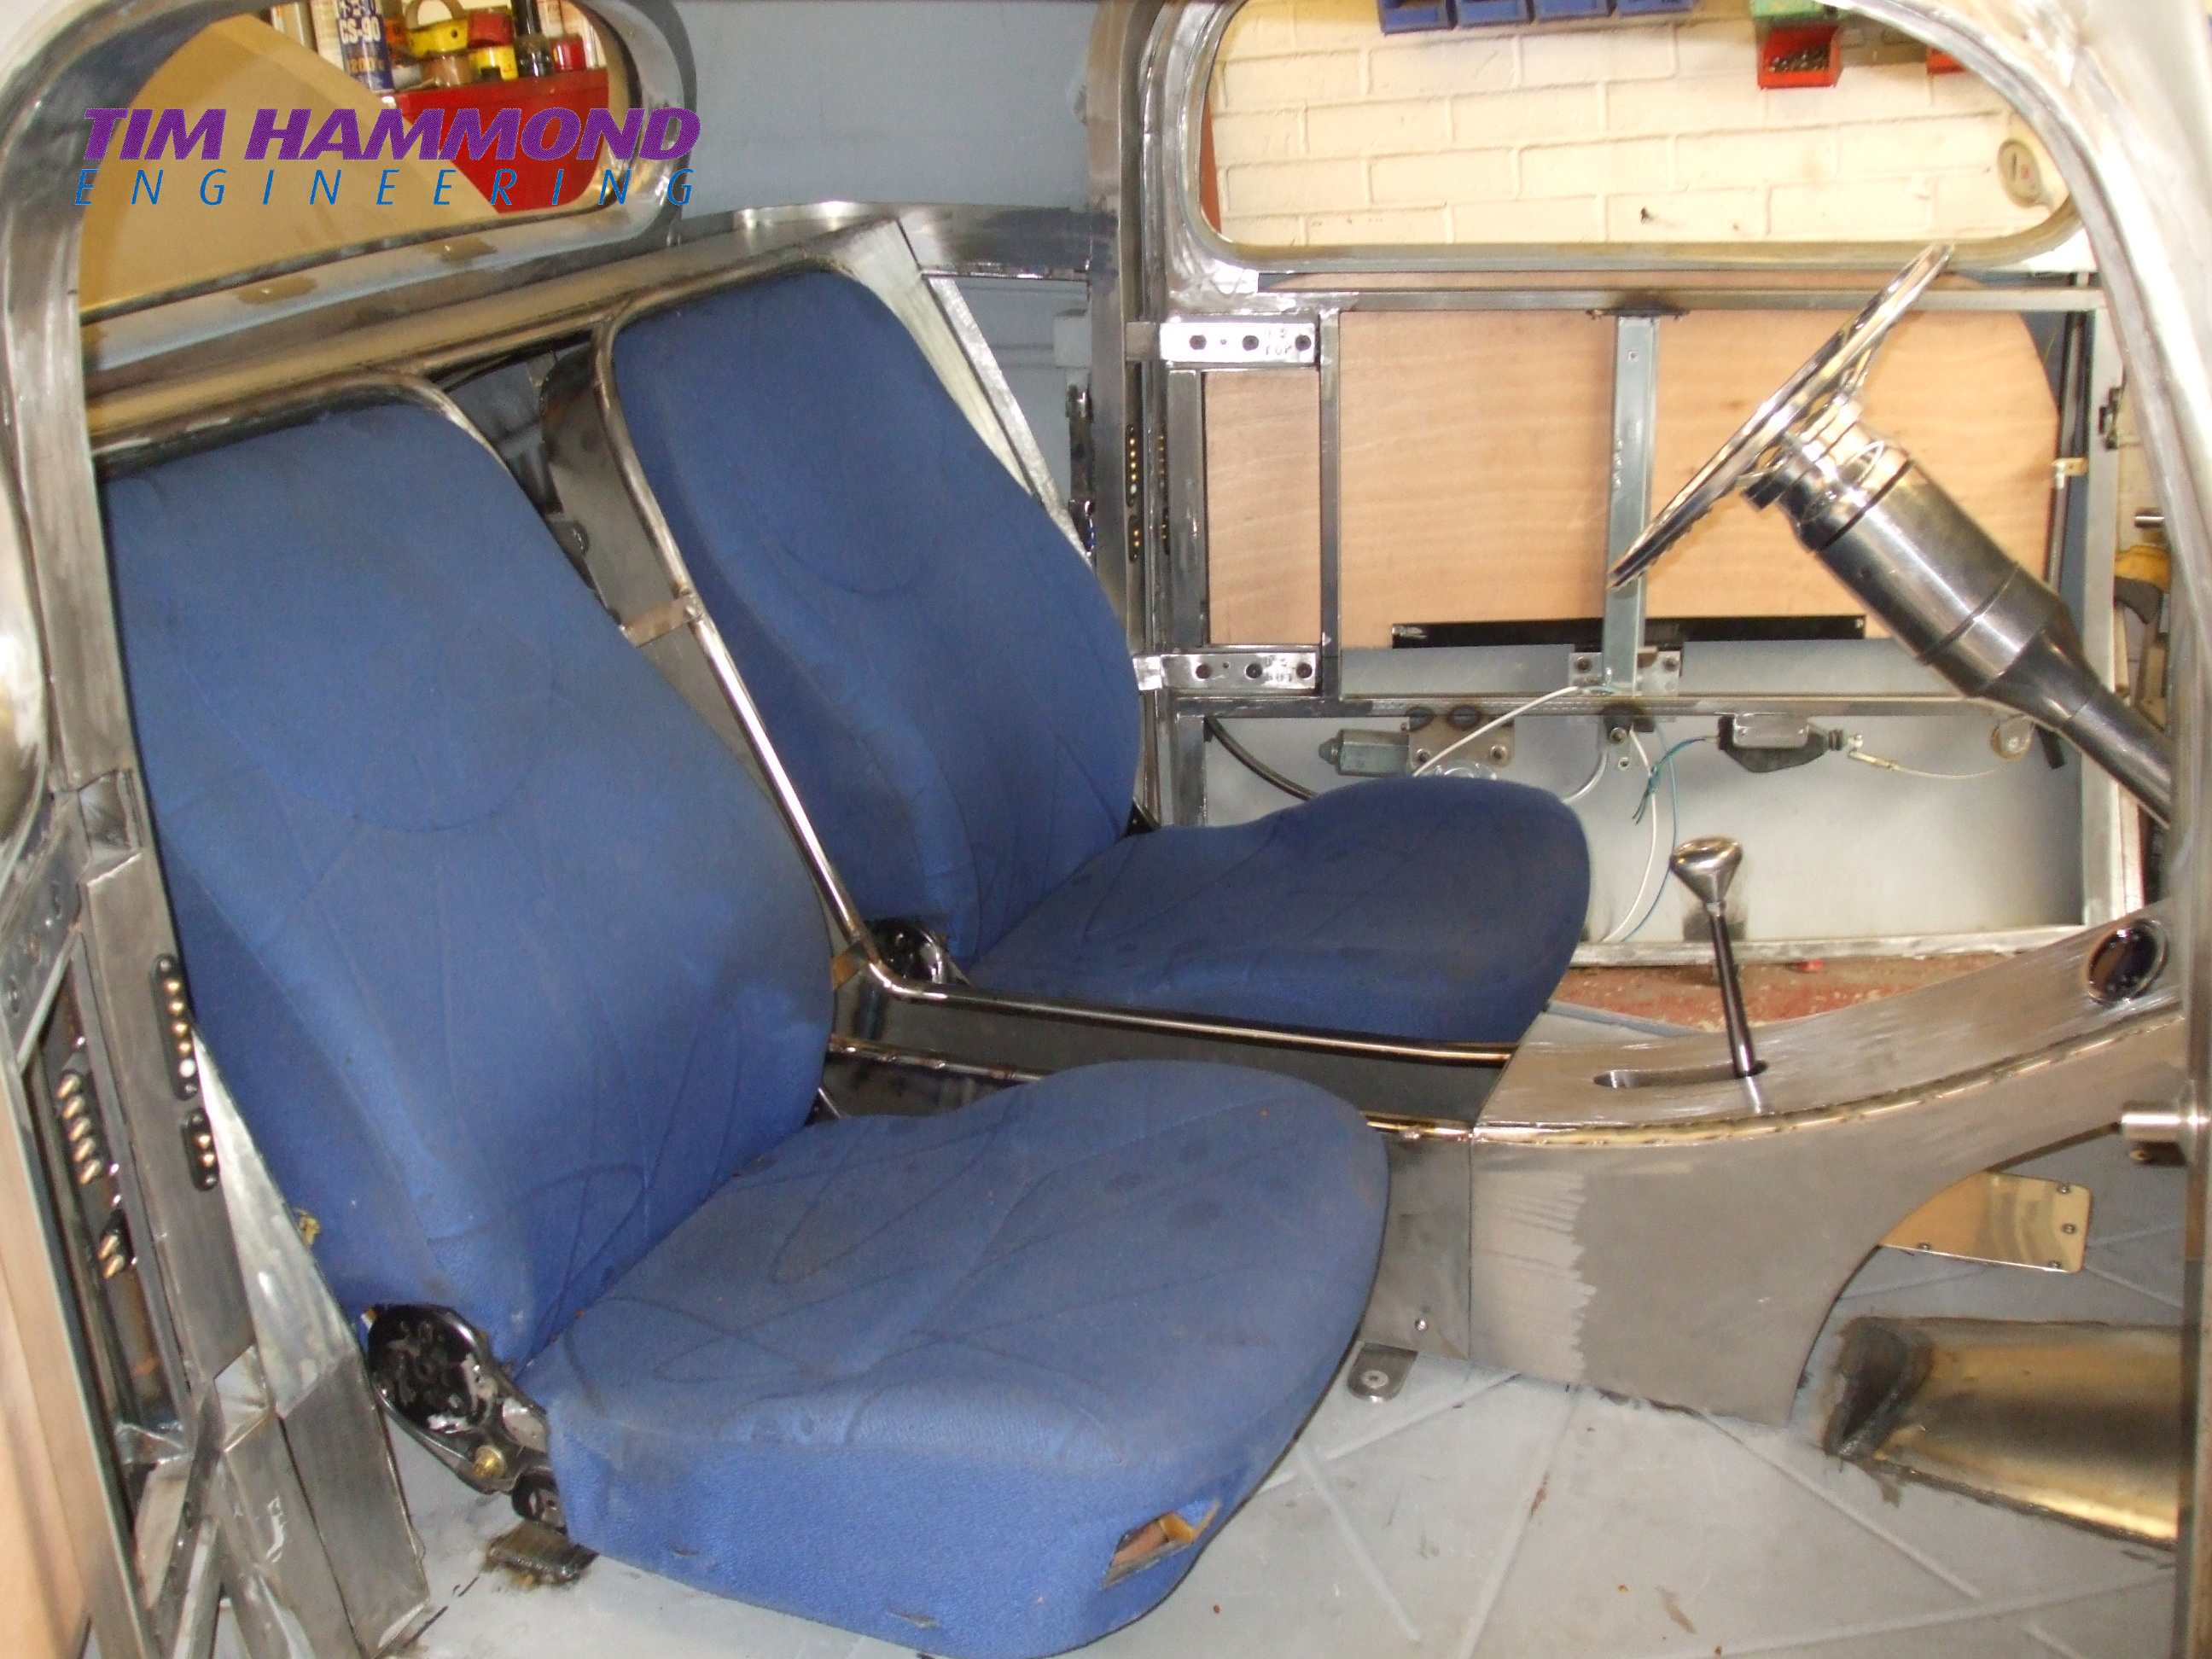
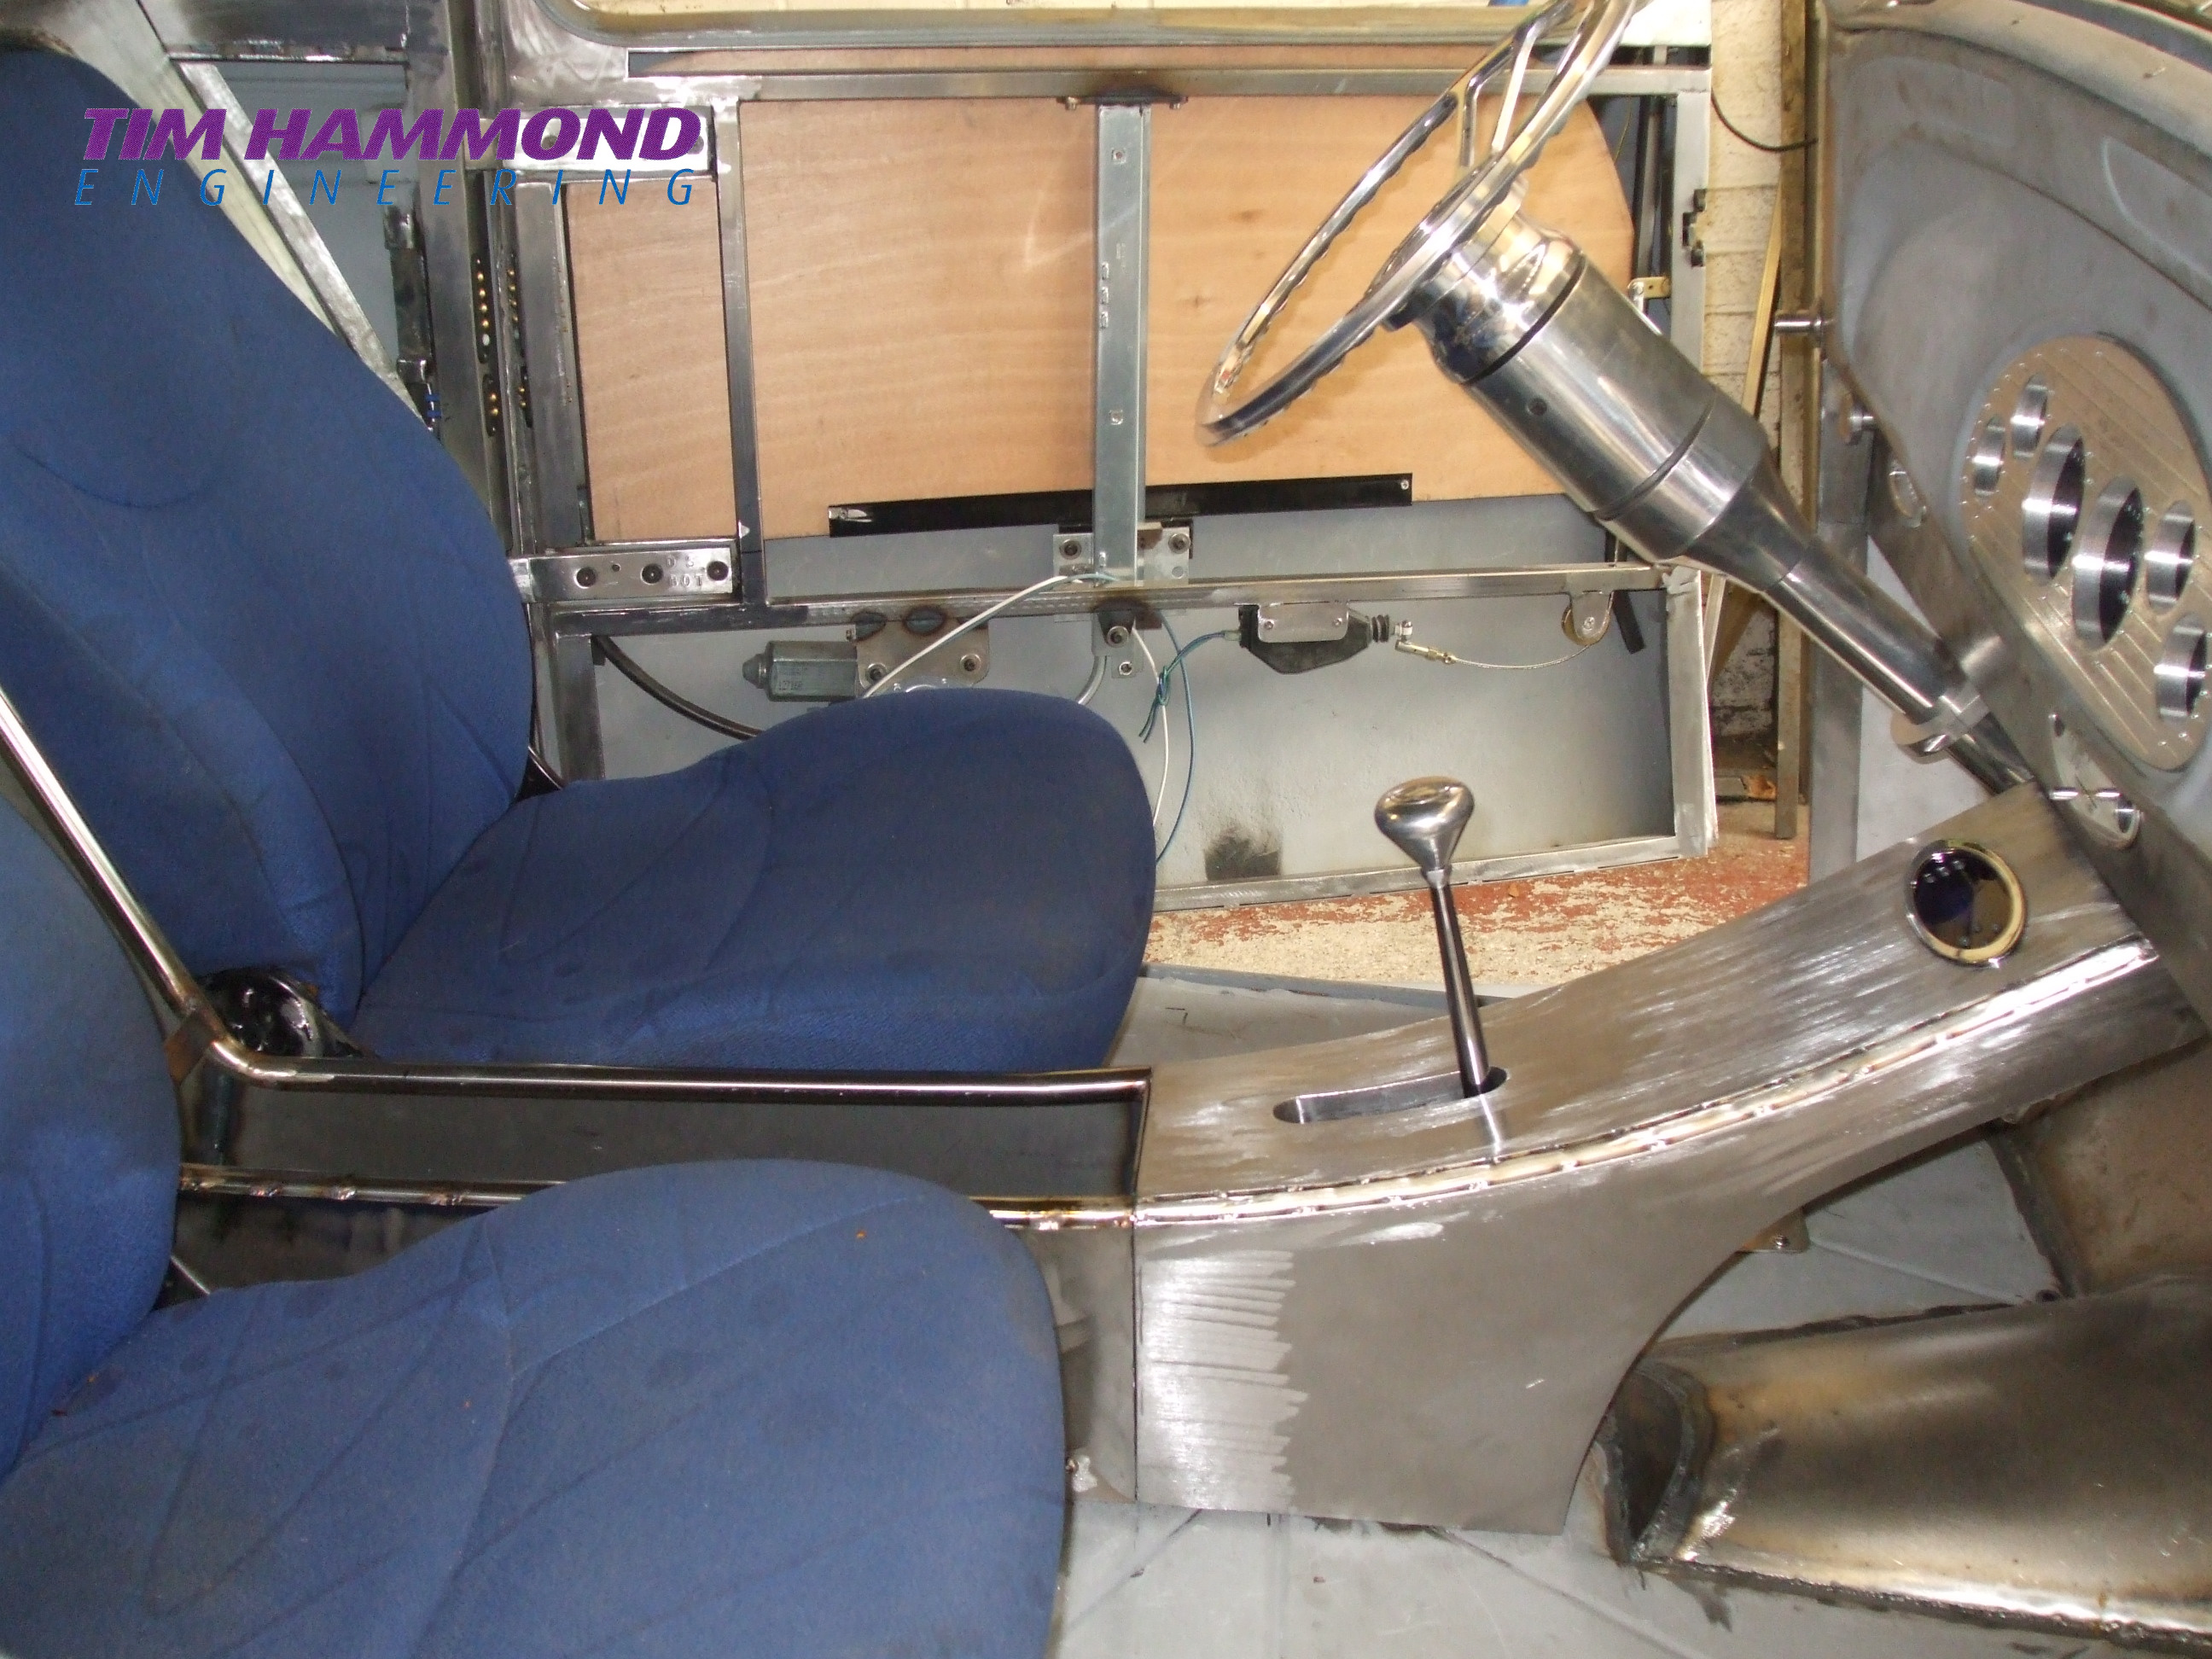
The fabrication of the body began at the bulkhead, incorporating the window screen surround – which began with a piece of solid 1” bar coming up over the top and down the other side at what will become the A posts to form a roll bar – just in case. The window screen surround was fabricated around this solid bar, which is now completely encased within the window surround.
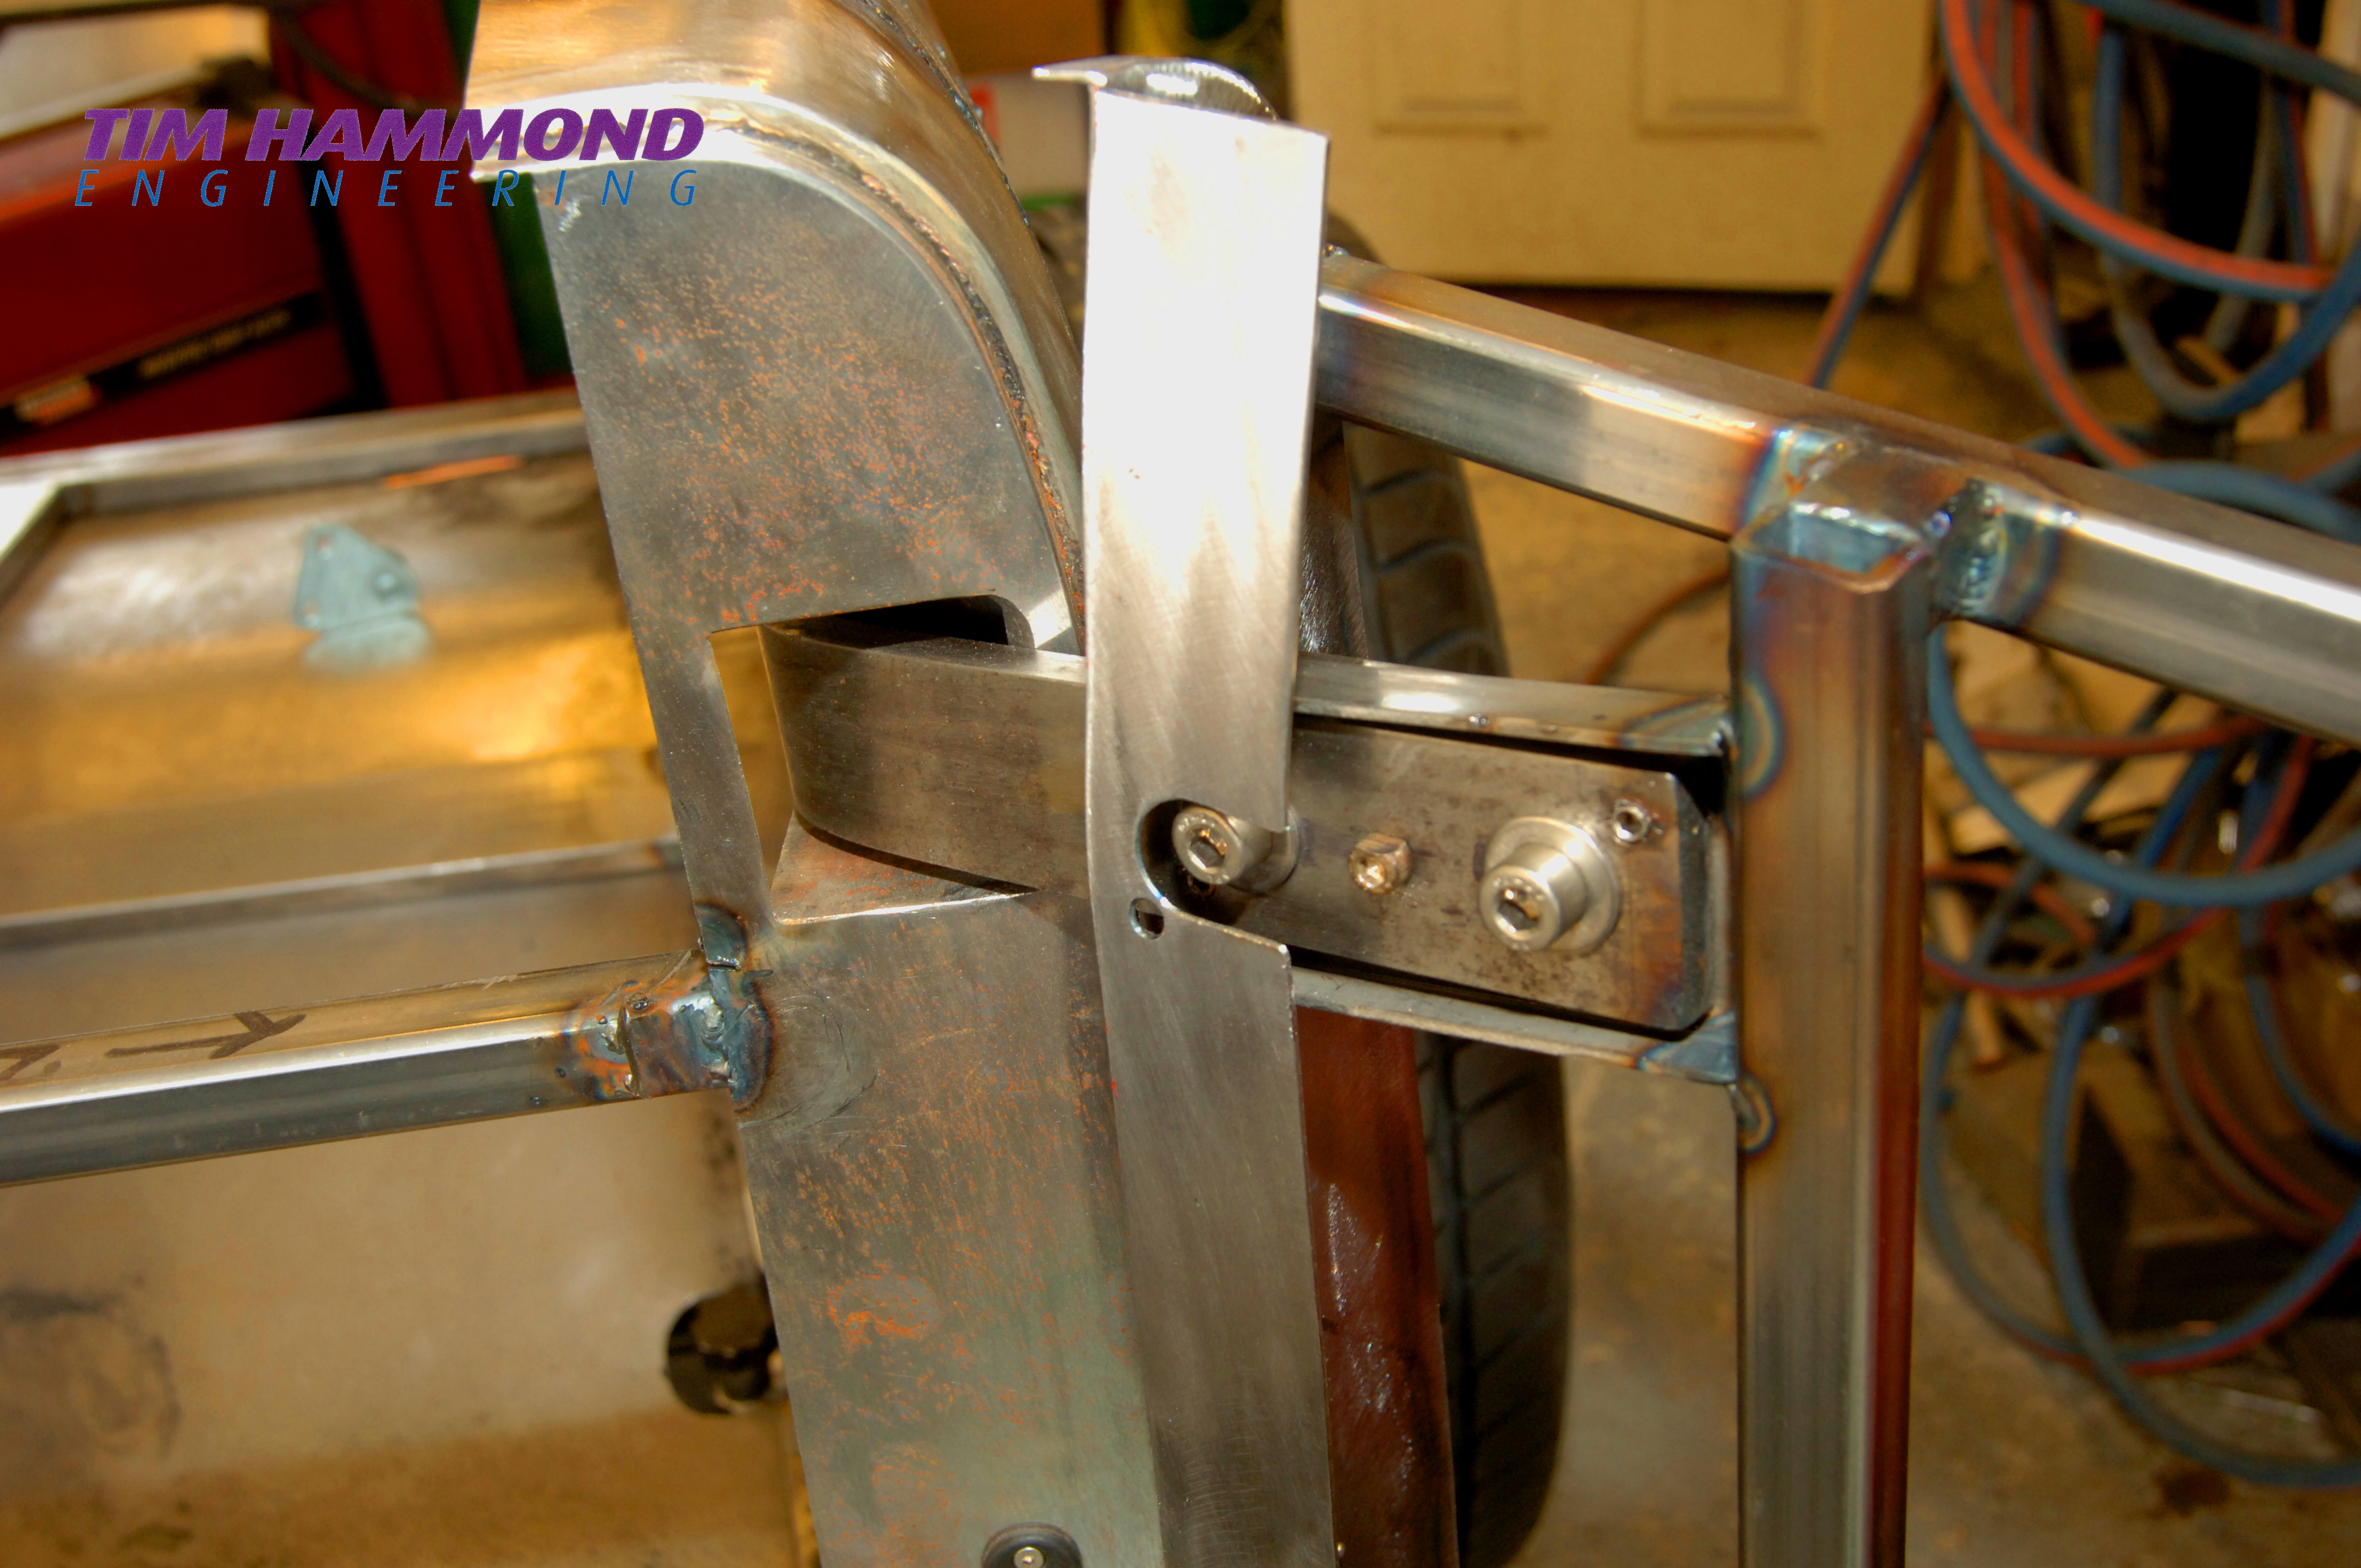
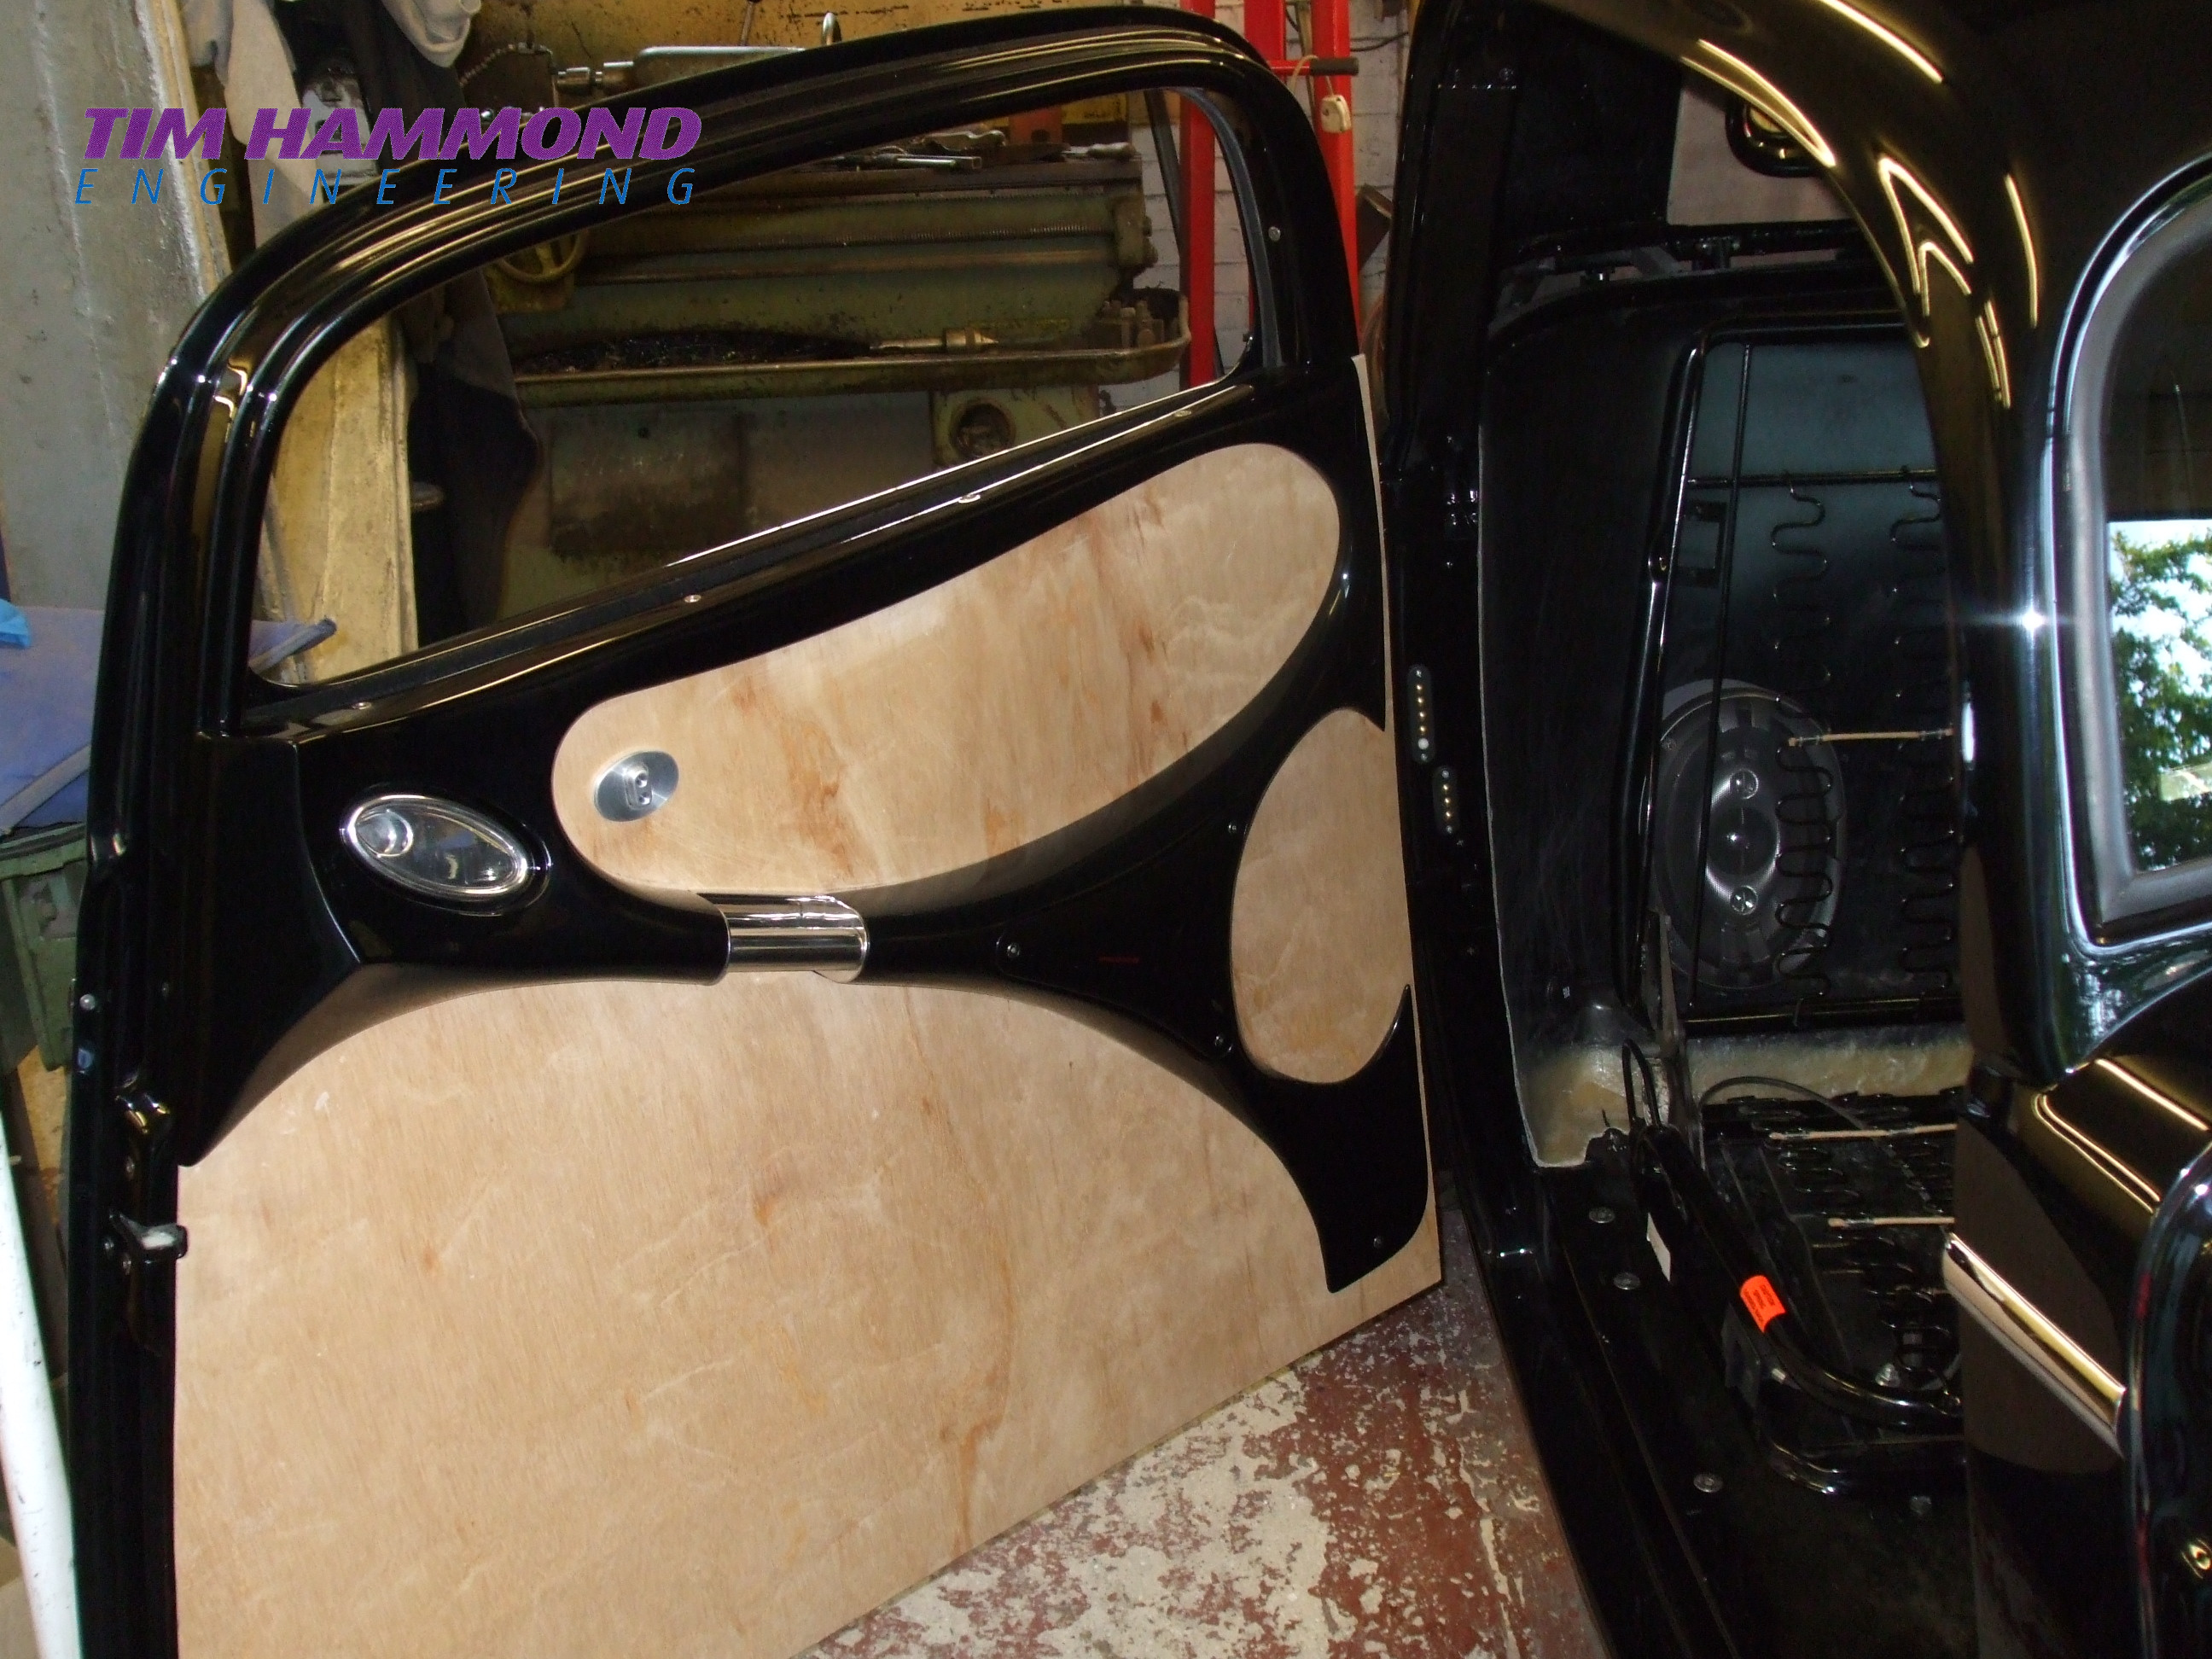
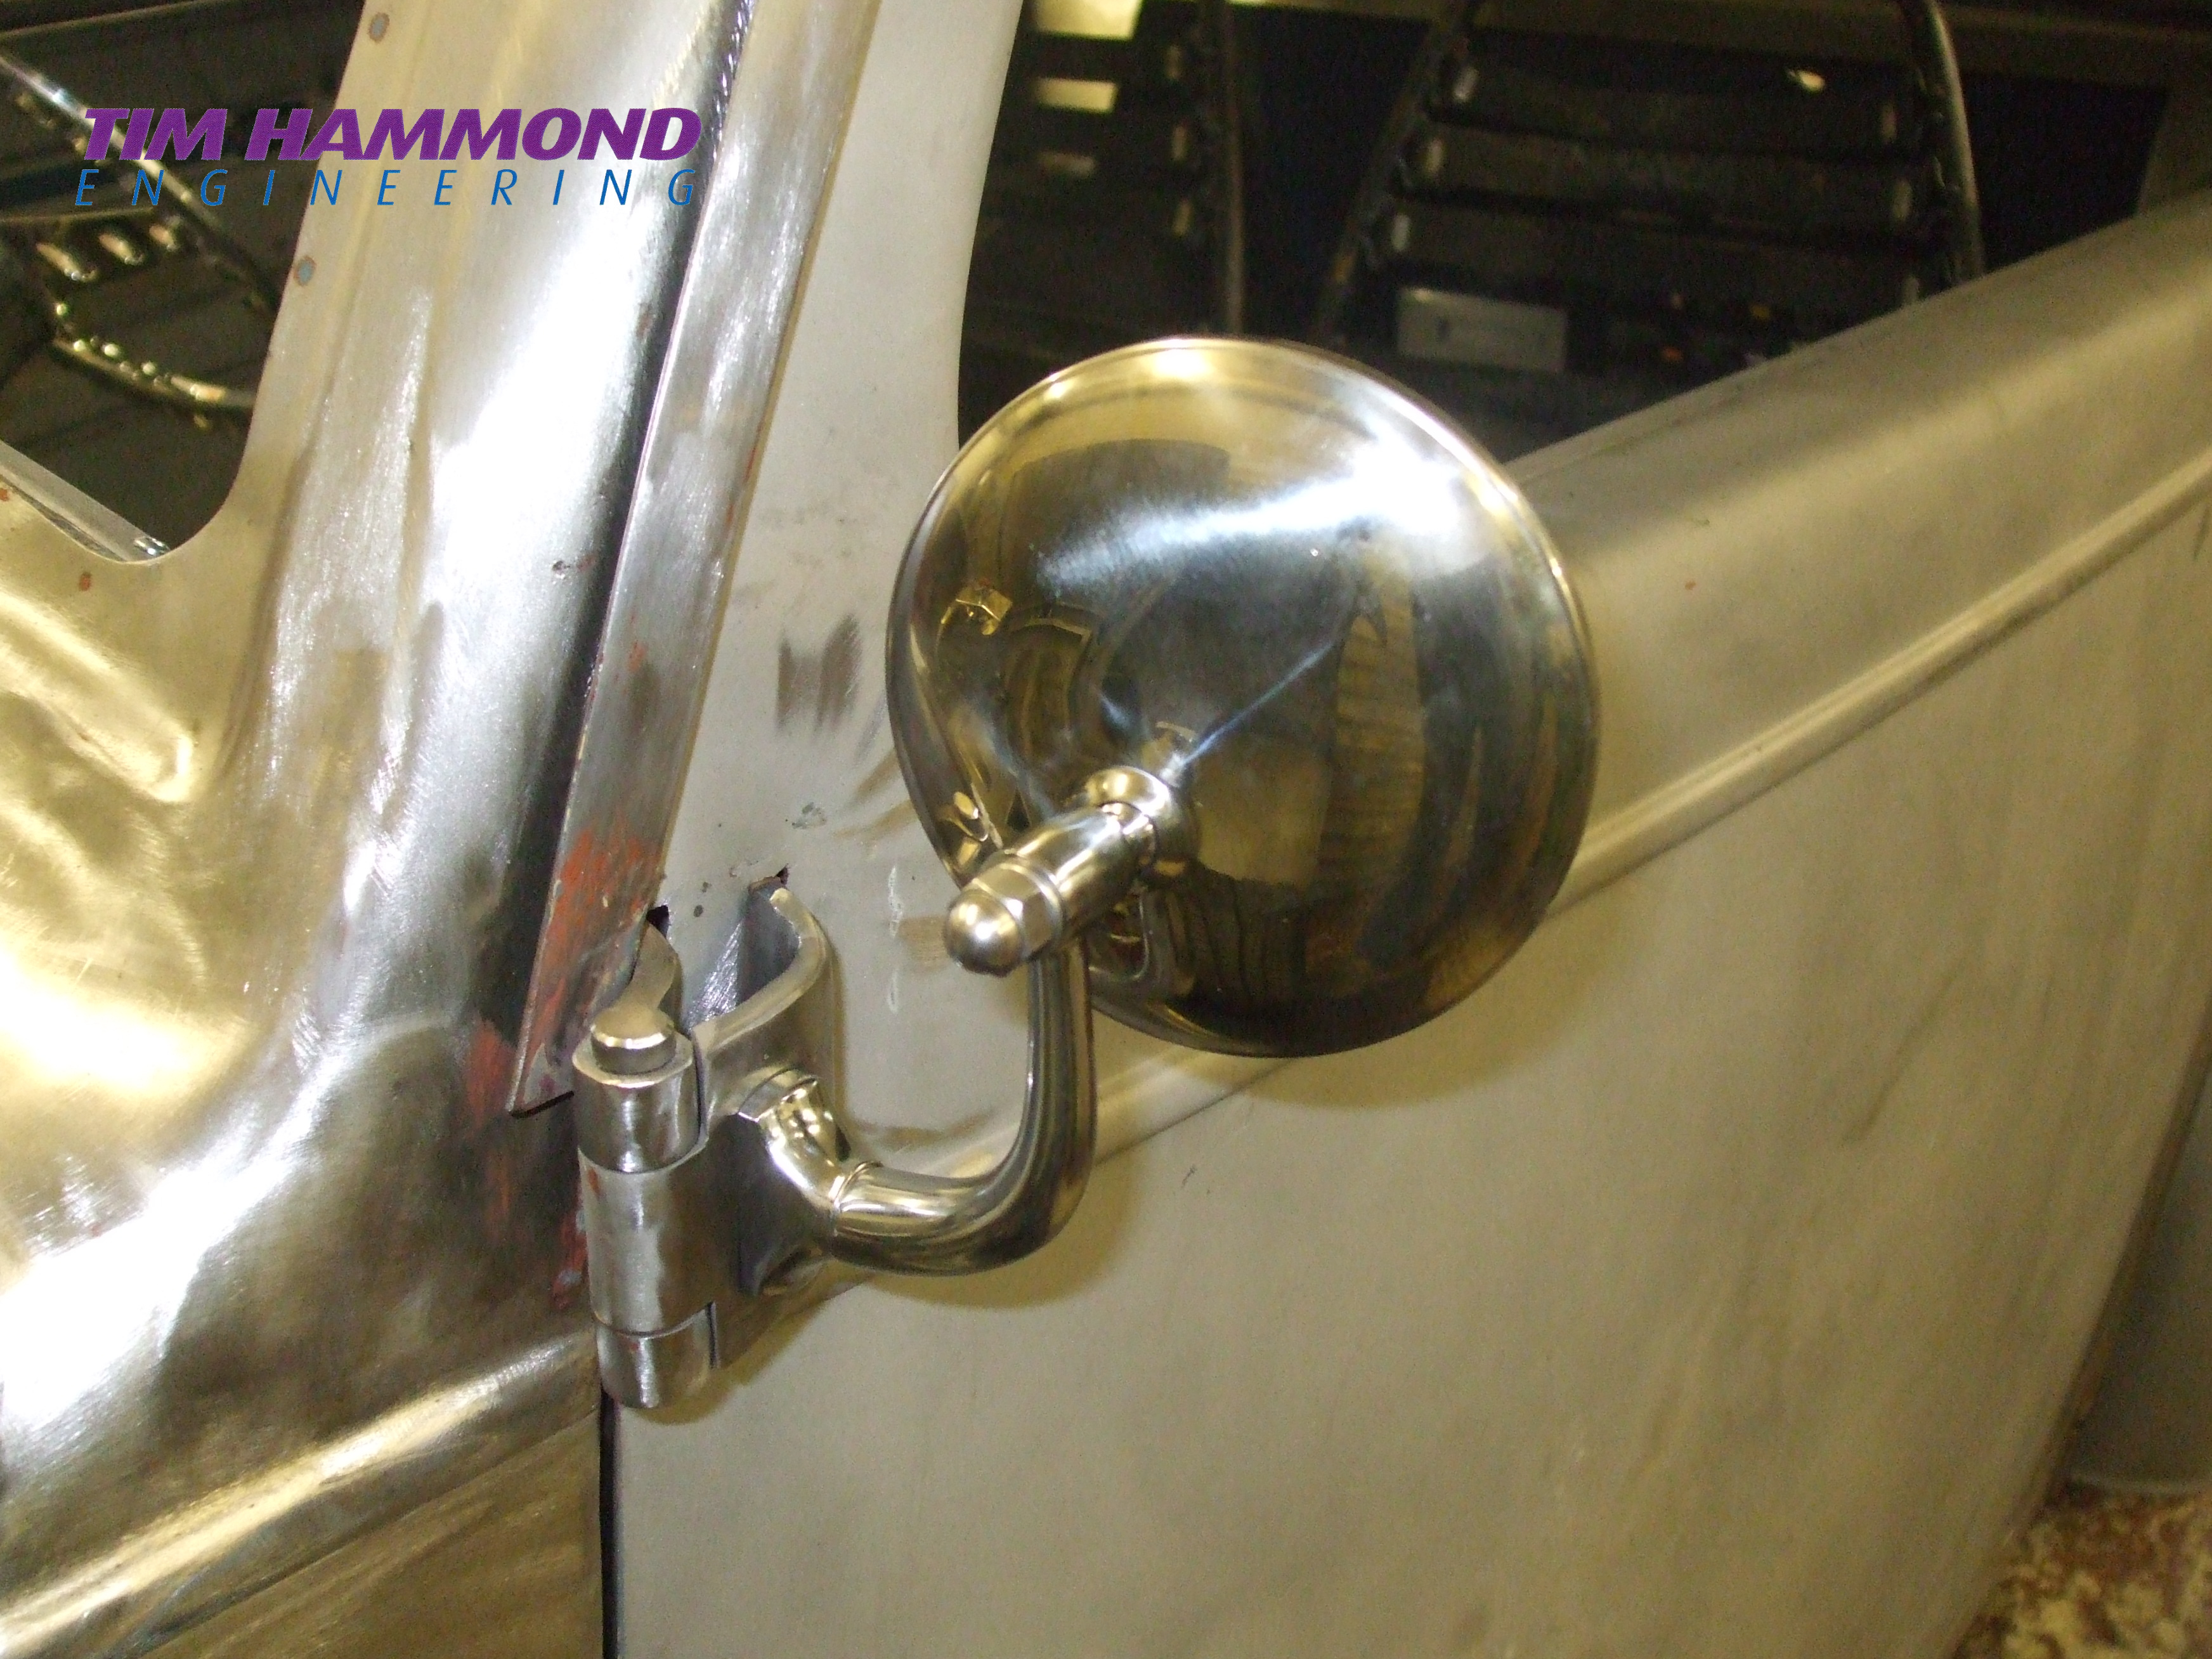
The next stage was to fabricate hidden hinges for the doors. The doors were our own design, which incorporated box section crash bars. The A posts had the bear claw catches fitted, while the door had the catch pin fitted. Bearing in mind while we are building this vehicle we are also planning and fabricating an internal sculptured interior and dash.
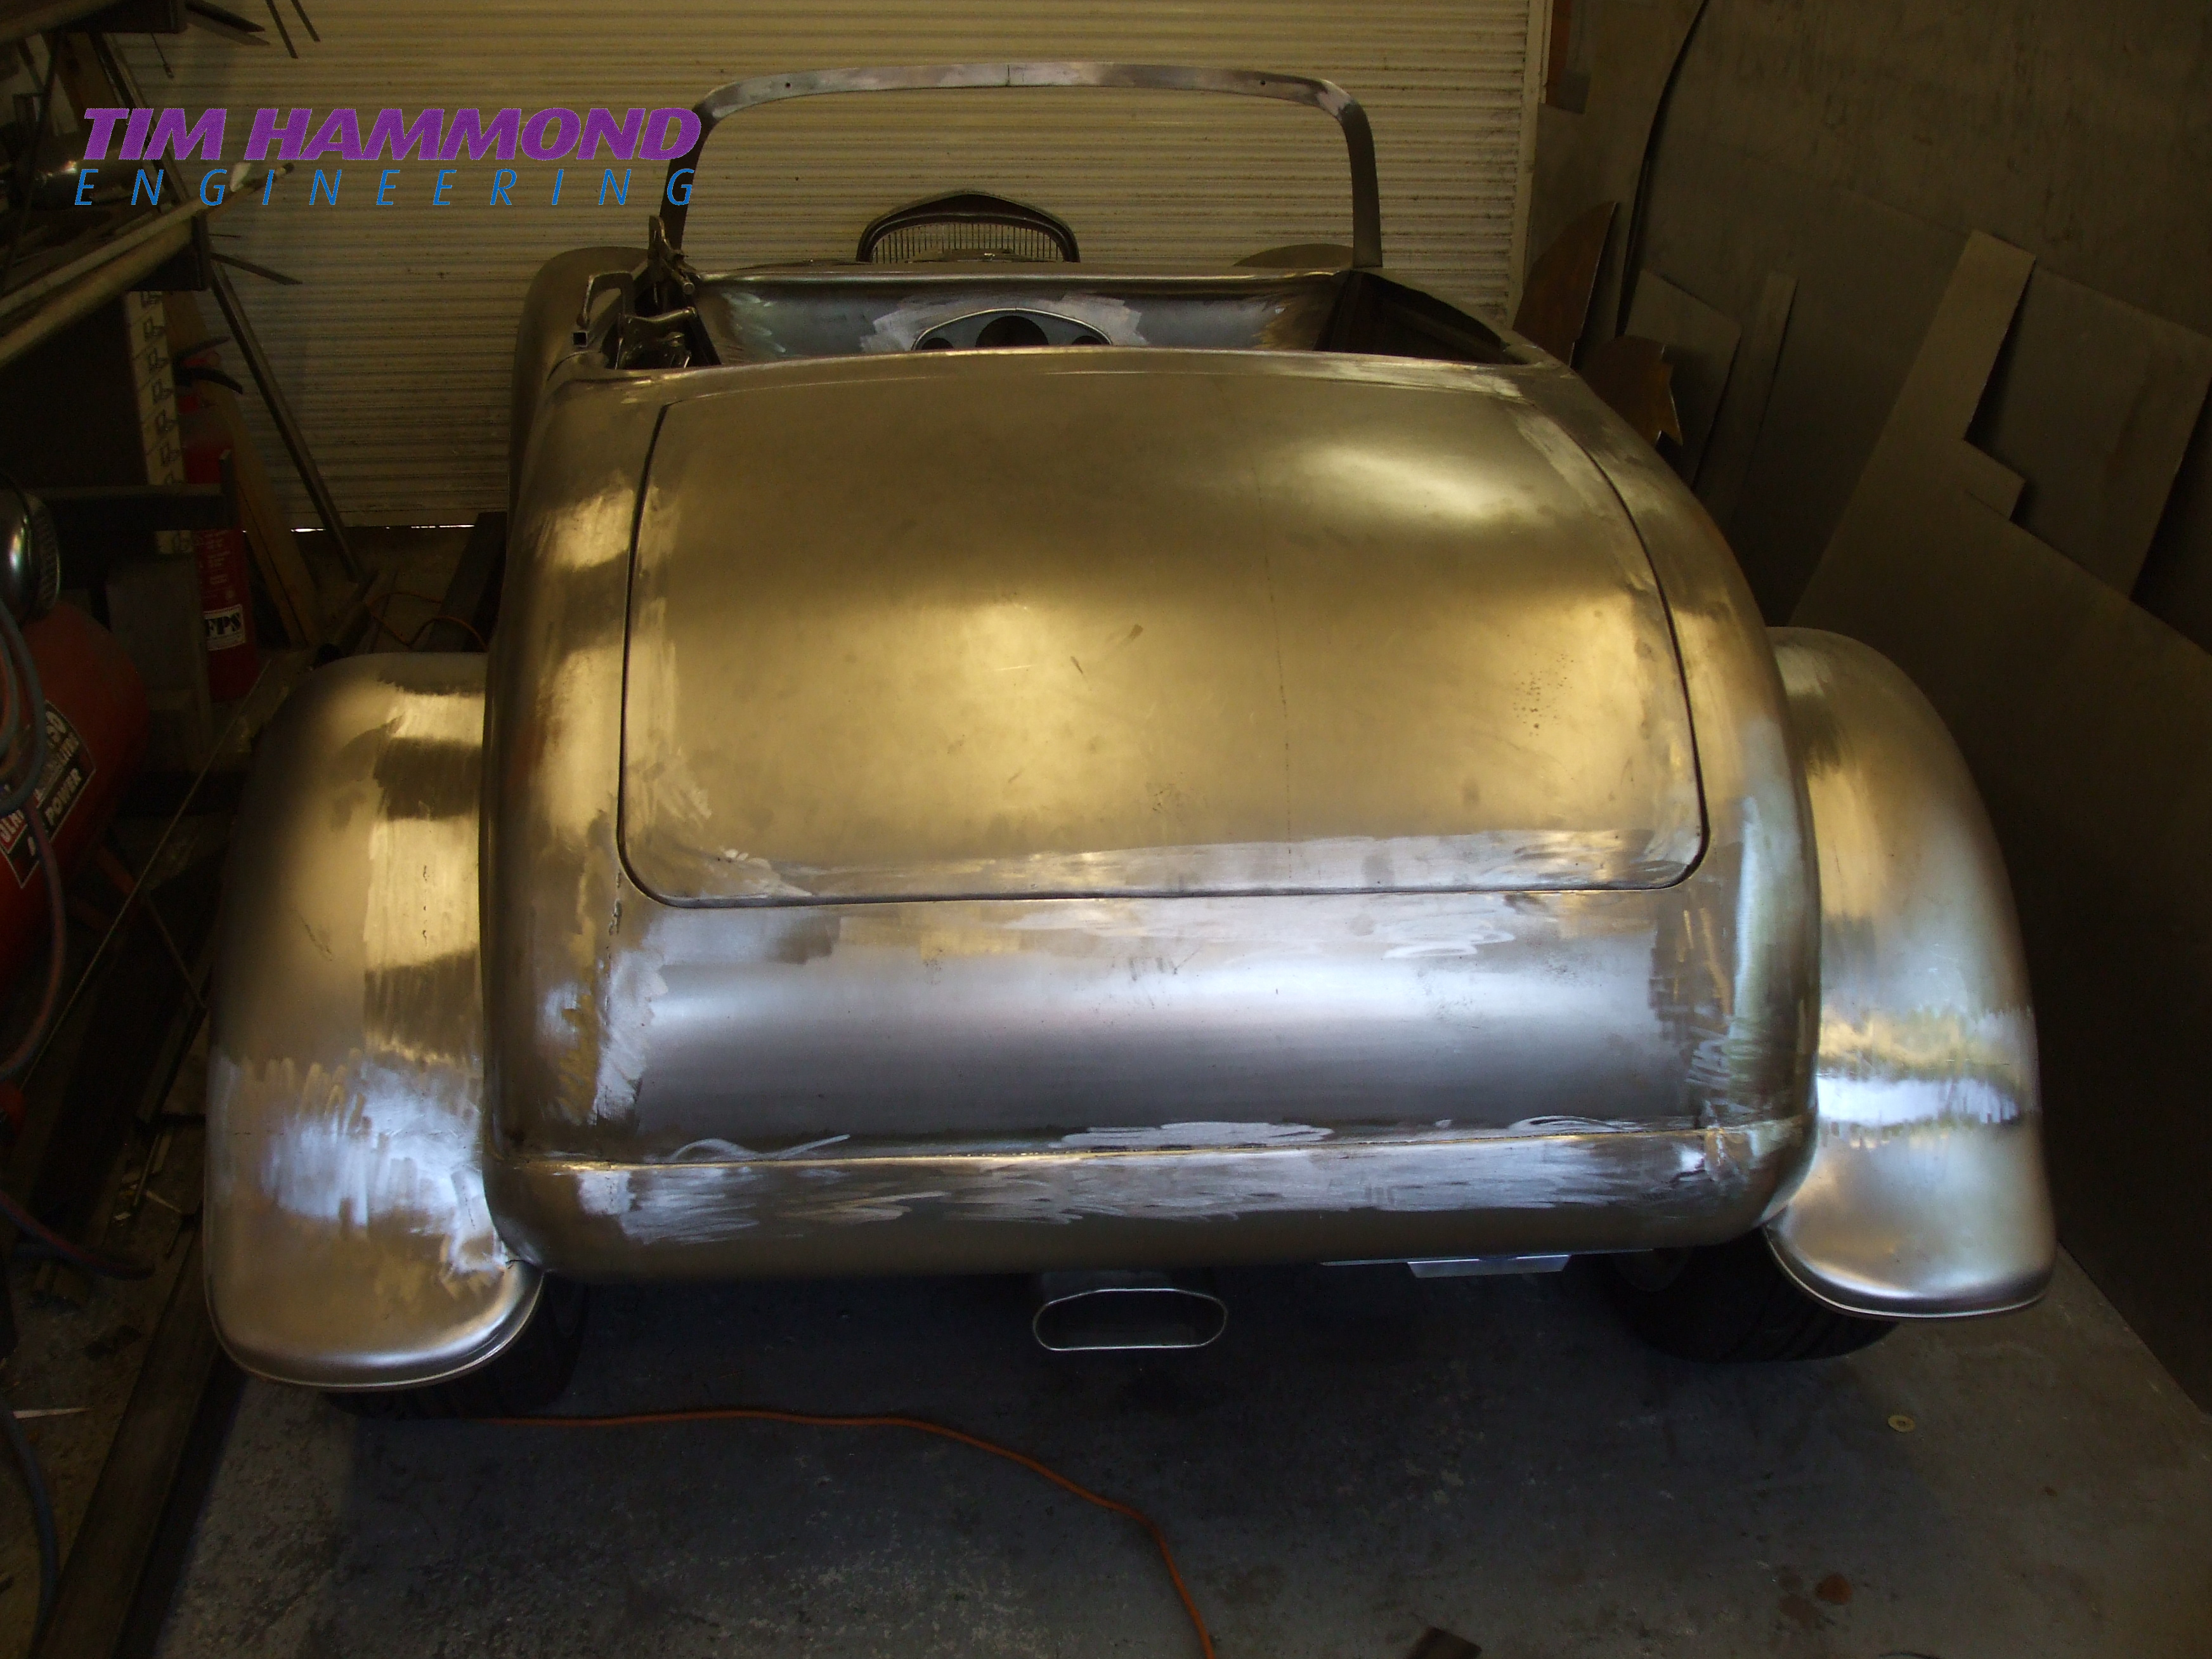
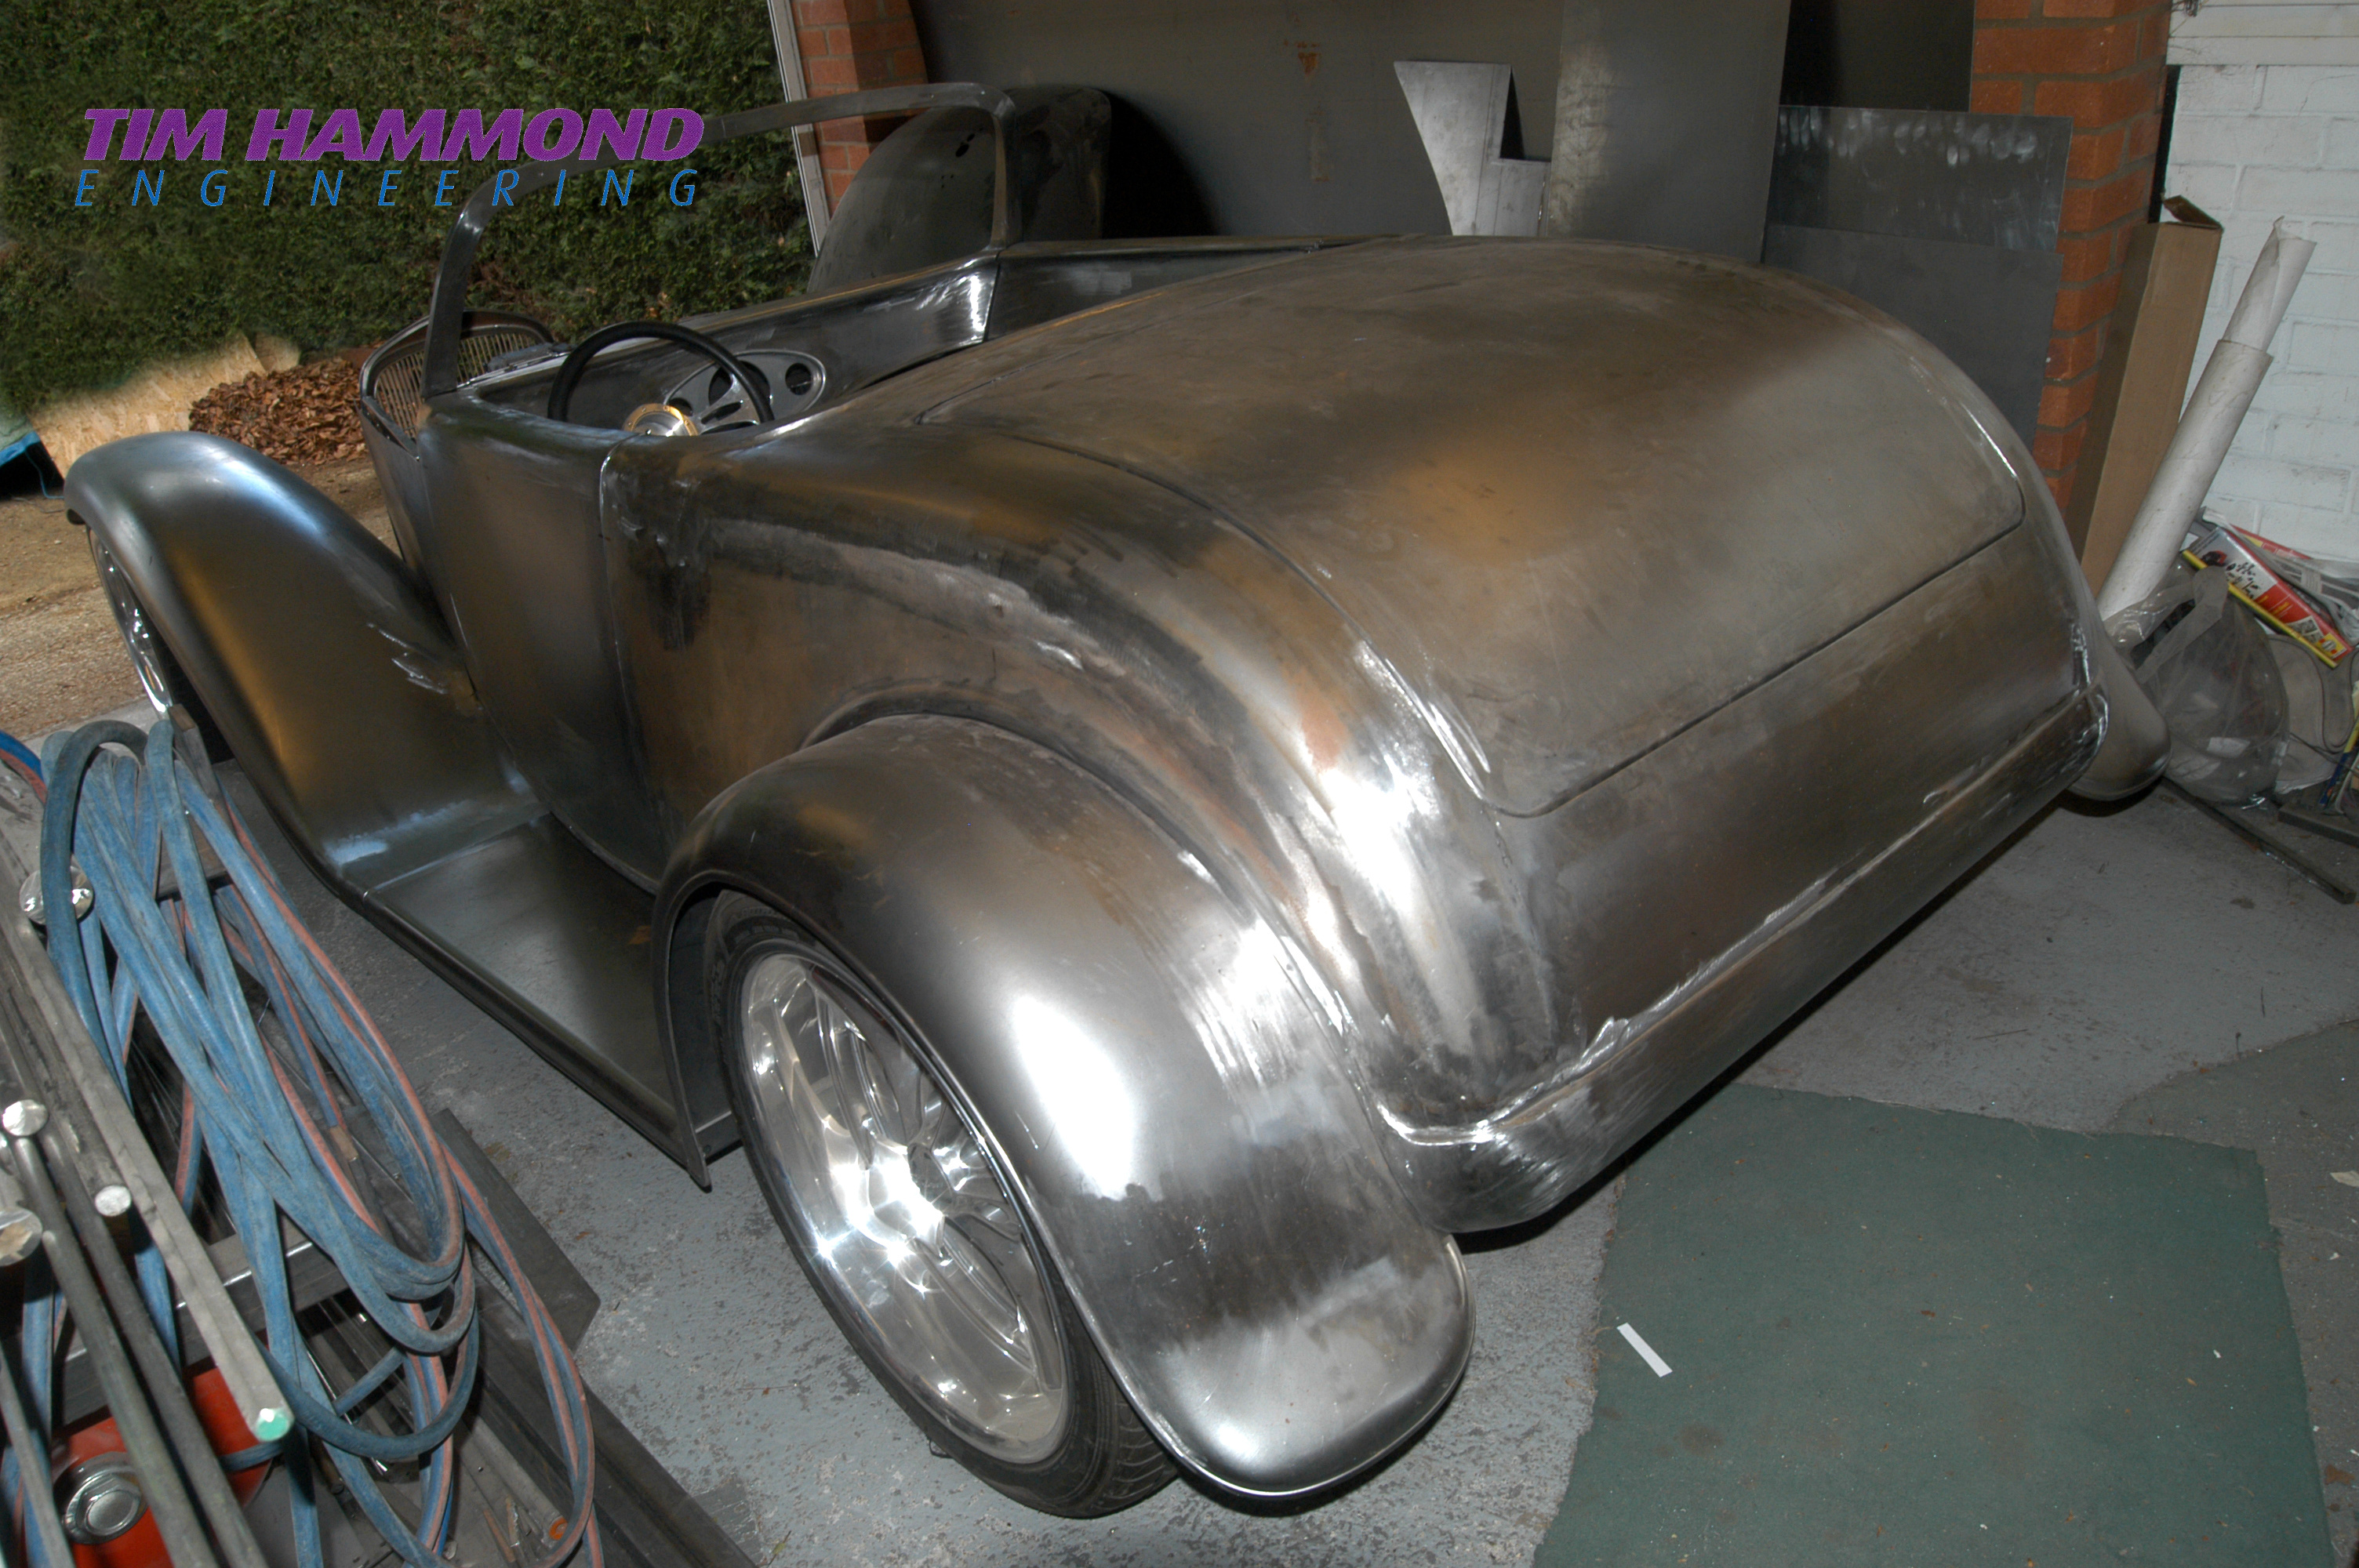
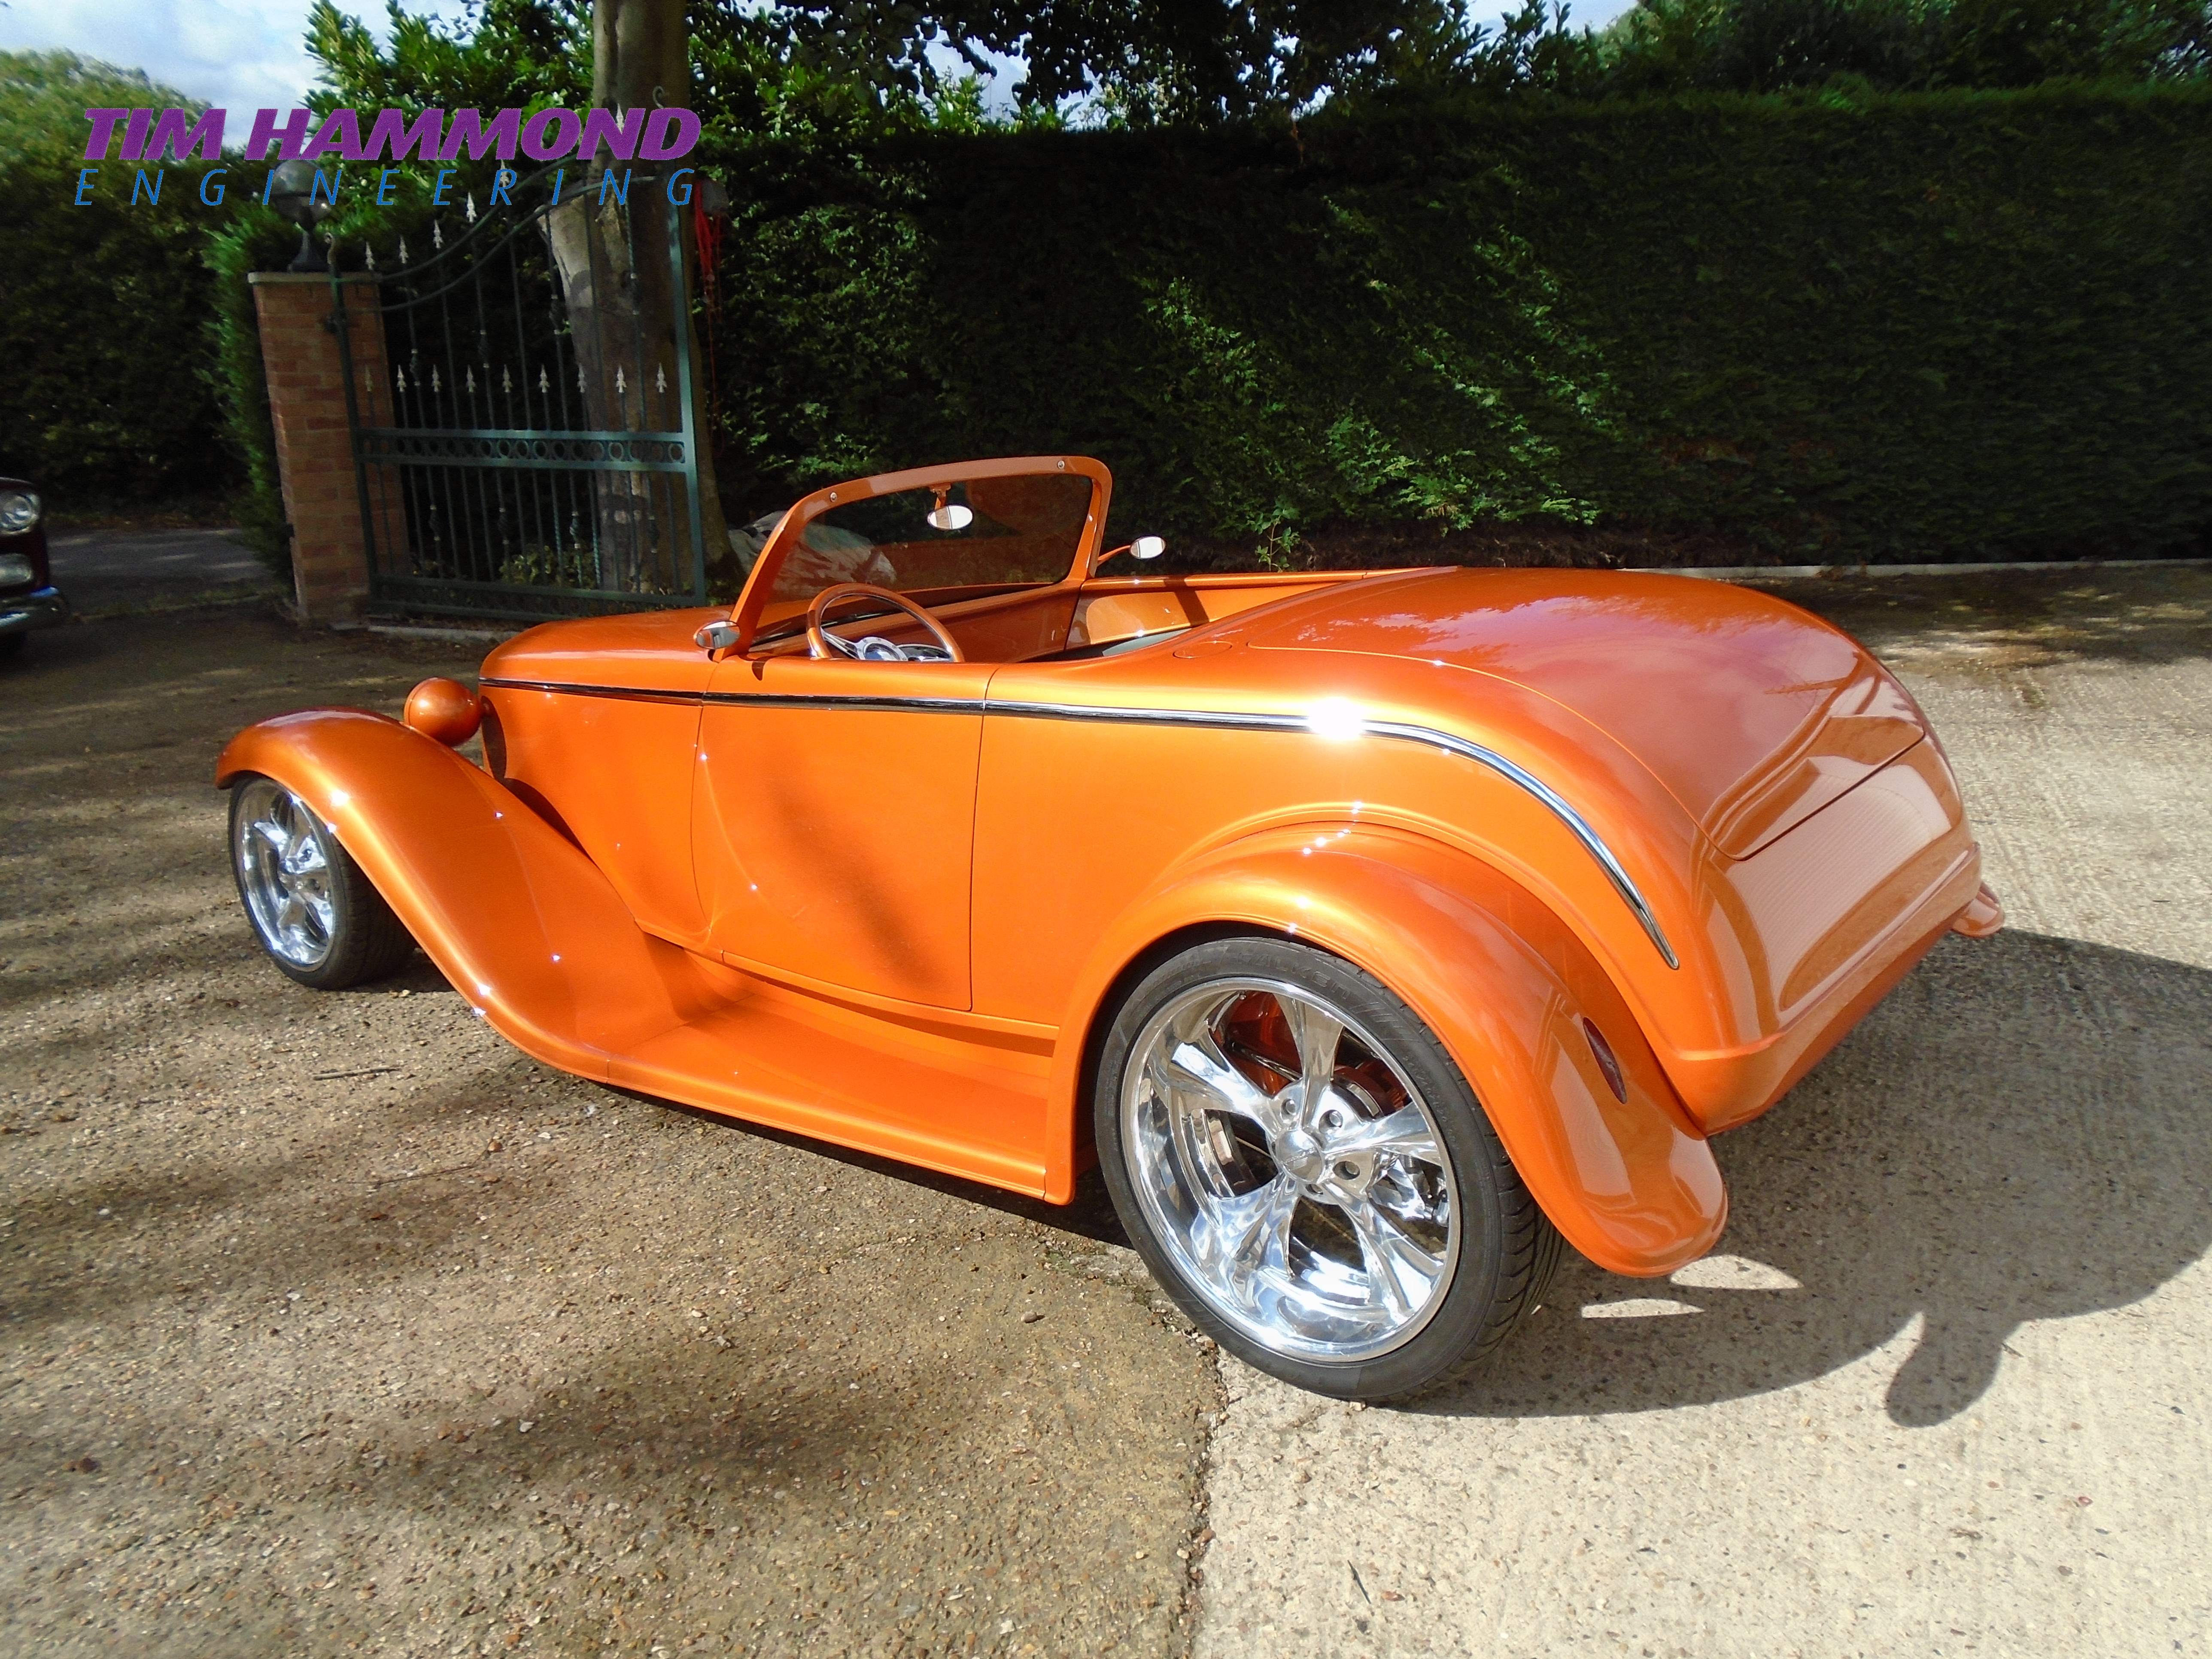
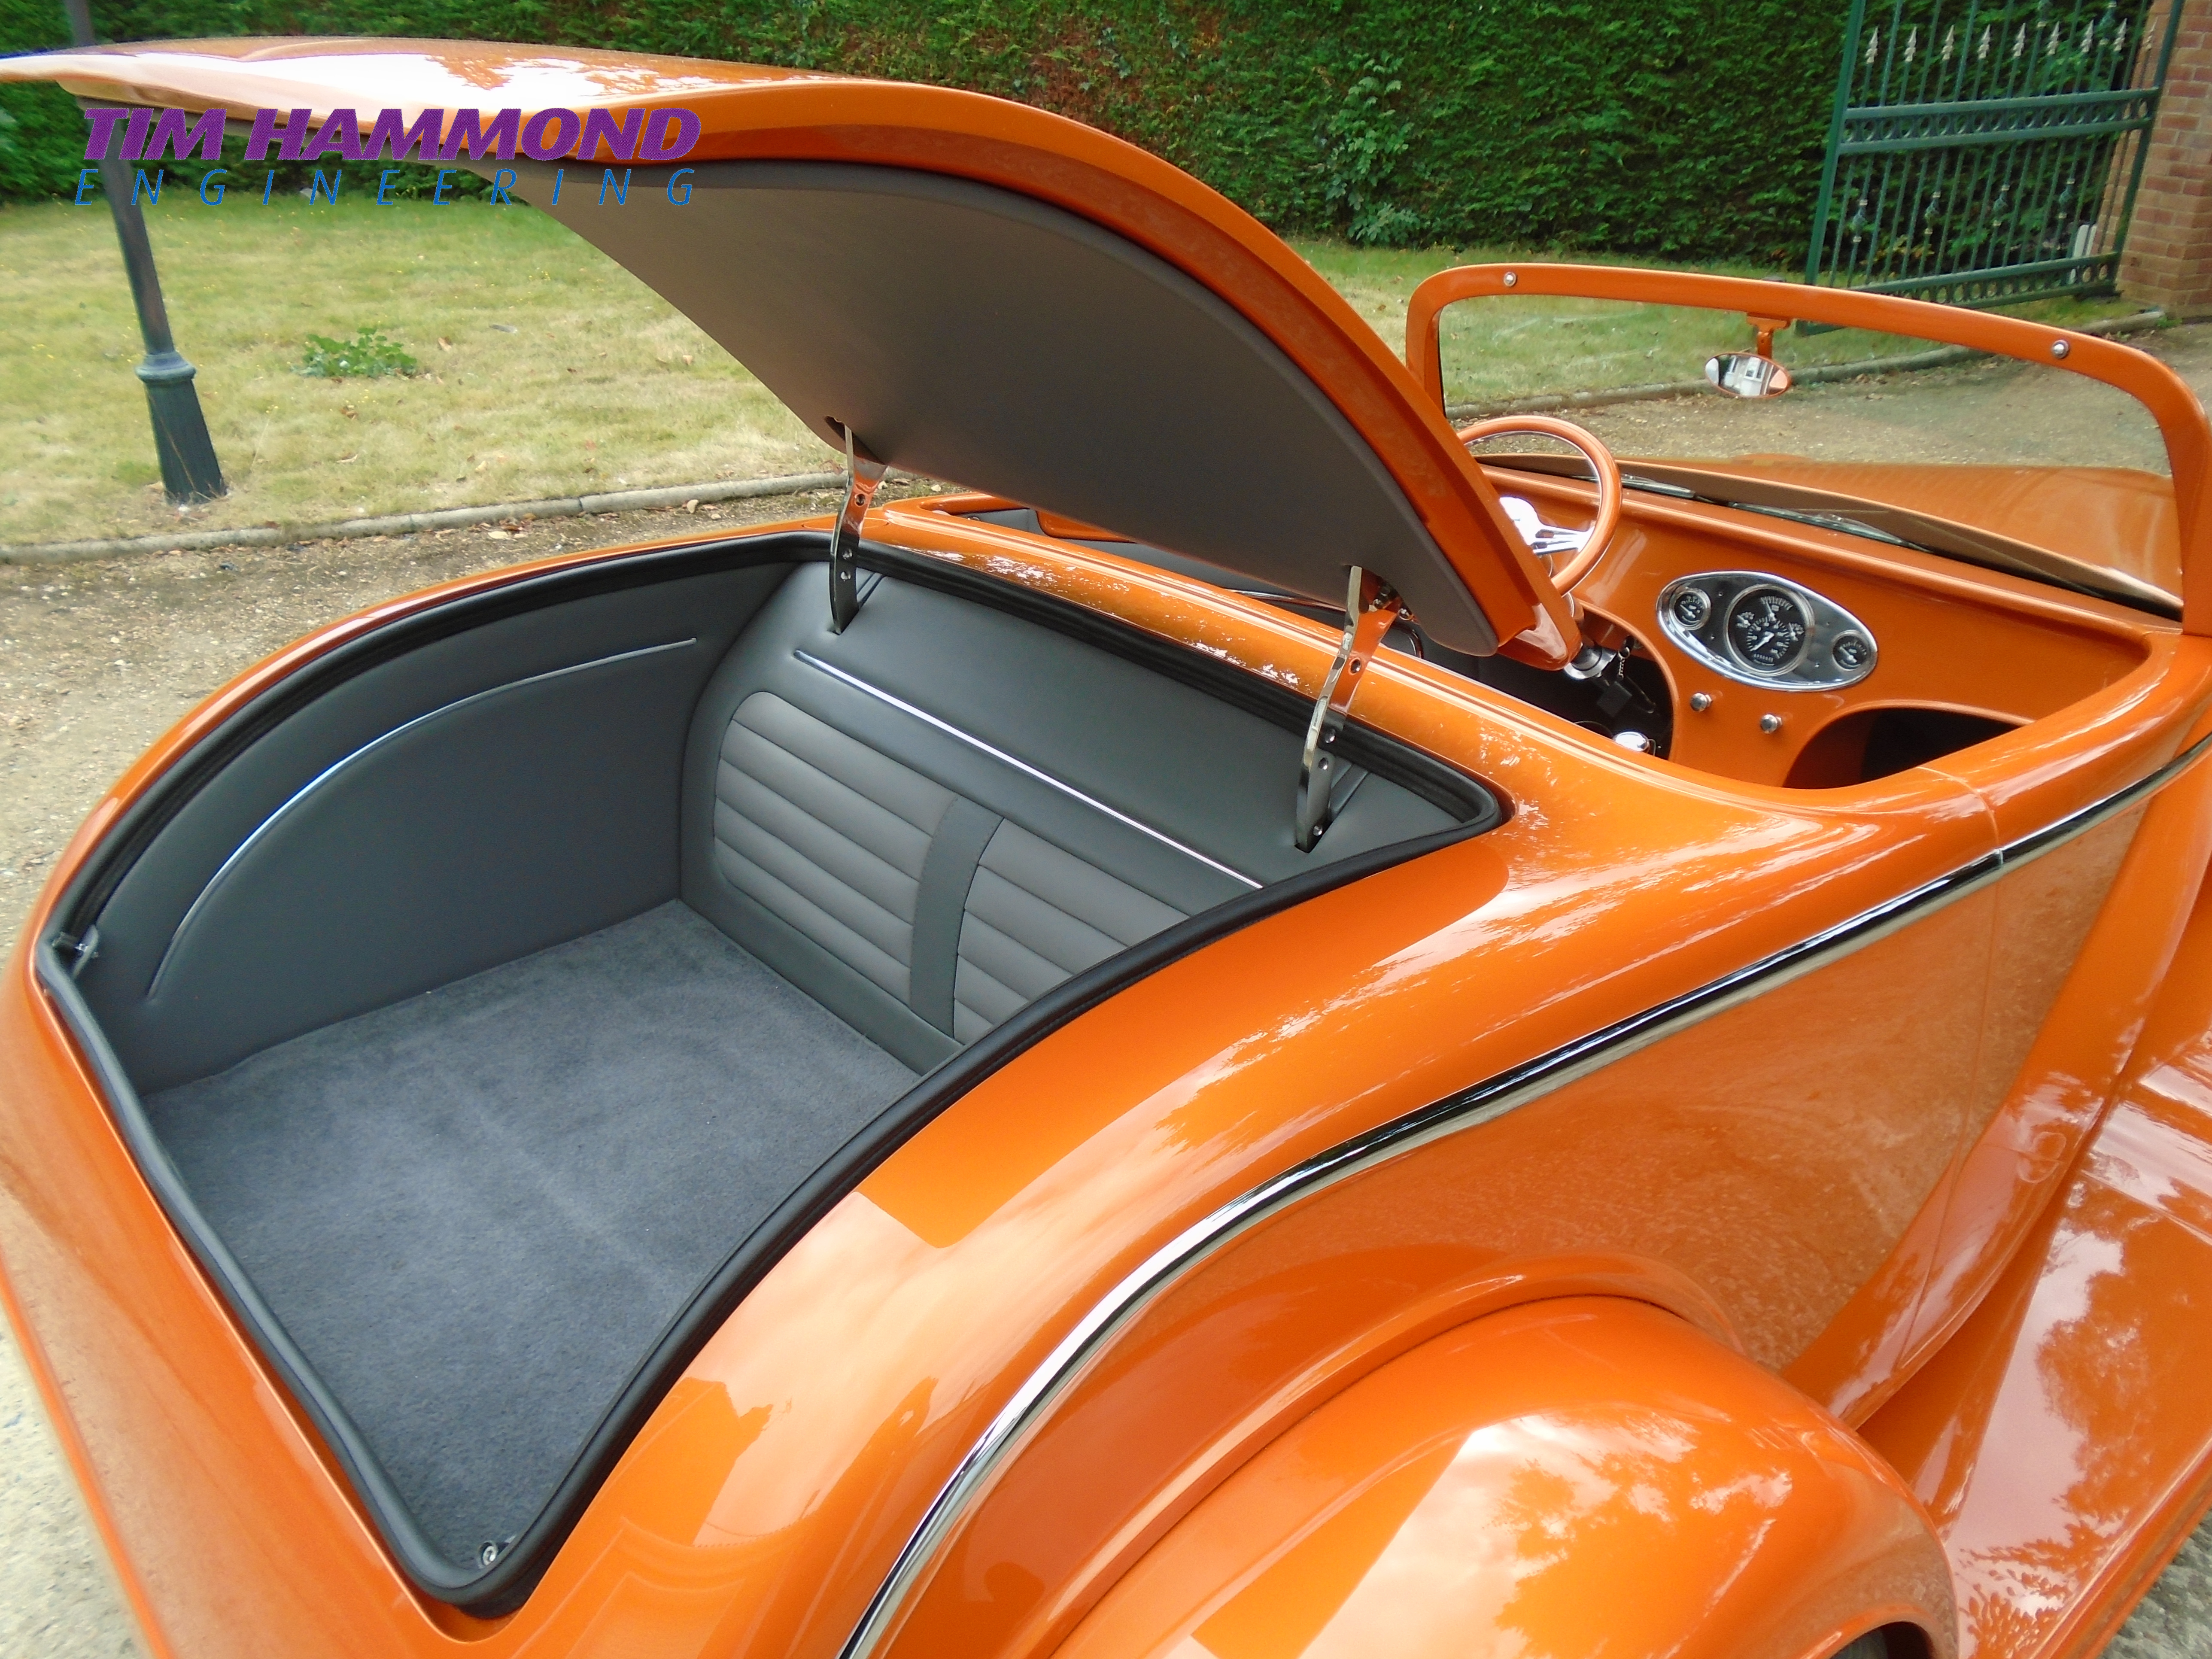
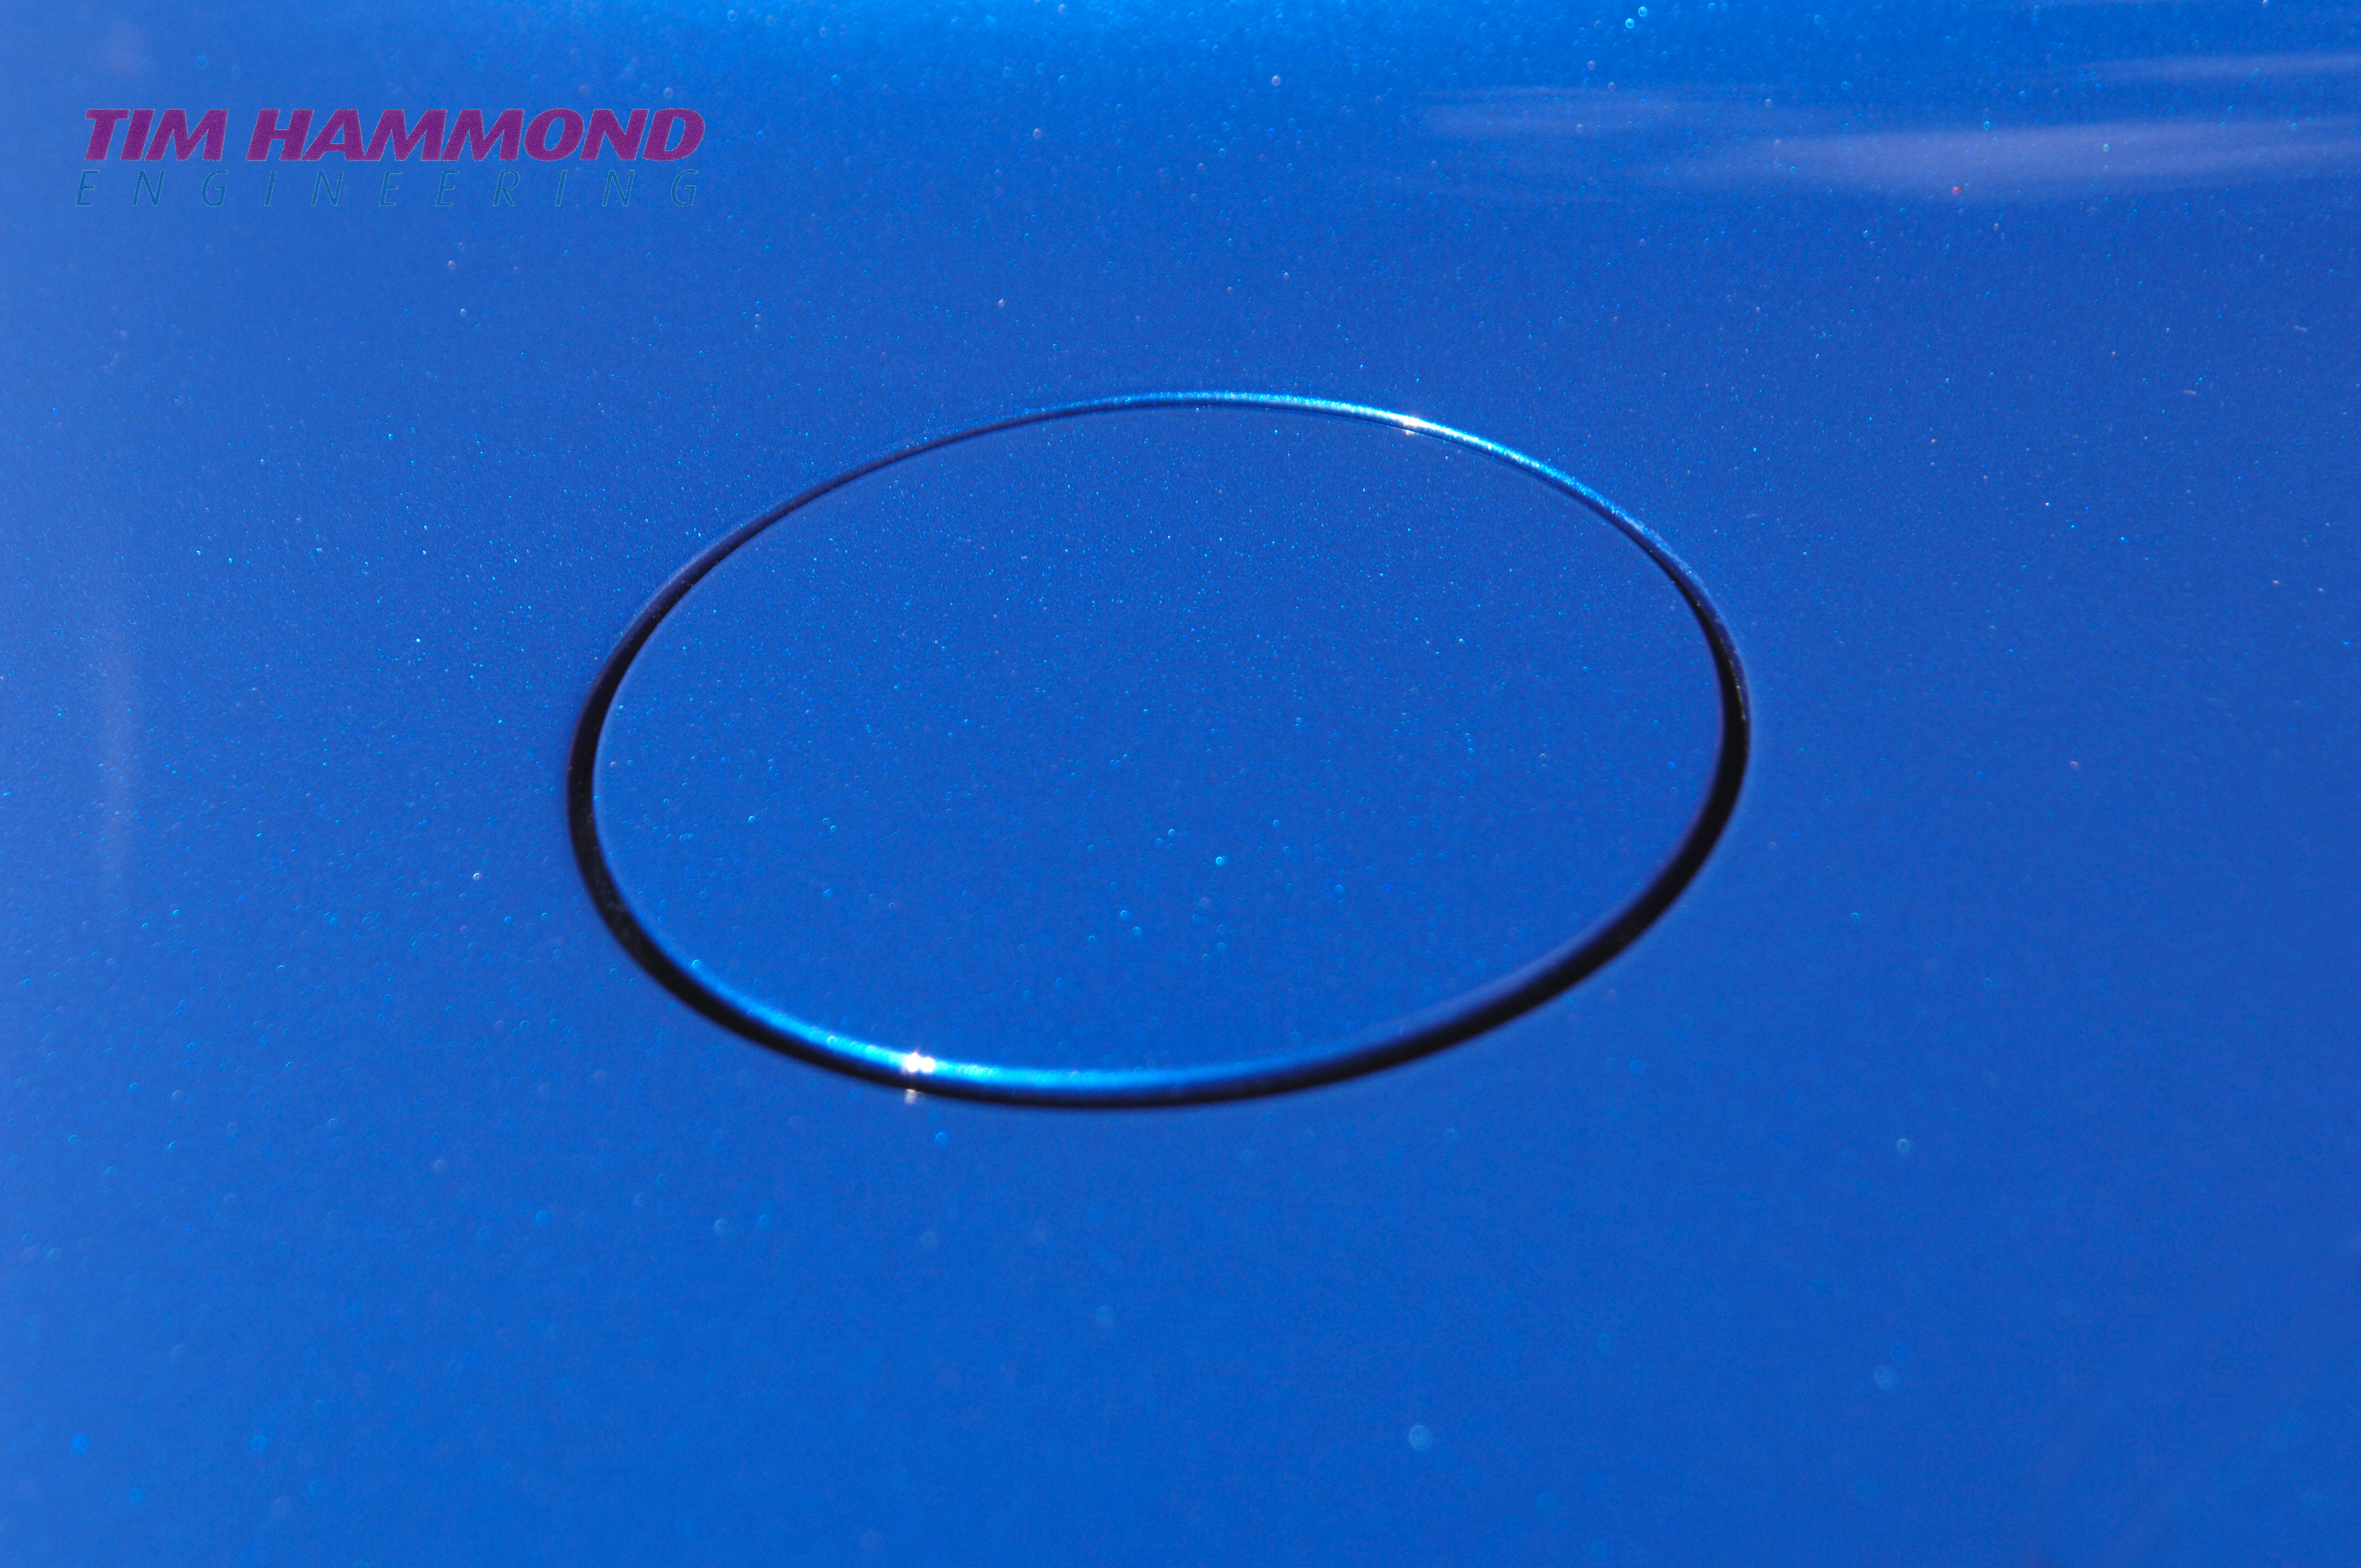
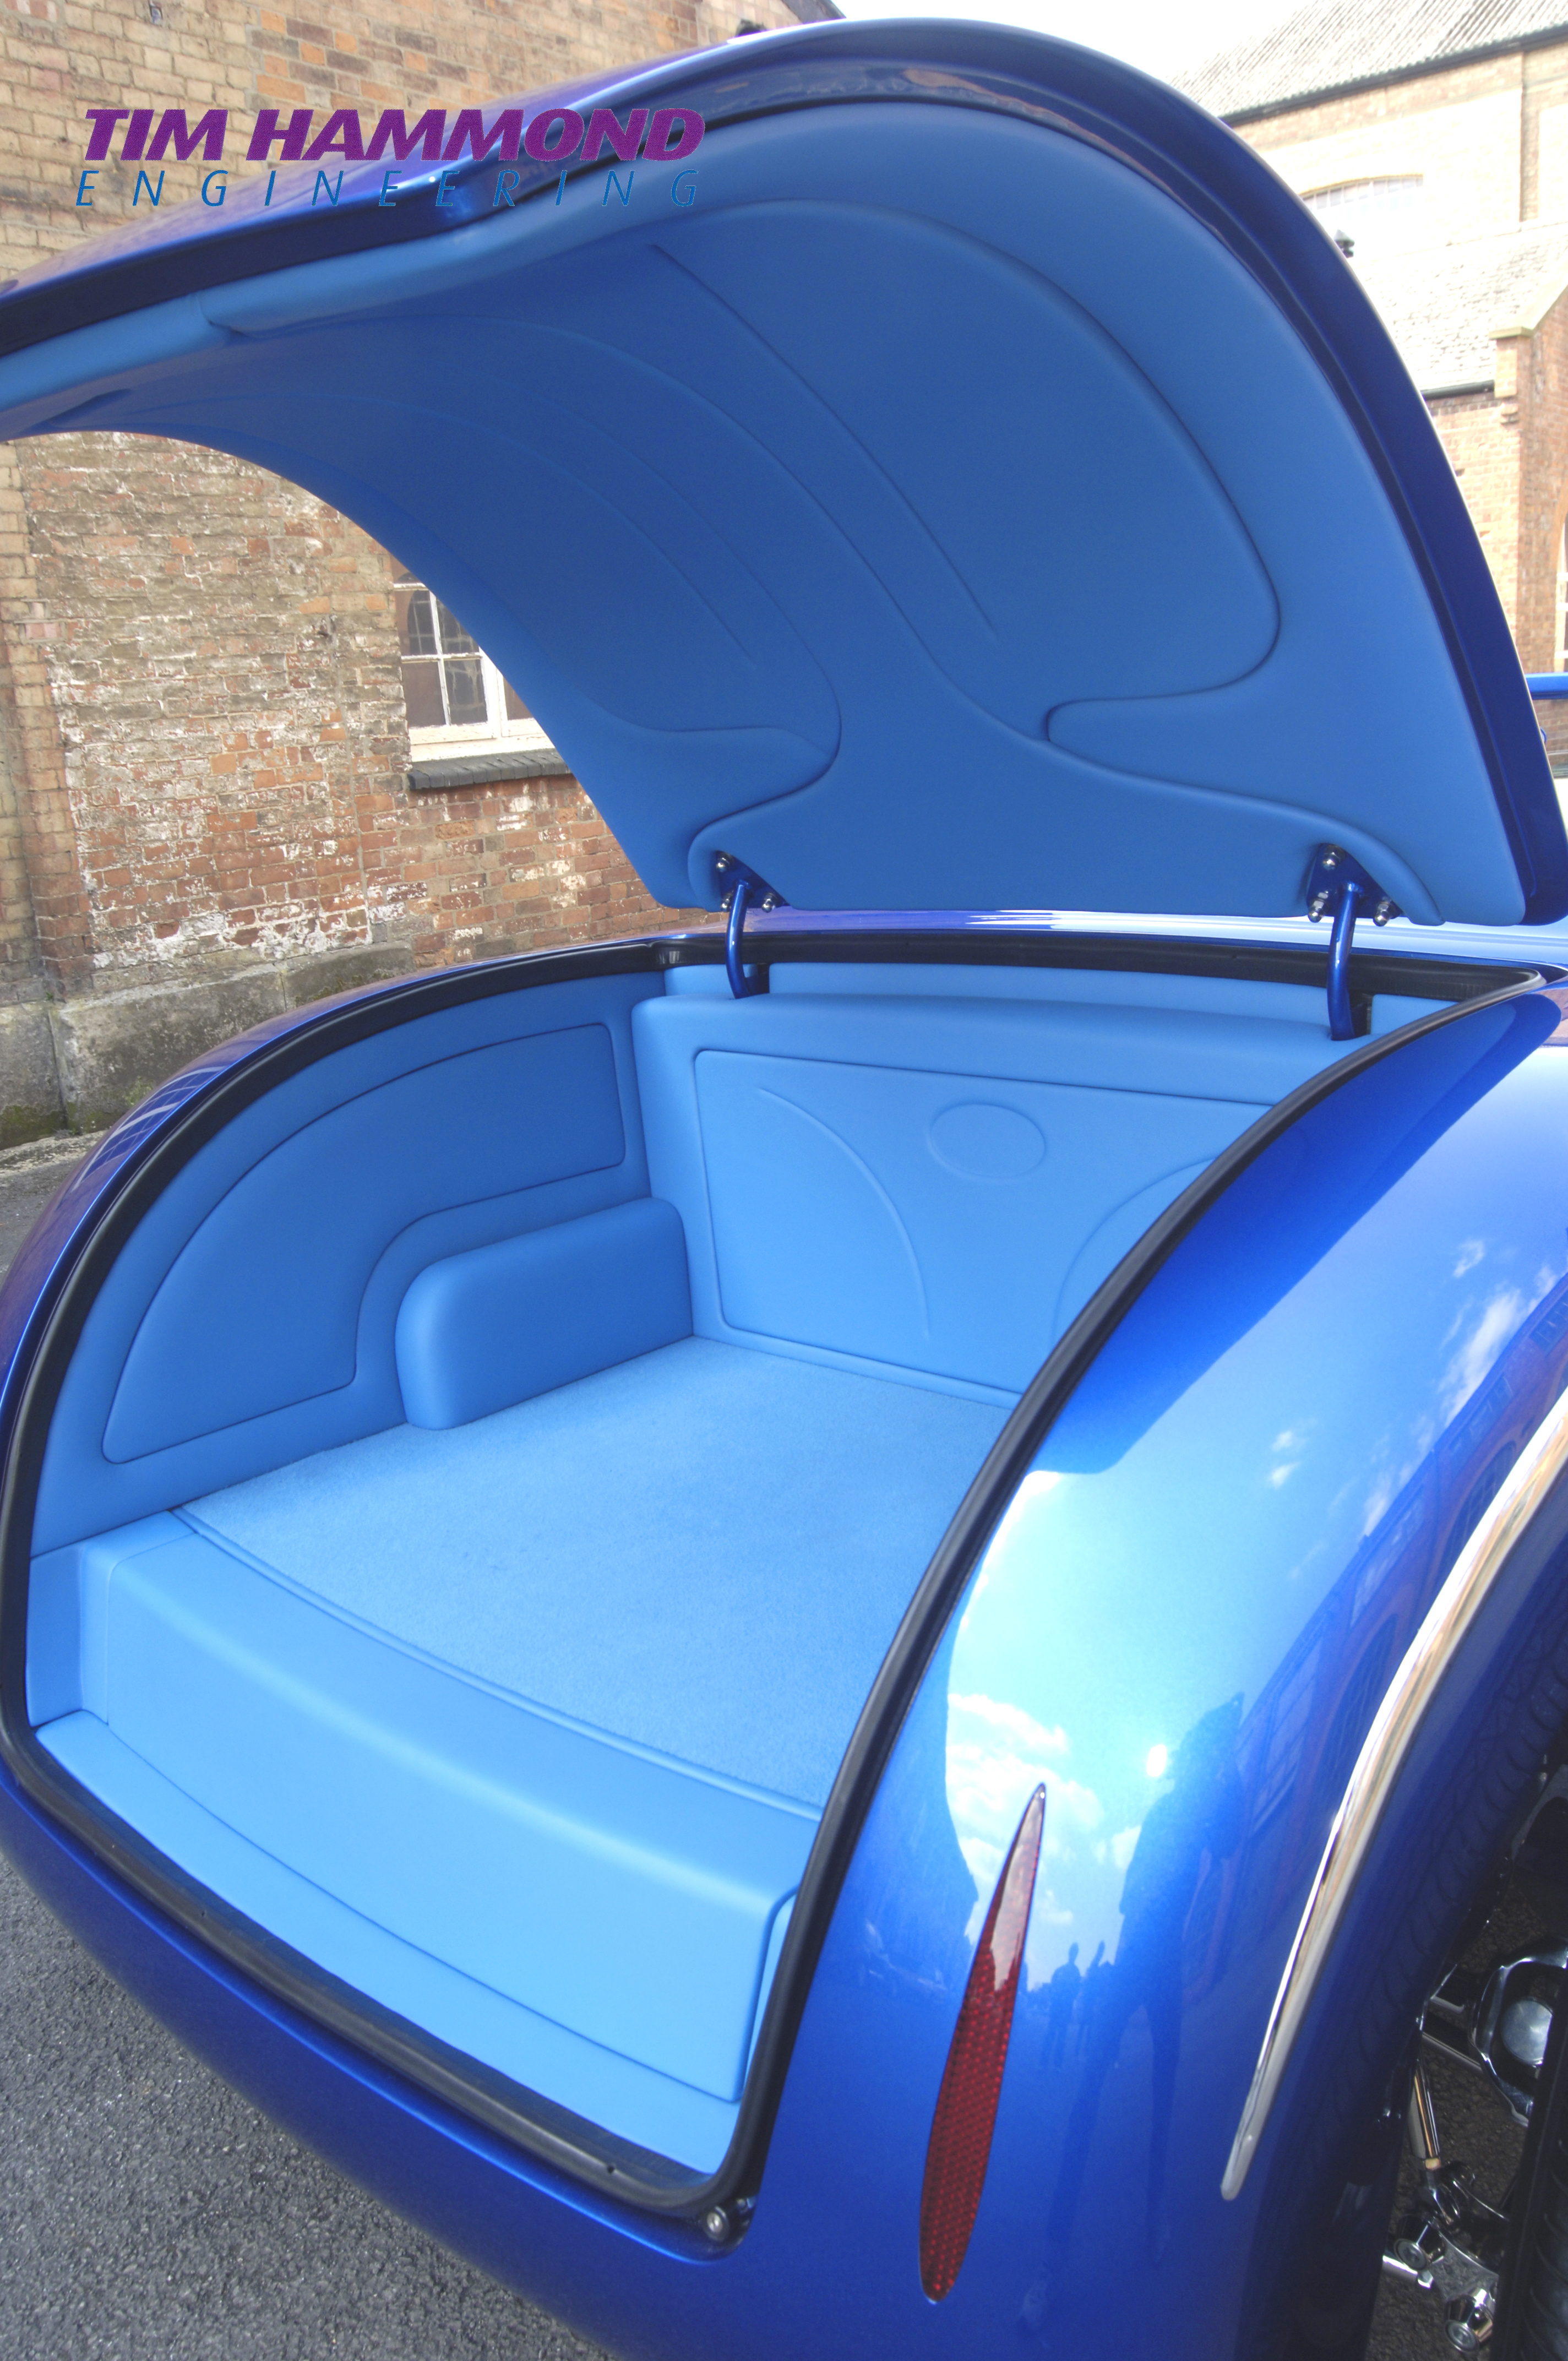
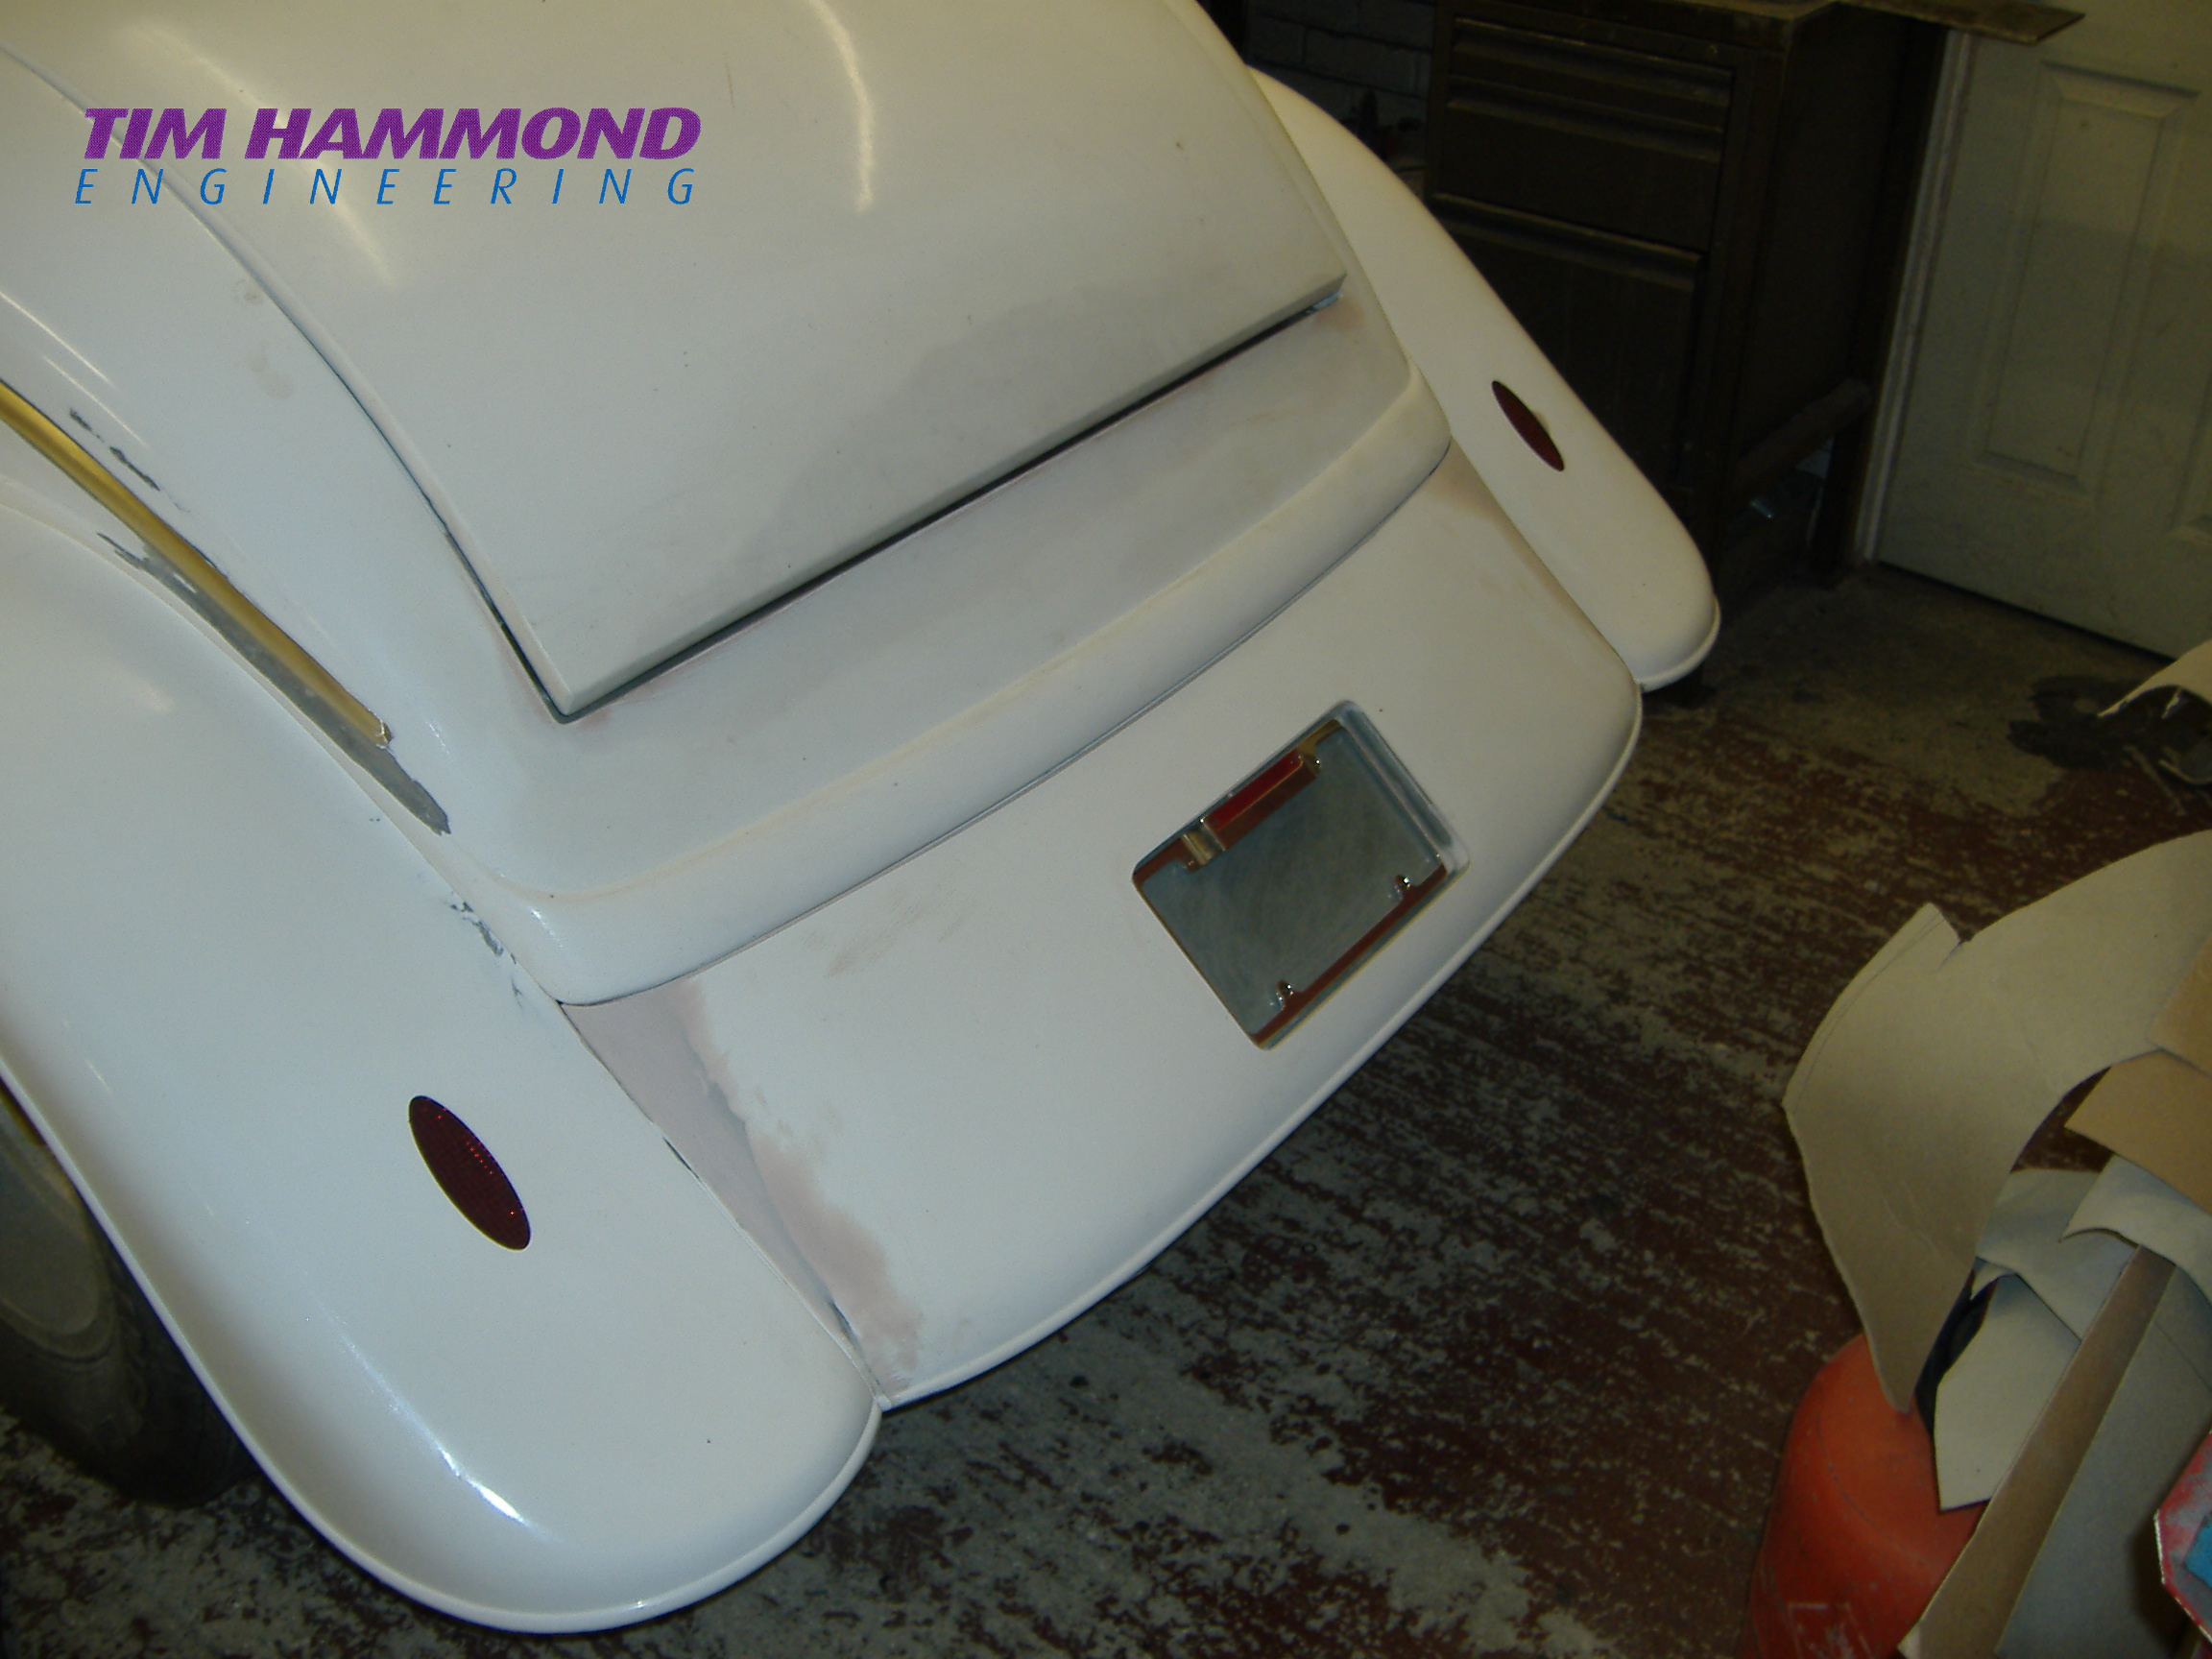
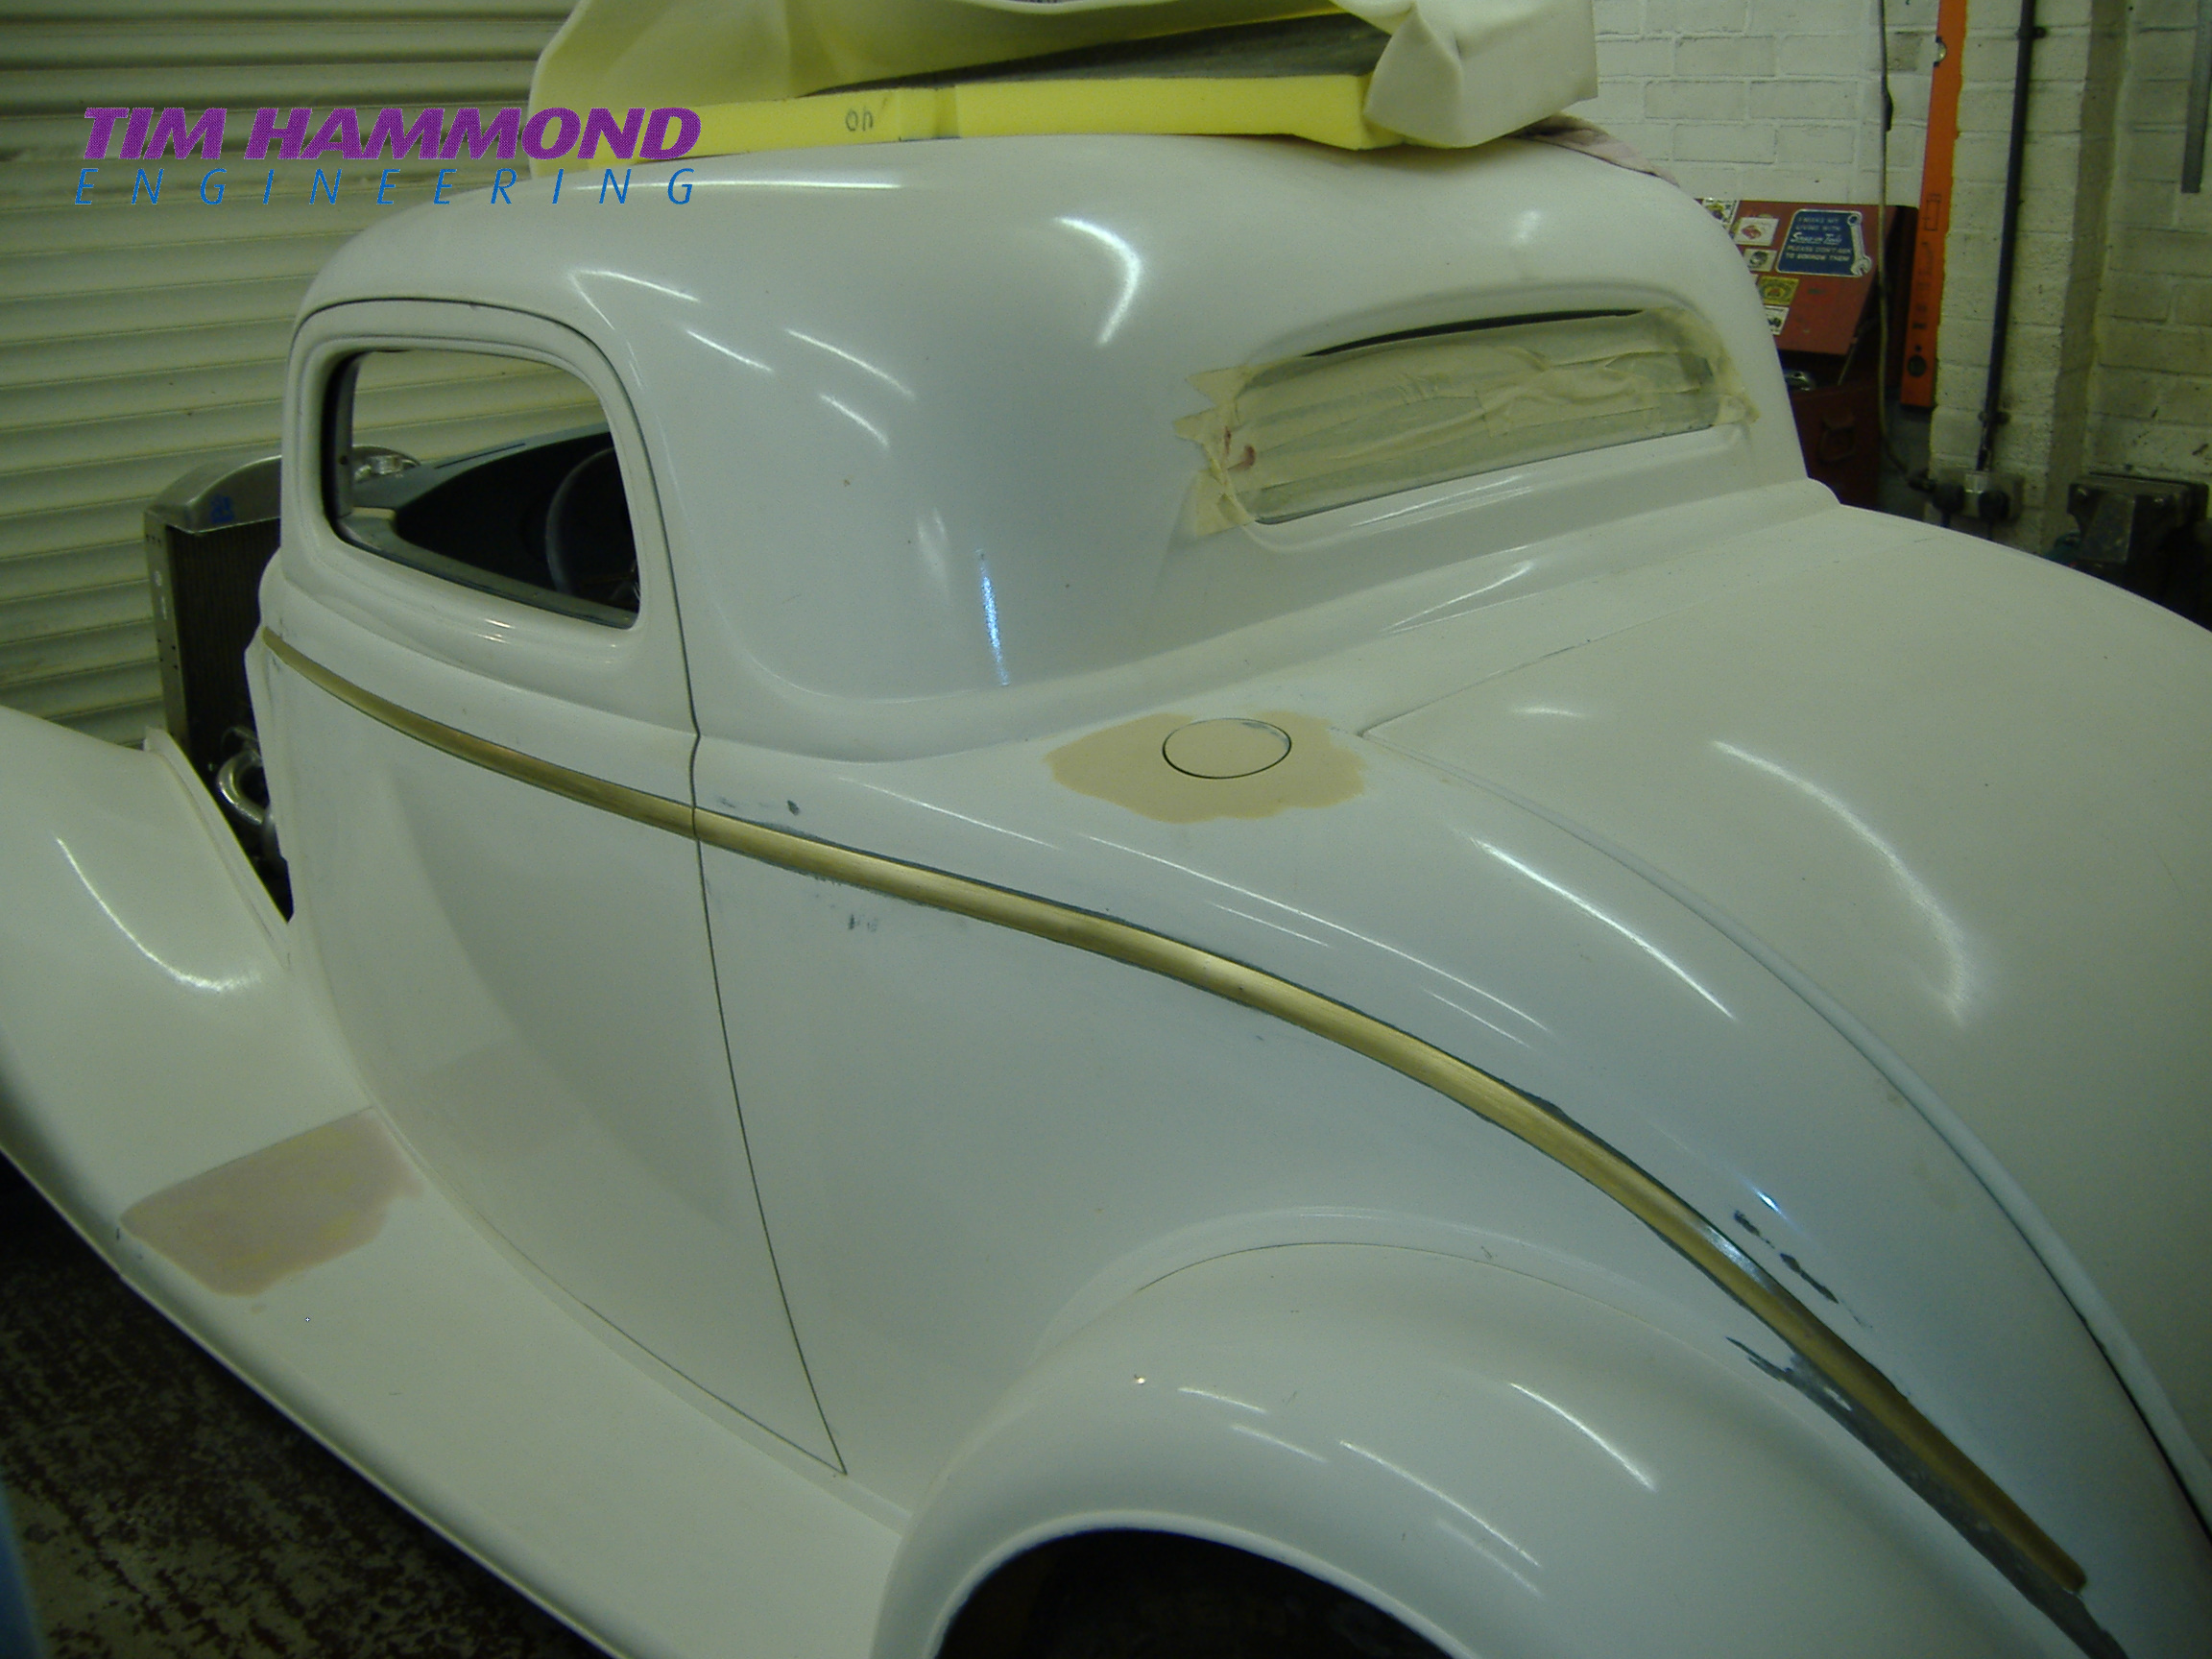
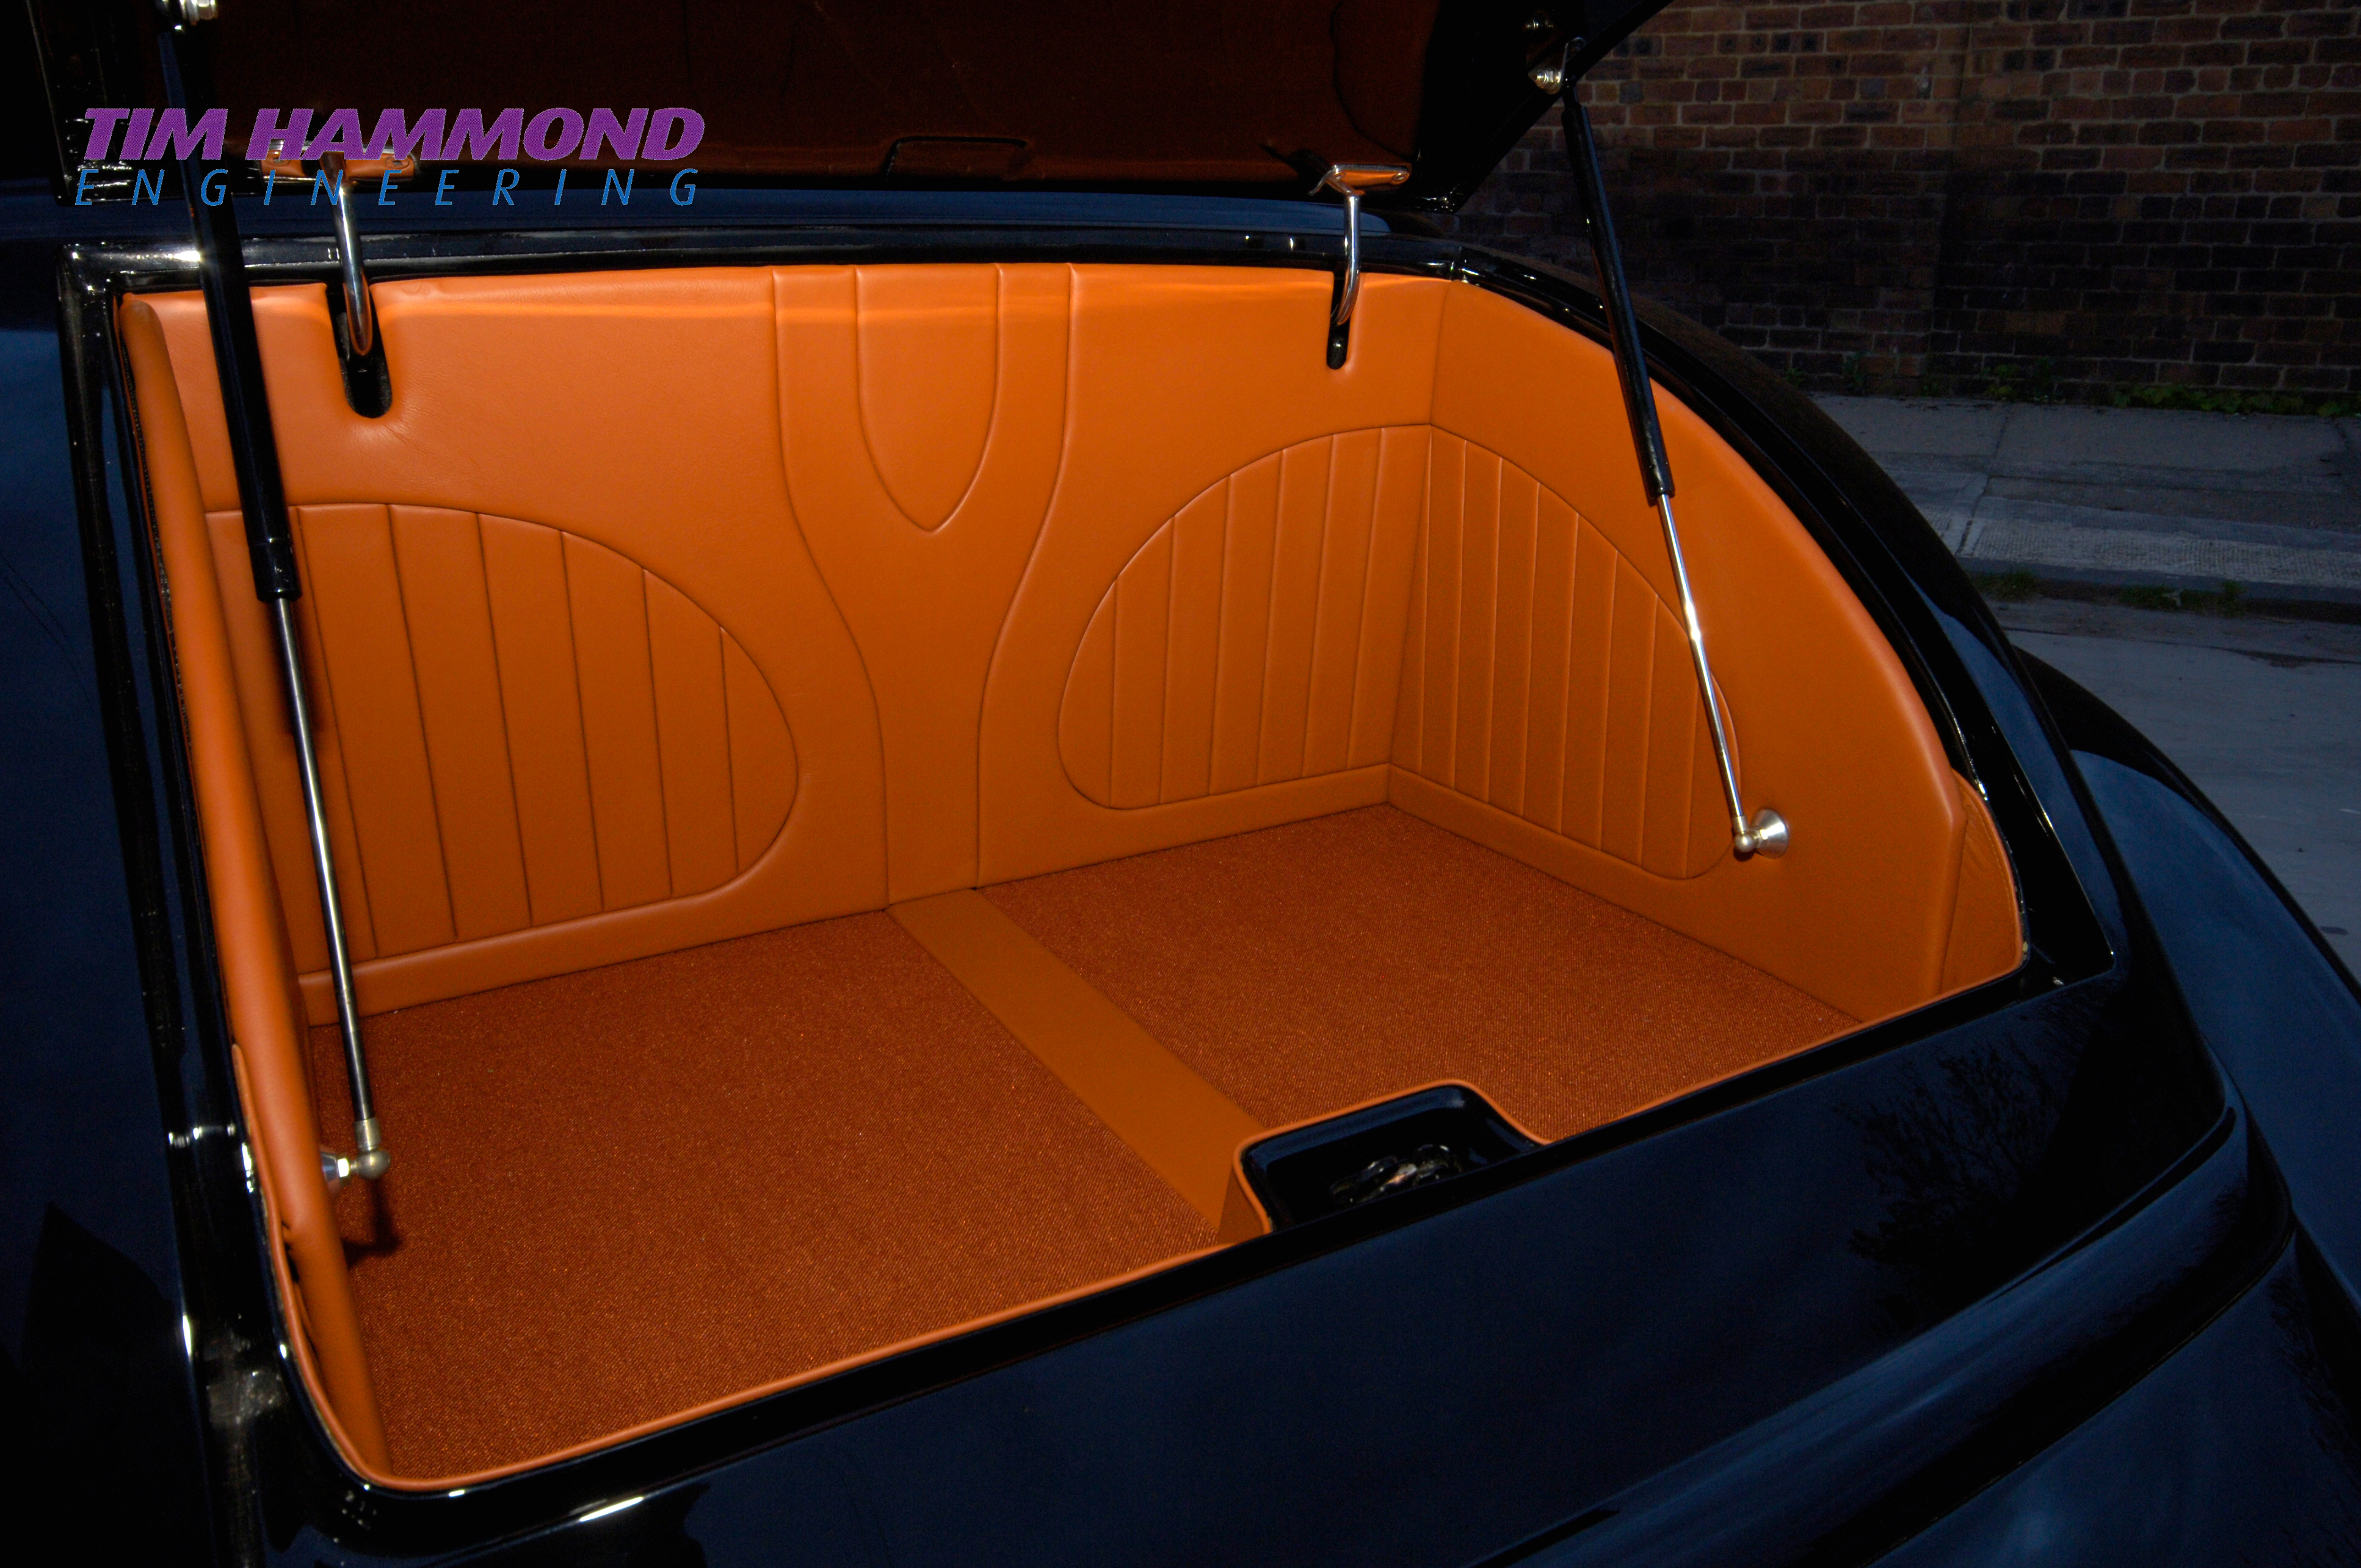
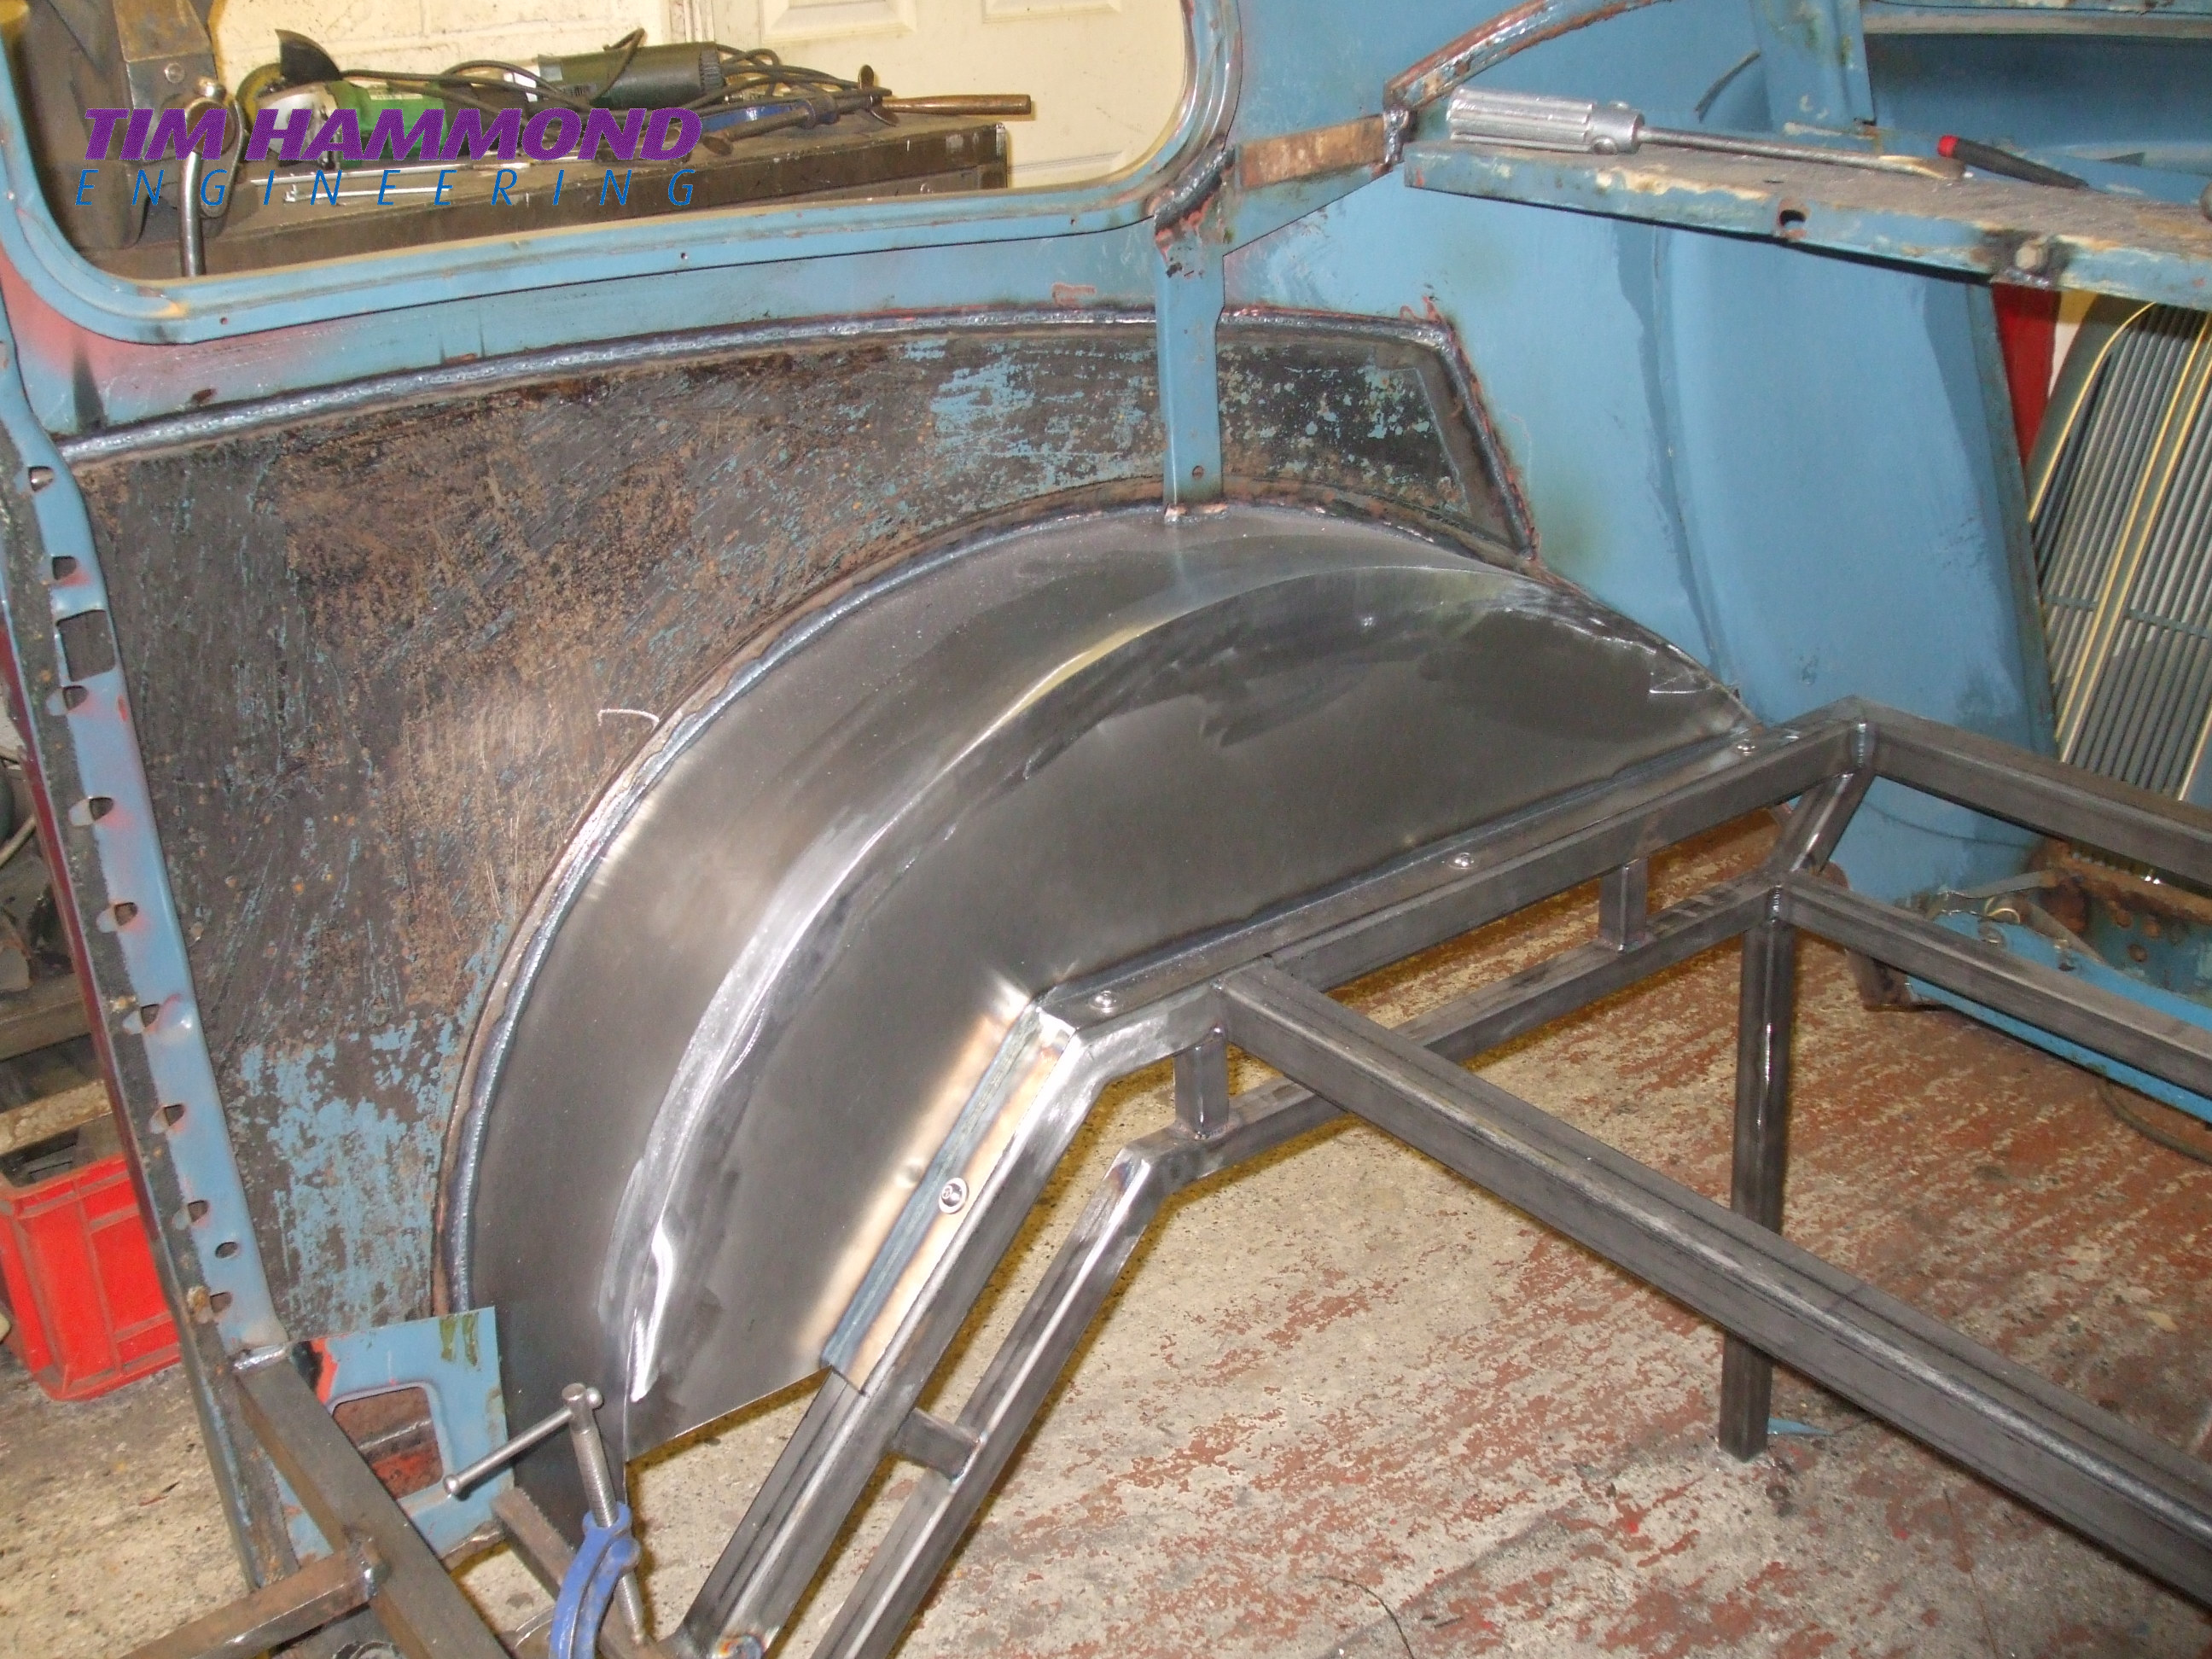
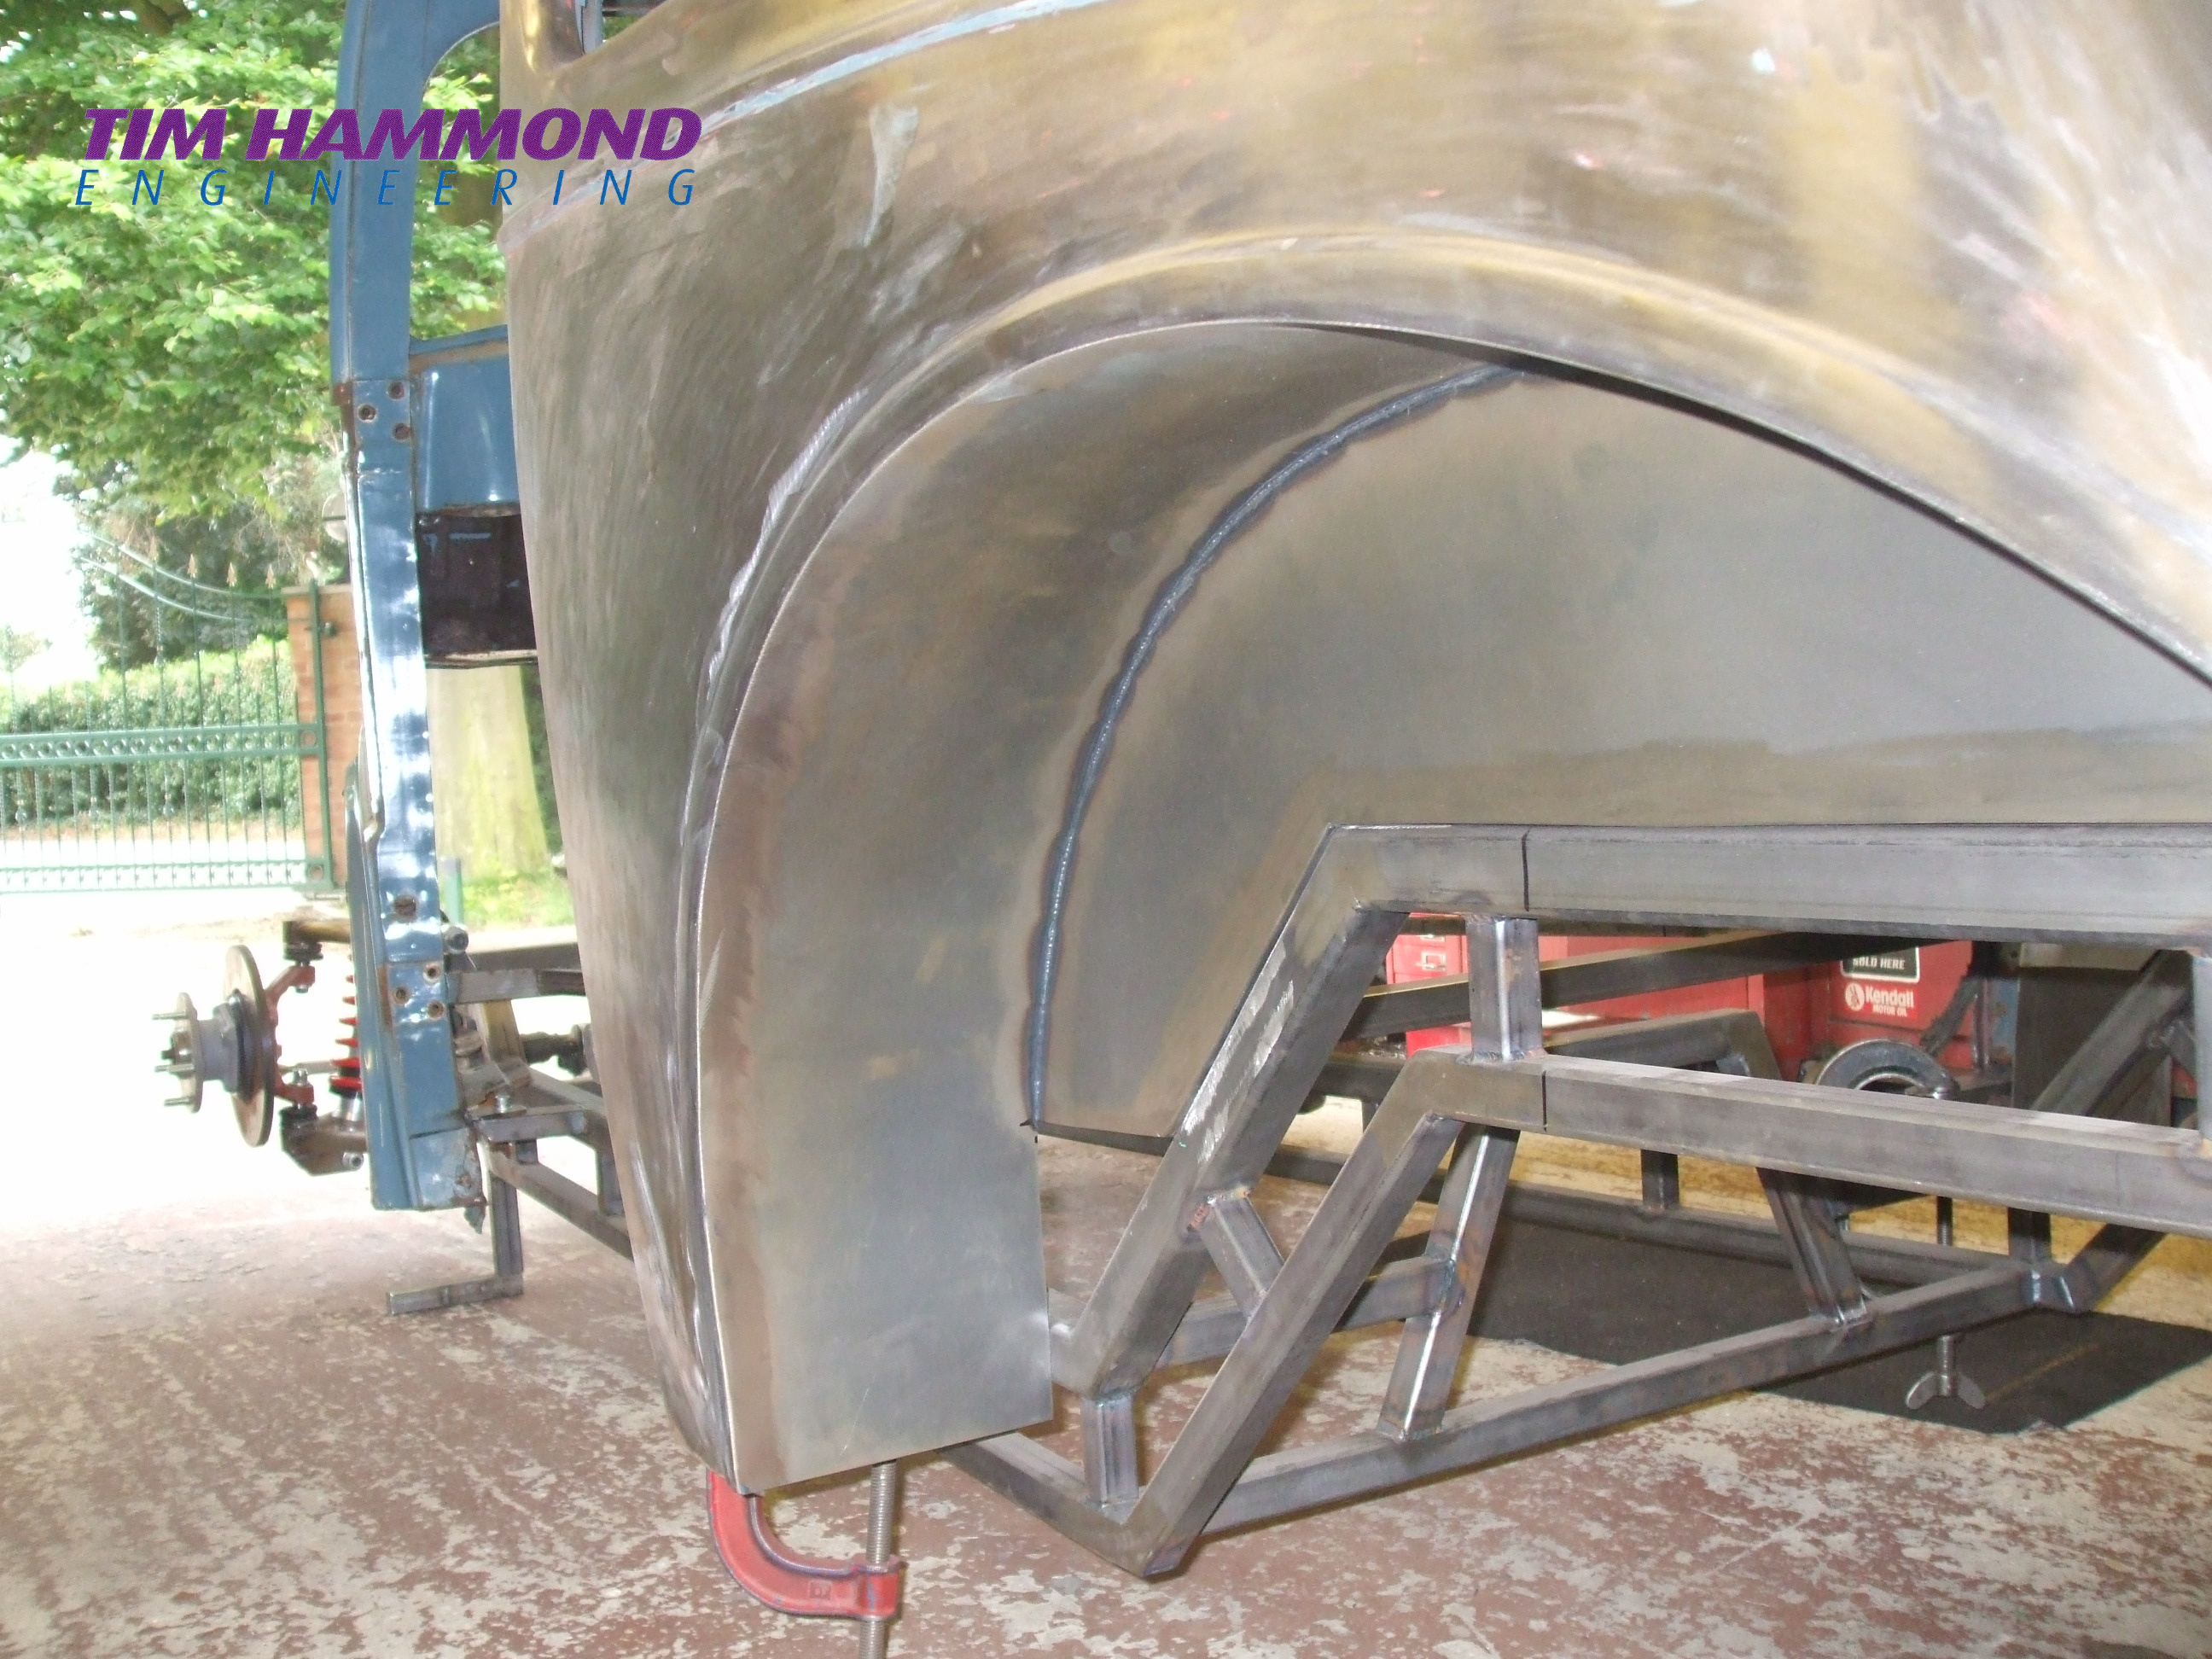
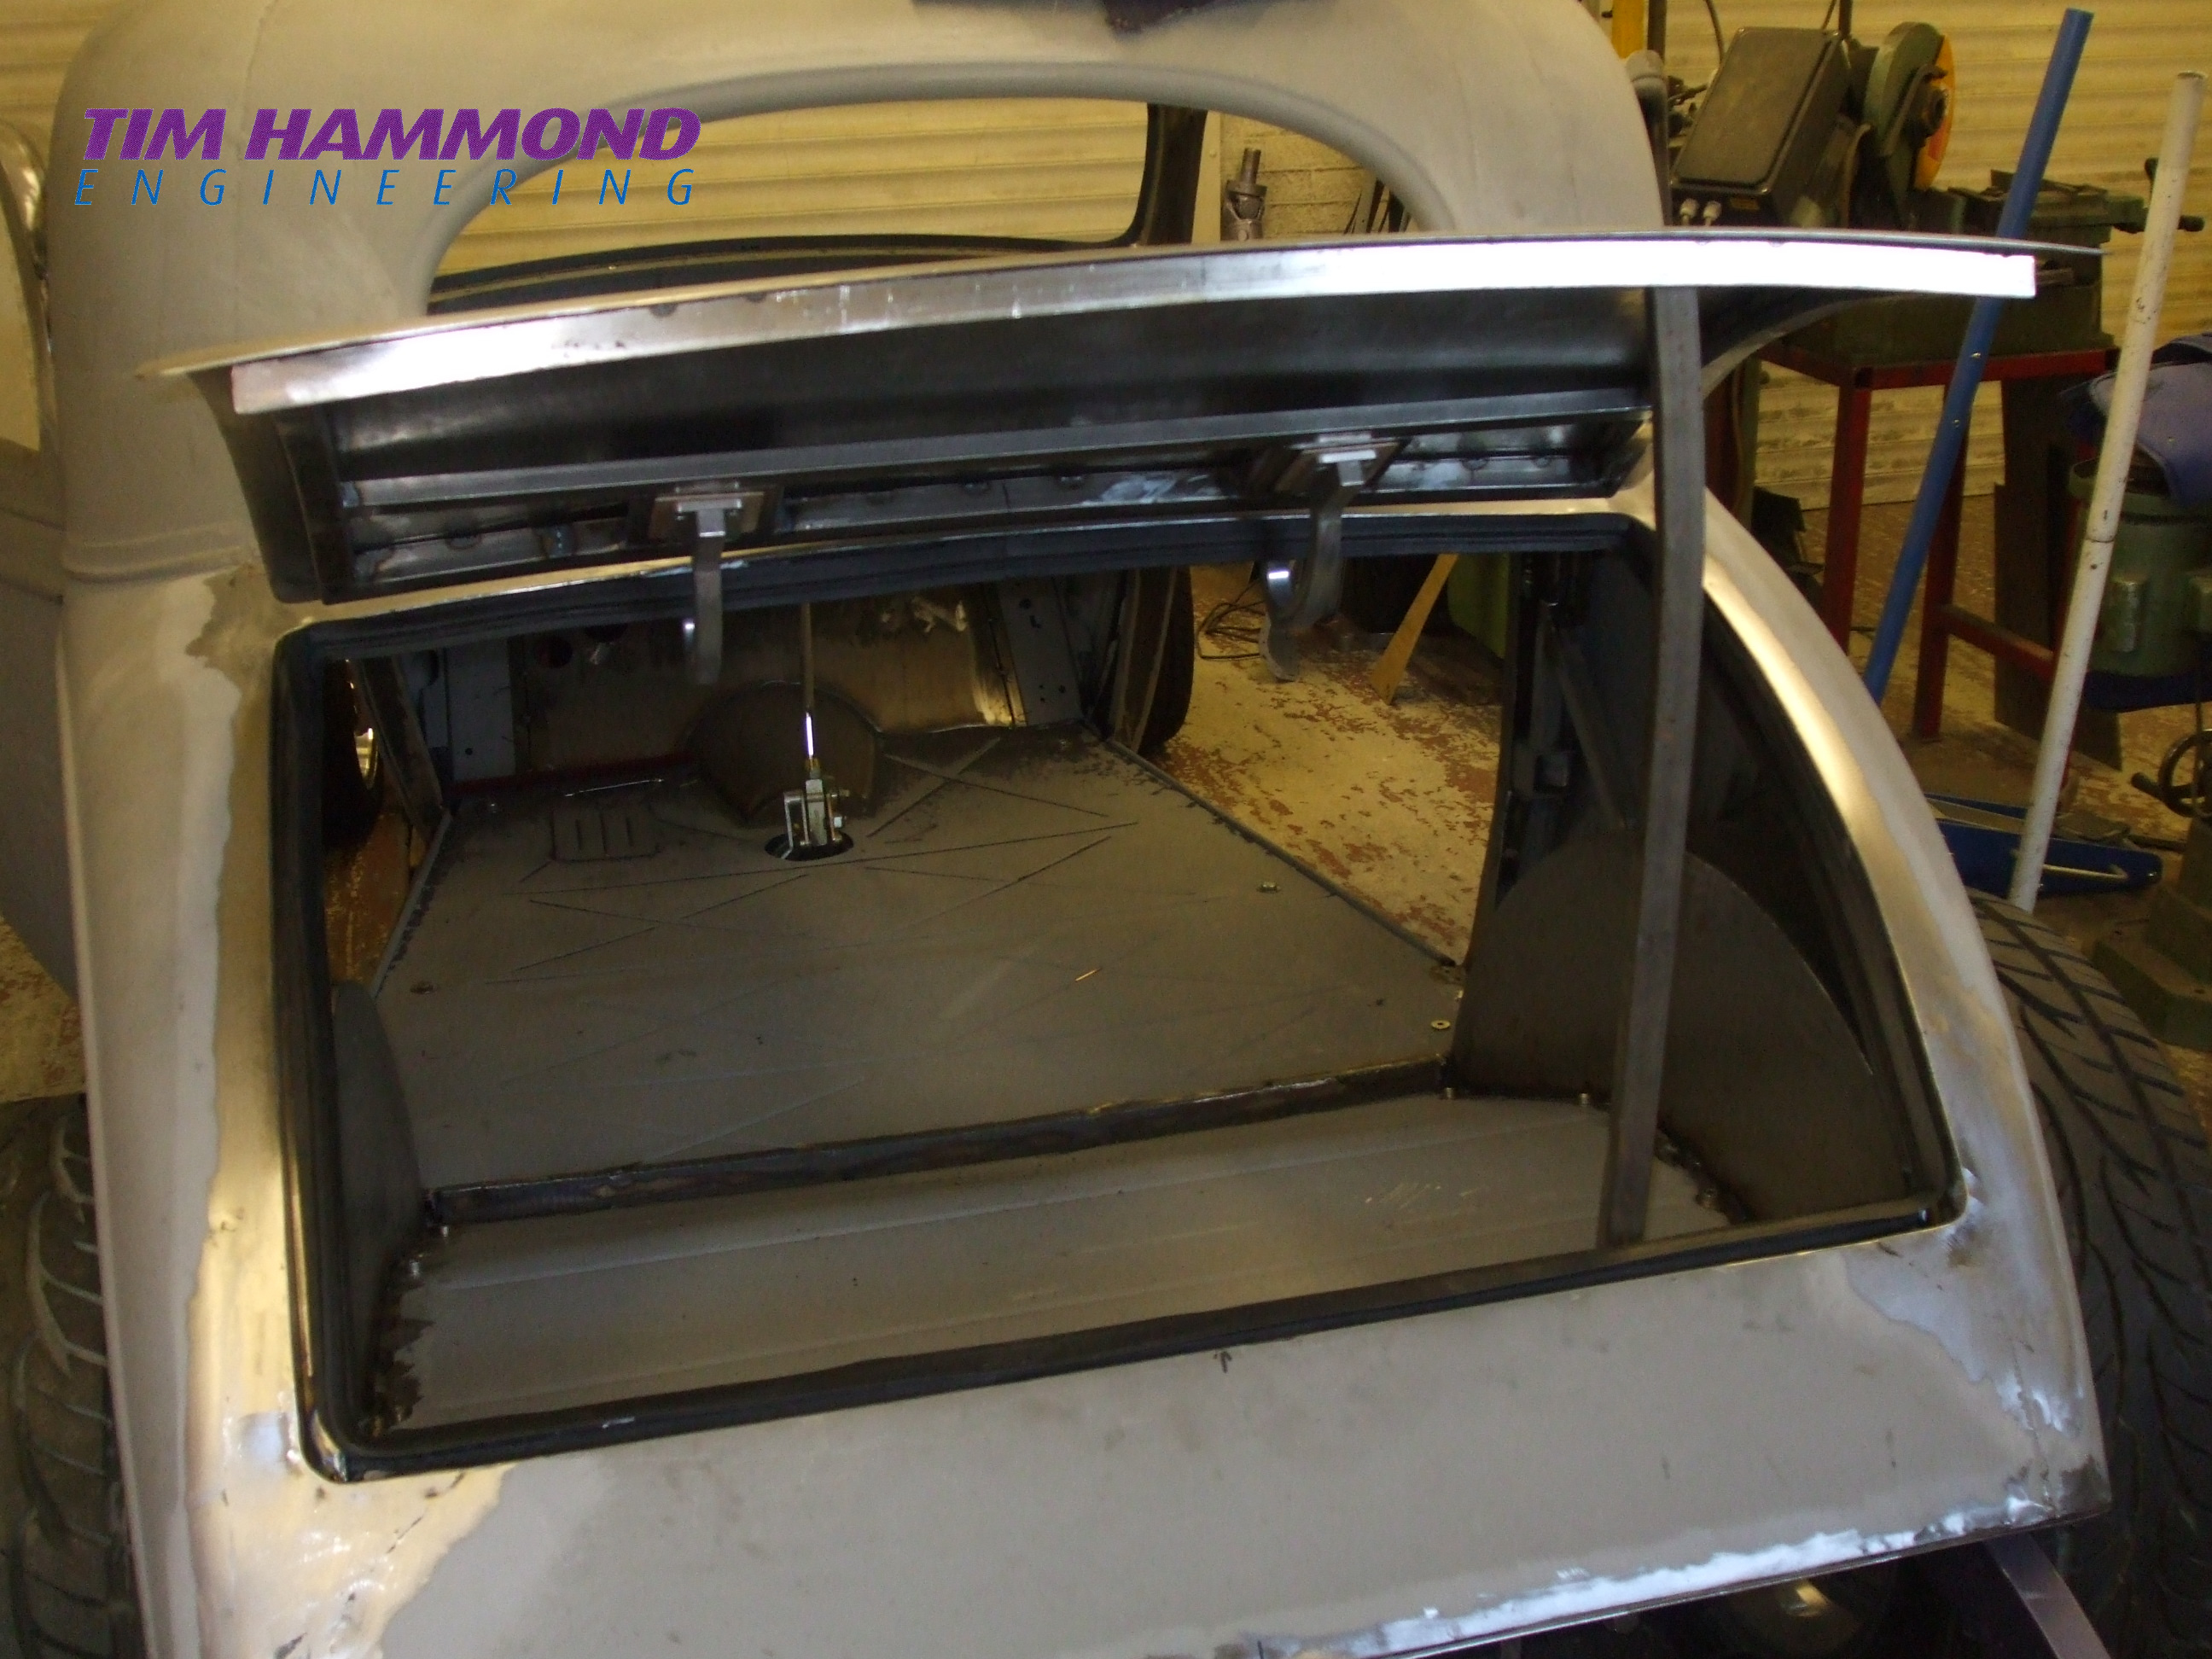
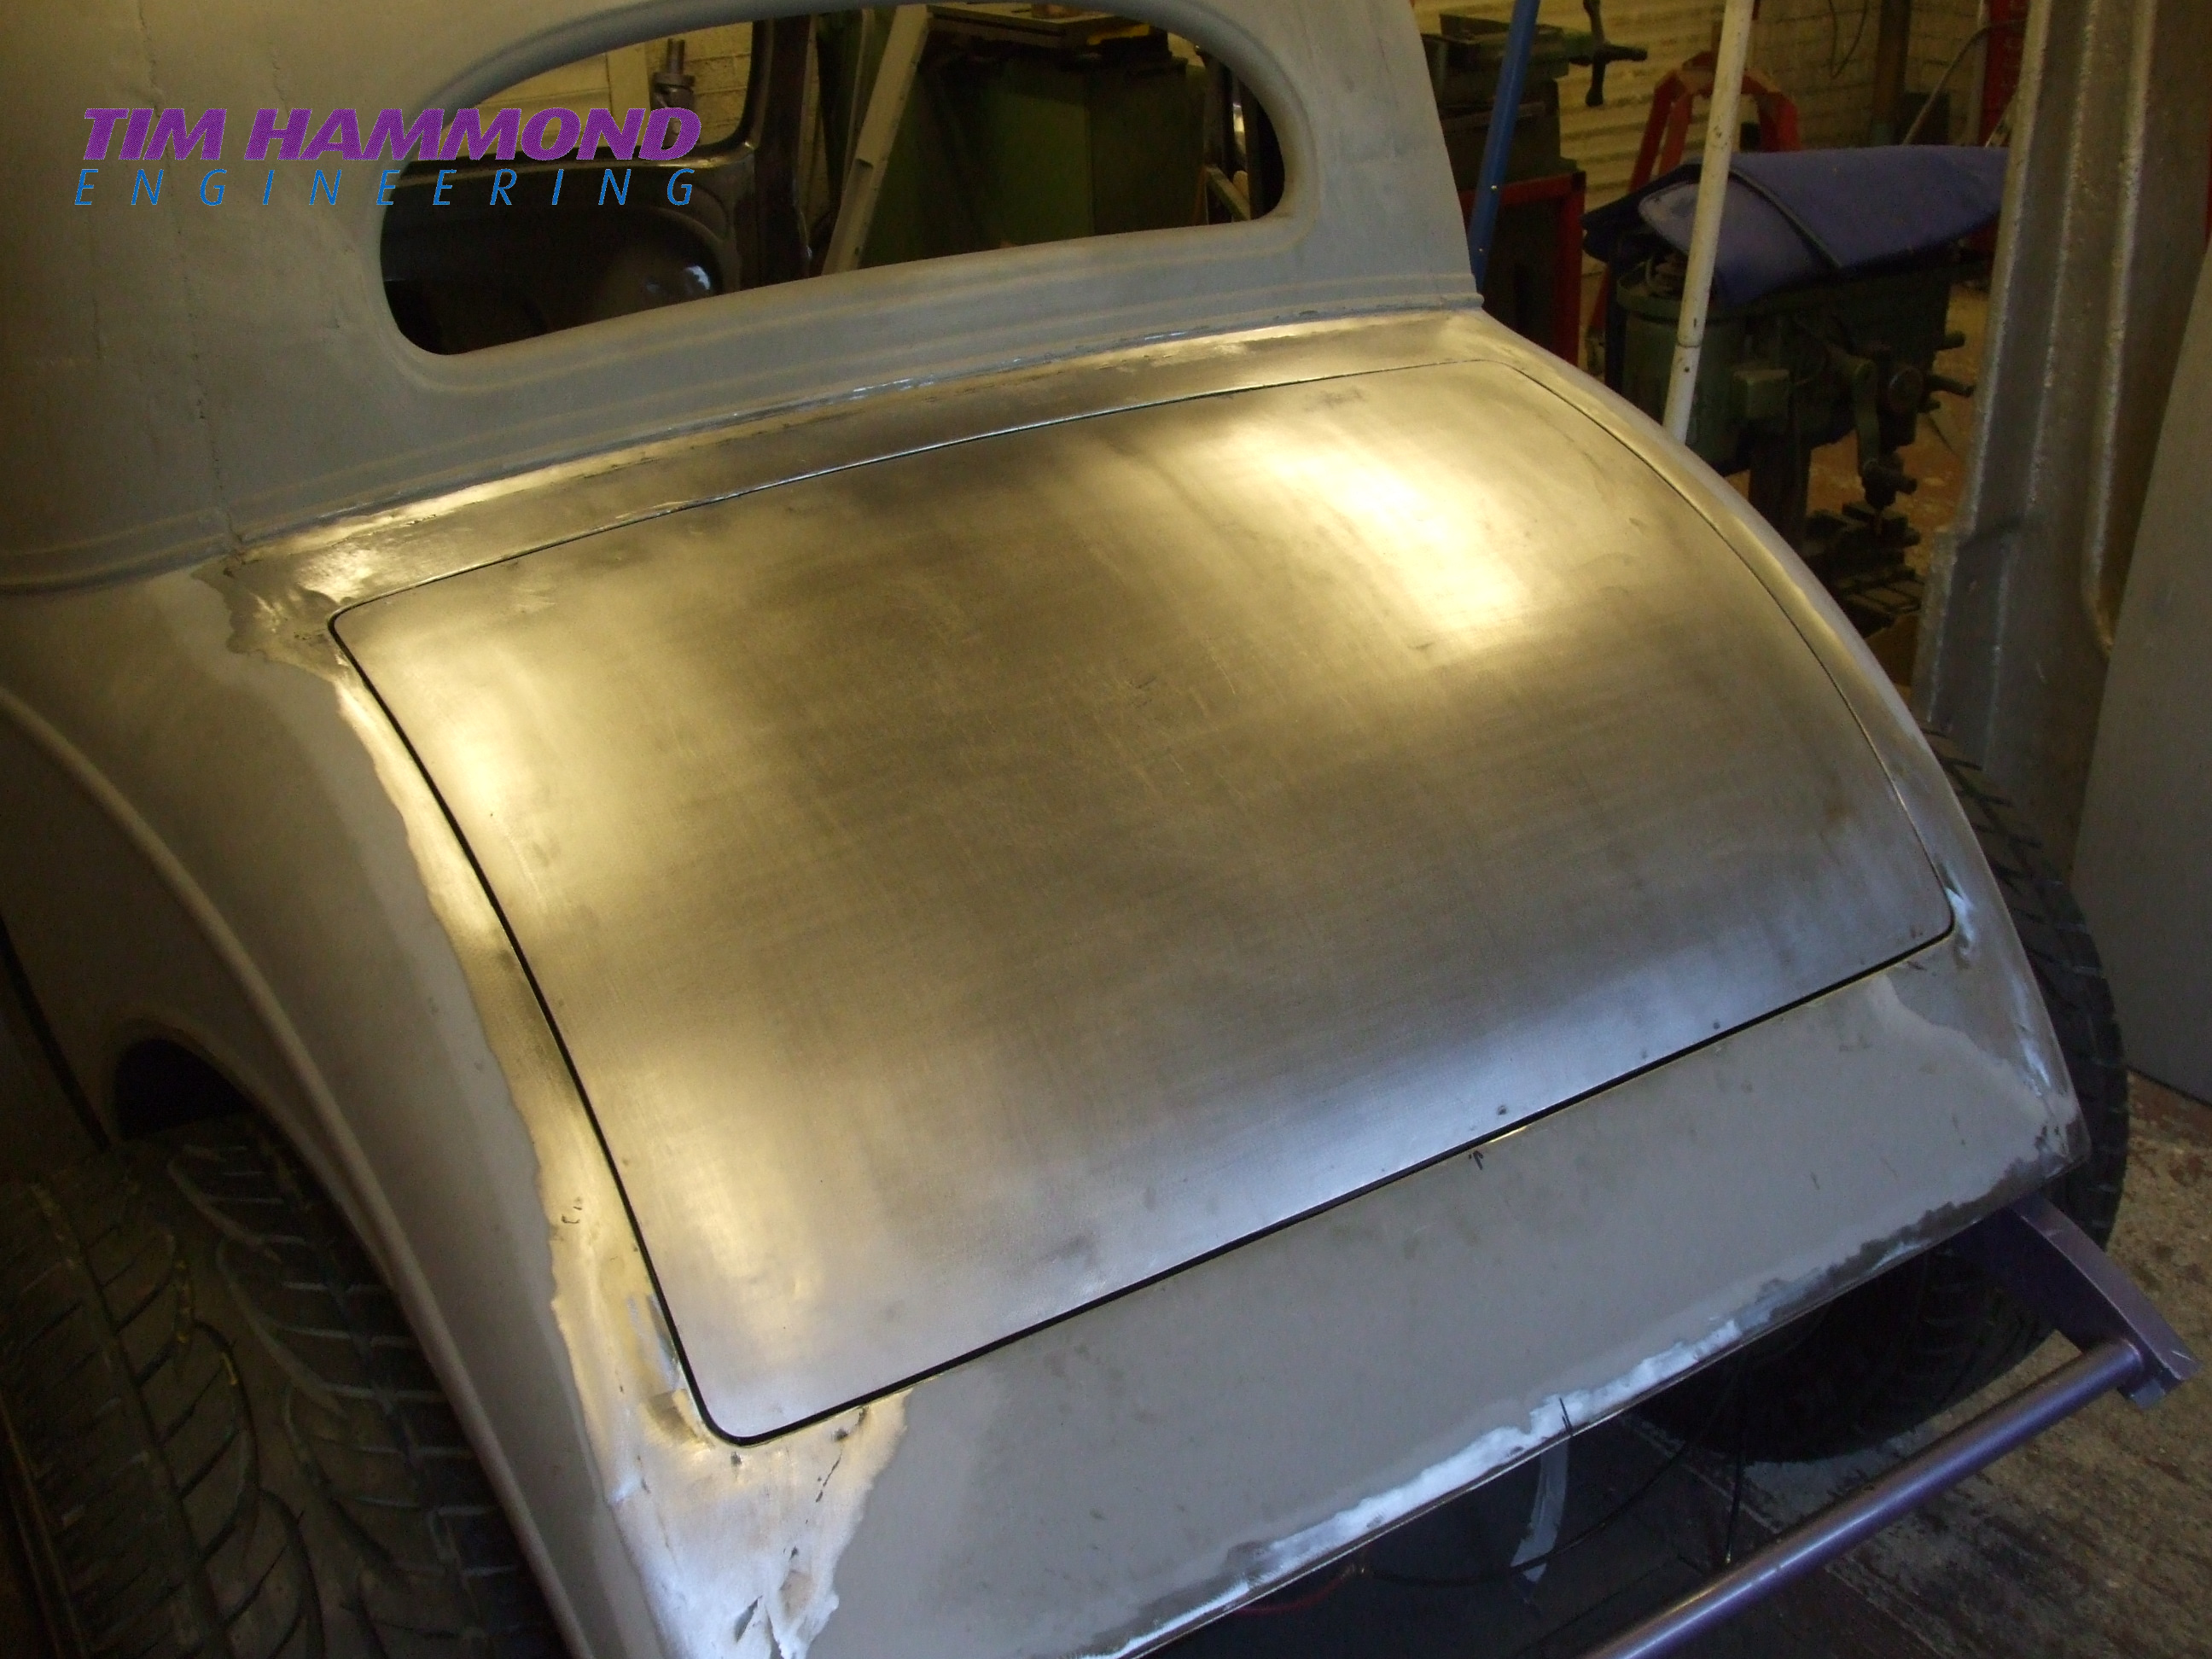
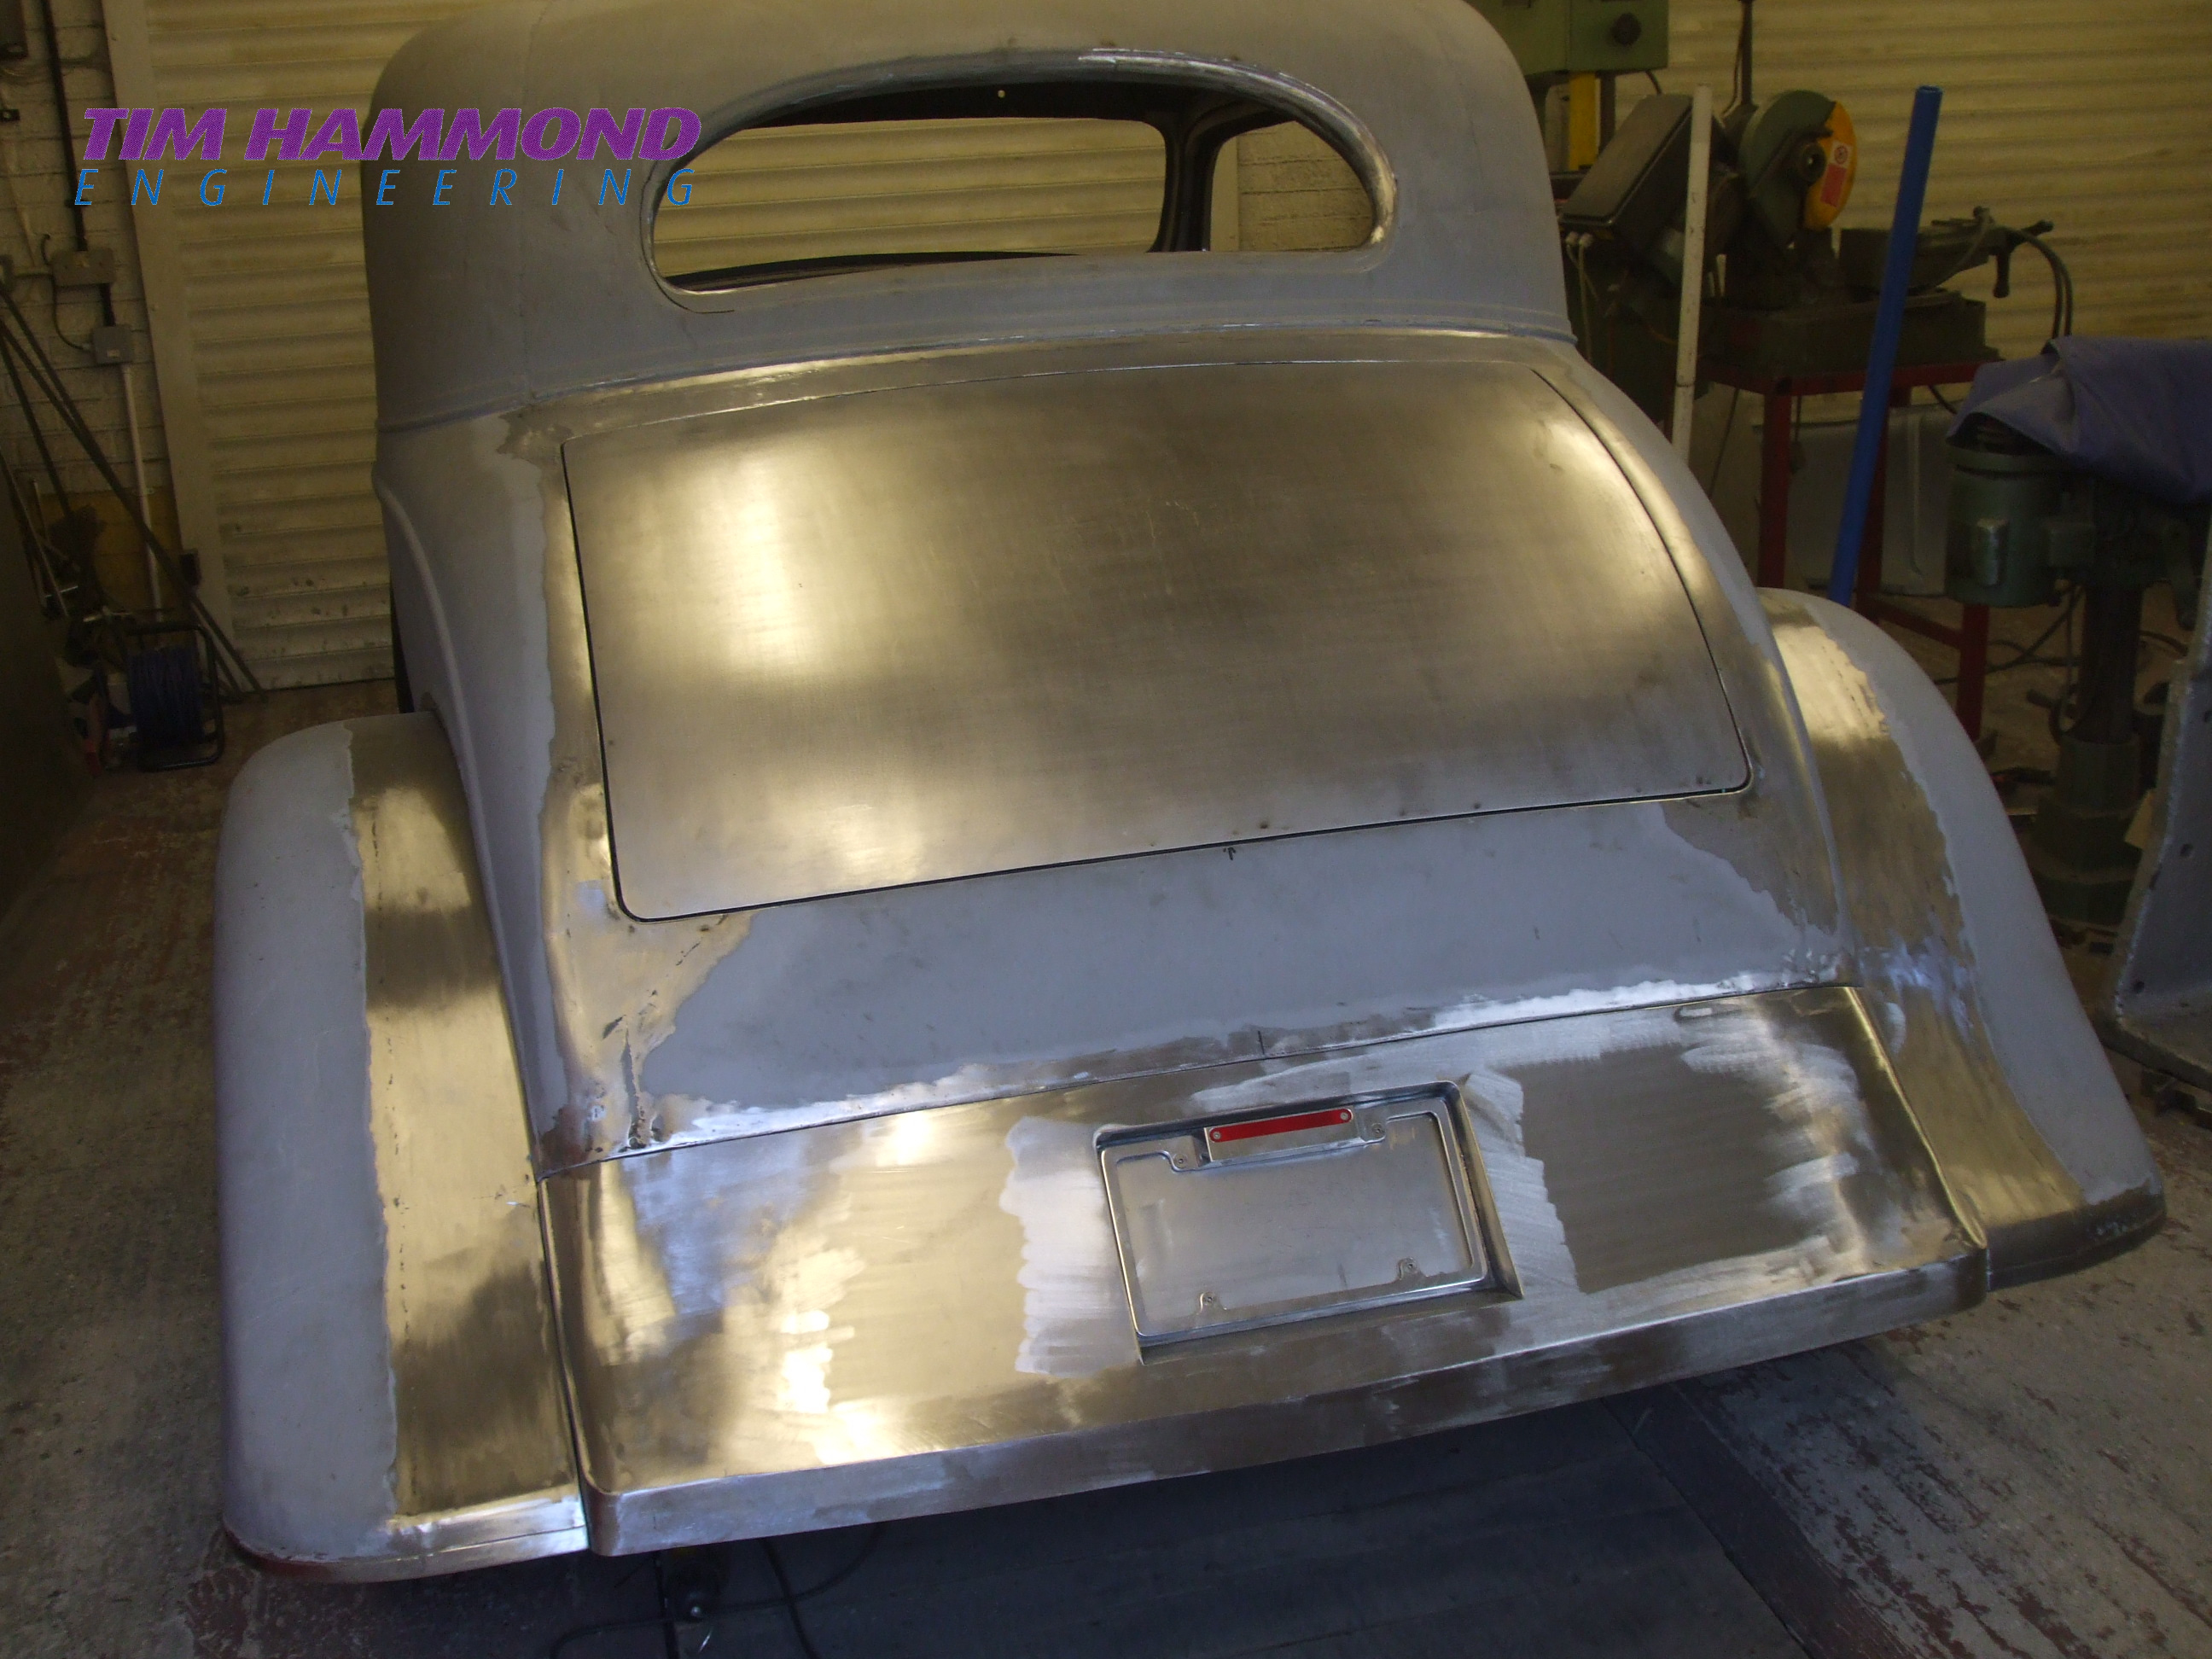
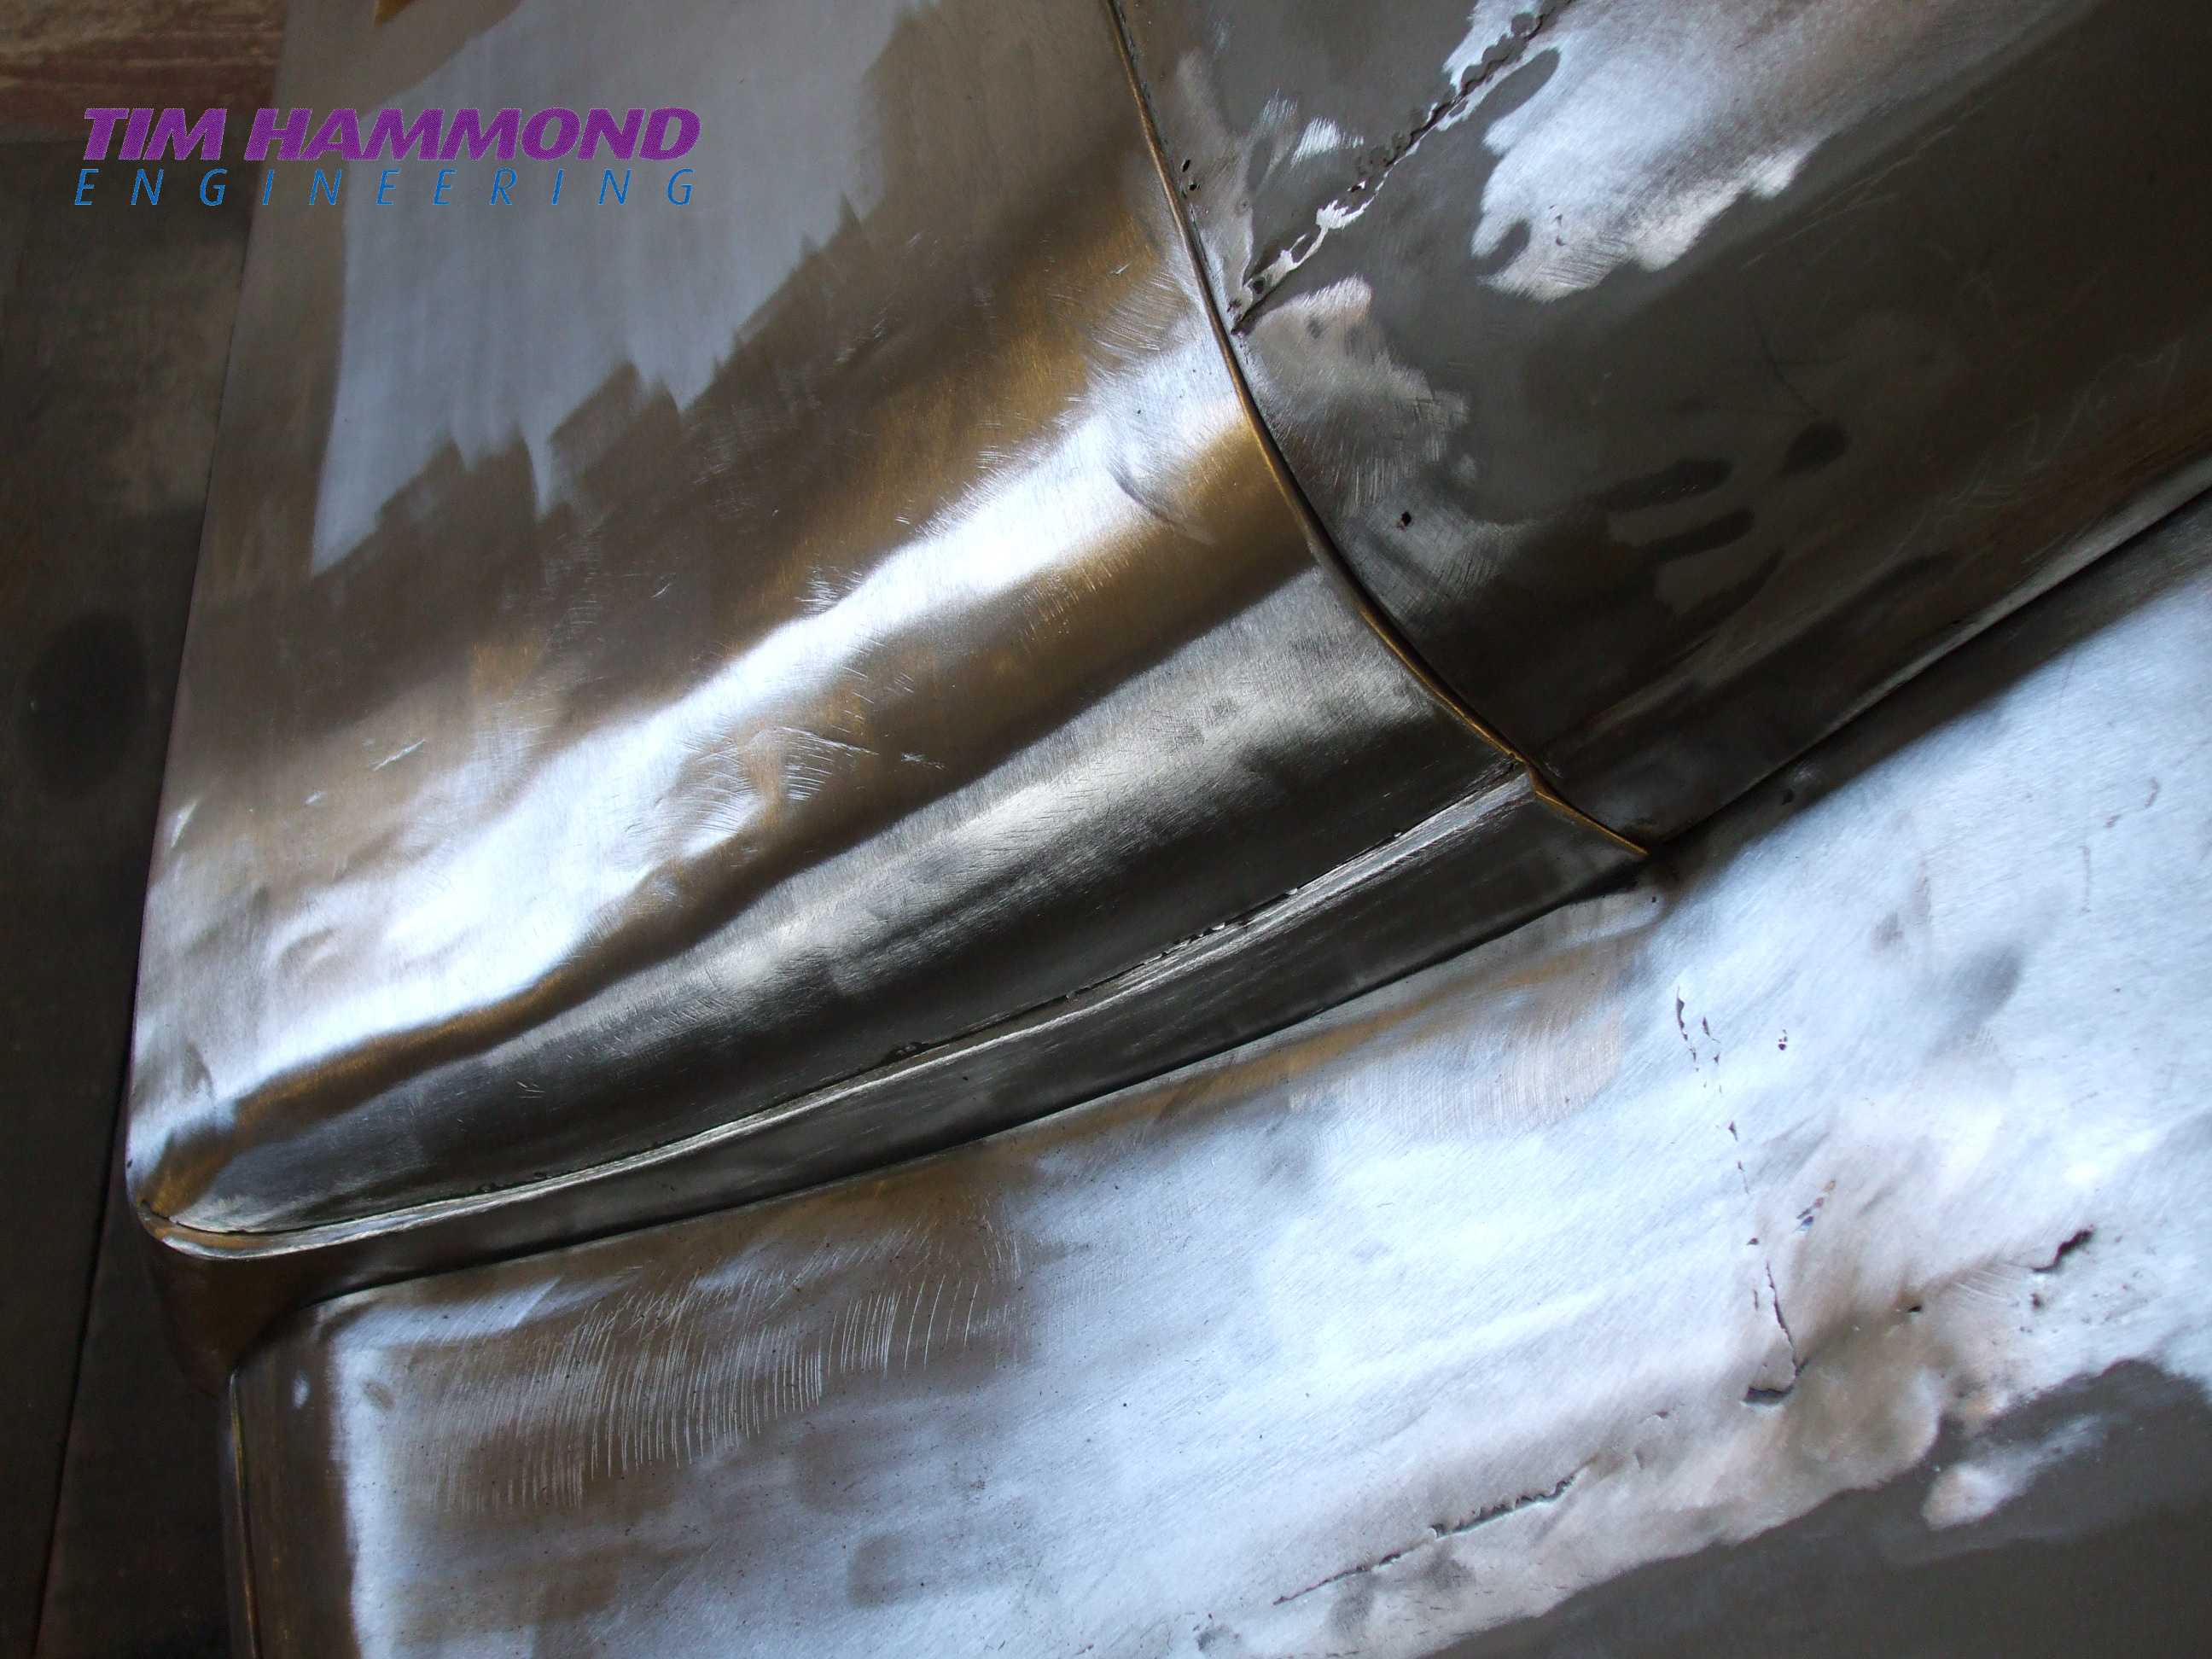
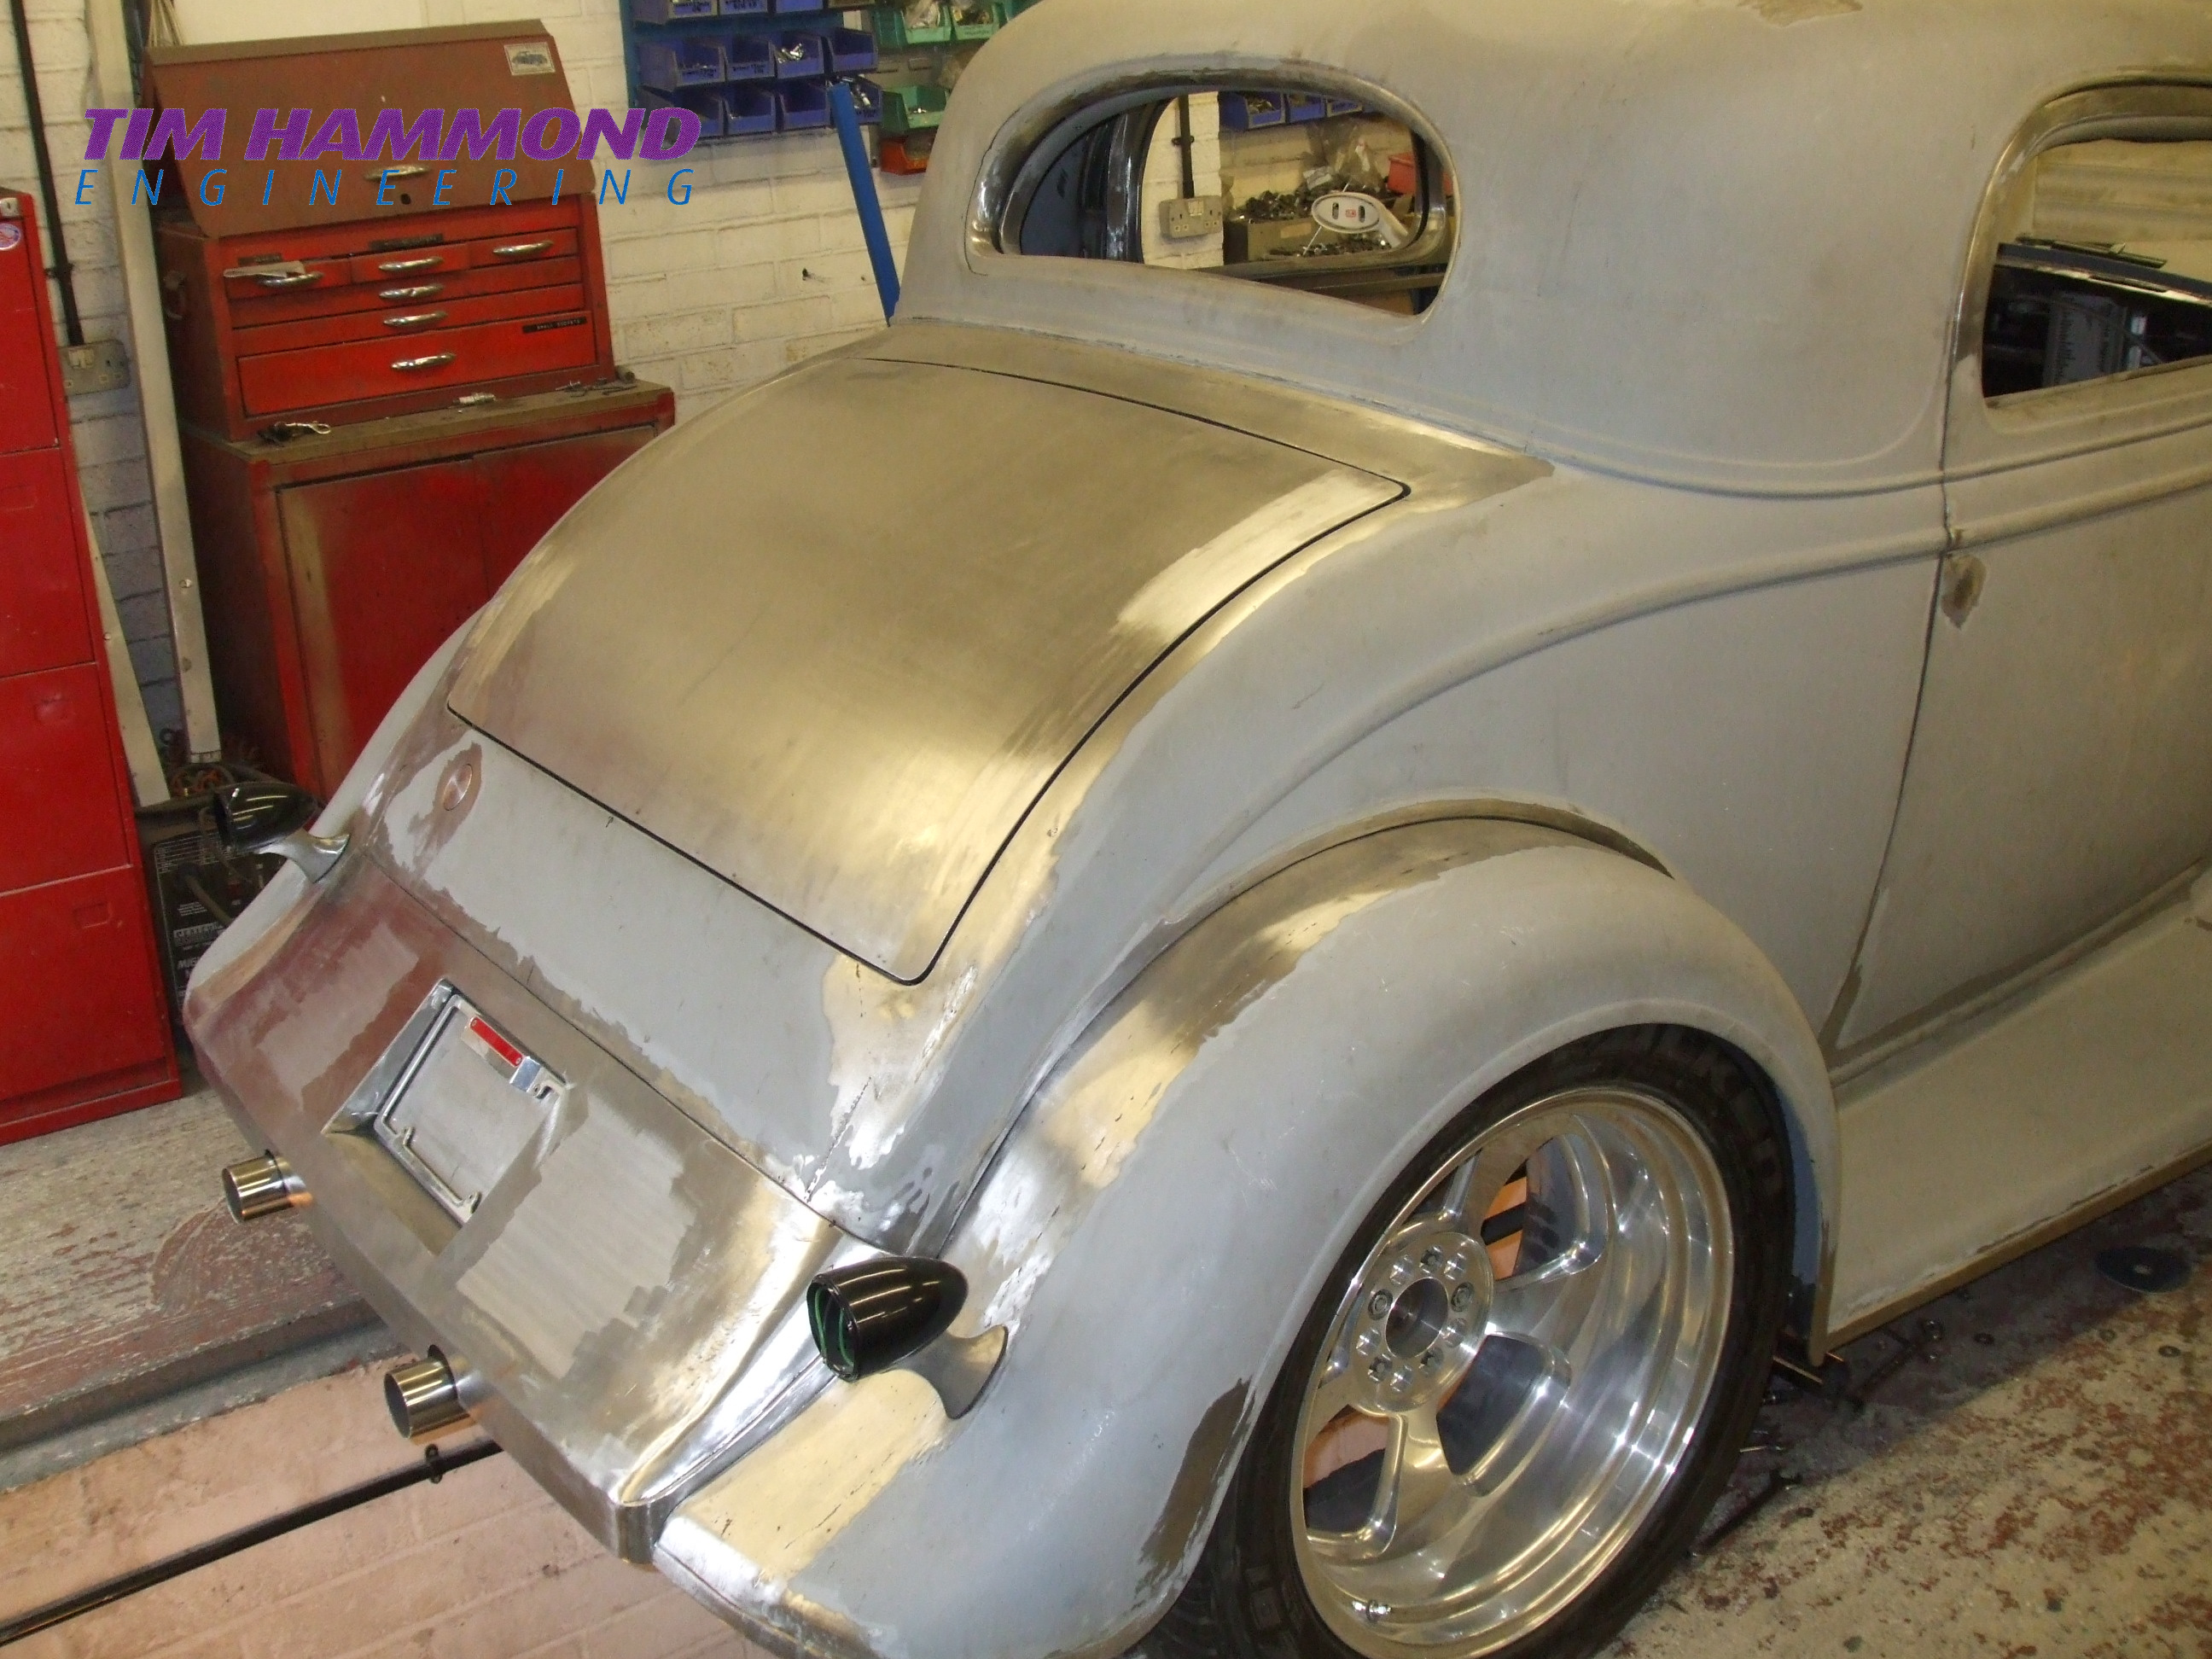
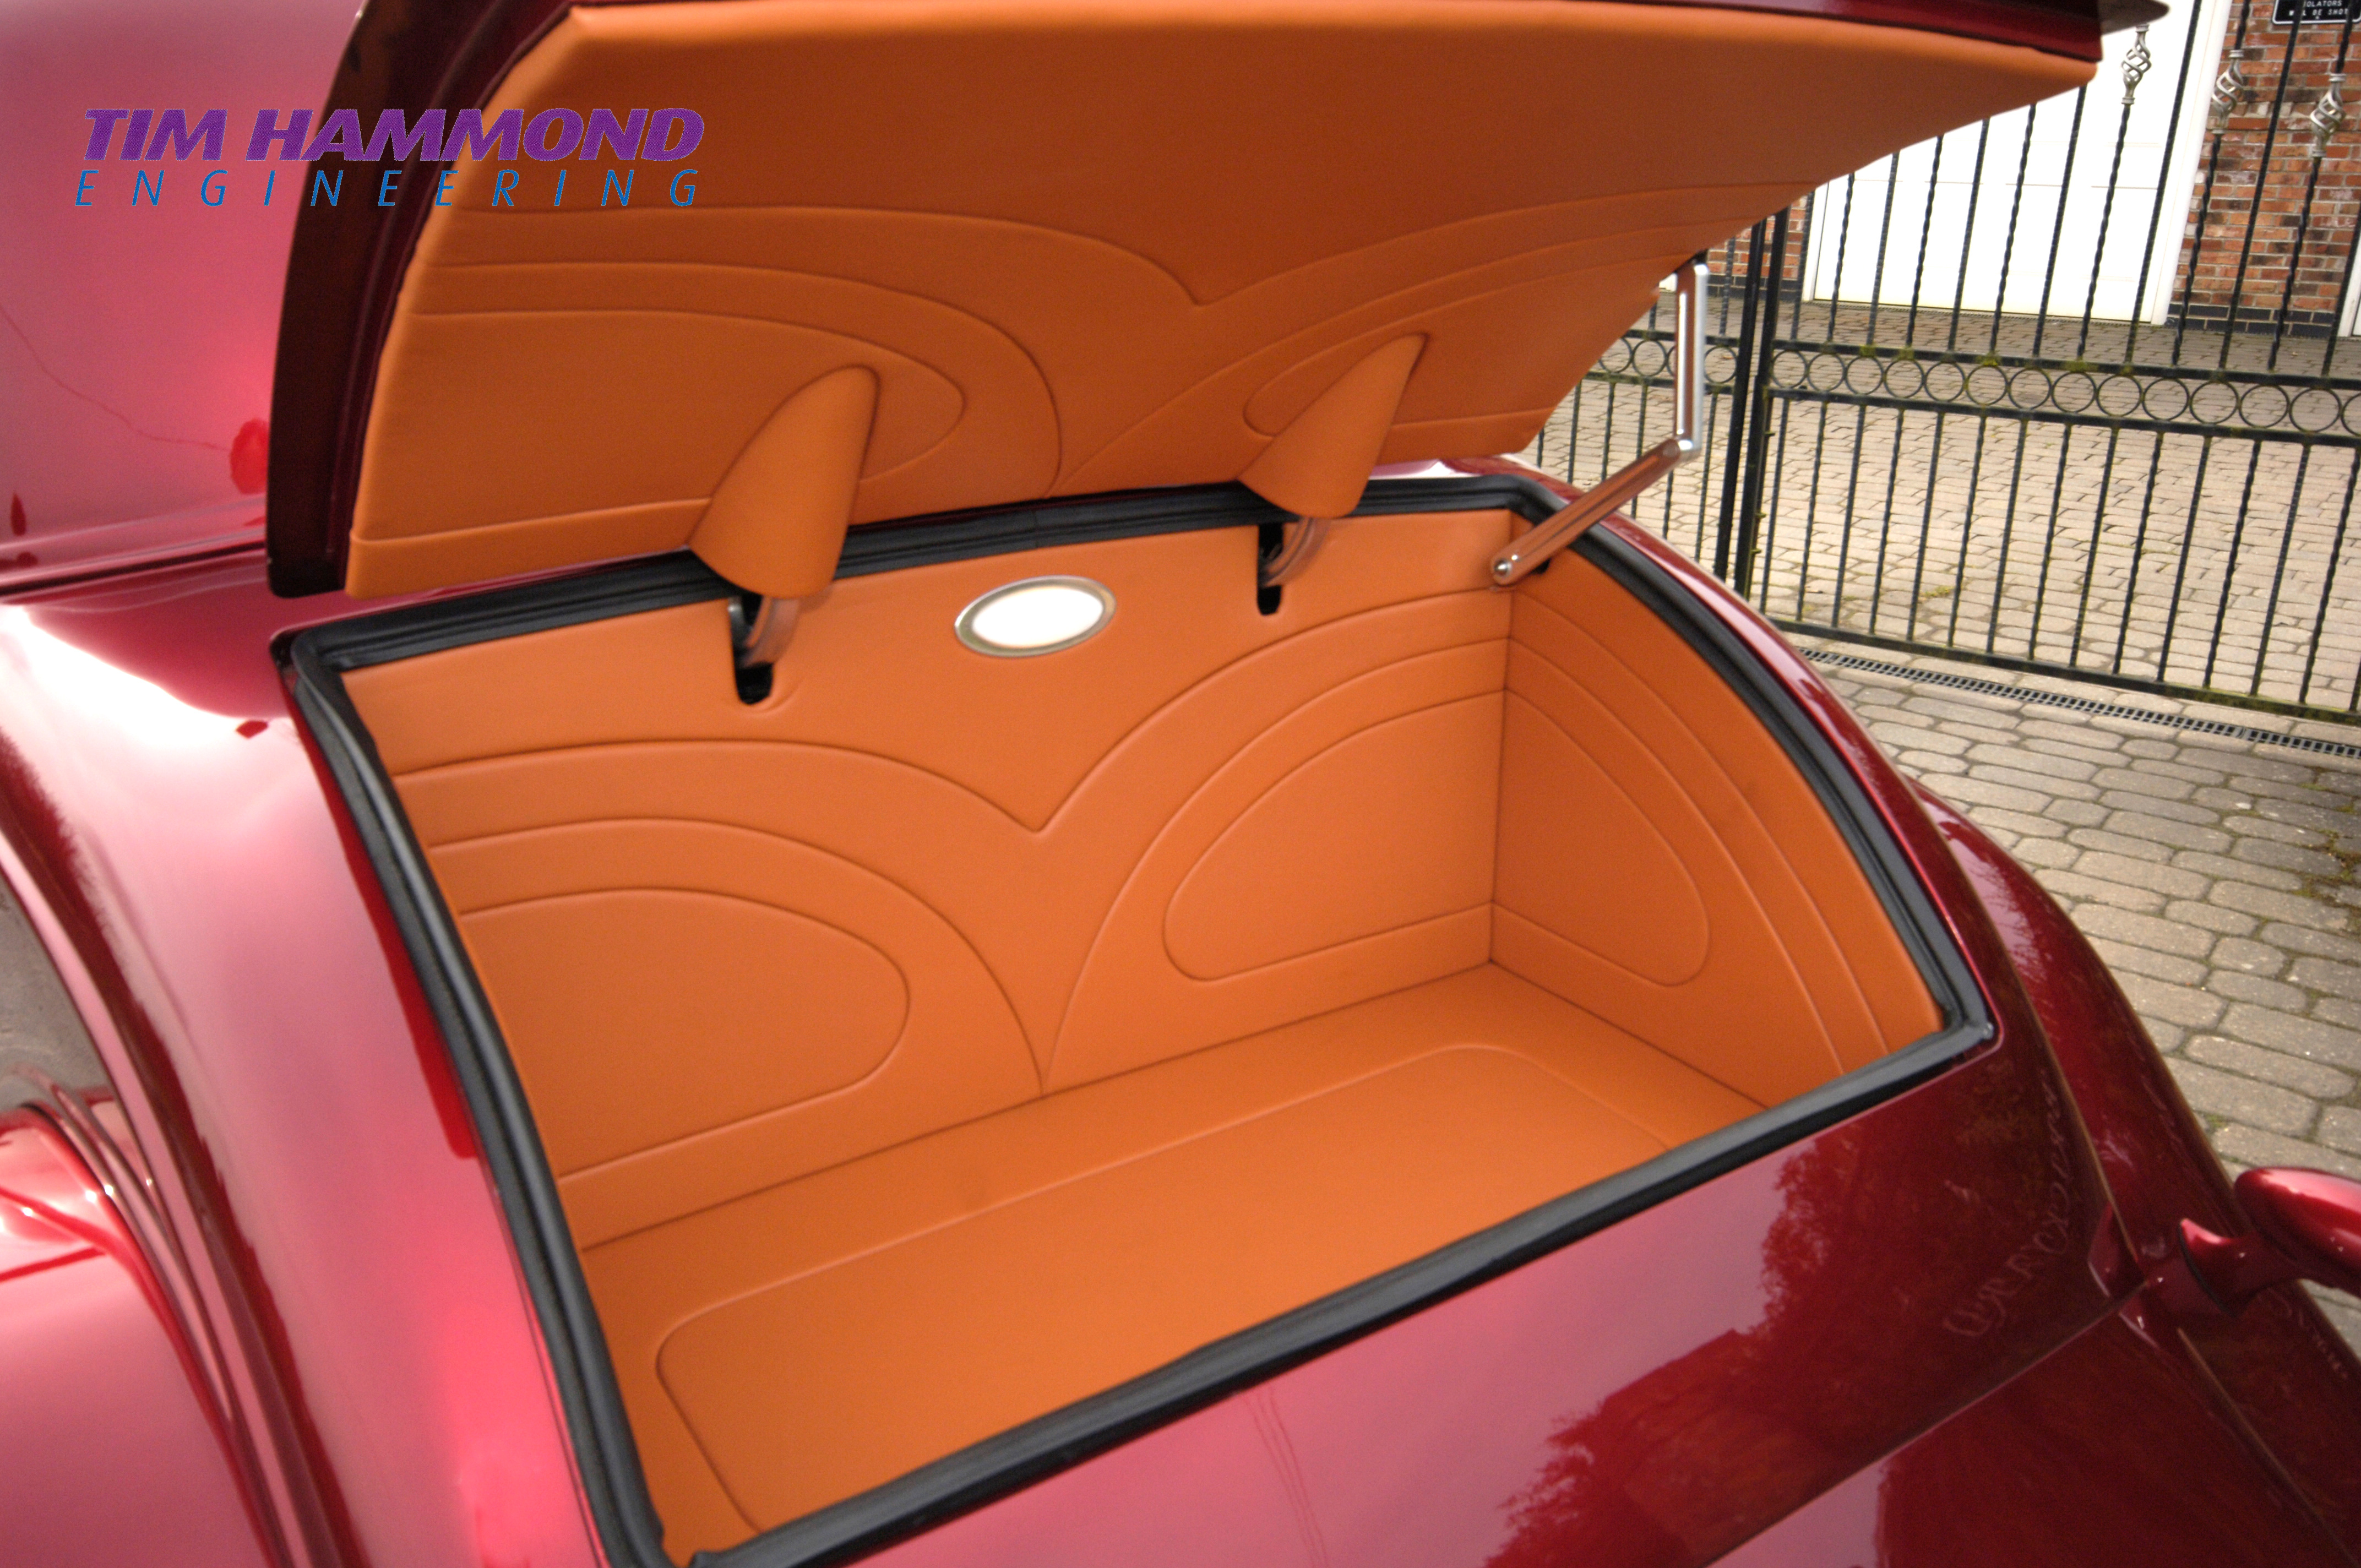
Next to be fabricated were the rear quarters and wheel tubs. With a swage incorporated in the wheel arch. We are not having a swage running through the belt line because we planned to use chromed brass D section to make the car appear even lower. Stainless steel polished trunk hinges were fabricated and fitted along with a Hotronics actuator mounted on the passenger side for a power lift trunk lid. The driver’s side rear quarter also incorporated a concealed fabricated fuel door.
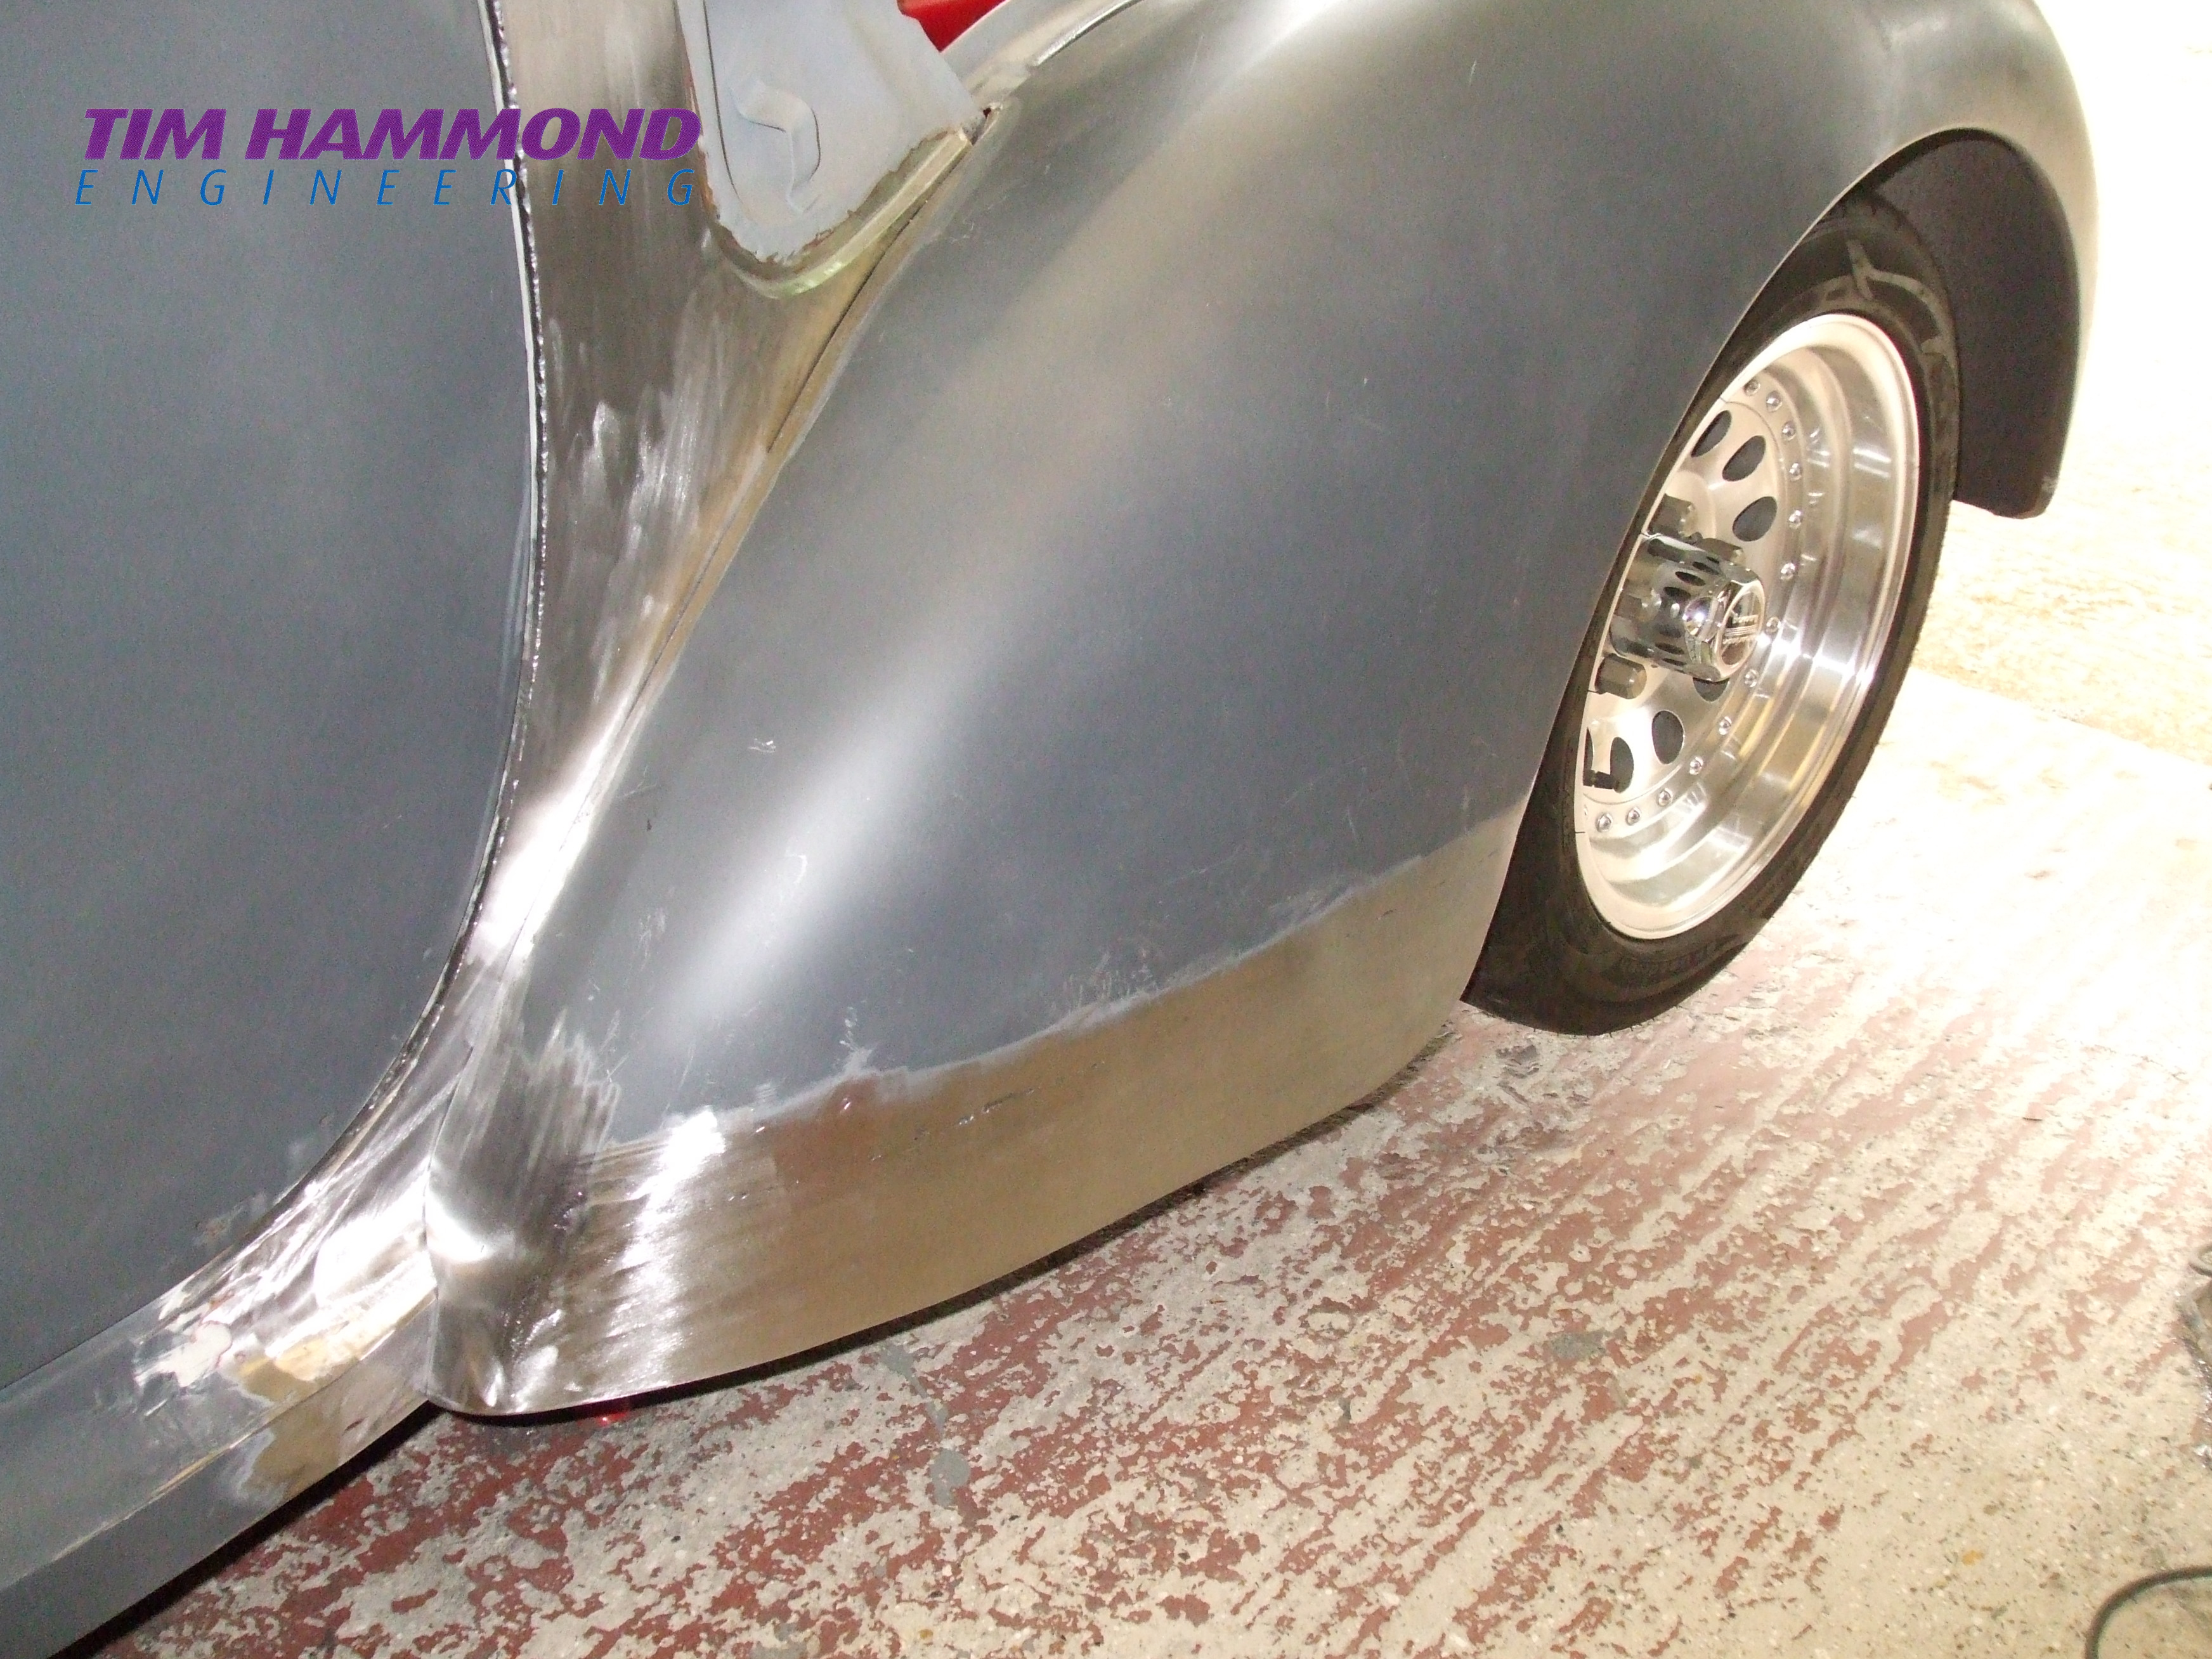
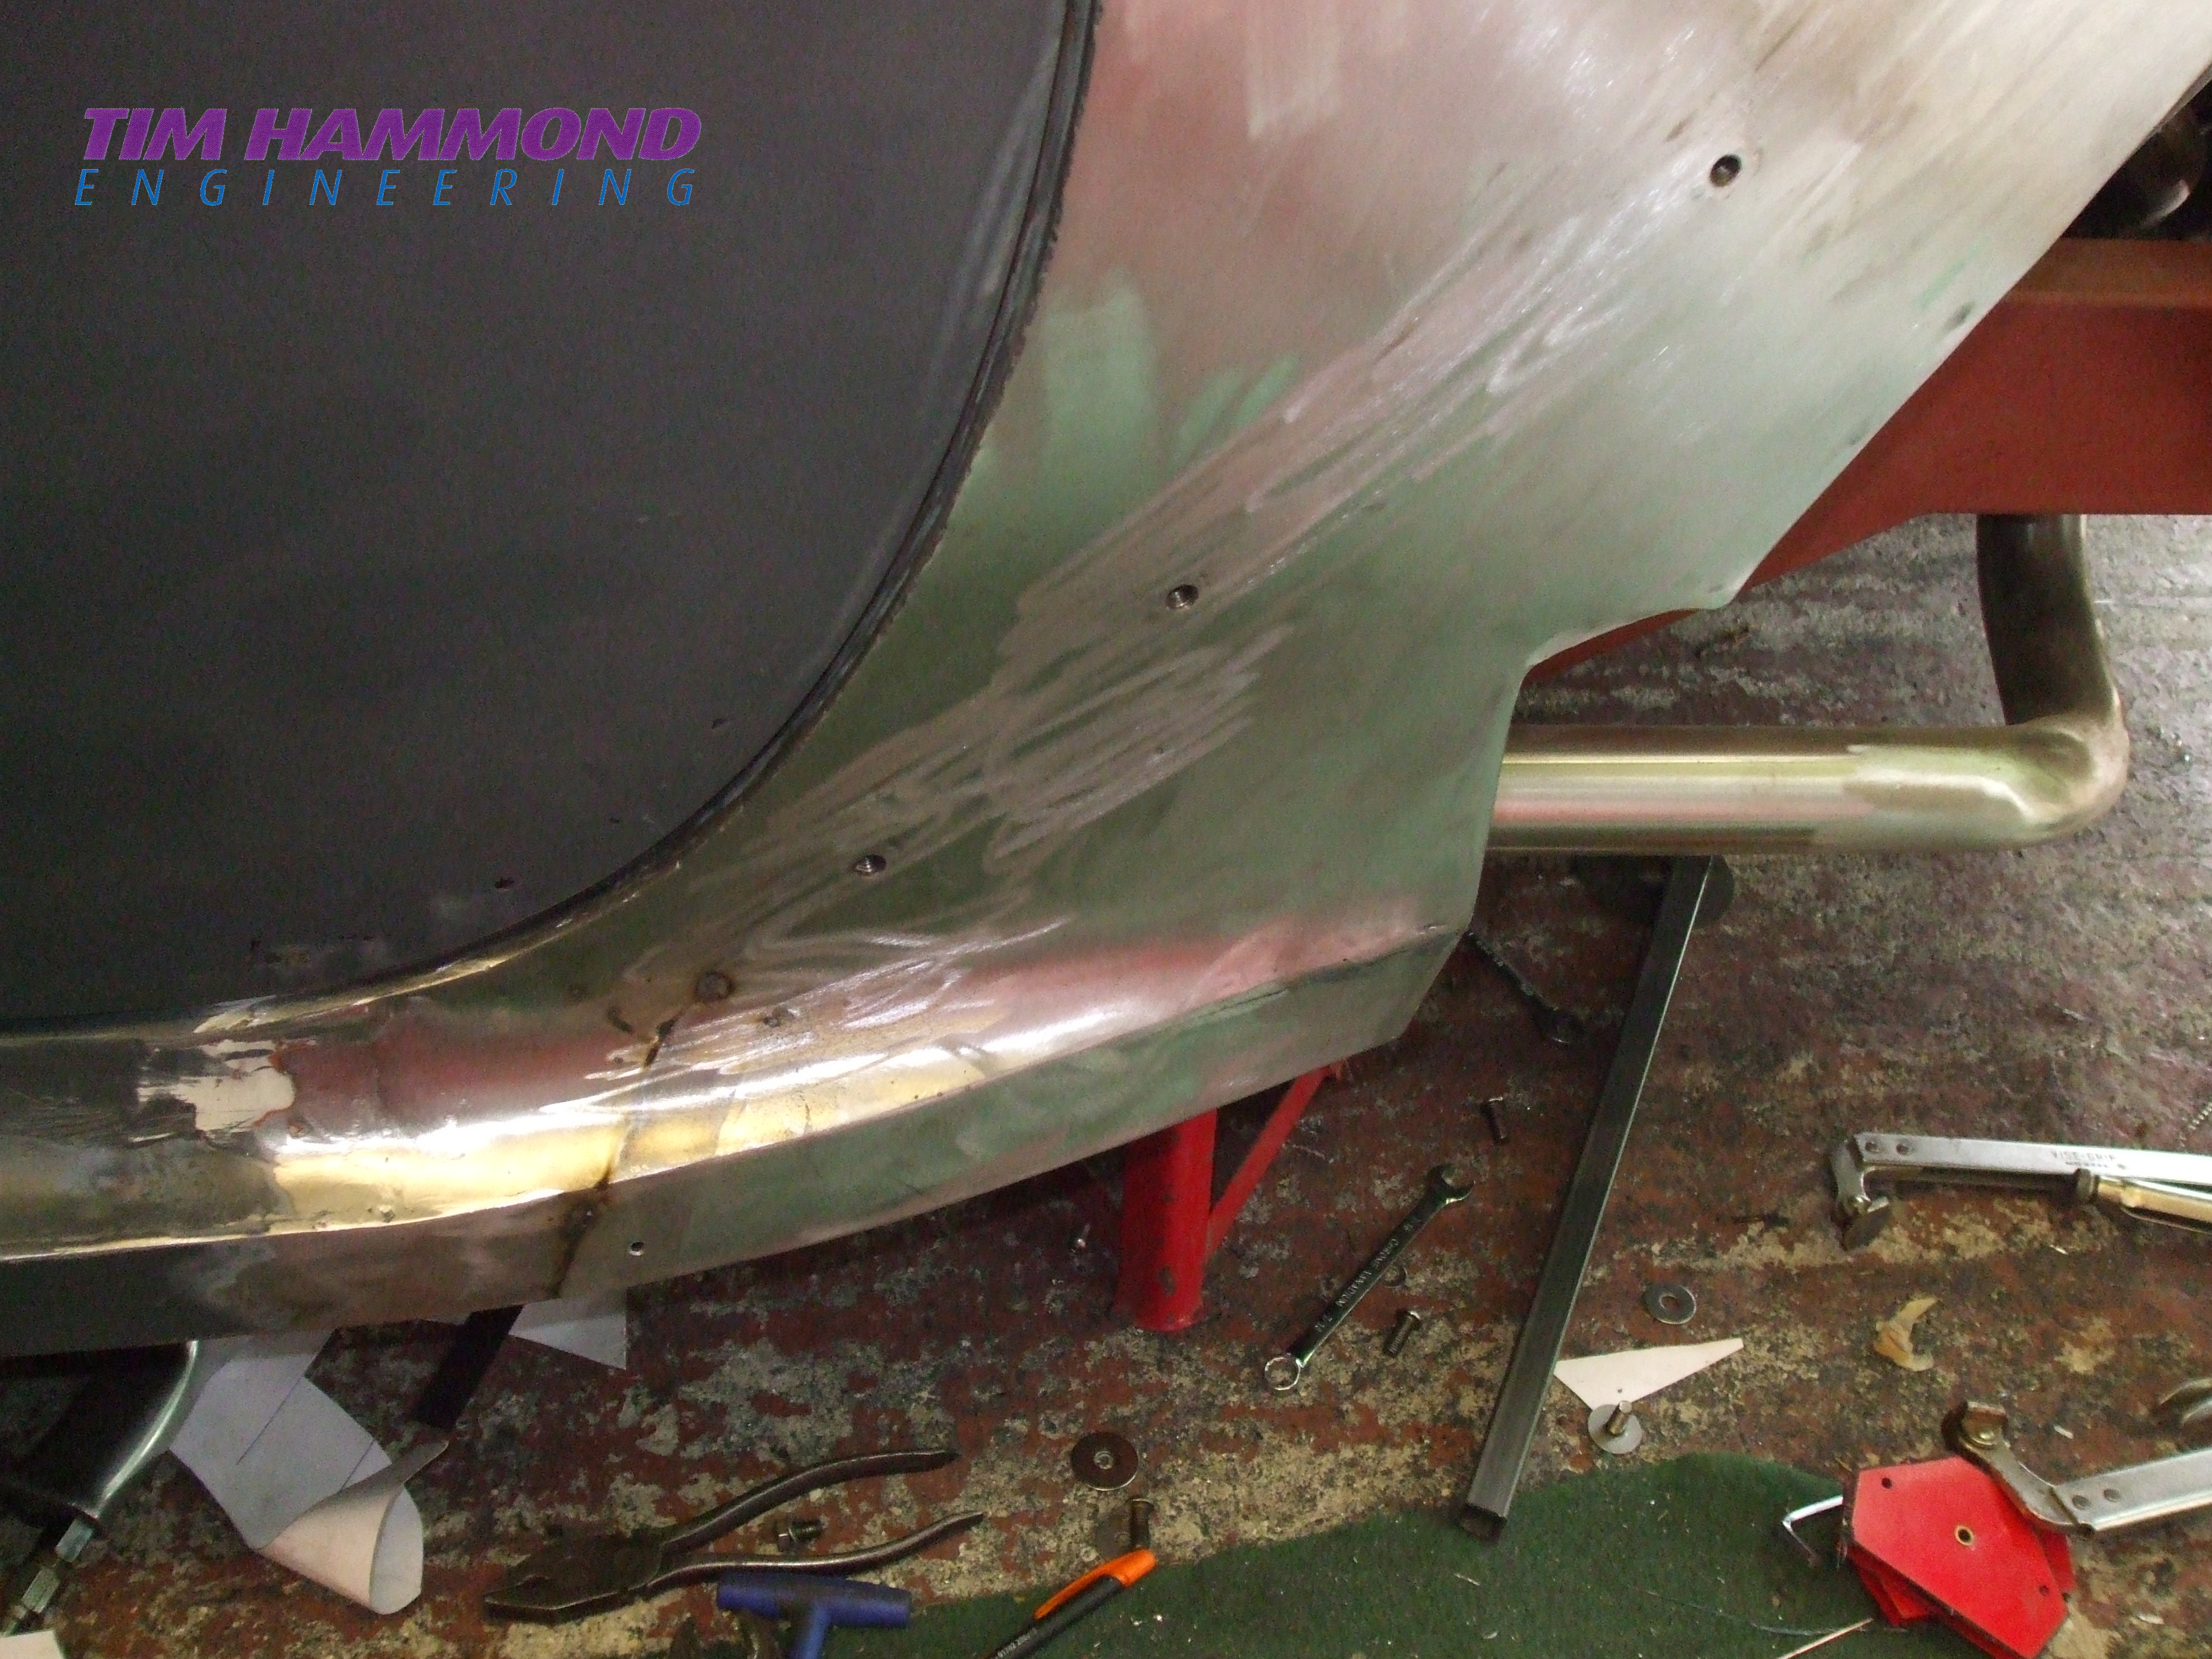
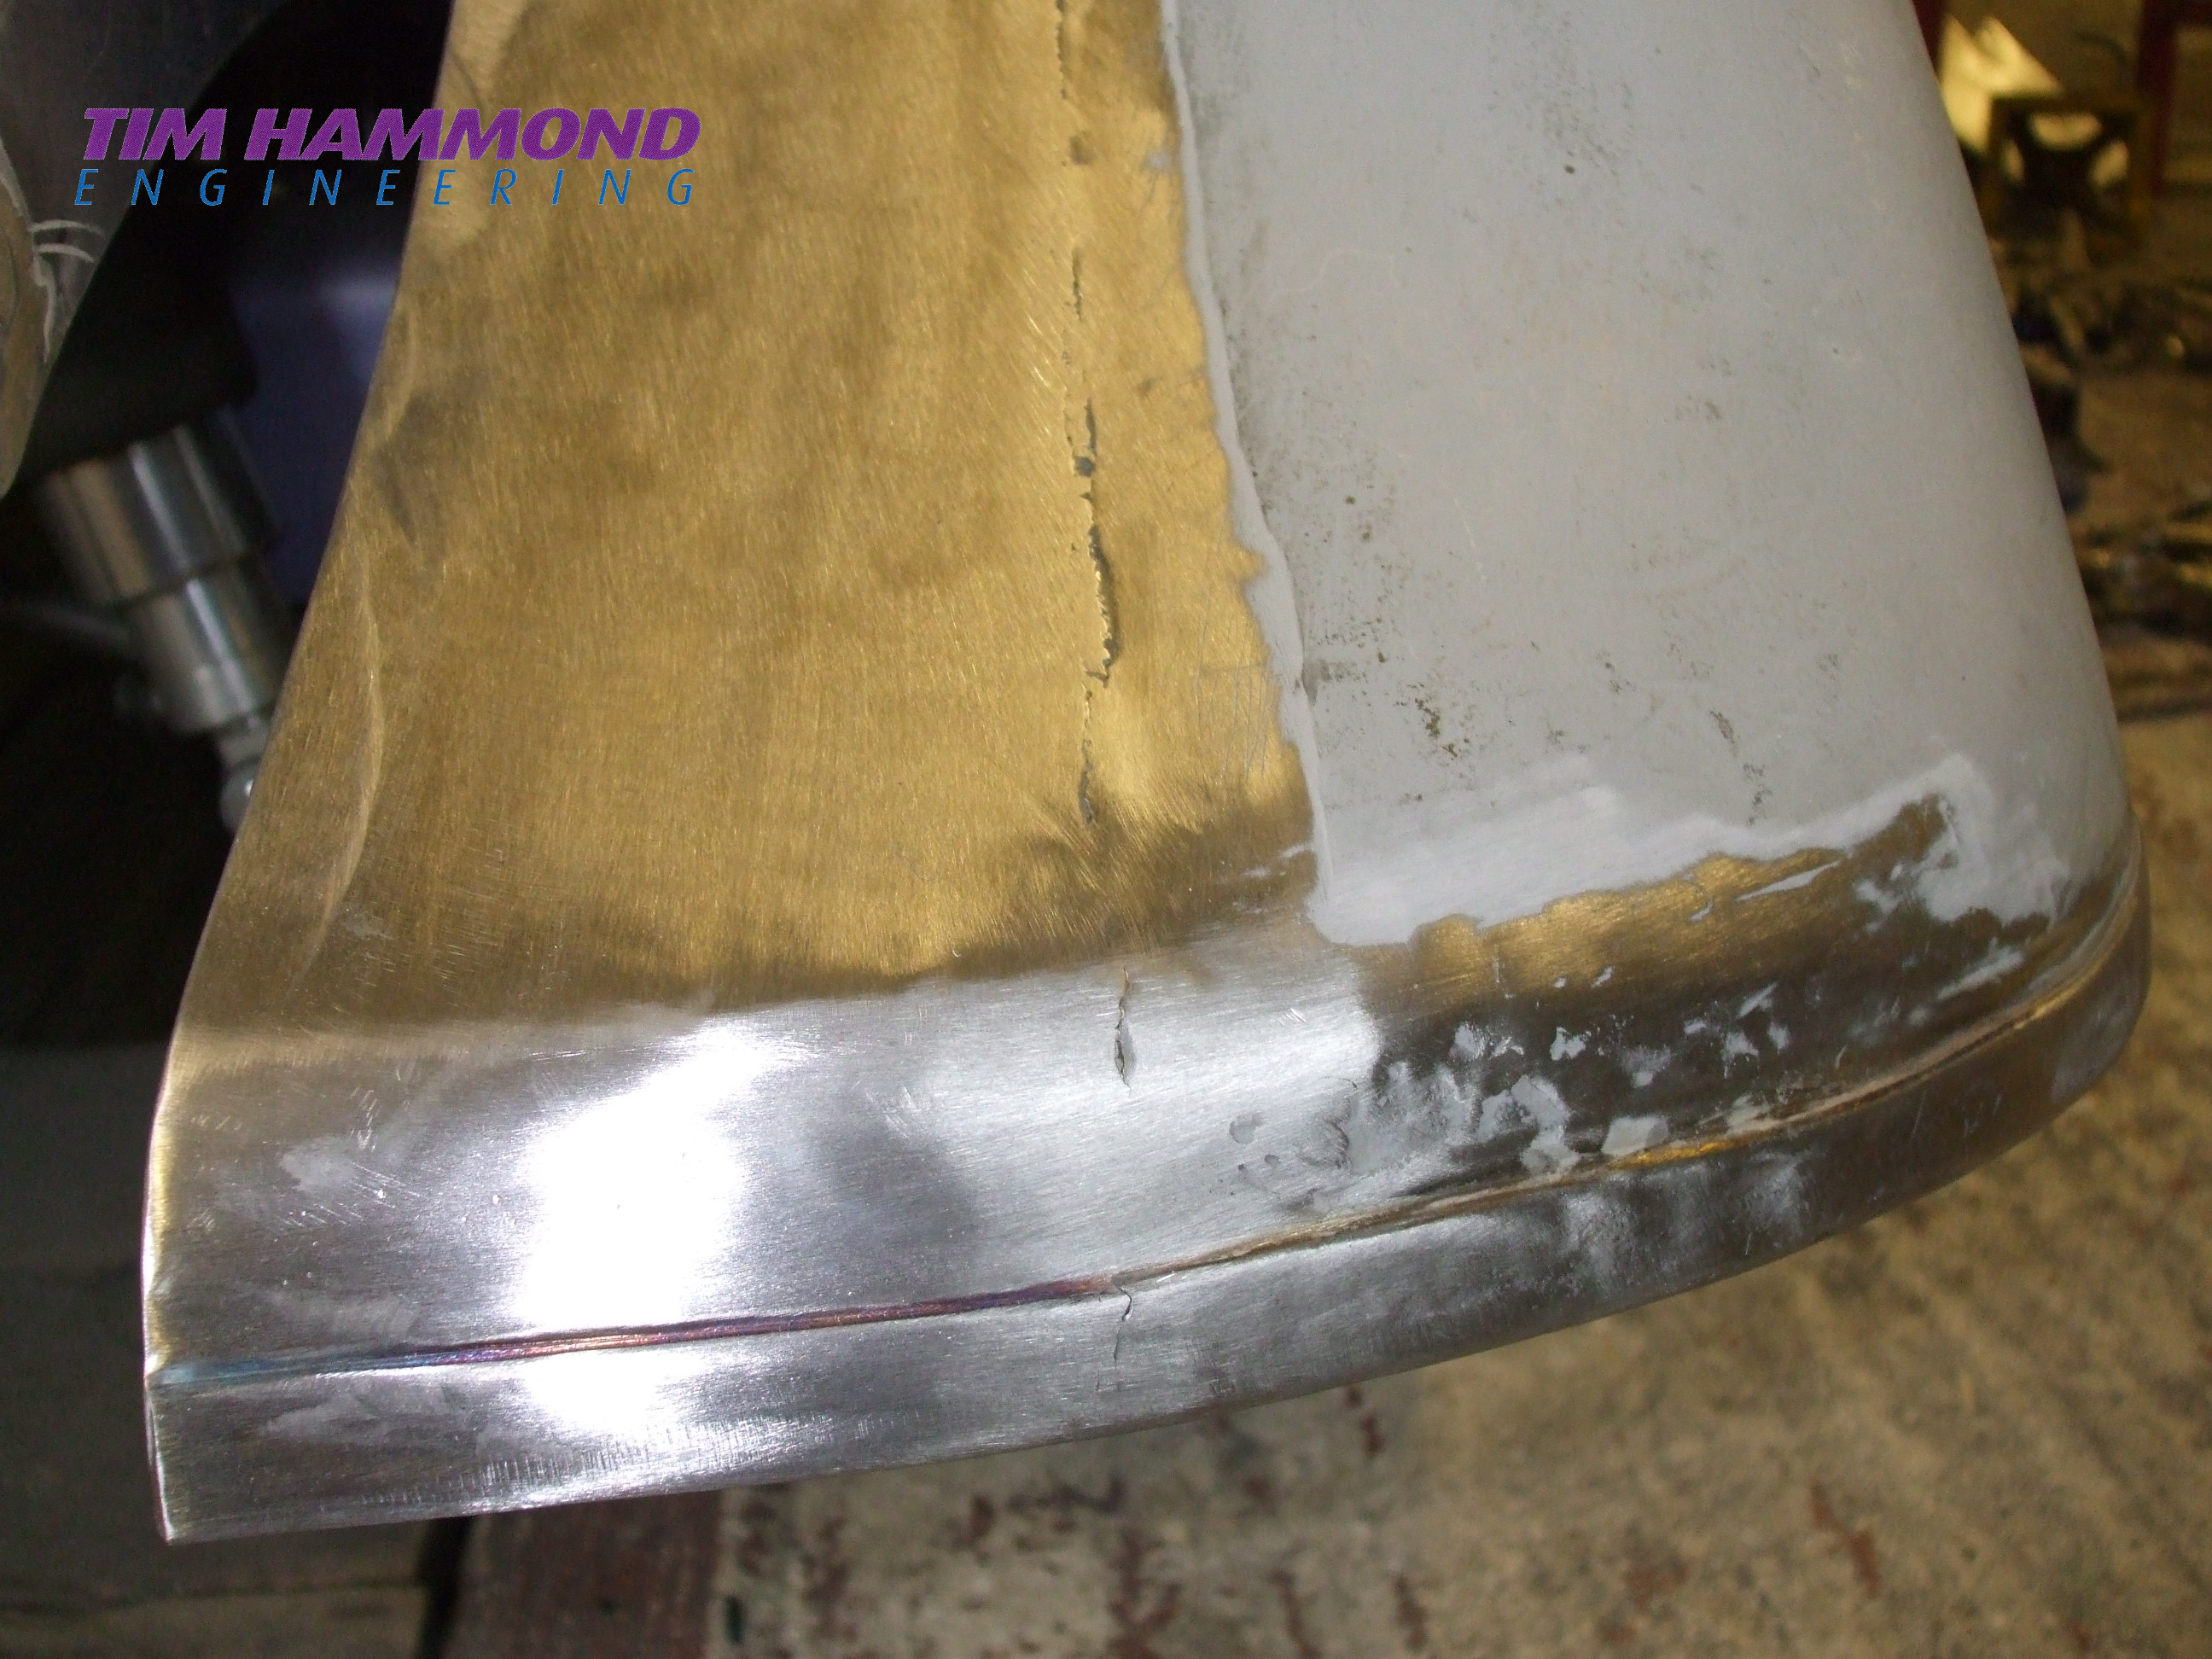
The construction of the rear quarters, trunk, doors, bonnet, bonnet sides, fenders and running boards were all constructed from 18 gauge steel. Rolled and shaped using an English Wheel, shrinker stretcher and wired returns on the fenders and running boards.
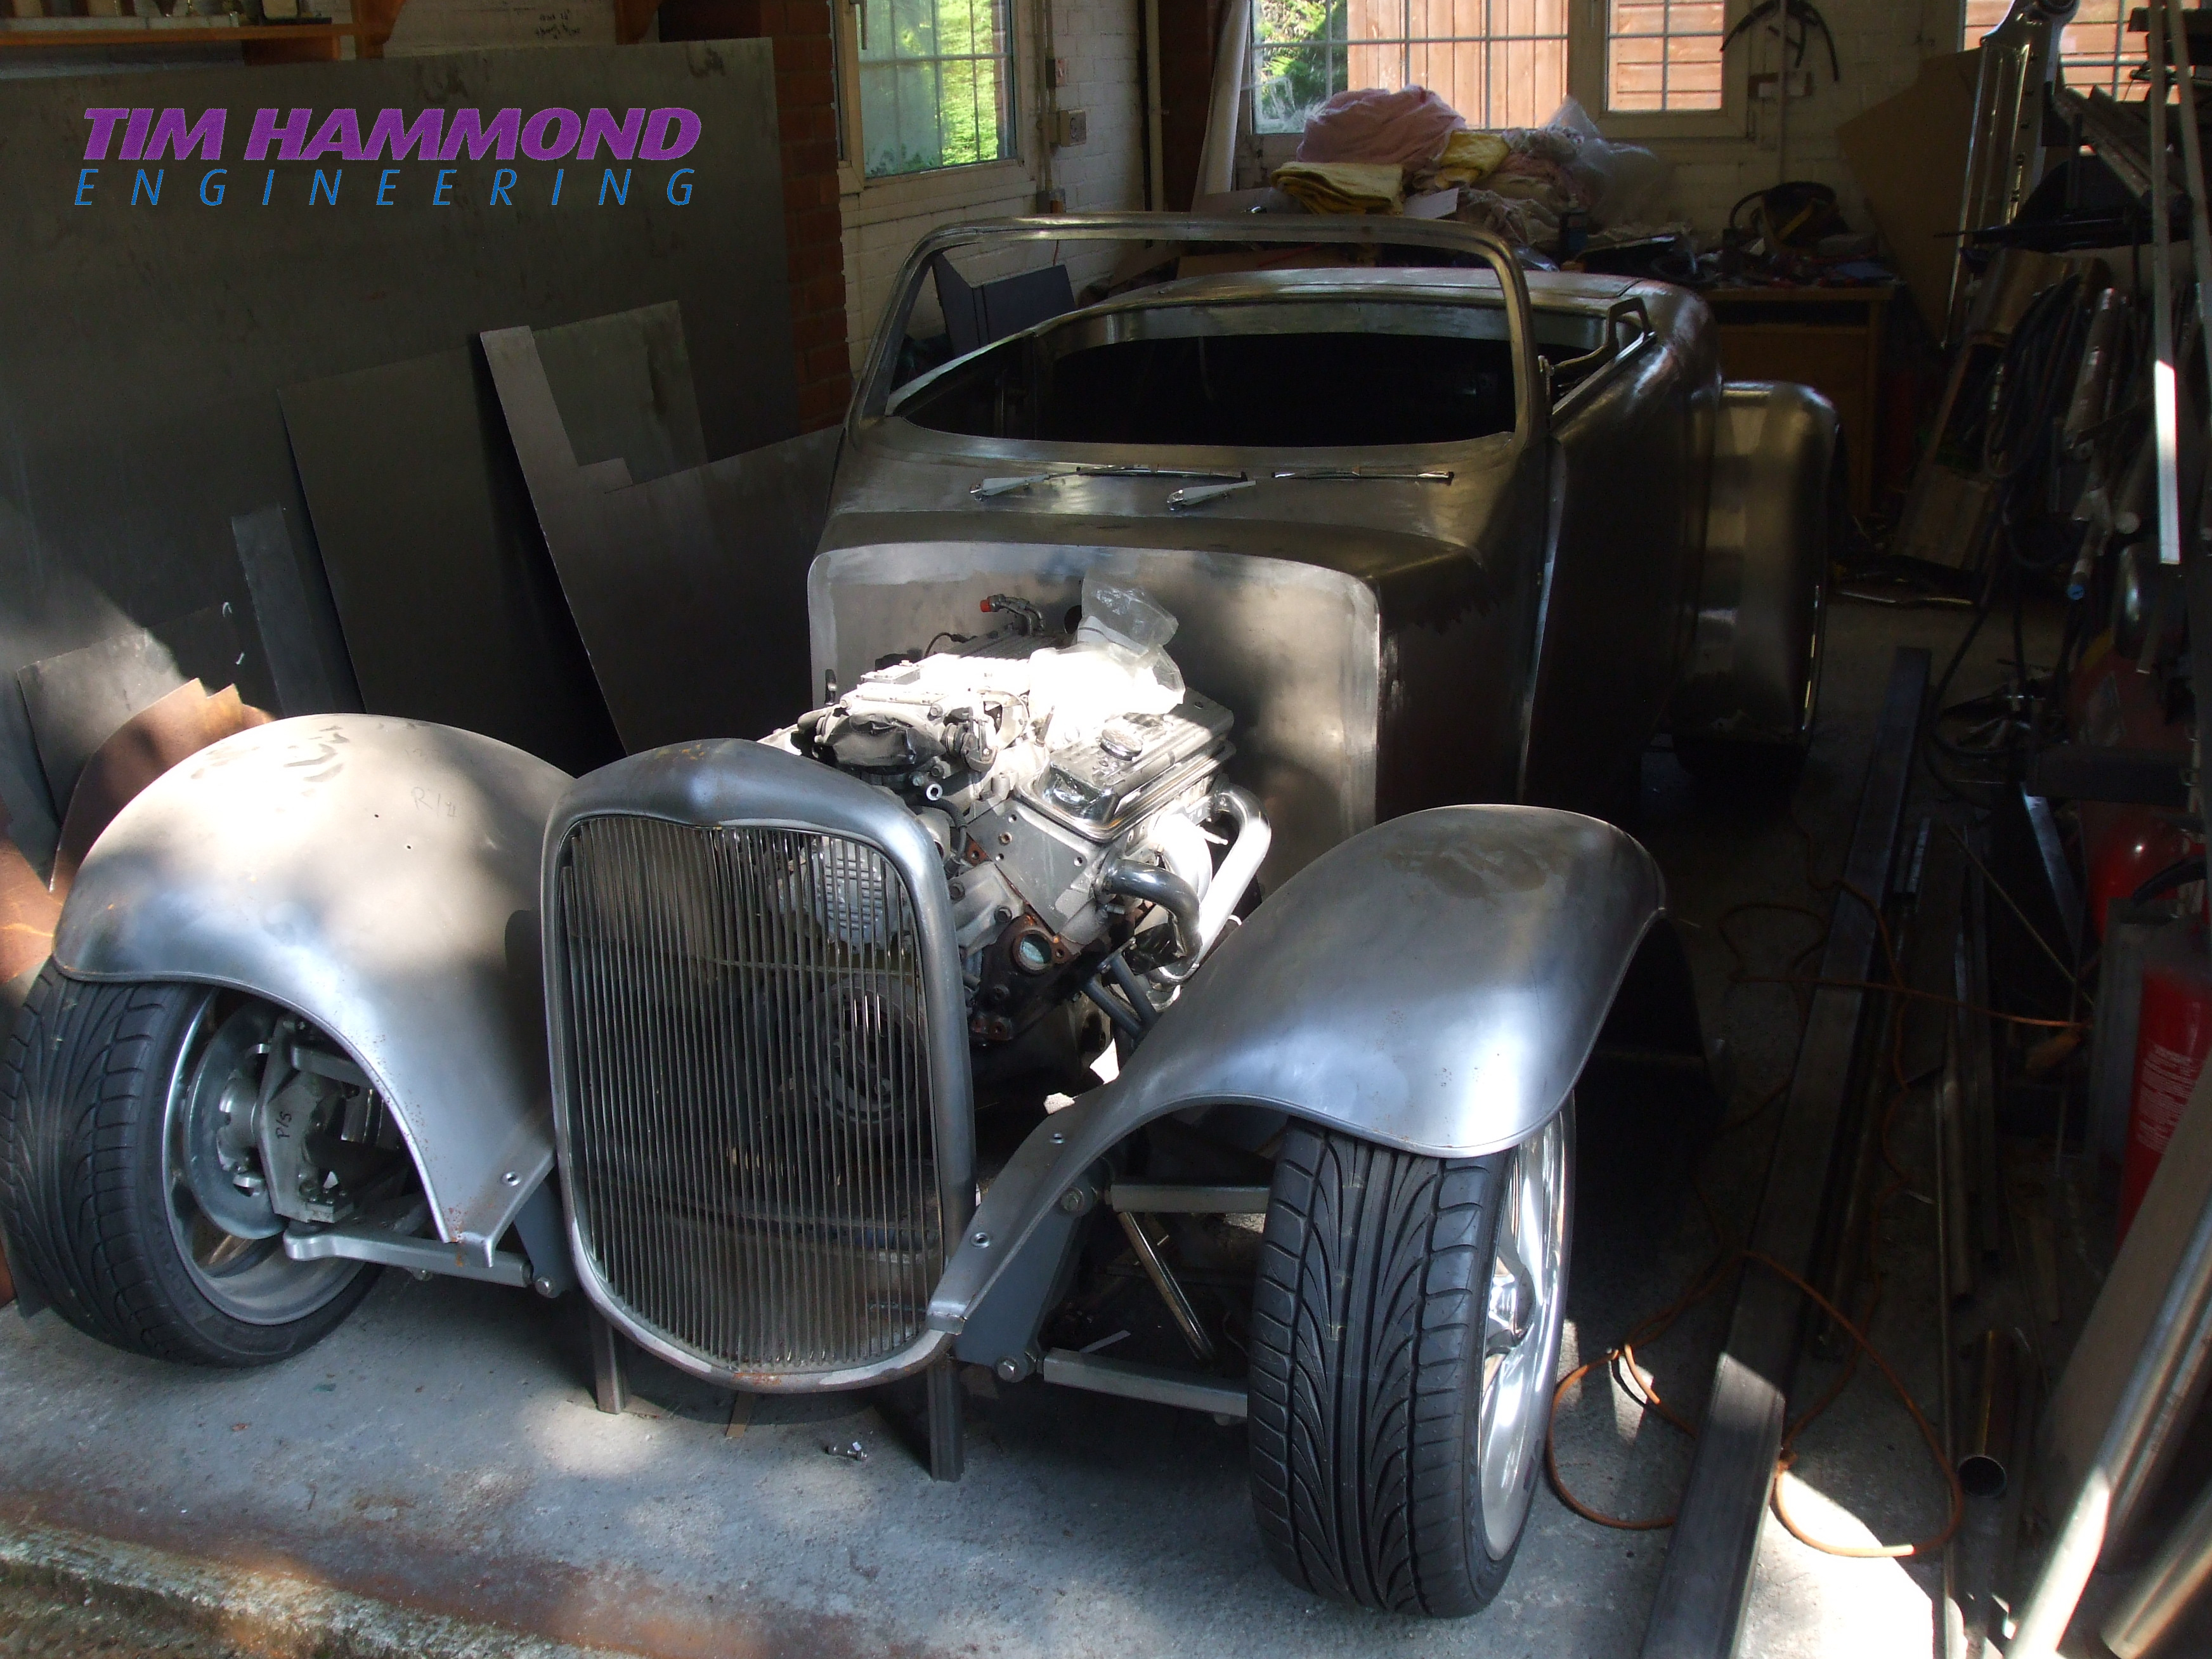
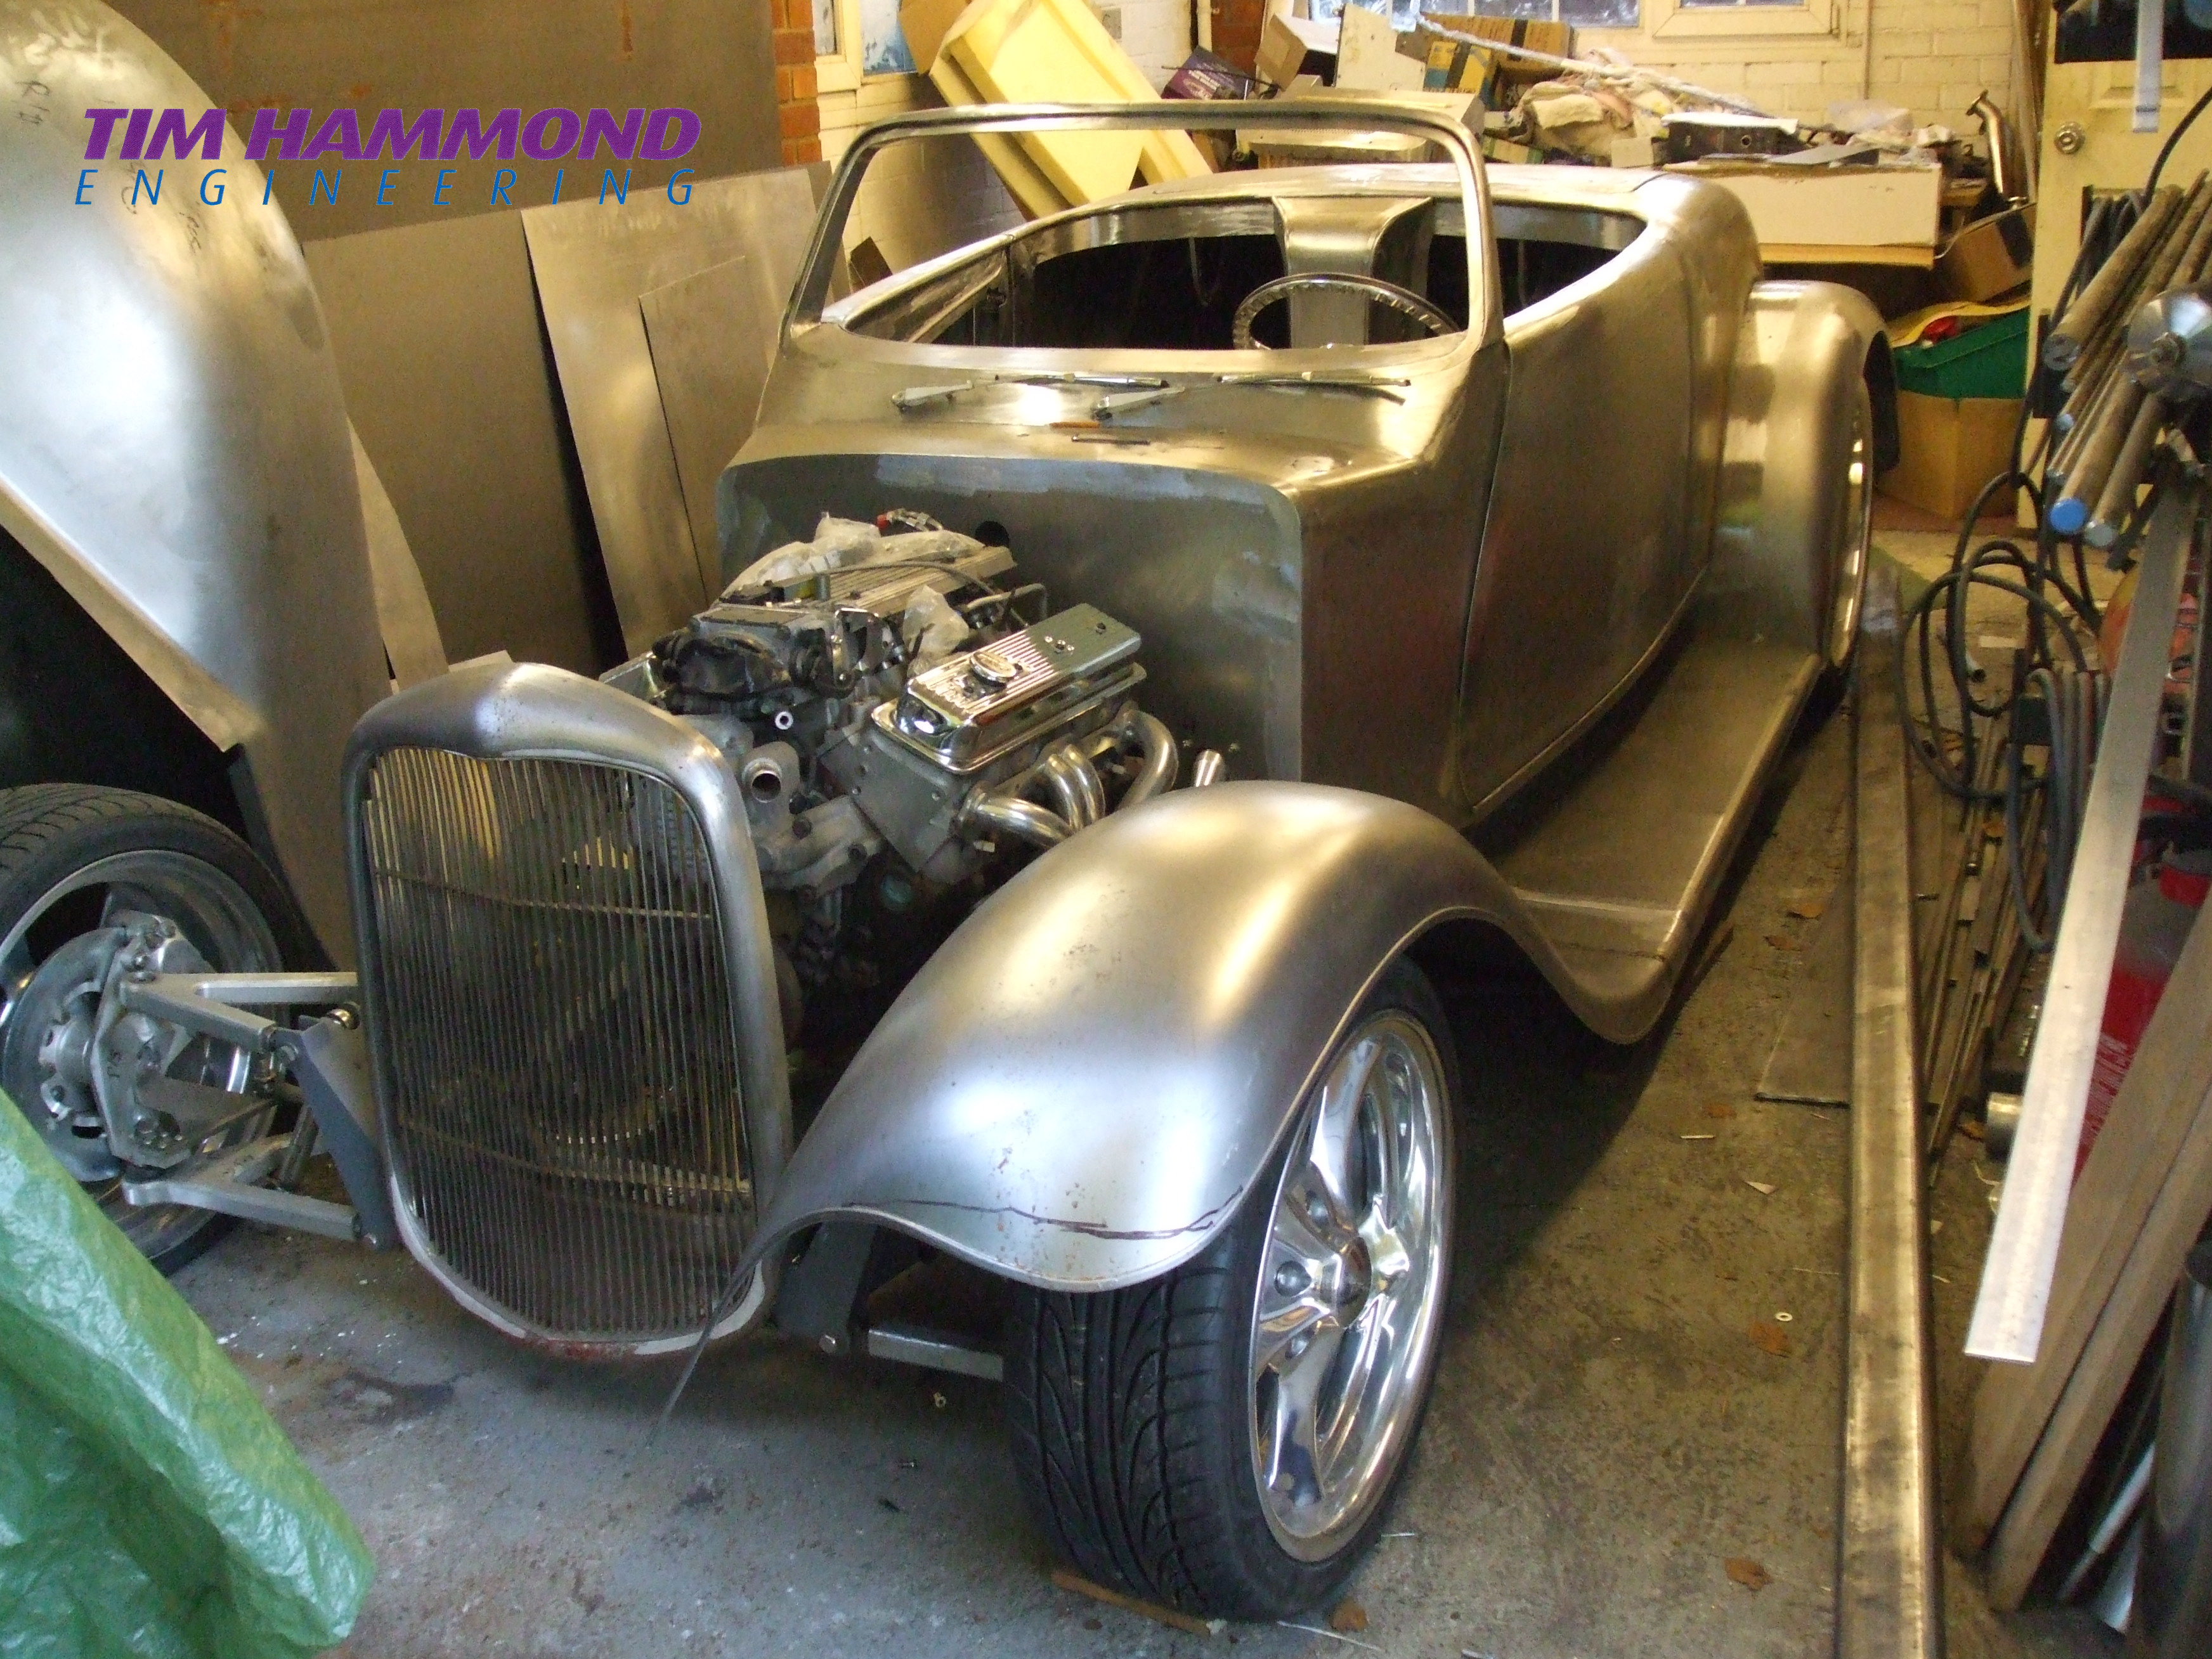
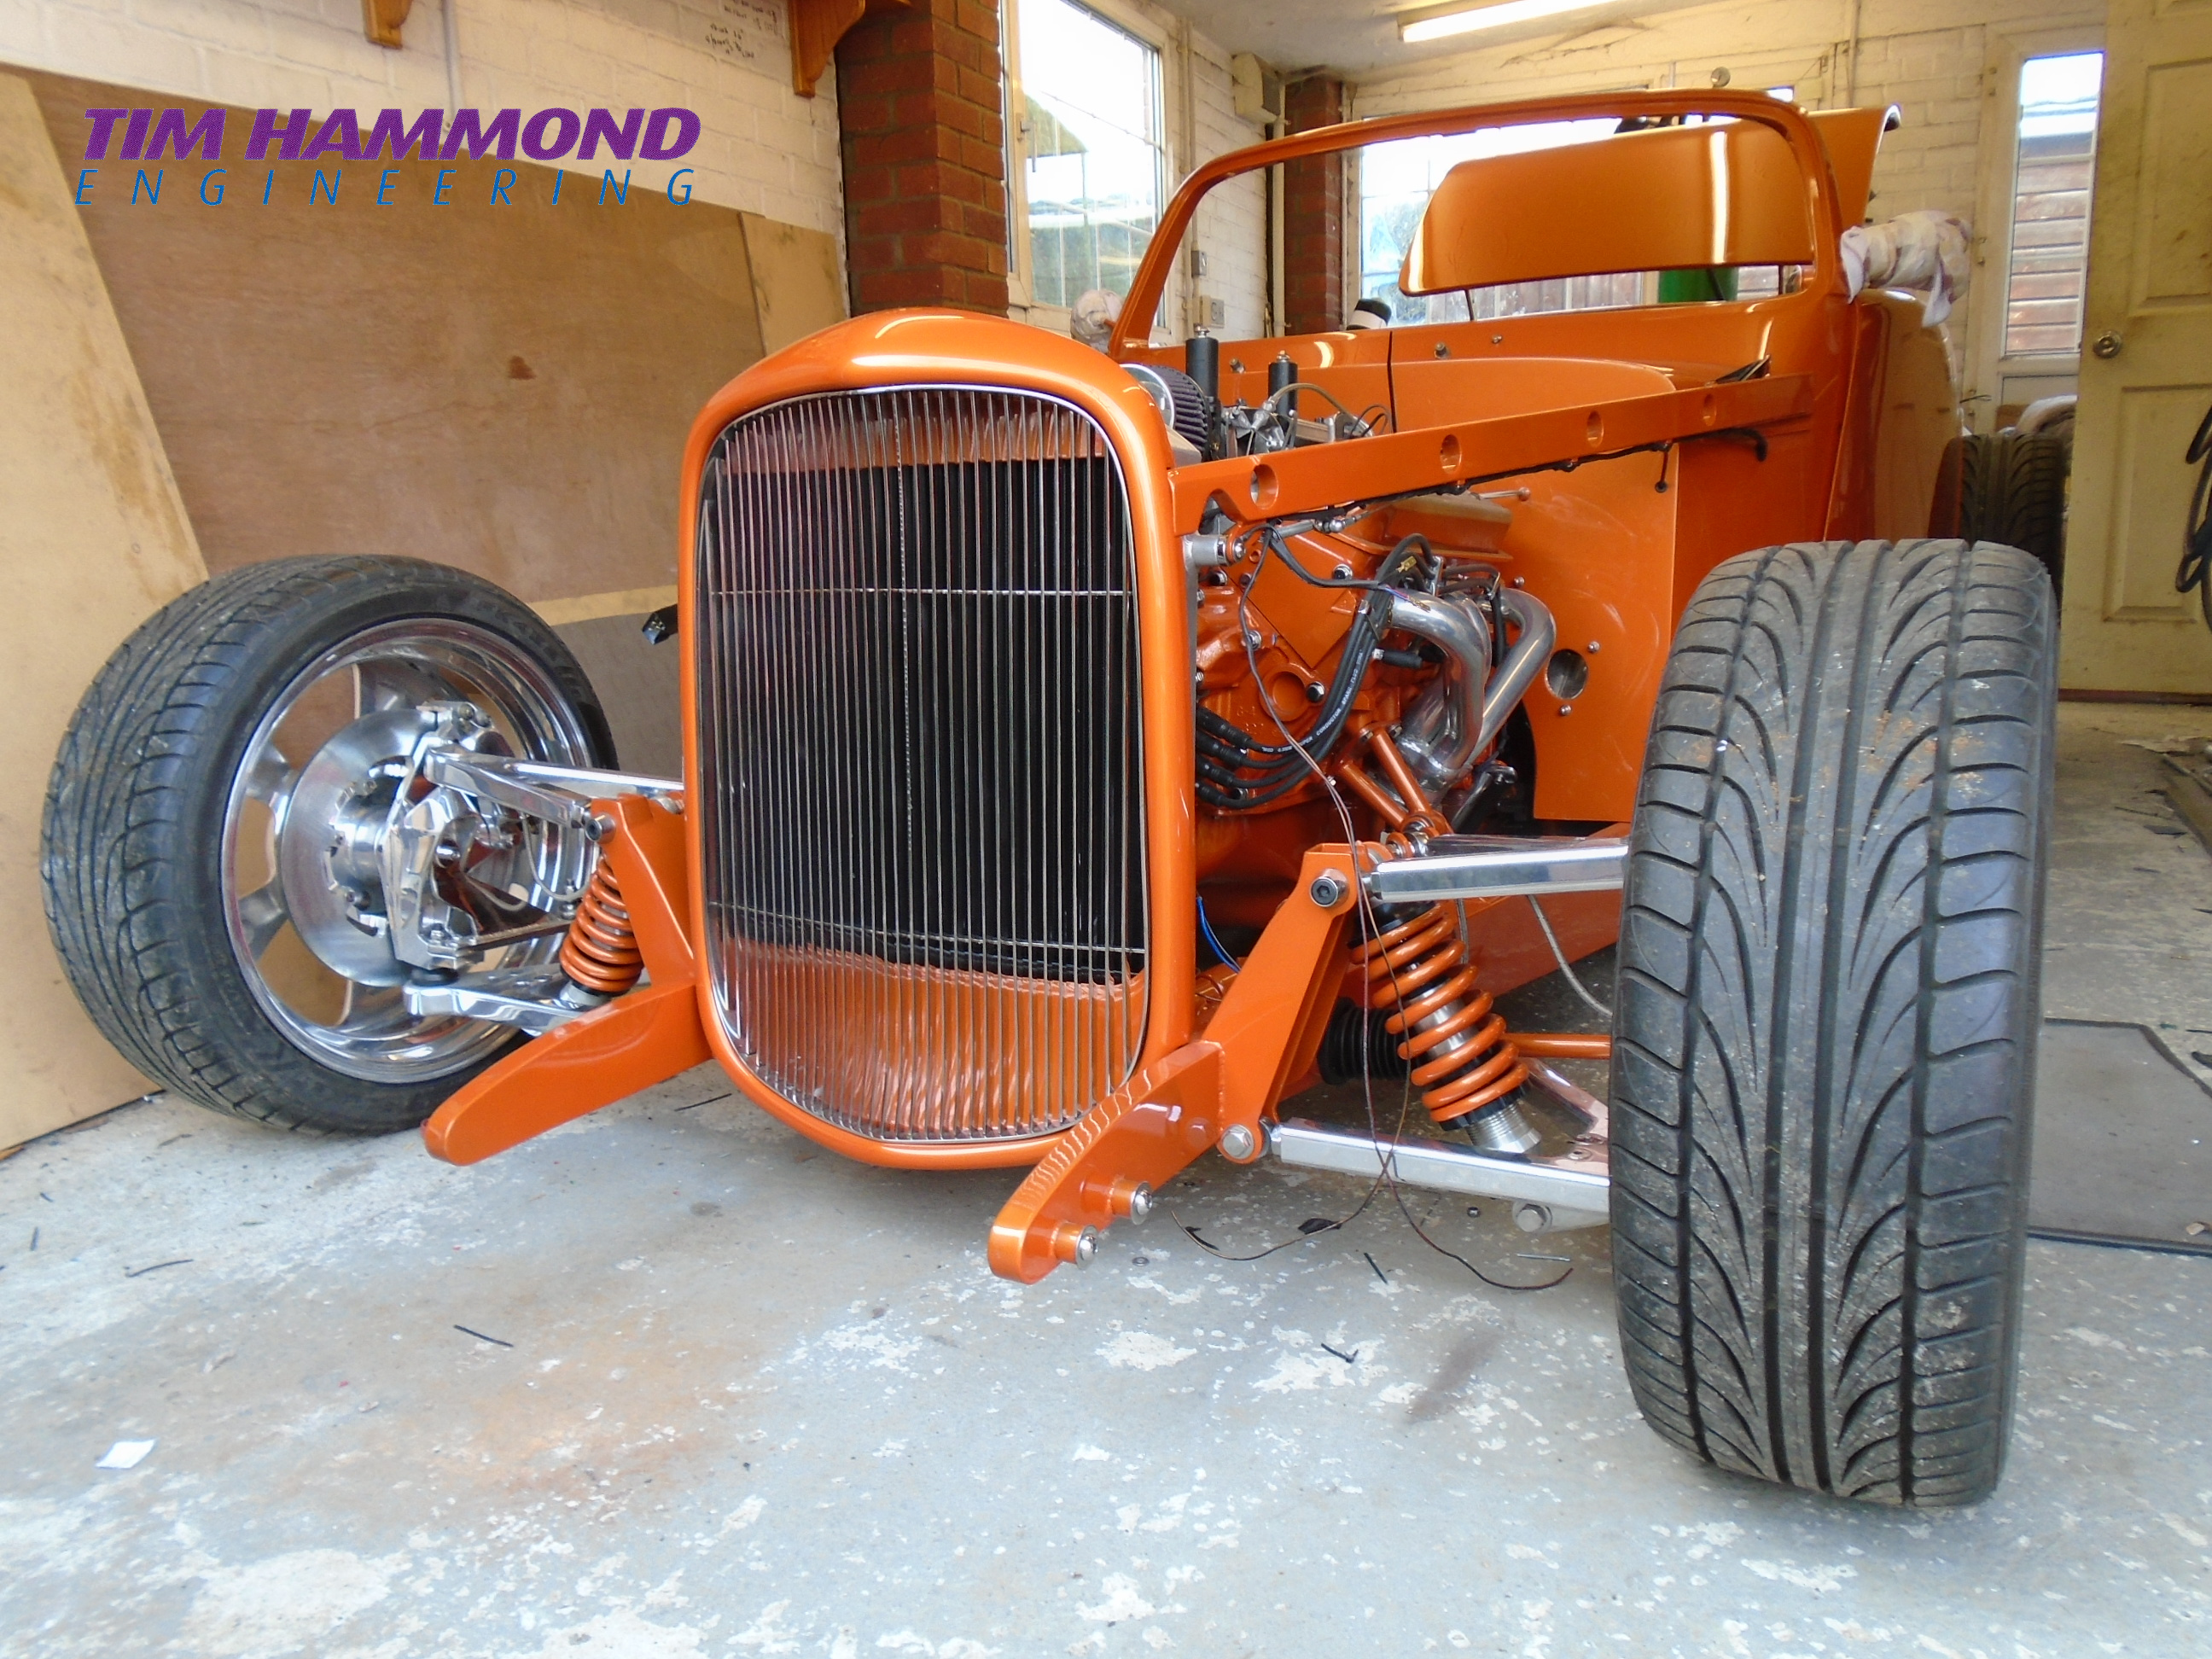
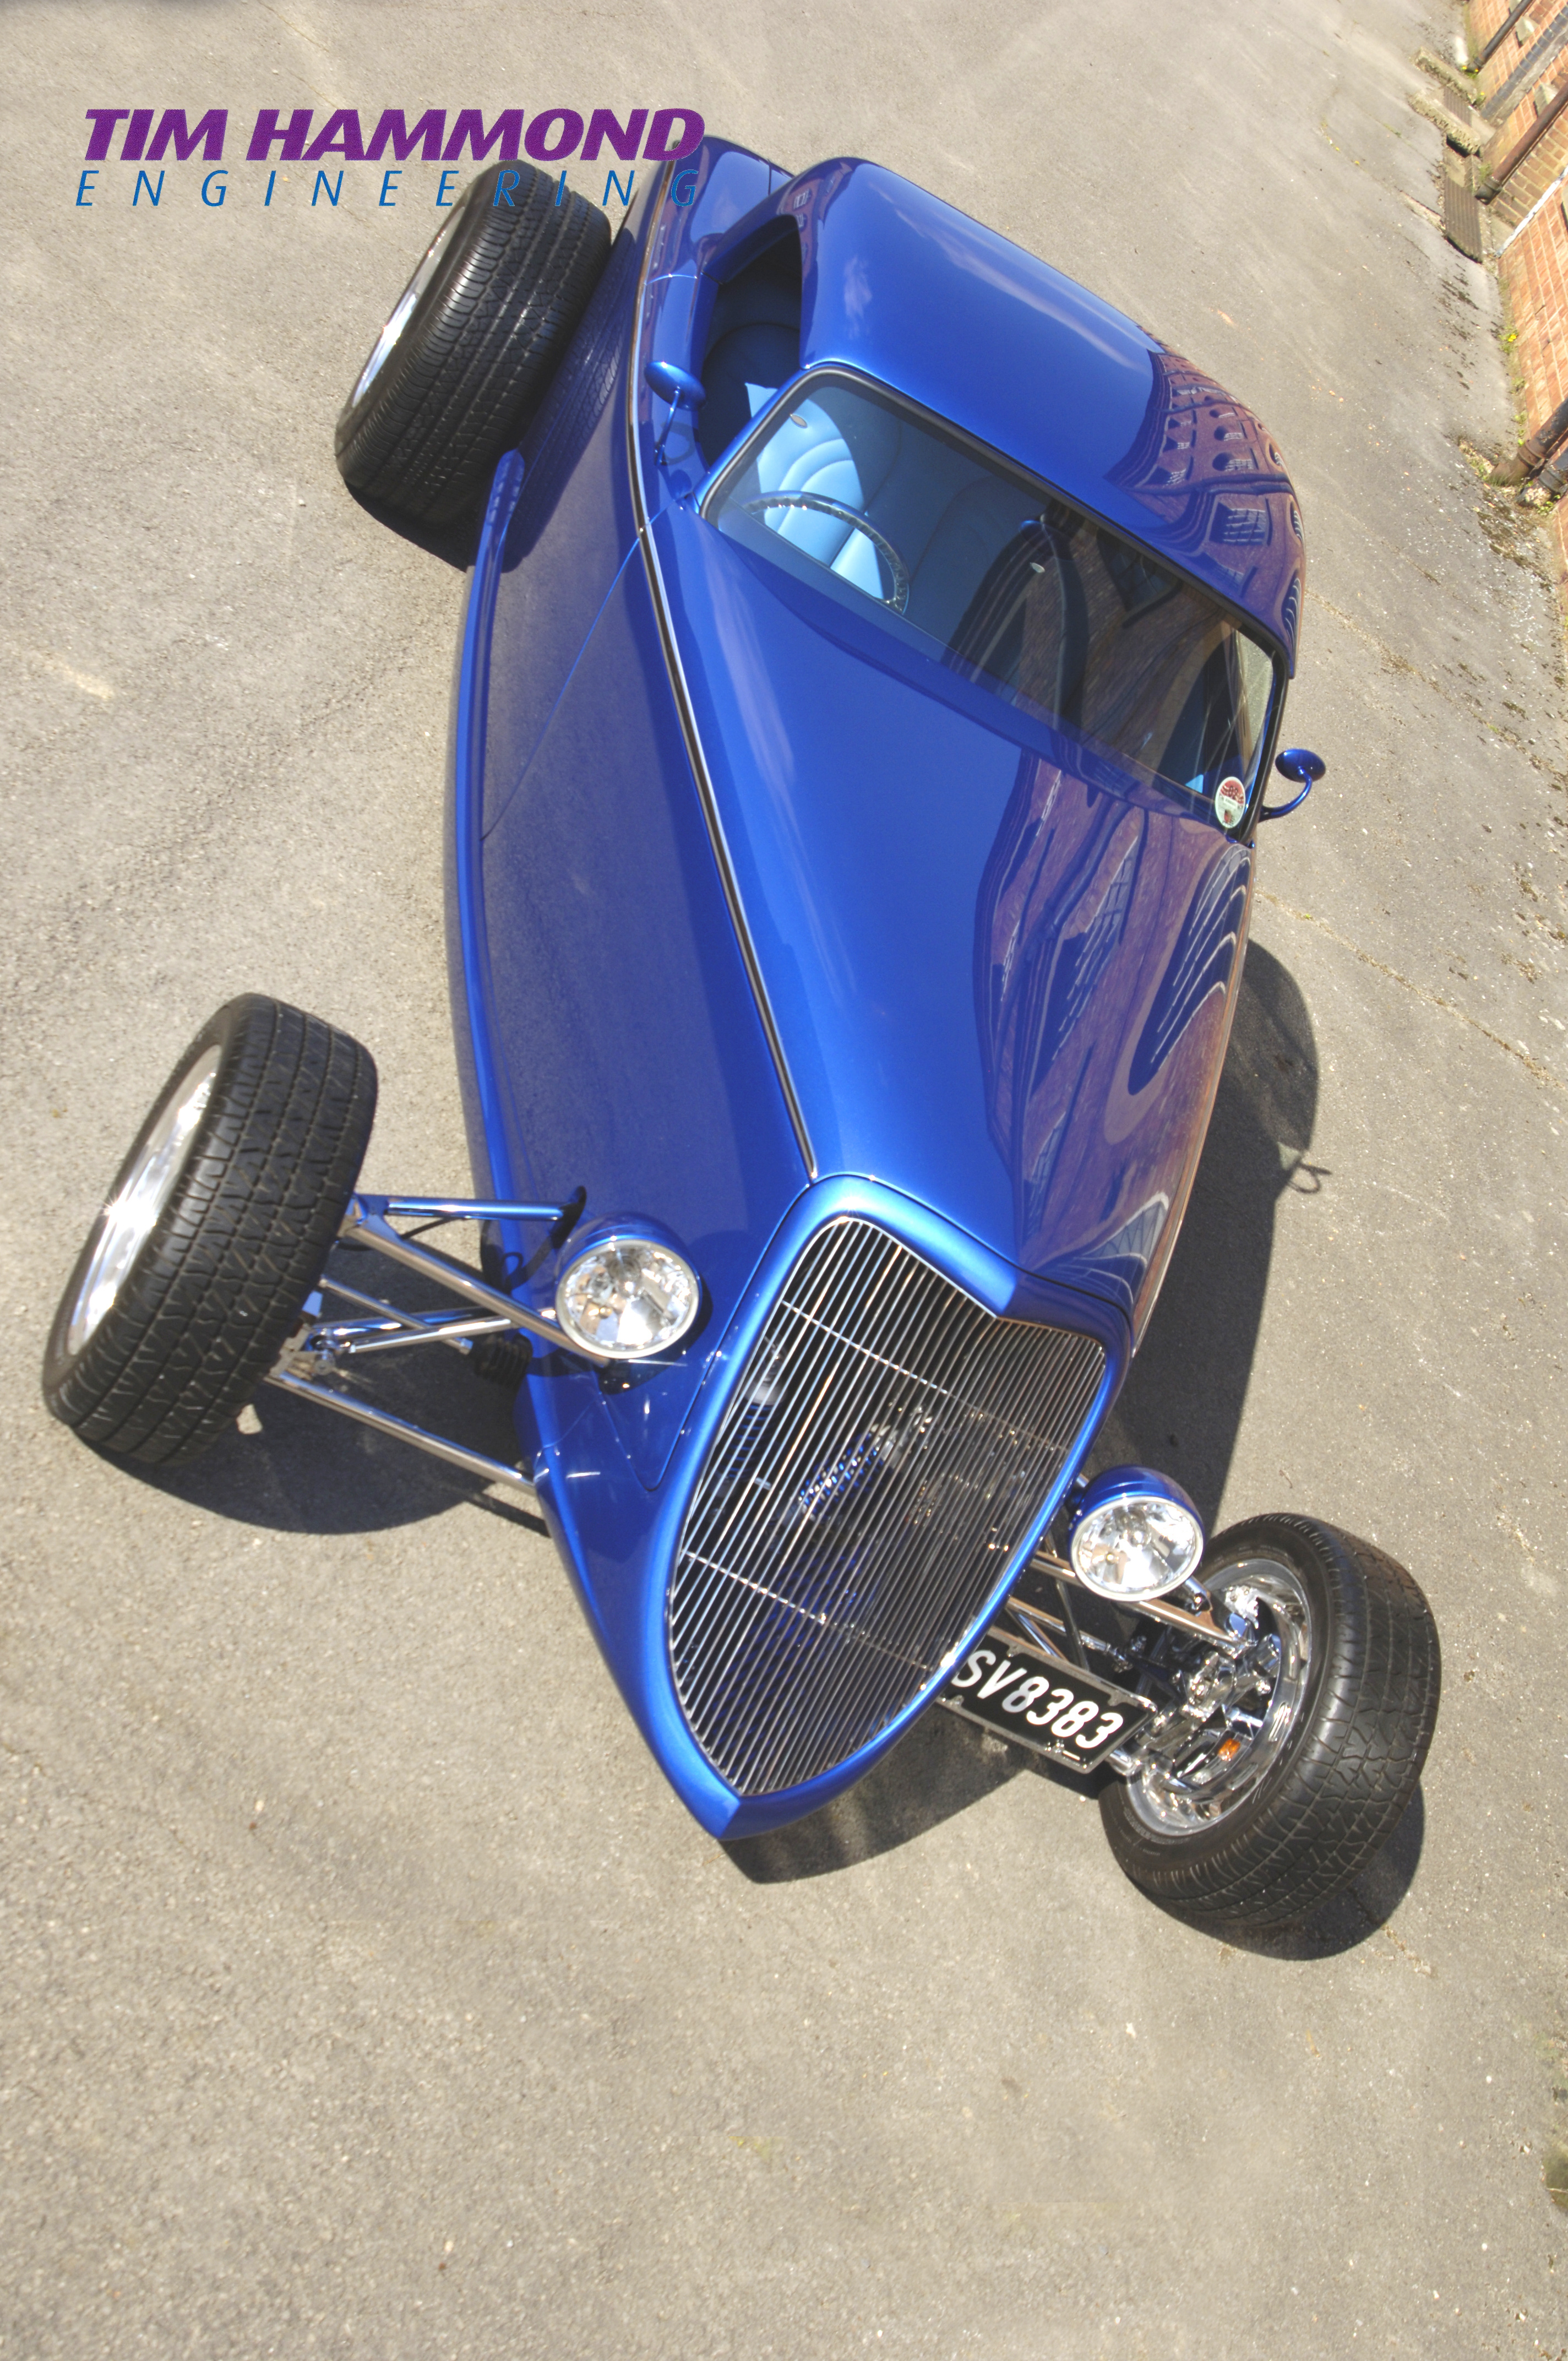
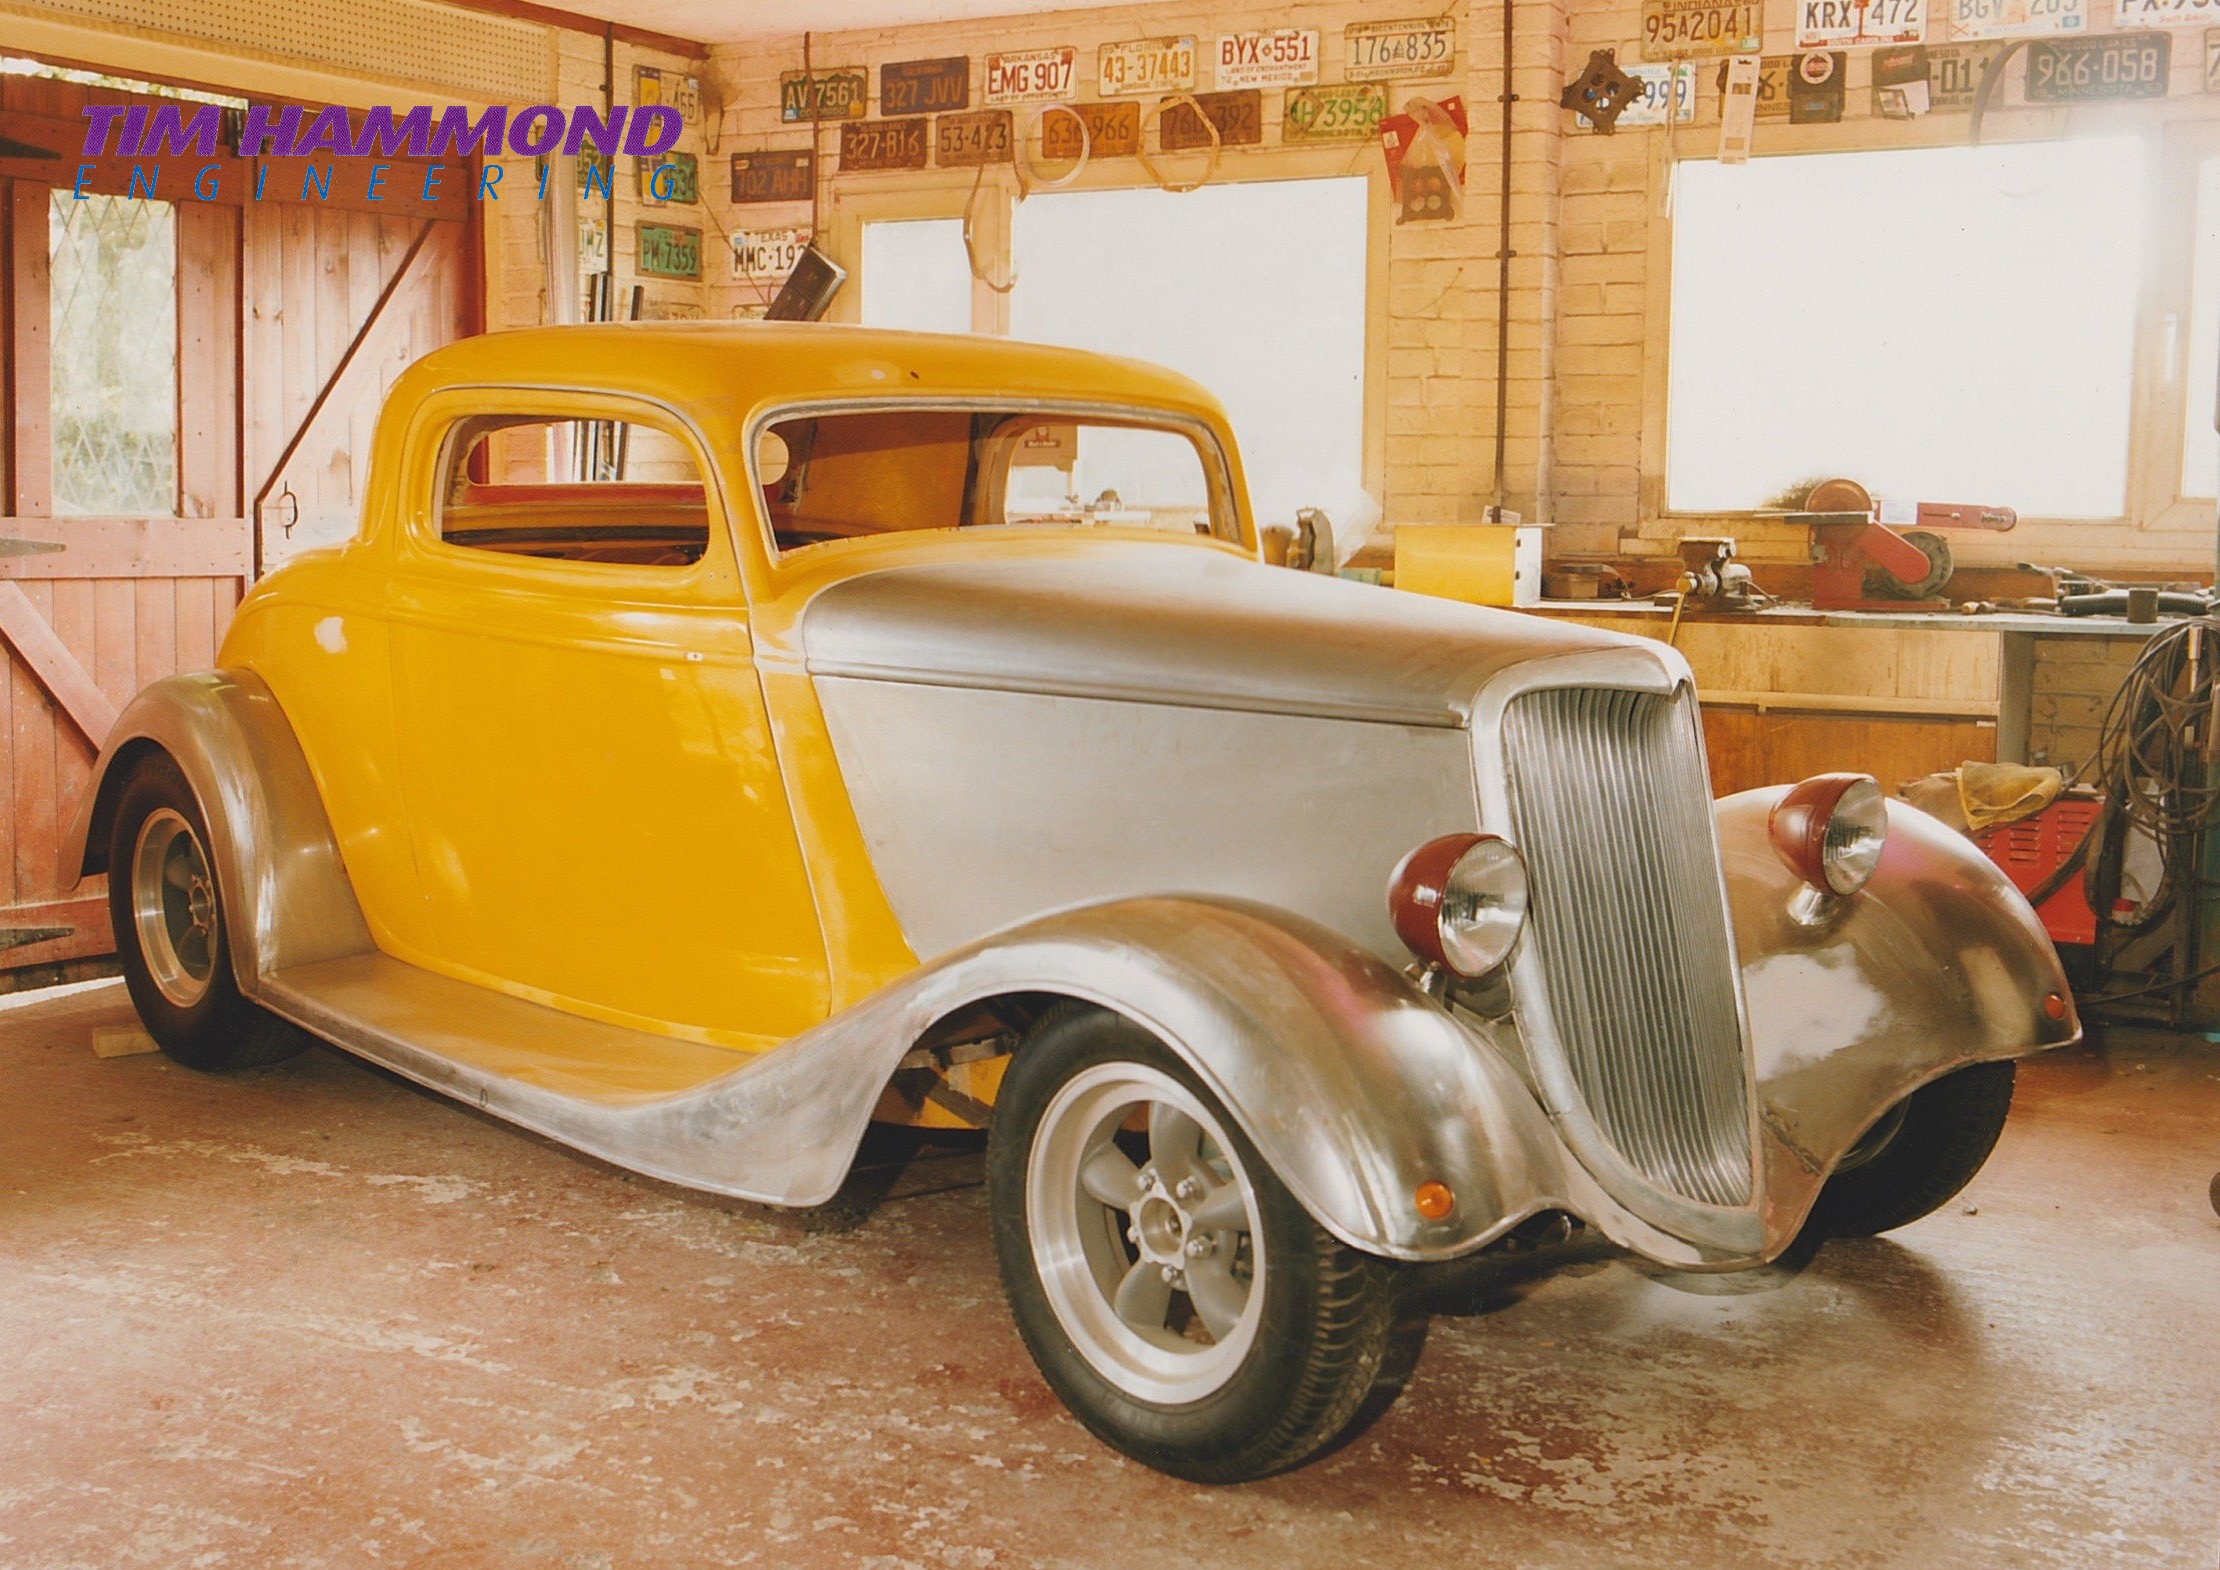
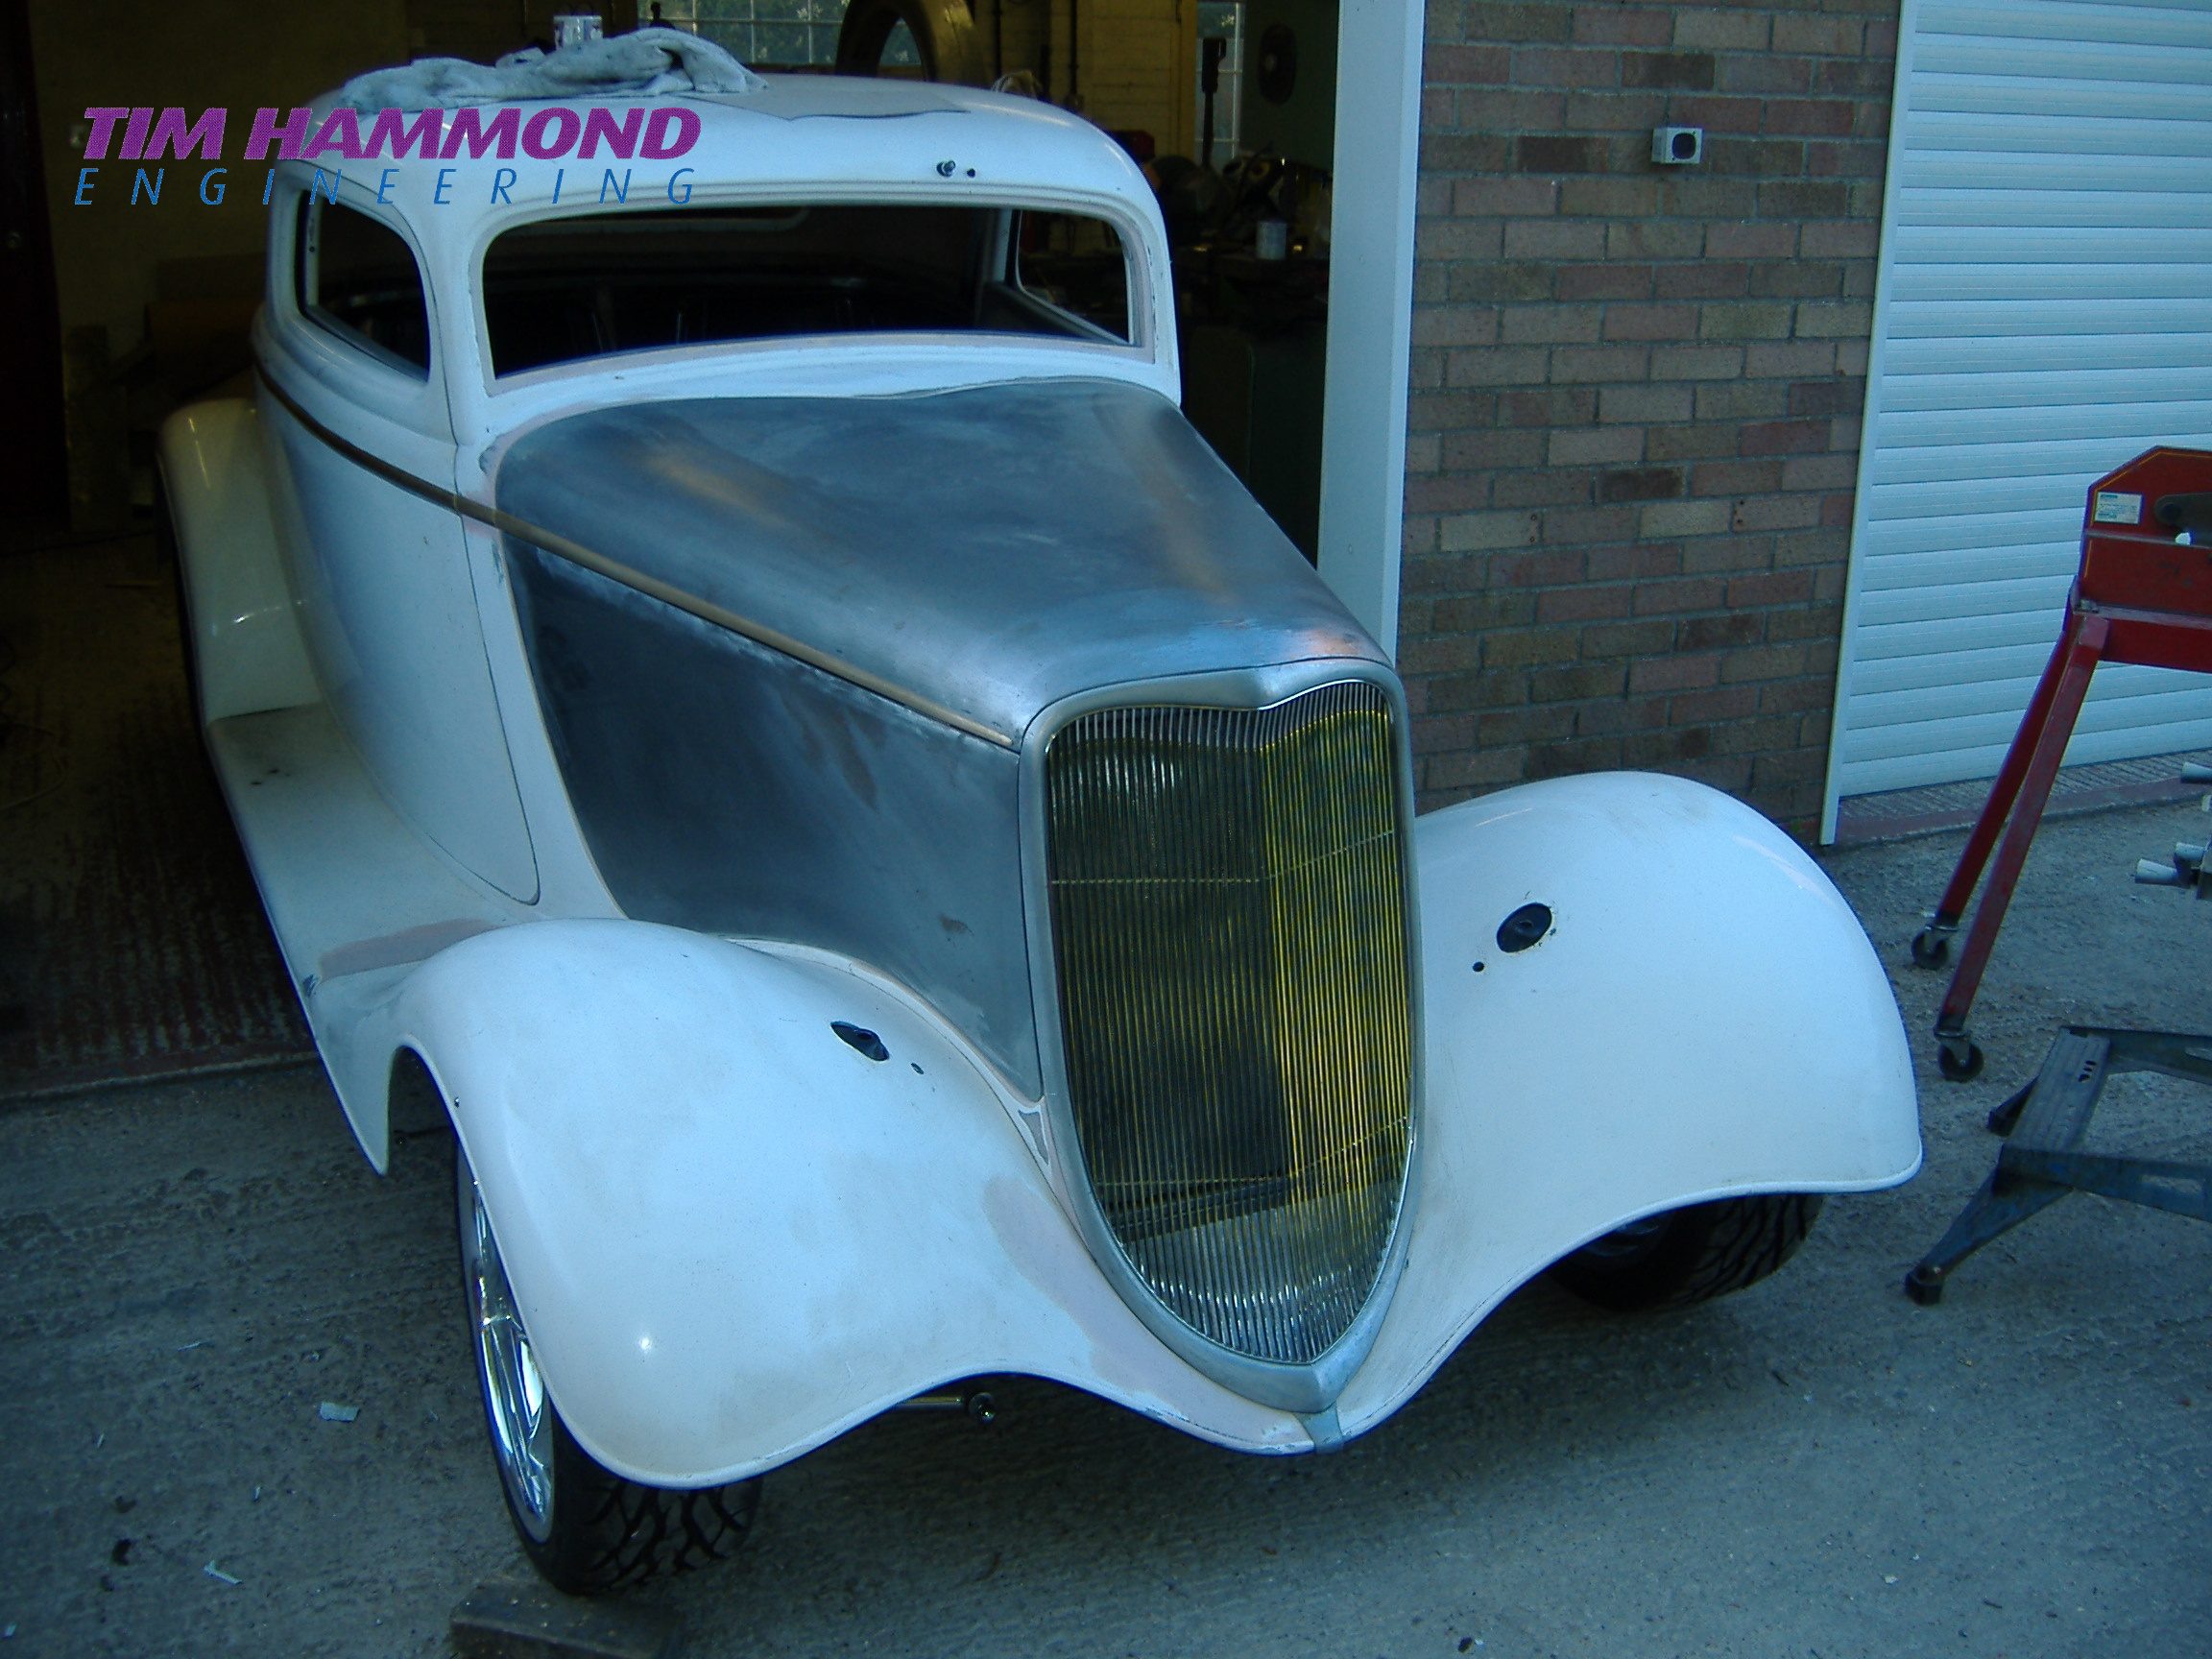
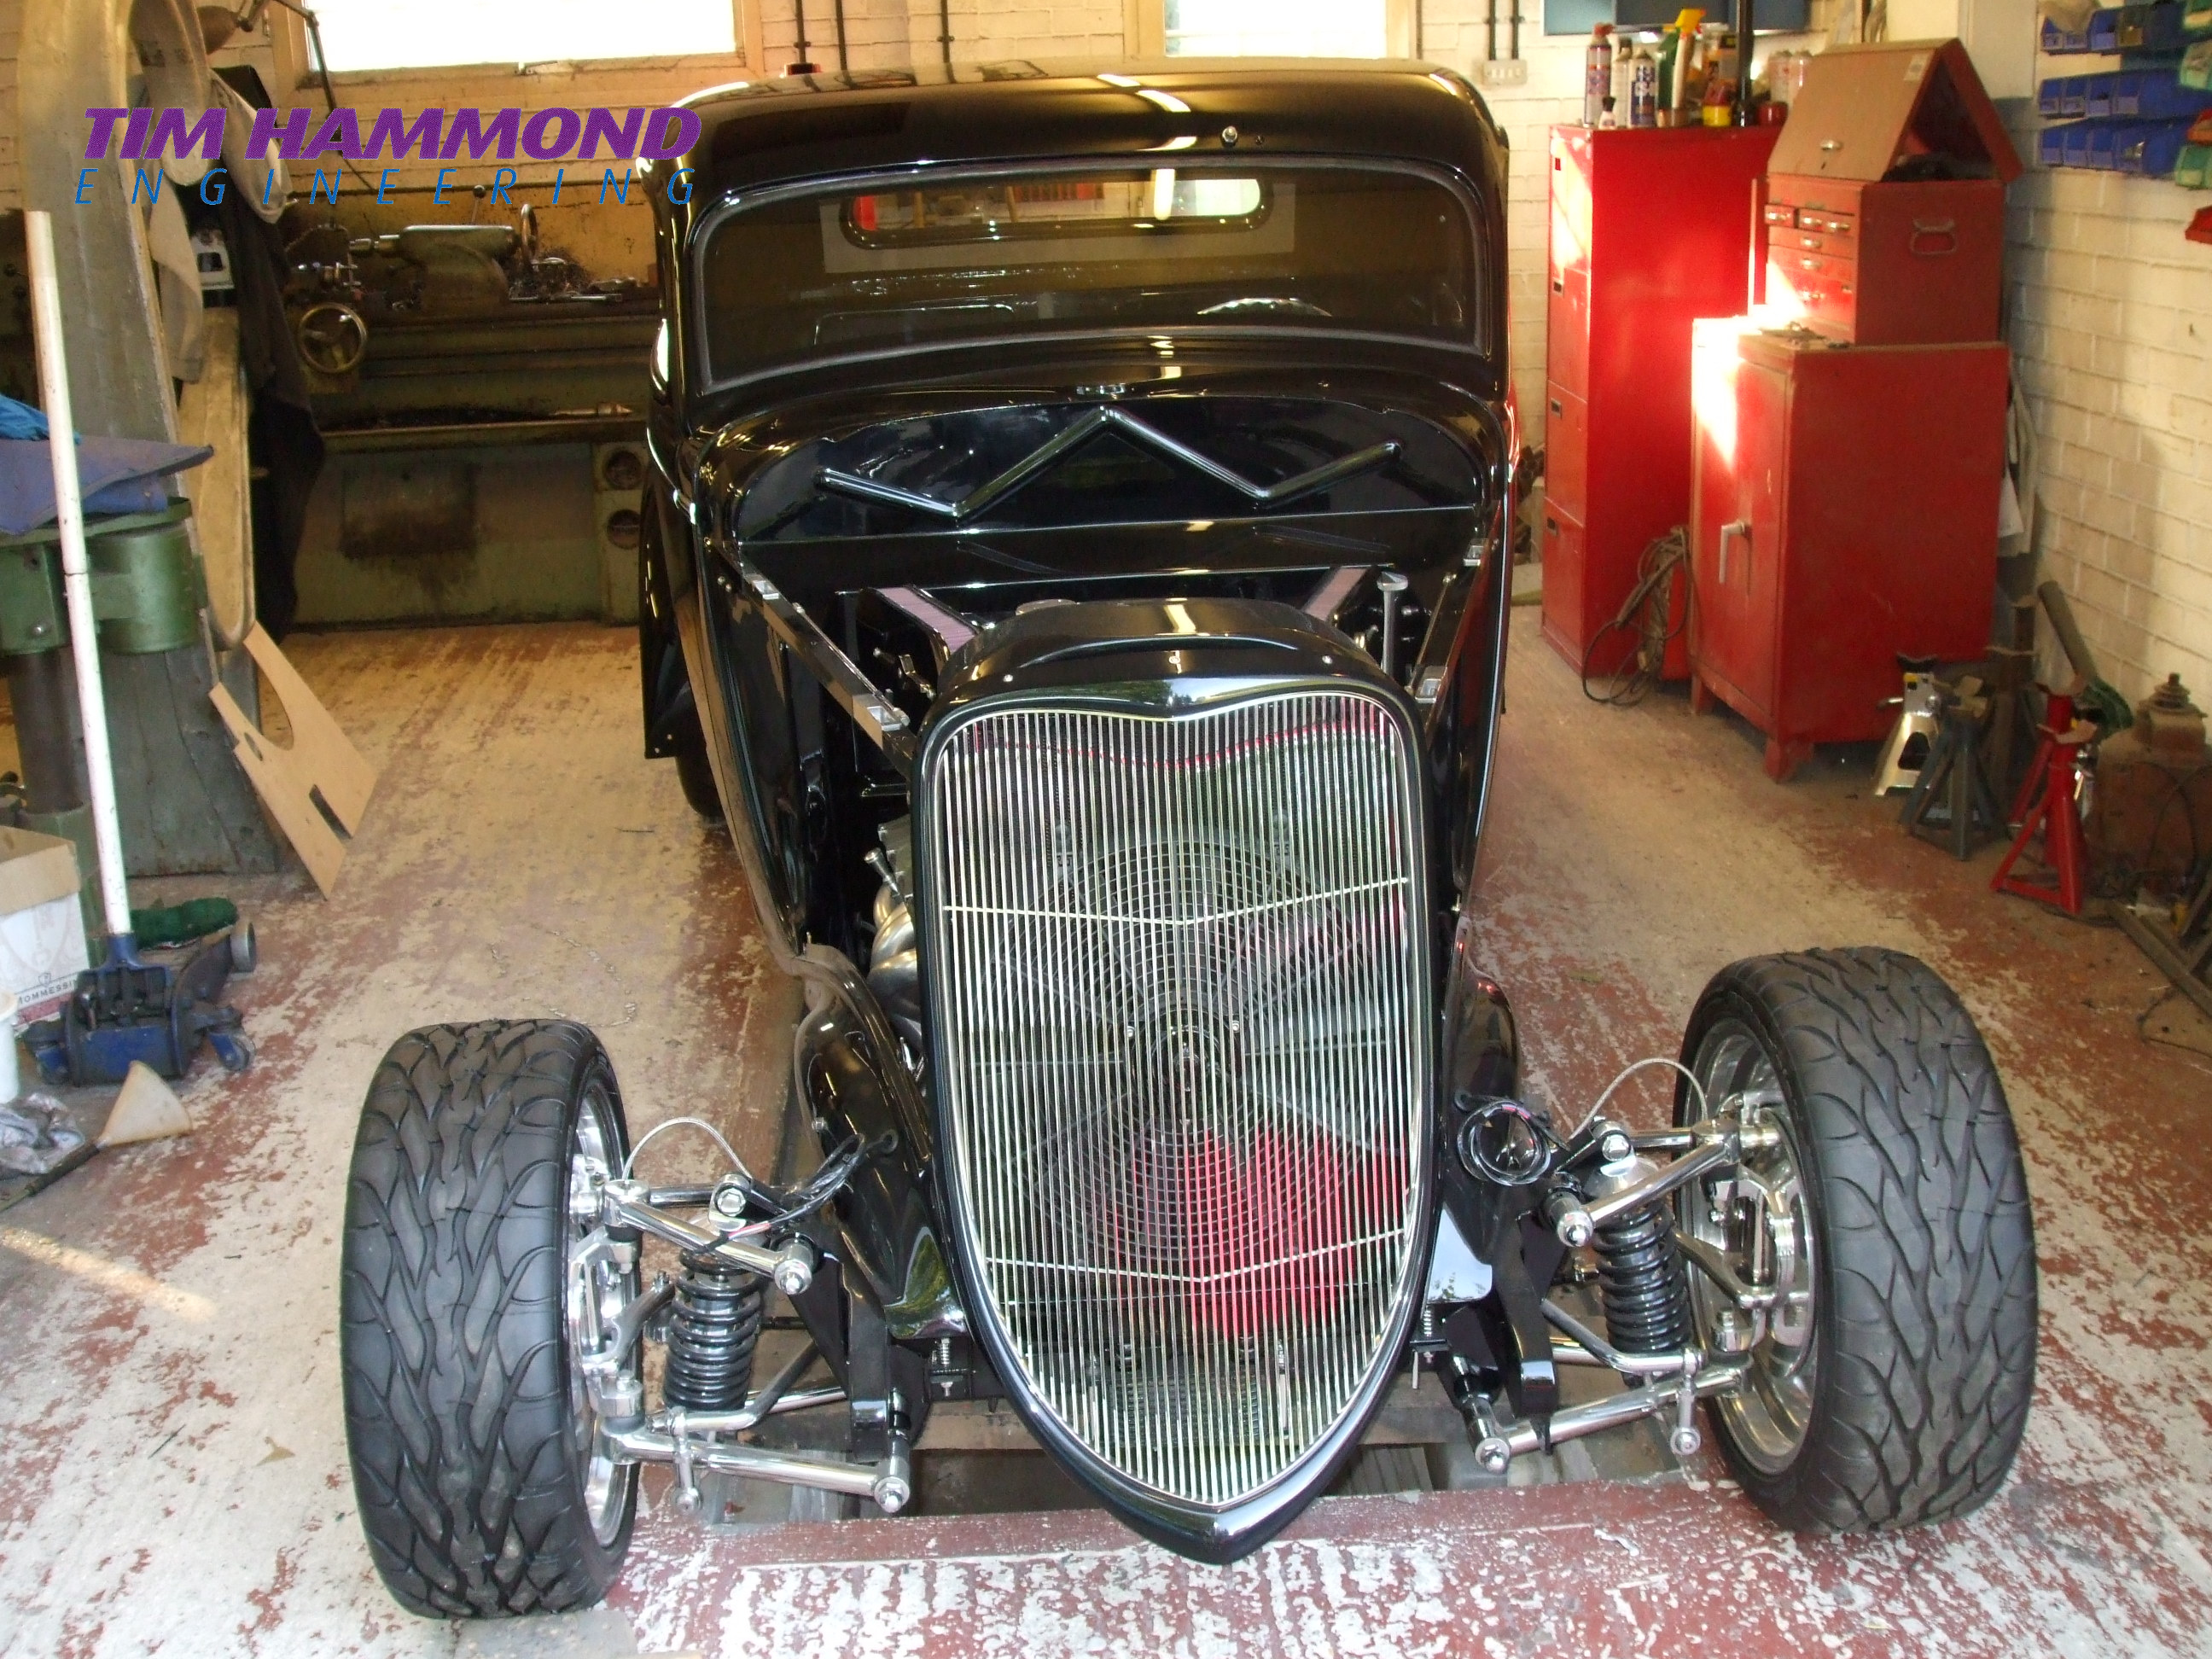
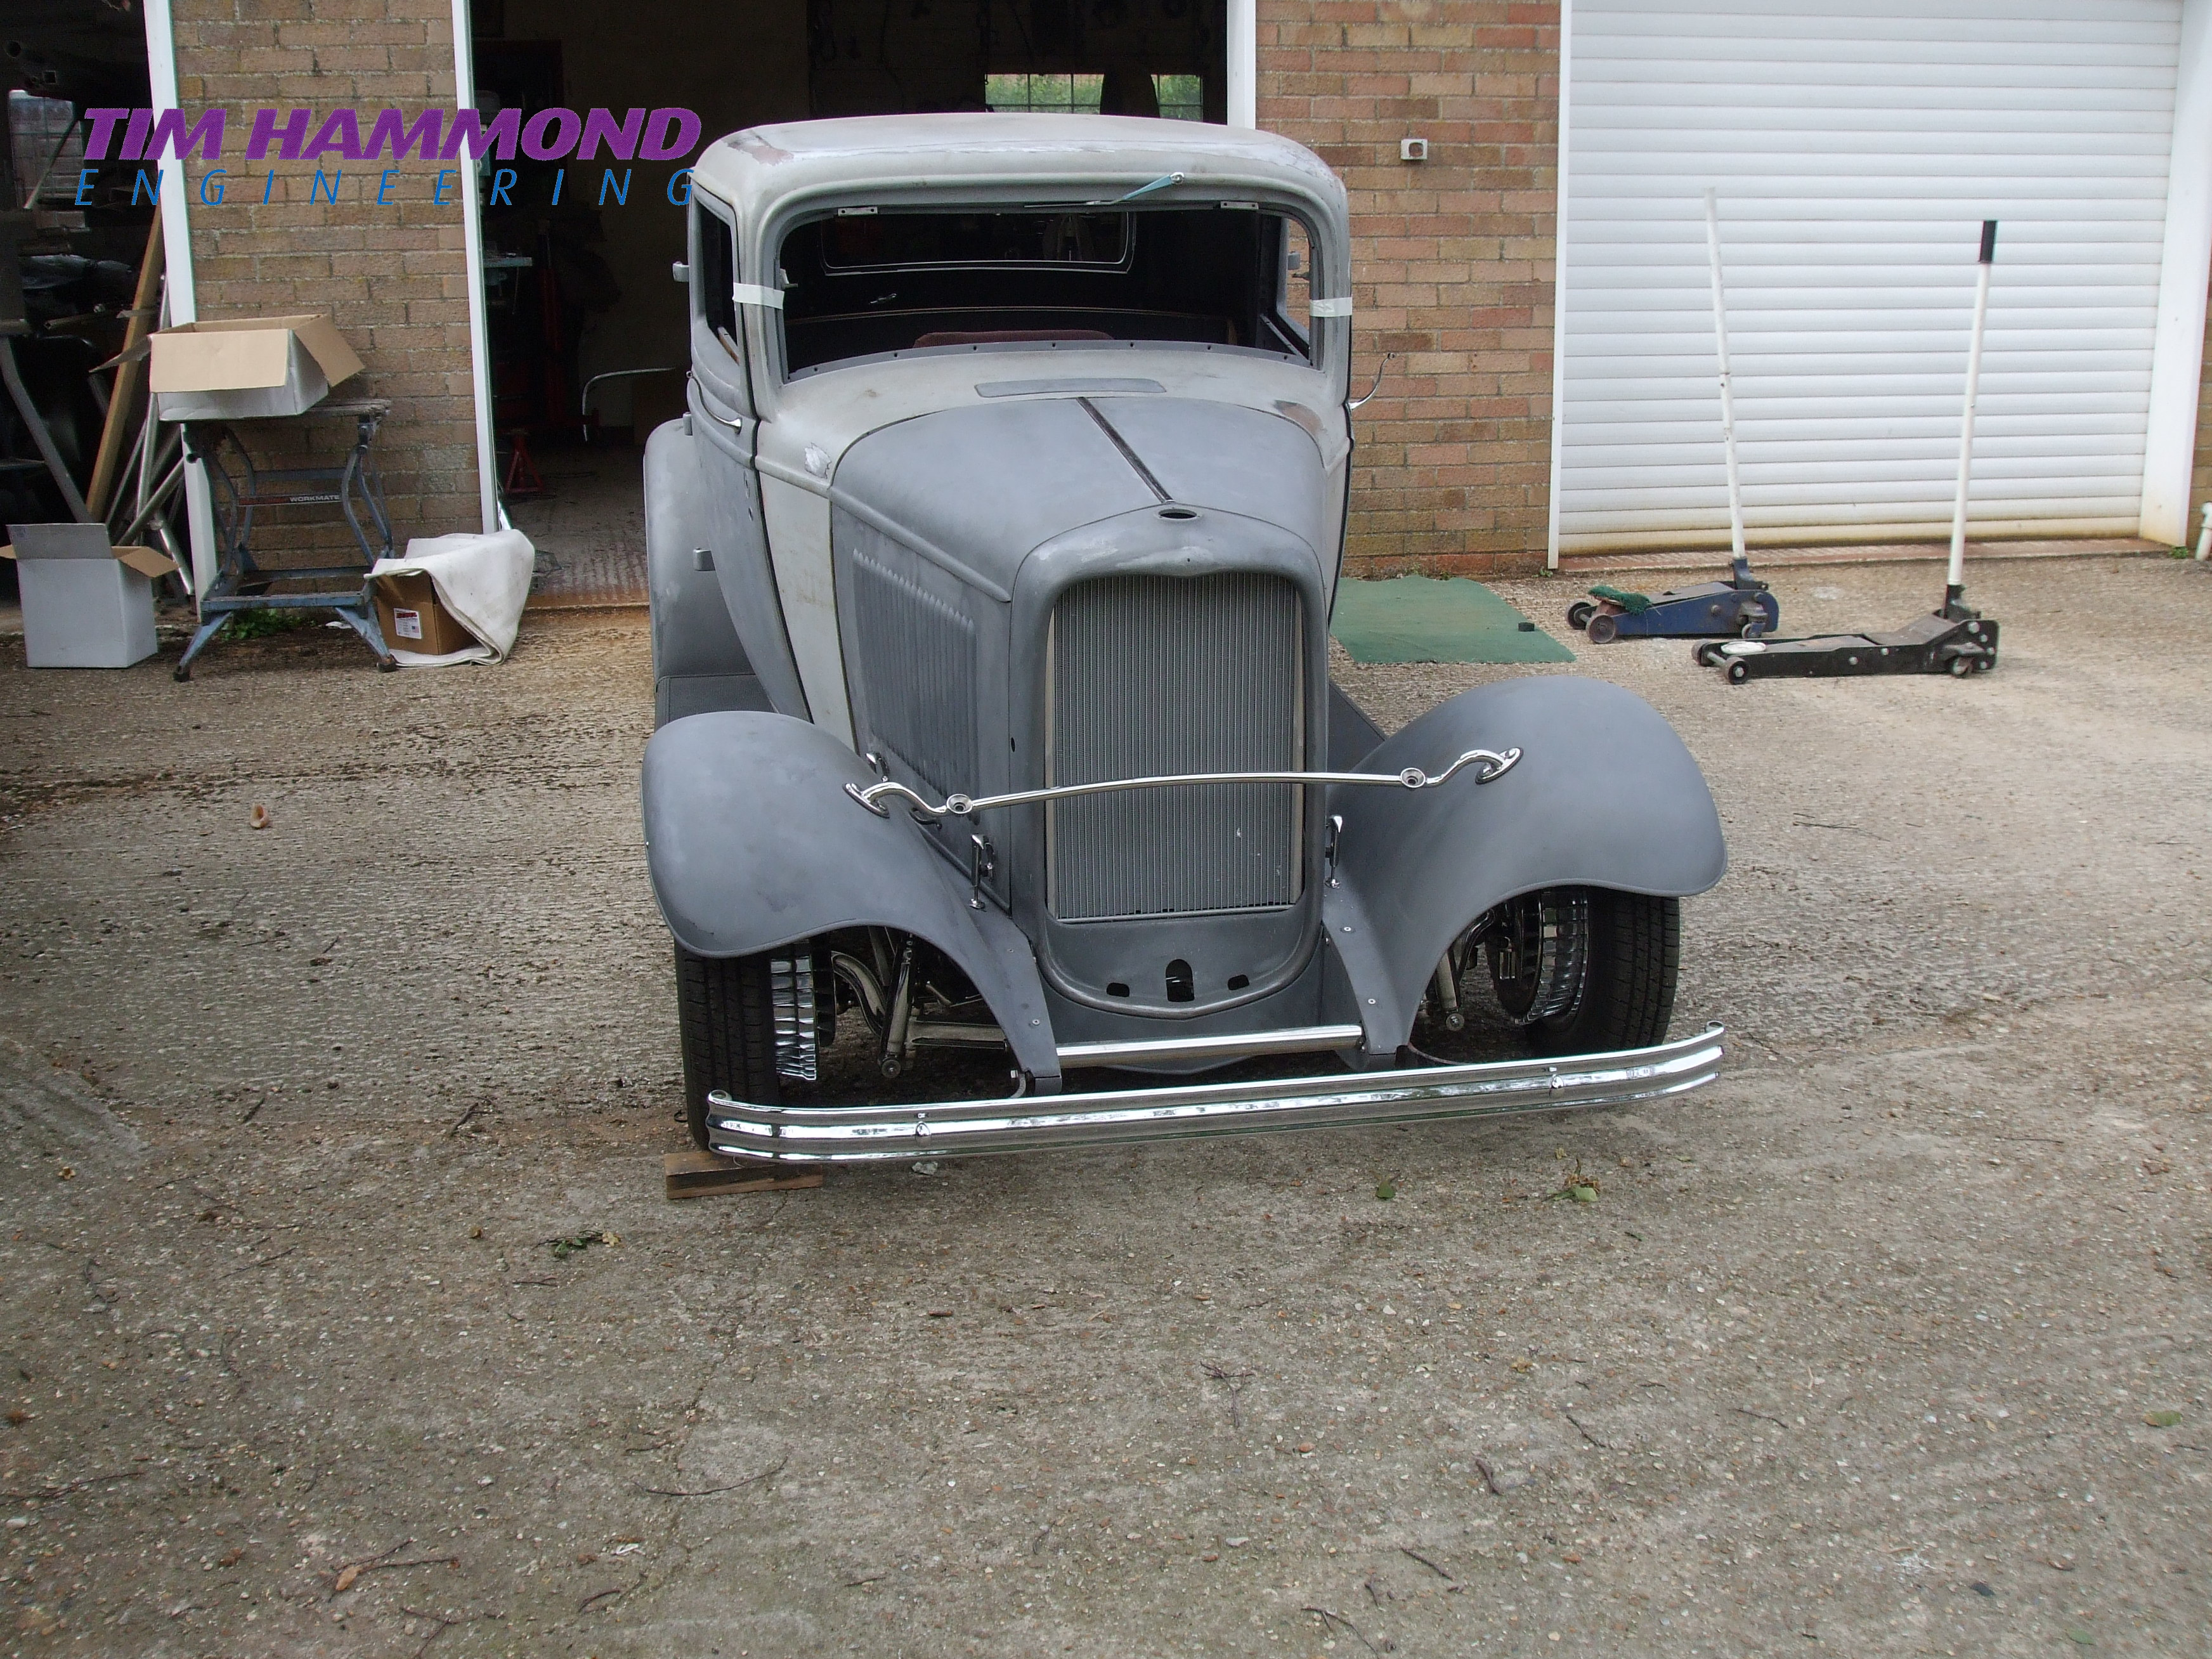
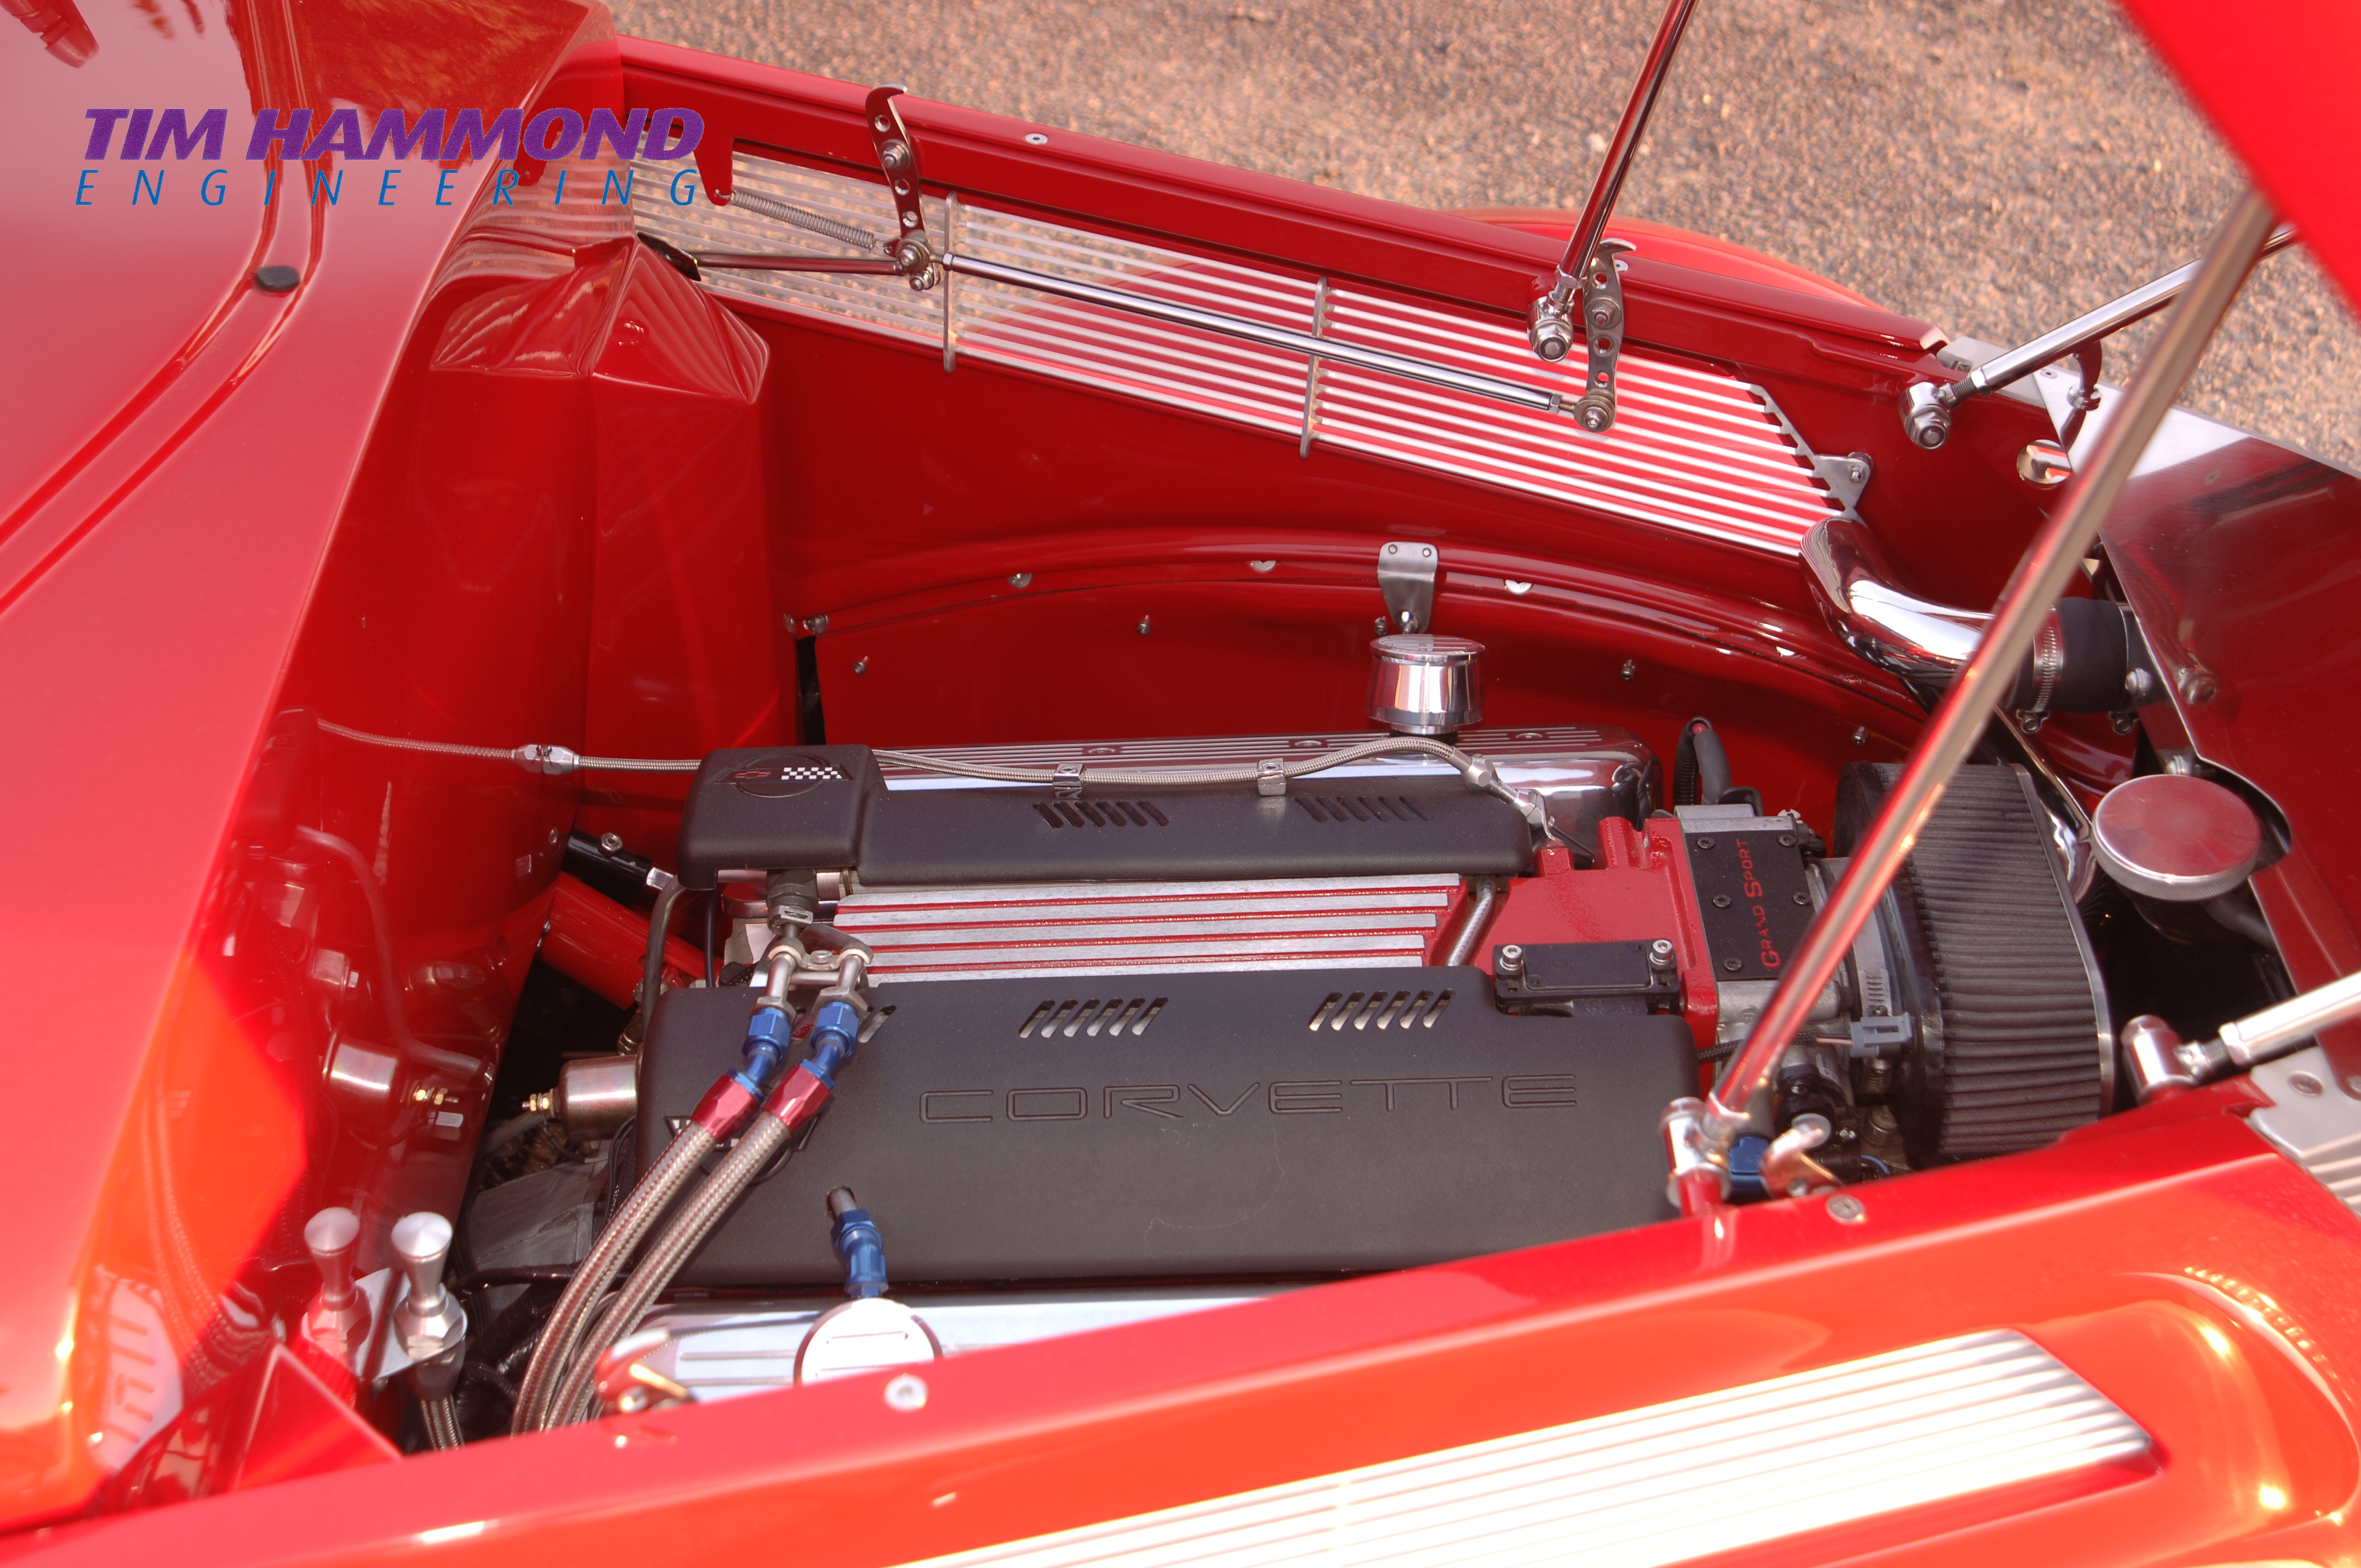
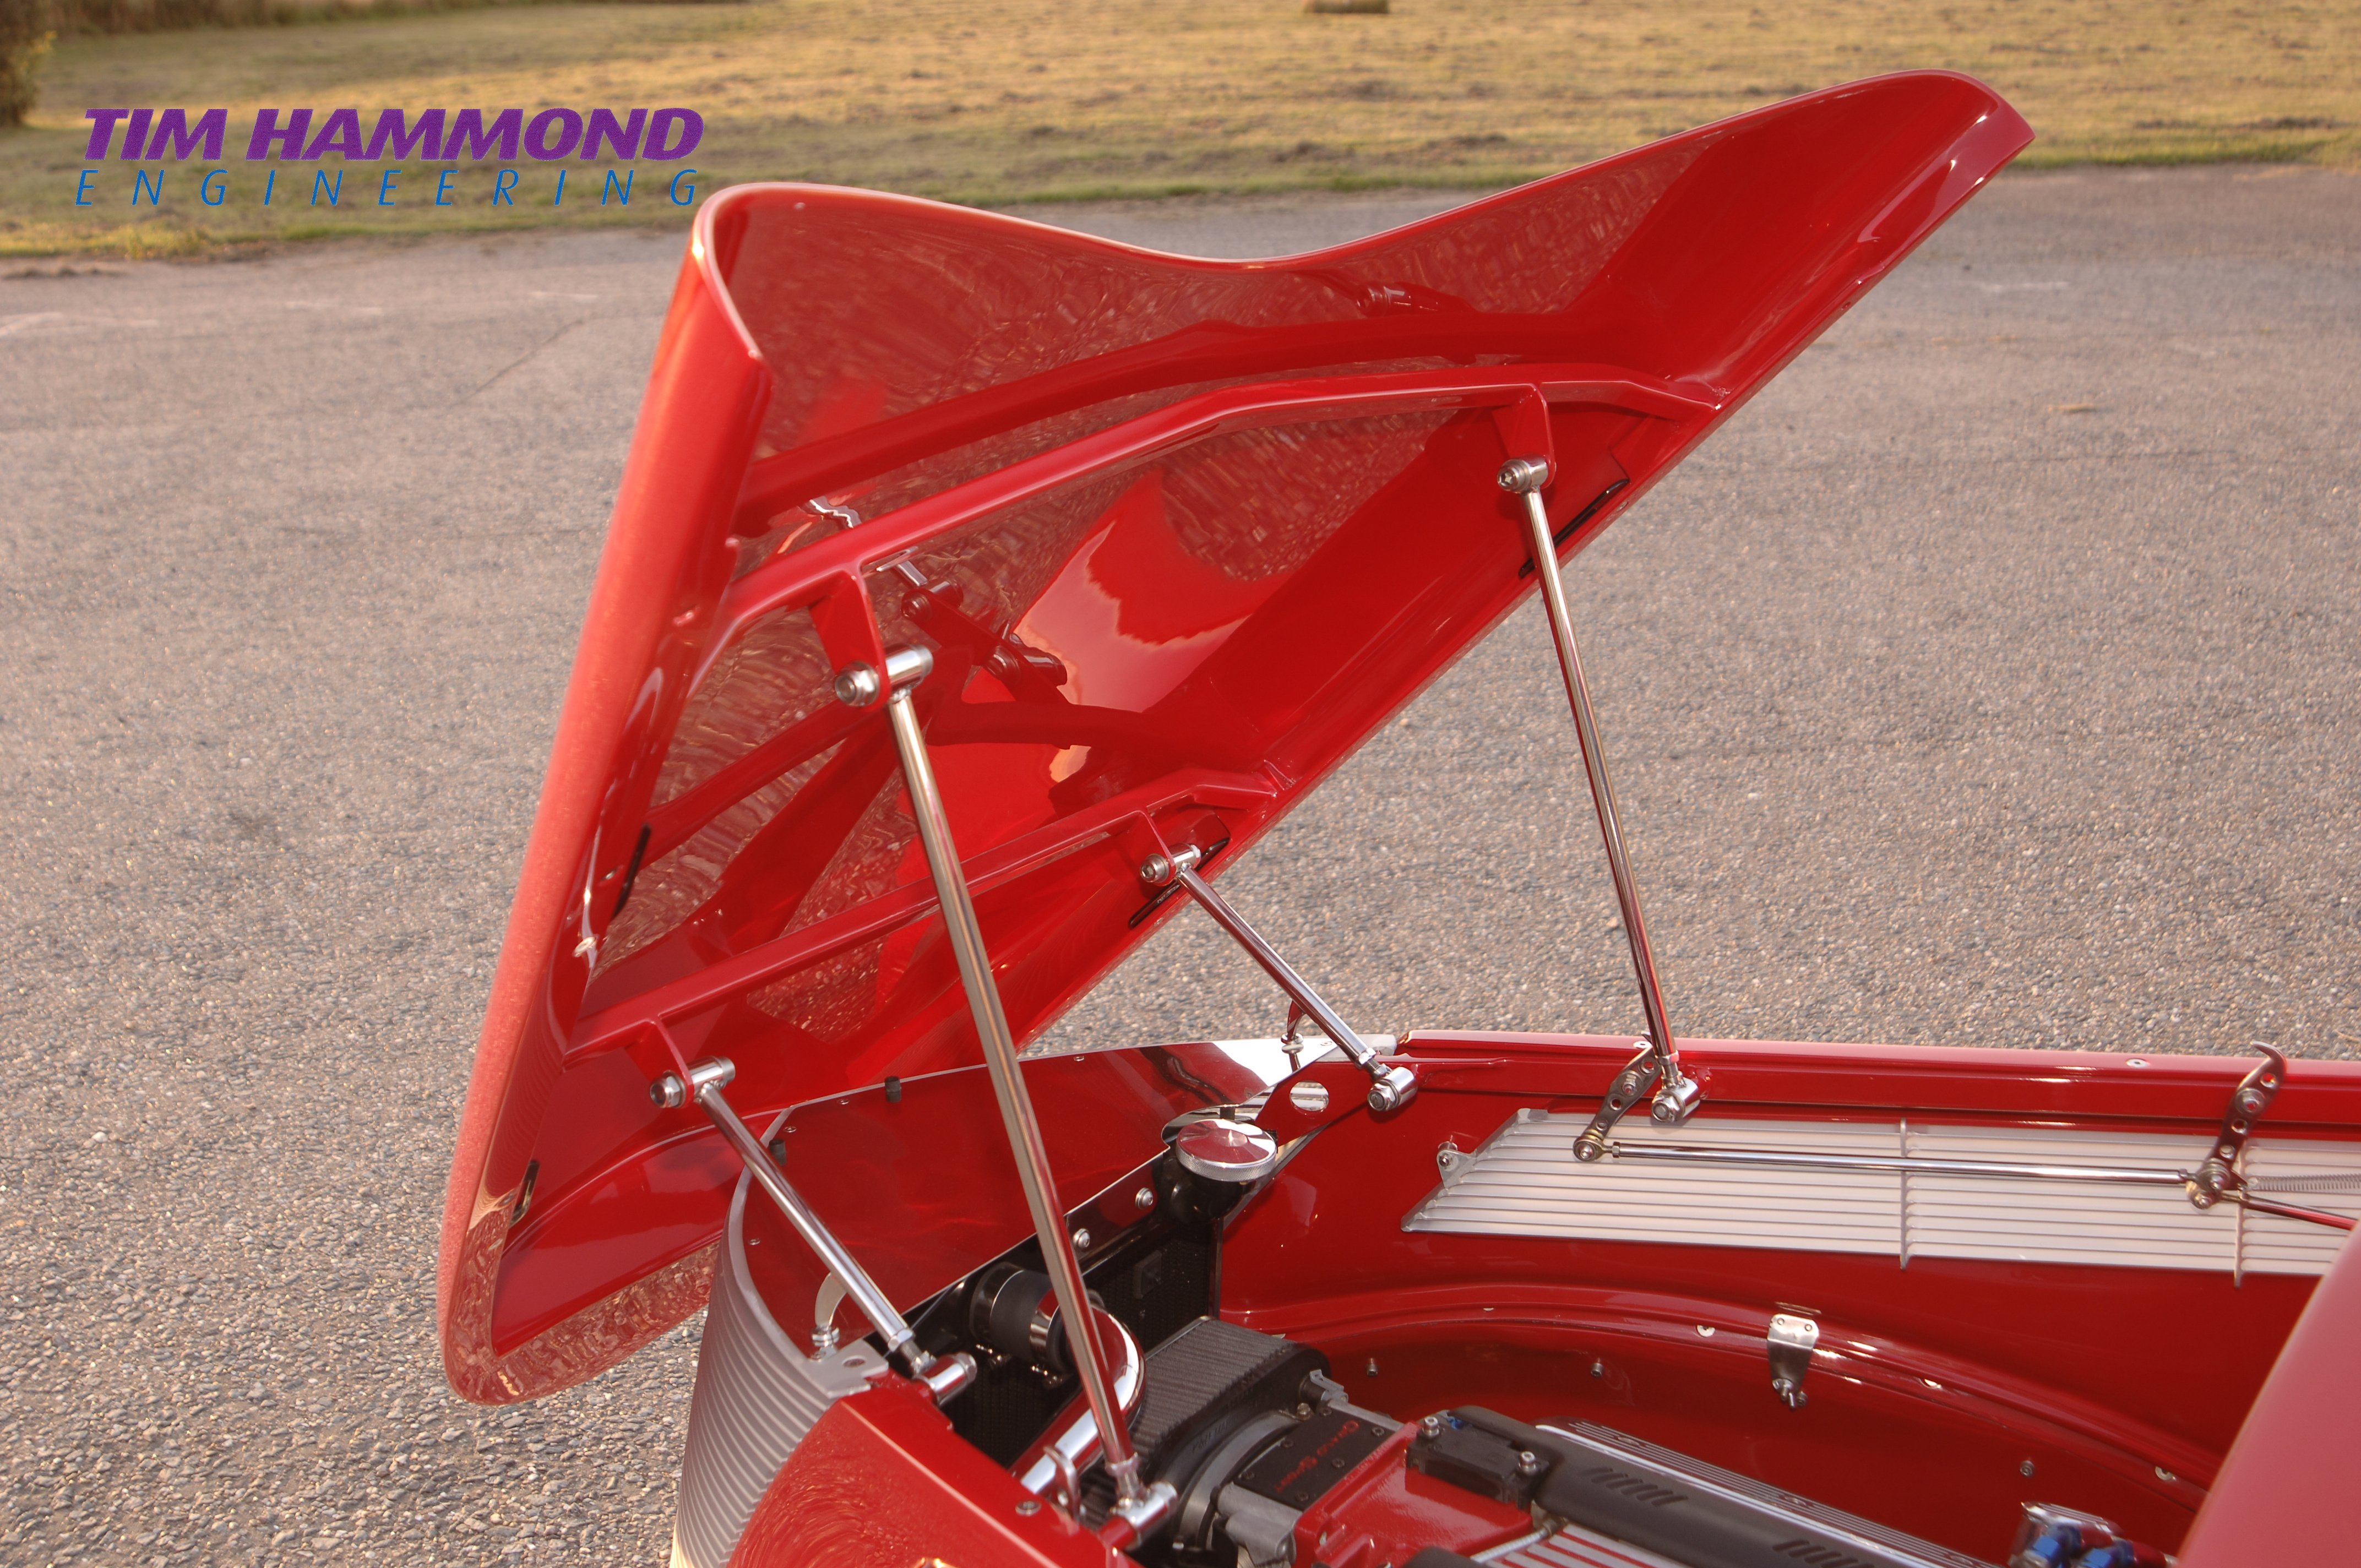
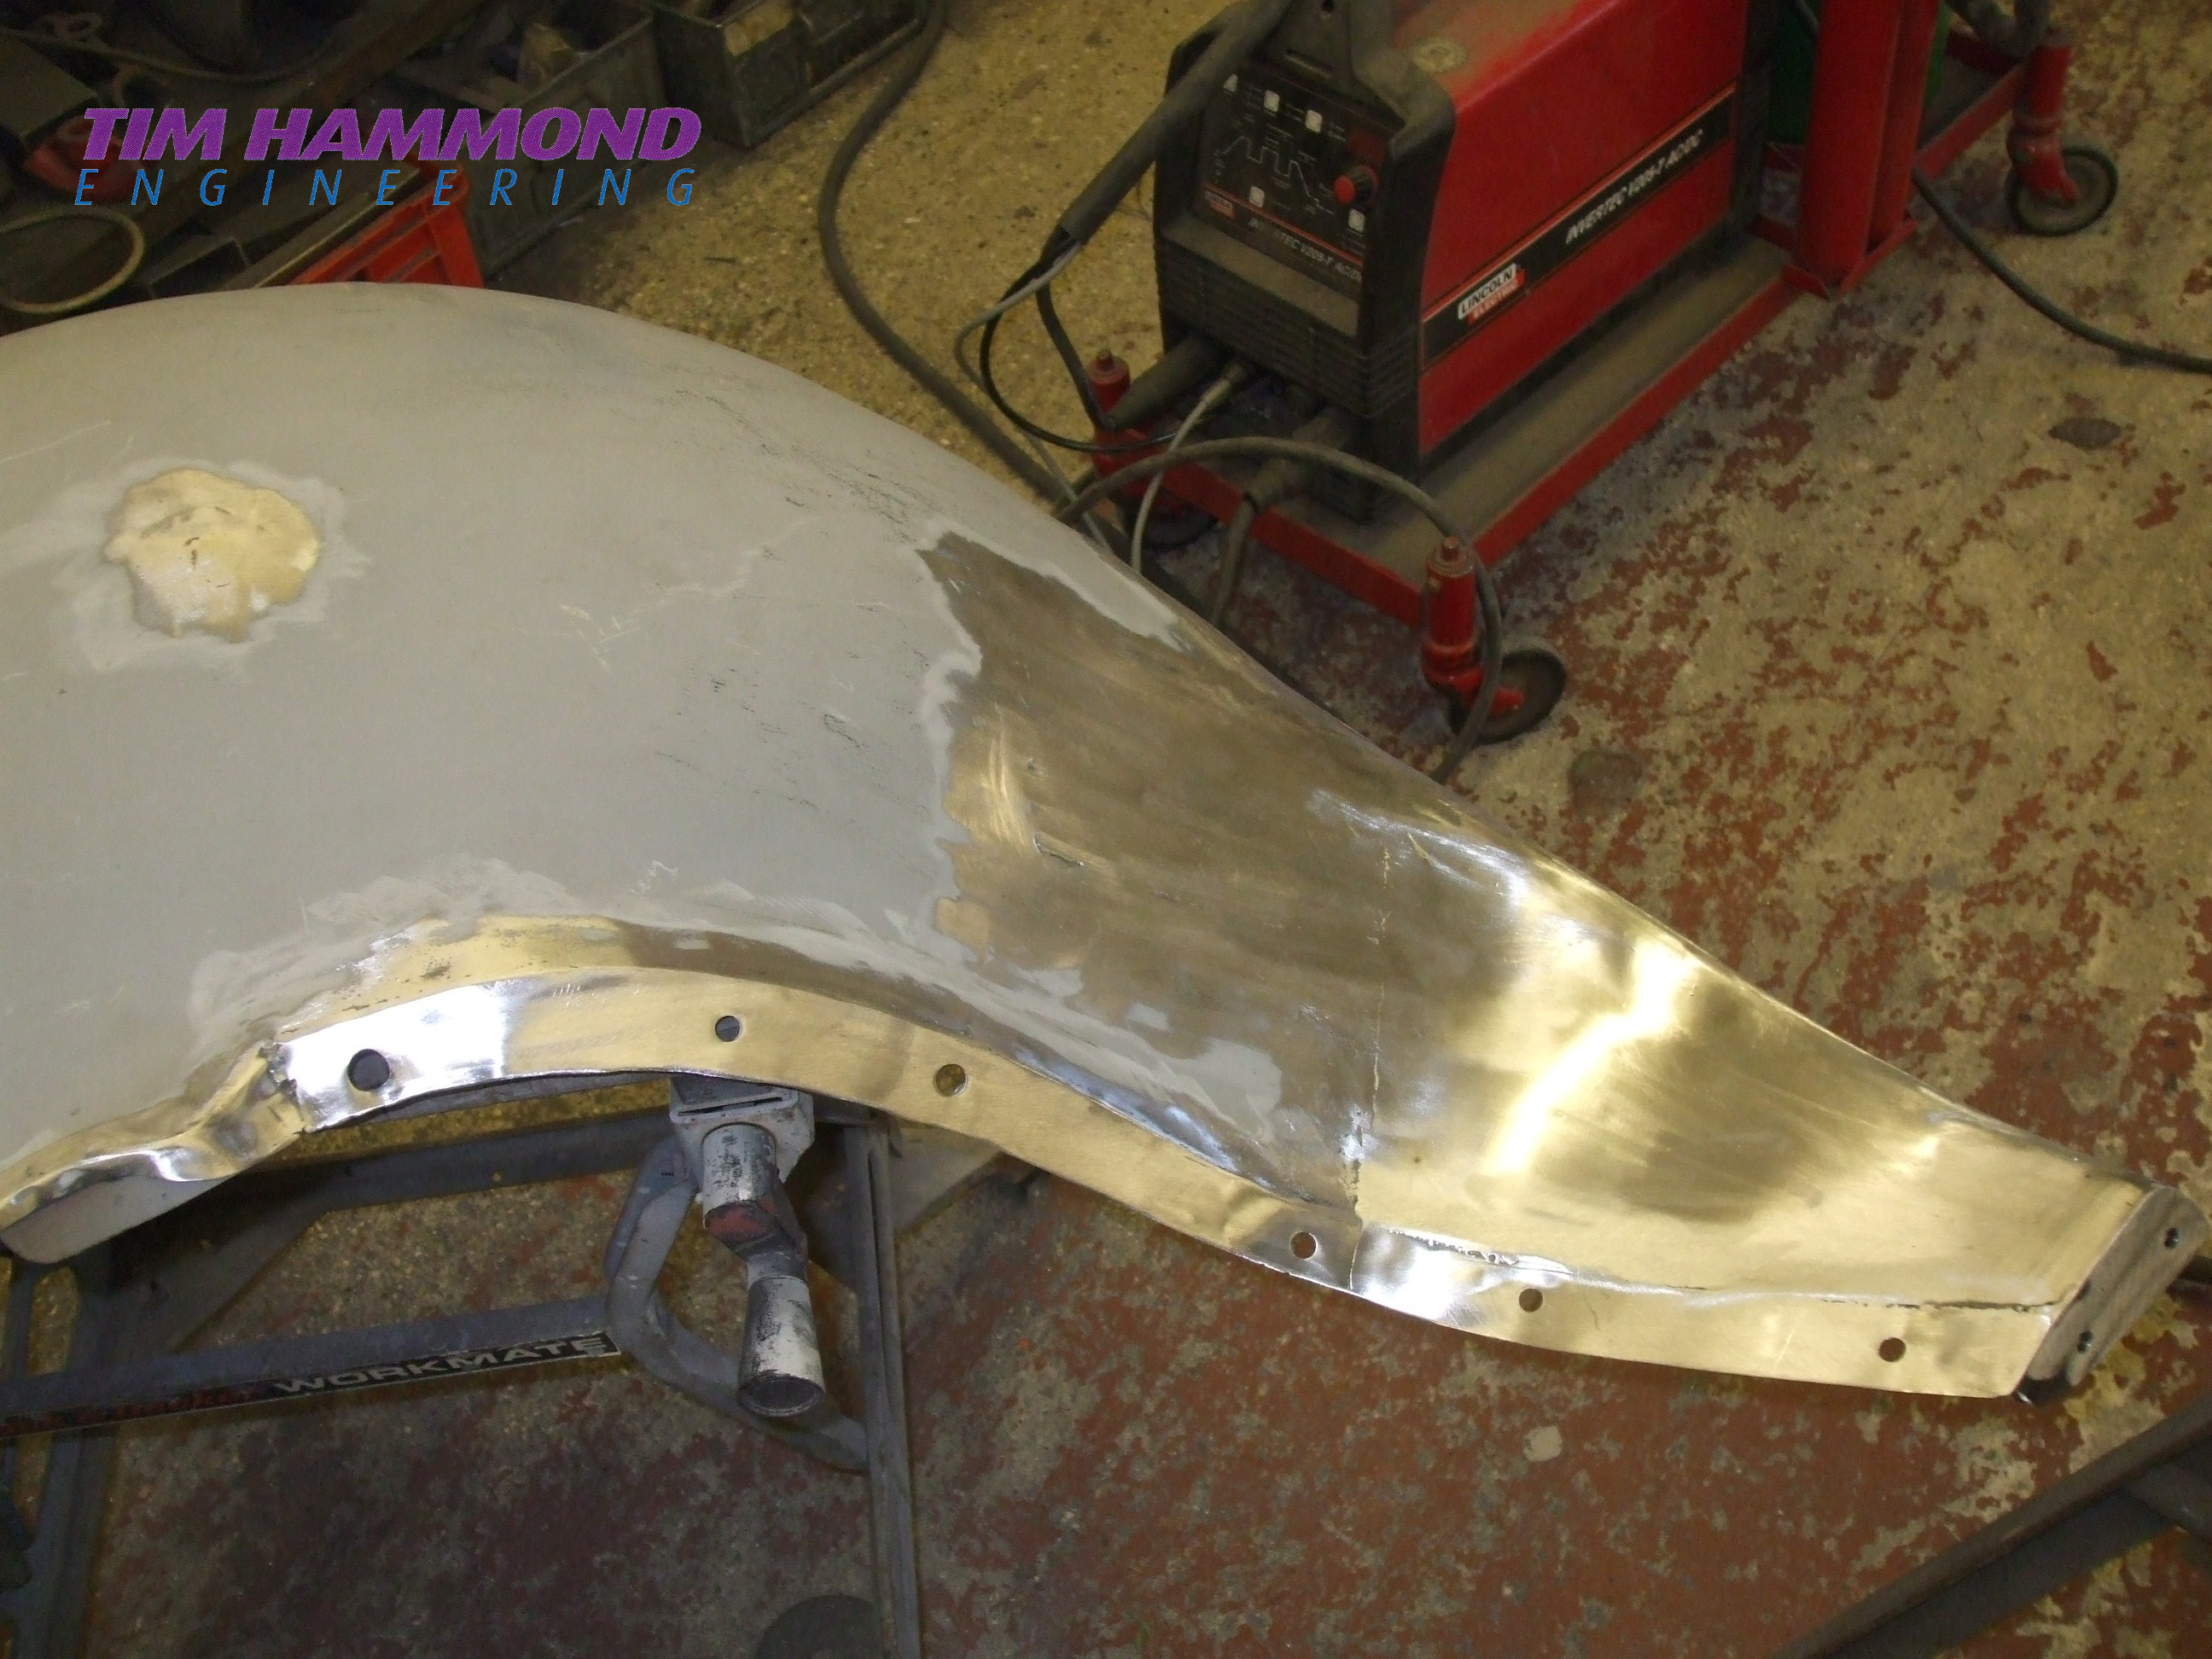
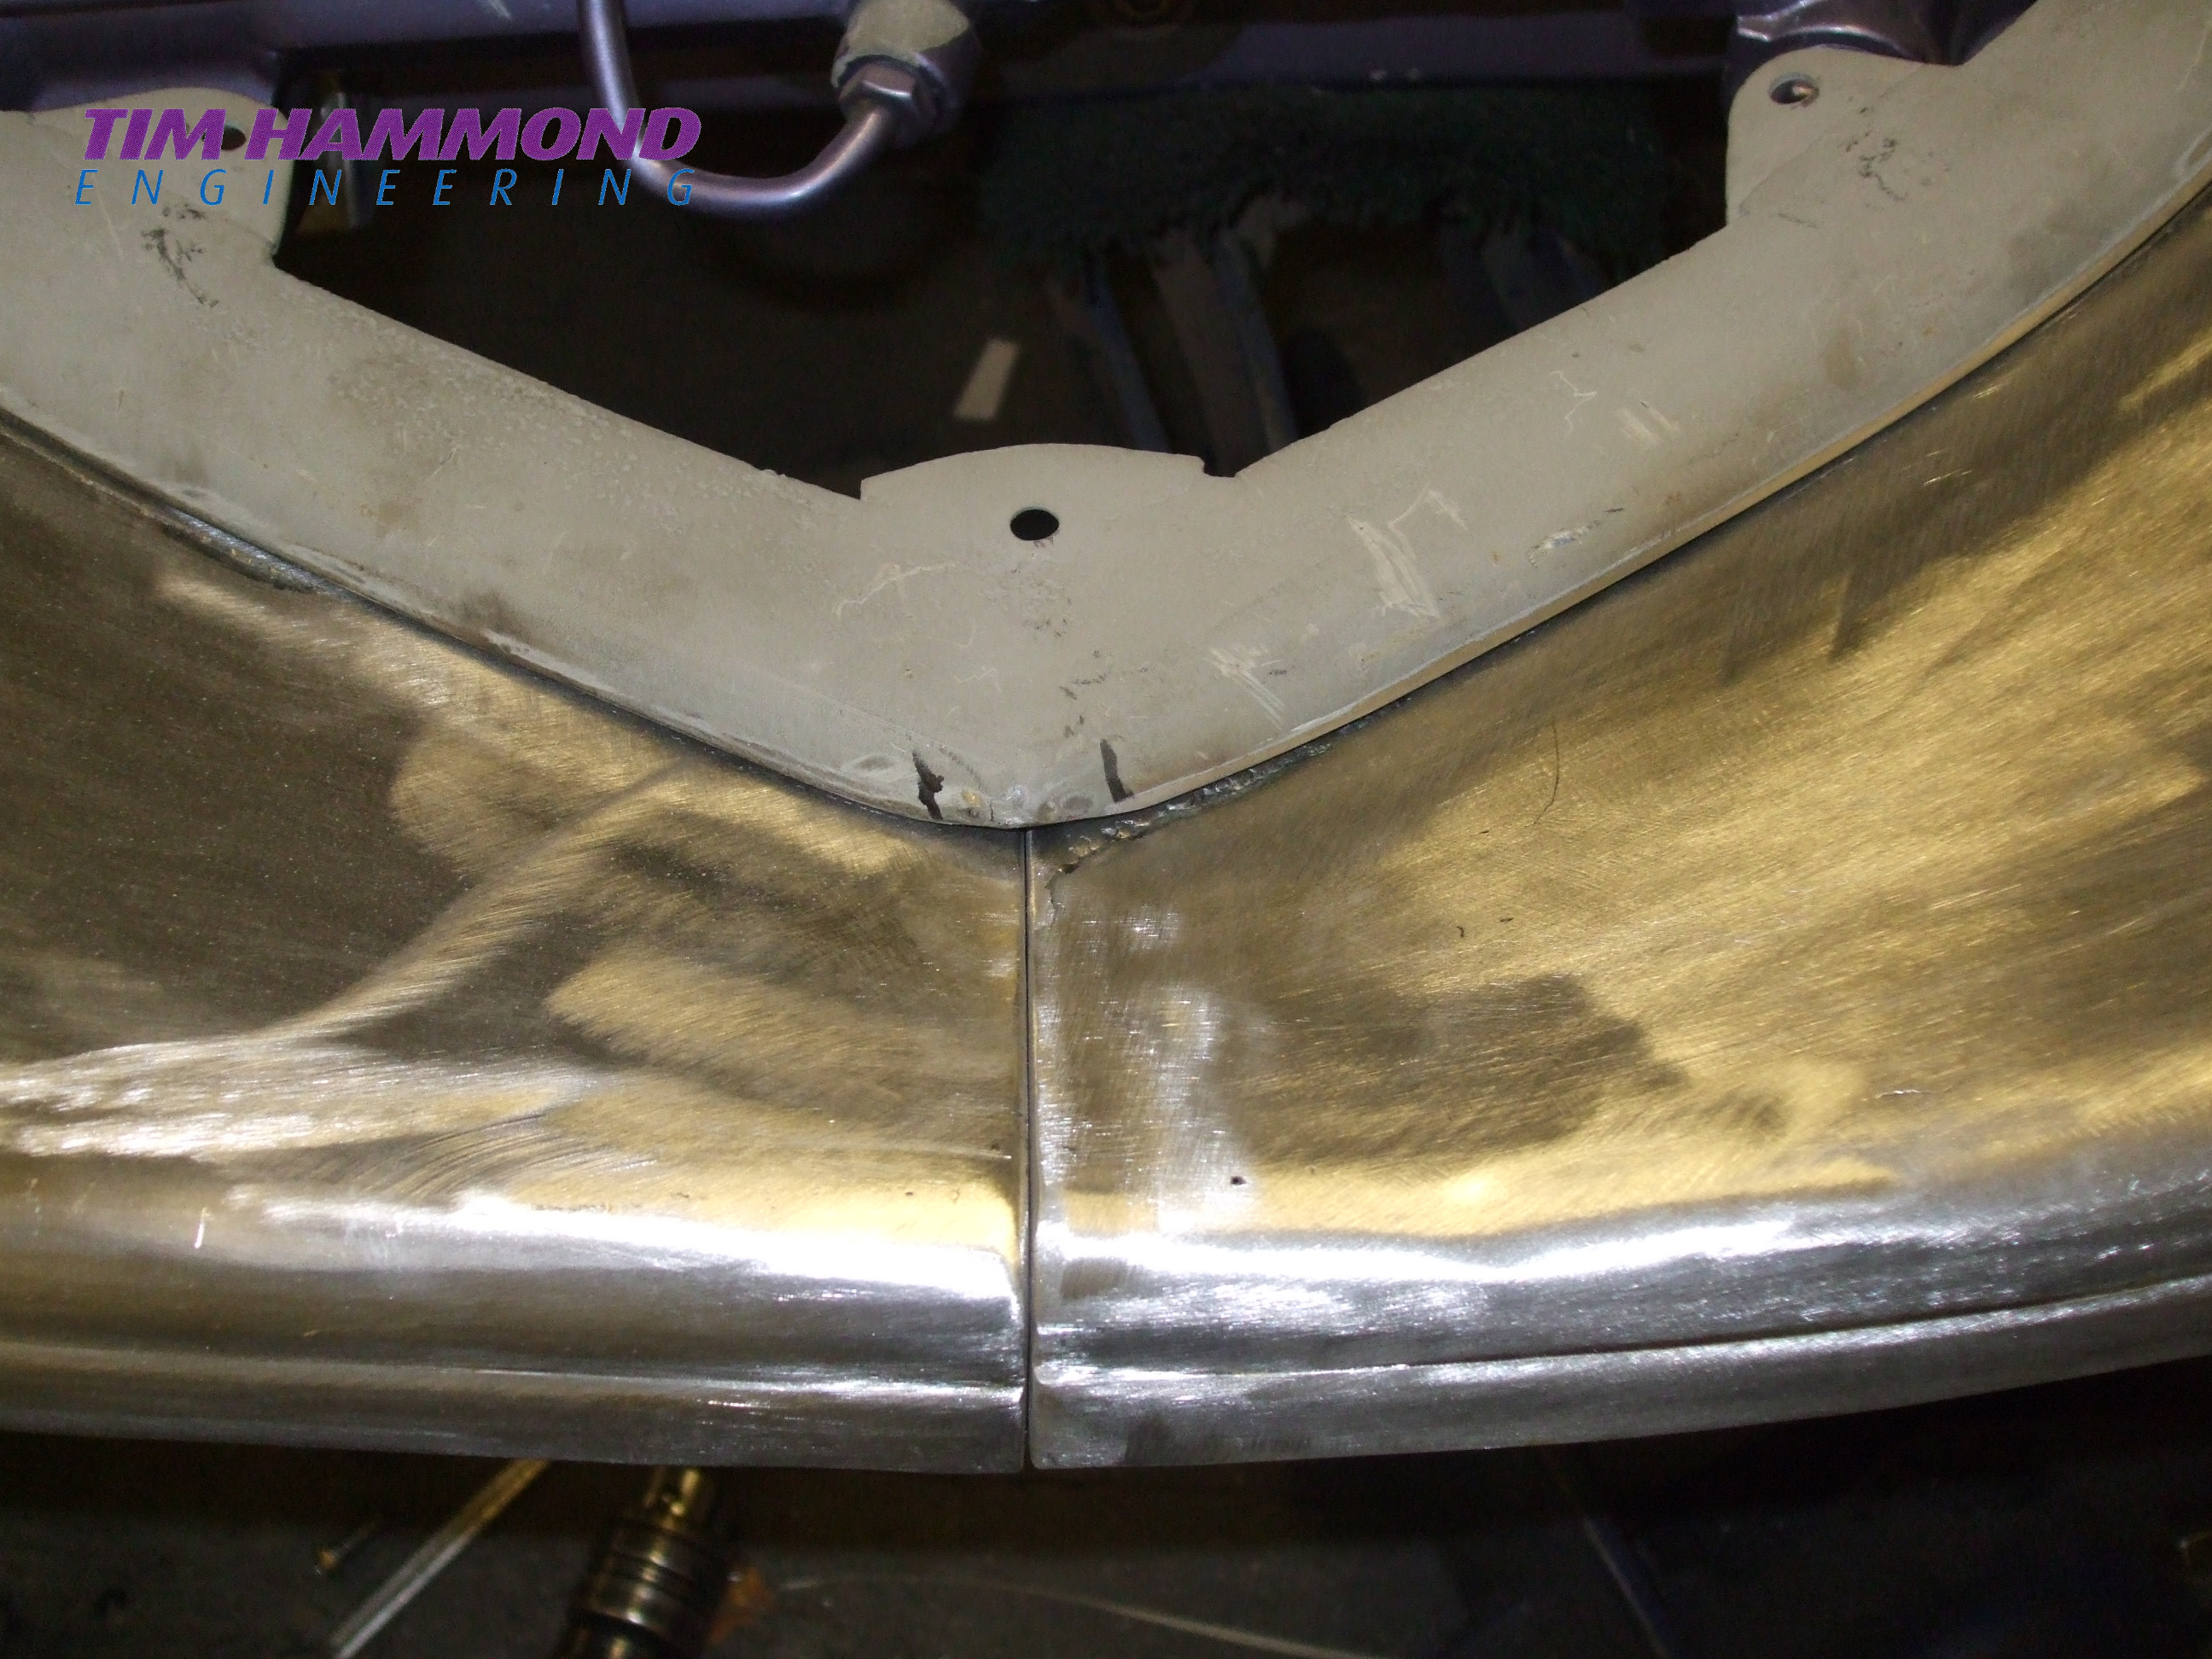
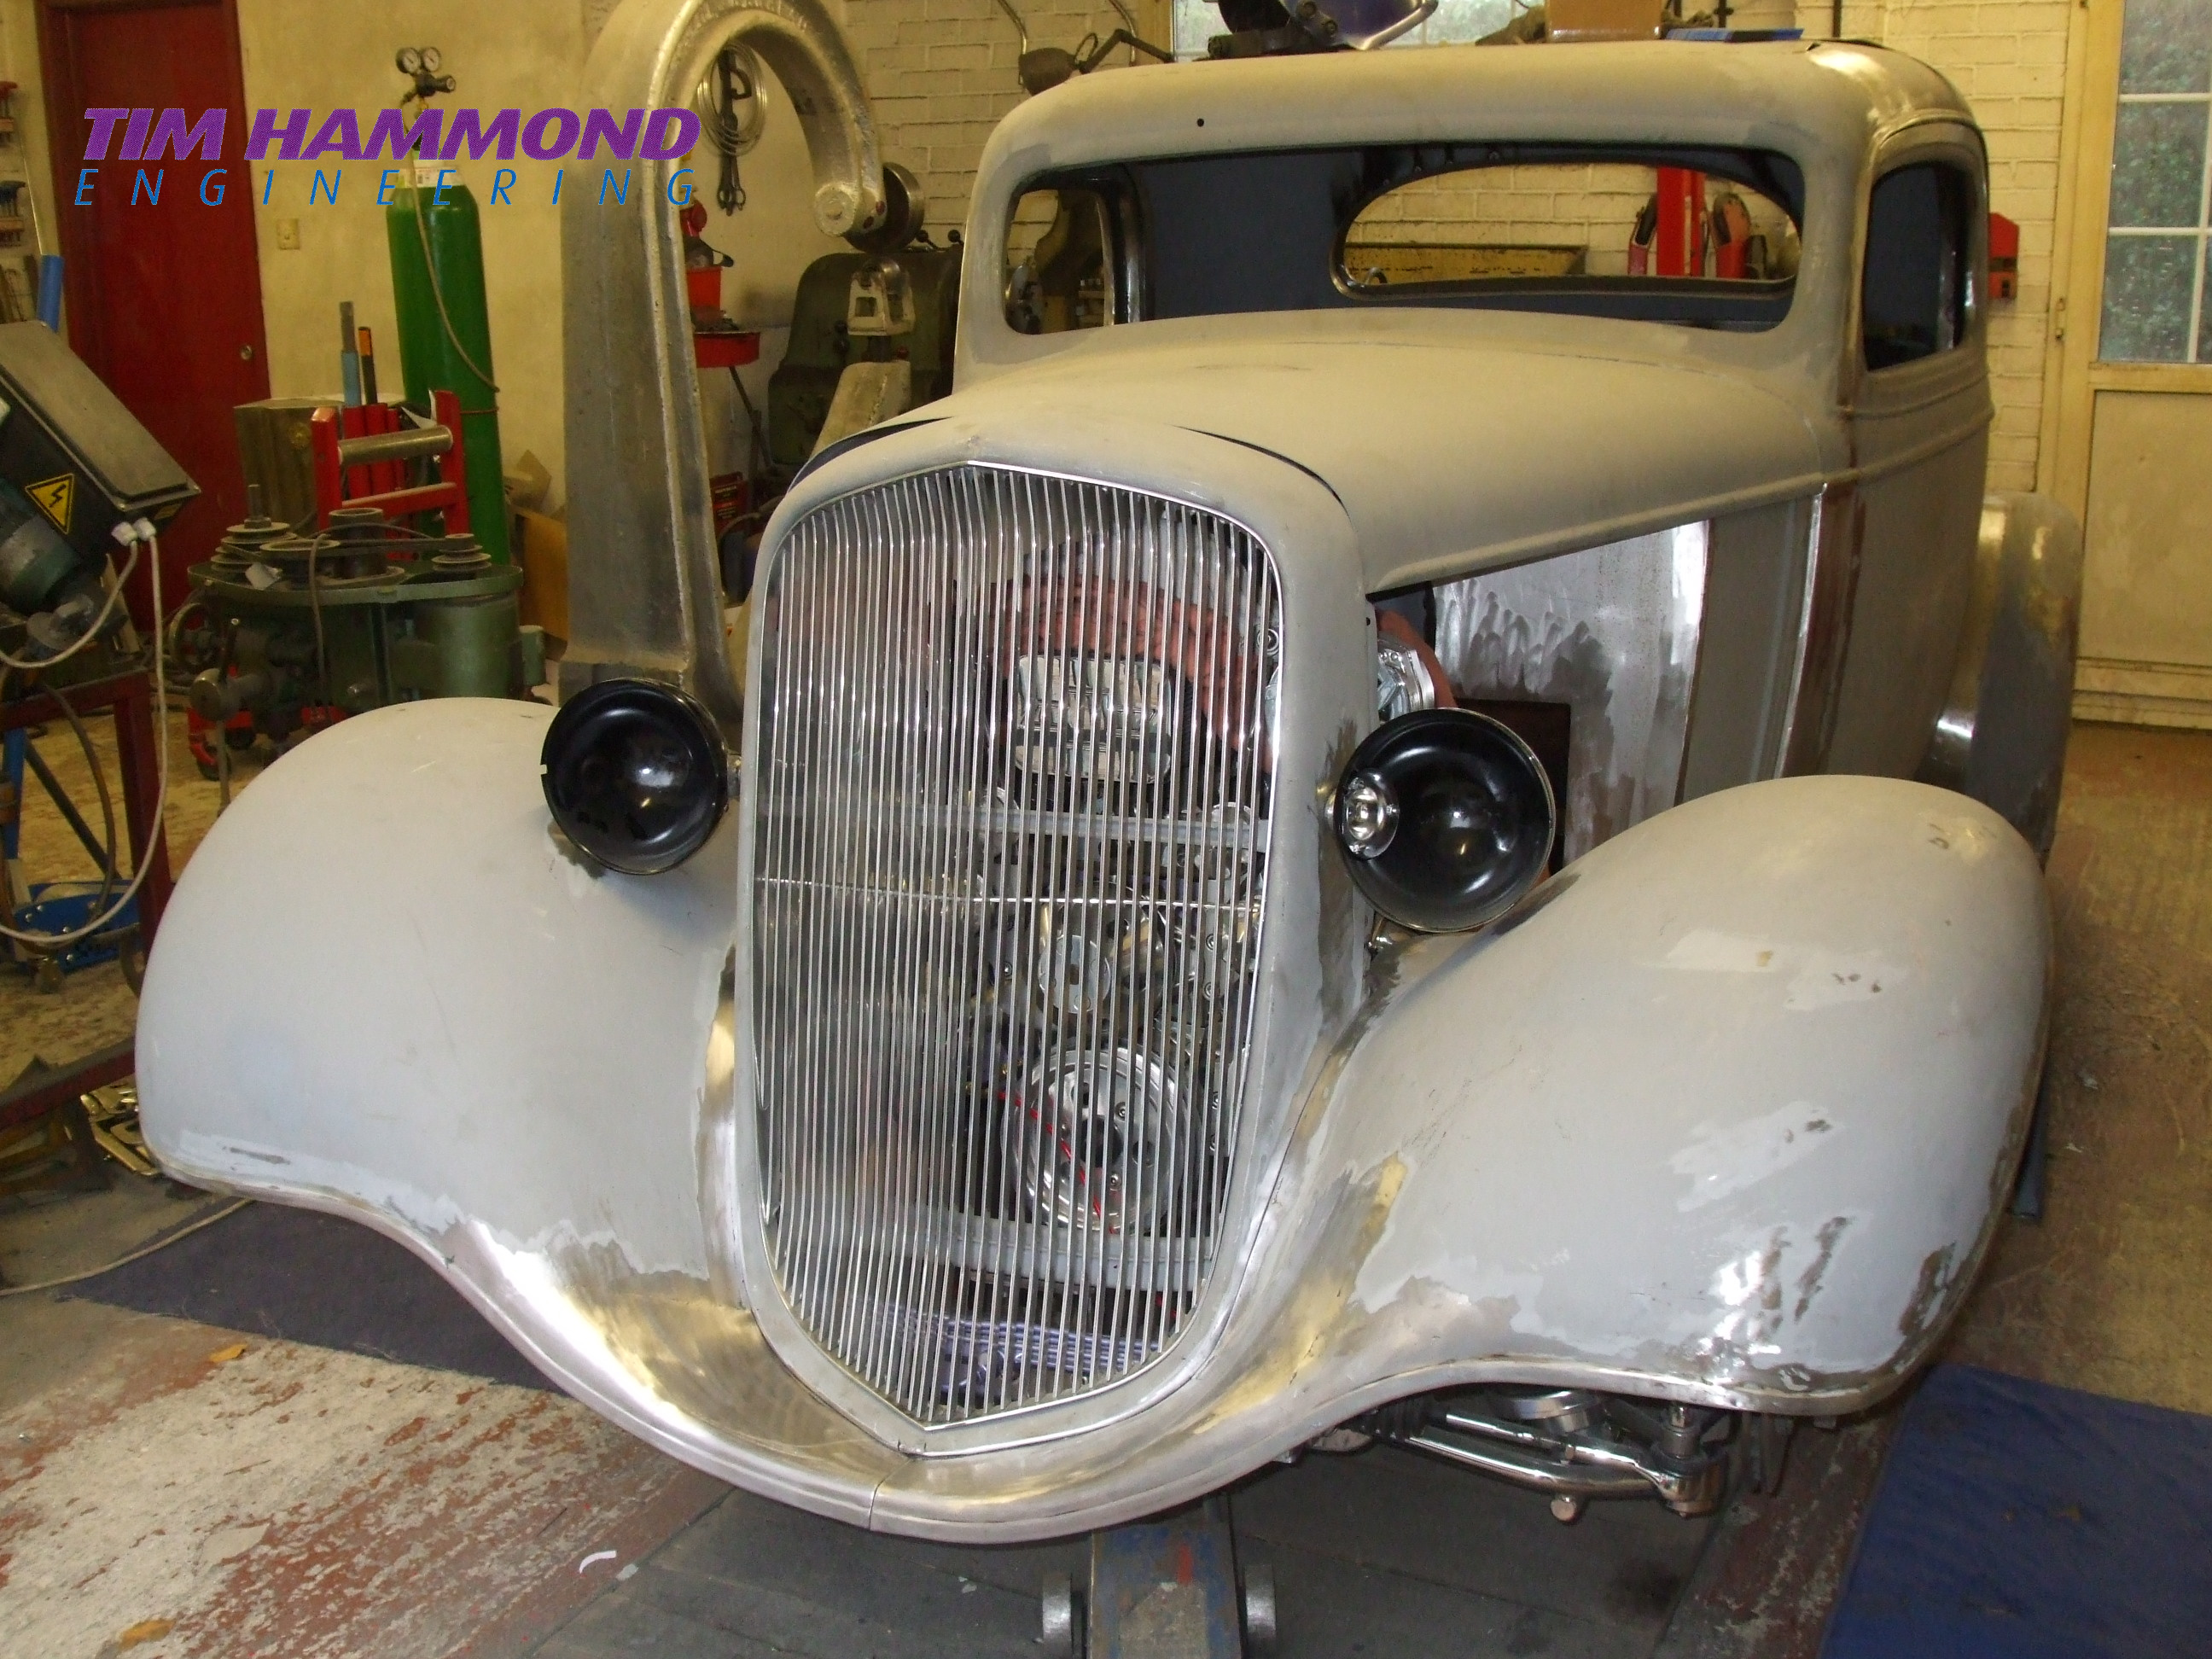
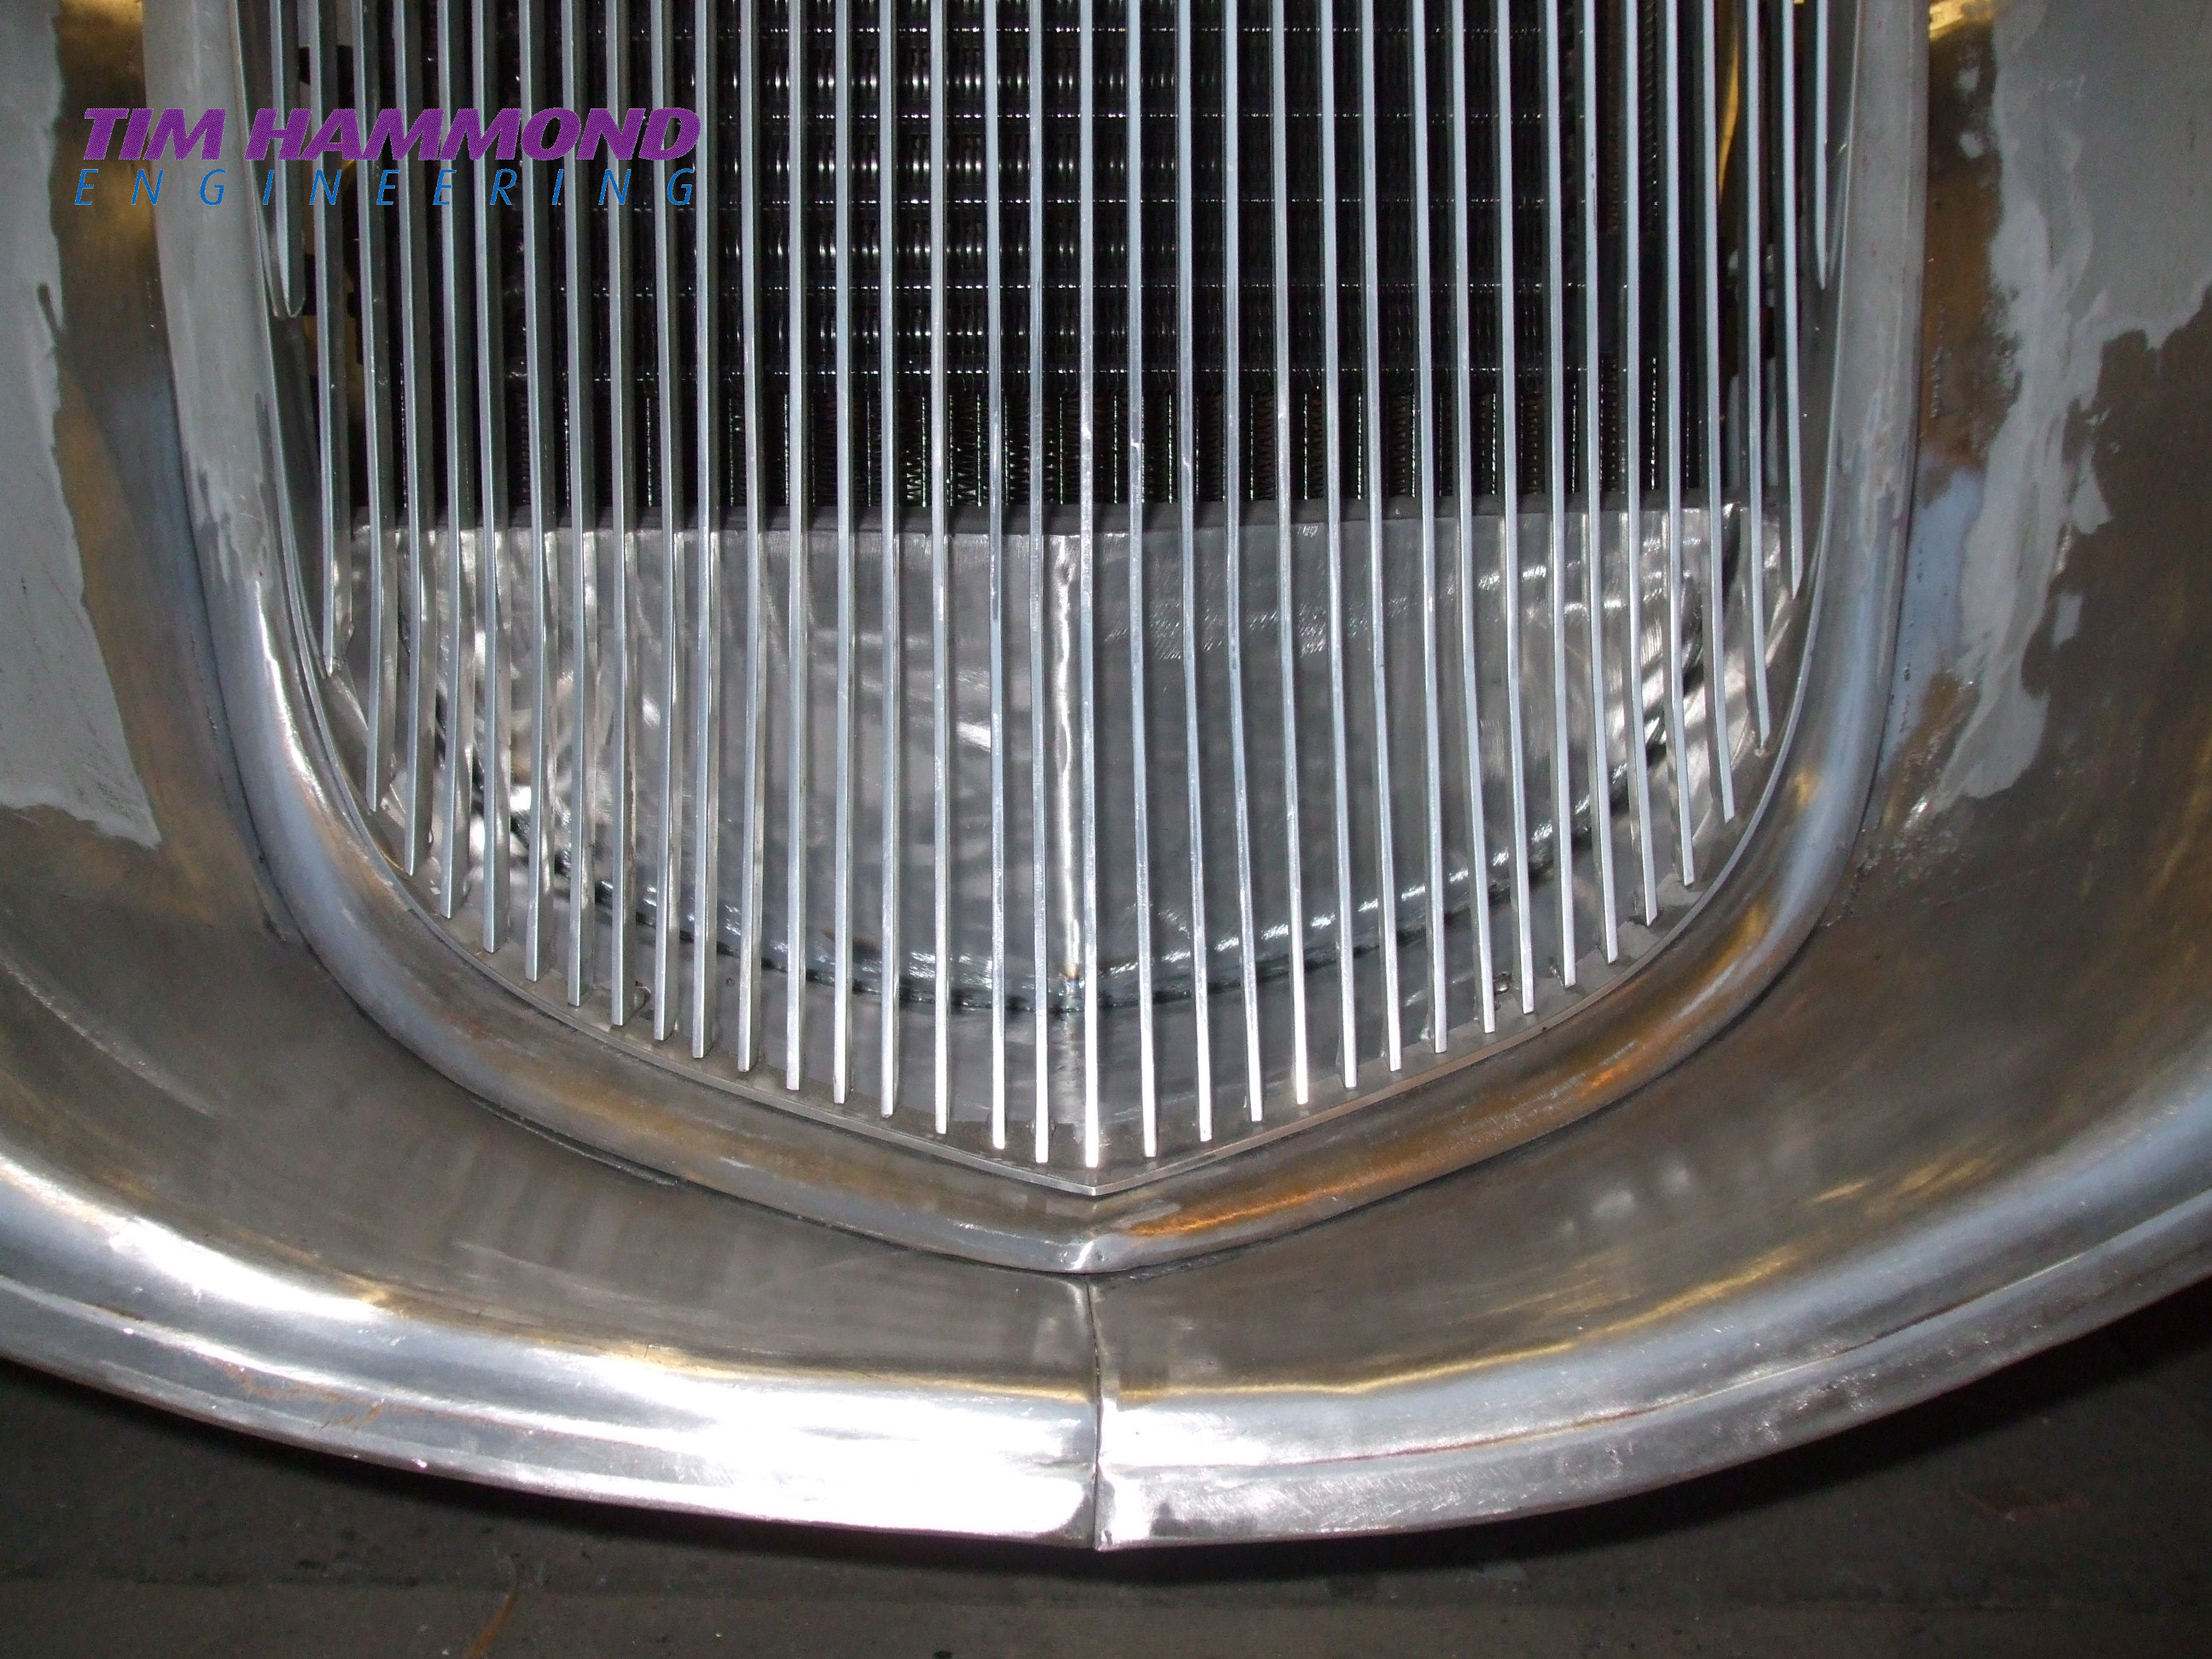
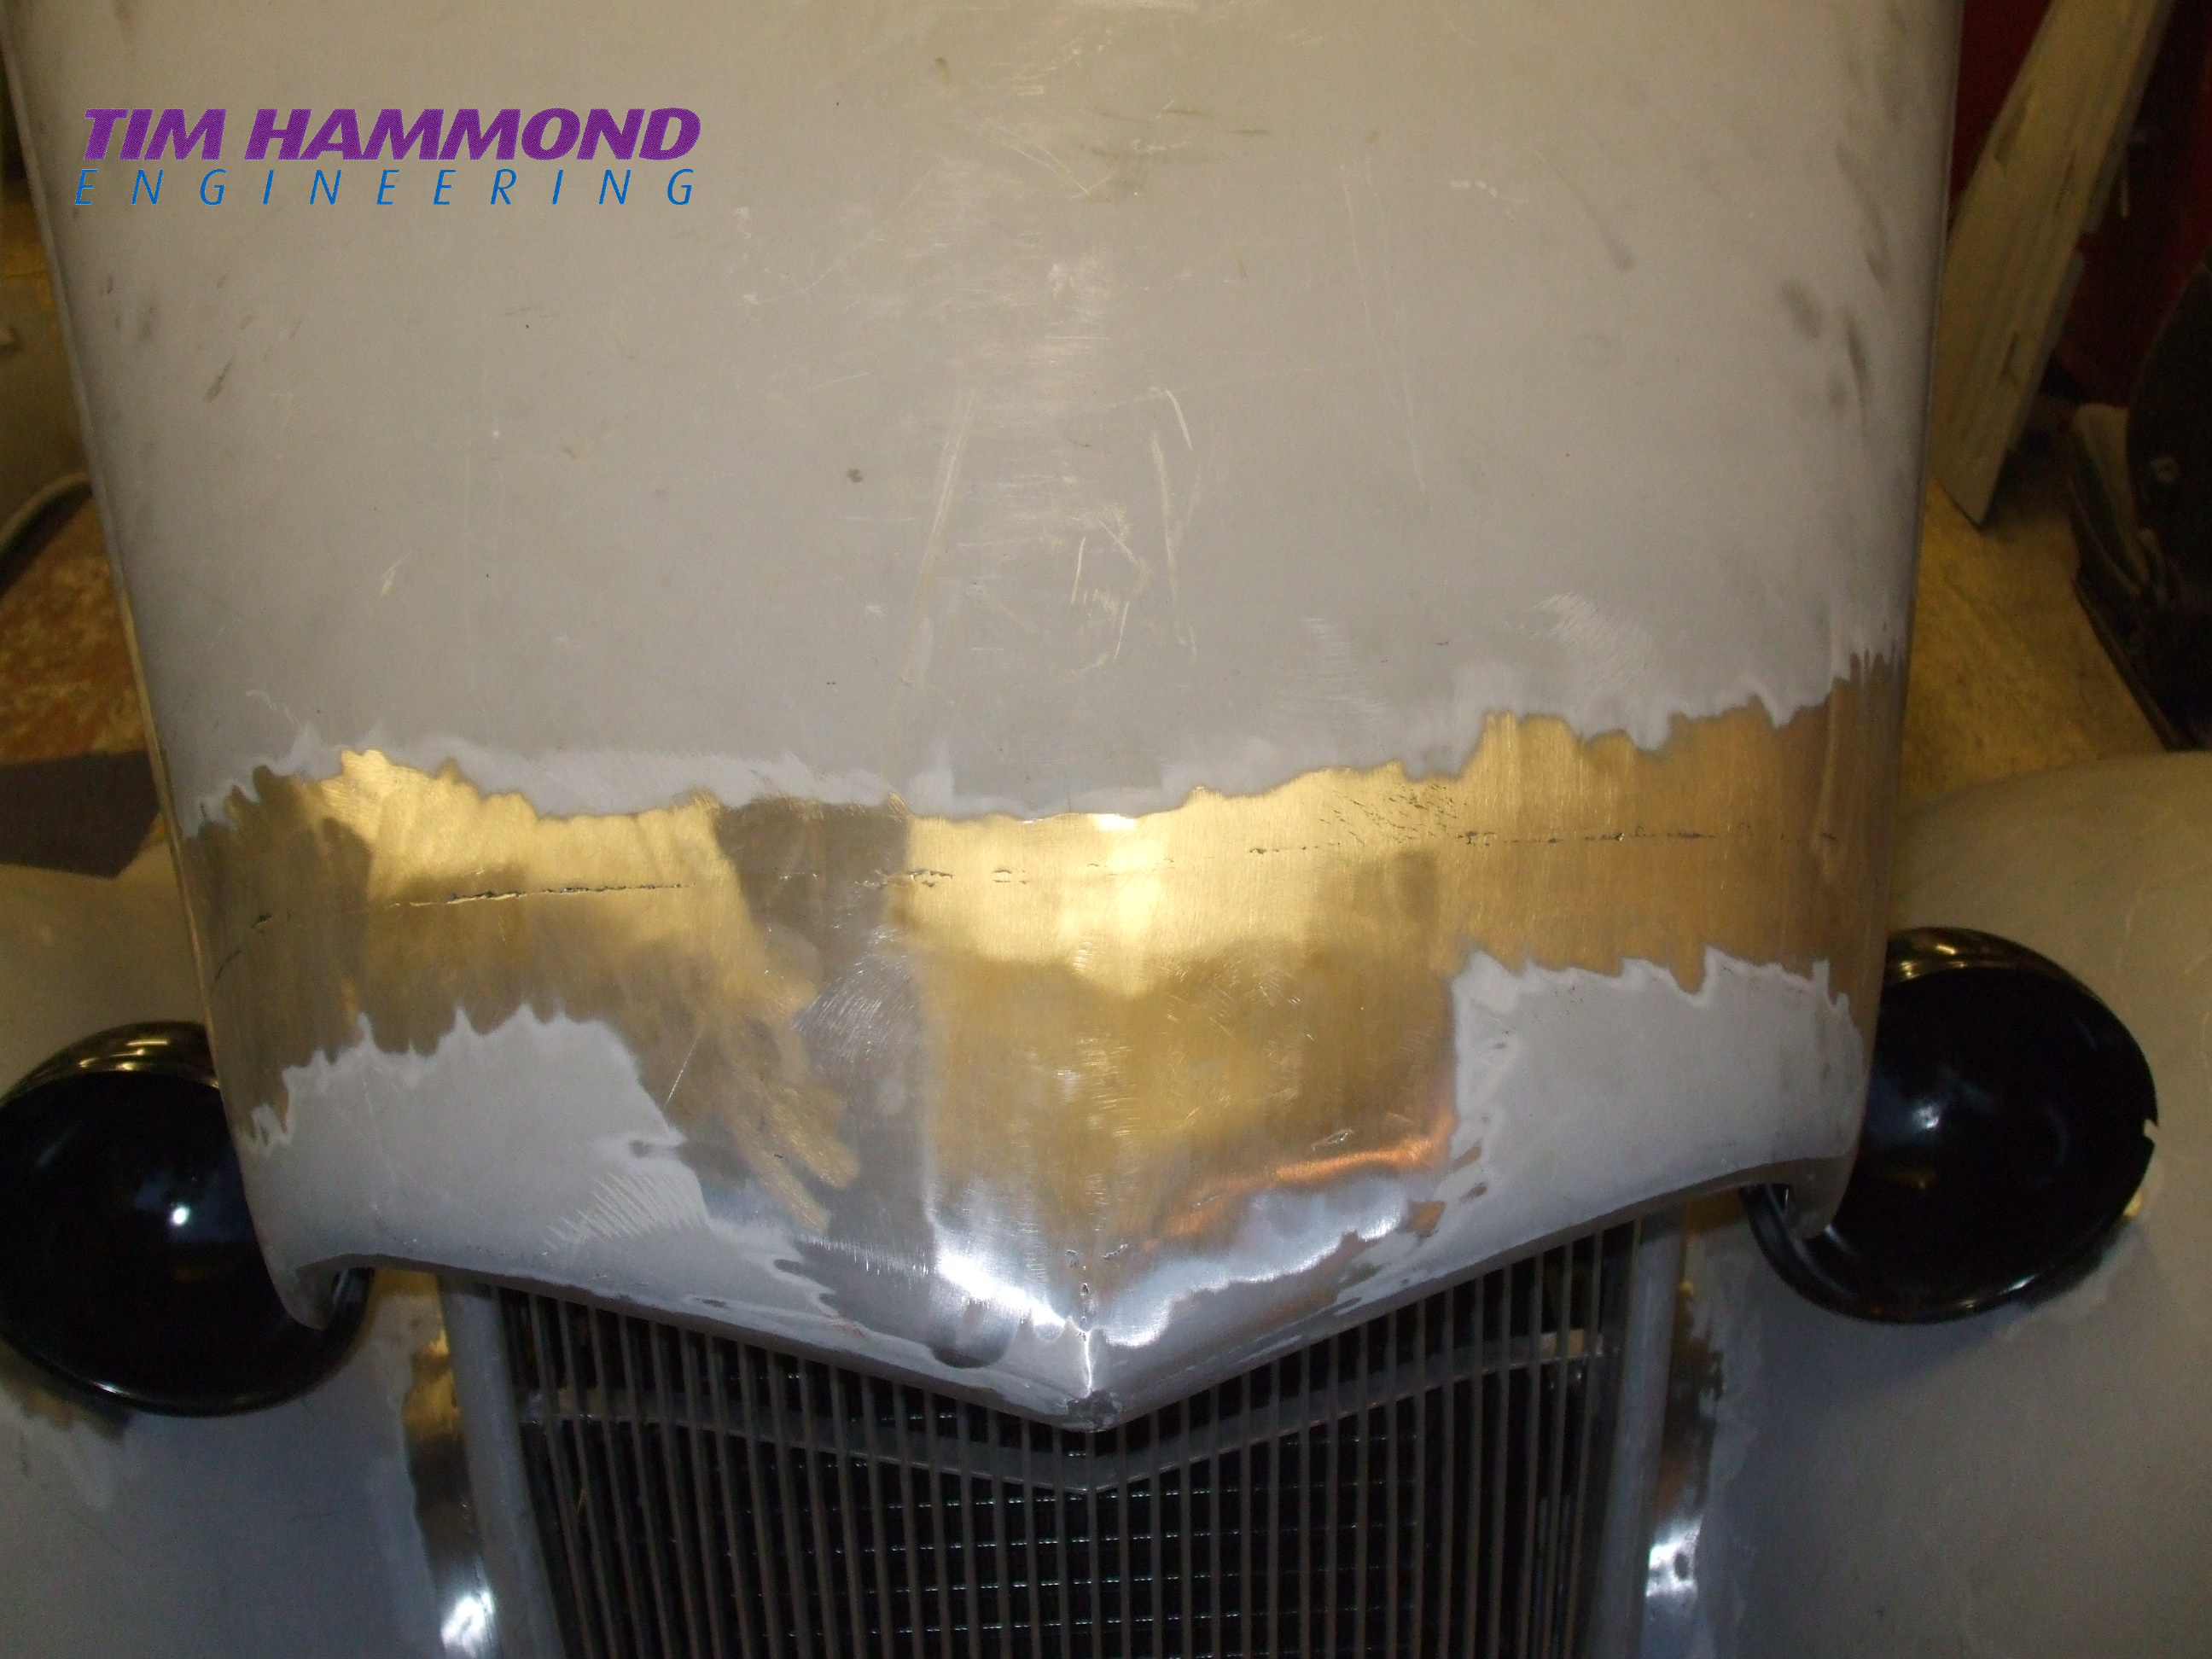
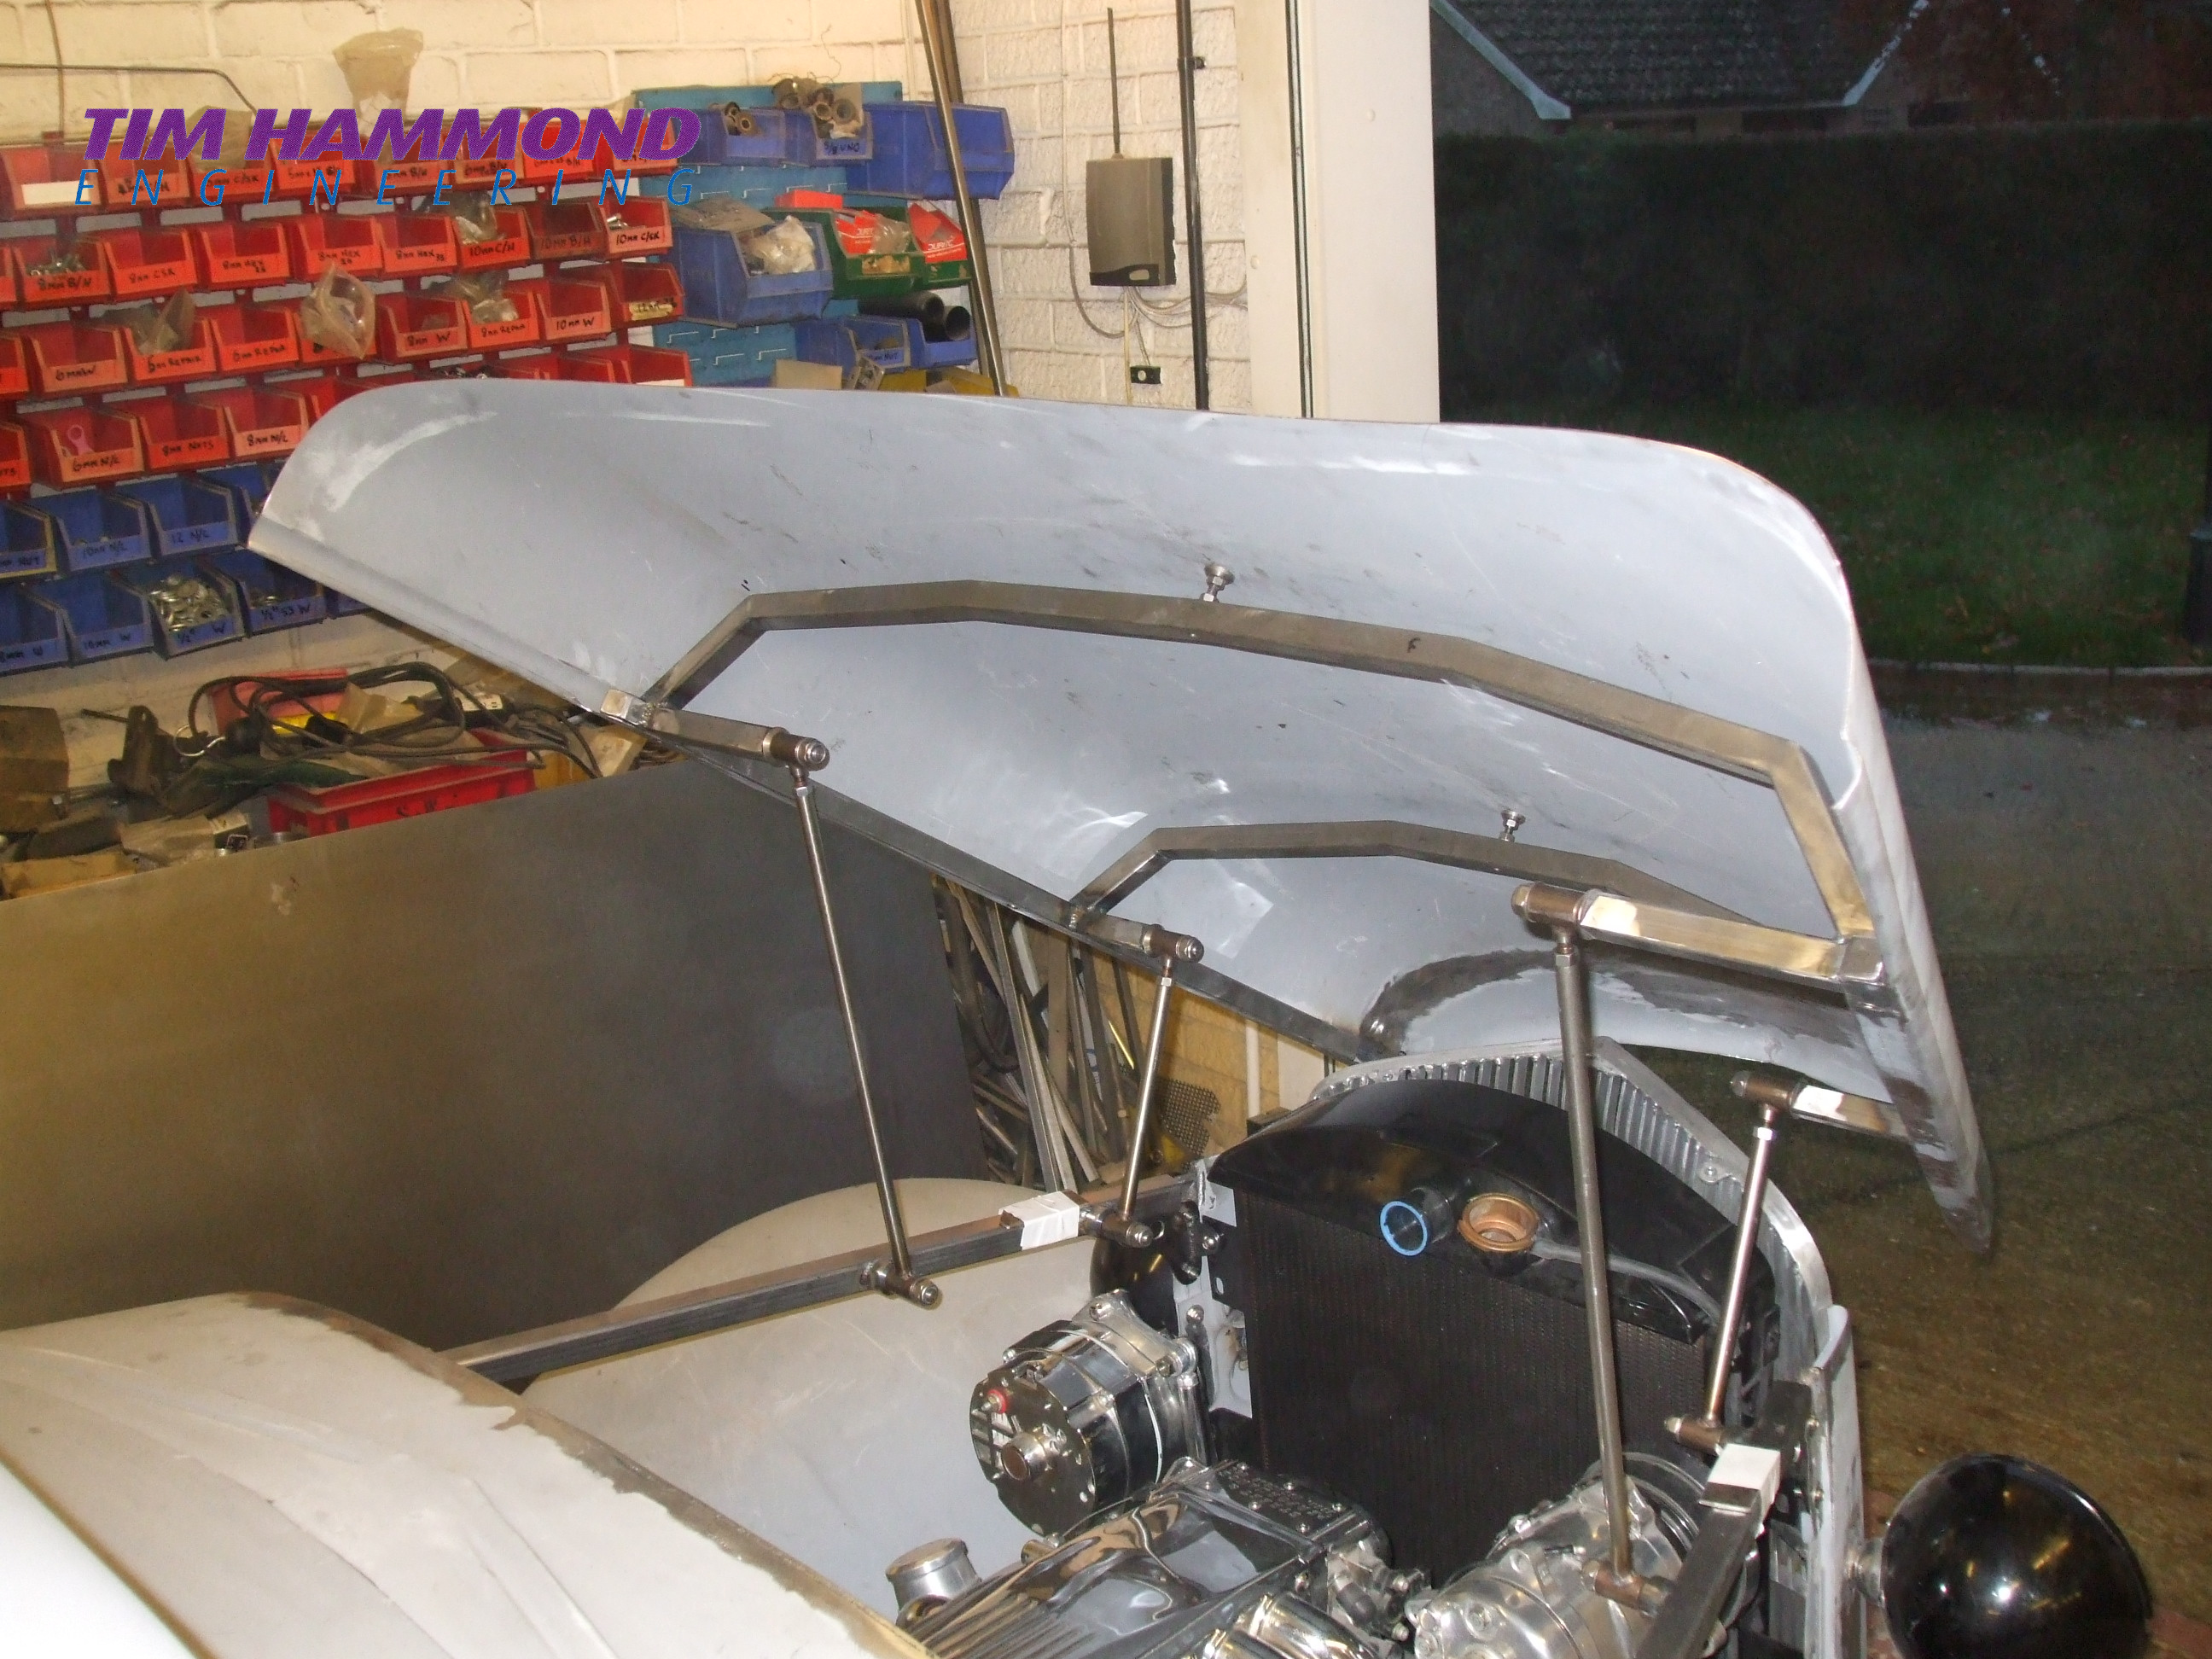
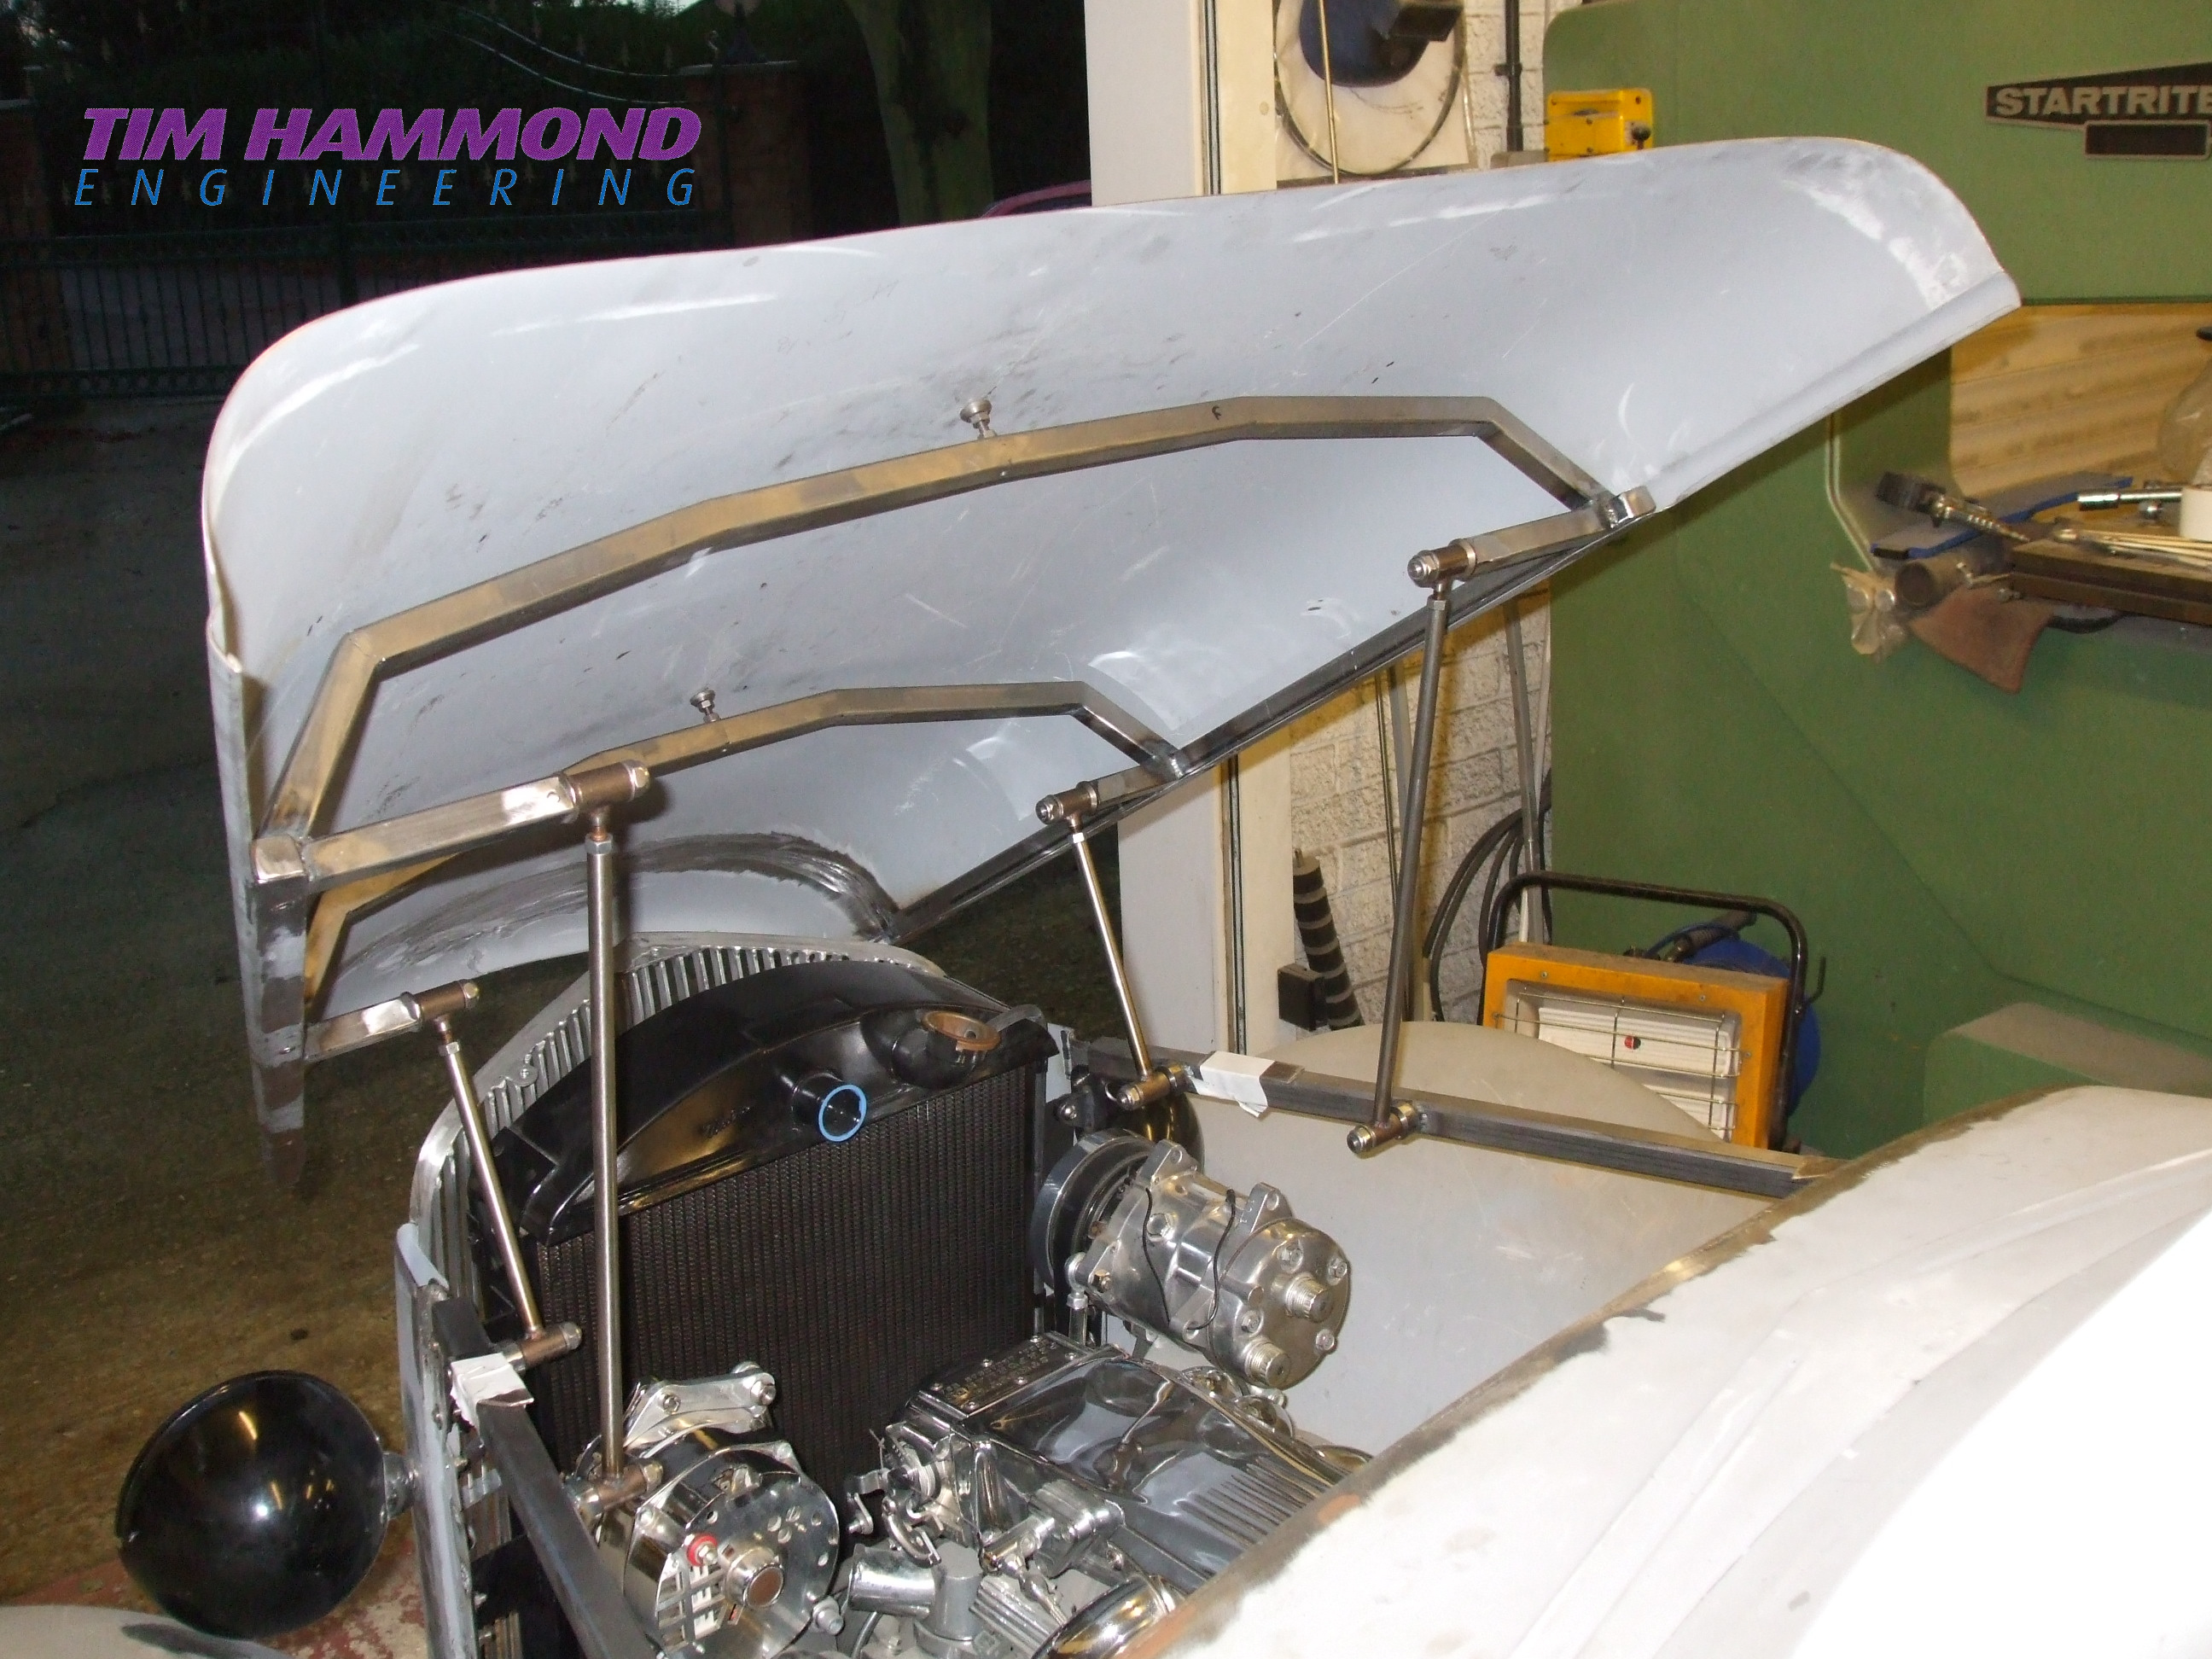
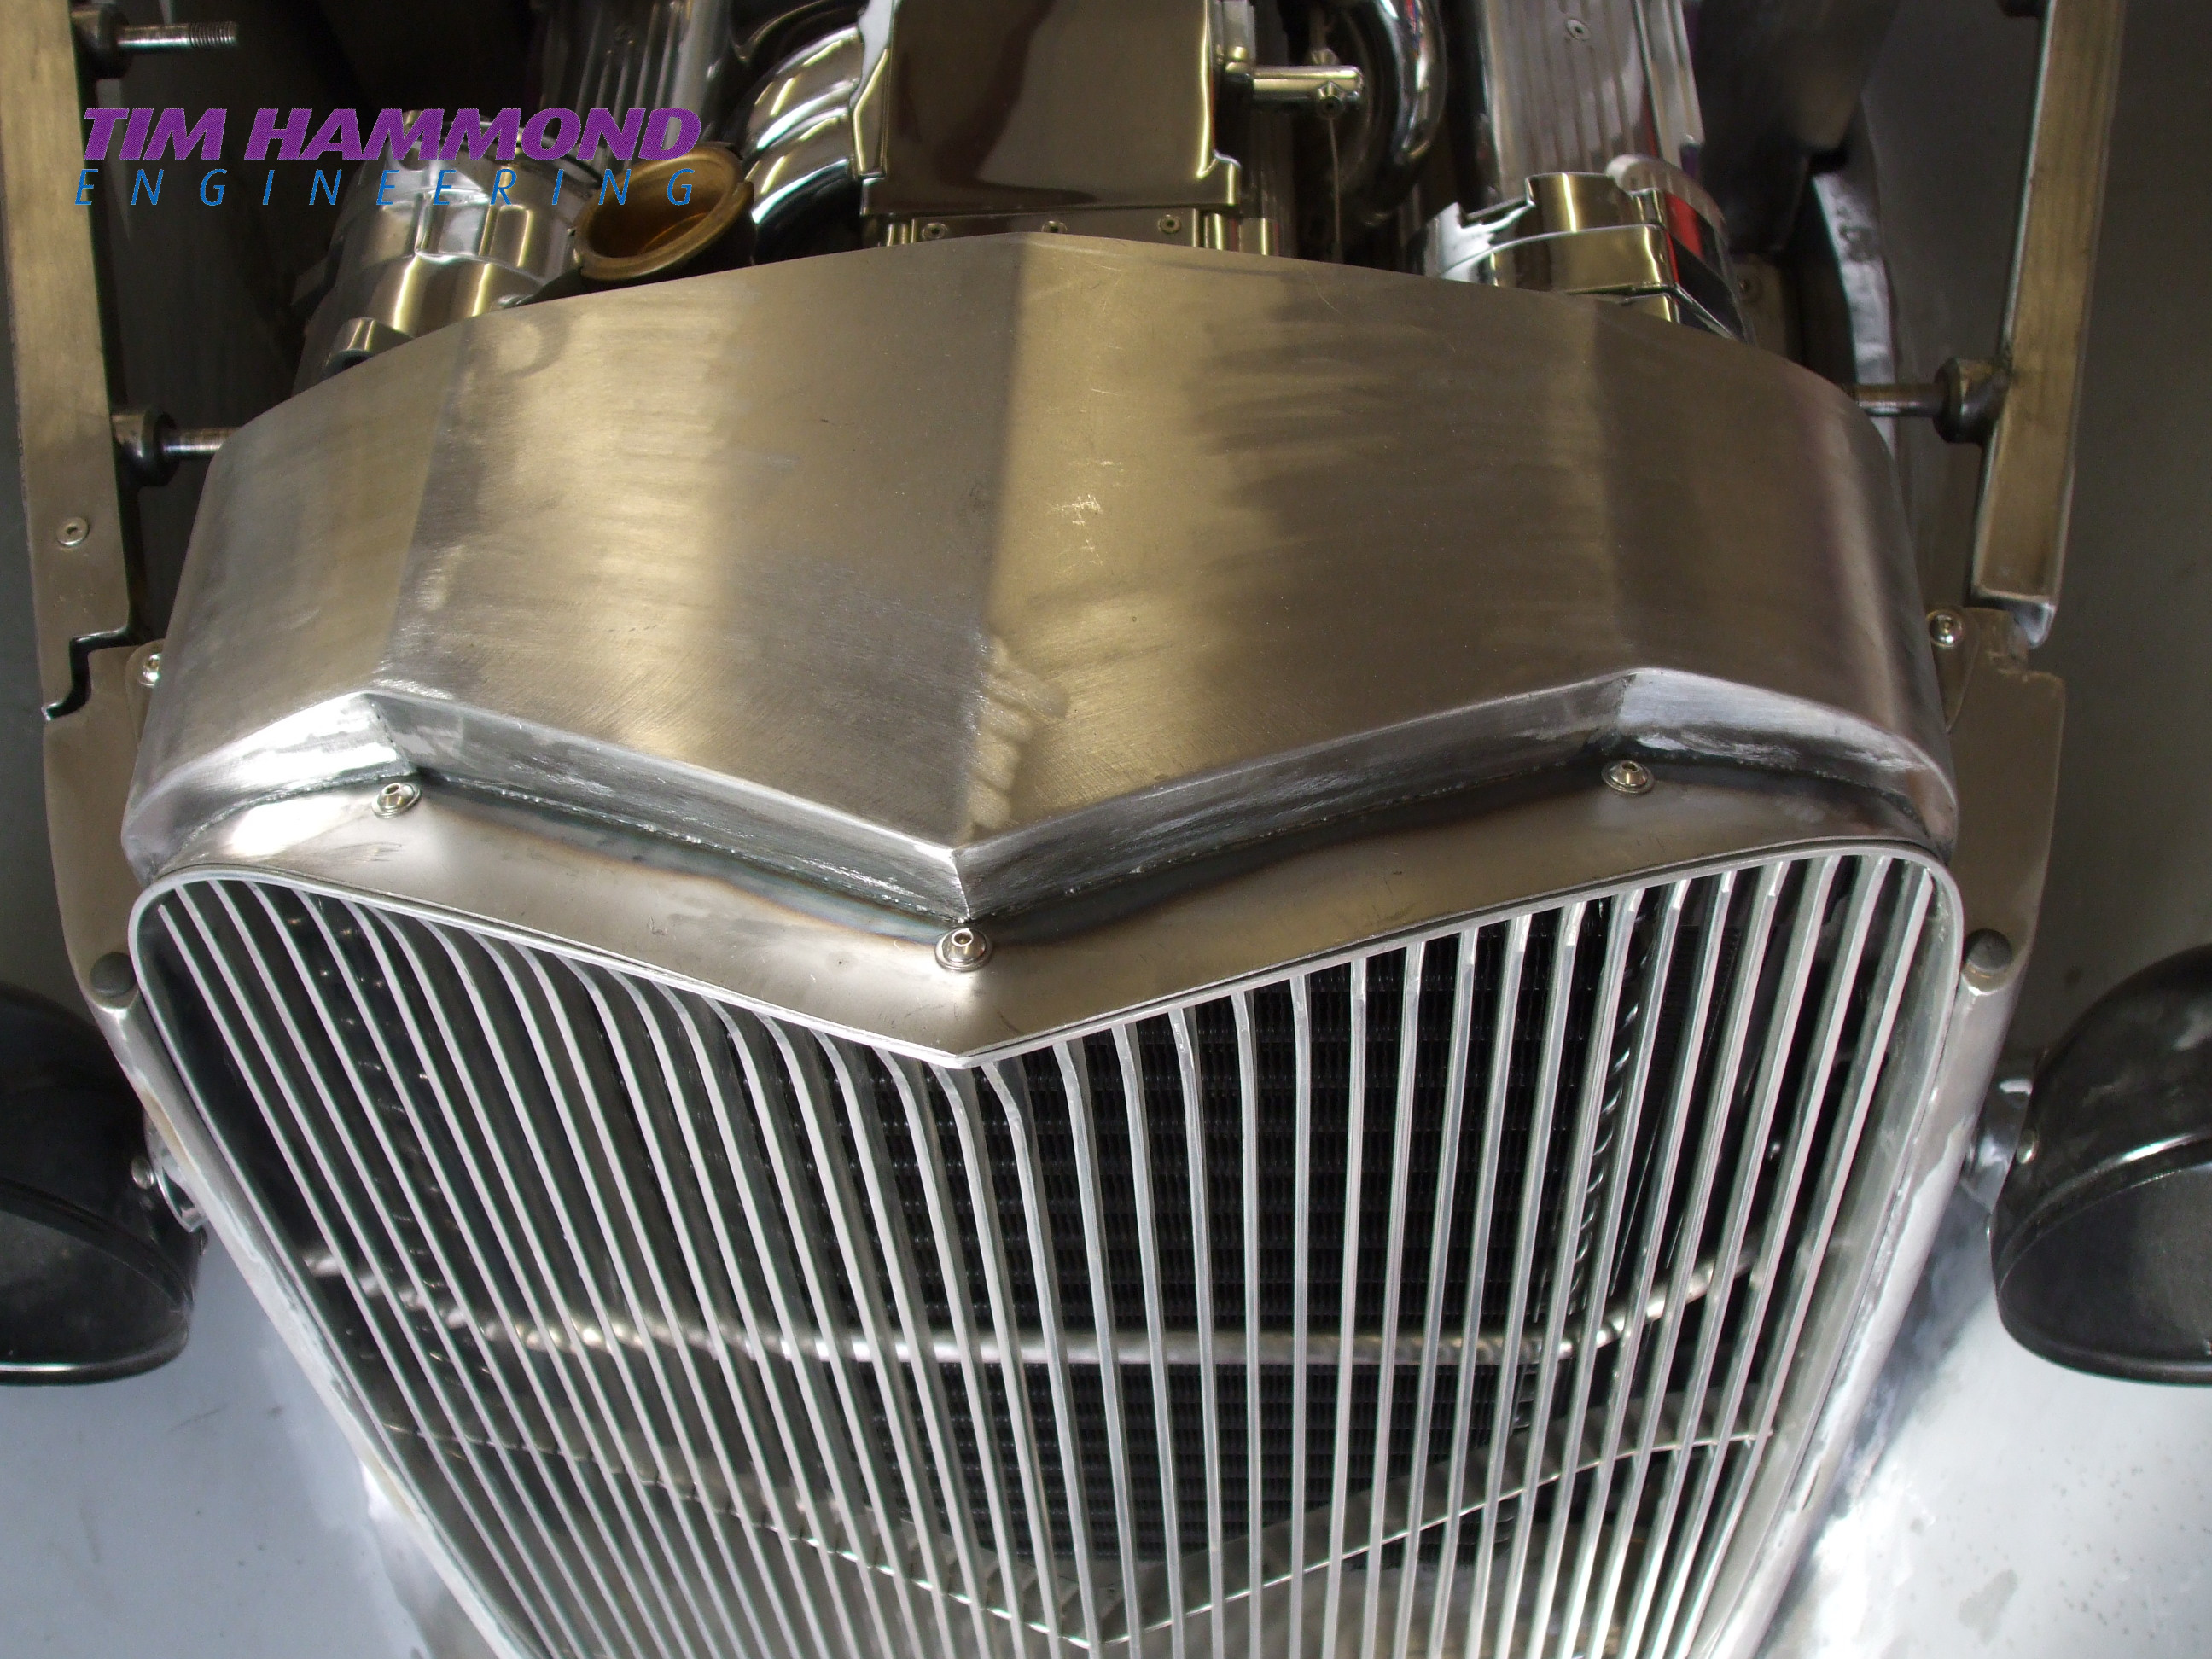
The front fenders were made 4” longer than stock and we decided to bring the front fenders around and fix to the bottom of the grill, ie like a 1934. The running boards were fabricated 4” longer than stock. The bonnet was made from a 3 metre x 1.5 metre sheet of steel, with stainless steel hinges, bonnet support bows and locking levers cable operated from inside the car.
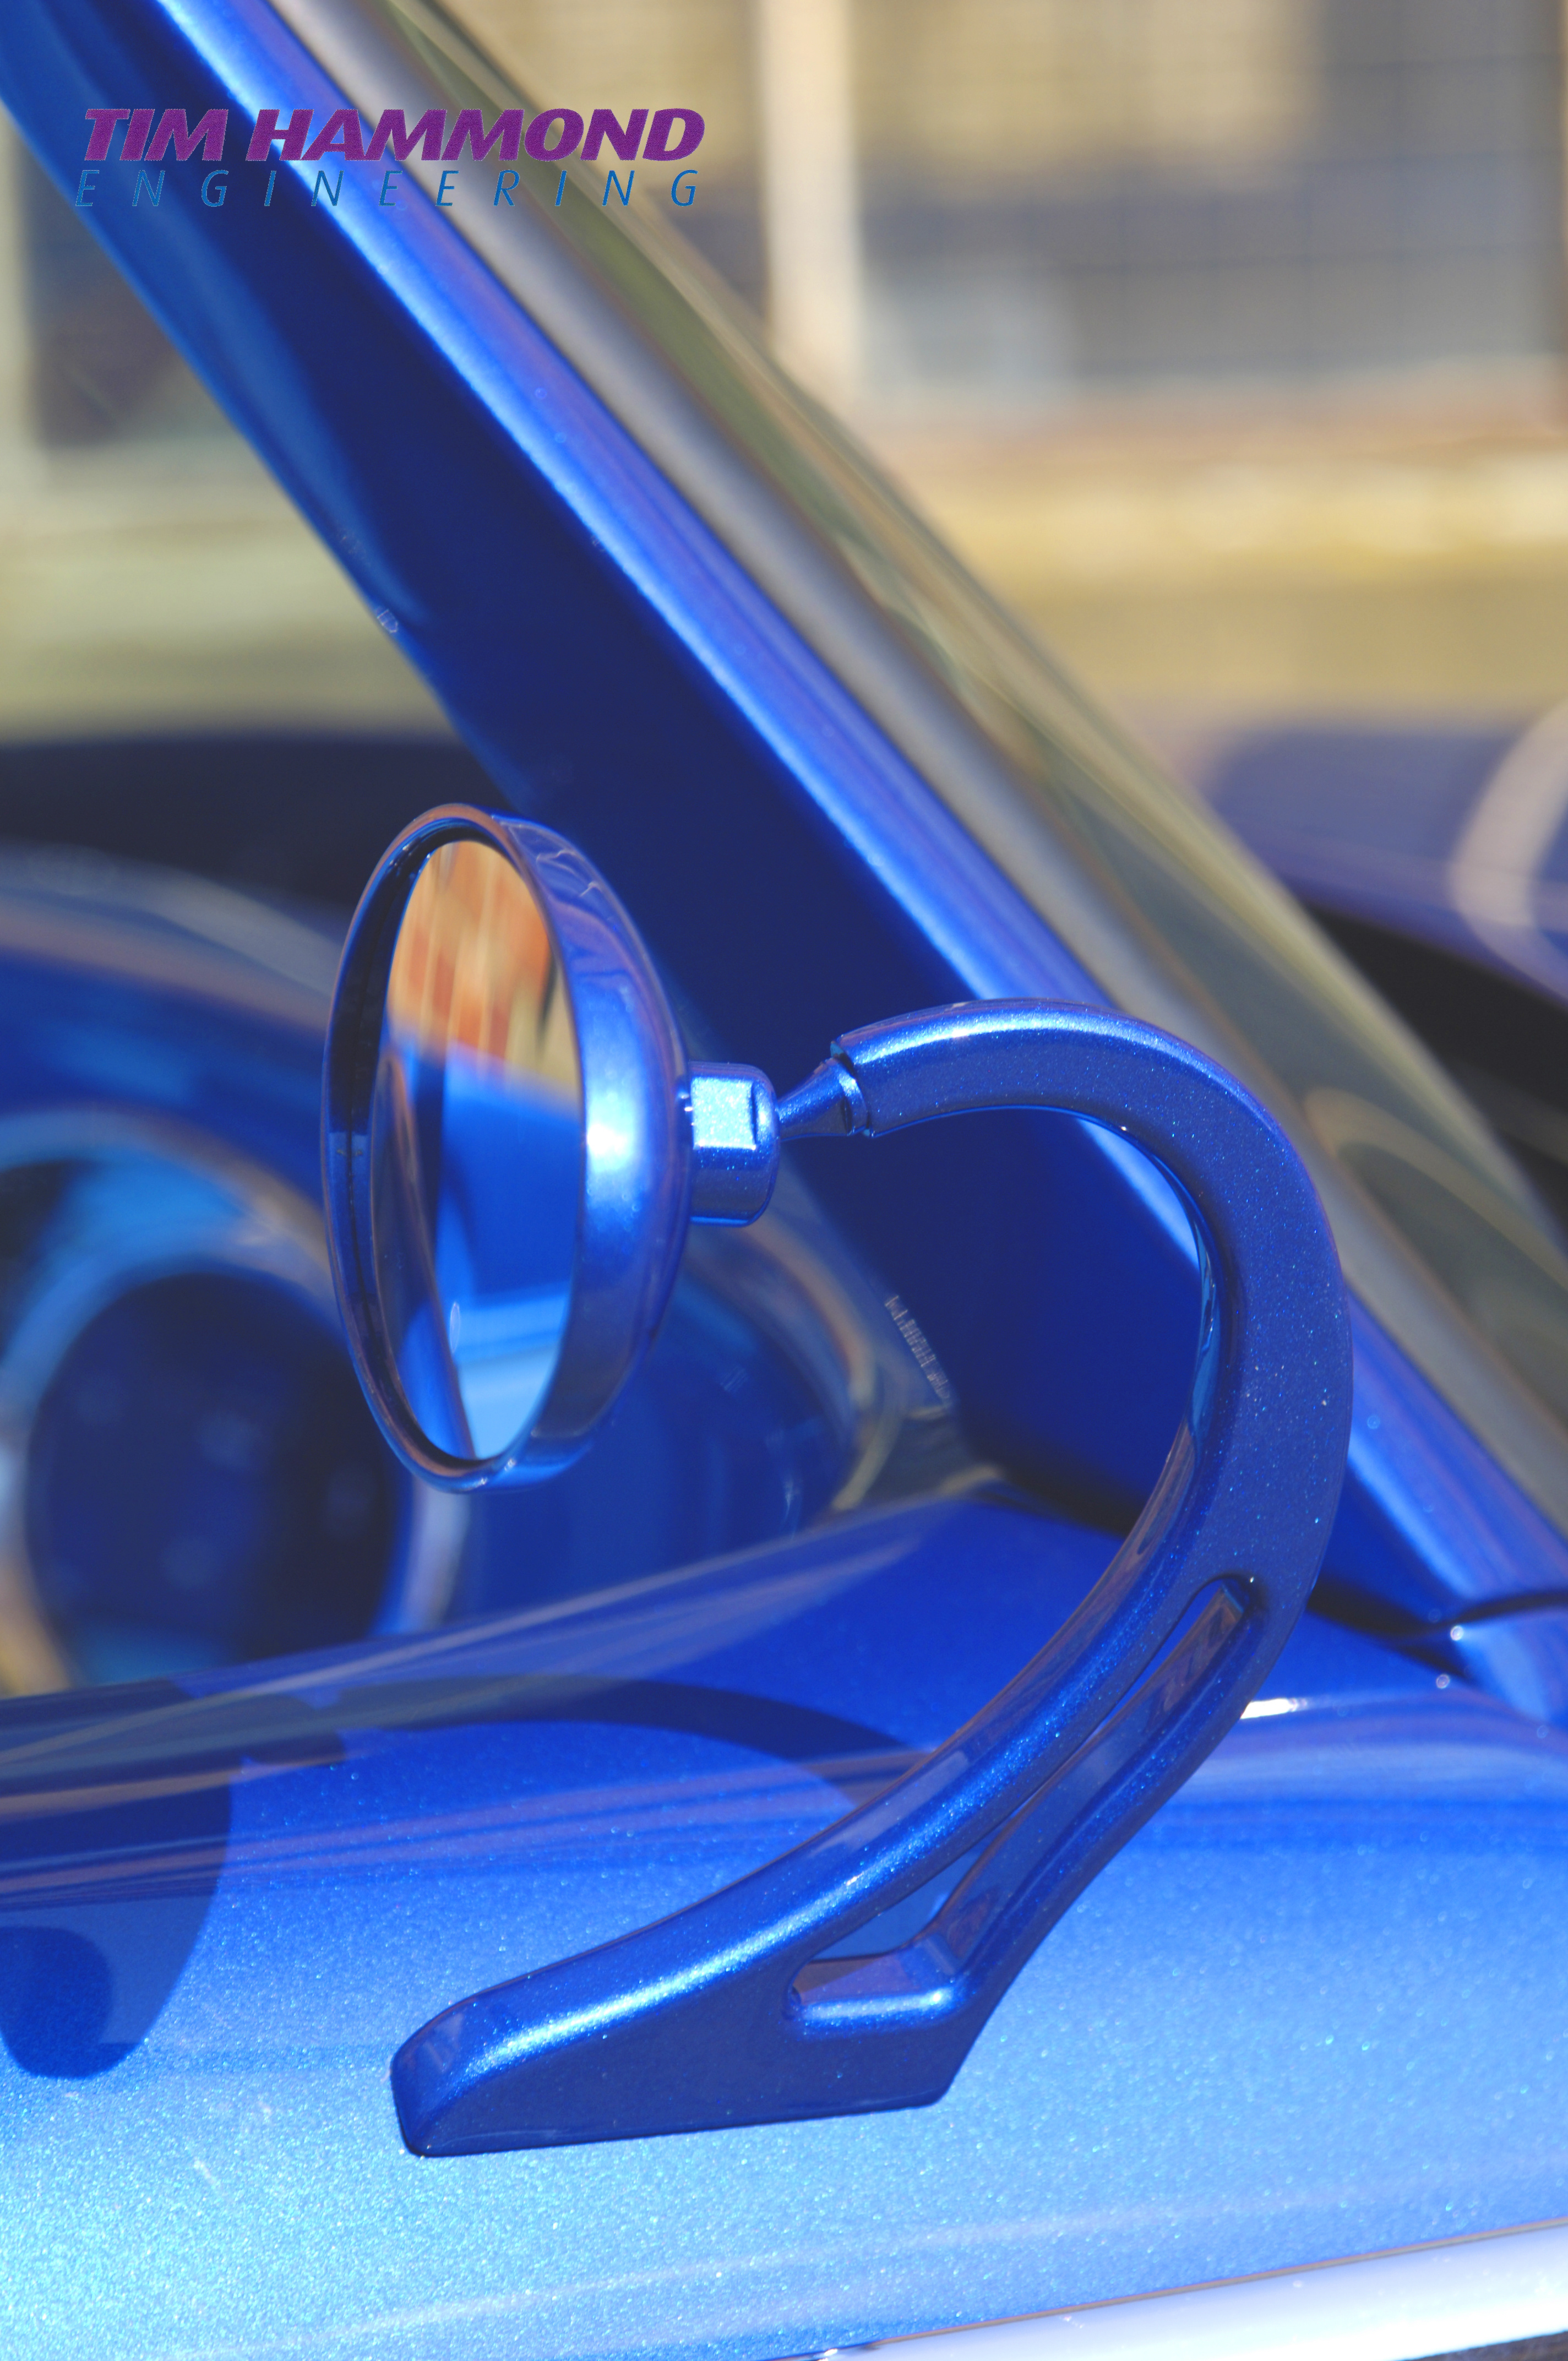
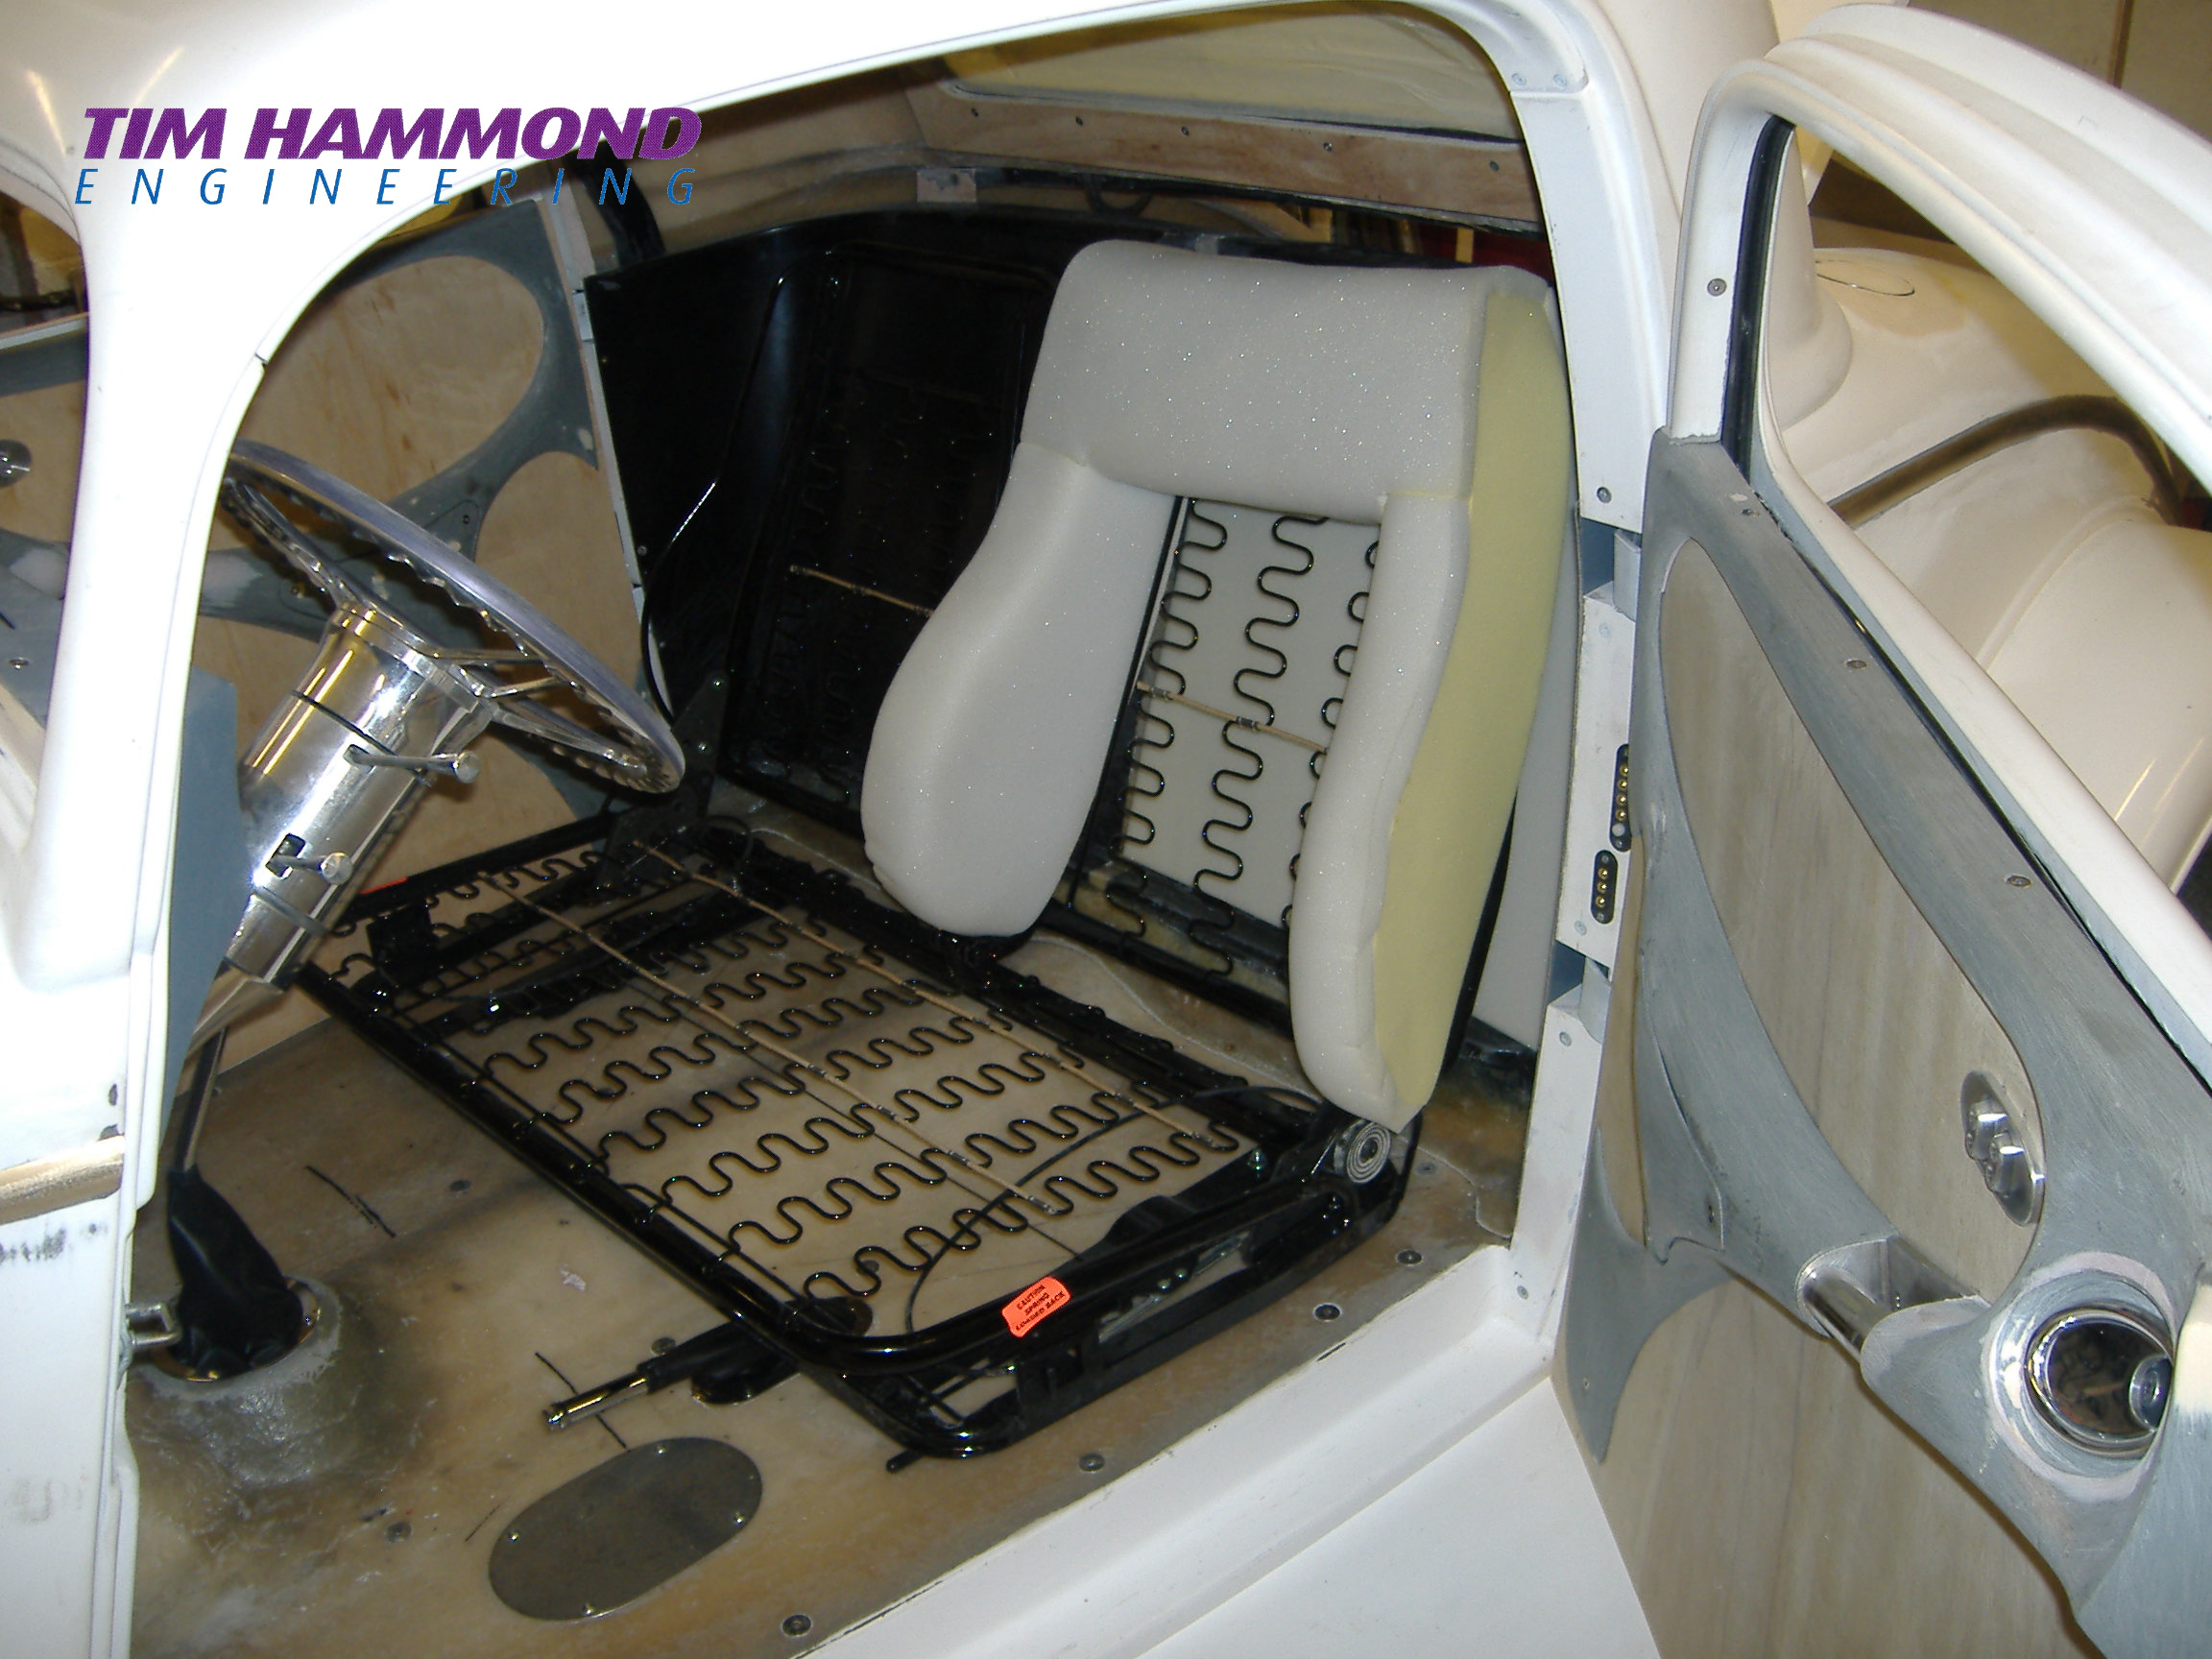
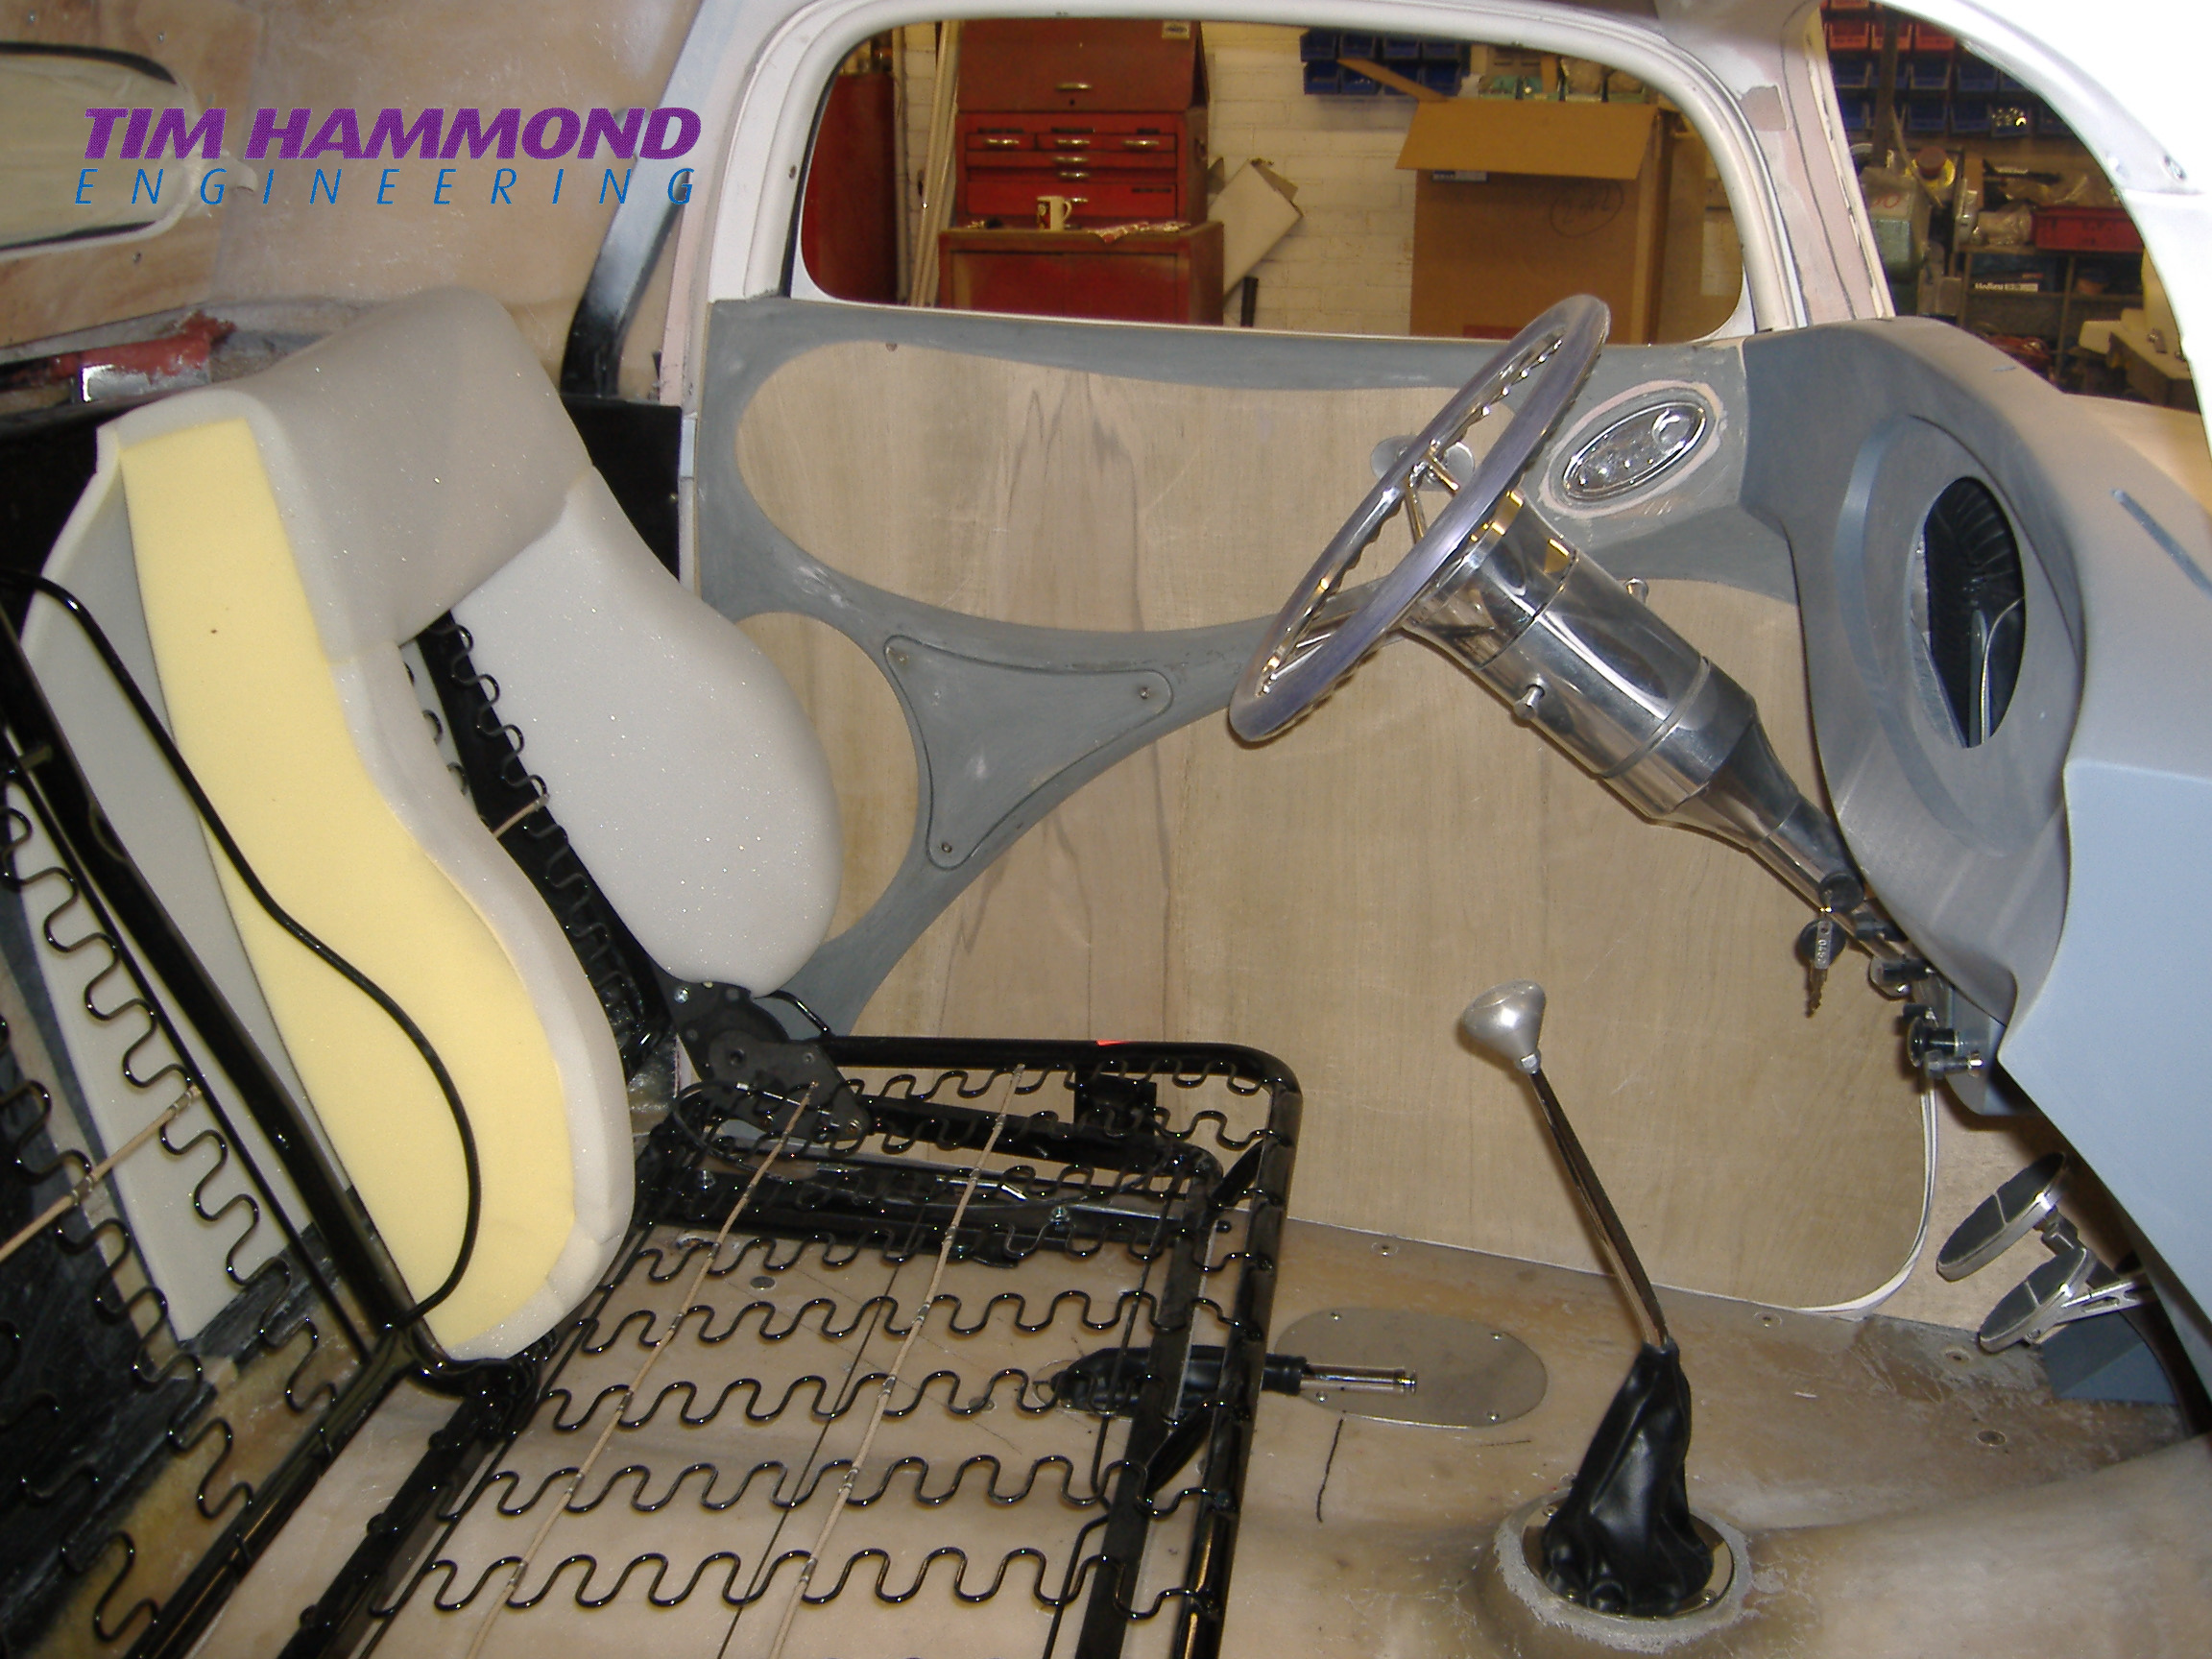
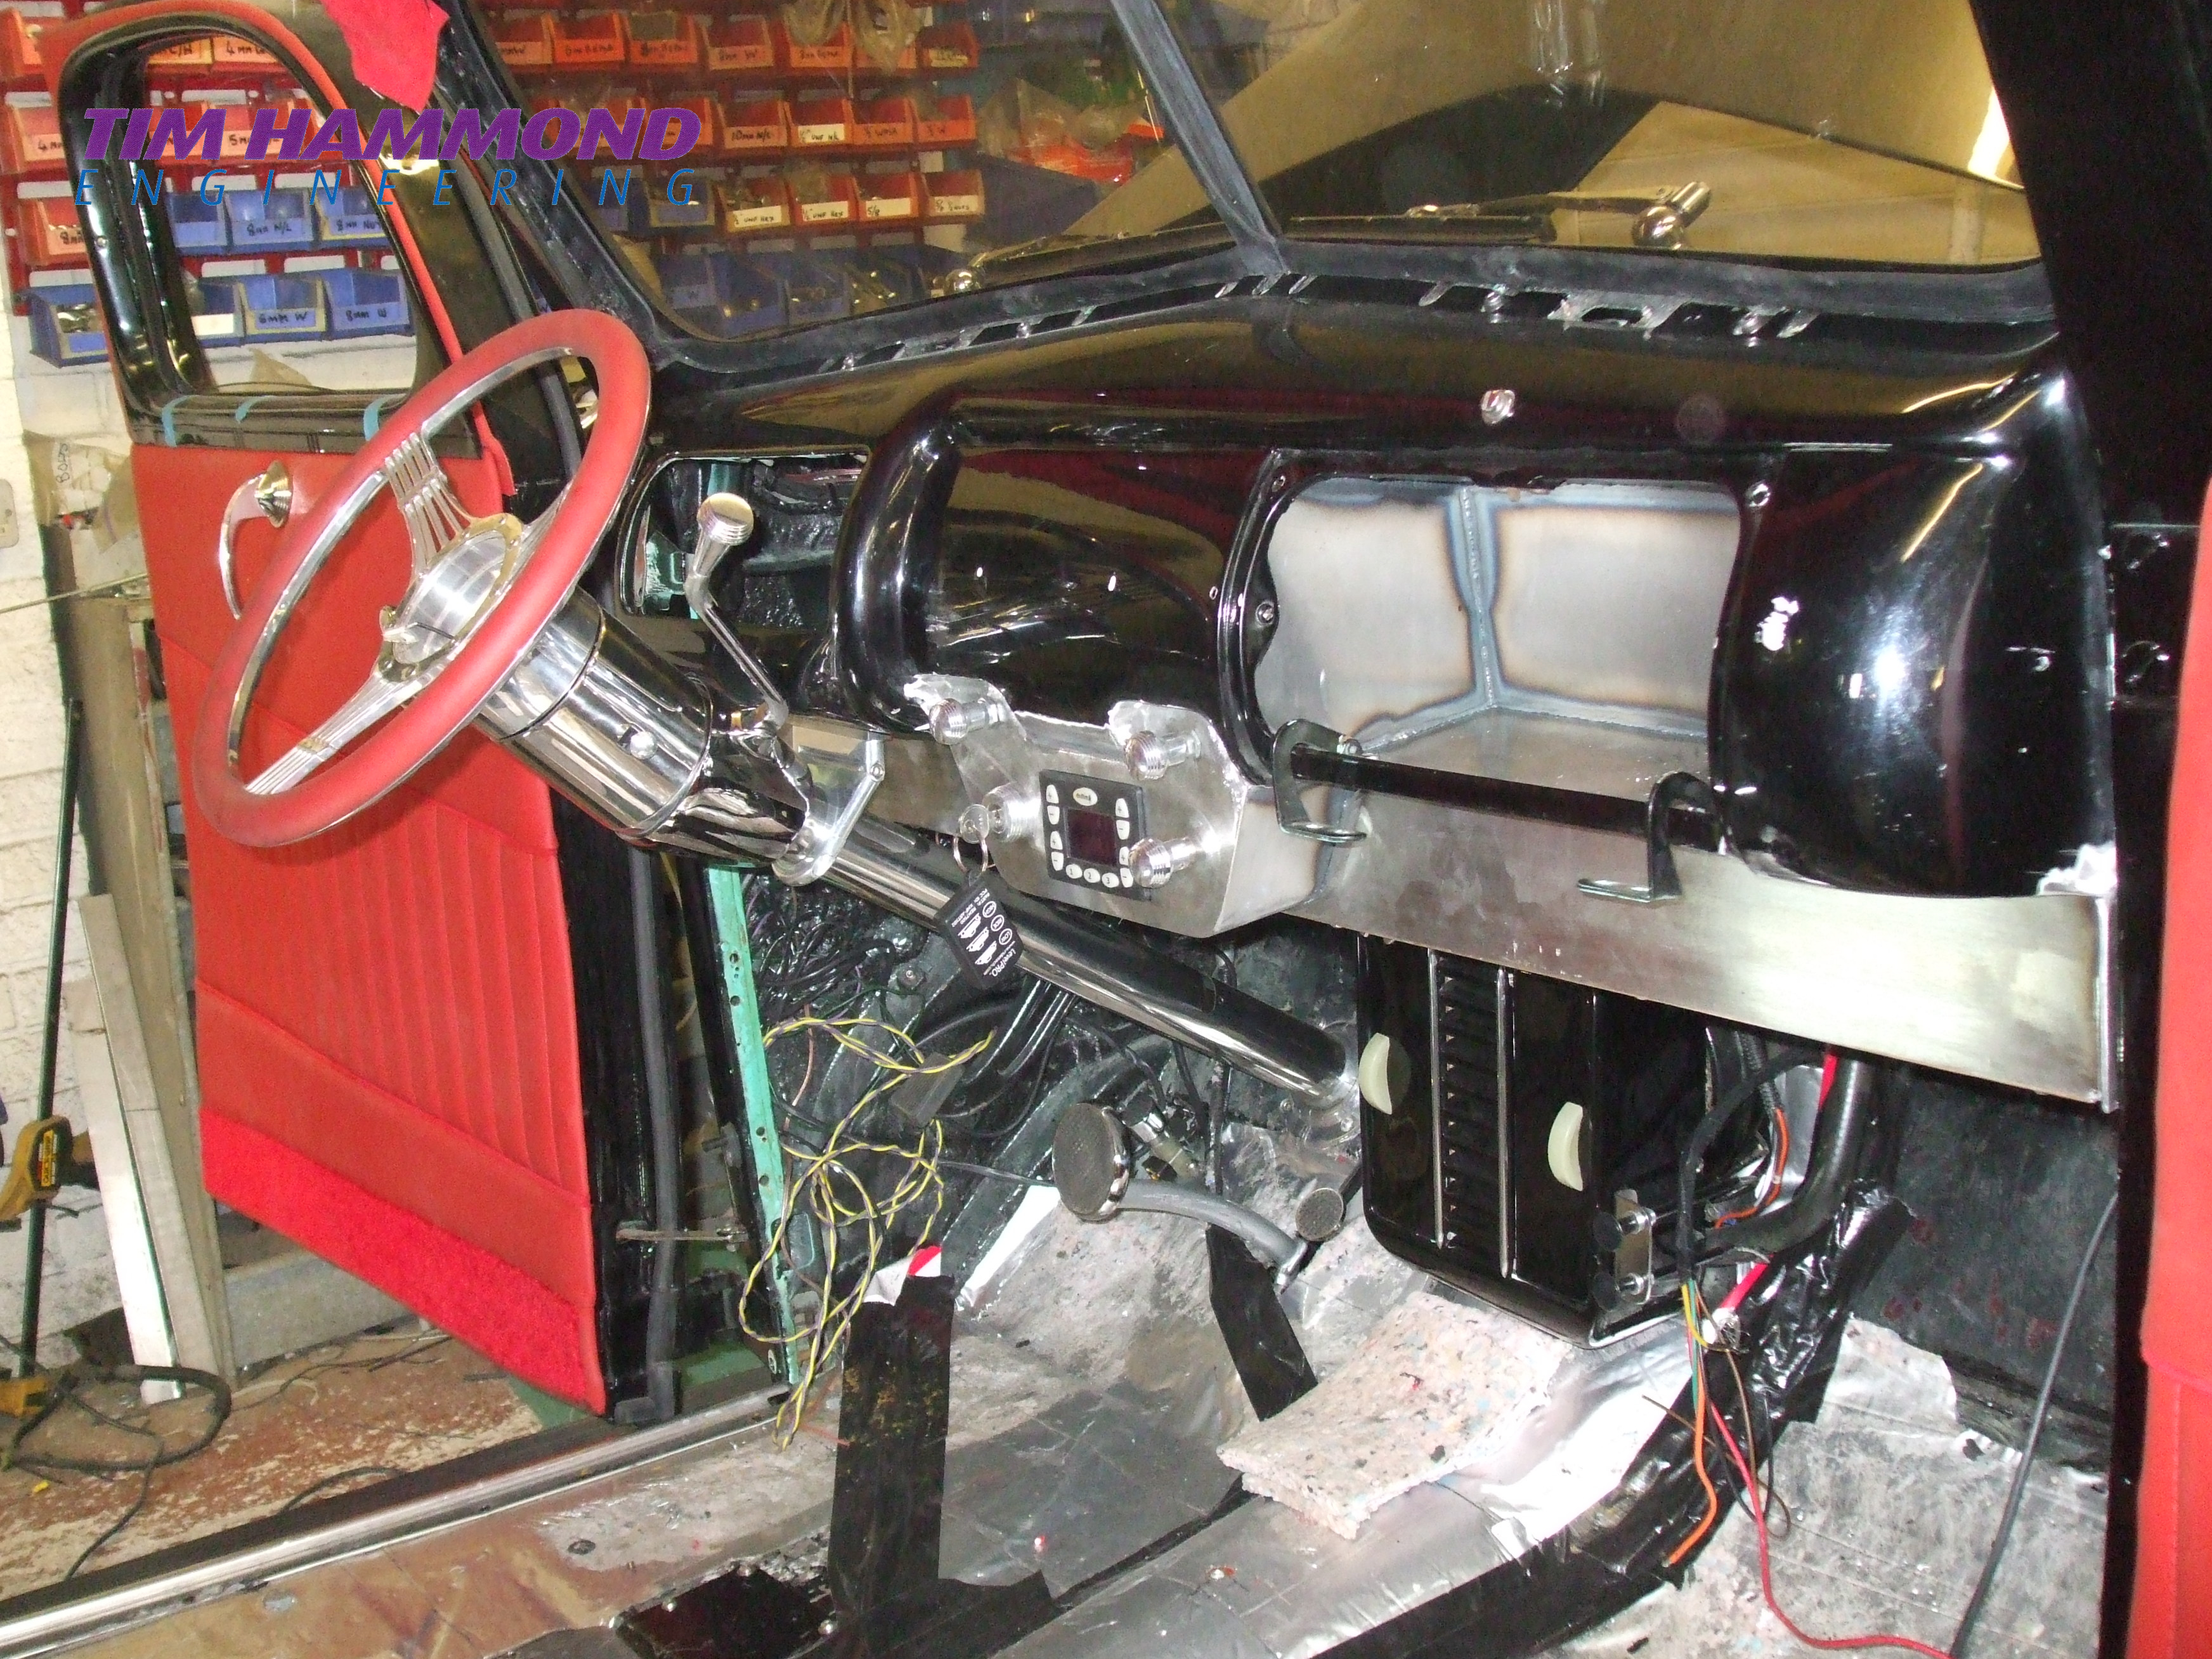
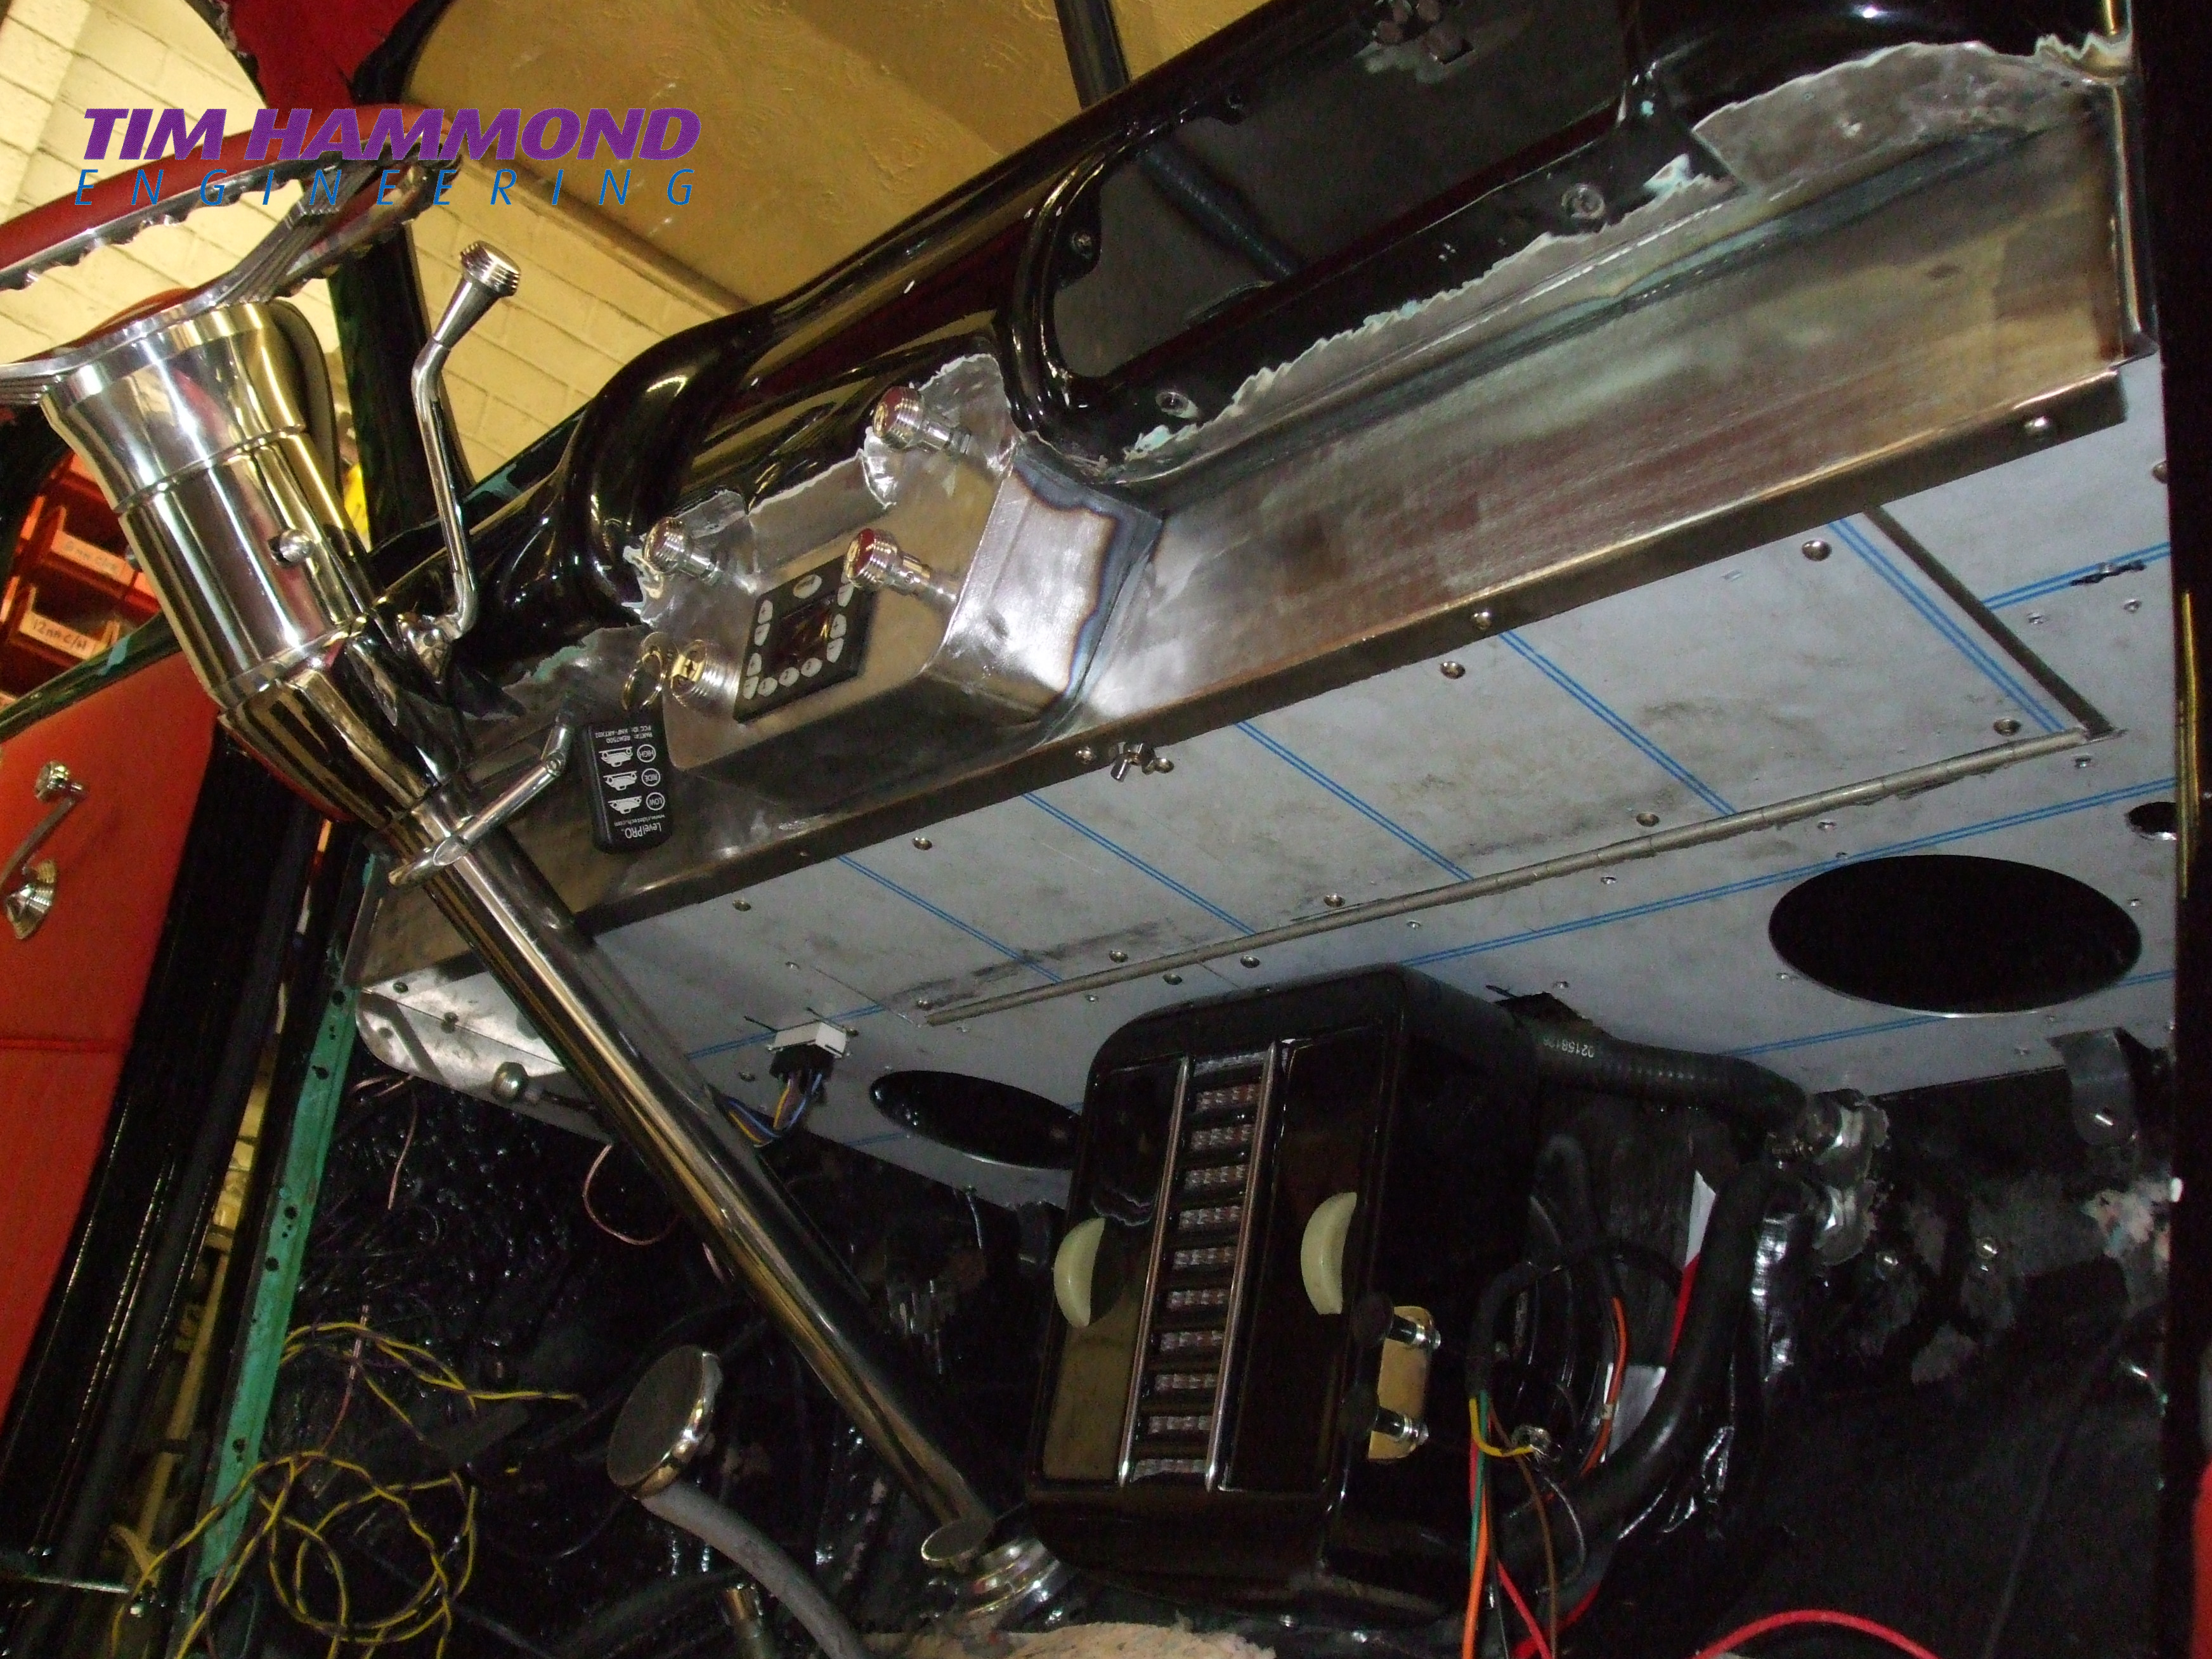
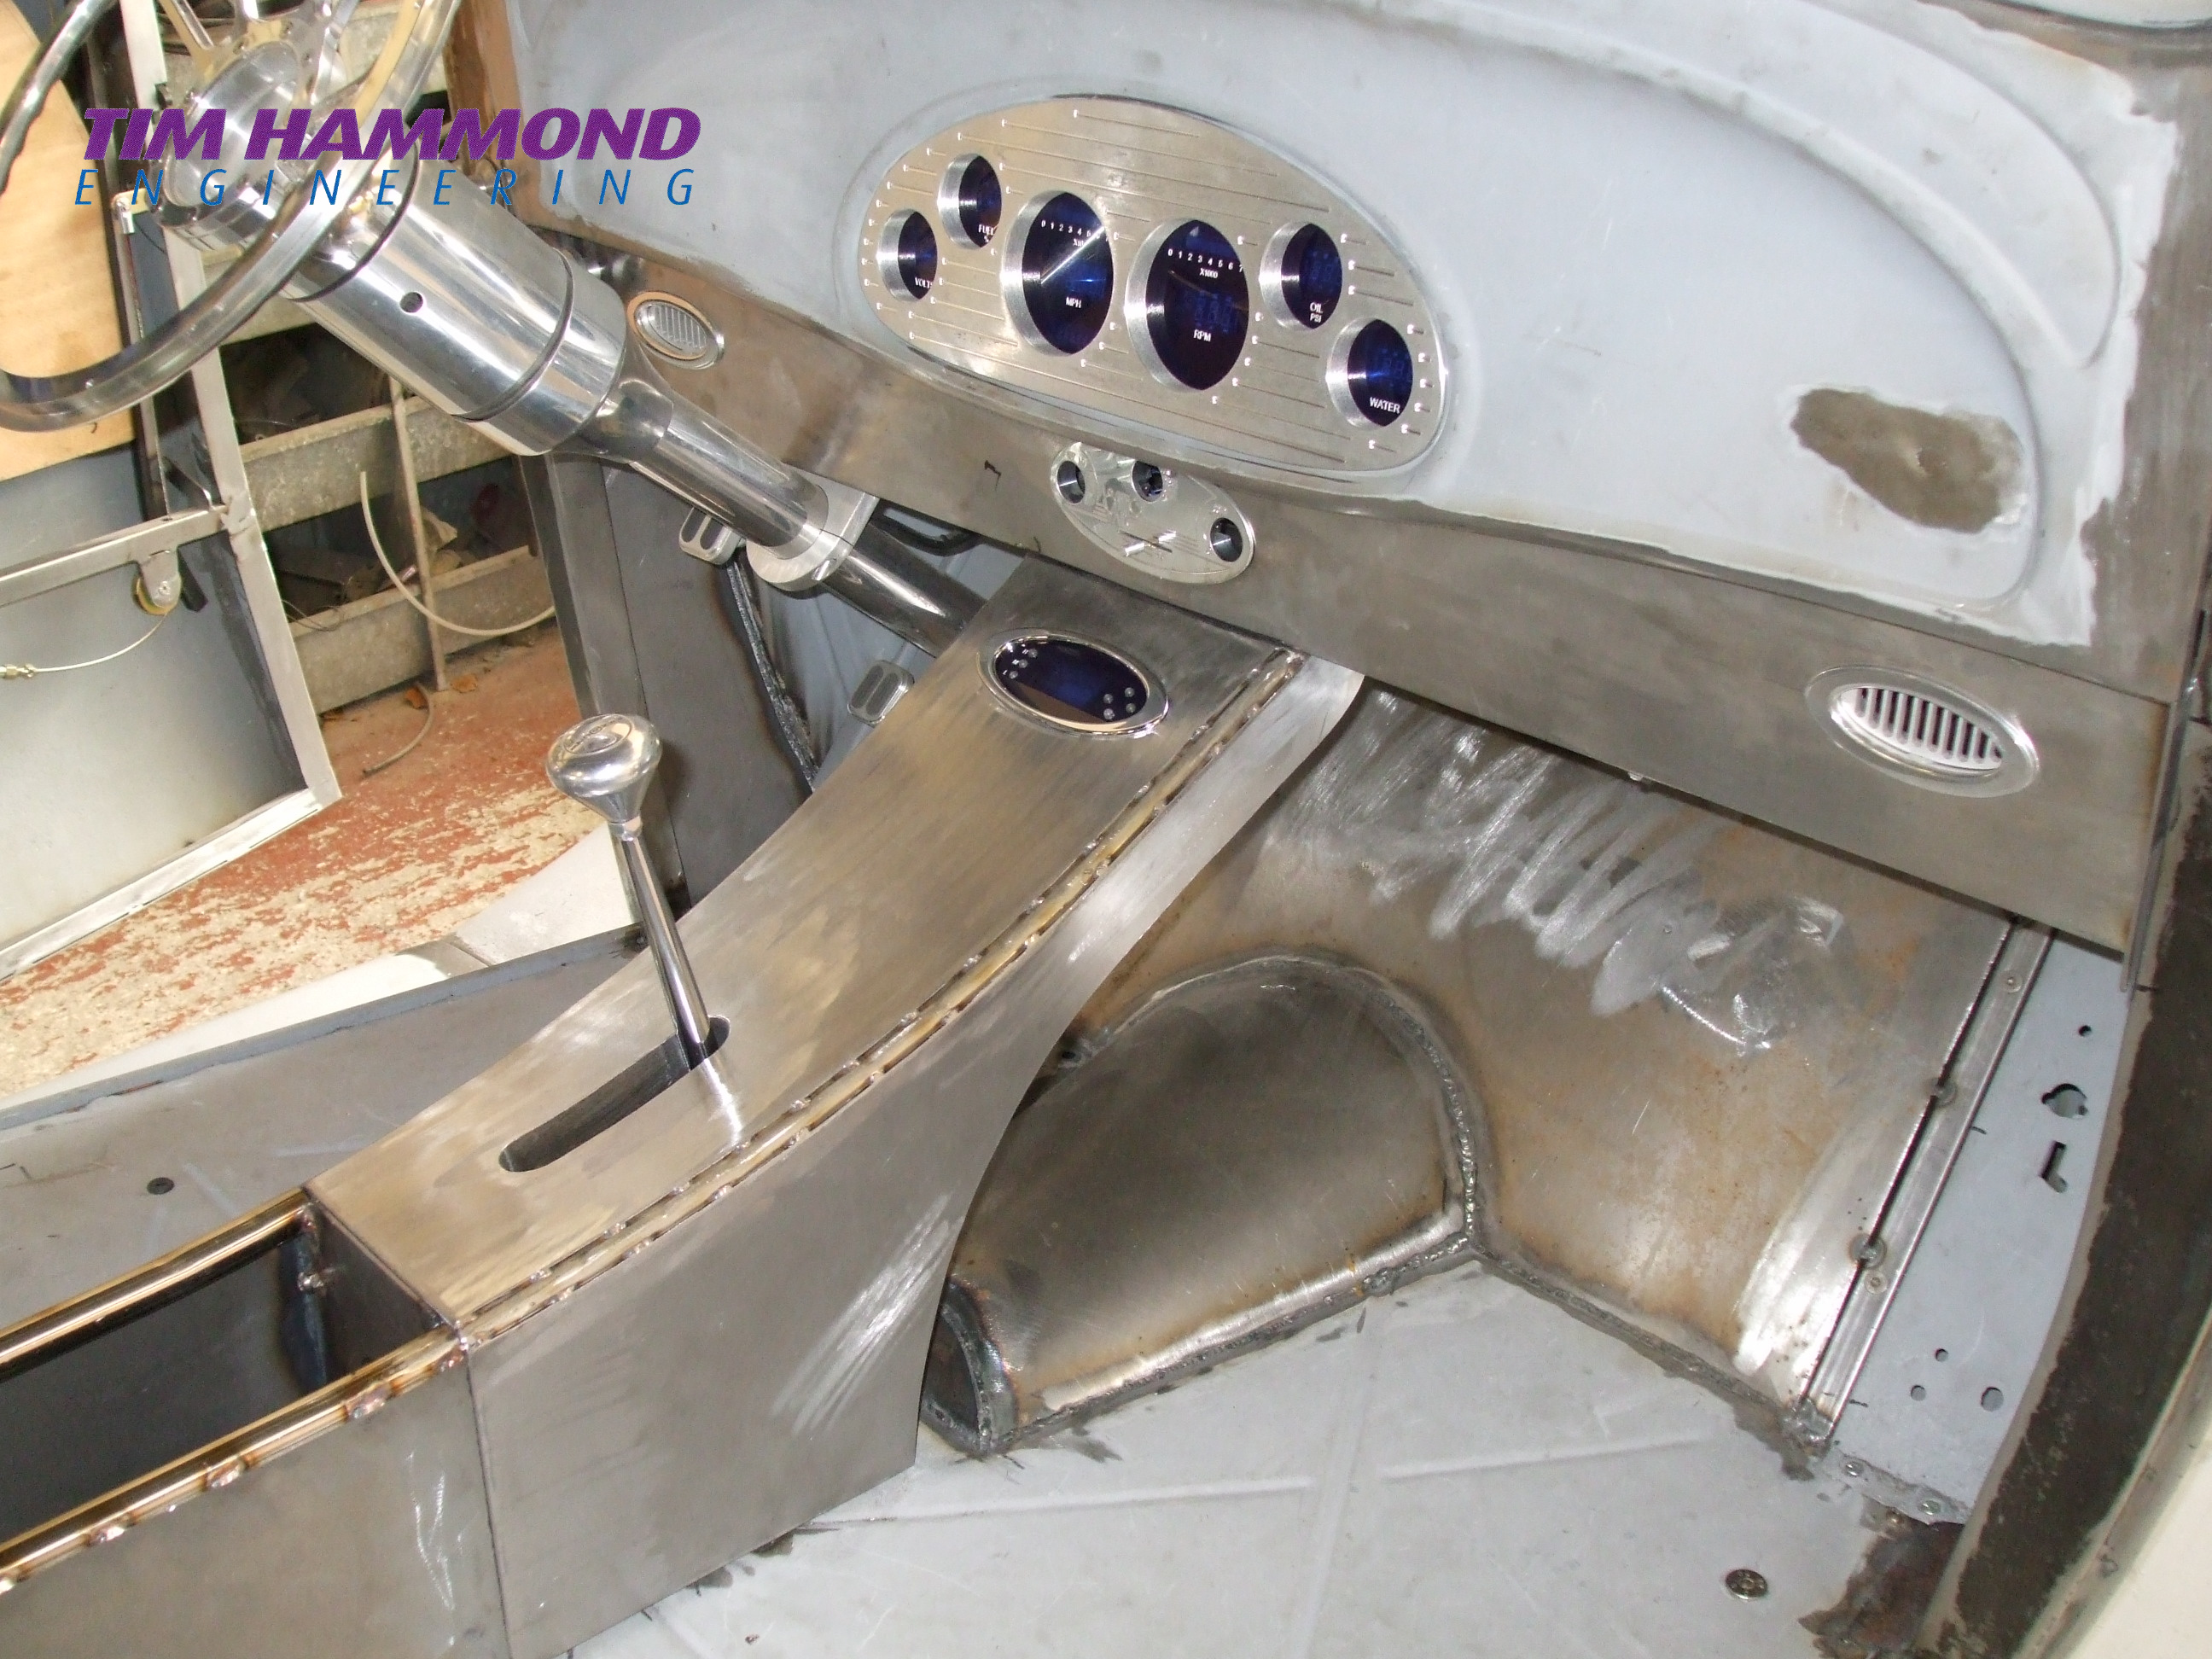
The sculptured interior was fabricated from 18 gauge steel and swaged with the dash and the rear half around the seats all removable. Mirror brackets were fabricated from one piece flat steel and welded to the window screen surround, with Hagen mirrors.
The hardest part of the build was the fabrication of the bonnet sides, largely due to their length, which if not handled correctly they tend to cause the steel to ripple – they are long and straight with a slight curve. They actually took 4 attempts to get right. We did not want any fixing bolts visible and so we ended up with the idea of fitting strong magnets down the bottom of each bonnet side near were the door radius begins. The side of the roadster was then completed with brass D section 1” wide running the whole length of the roadster, shaped and curved at the rear. This was drilled and tapped 4mm to take 4mm studs, silver soldered so it could be bolted to the body.
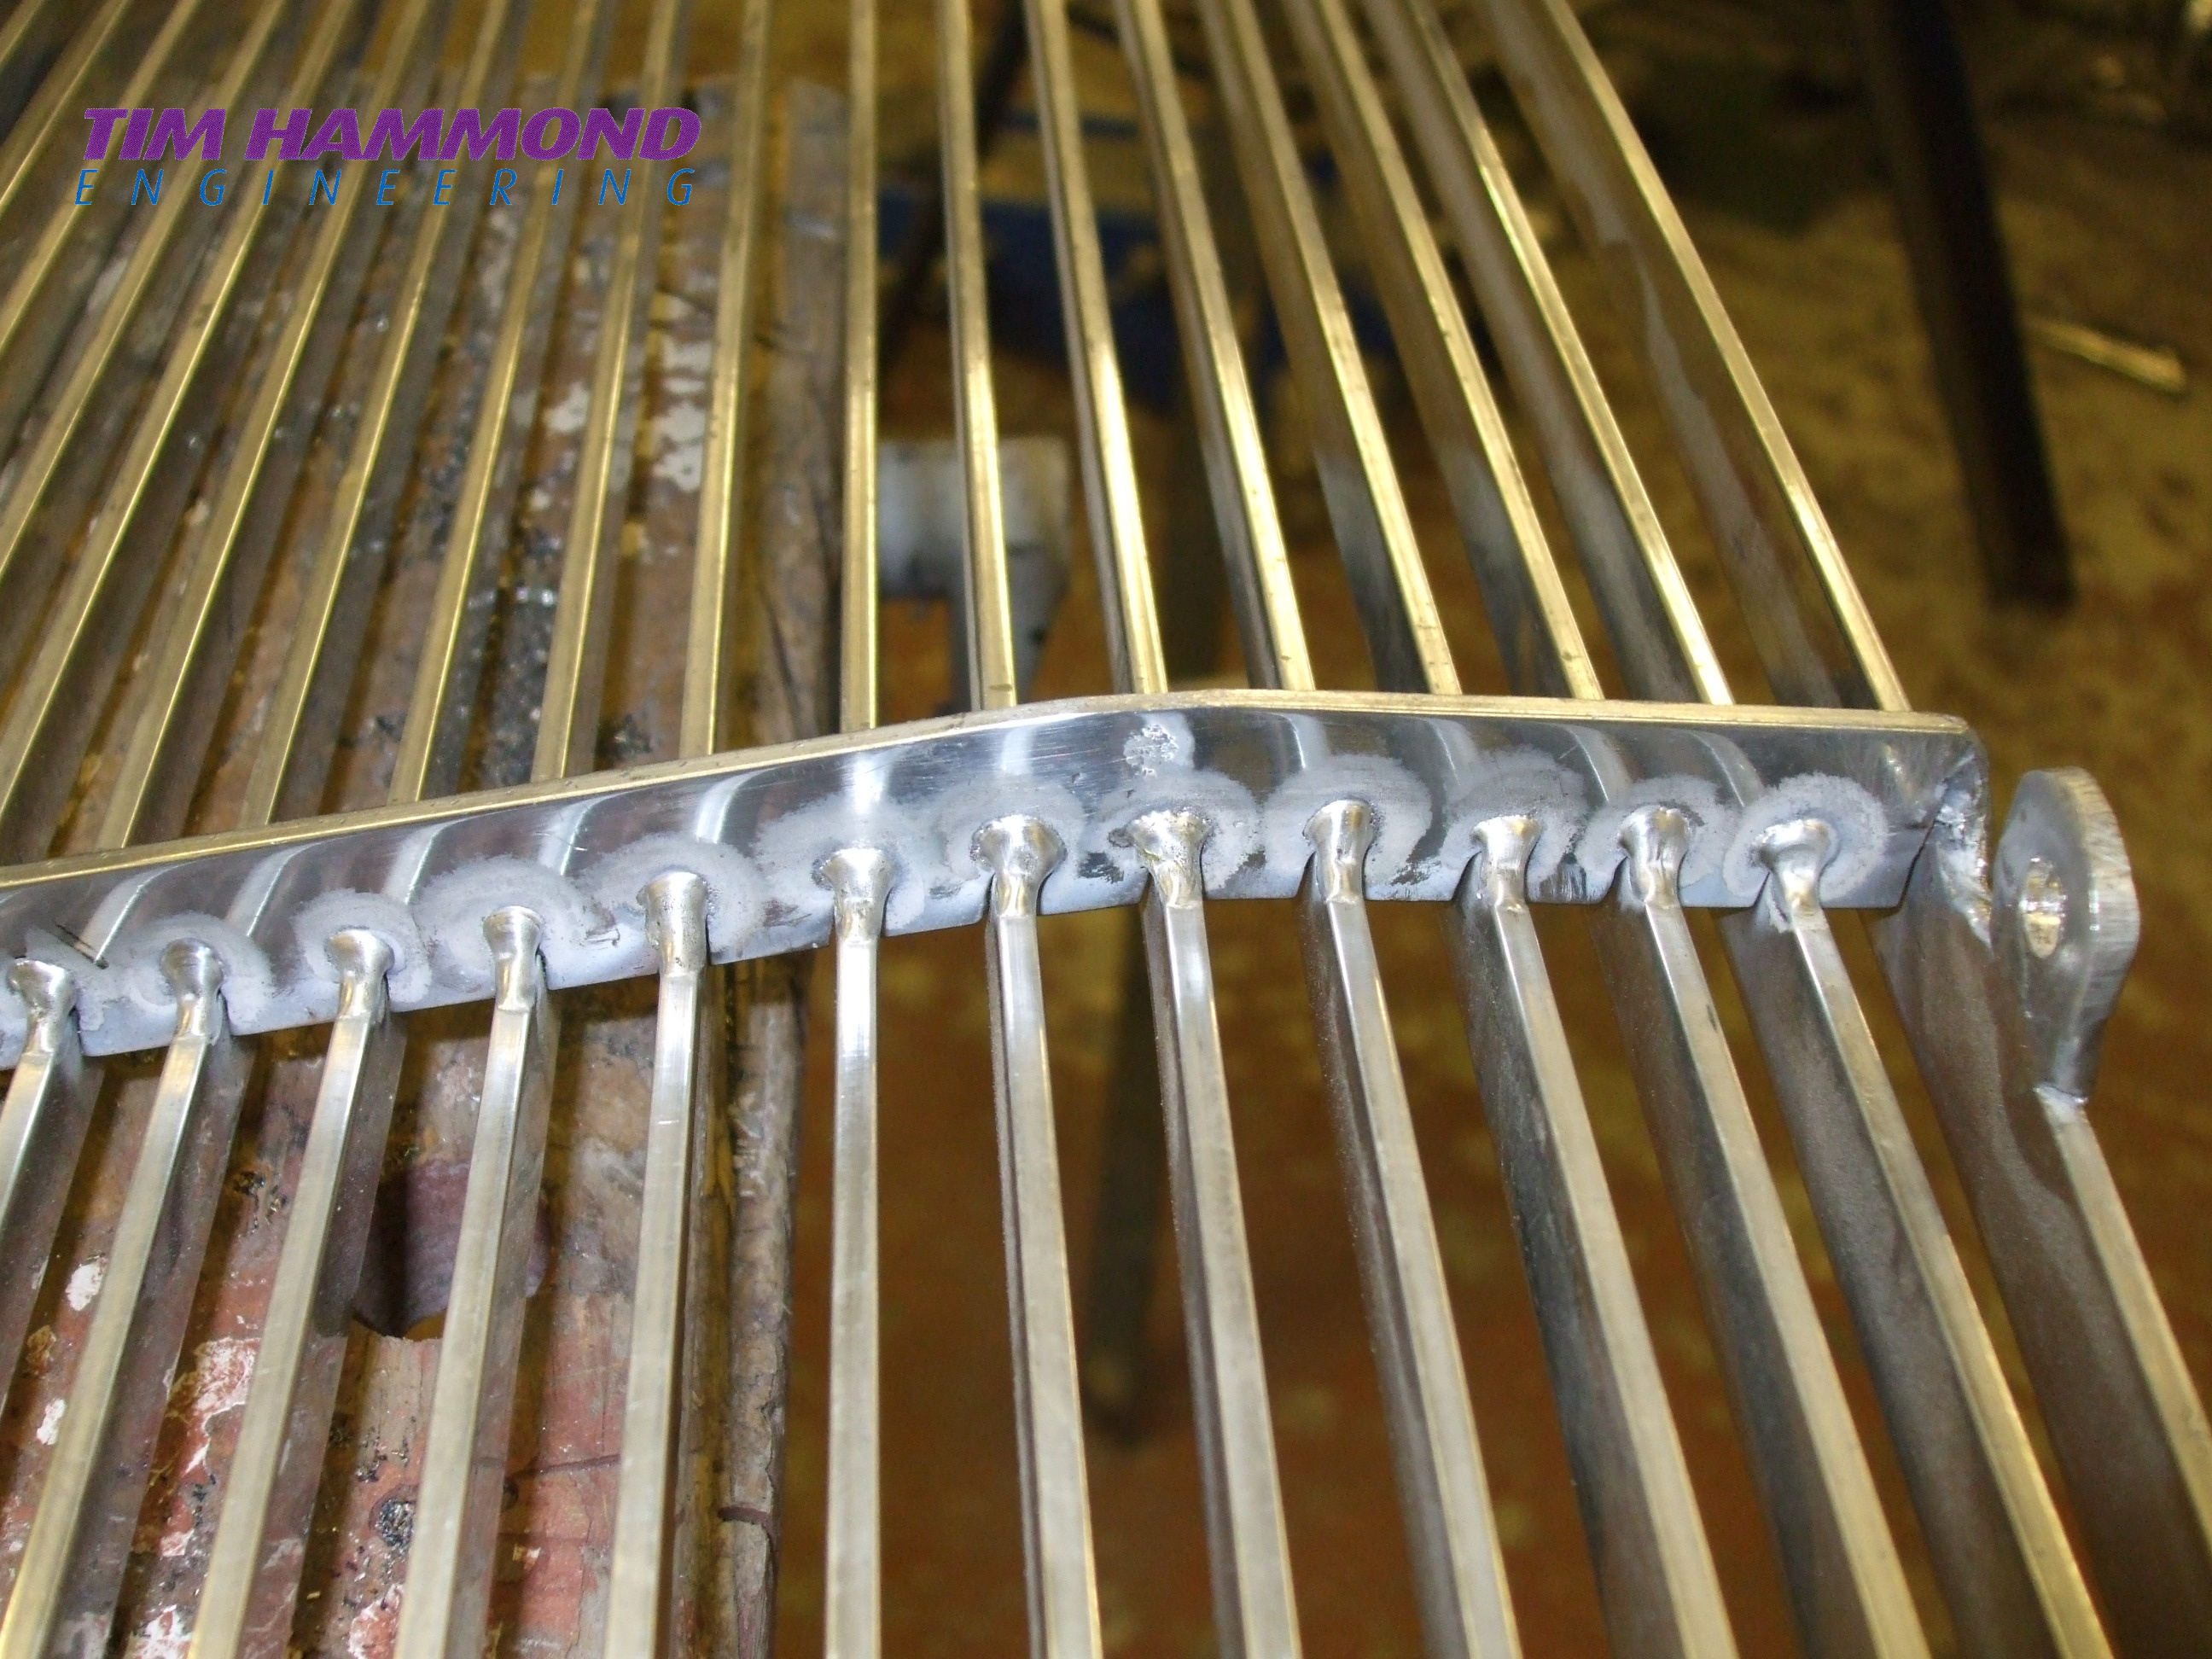
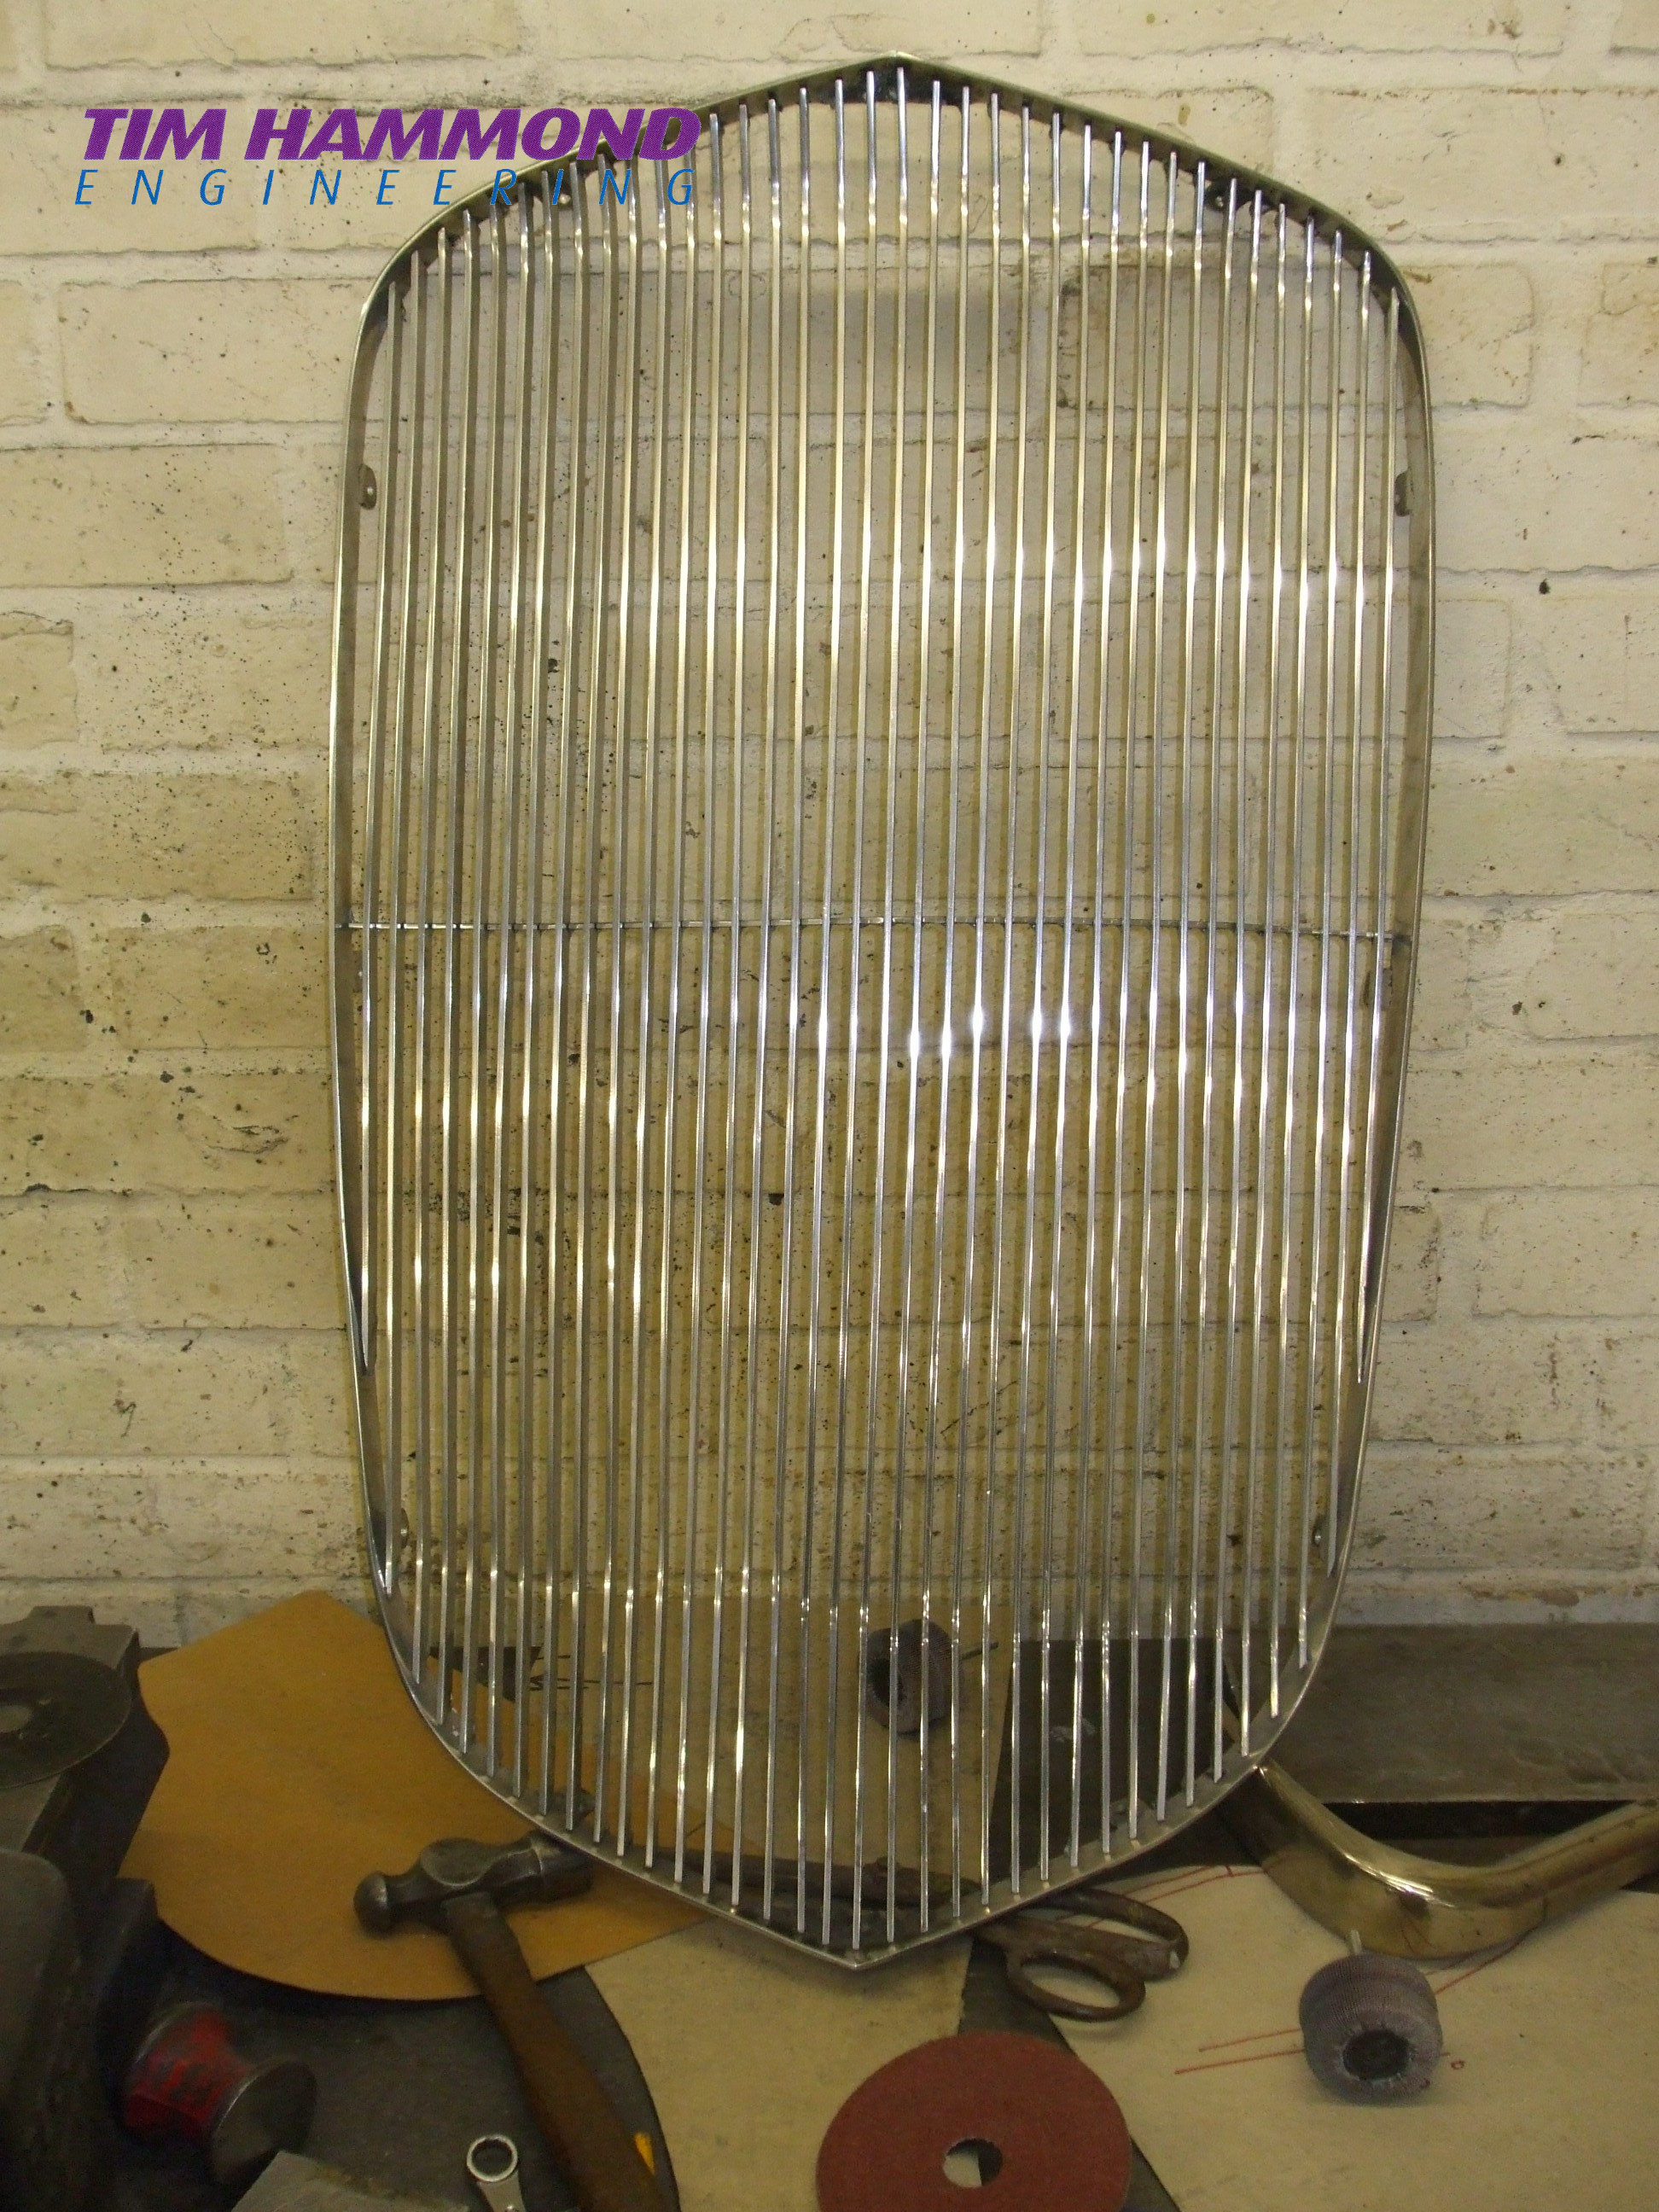
A stainless steel grill insert was made, with all the bars being different lengths and curved. Once finished it had to be deconstructed, each bar numbered, polished and then re-assembled and welded.
When it came time for the front window screen glass, there was only one company that could supply at a sensible price – Protector Glass Industries Pty Ltd in Australia. Shipping glass thousands of miles can be an anxious time, but this company were amazing and very efficient – in fact we ordered a spare and both arrived within purpose built container, on time and in perfect condition.
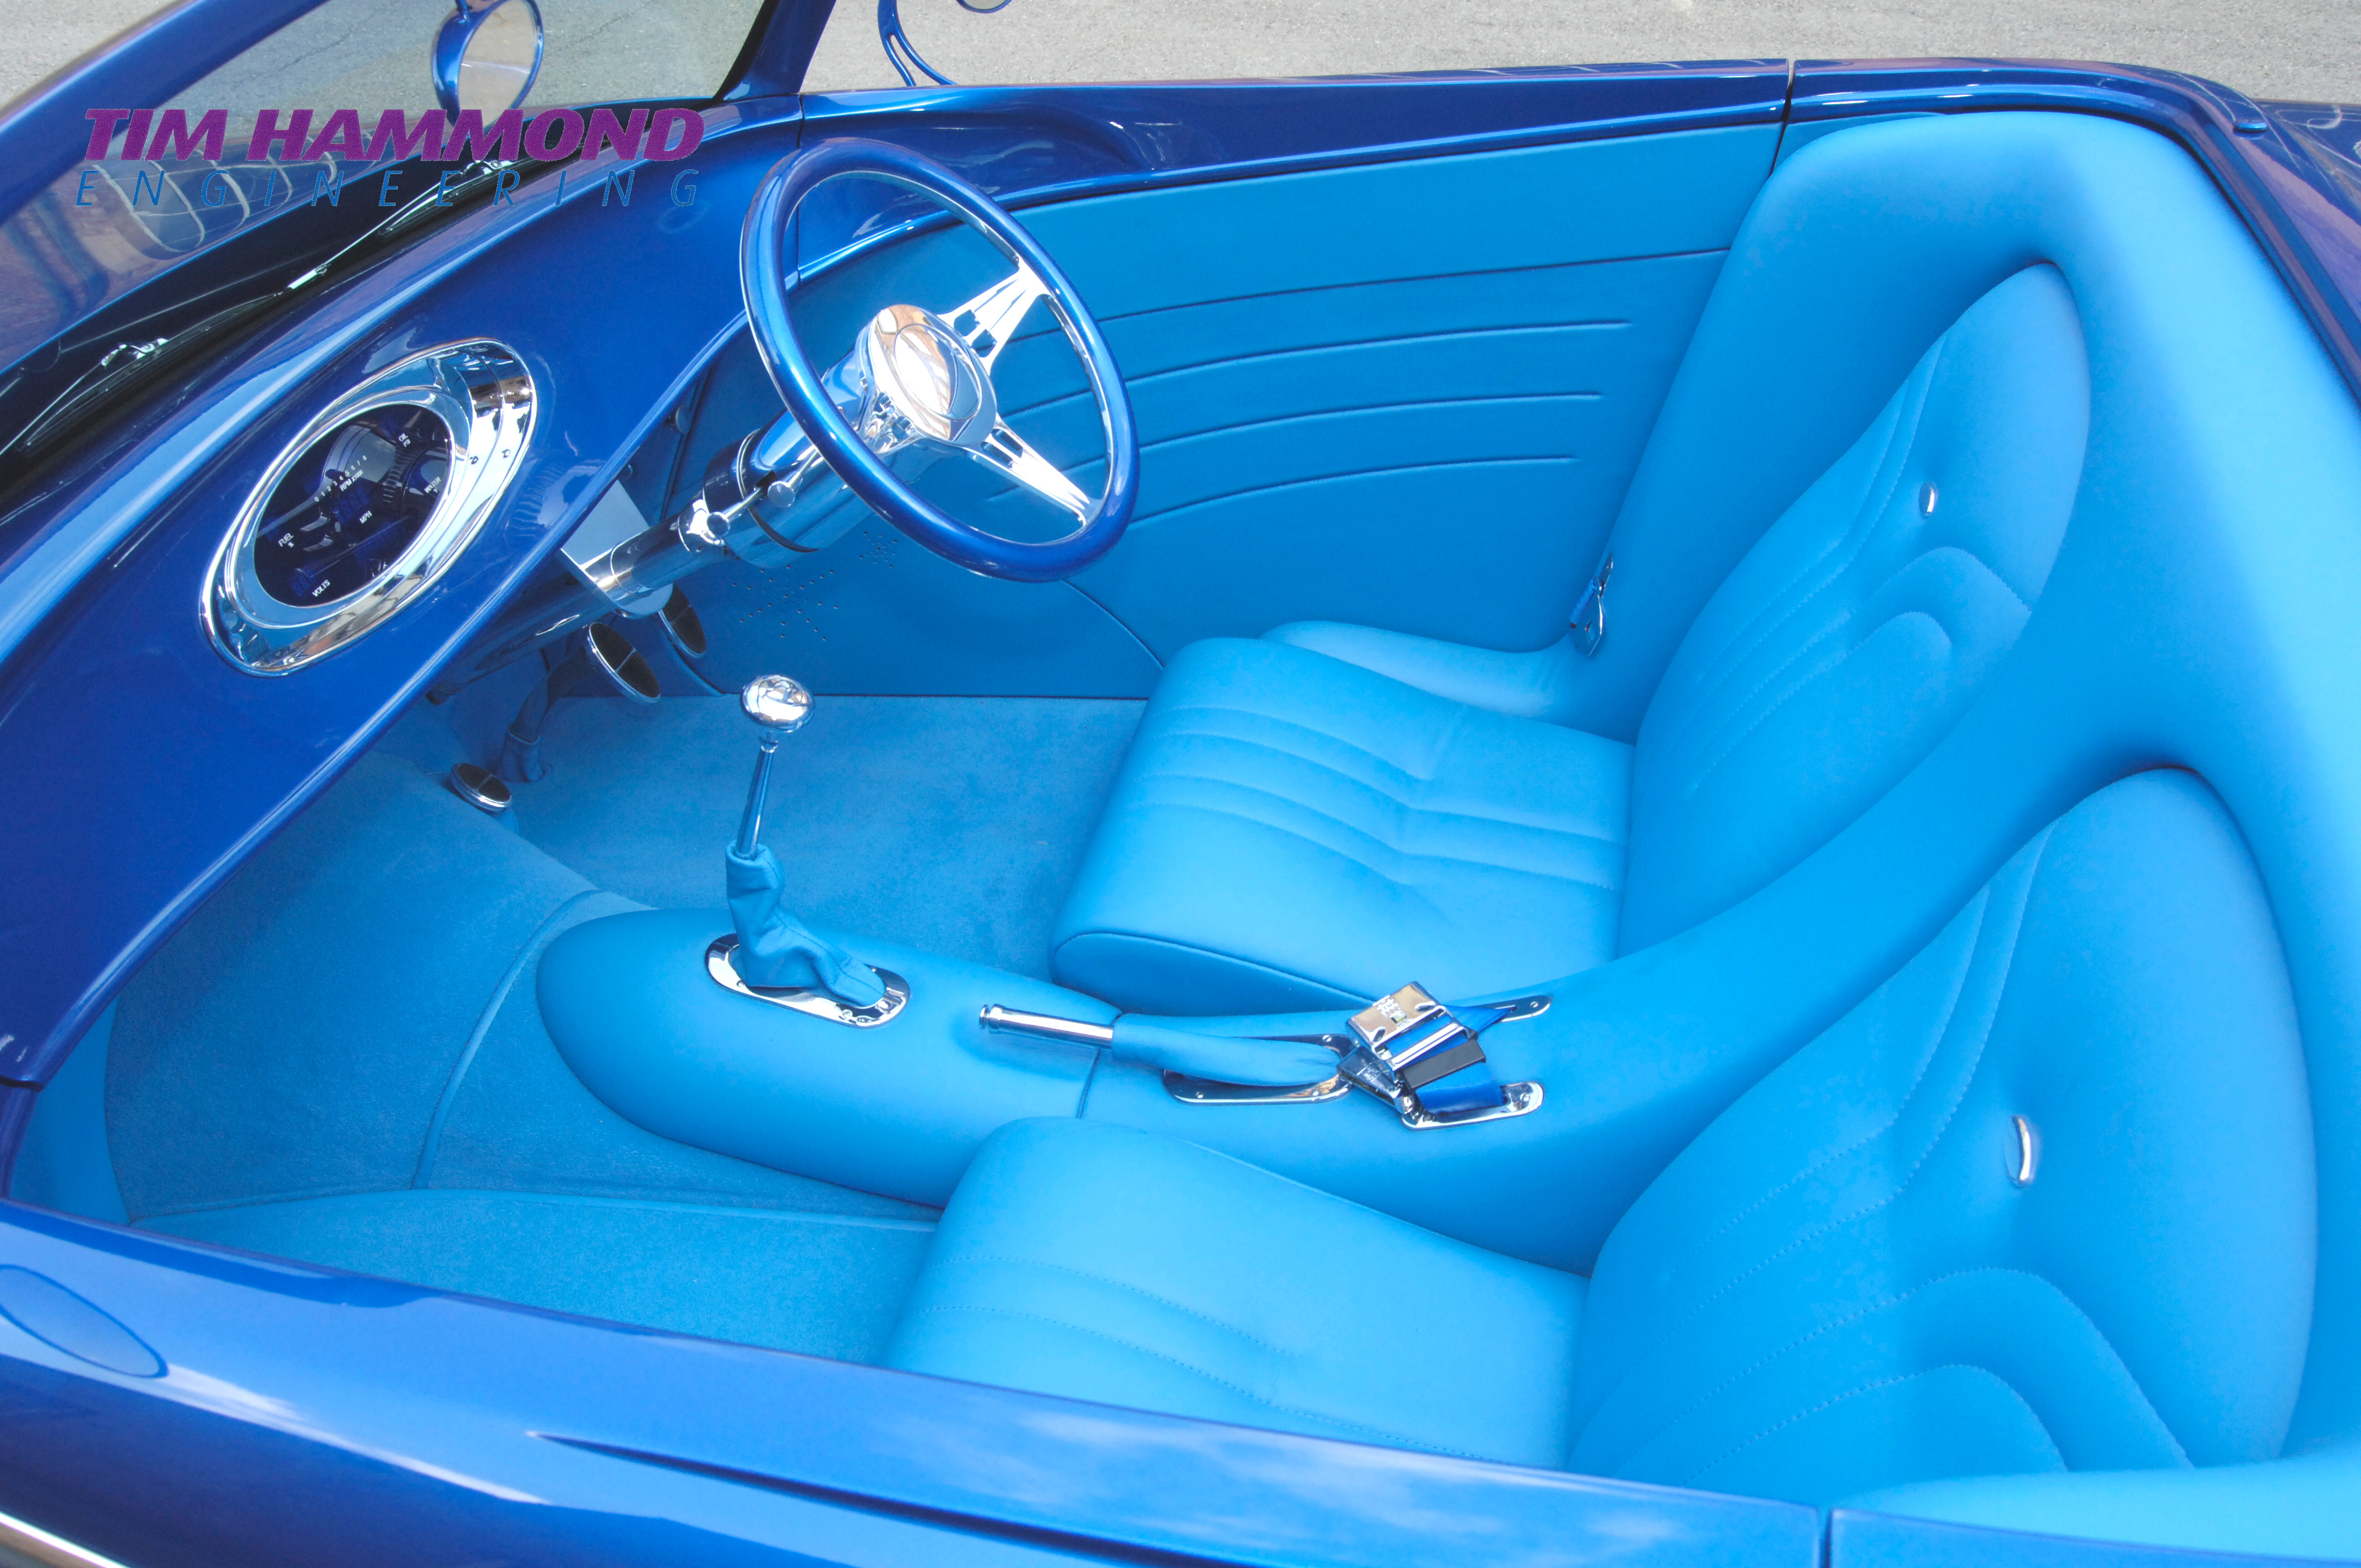
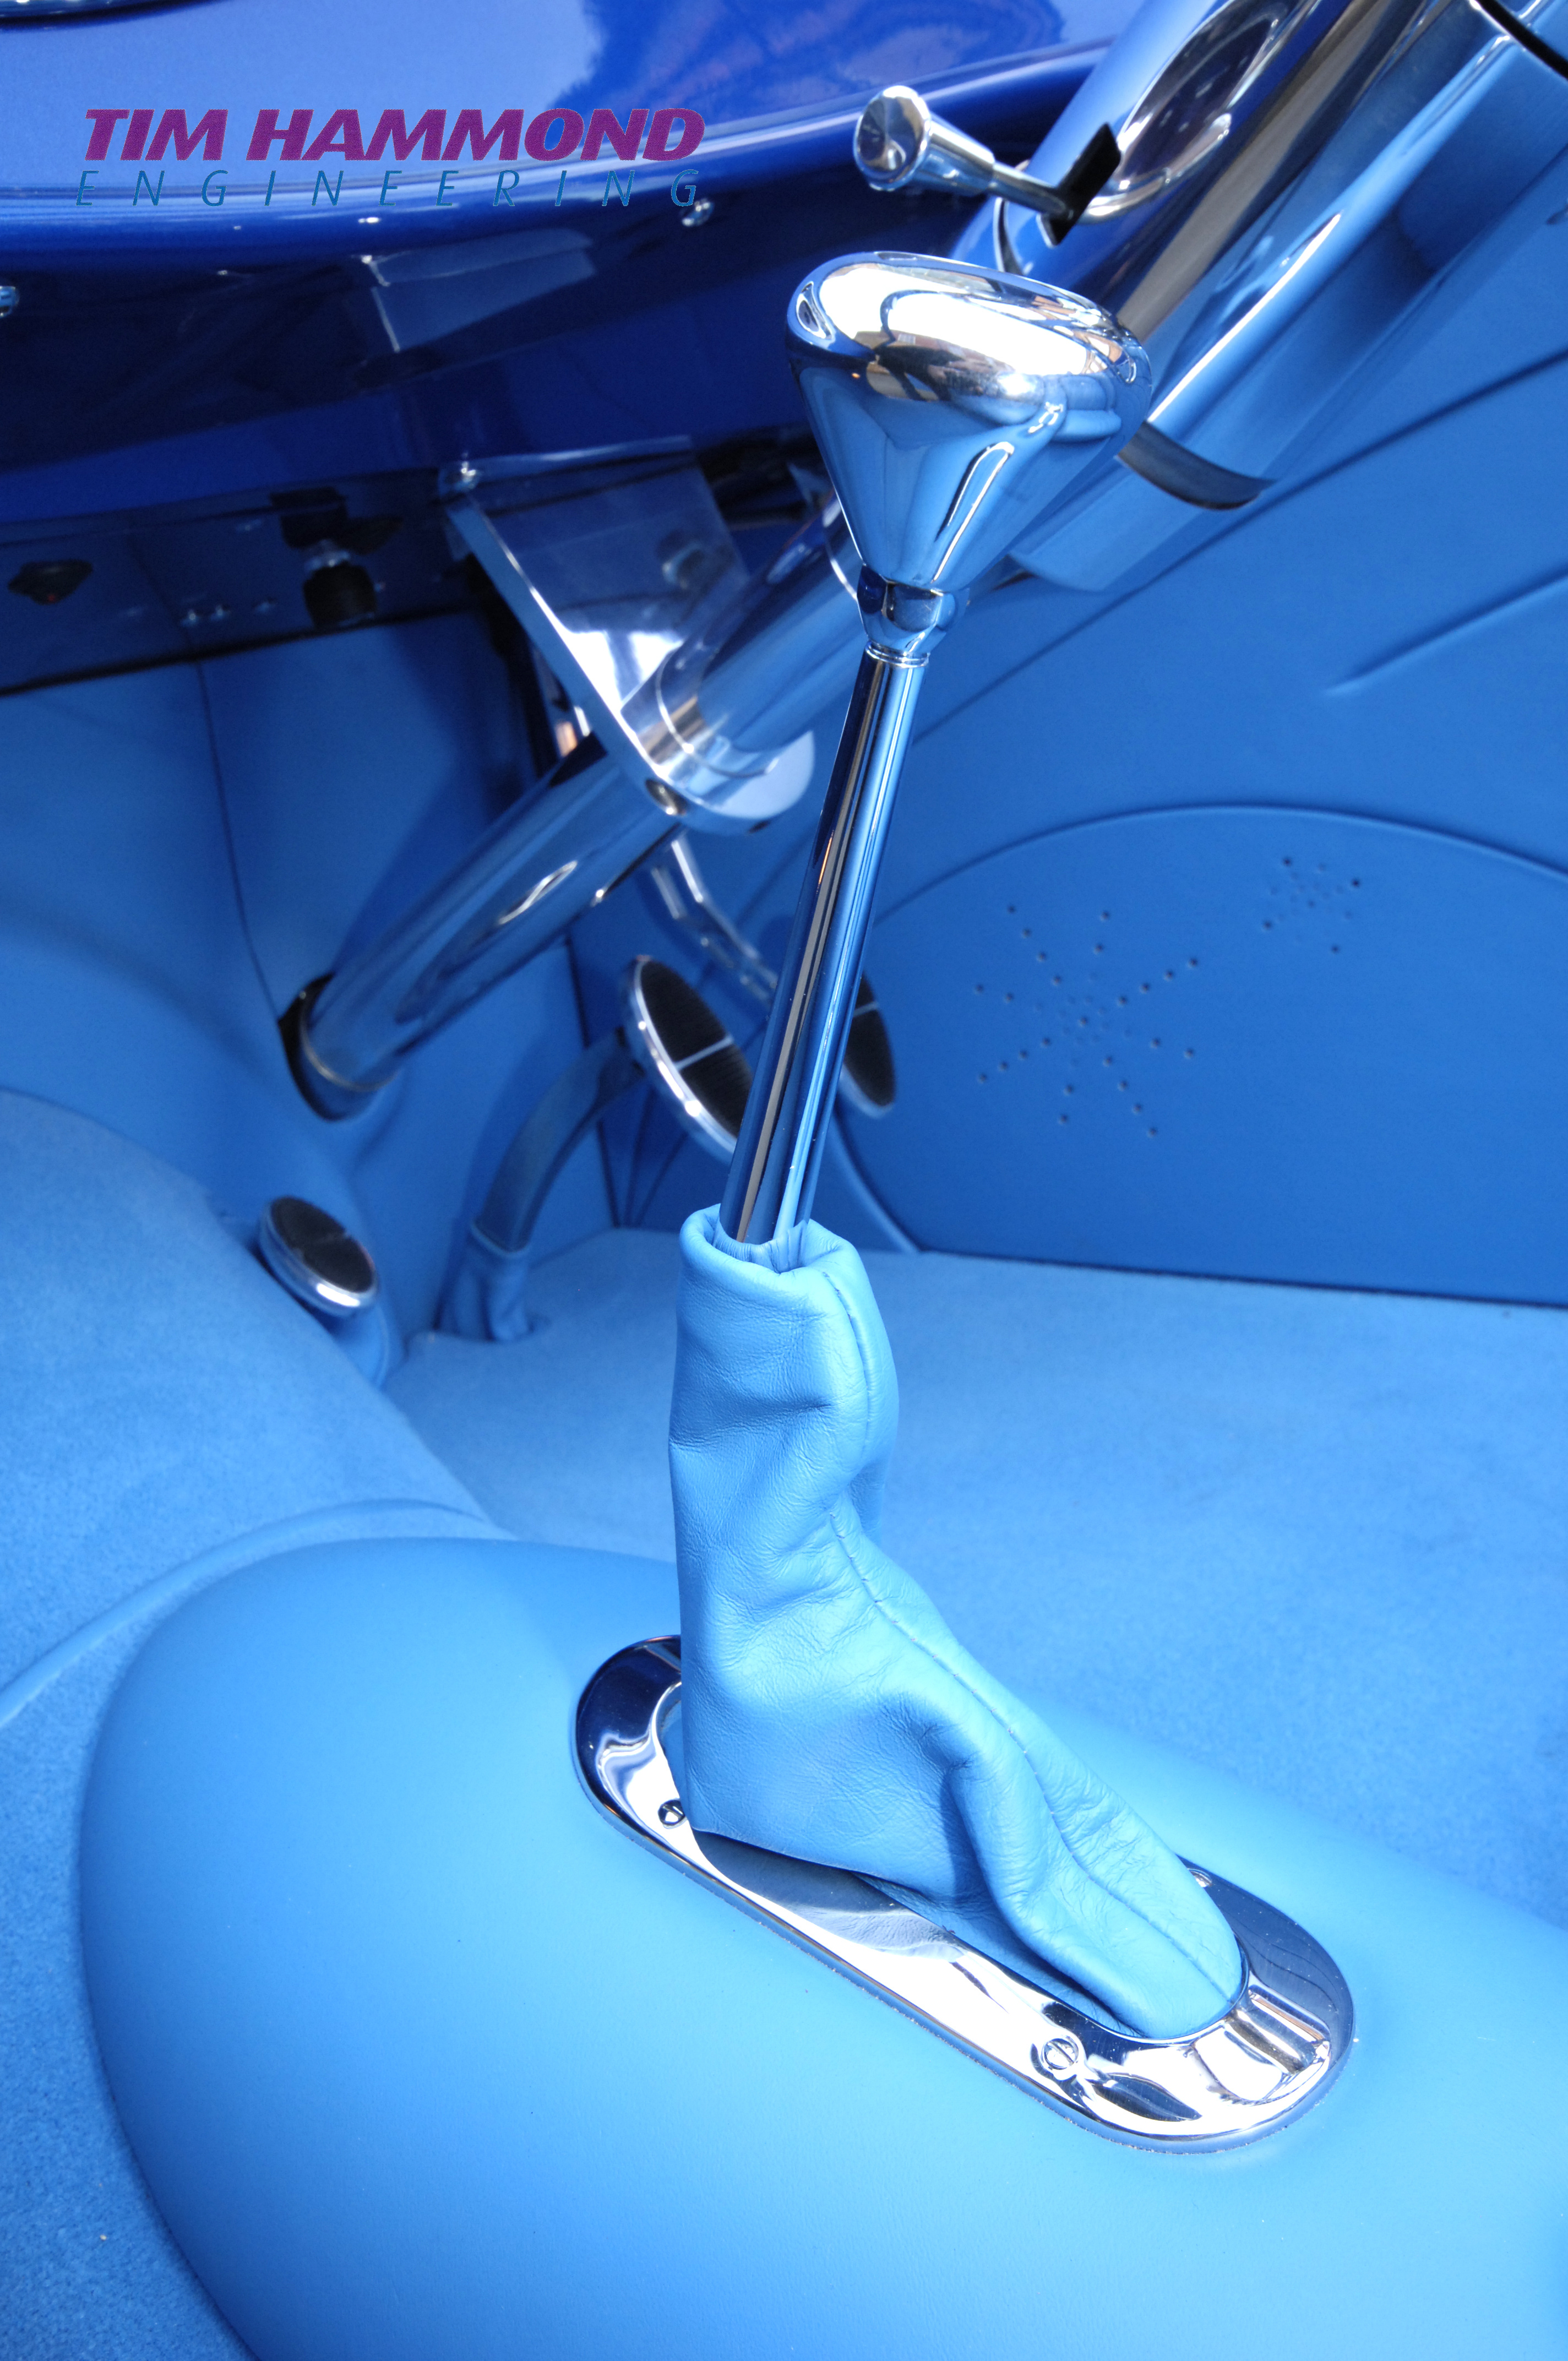
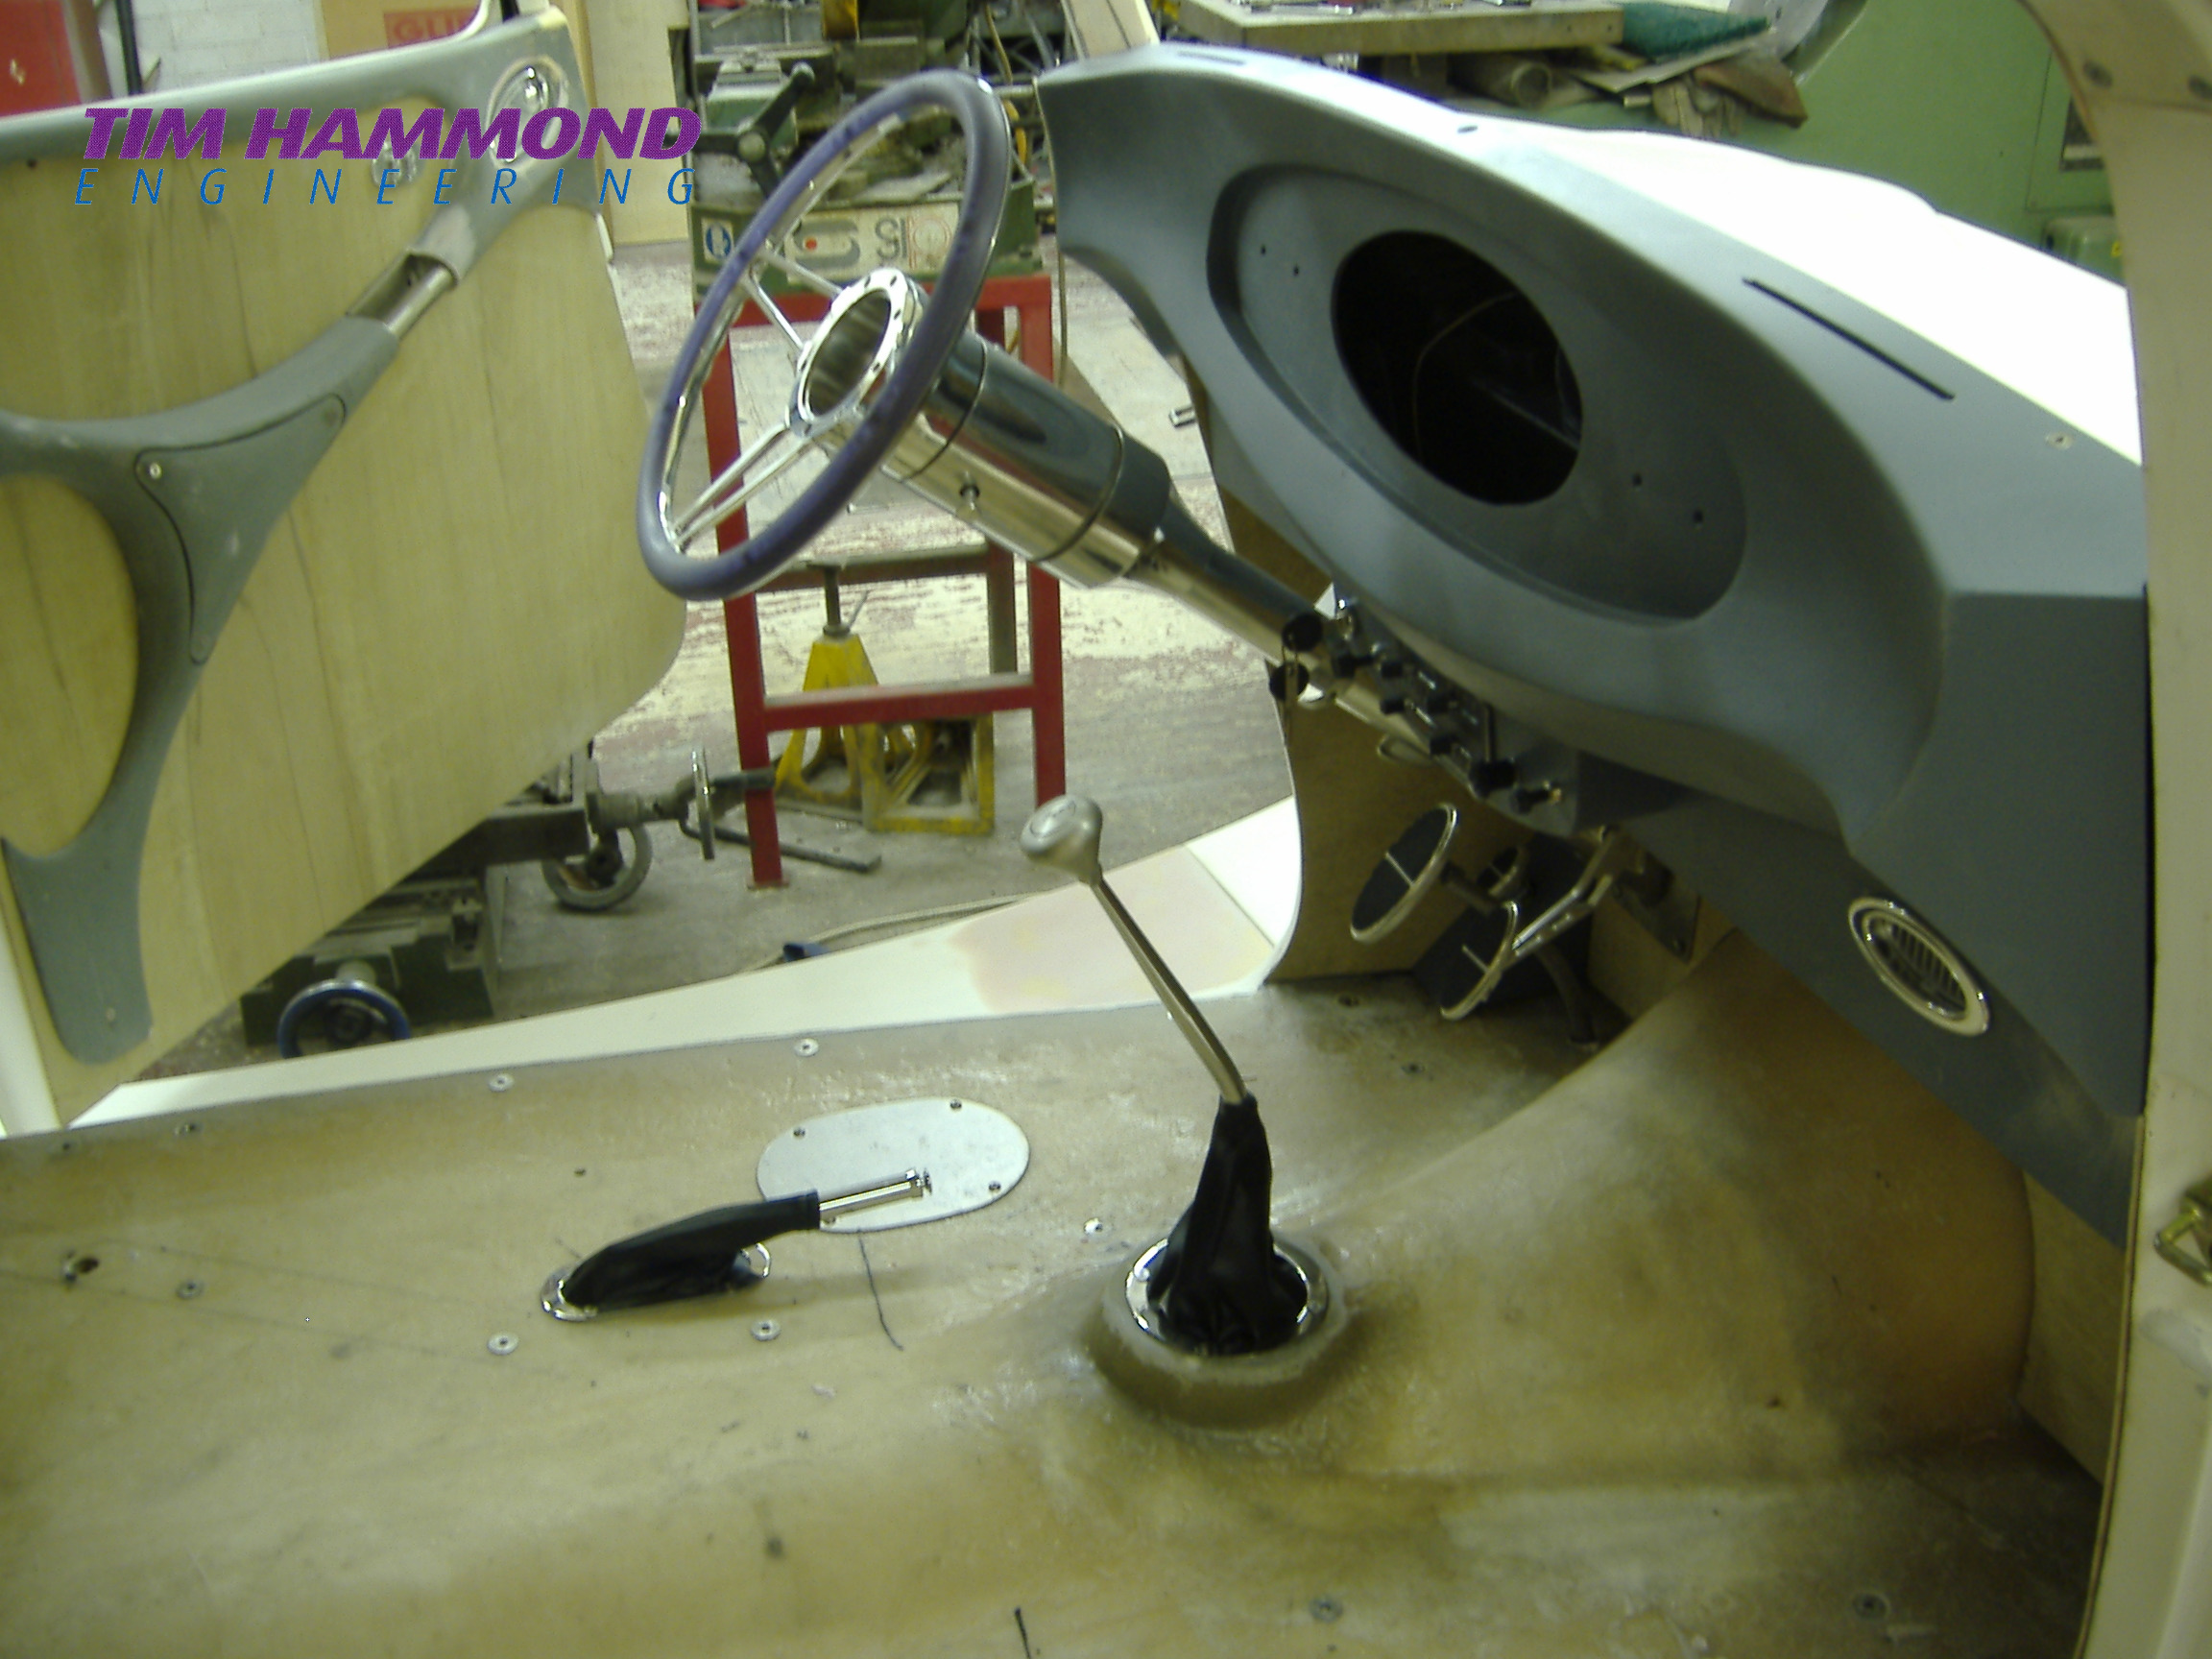
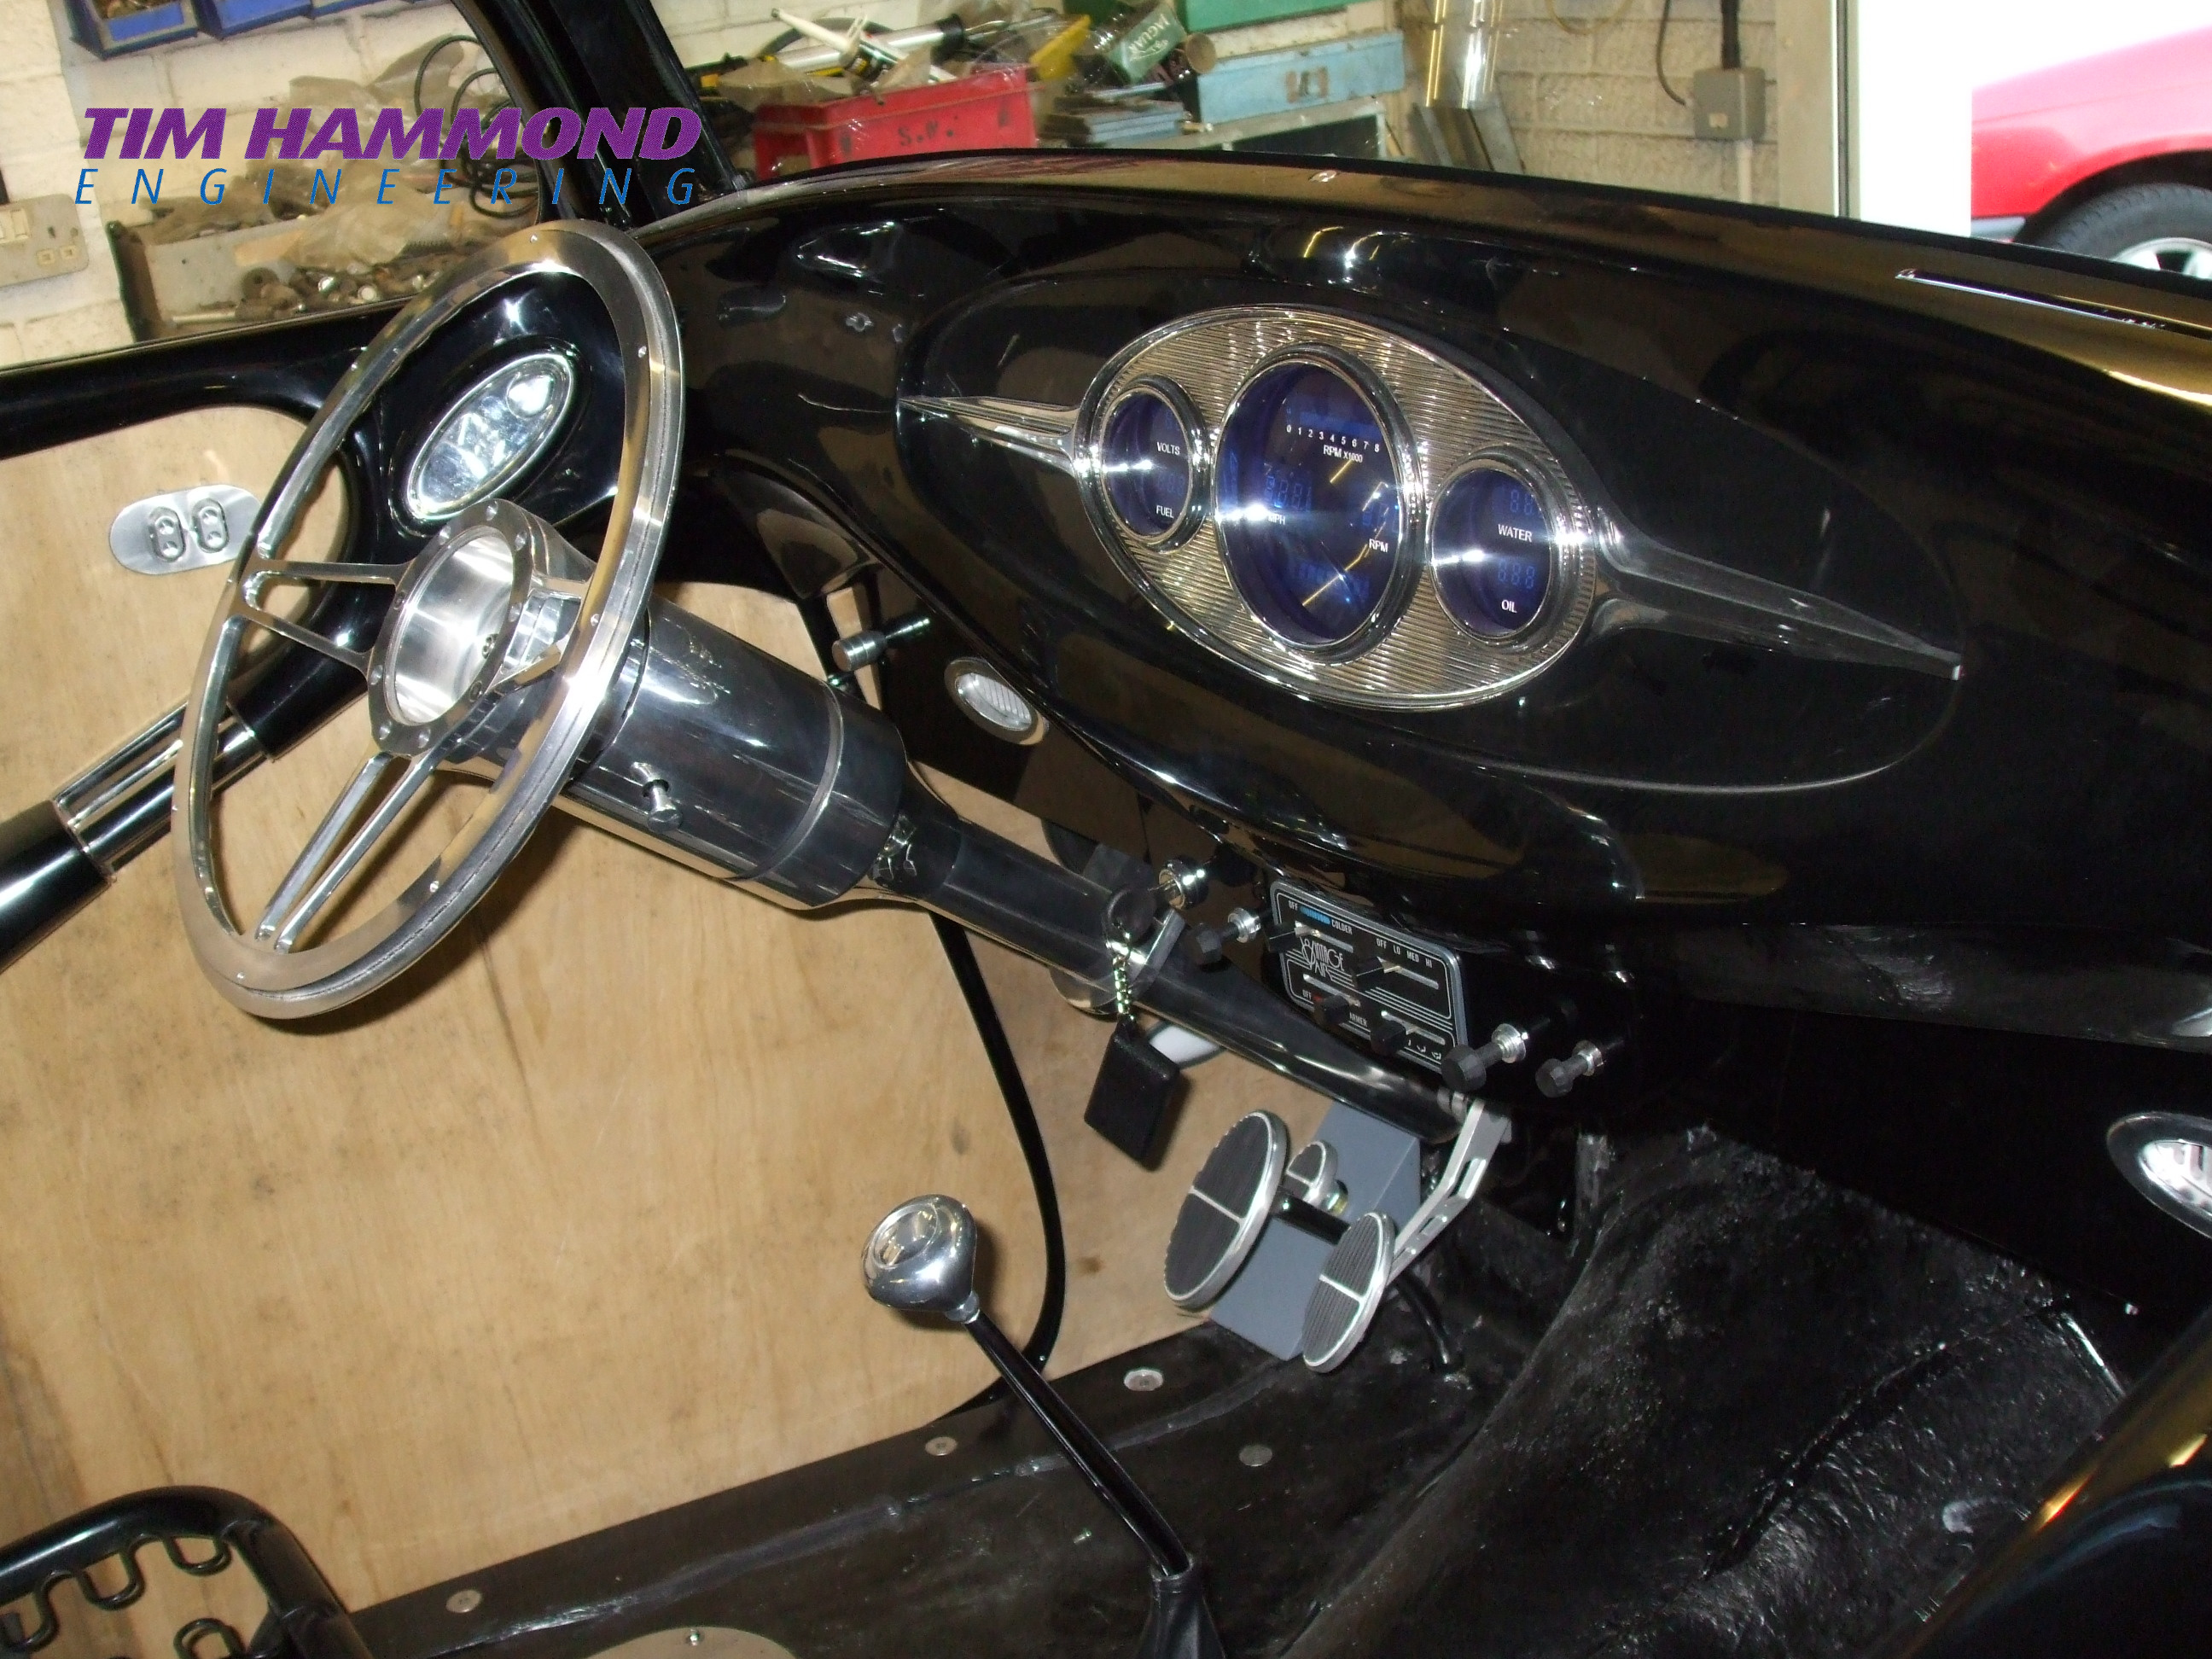
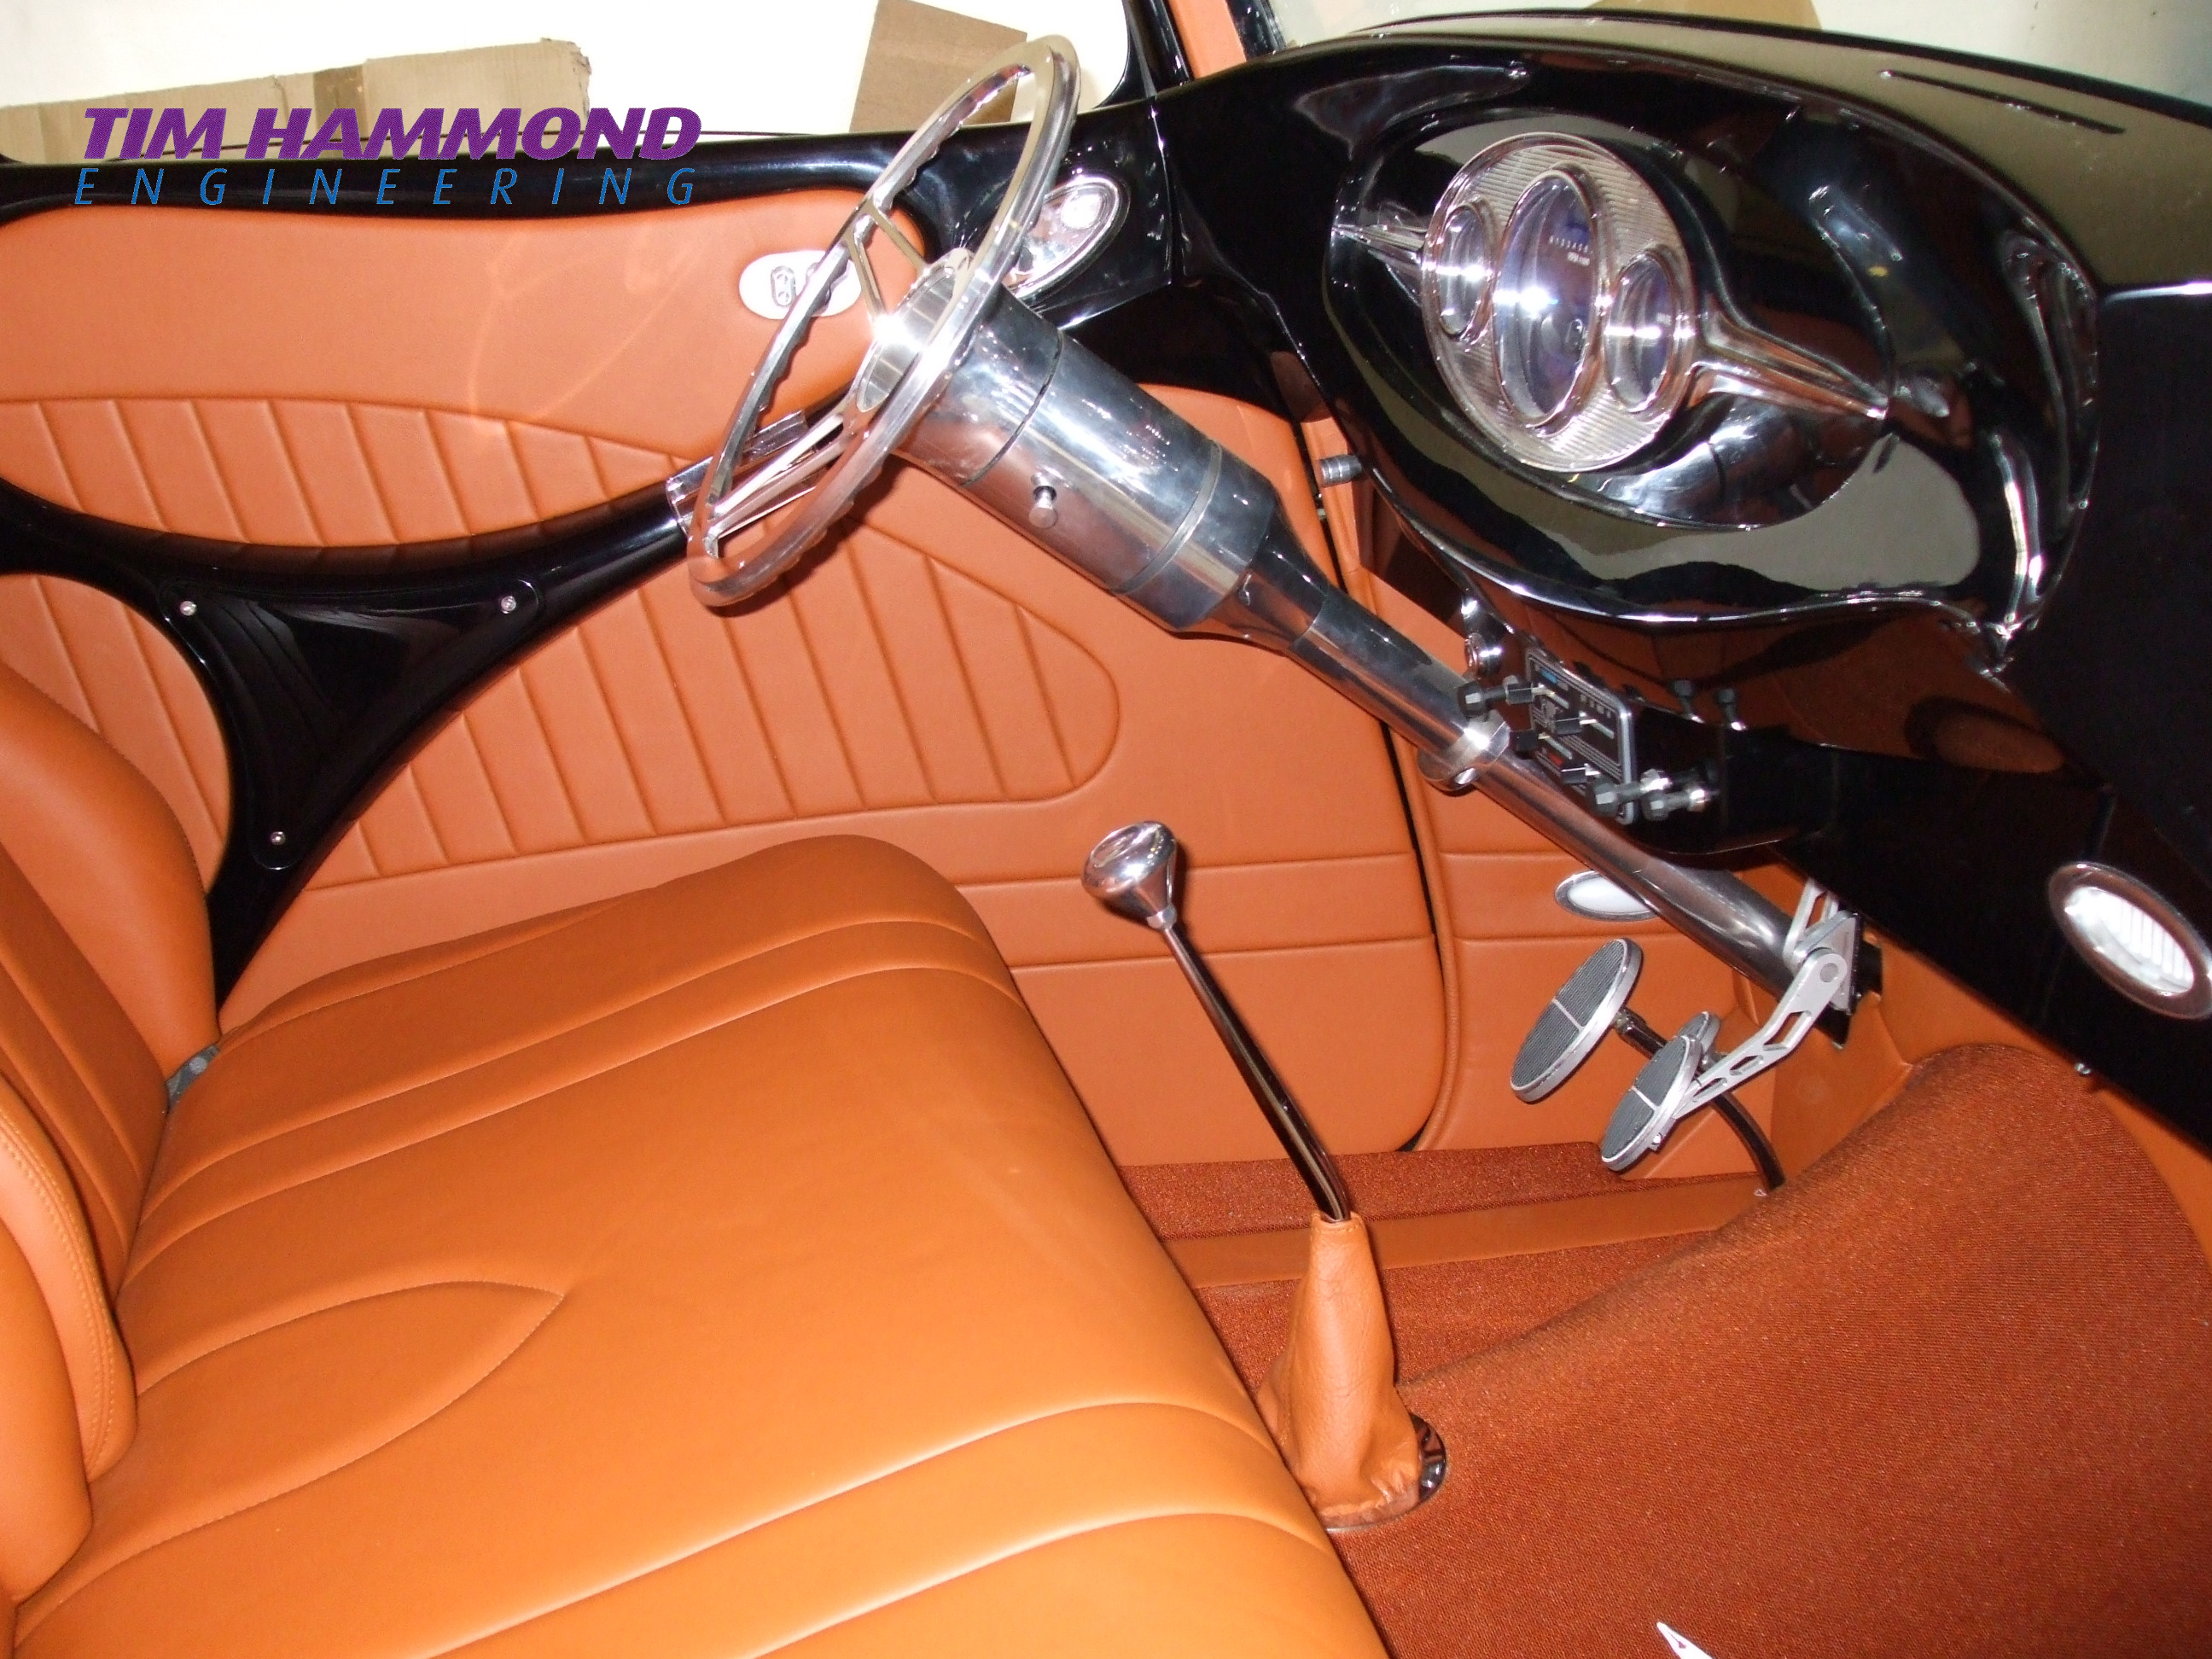
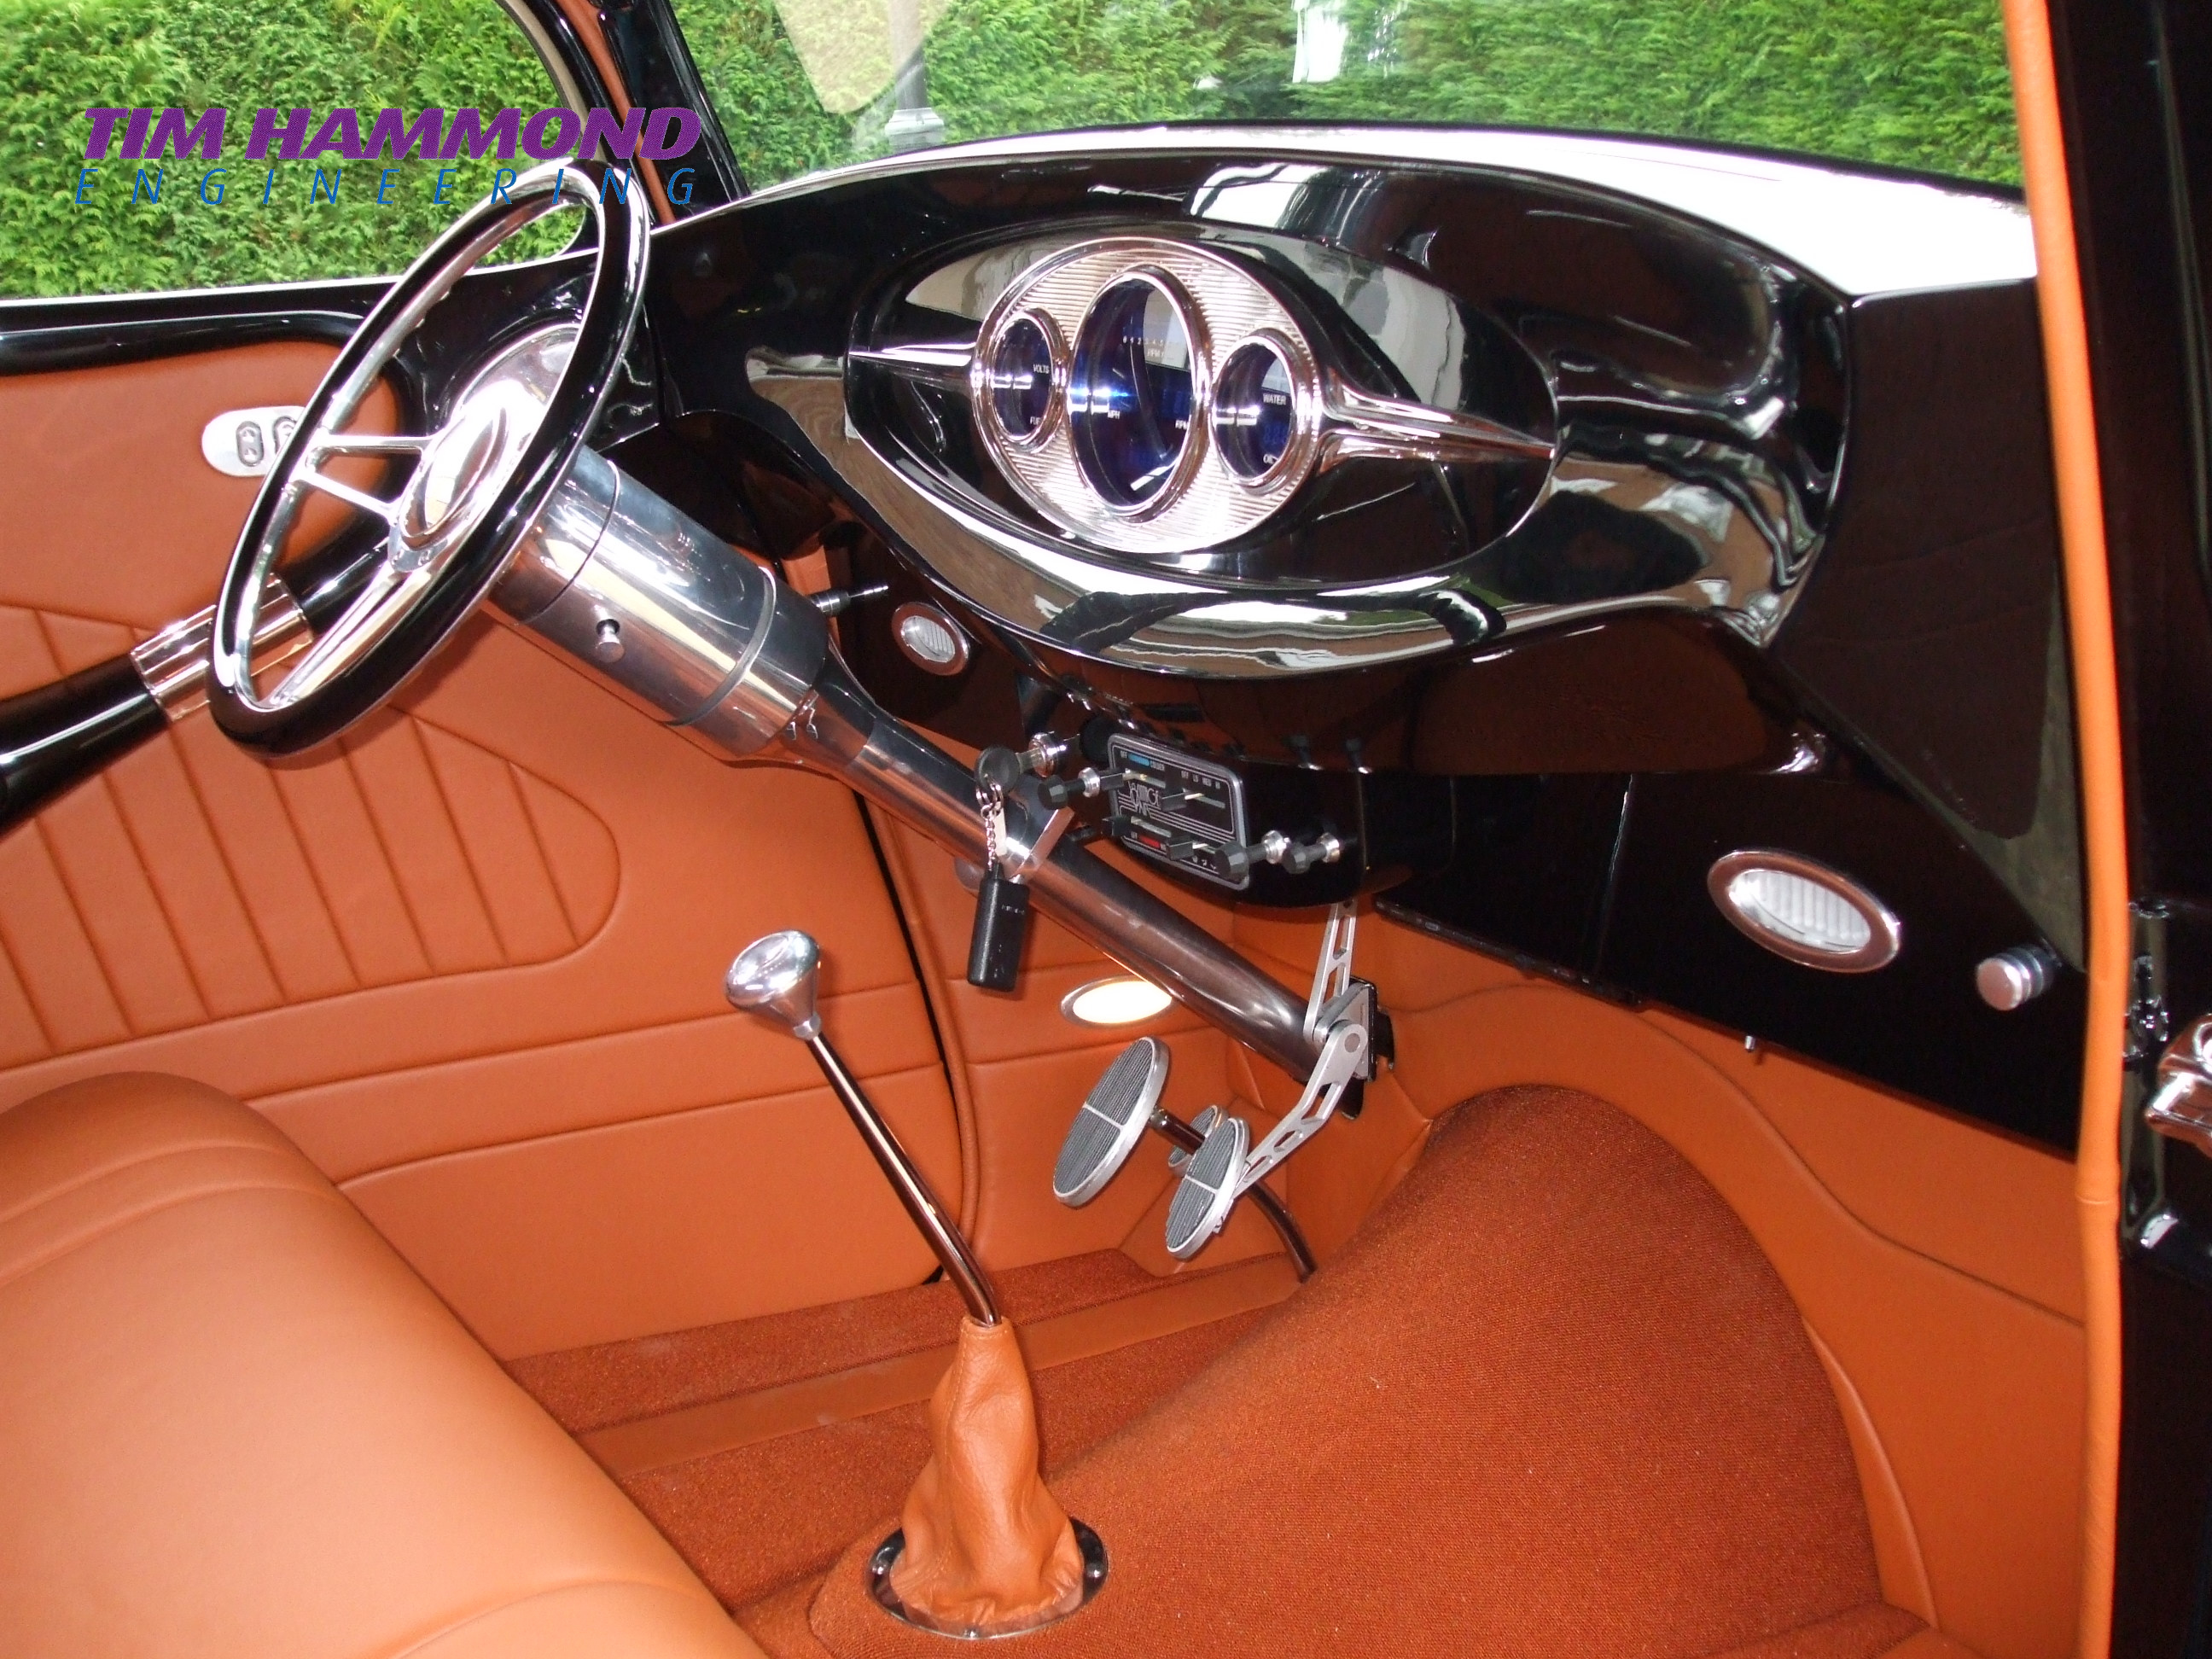
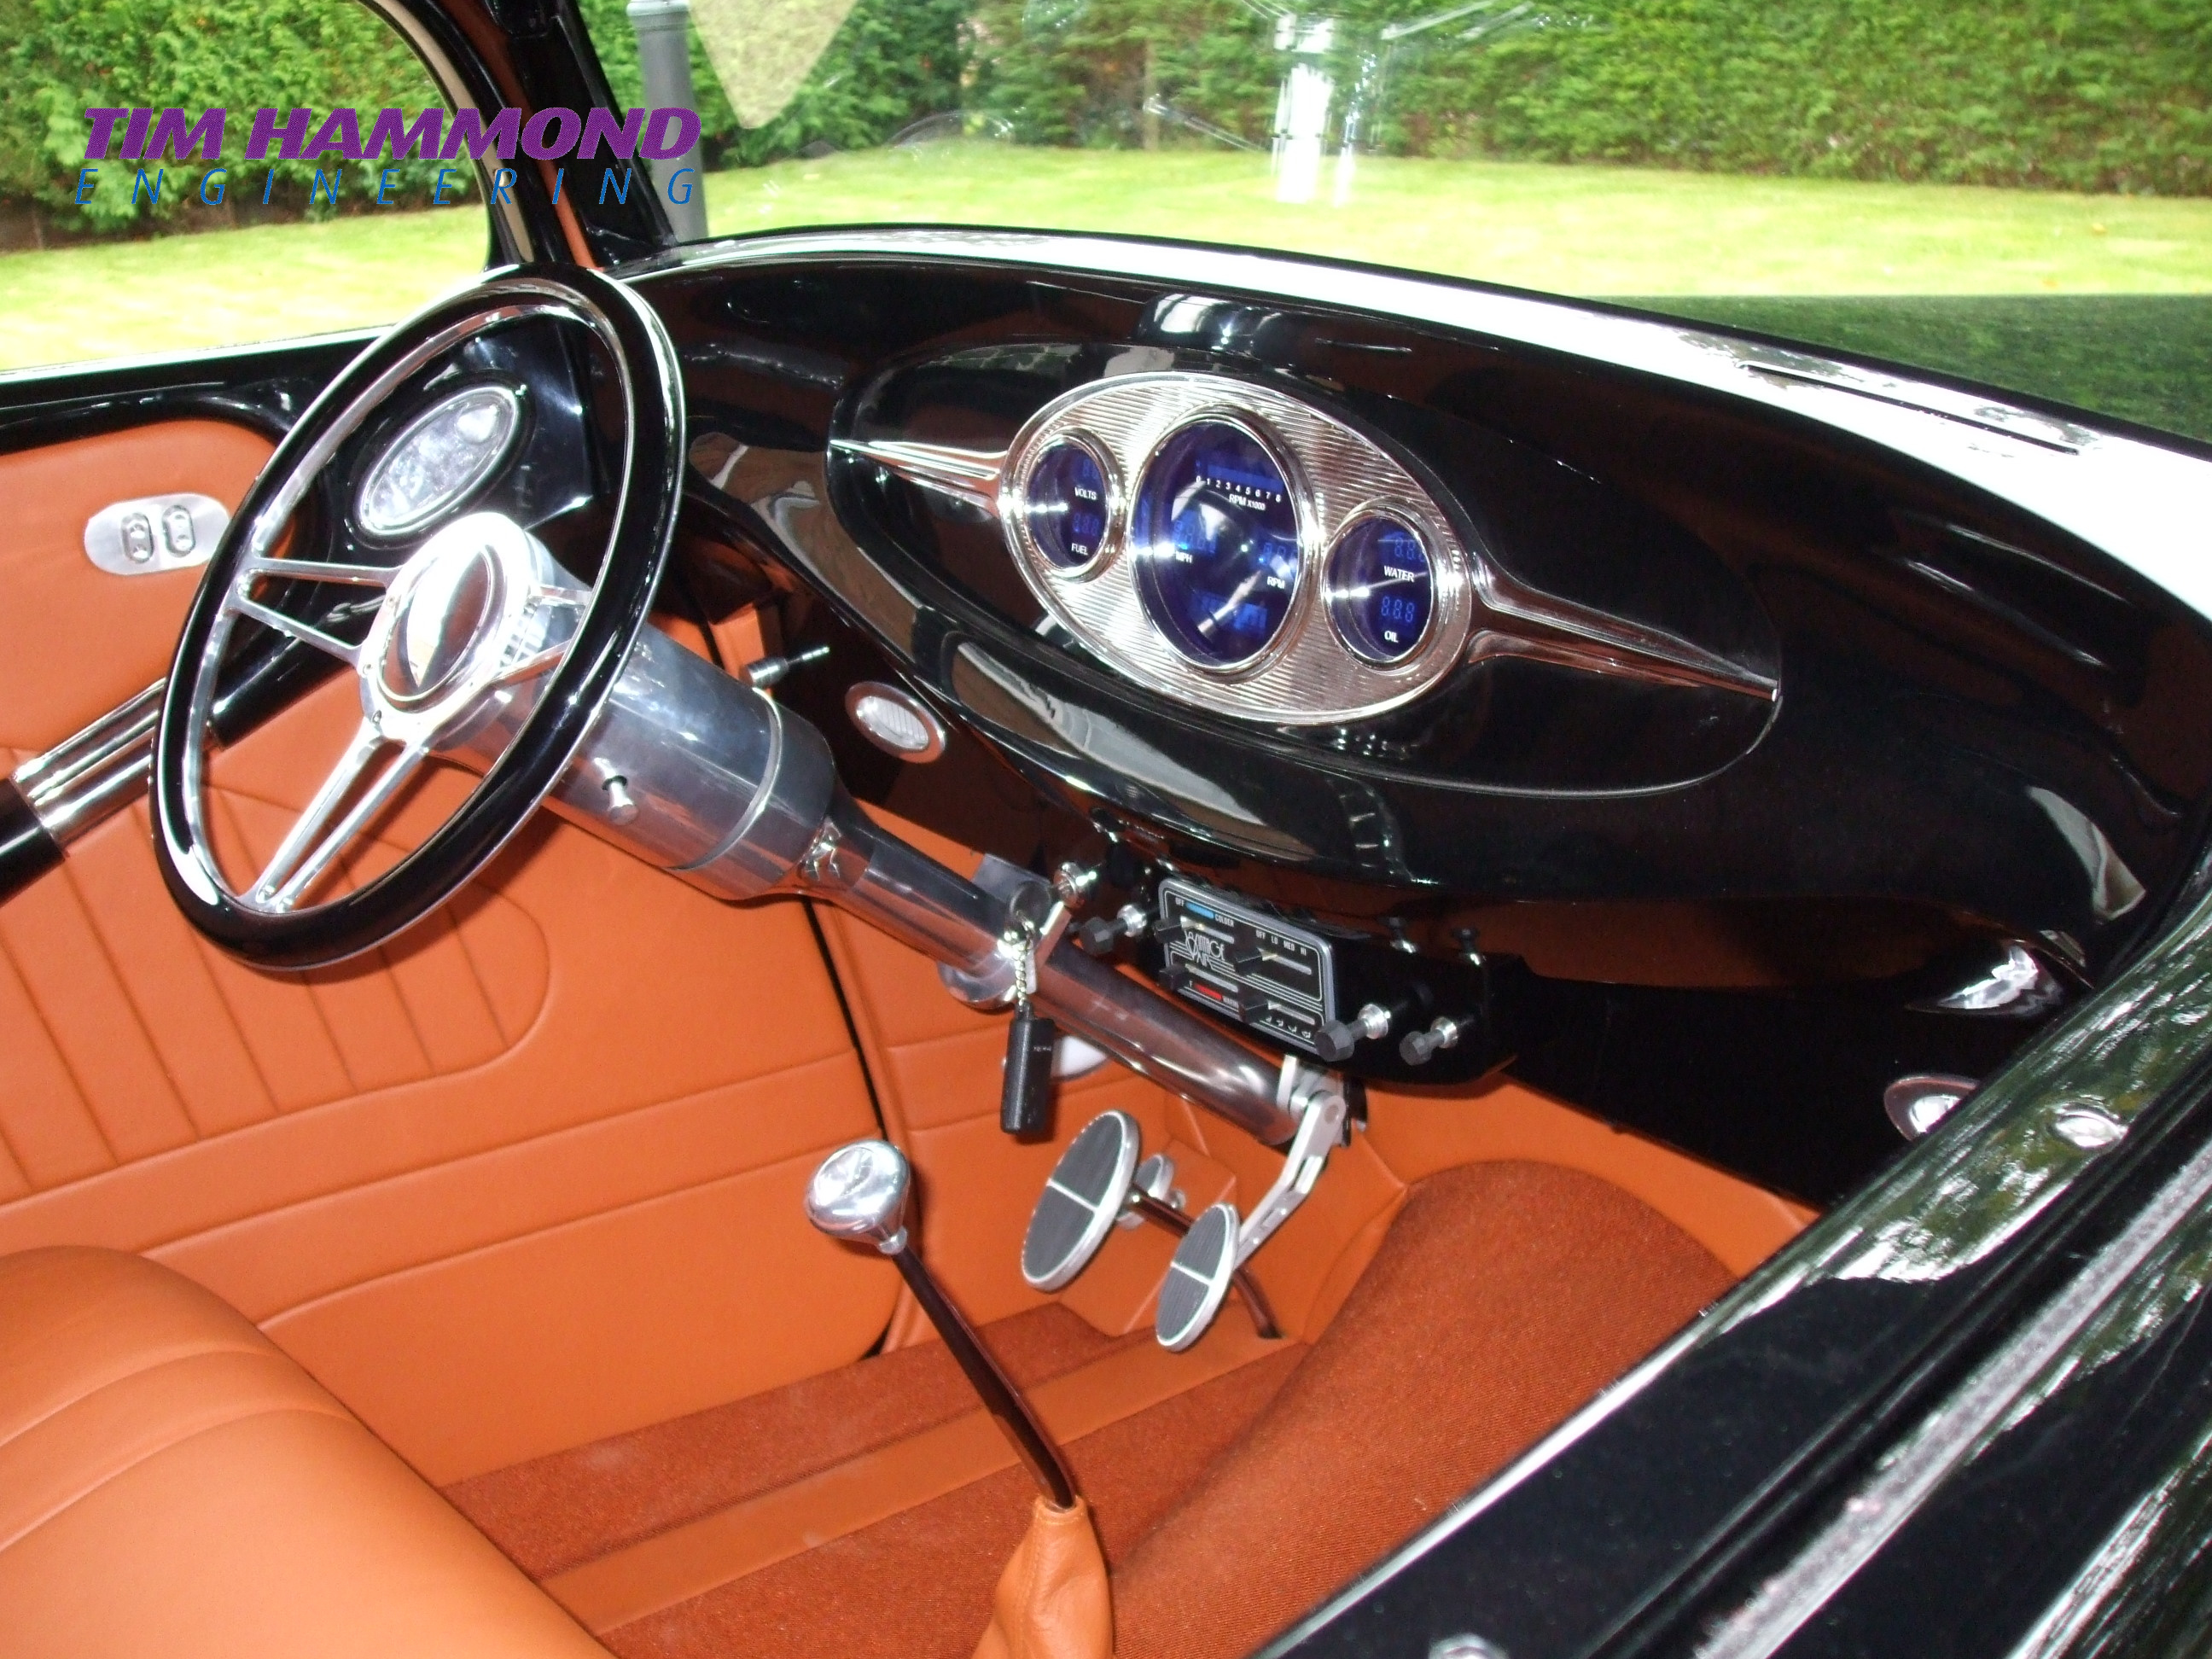
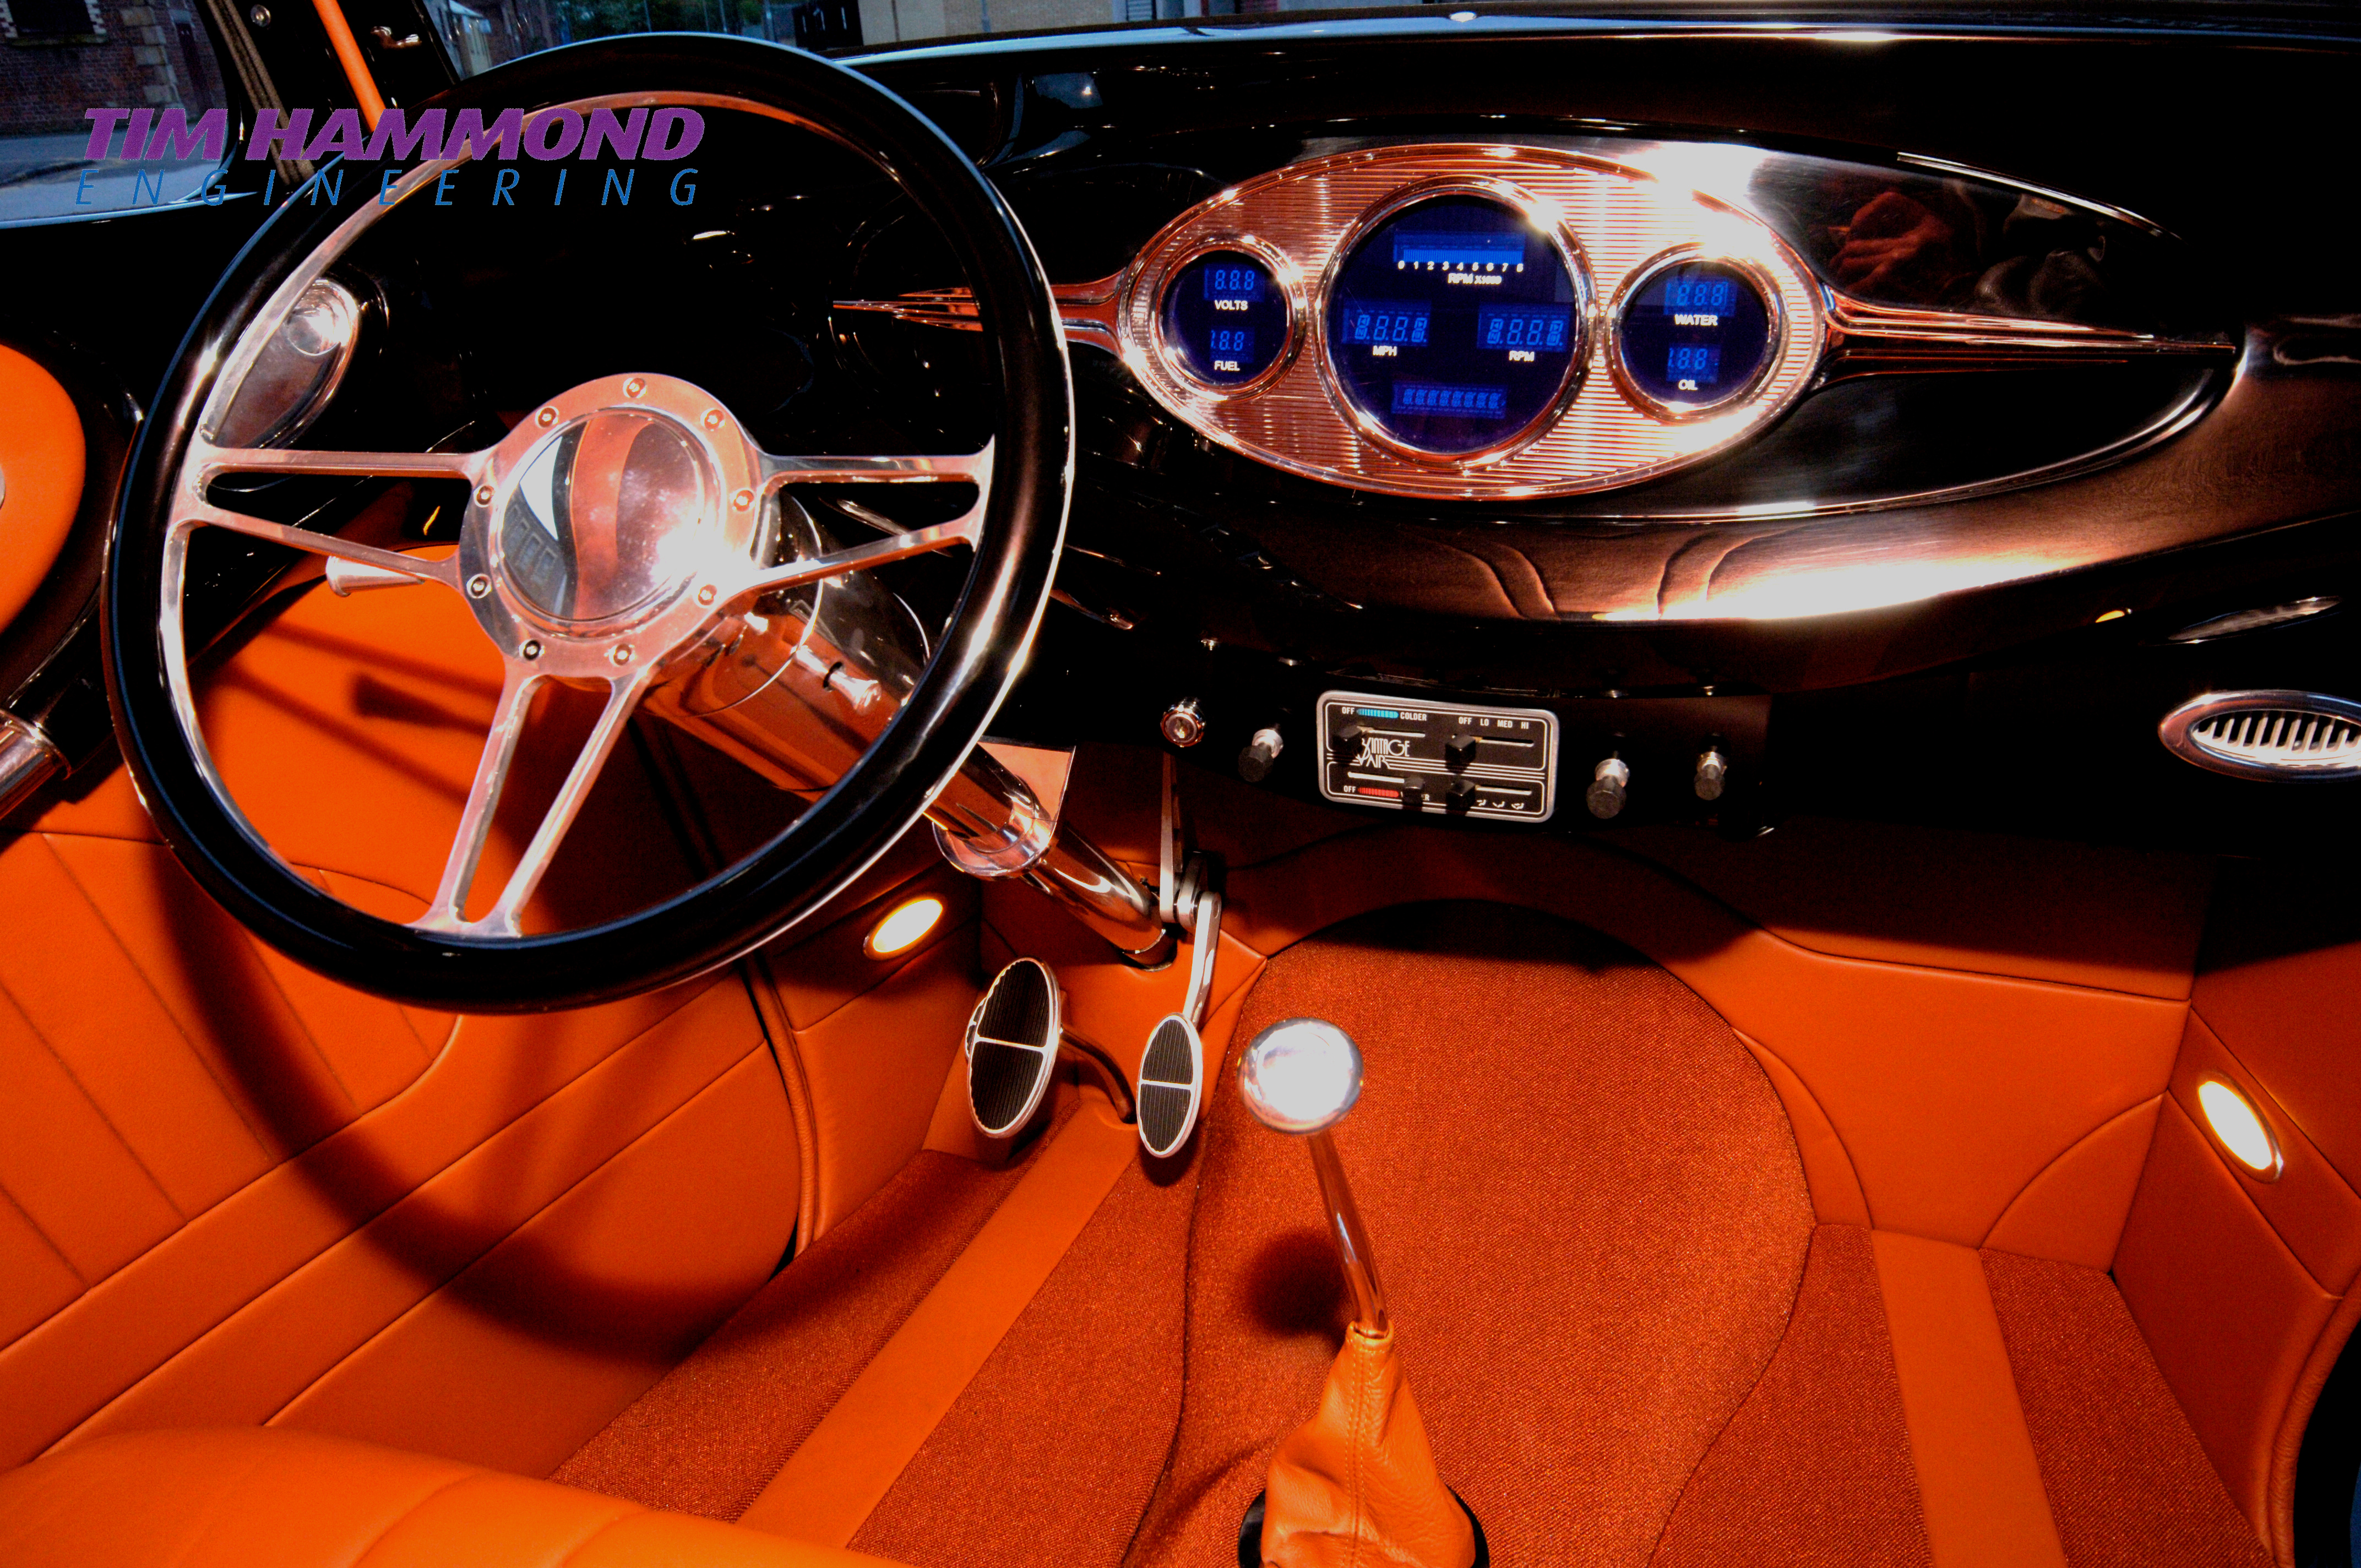
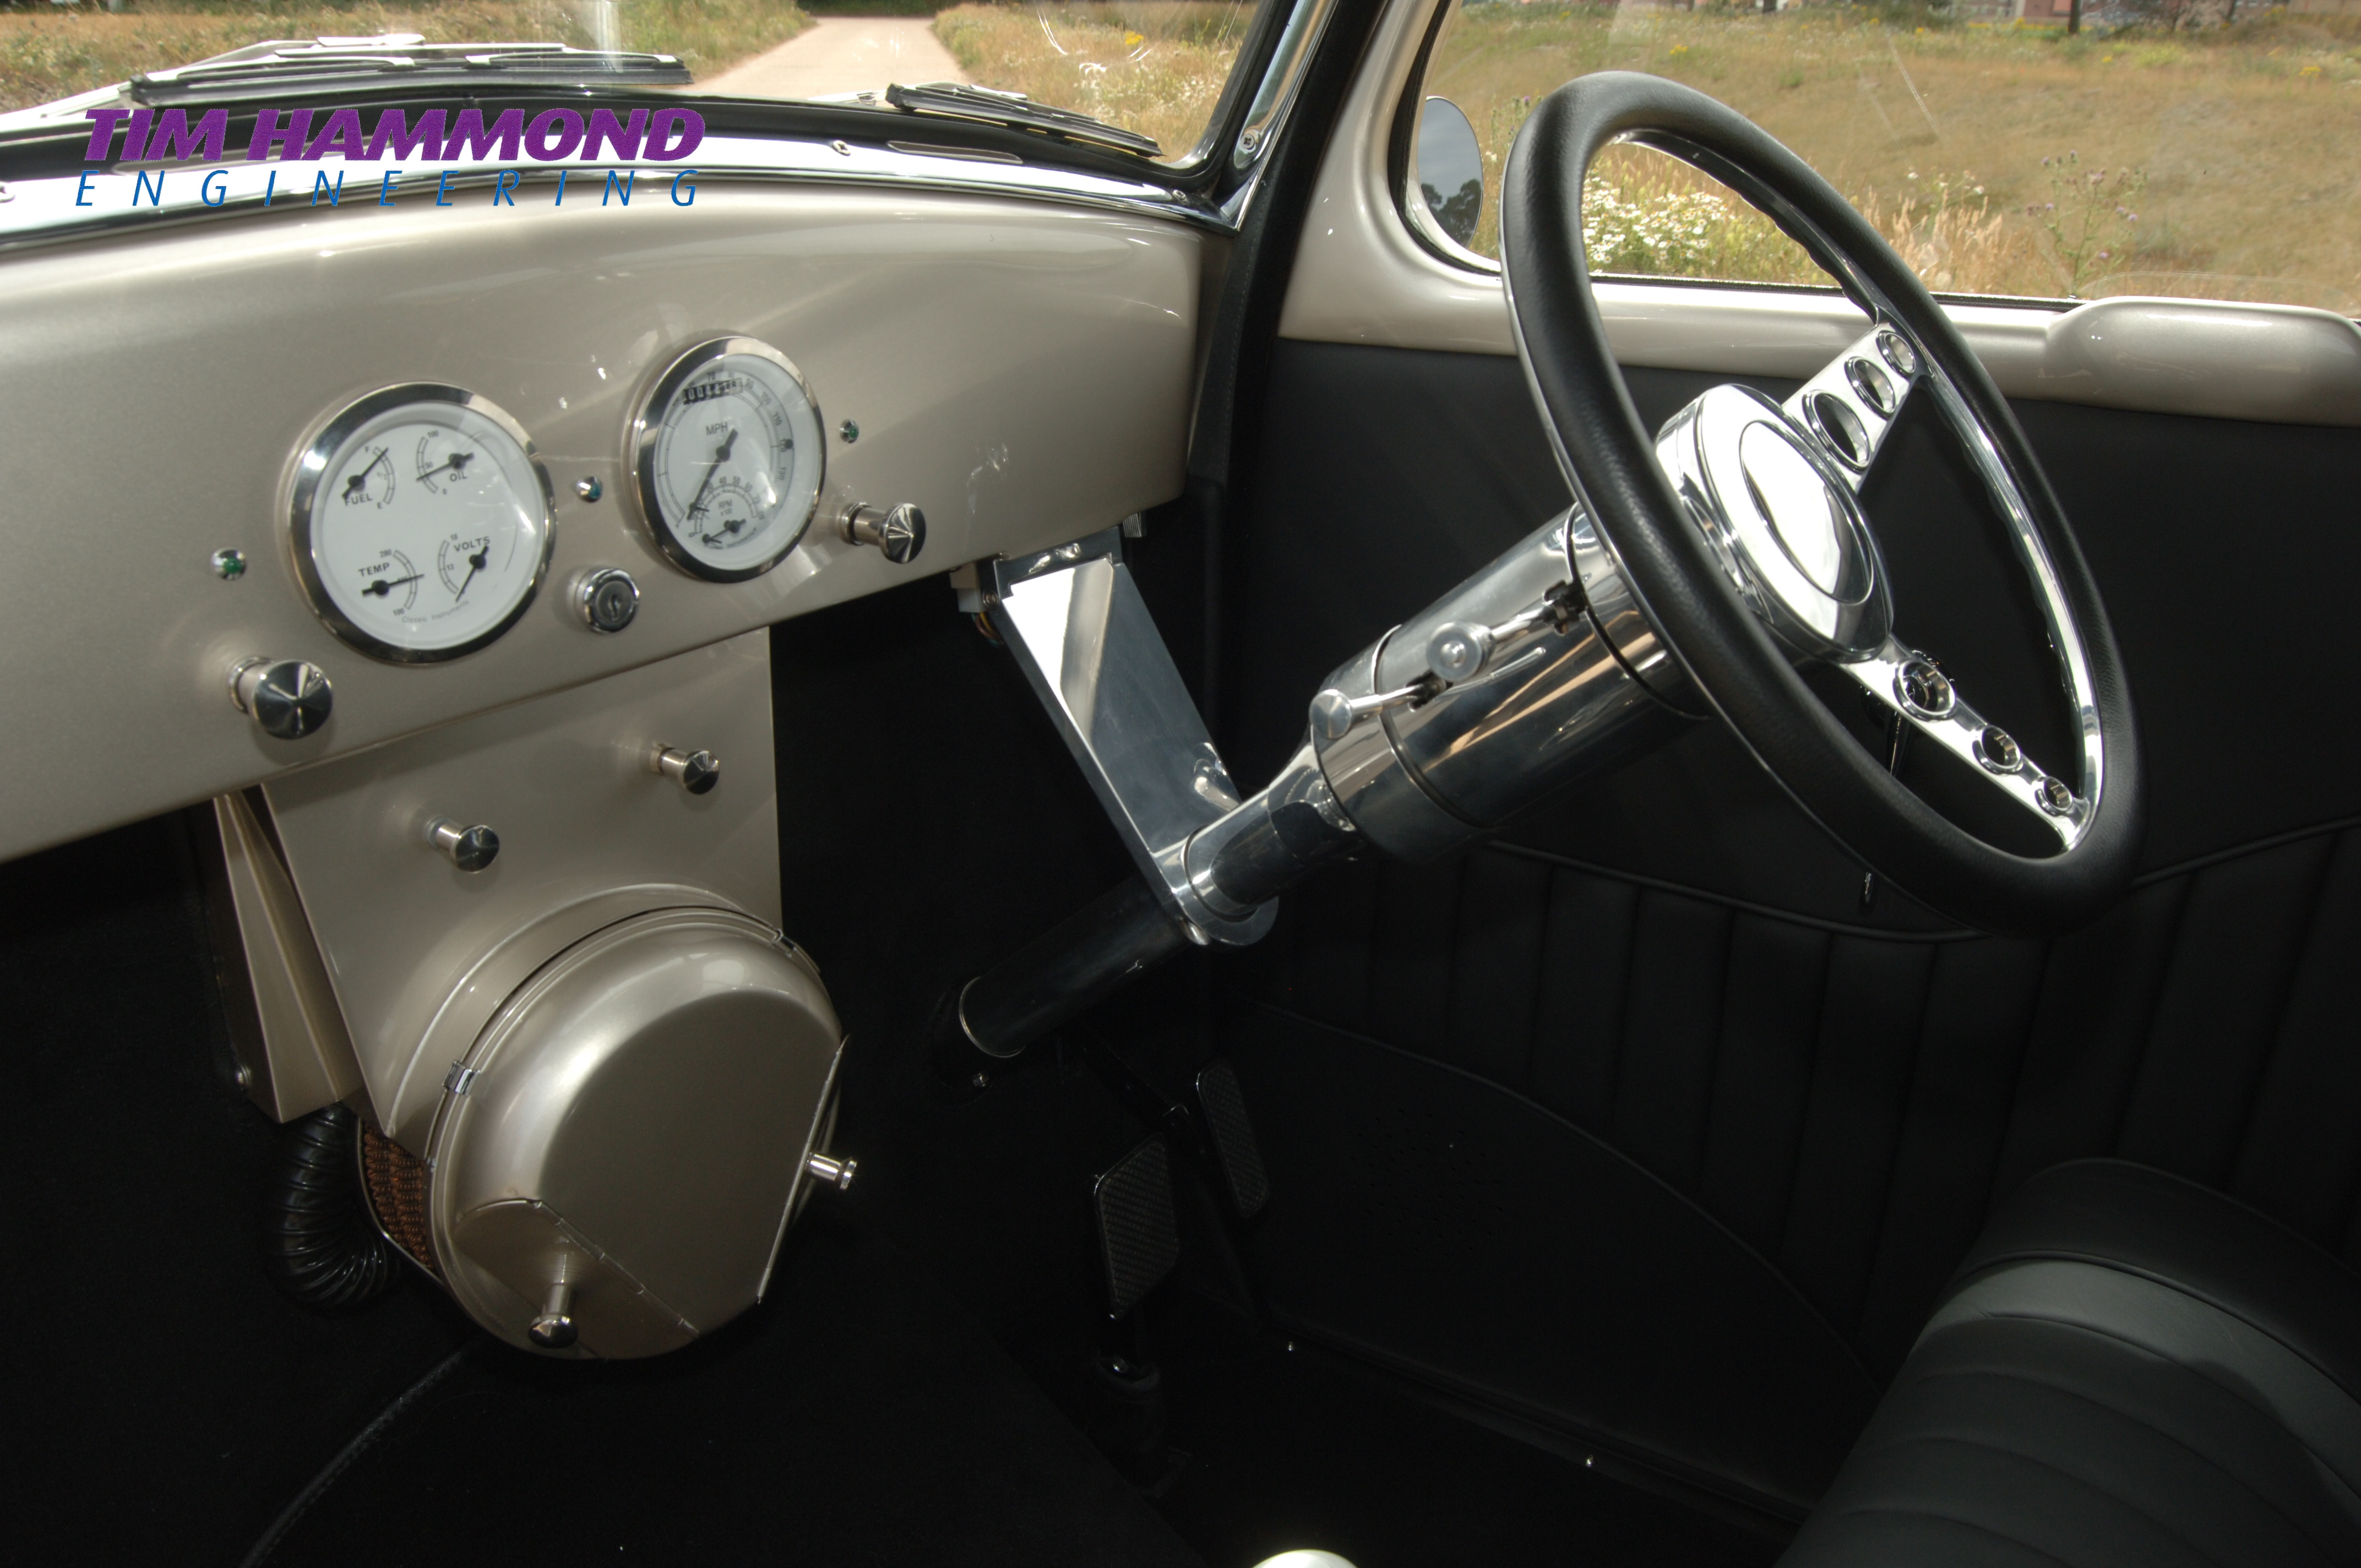
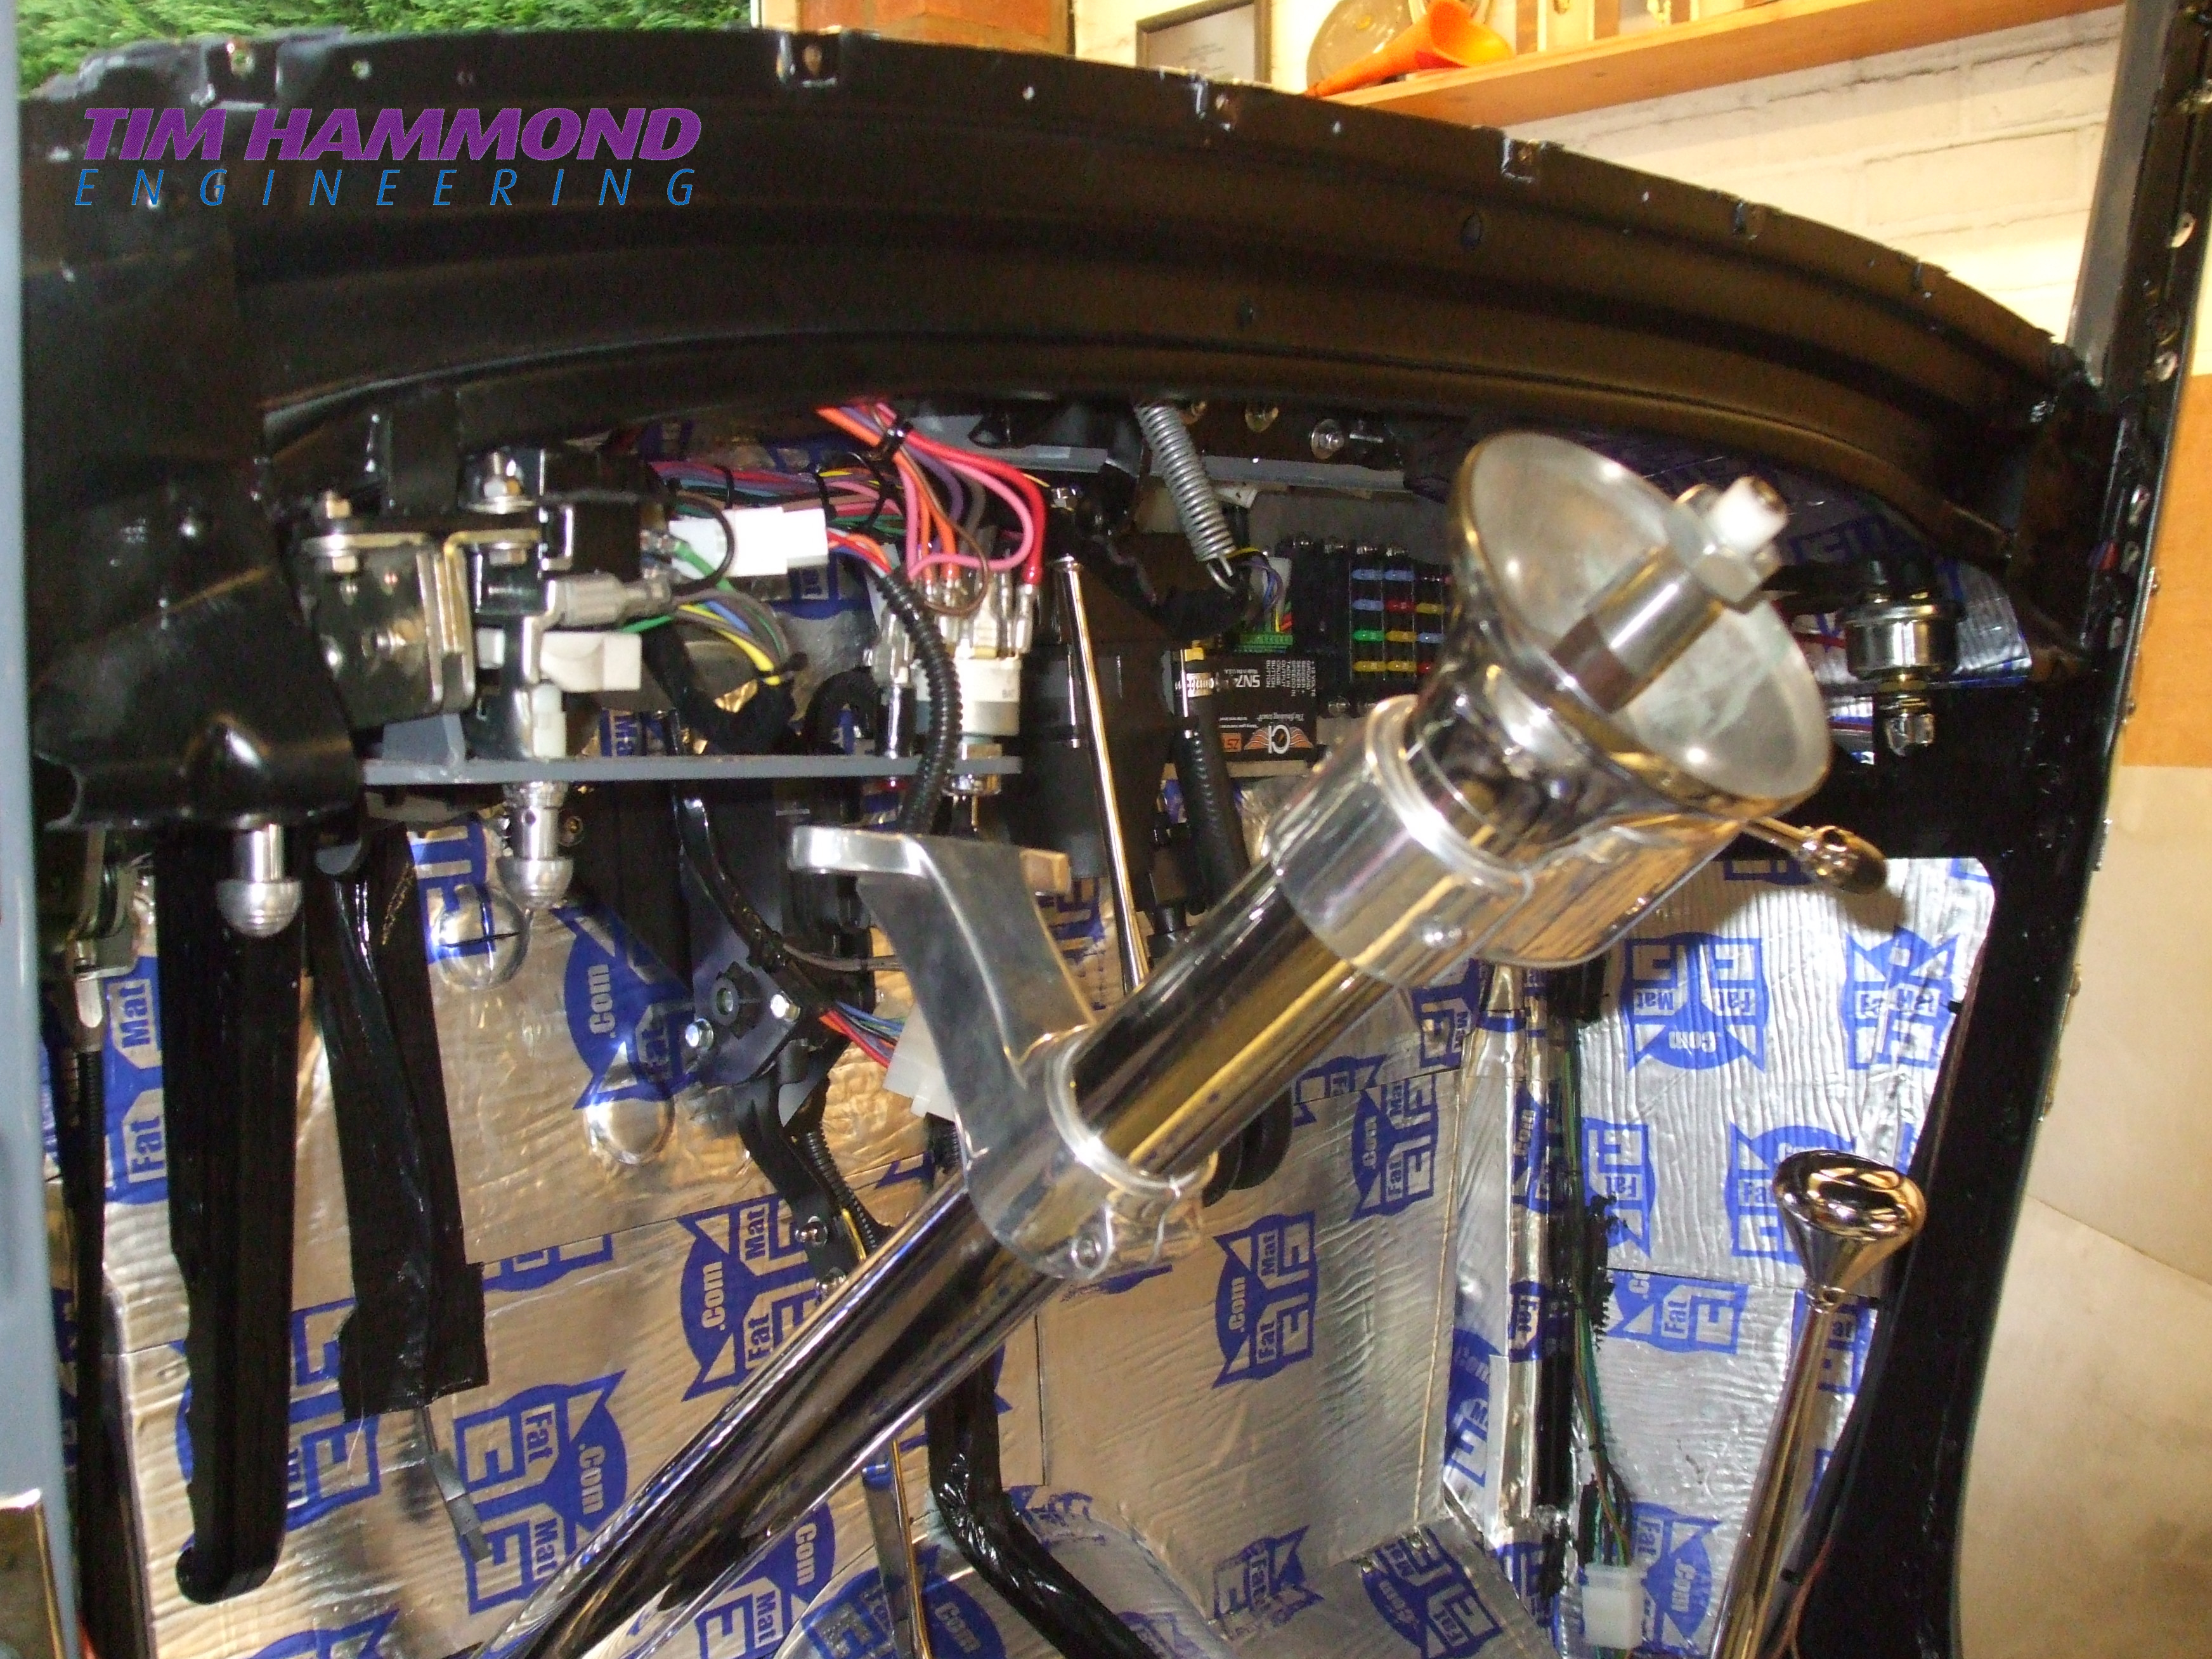
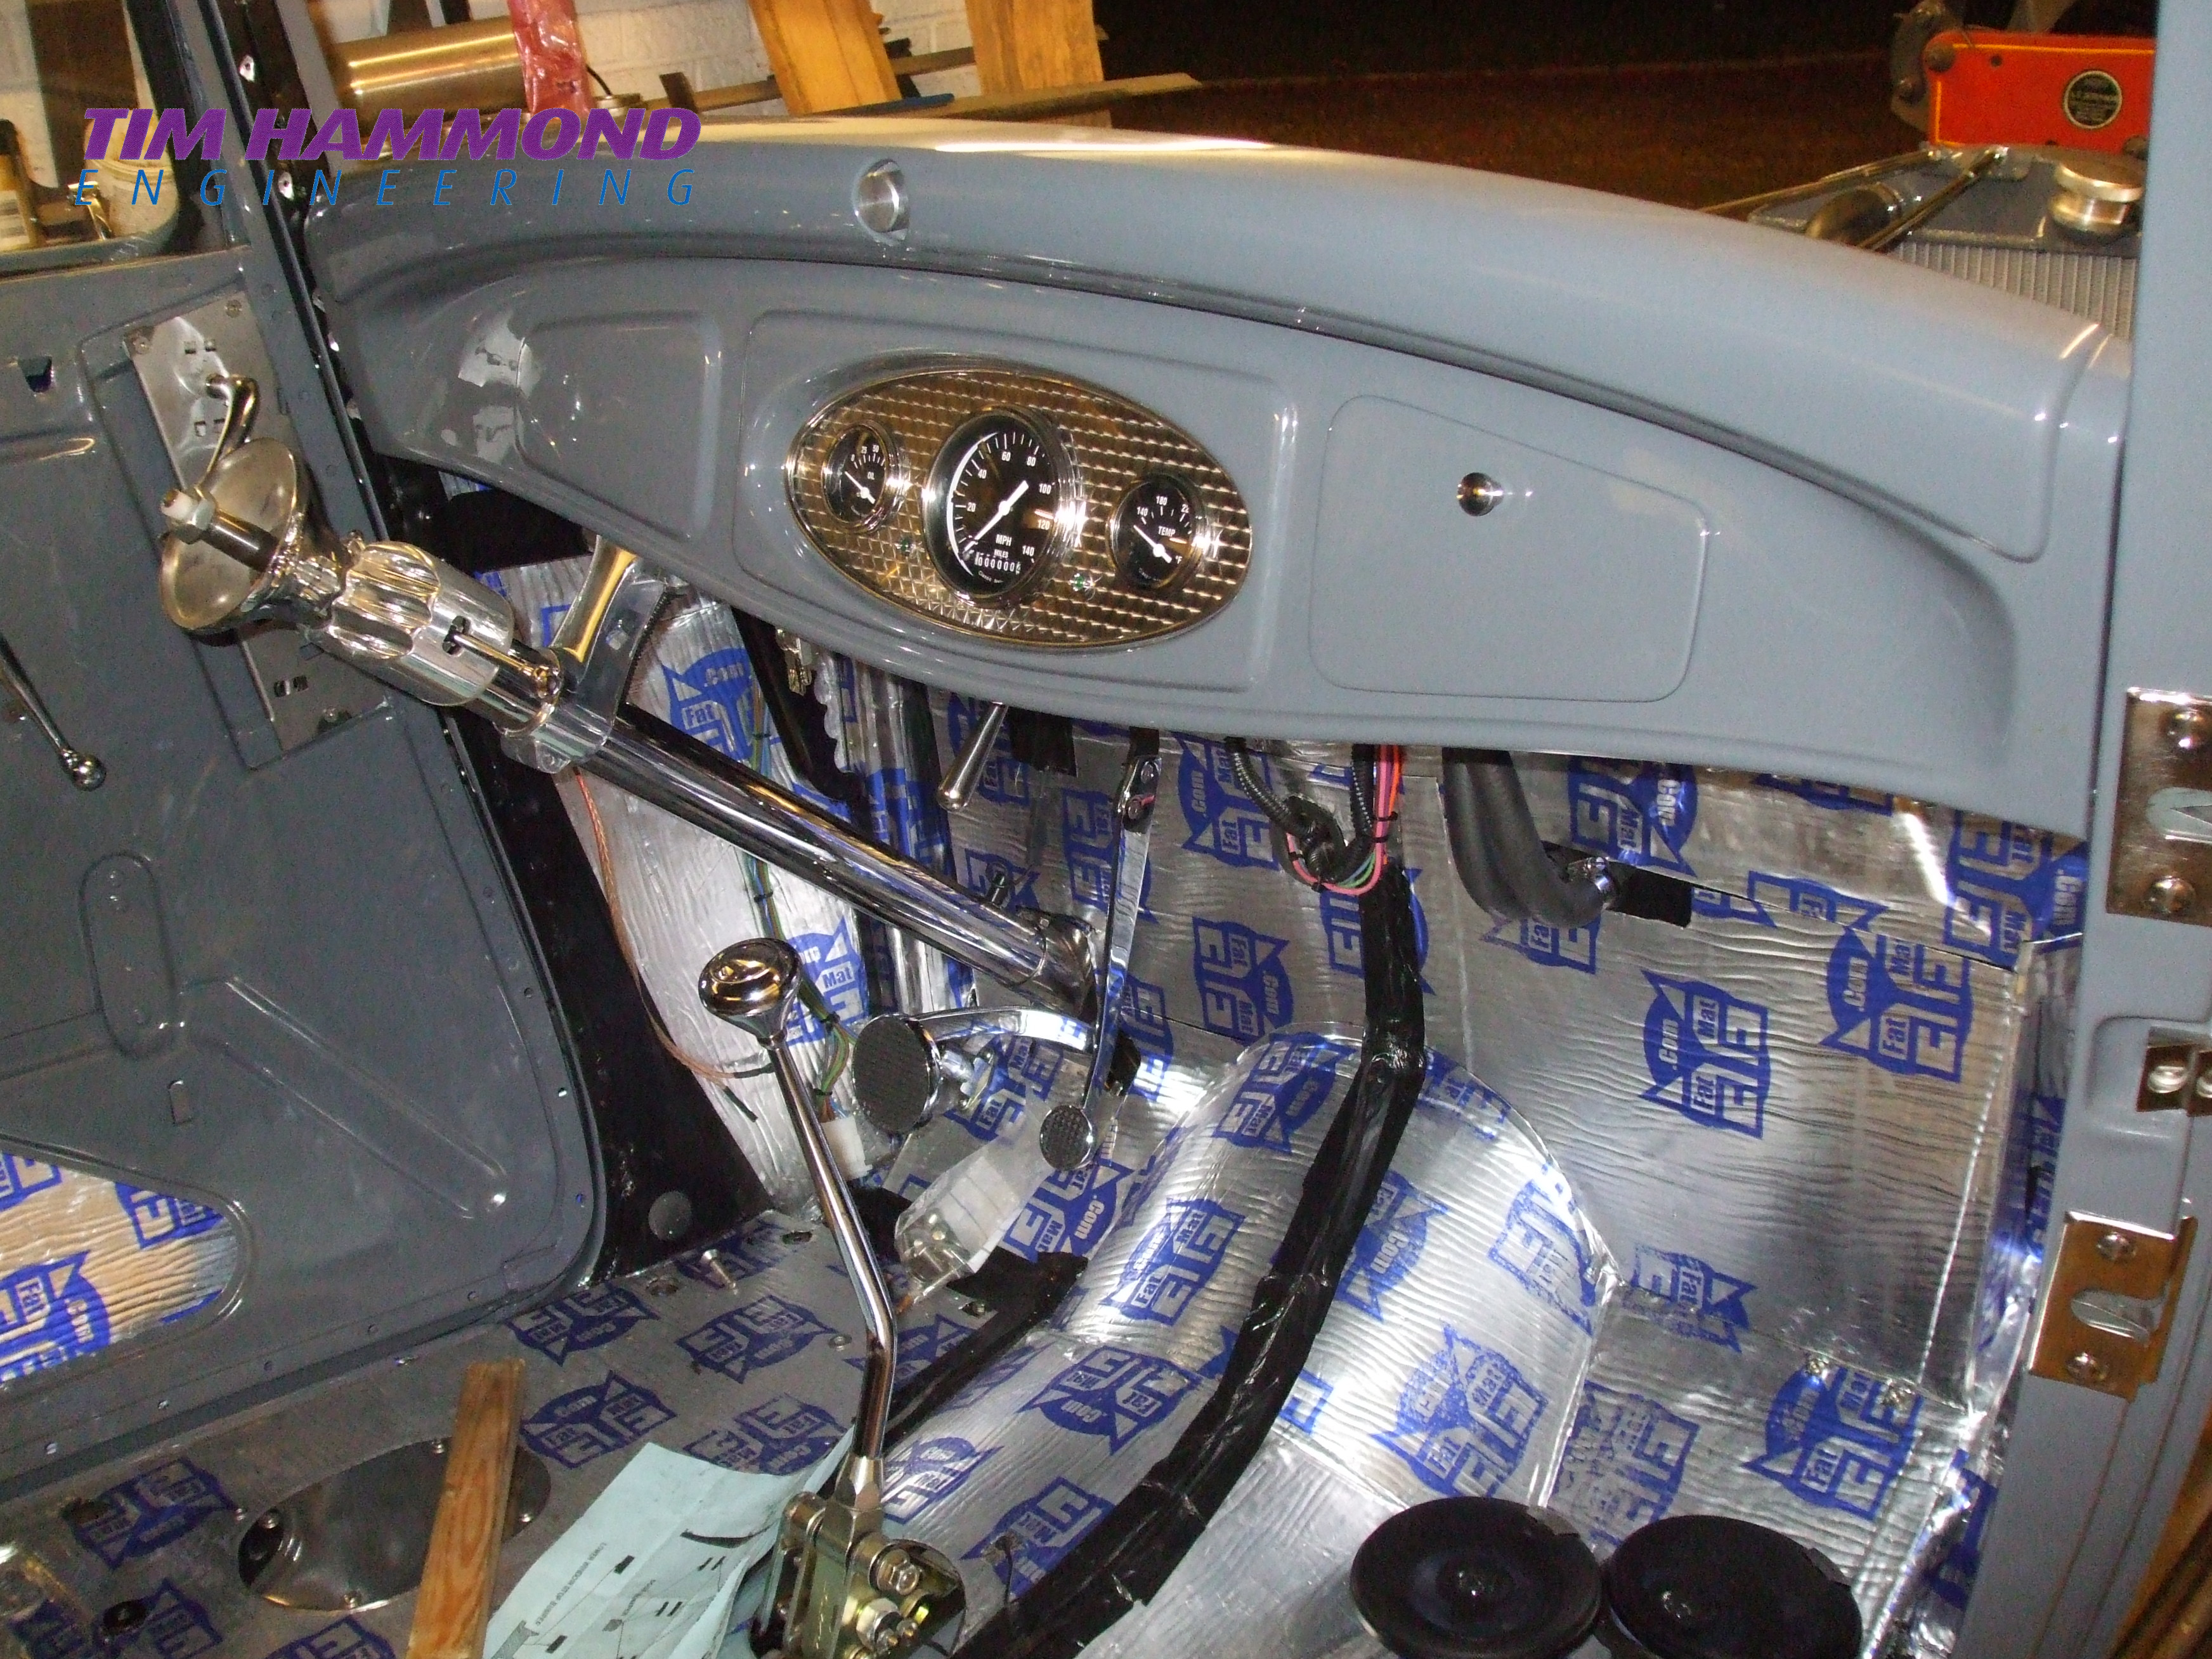
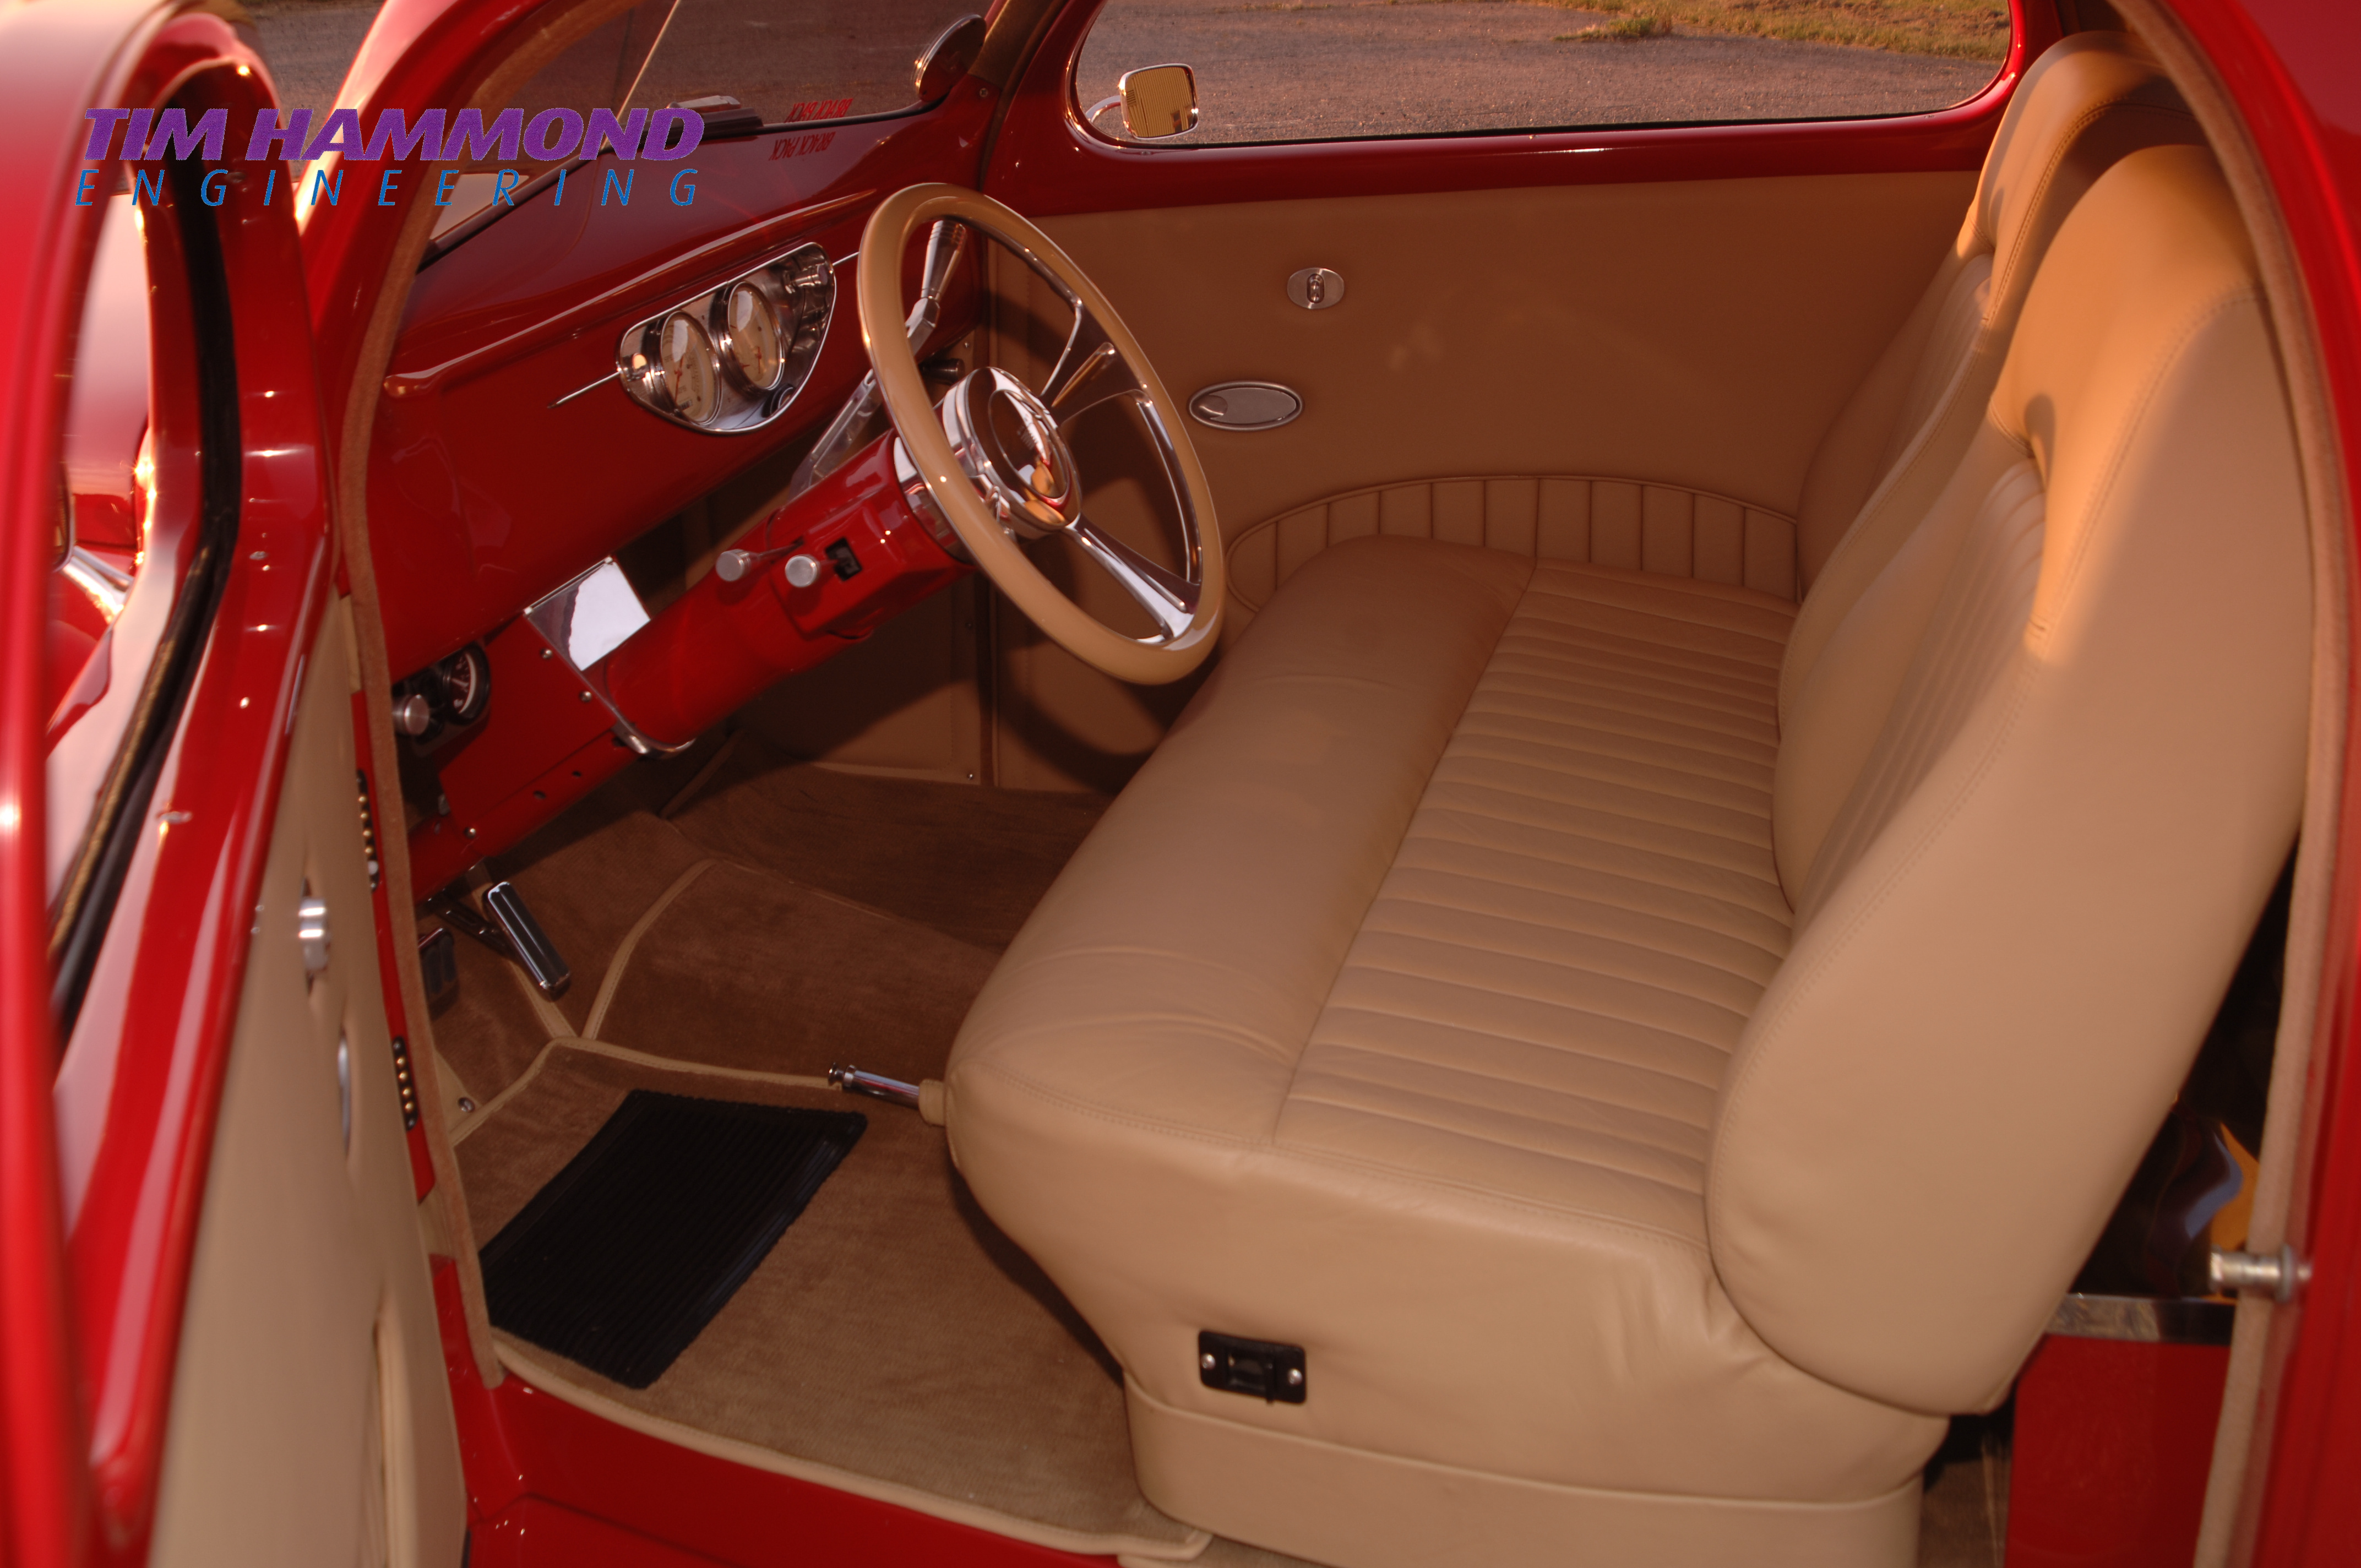
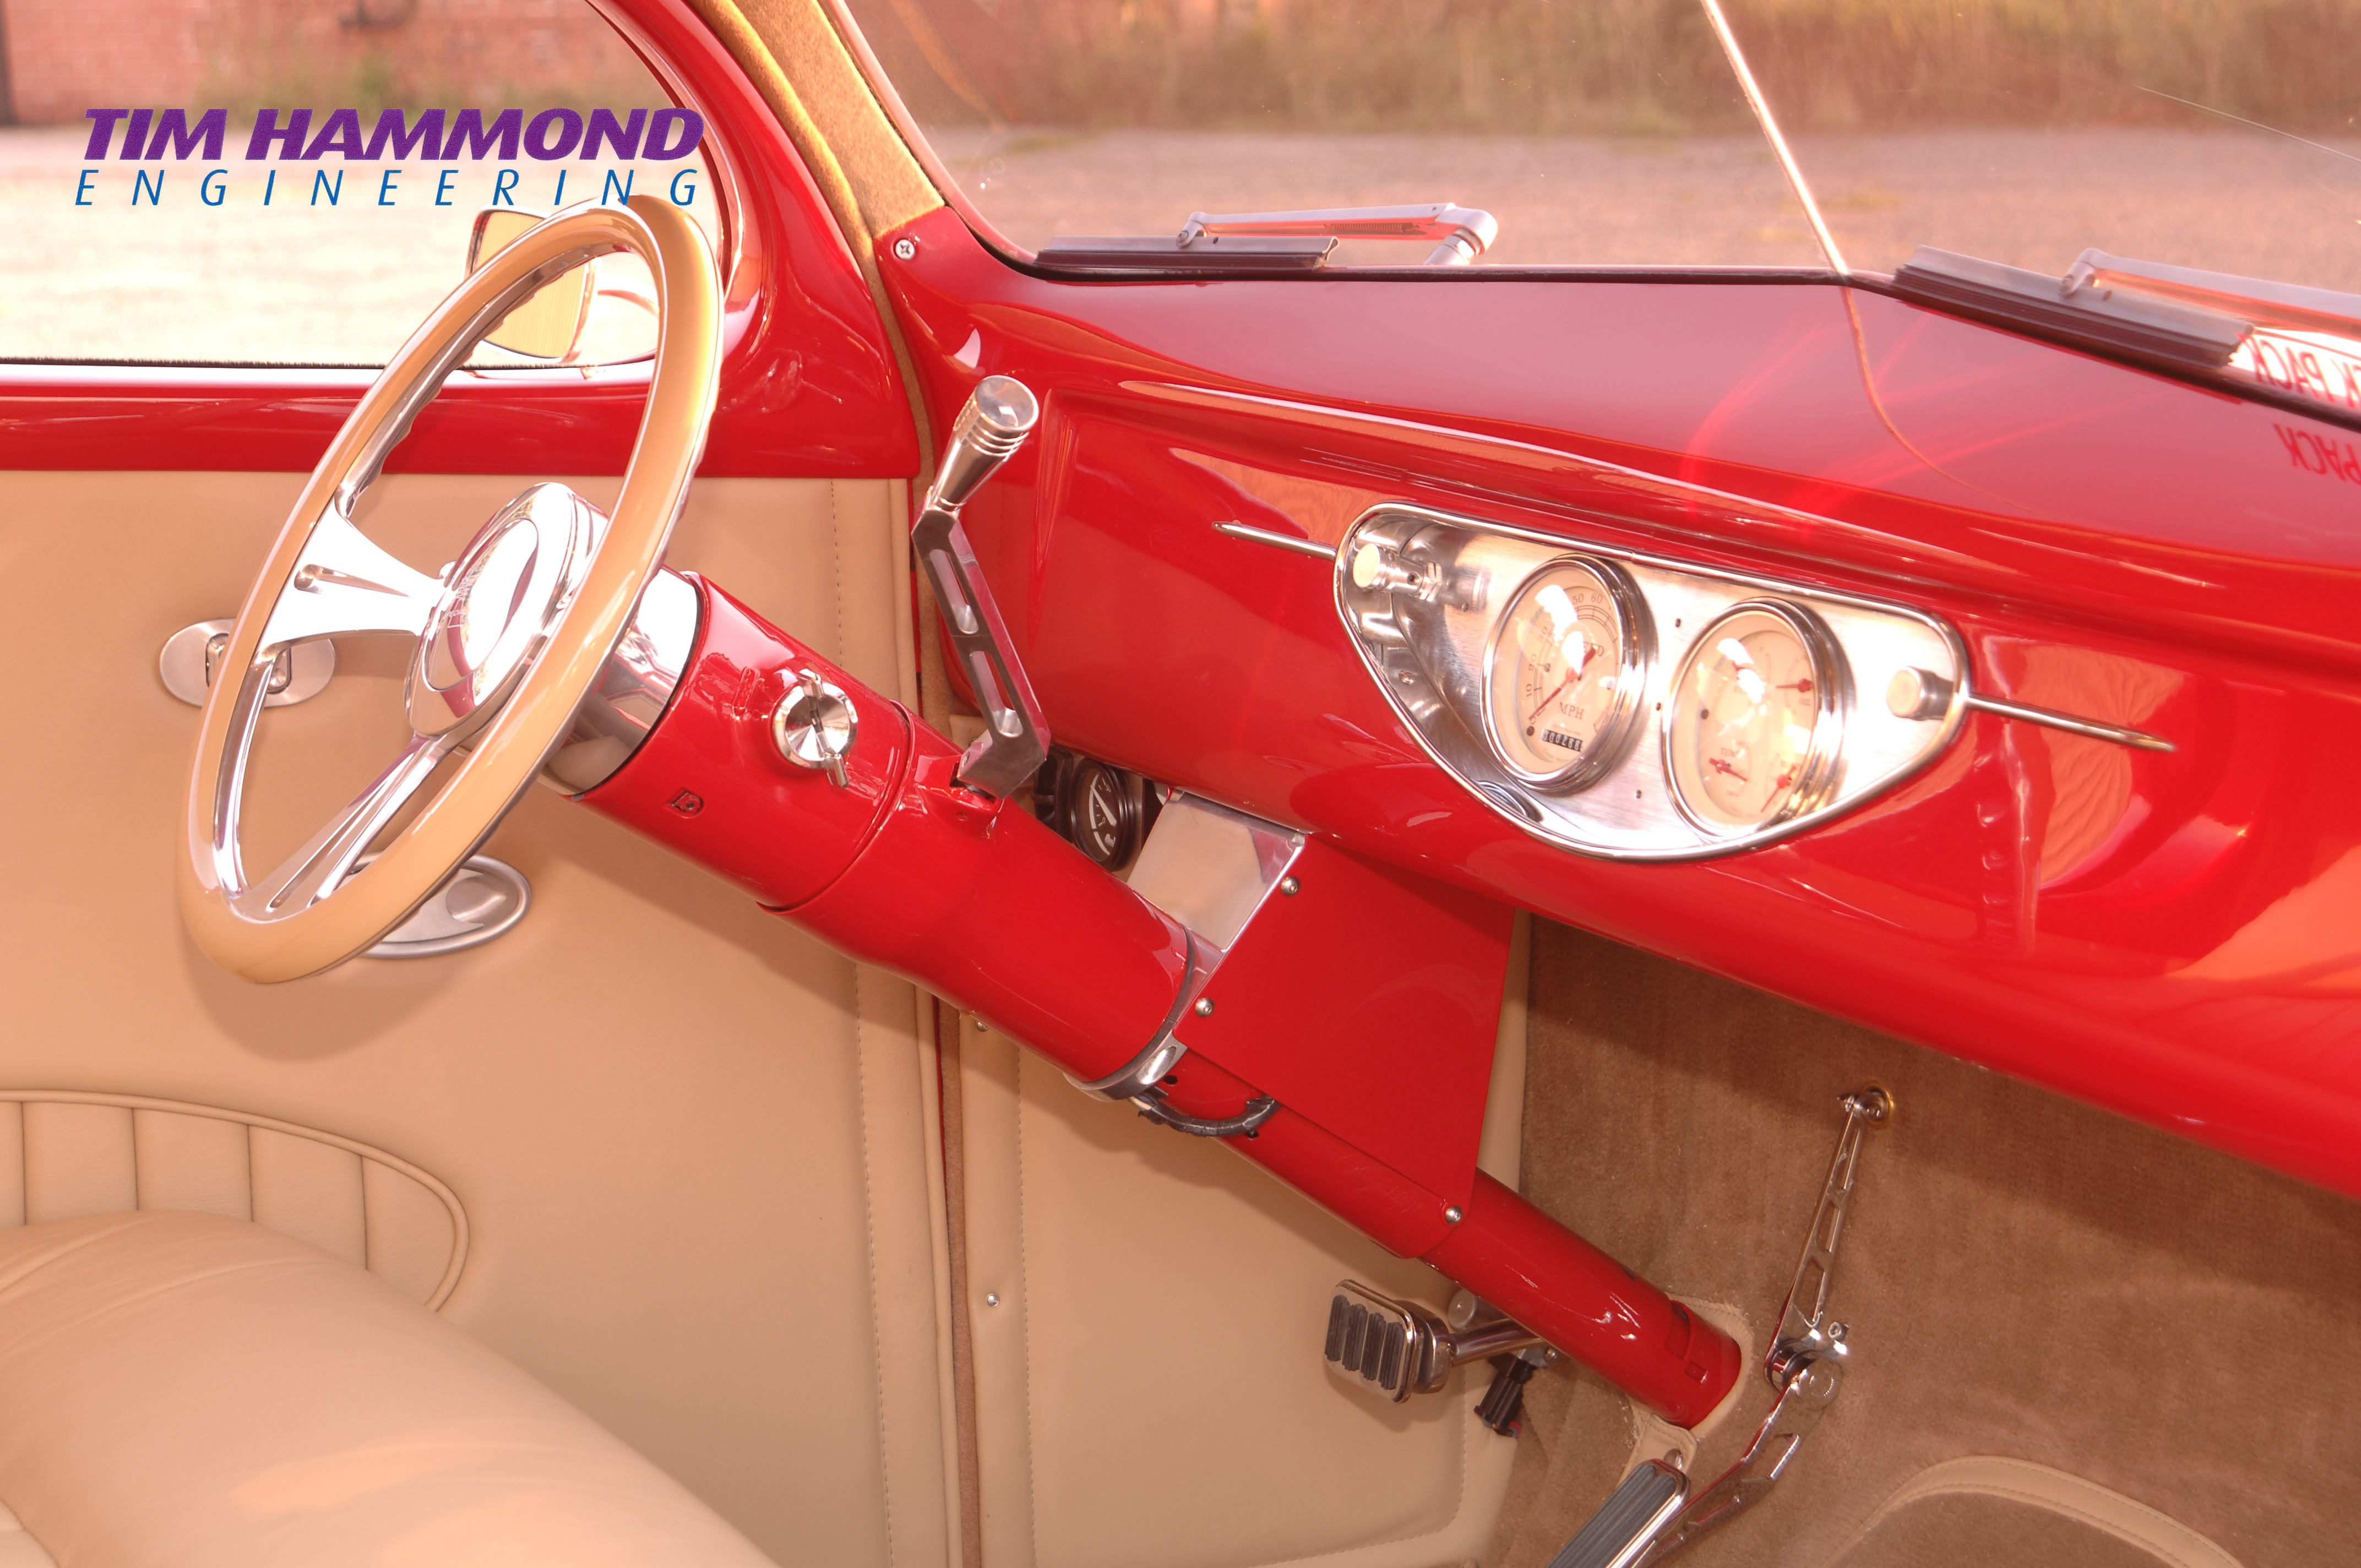
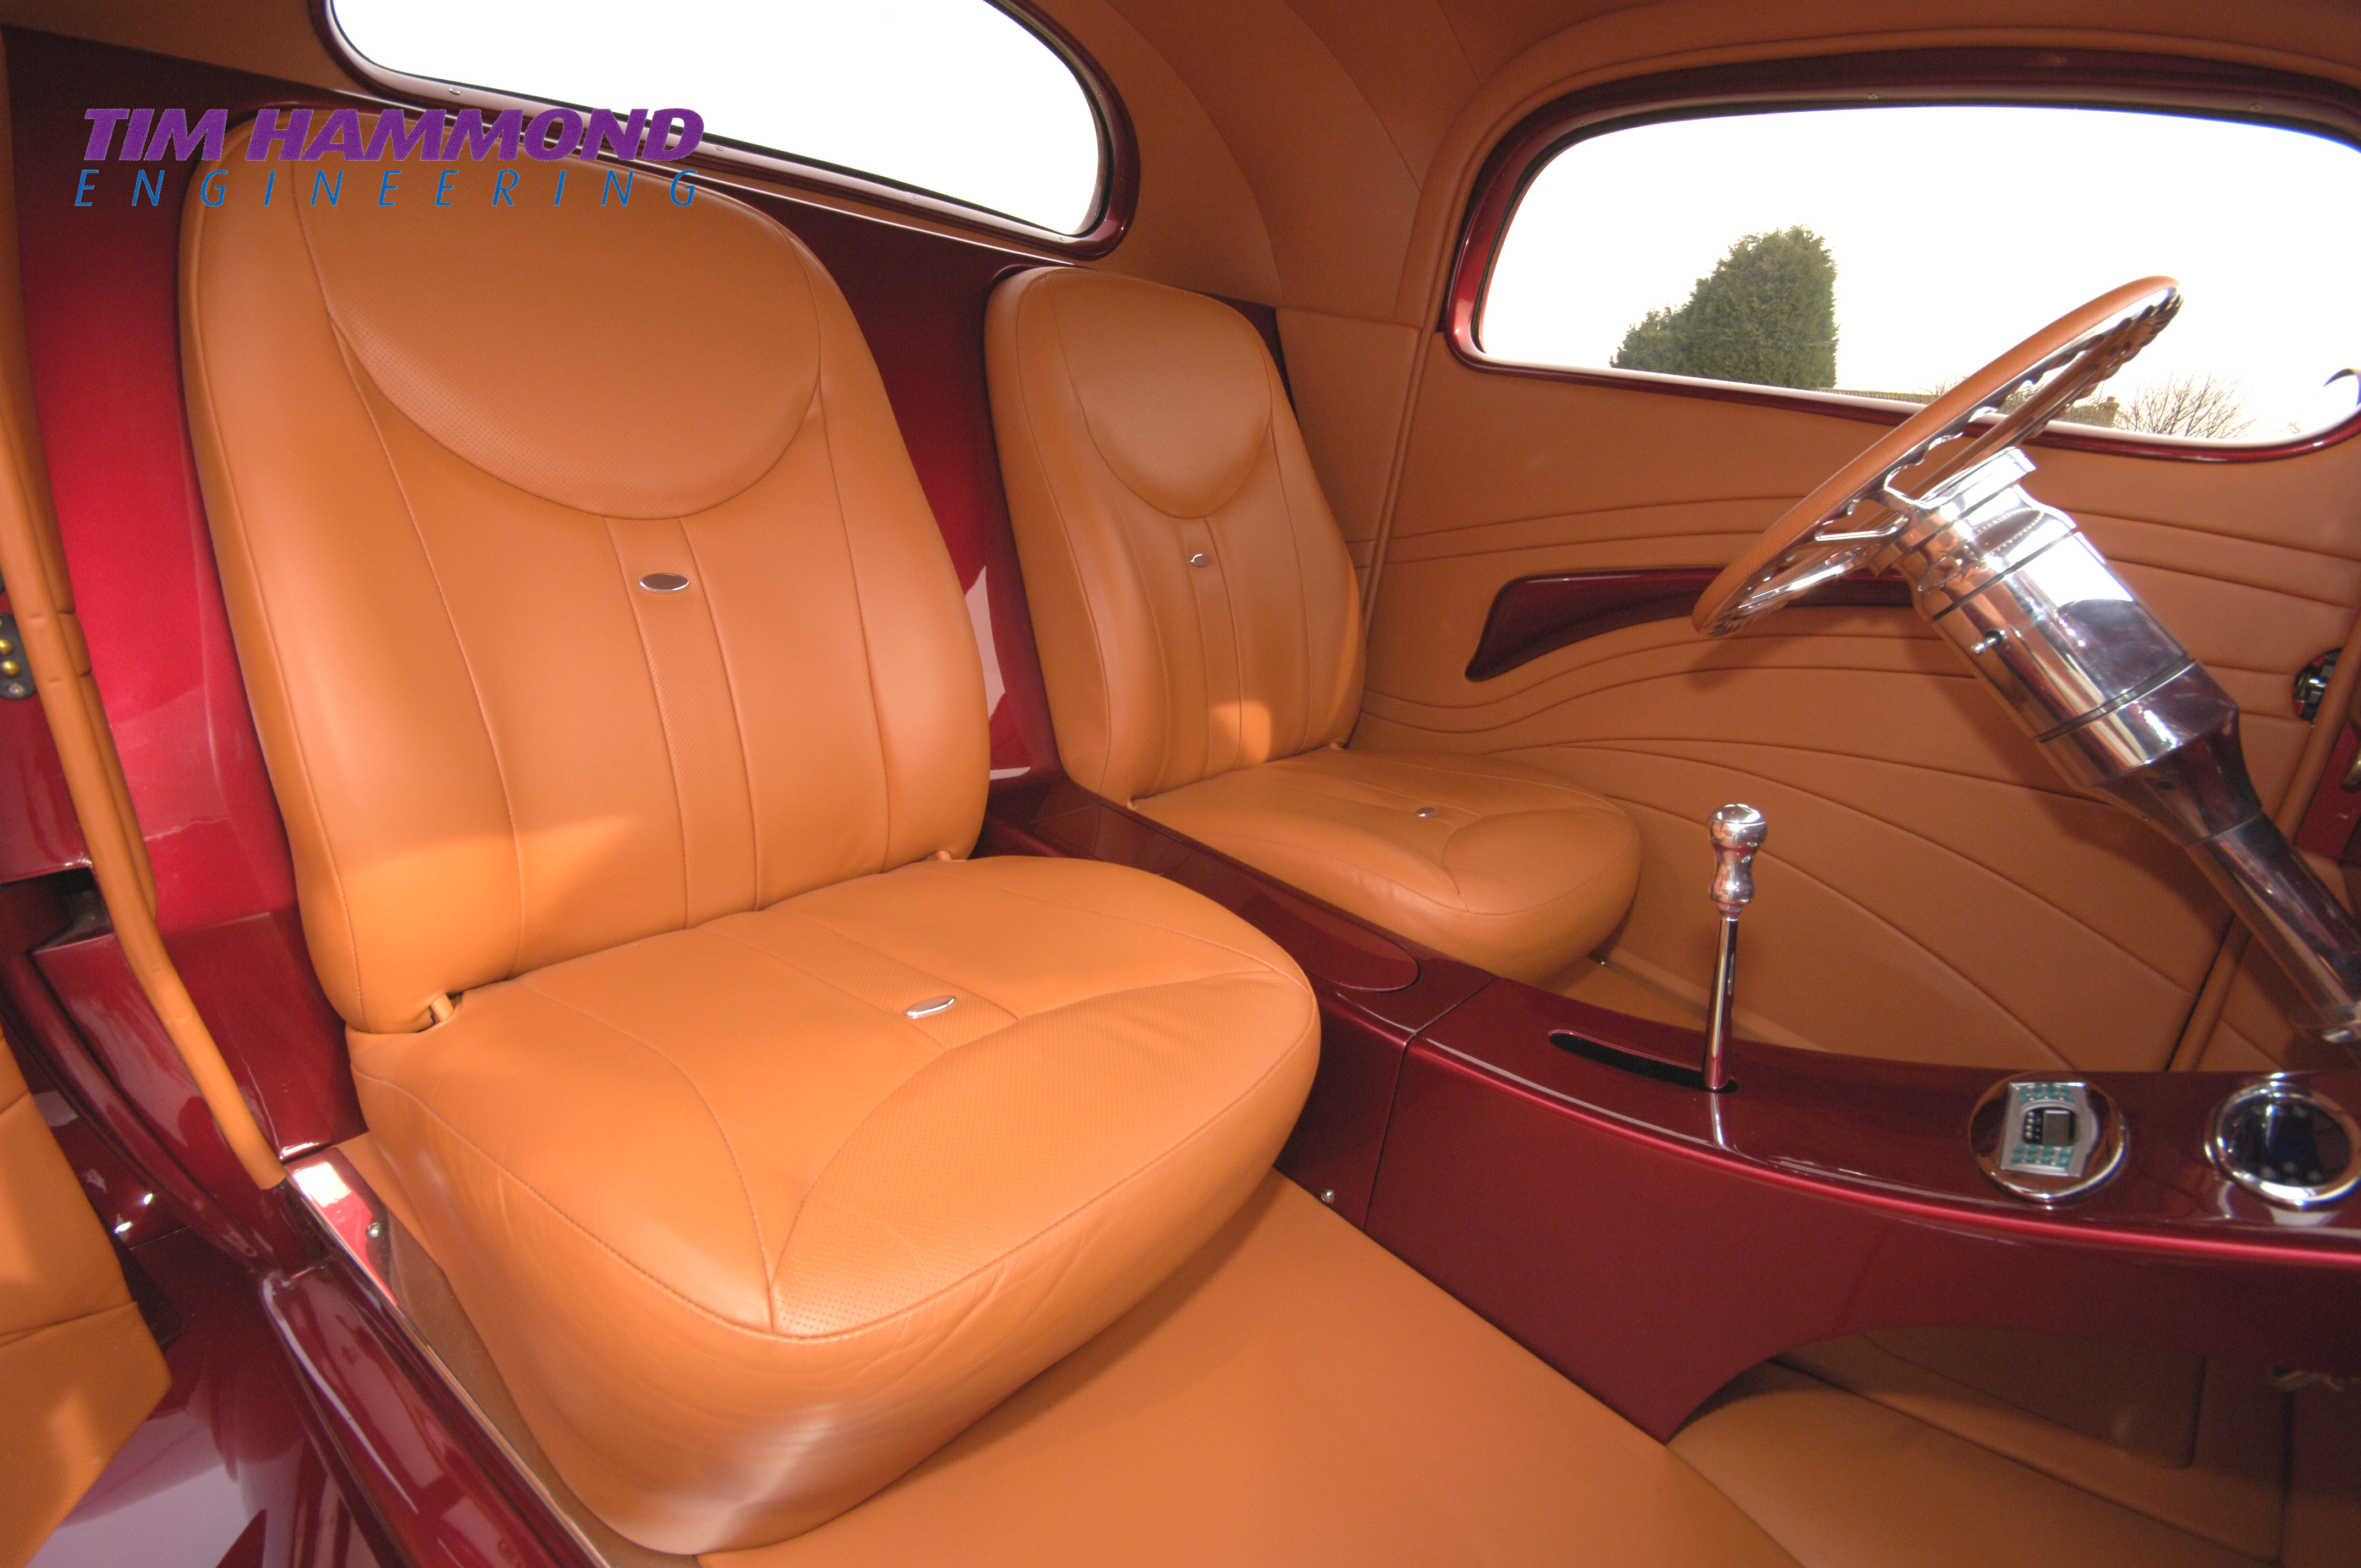
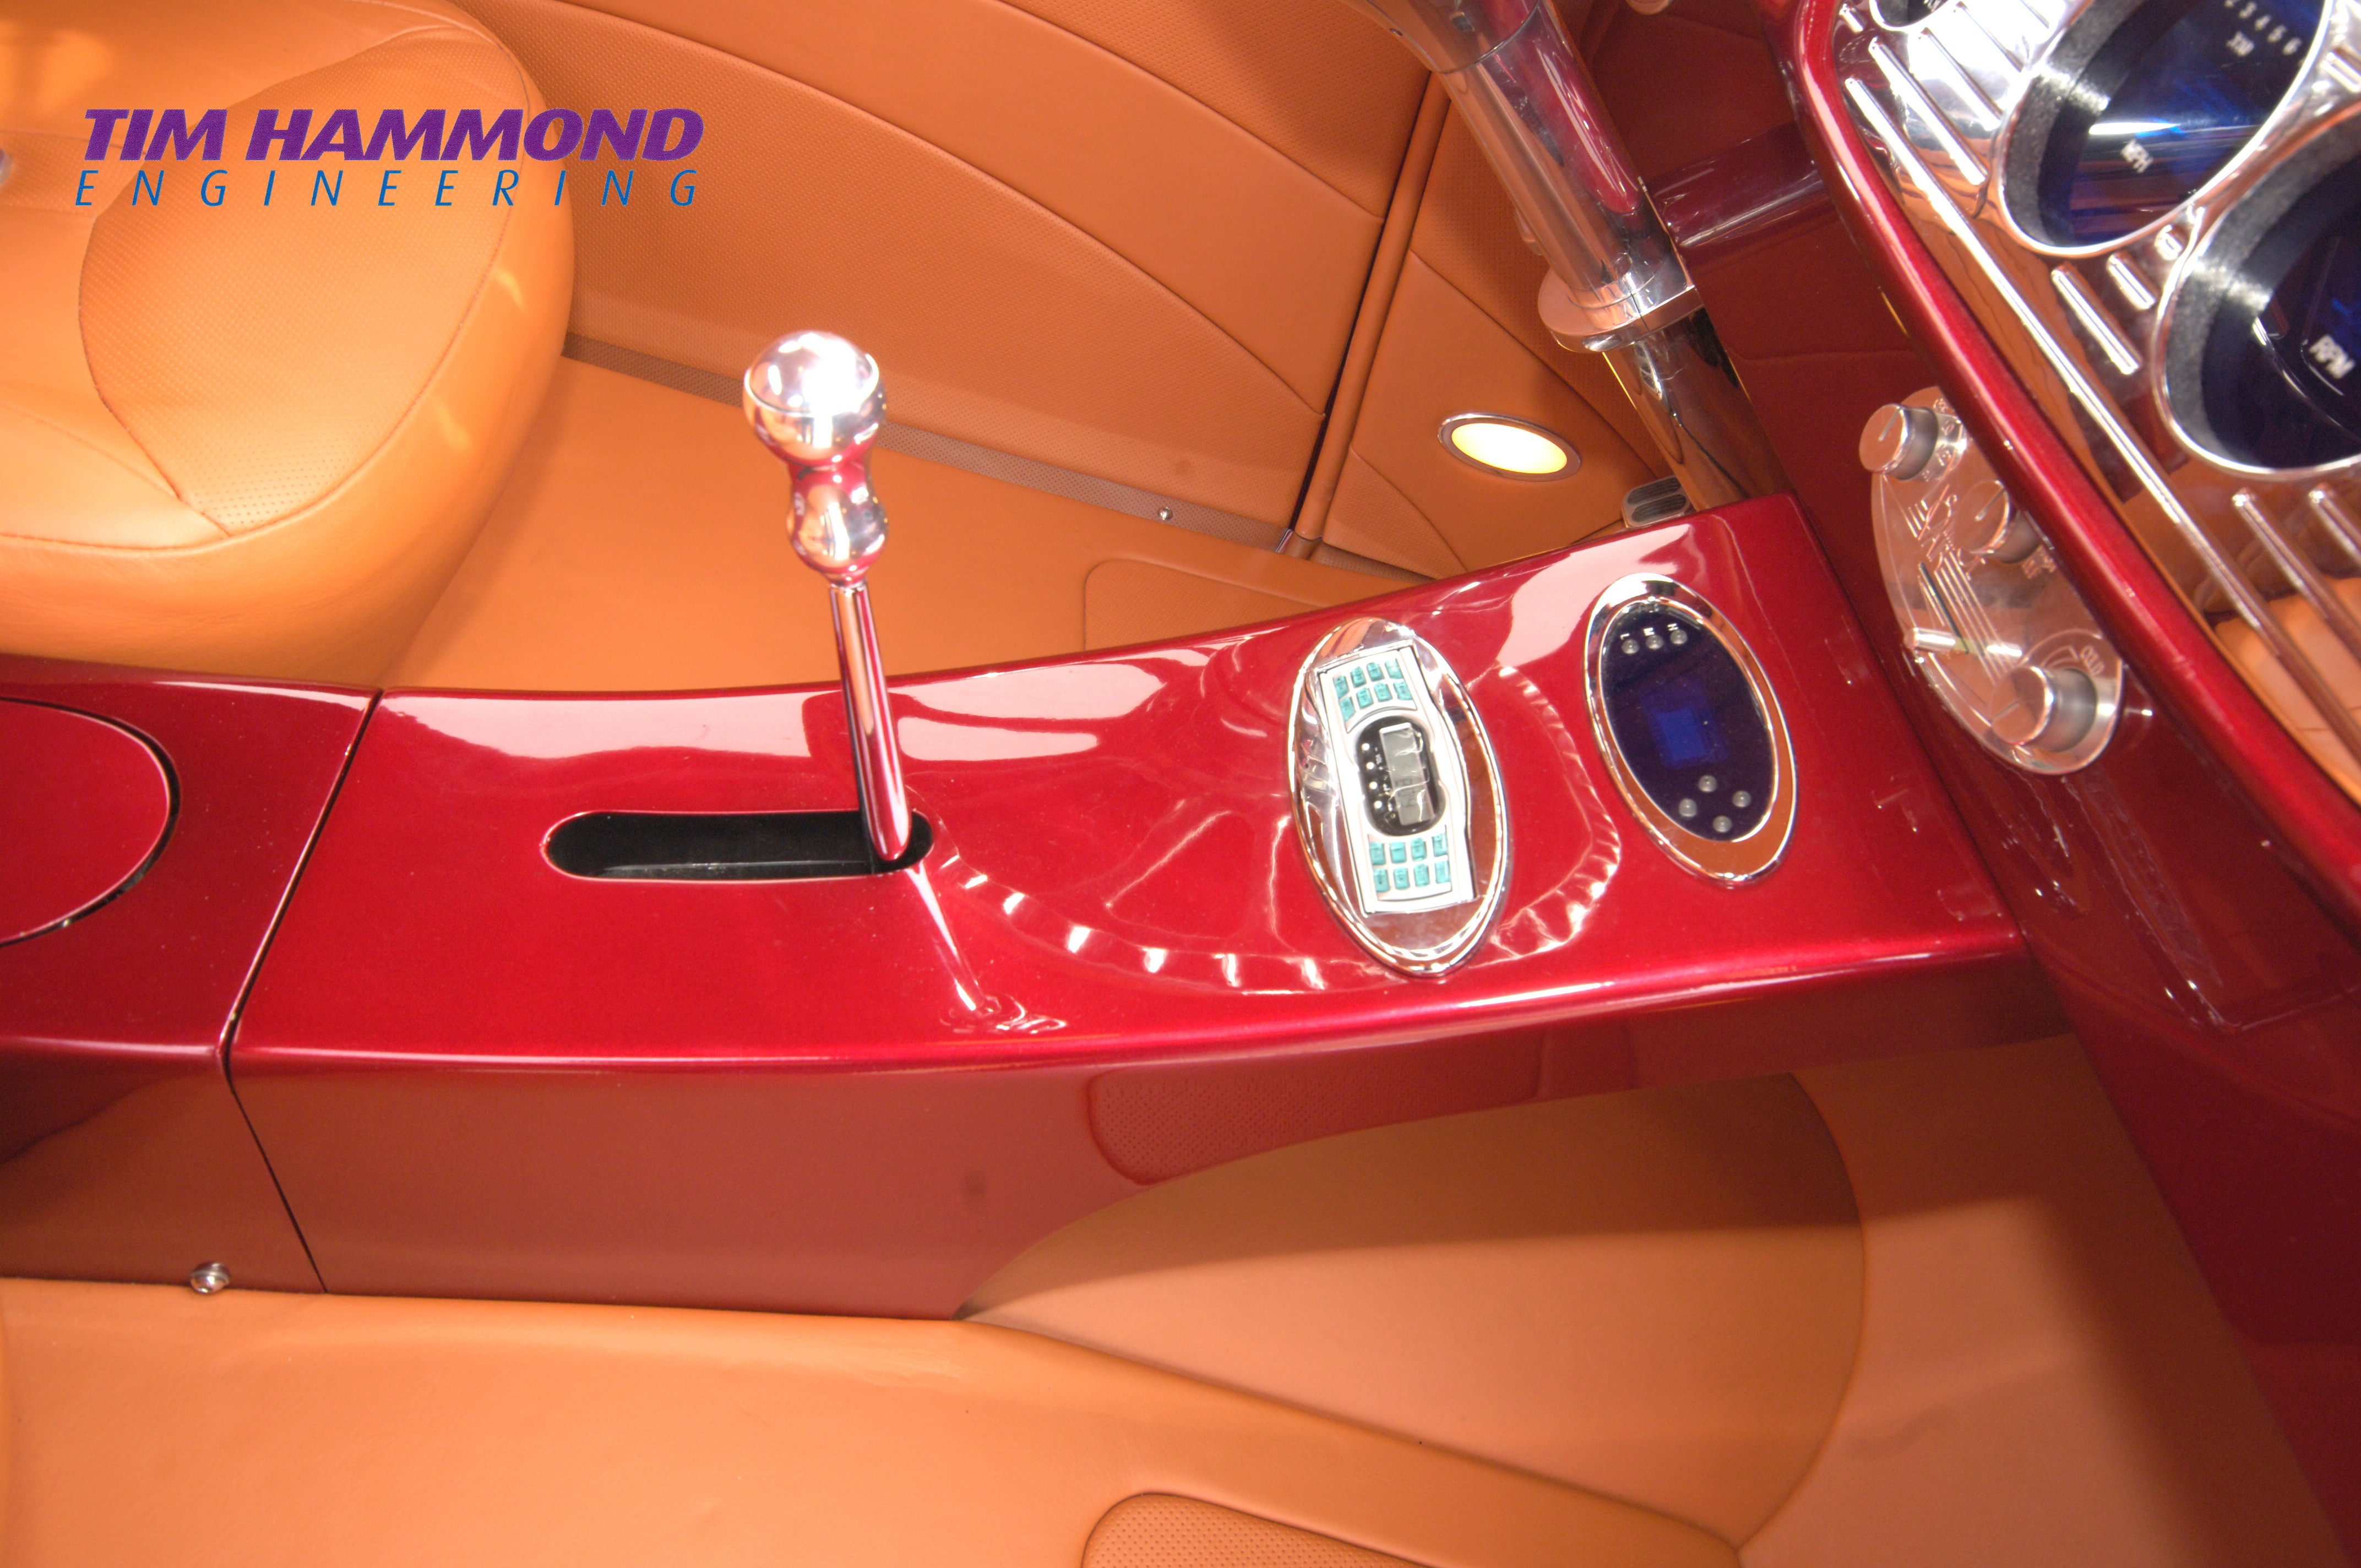
The wipers are off an Austin Mini dual speed, positioned and fitted below the bonnet to maintain that clean look. The steering column is a billet tilt from Billet Specialities along with a Budnik 14” steering wheel. Lokar supplied the shifter, brake and throttle pedal and cables.
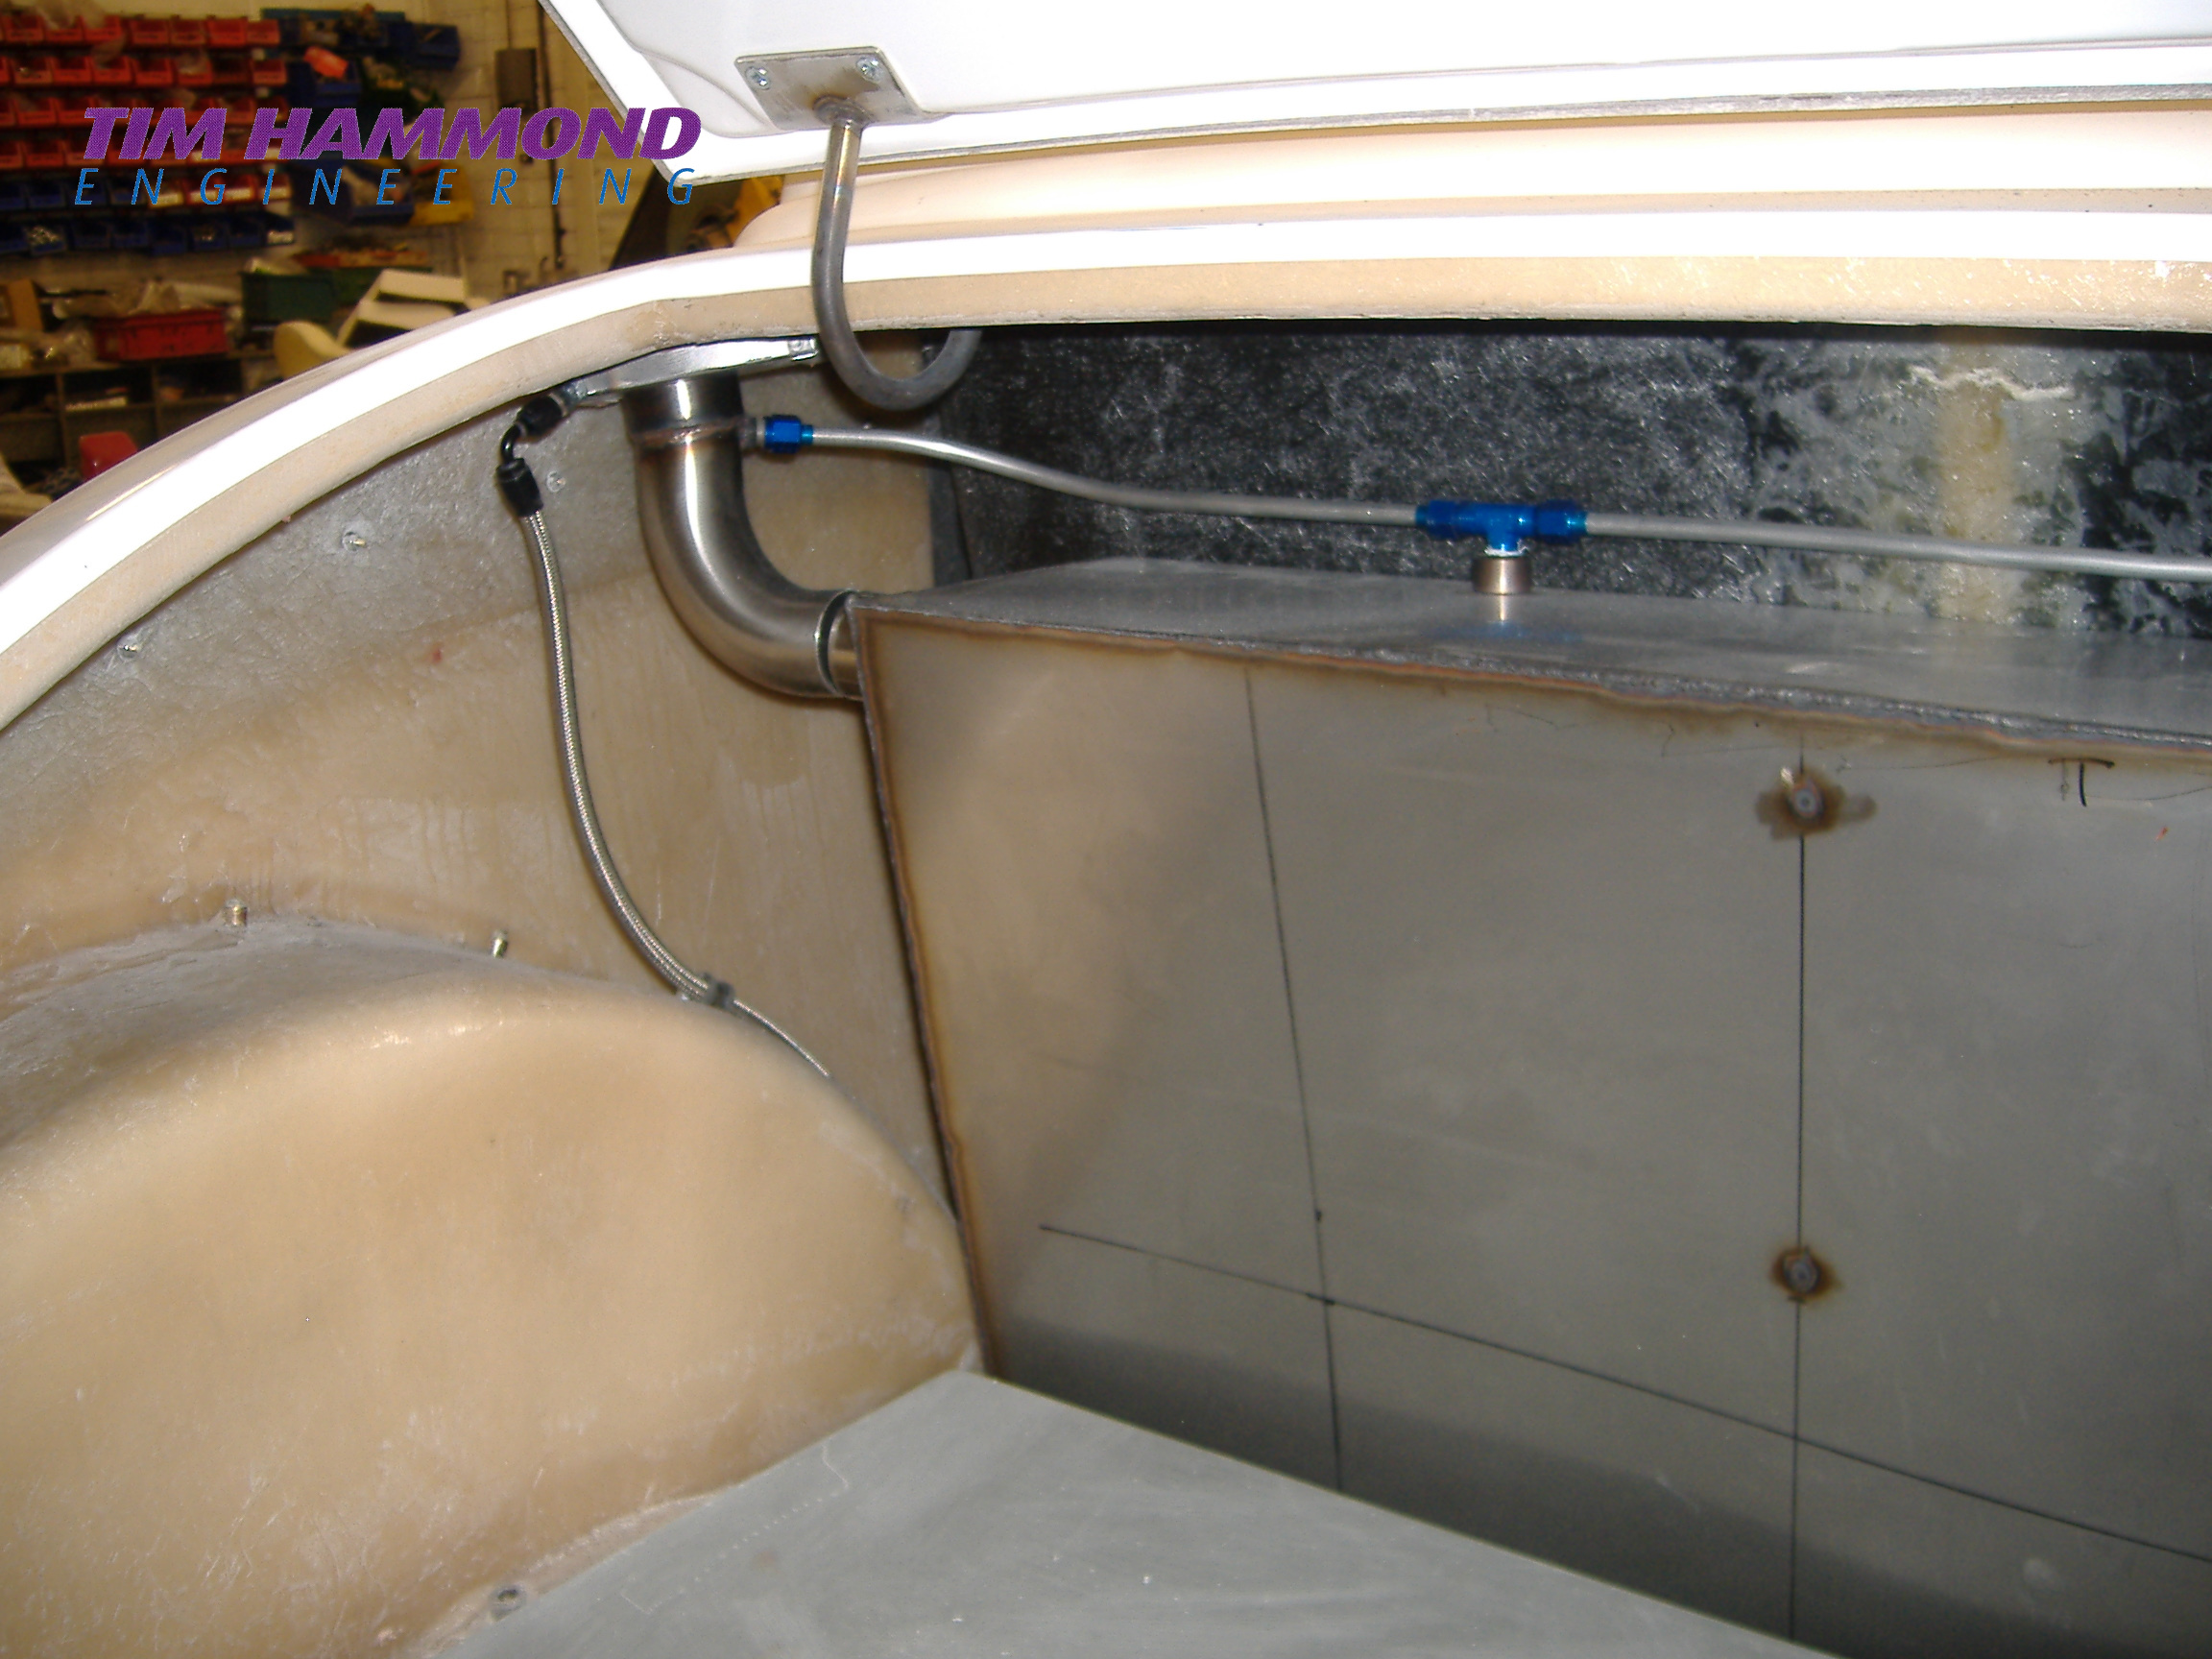
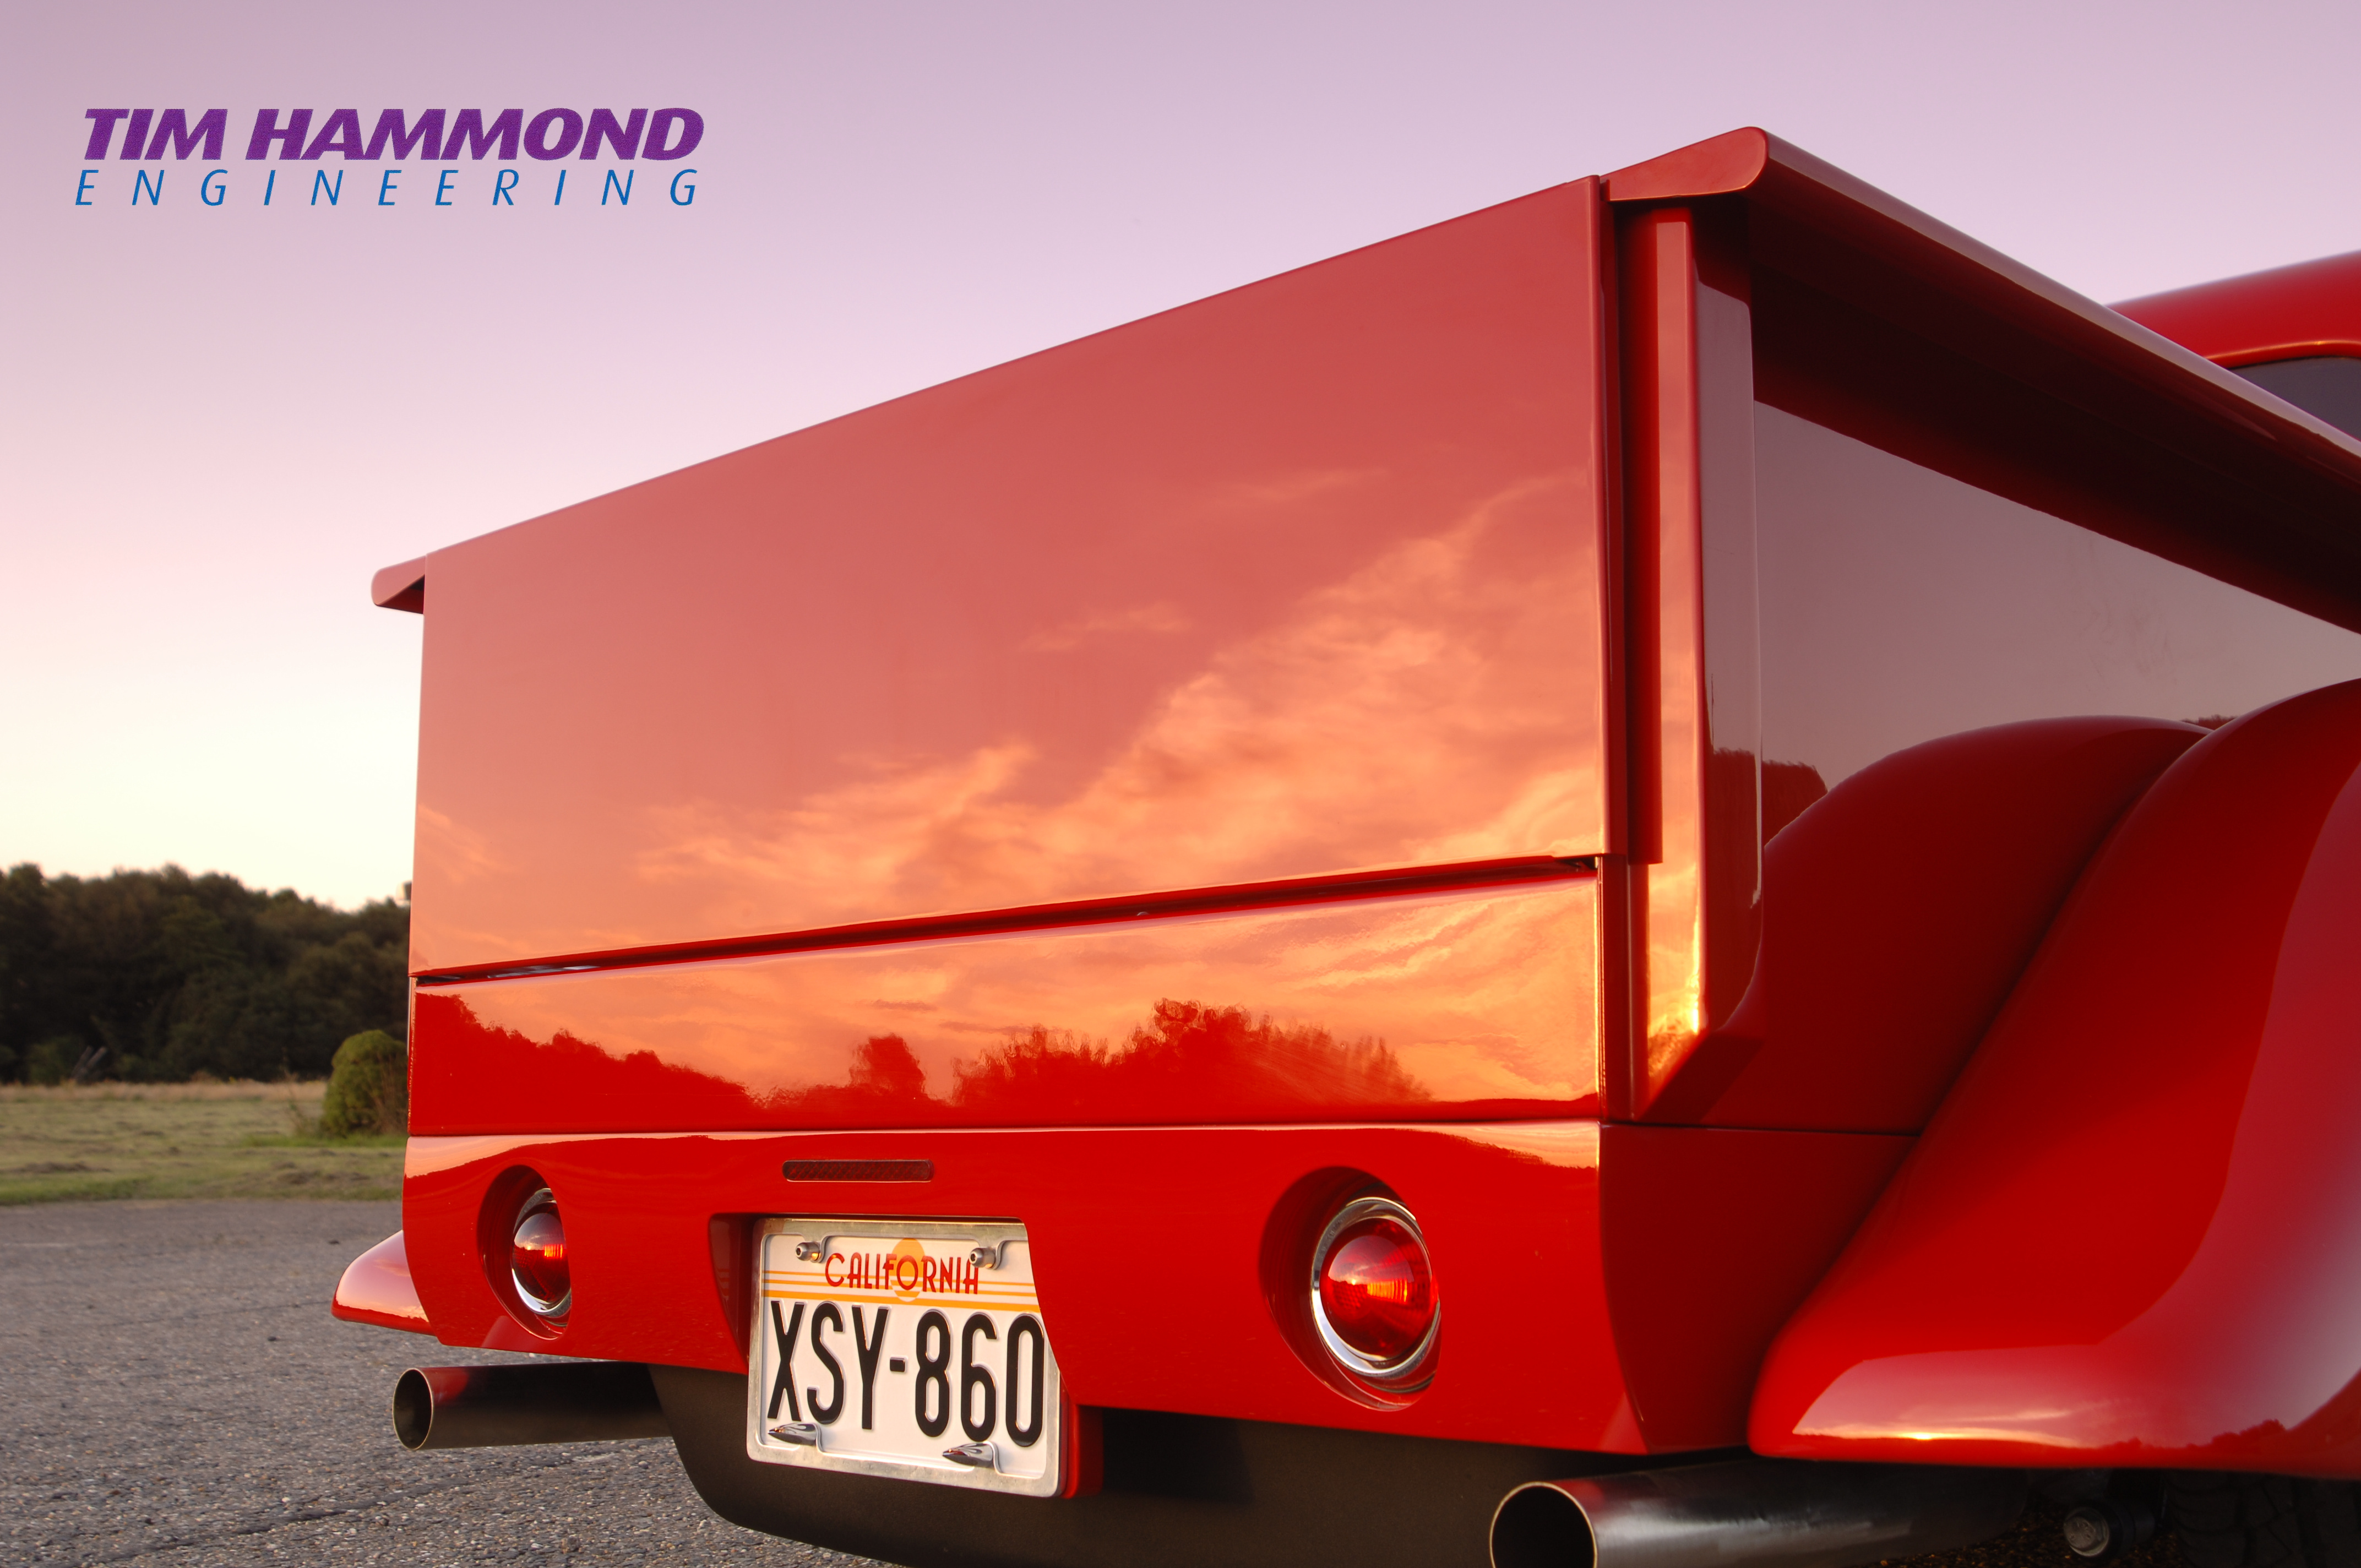
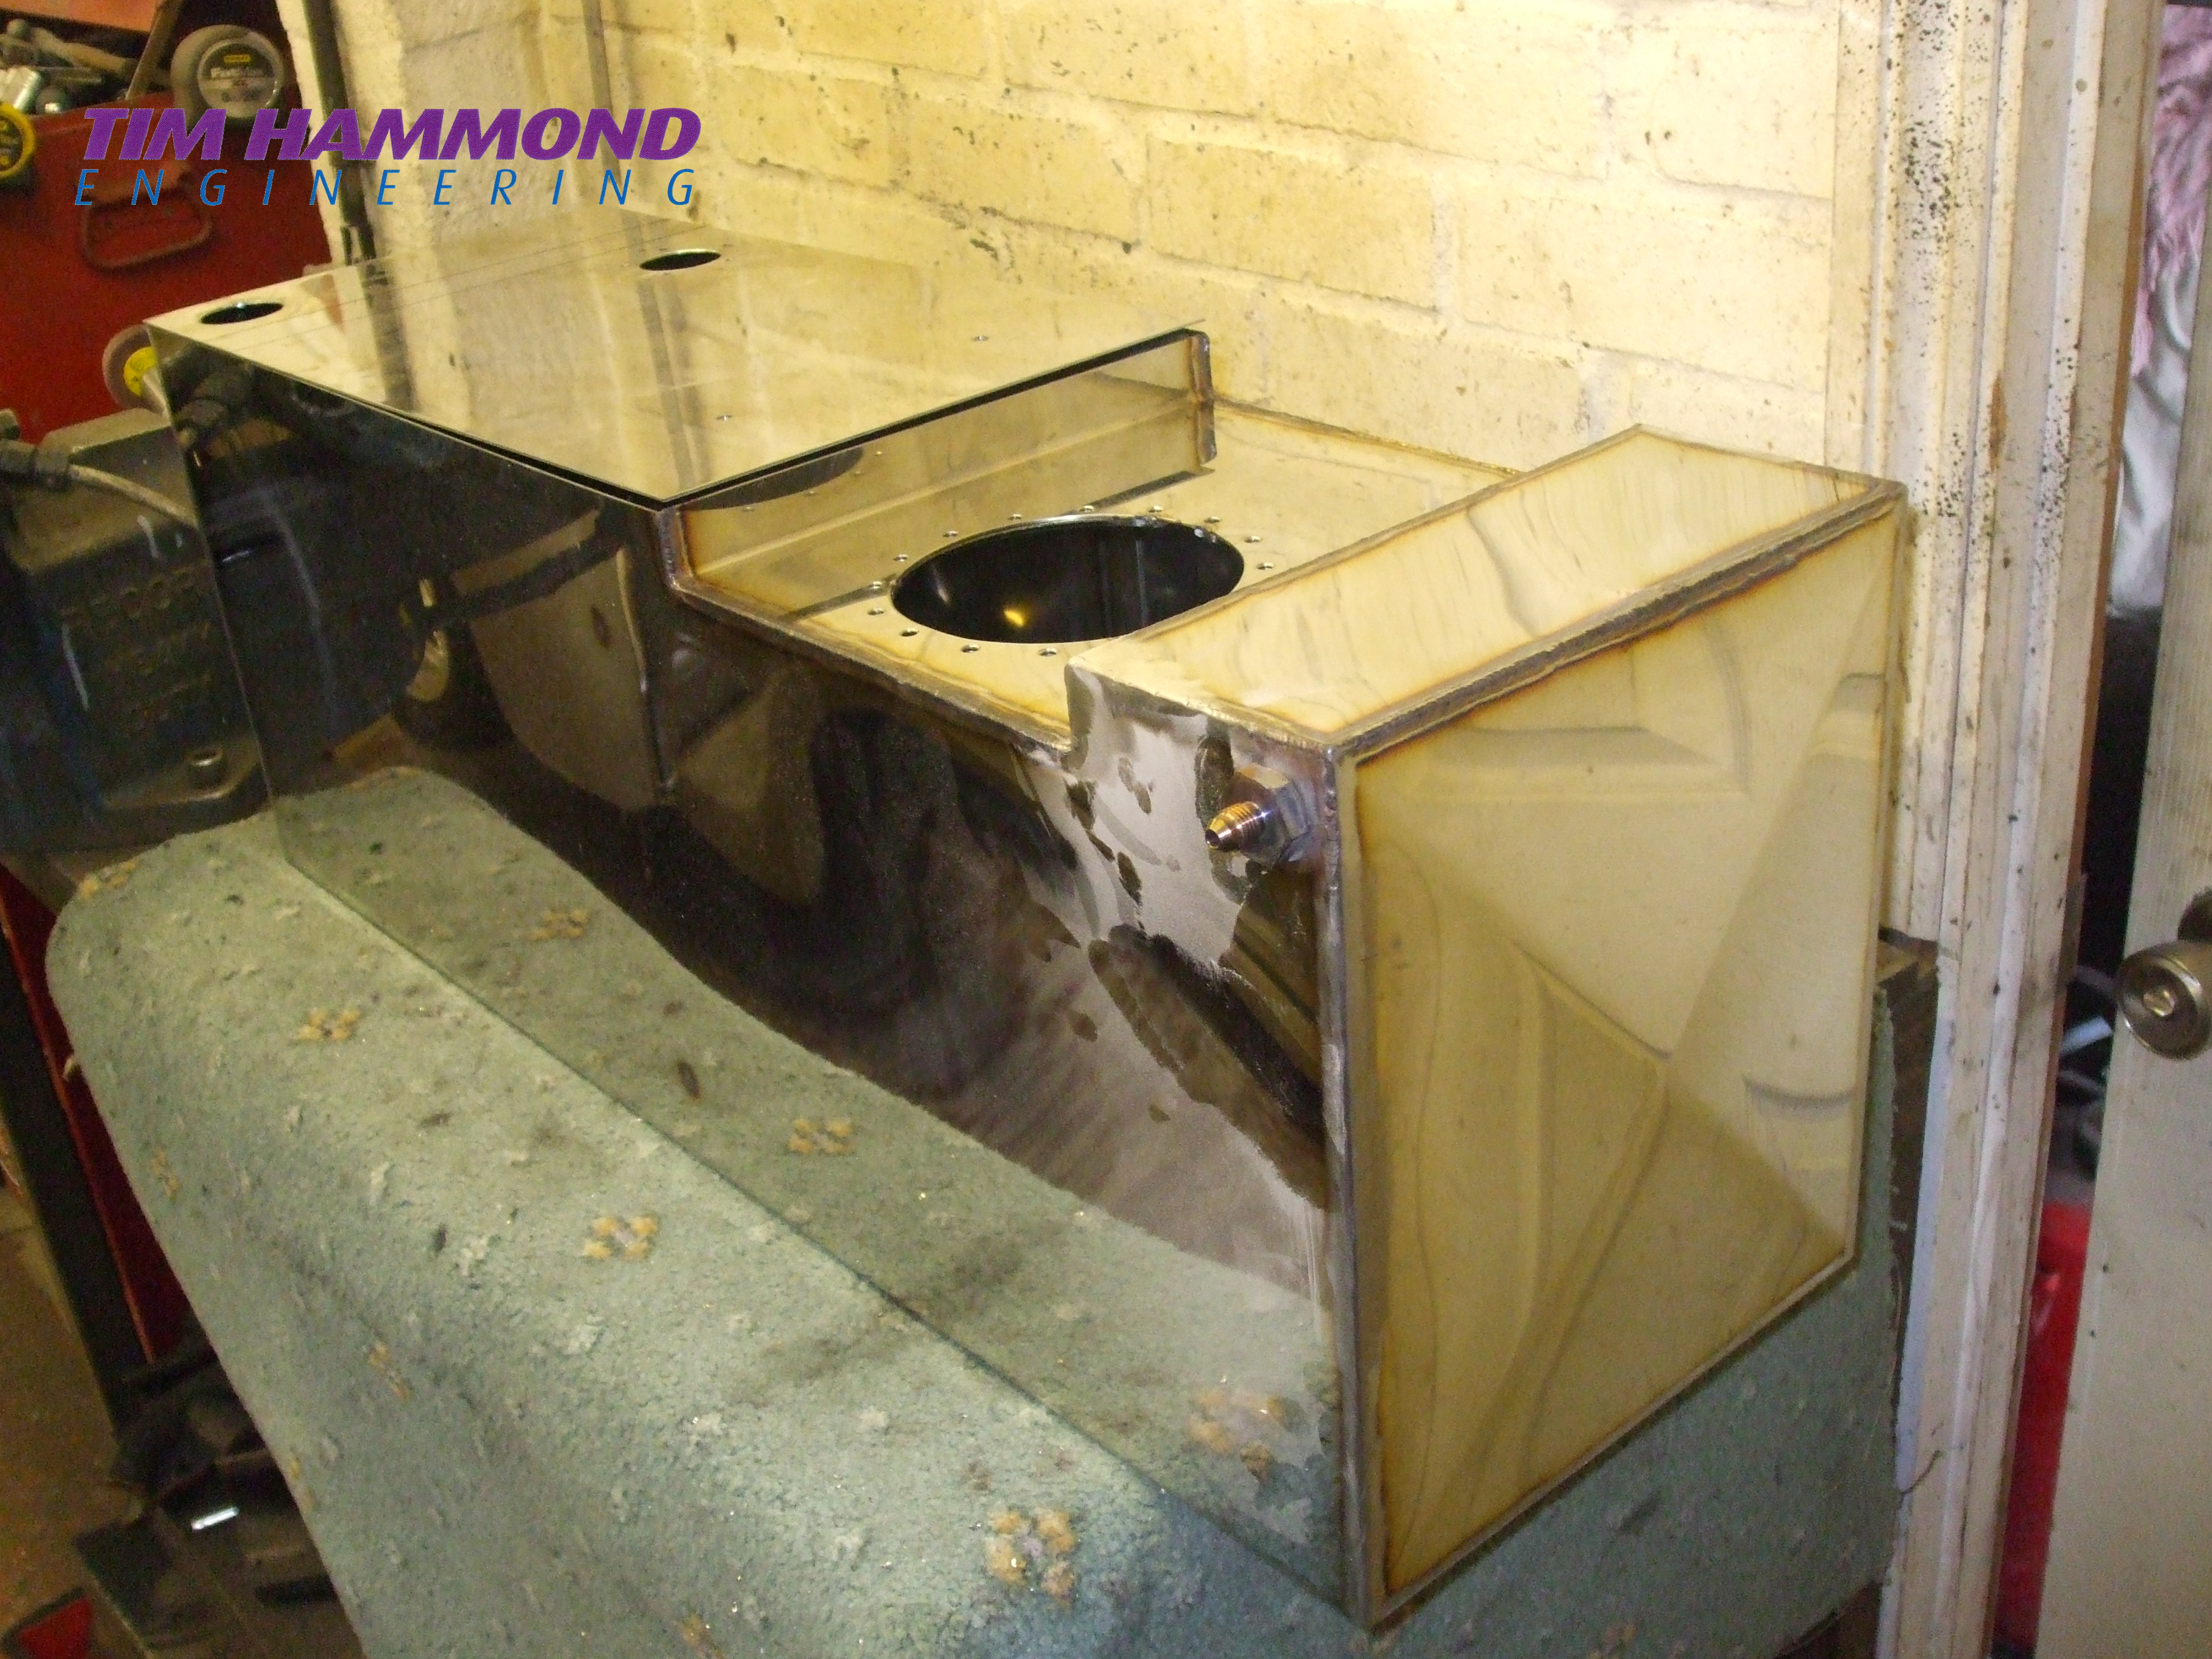
The fuel tank is 12 gallons, fabricated from stainless steel, with a Tanks internal electric fuel pump. Dan Fink retractable rear number plate was fitted. Hagan oval LED lights were flush mounted within the rear fenders.
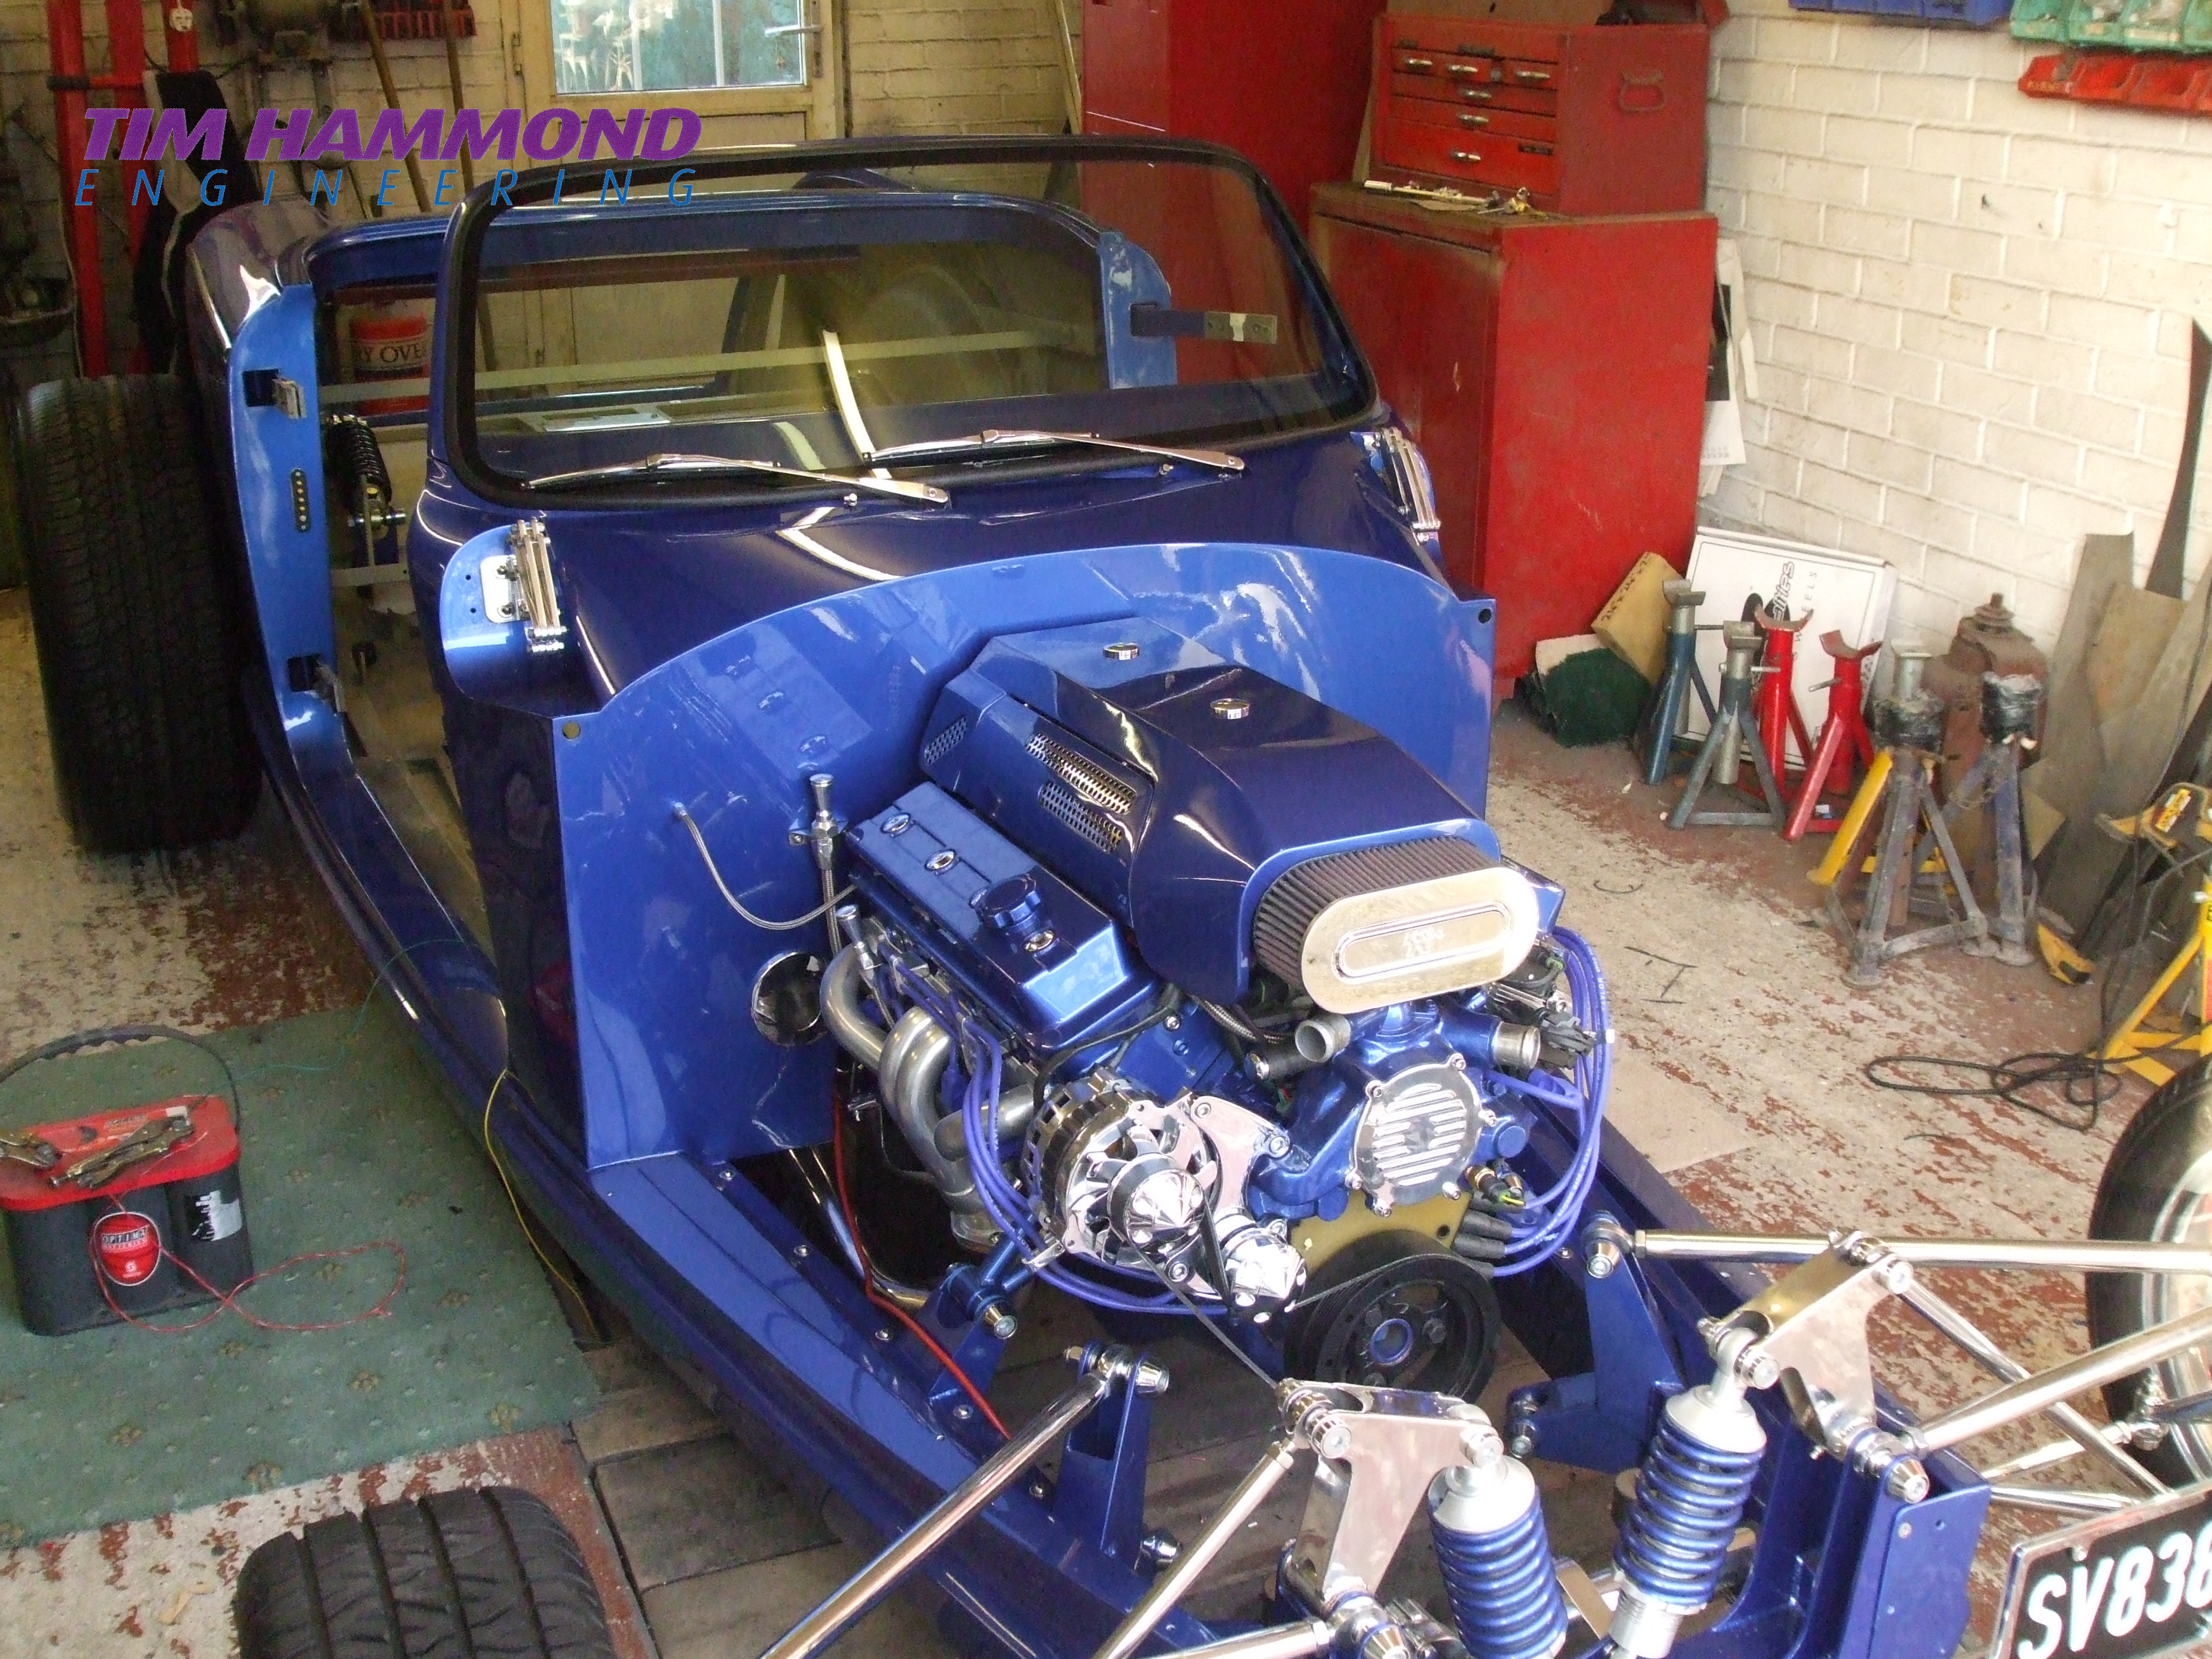
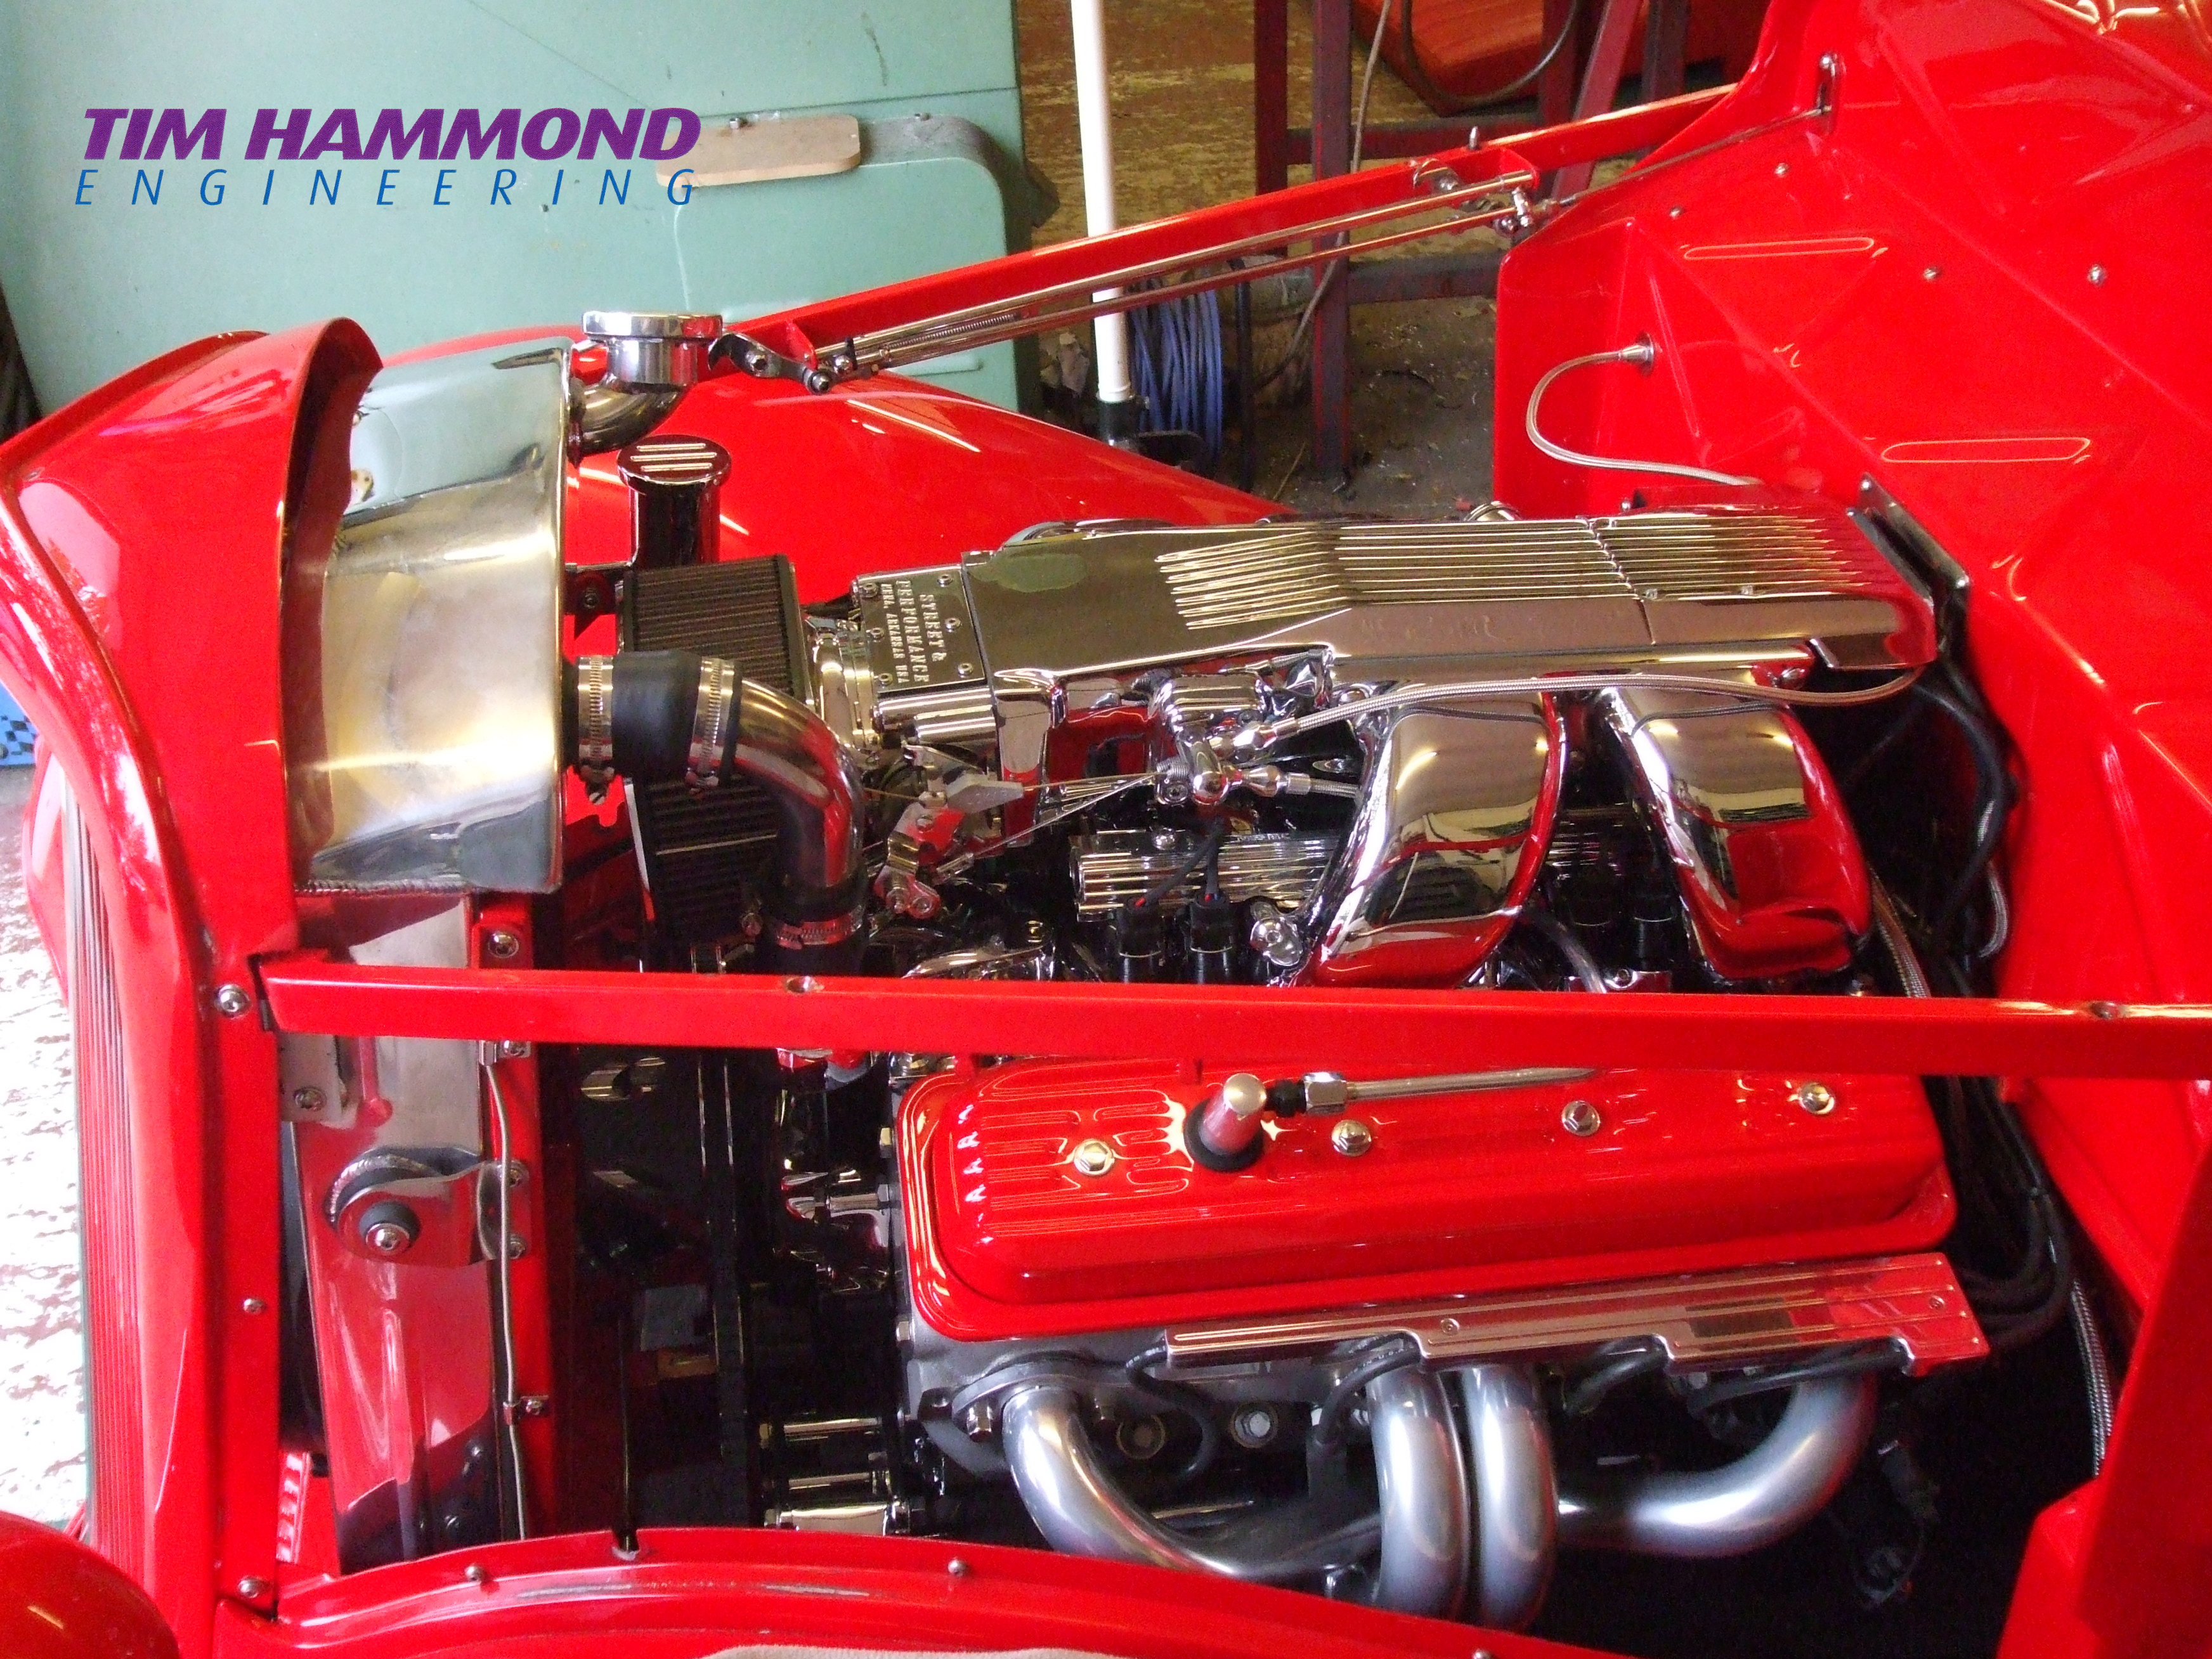
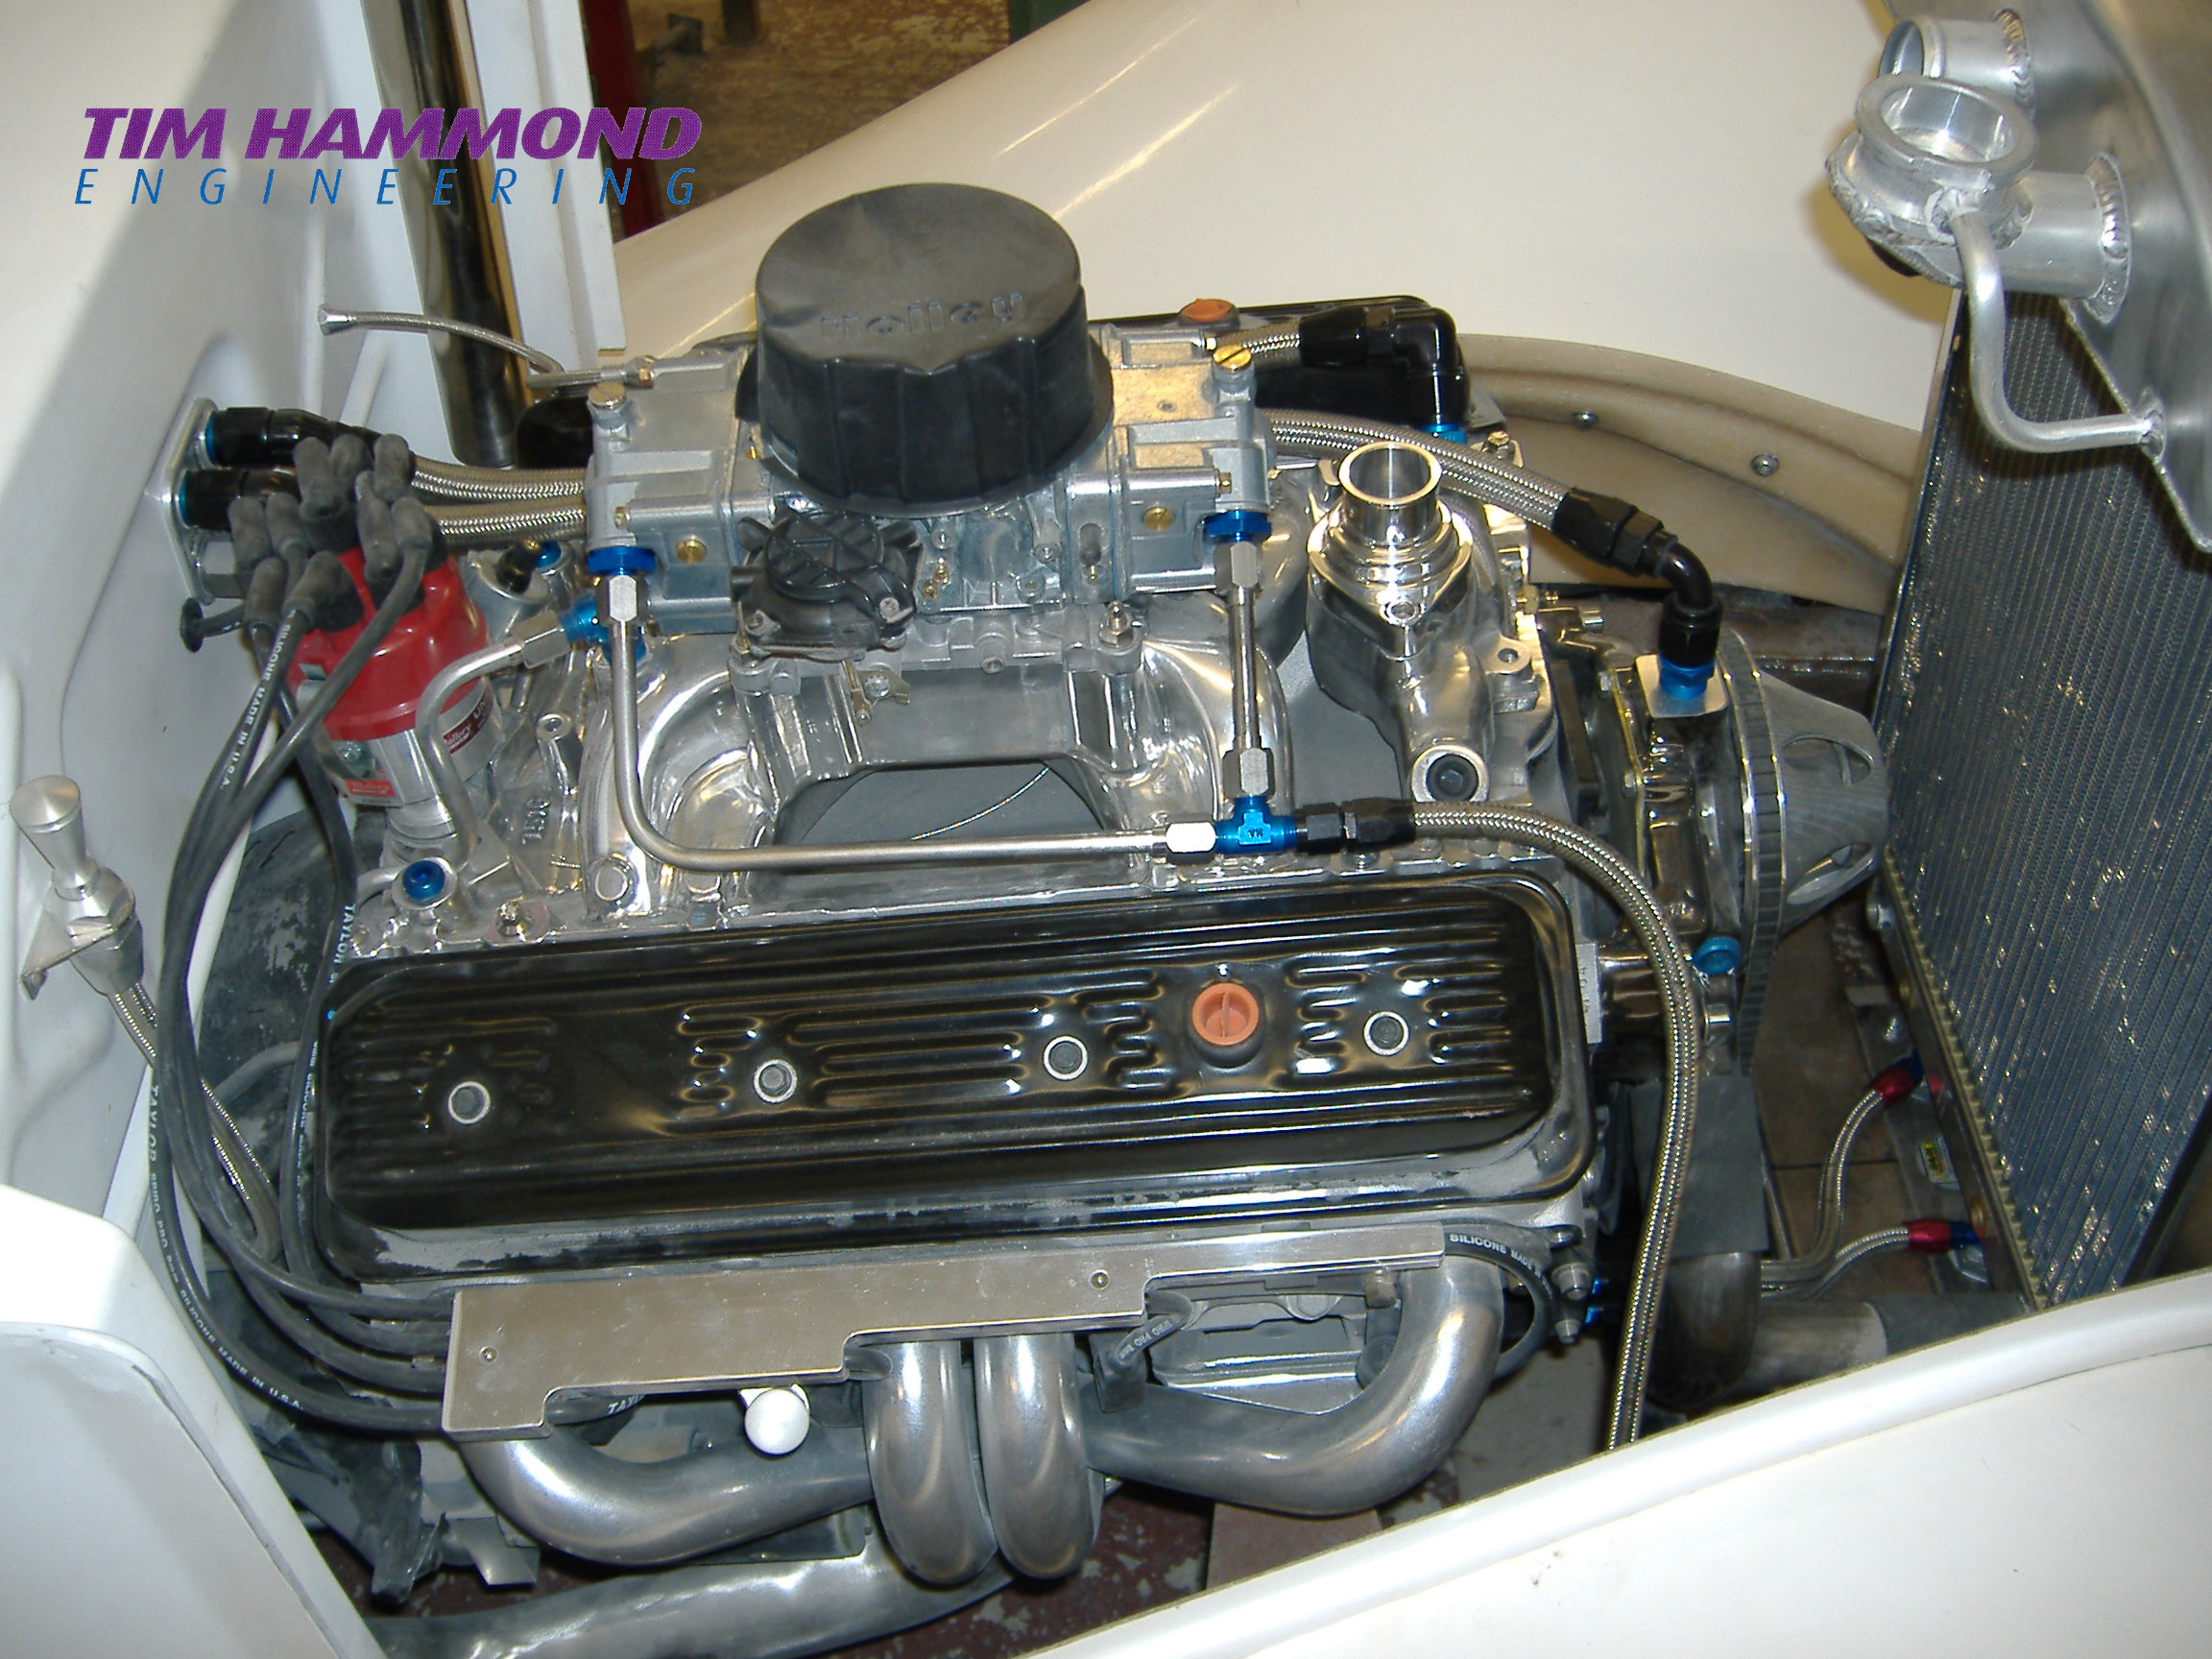
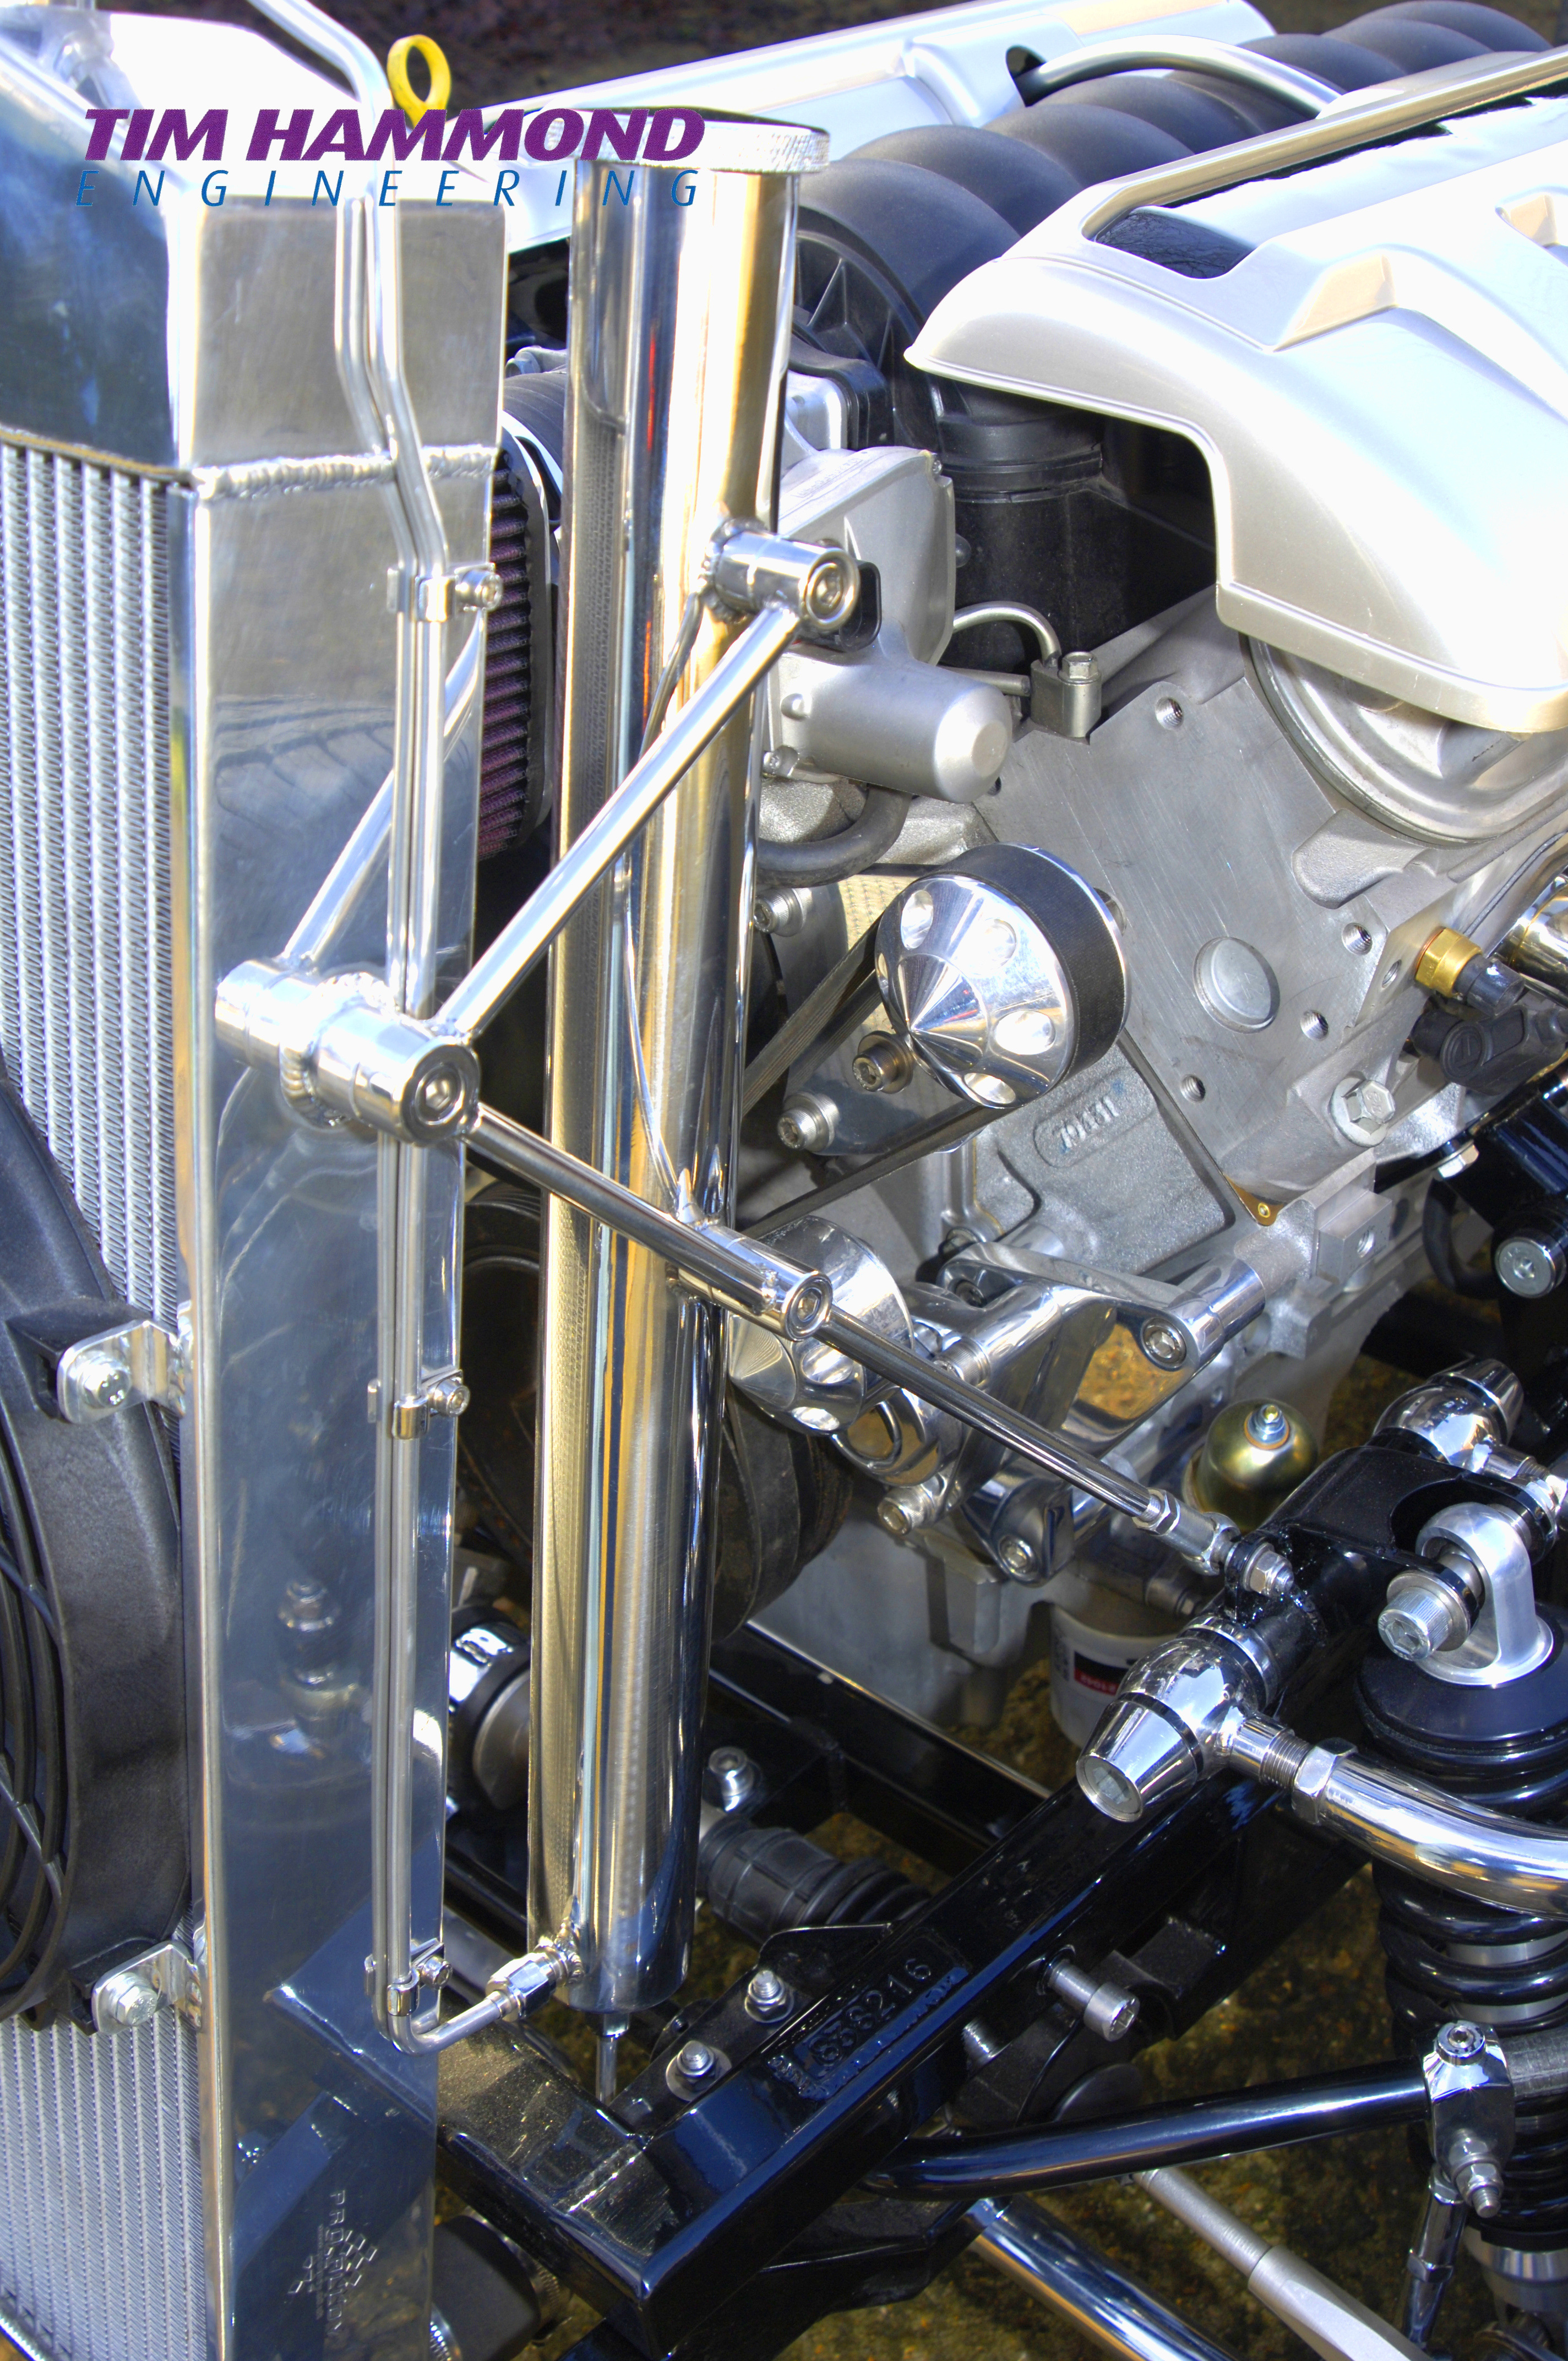
A ProAlloy polished aluminium radiator, with 16” electric fan was fitted within the engine bay.
Unfortunately, the English weather is not really that reliable, and although we wanted a roadster we had to be practical and began thinking about creating an easily removable soft top. So we fabricated a frame out of ¾” thin gauge steel tubing, which can be easily taken apart, but put together with aluminium slugs that fit within the tube. Obviously the frame had to be capable to folding down small enough to fit within the trunk and to be about ½” off the bodywork when actually fitted to the roadster.
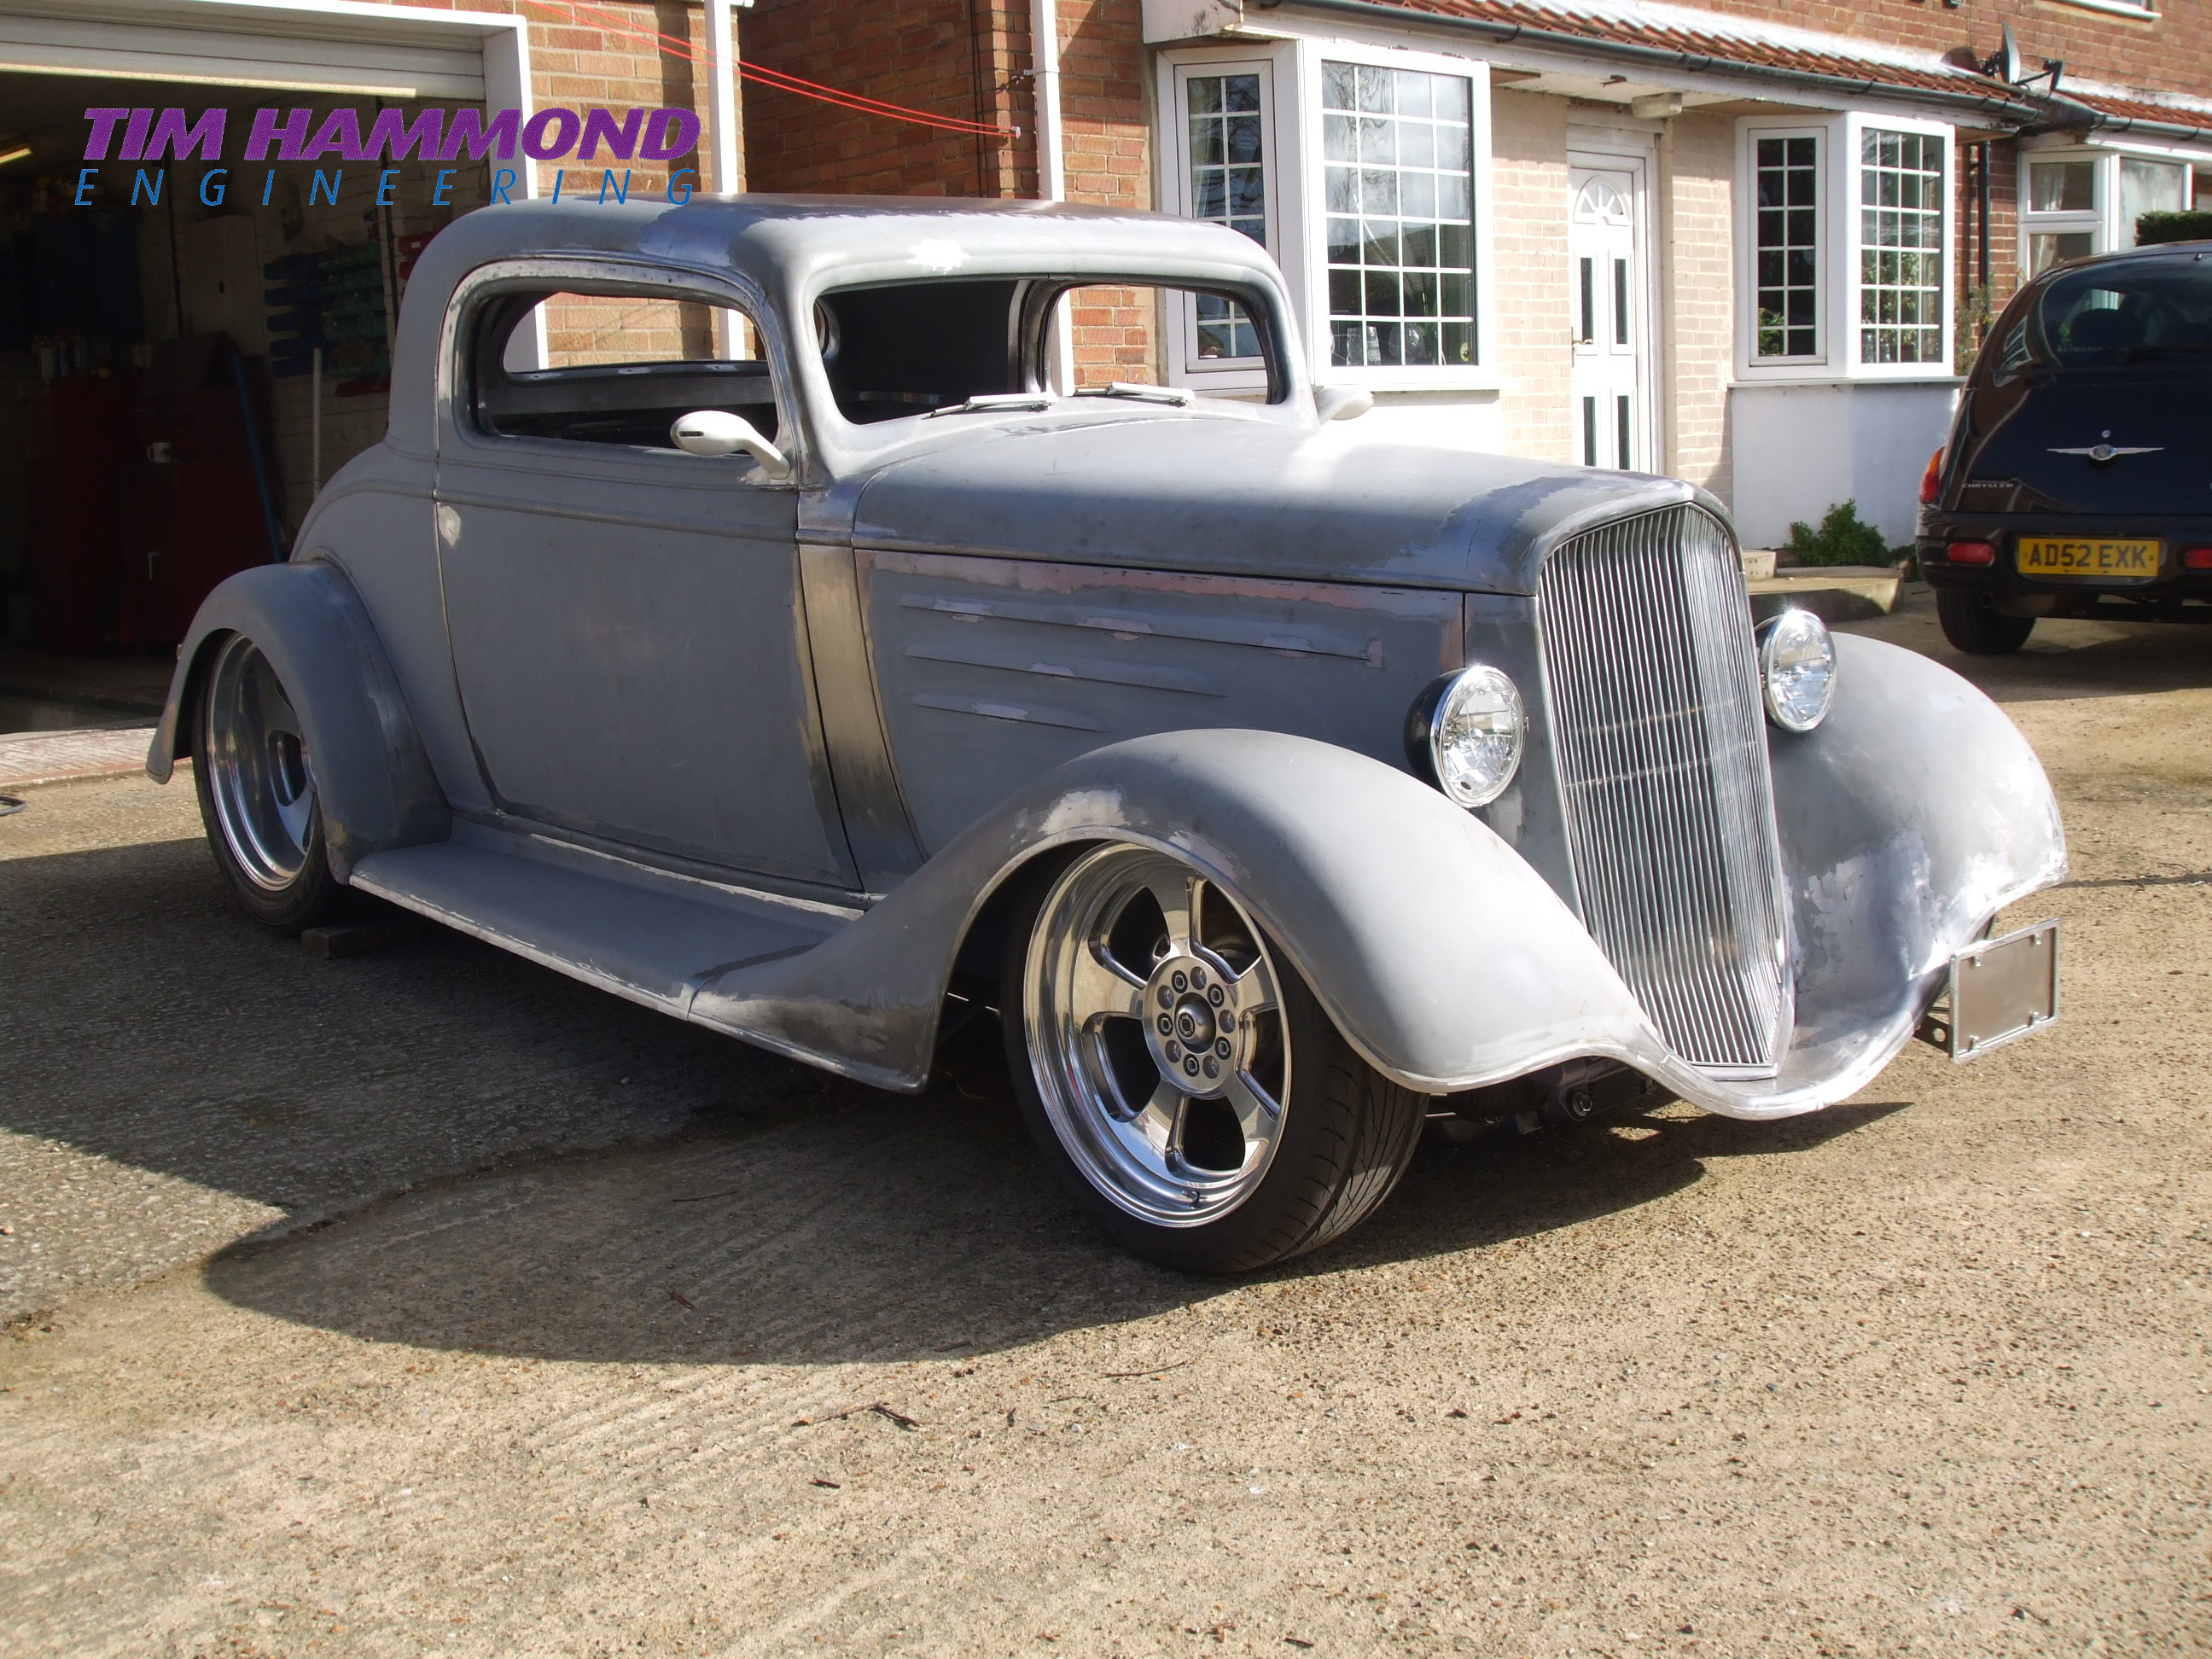
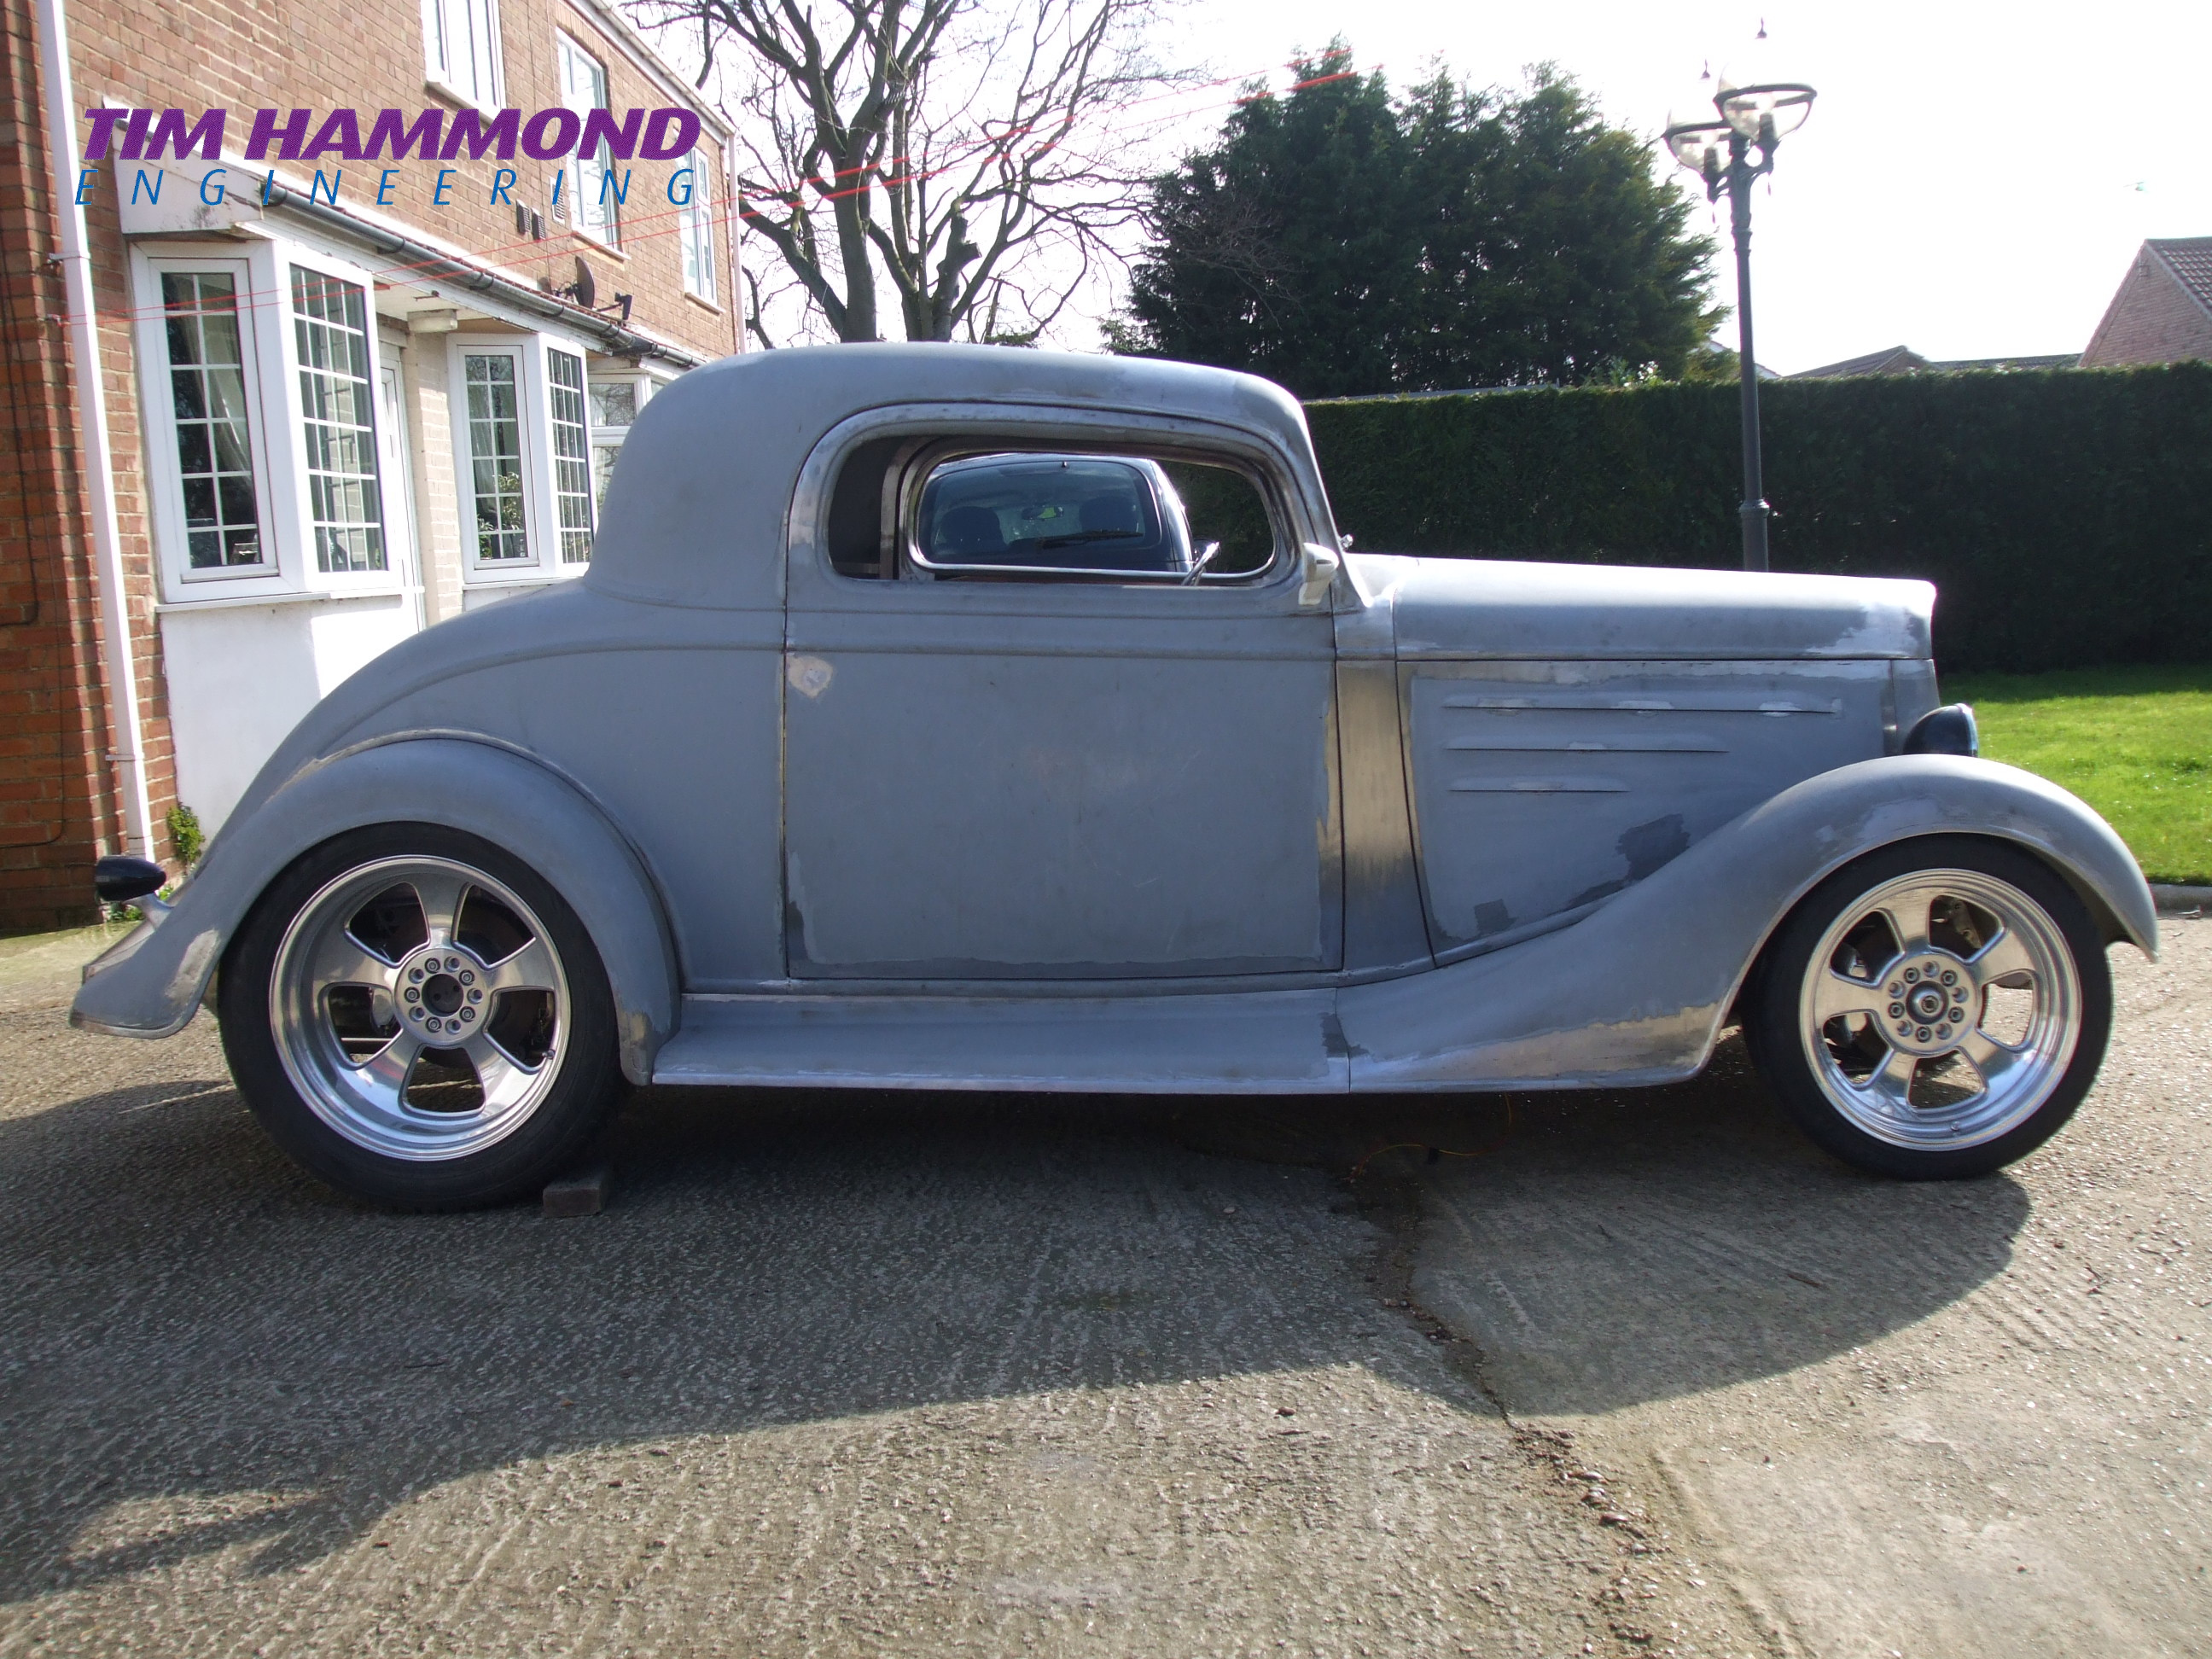
At this point the car, the dry build was complete and the car was stripped down ready for paint. All the stainless was polished – including nuts and bolts, brass section polished and chromed, aluminium polished, all brake fittings and pipes also polished.
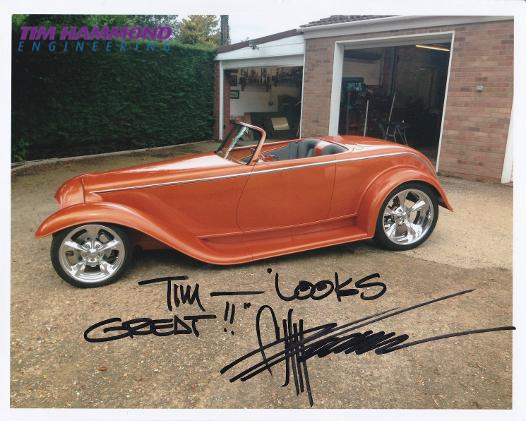
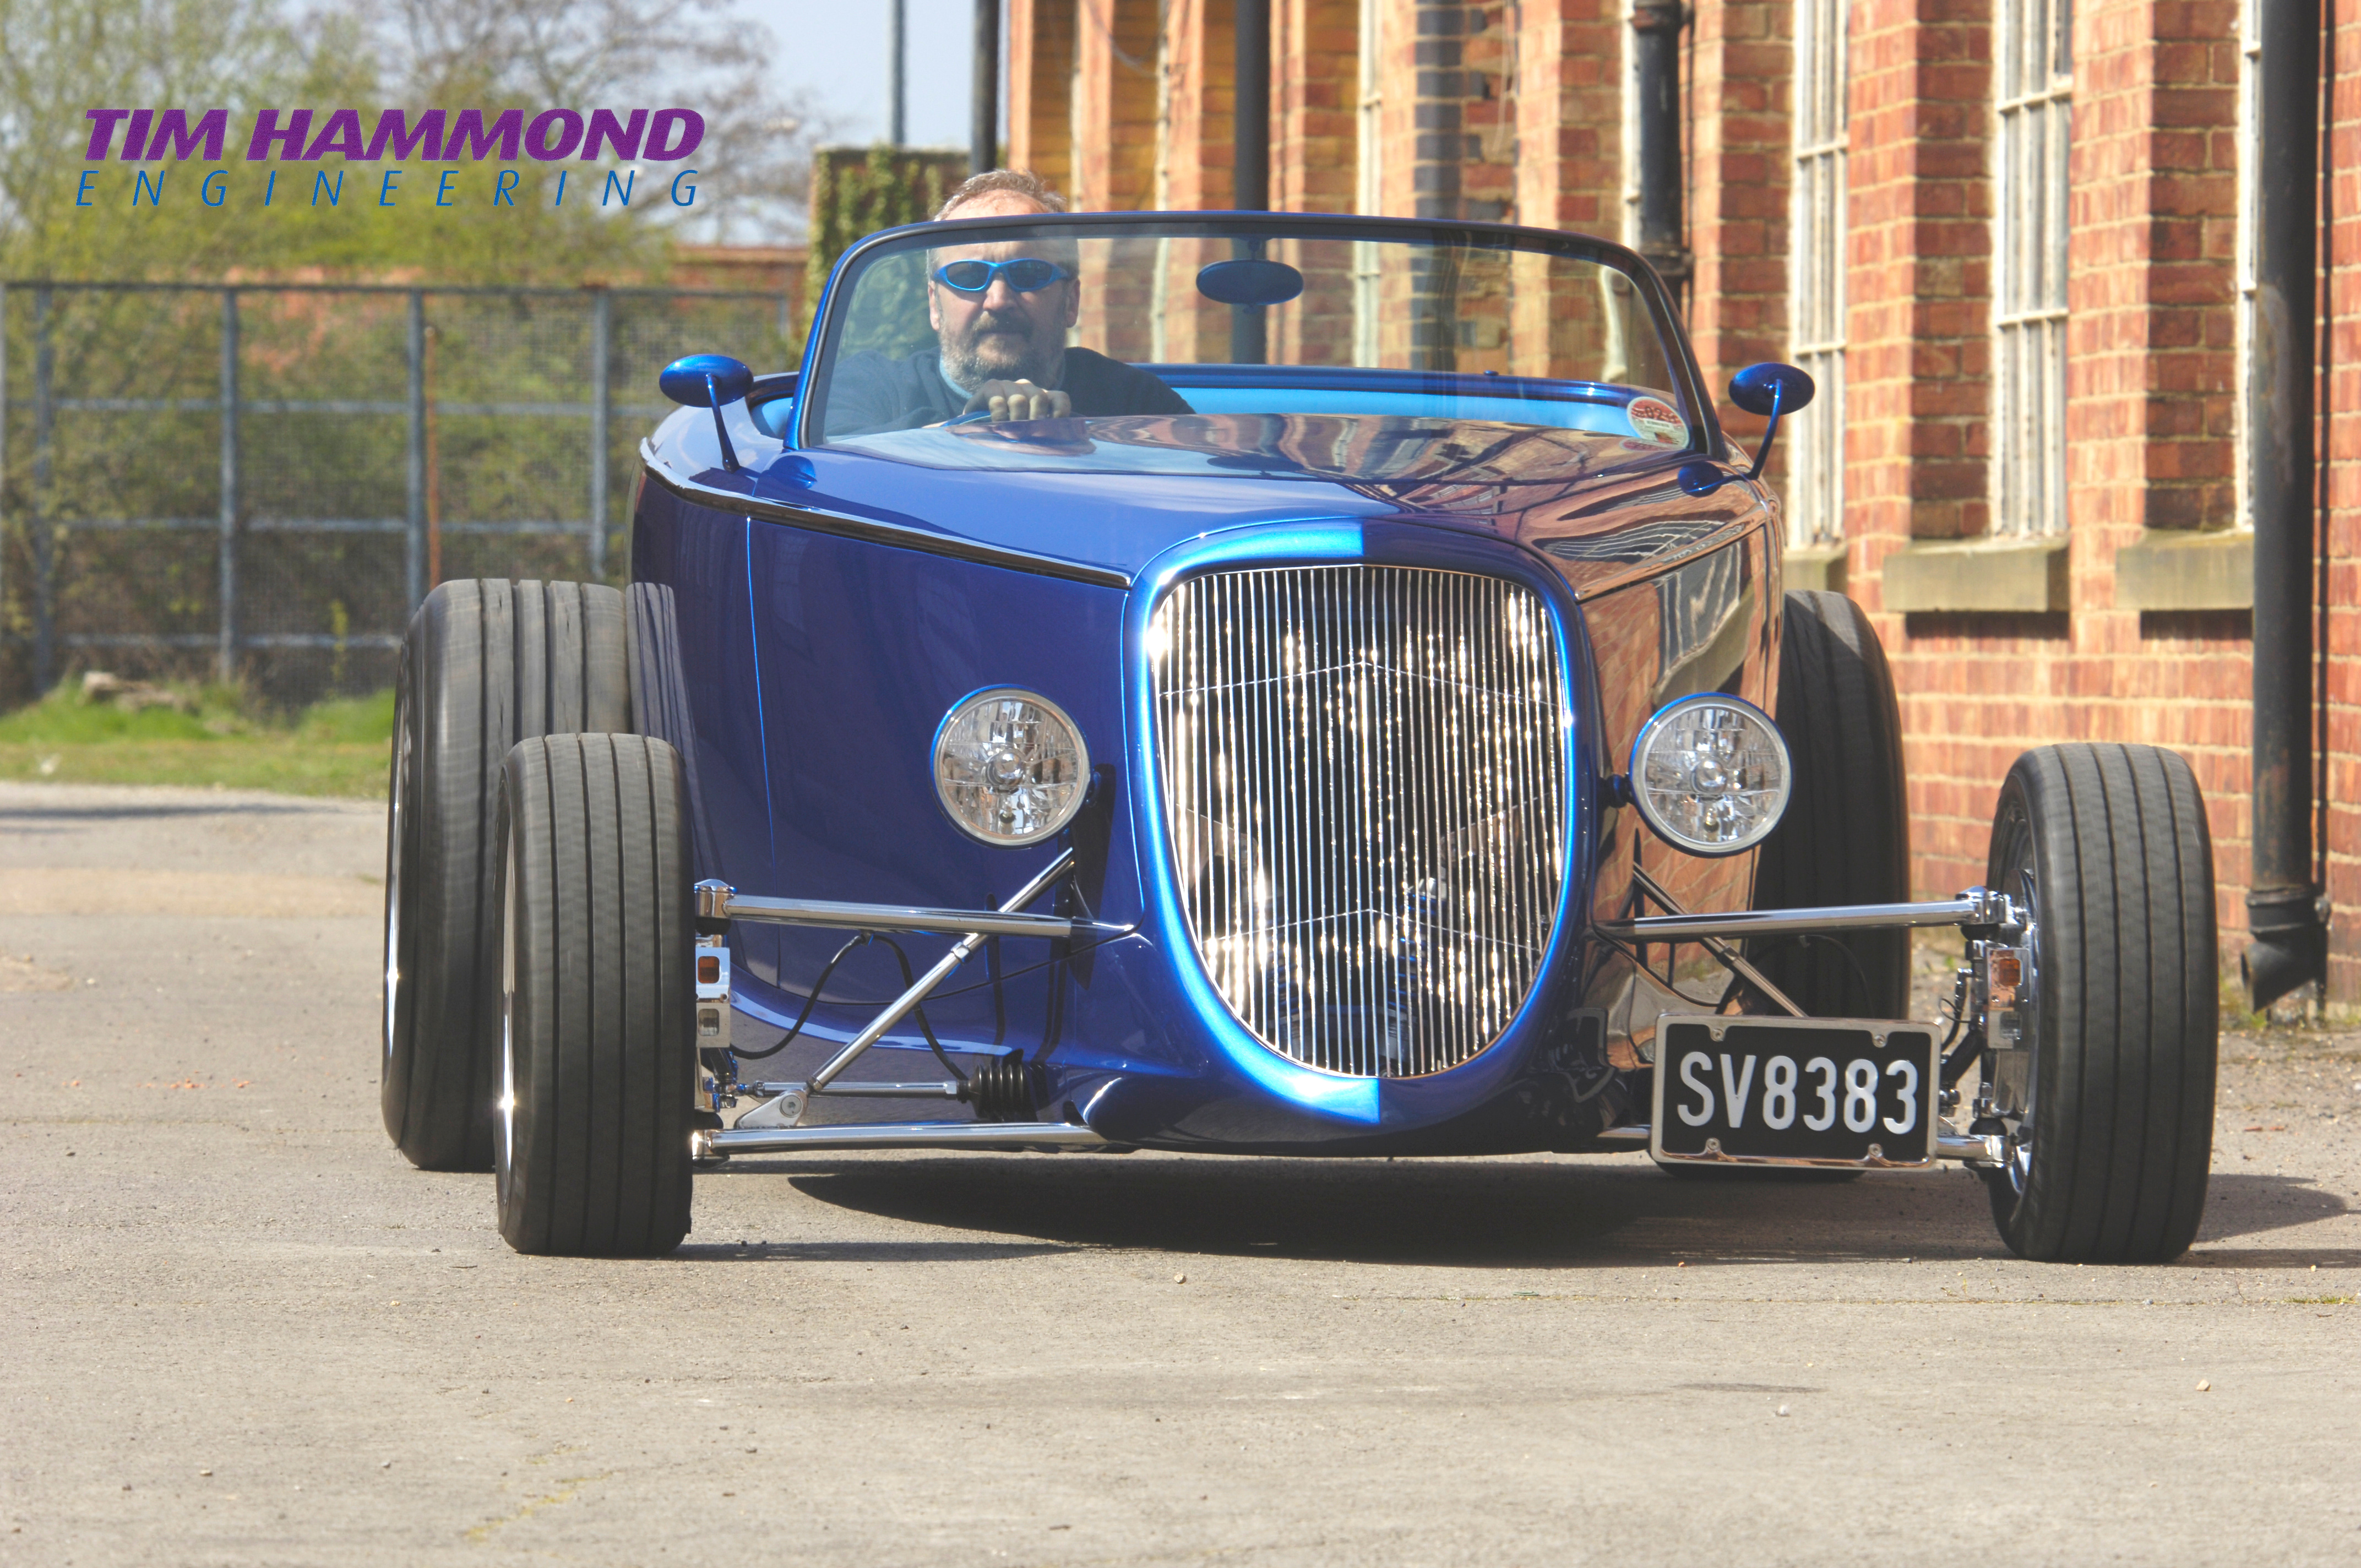
Prior to paint the whole car was taken to the shot blasters and lightly blasted to remove any surface rust and sprayed with a green etch primer. One summers day we then sat down to discuss colour – really difficult decision, but looked through magazines and found a colour that we liked – which was on a Chip Foose car, which he called butterscotch – or as some people call it orange. After 20 spray outs and tweaking of a special colour mix we came up with the final colour, which incorporates some pretty lovely pearl. Painting the car was quite a mammoth task – from all the small components, to gear box, engine, chassis, body, drive shafts, suspension, diff etc – it is not until you see all the parts lying on the floor that you release just how much work was involved. Painting took about 18 months.
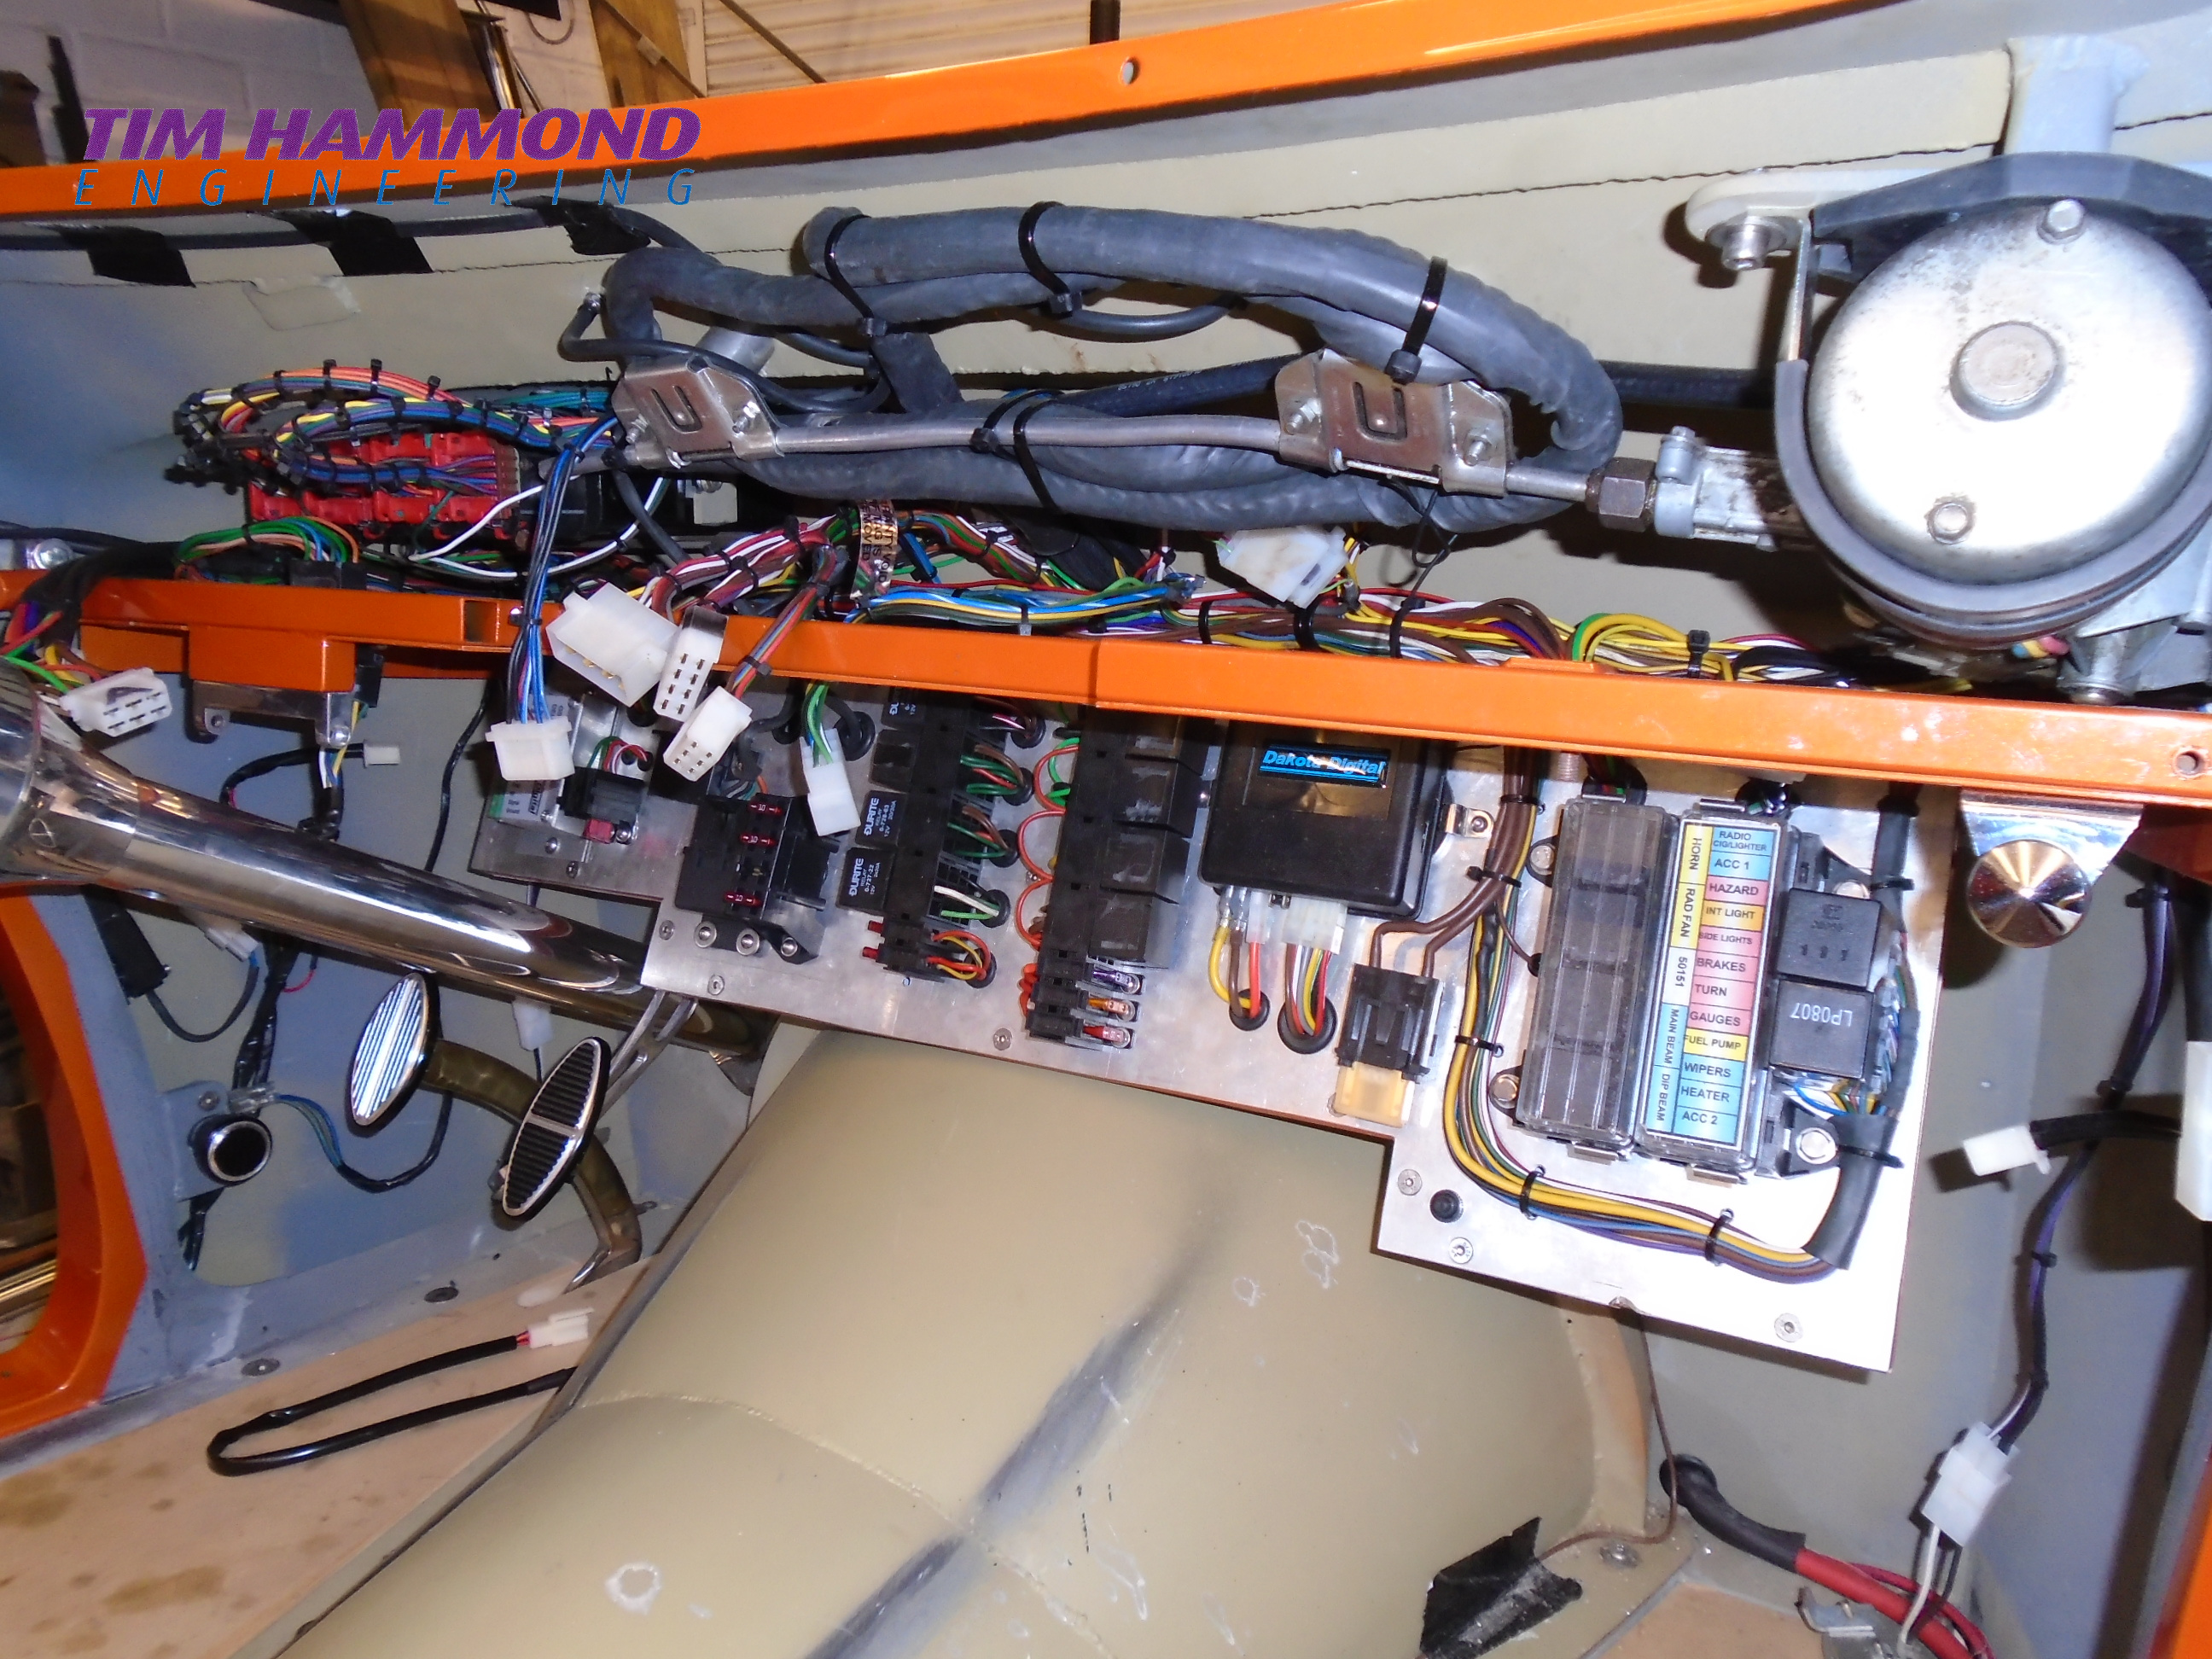
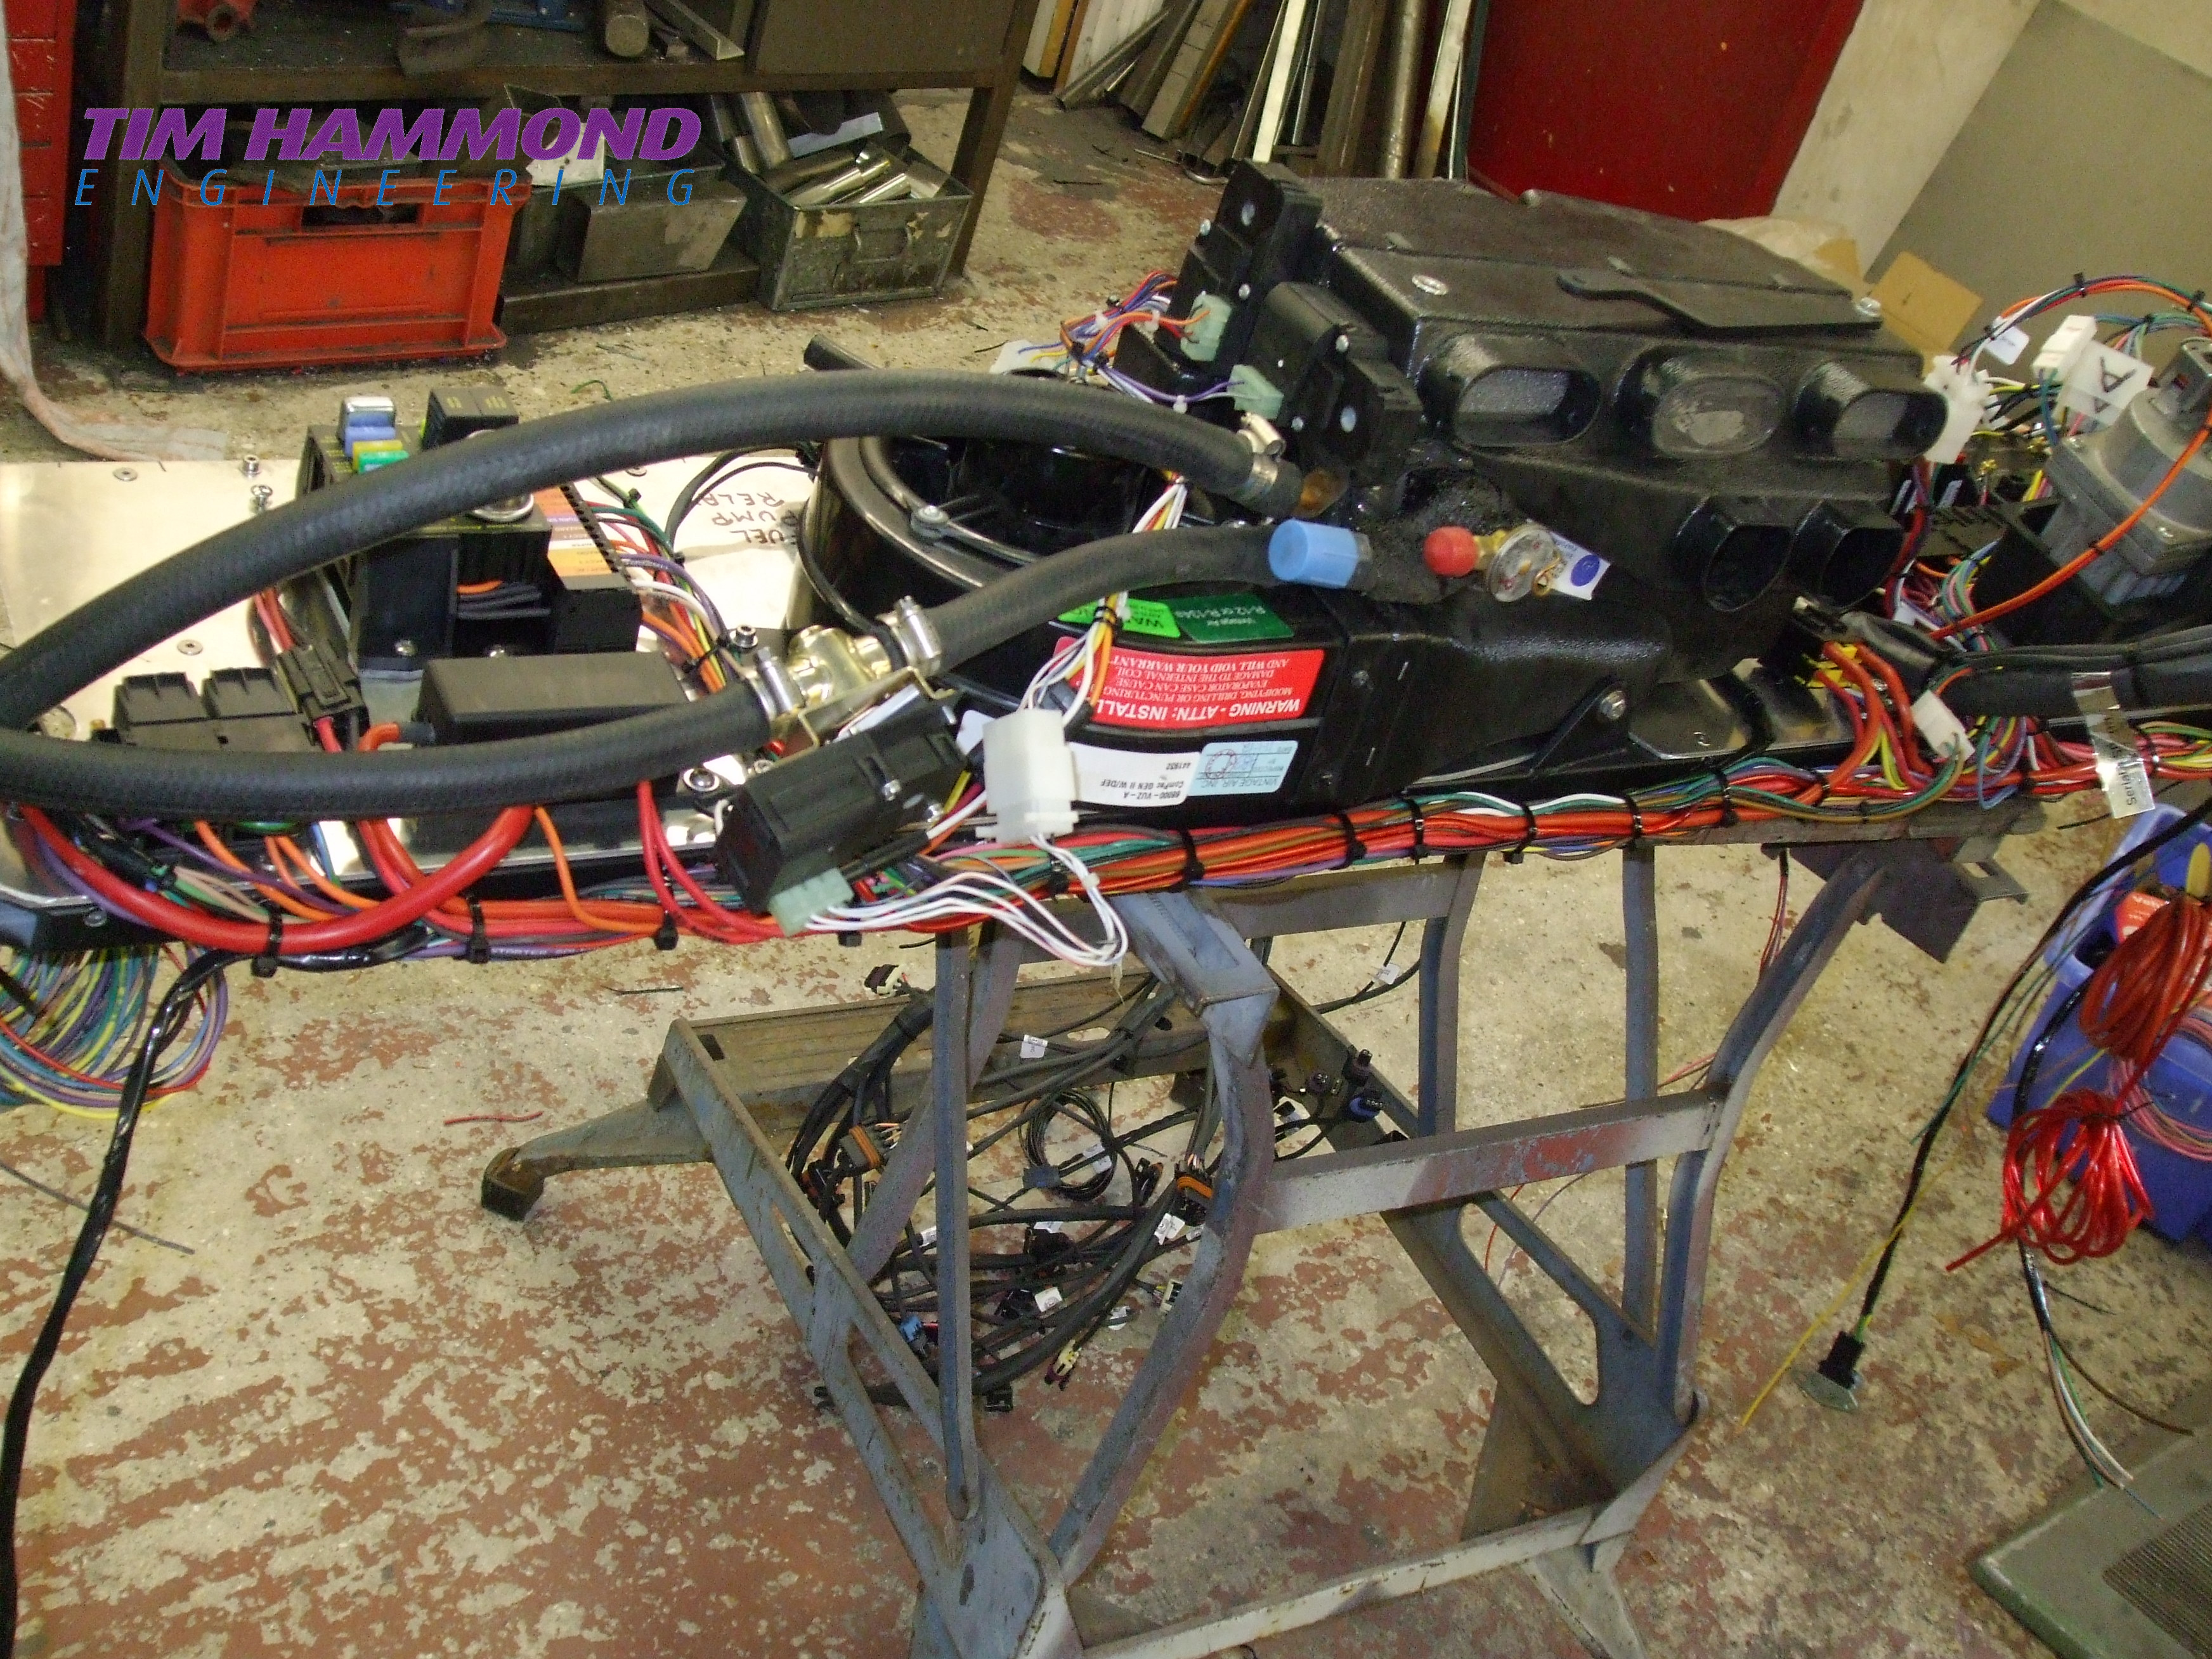
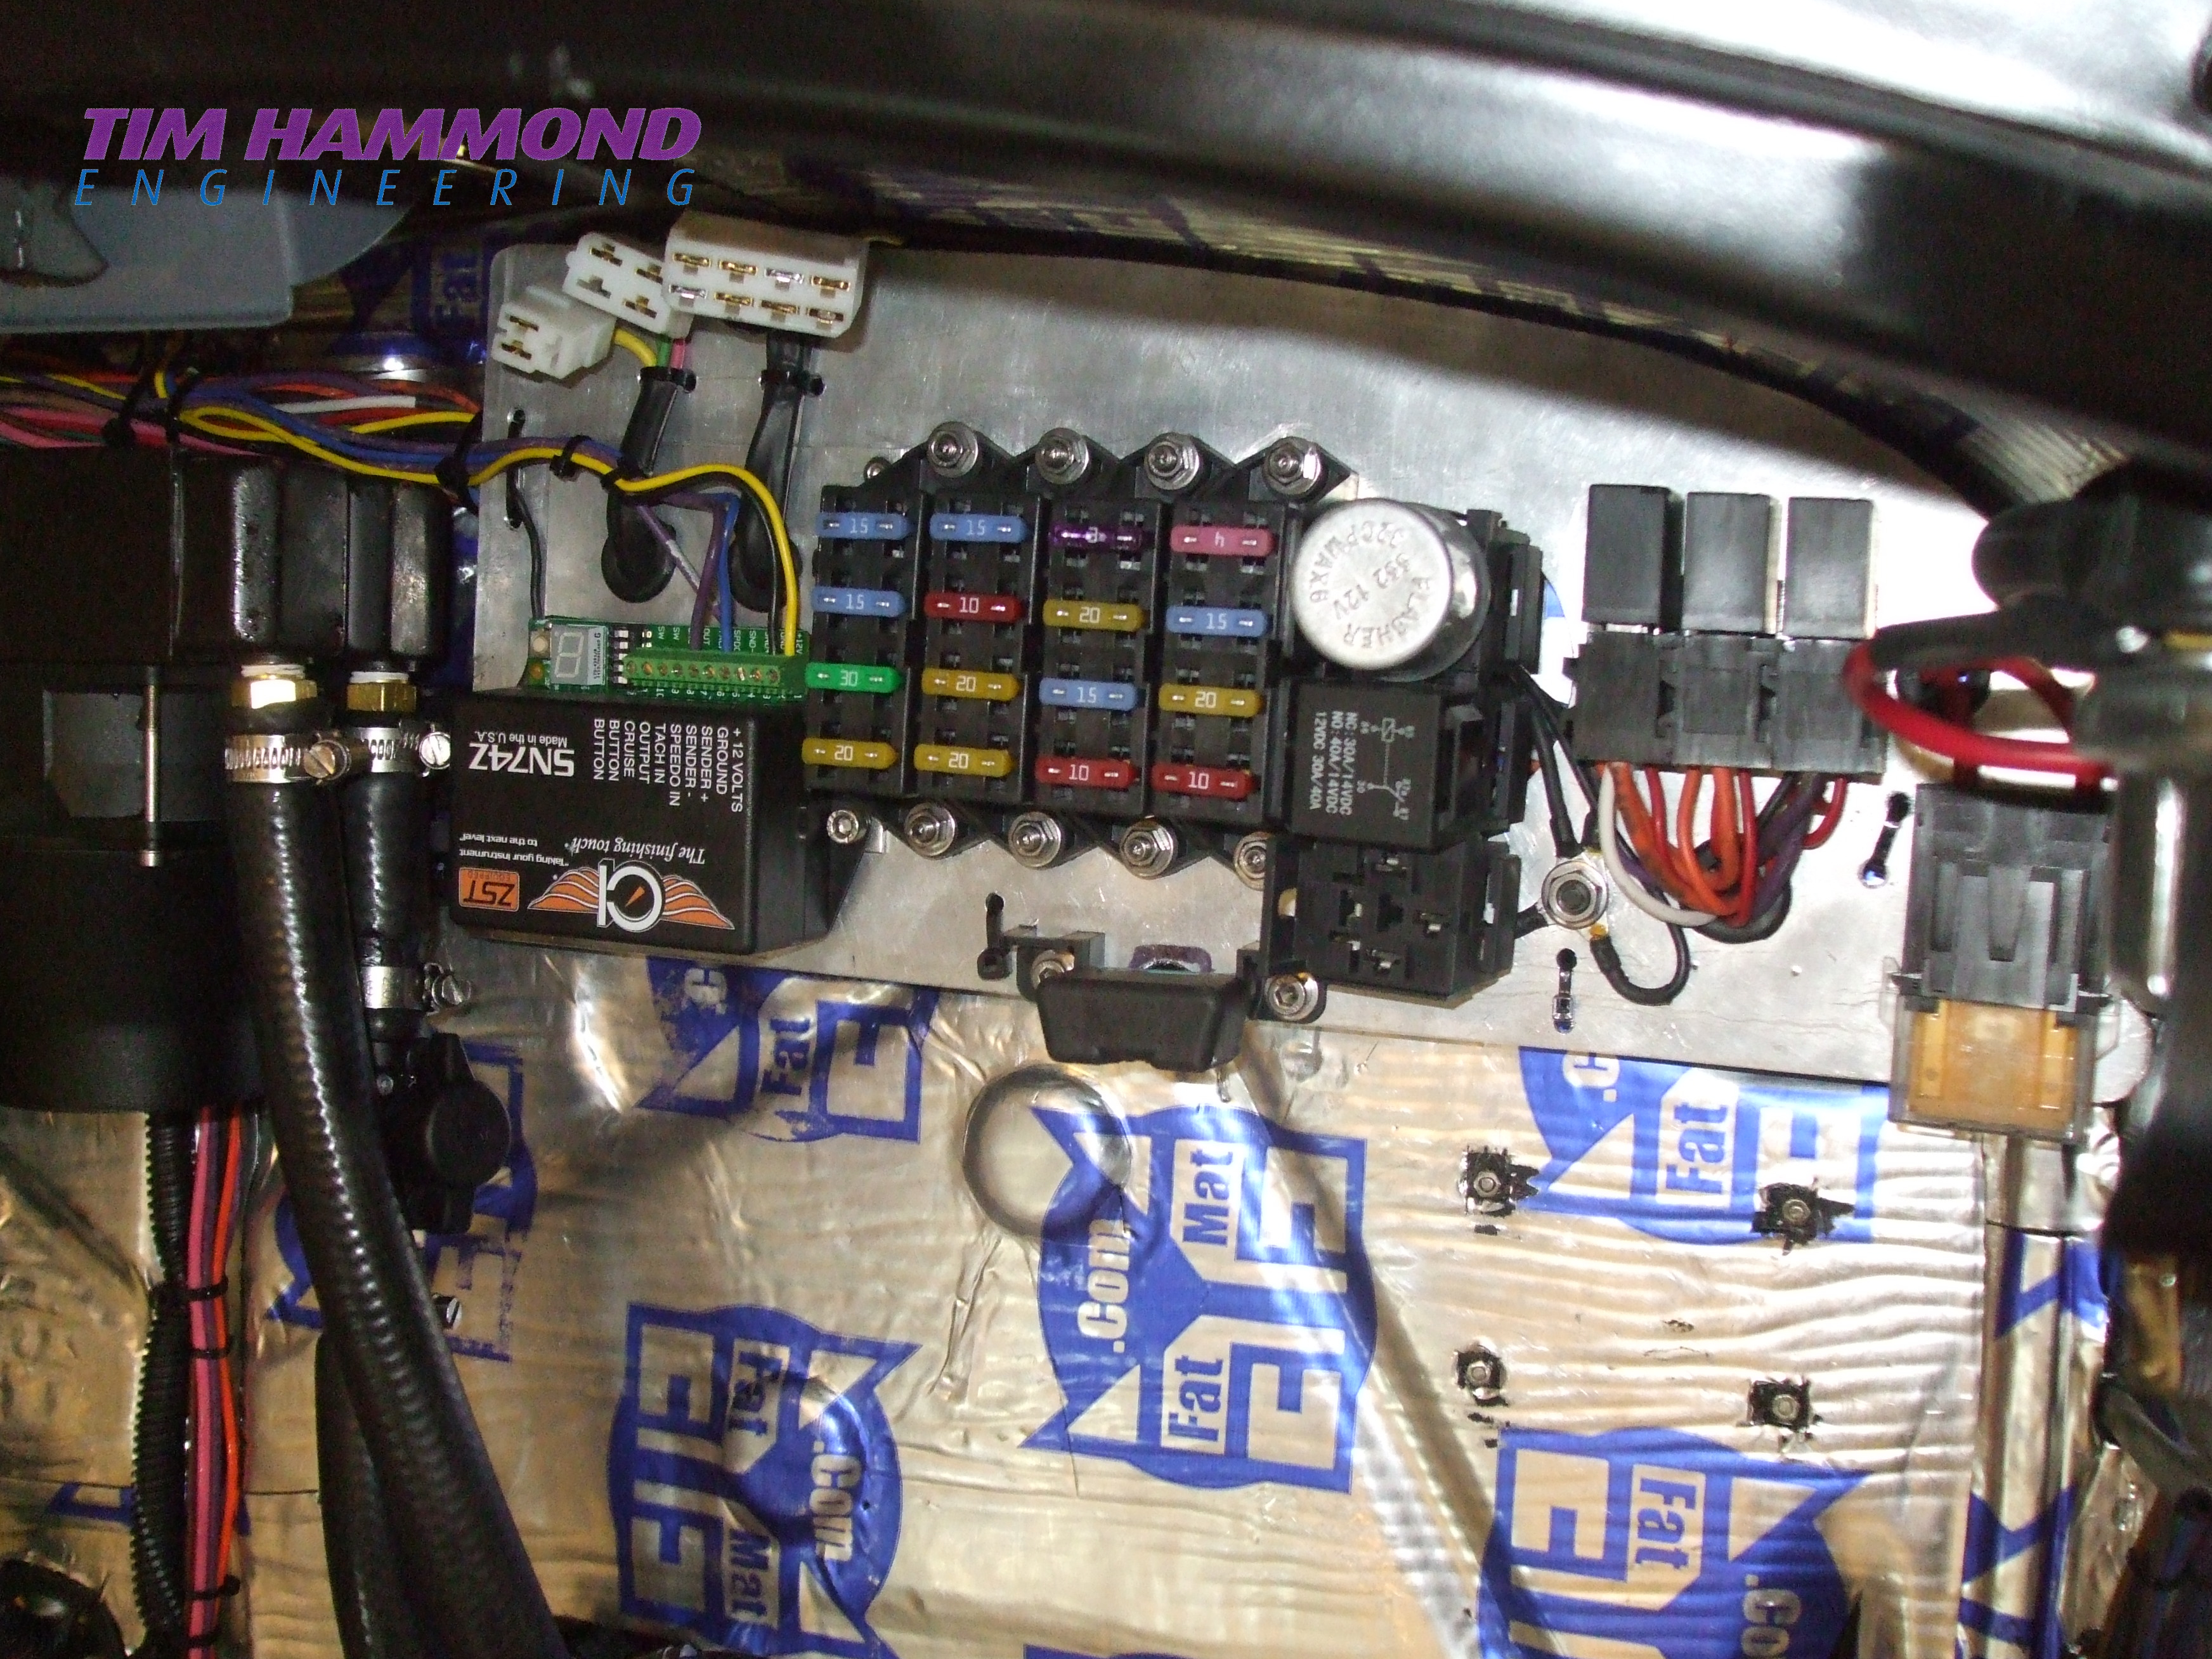
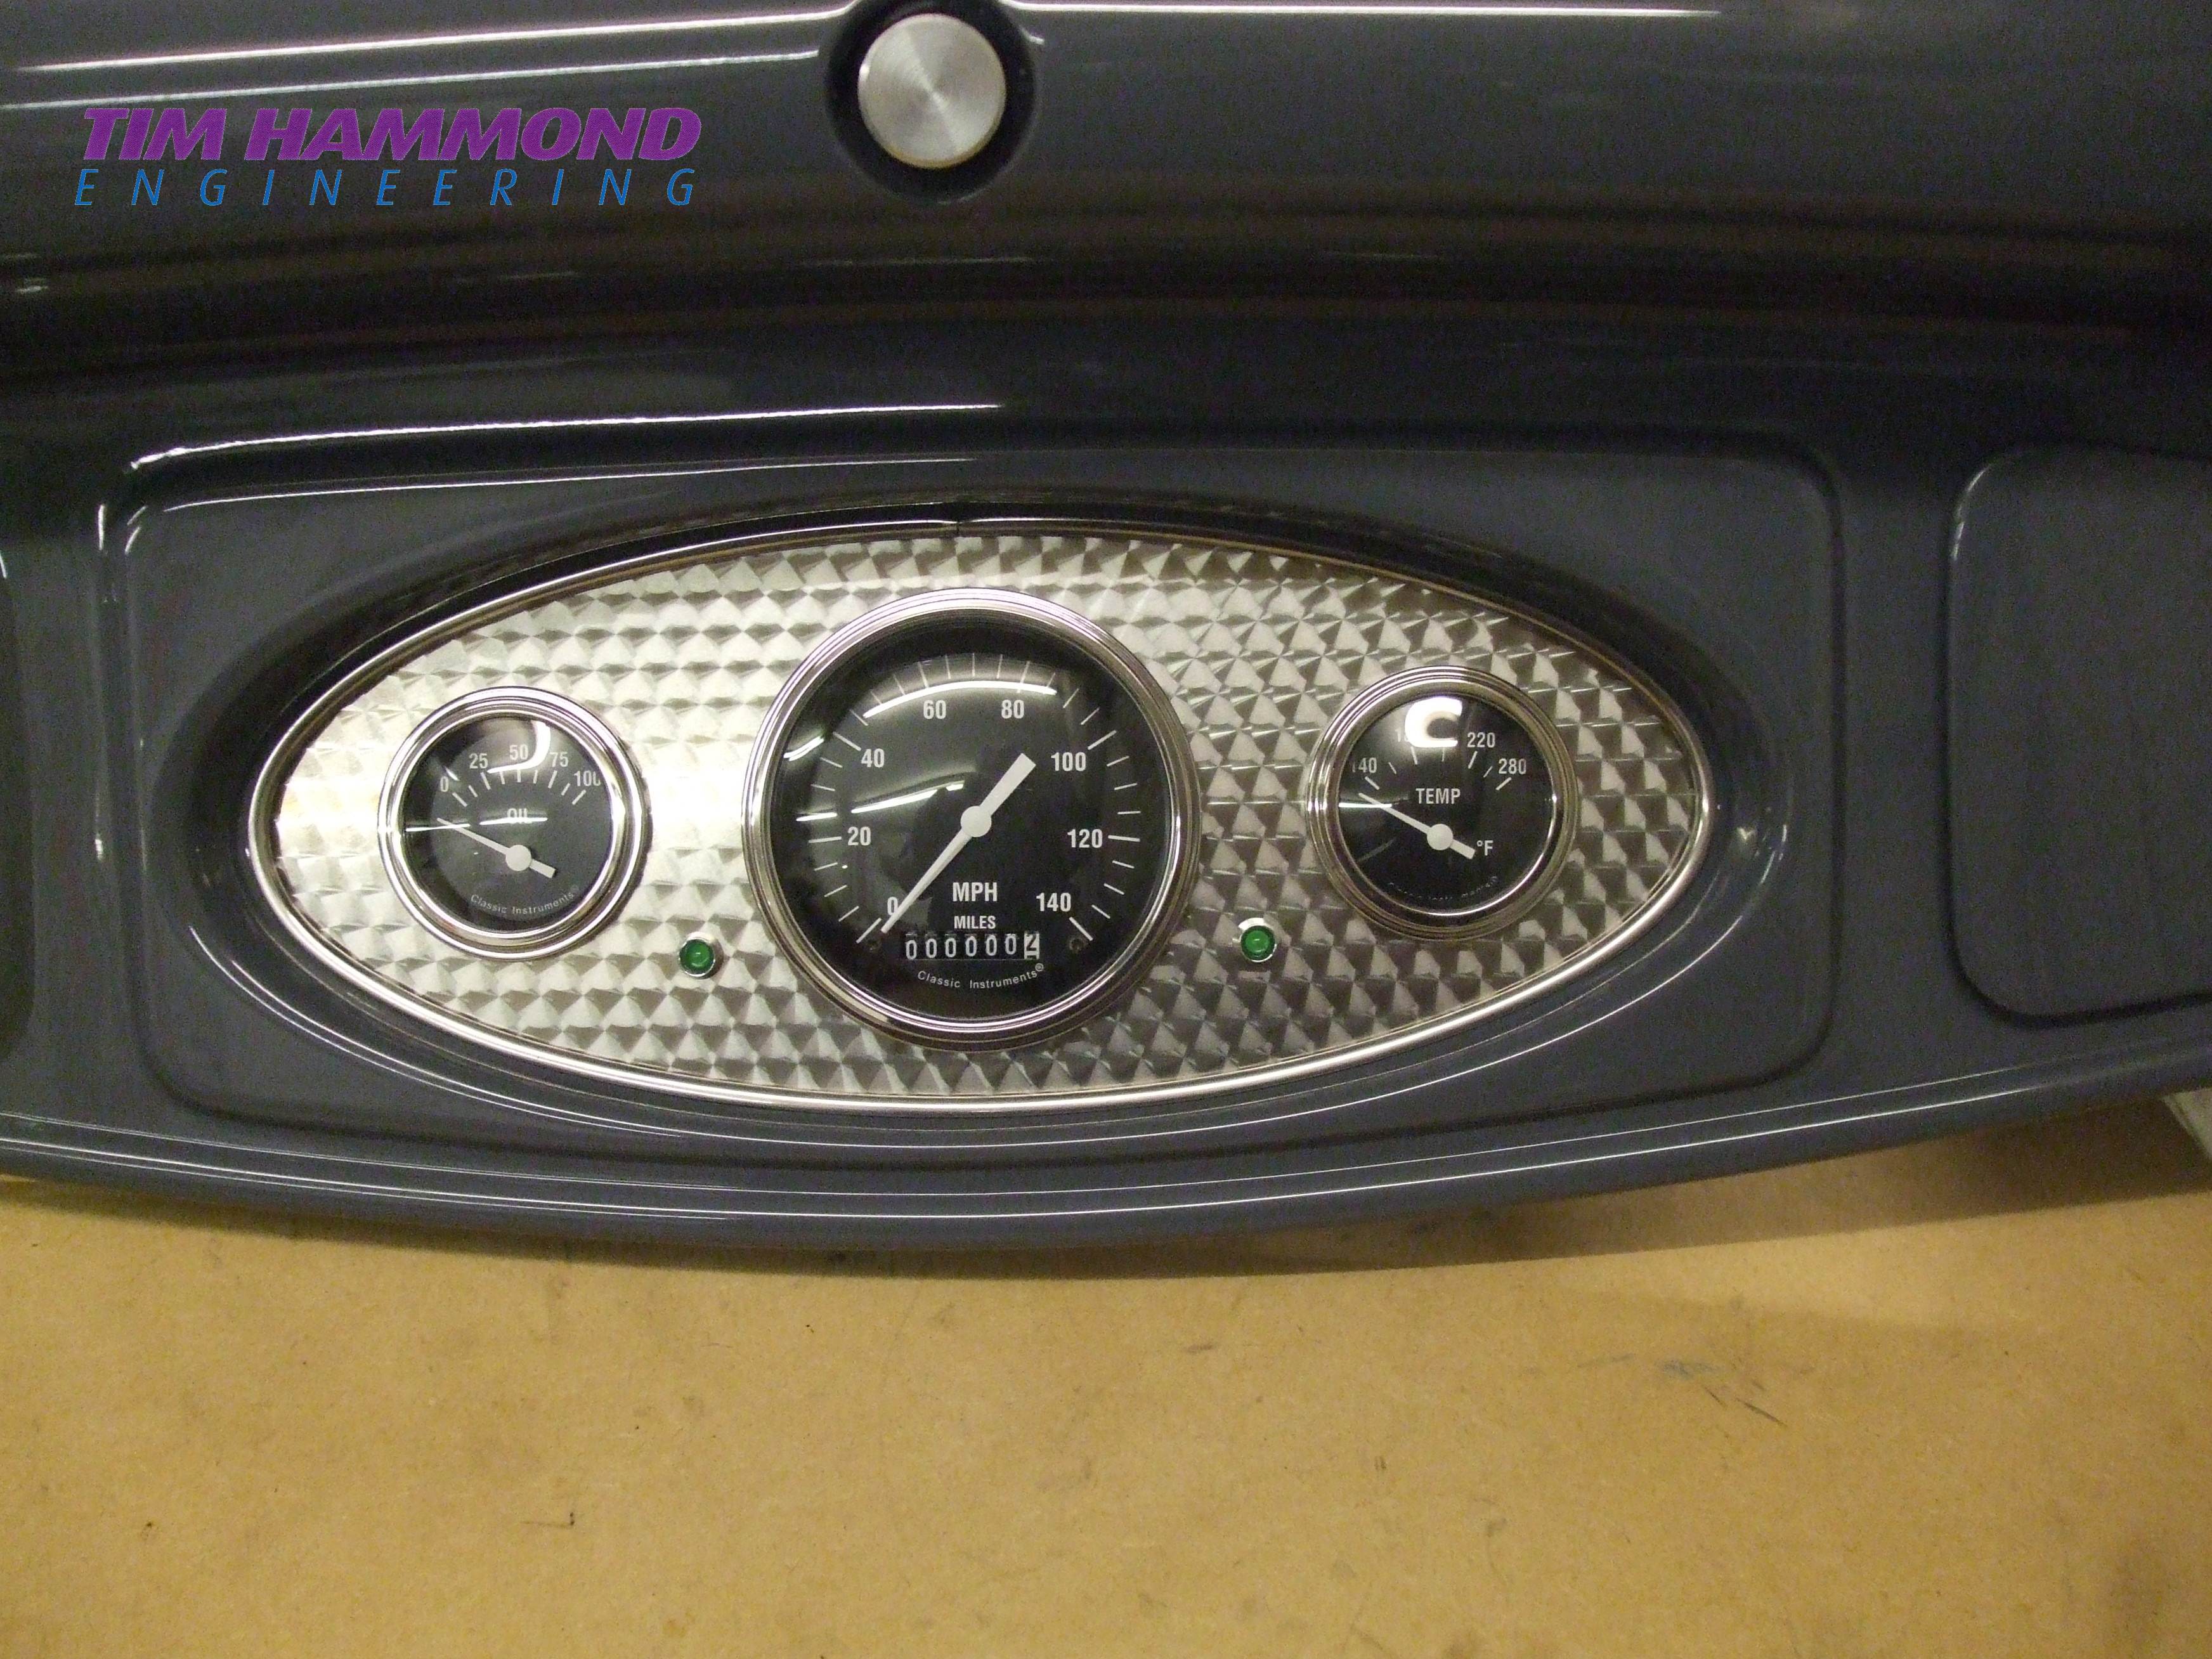
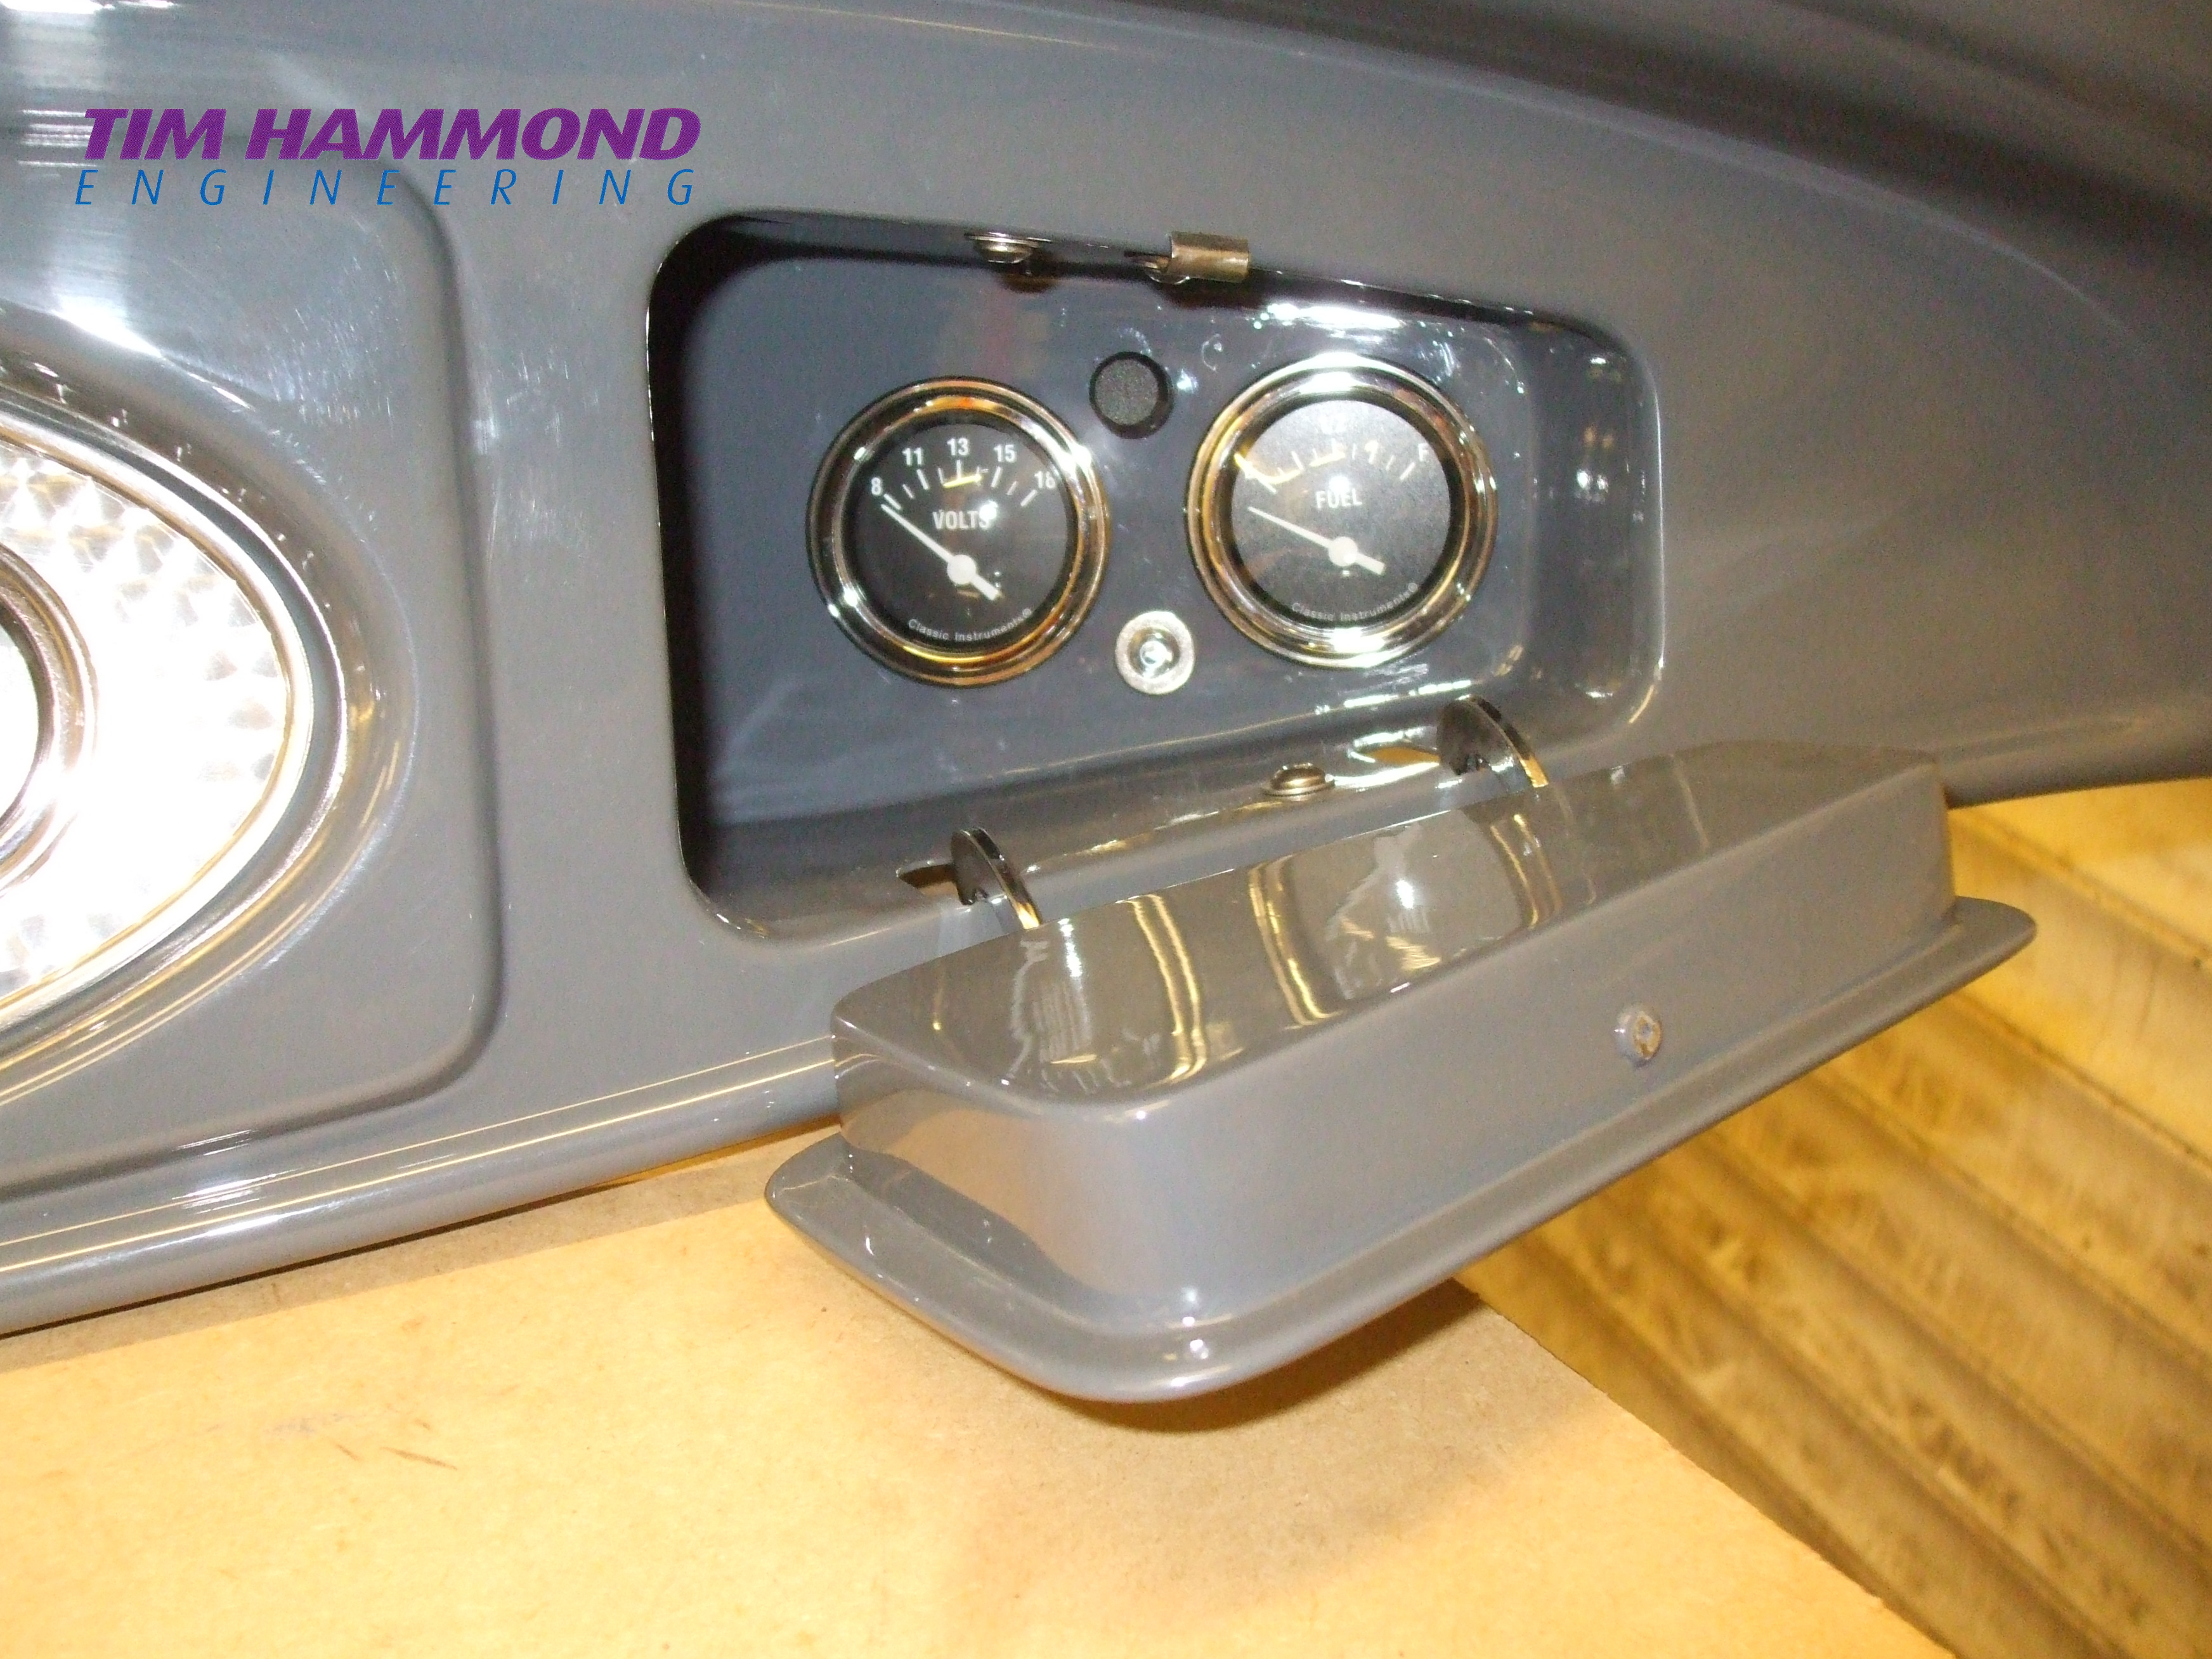
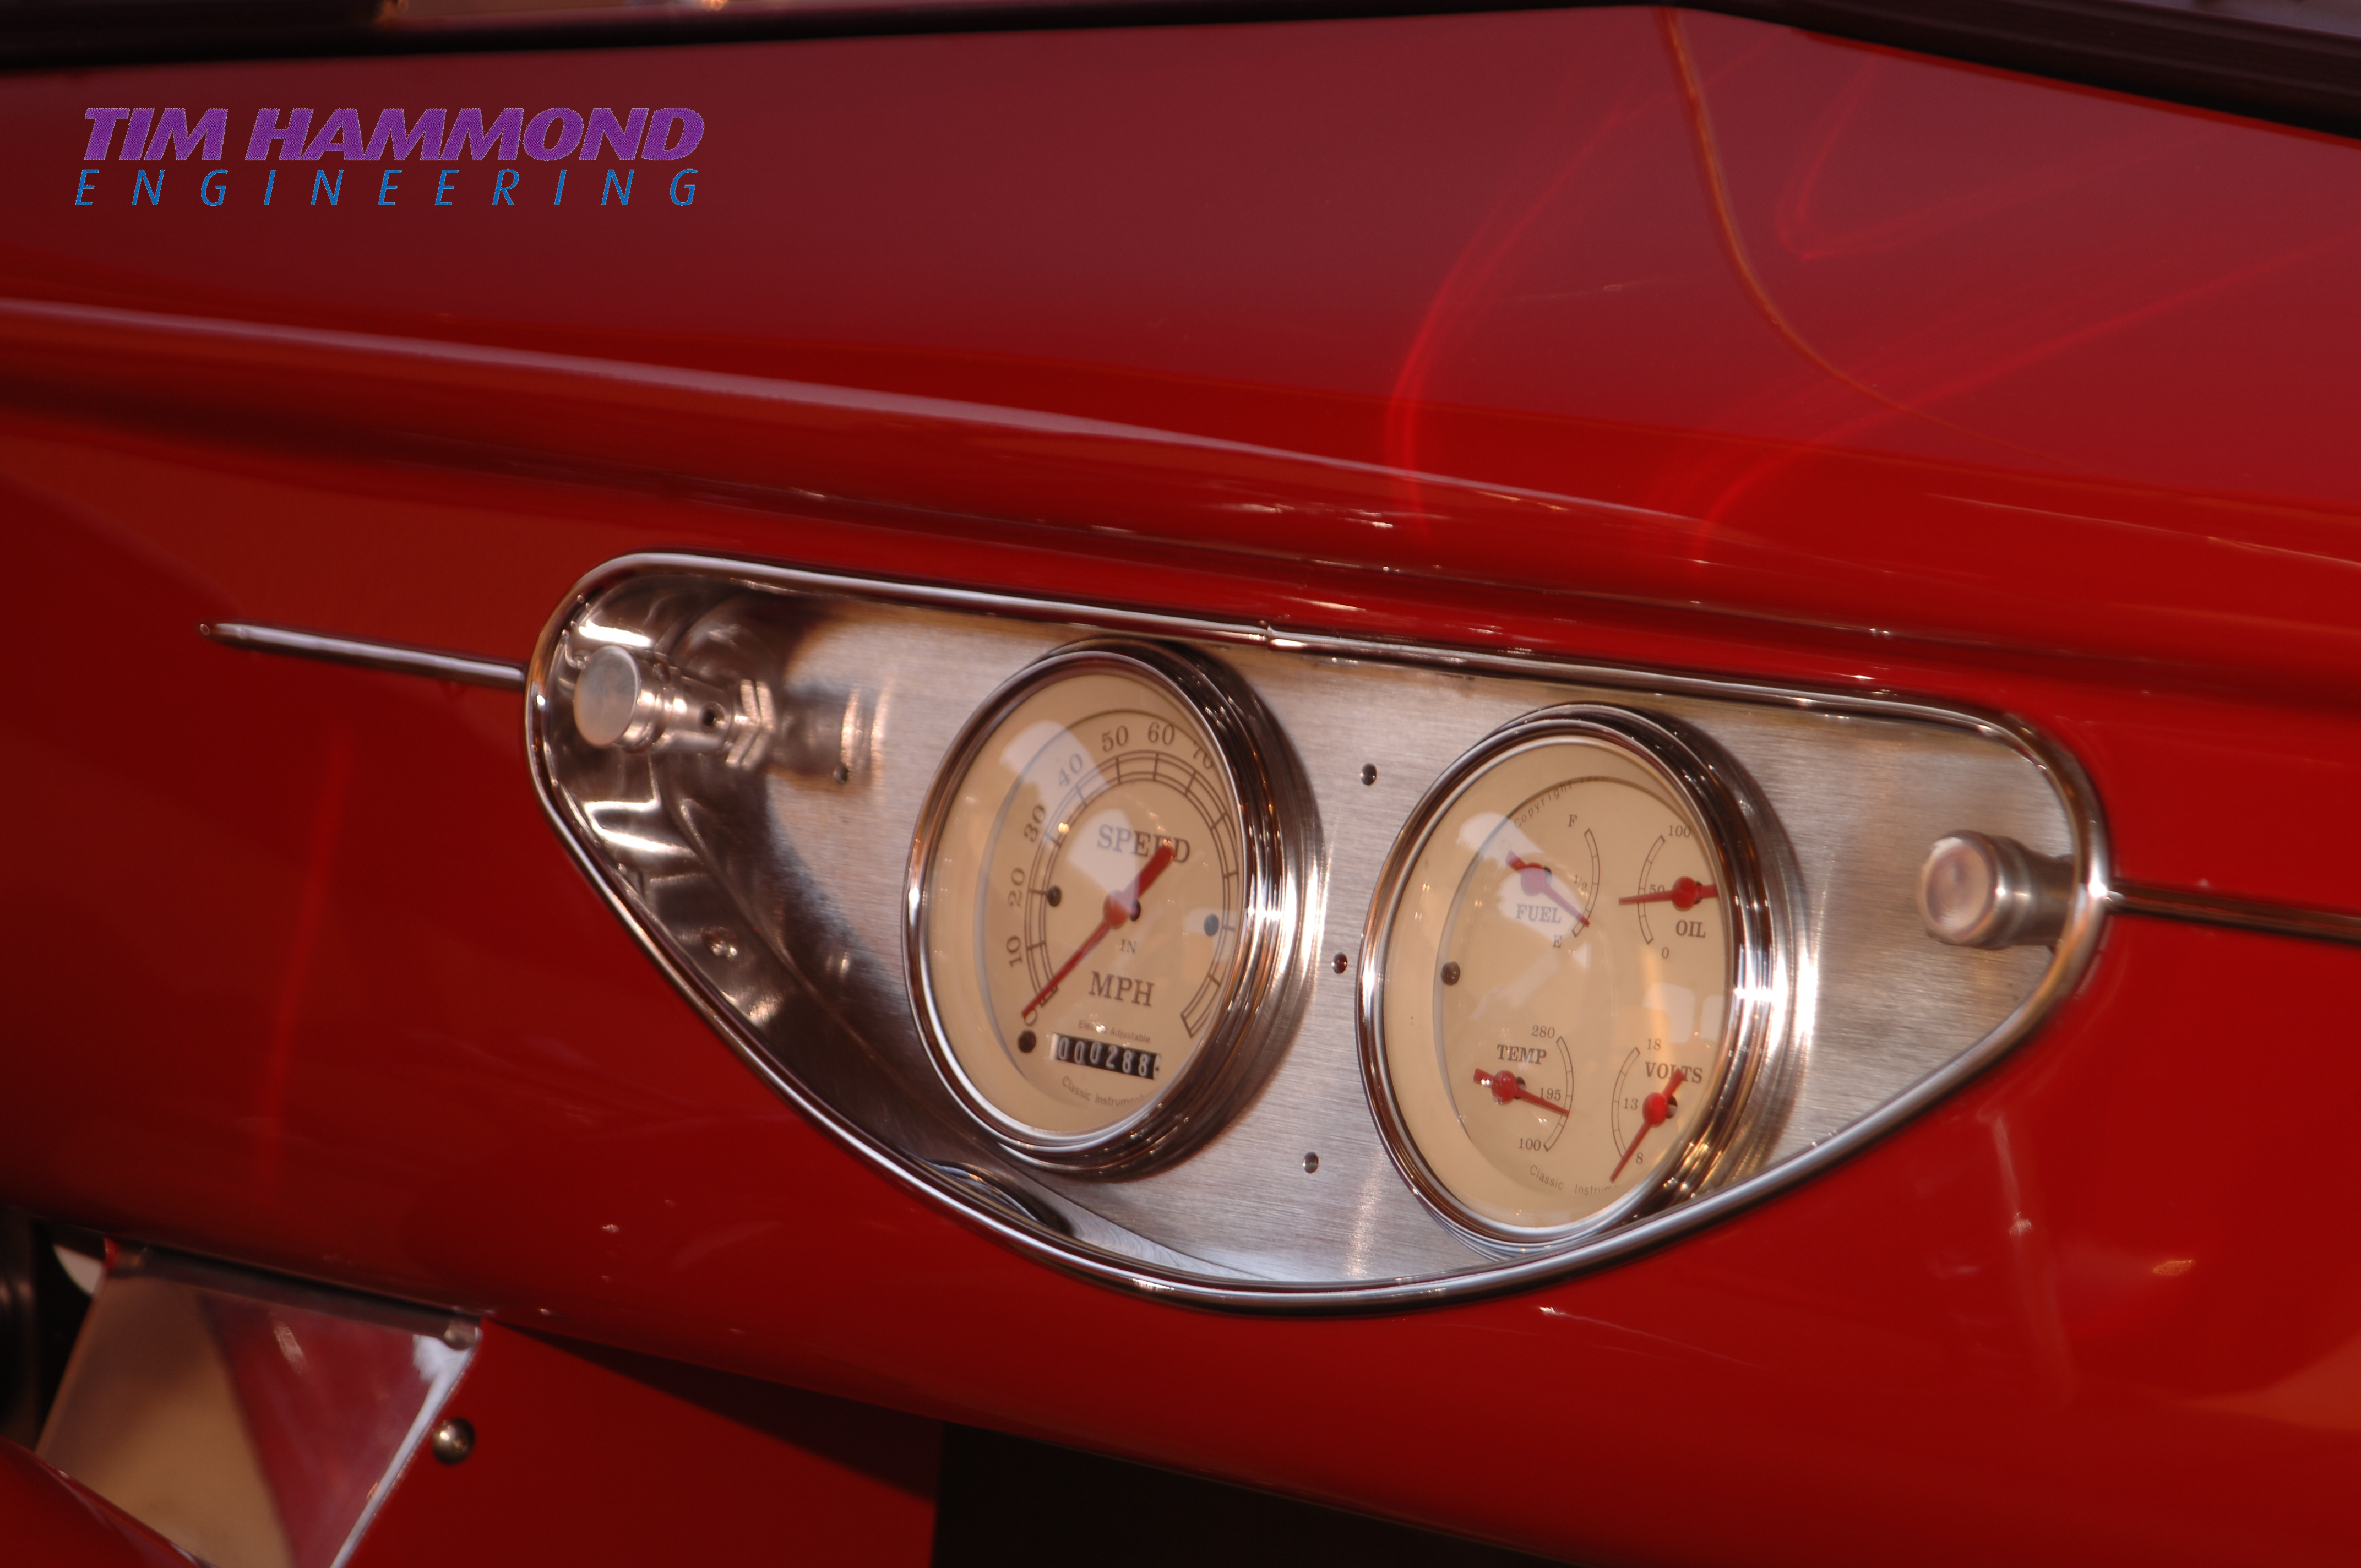
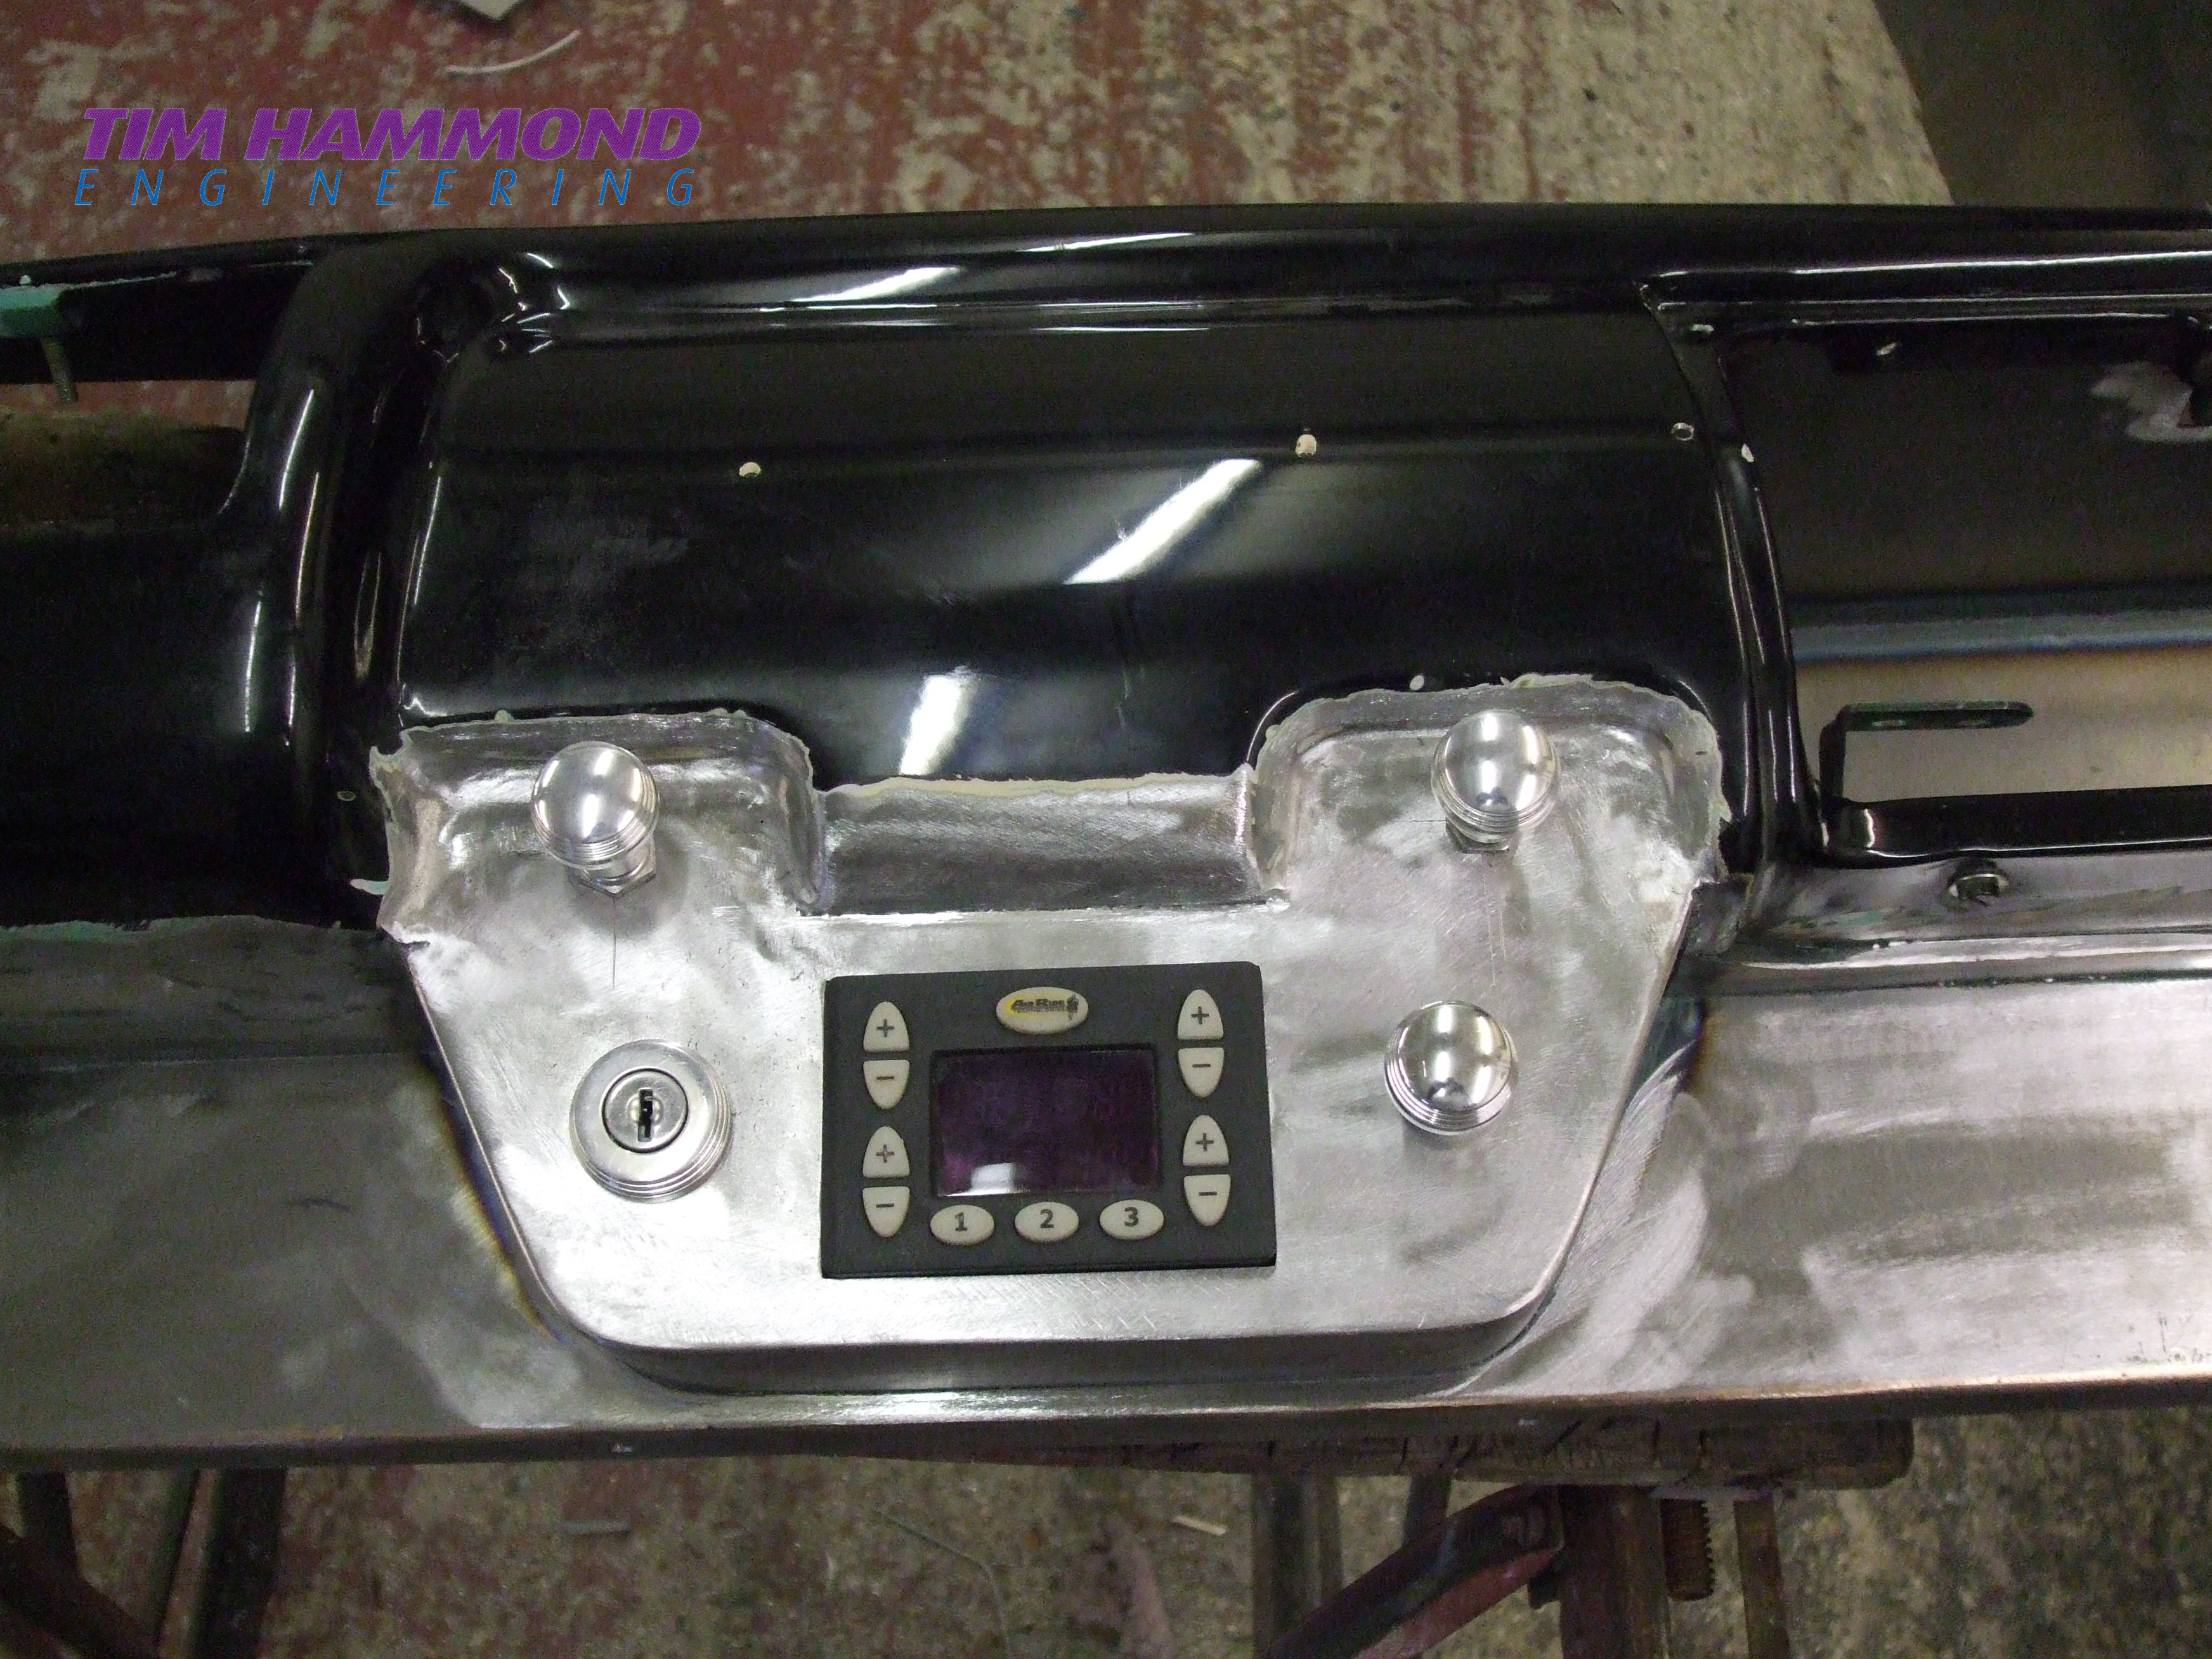
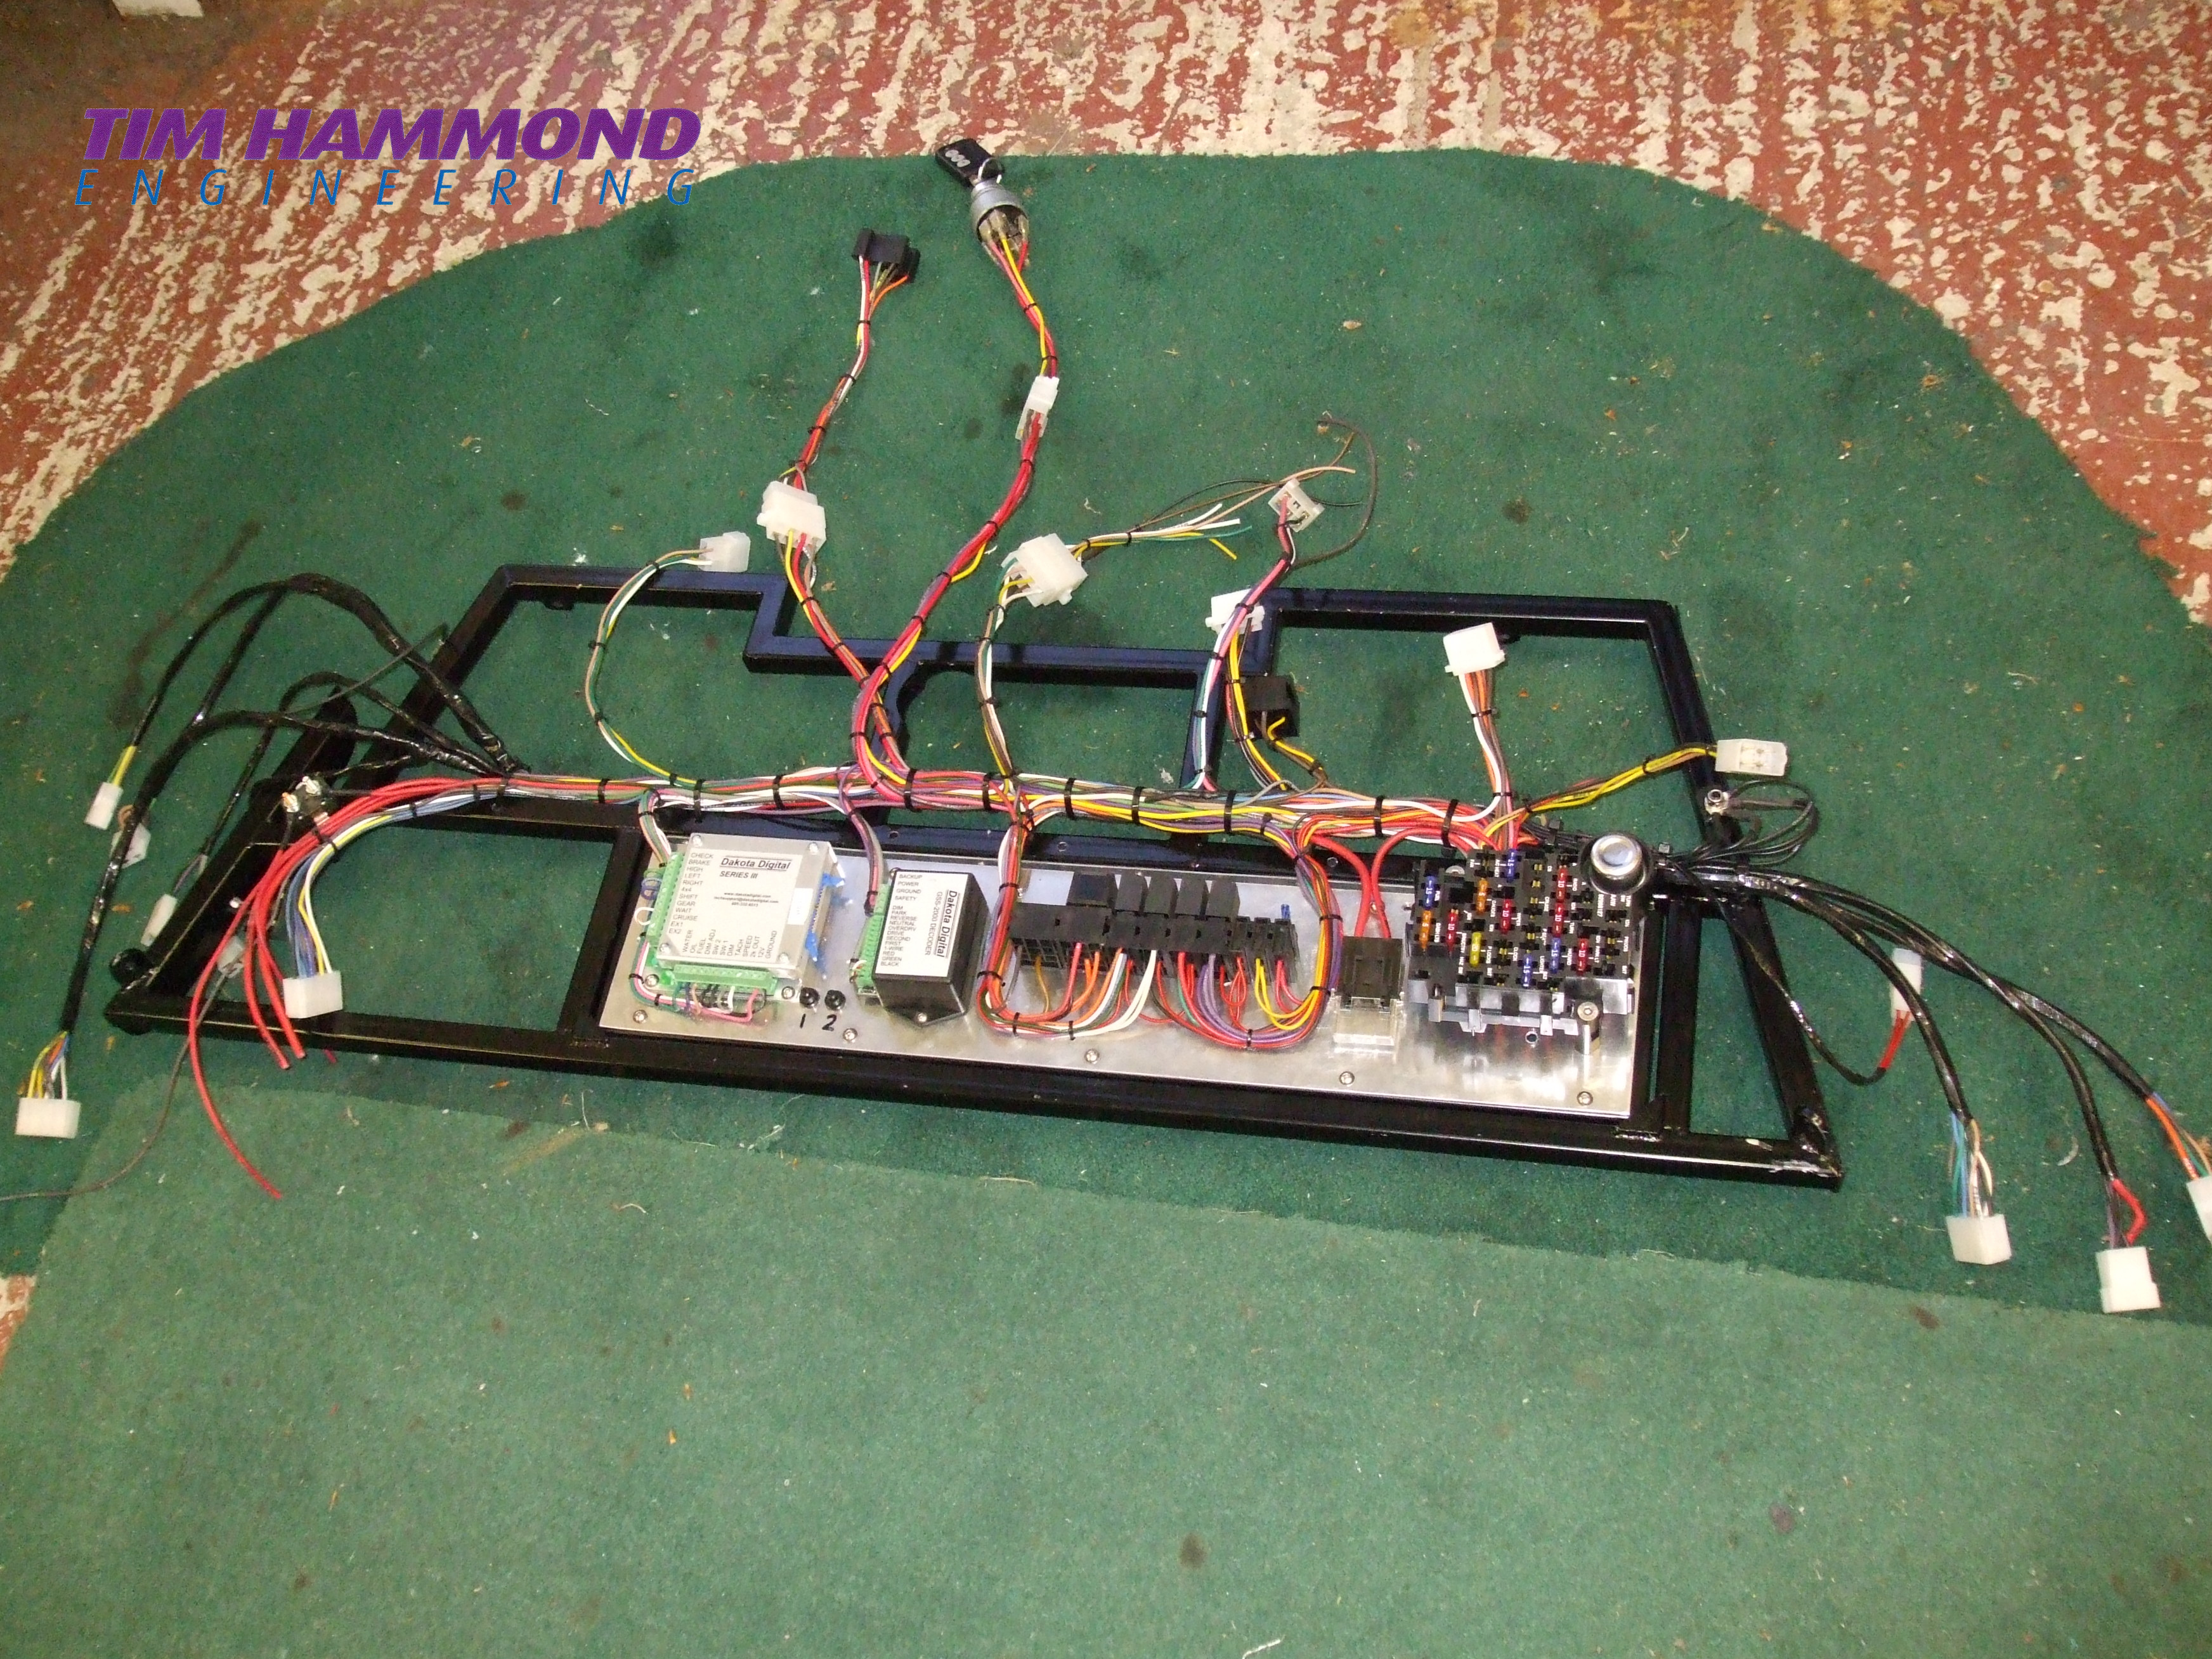
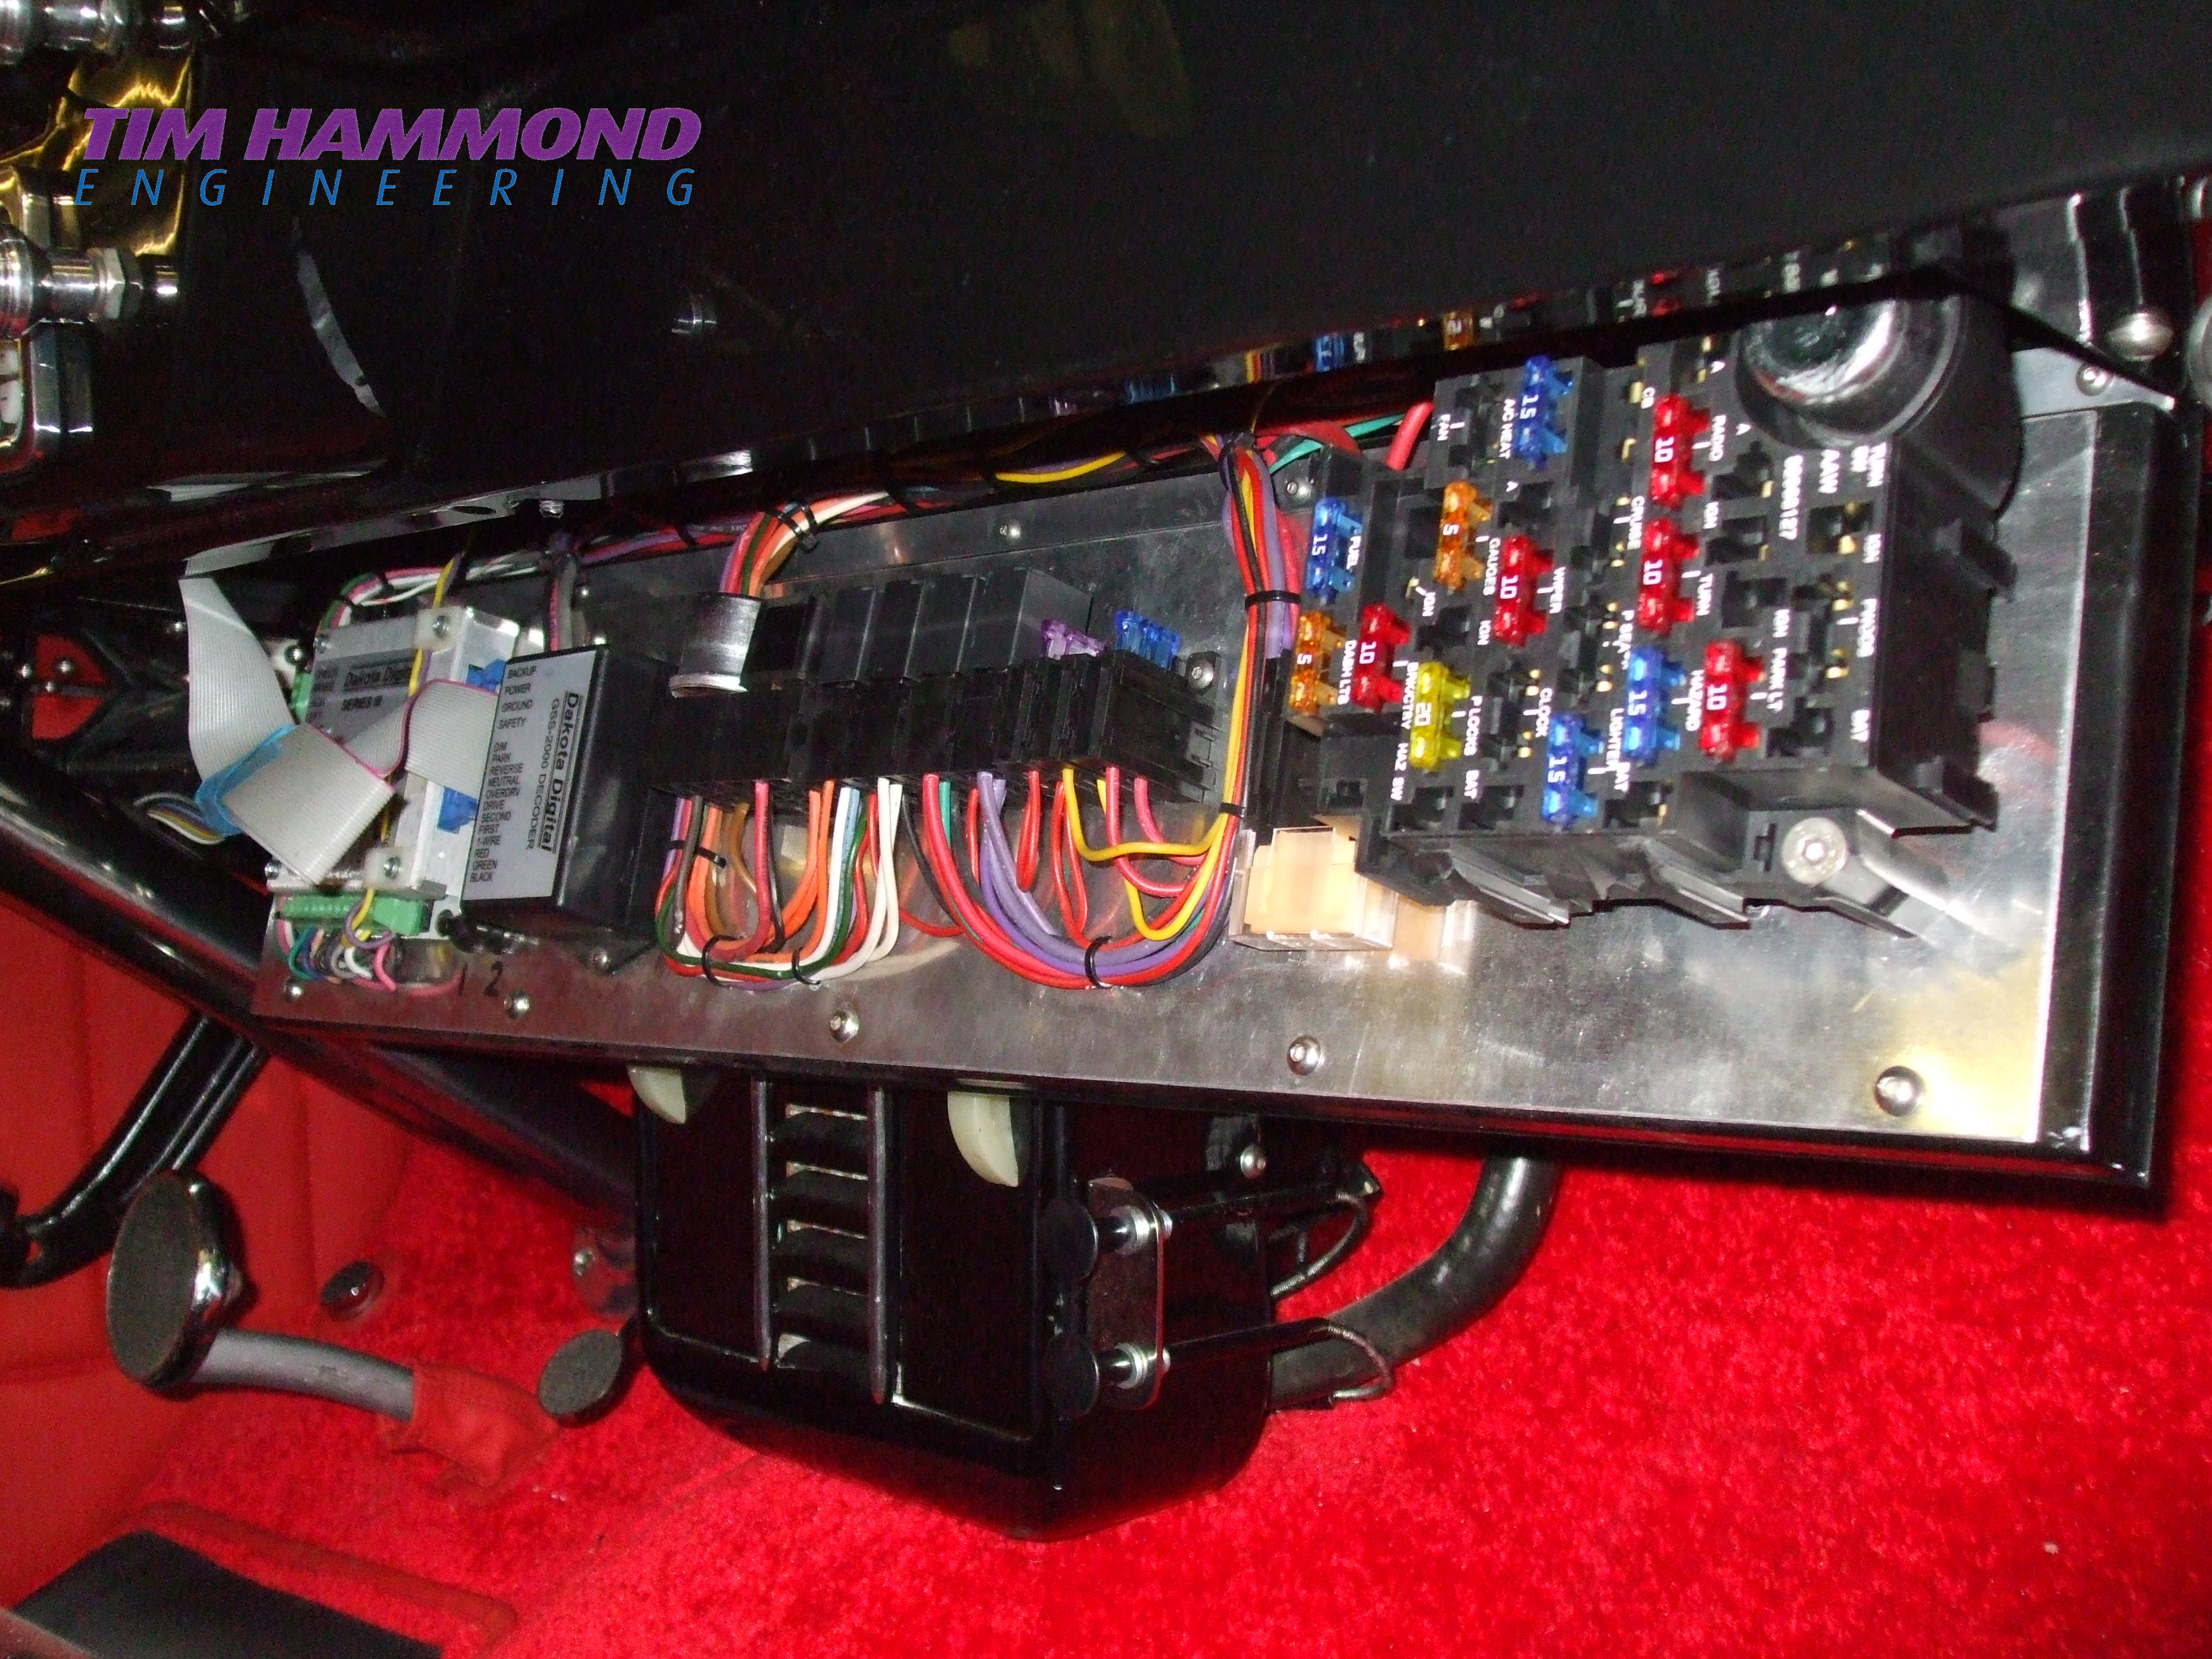
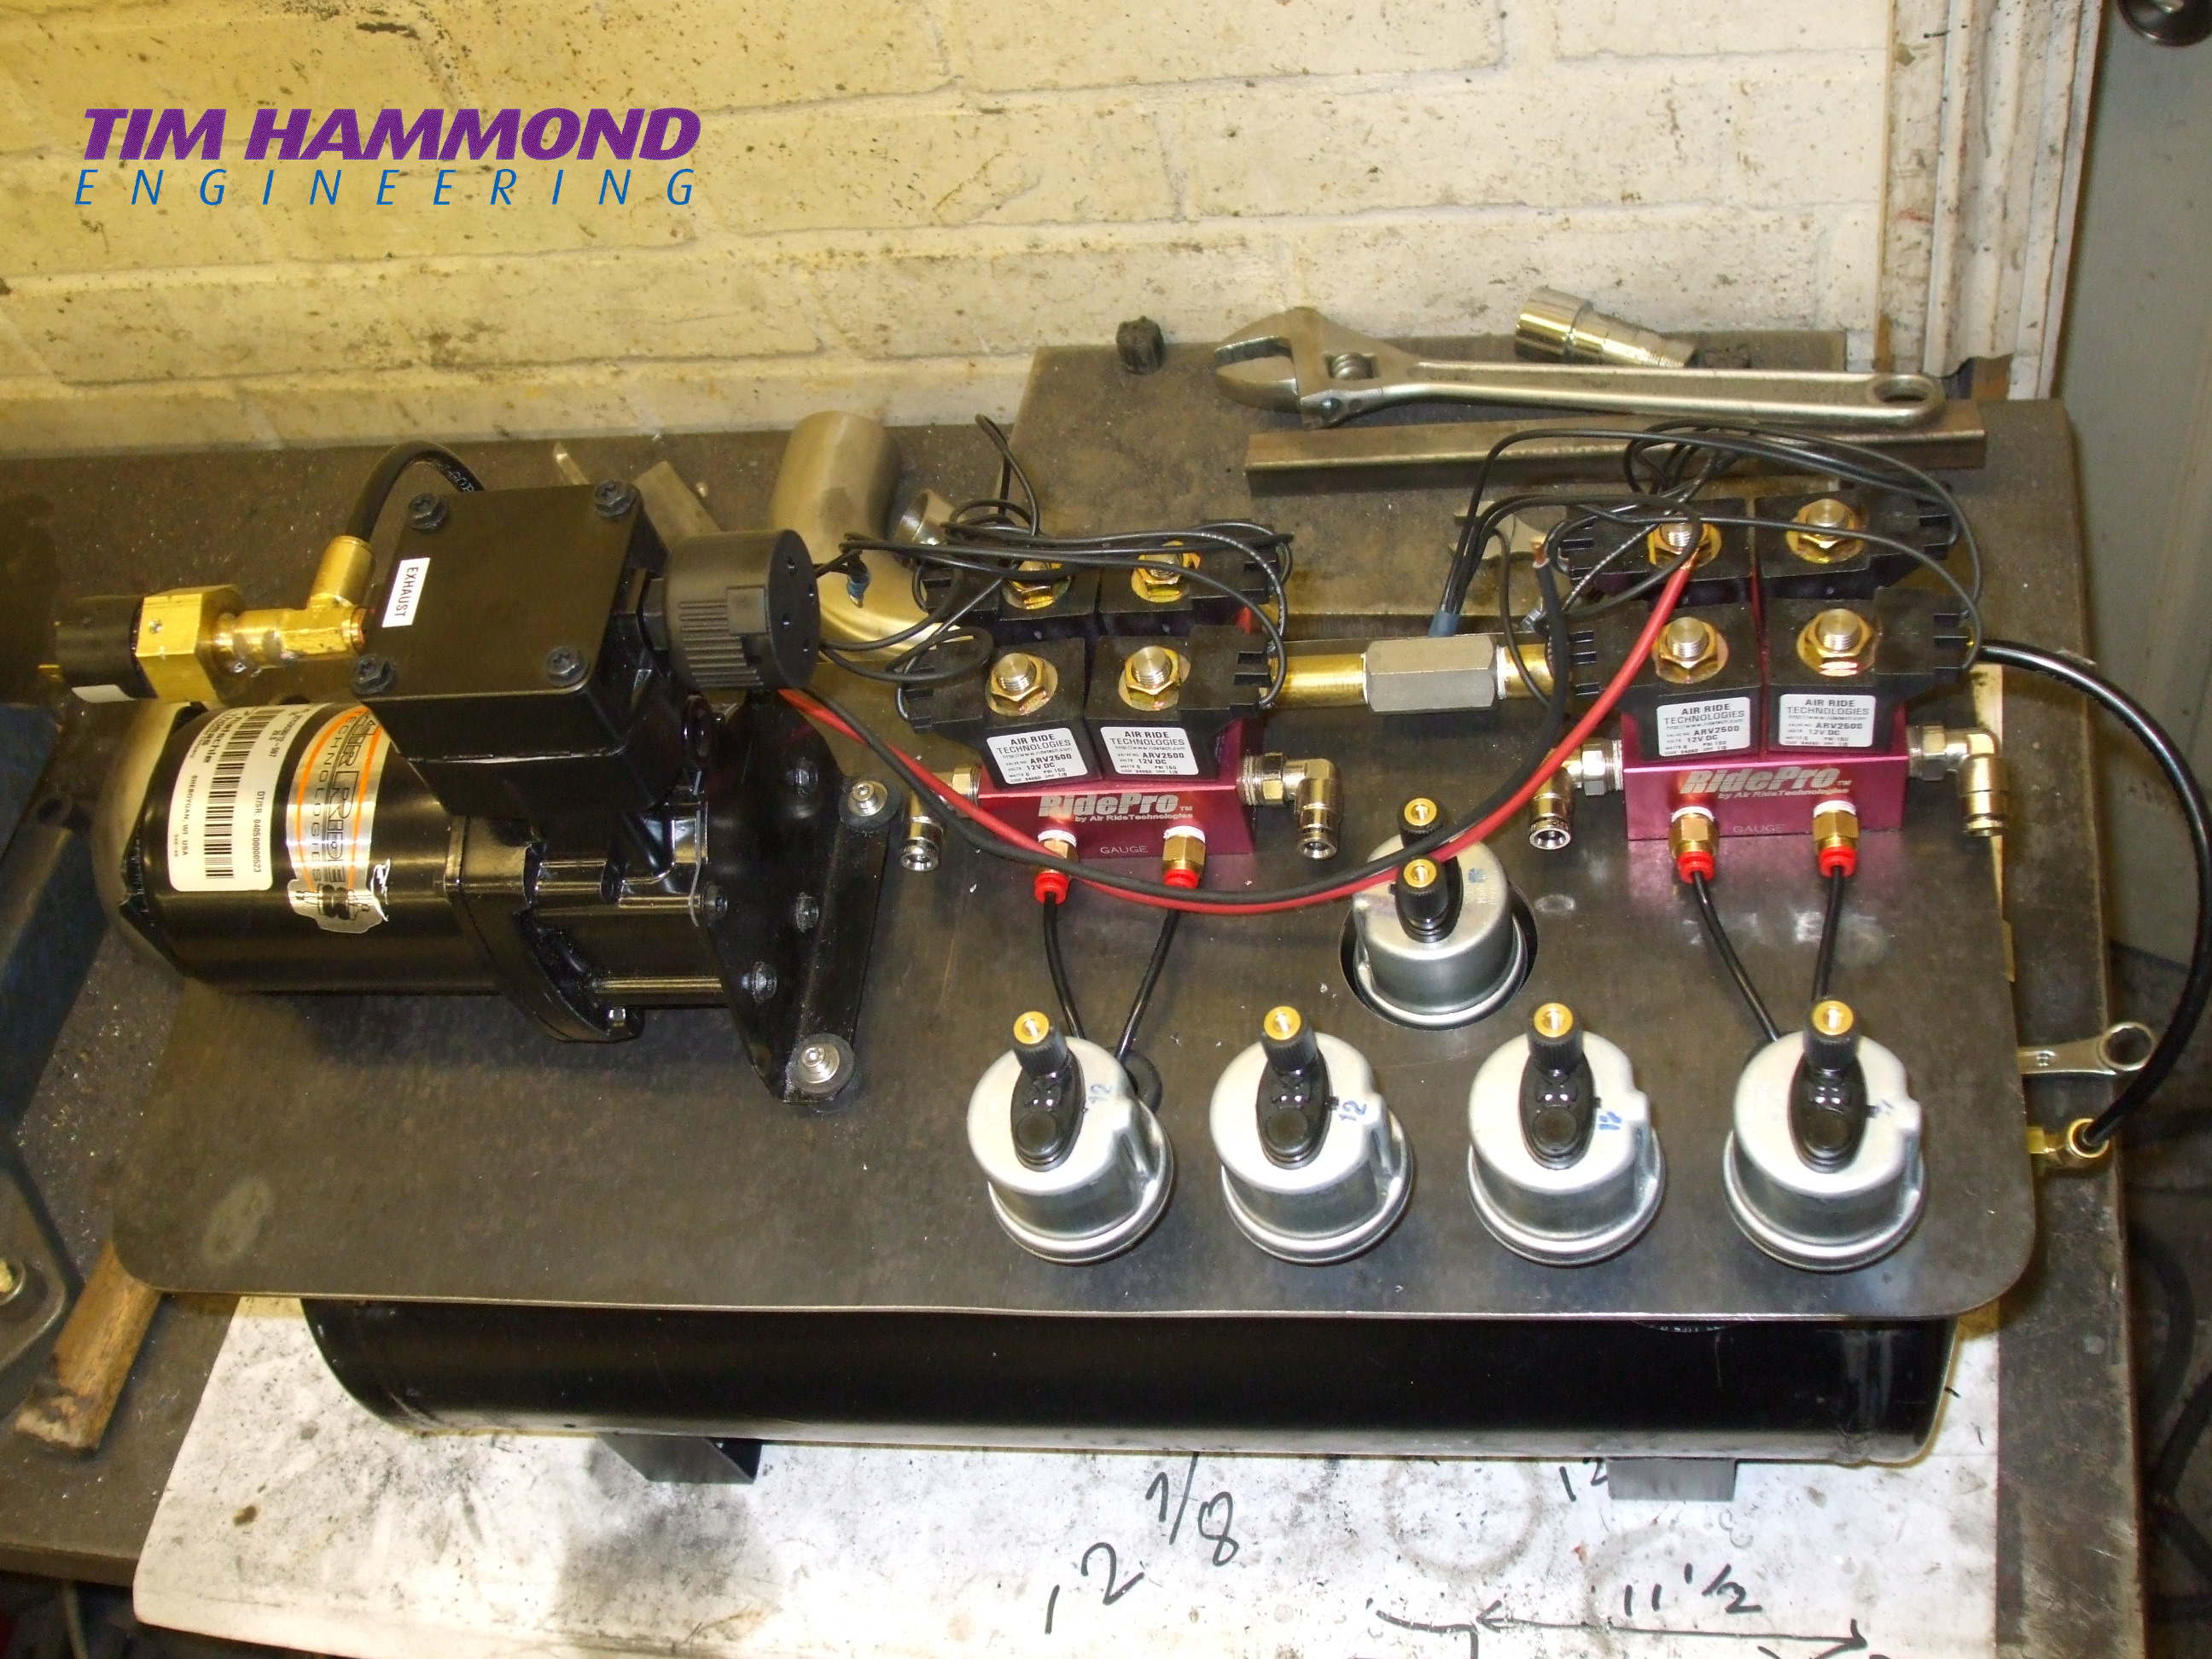
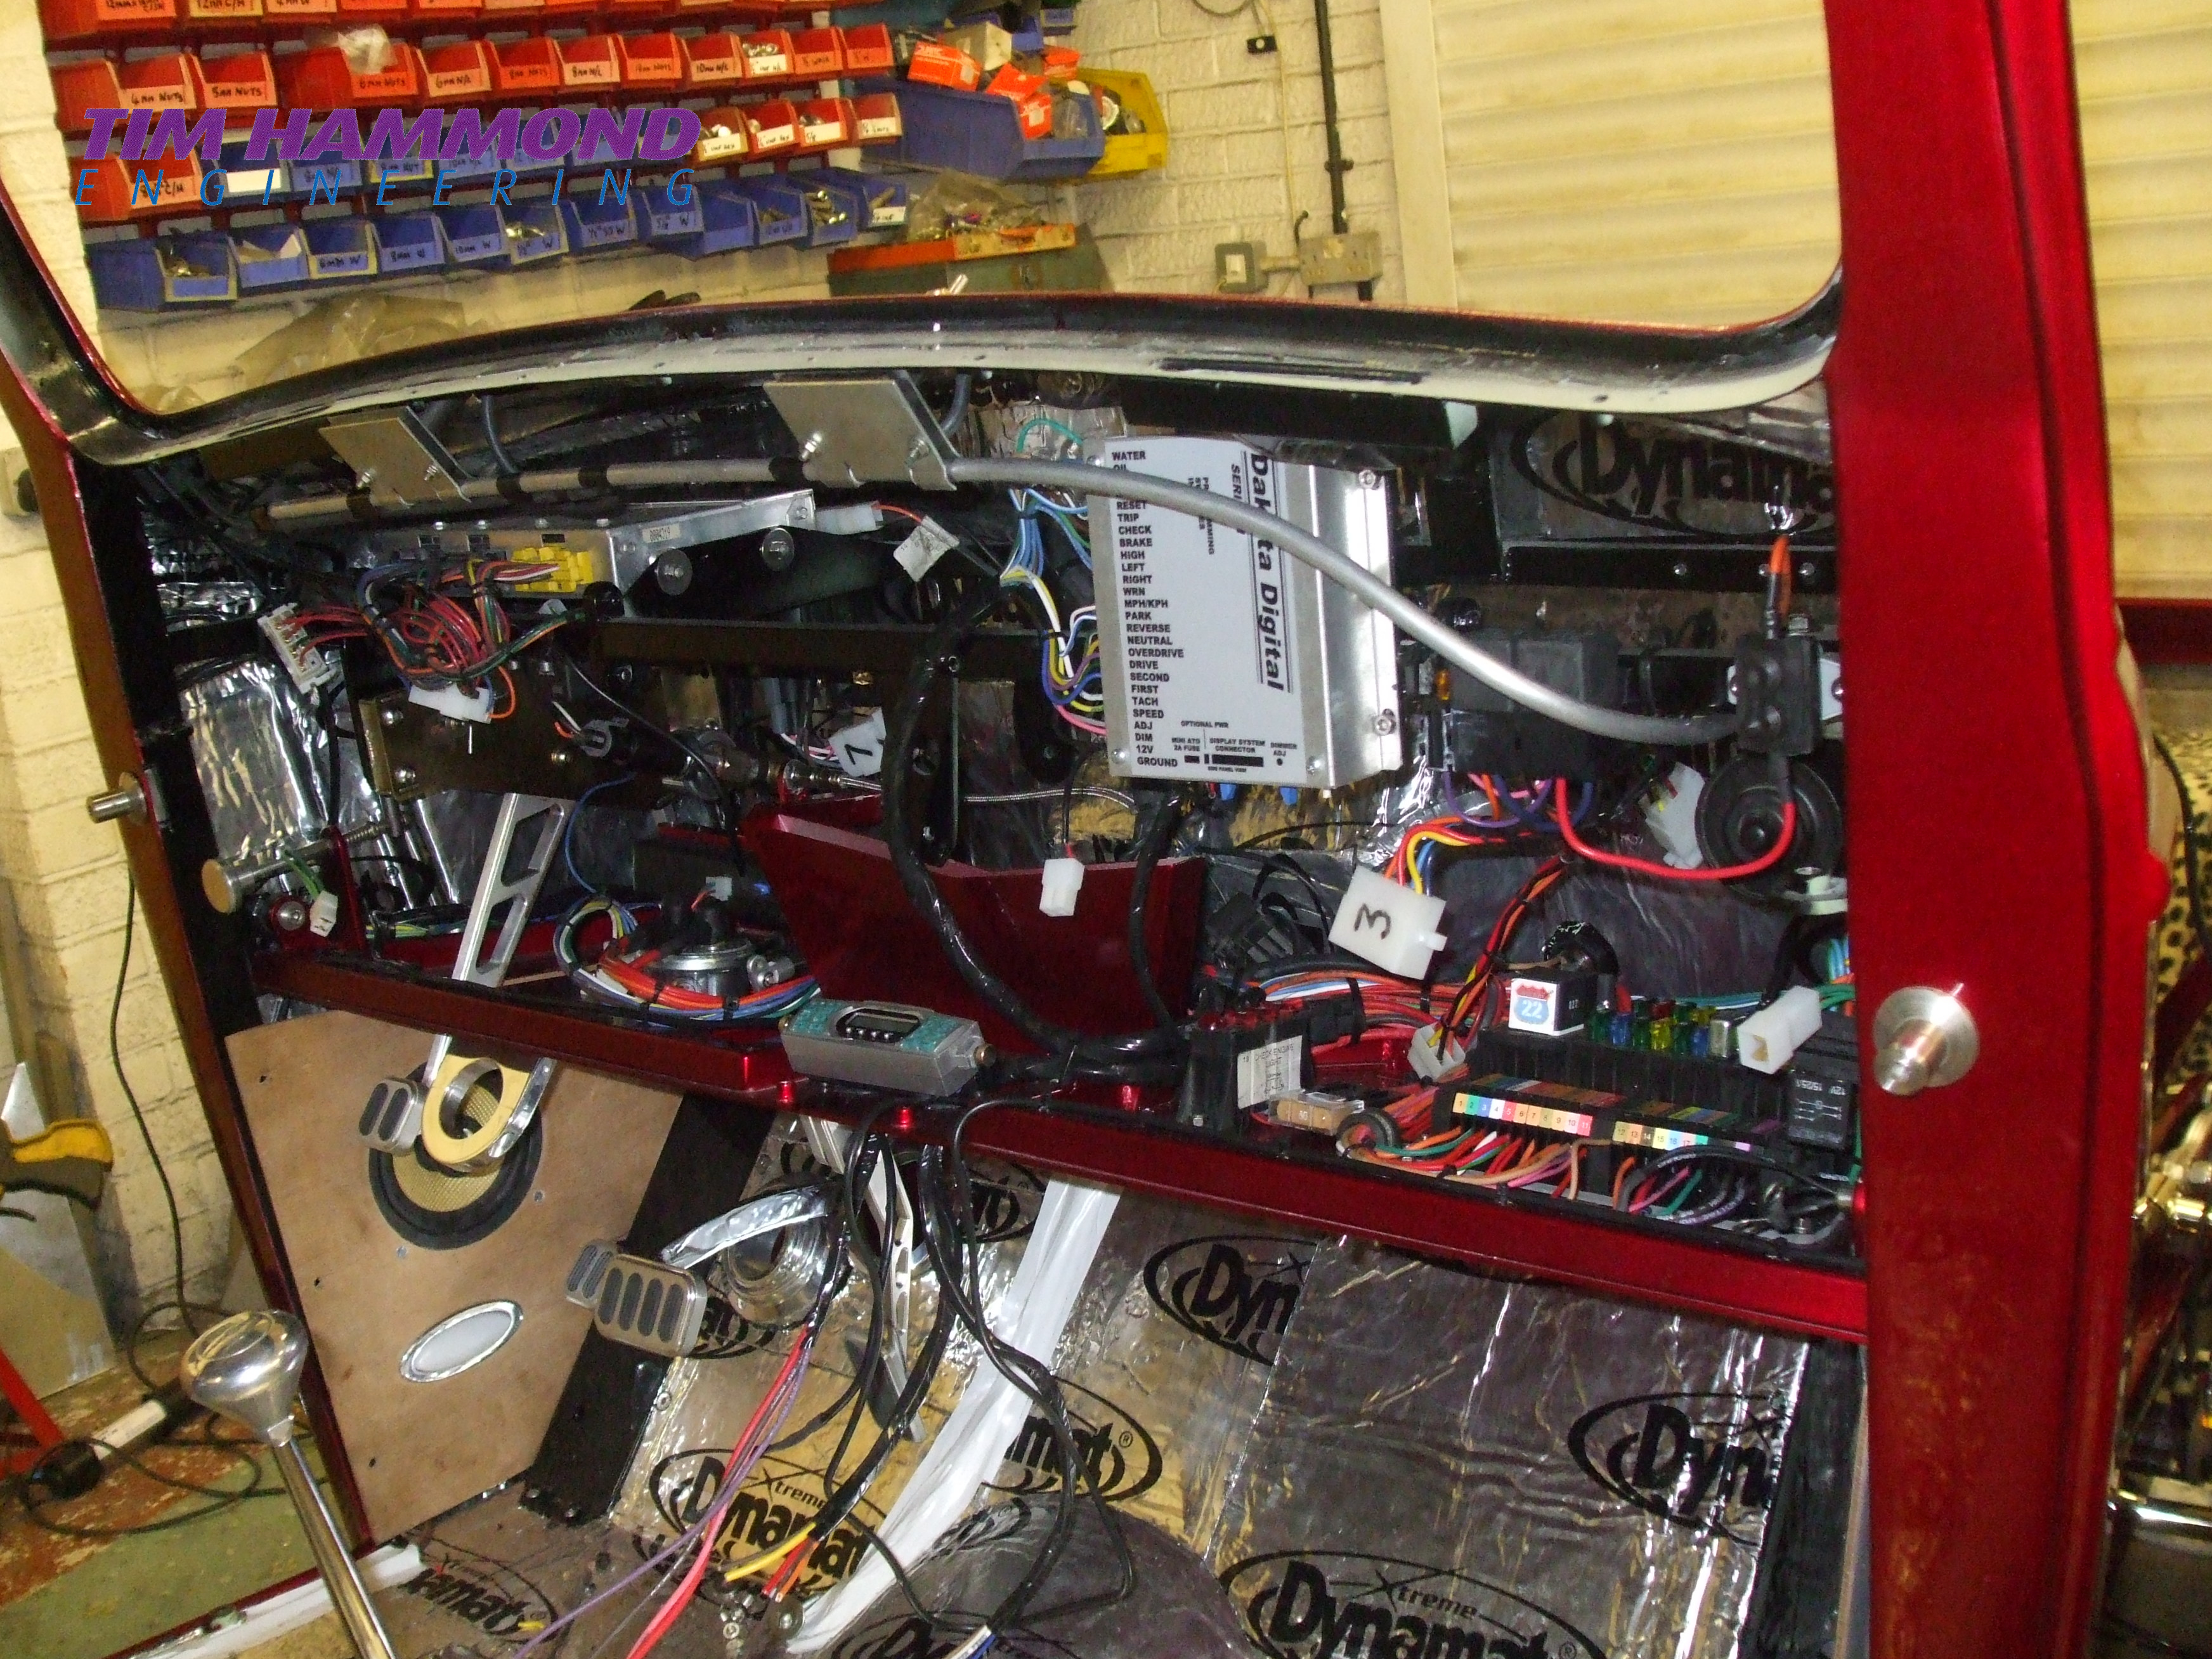
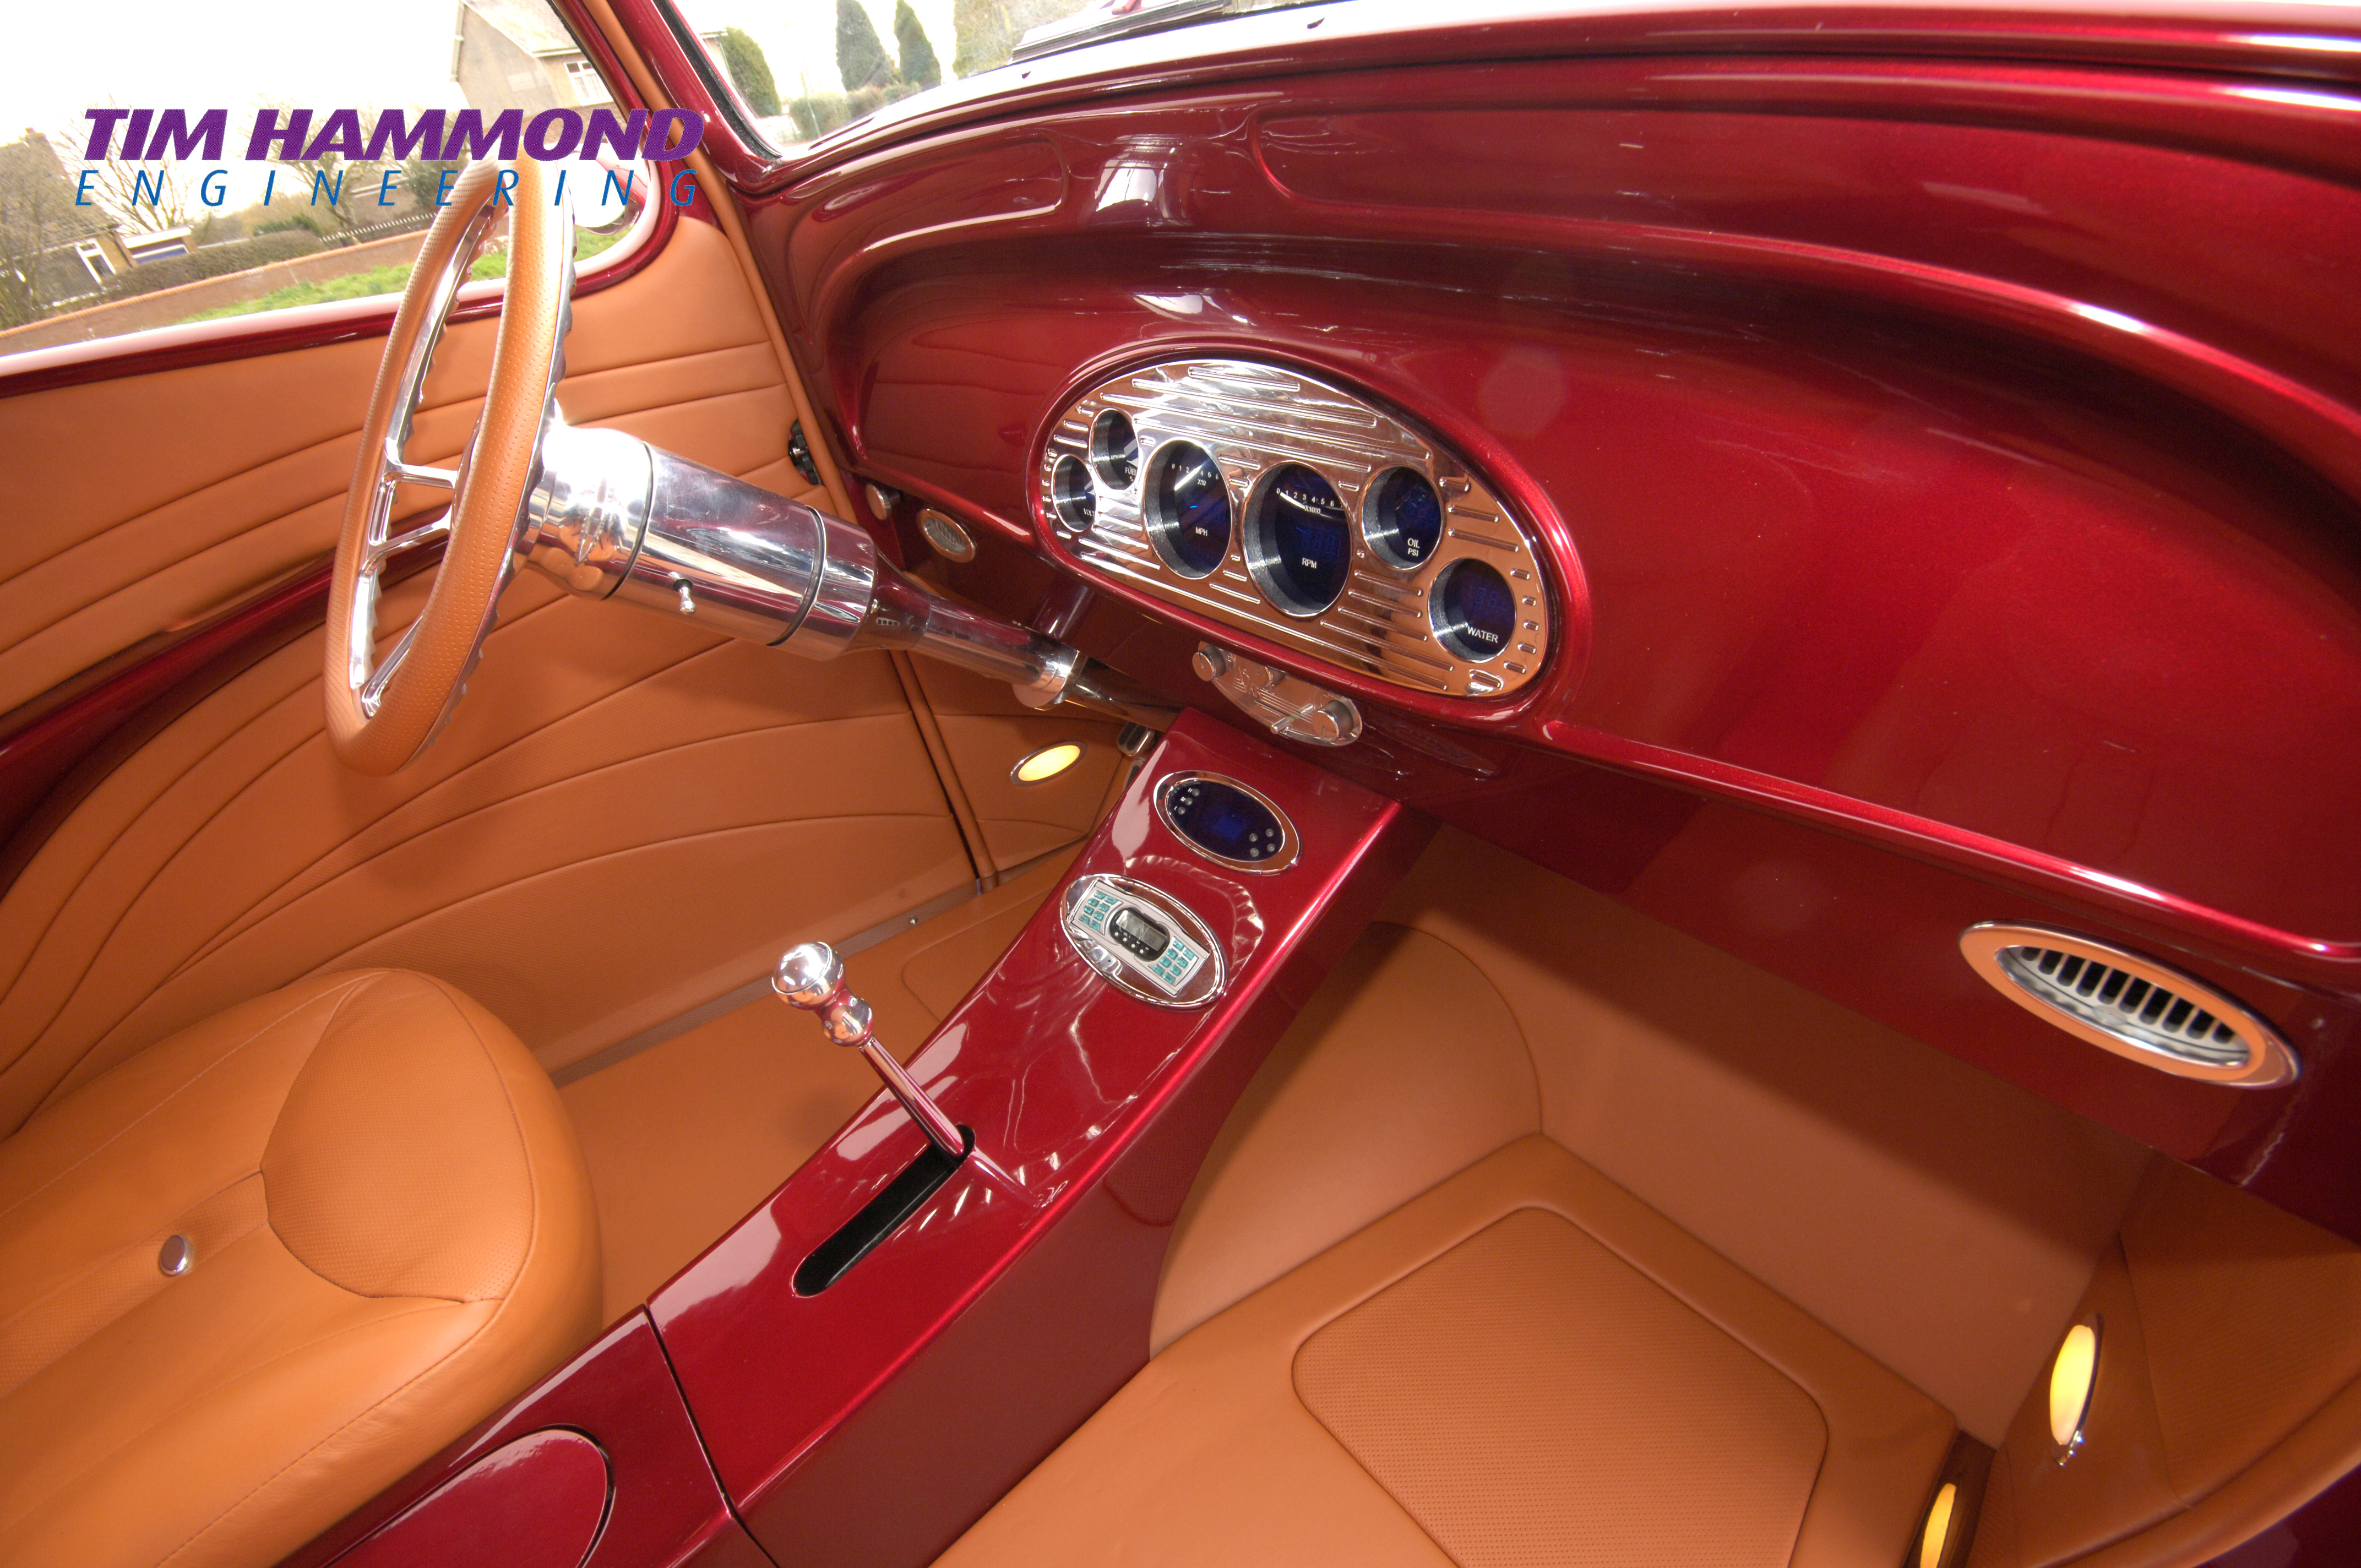
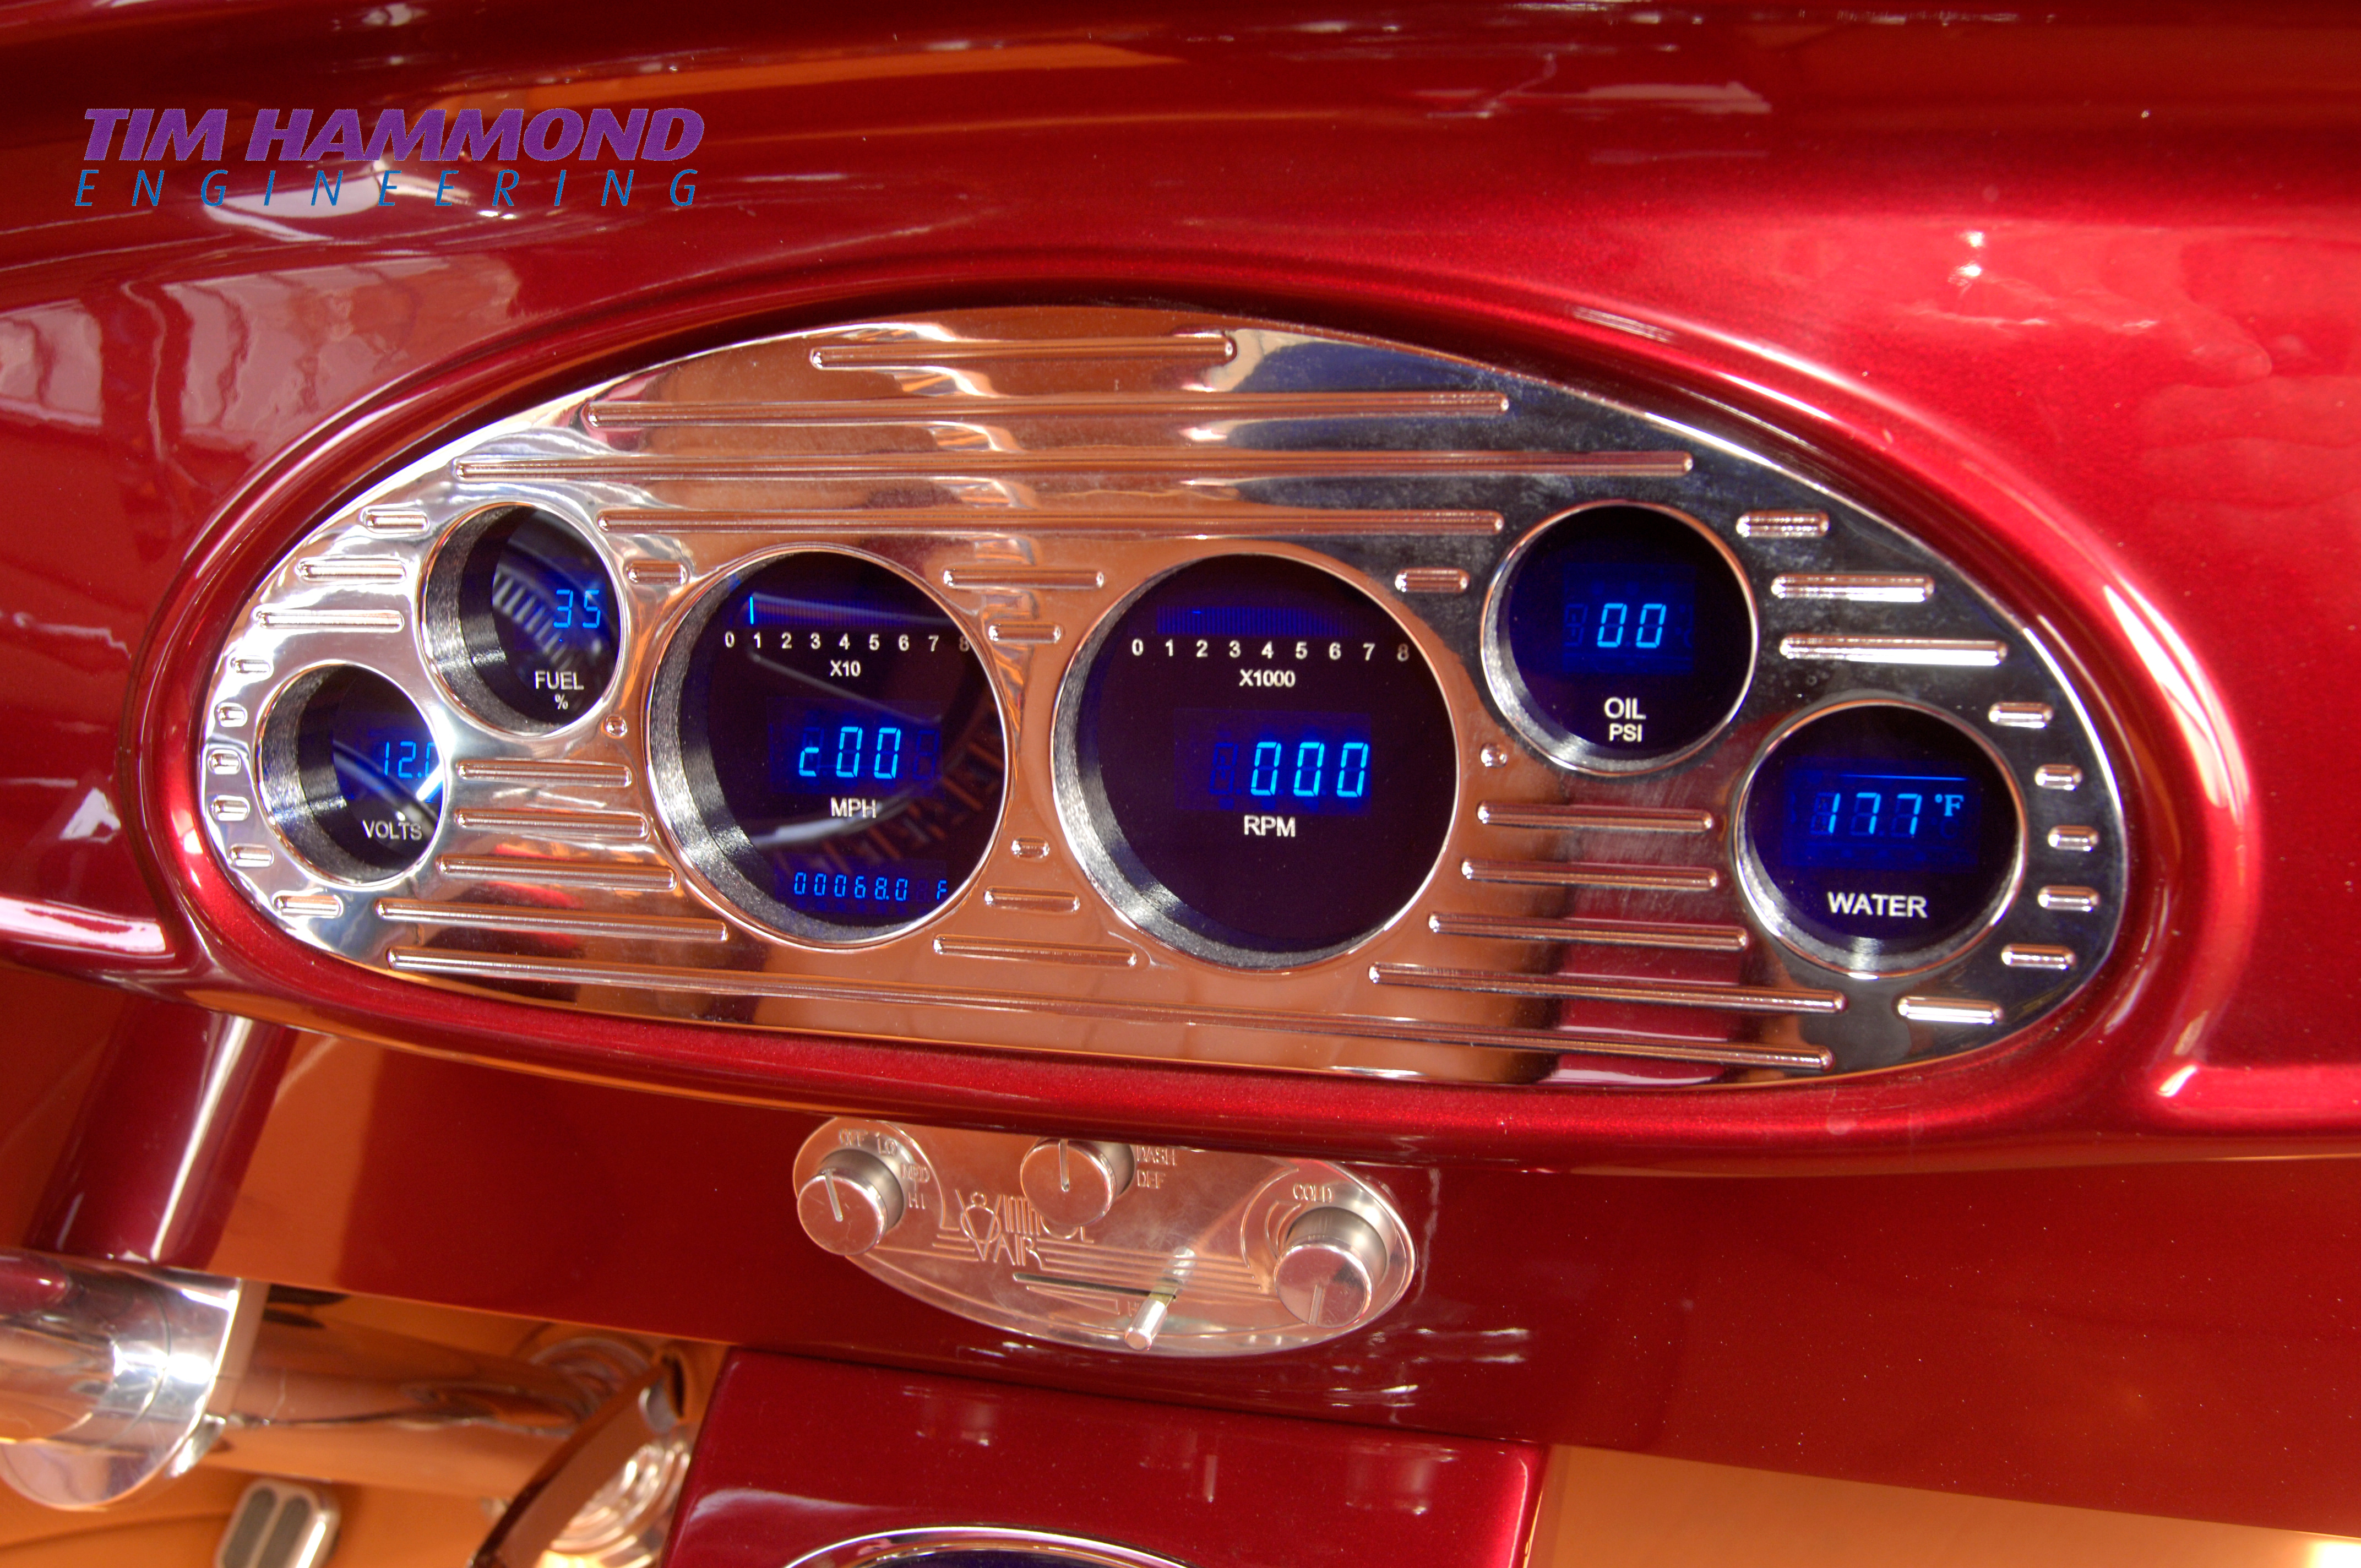
With the build up complete a new wiring harness and chip was ordered for the engine and ECU from Street and Performance. A Dakota keyless fob entry system was installed for the trunk and doors. All the fuel lines and fittings and brakes were Earls Performance products. A fold-down trap door was fabricated to go underneath the dashboard to house all the wiring, ECU, fuse board and stereo. The stereo consists of a 300 watt amp, speakers and tweakers in the doors and rear quarter panels (all hidden) and the music is activated by blue tooth from your phone. Gauges are Classic Instruments and are 1957 Chevy. The handbrake is Lokar.
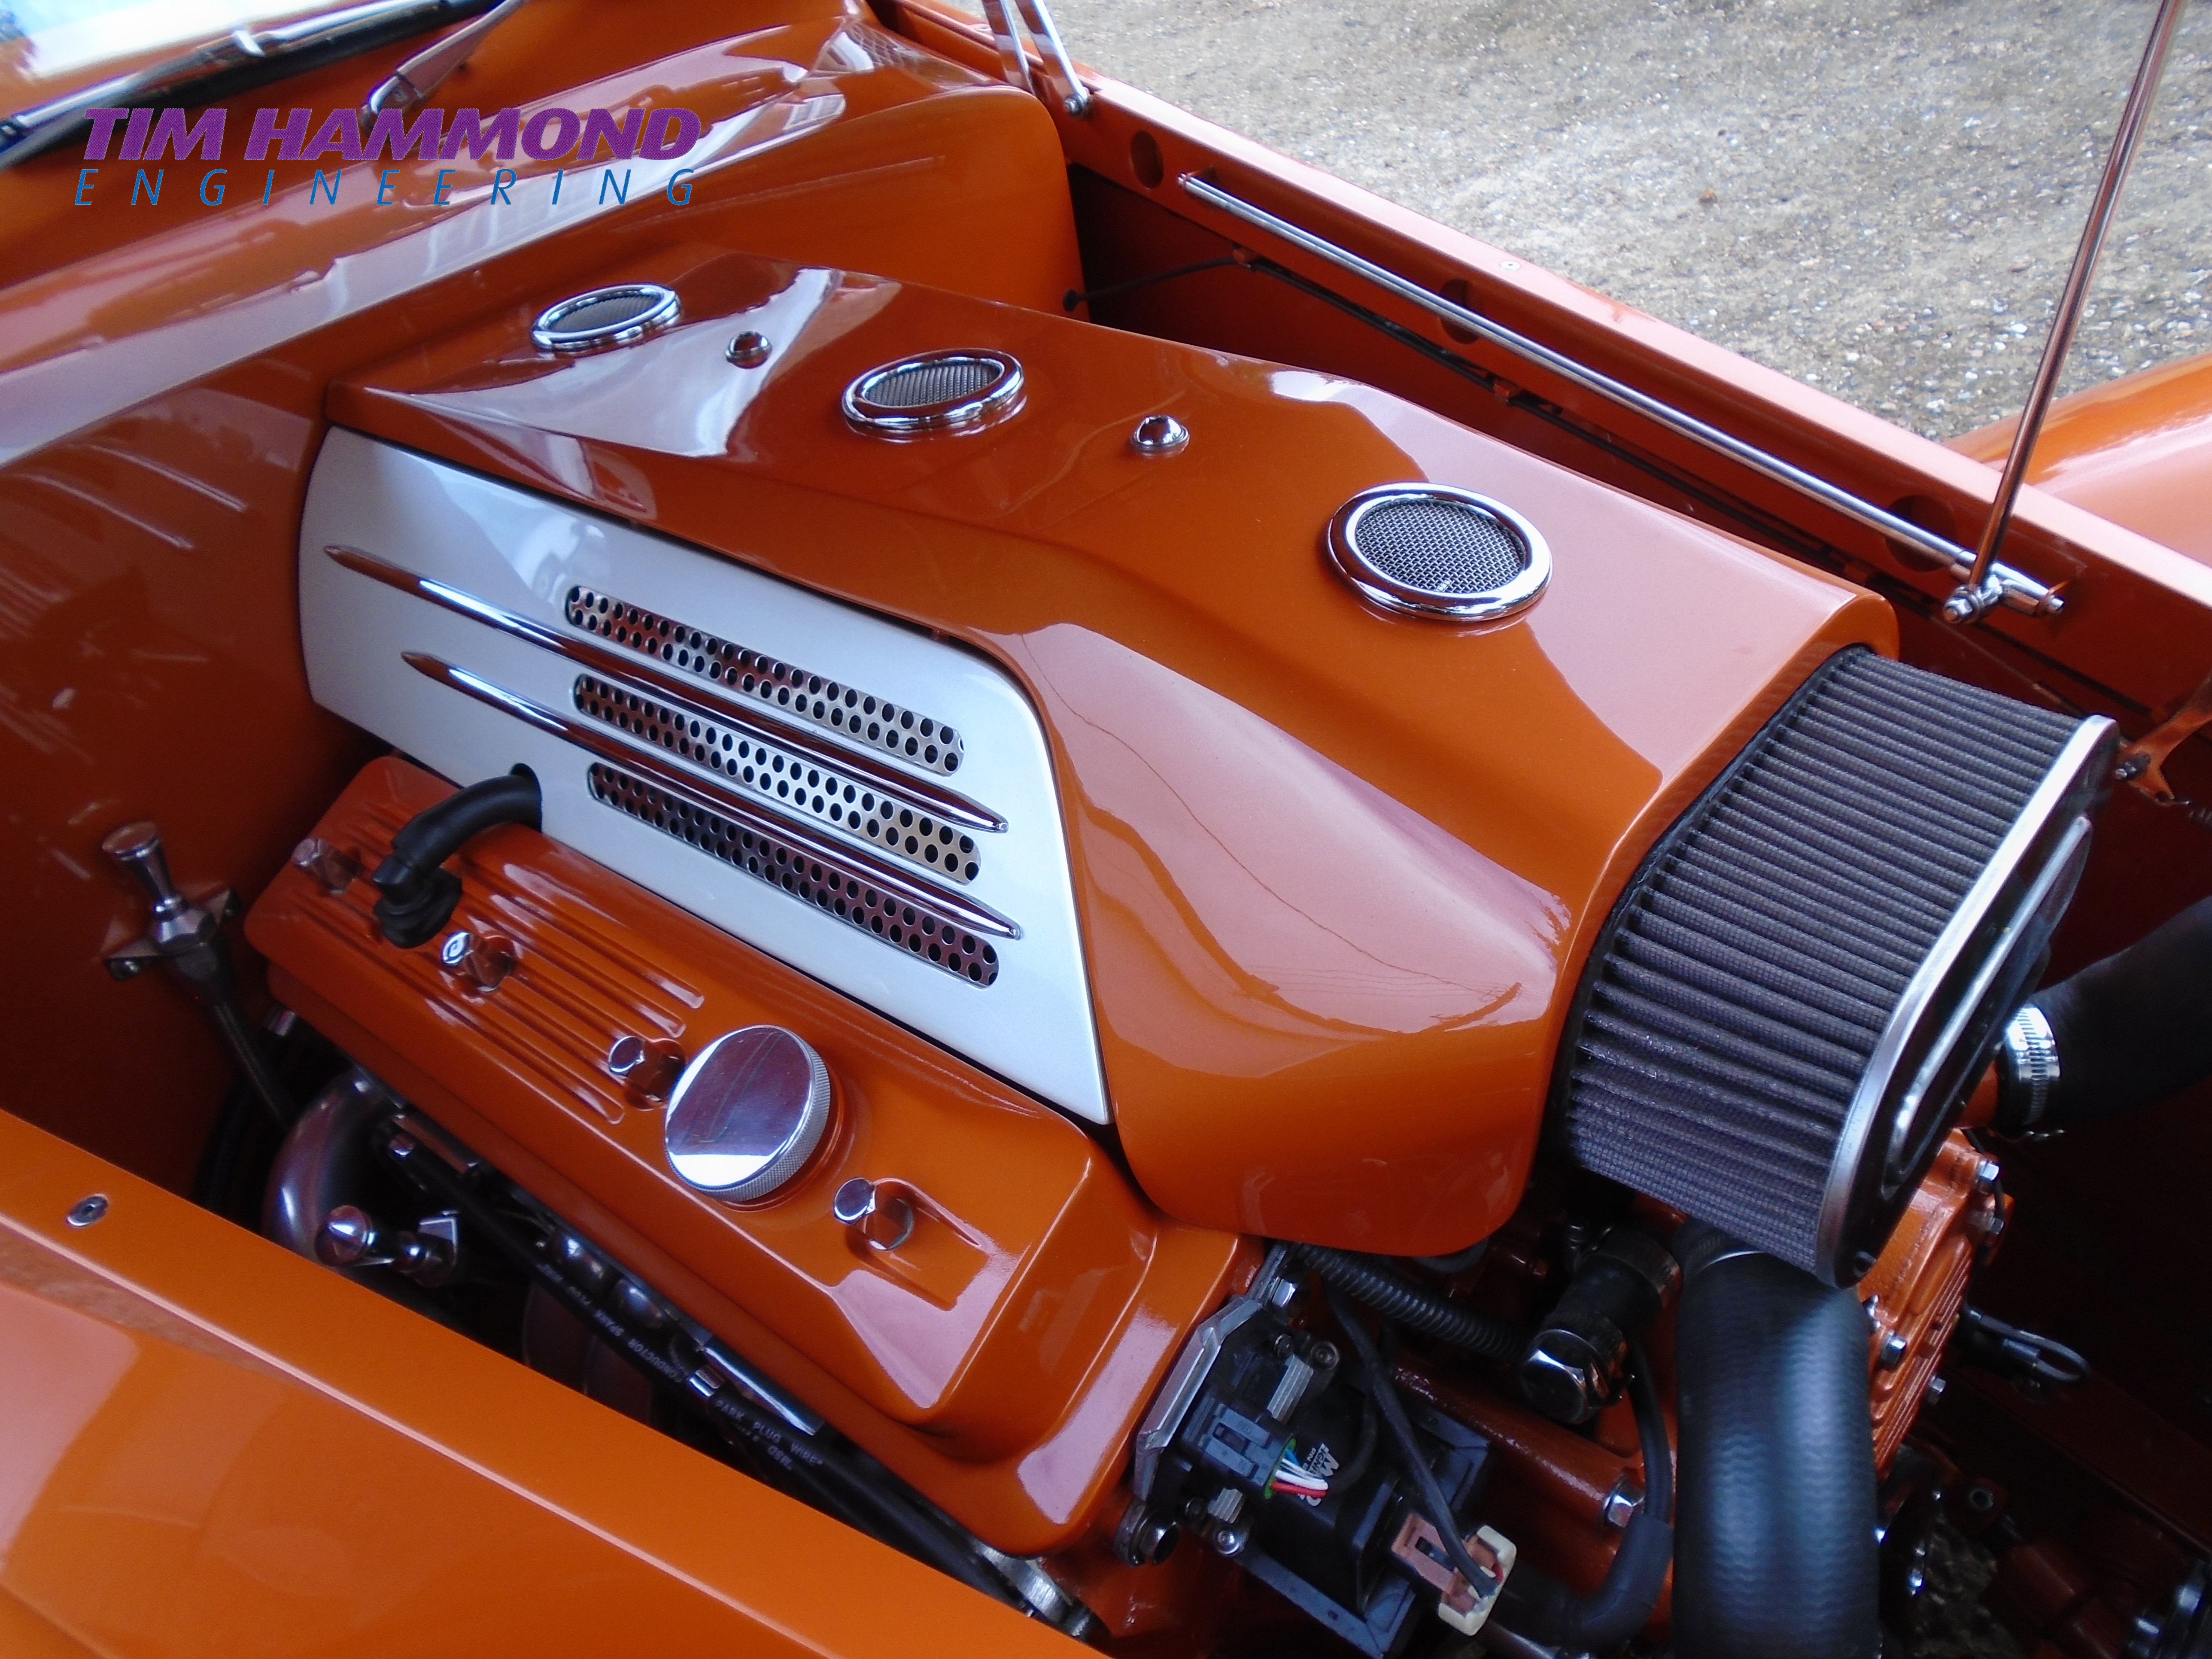
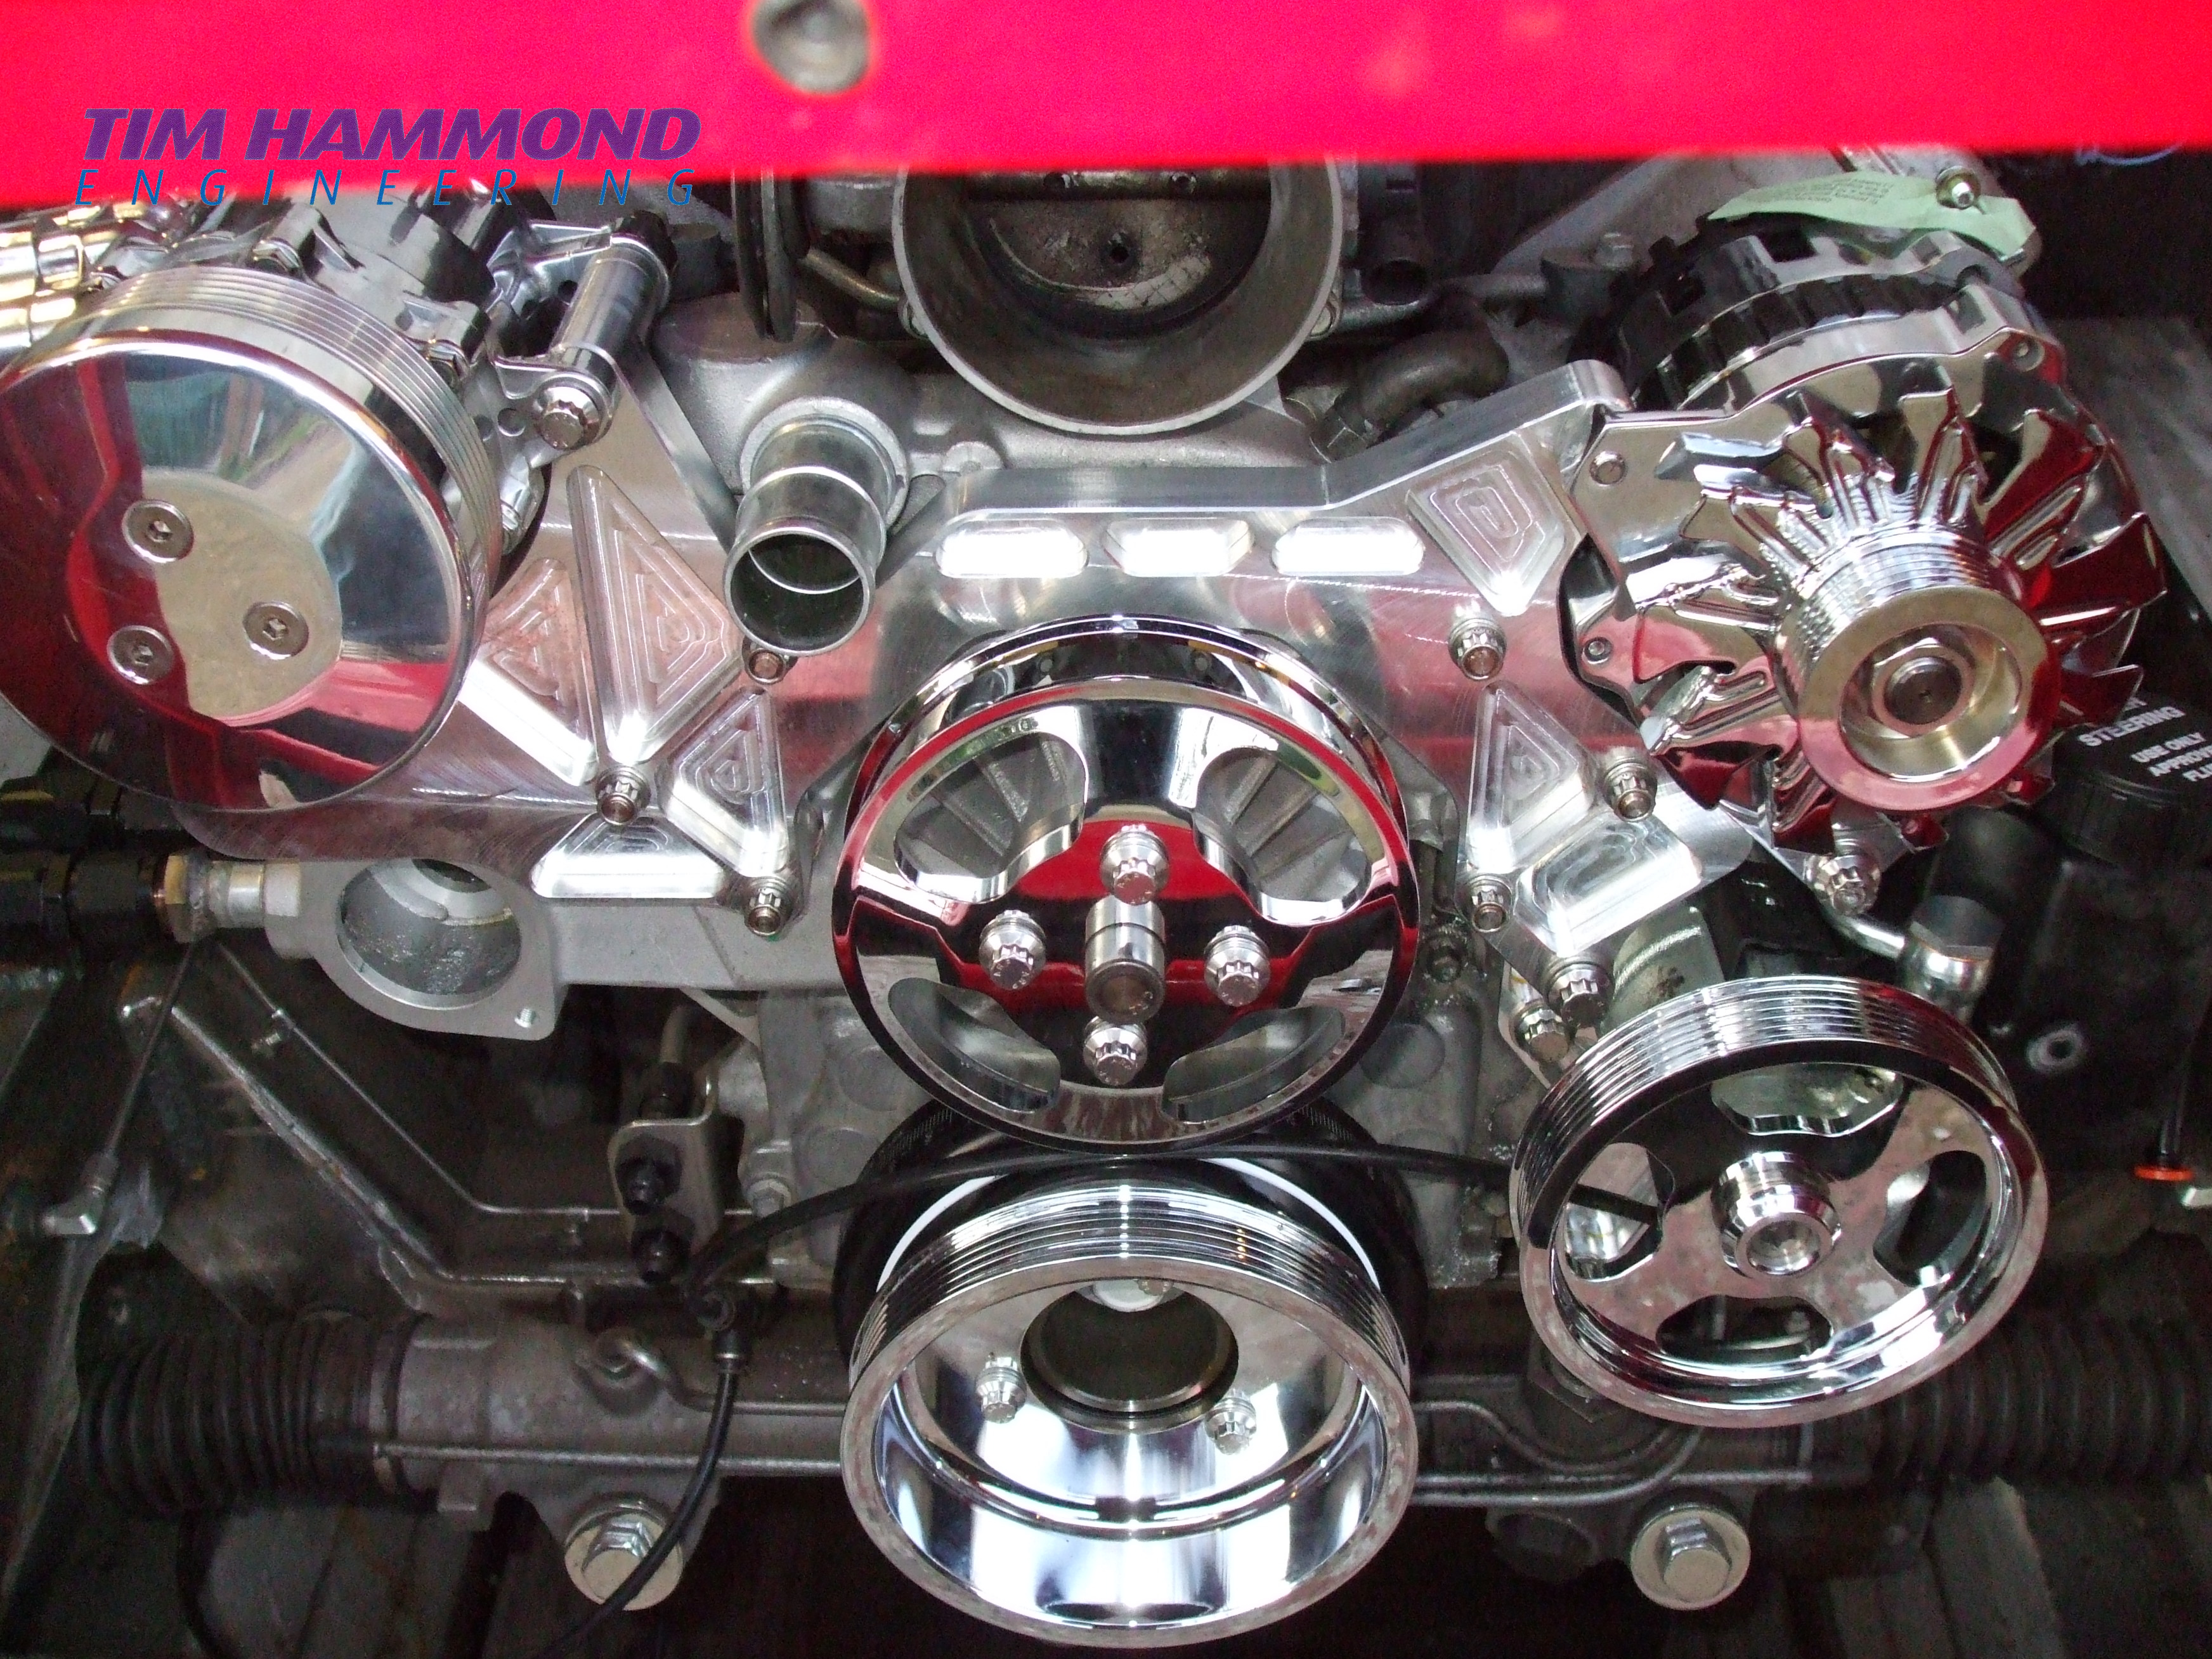
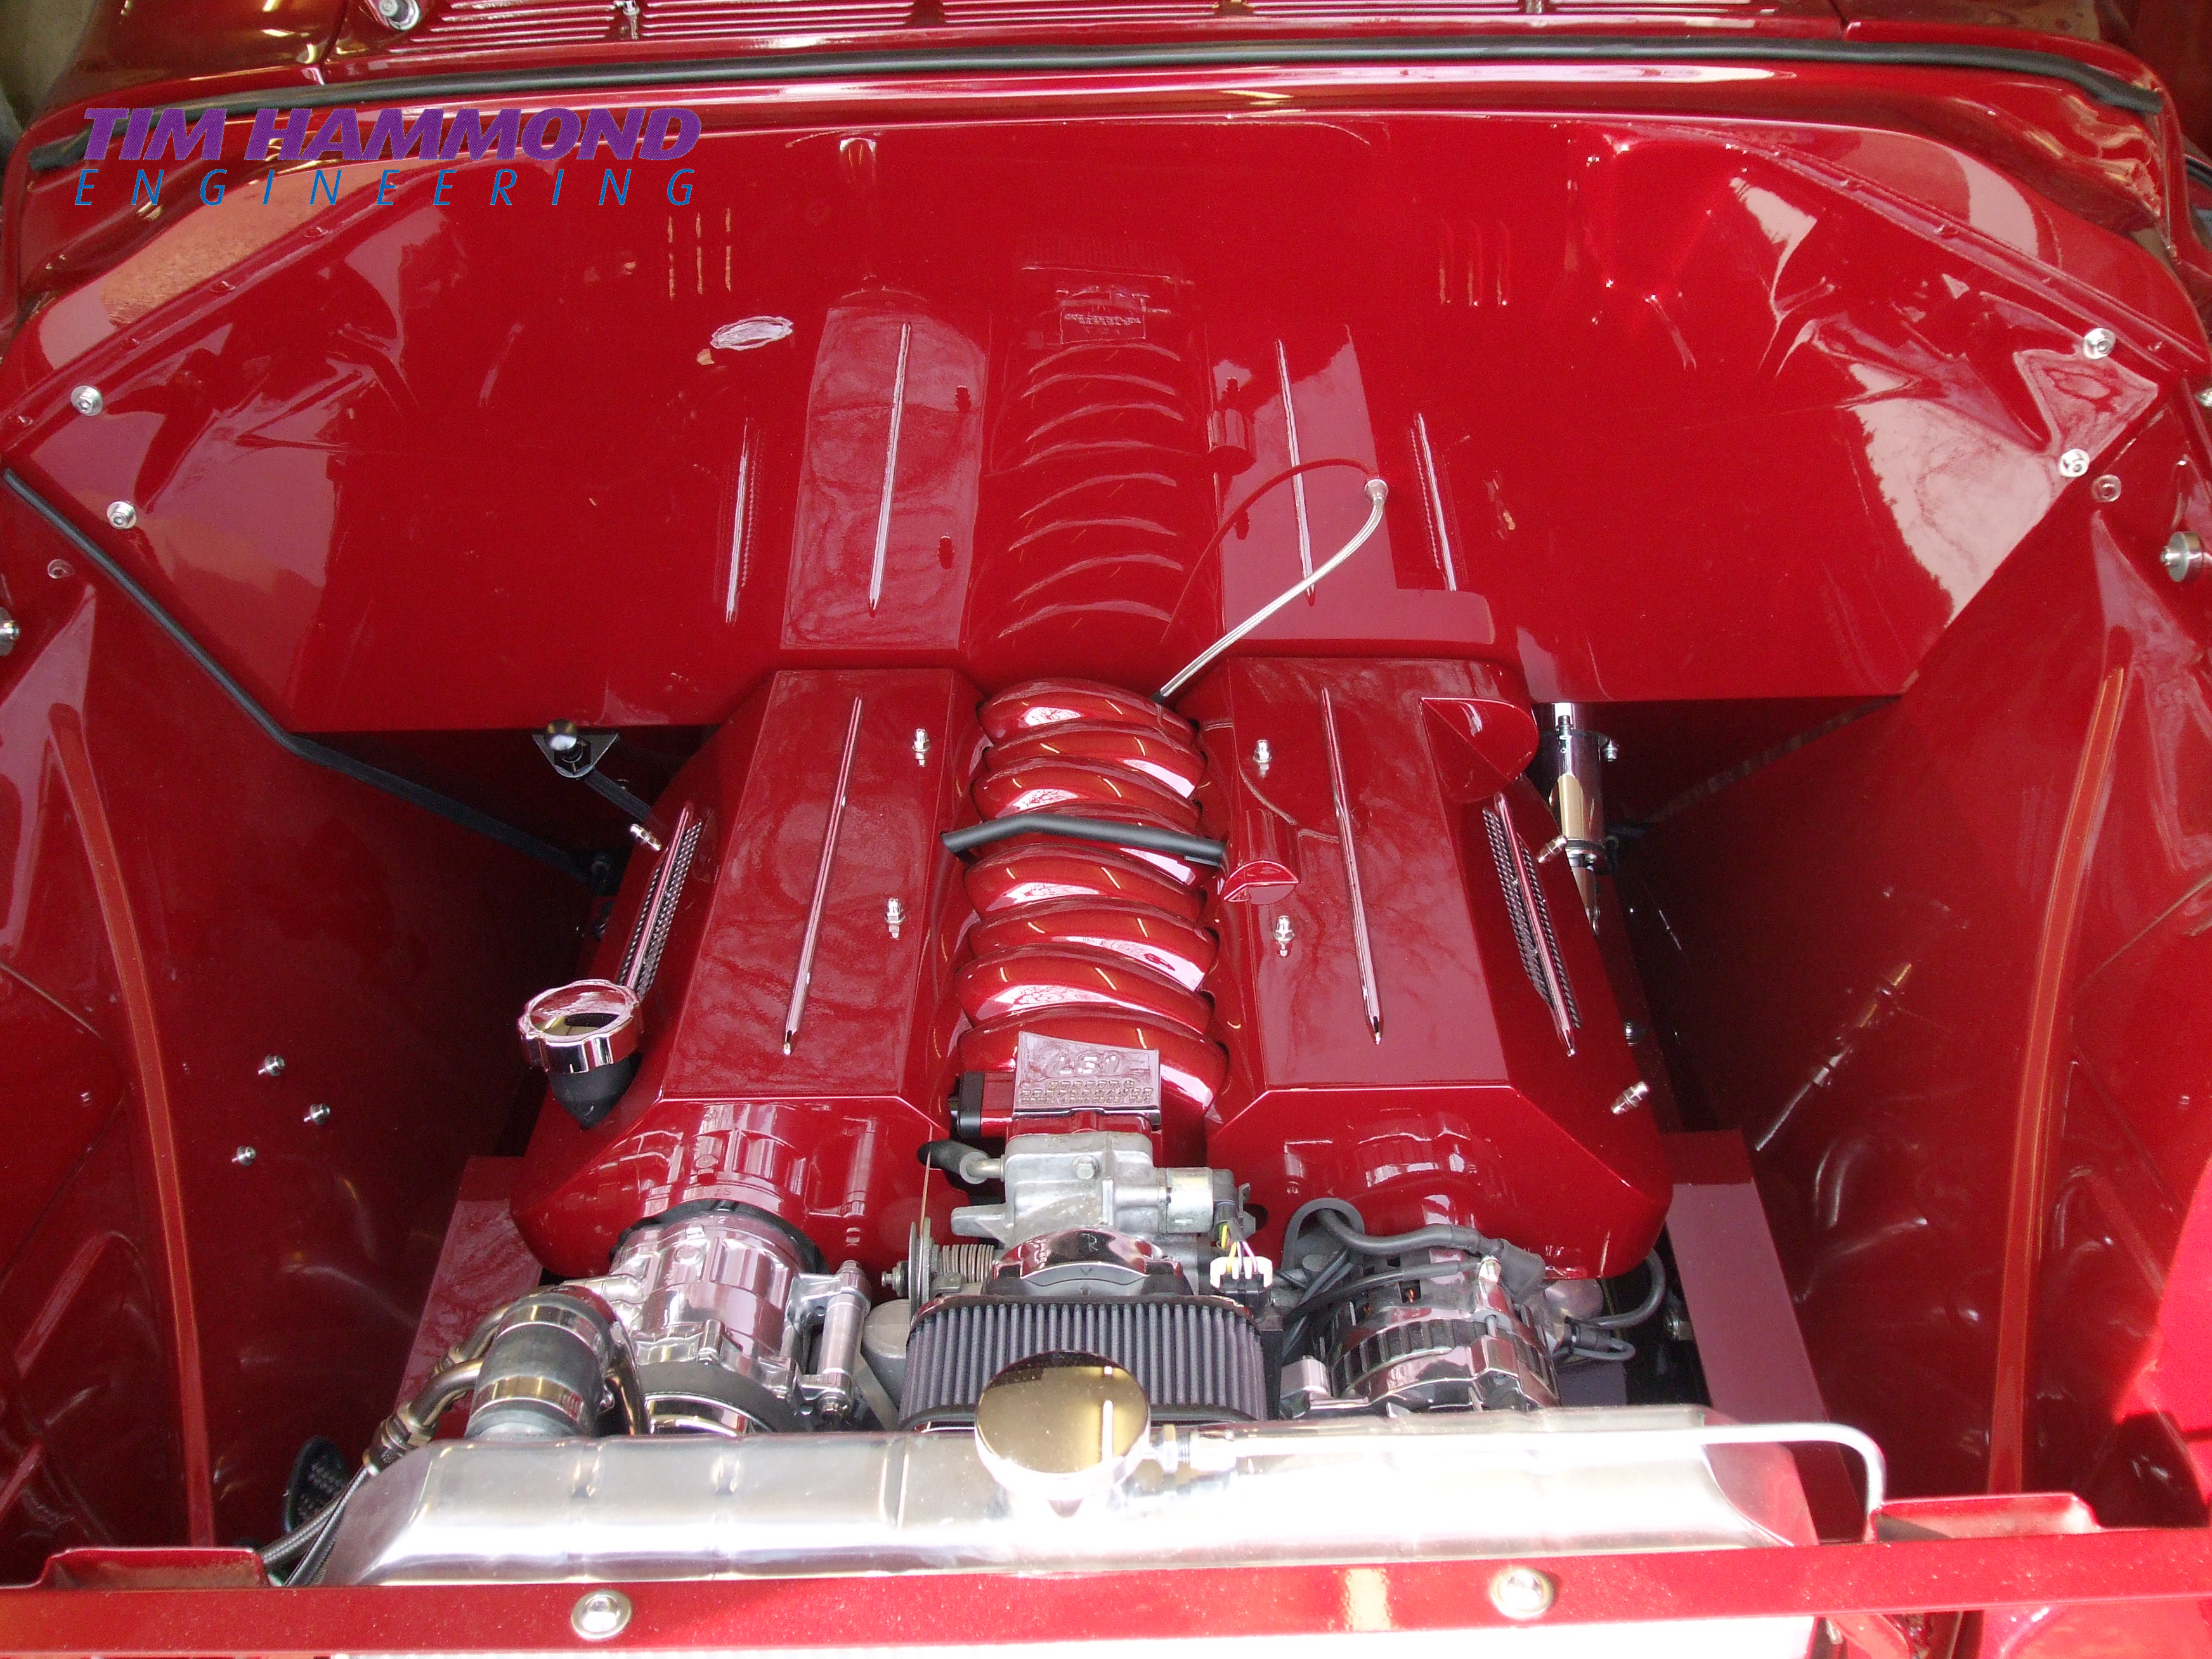
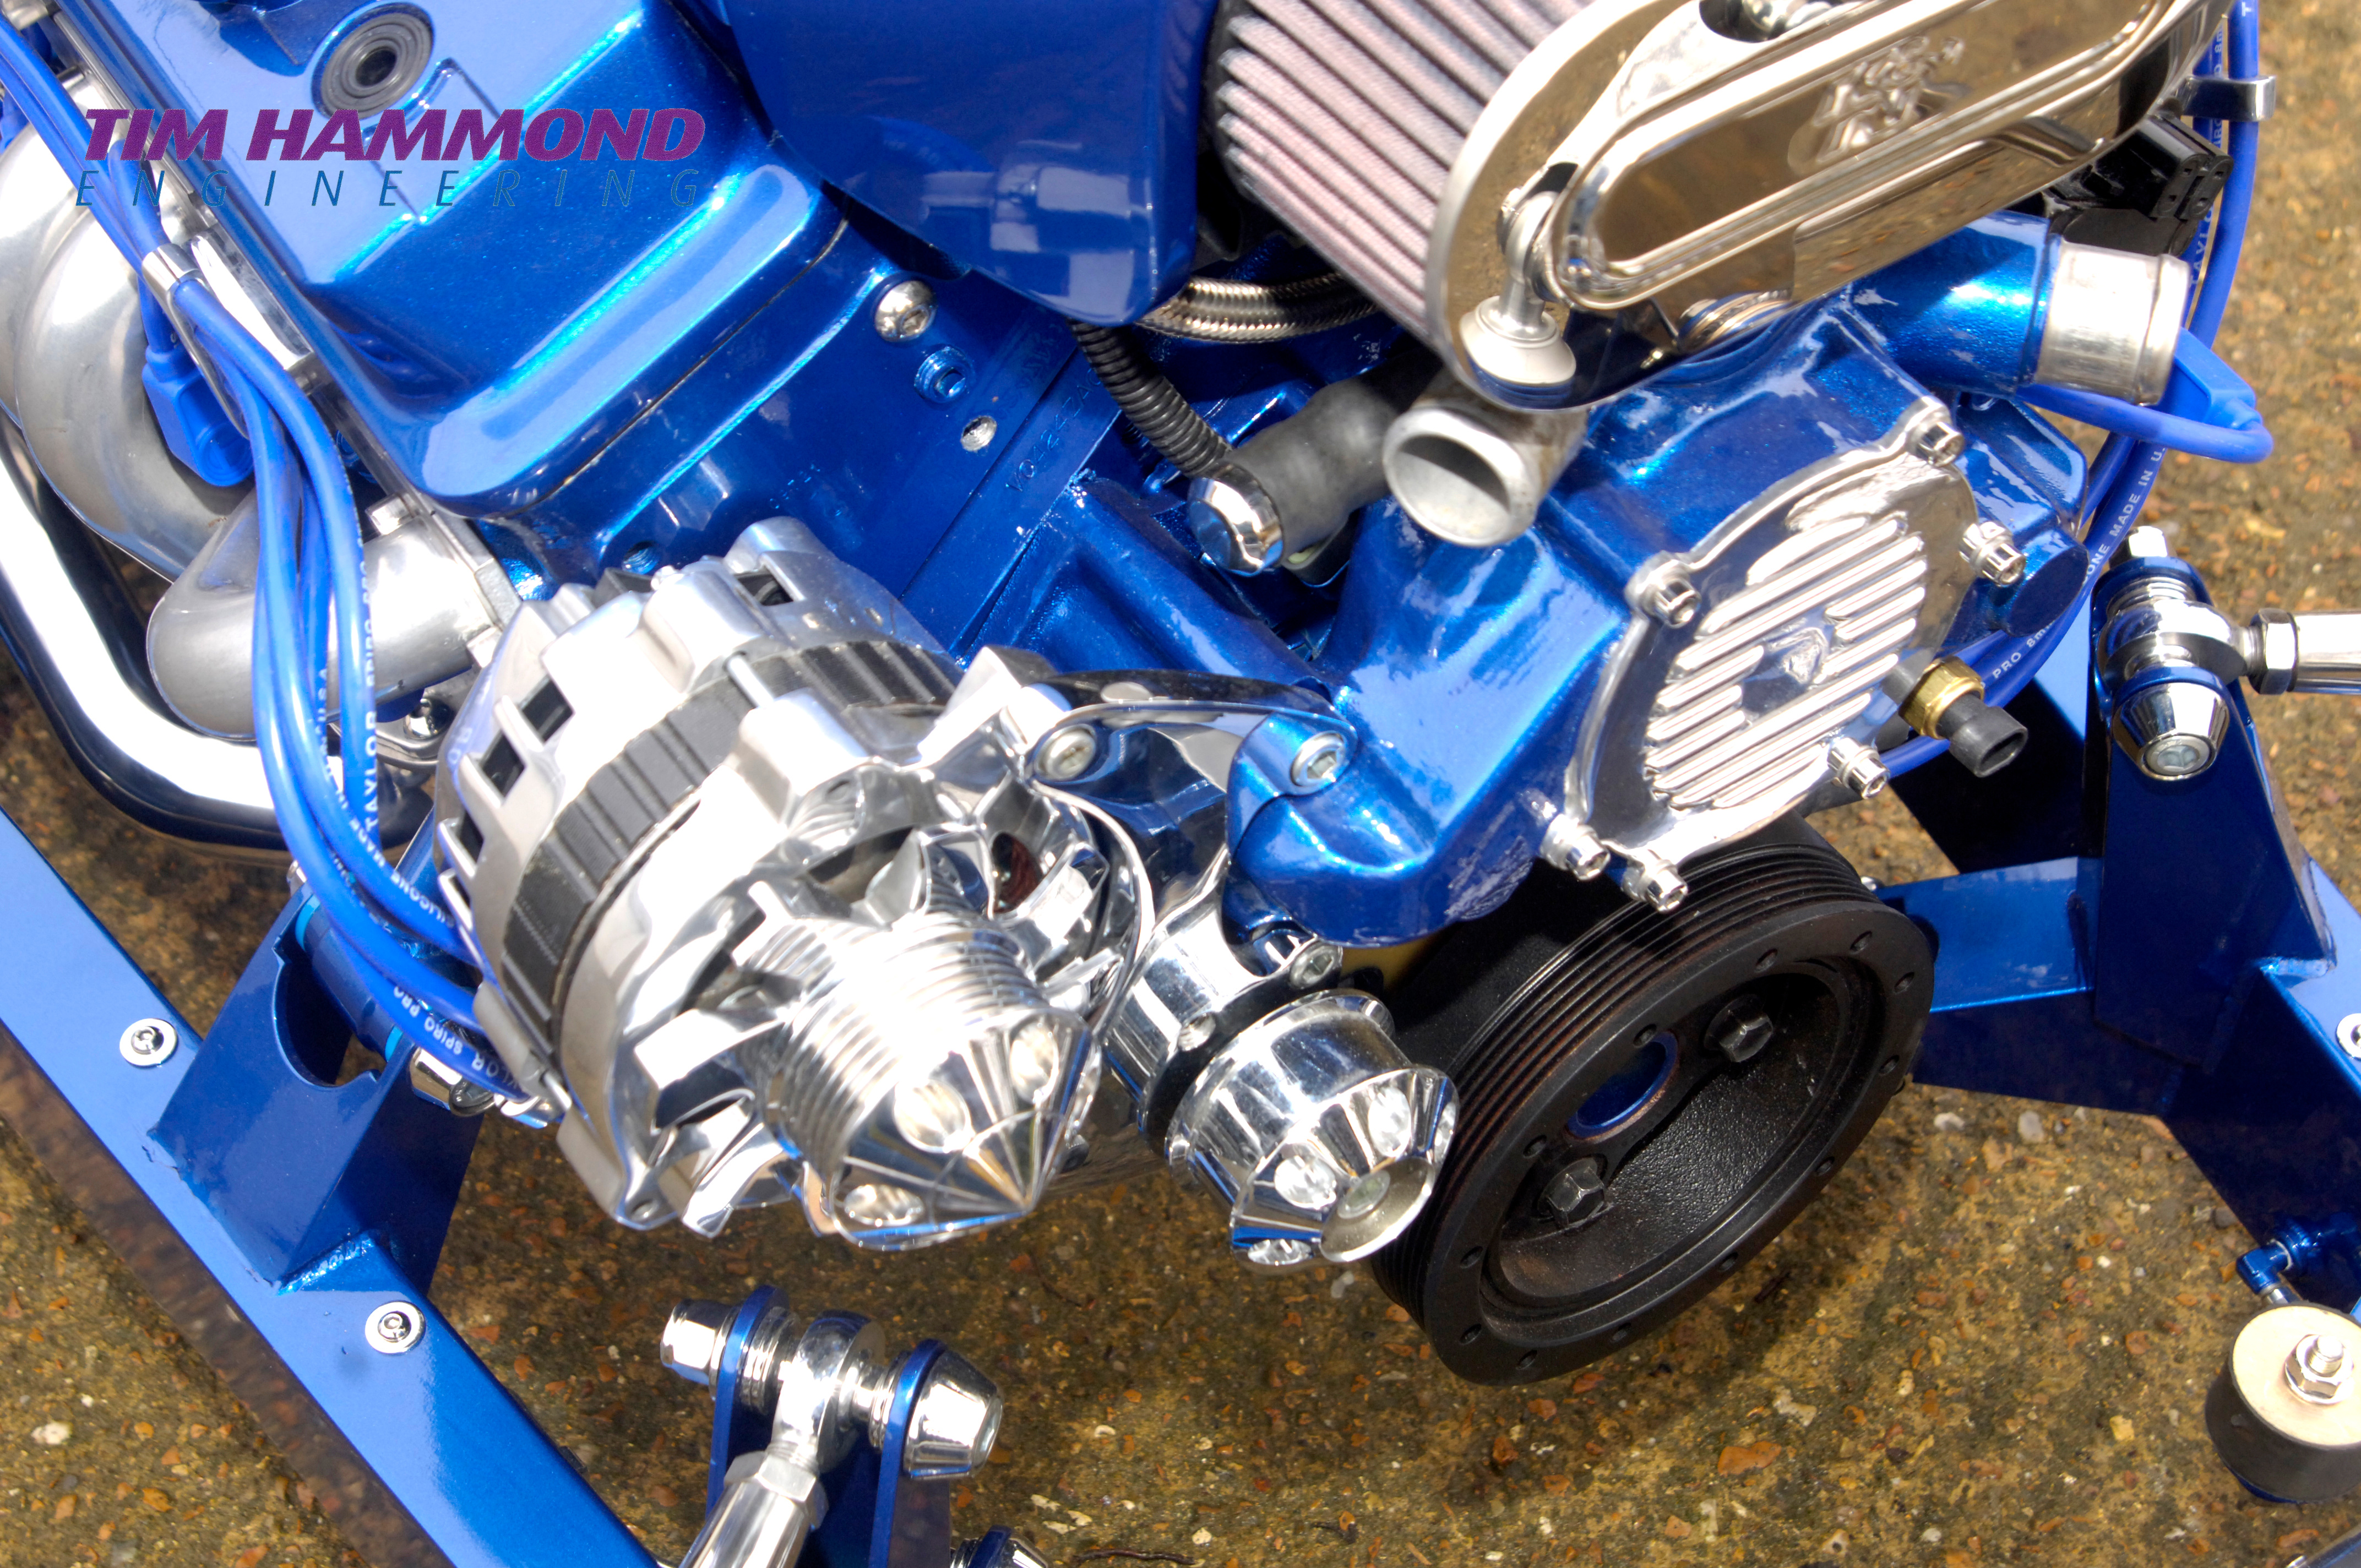
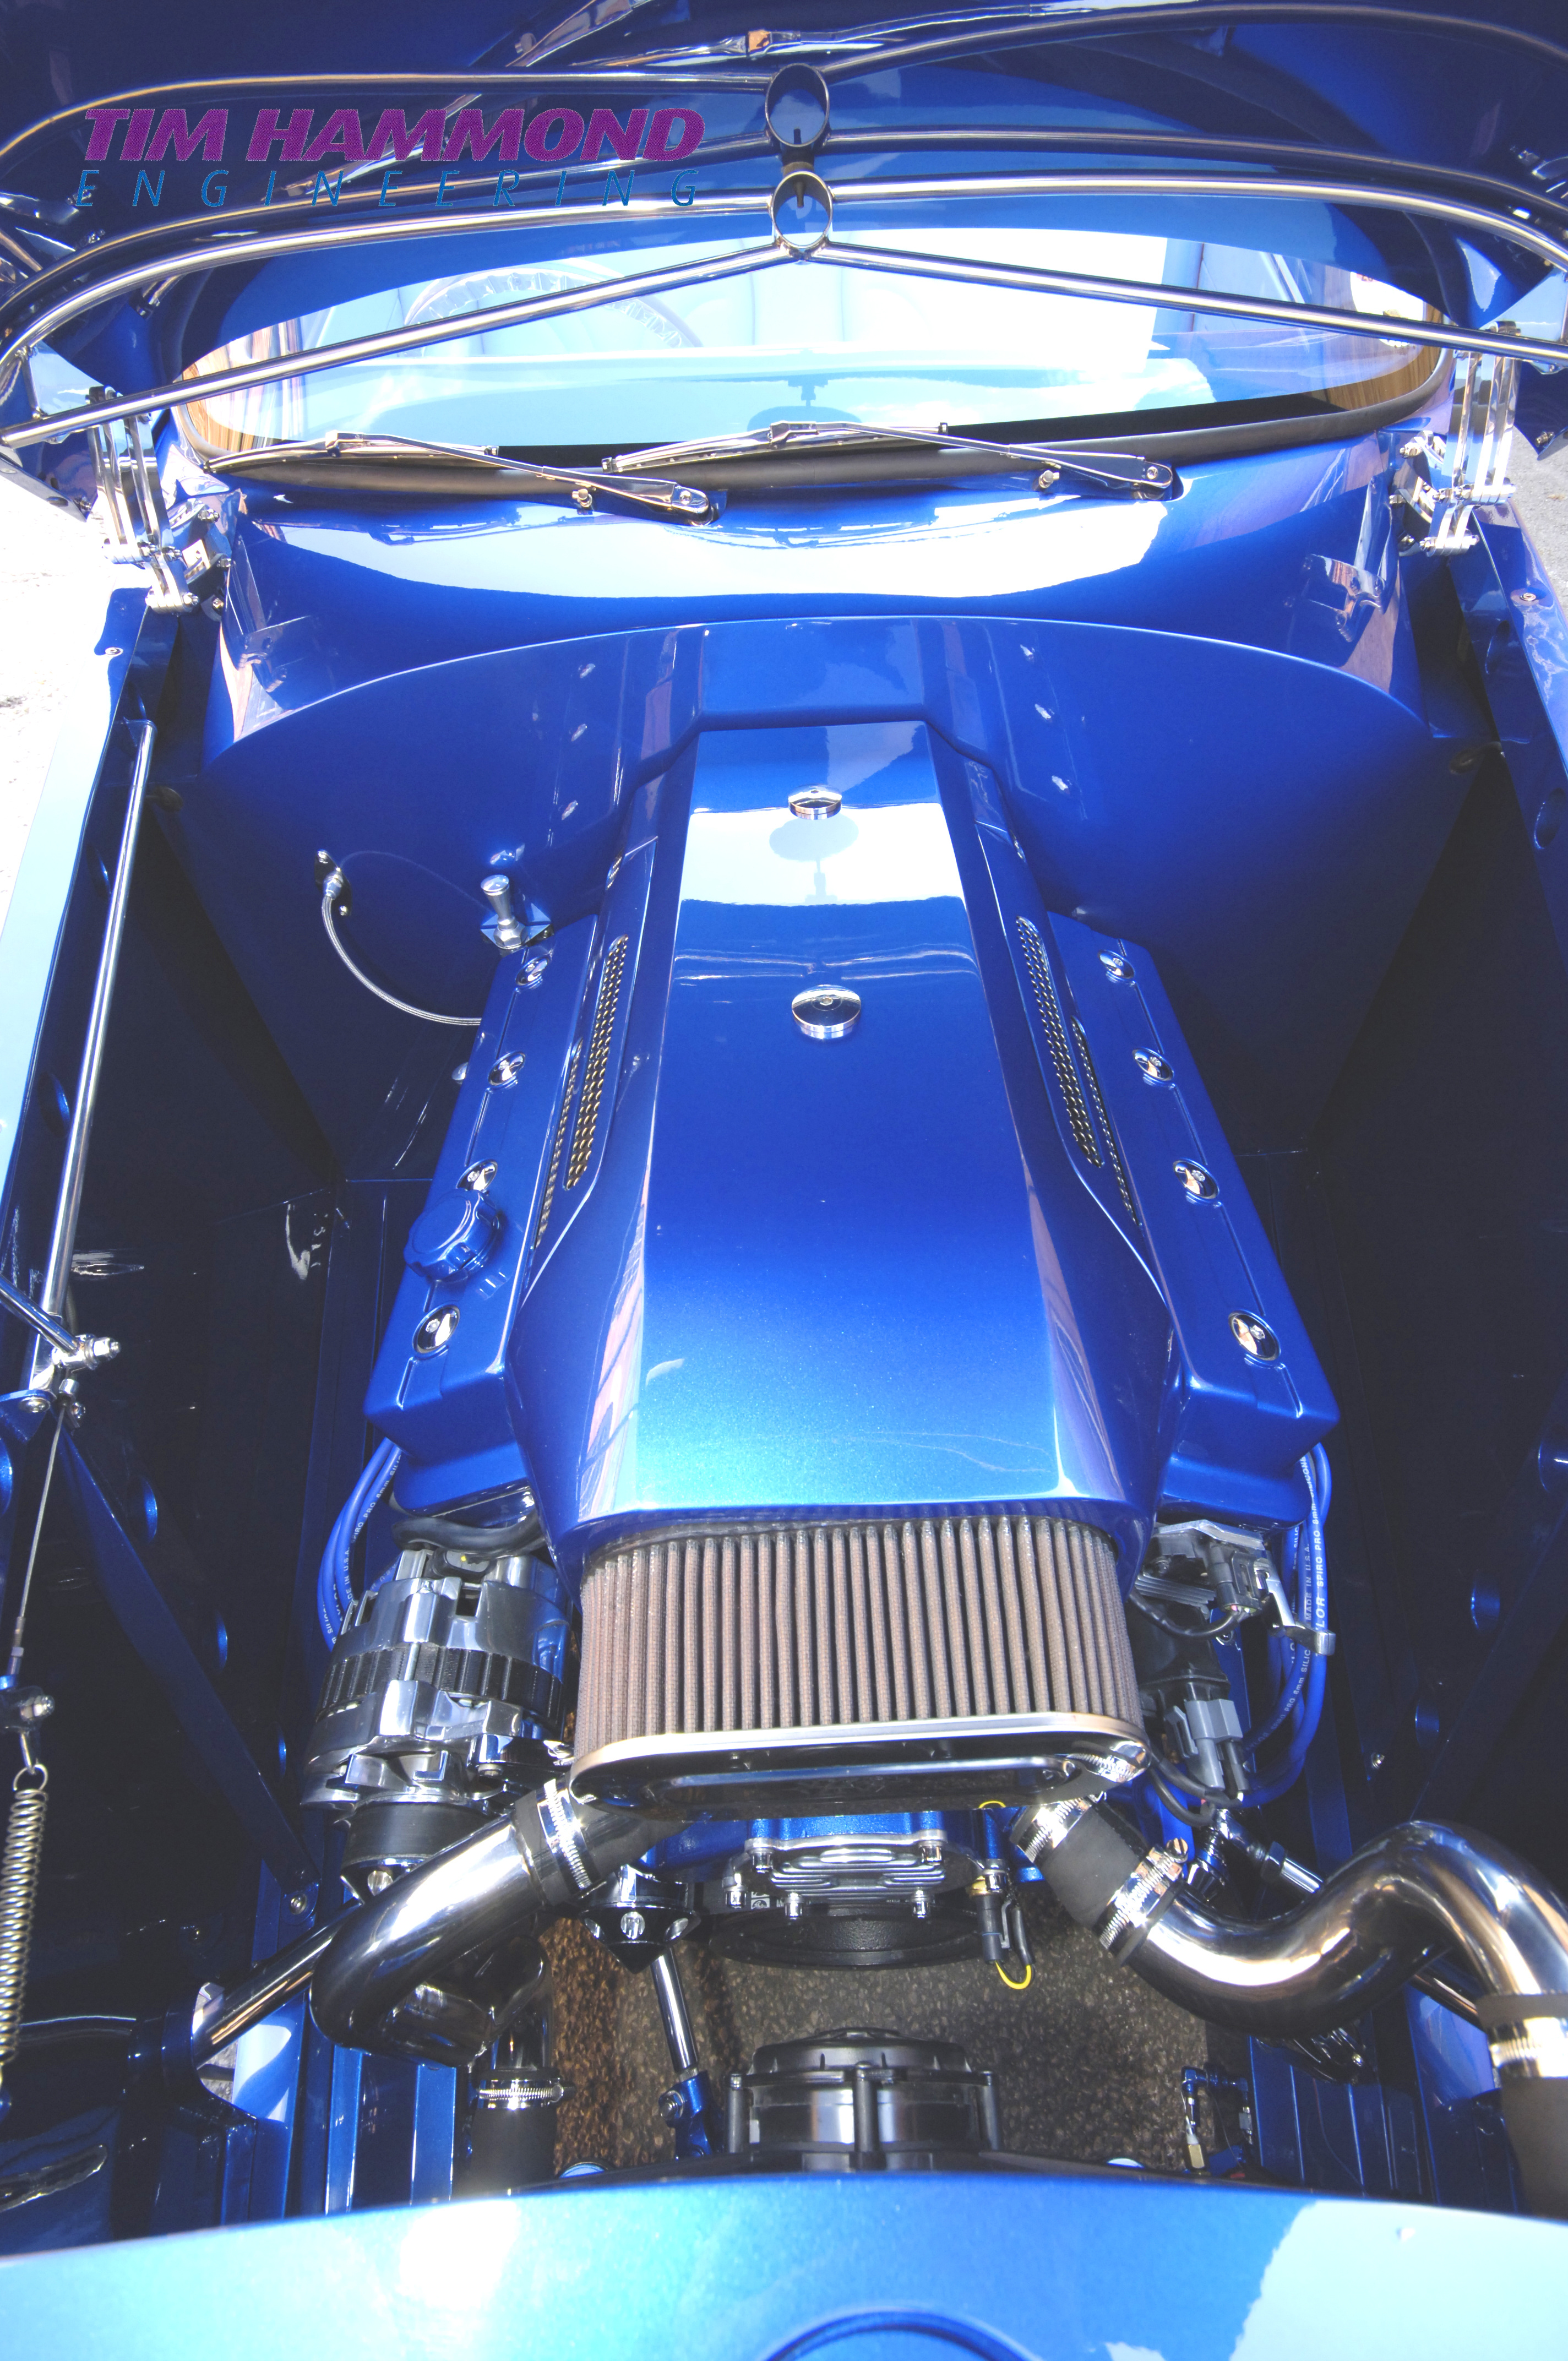
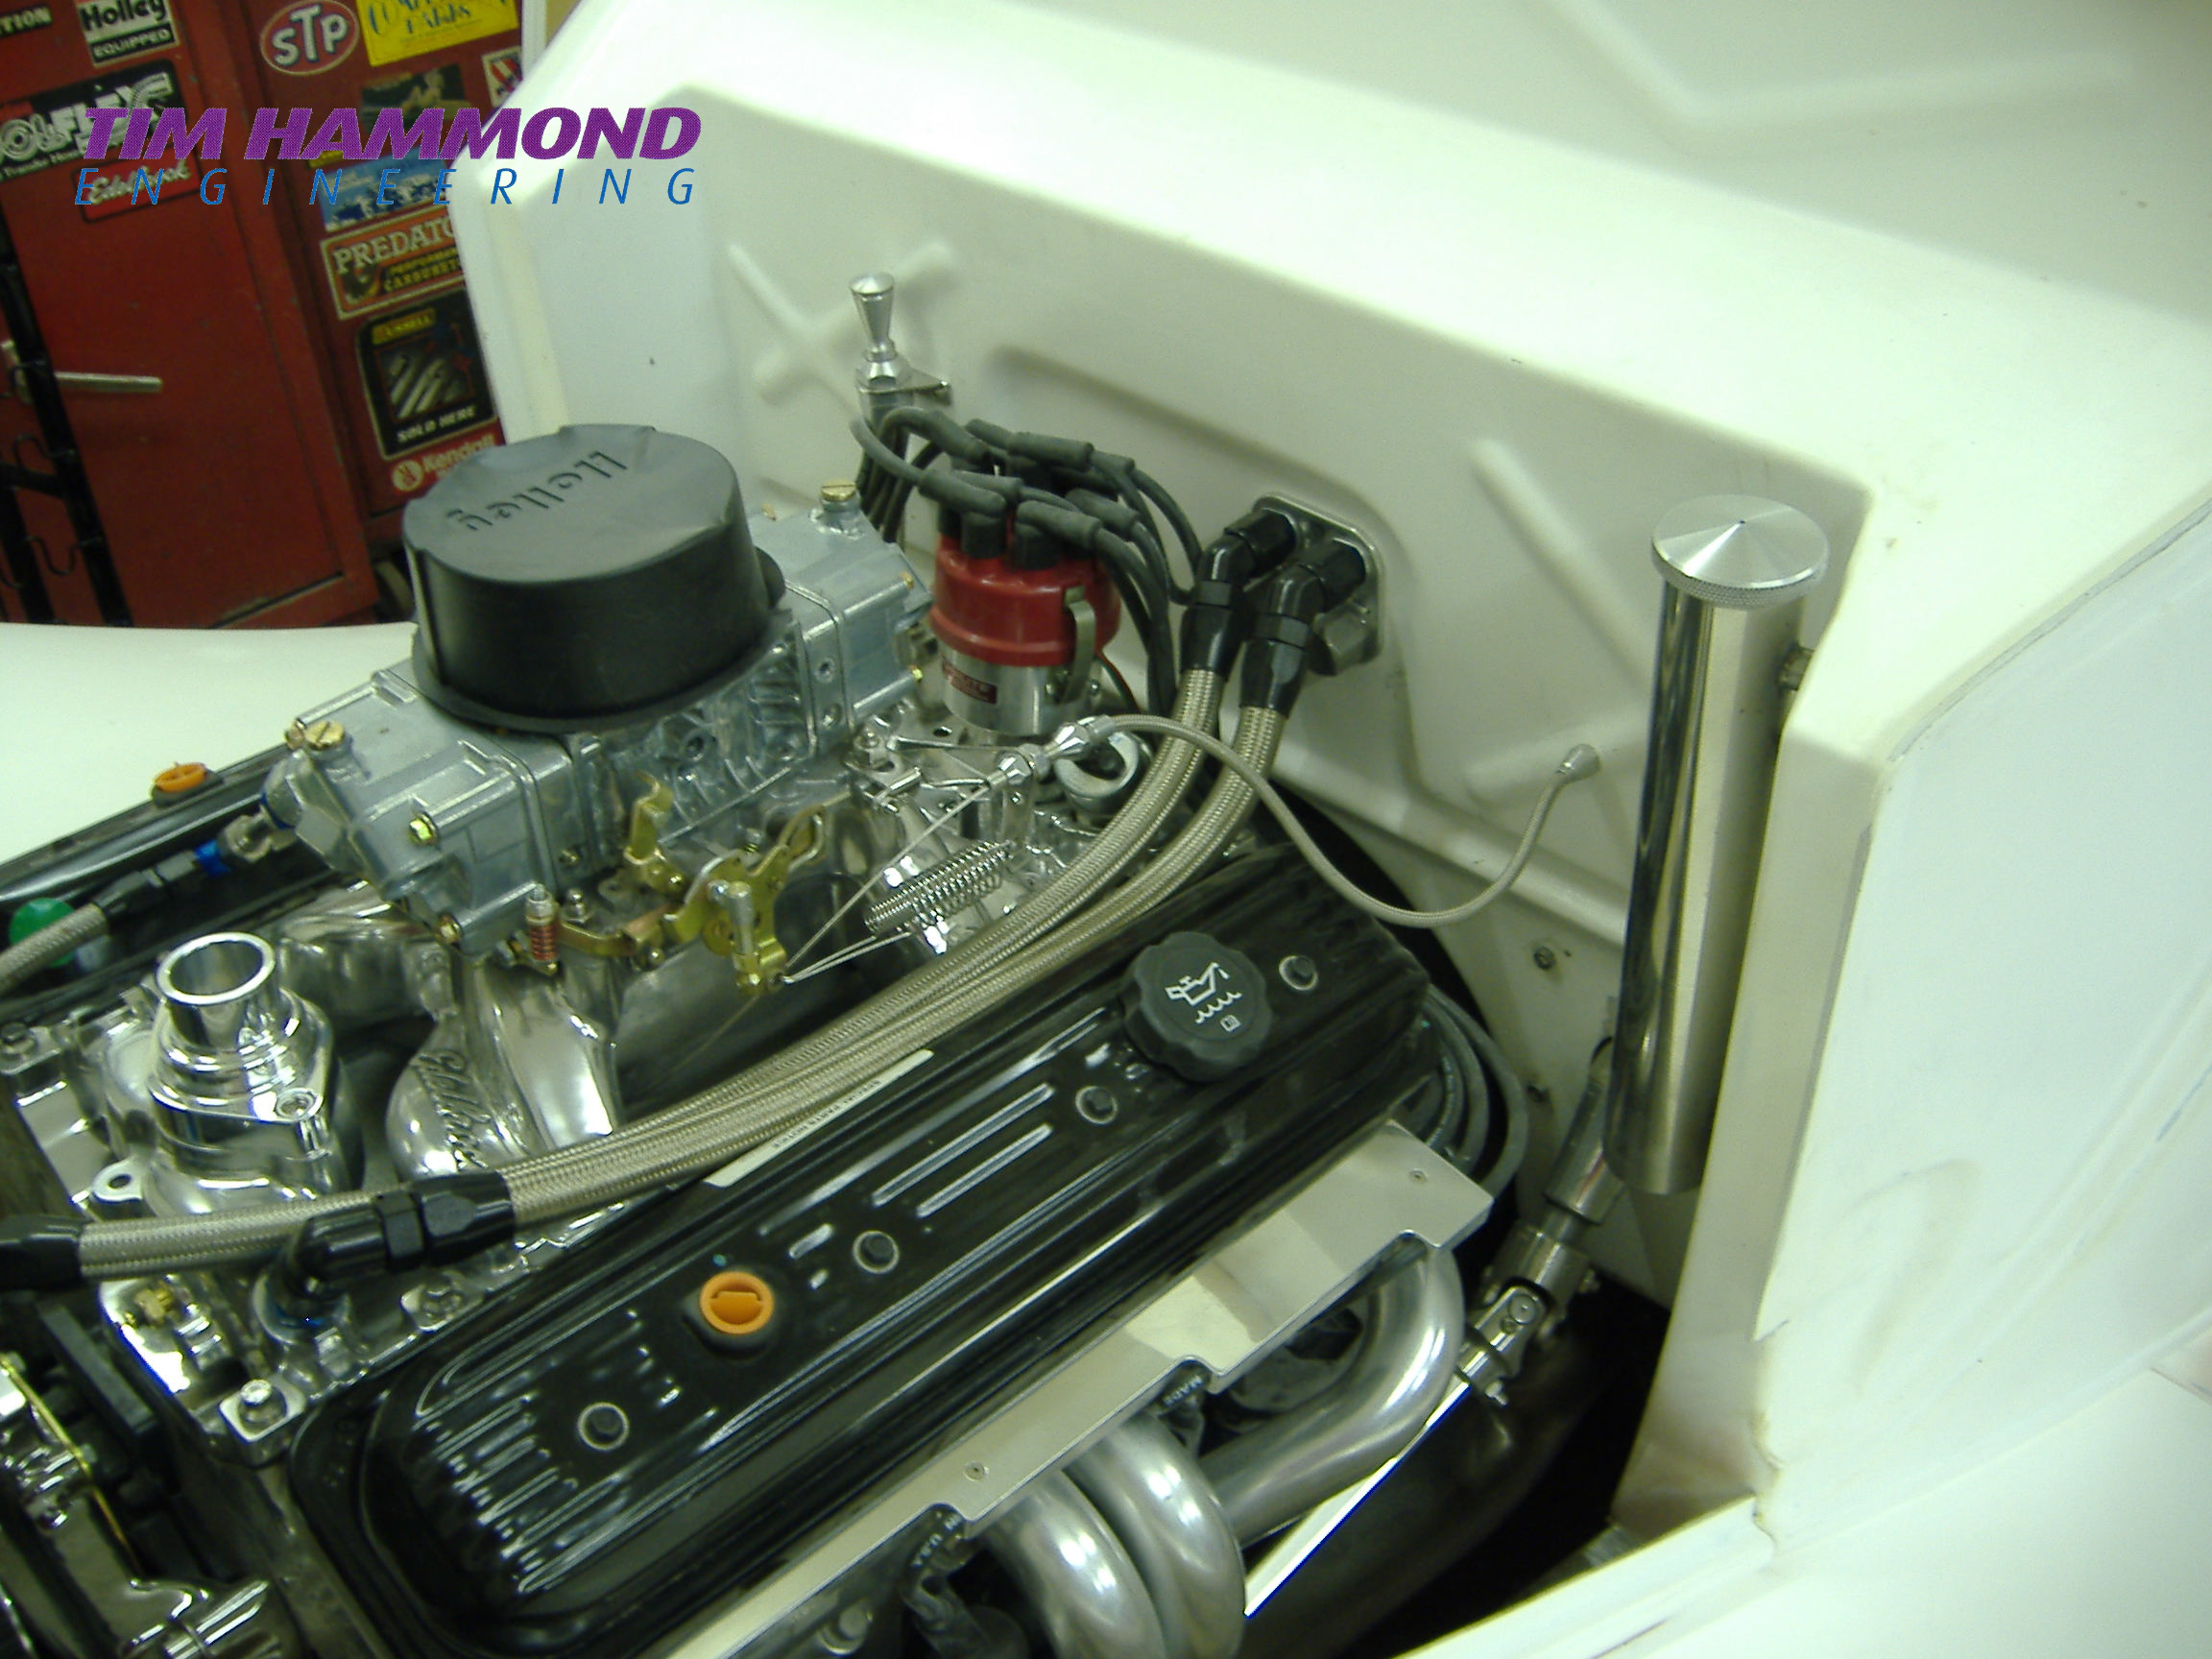
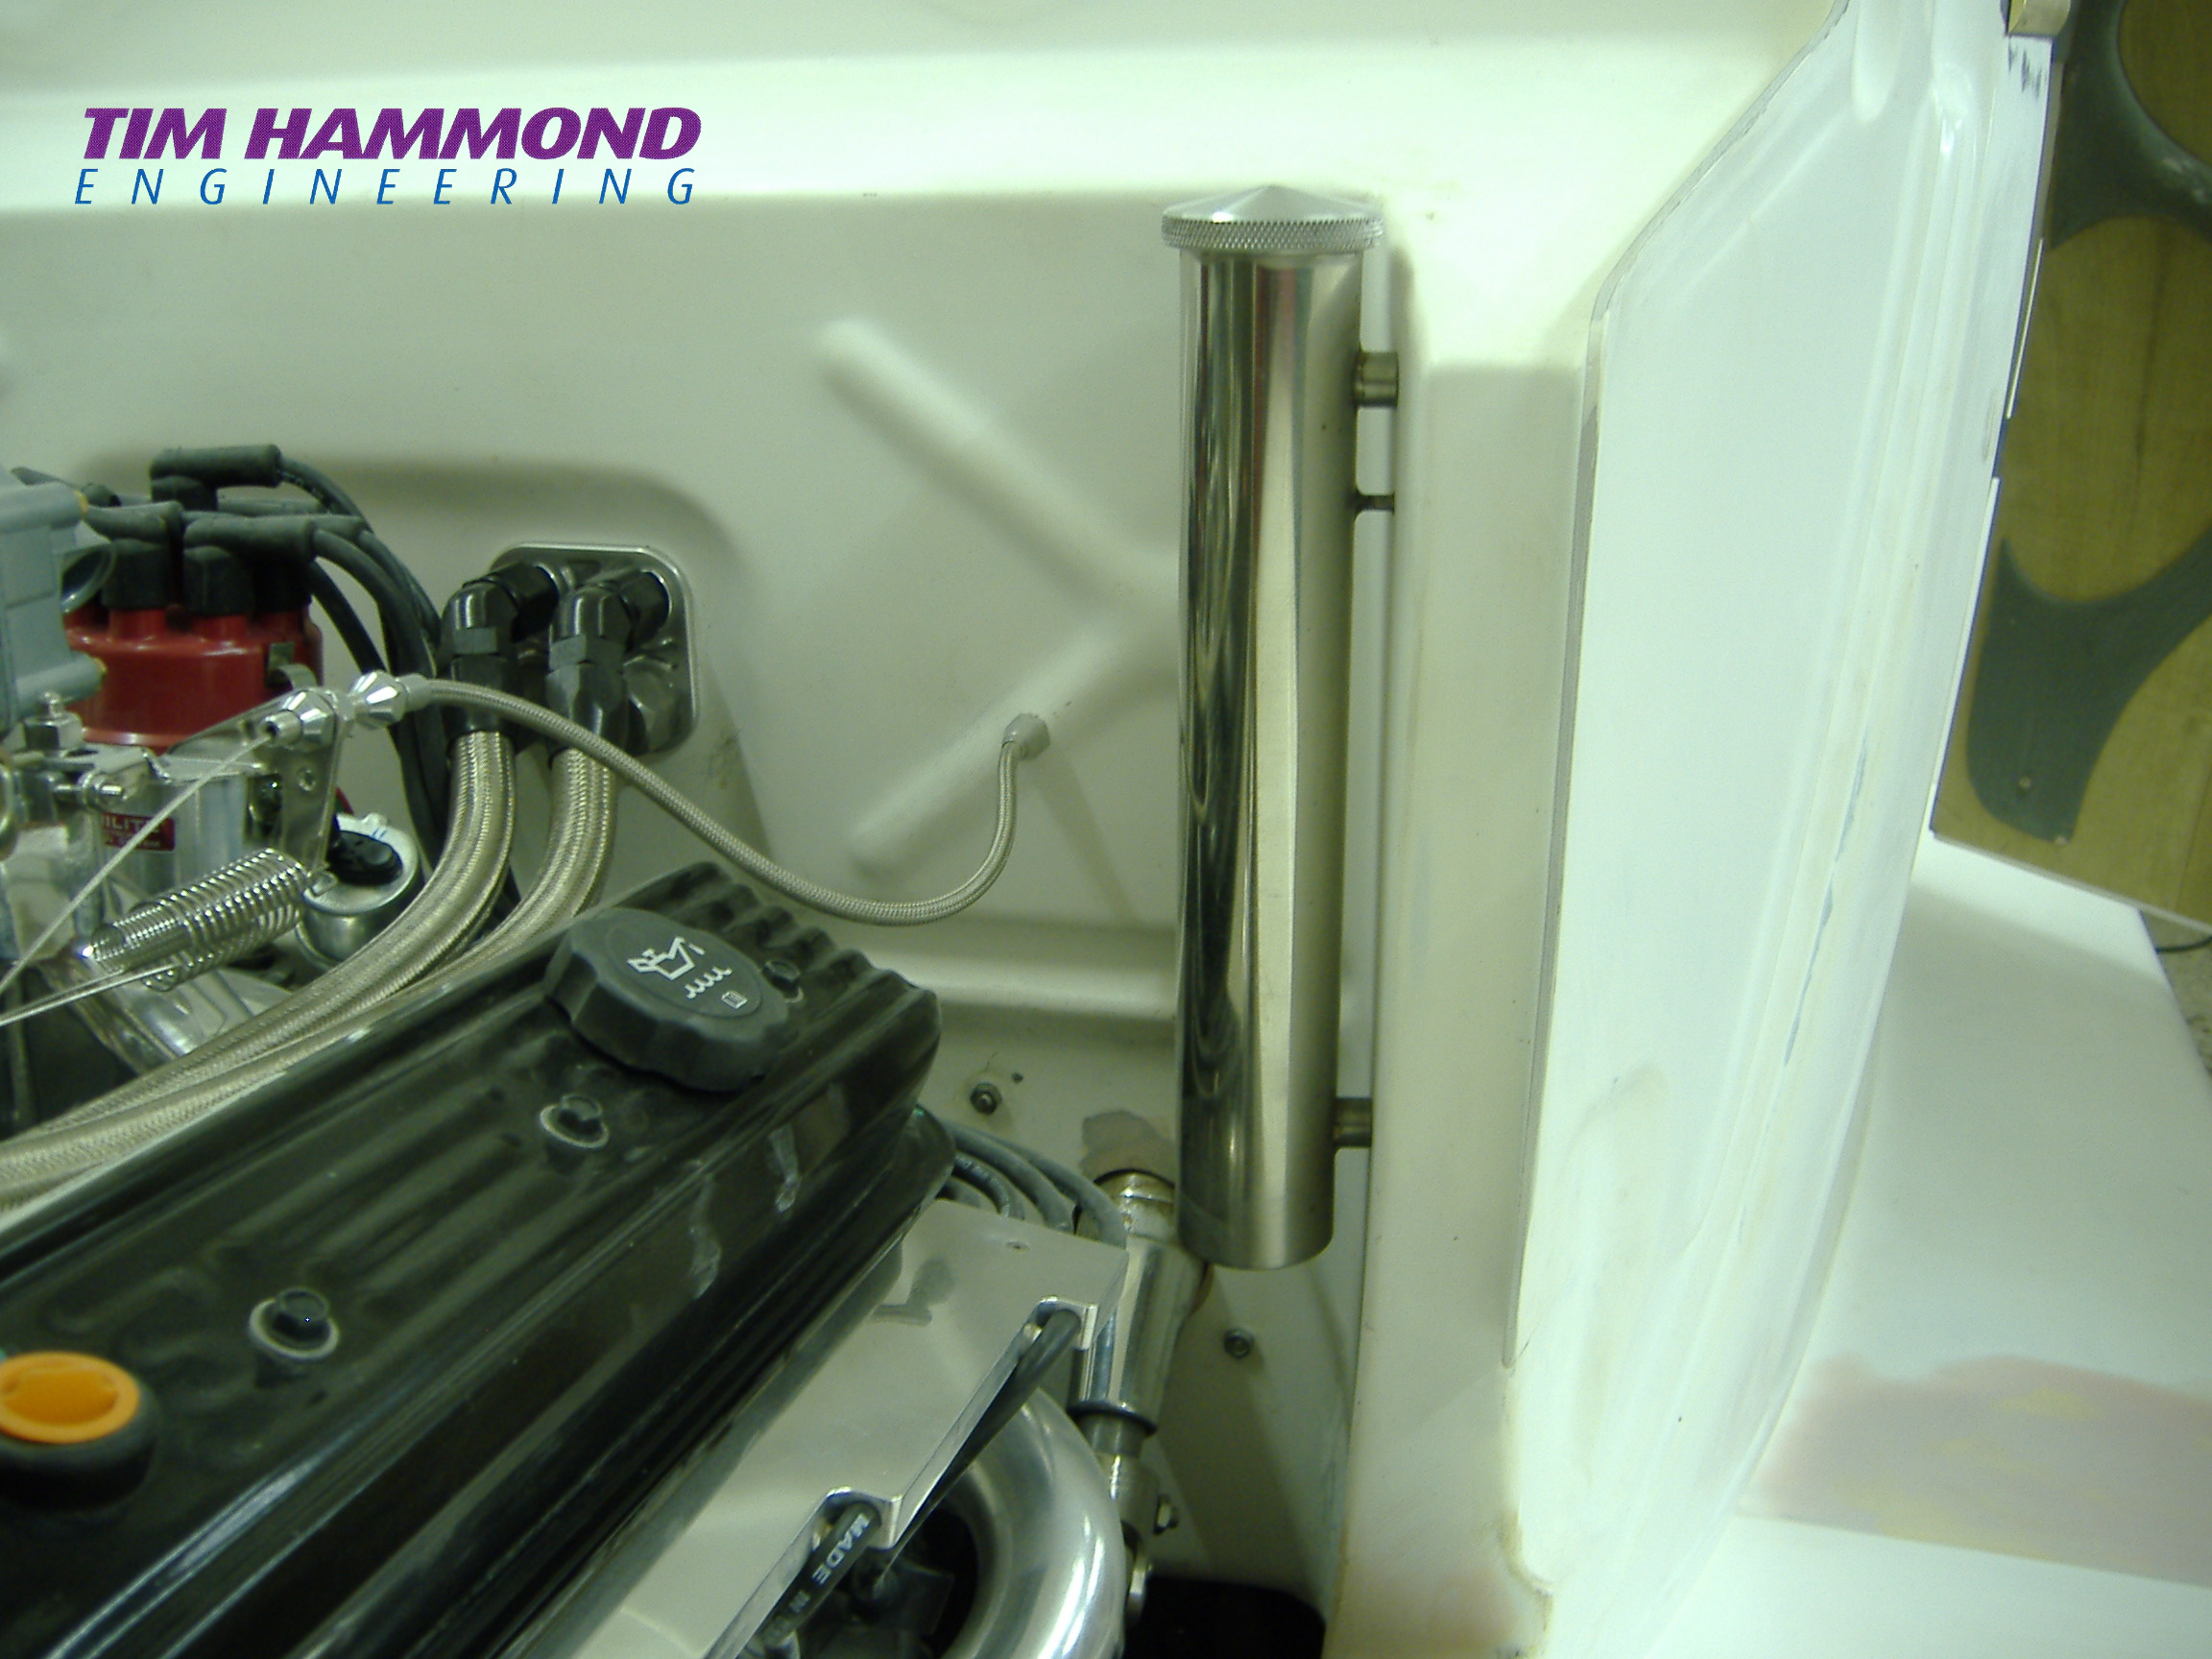
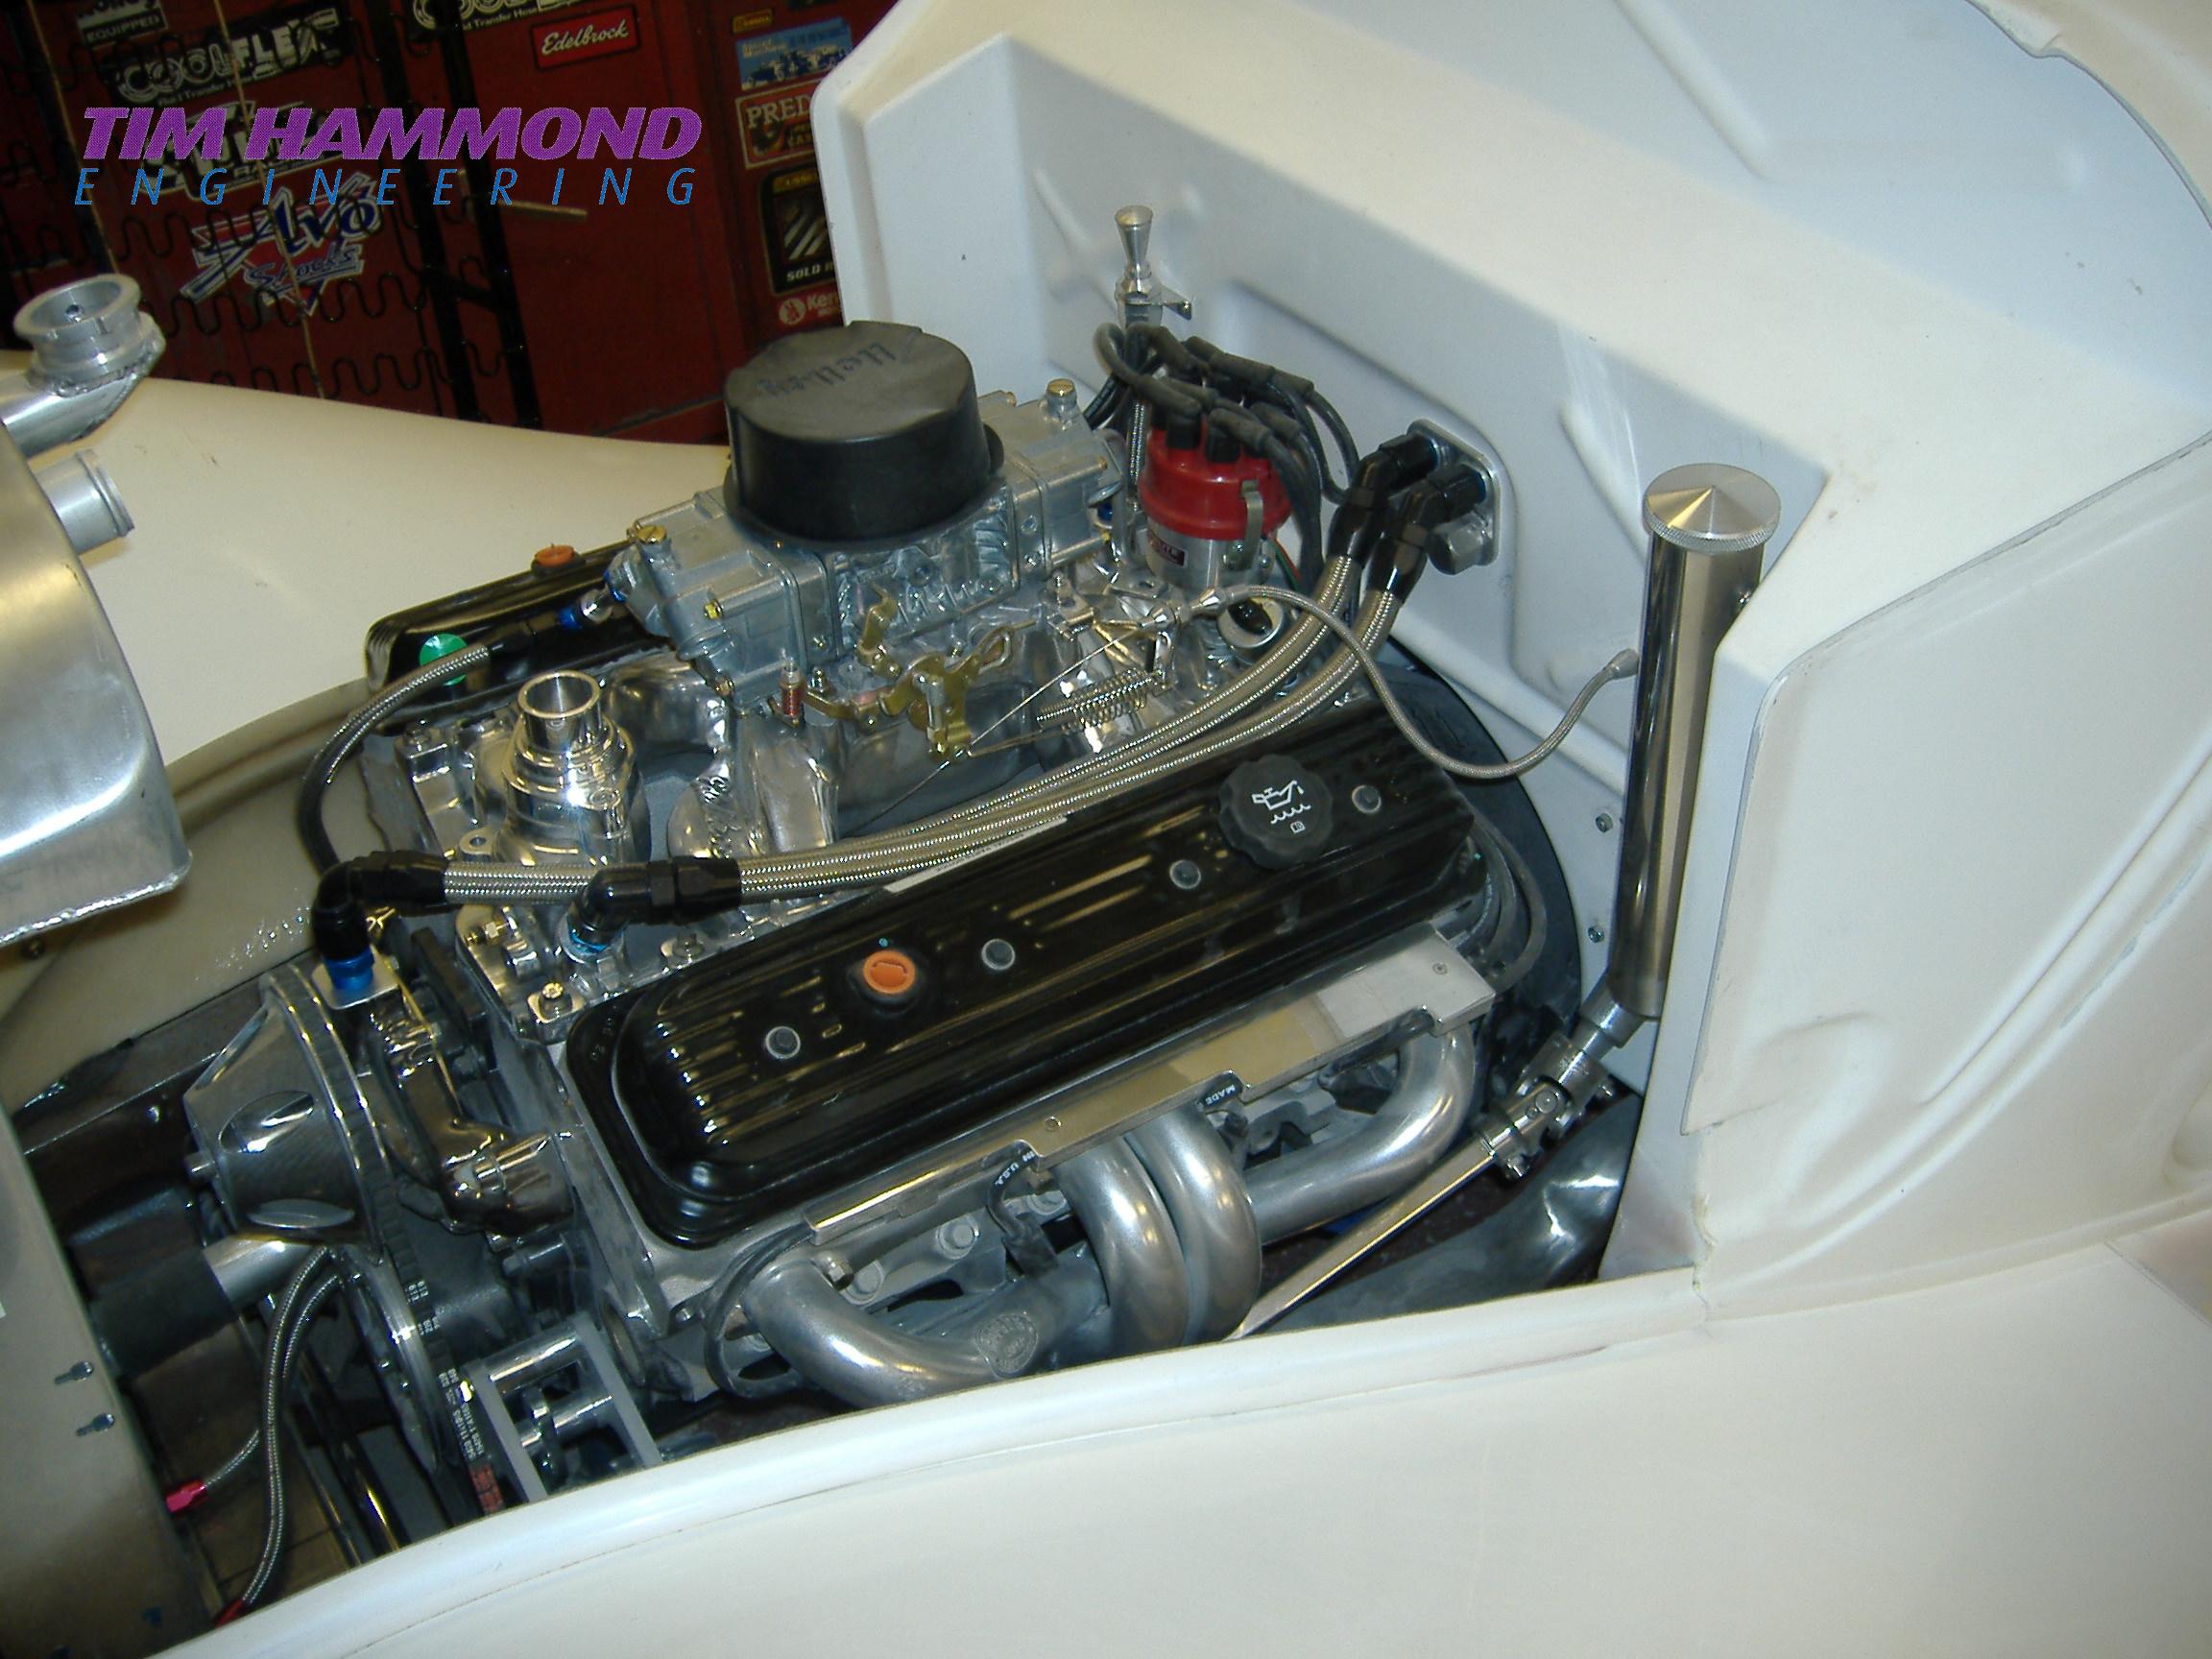
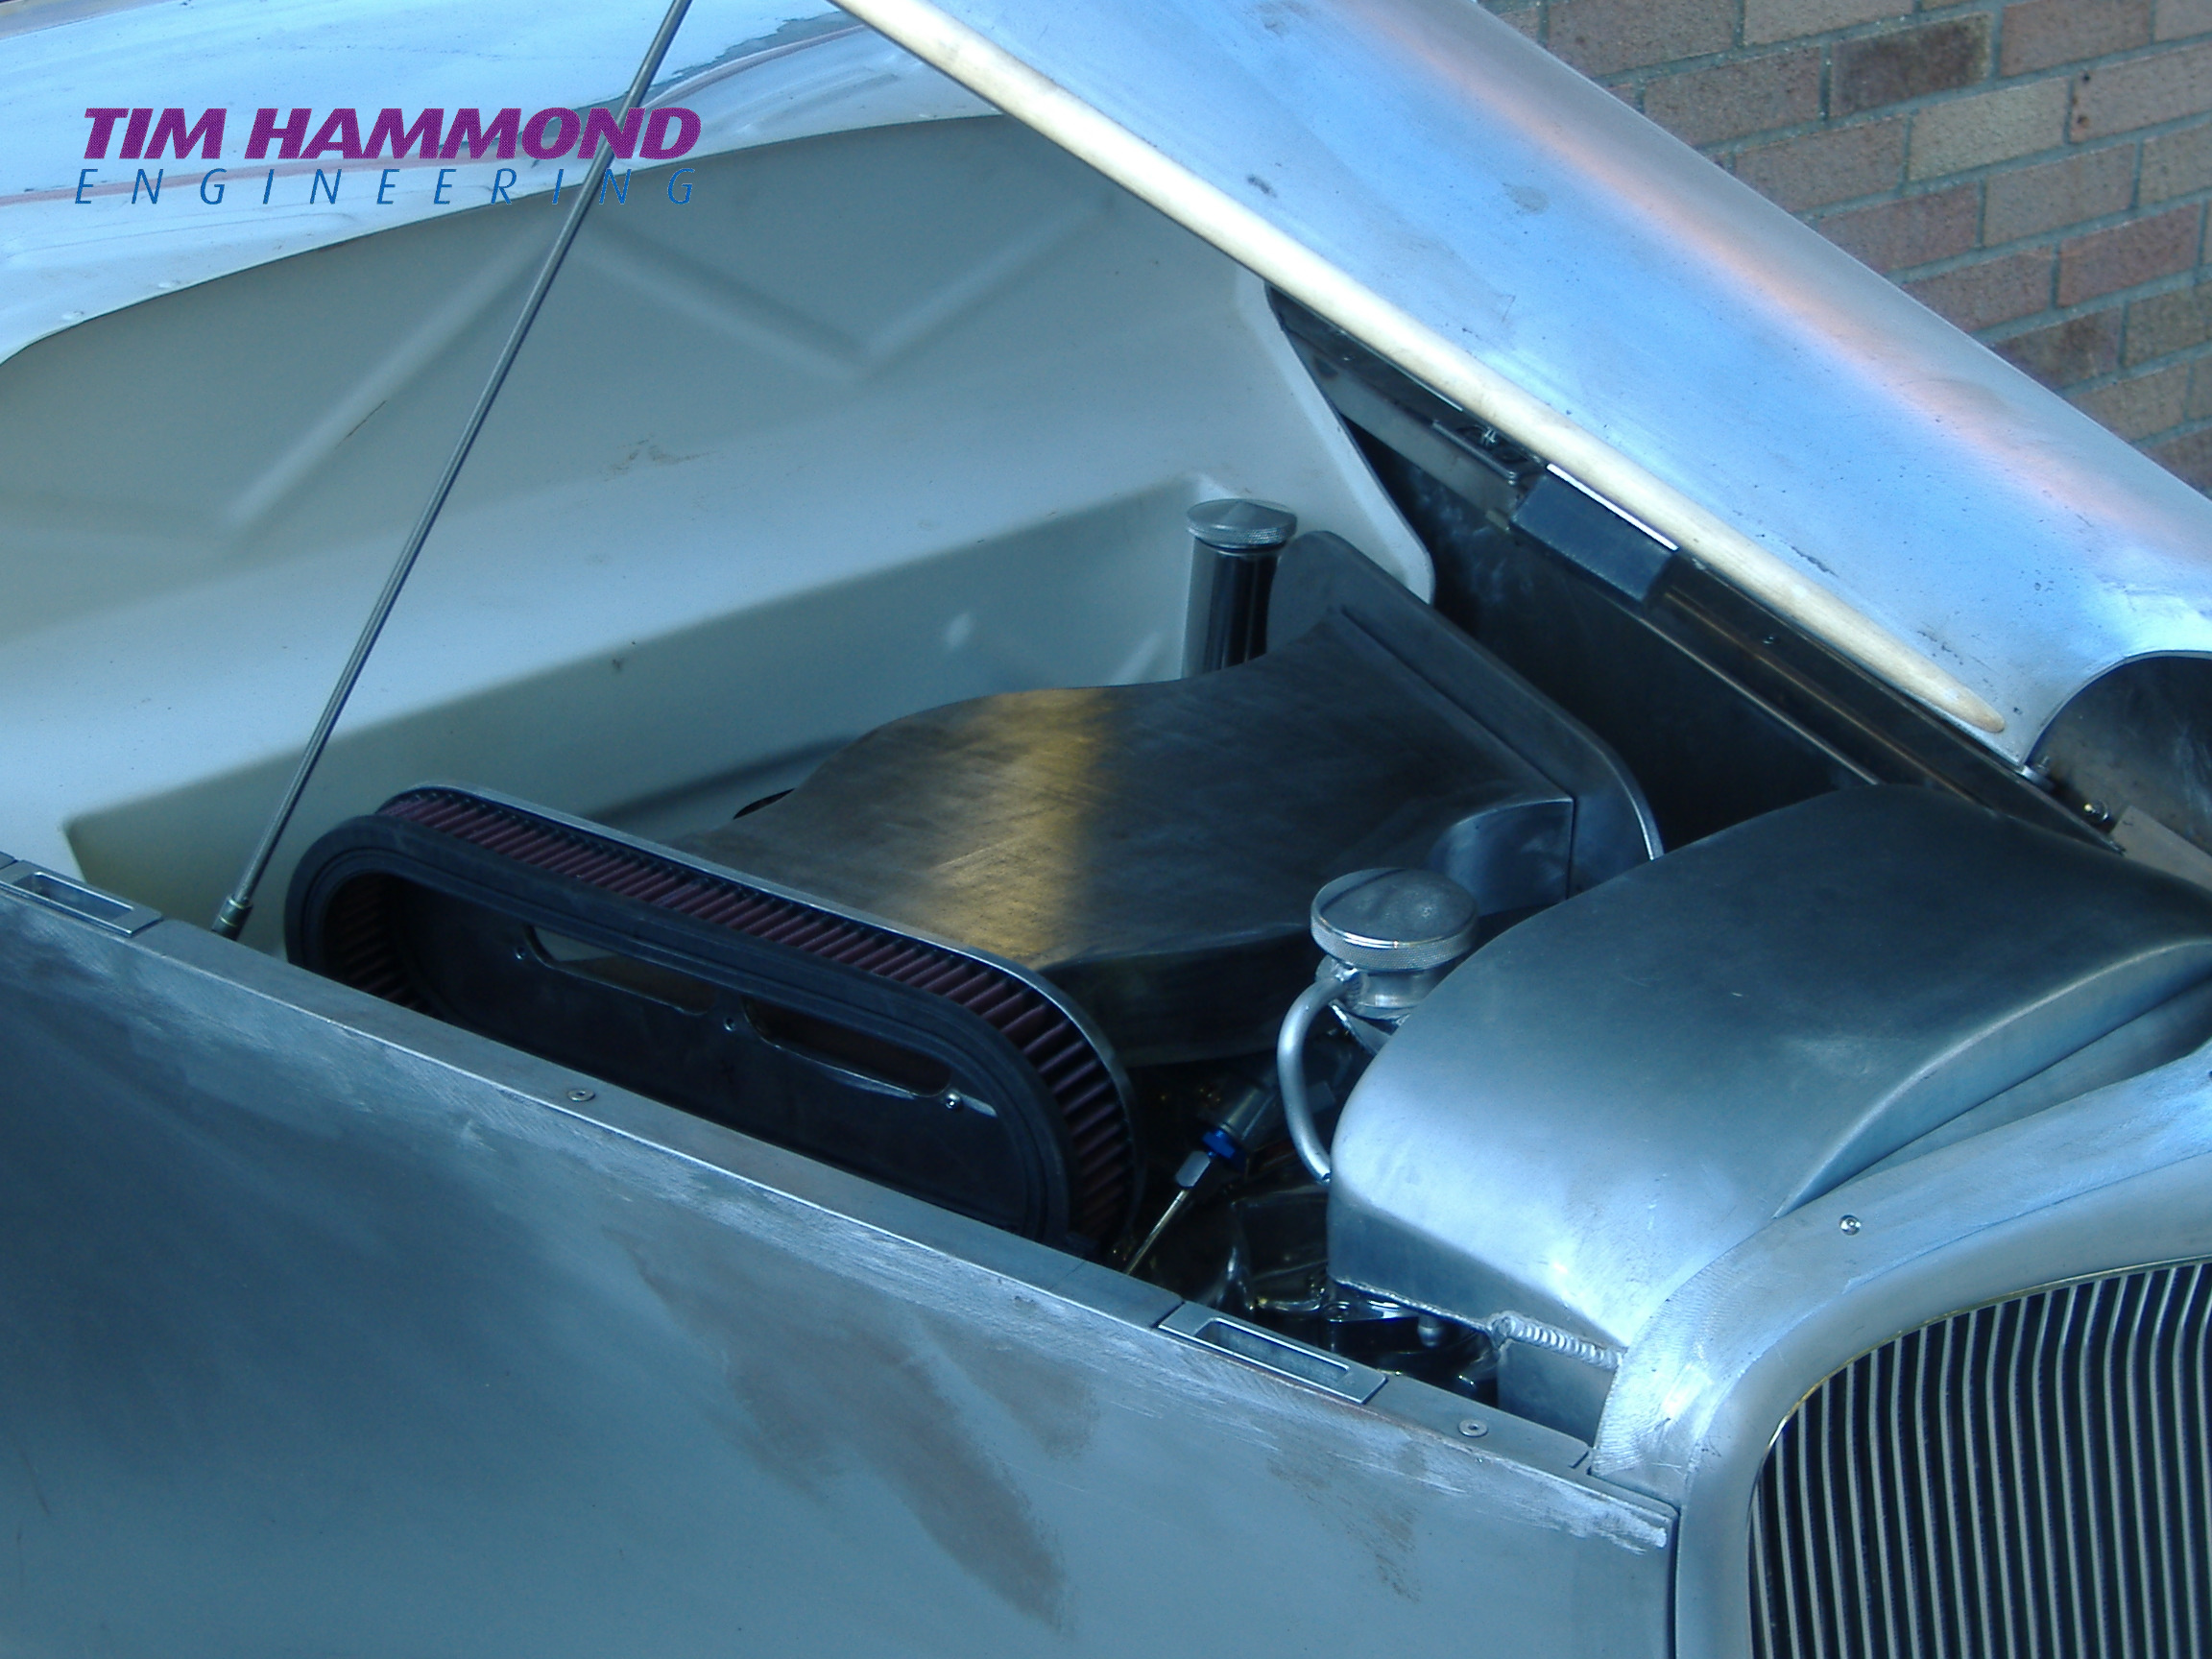
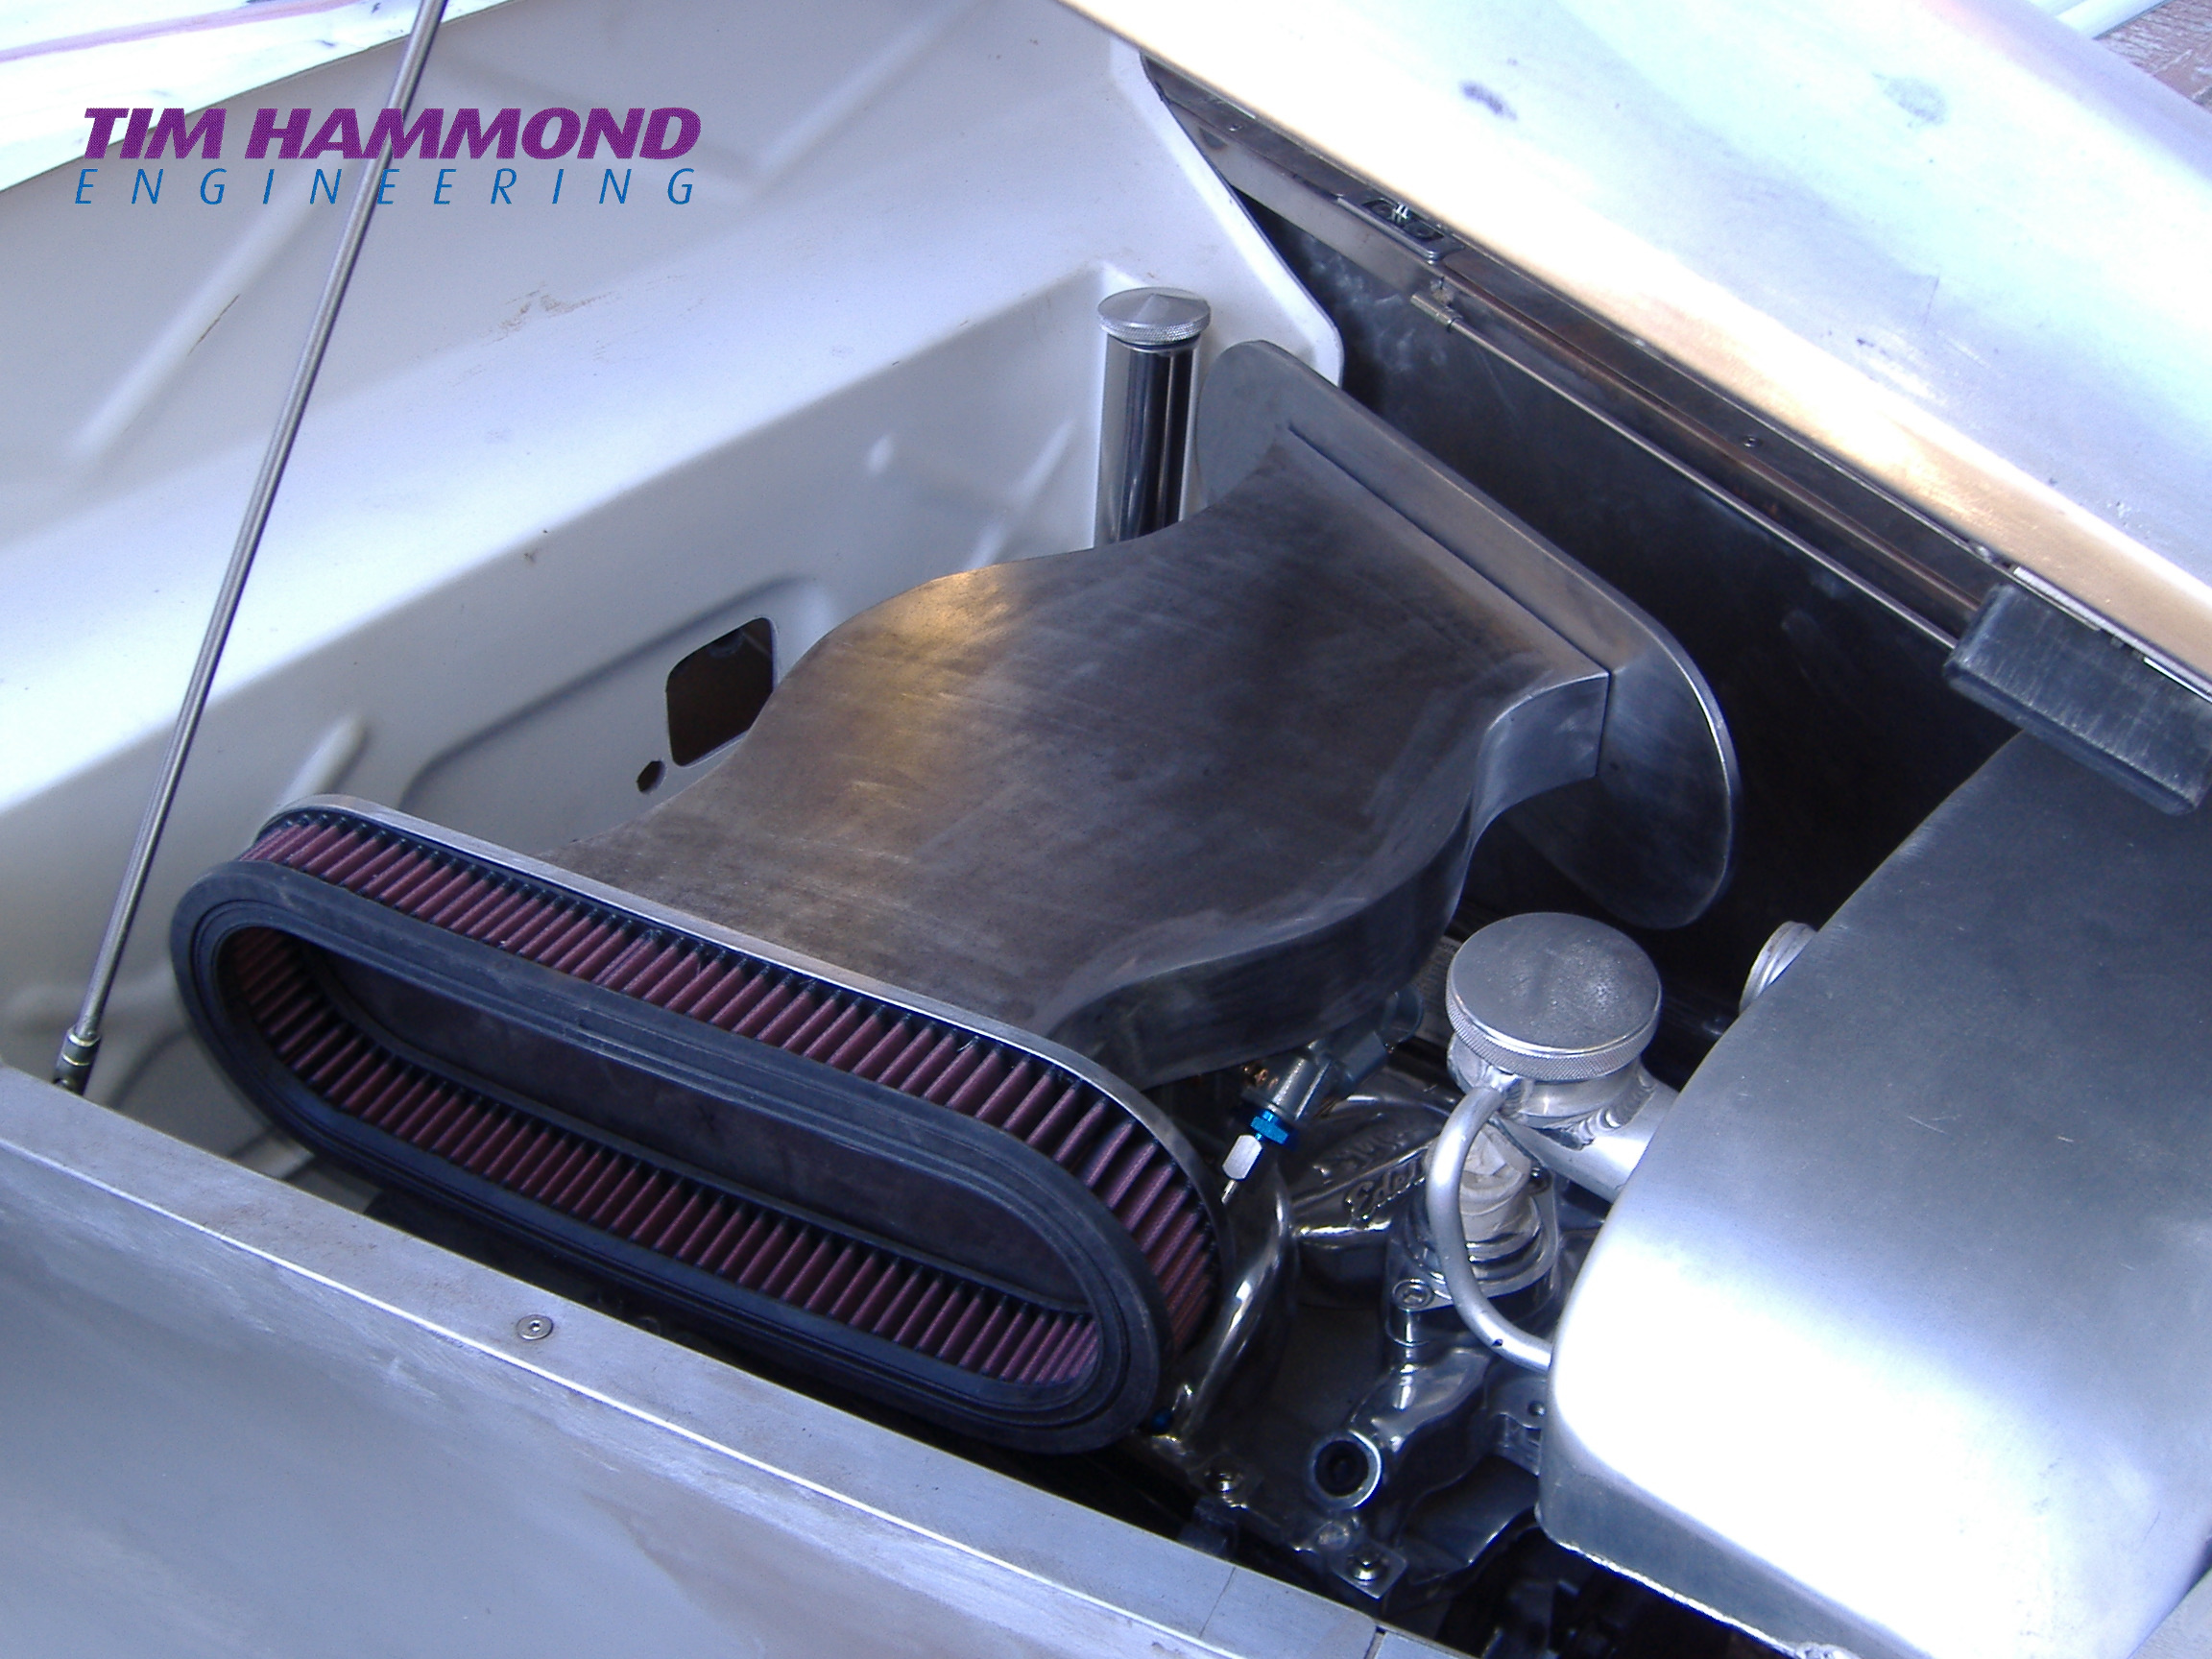
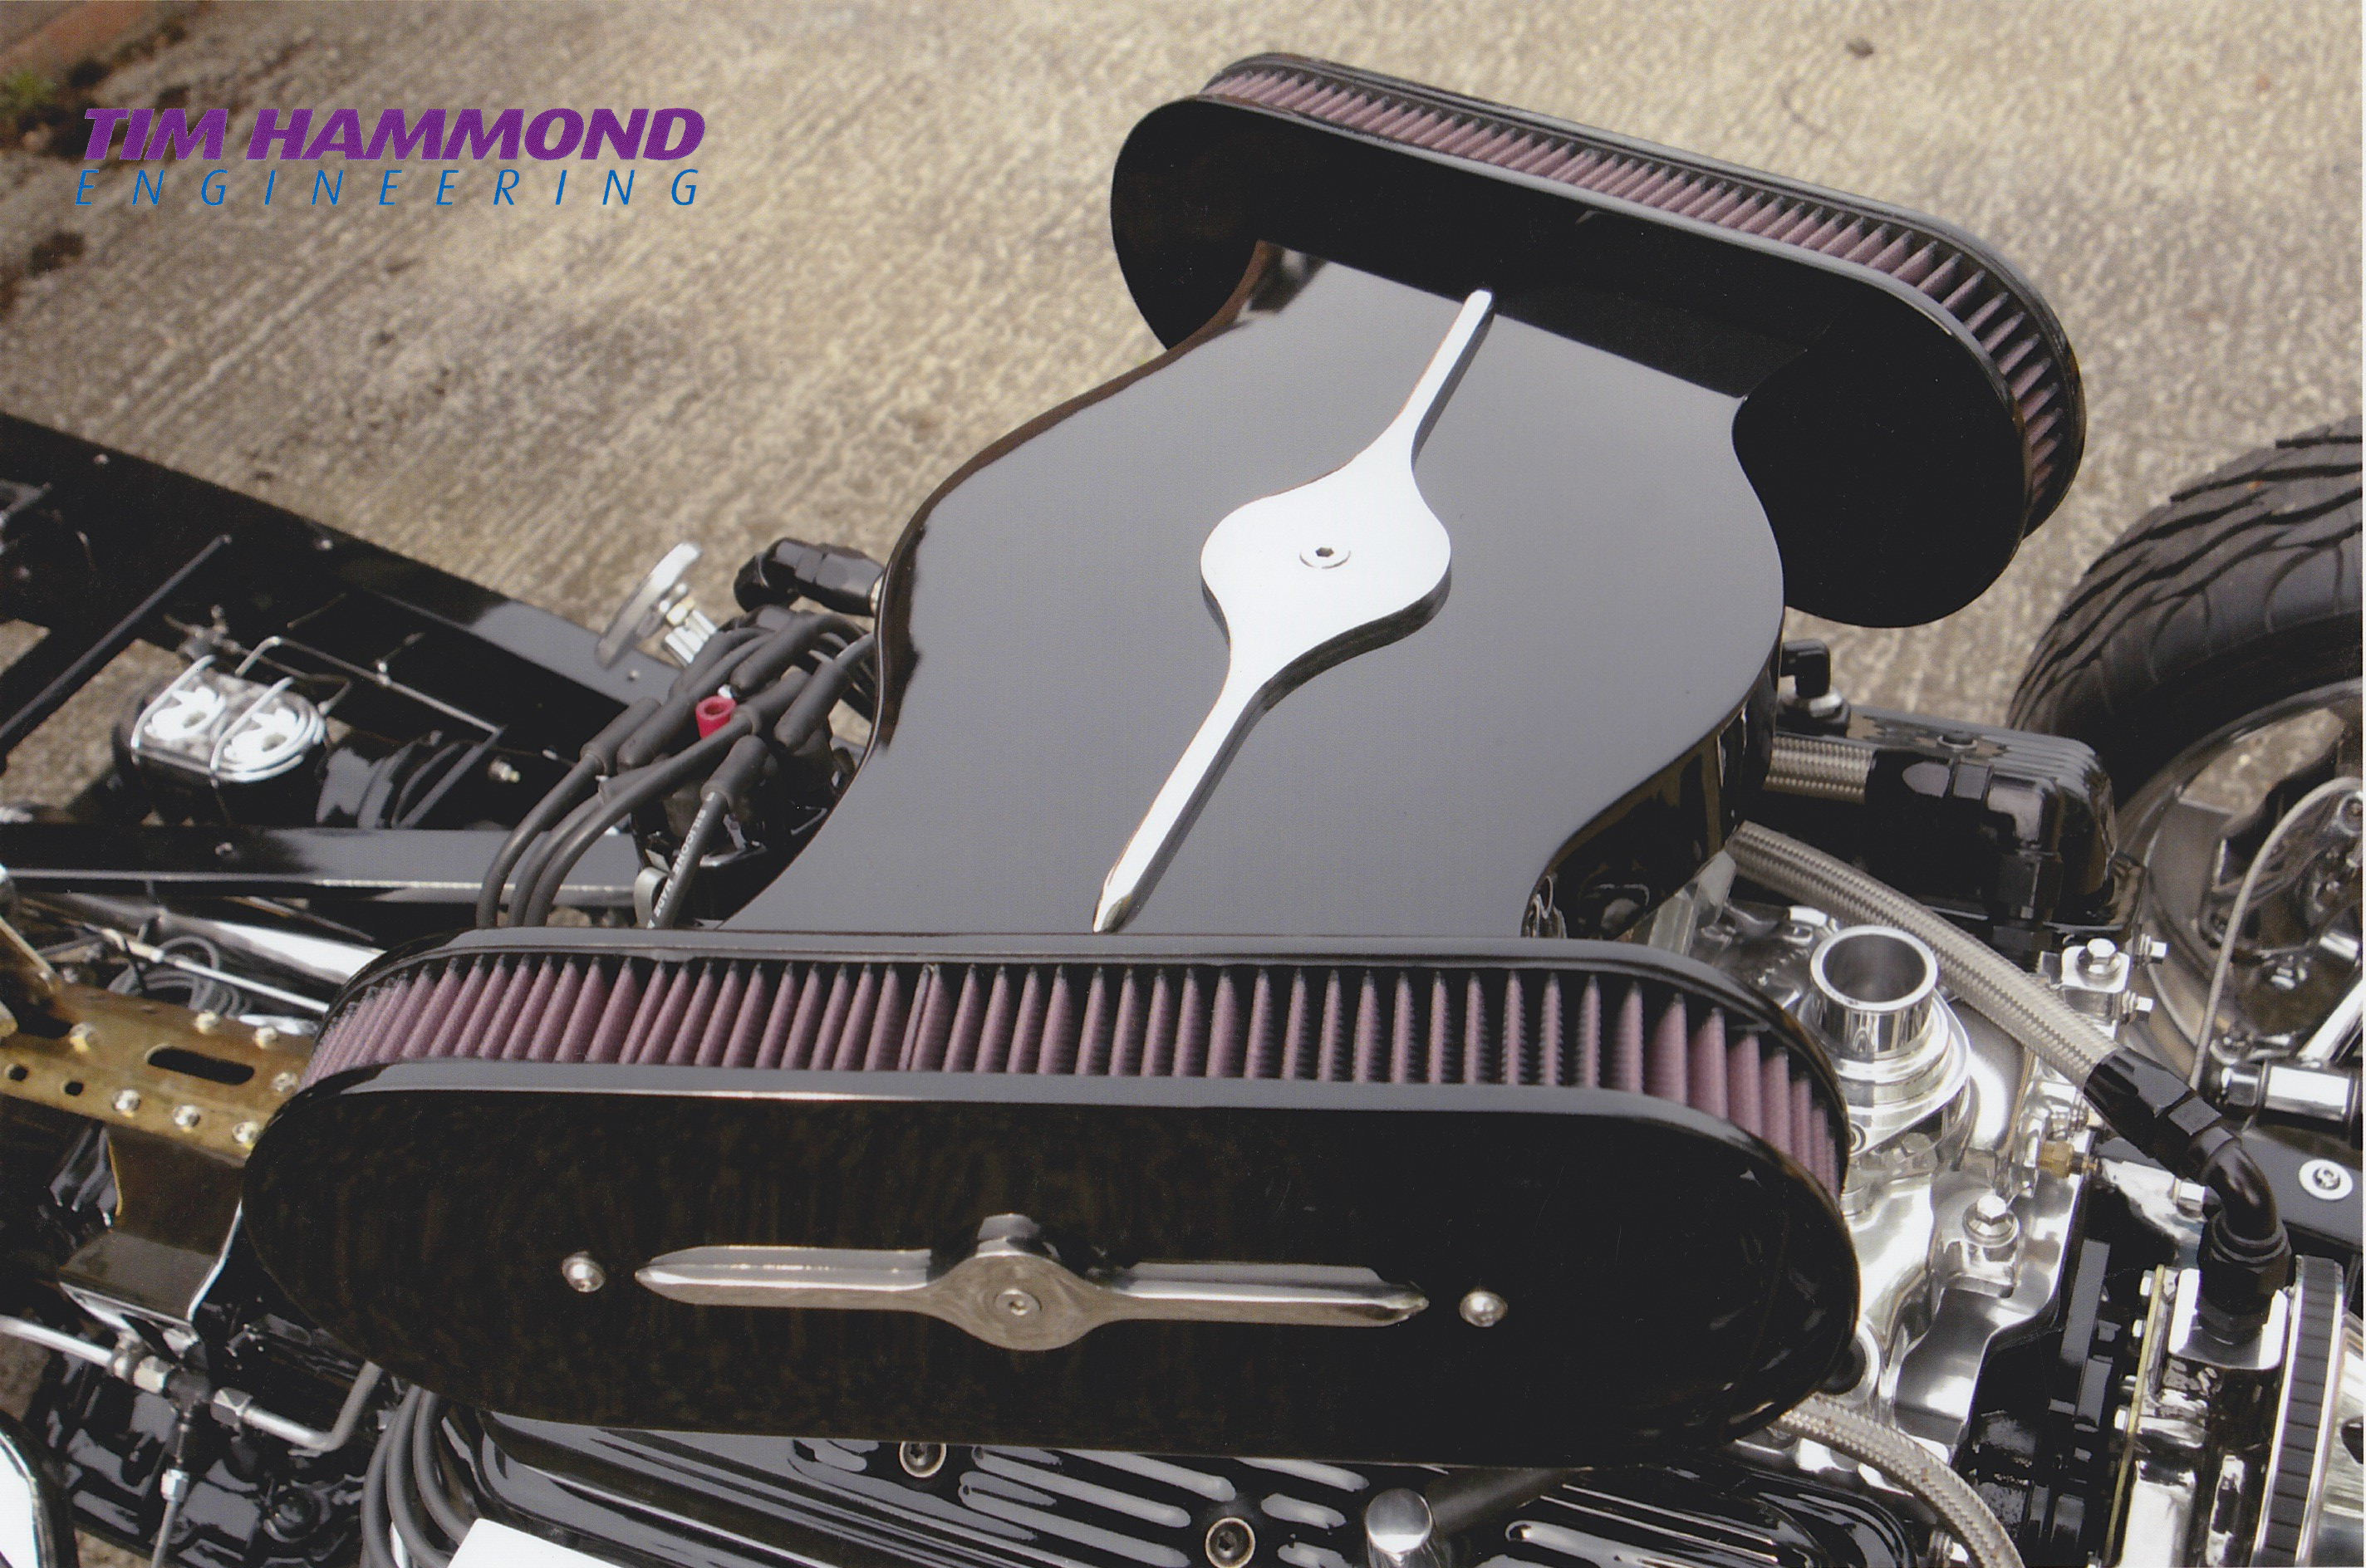
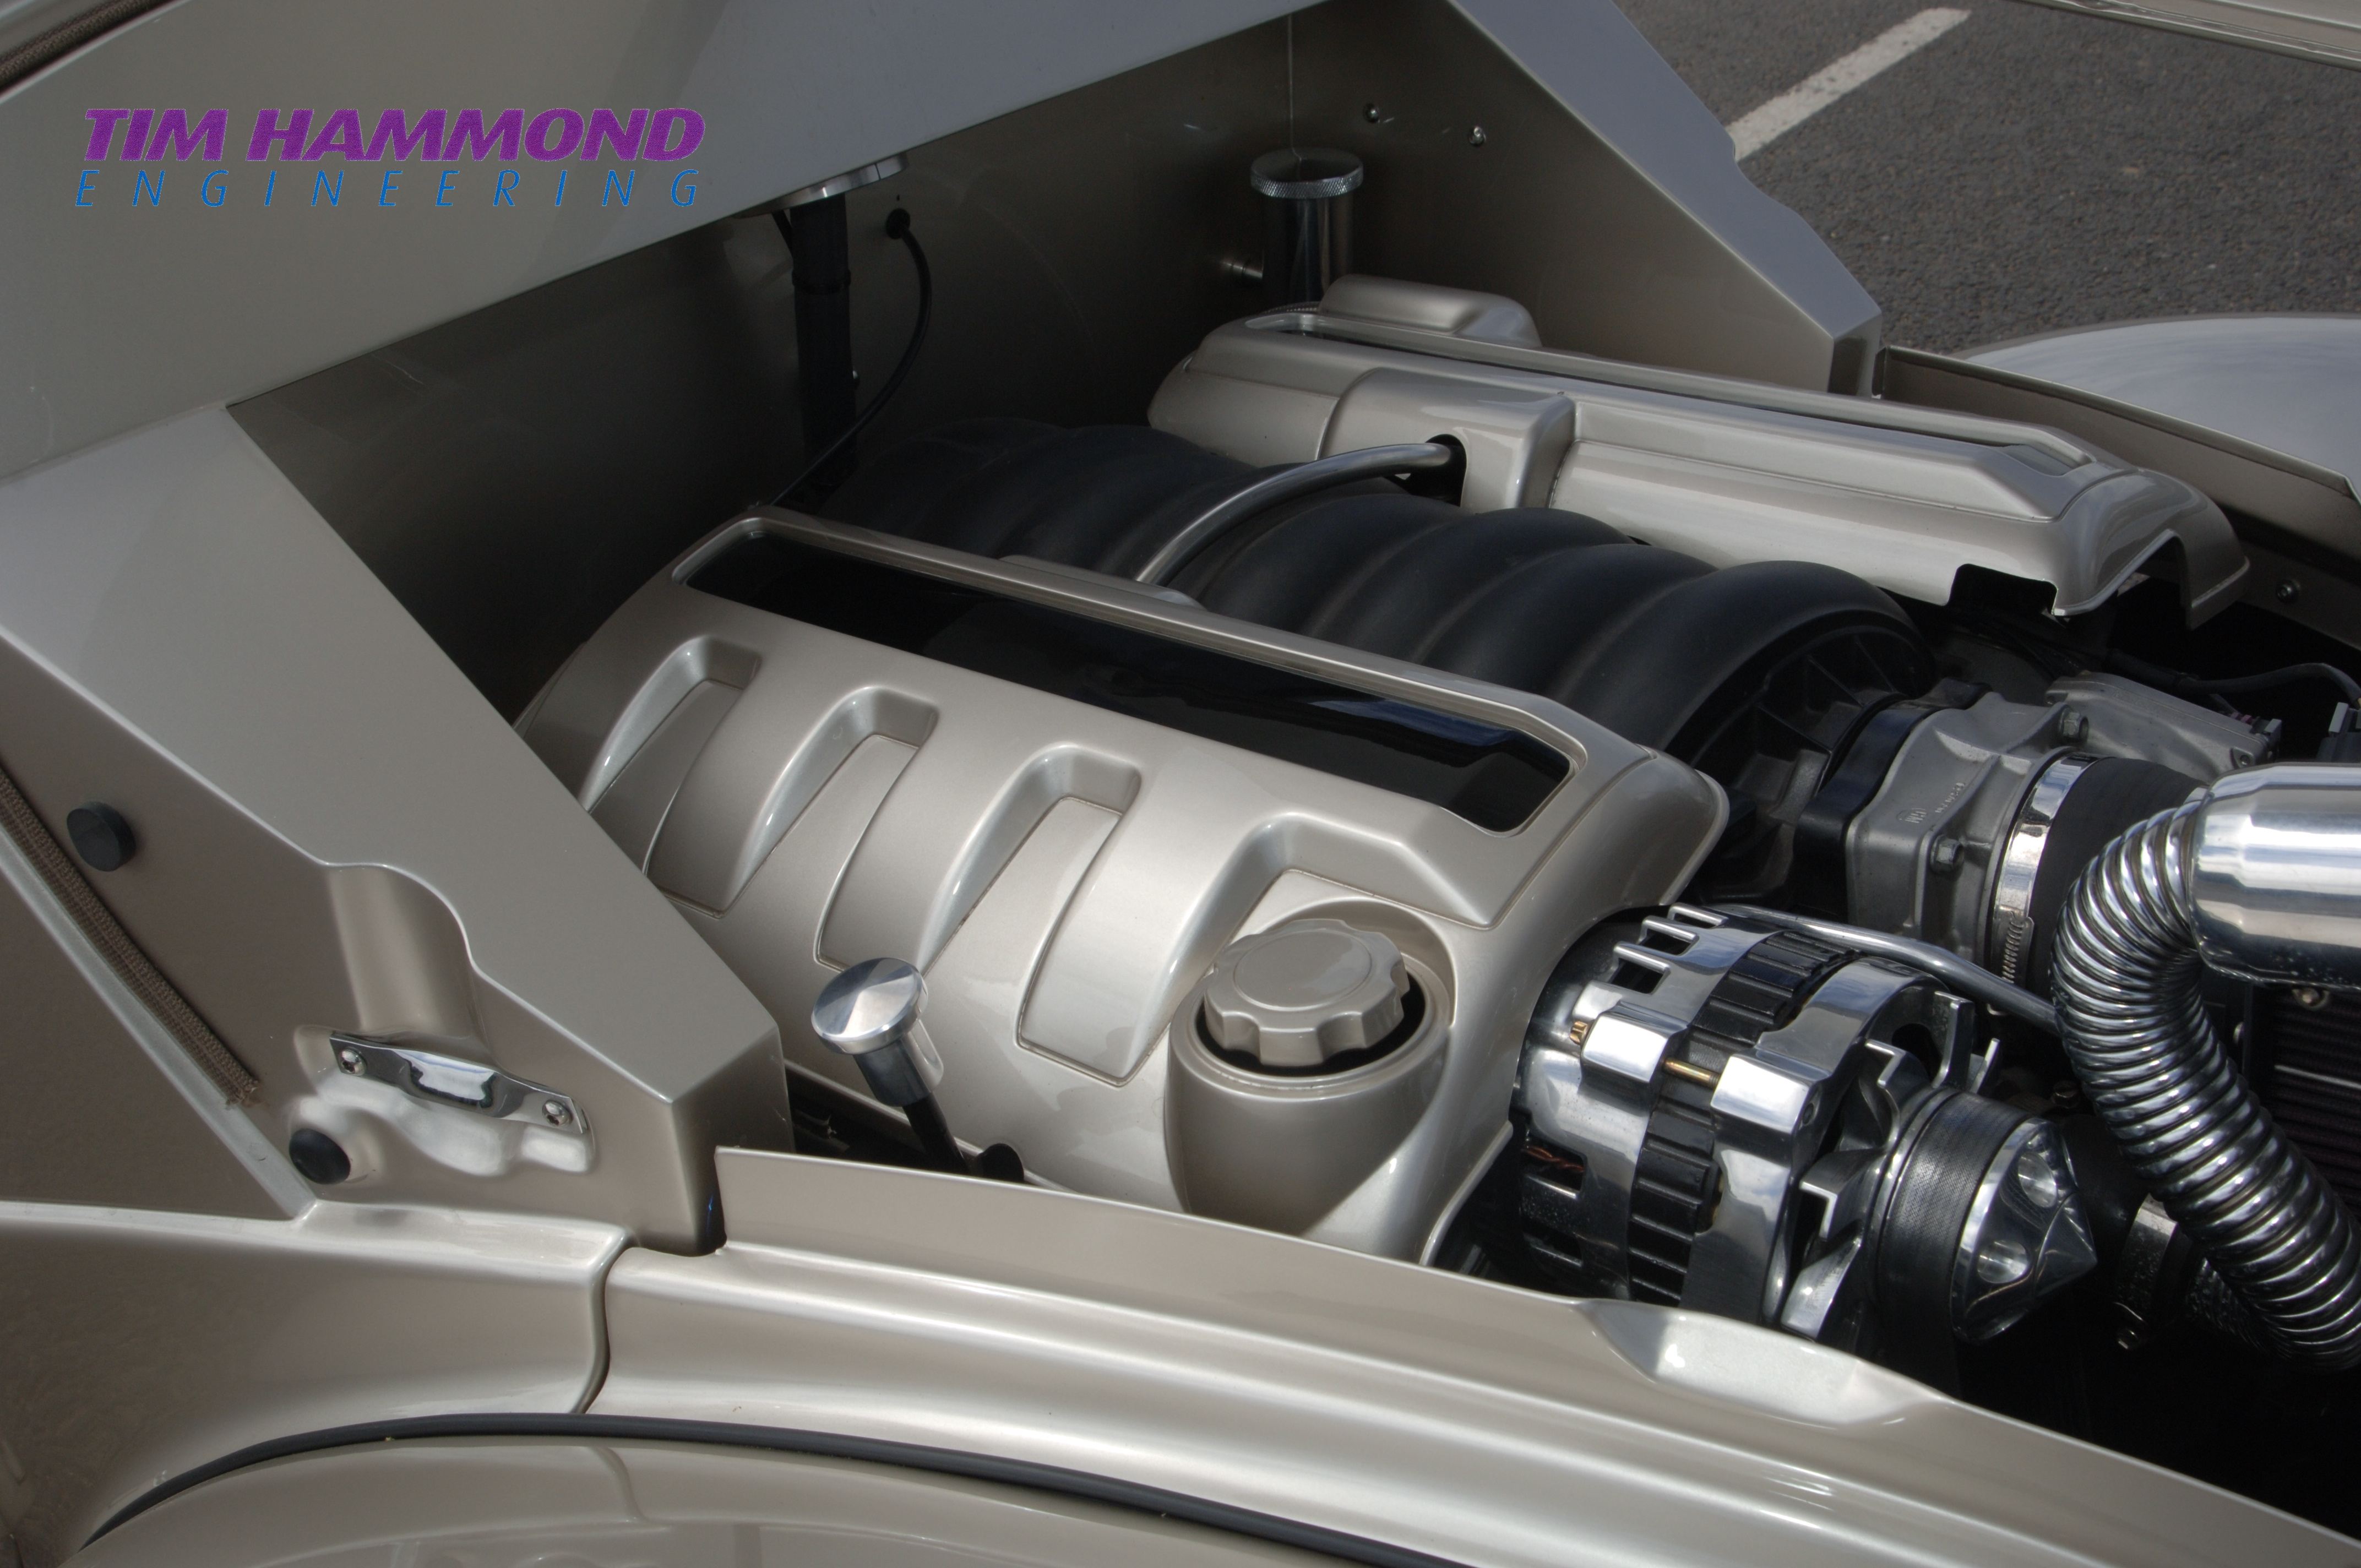
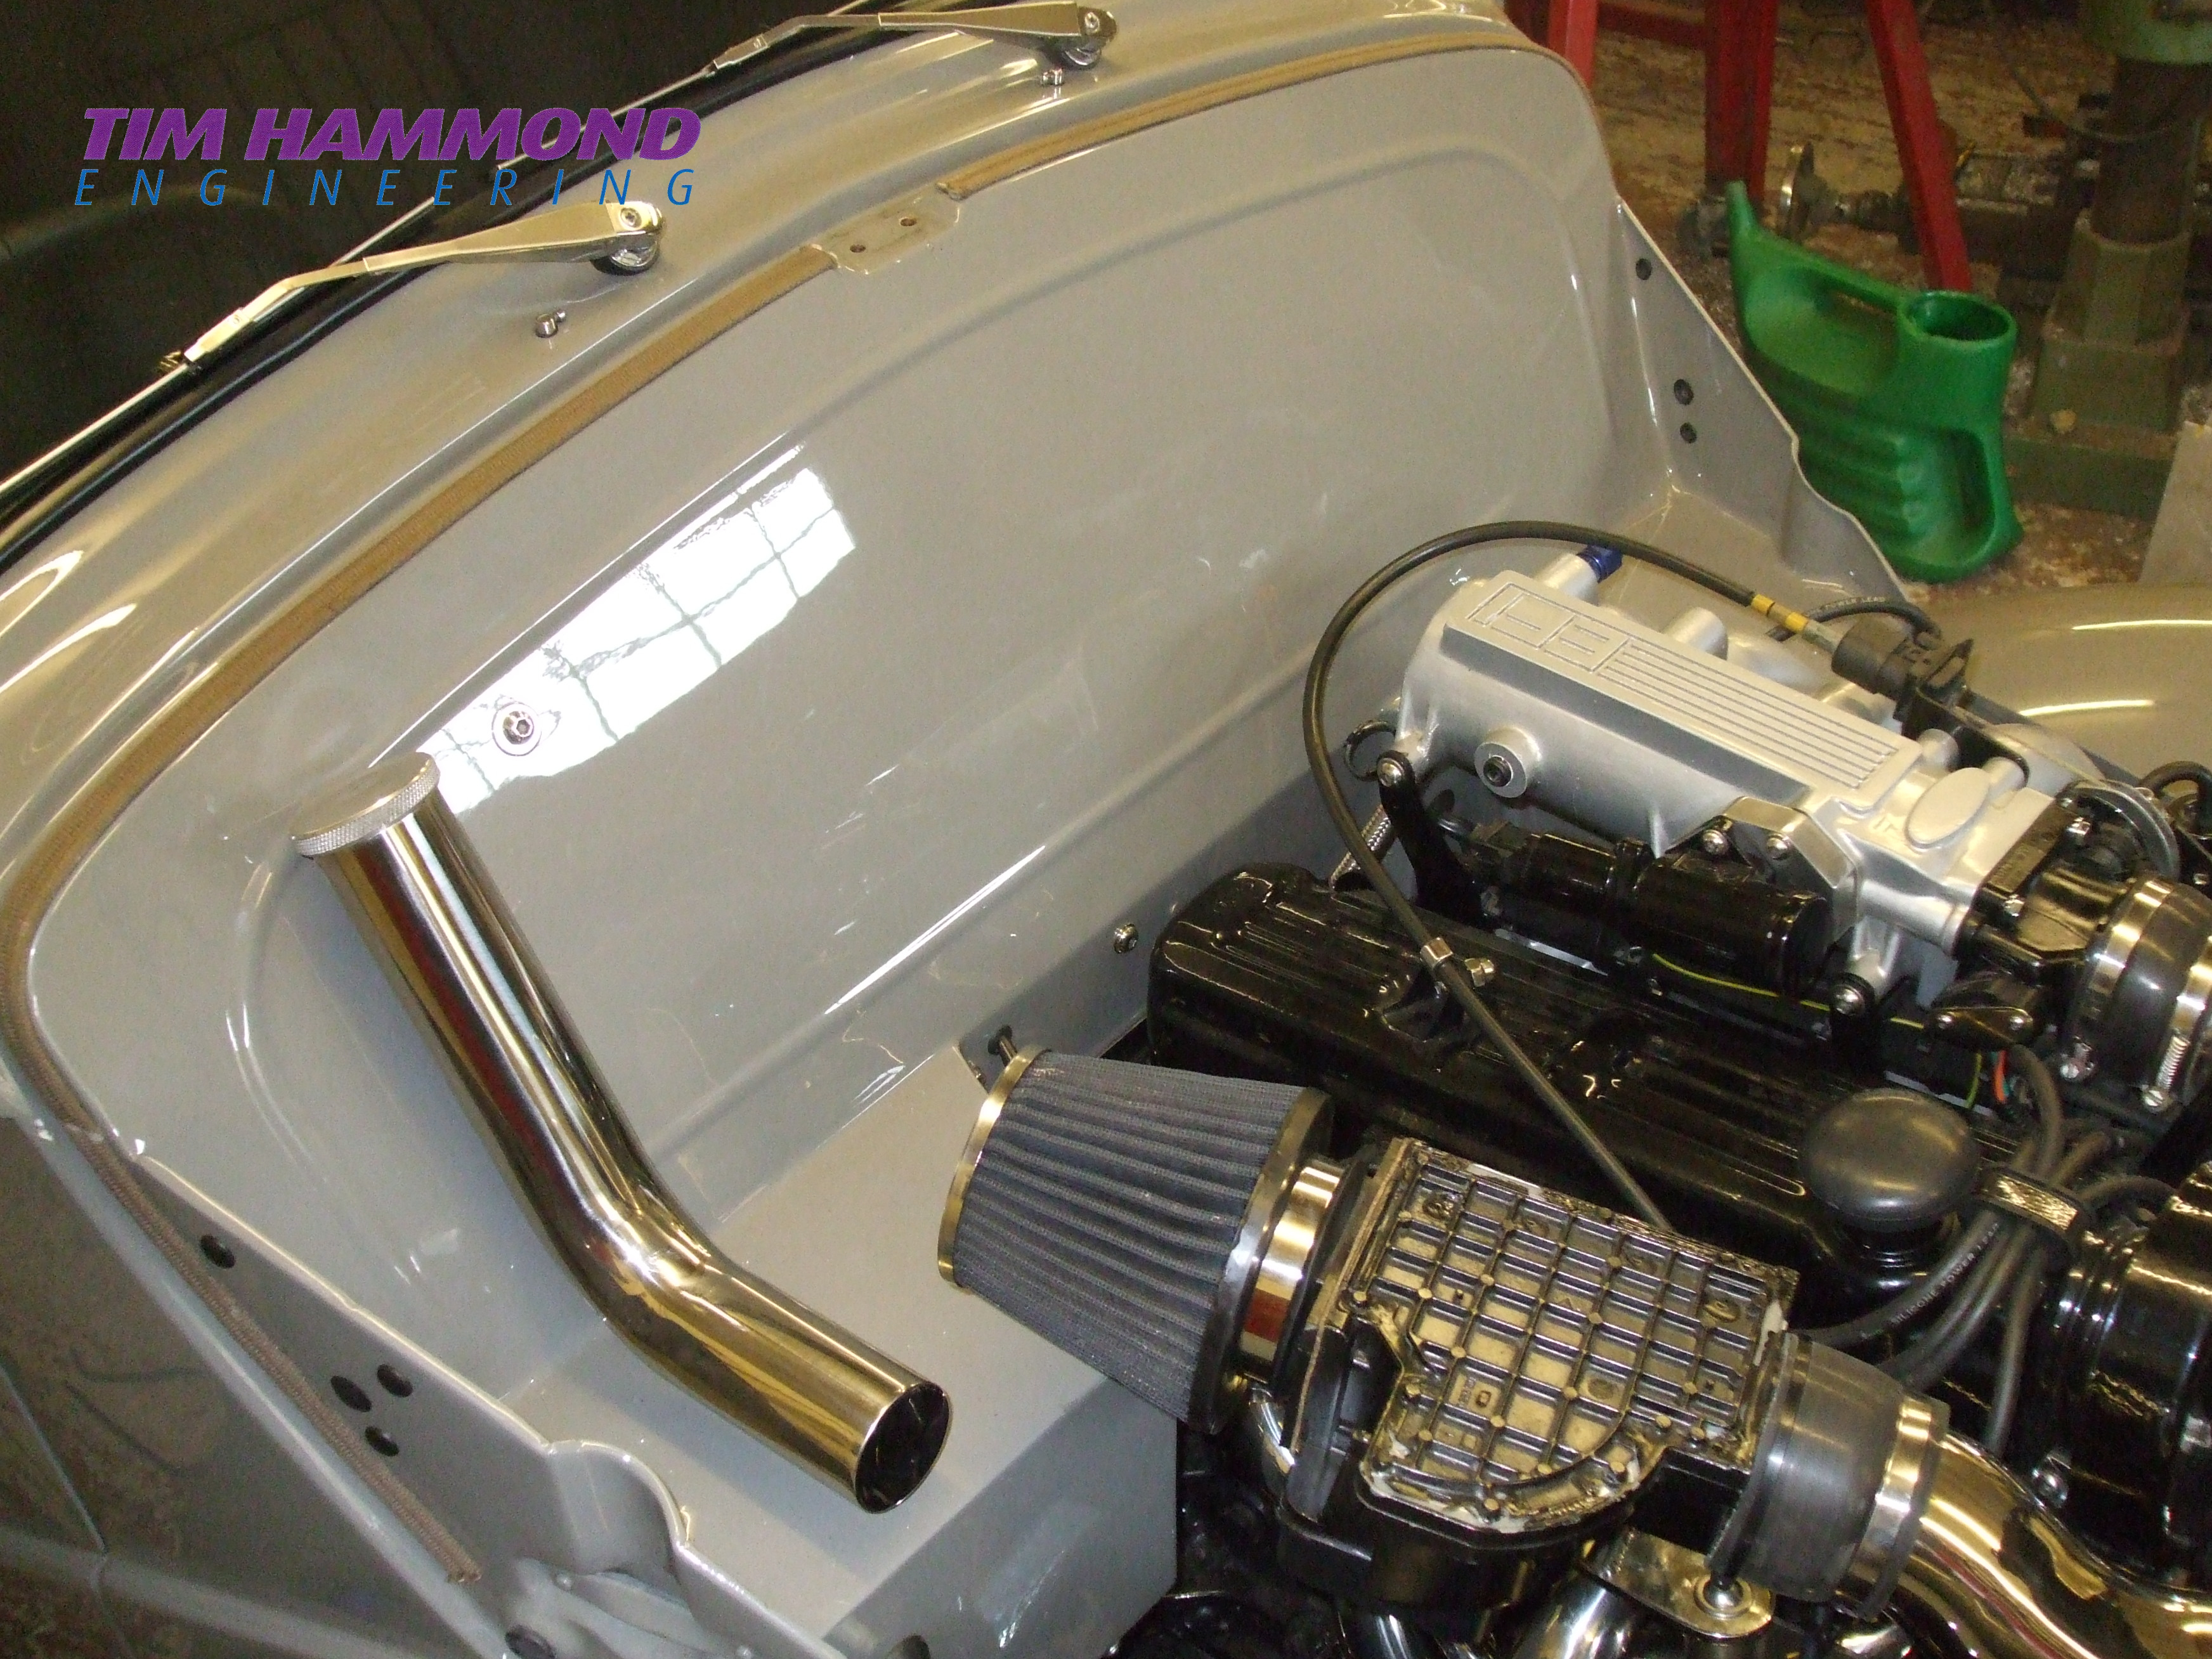
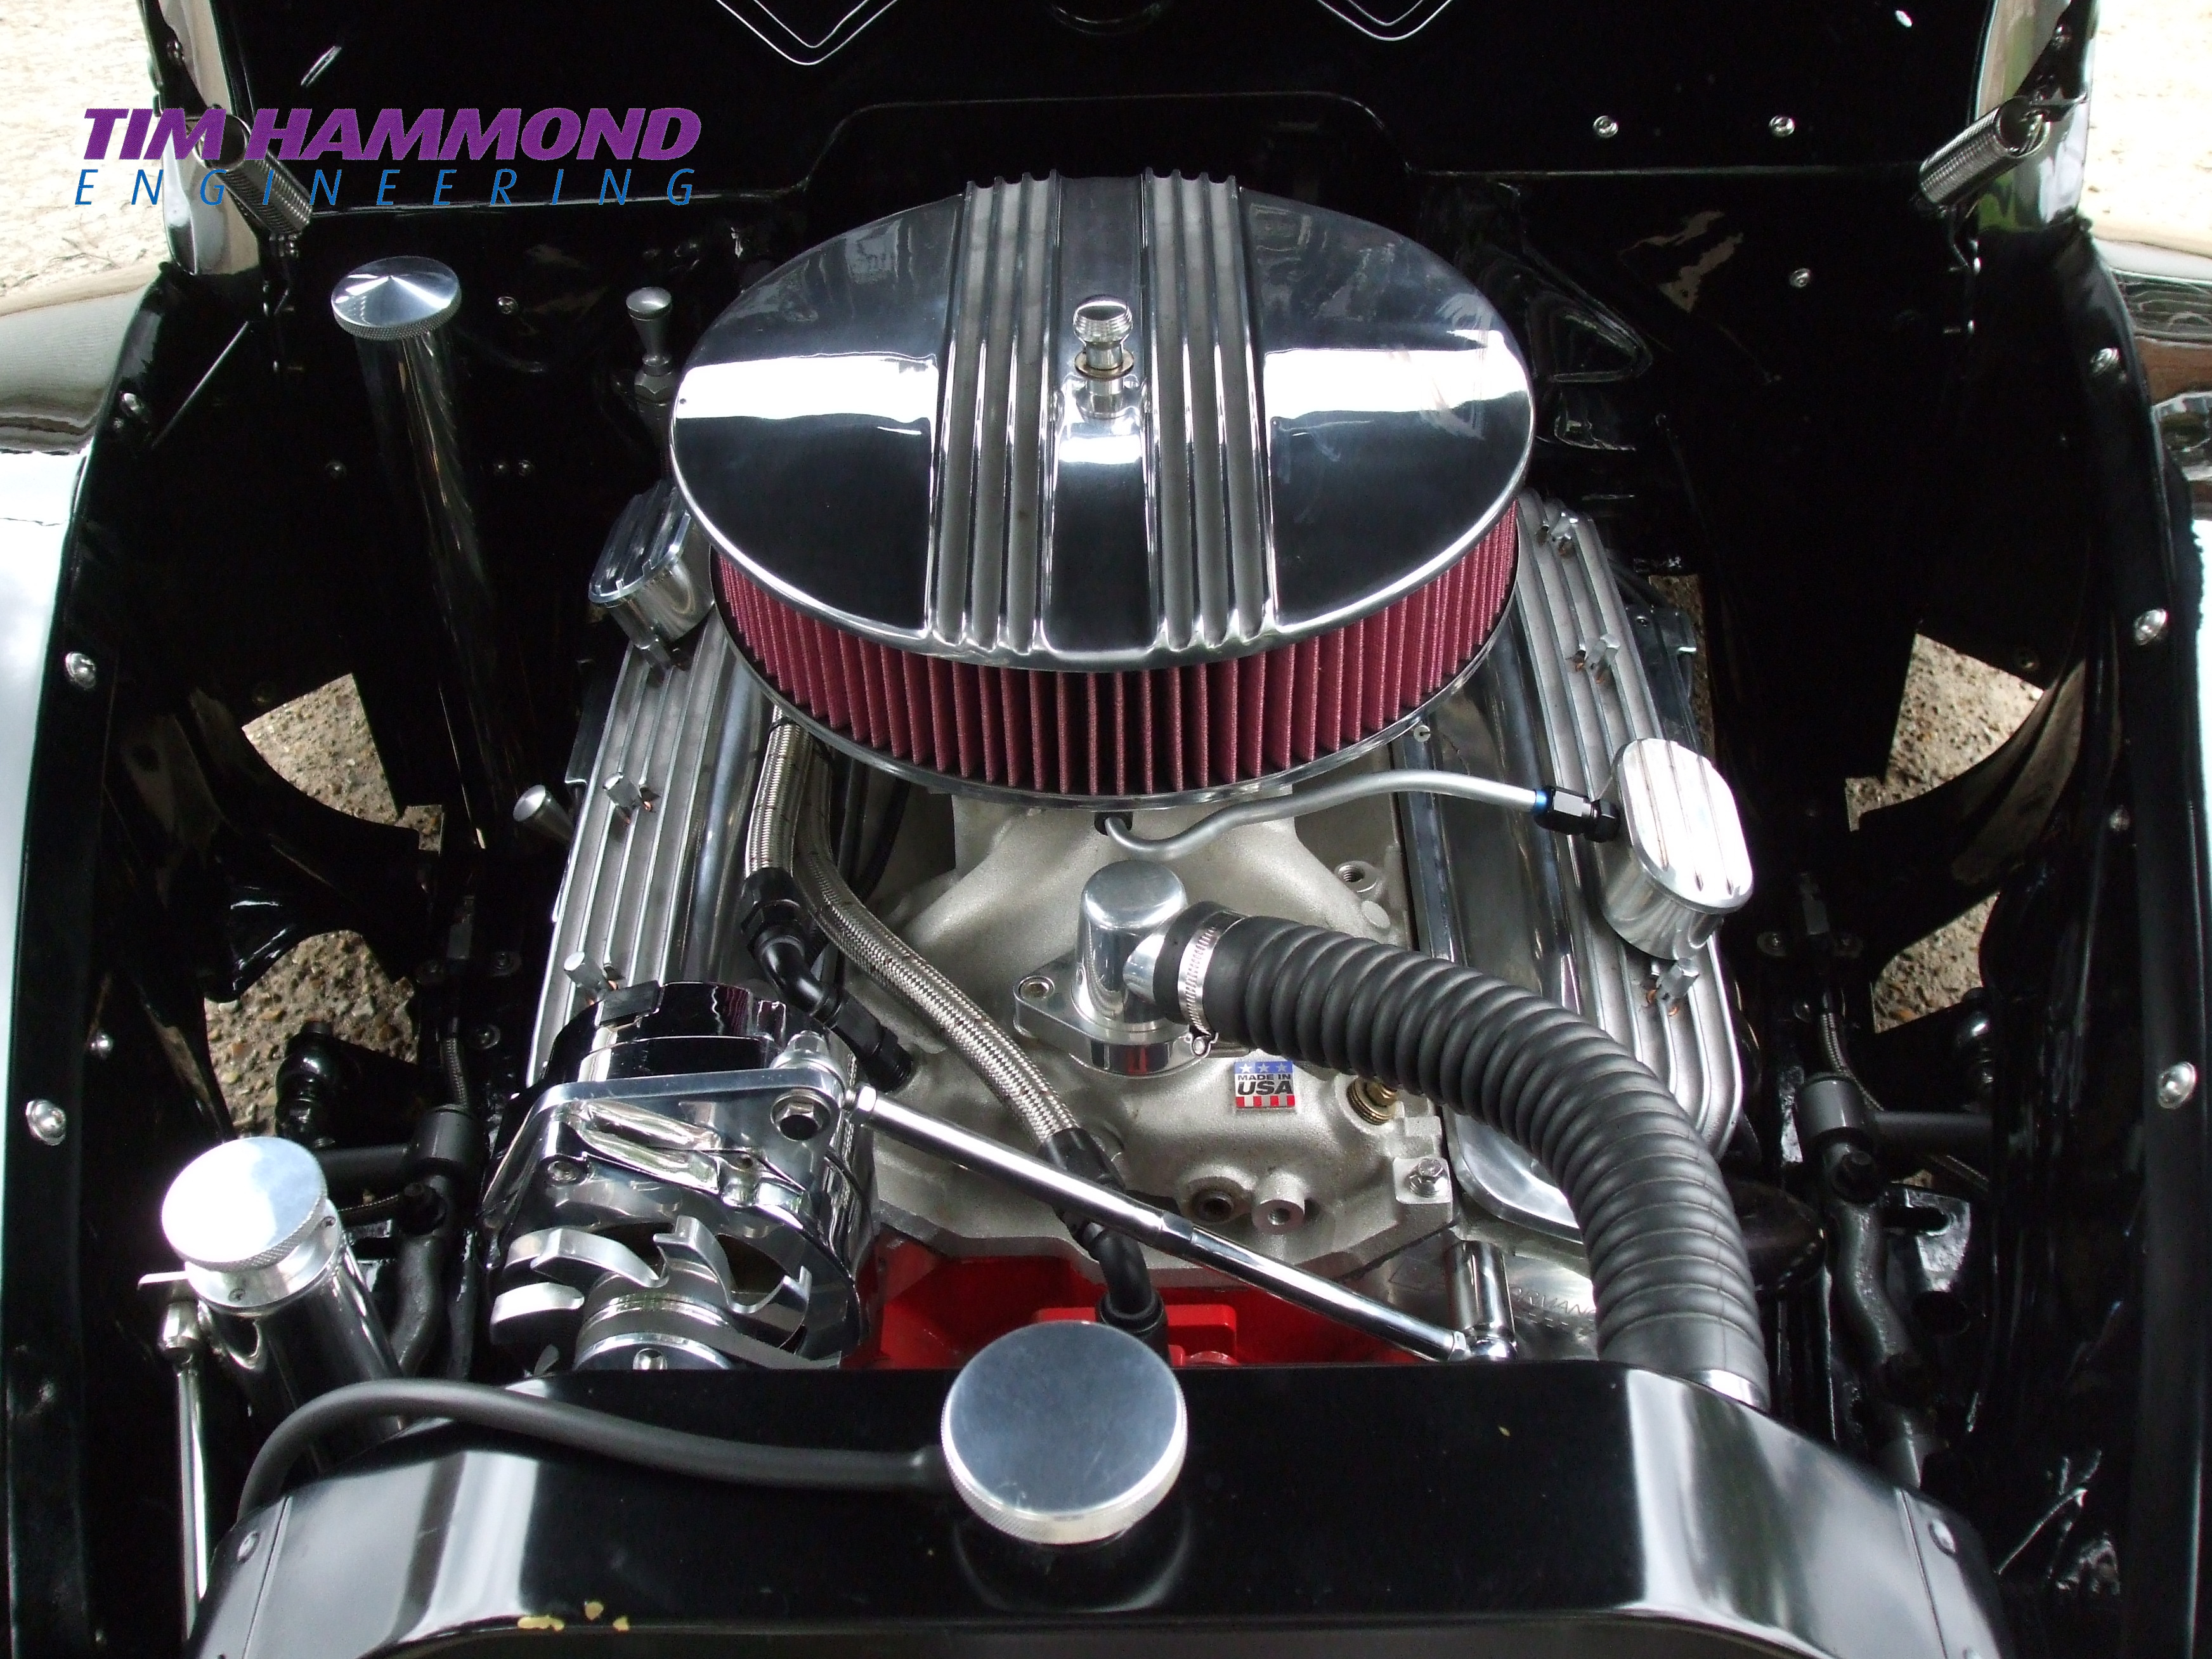
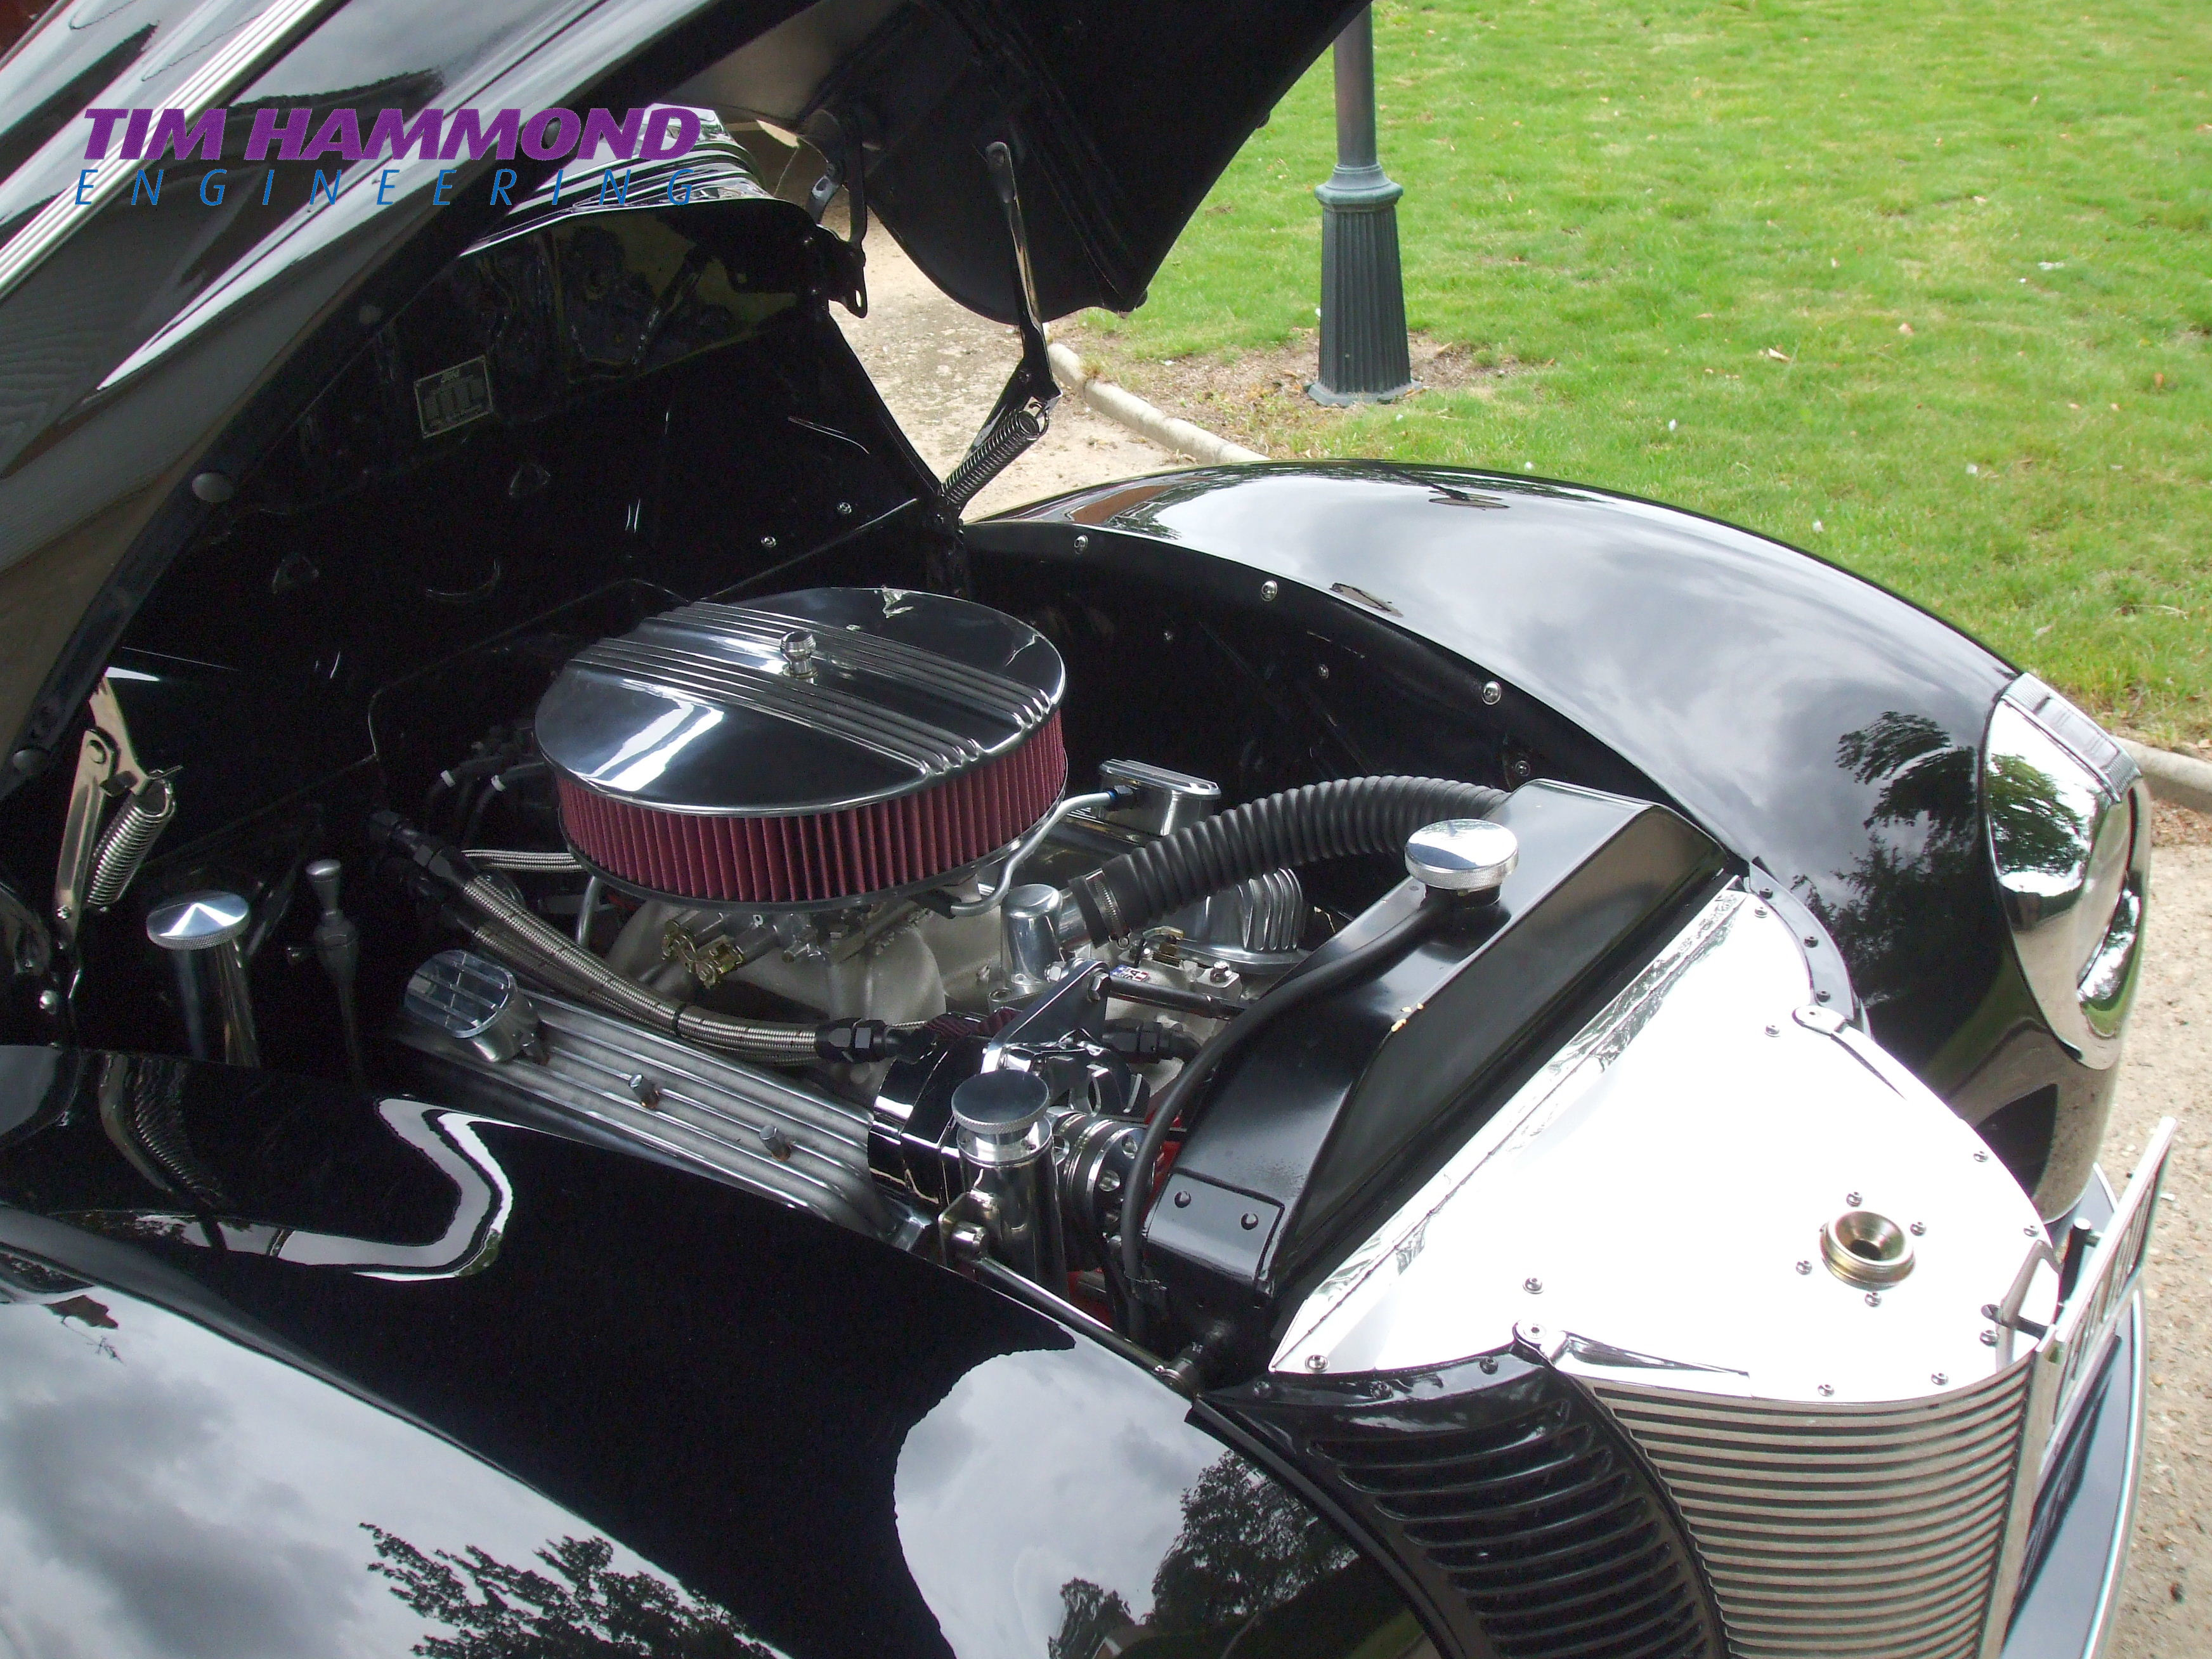
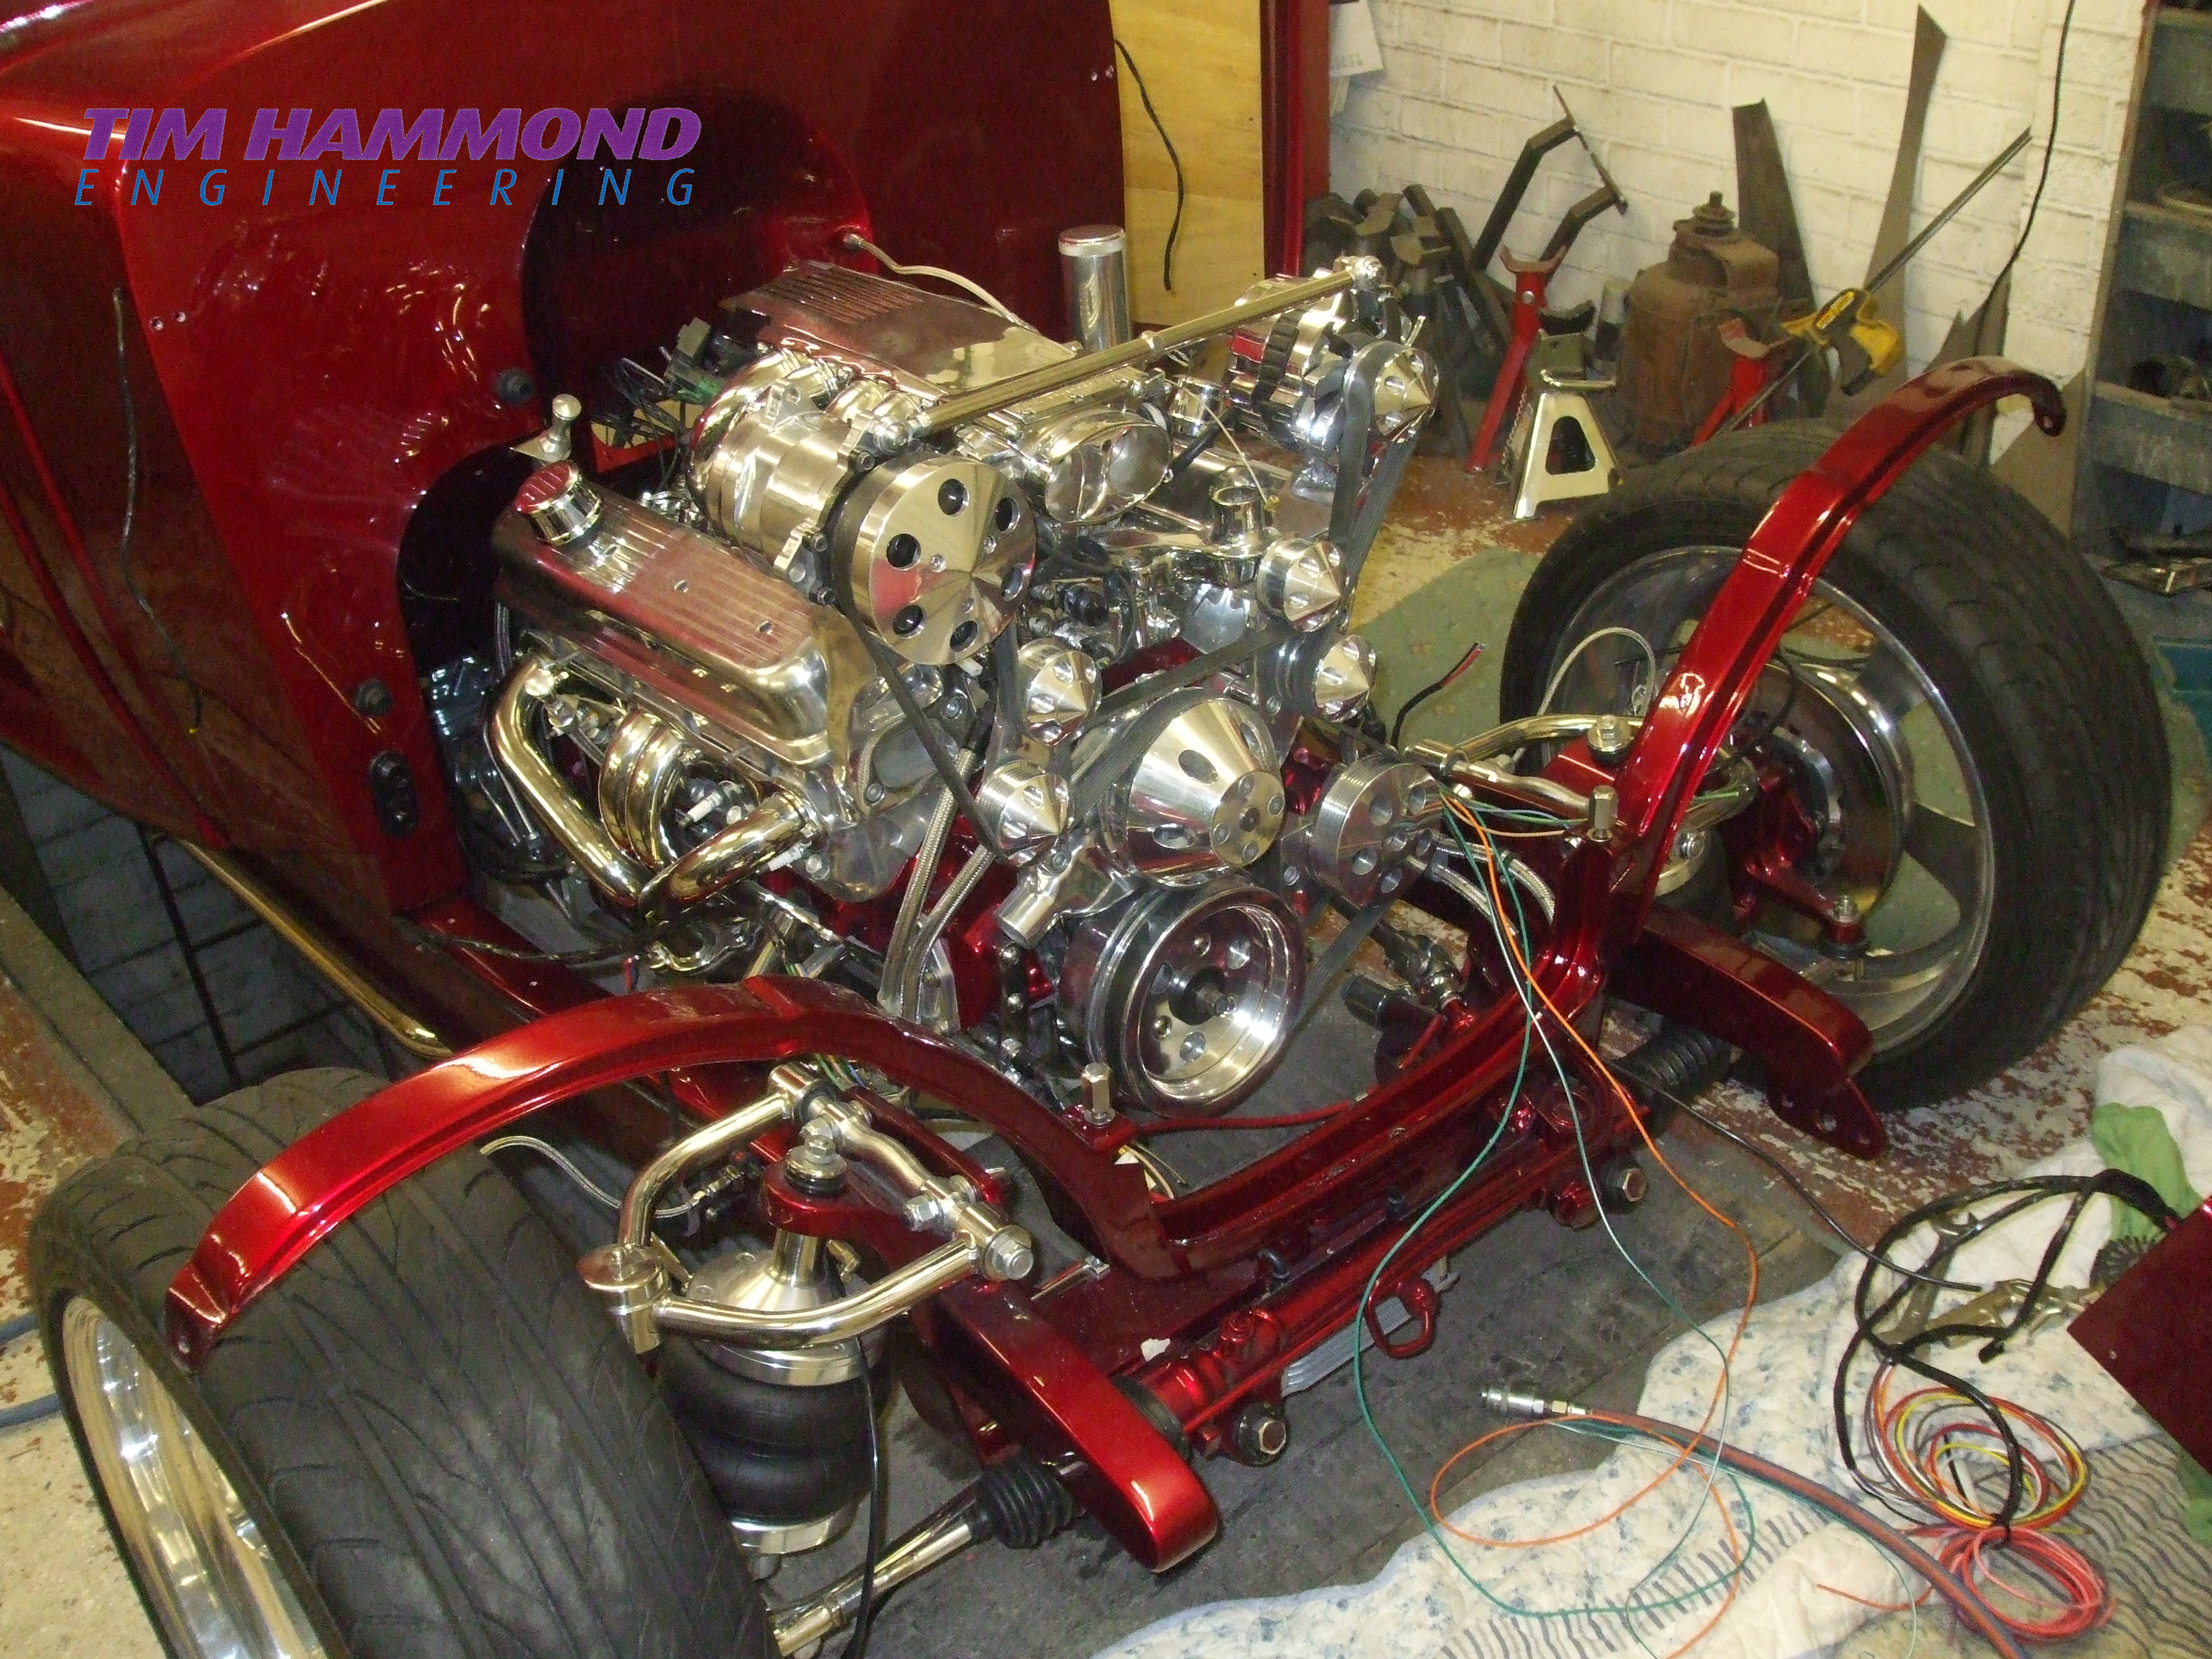
With the engine being completely stock we thought that it was not really necessary to increase performance or power, 5.7 lt being more than sufficient for most people. We therefore fitted new injectors, new water pump, 130 amp alternator and then fabricated a one off engine cover from mild steel with chrome filters and chrome spears with a K & N filter at the front. This was painted two tone – body colour with an off-white pearl accents. No aluminium is on the engine, just body colour paint everywhere and chrome and stainless bolts.
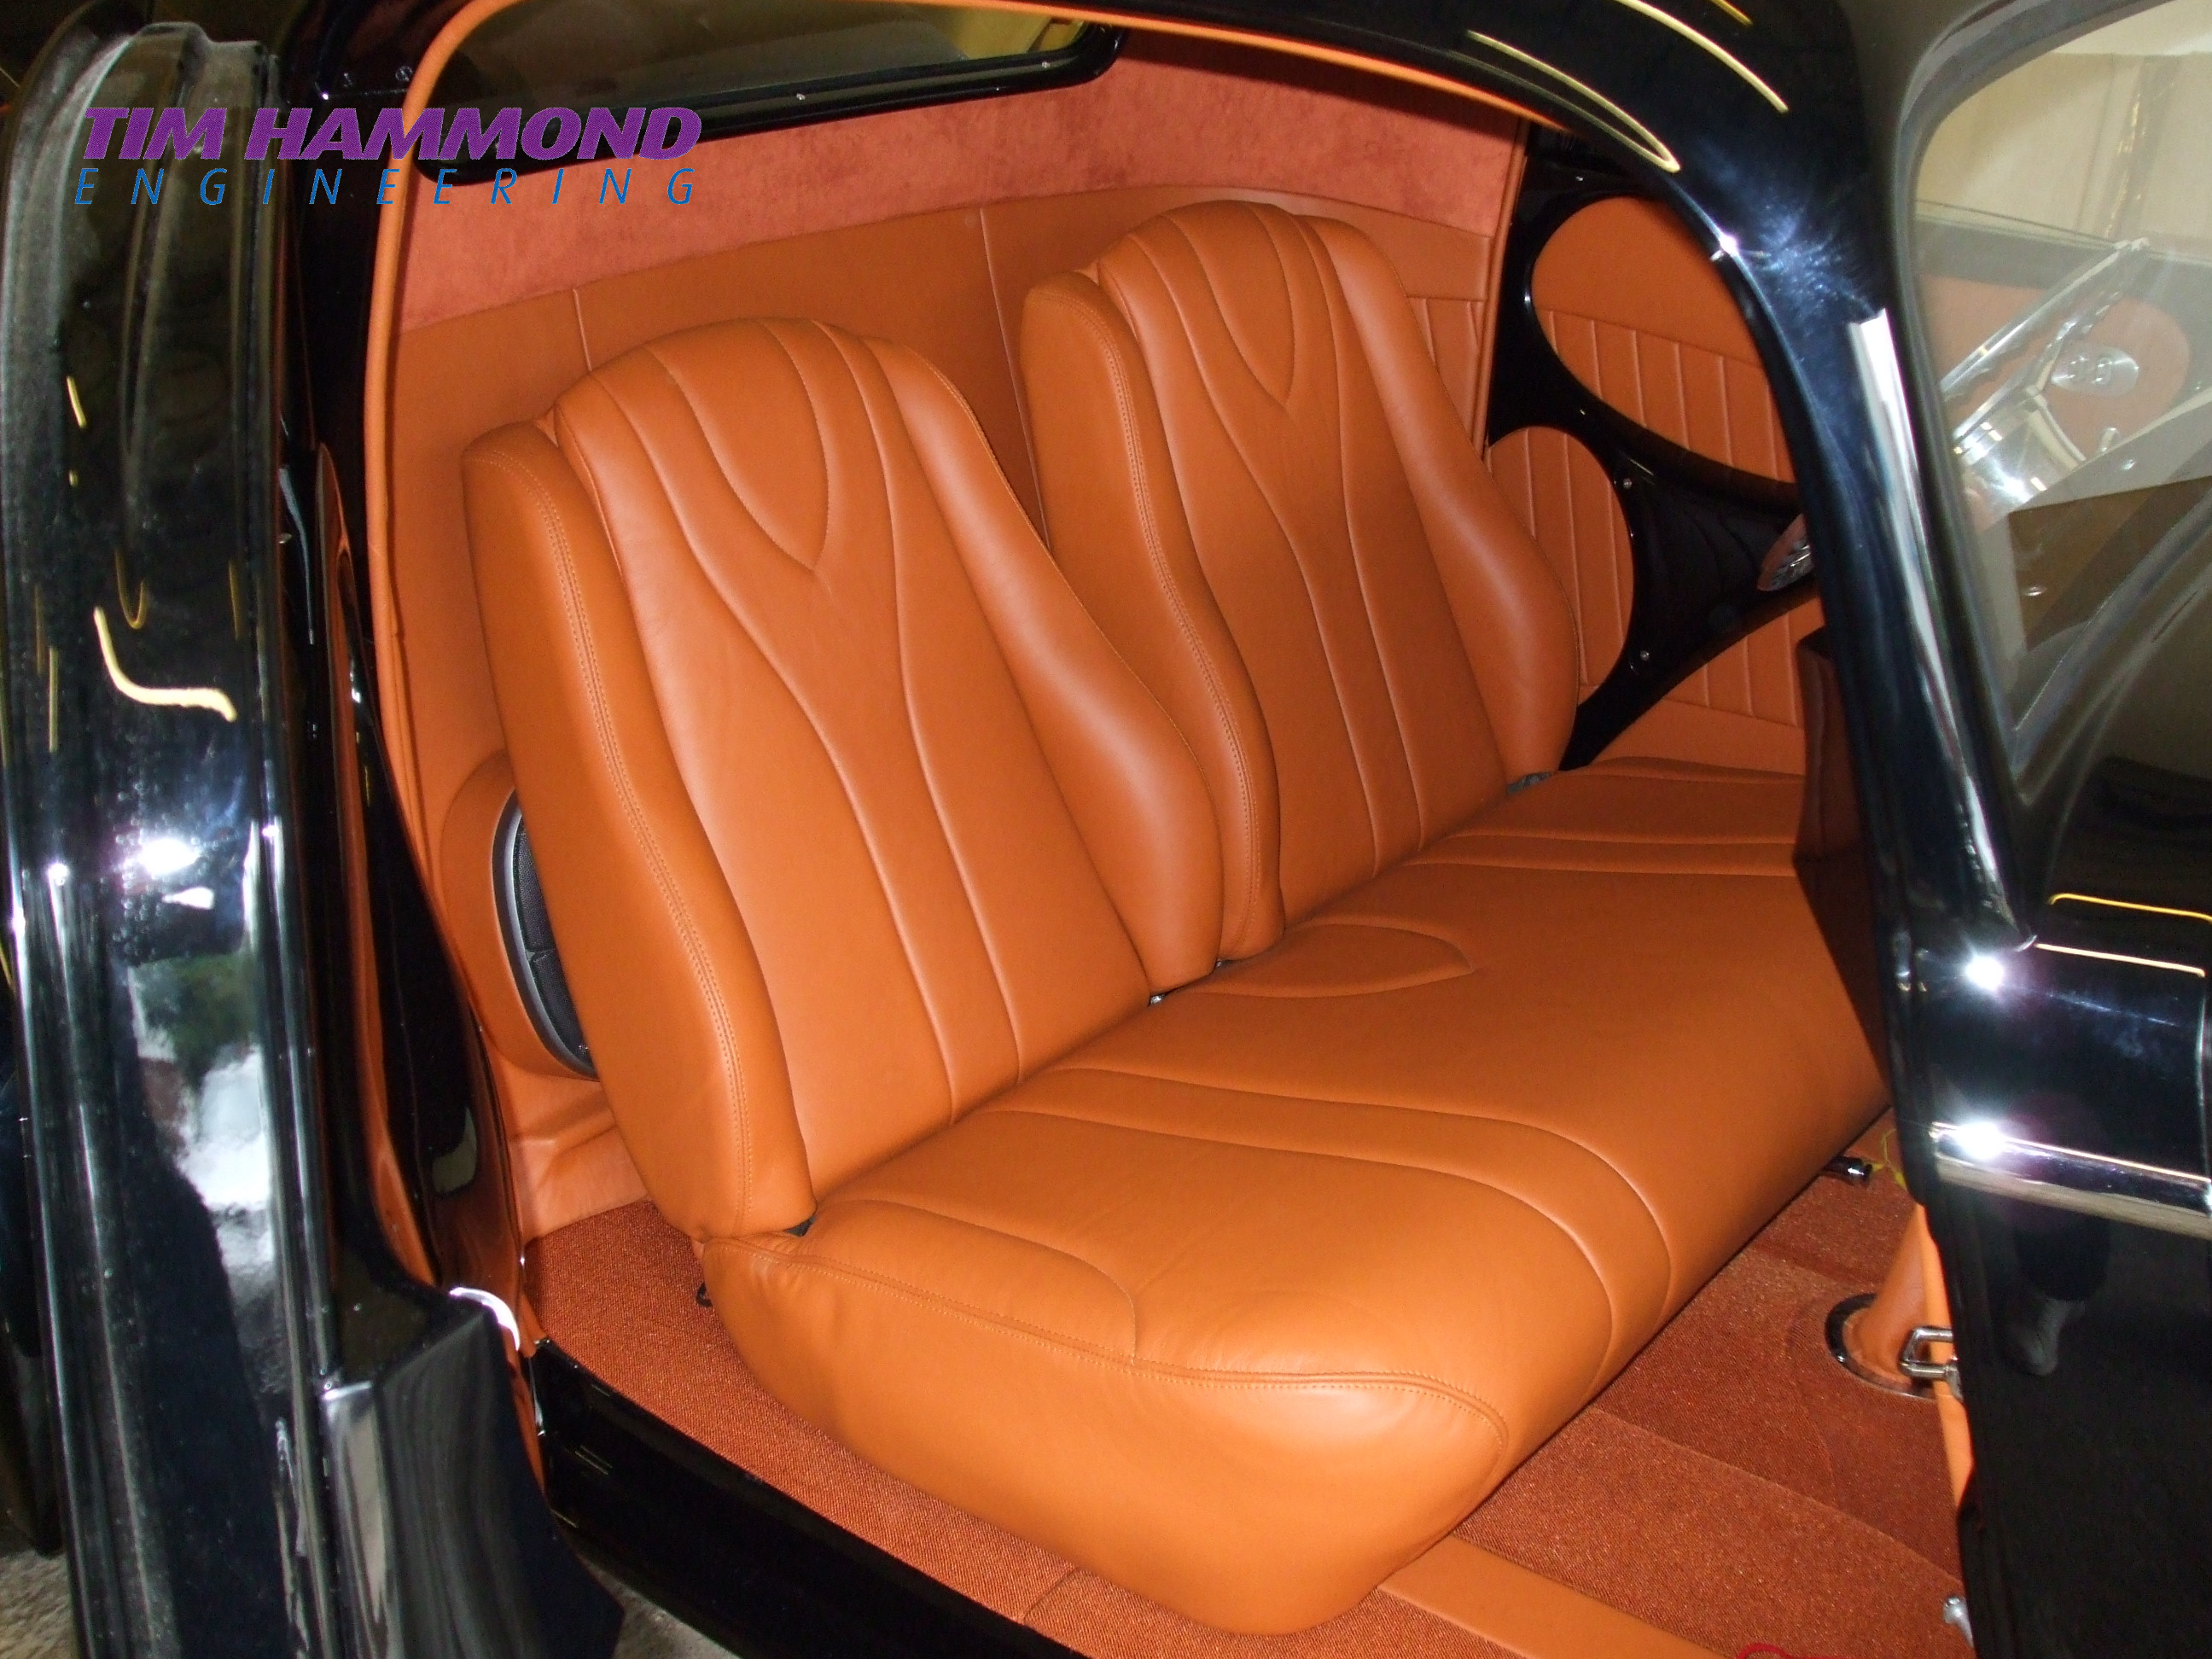
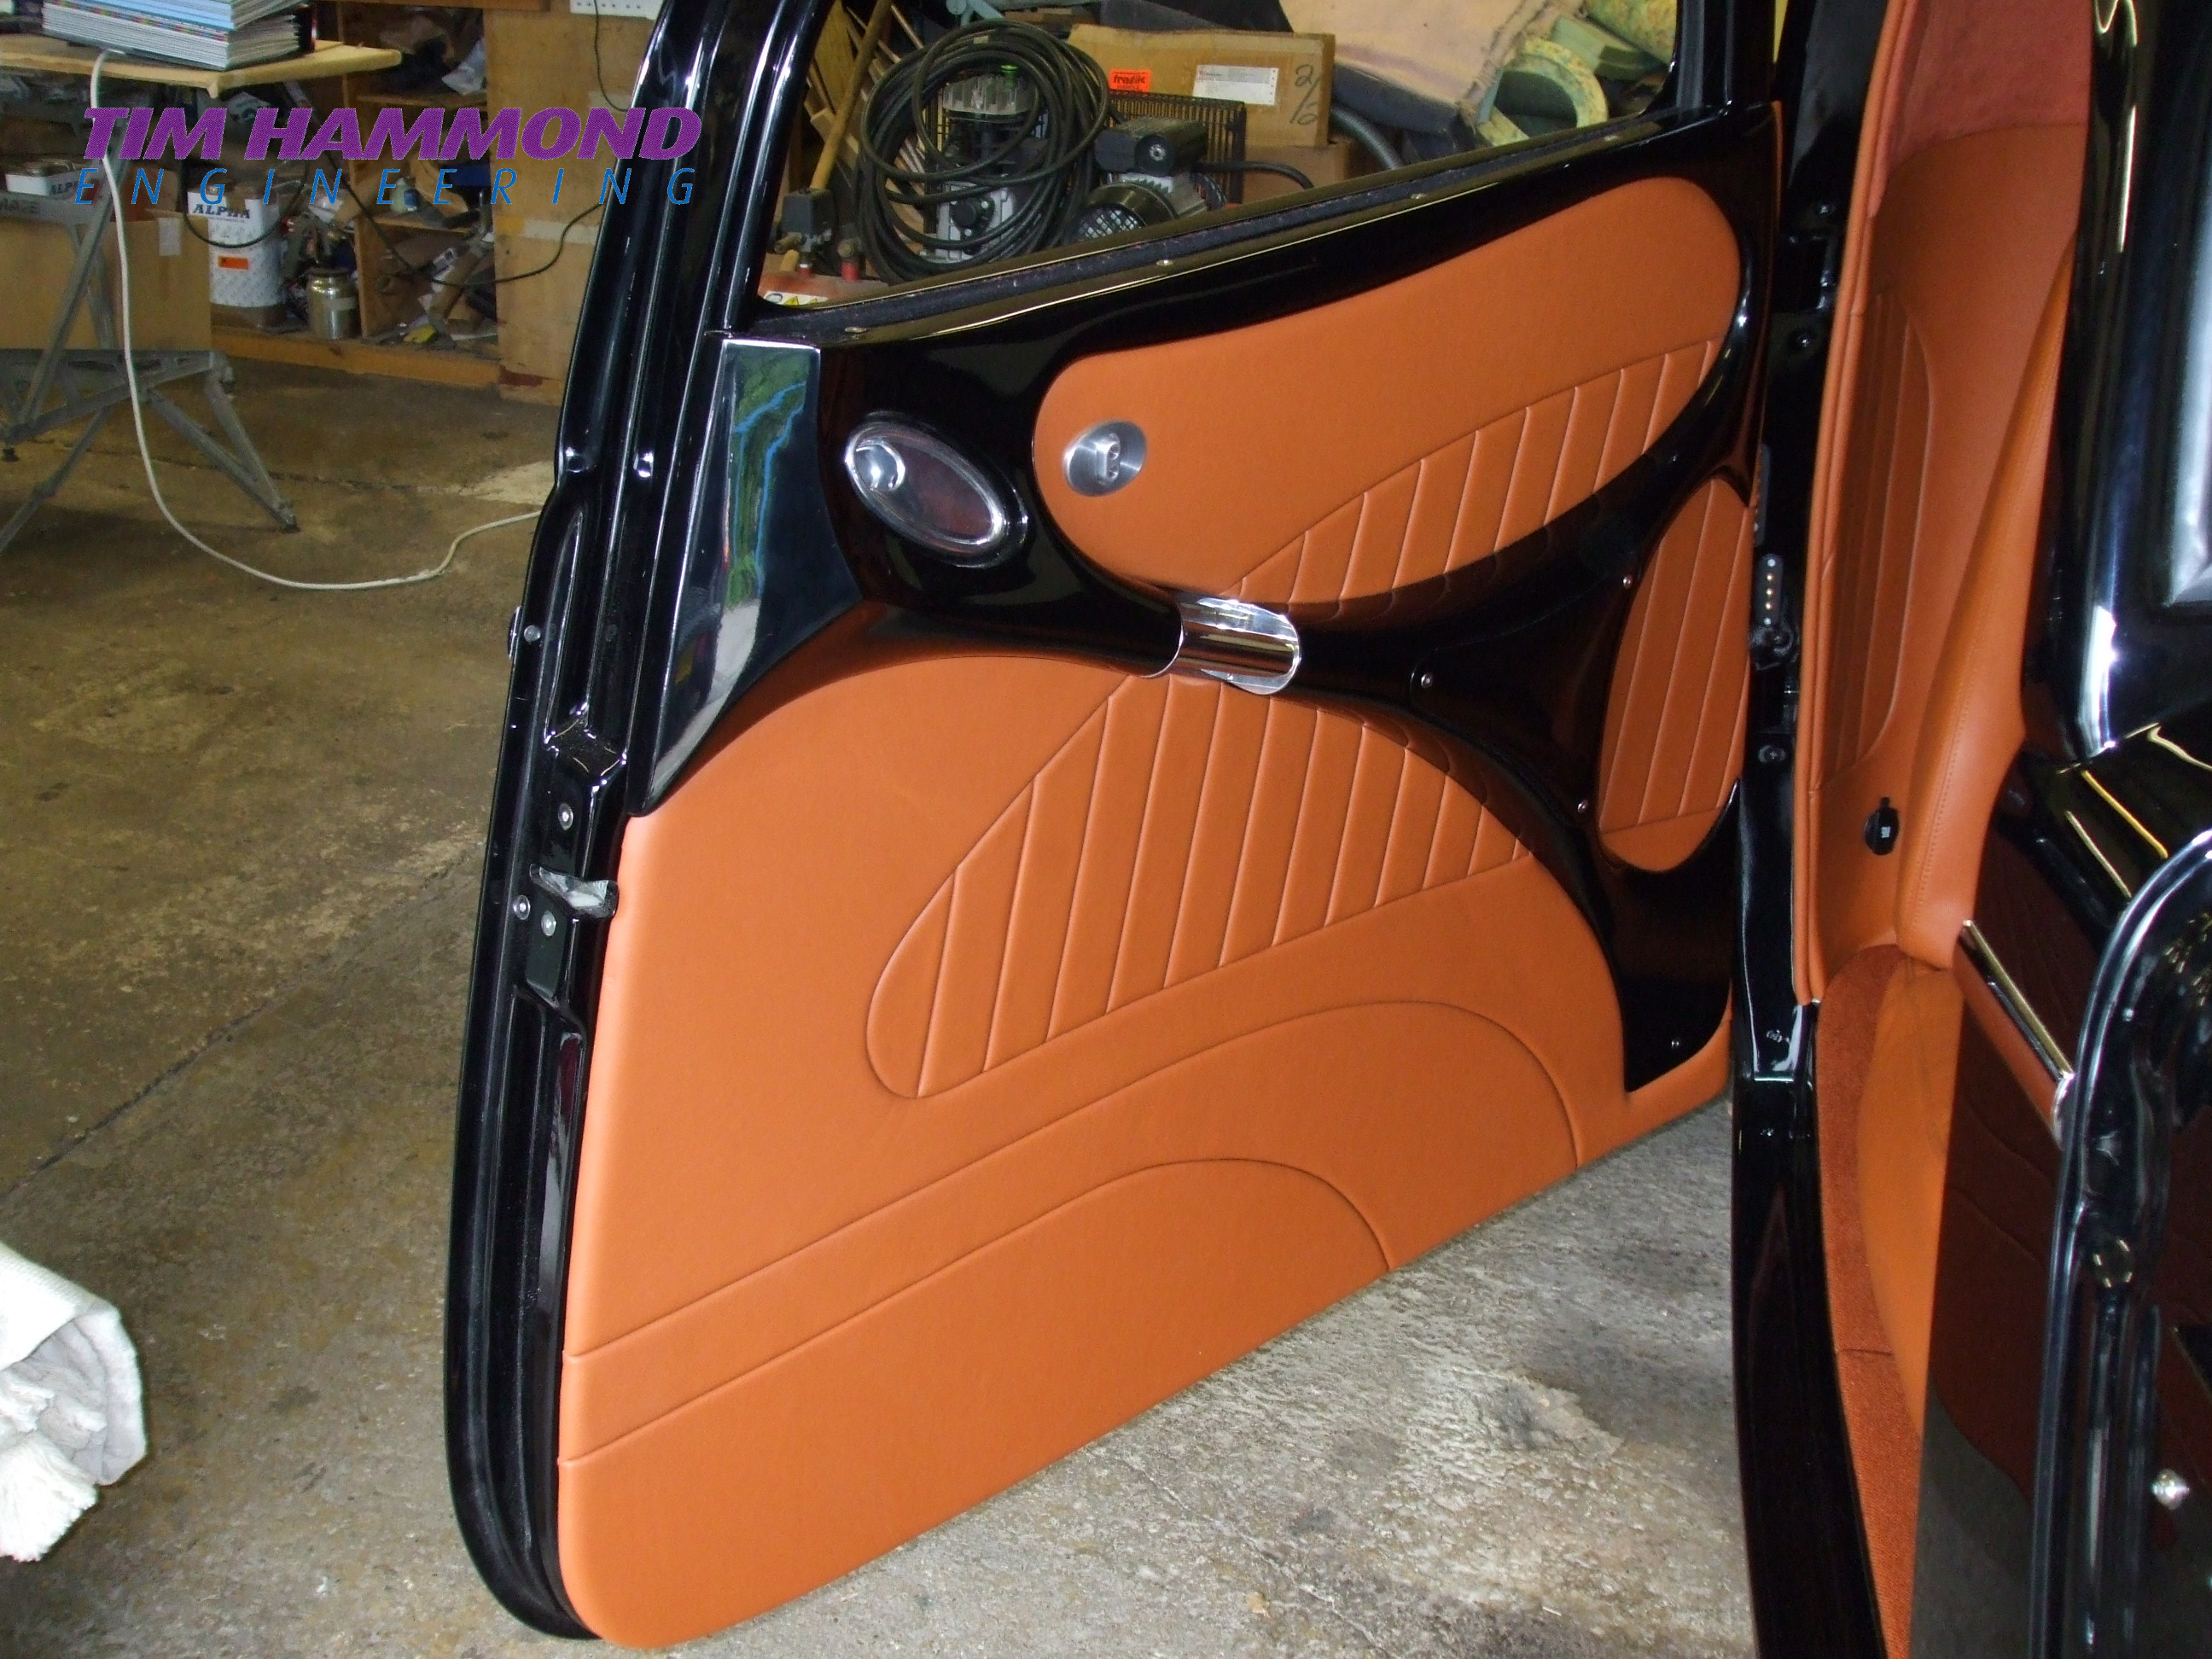
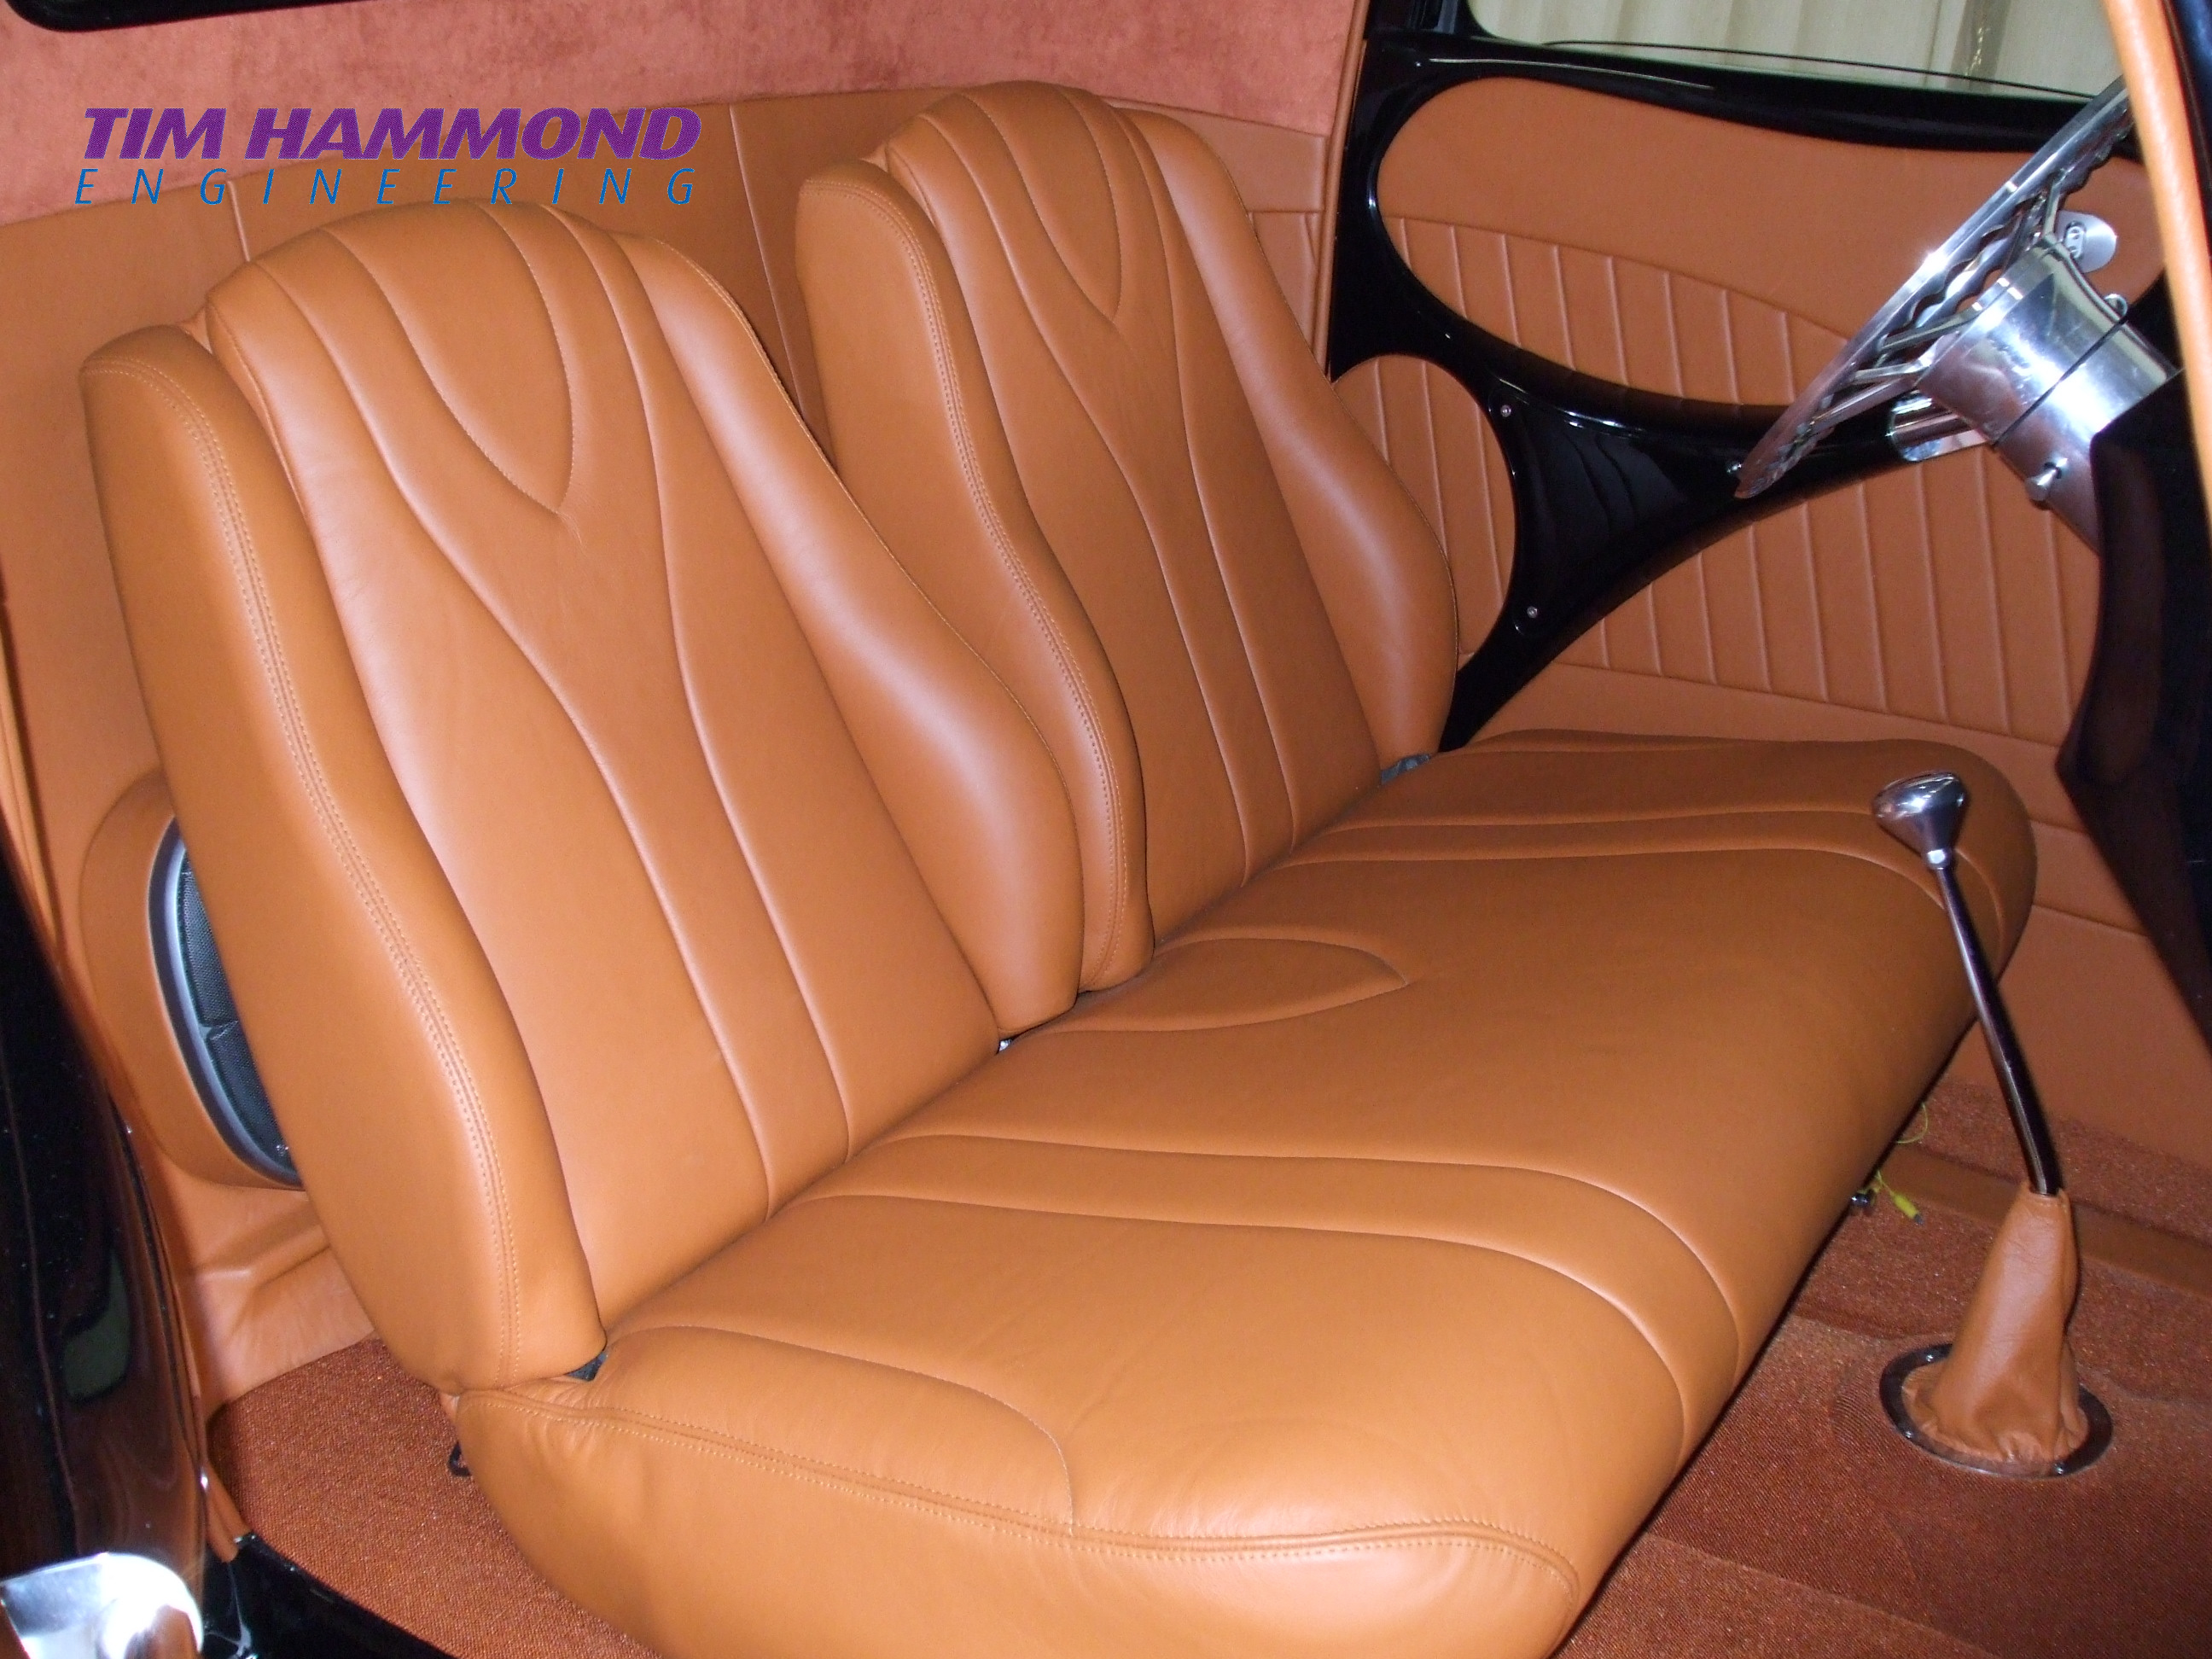
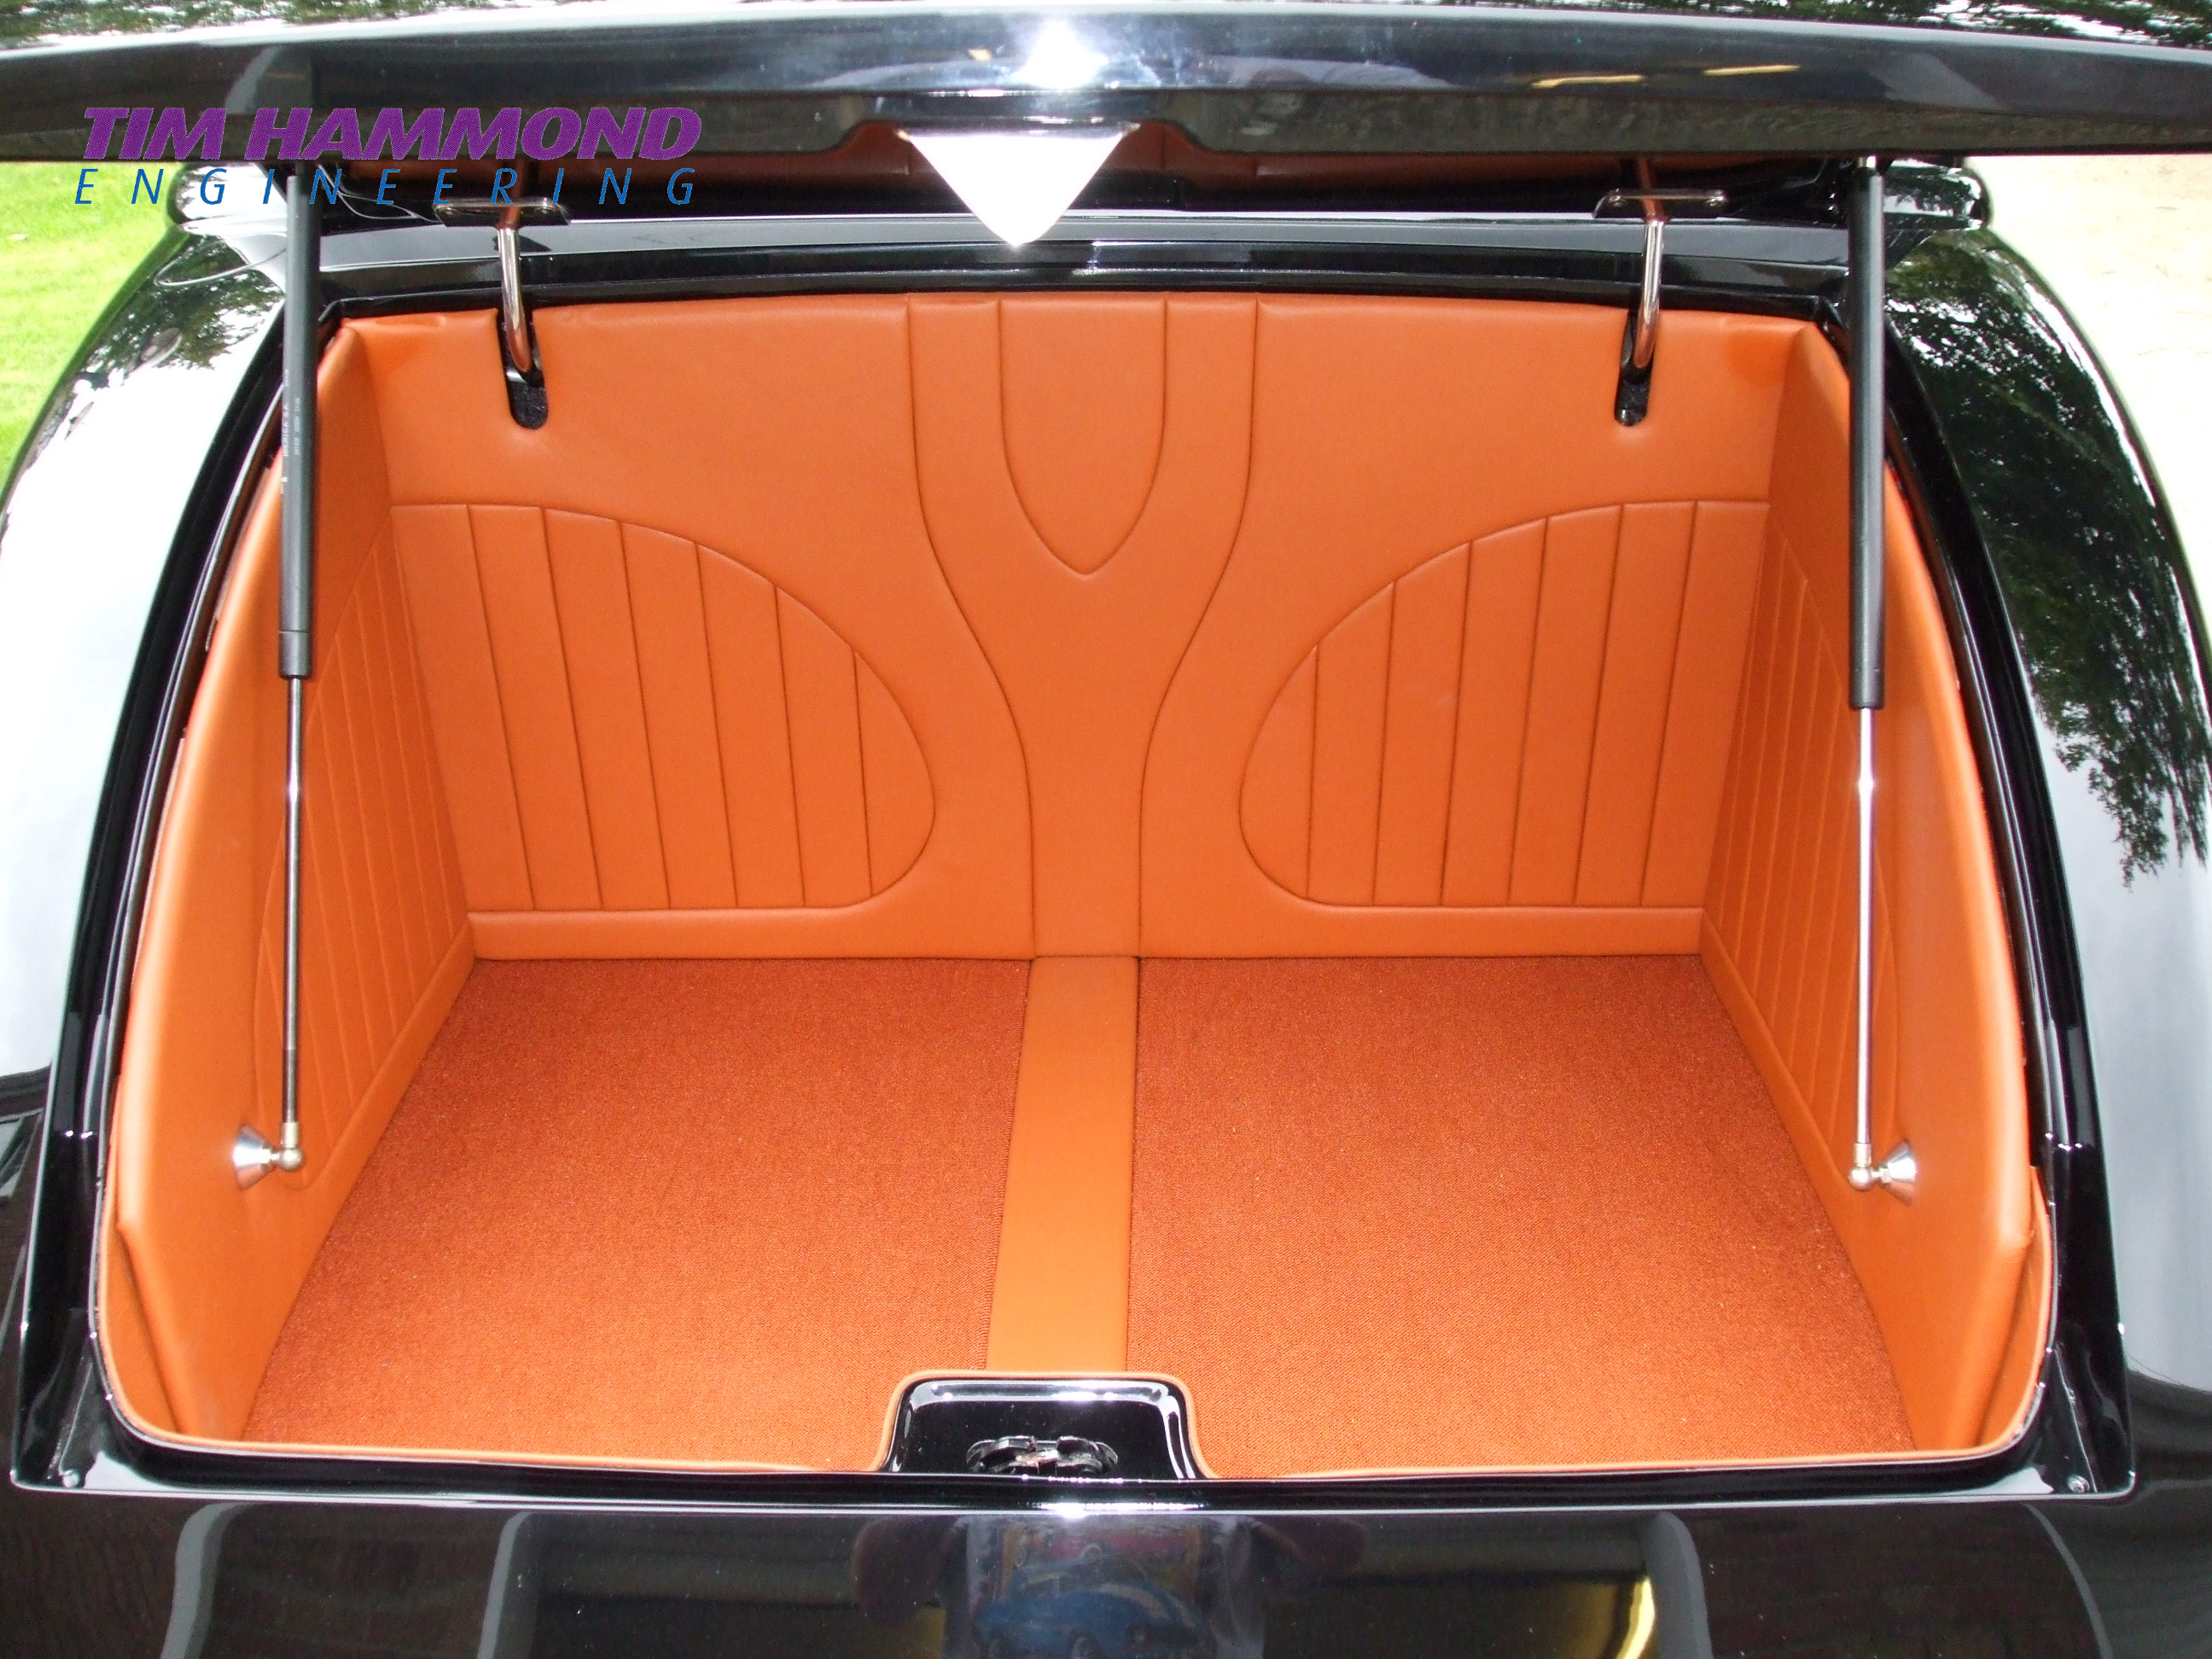
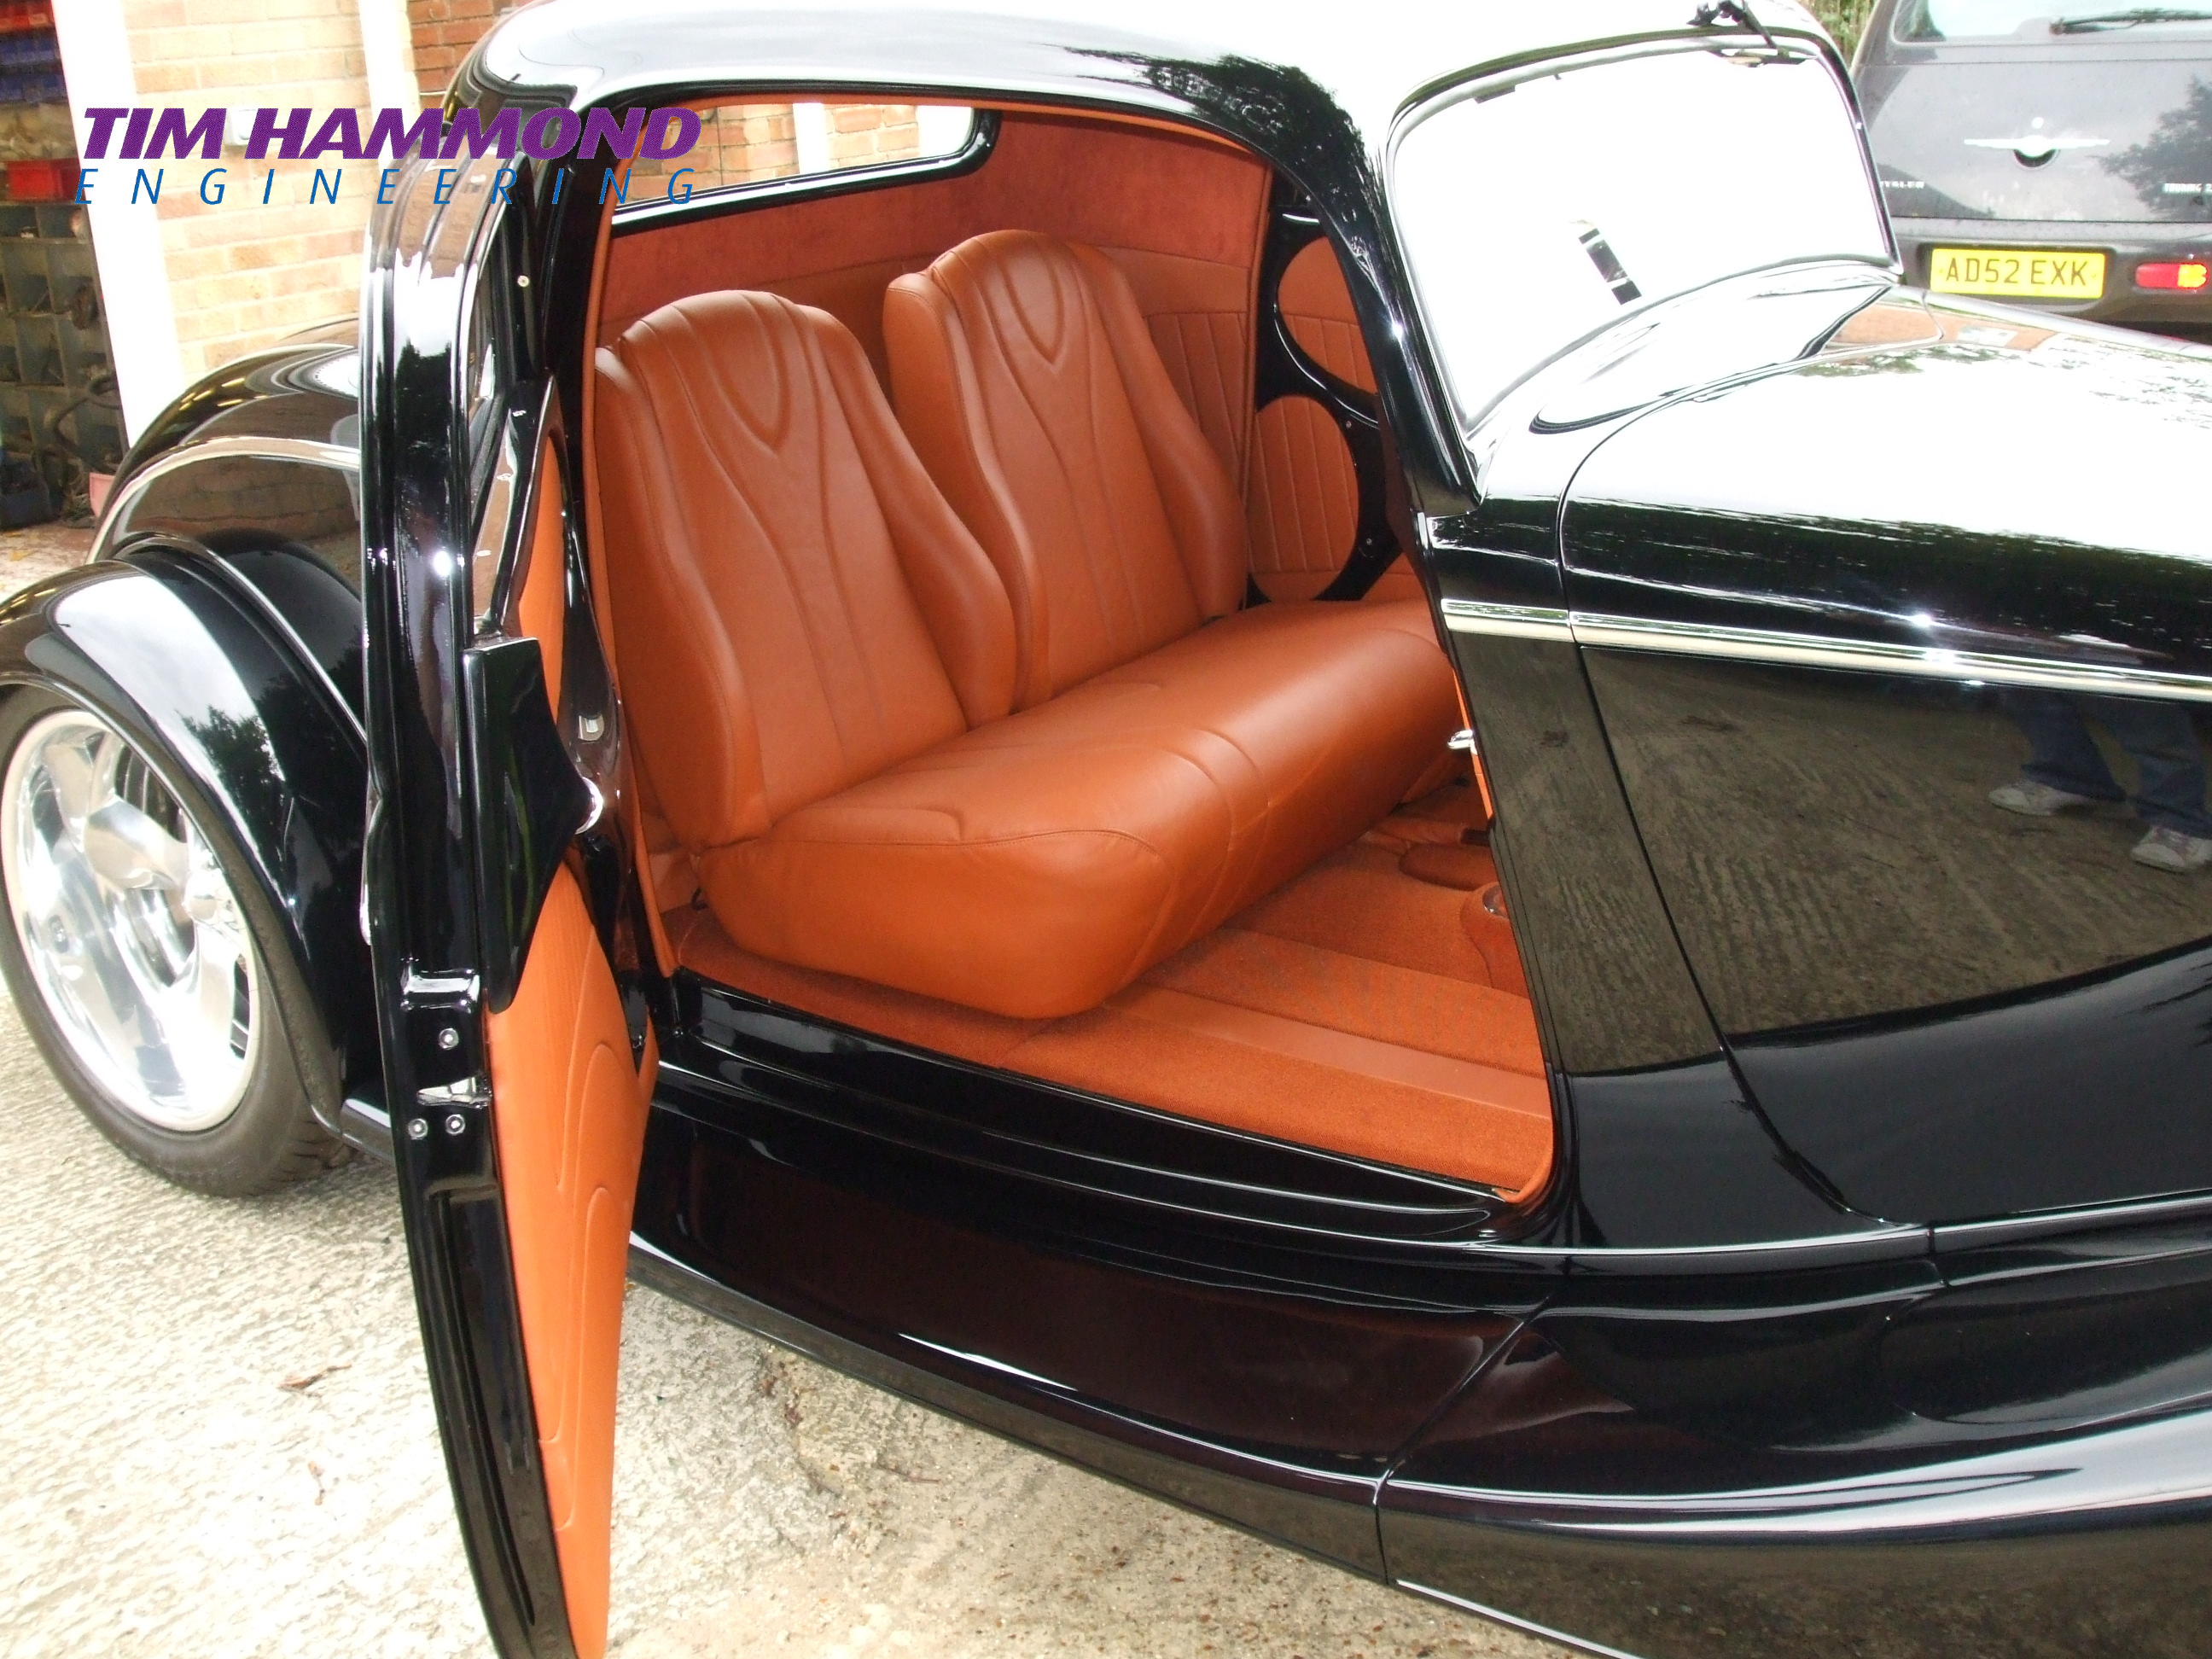
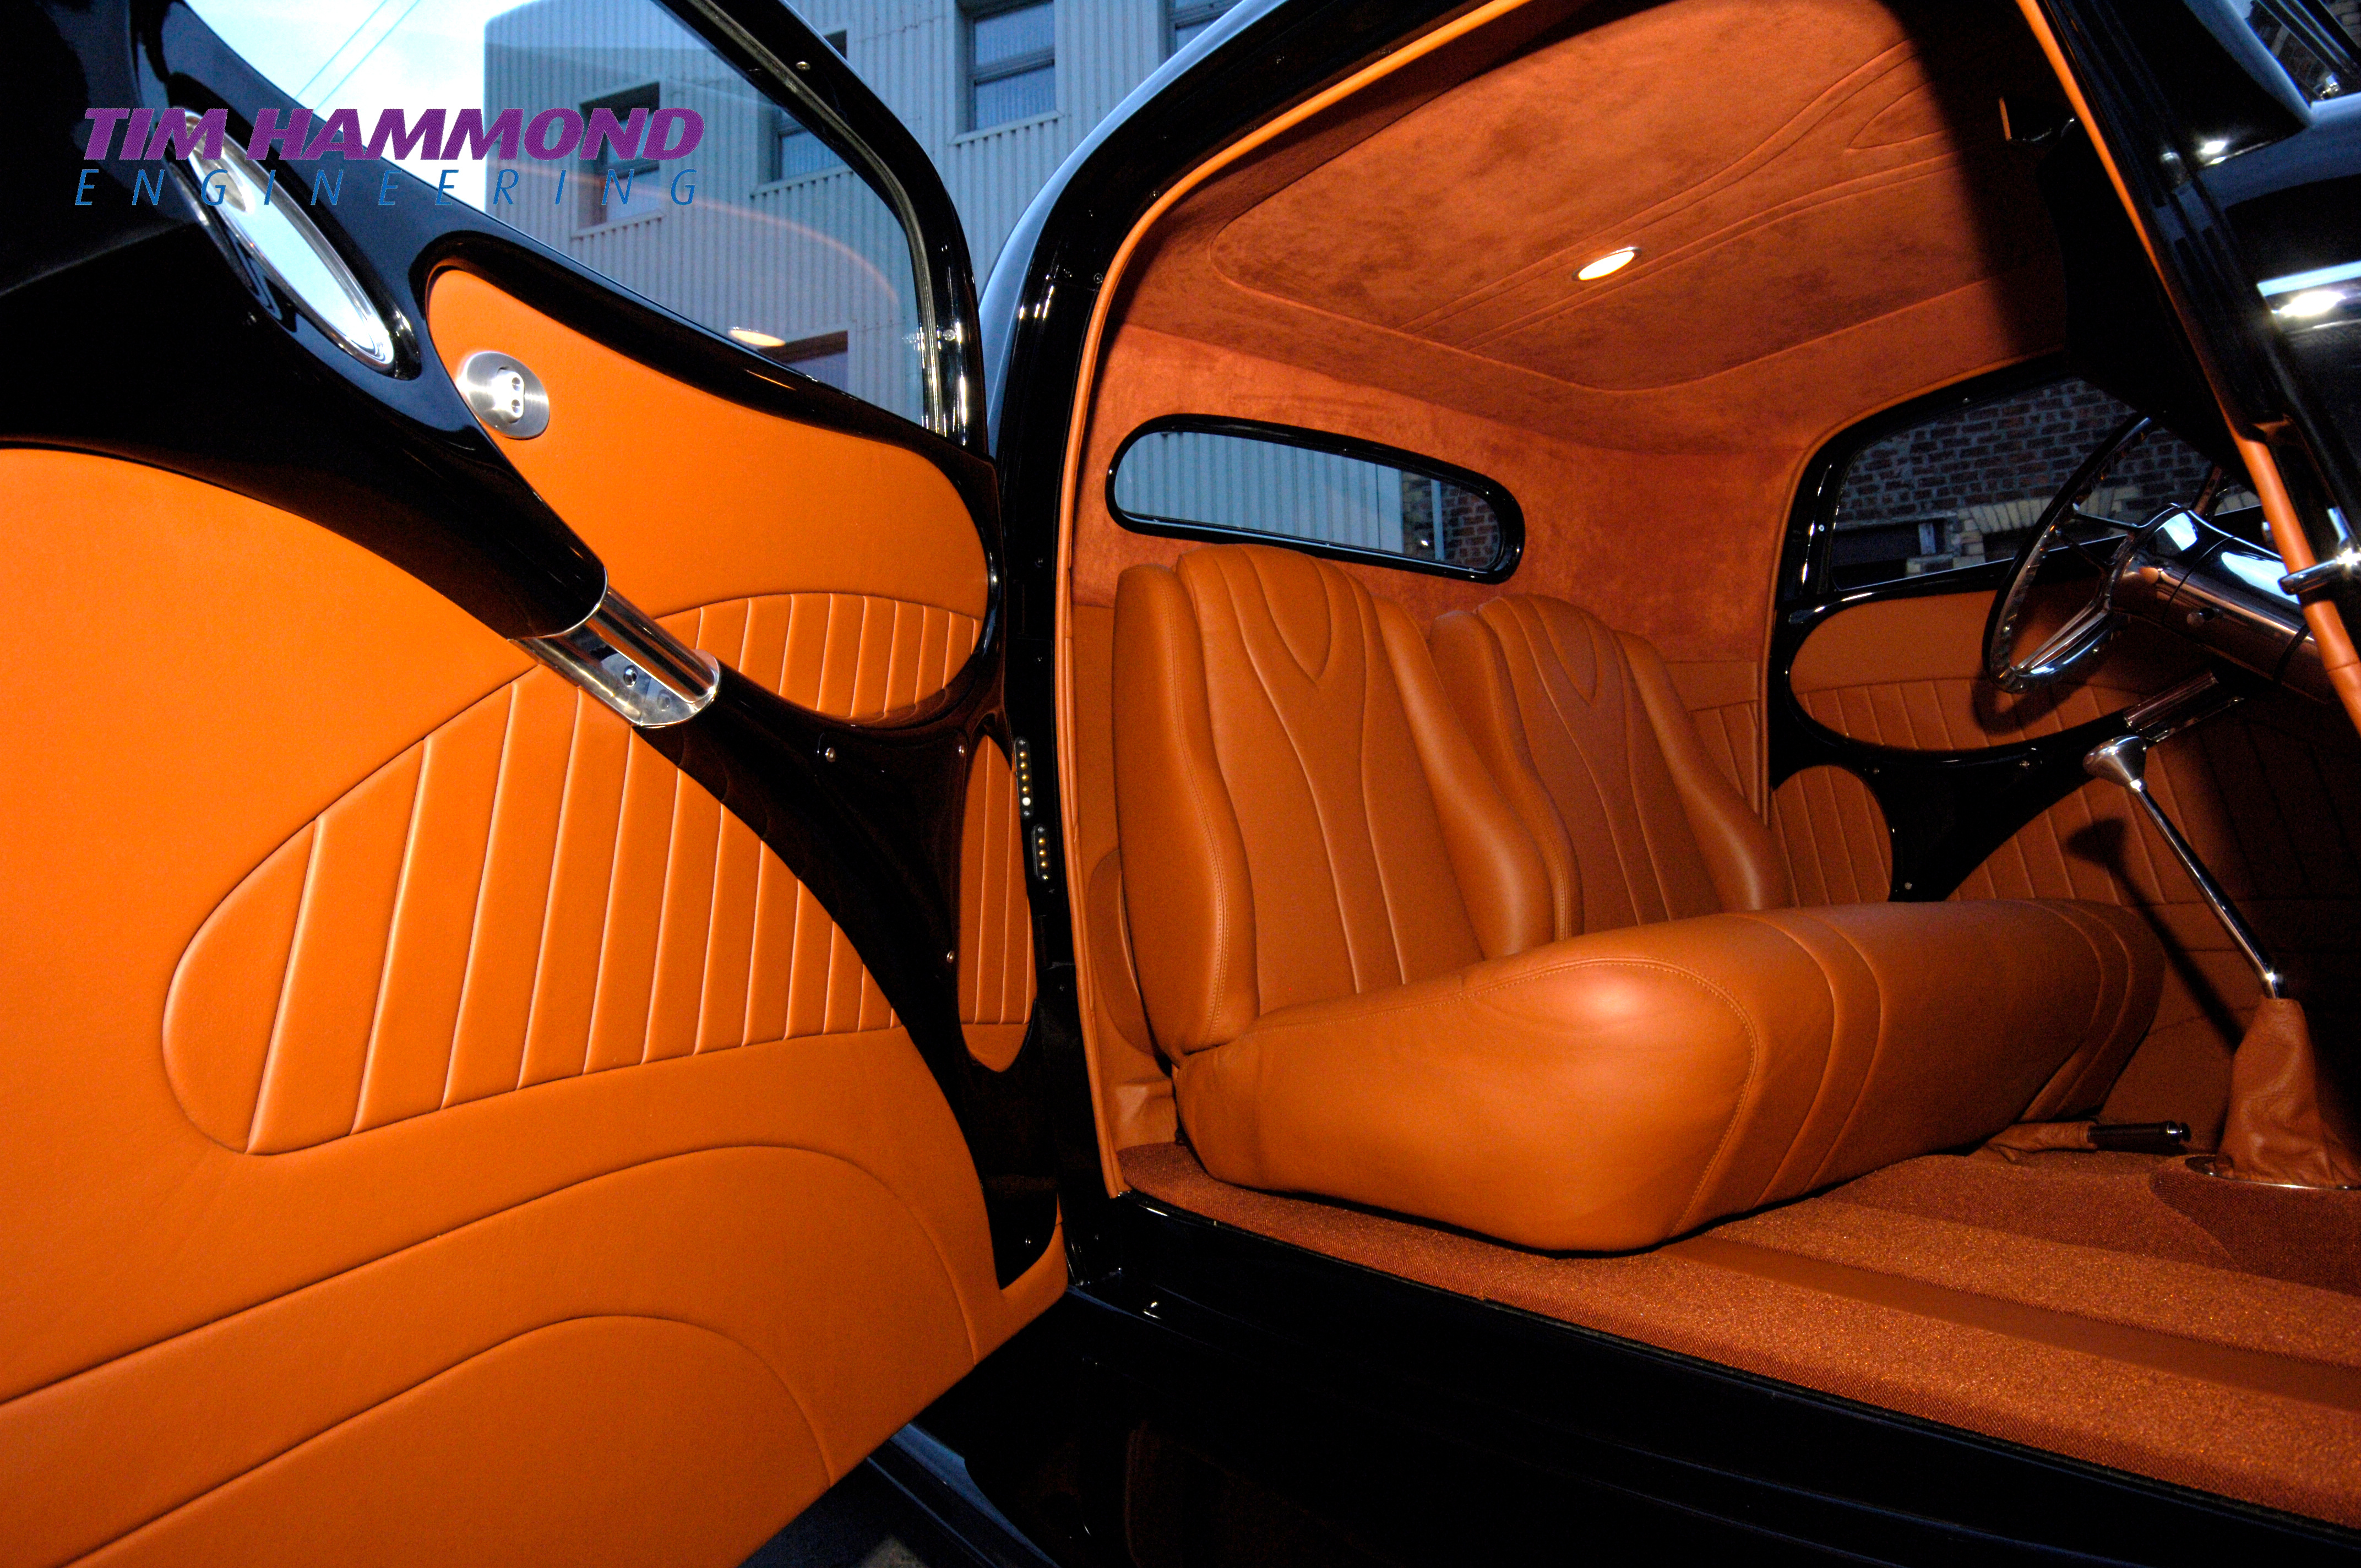
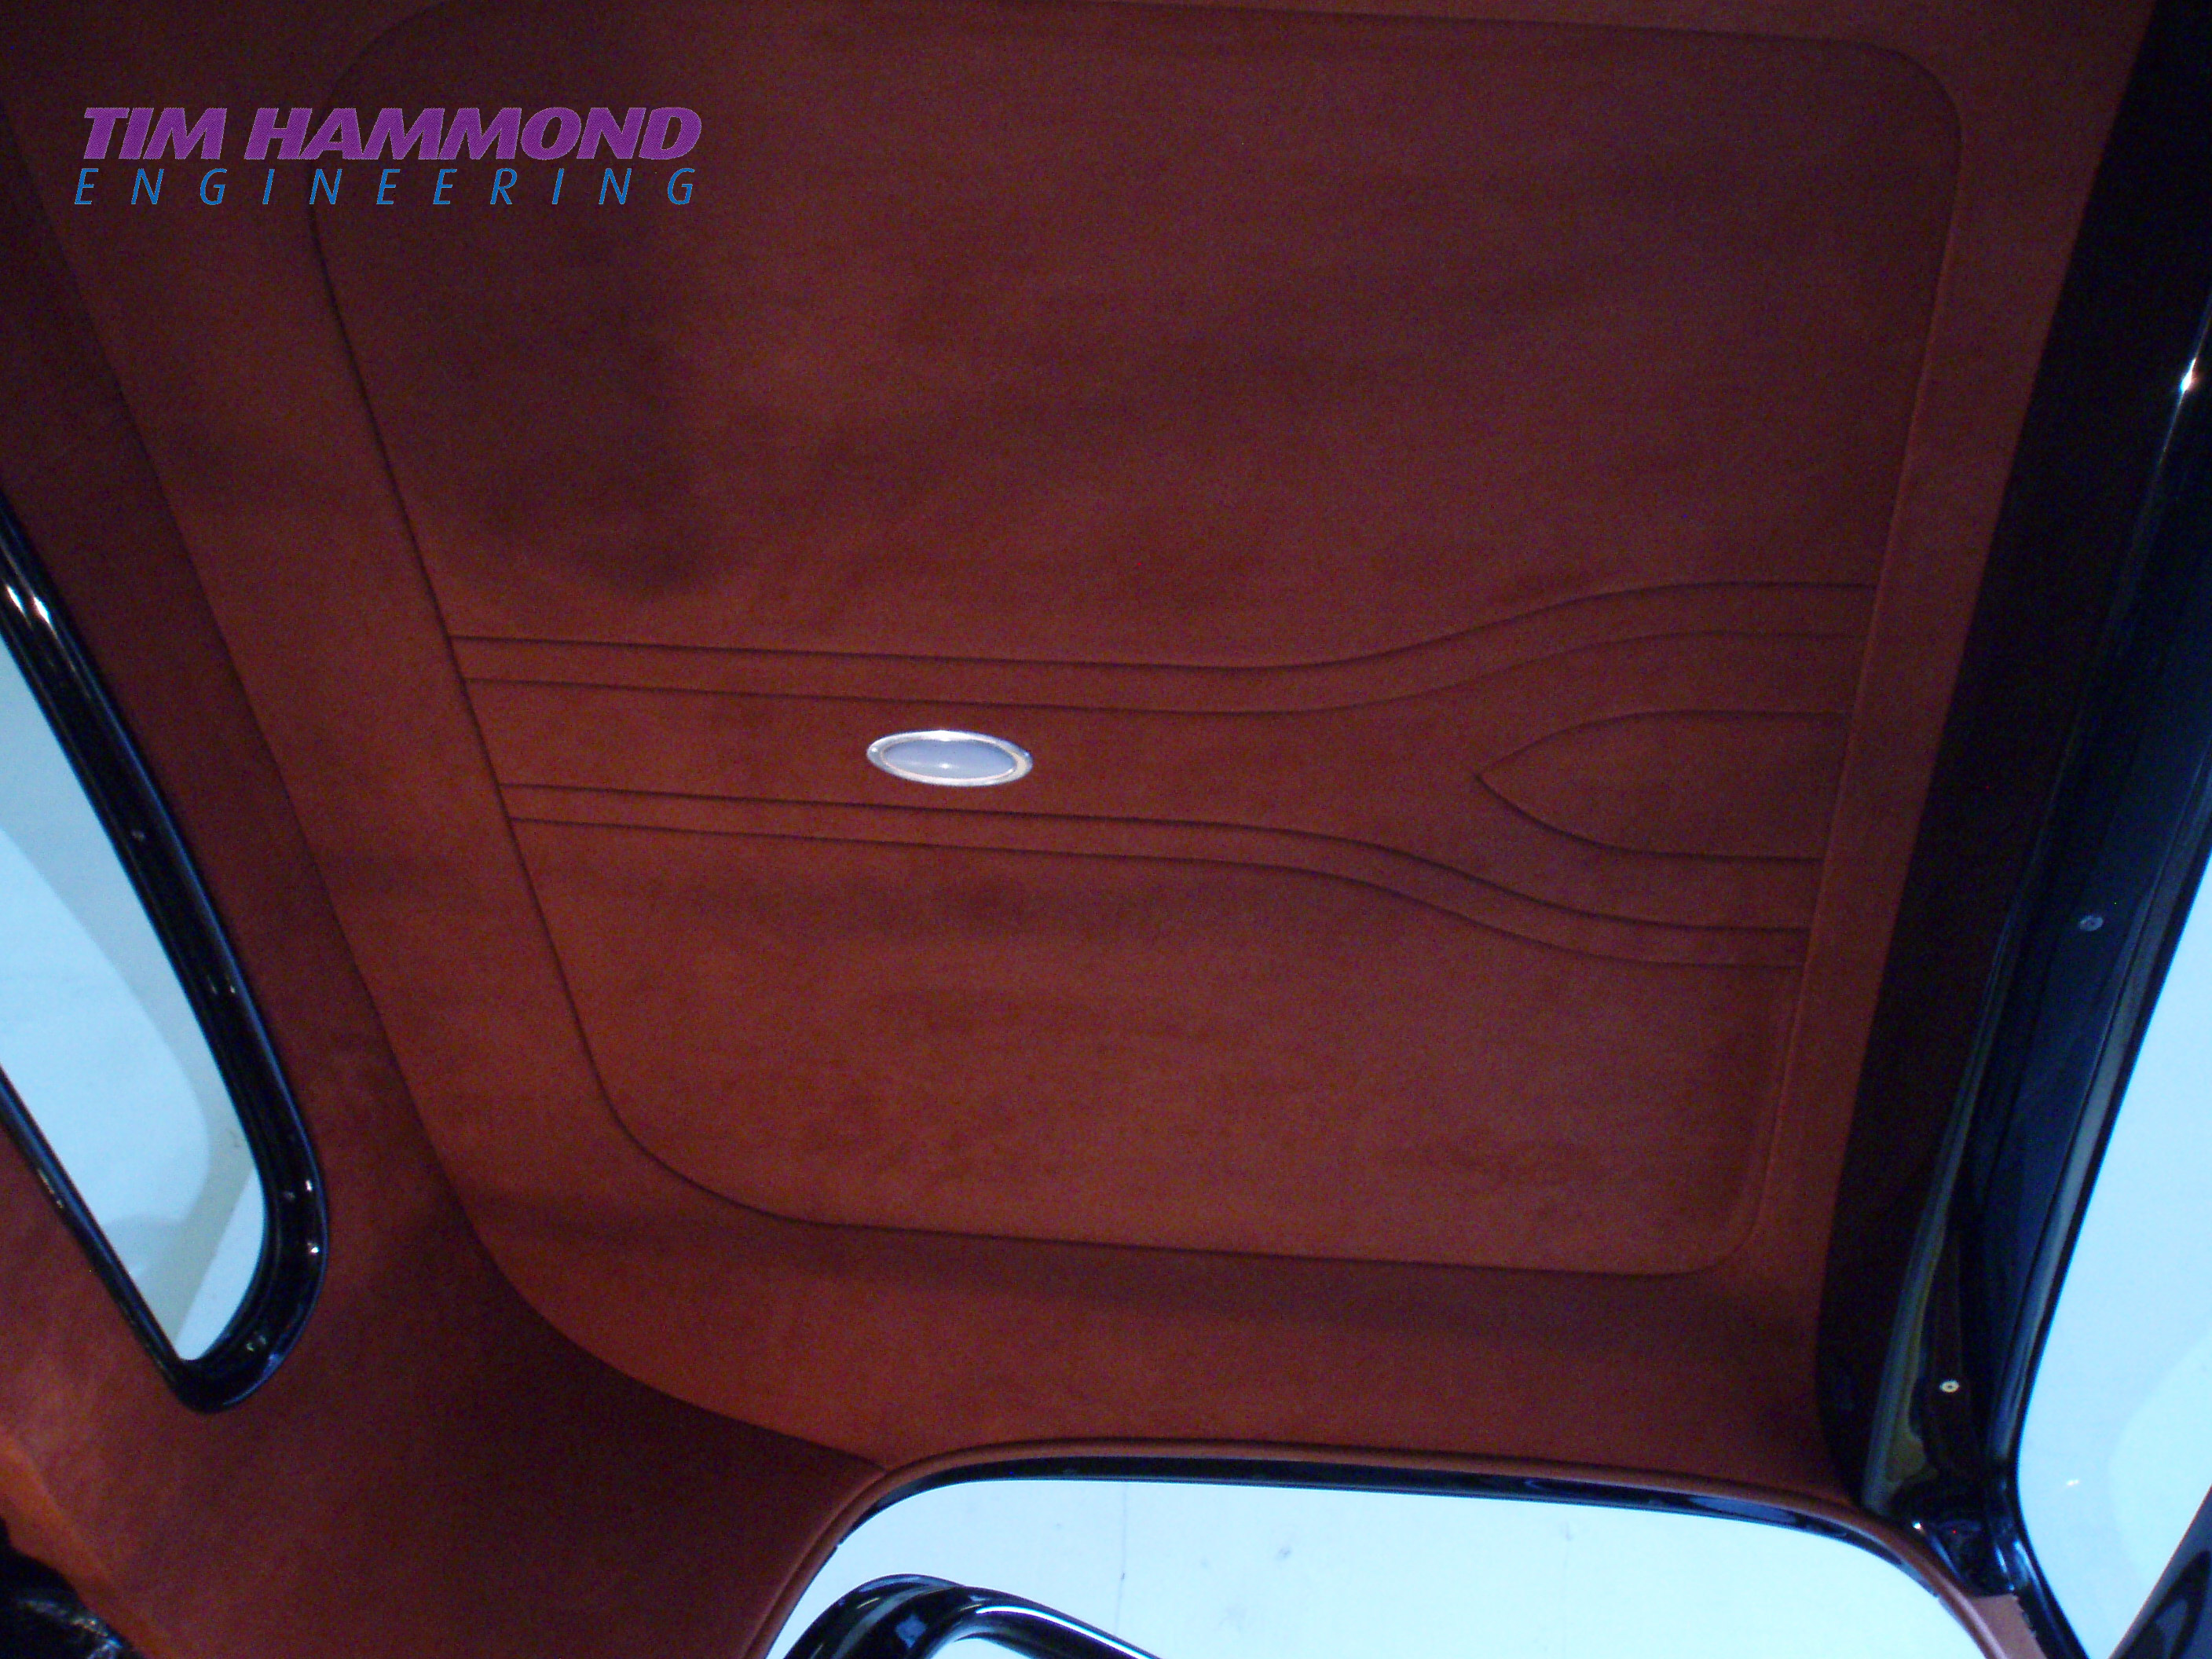
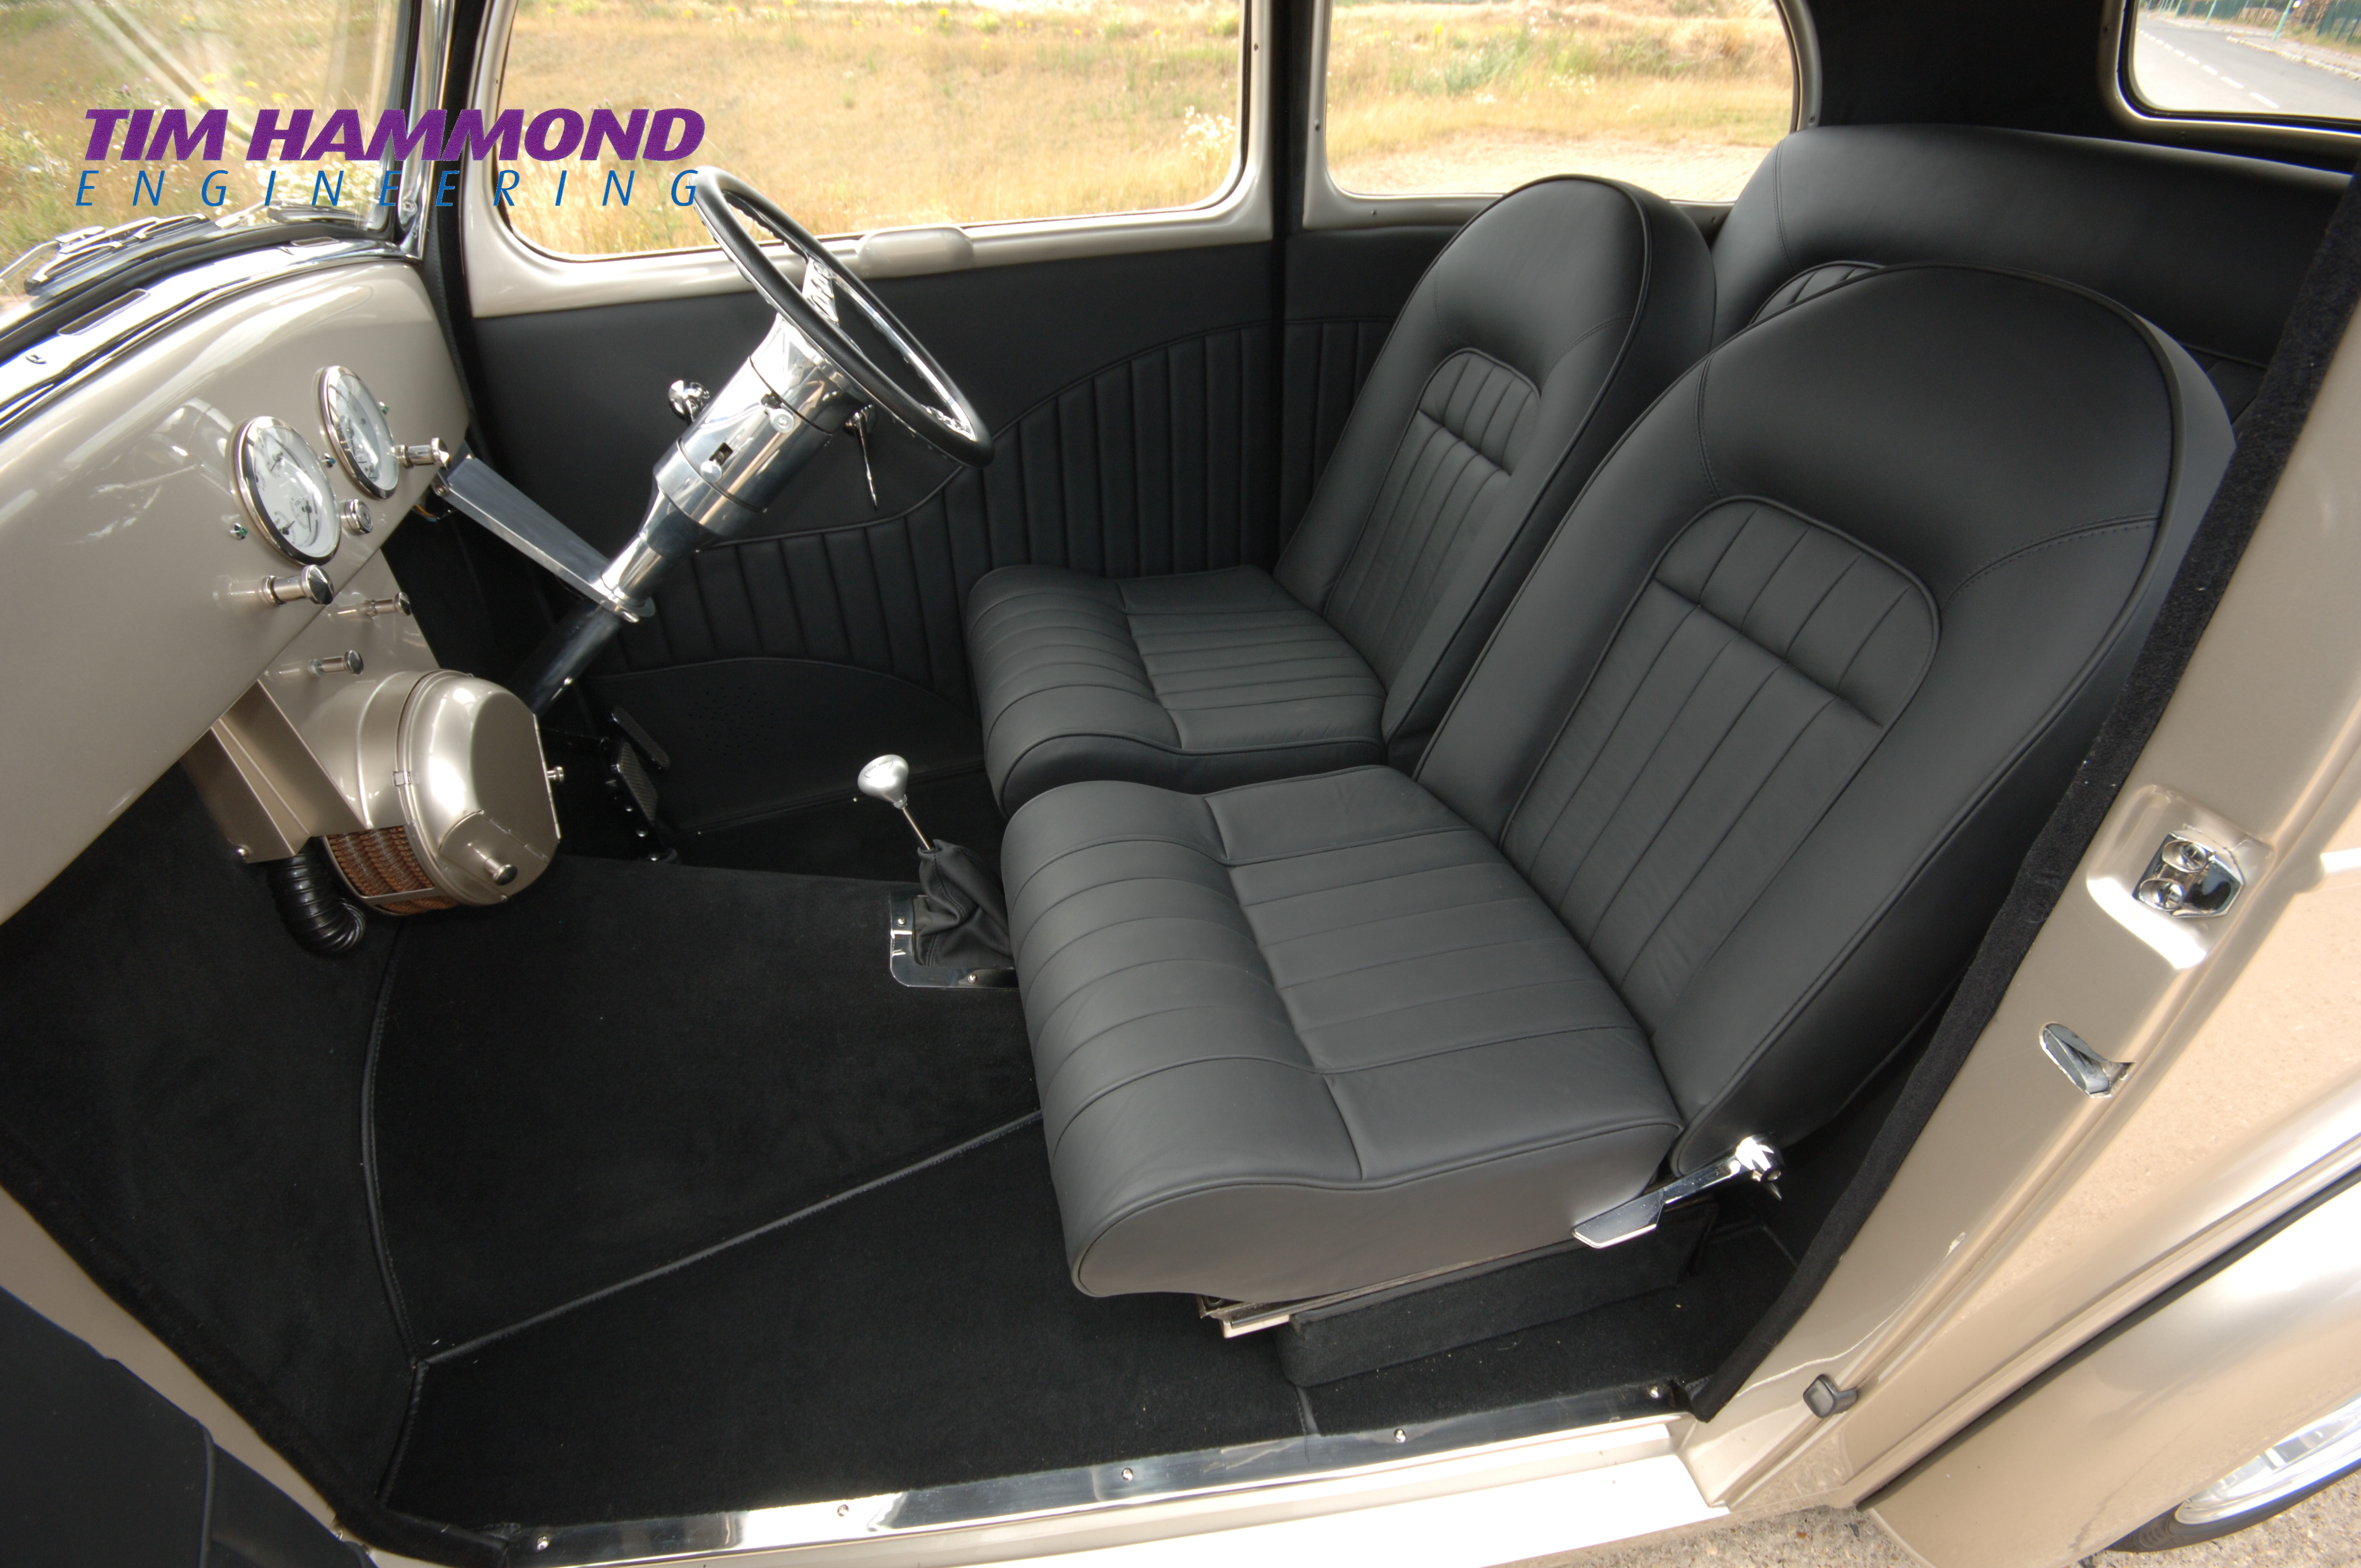
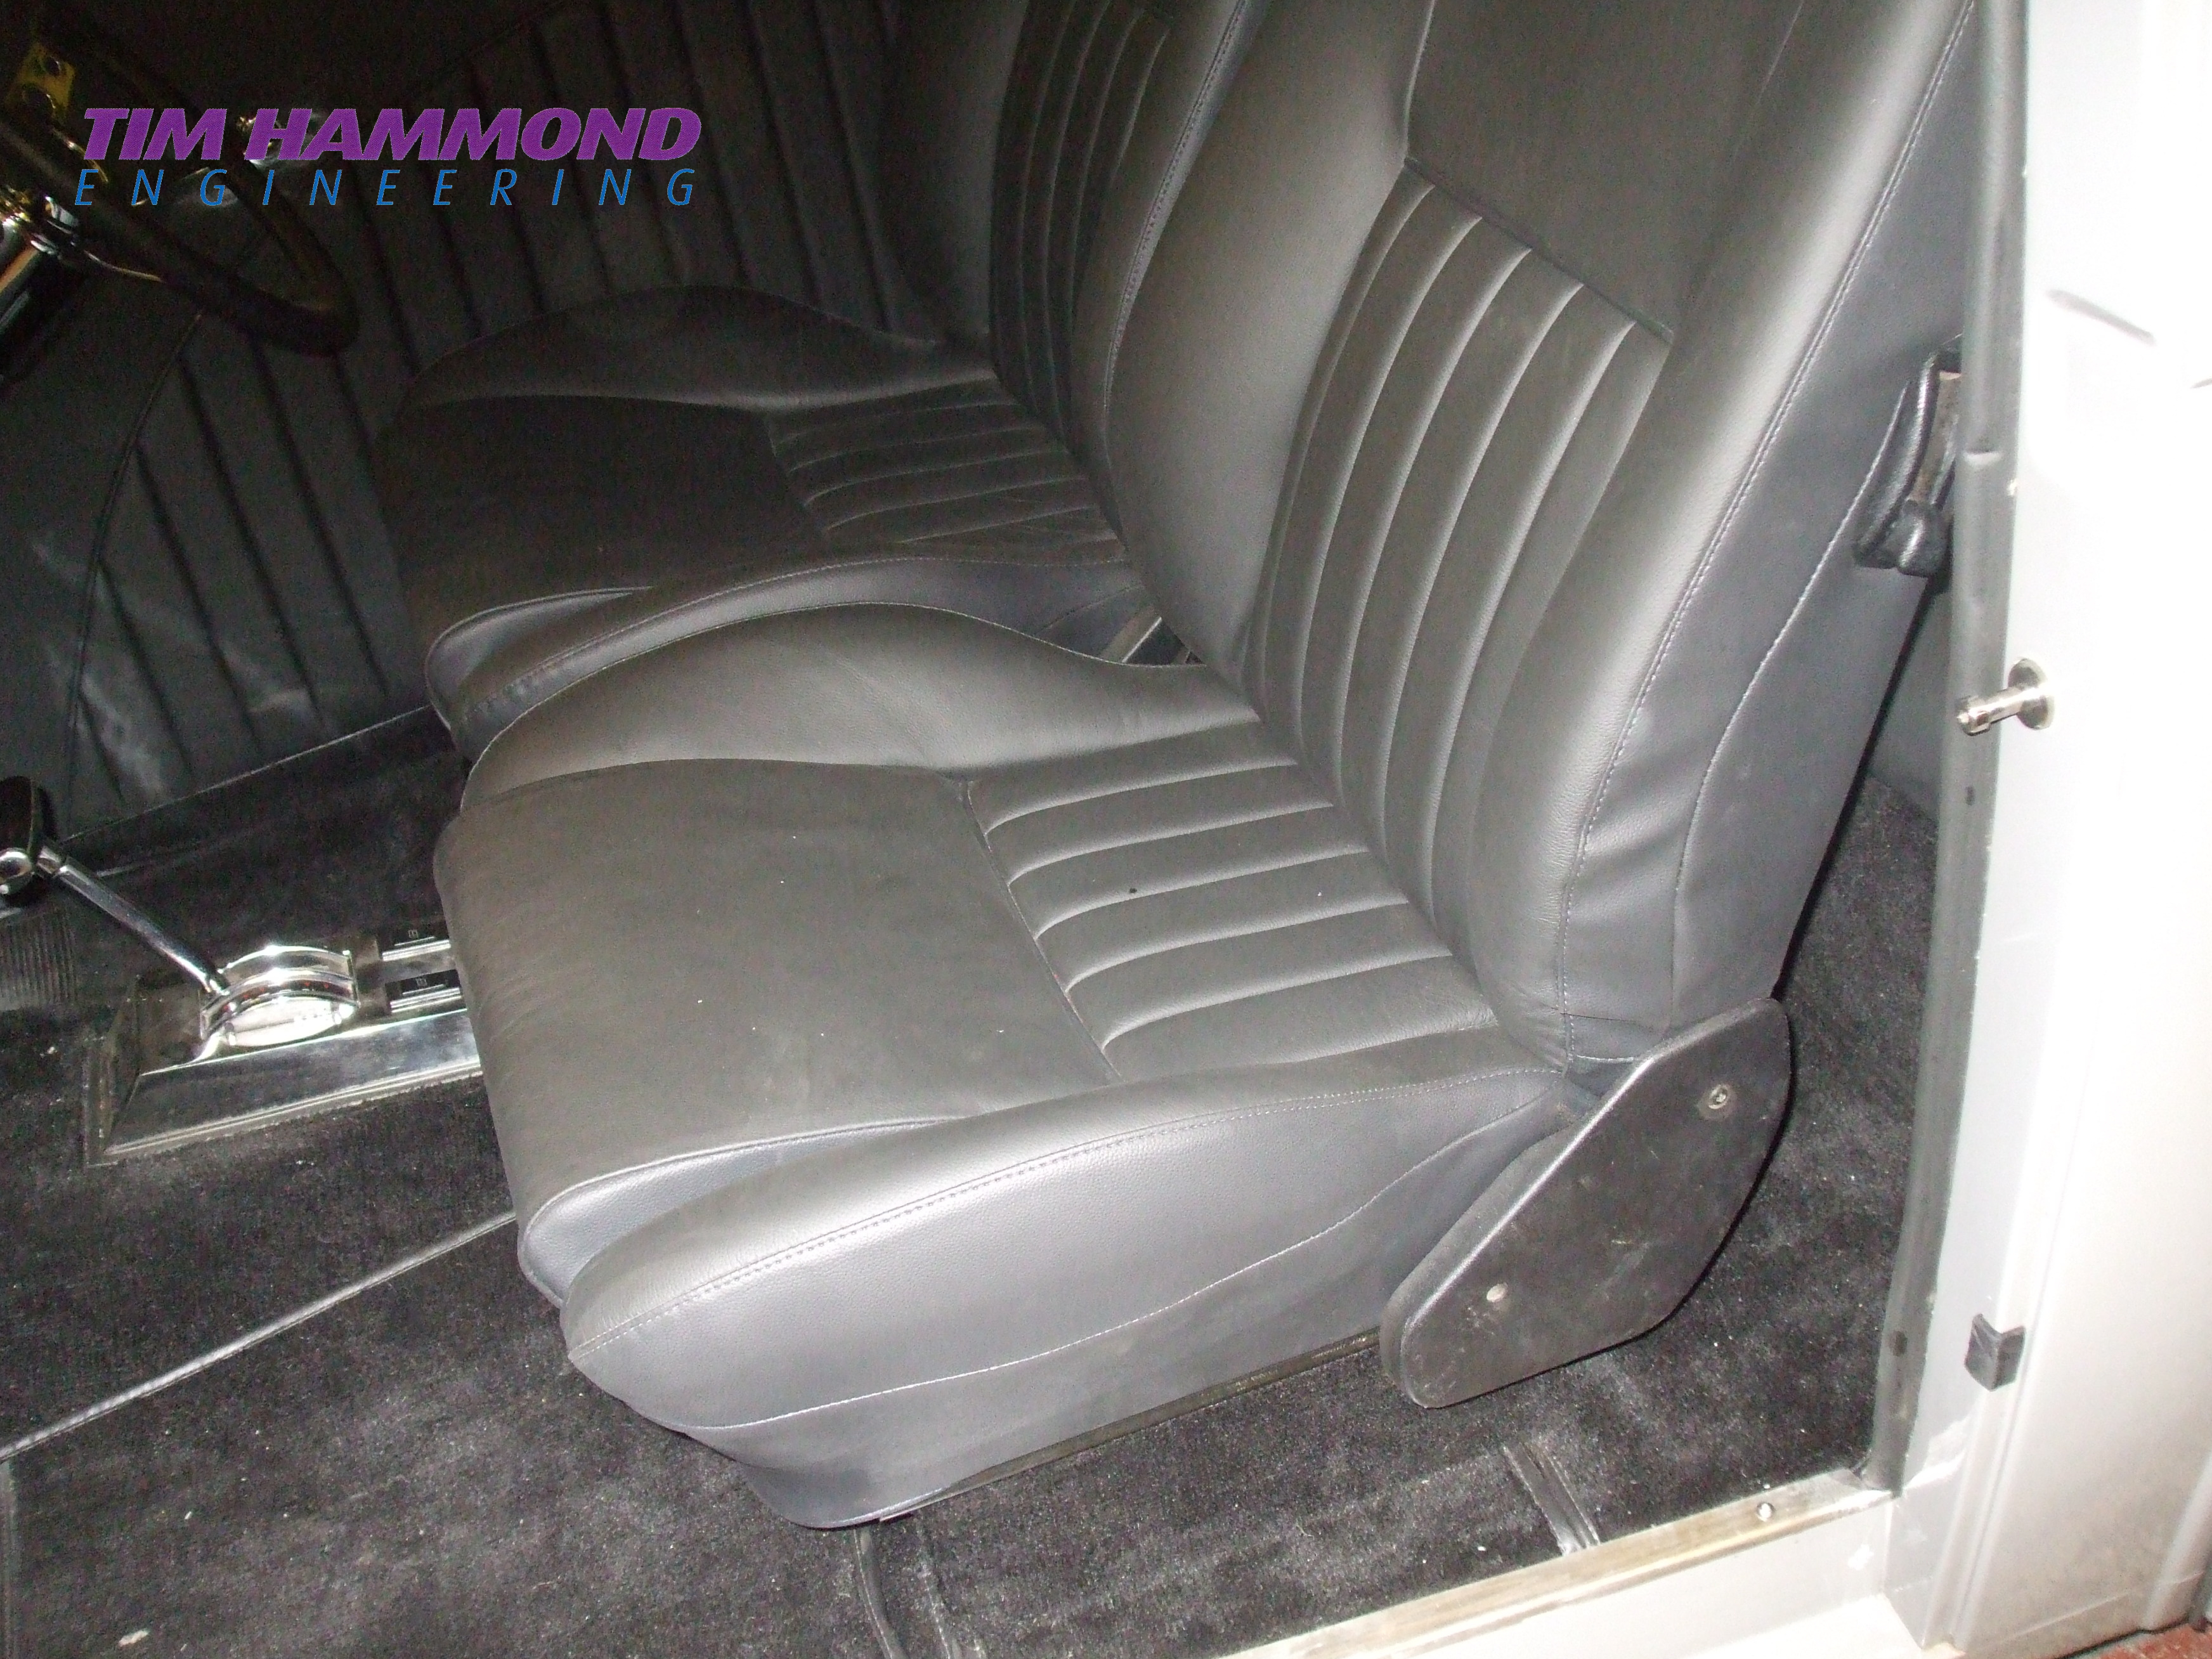
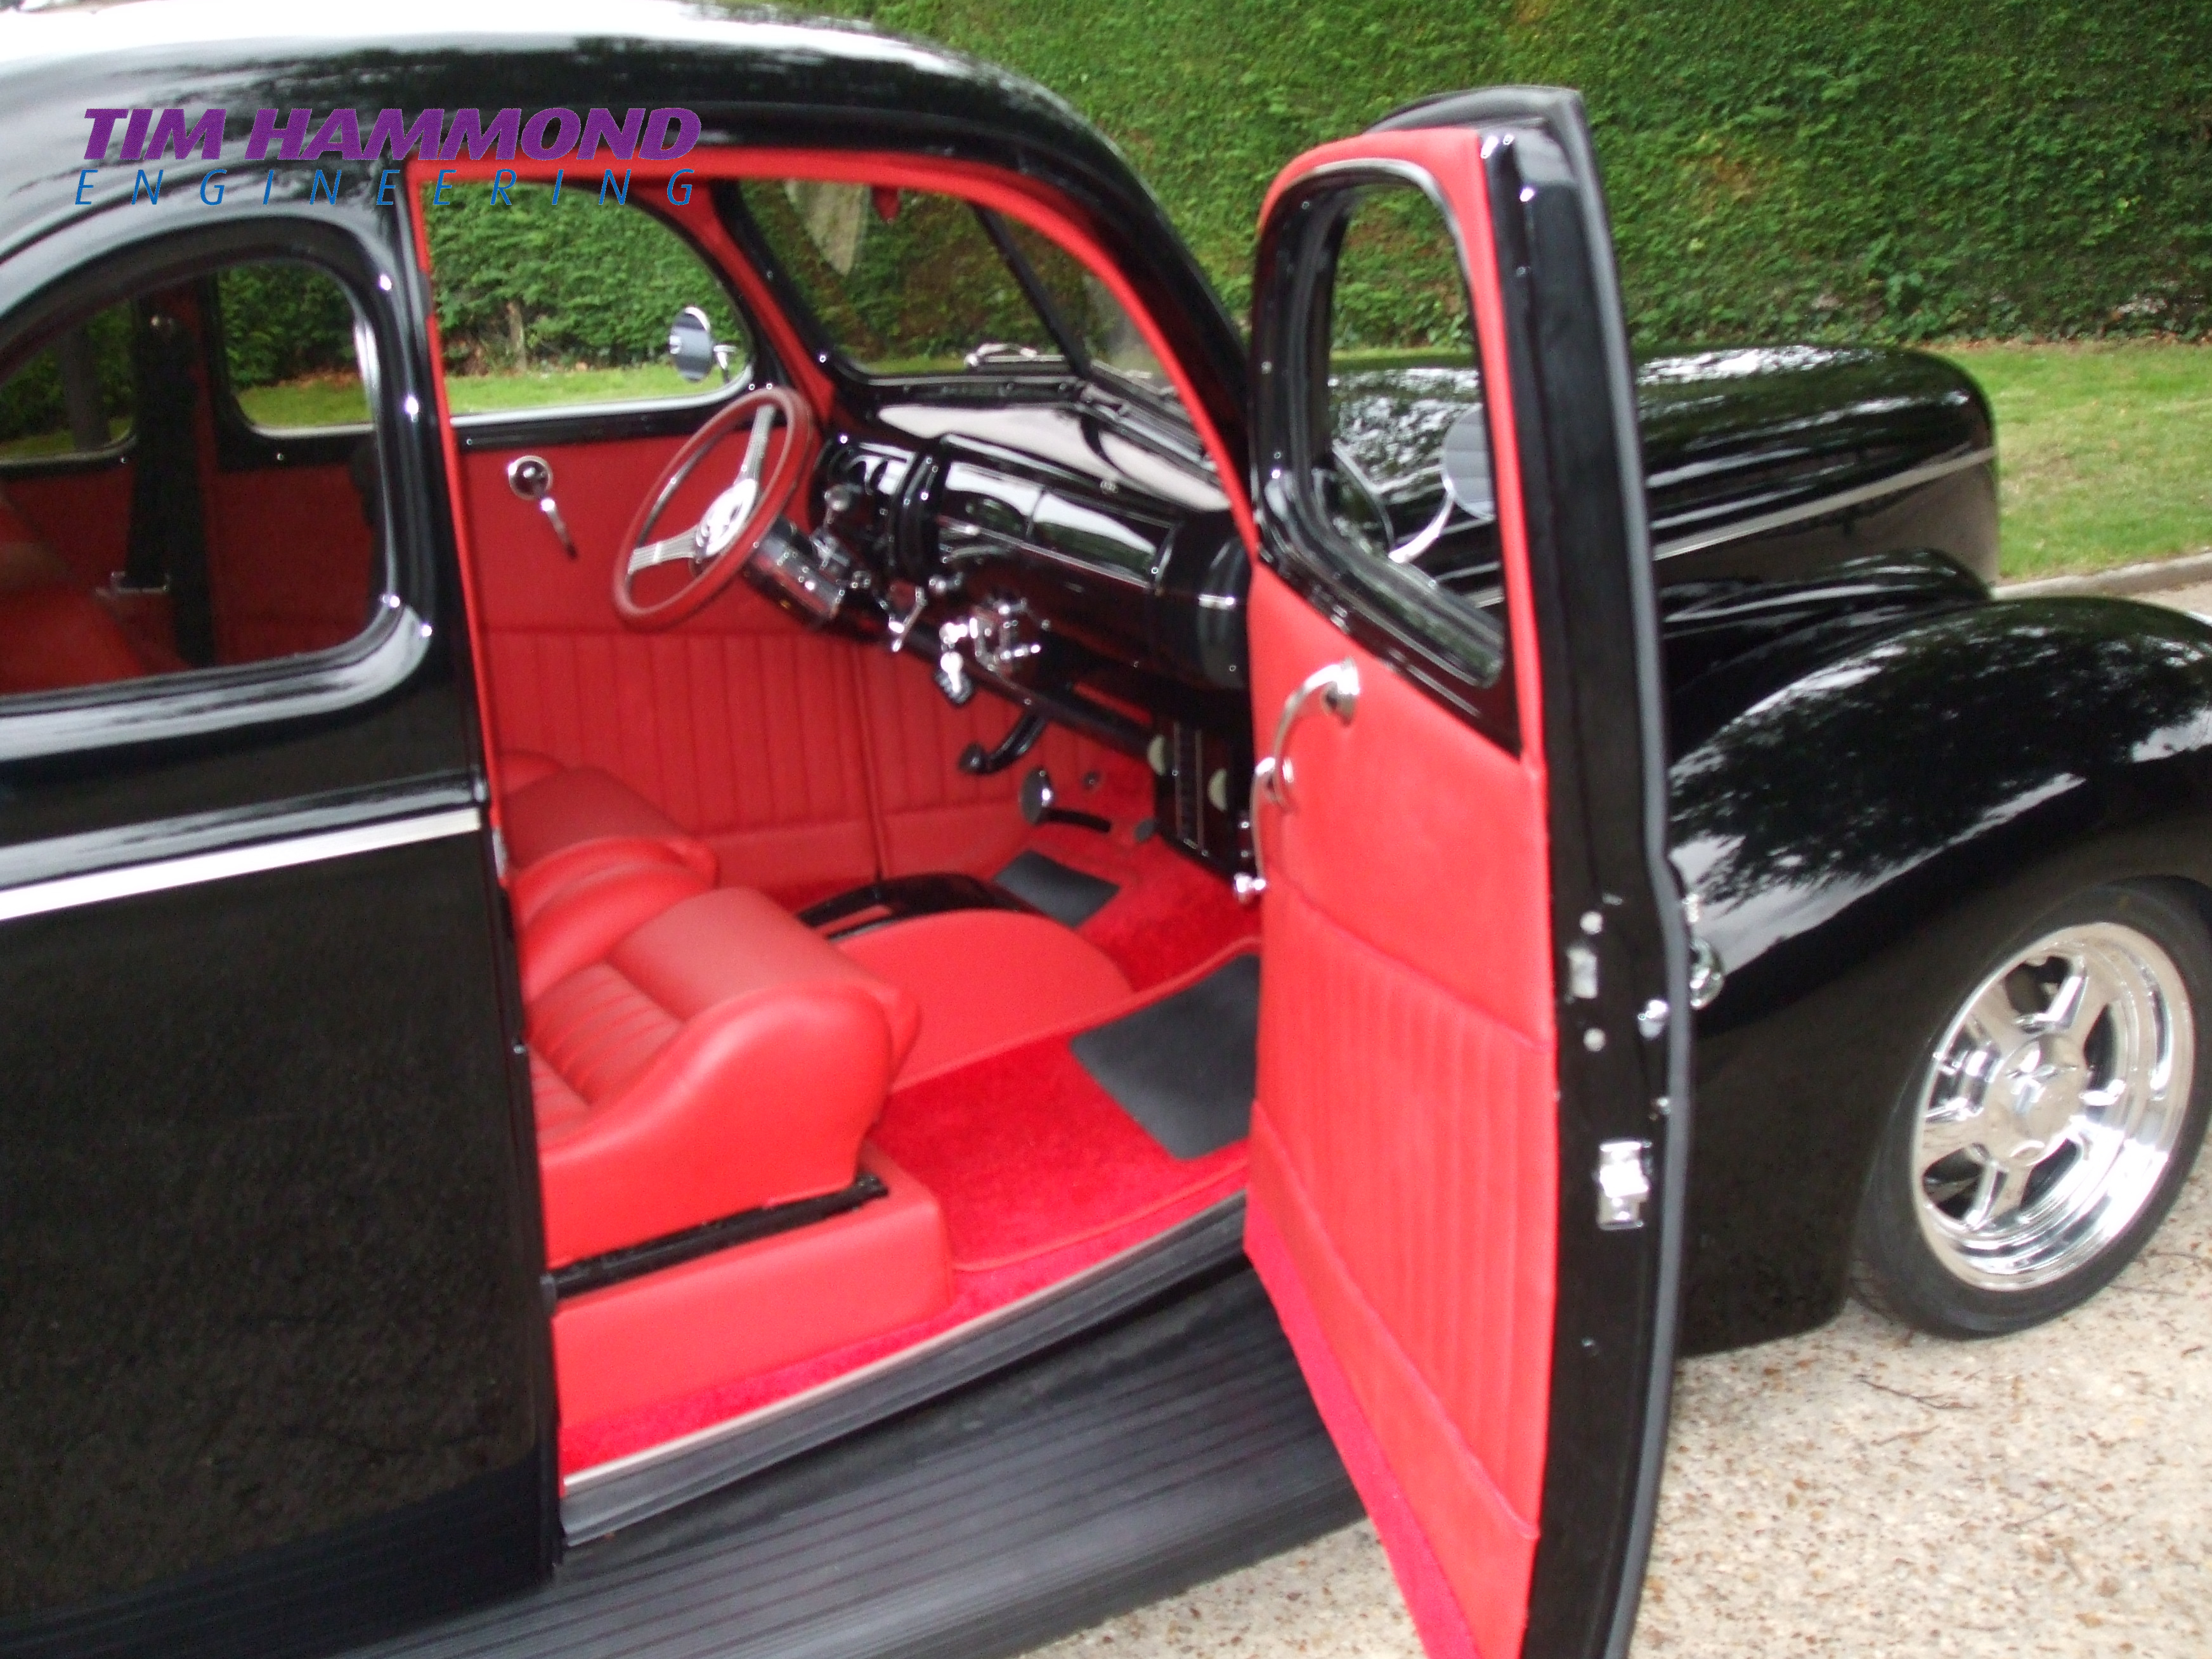
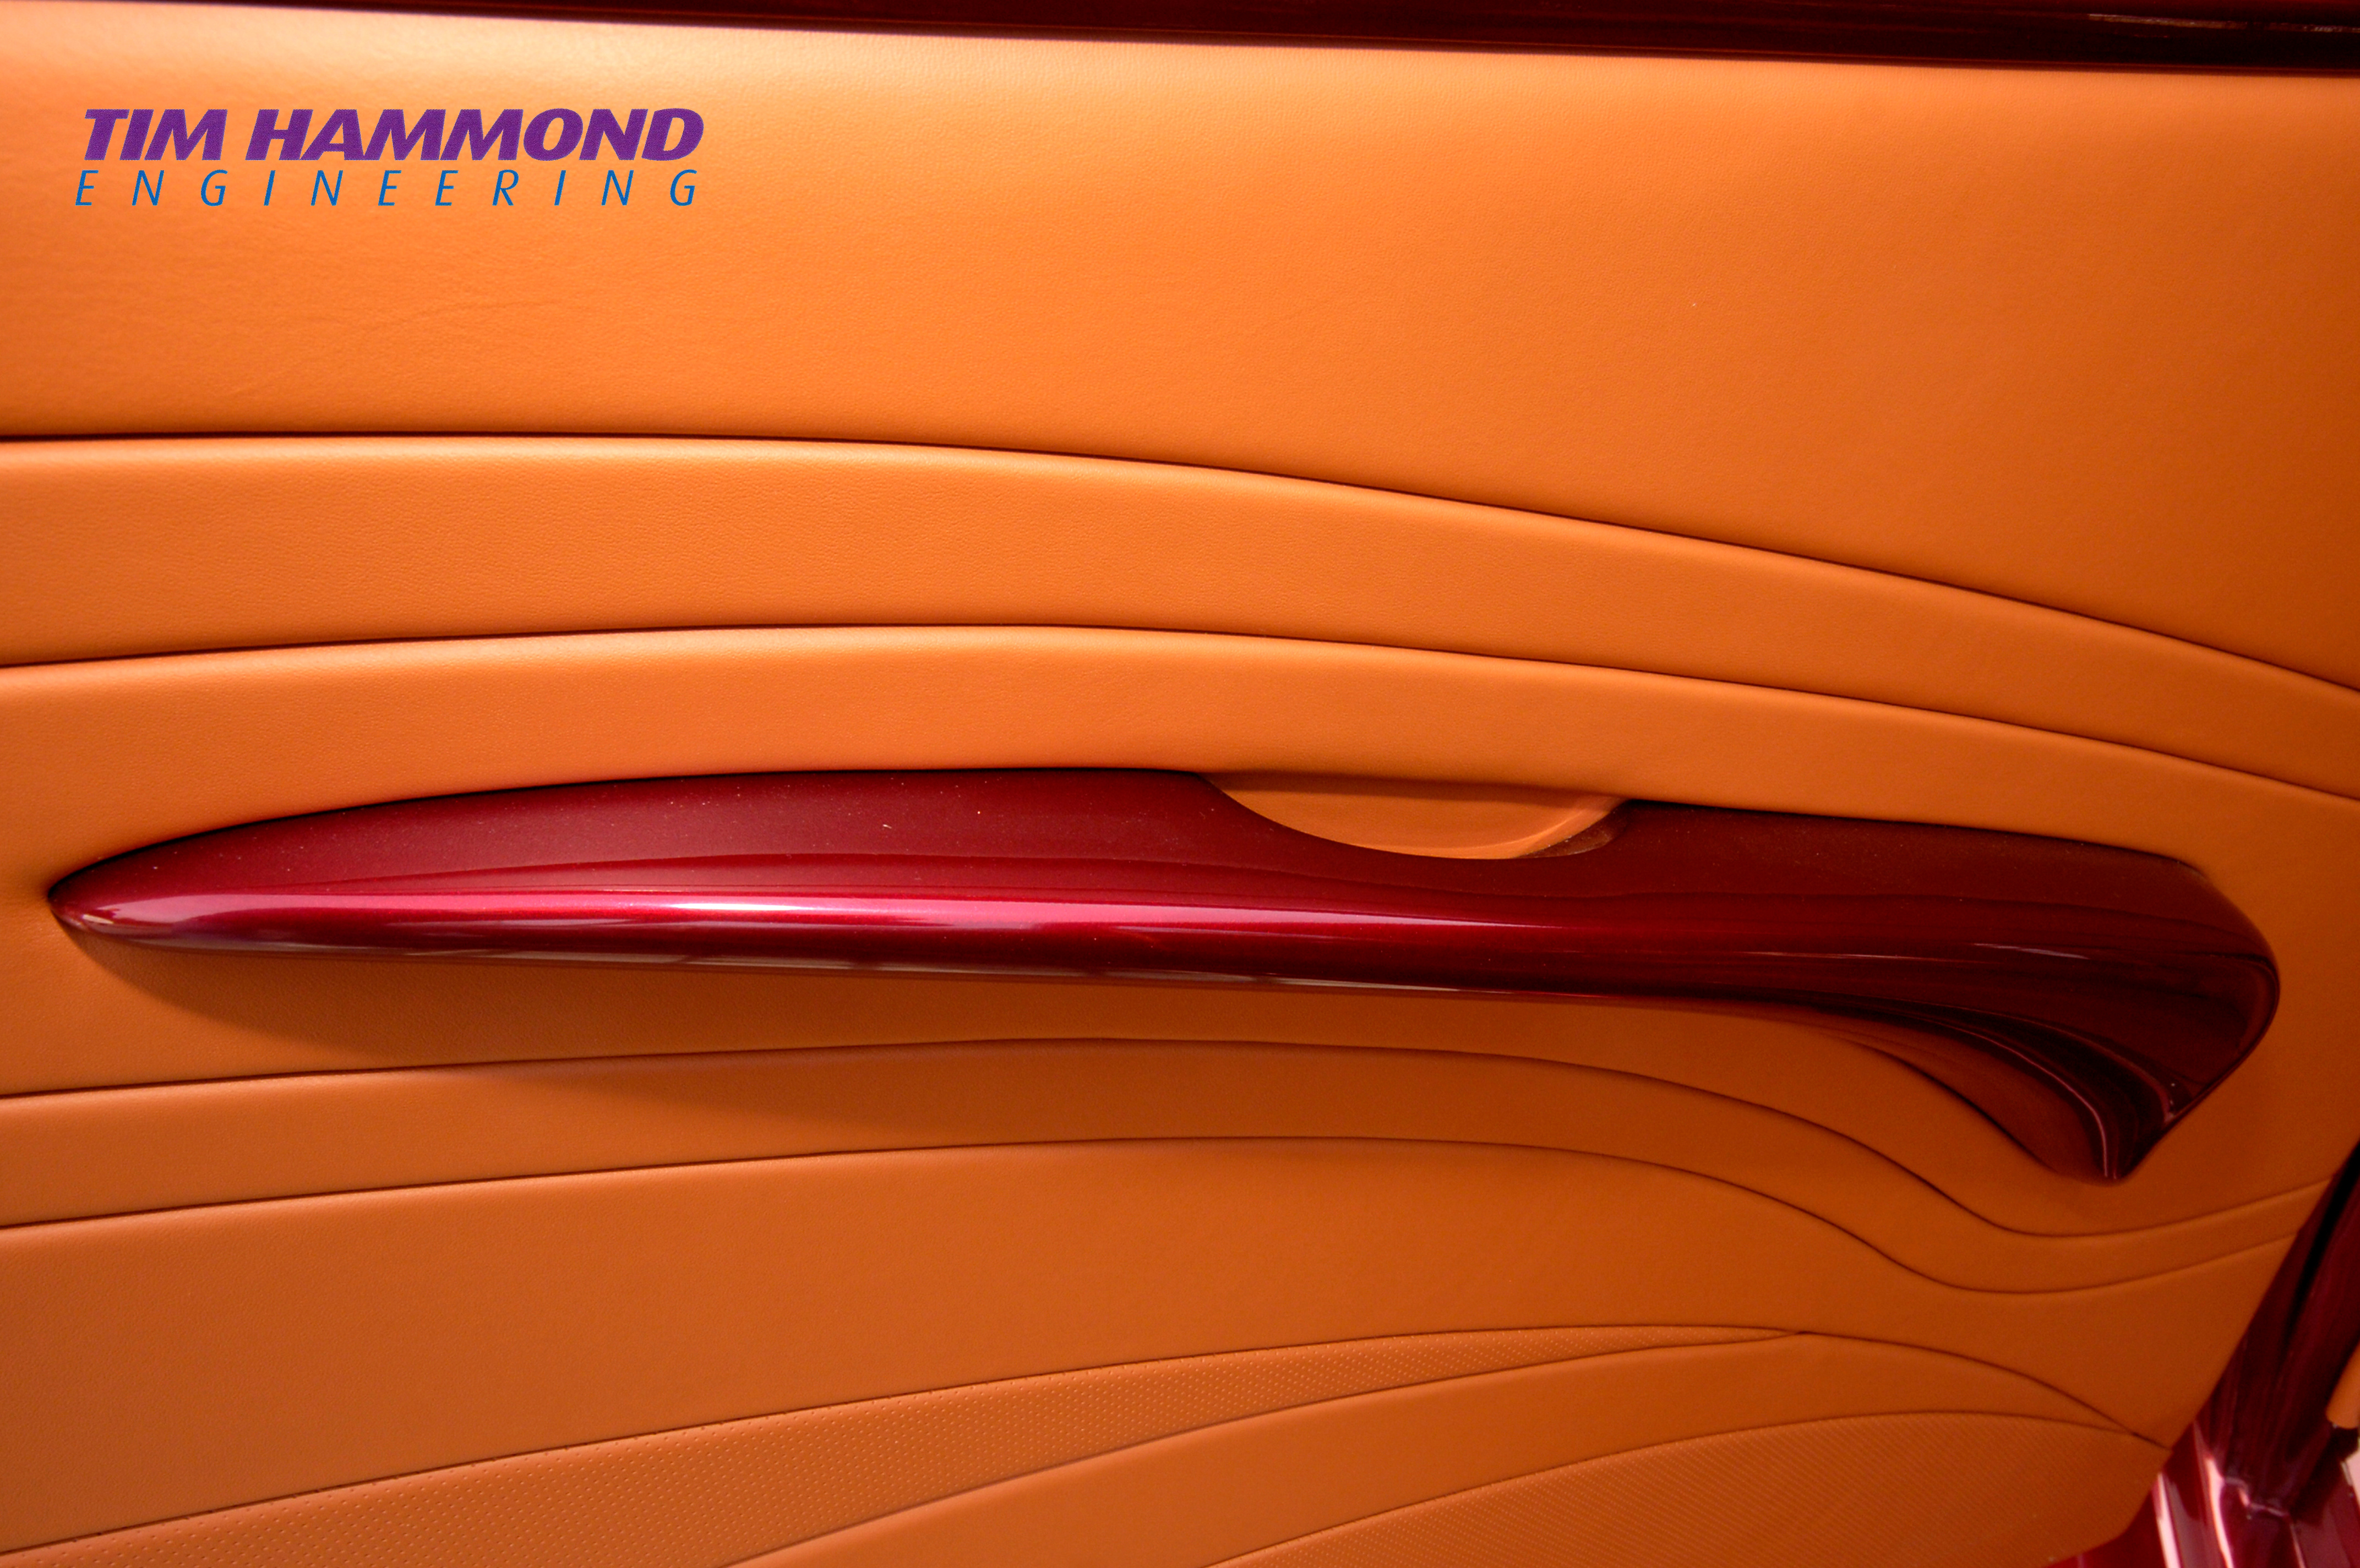
Although we sculptured an interior out of steel we wanted the car to have an art deco theme inside on the doors. We fabricated some stainless steel D section surrounds and stainless steel grab handles in the door recess. We decided on two tone grey leather to compliment the paint, but kept the actual interior design very simple. But as they say, simple is often very hard to do. The interior was entrusted to Steve Hudson, who fabricated the seats, door and trunk panels. Stitched the interior and fitted it all – again carrying on with the art deco theme in the trunk. Steve then covered the steel frame of the soft top, making special bags for each of the components so that it all fits nicely in the trunk. Wilton carpet was fitted throughout and all edged in grey leather. The steering wheel we decided not to be covered in leather, but painted the colour of the body.
The car took about 2 years to initially construct, 18 months to paint and about 4 months for the interior – and about 1 month to re-assemble it completely. Normally when you finish a car for a customer you have some teething problems, adjusting bits and pieces, but we could not believe that the first time out it drove absolutely perfectly, quiet, steering wheel self centred, stops in a straight line, plenty of power and the ride is superb – we had worried that the low profile tyres might have made the ride hard, but we did not need to worry. We have since fitted racing brake pads instead of the Willwood pads as these are so much better when the car is hot and produce much less brake dust. As the soft top was our own design you initially worry about whether it will work correctly – it has been amazing, and we have added some plastic side windows ourselves – which are removable – just in case of a major down pour. By calculating the correct diff, wheels and gearbox ratios at the outset we have ensured that the car is extremely economical. We do around 2000 rpm at 70 mph, and managing to get around 28 miles to the gallon – not bad for a 5.7 ltr engine.

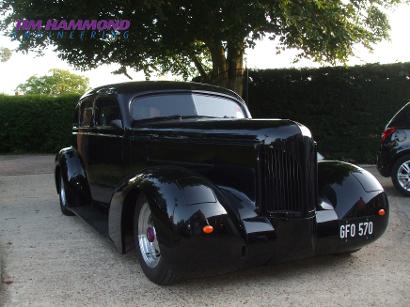
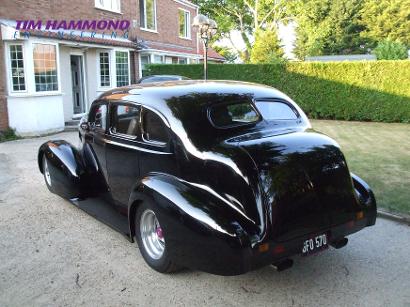
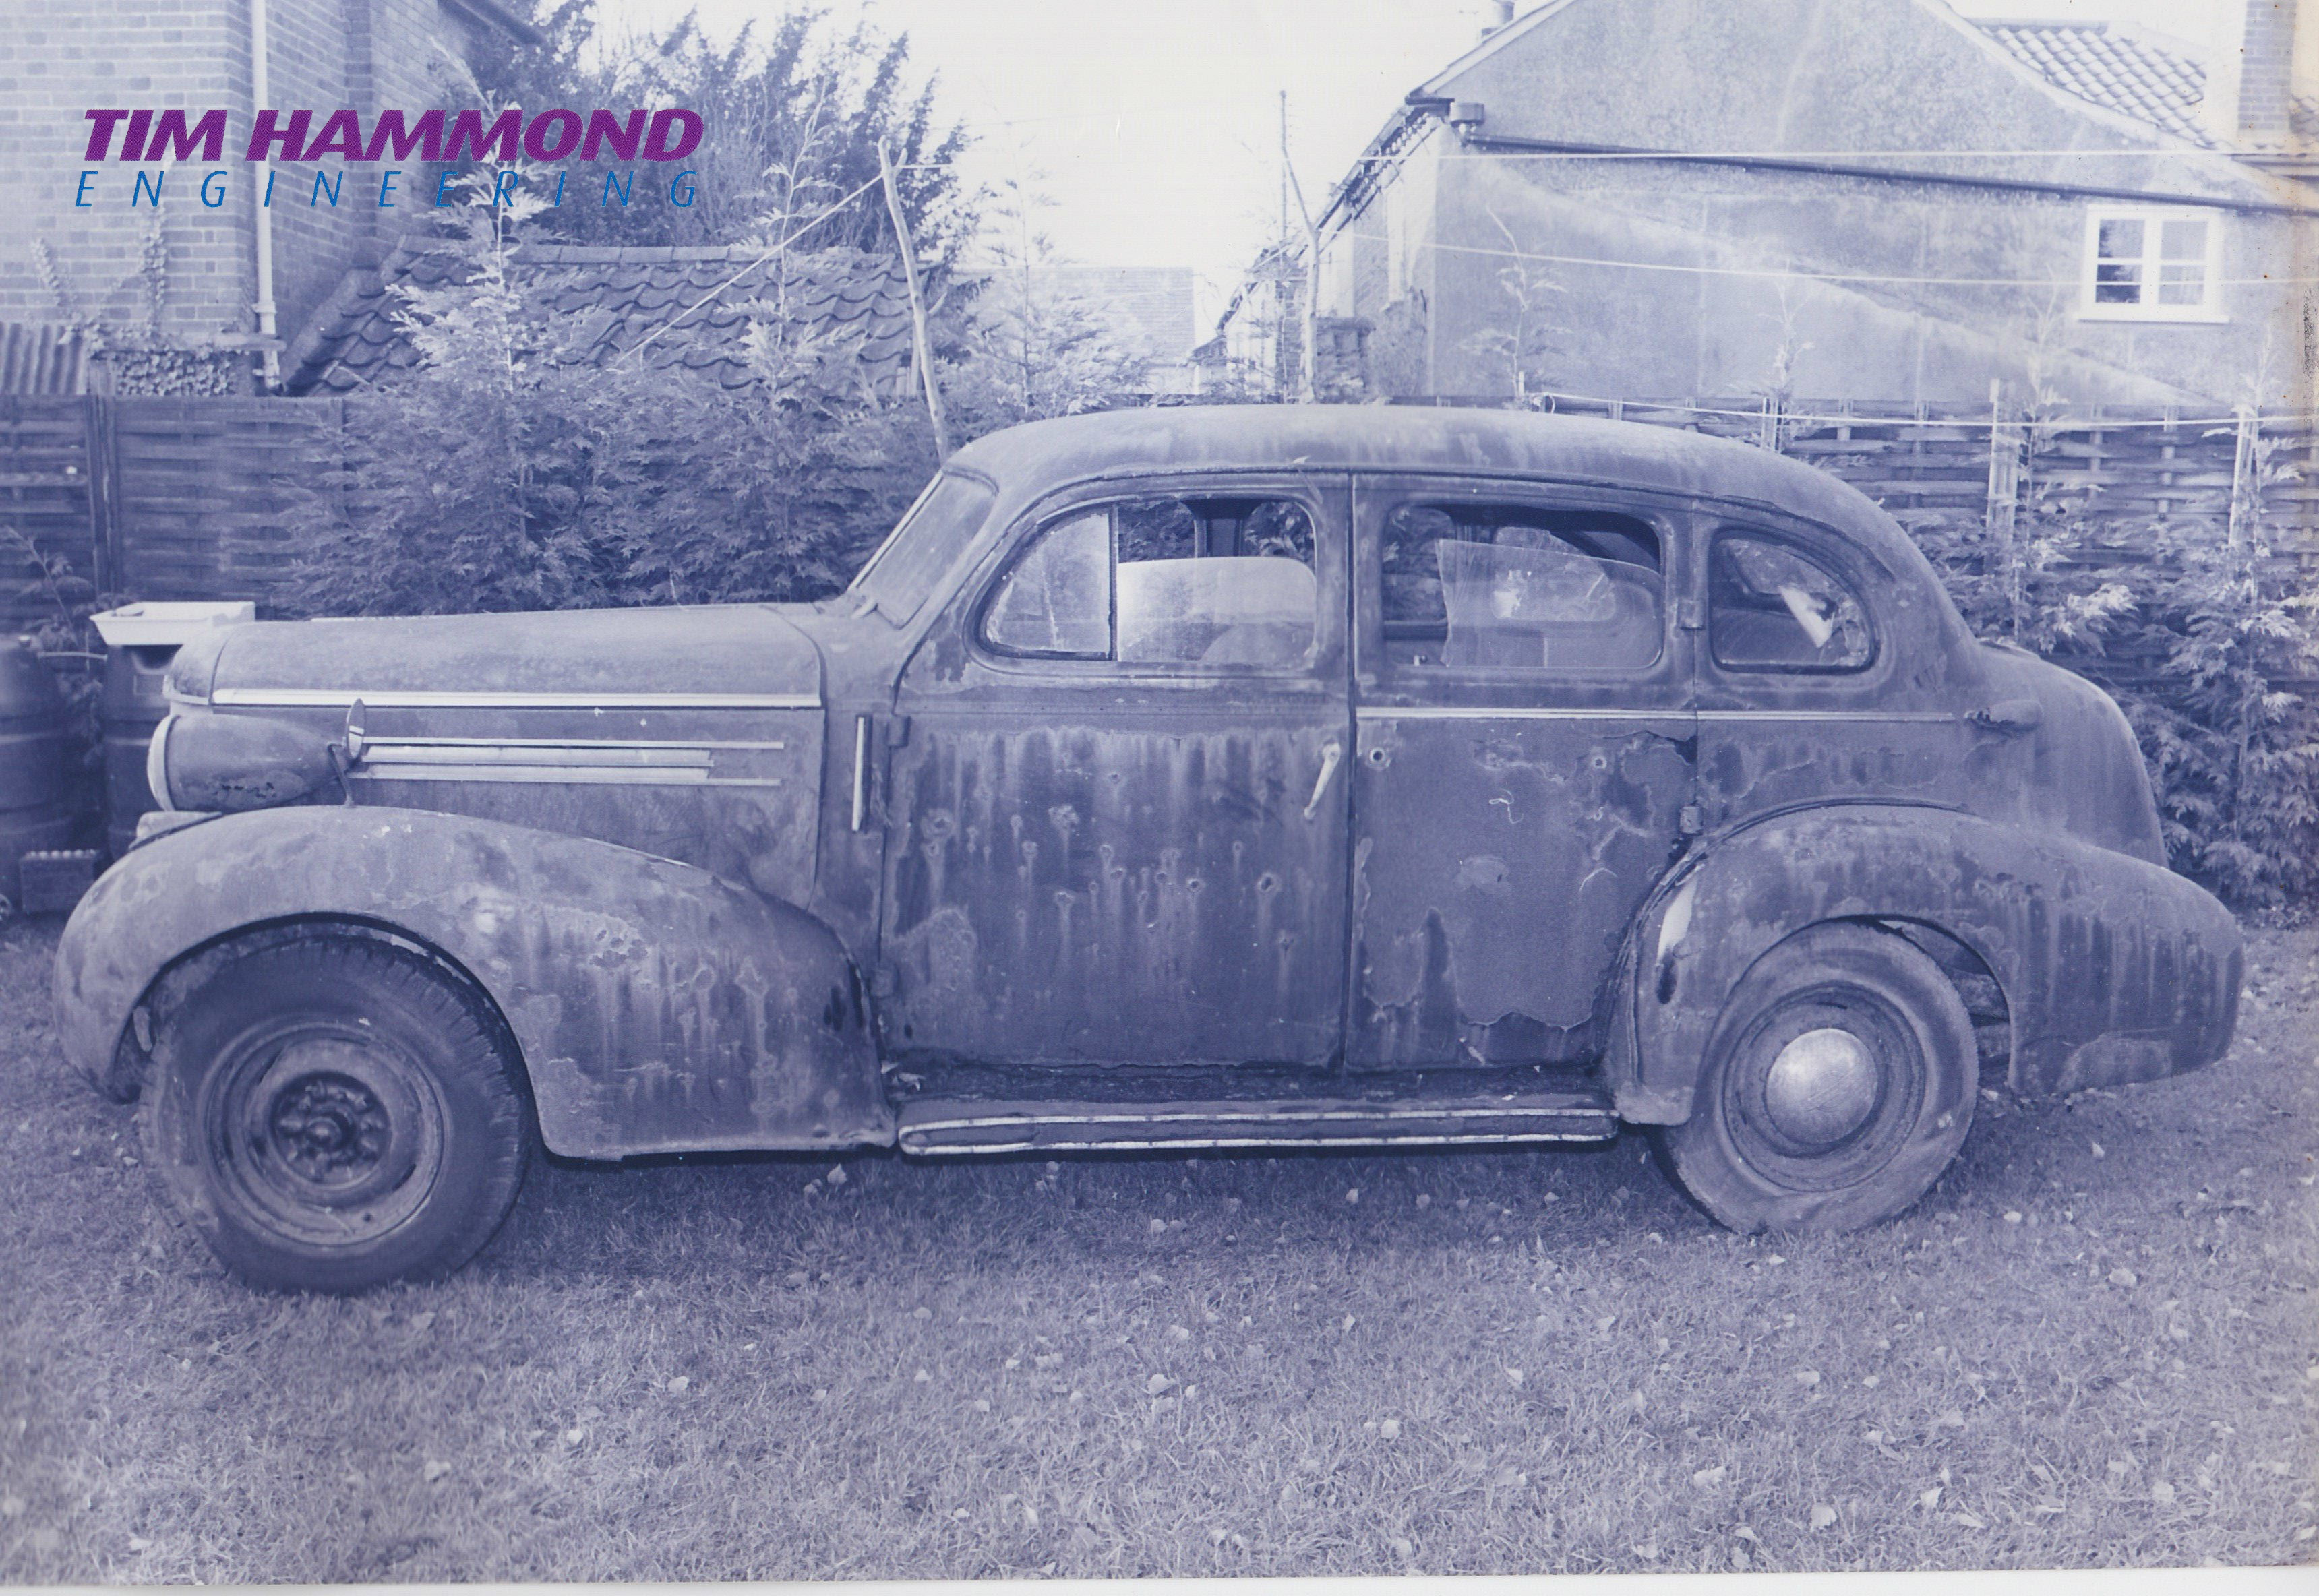
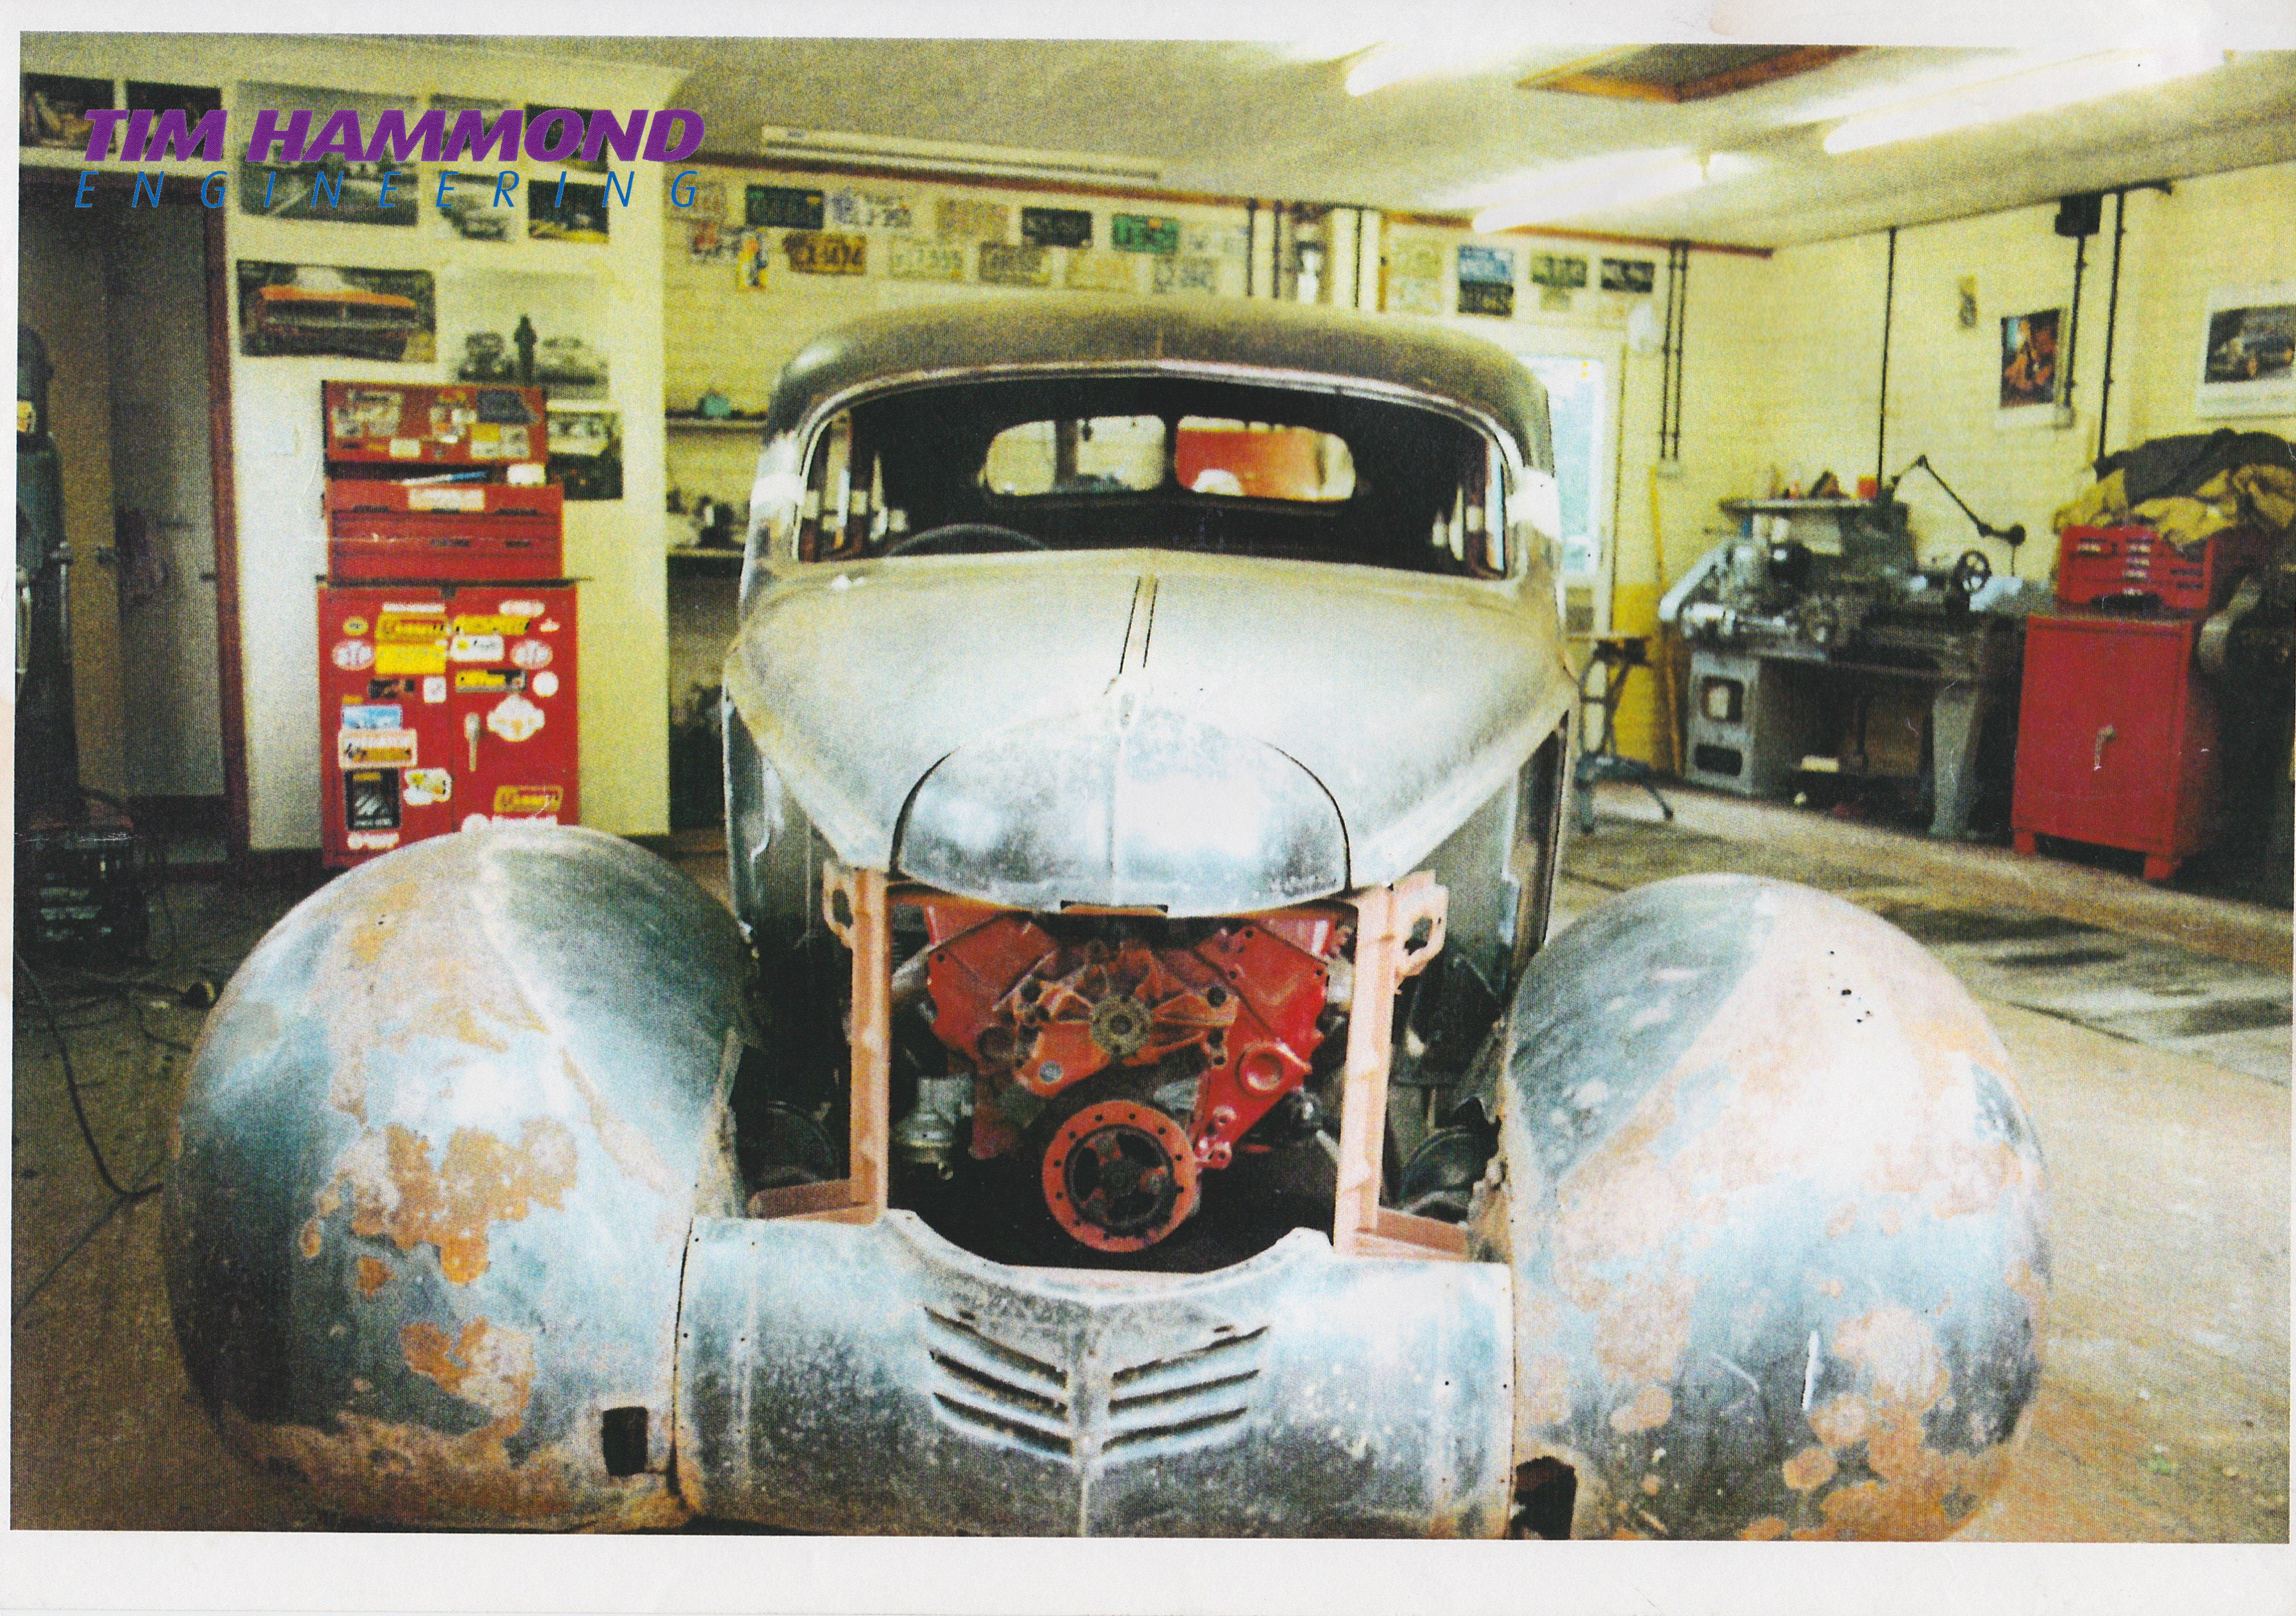
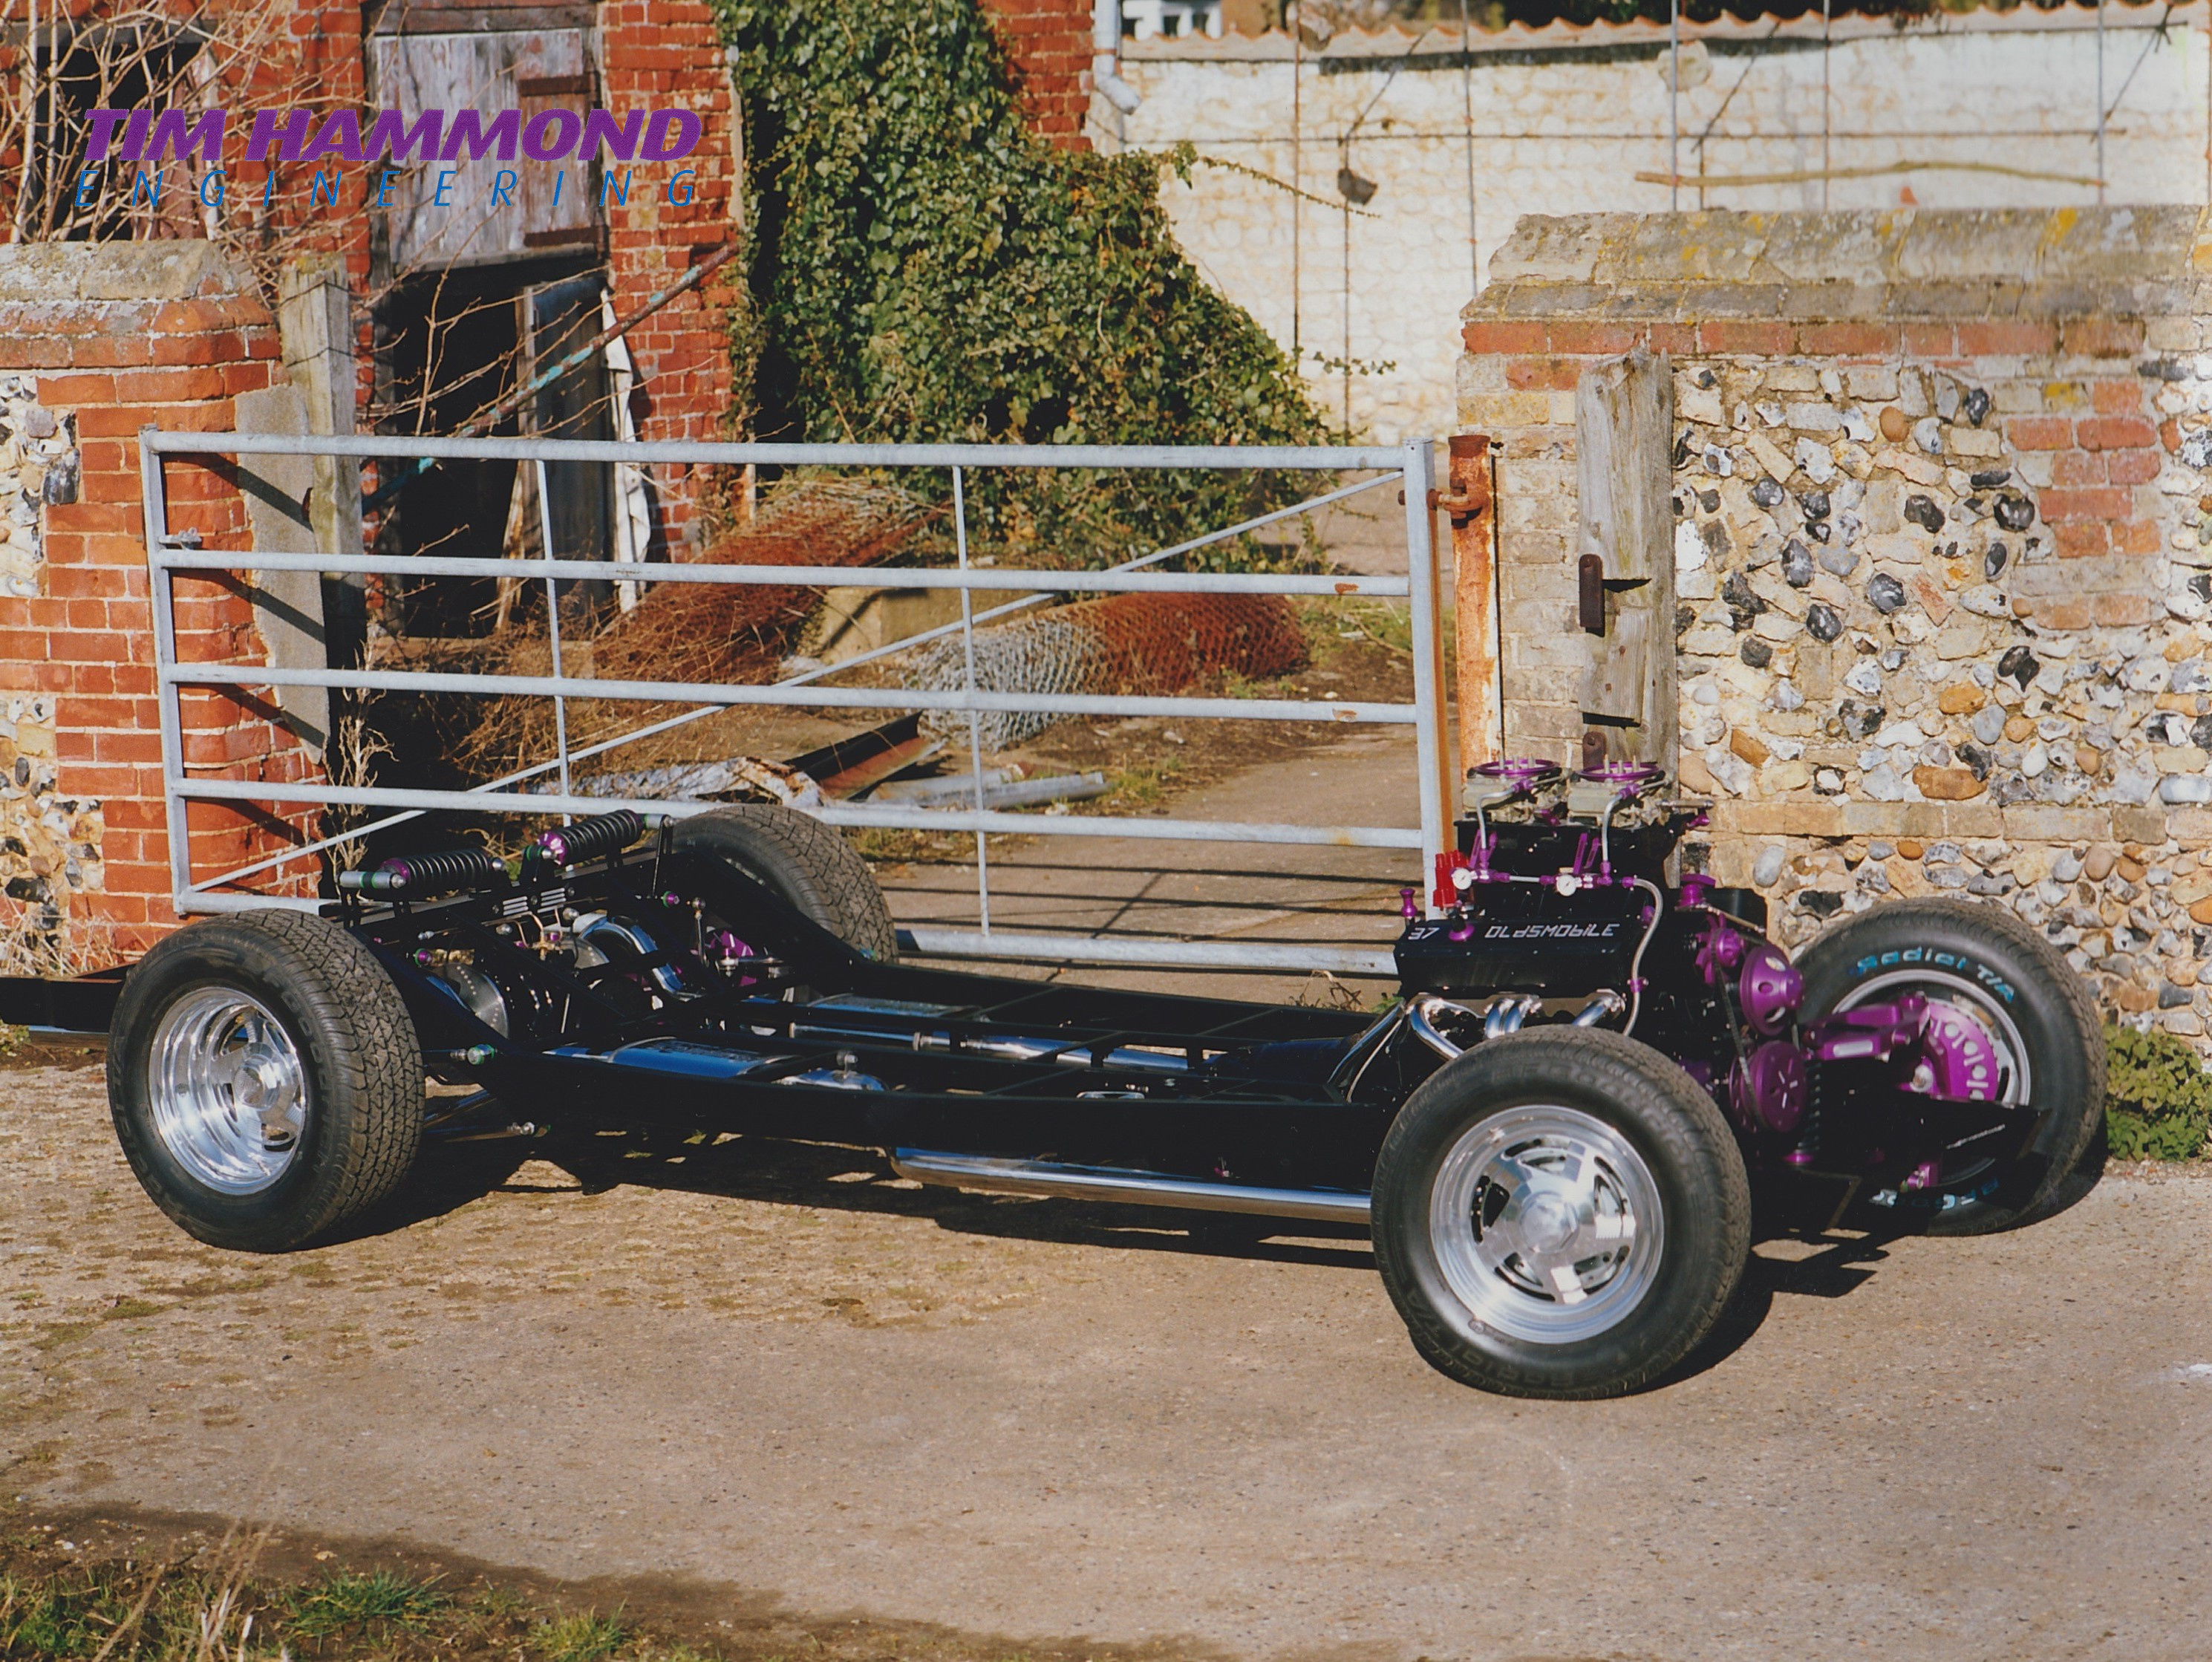
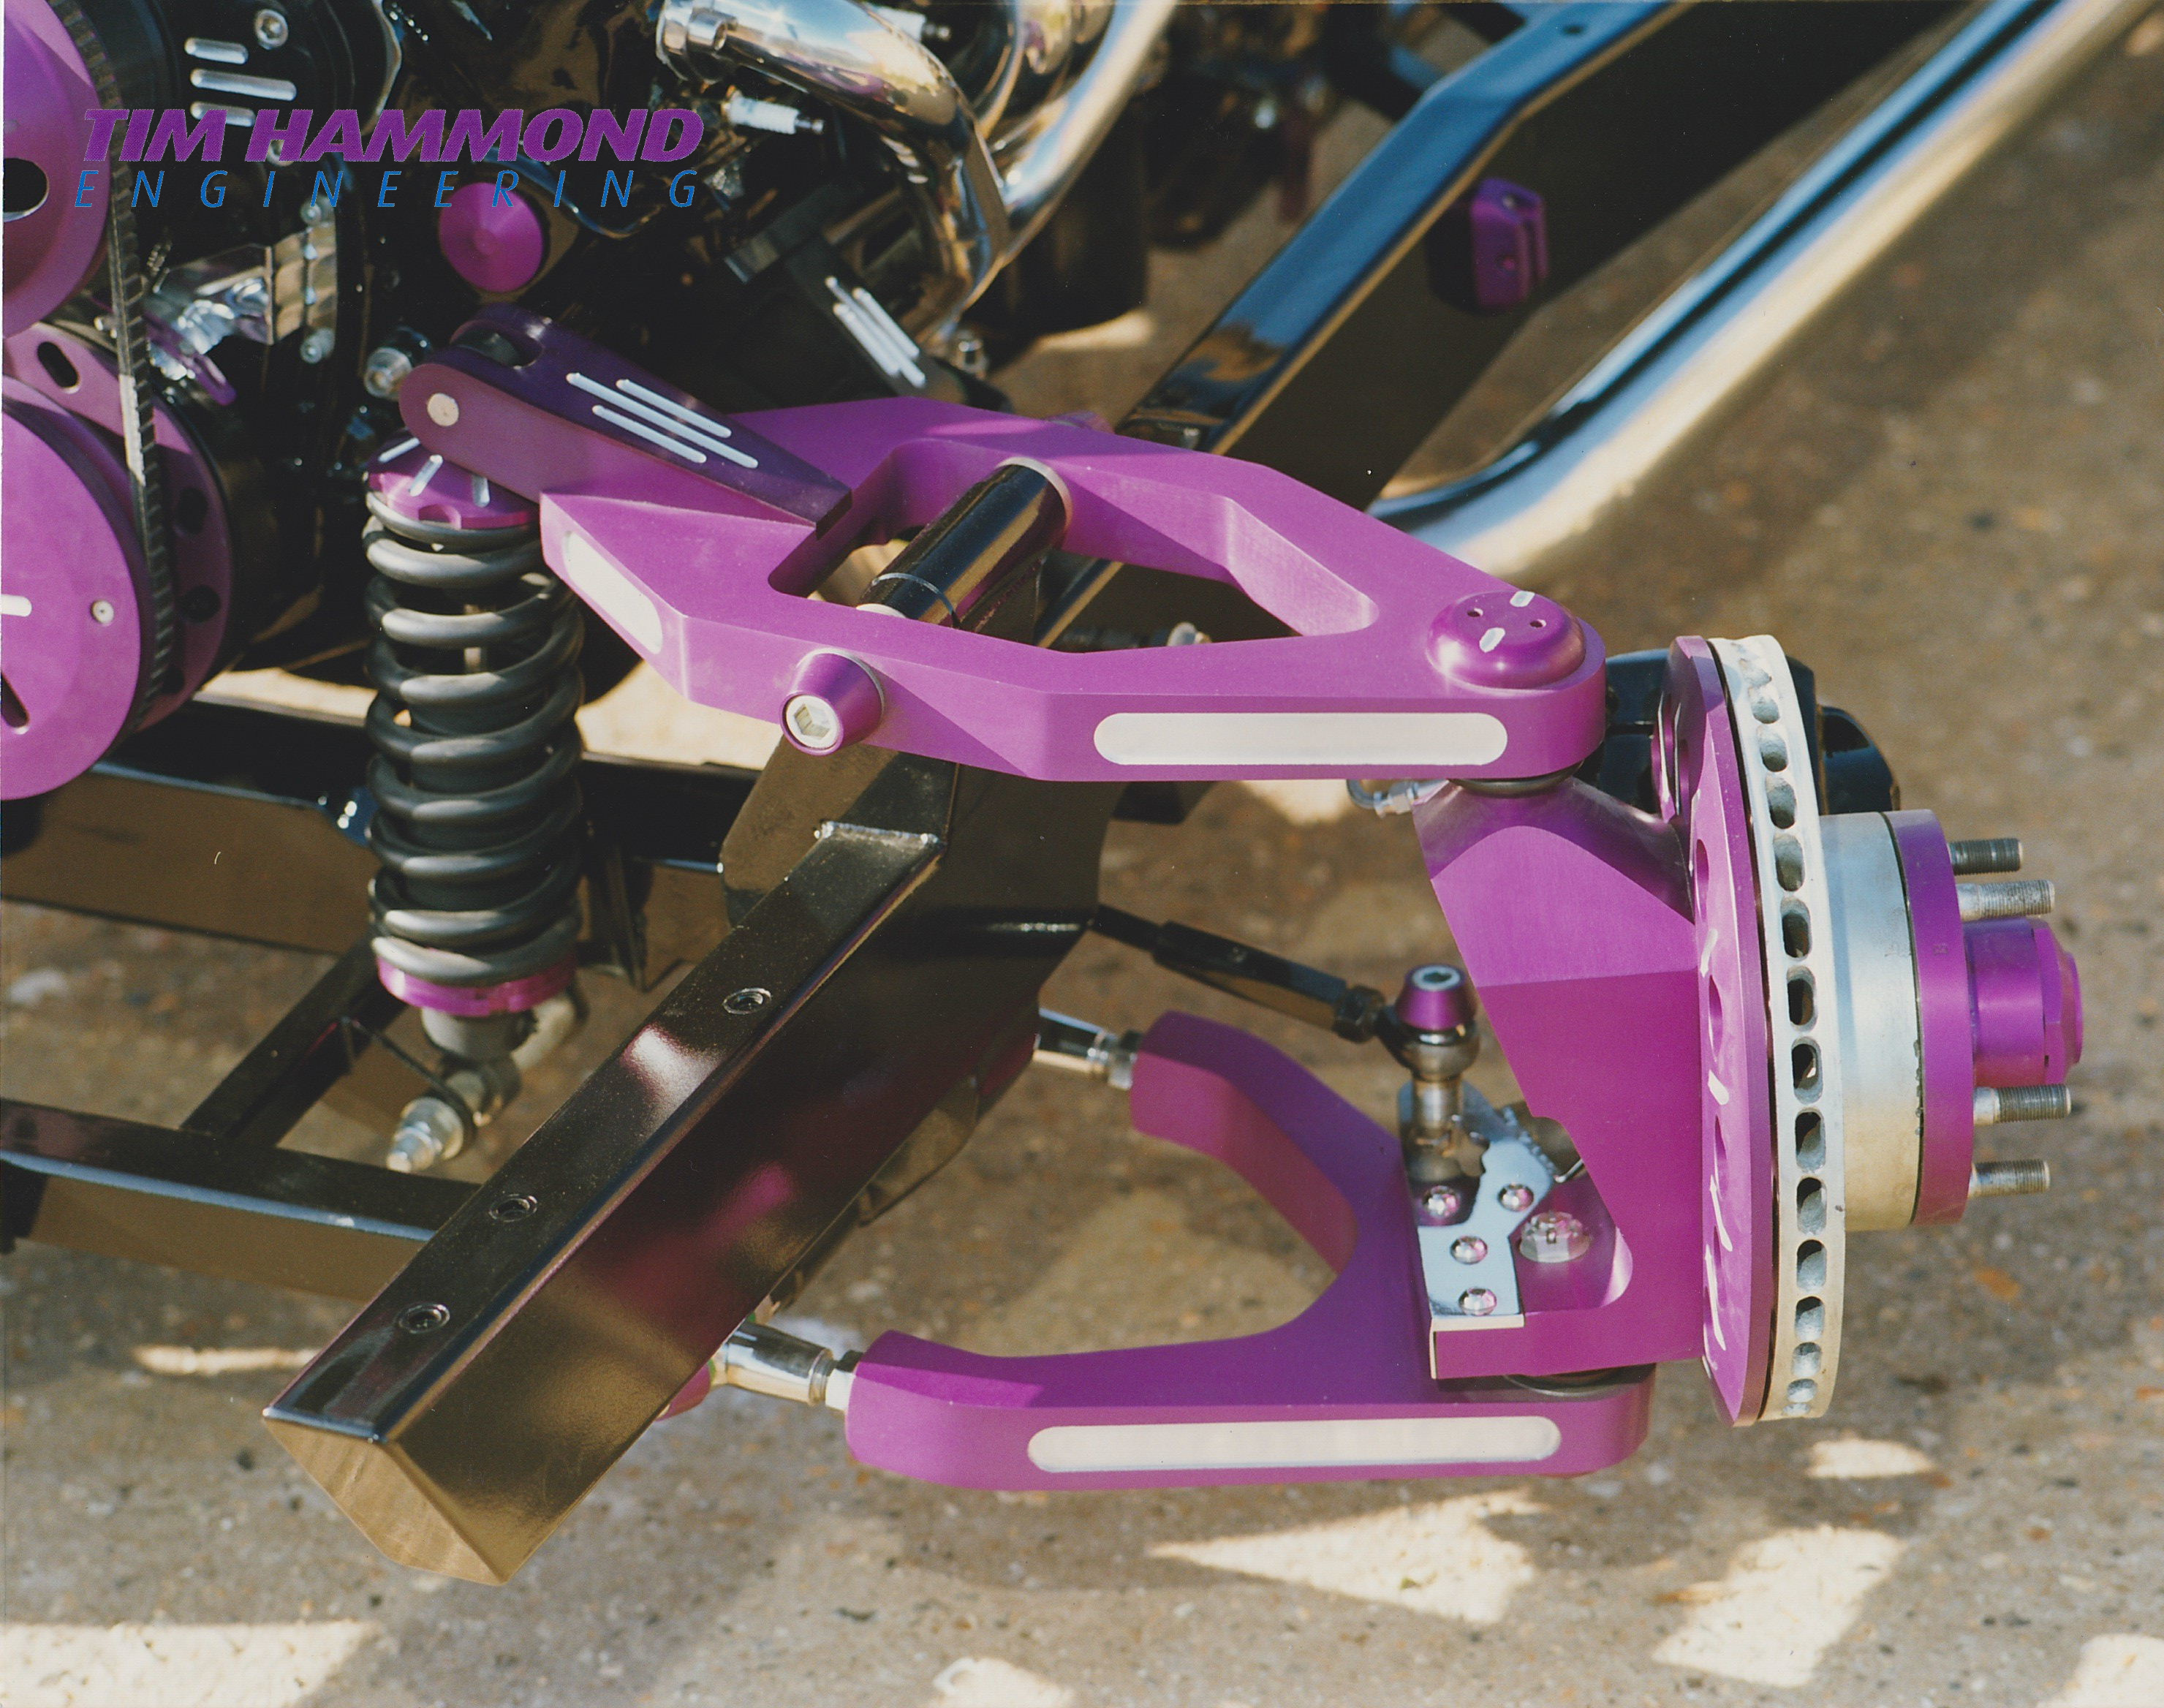
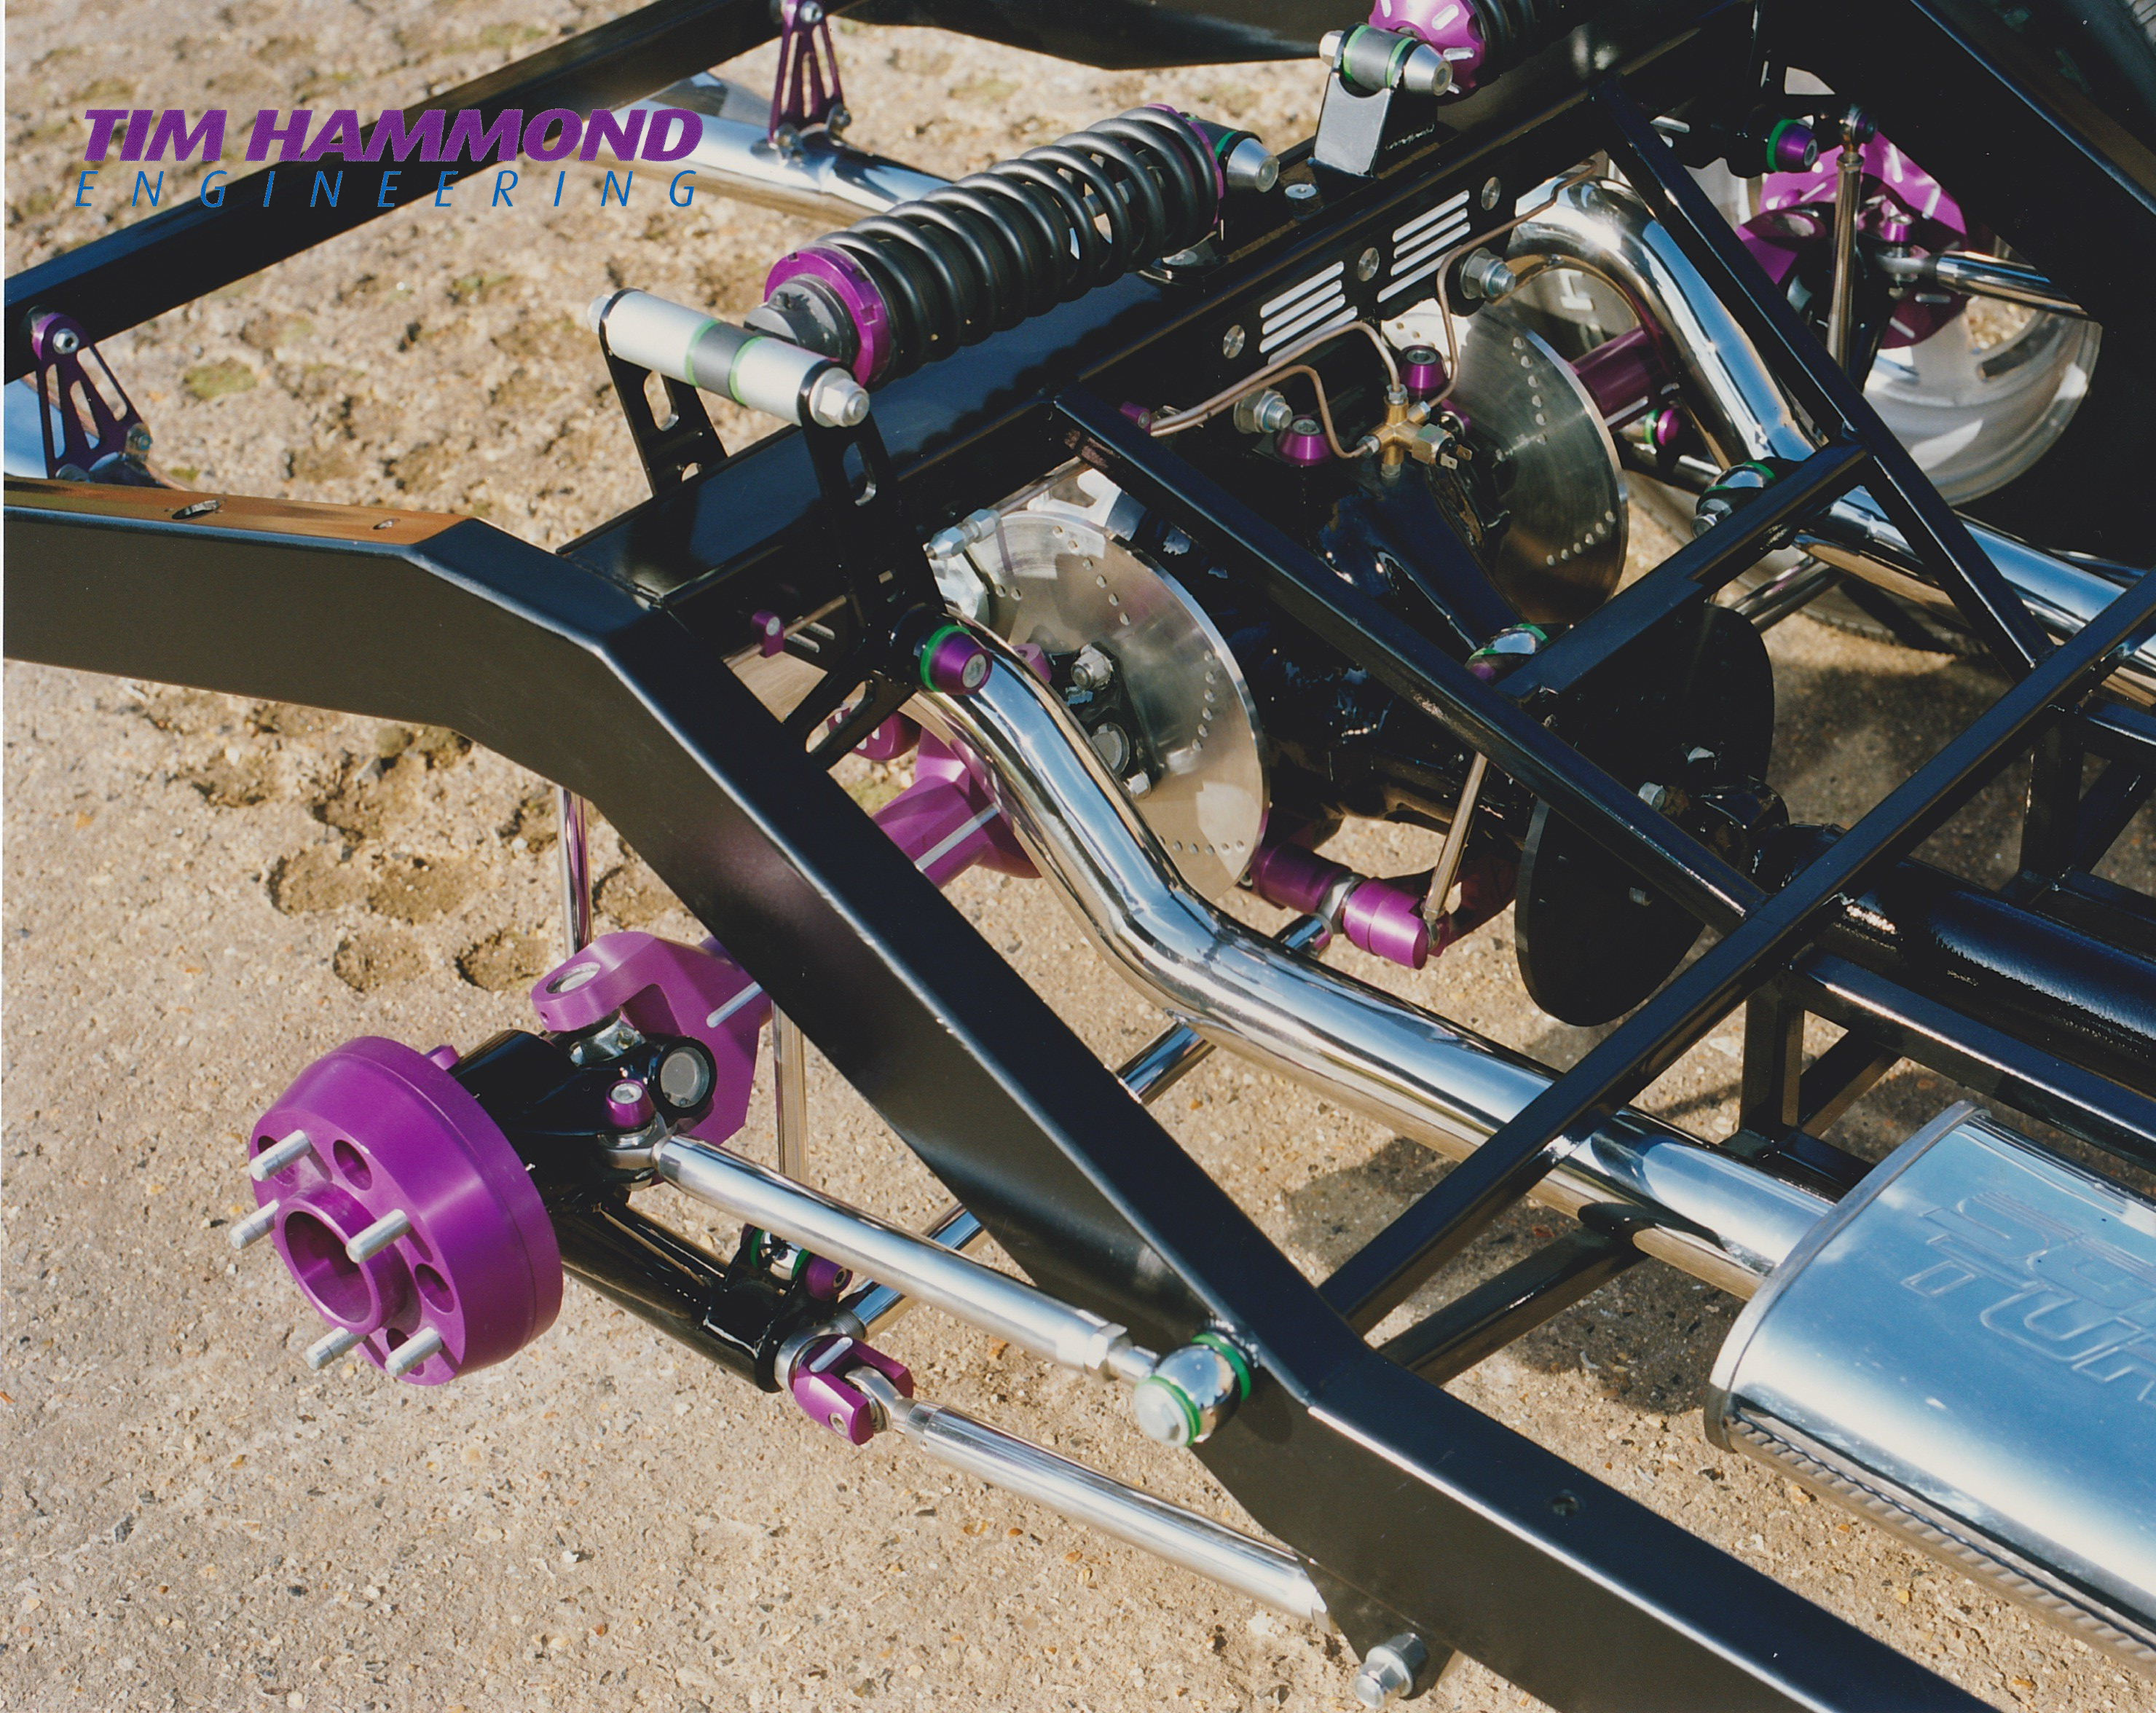
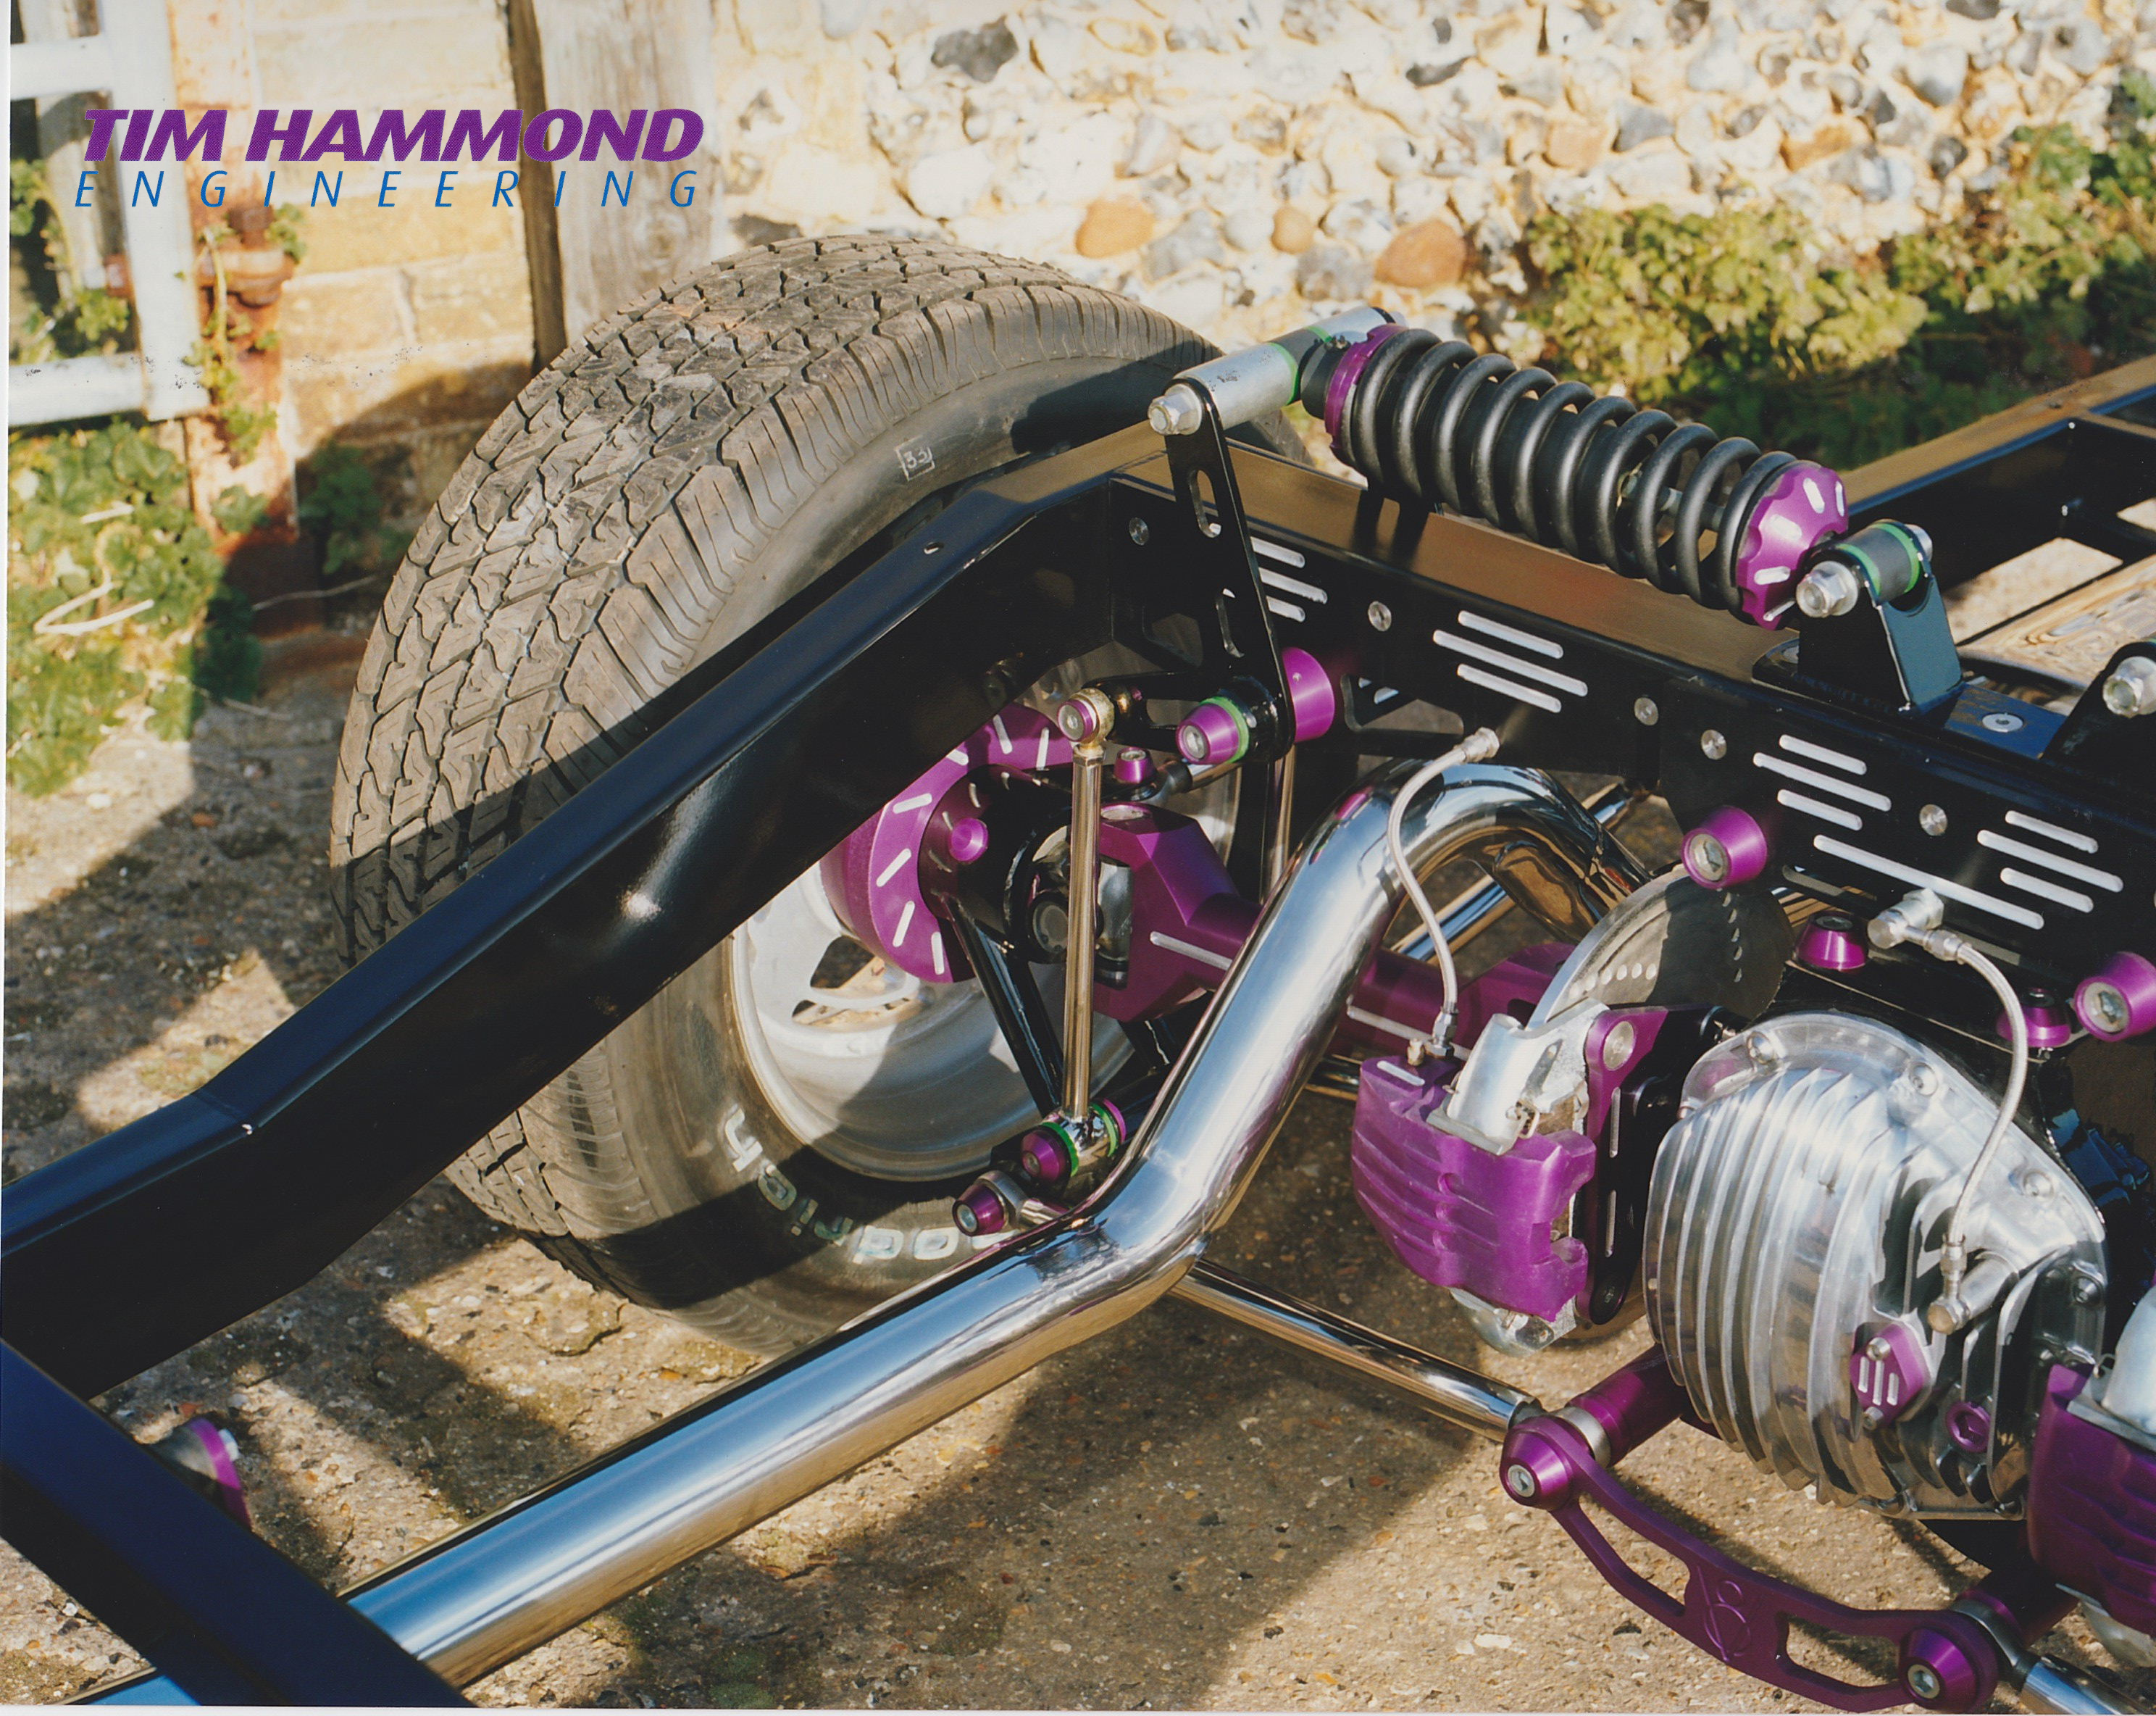
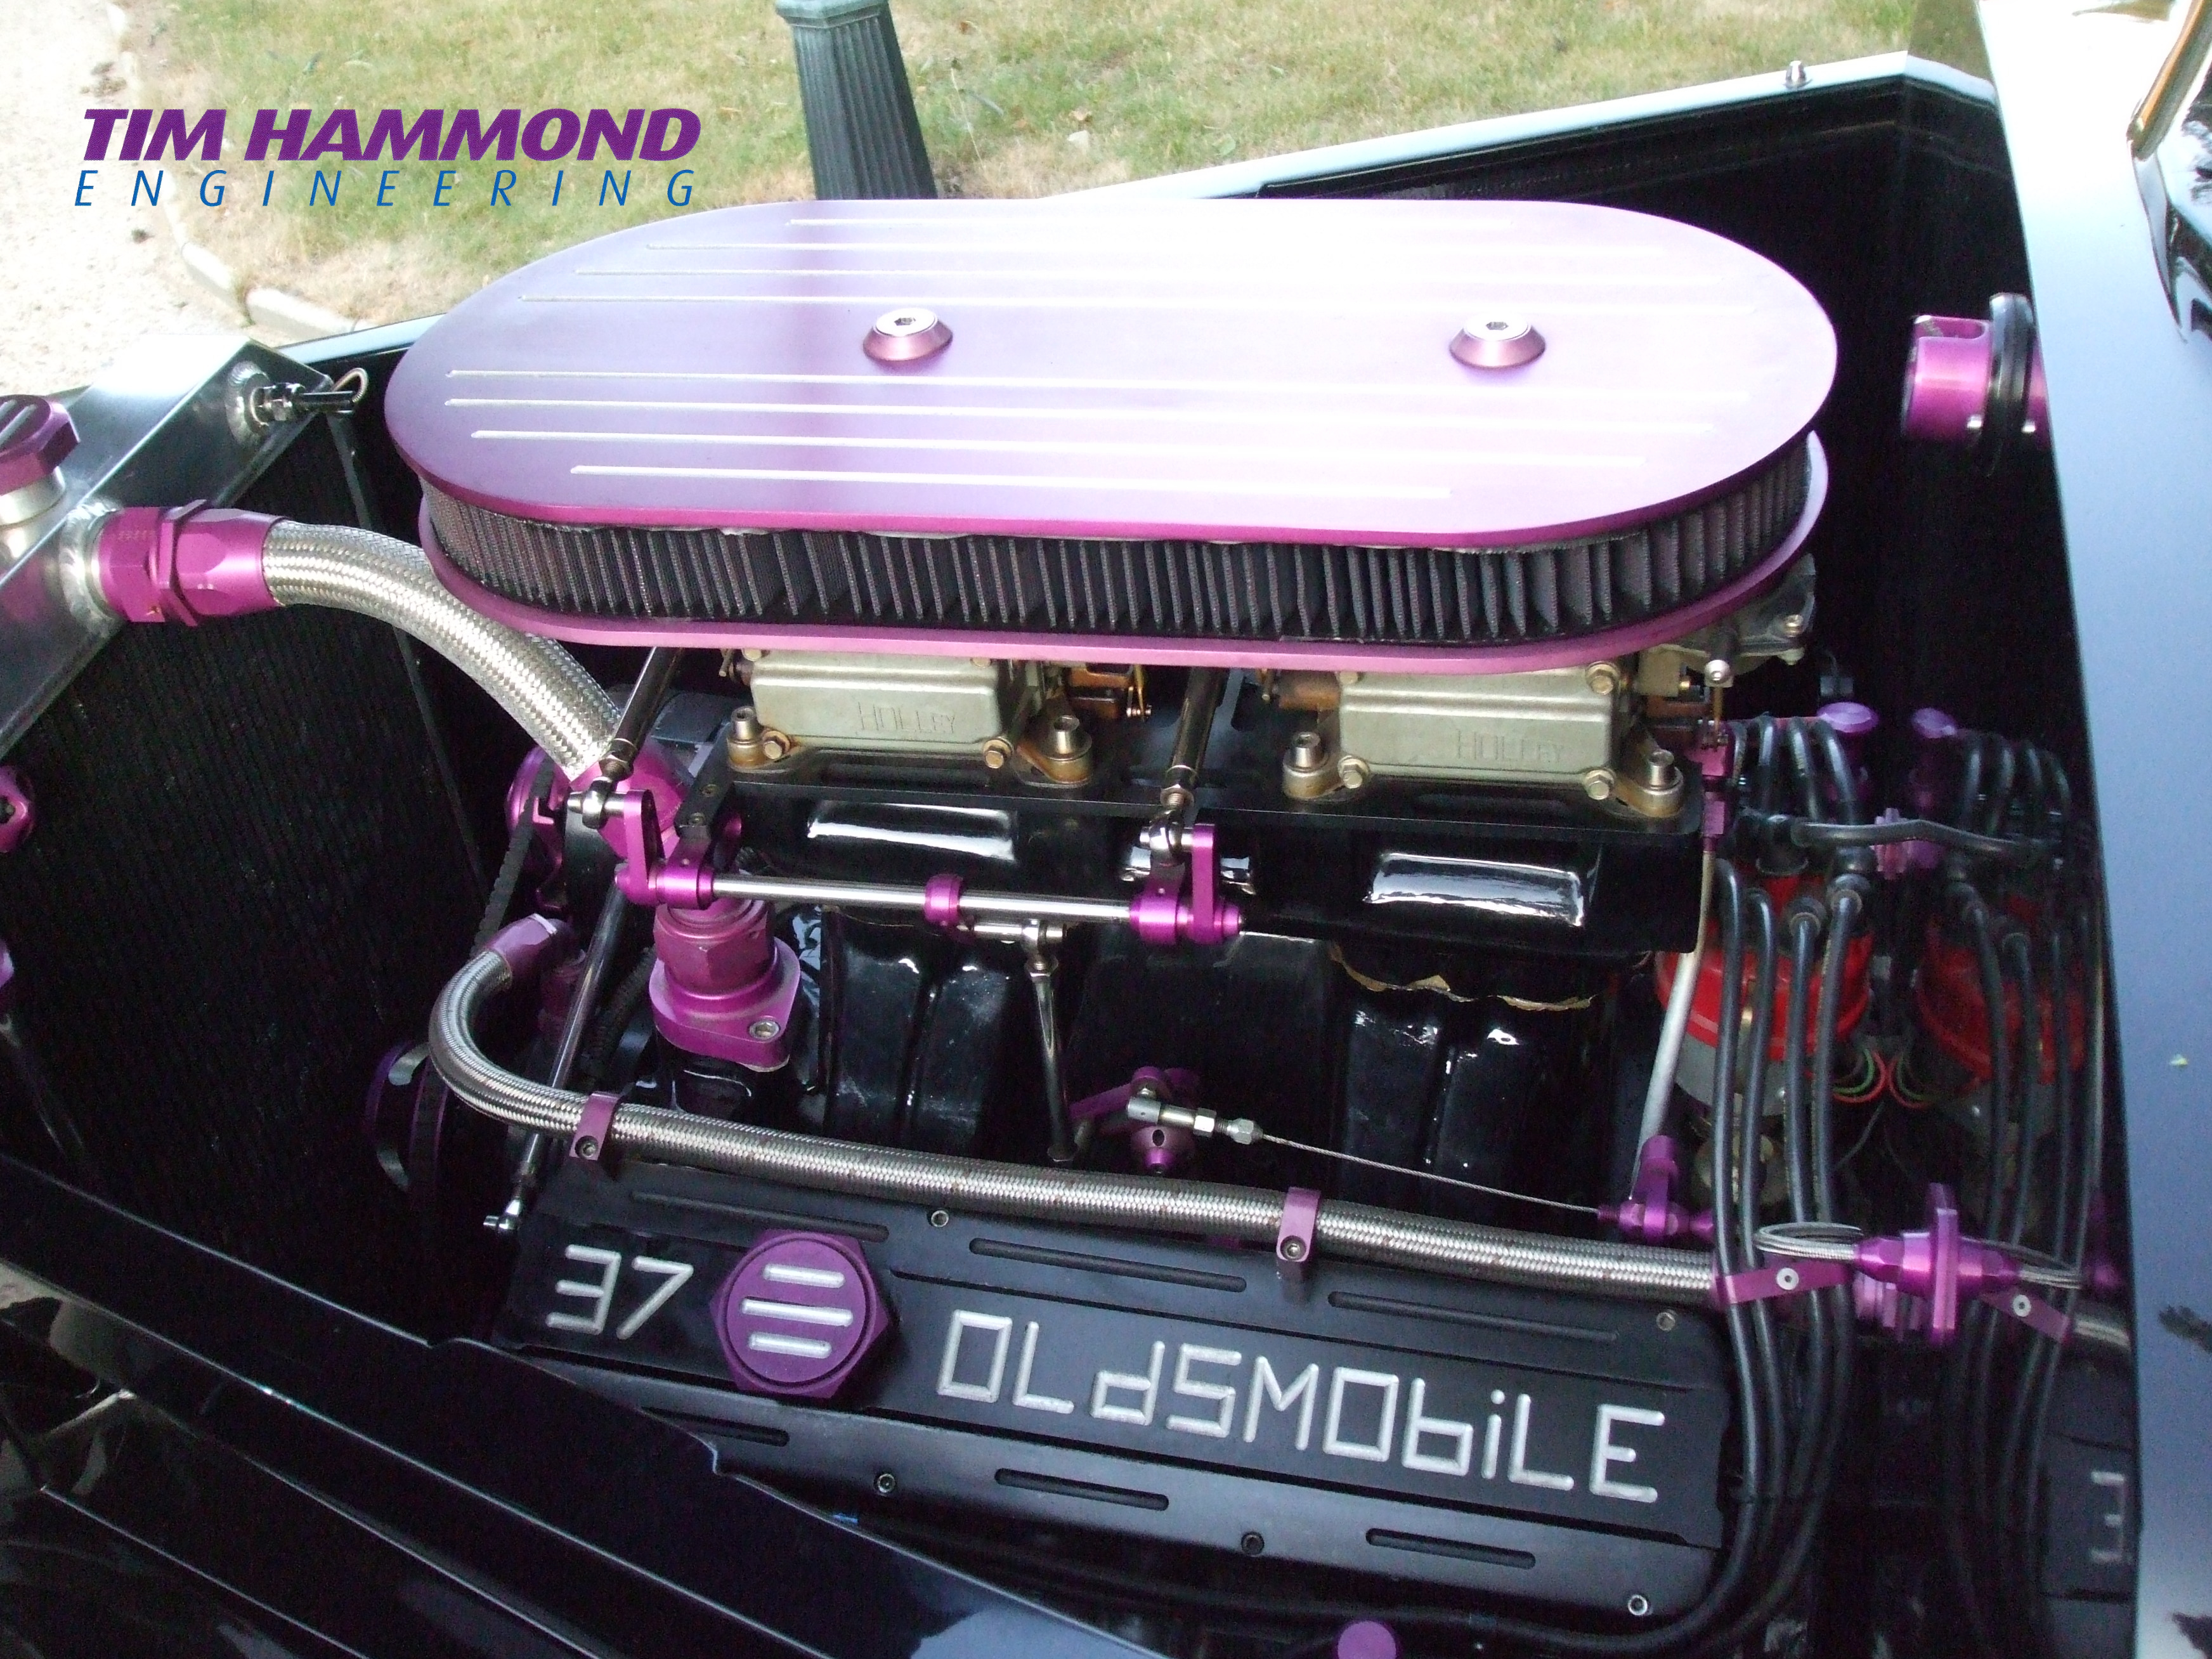
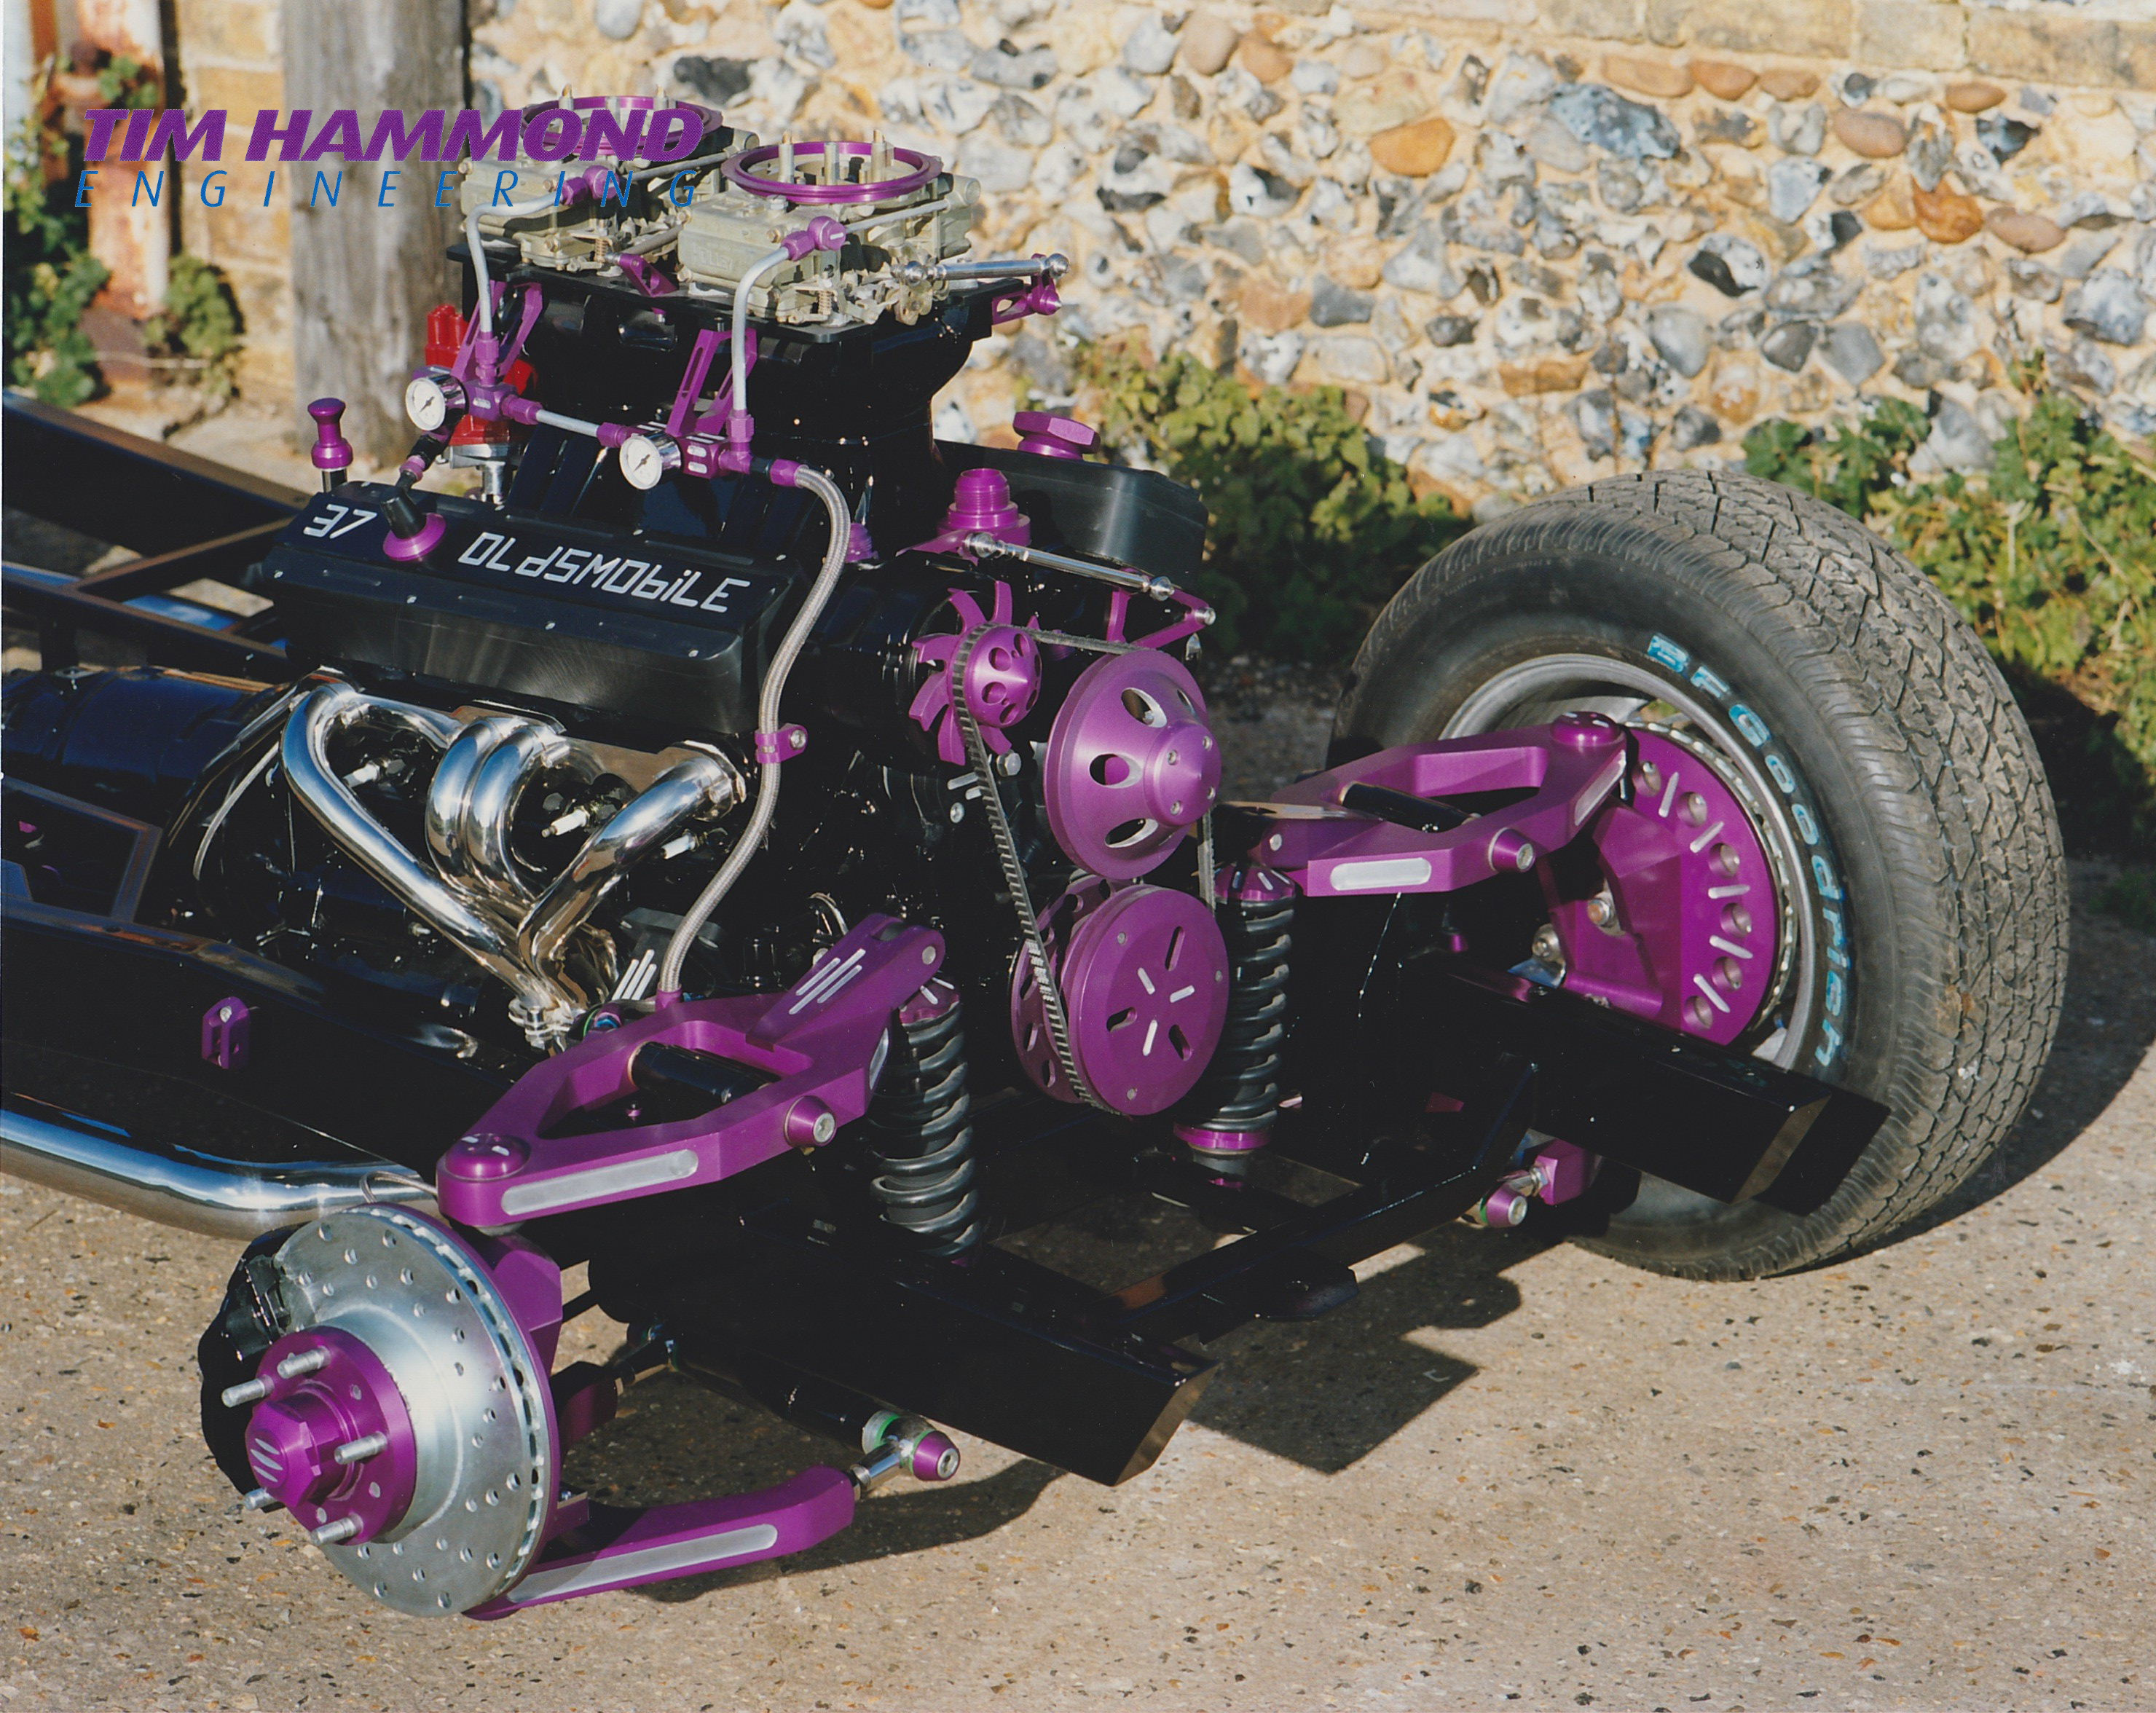
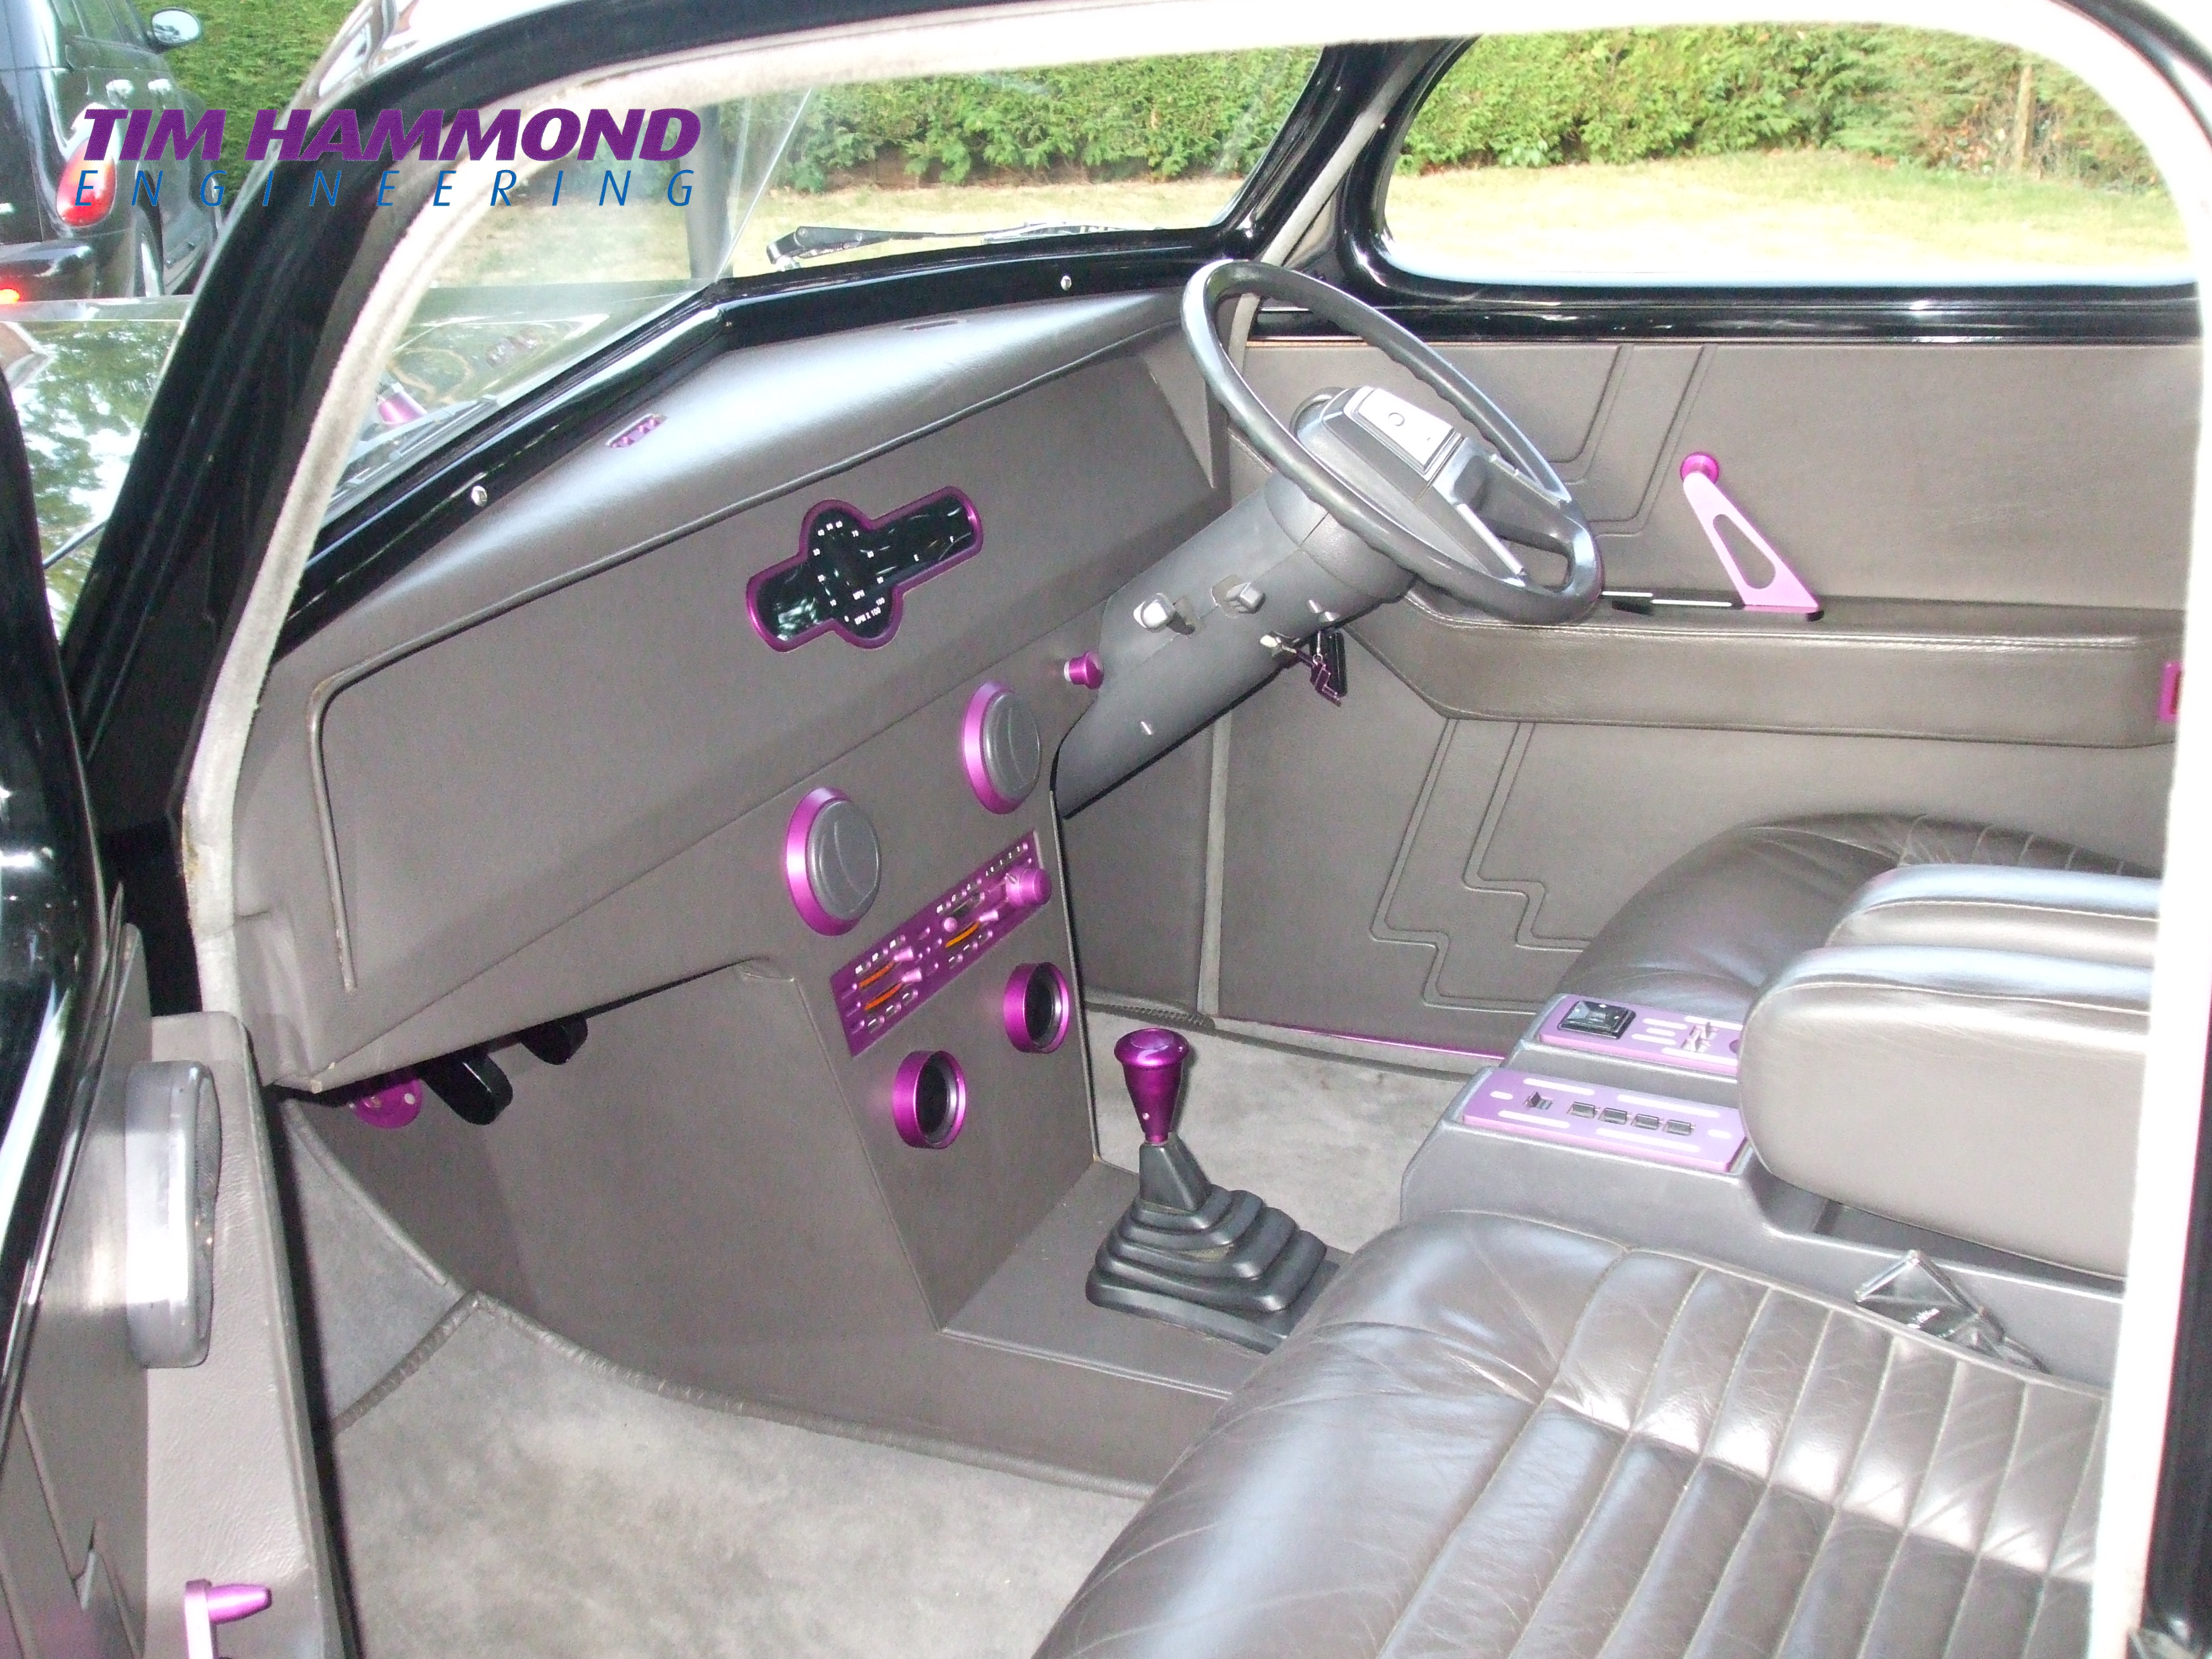
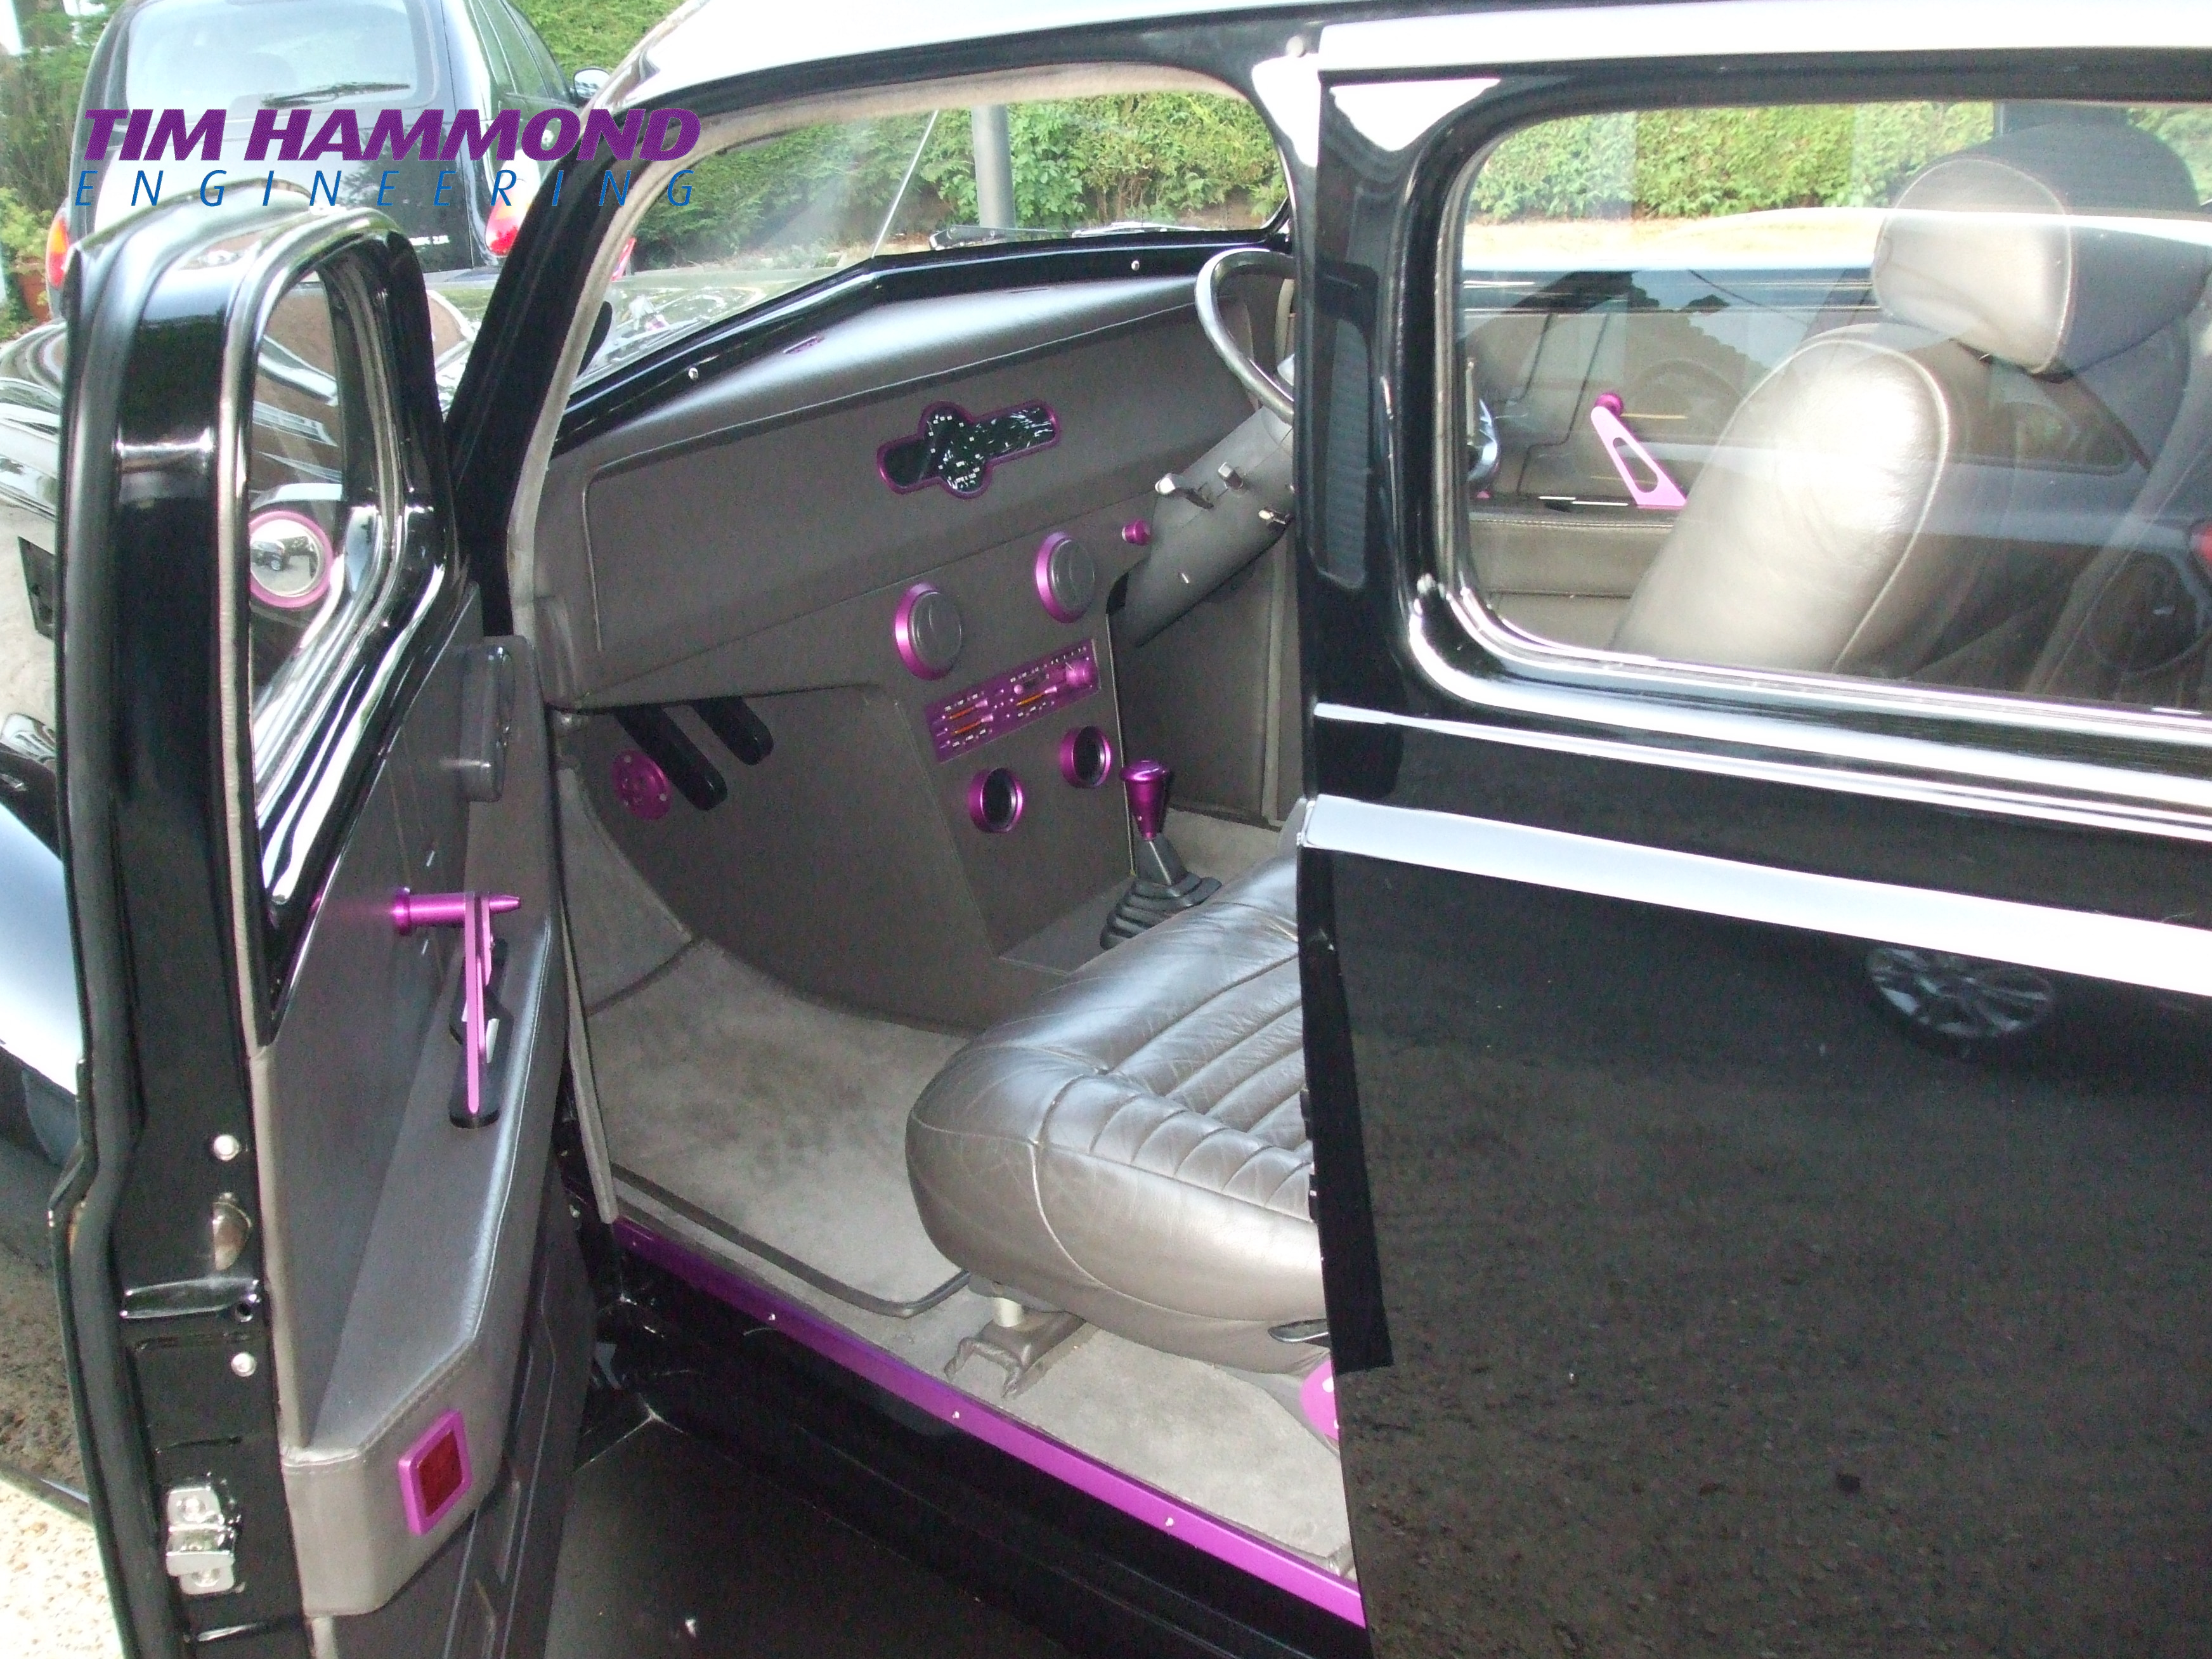
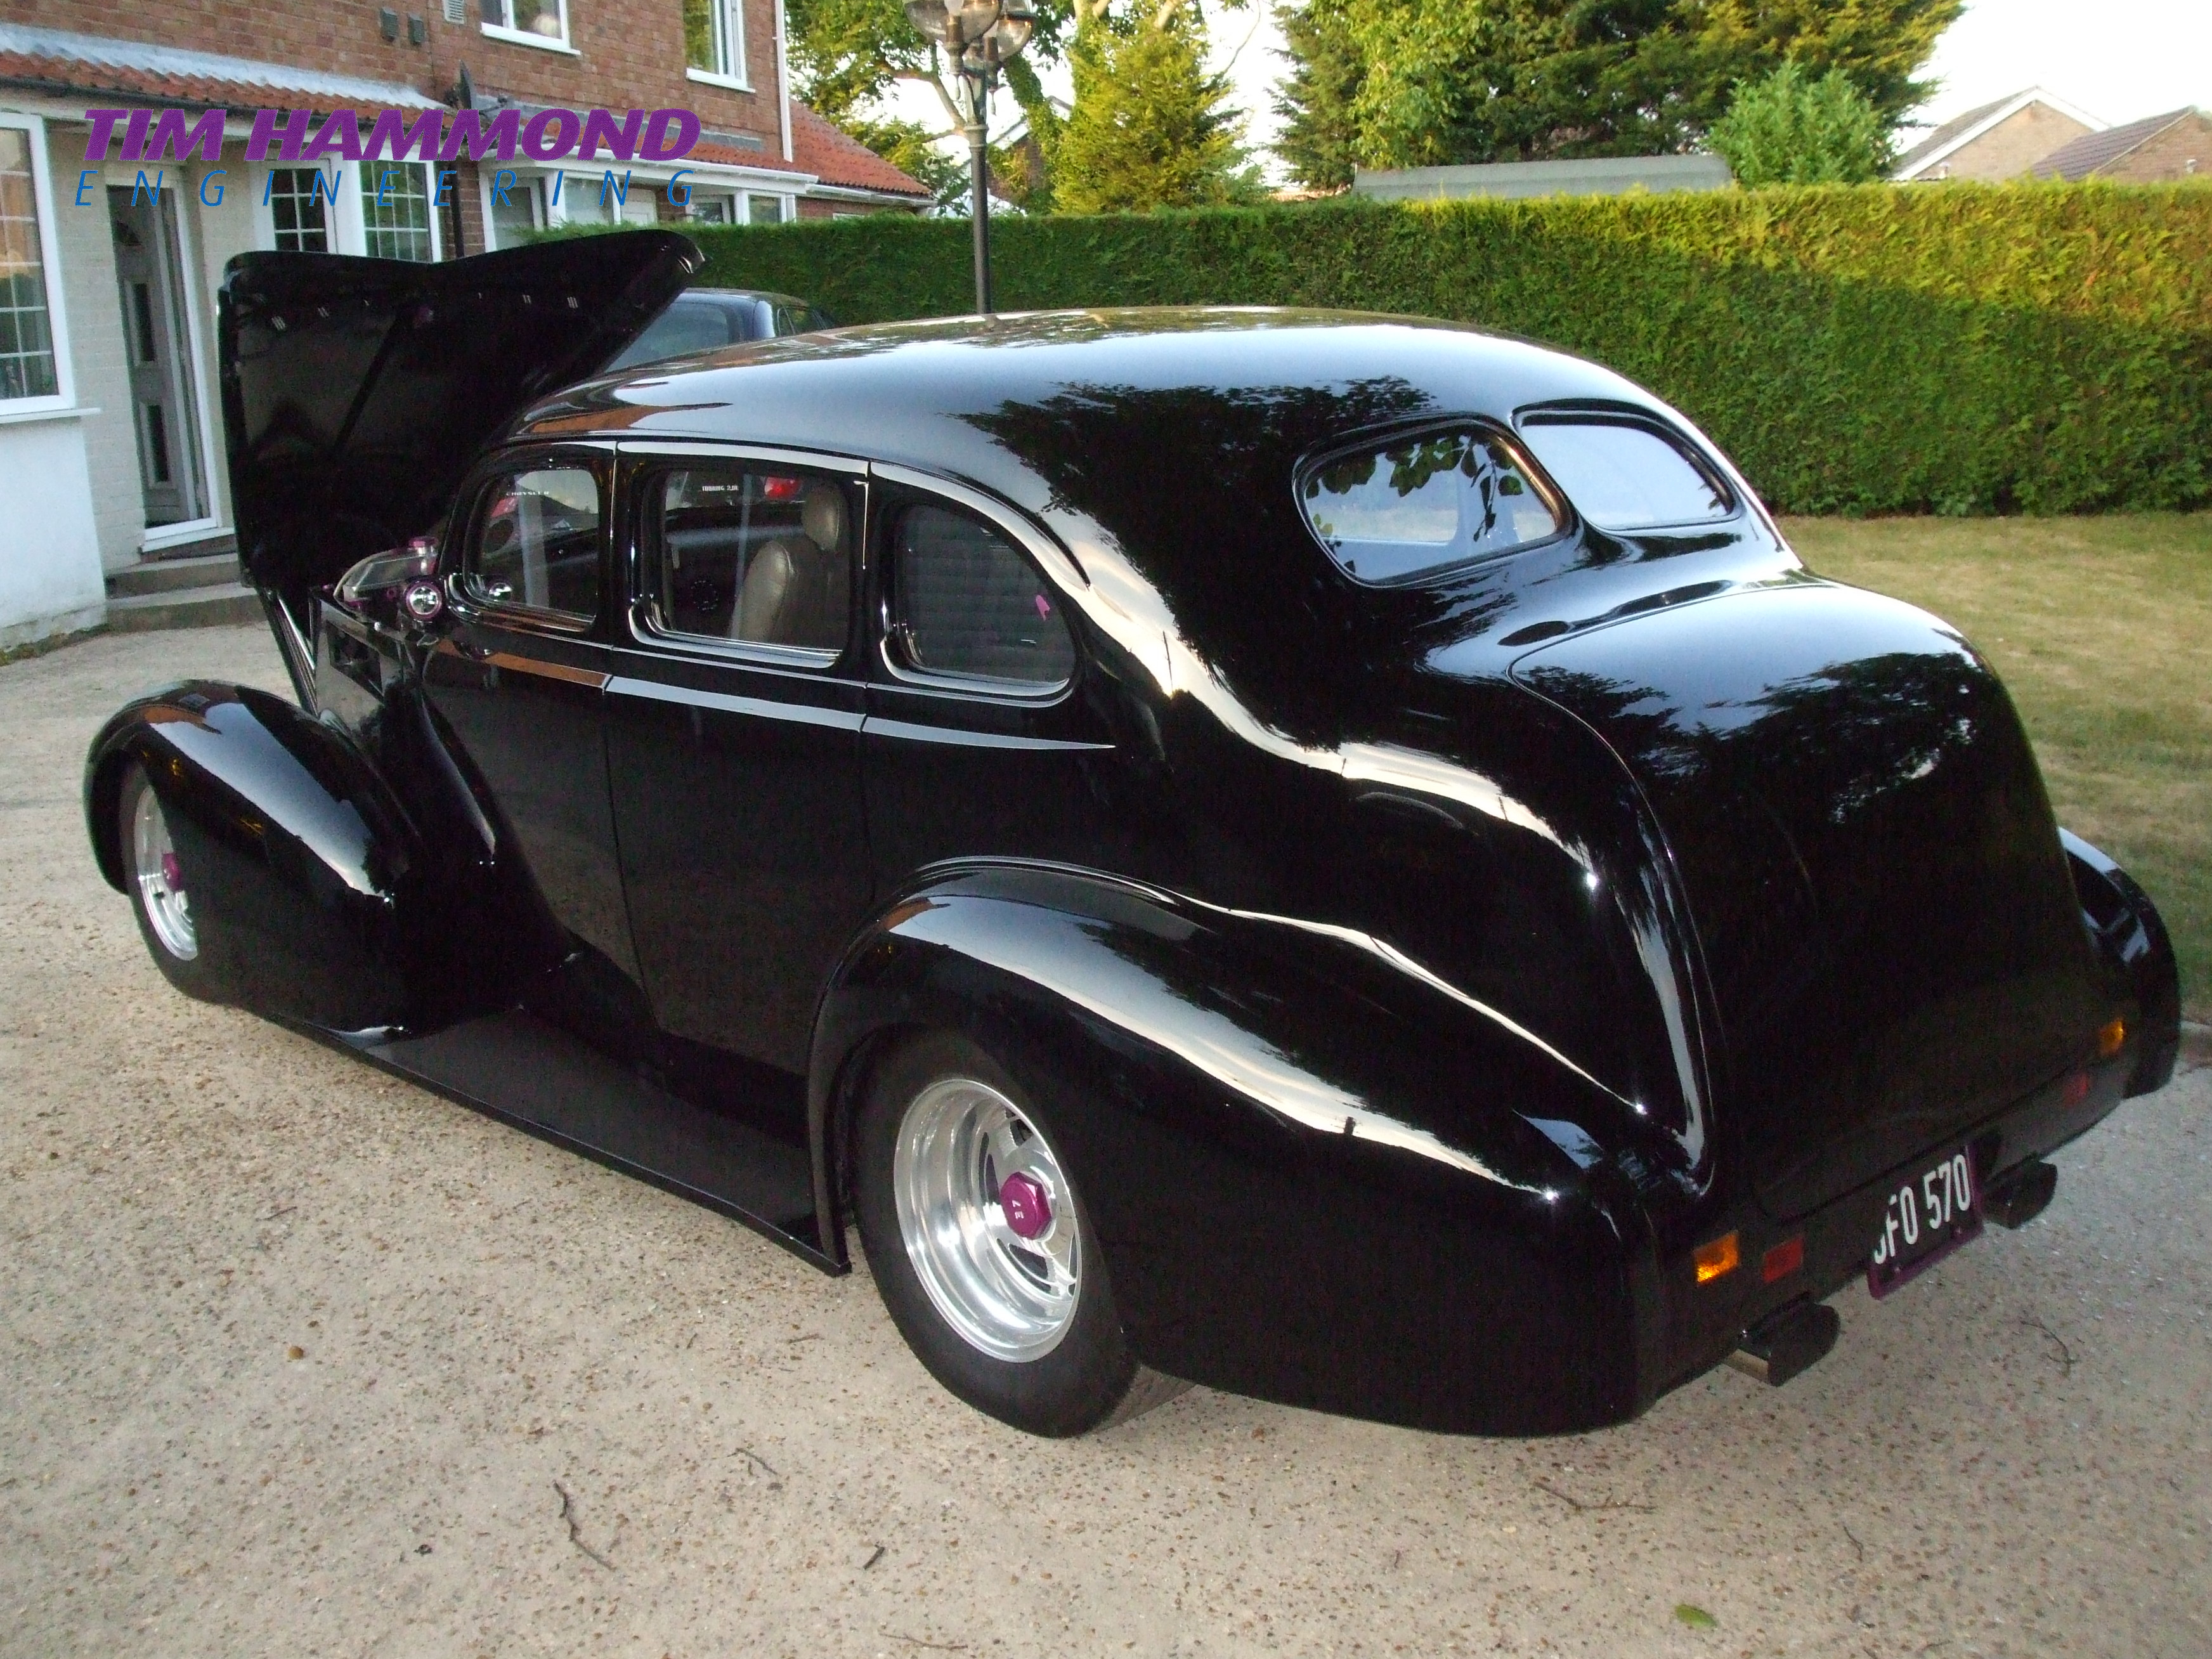
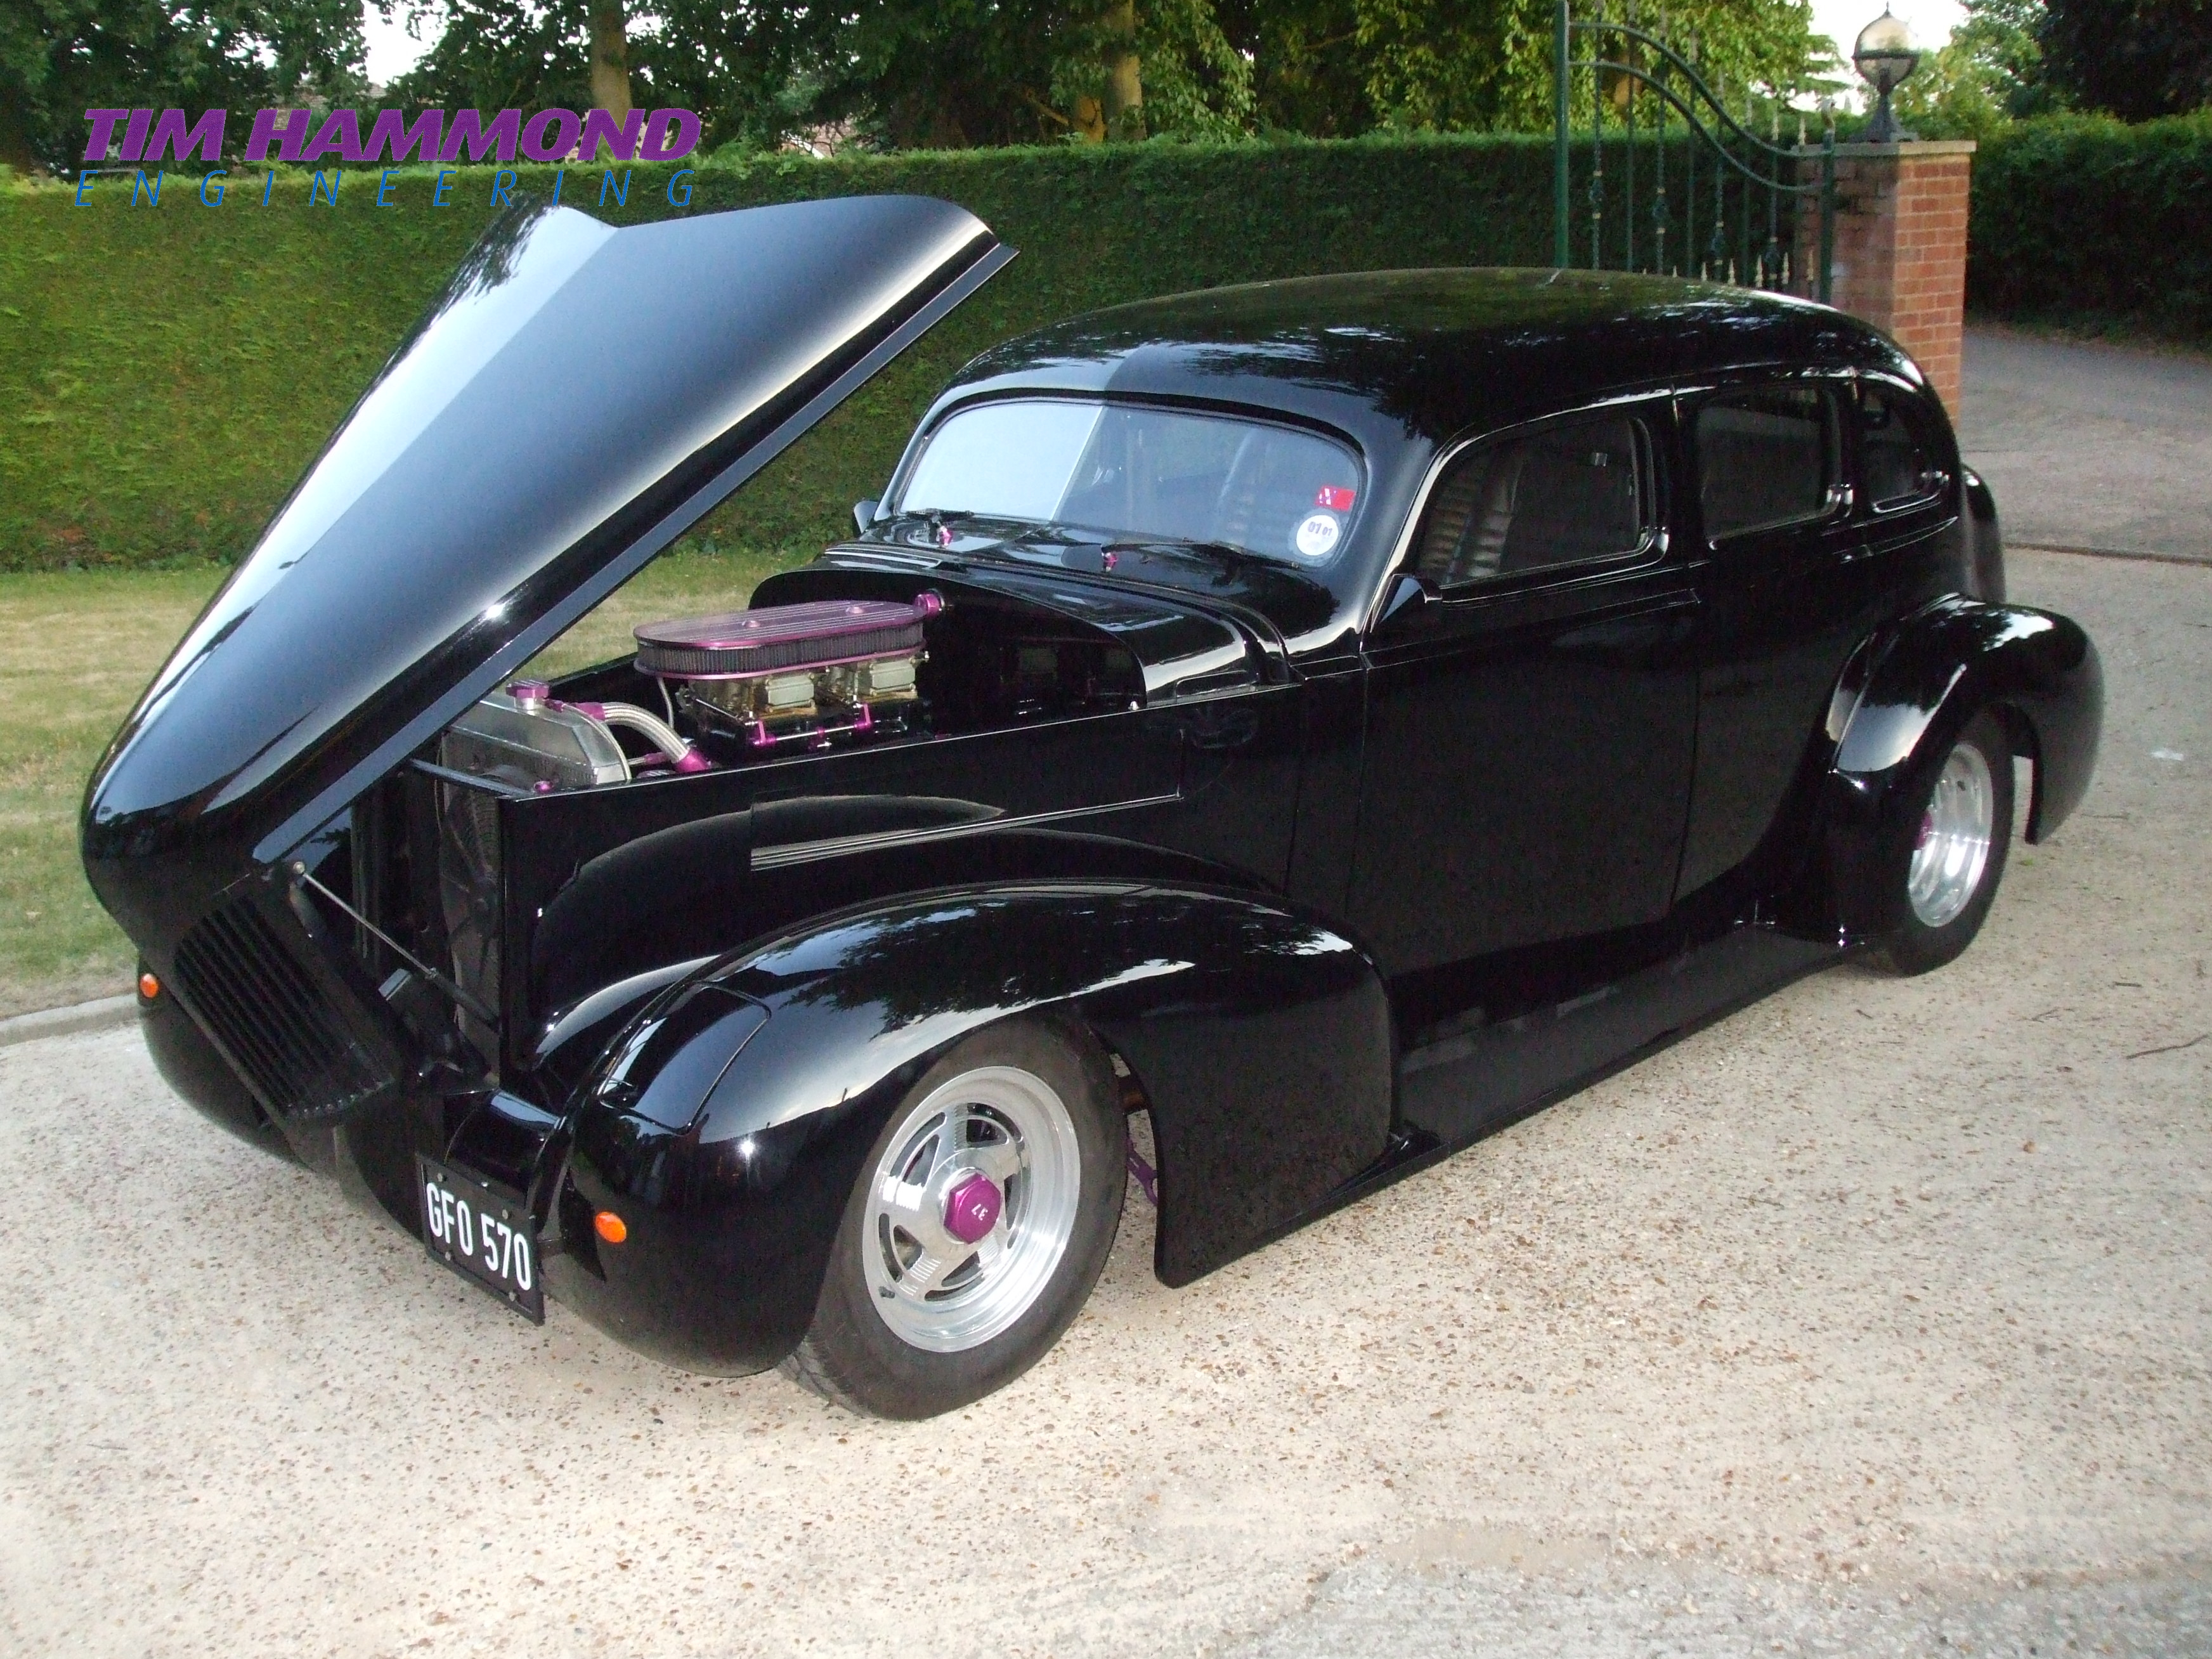
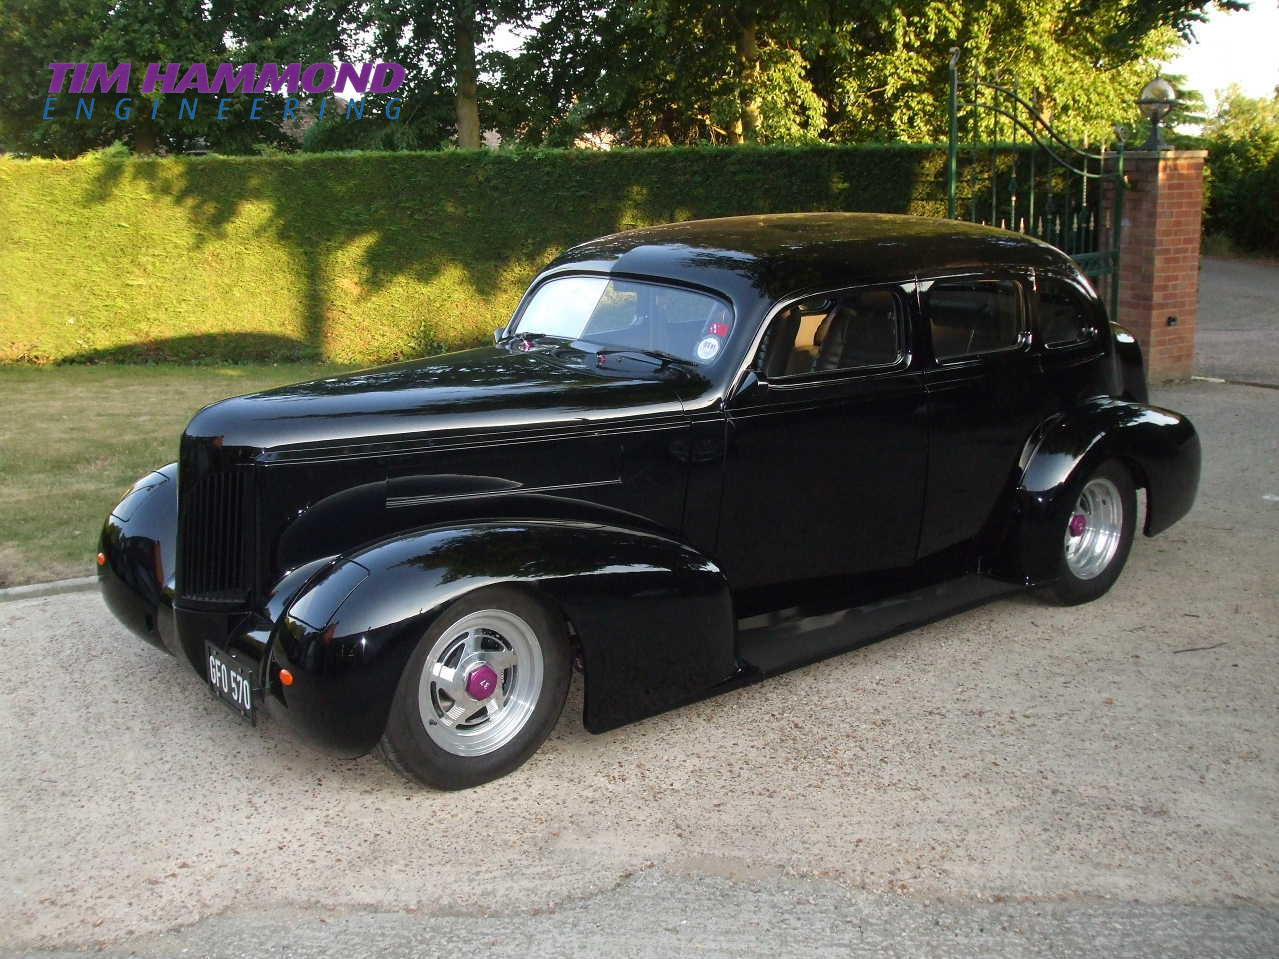
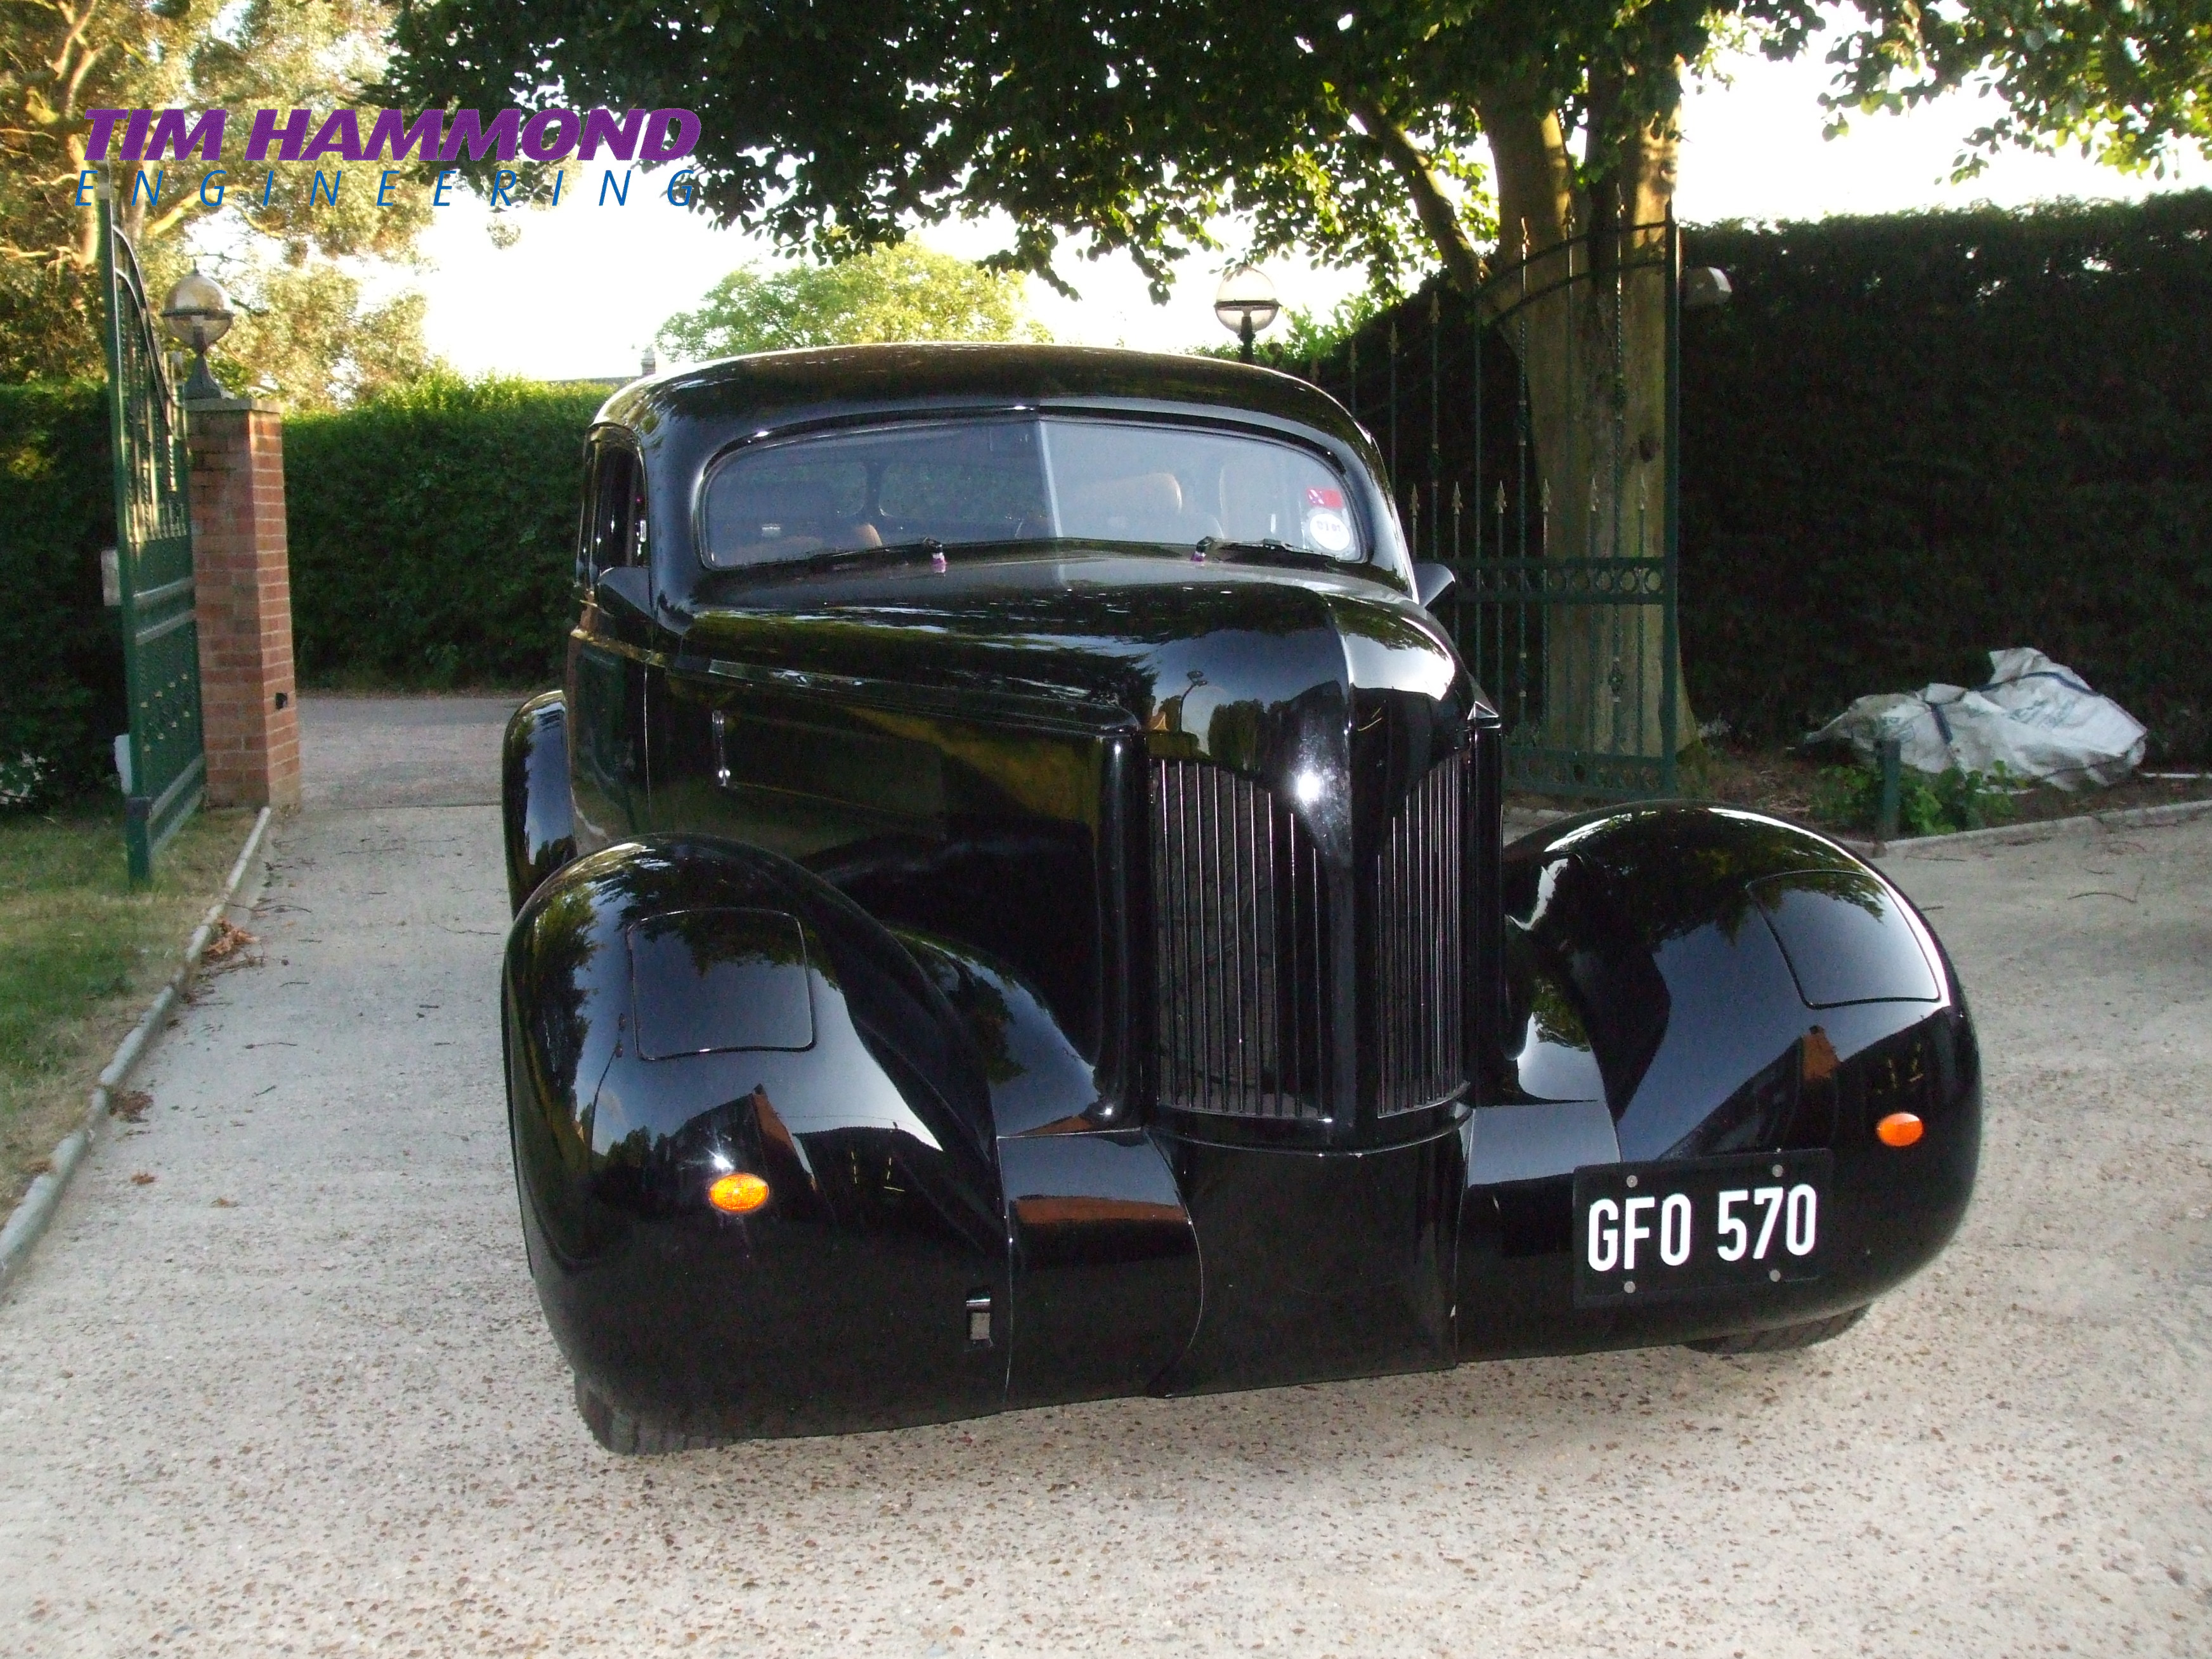
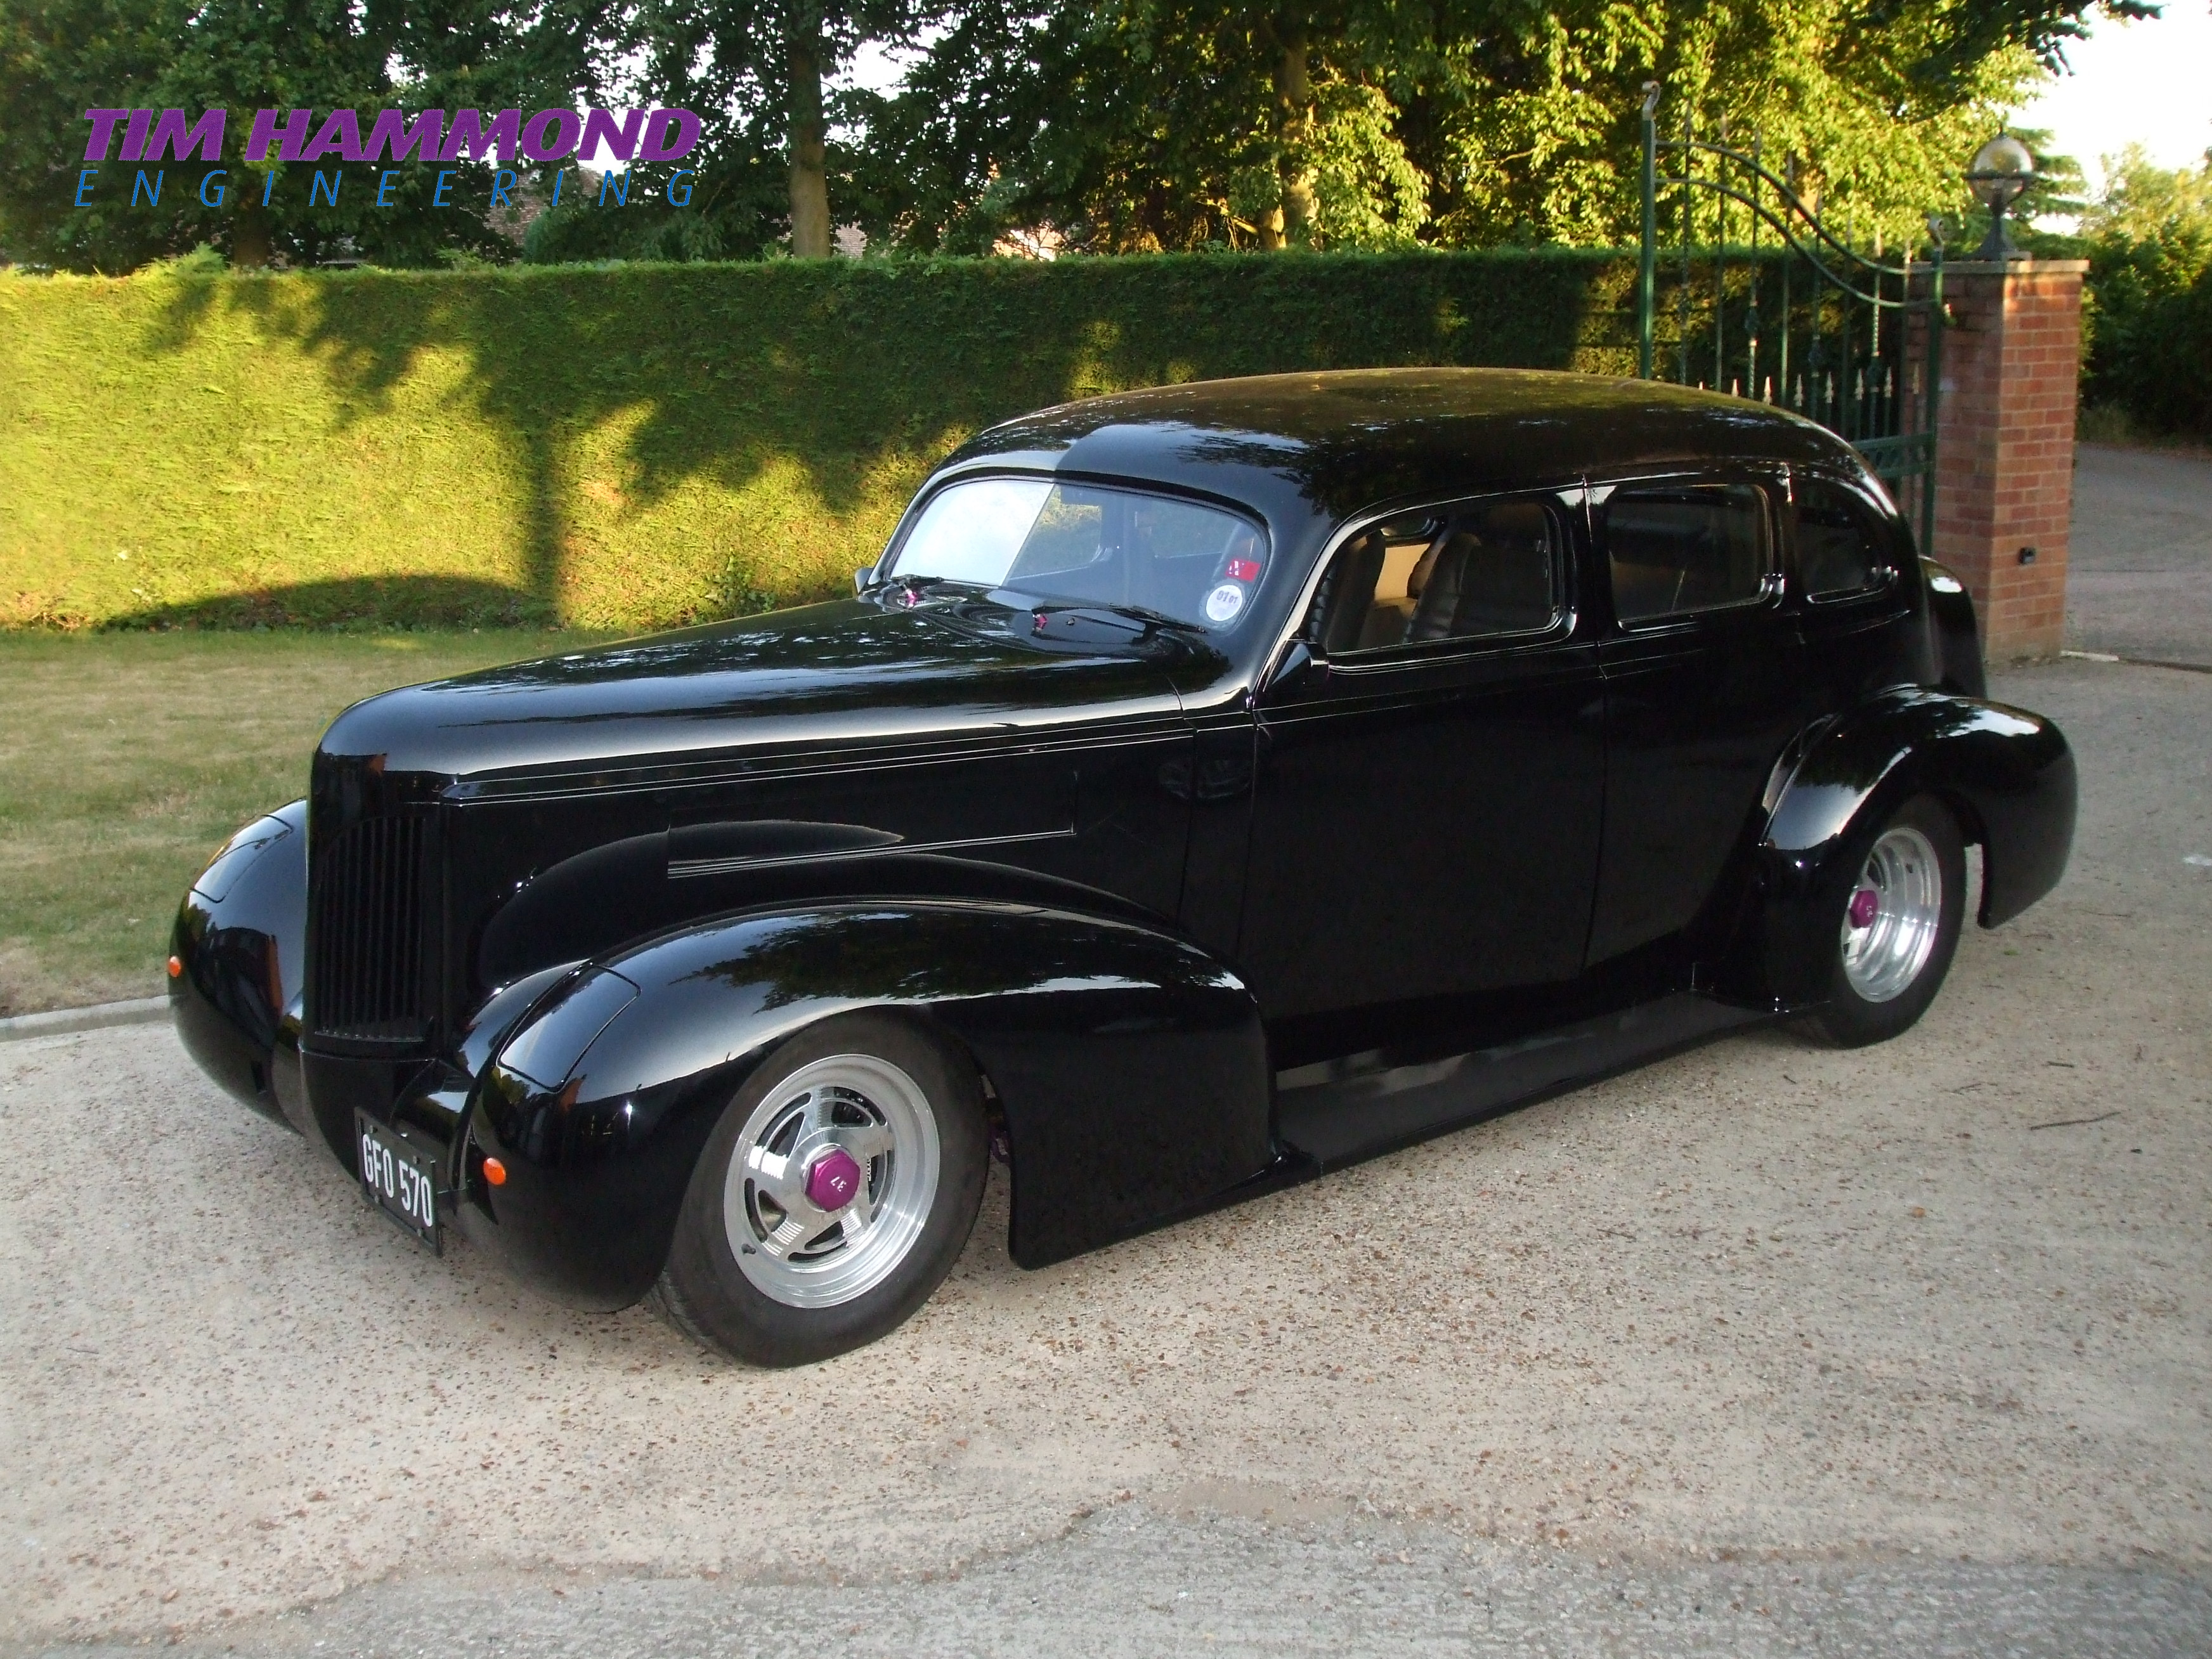
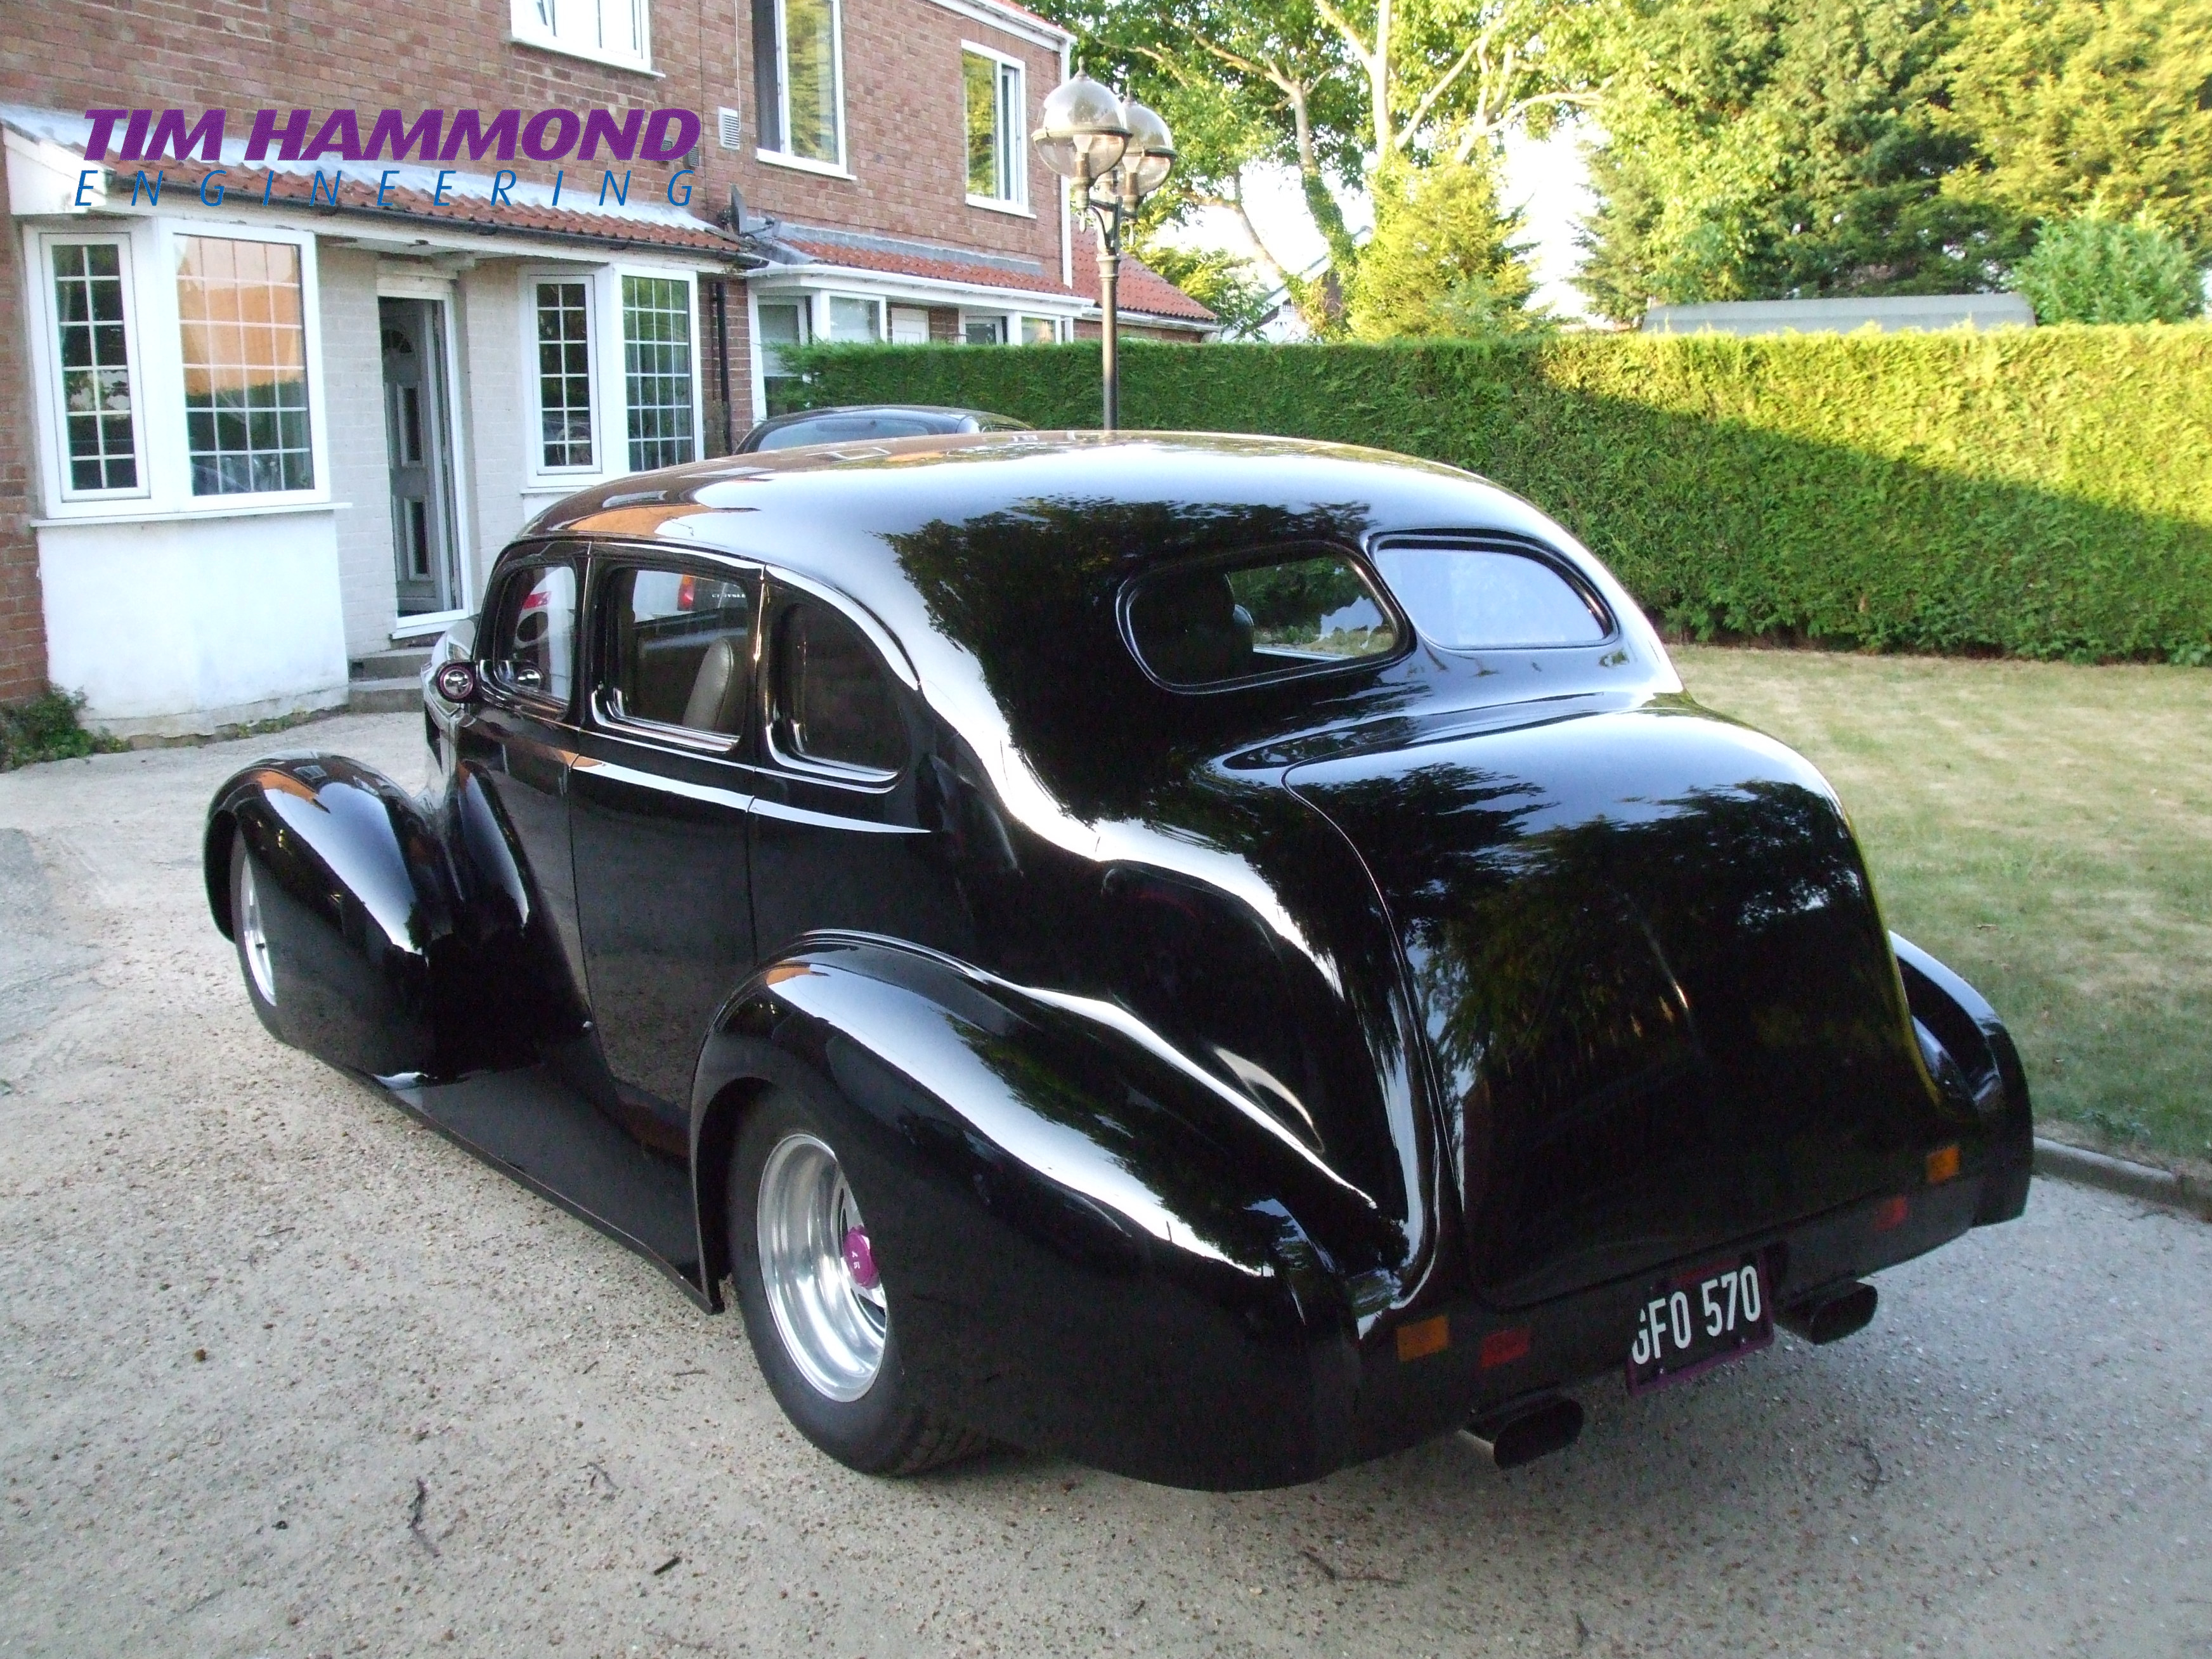
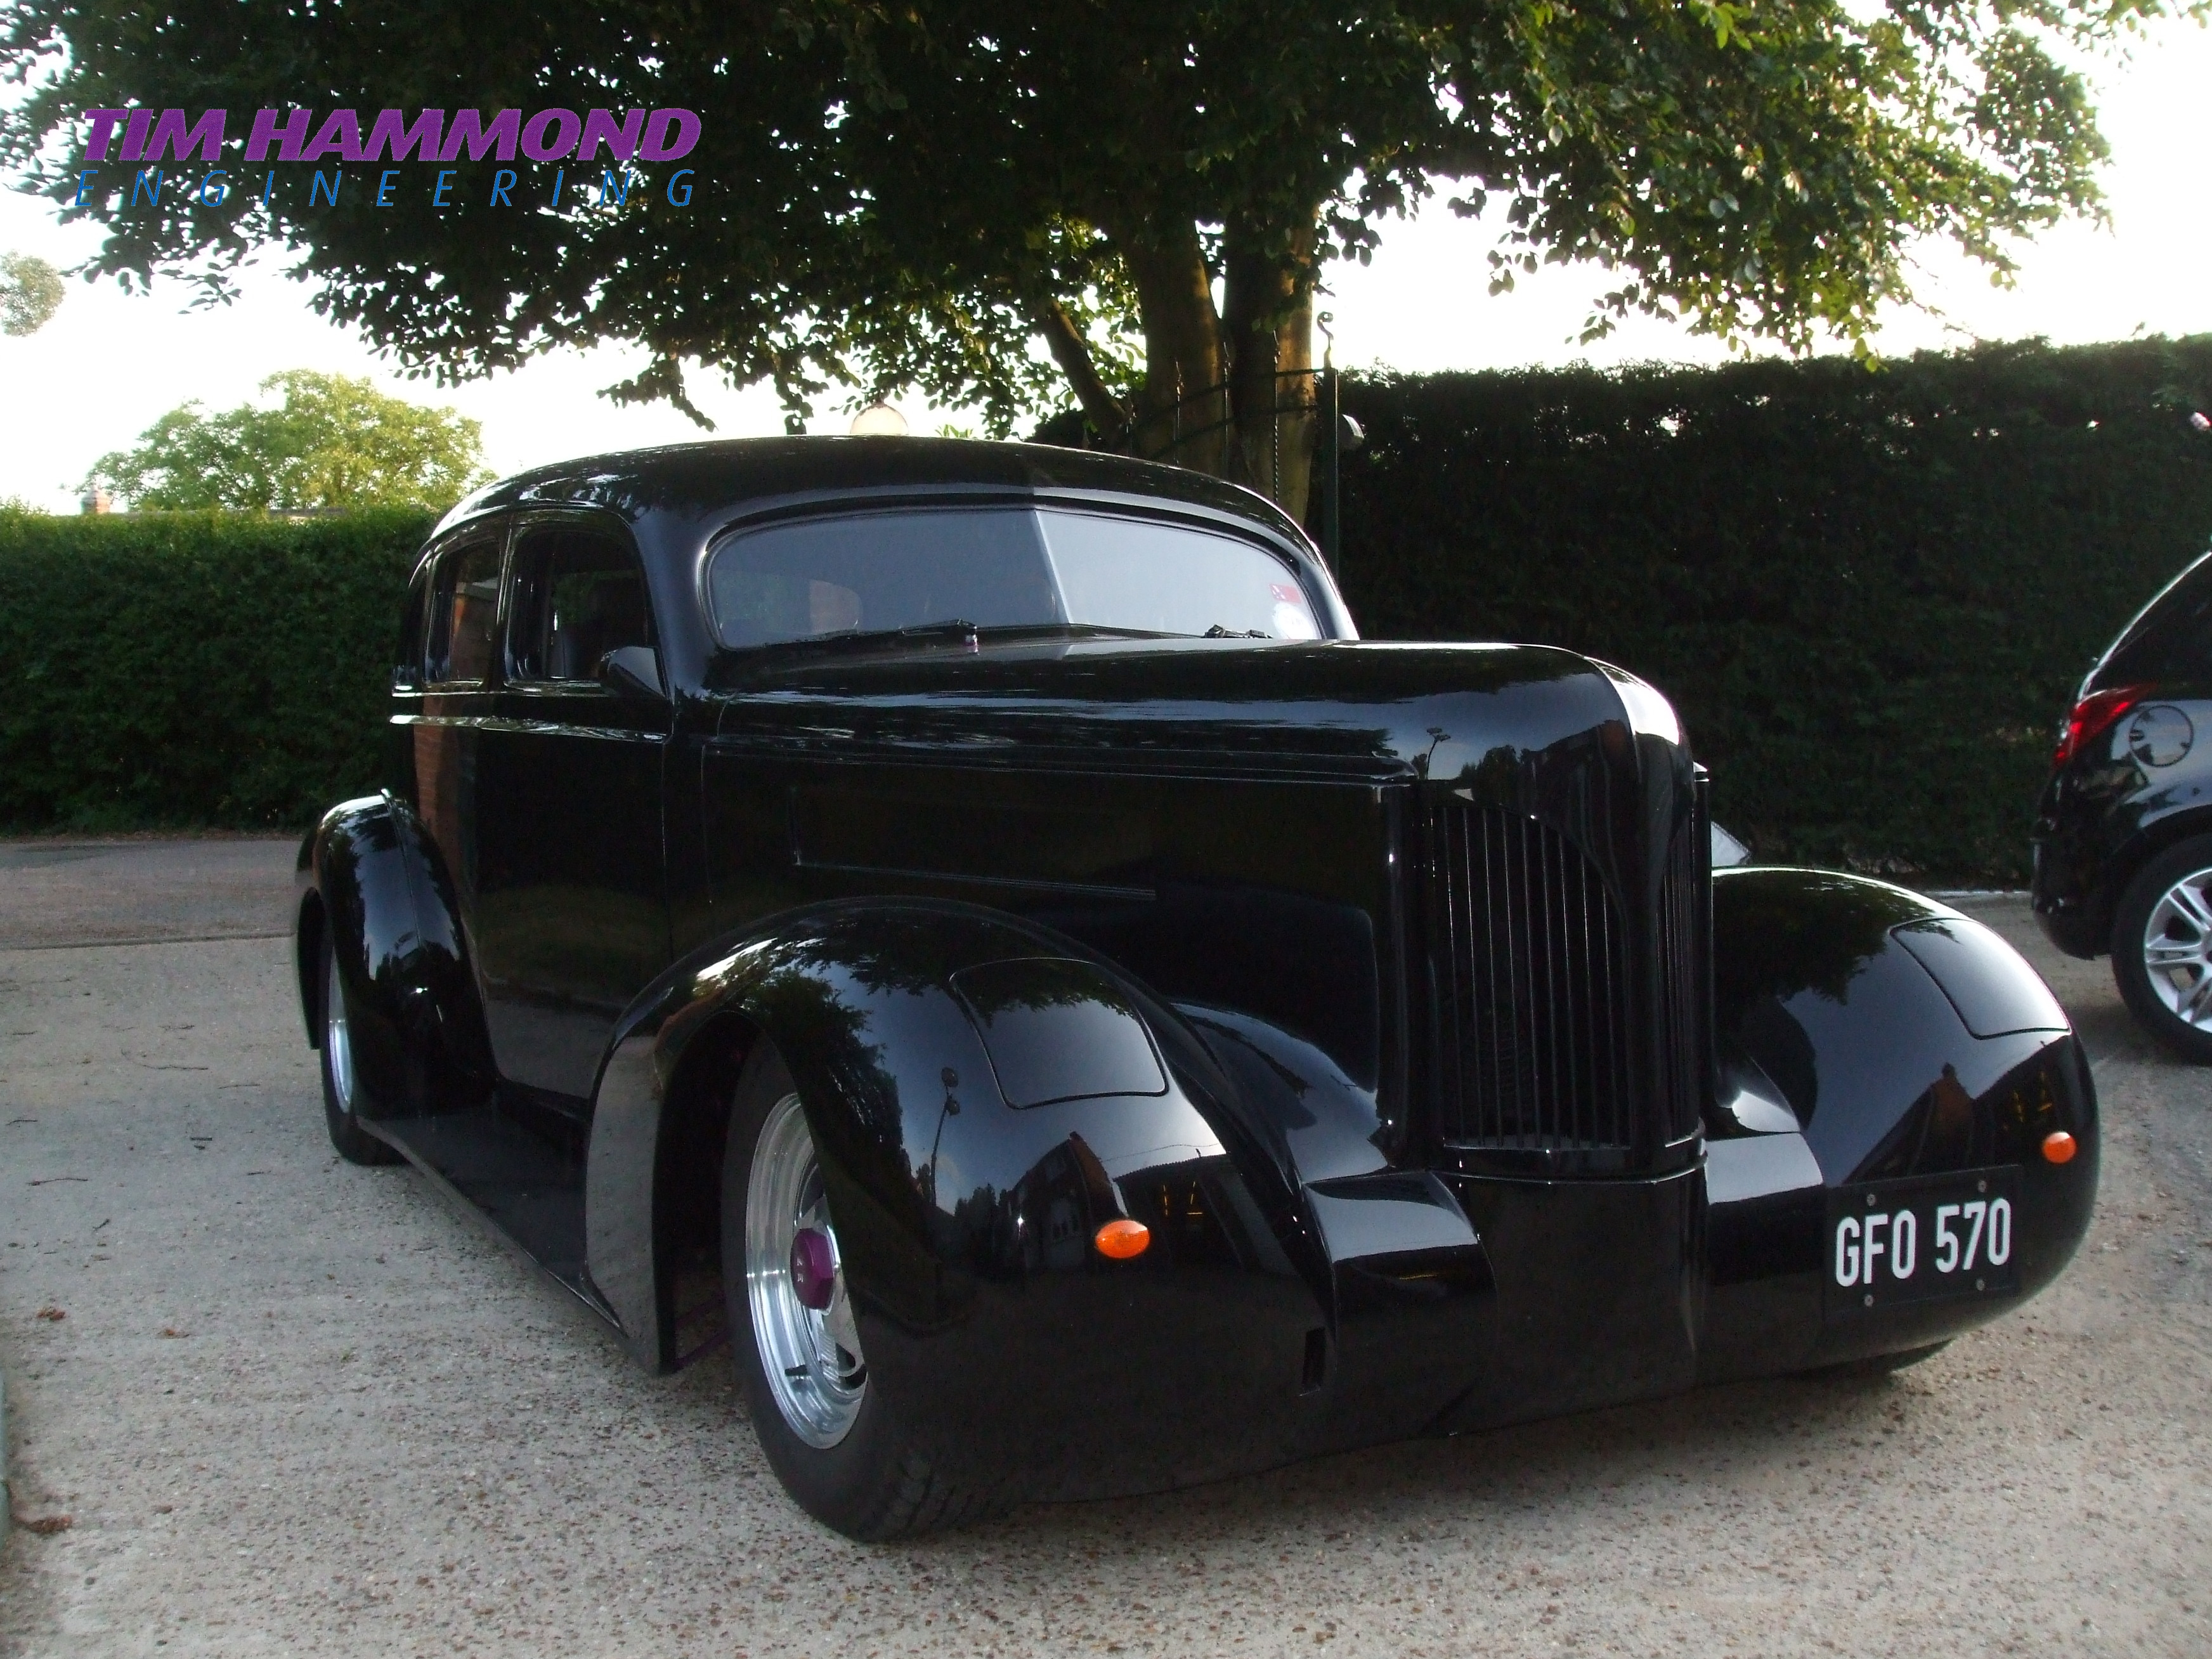
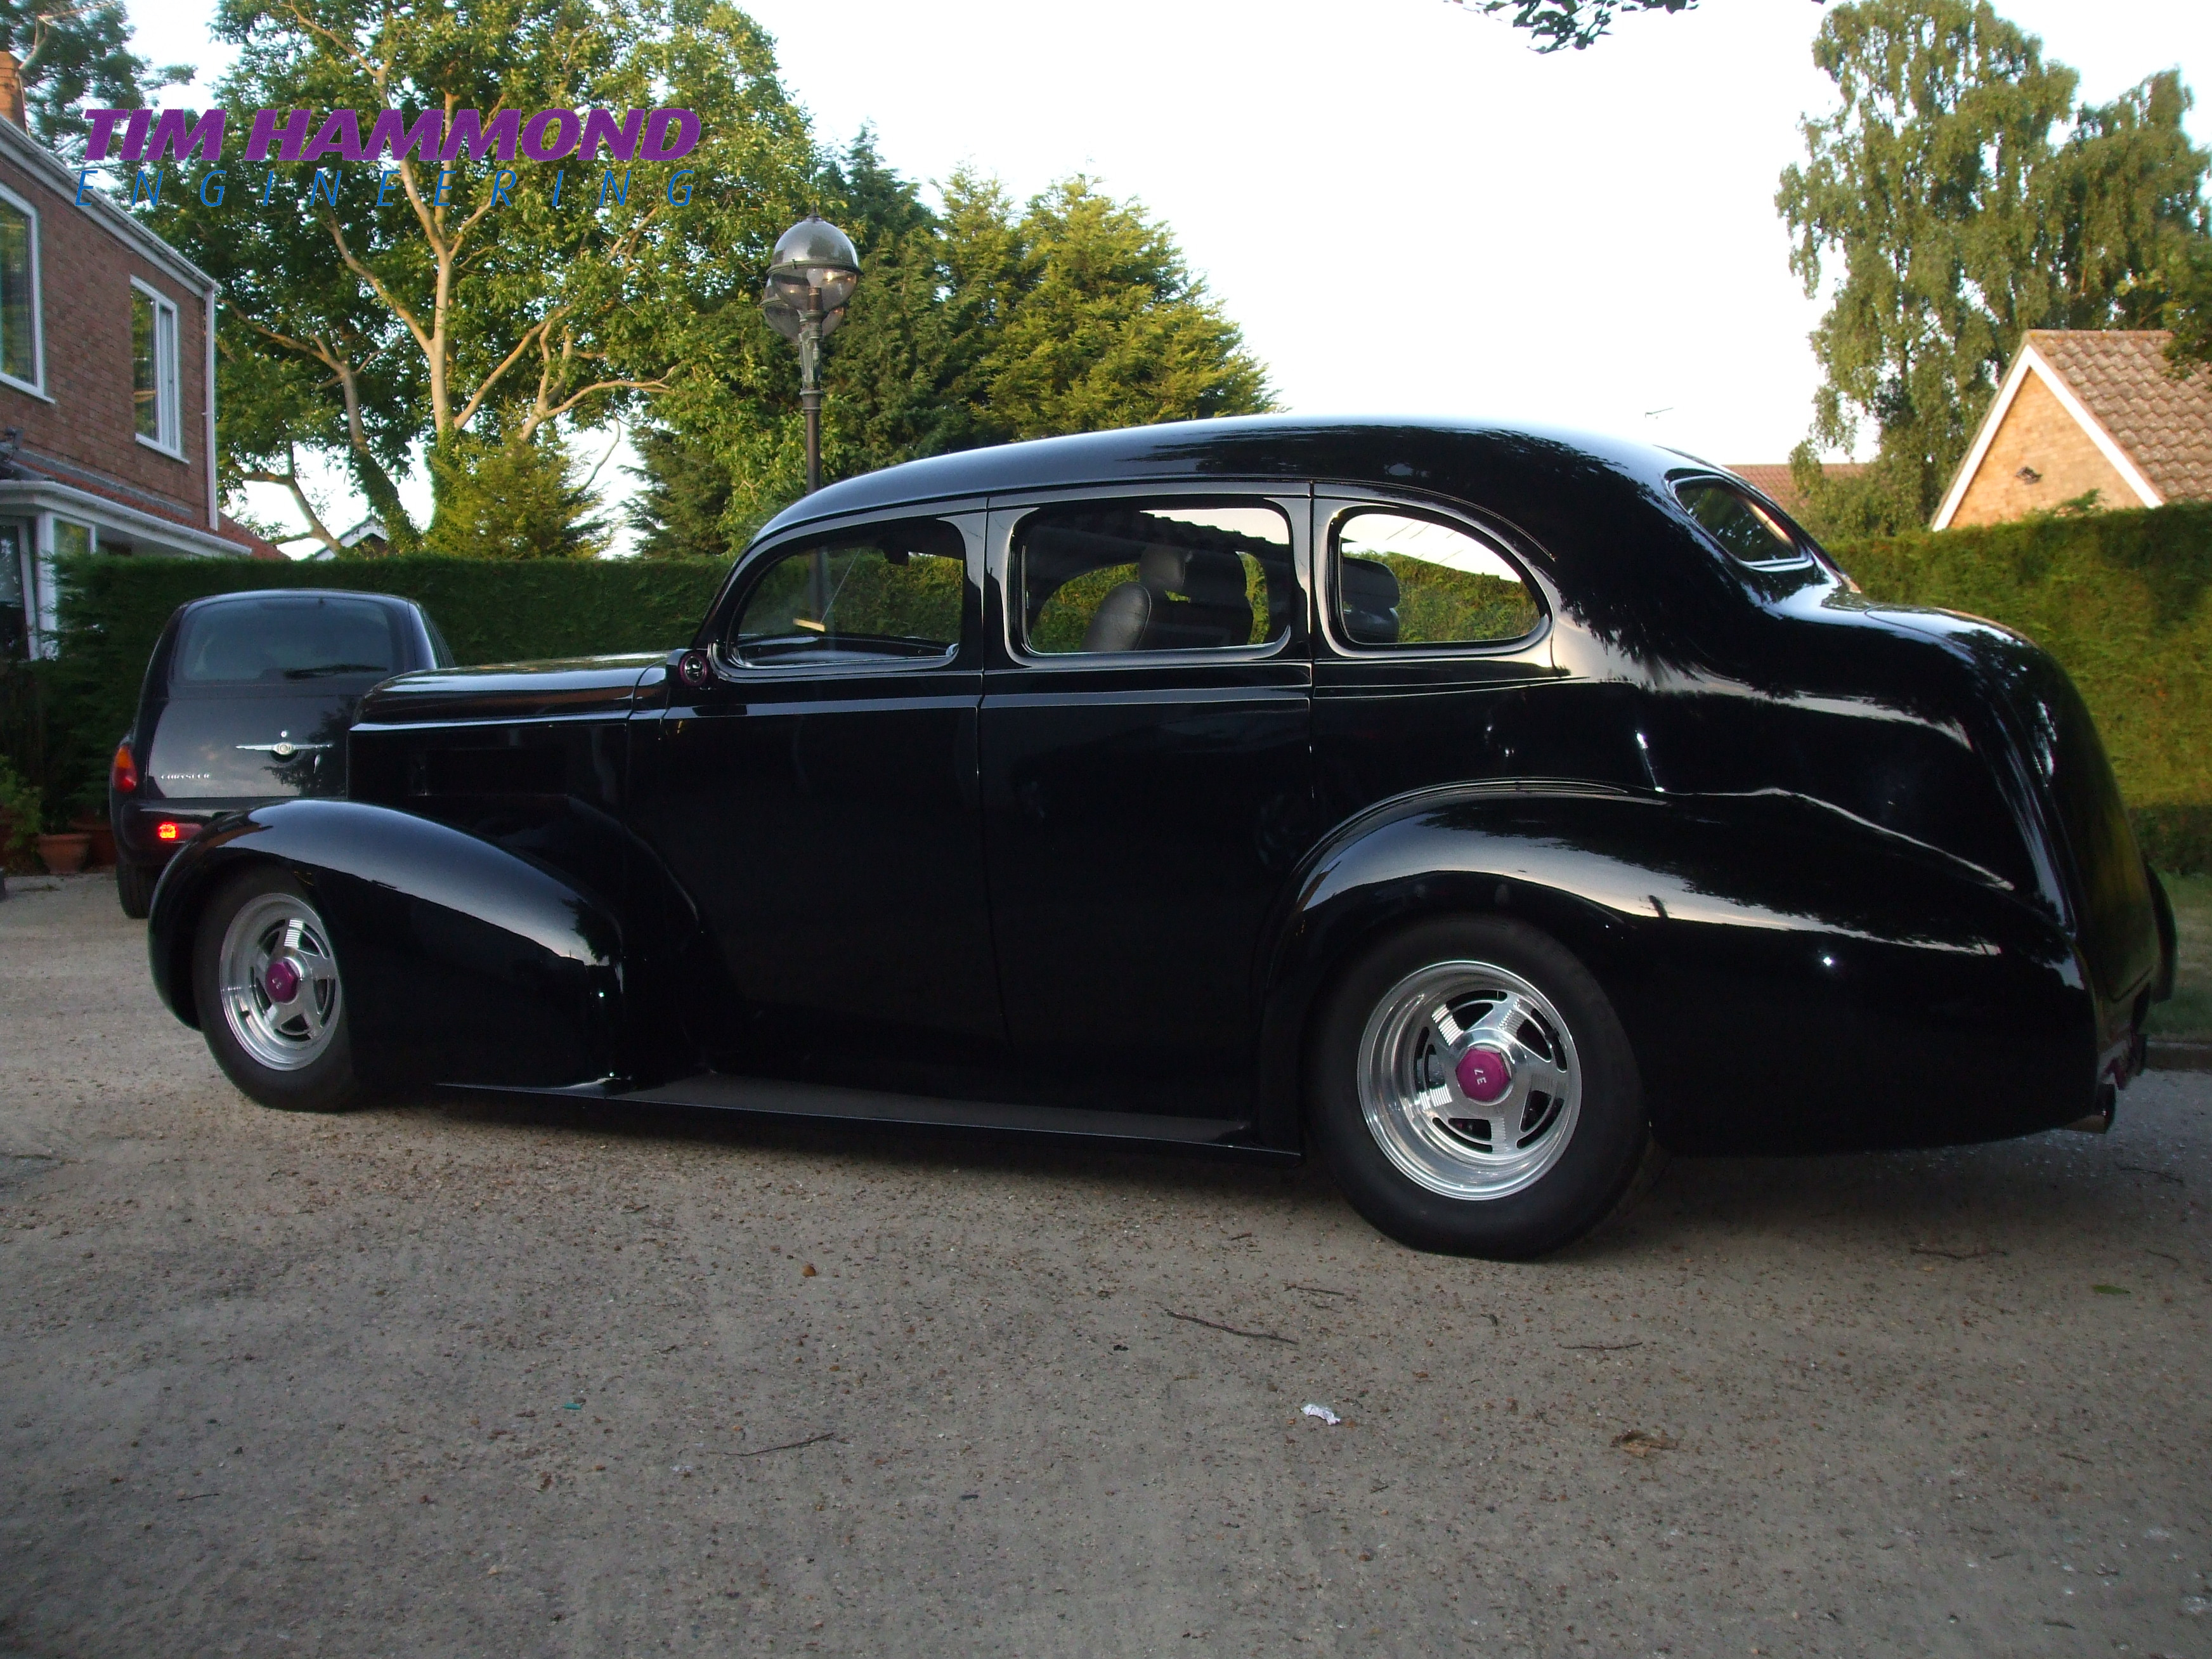
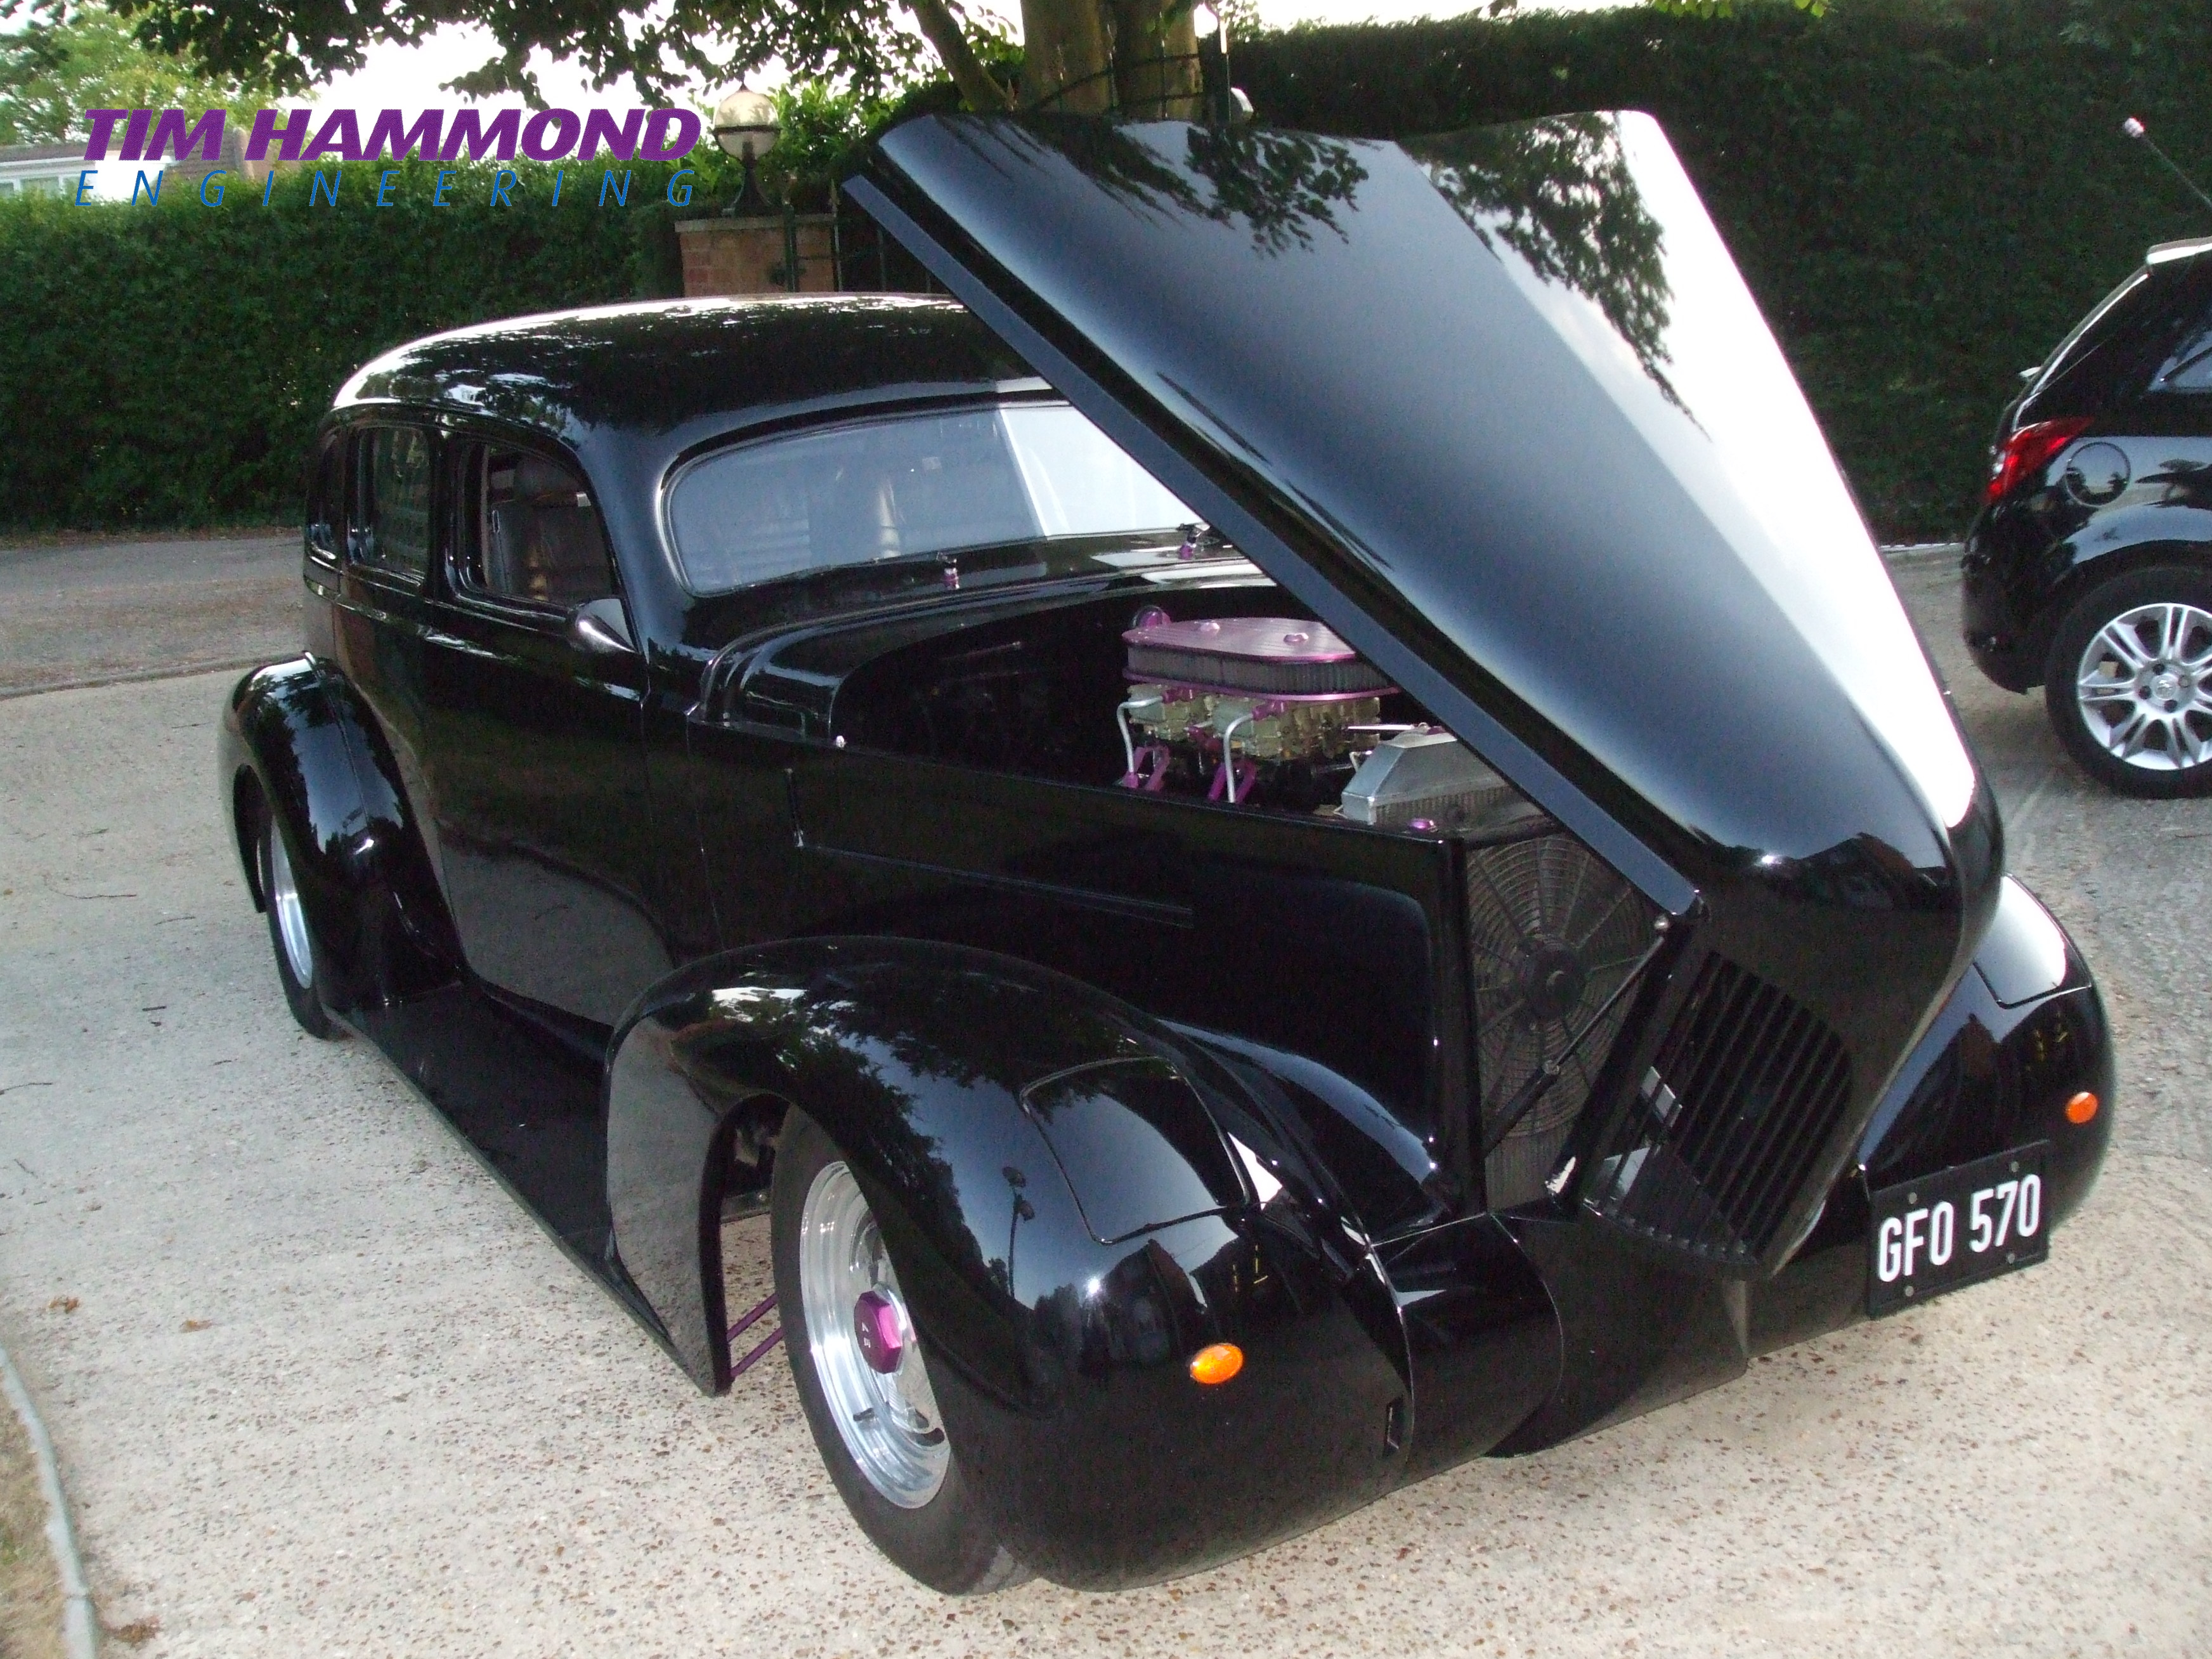
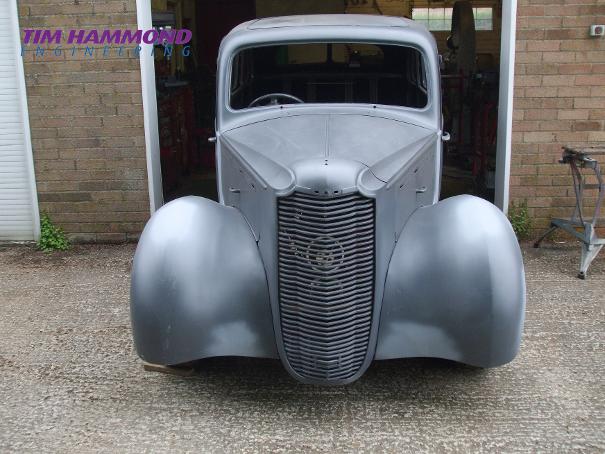
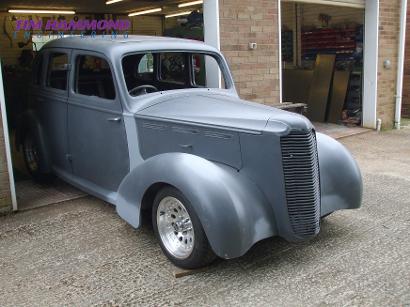
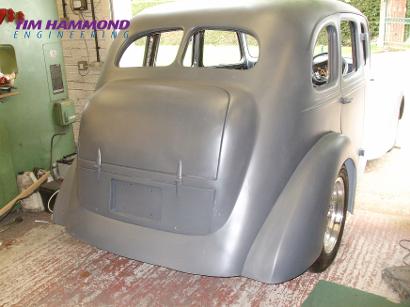
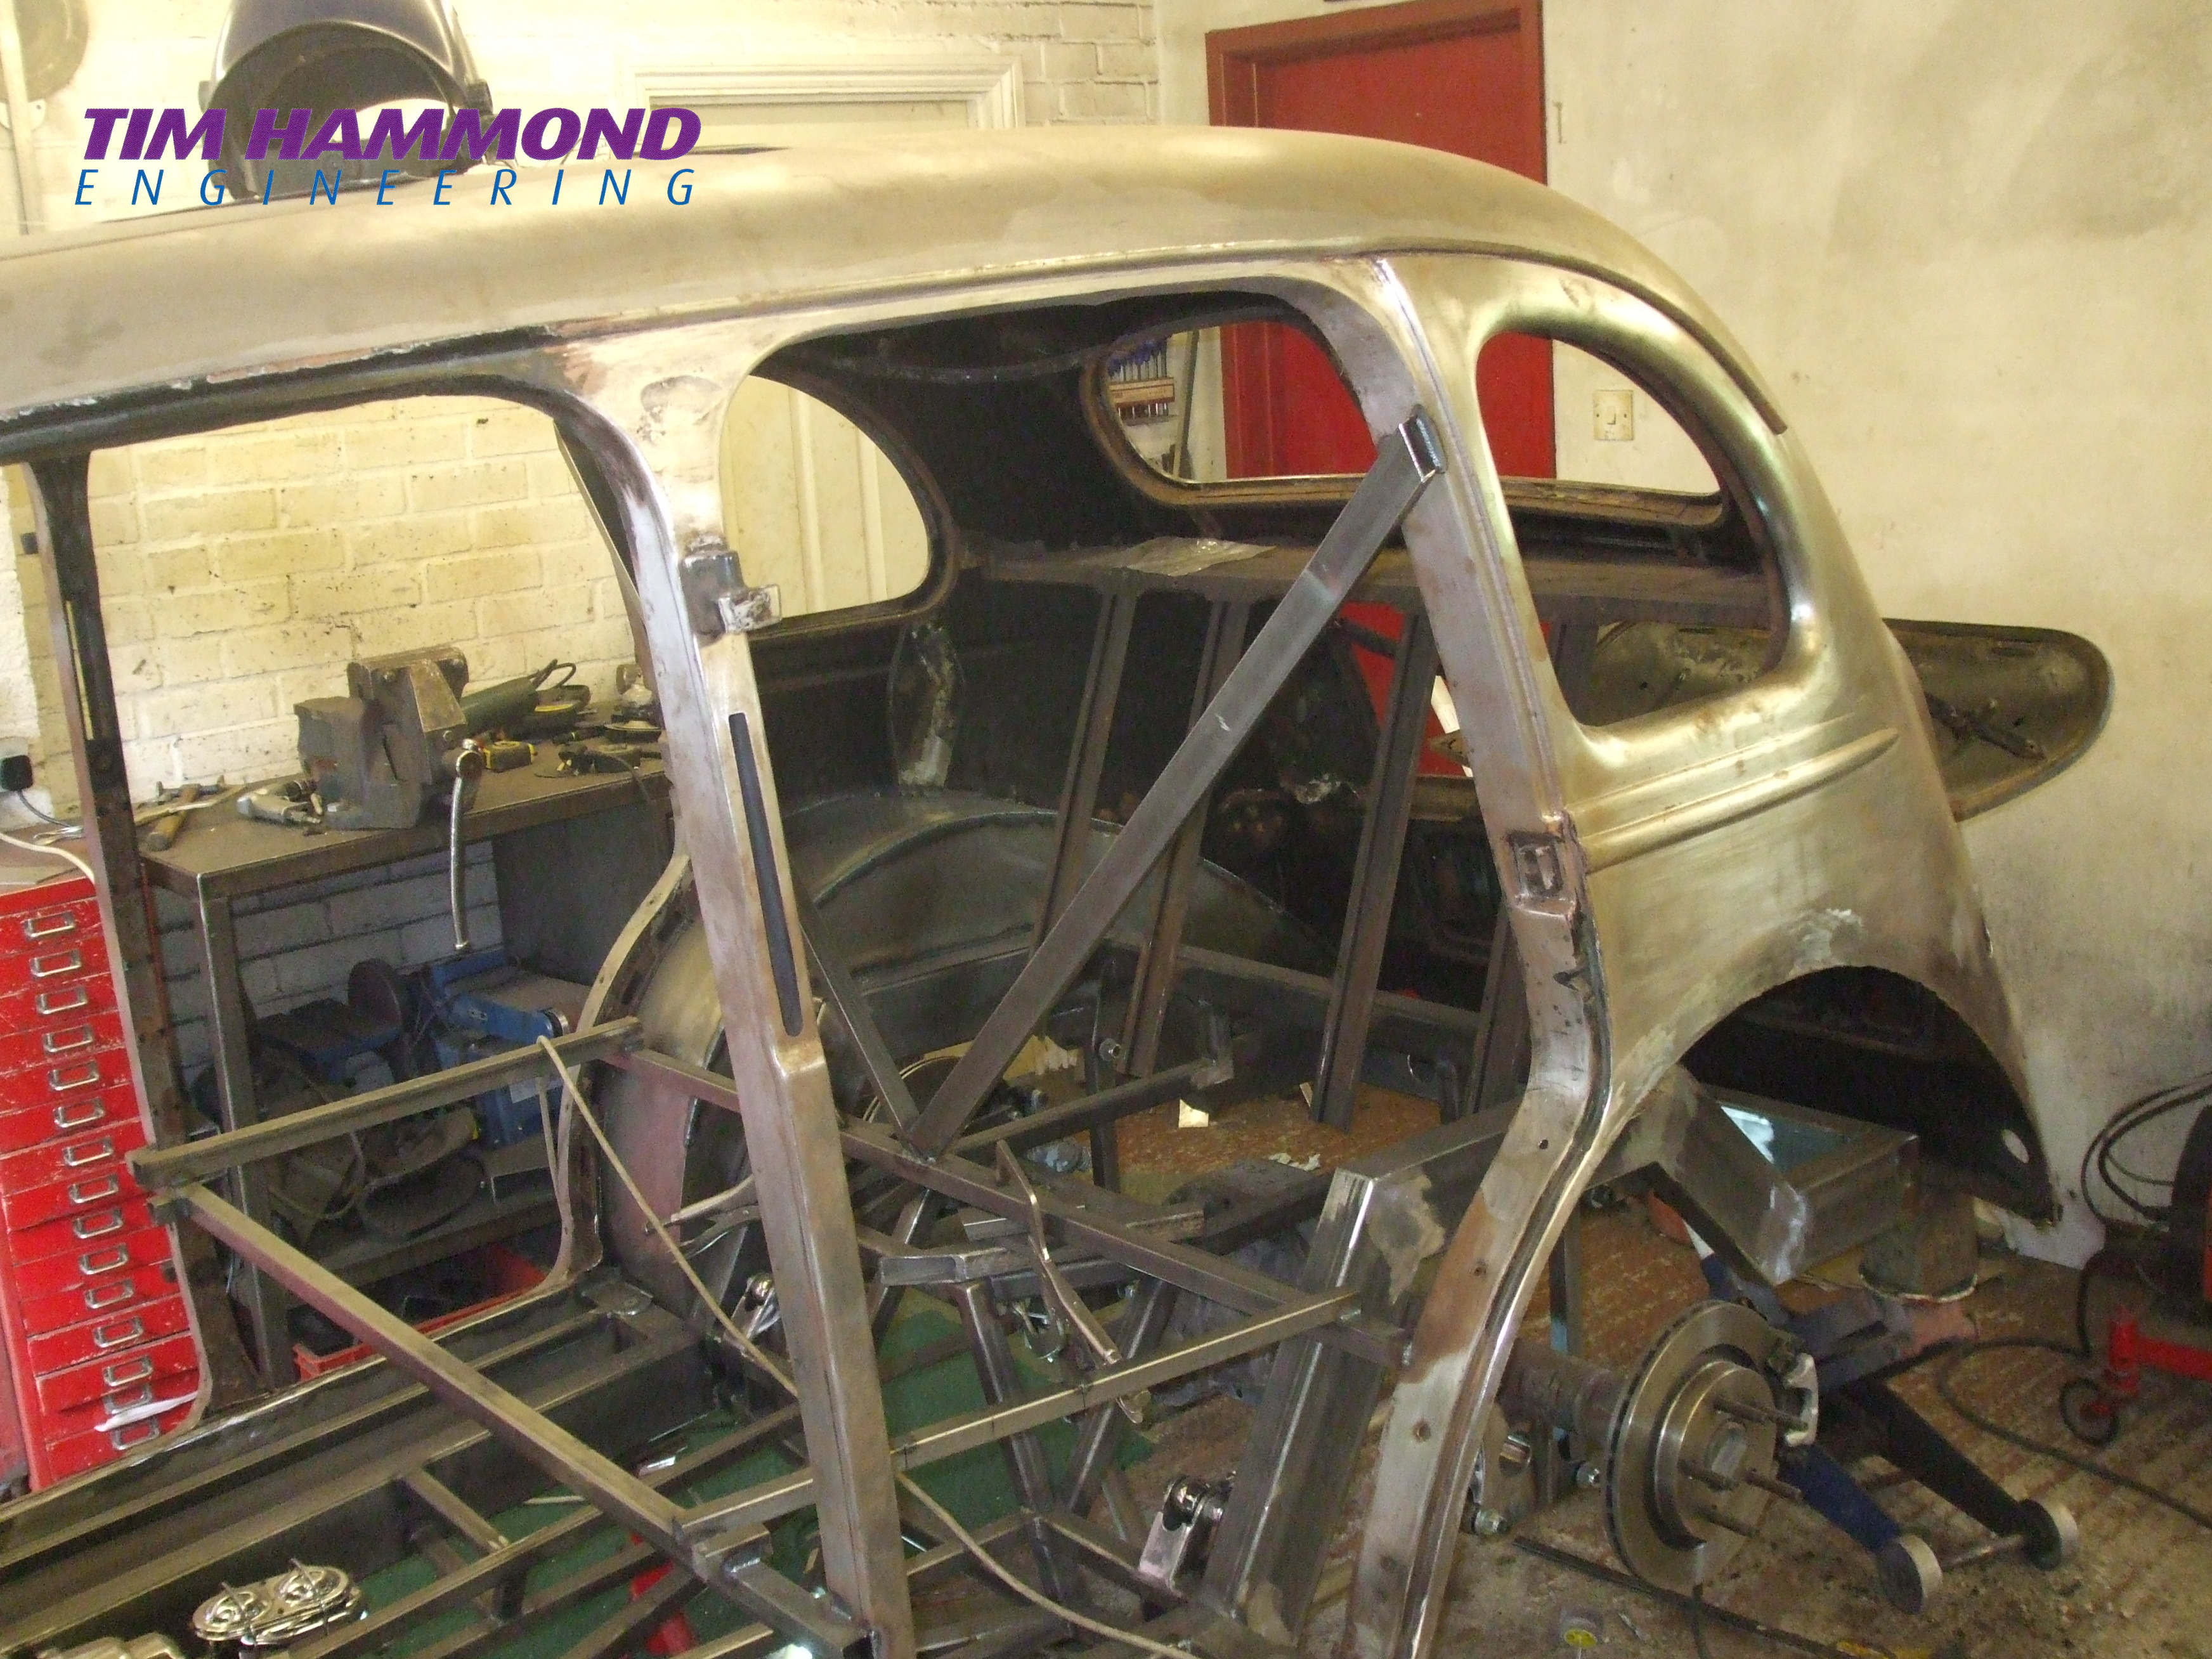
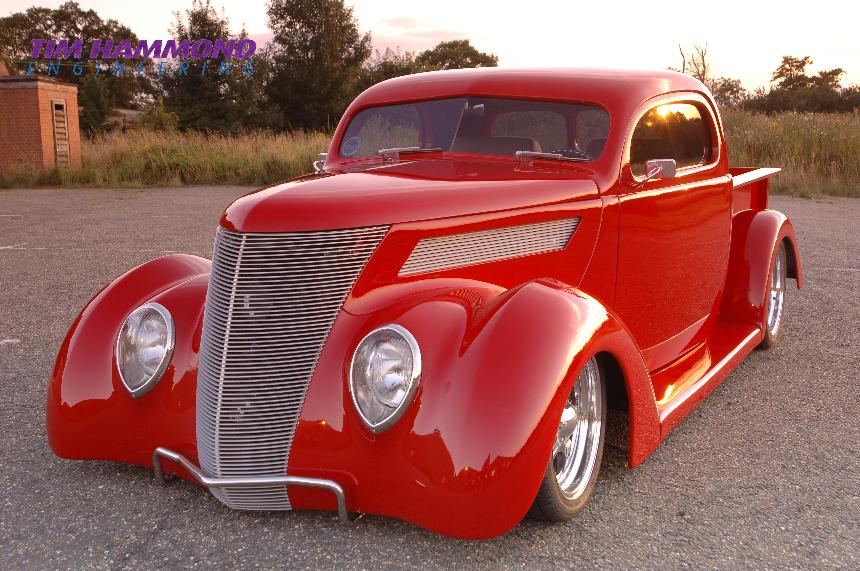
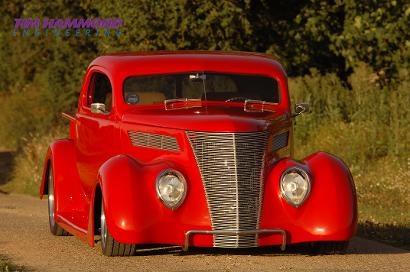
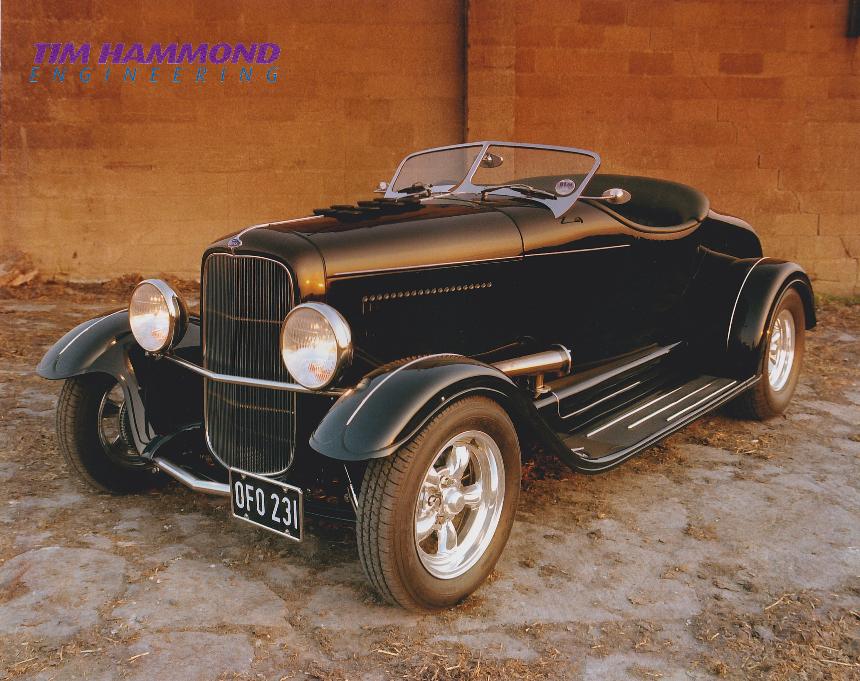
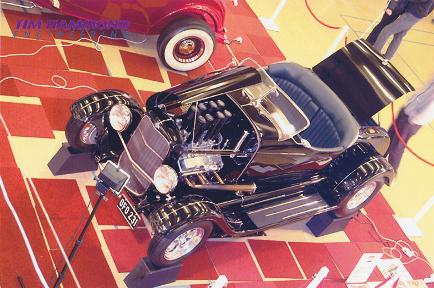
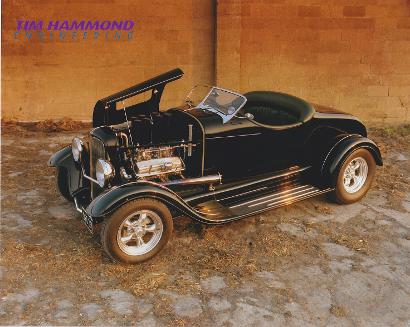
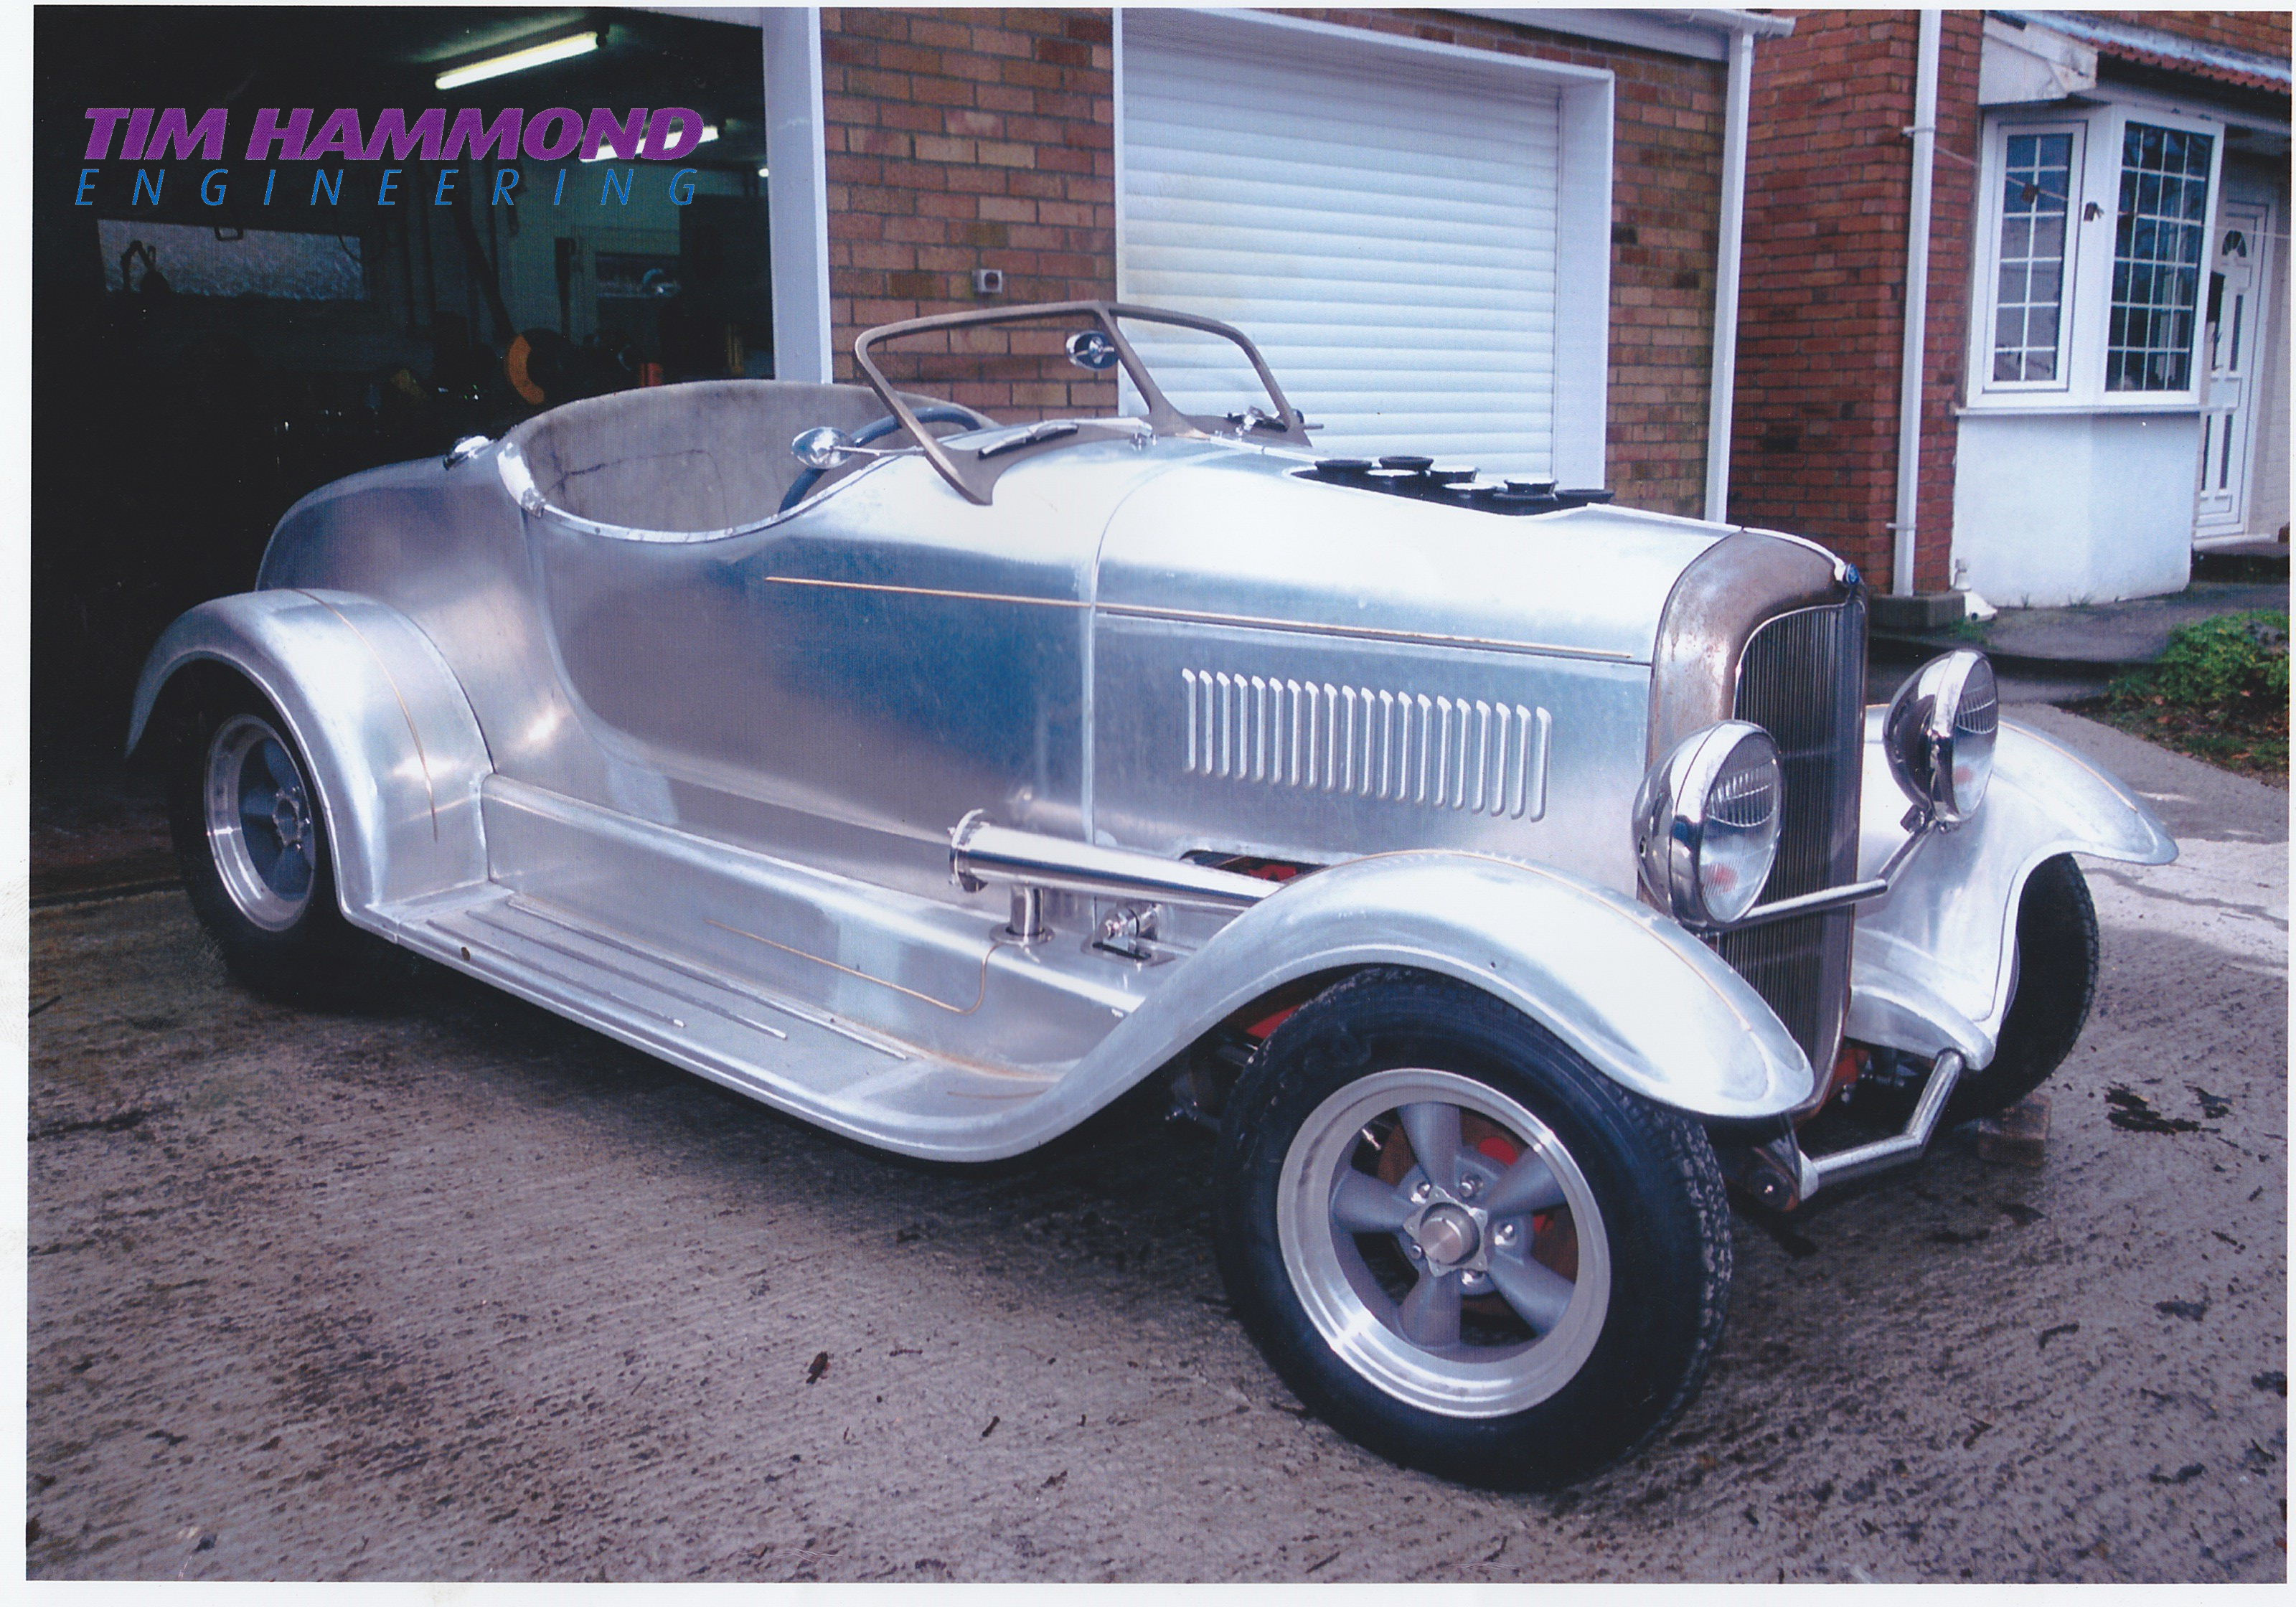
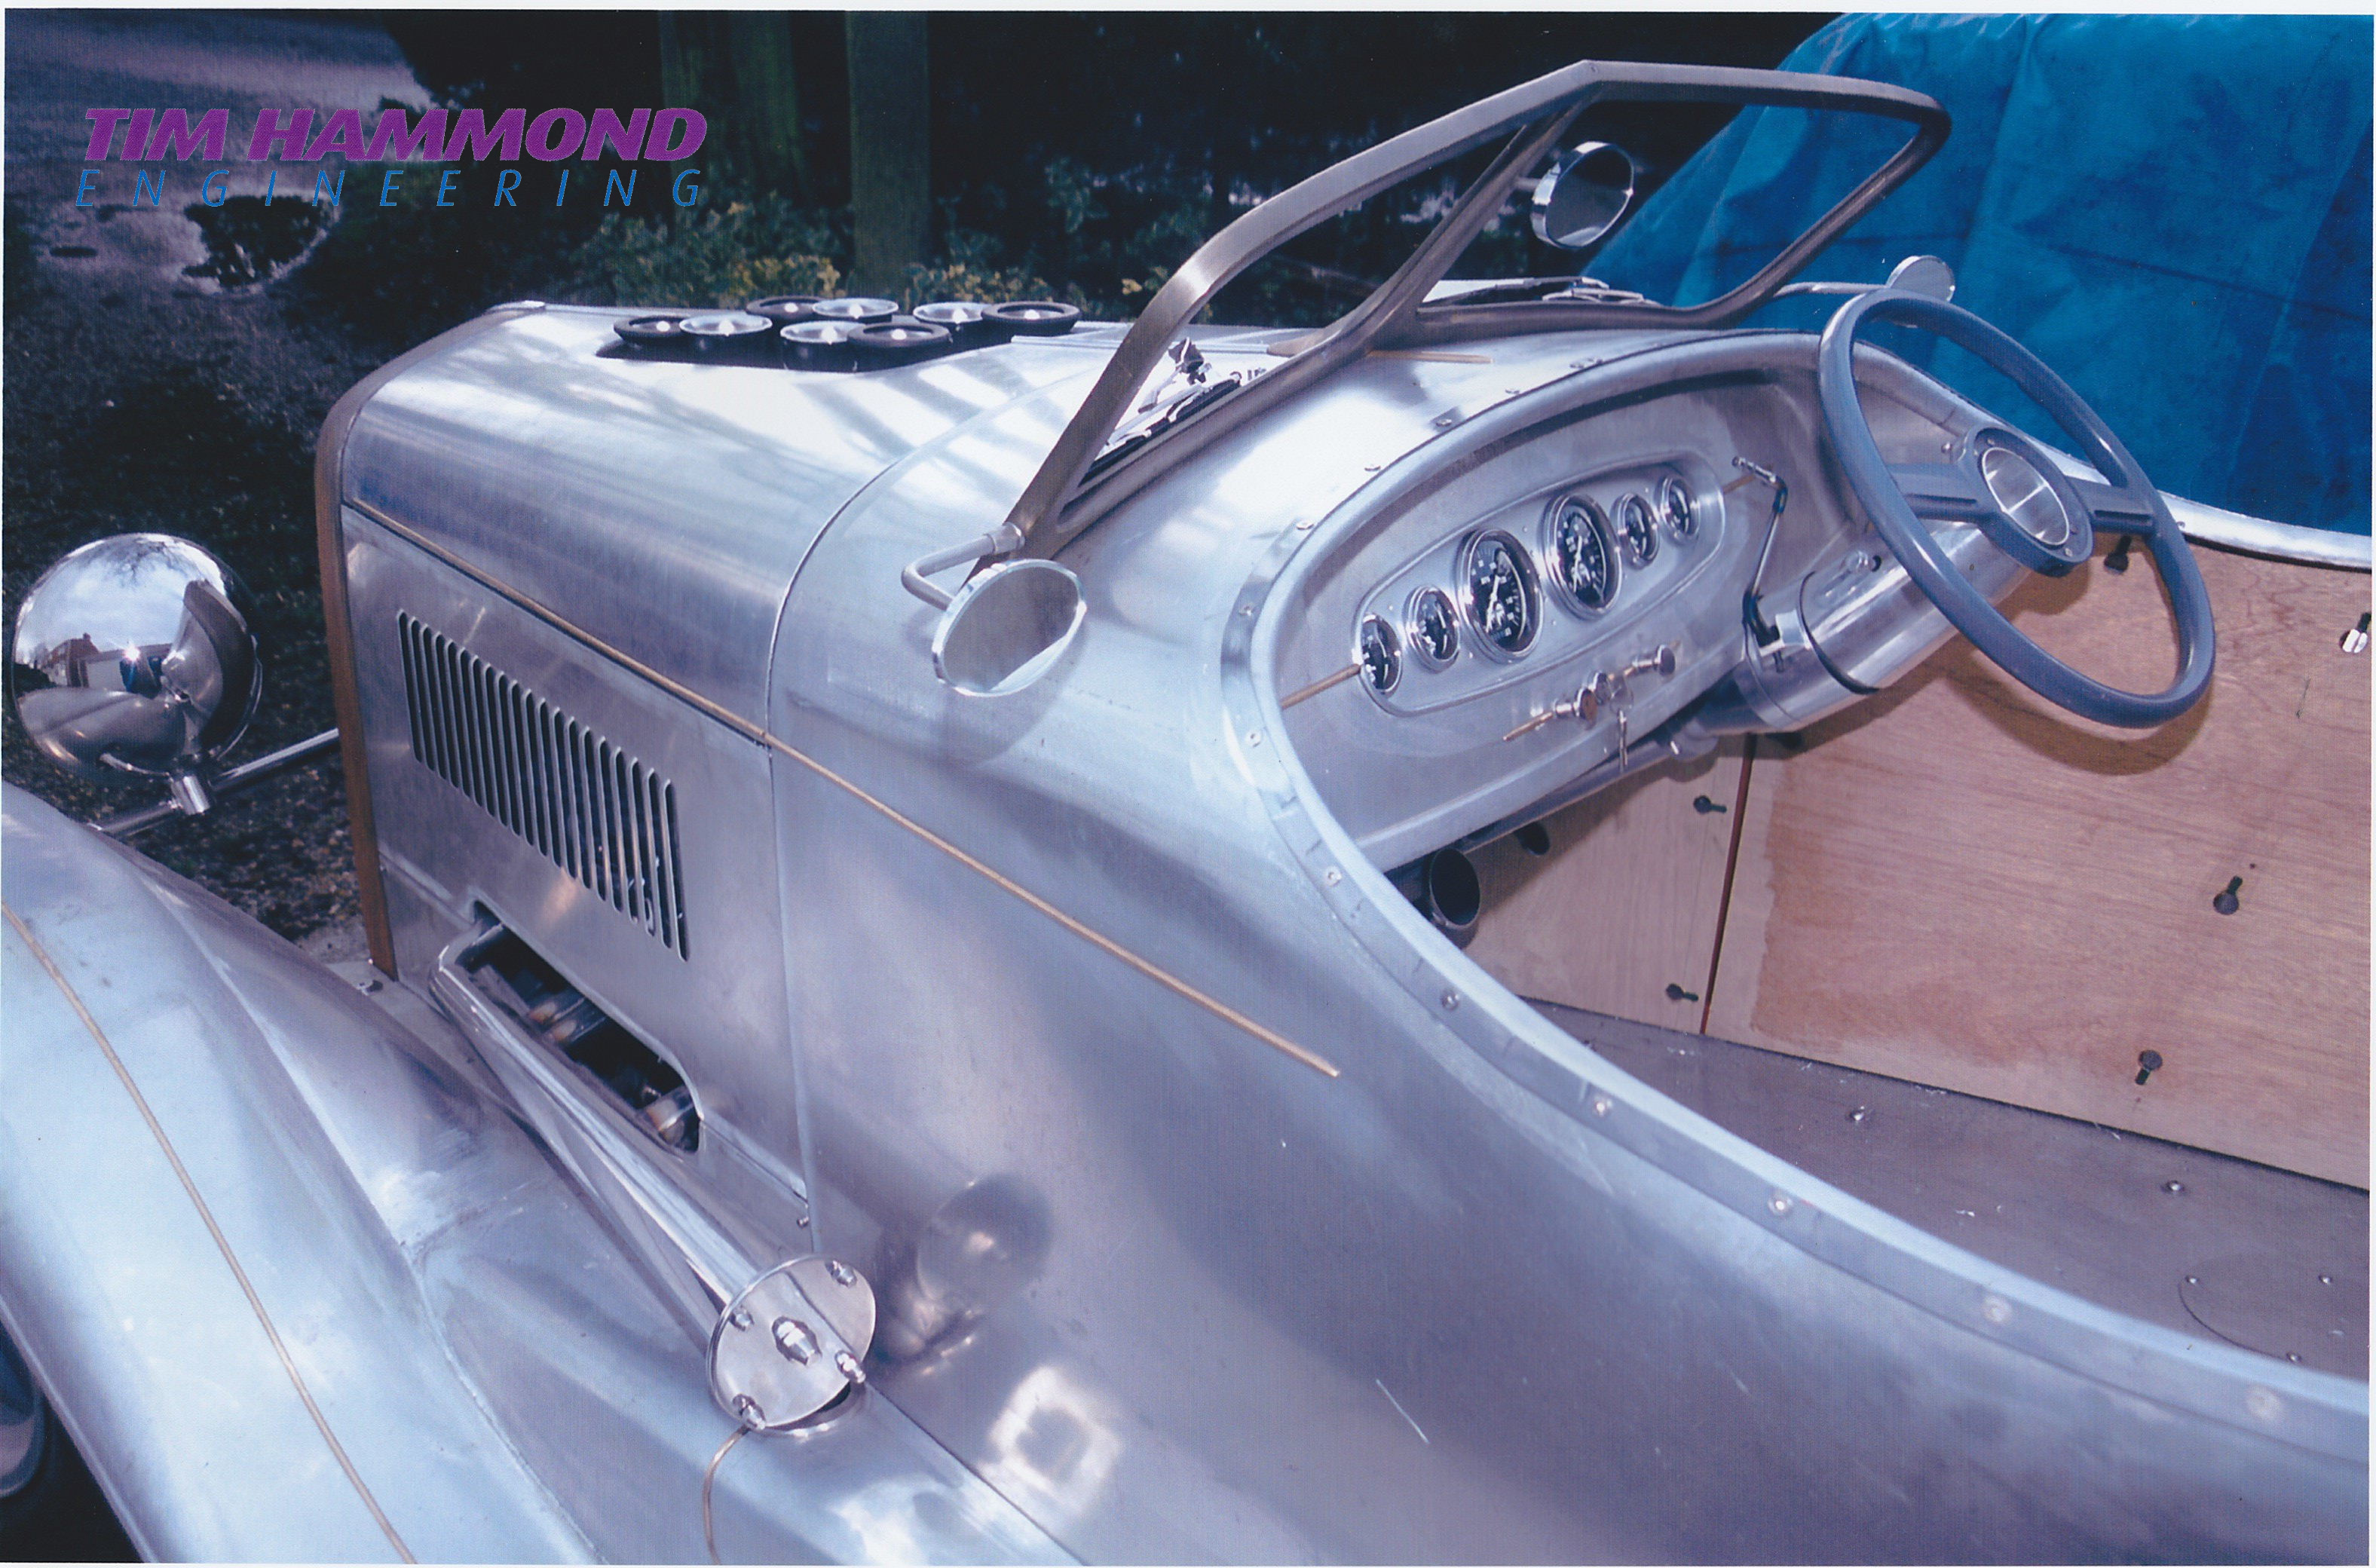
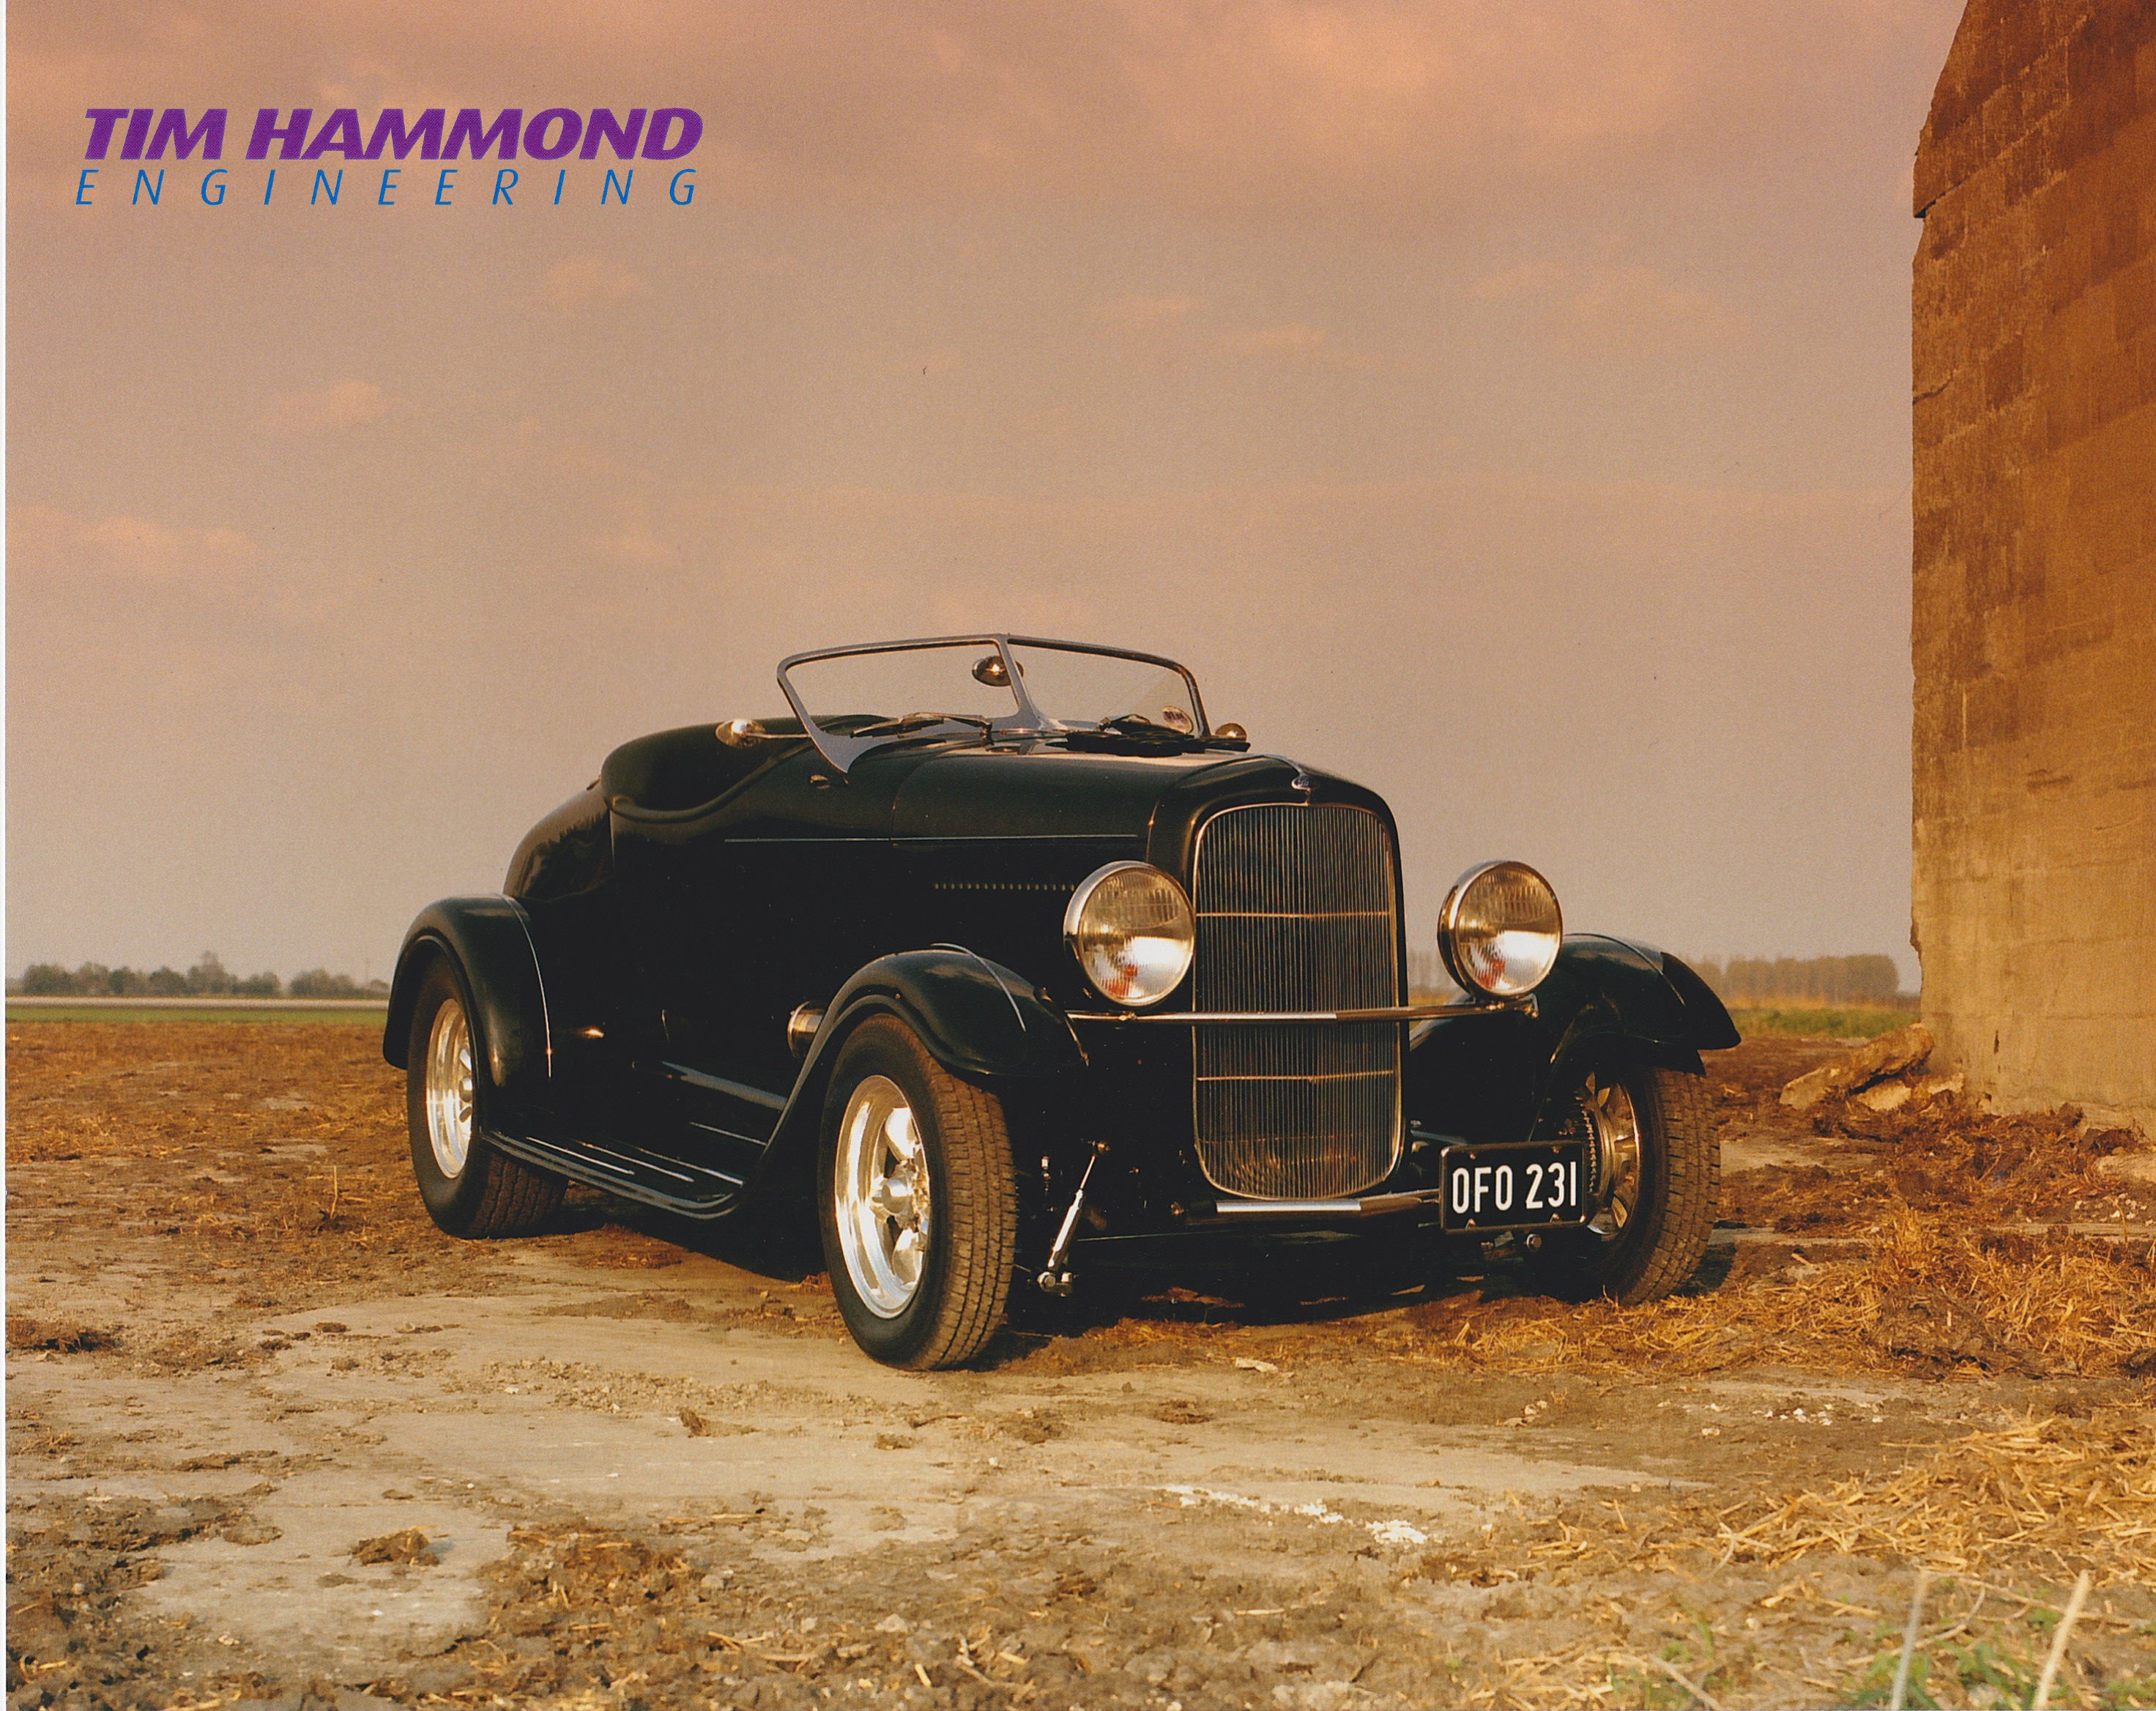
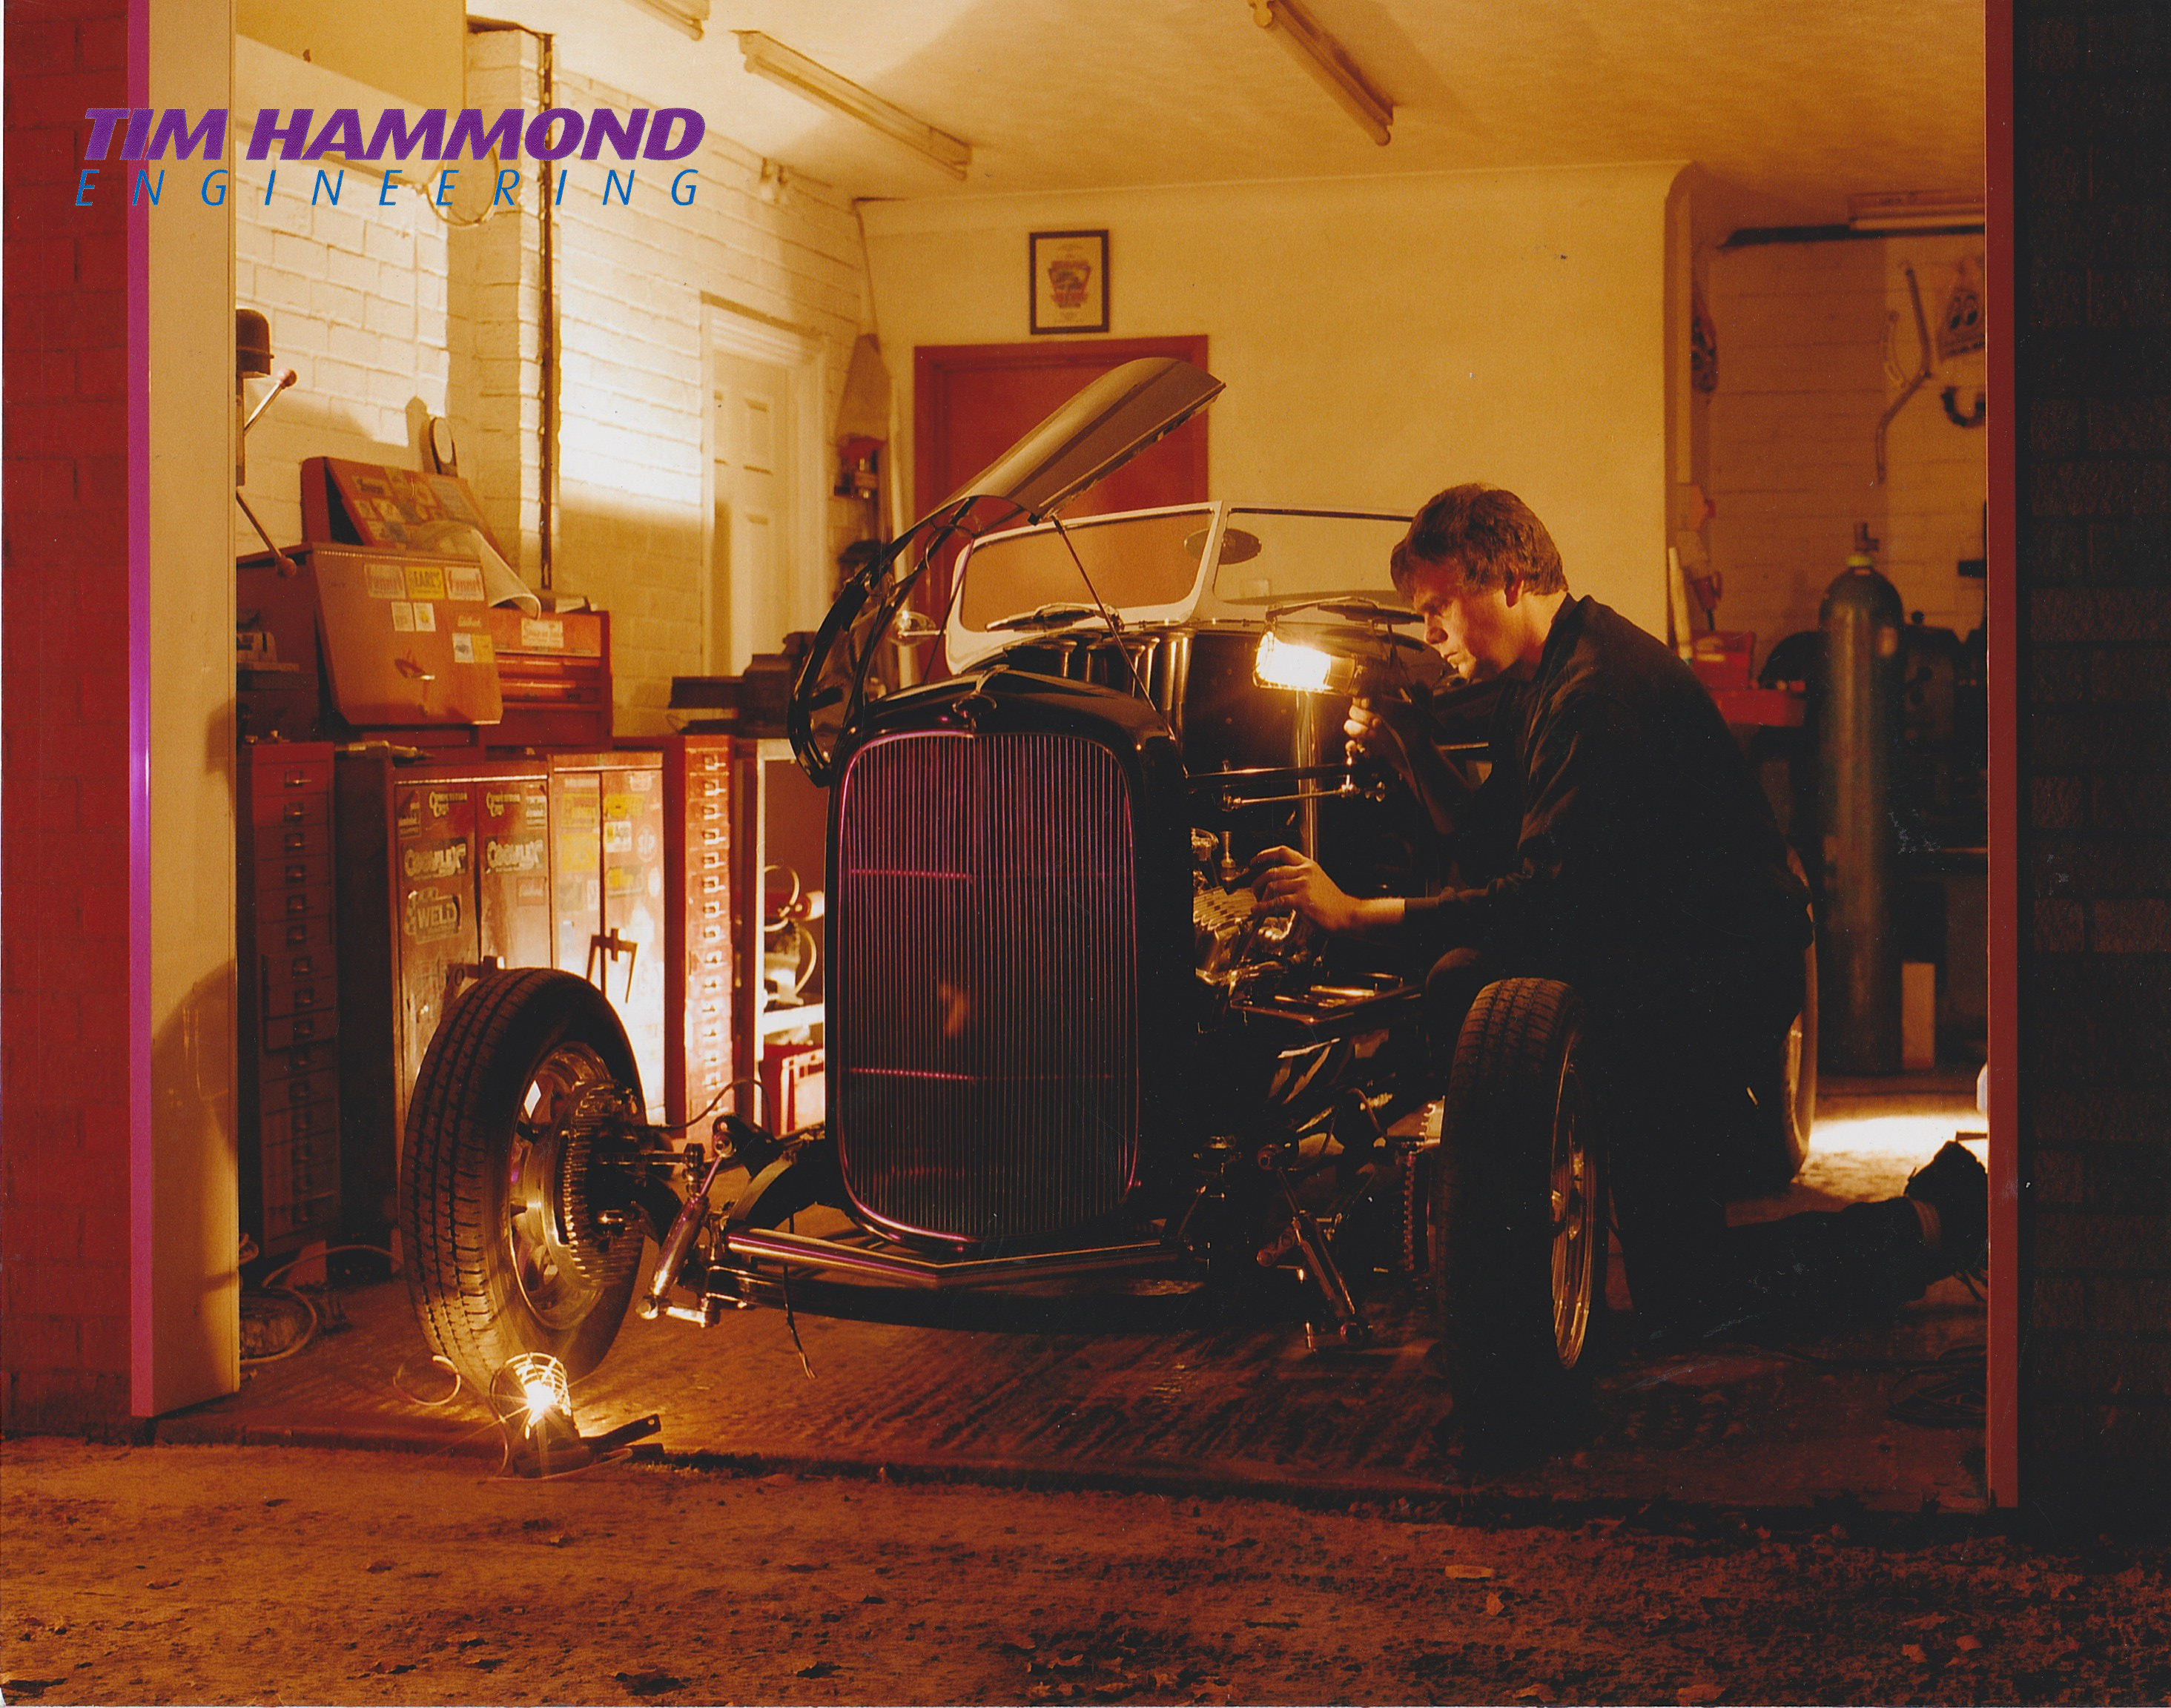
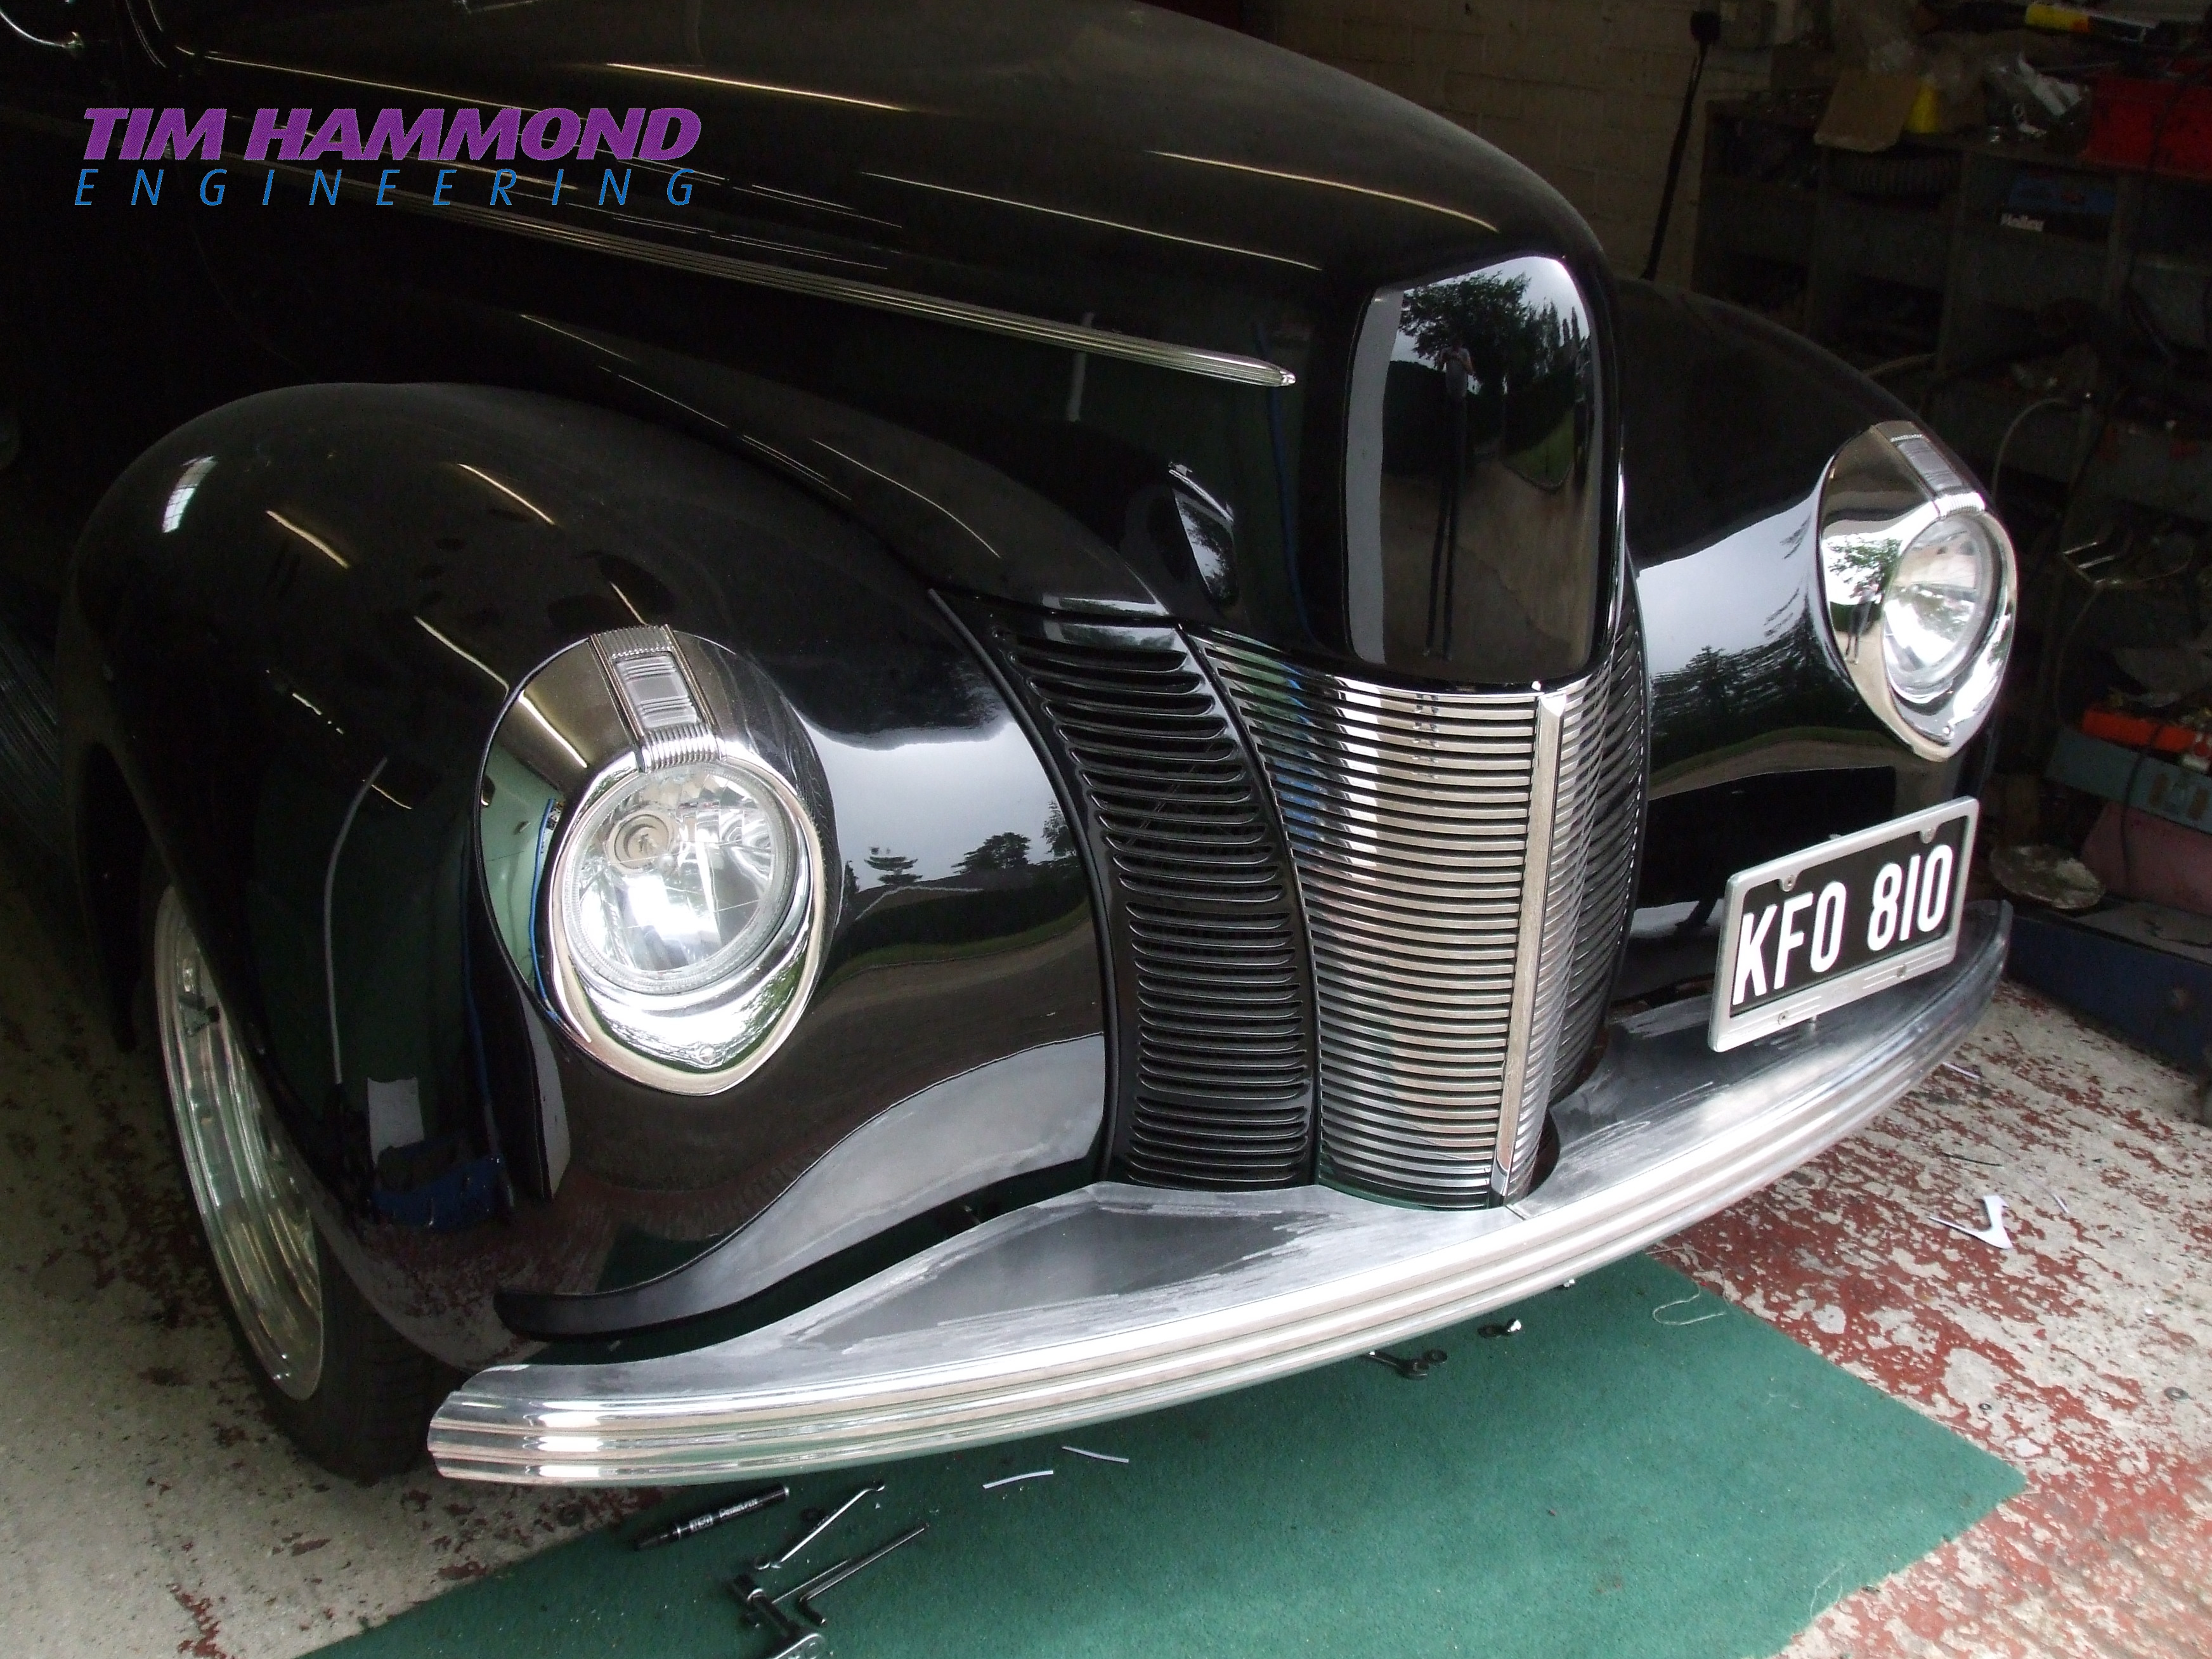
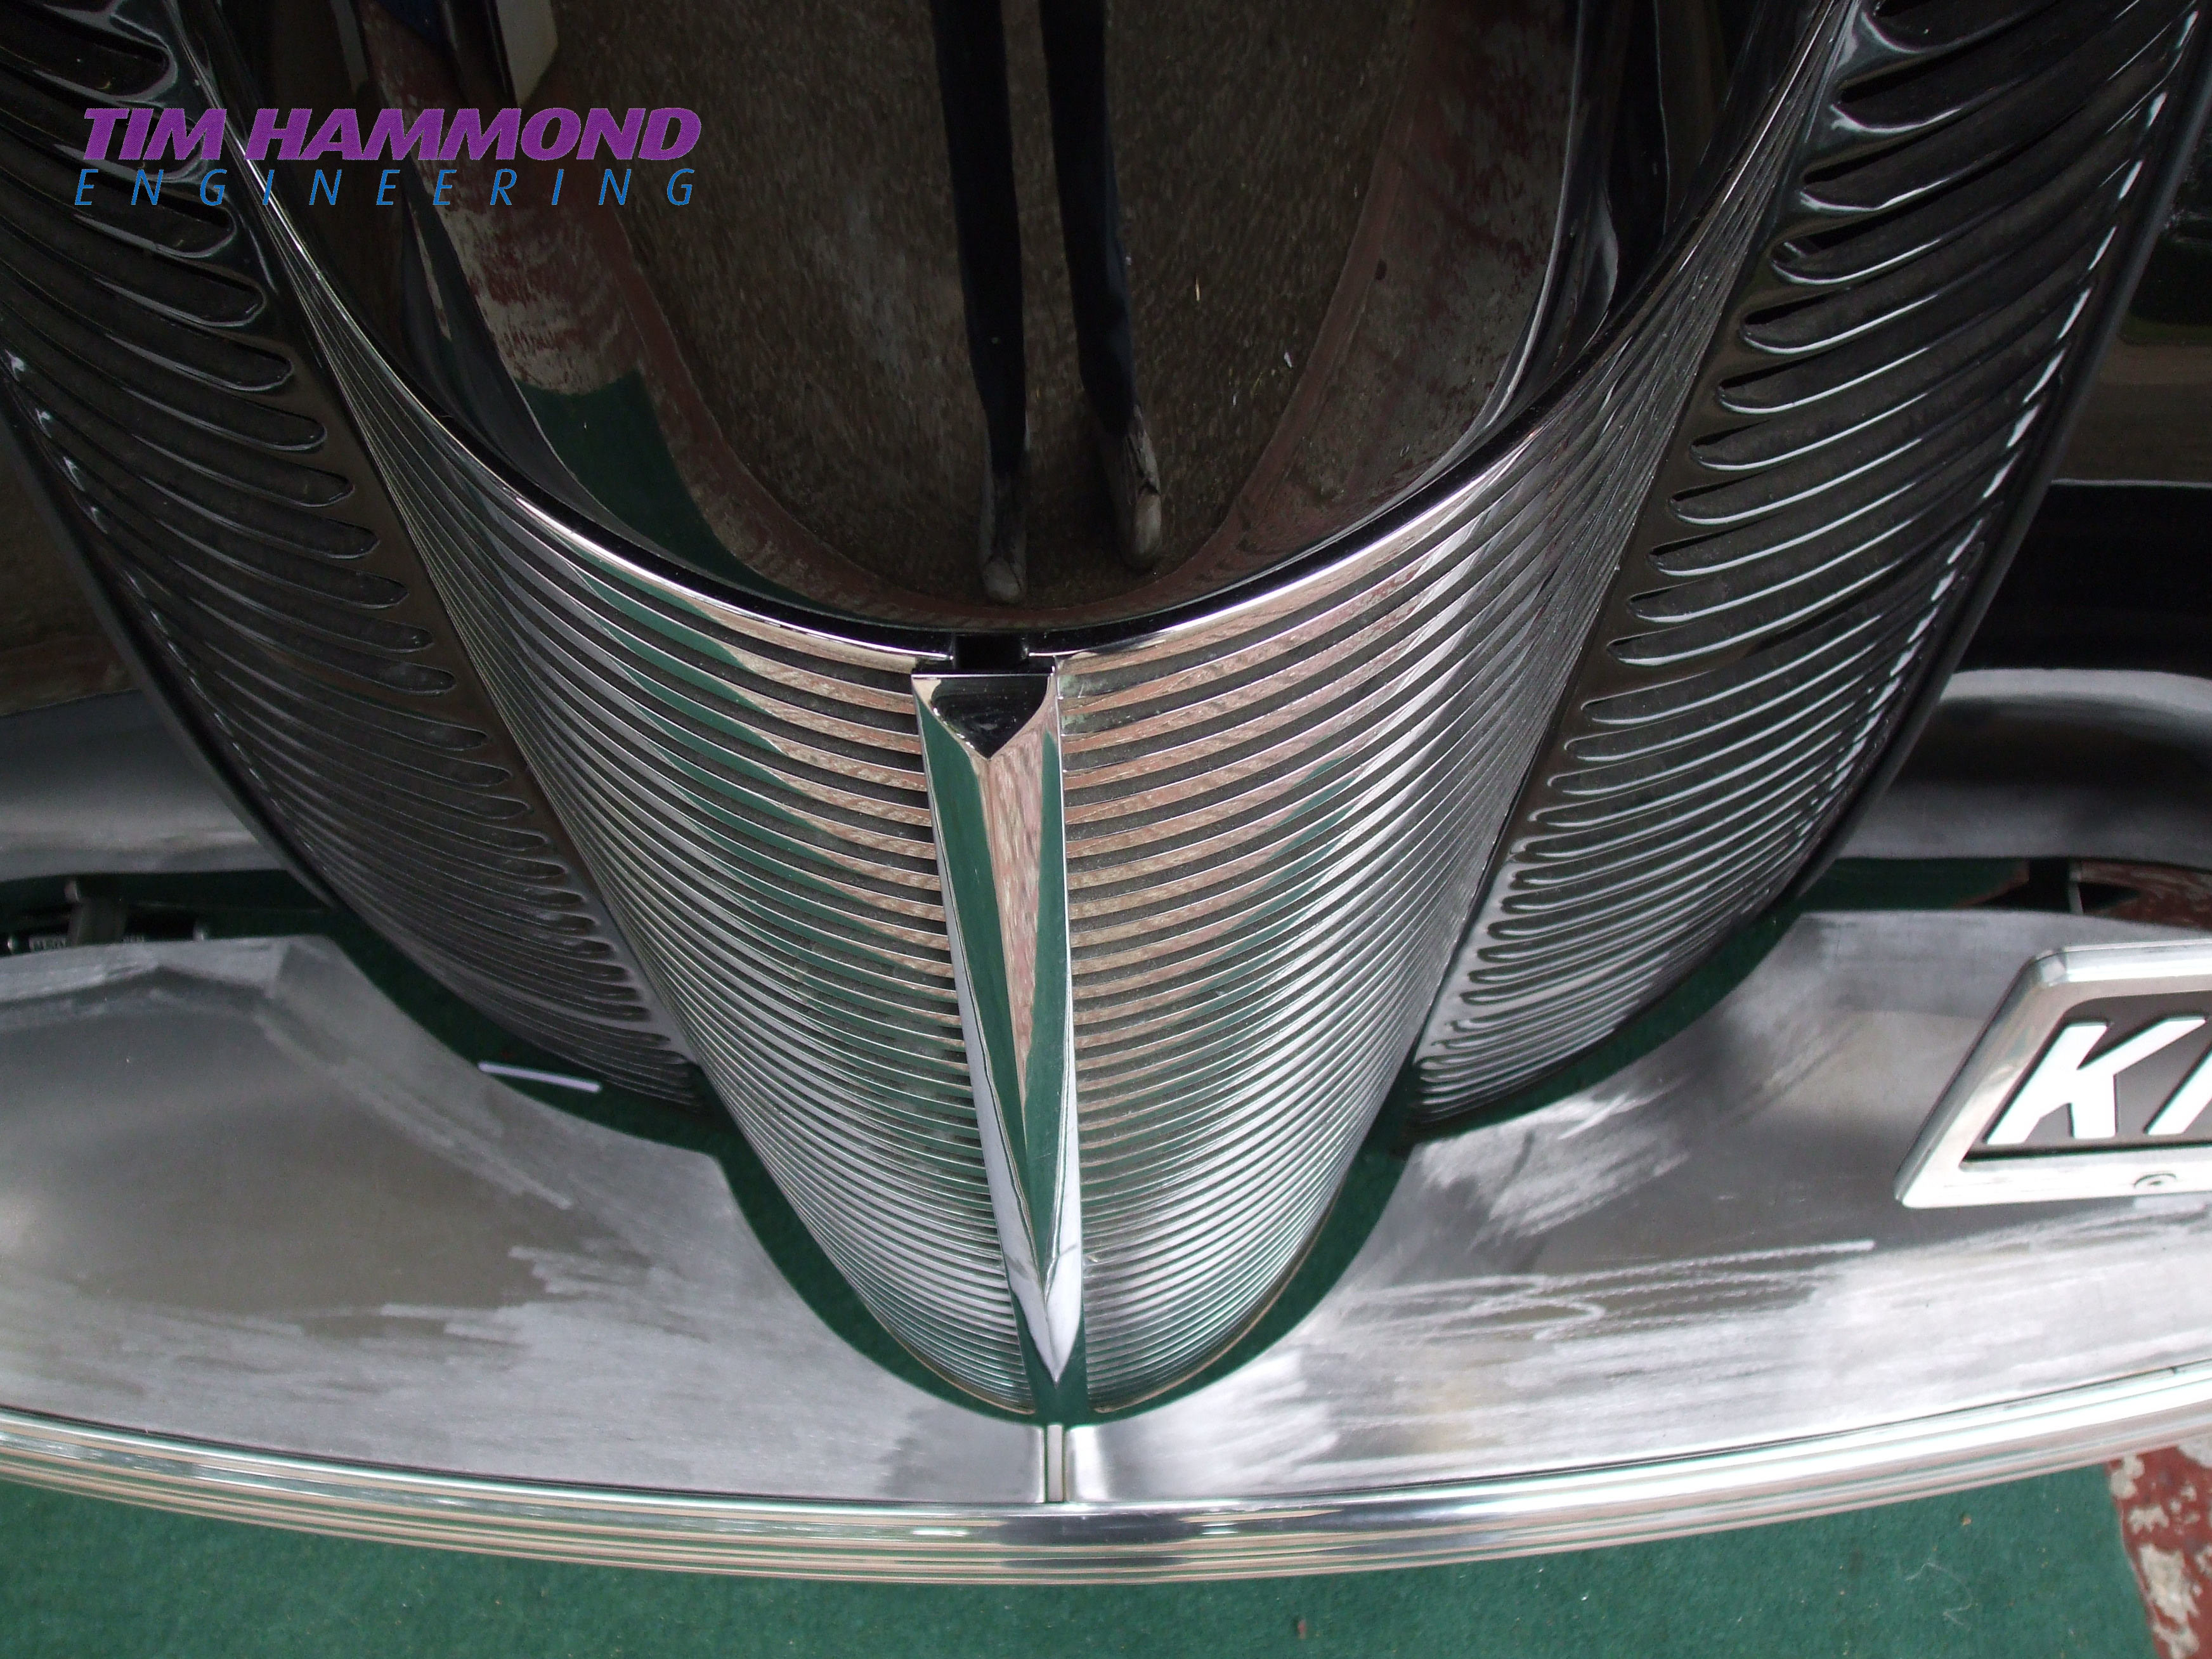
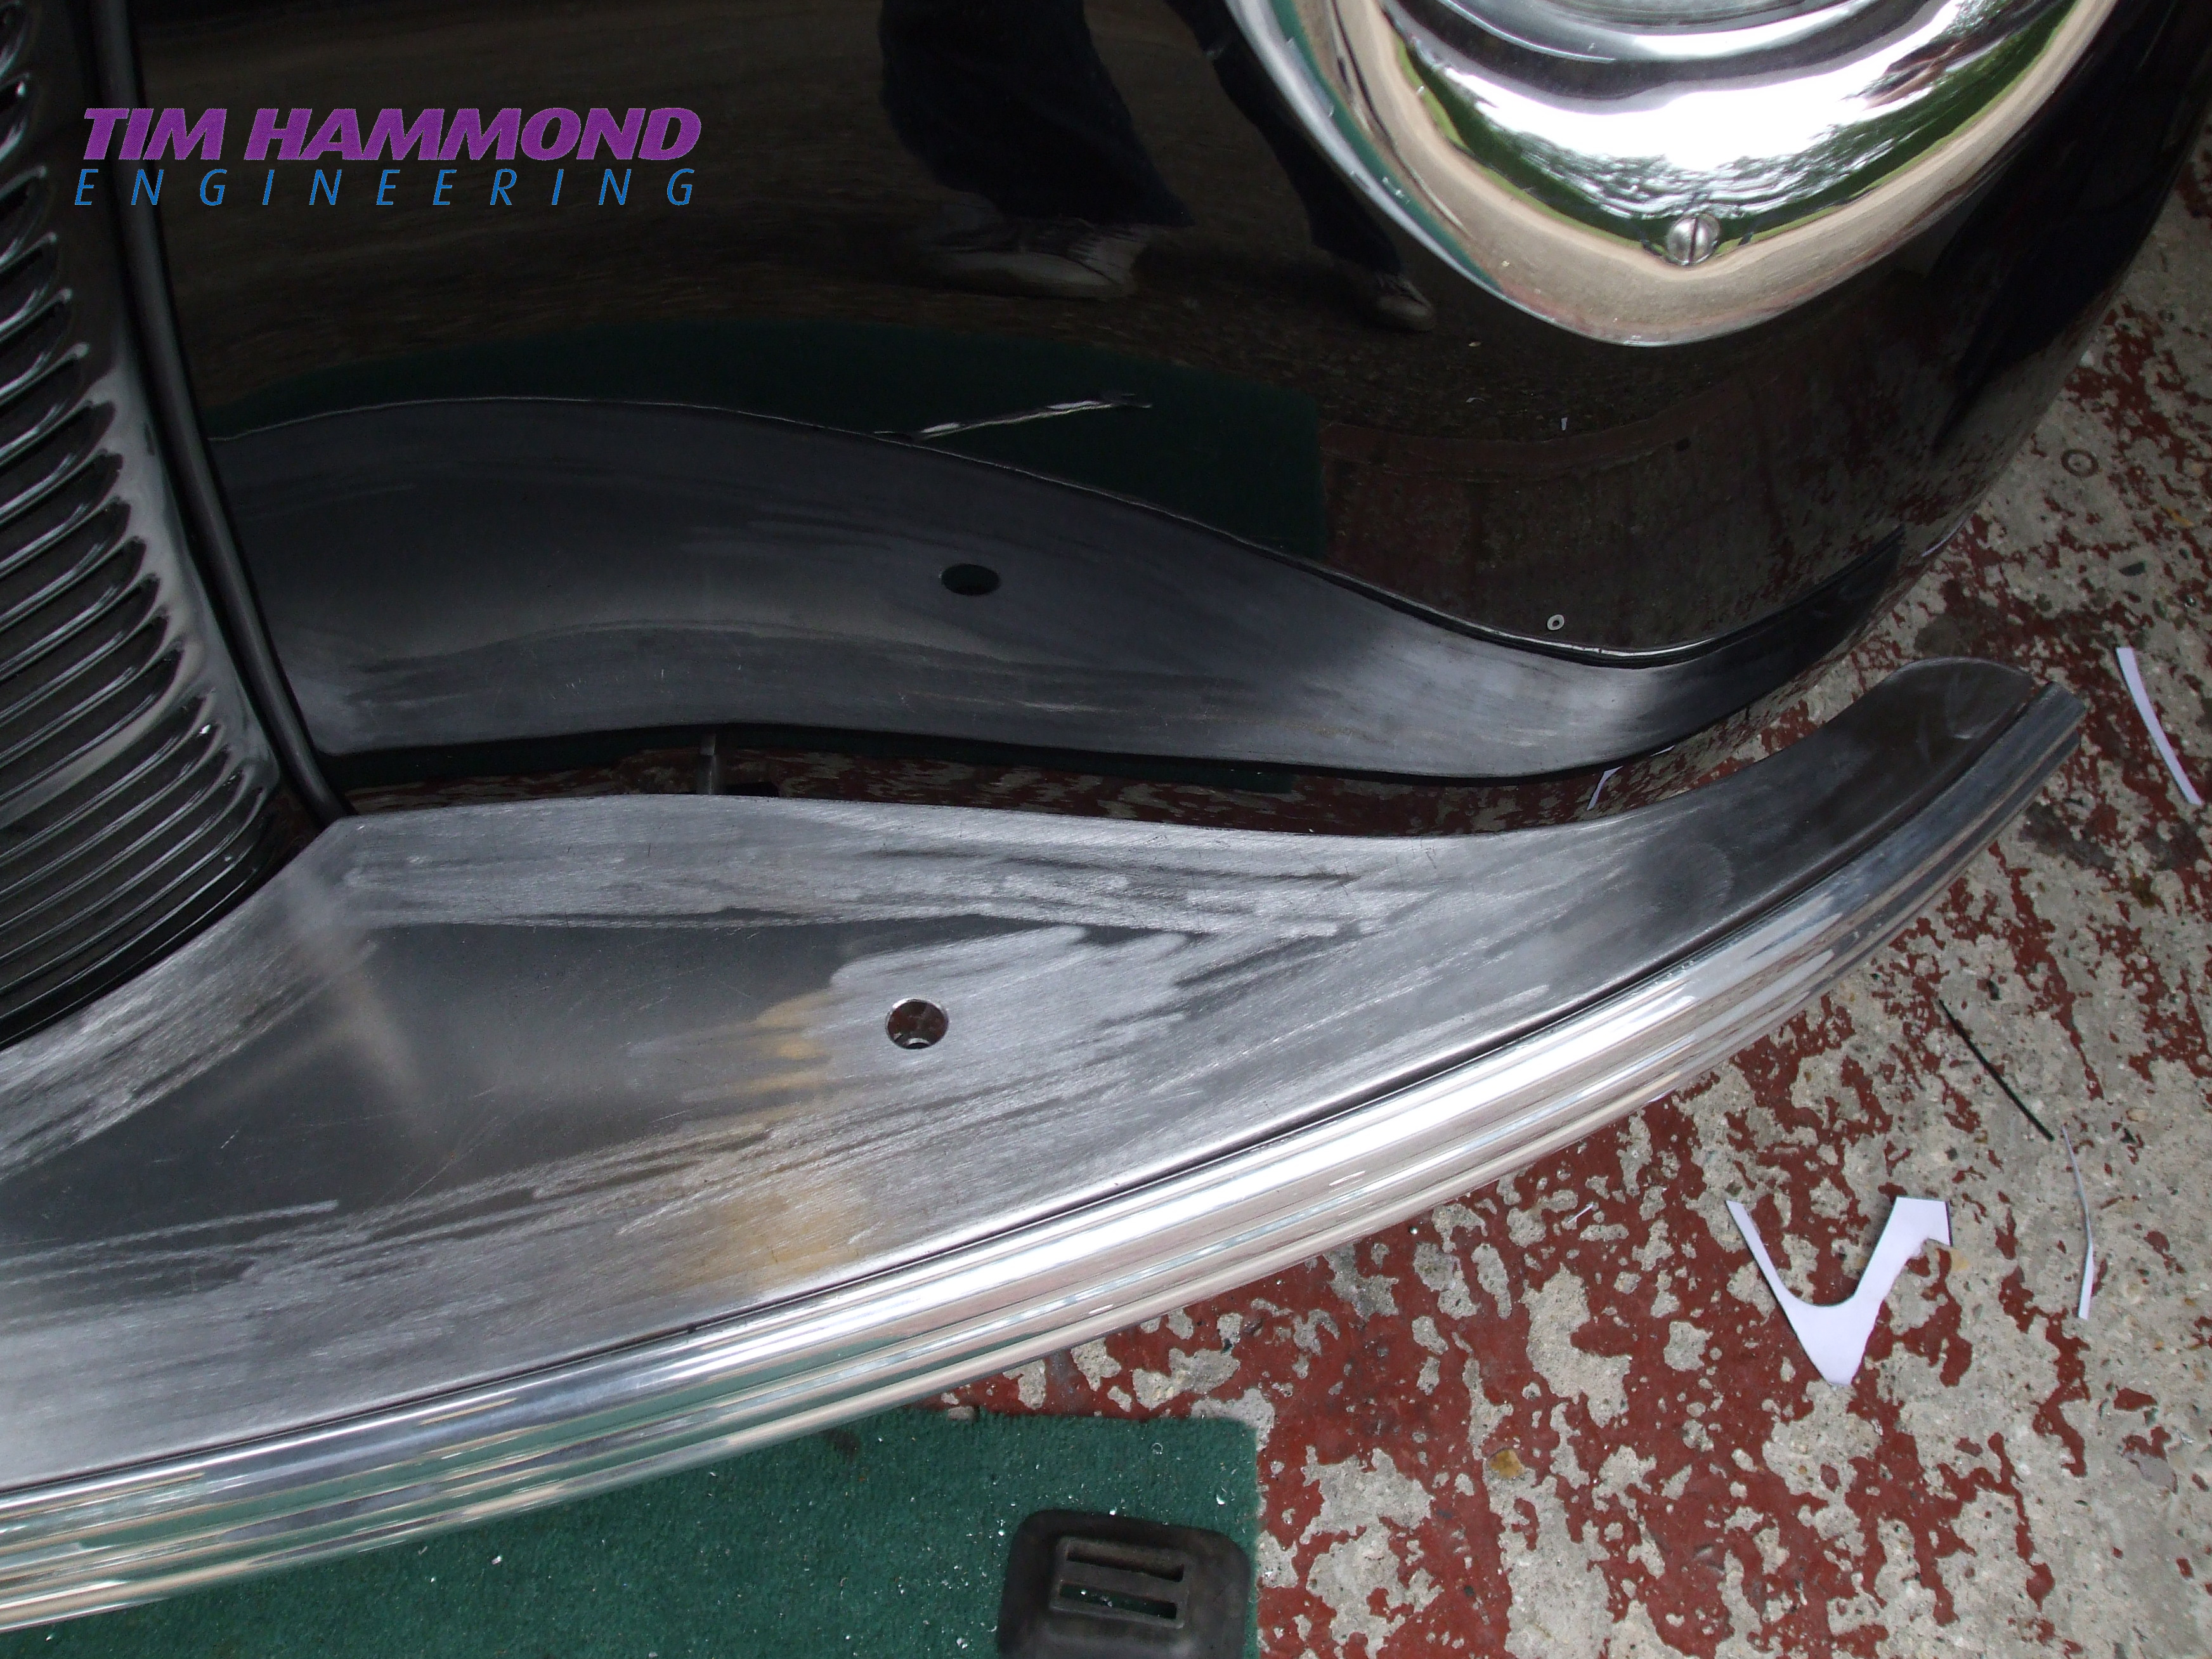
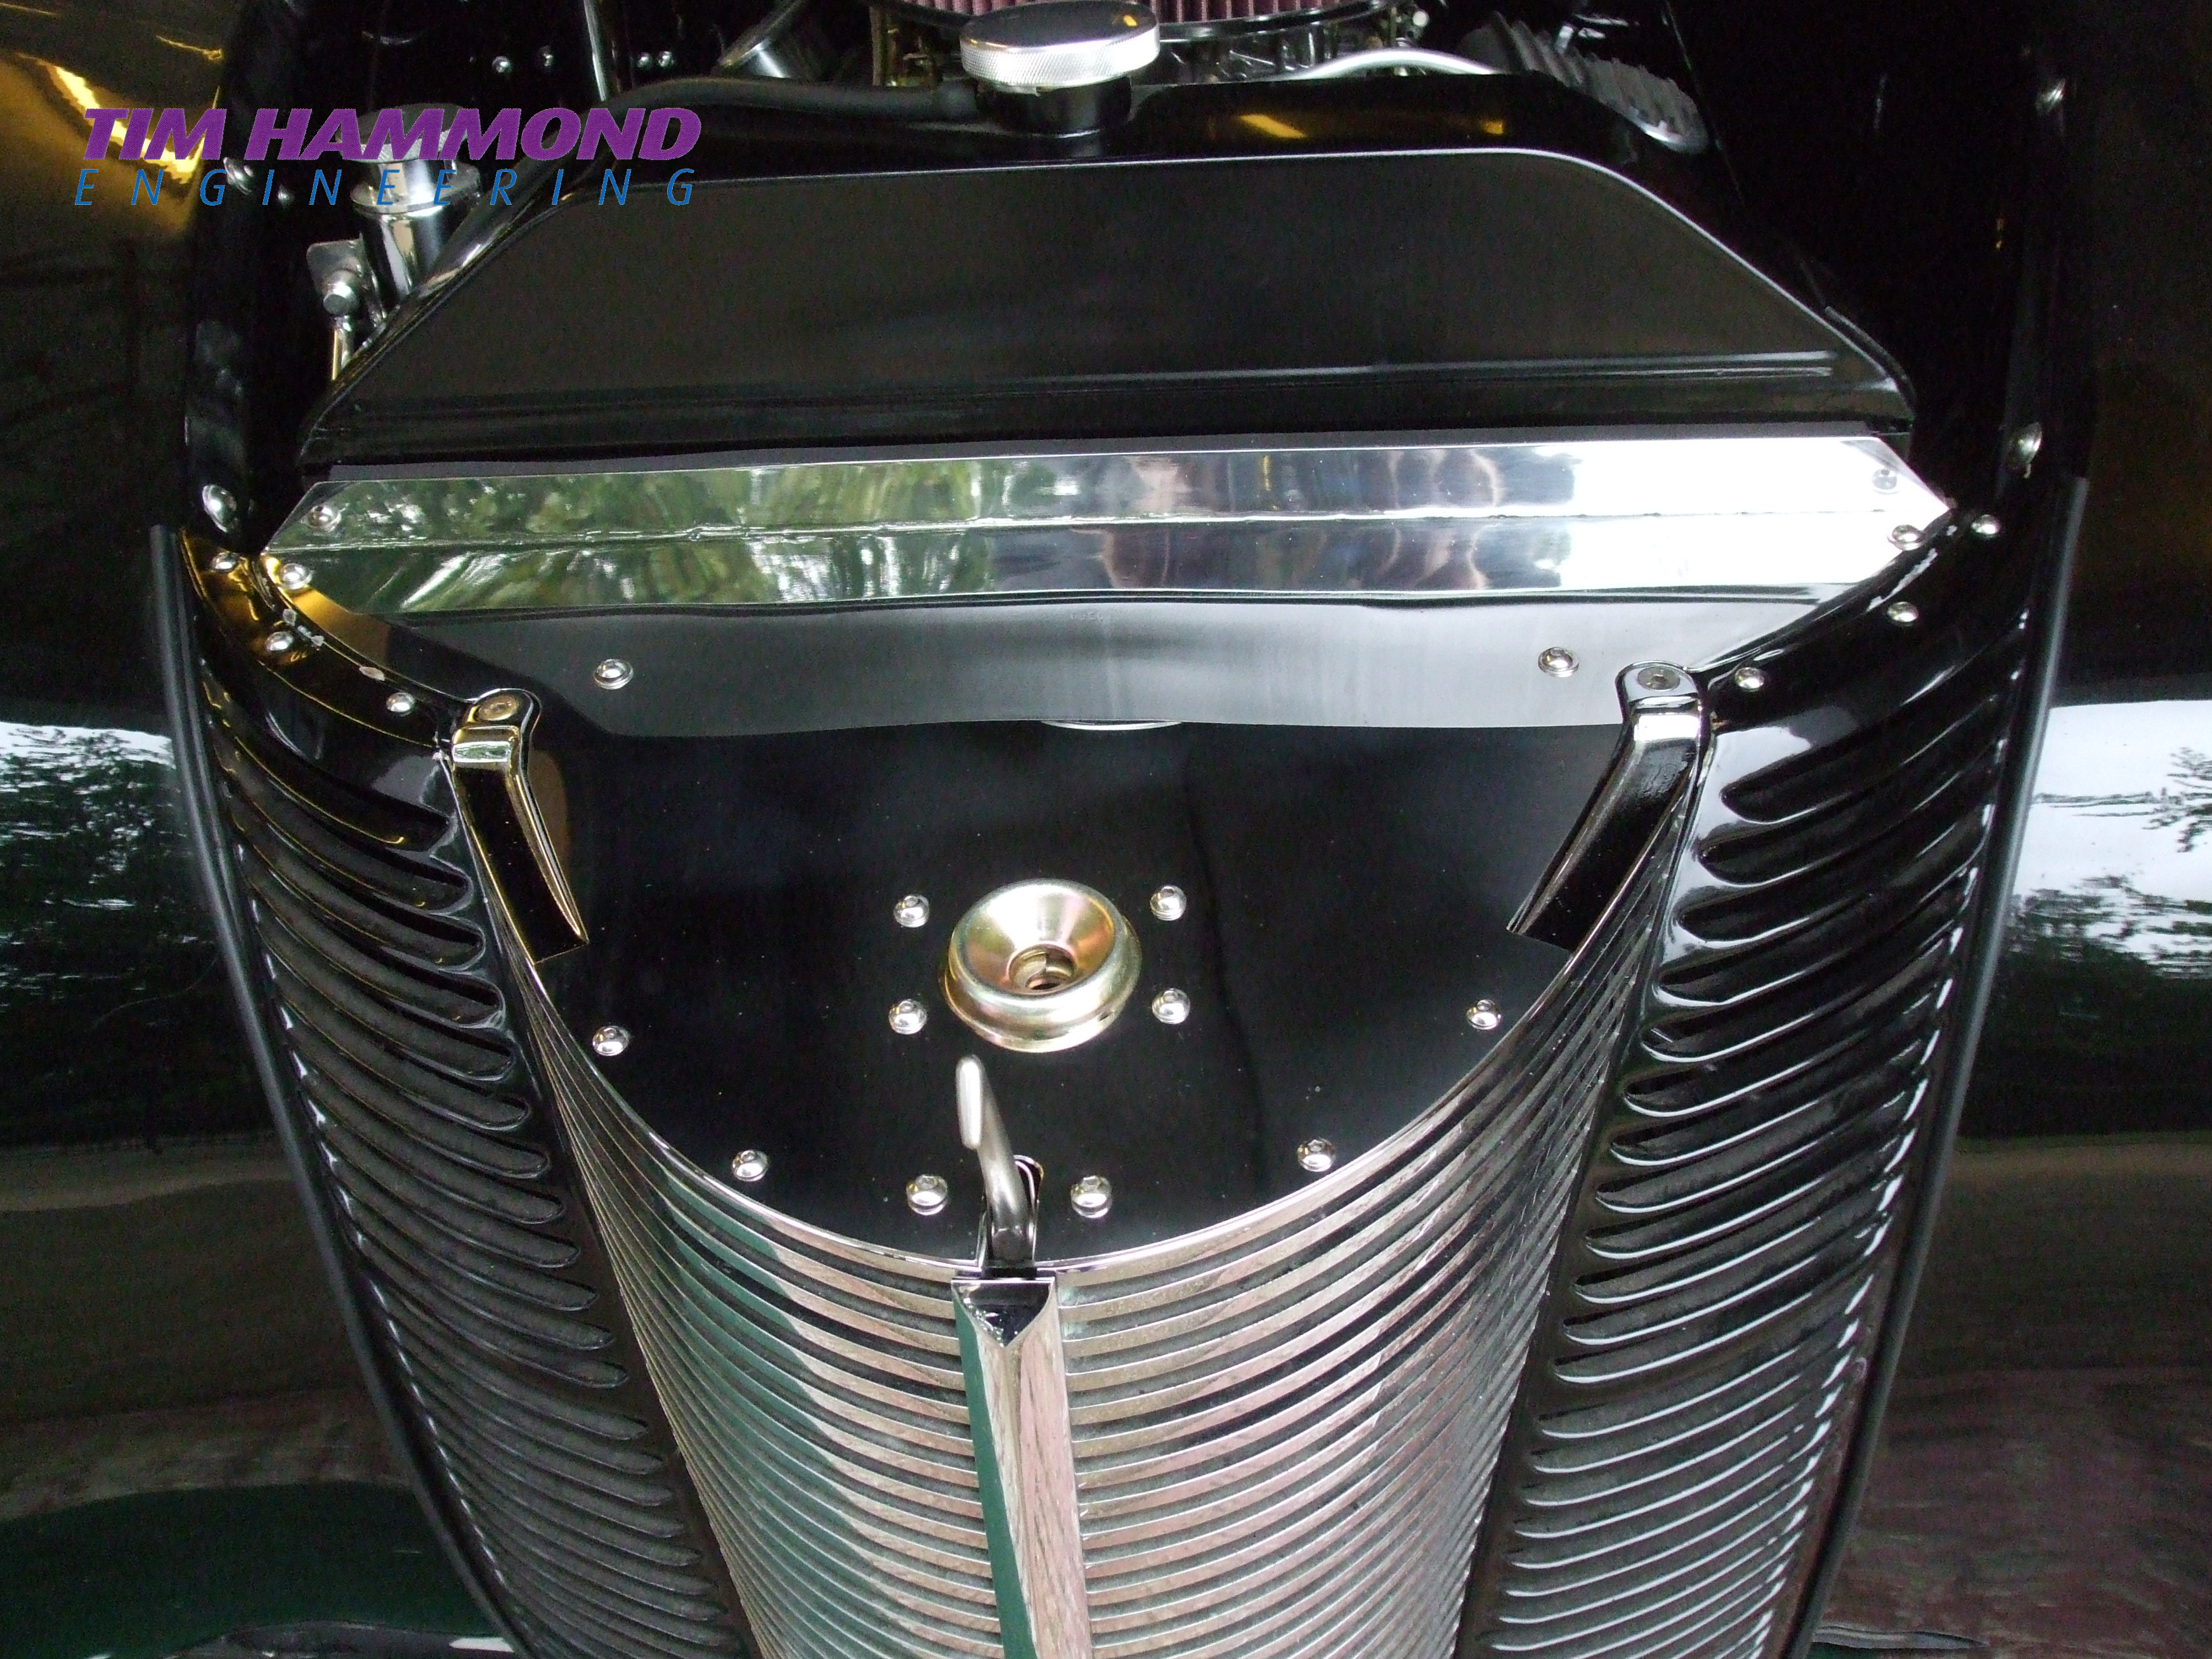
Tim's 1937 Oldsmobile
Purchased for £200 in 1983 from a garden in a vicarage the car was rapidly returning to nature, complete with a tree growing through the floor.
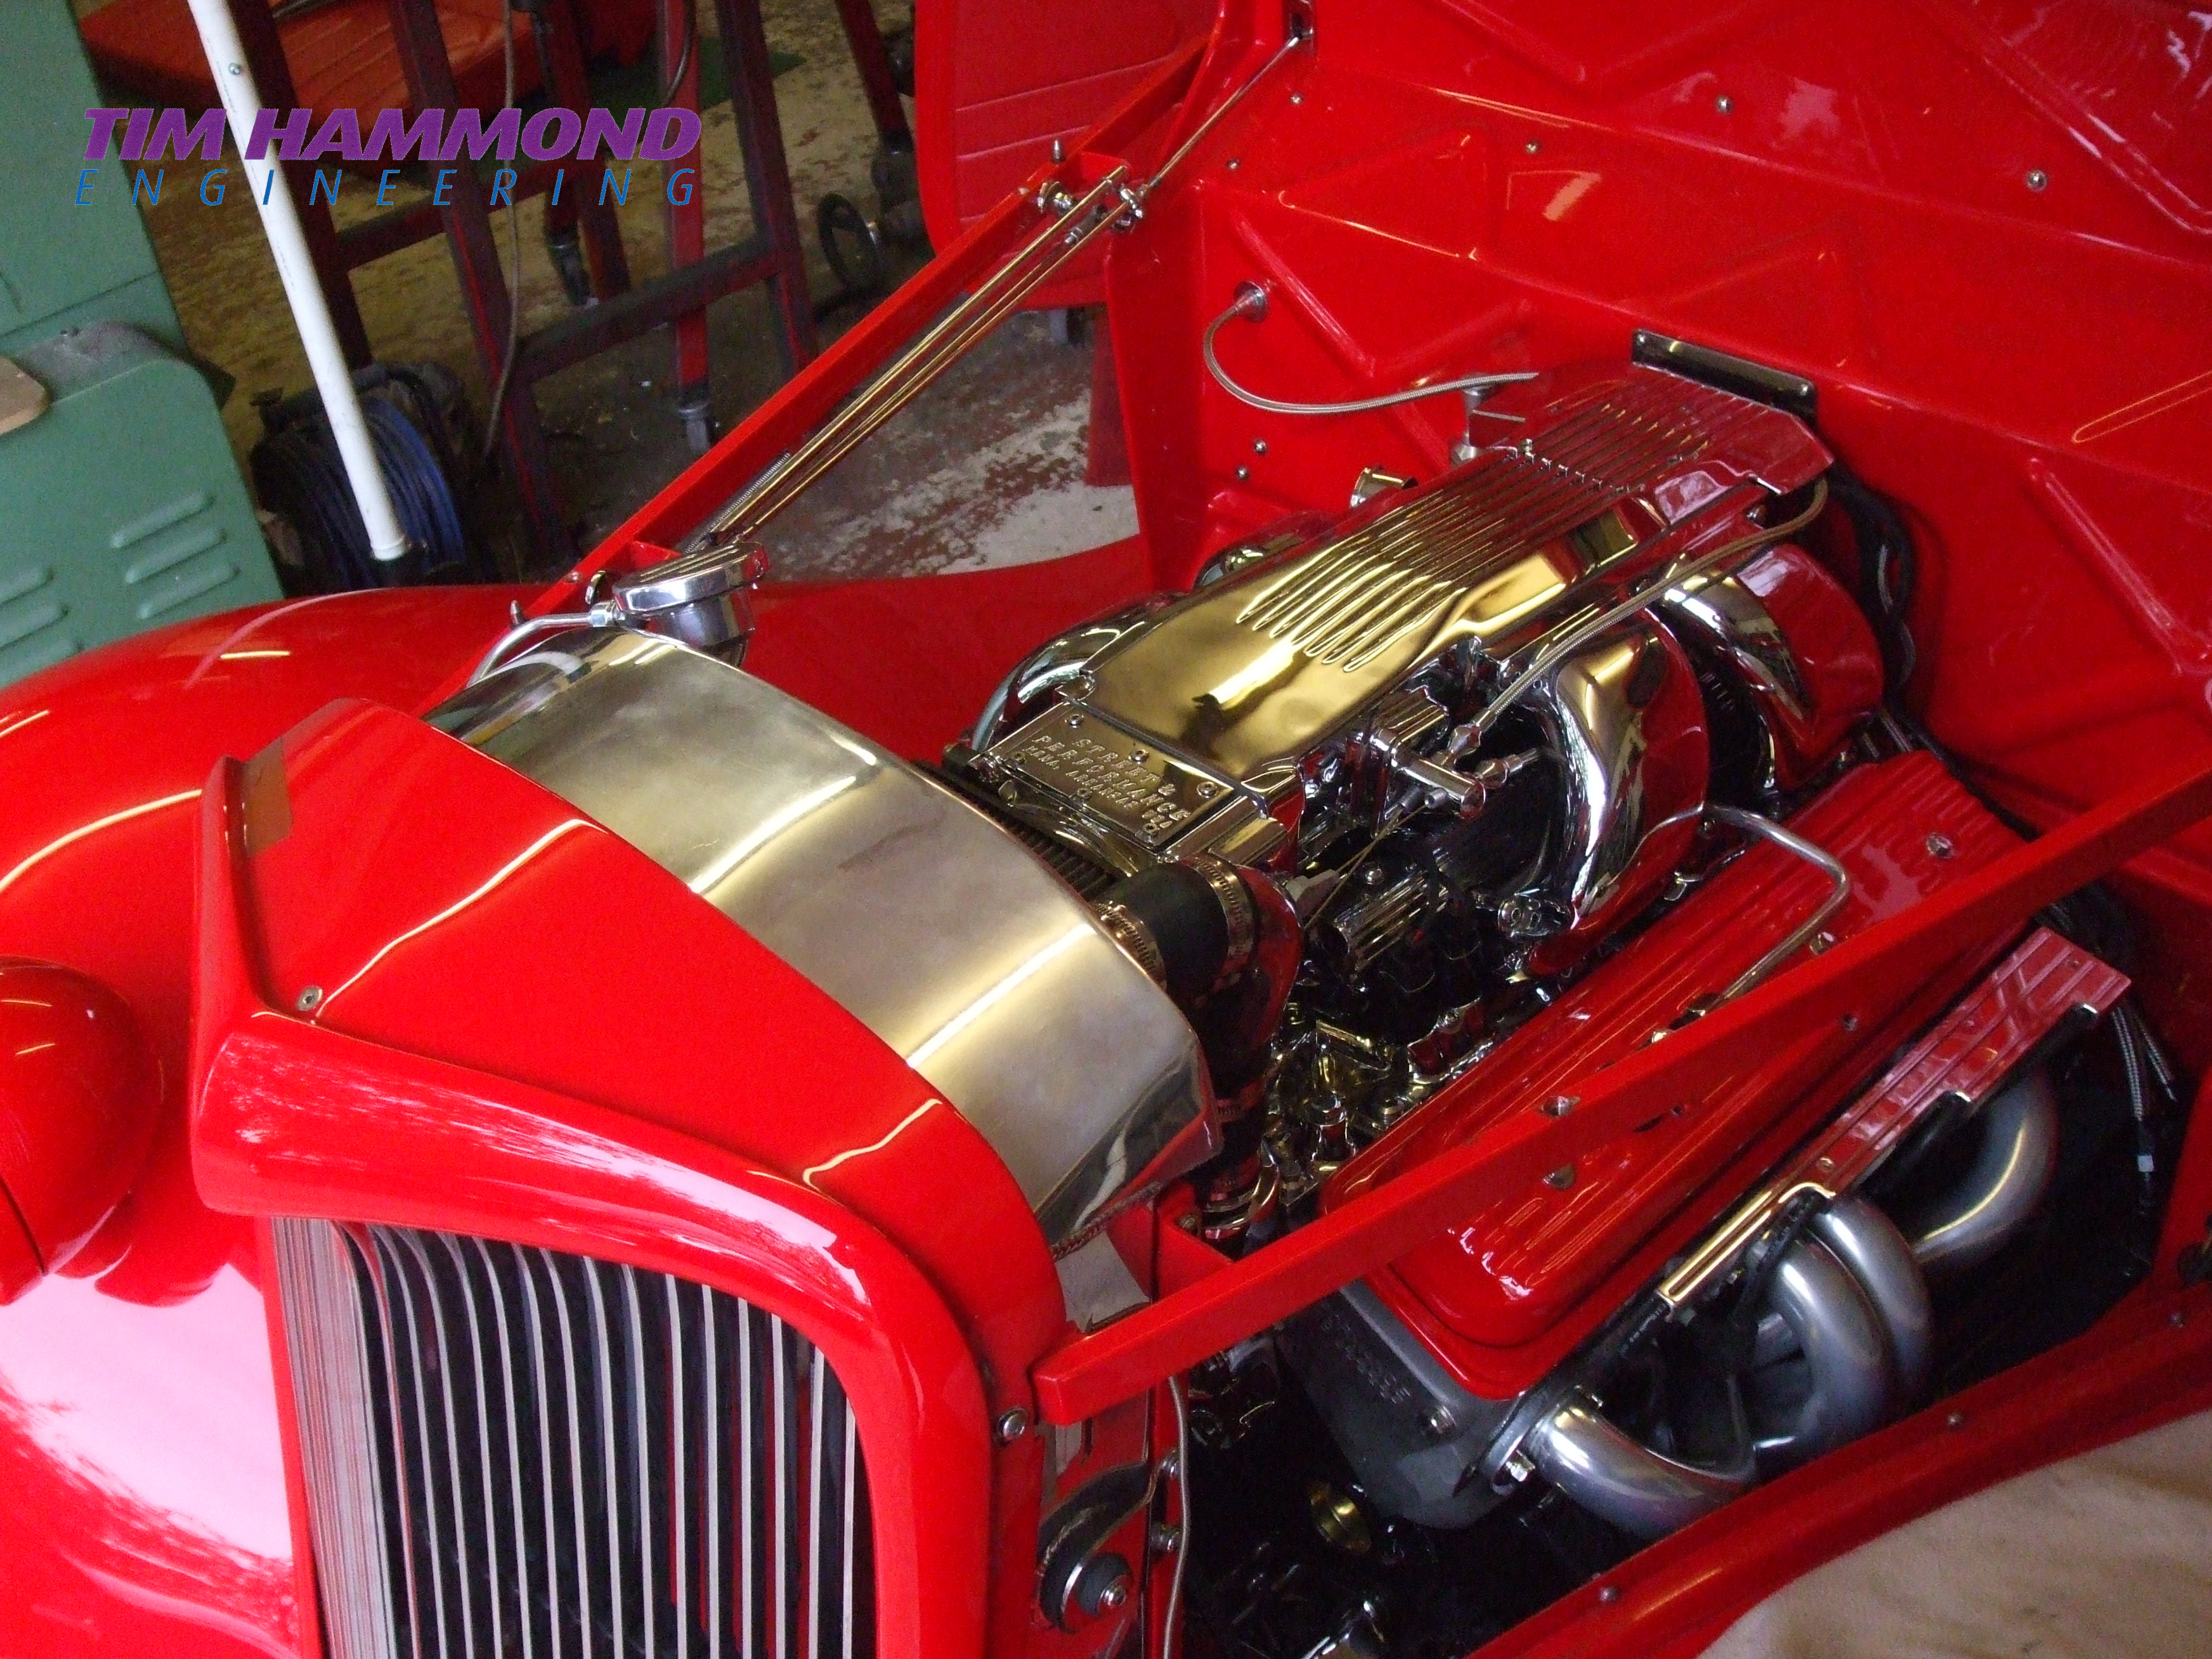
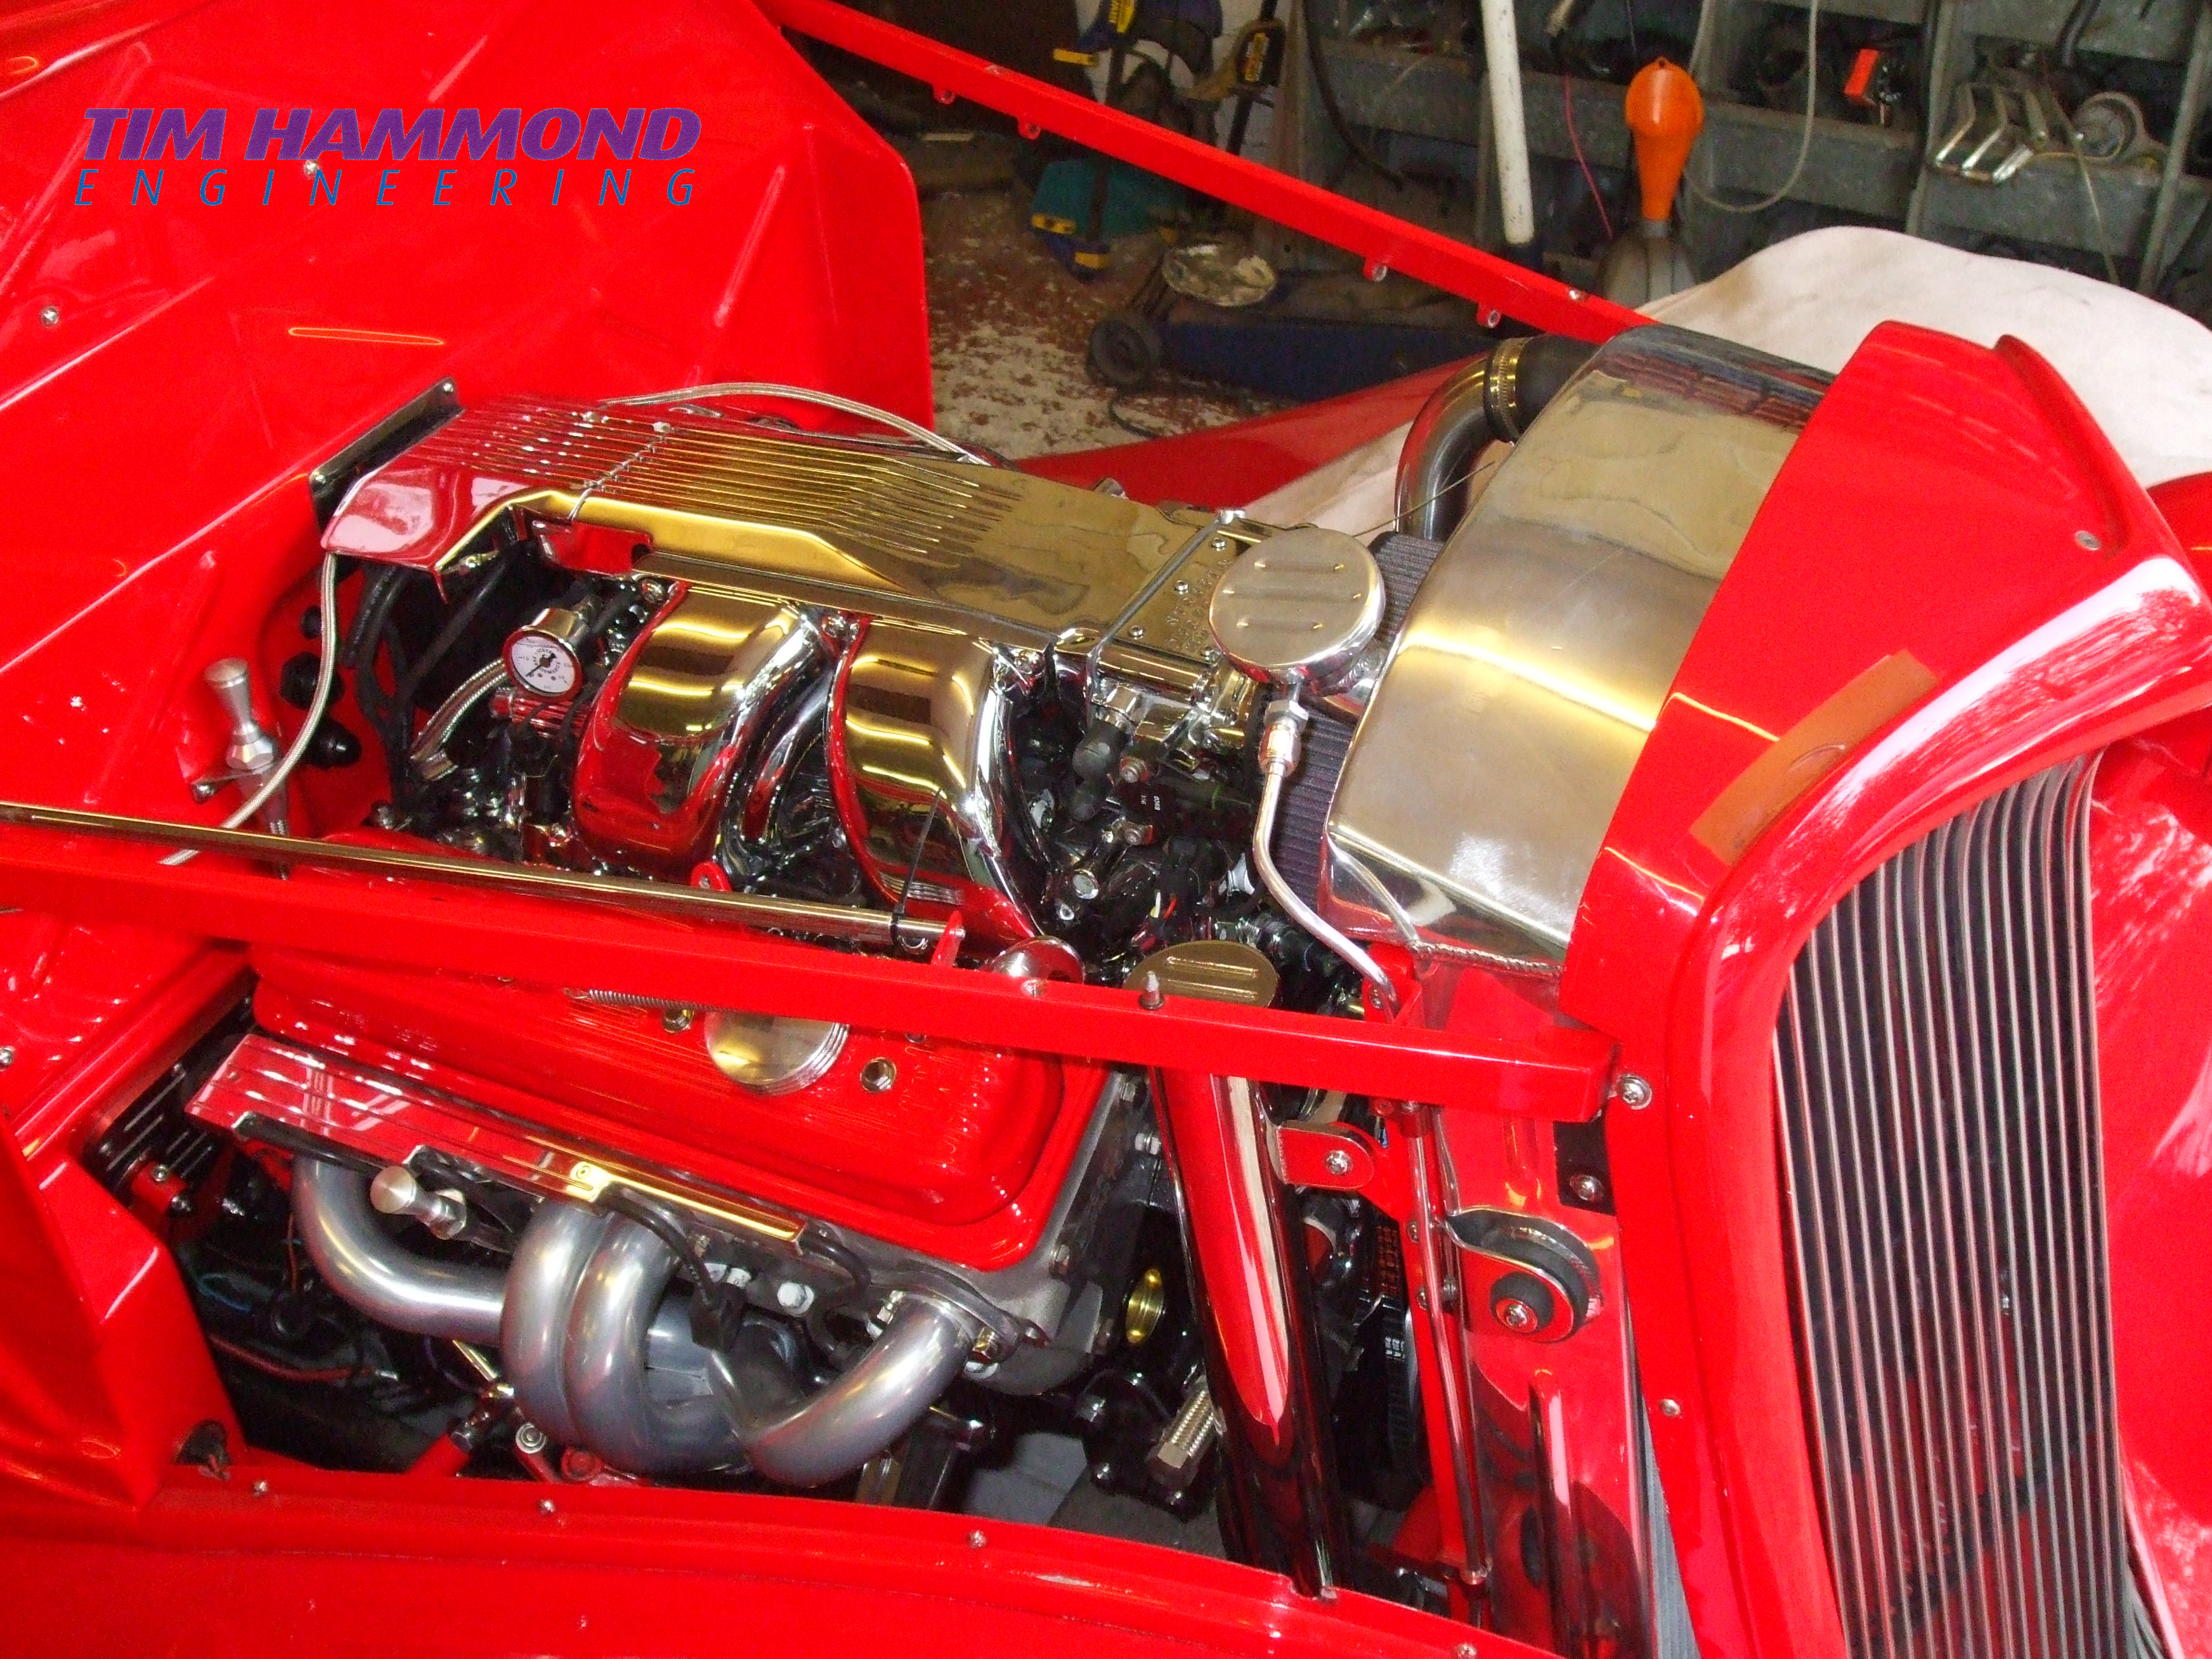
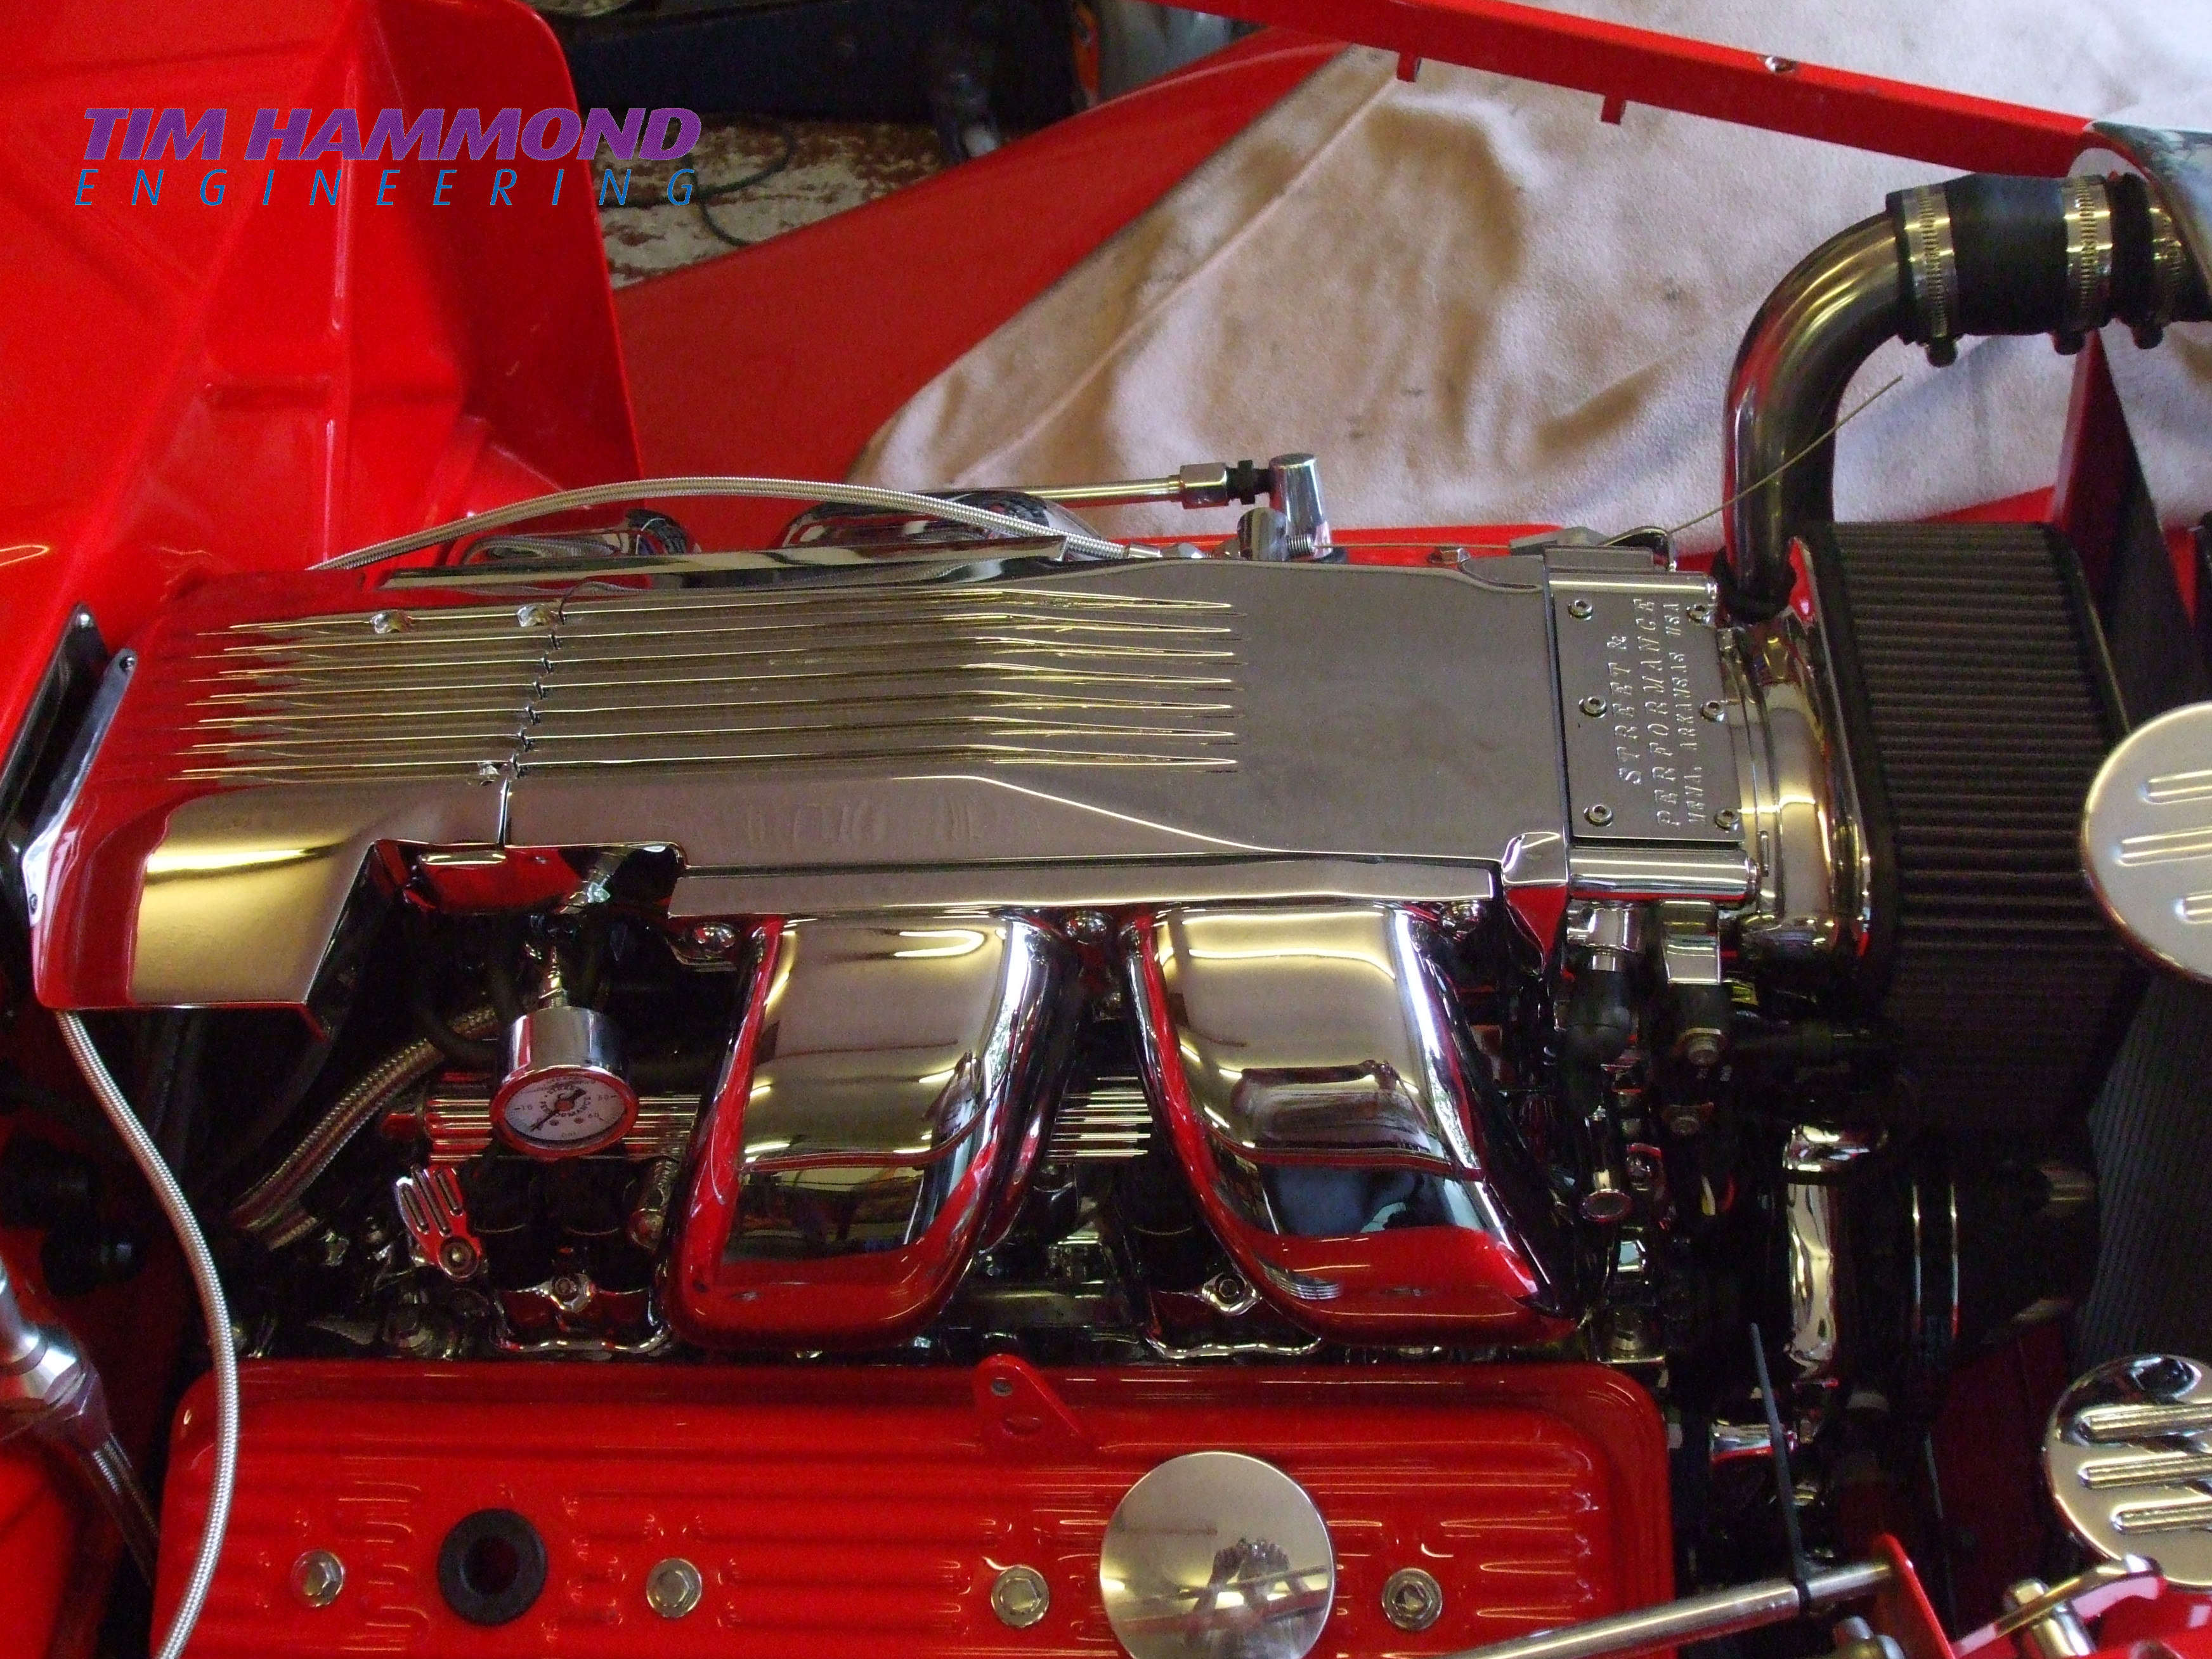
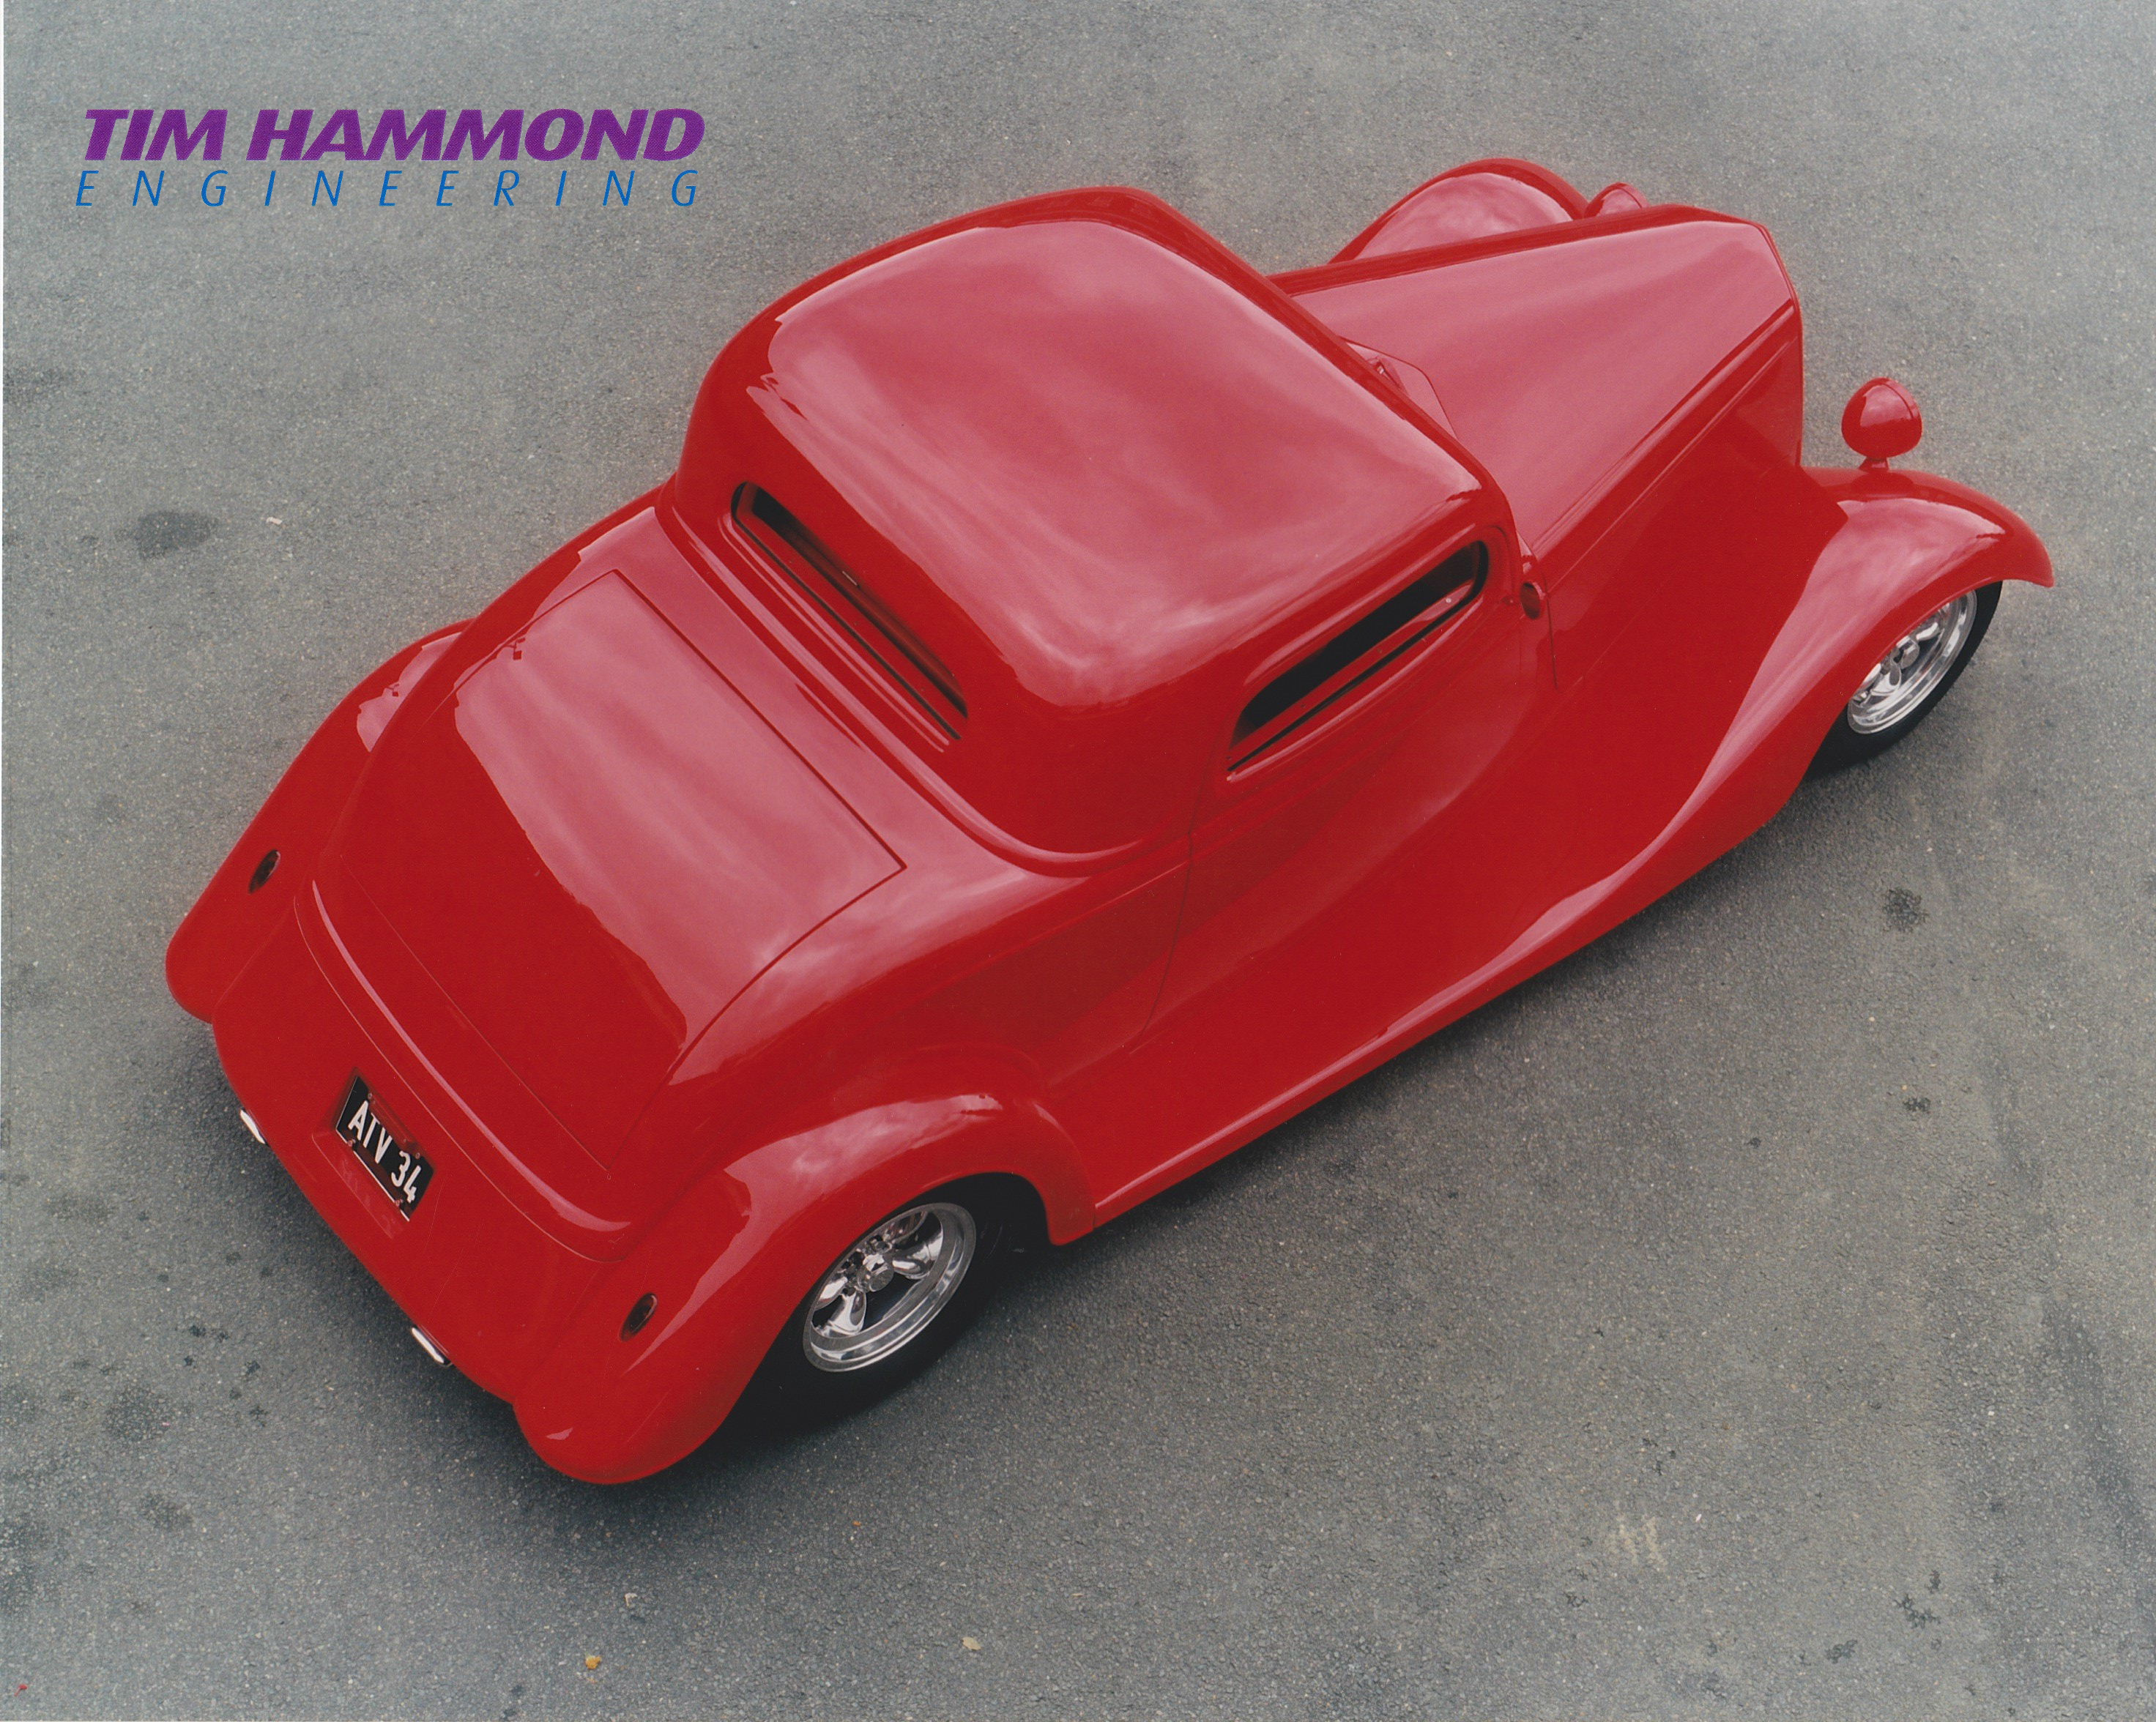
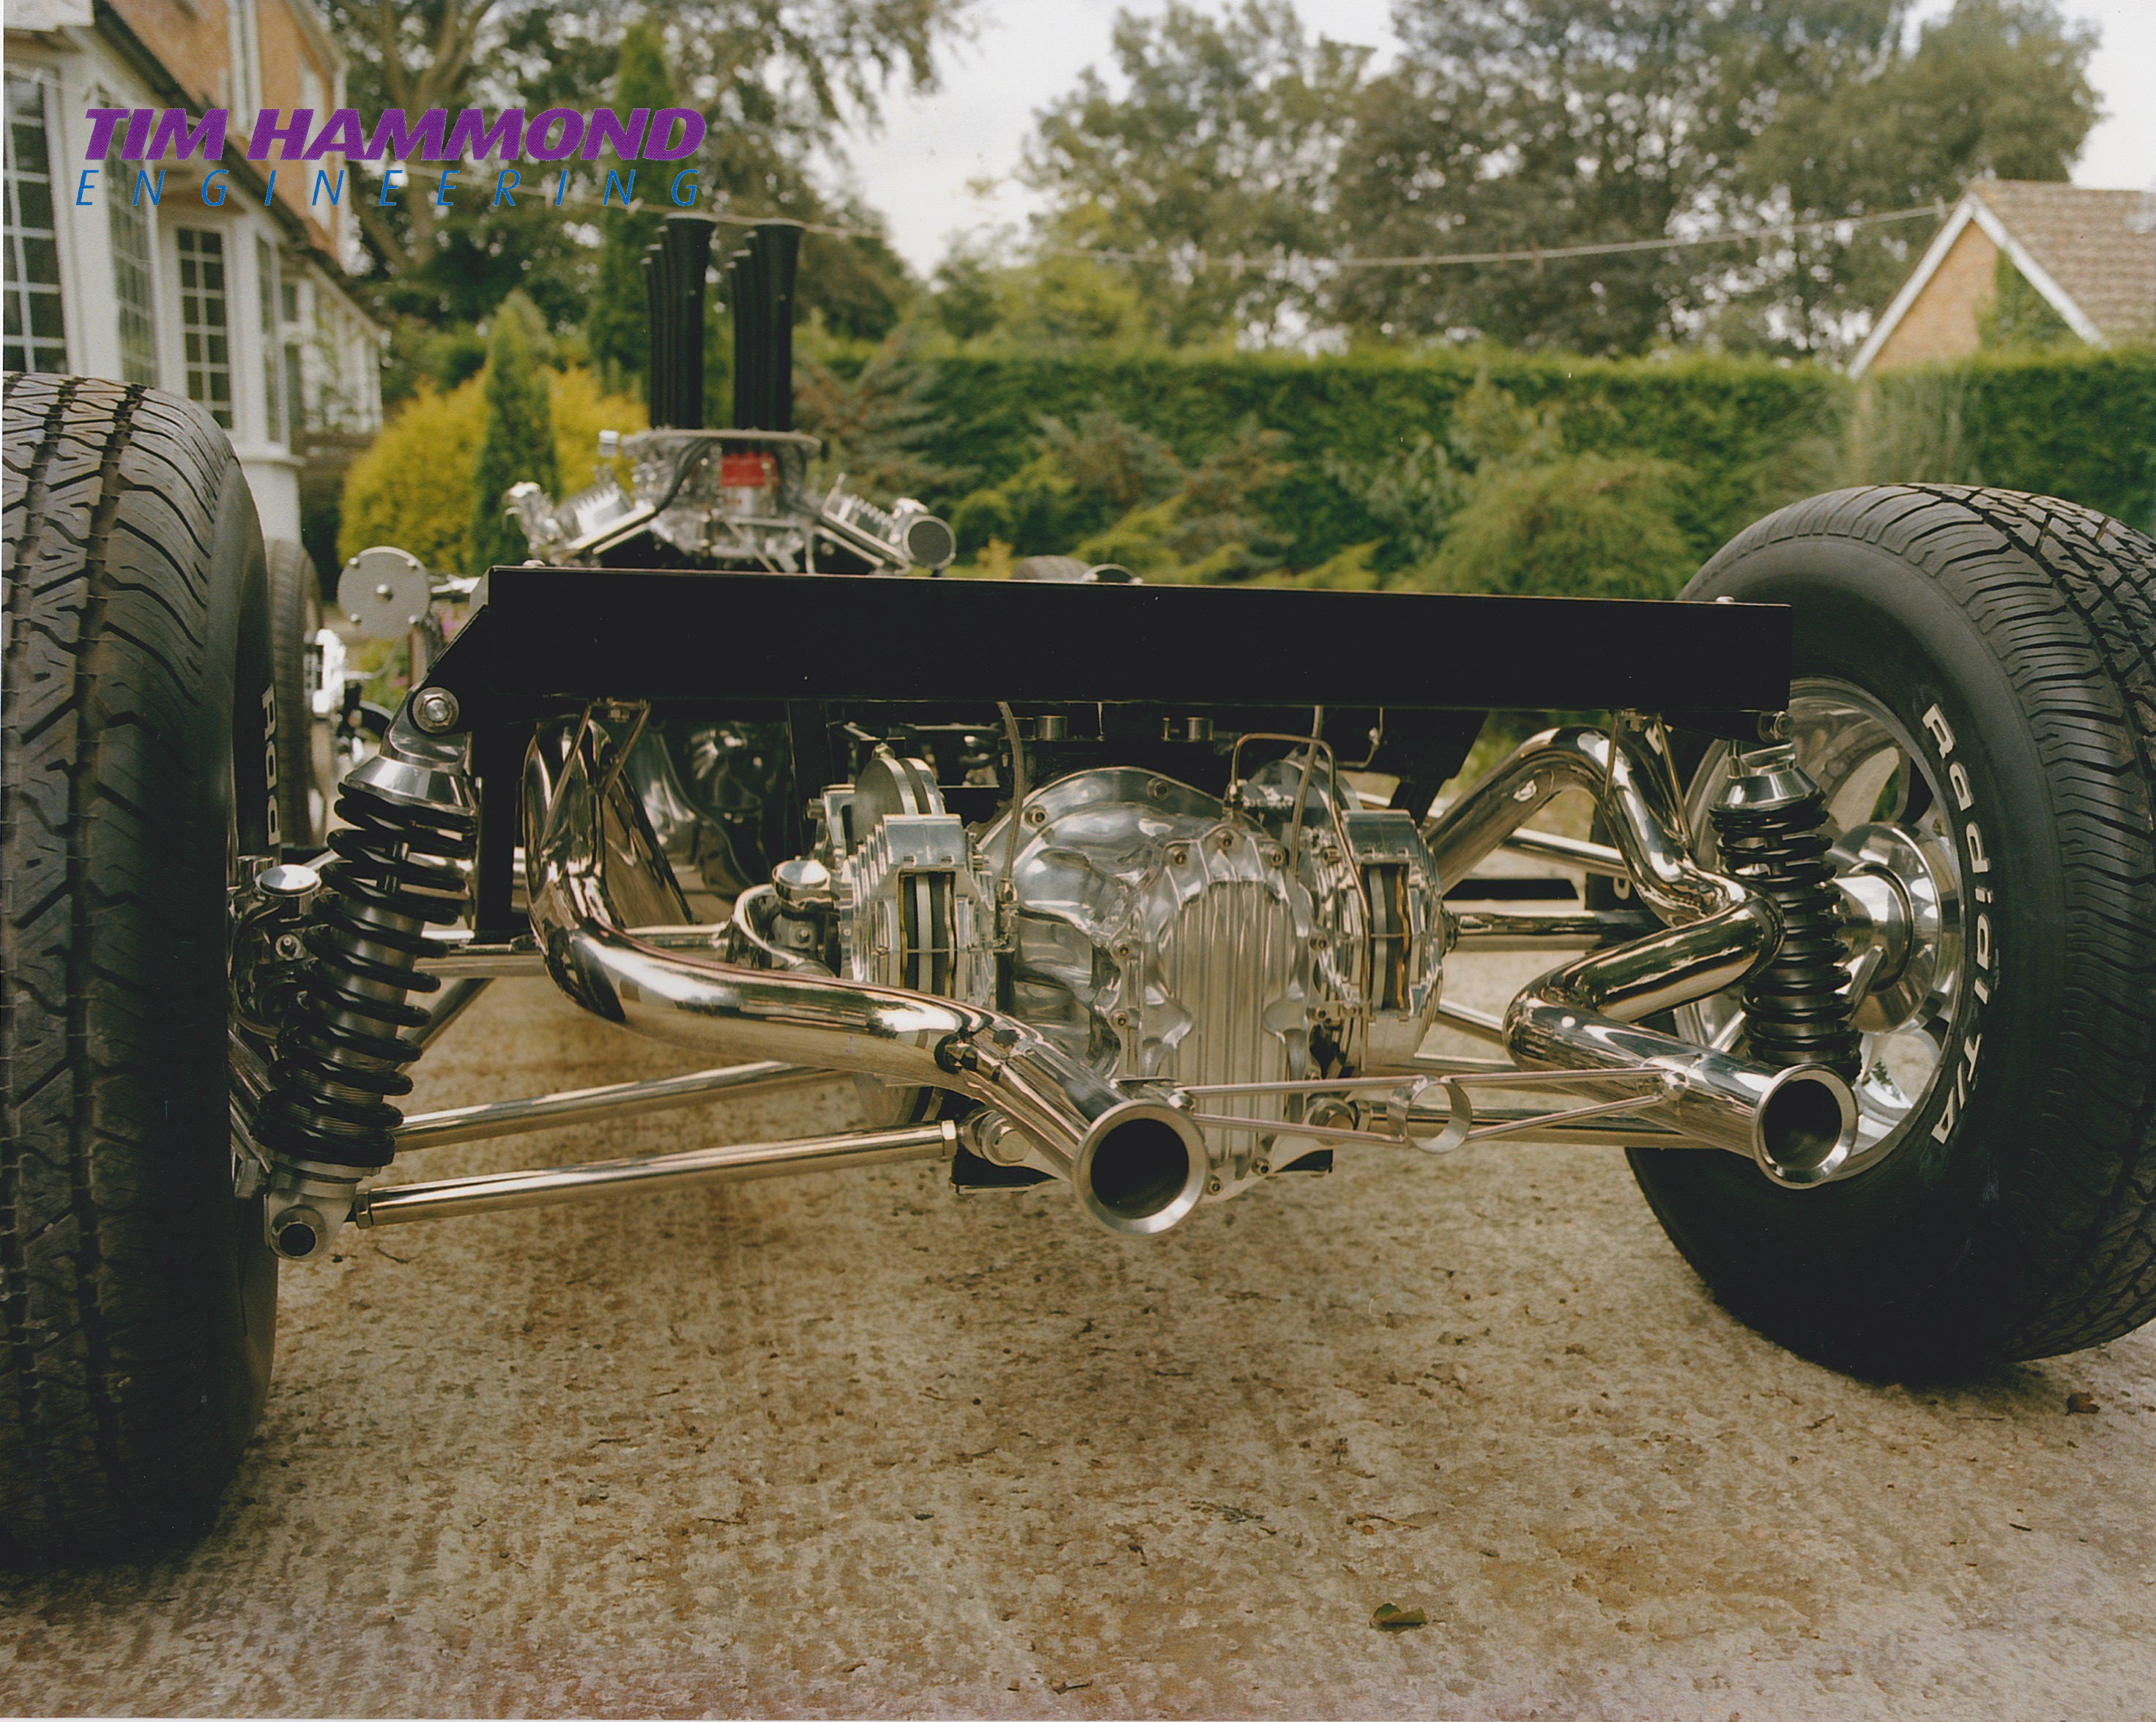
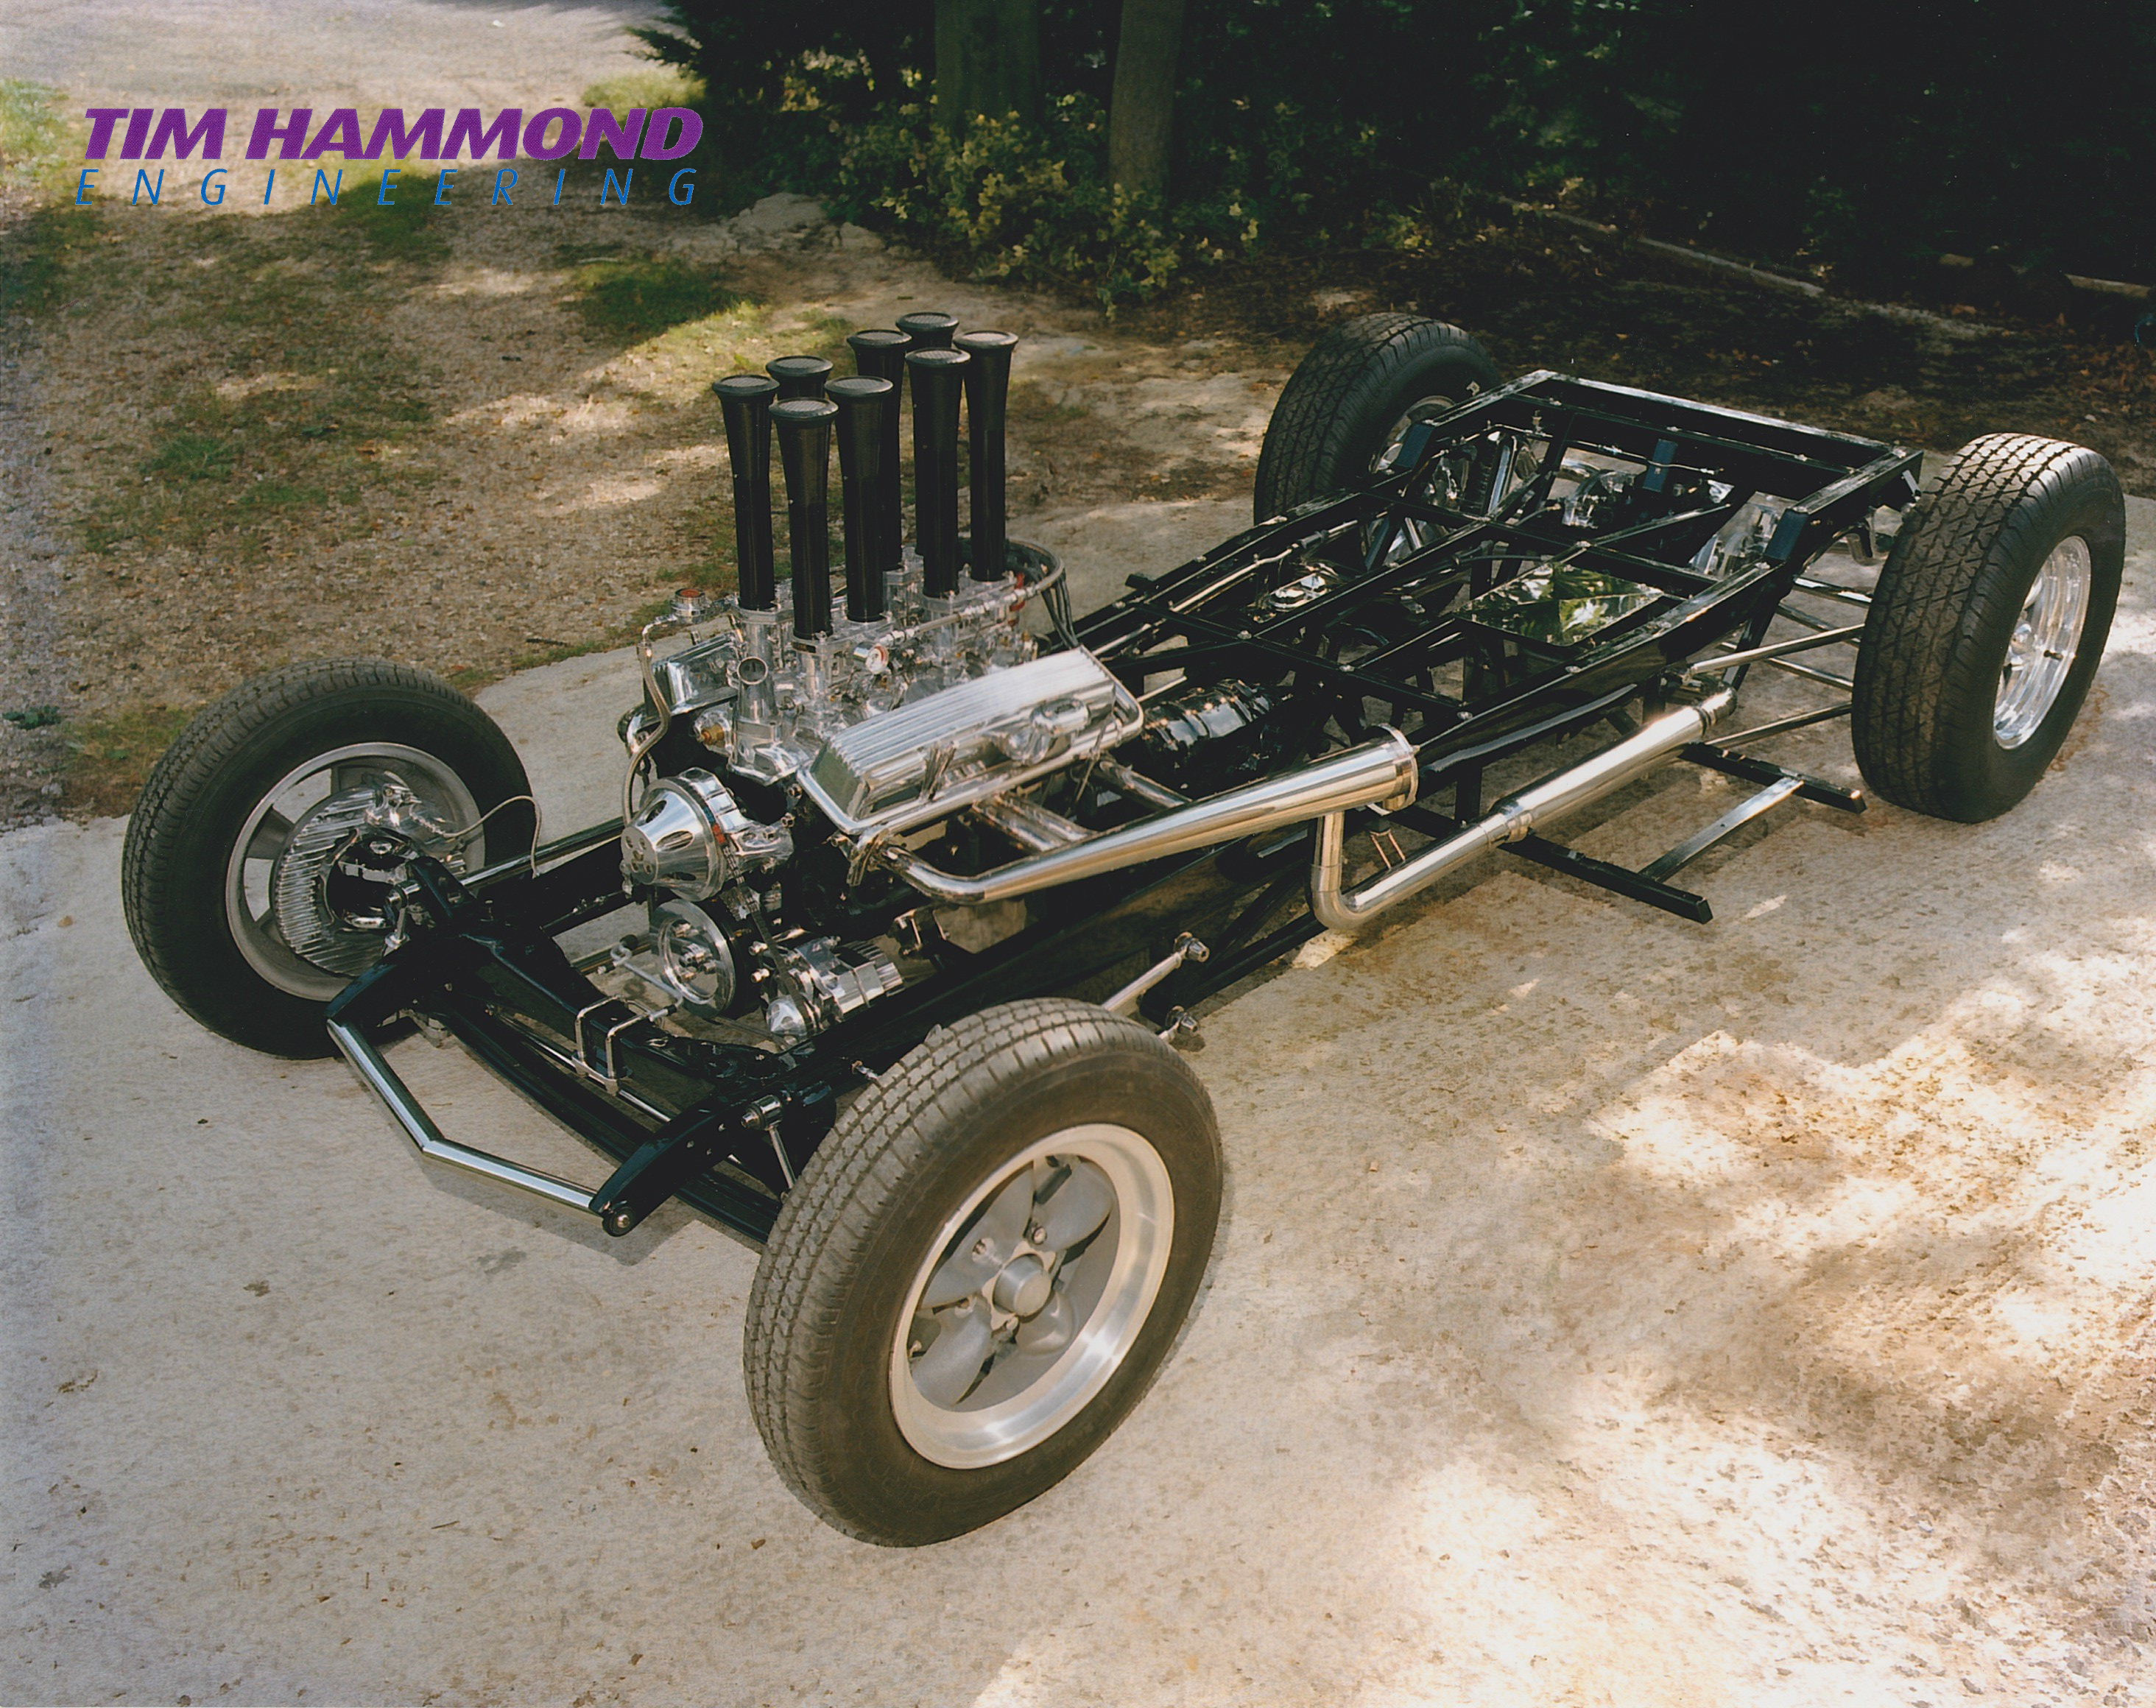
Tim created a new chassis and then added a twist and fabricated his own canter lever front and rear suspension from solid billet aluminium. Every panel - which included all the doors, boot, trunk, roof, body, bonnet, grill, fenders and running boards were either remade or modified. Many hundreds of individually machined pieces were created, anodised and then put onto the car. The body itself was chopped and channelled over the chassis rails - there was no such thing as air ride when this was built. The car was finished in 1995 and won many awards, including NSRA Billing, NASC National Champion multiple times. It was built to be driven and indeed has done many thousands of miles, including trips across Europe in the snow. Nick named the Stealth Bomber - as it was long, black and sleek - the only thing that warned you it was coming was the lovely sounding 350 Chevy engine with twin 4 barrel carbs and a tunnel ram intake manifold.
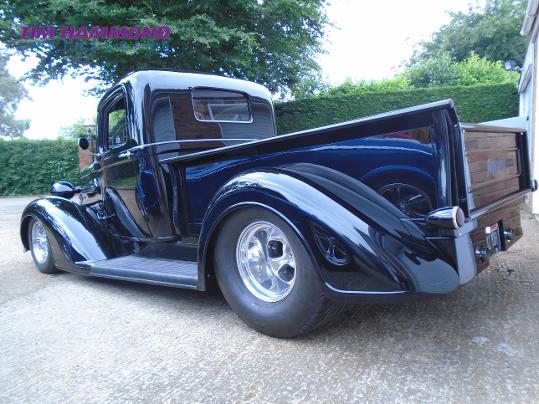
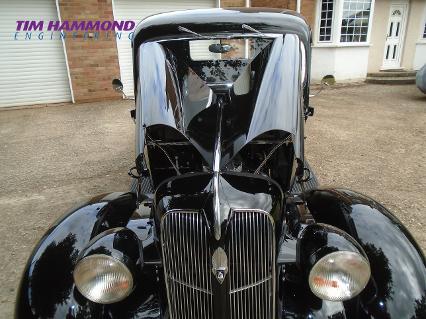
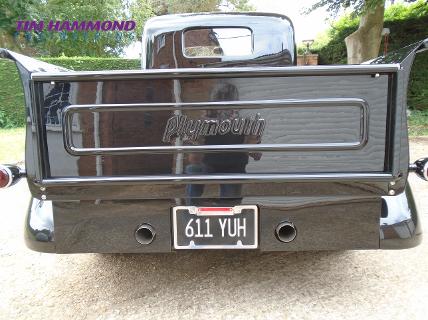
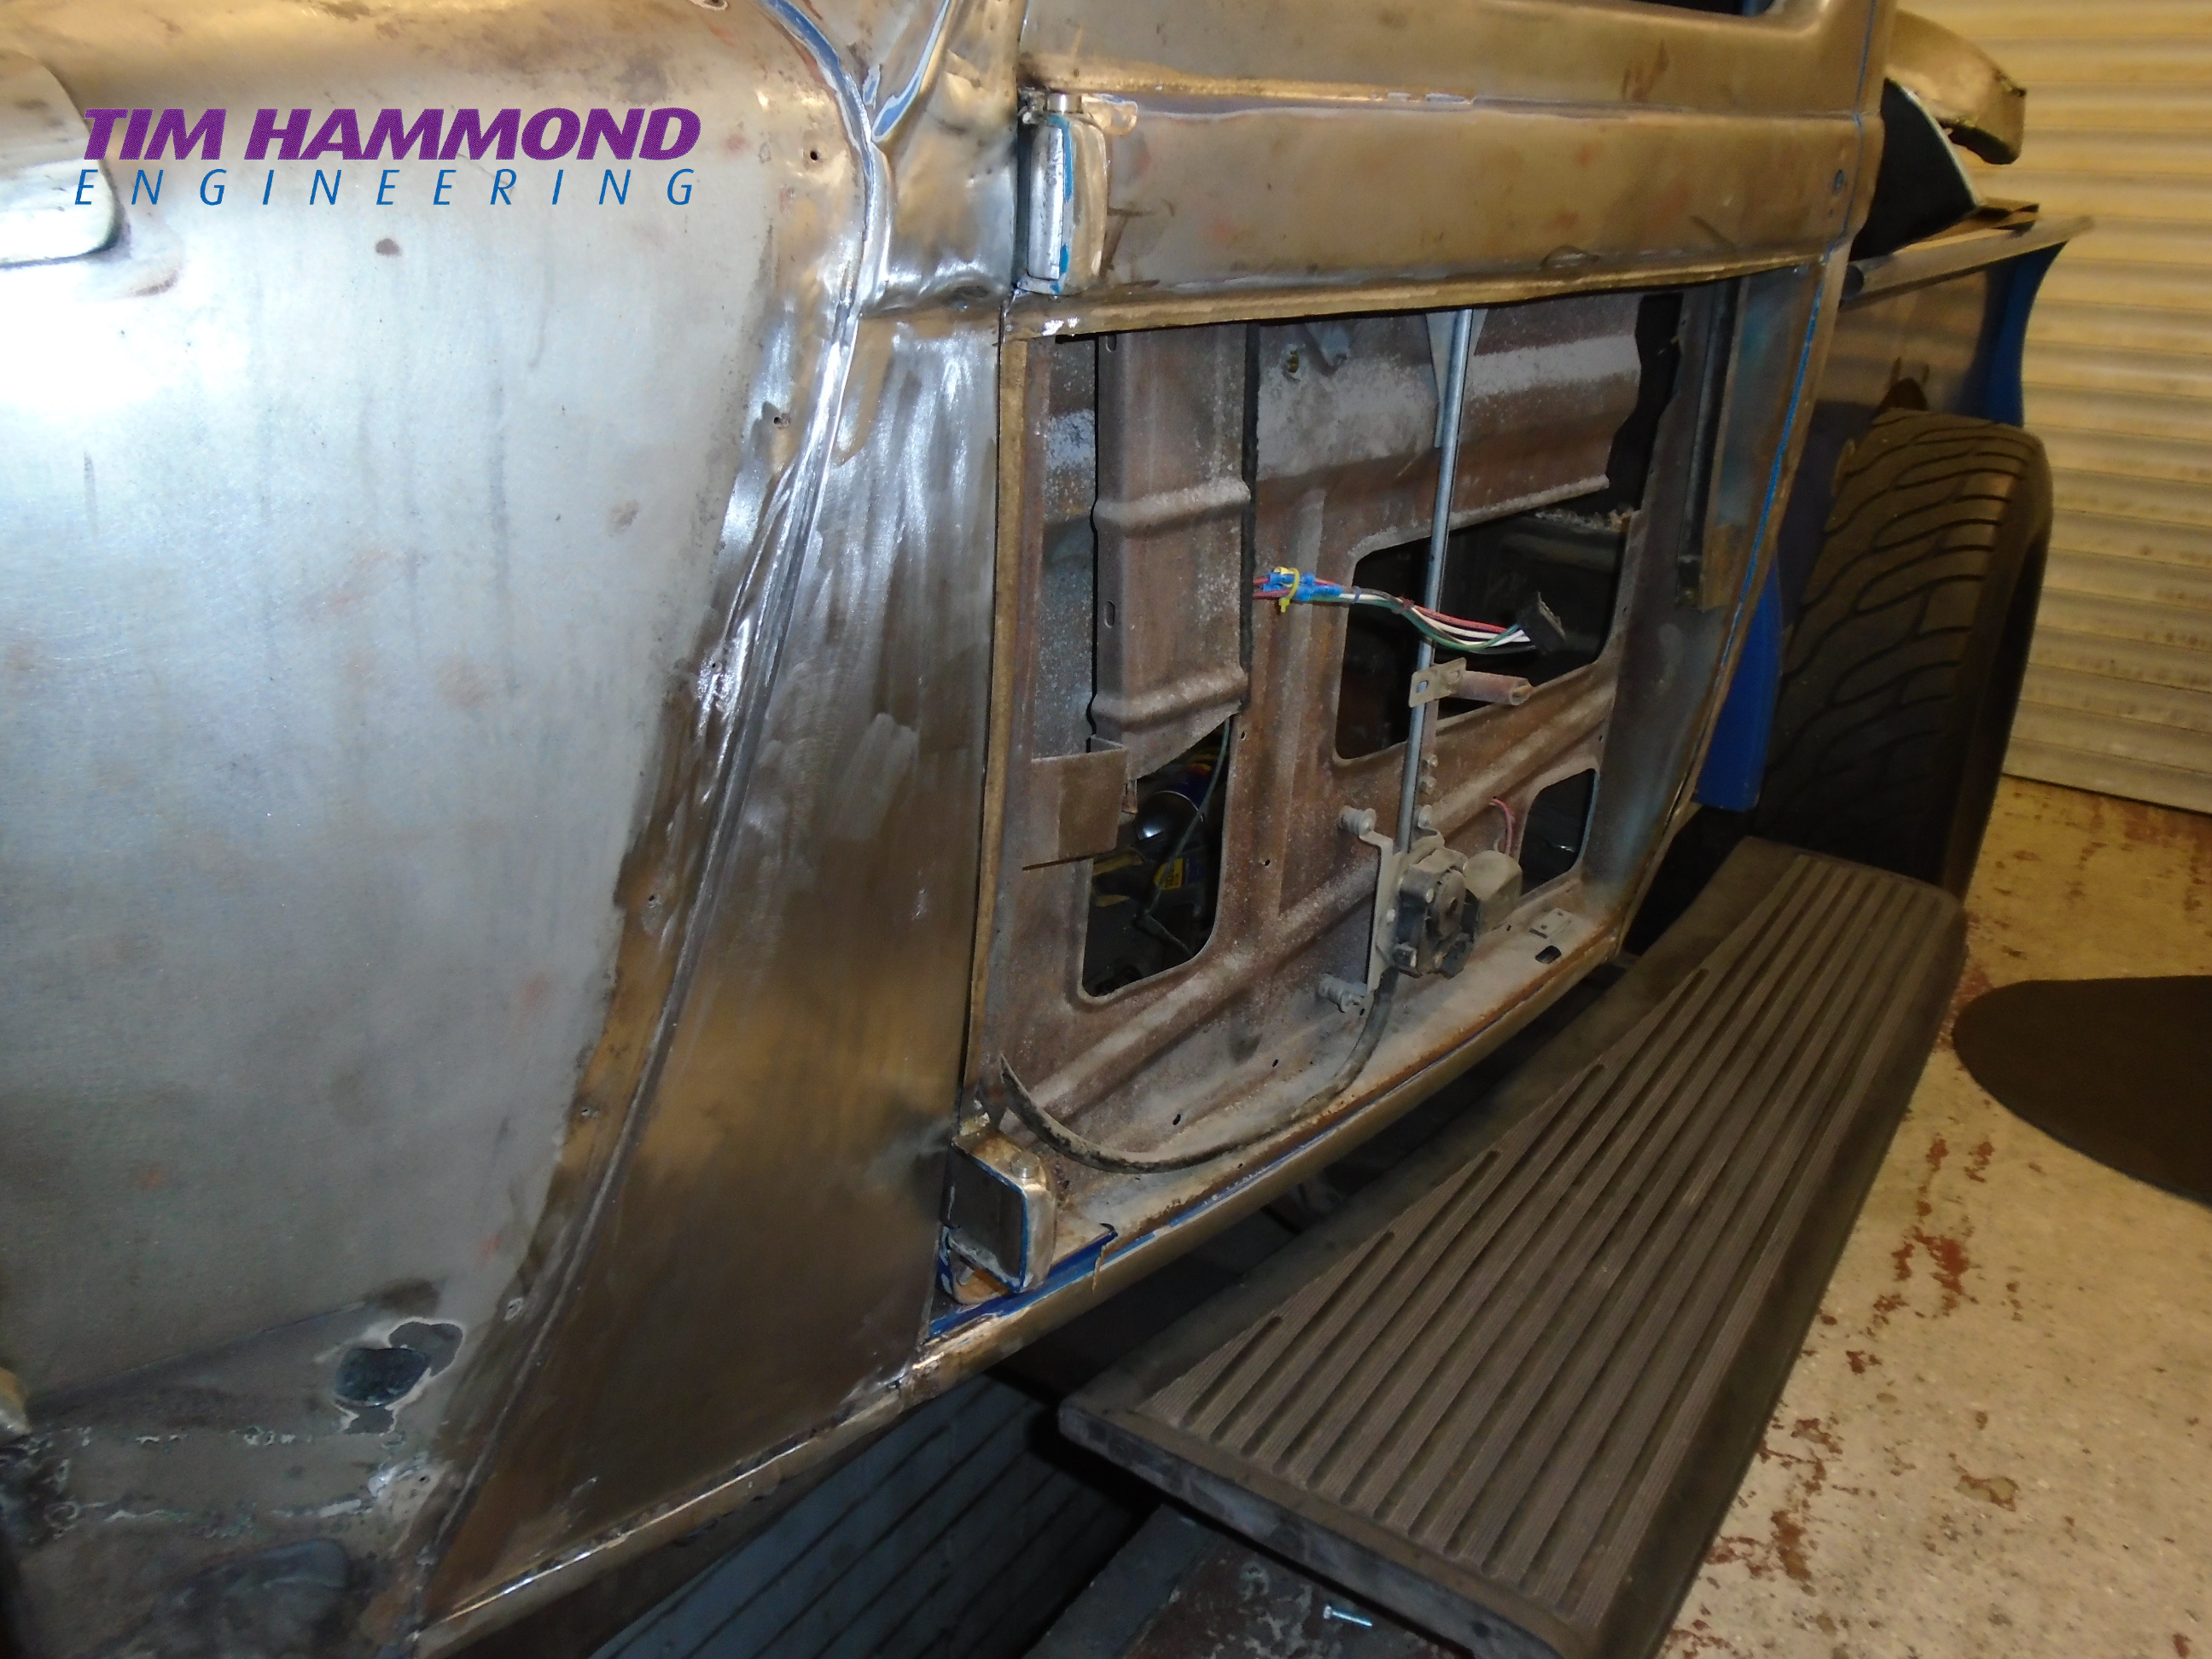
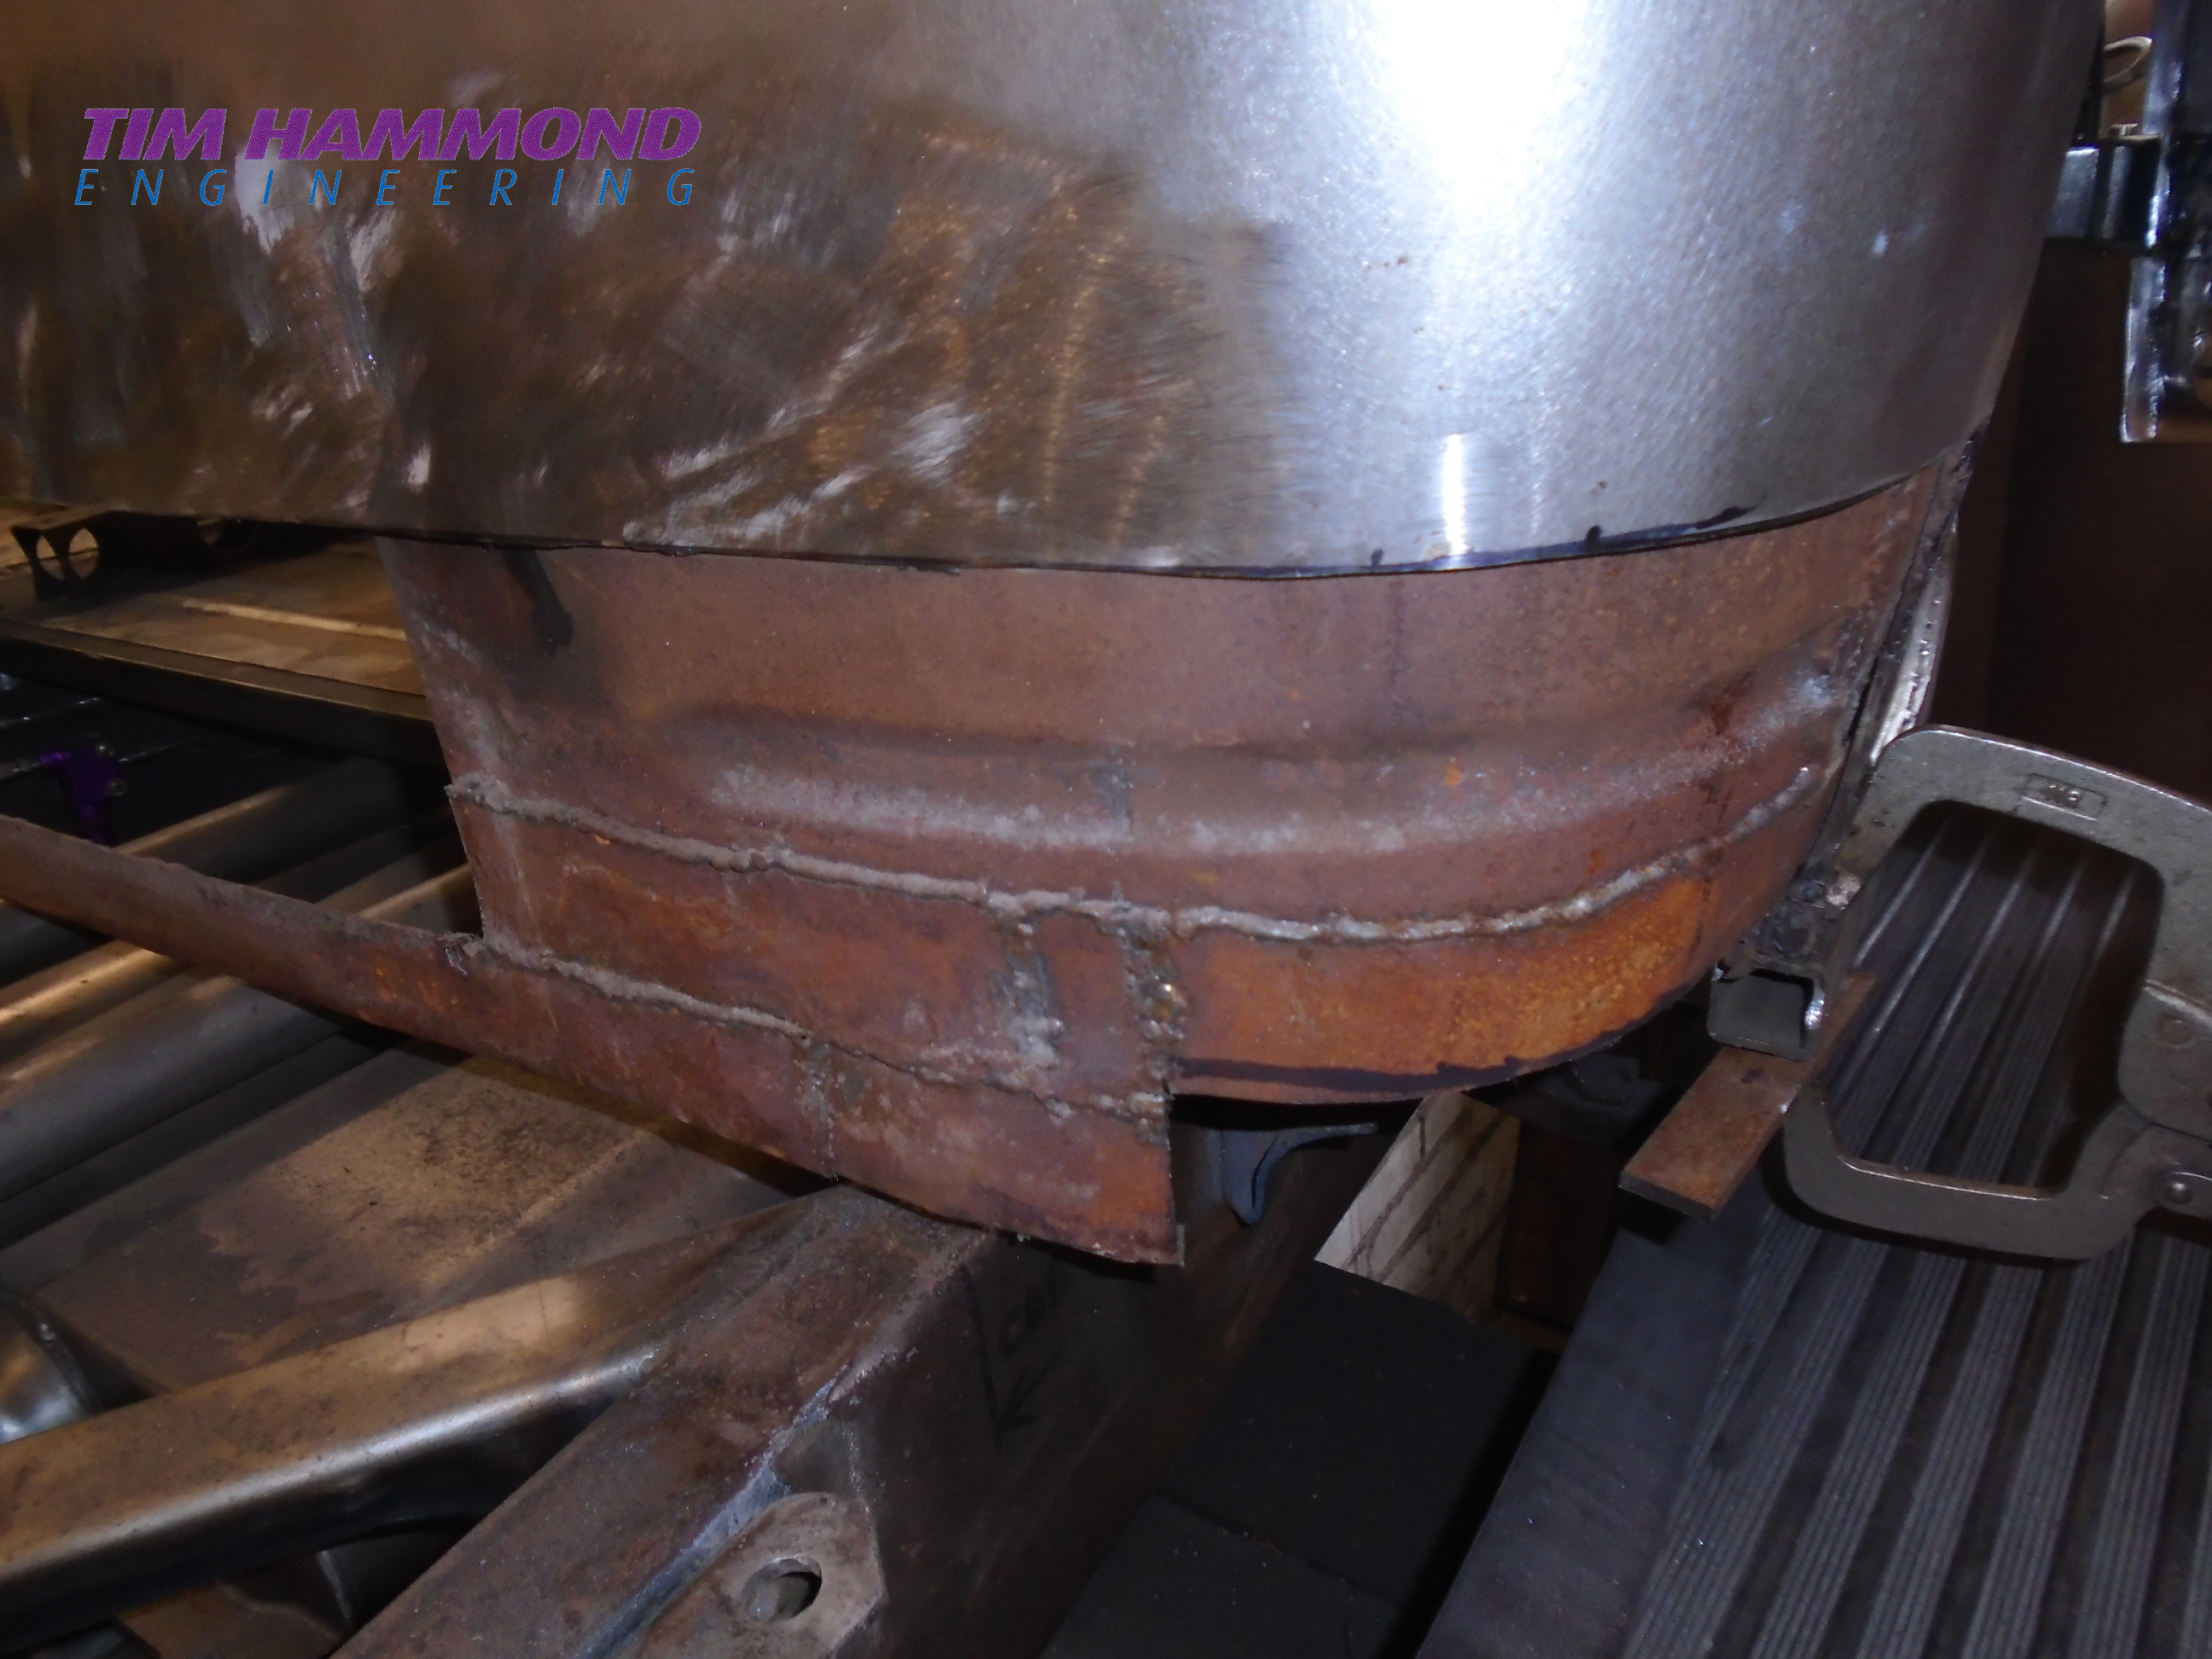
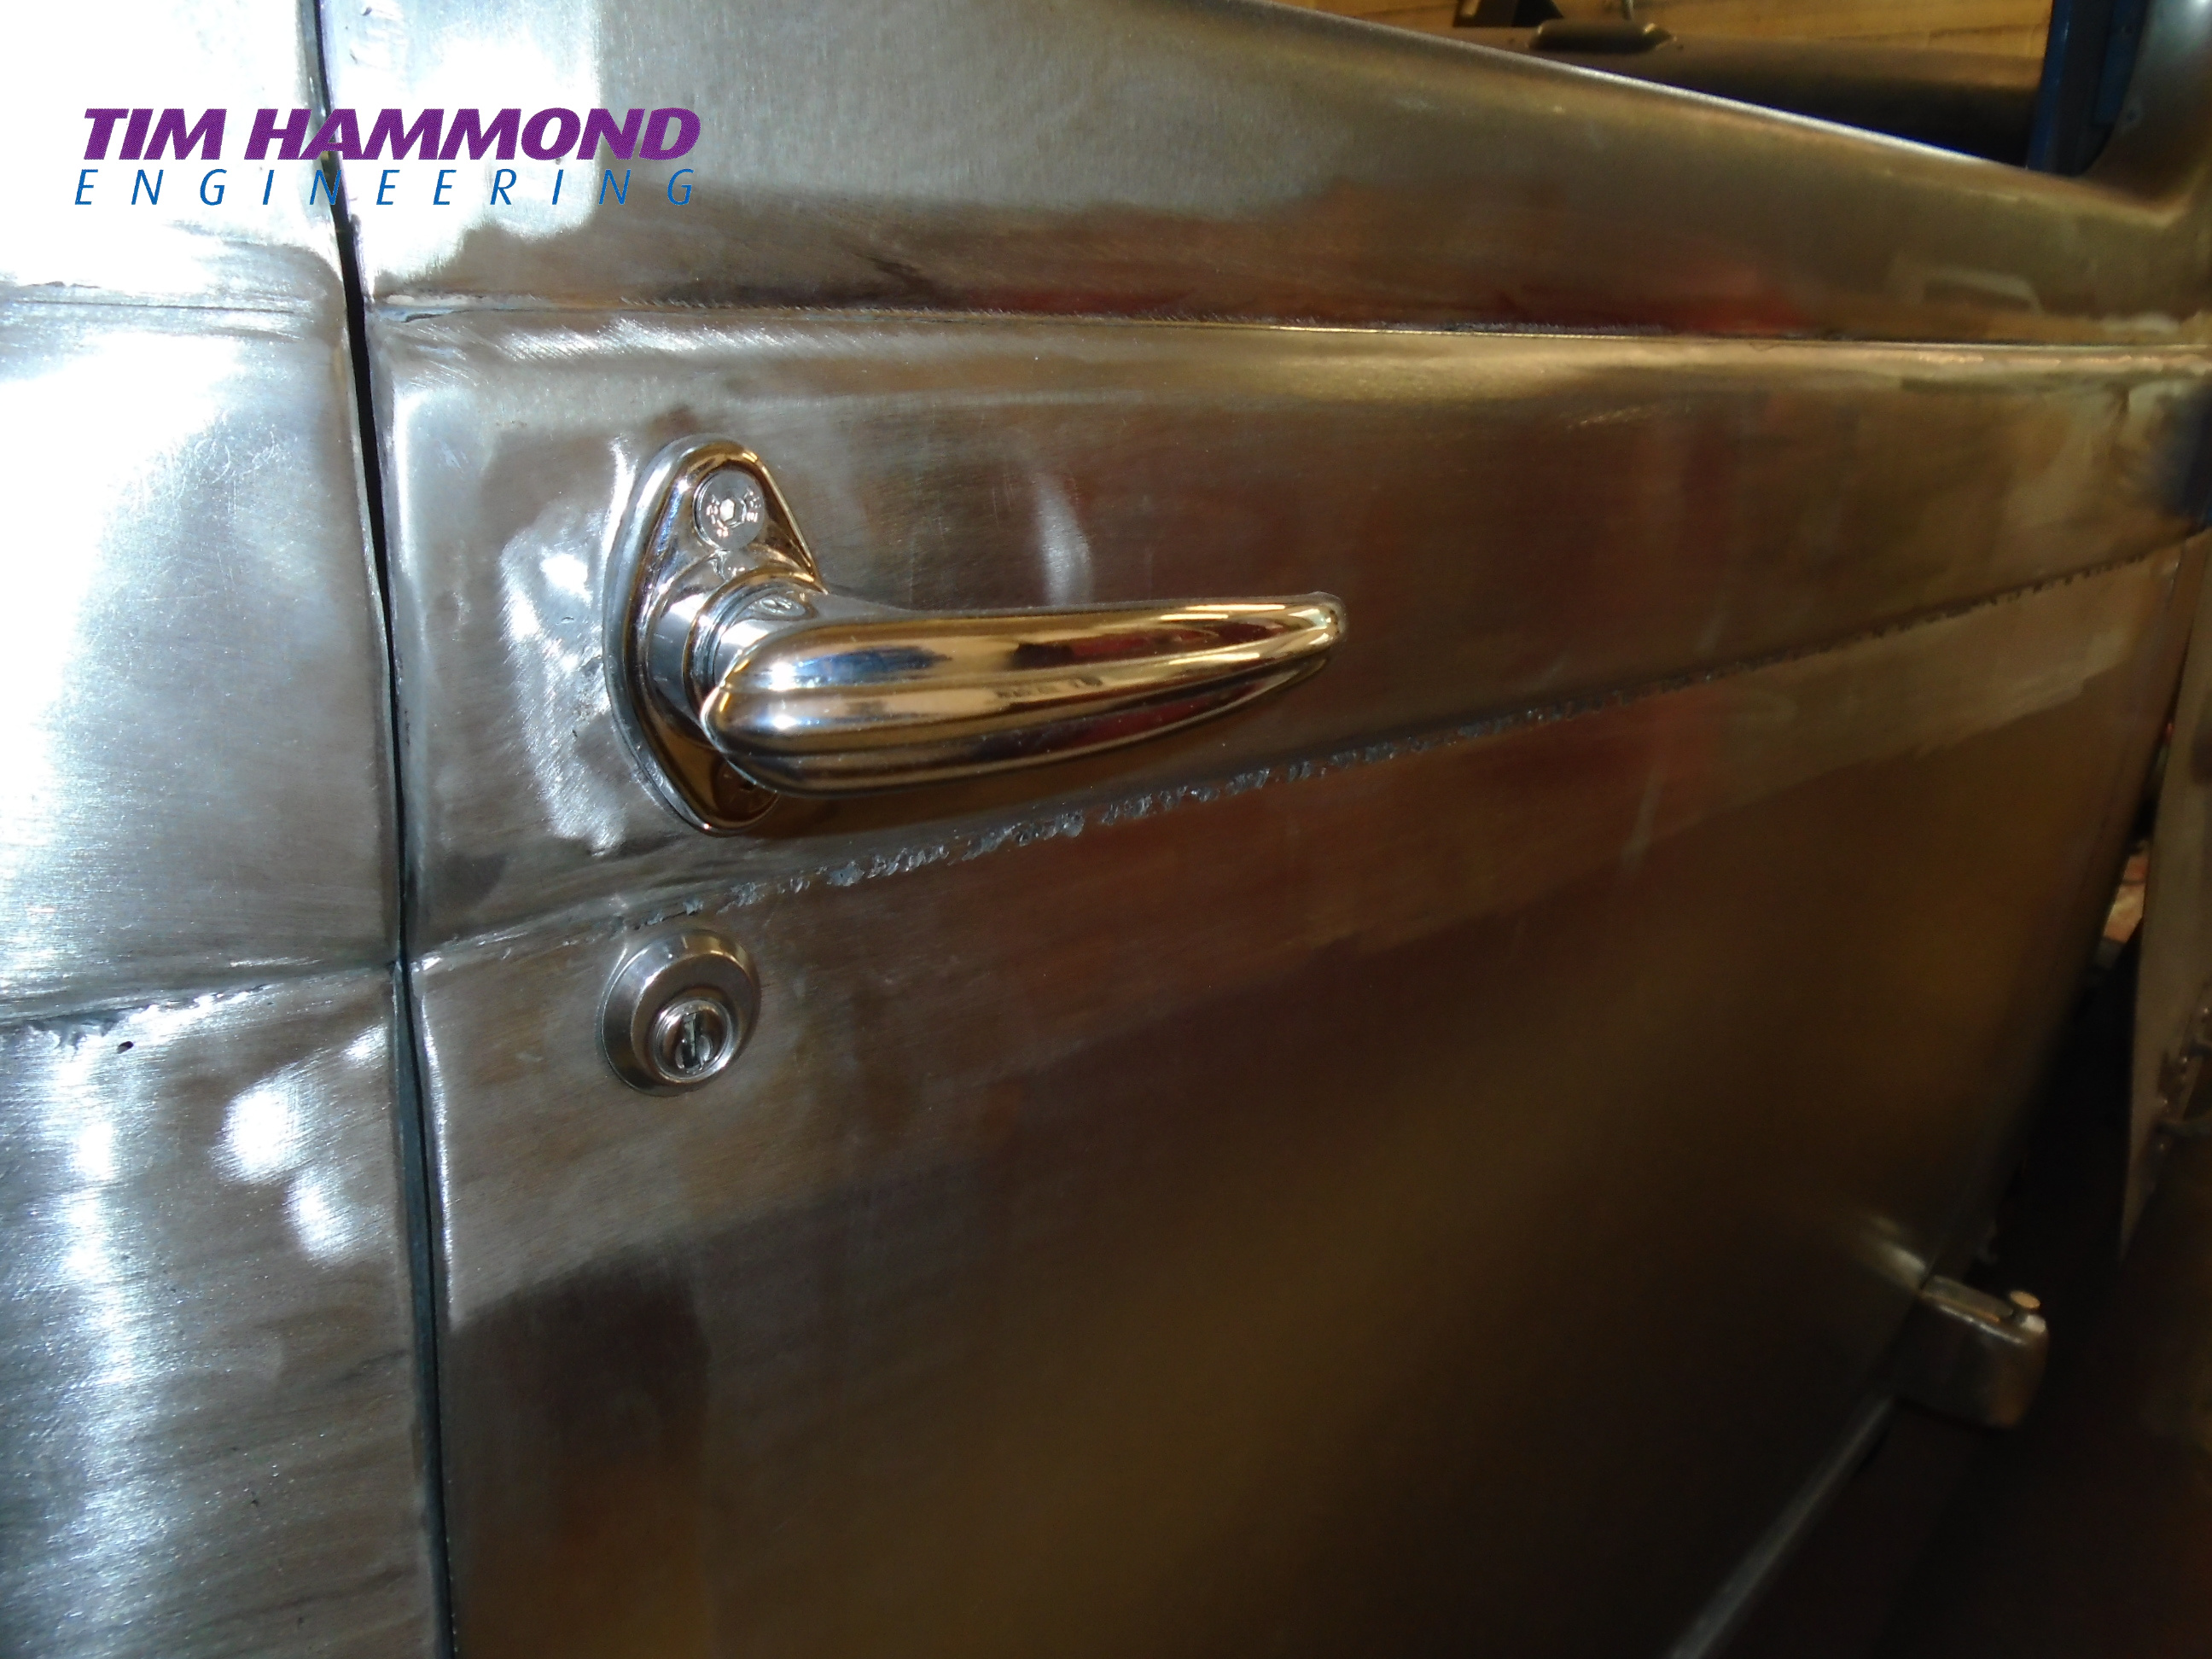
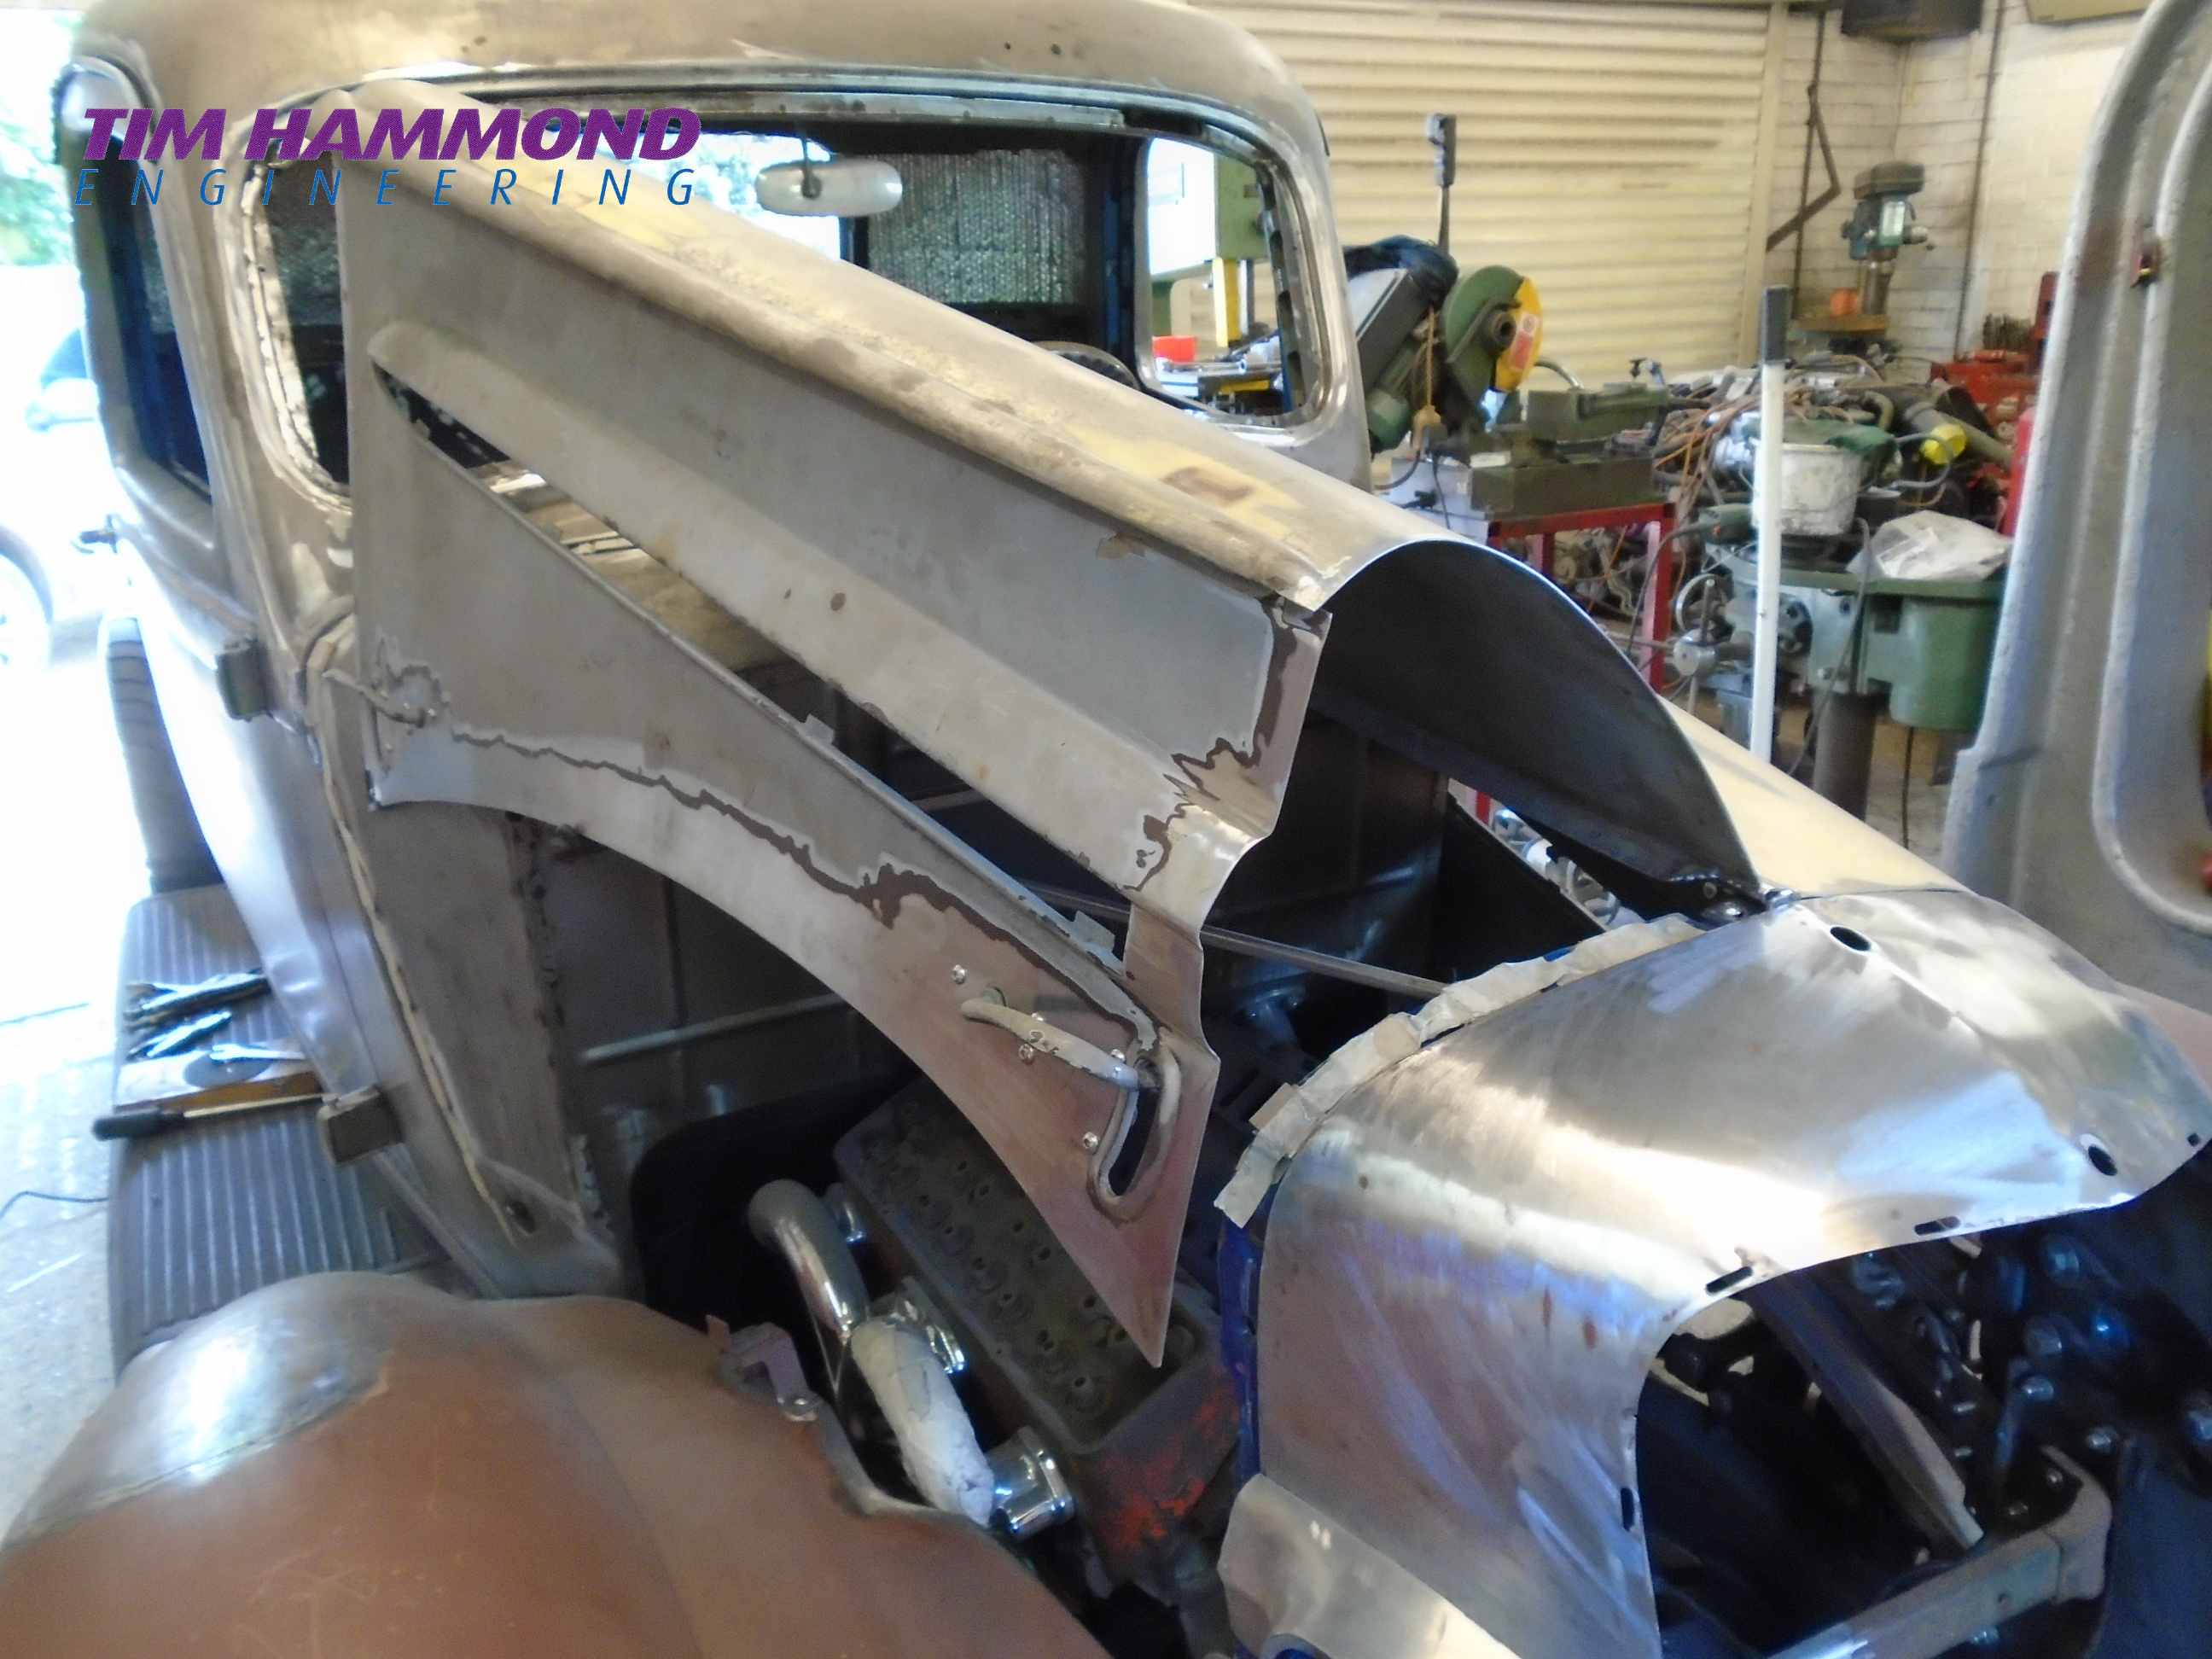
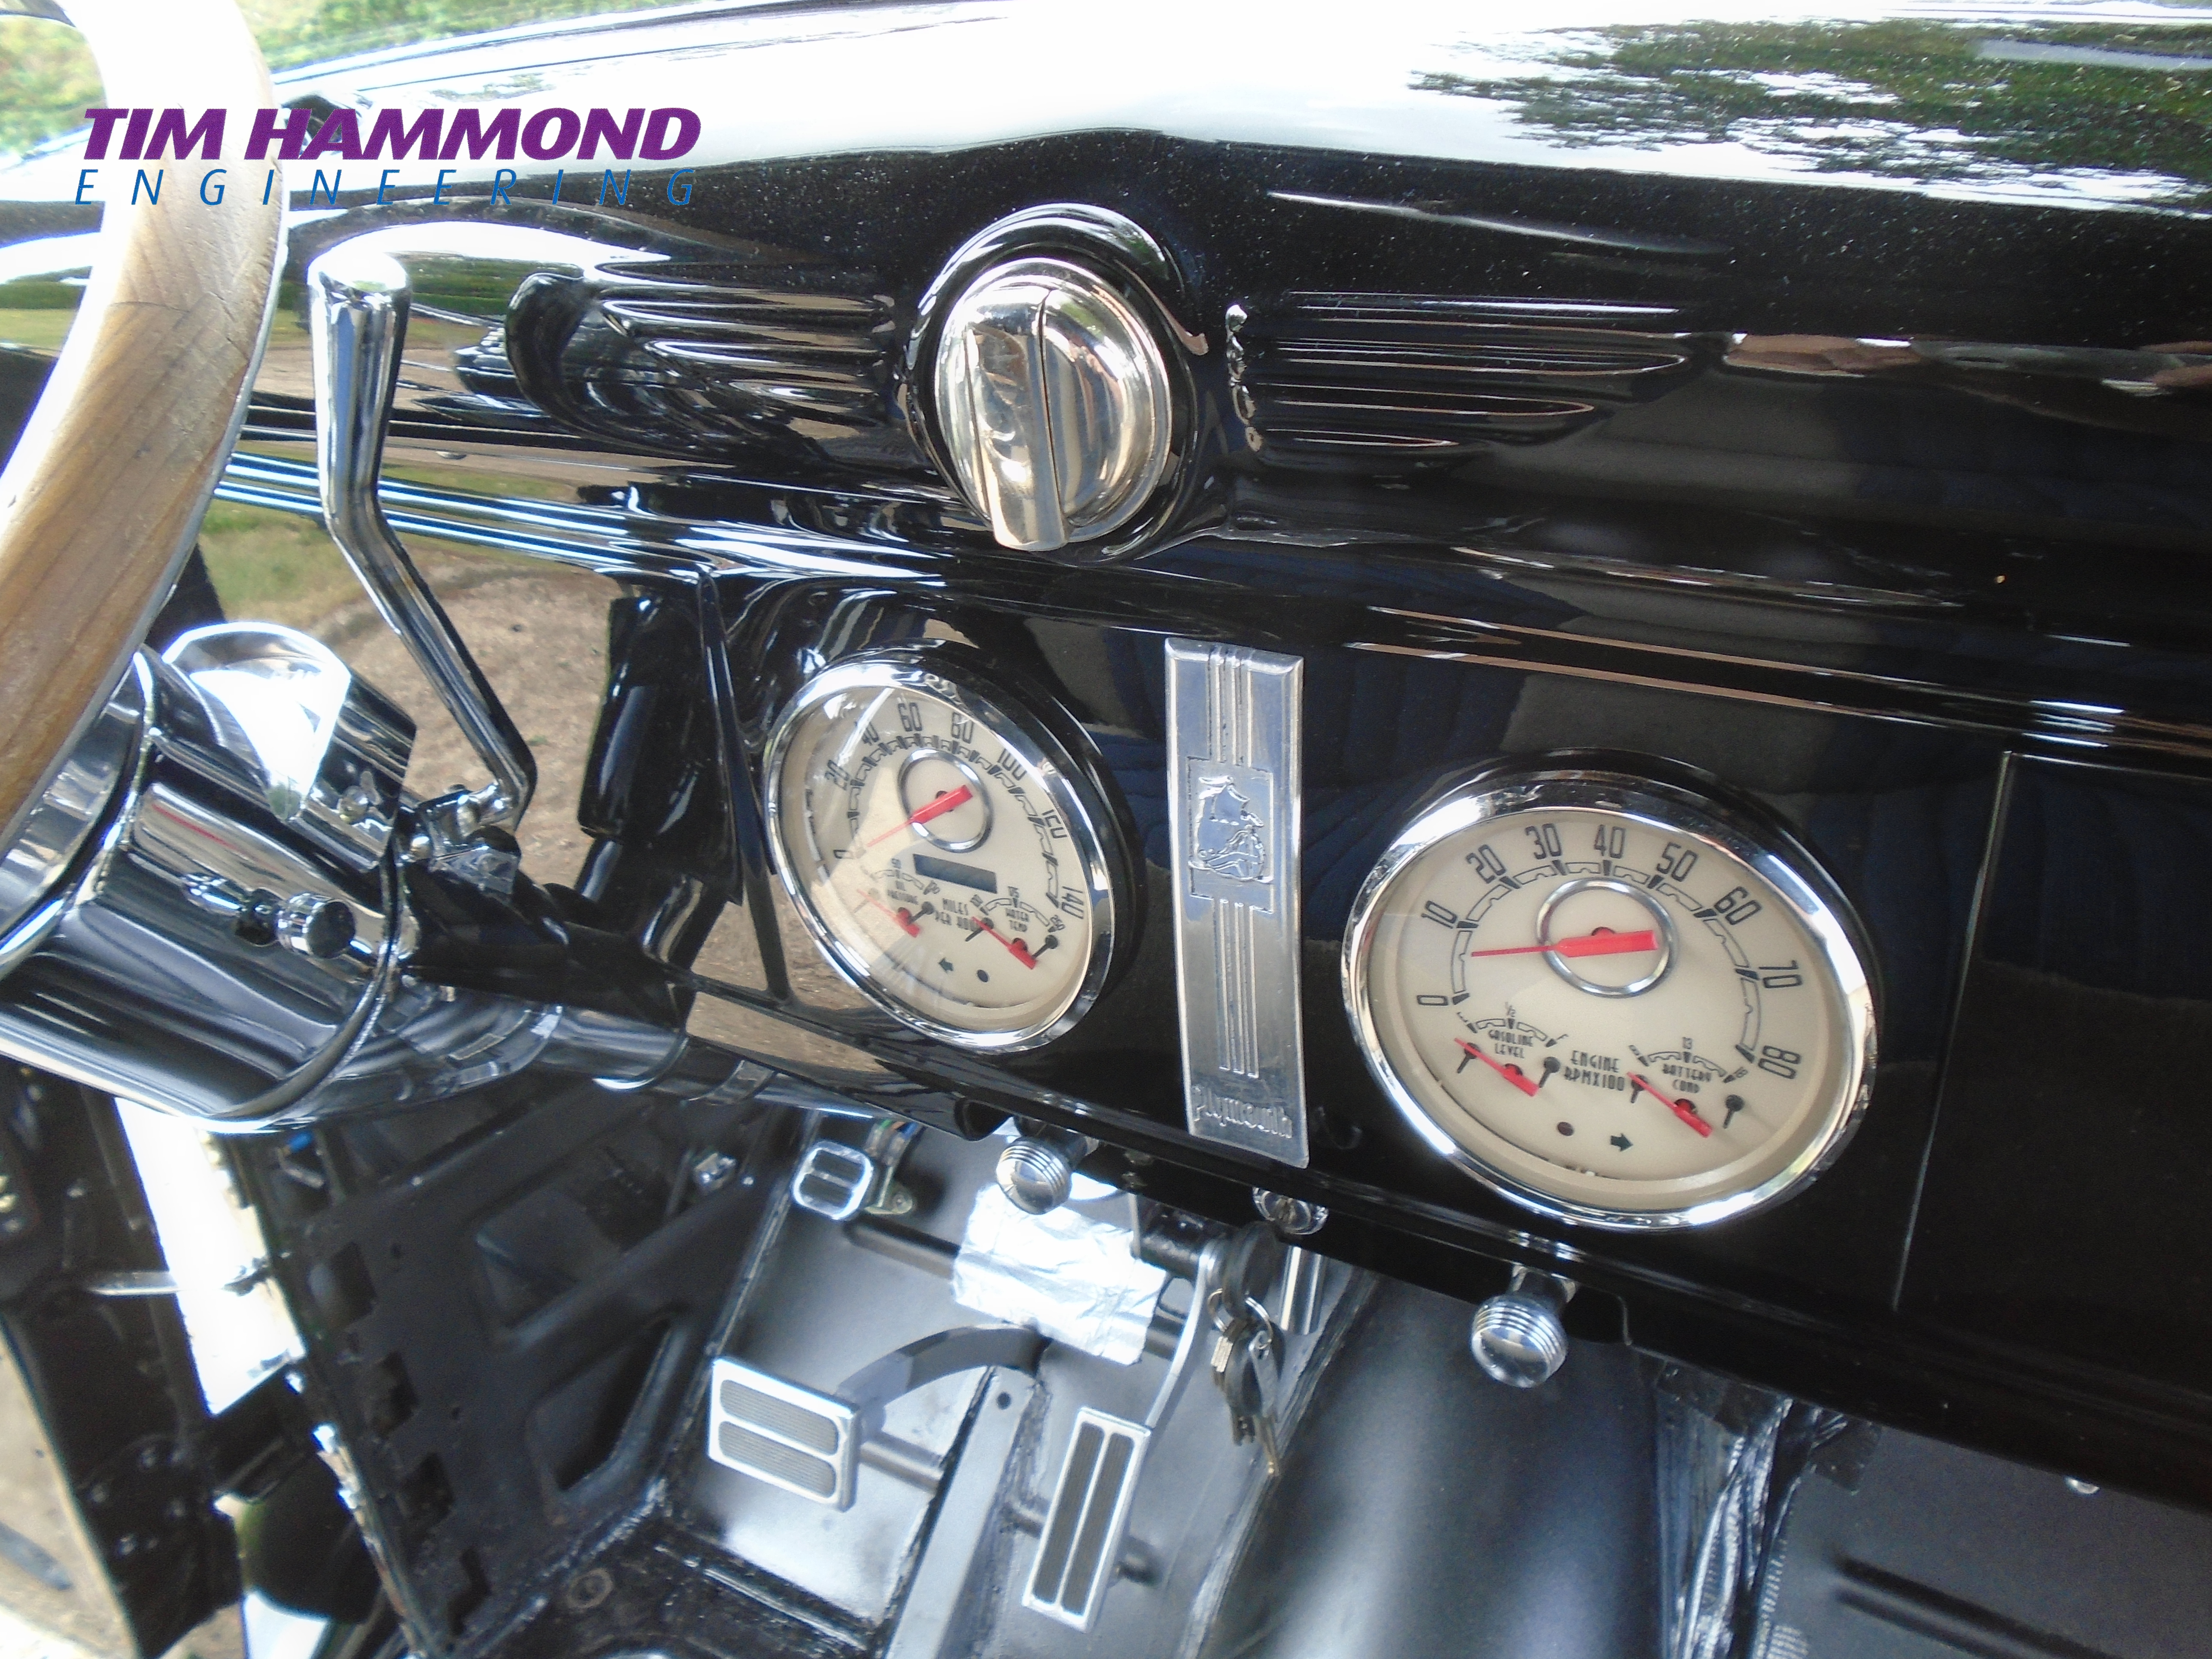
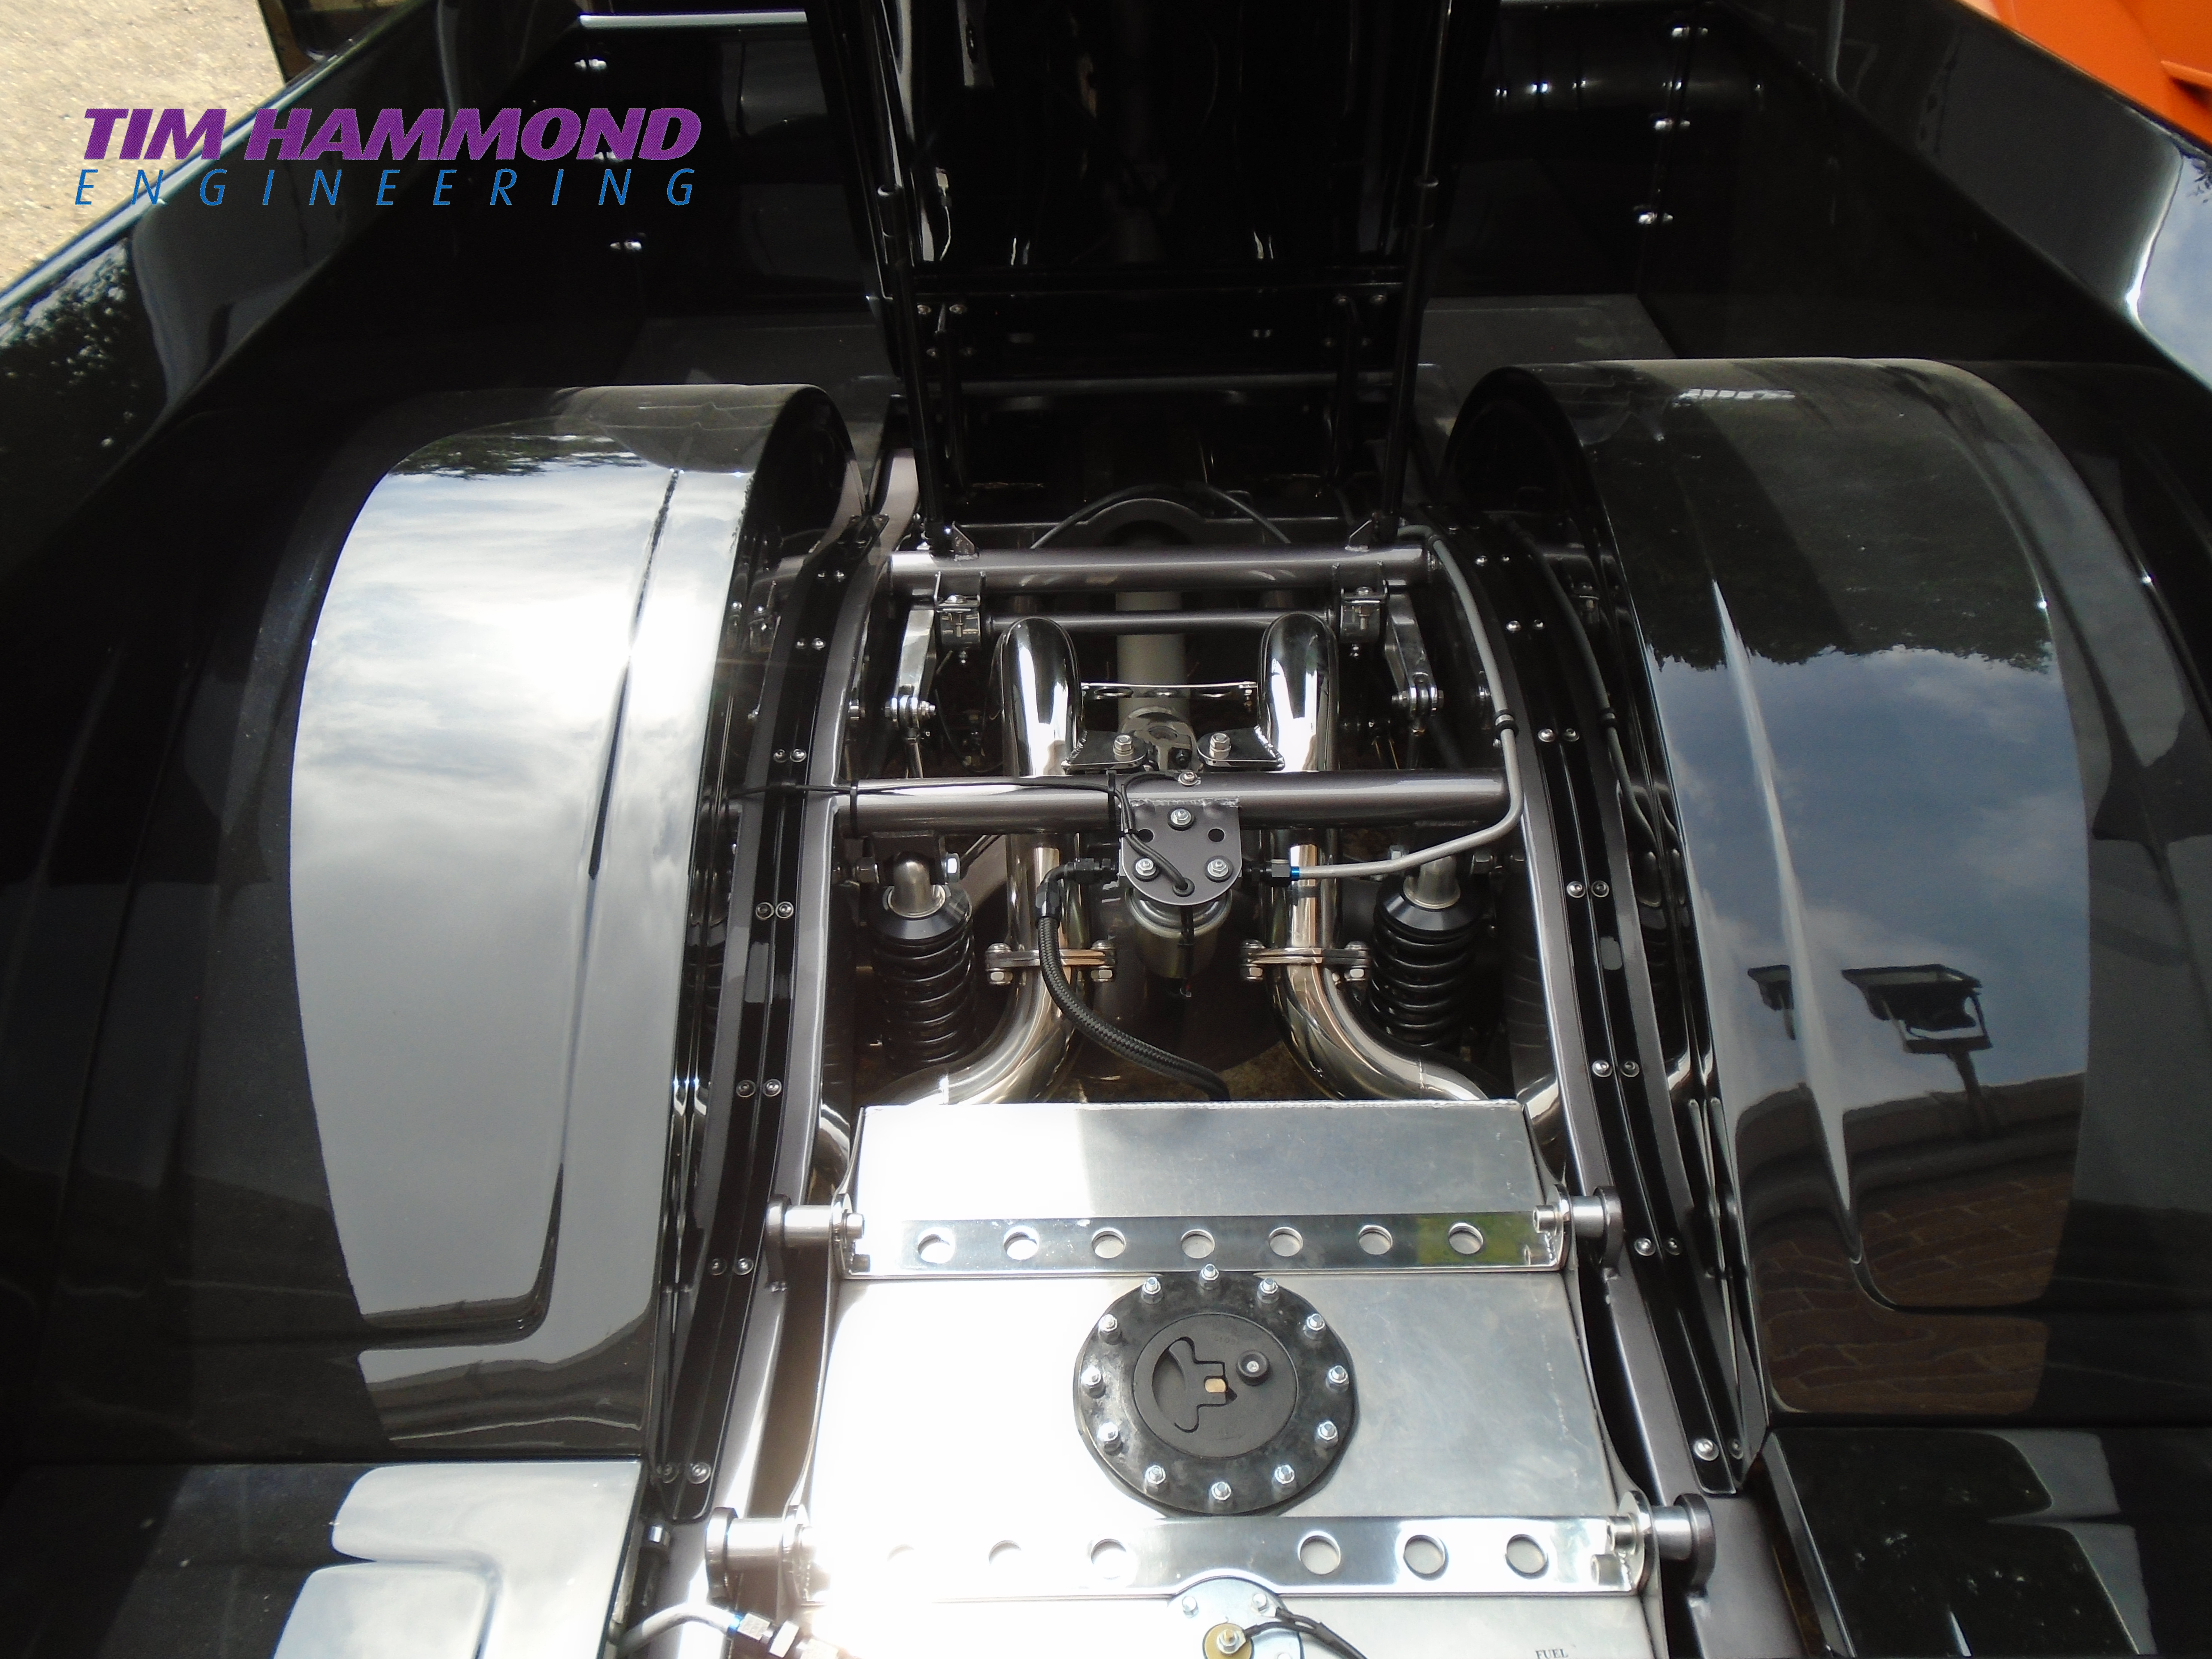
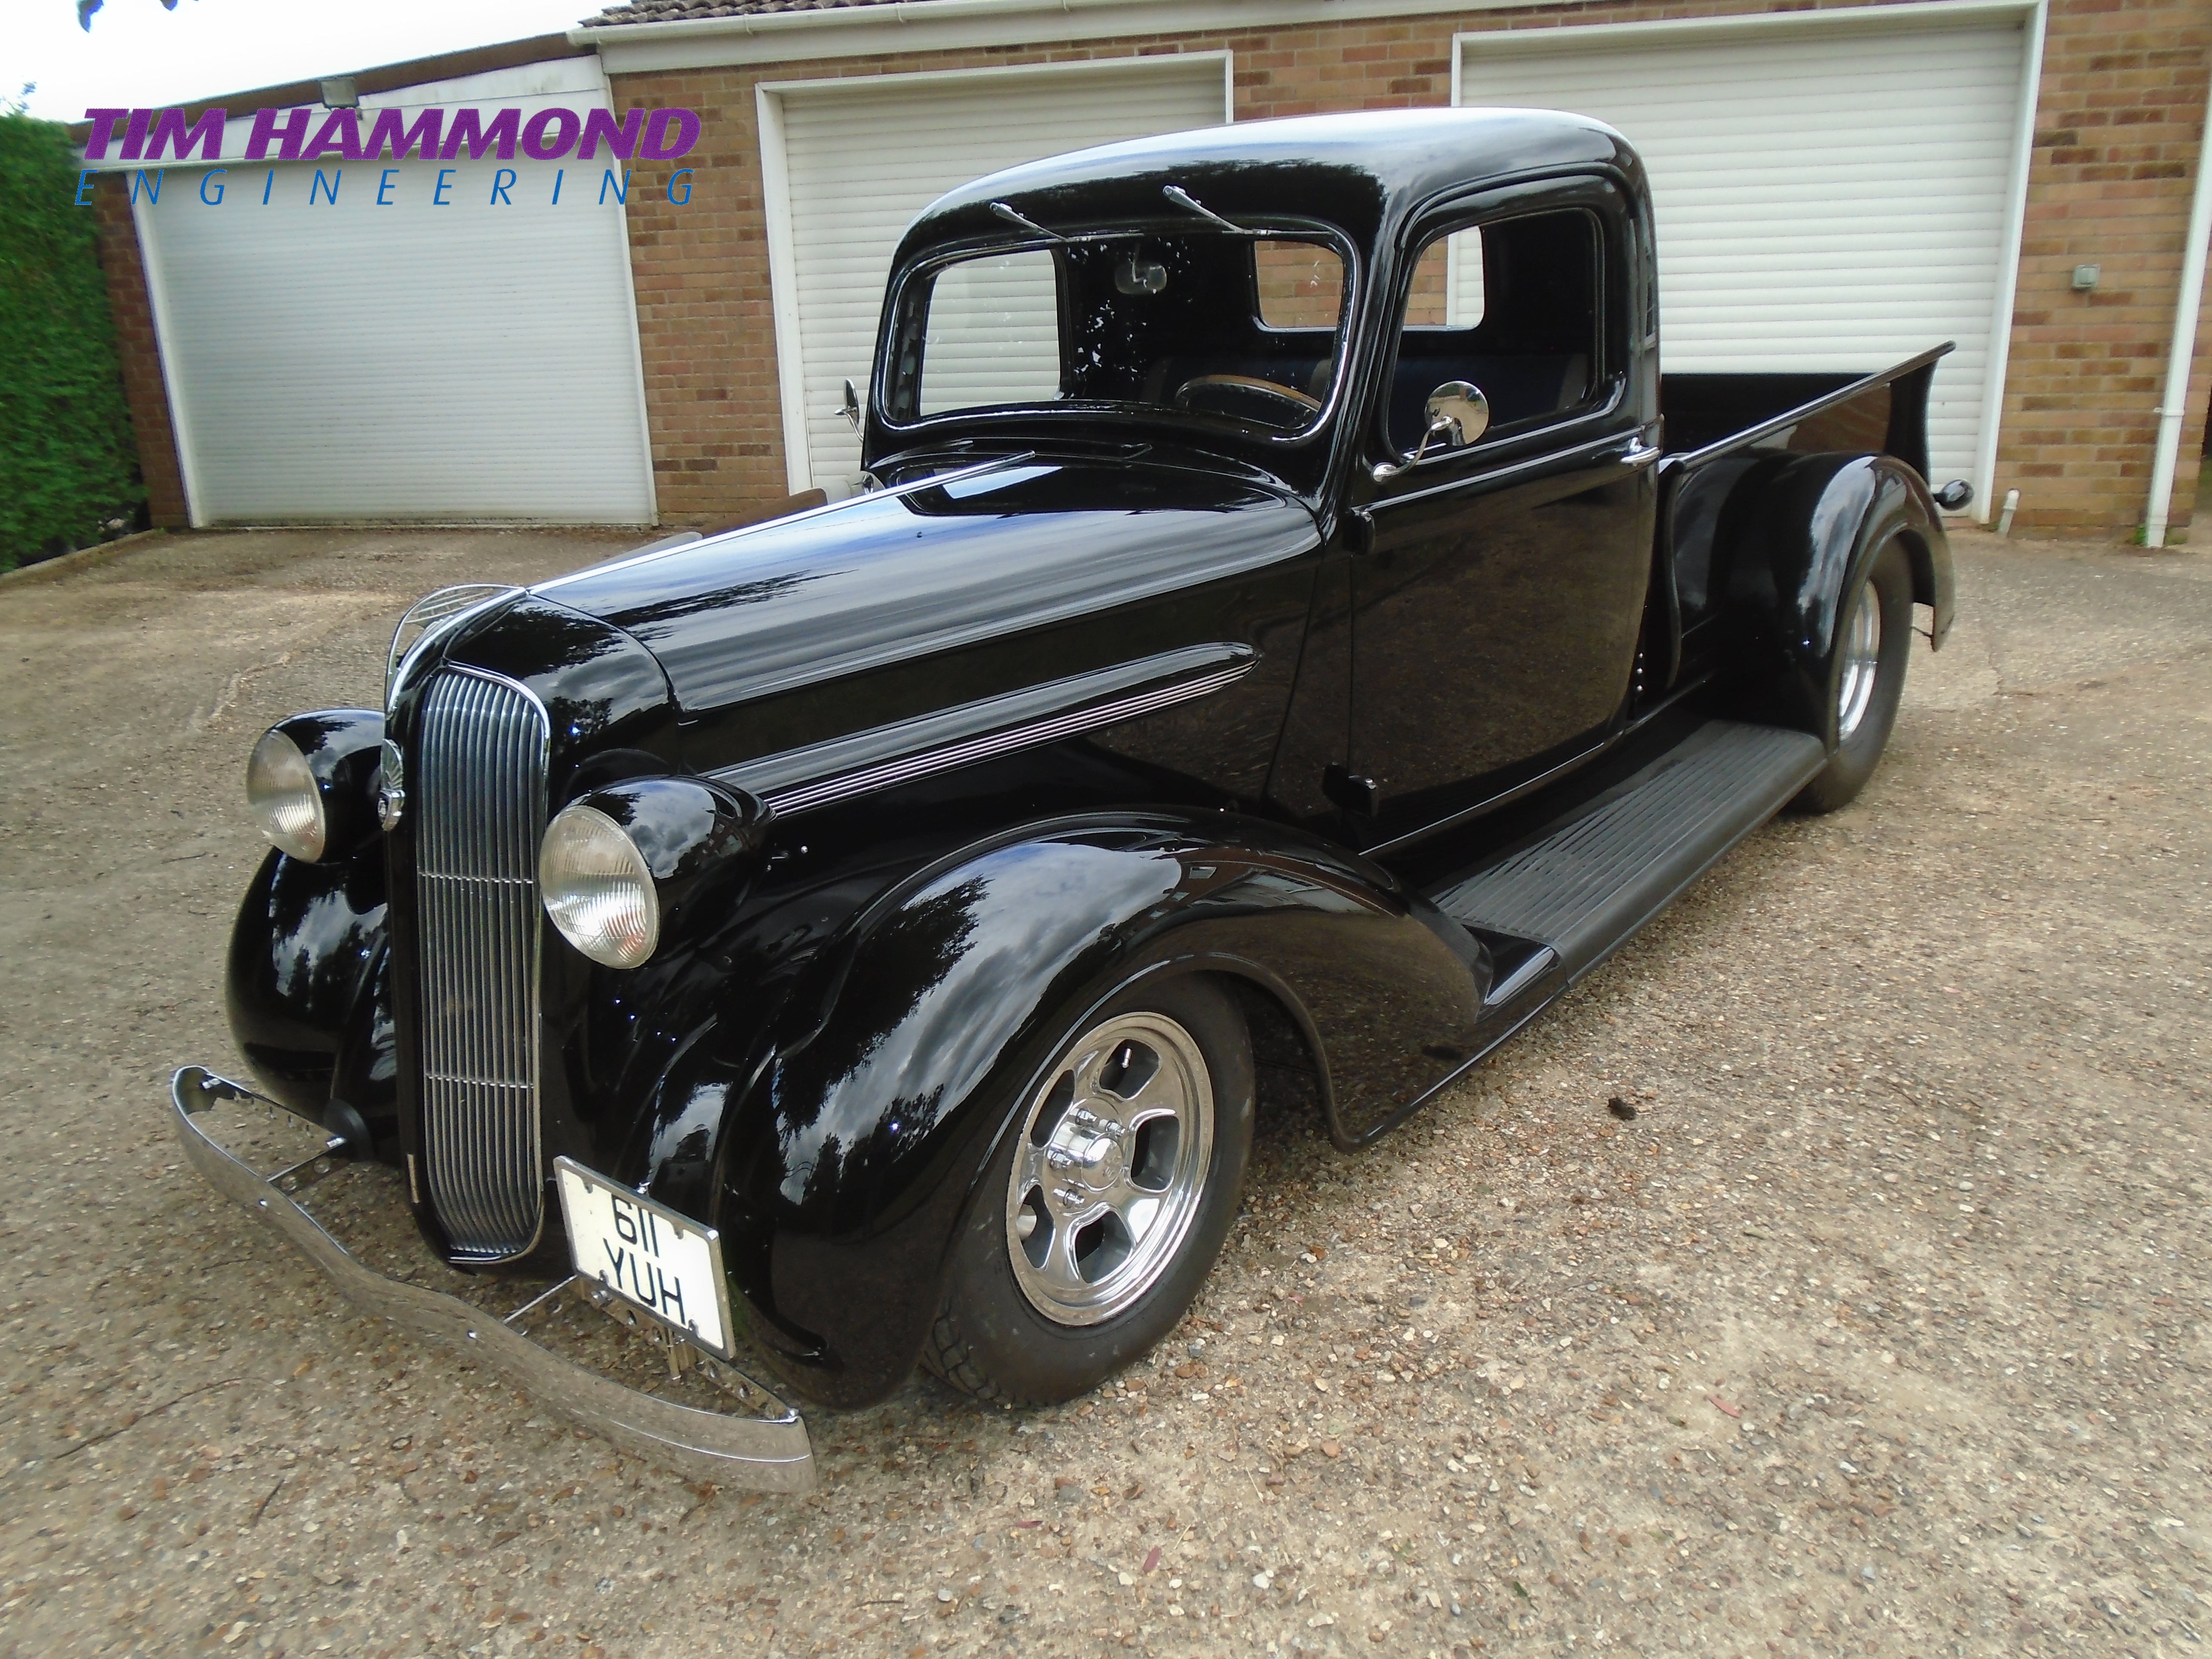
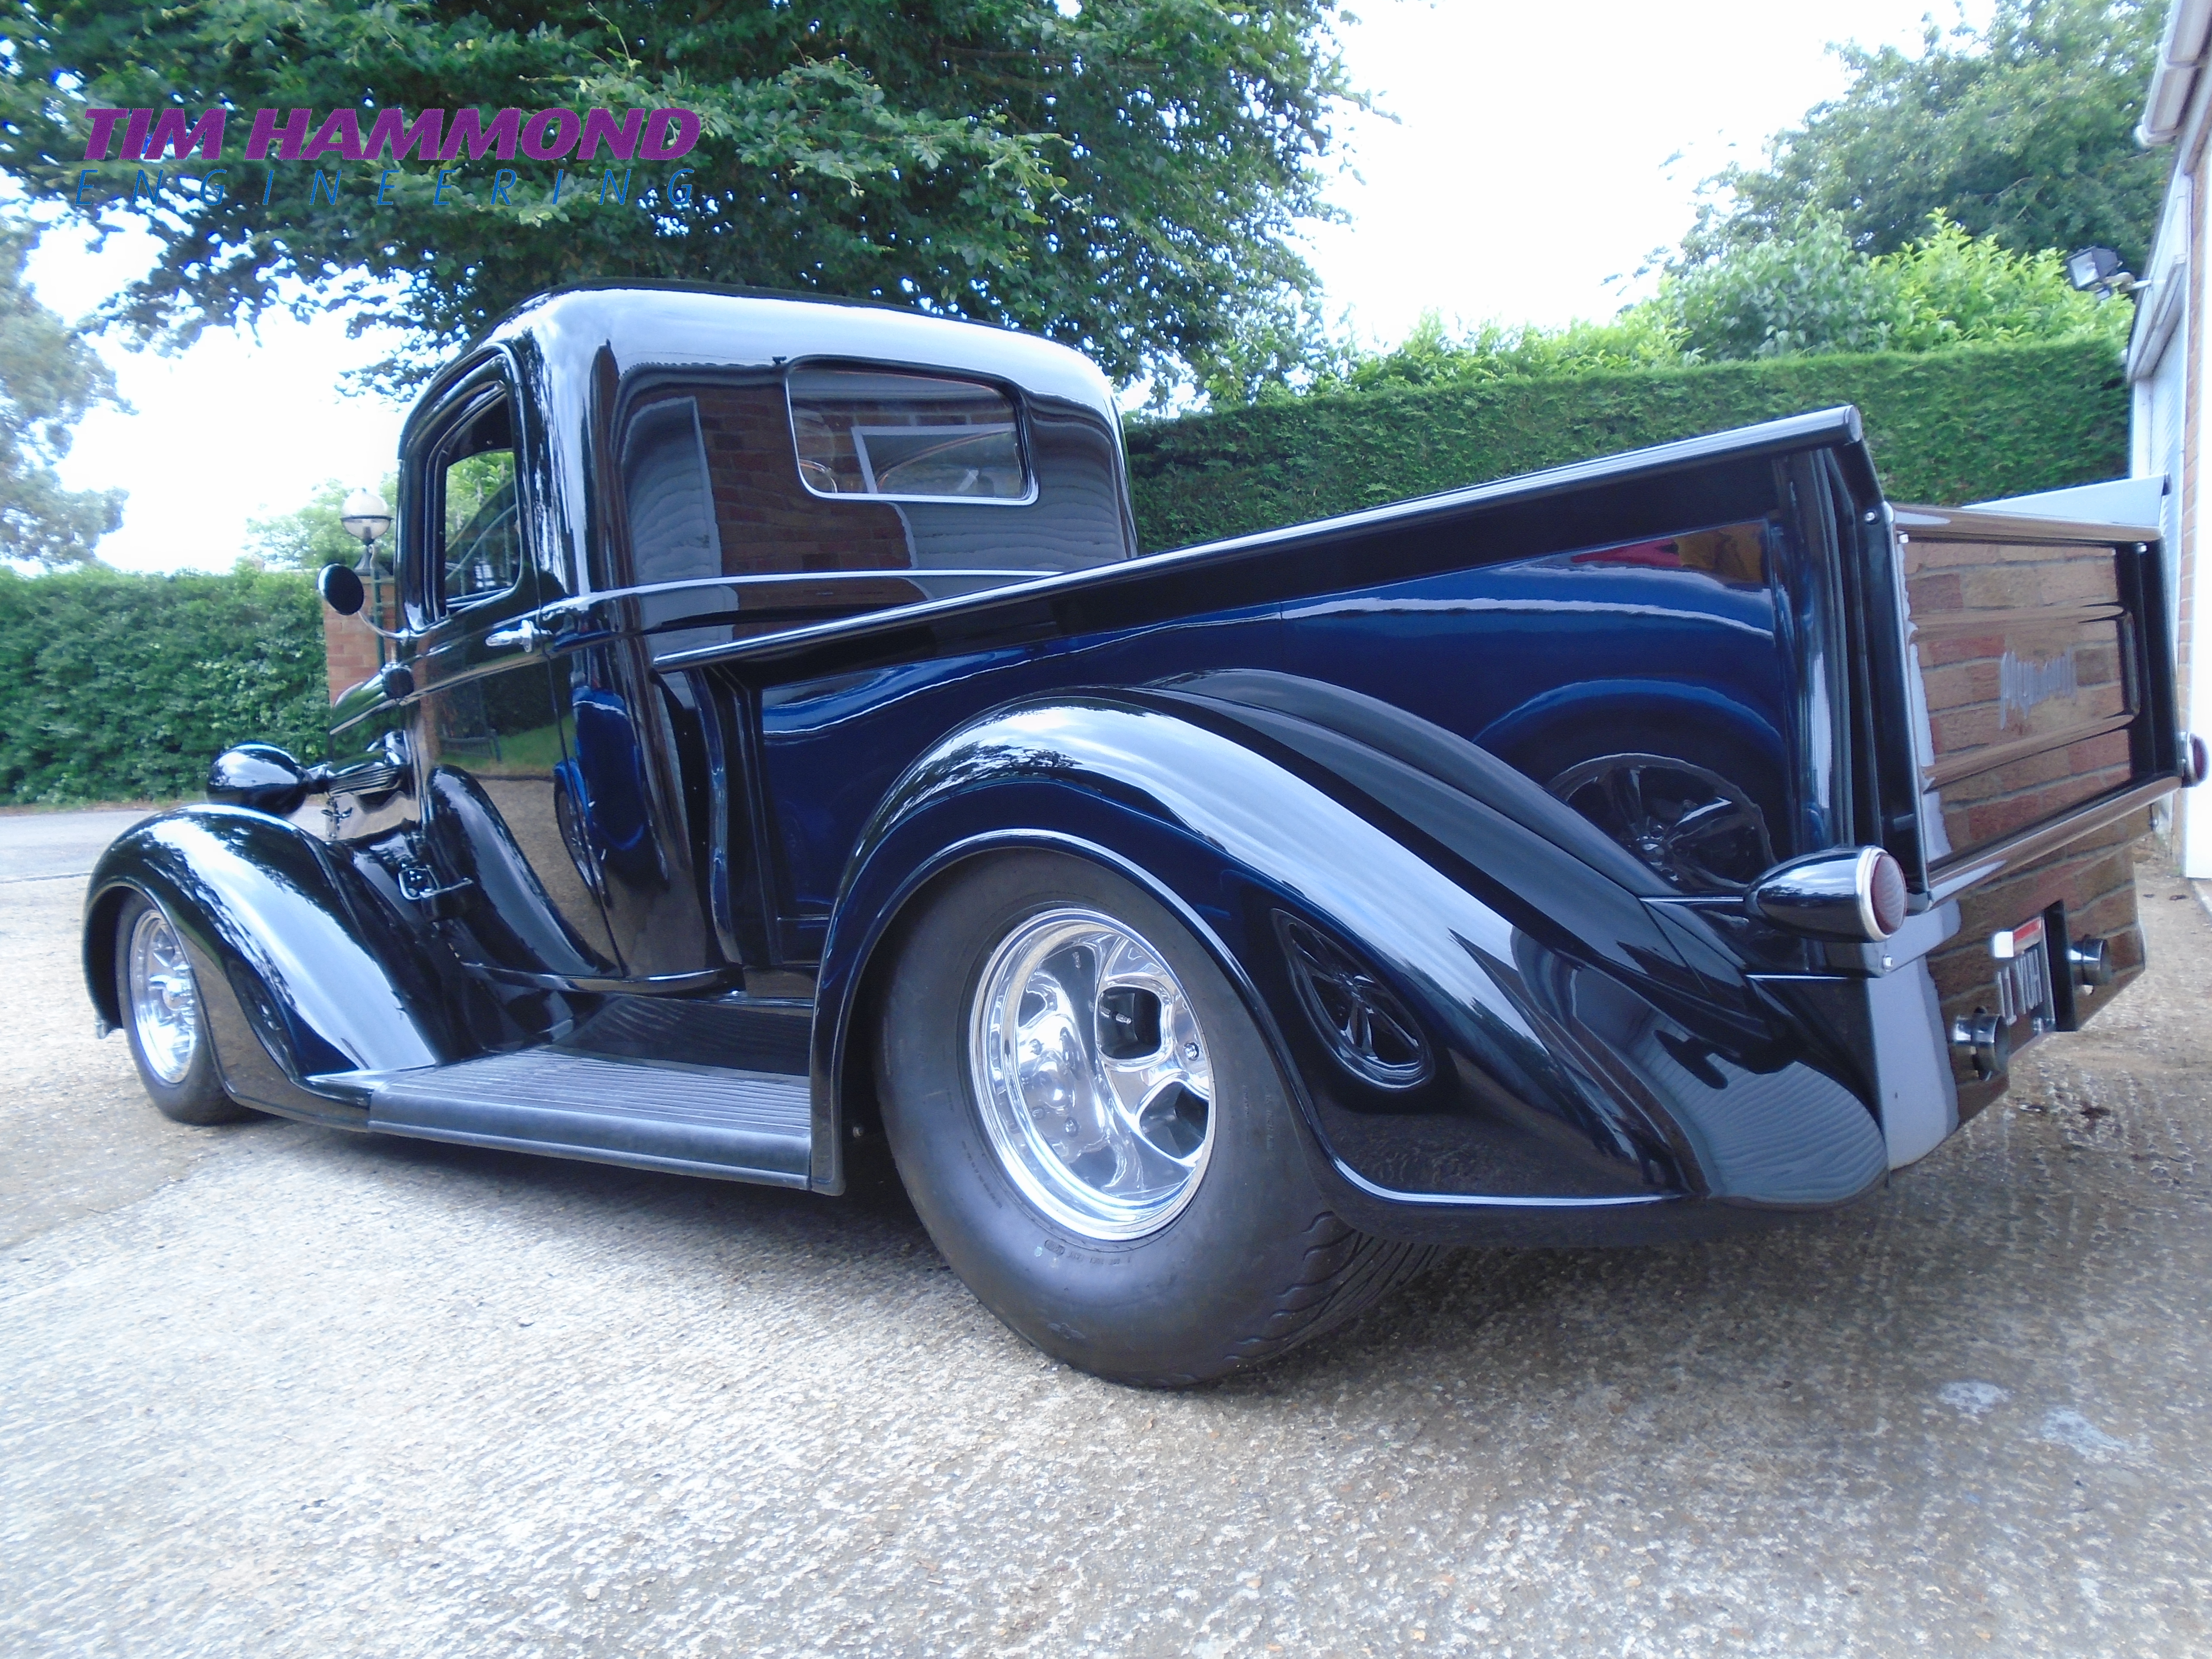
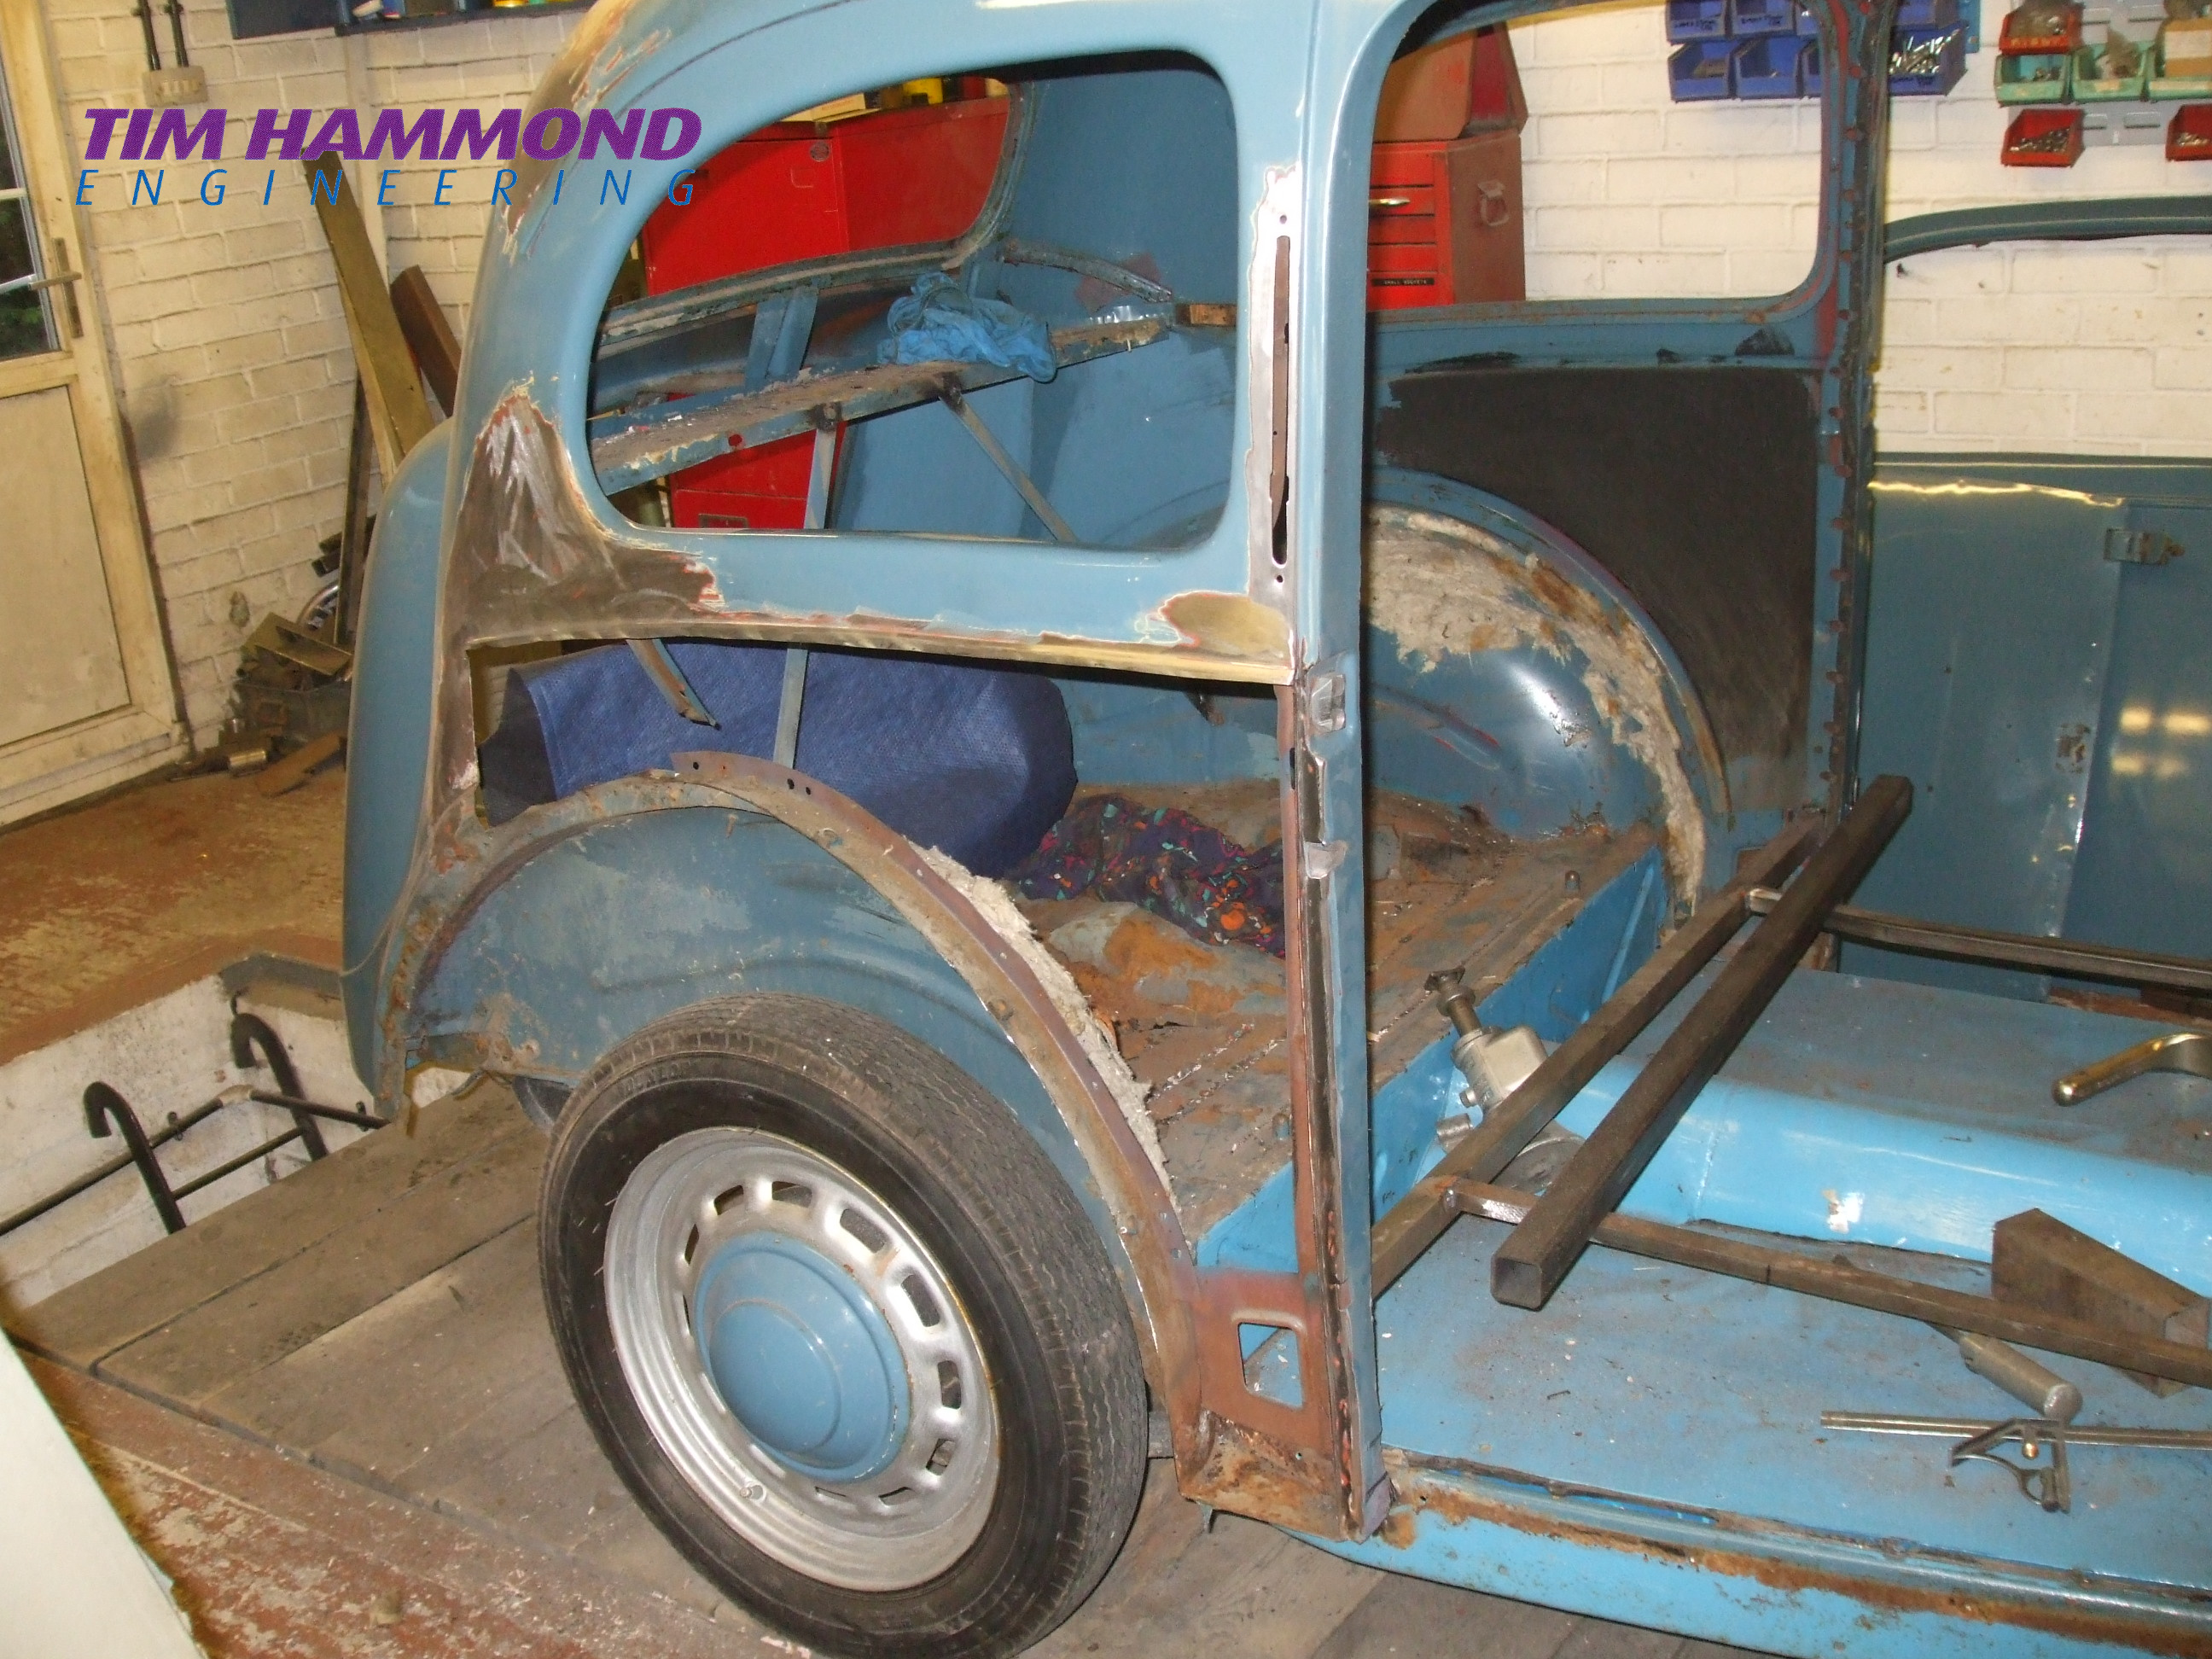
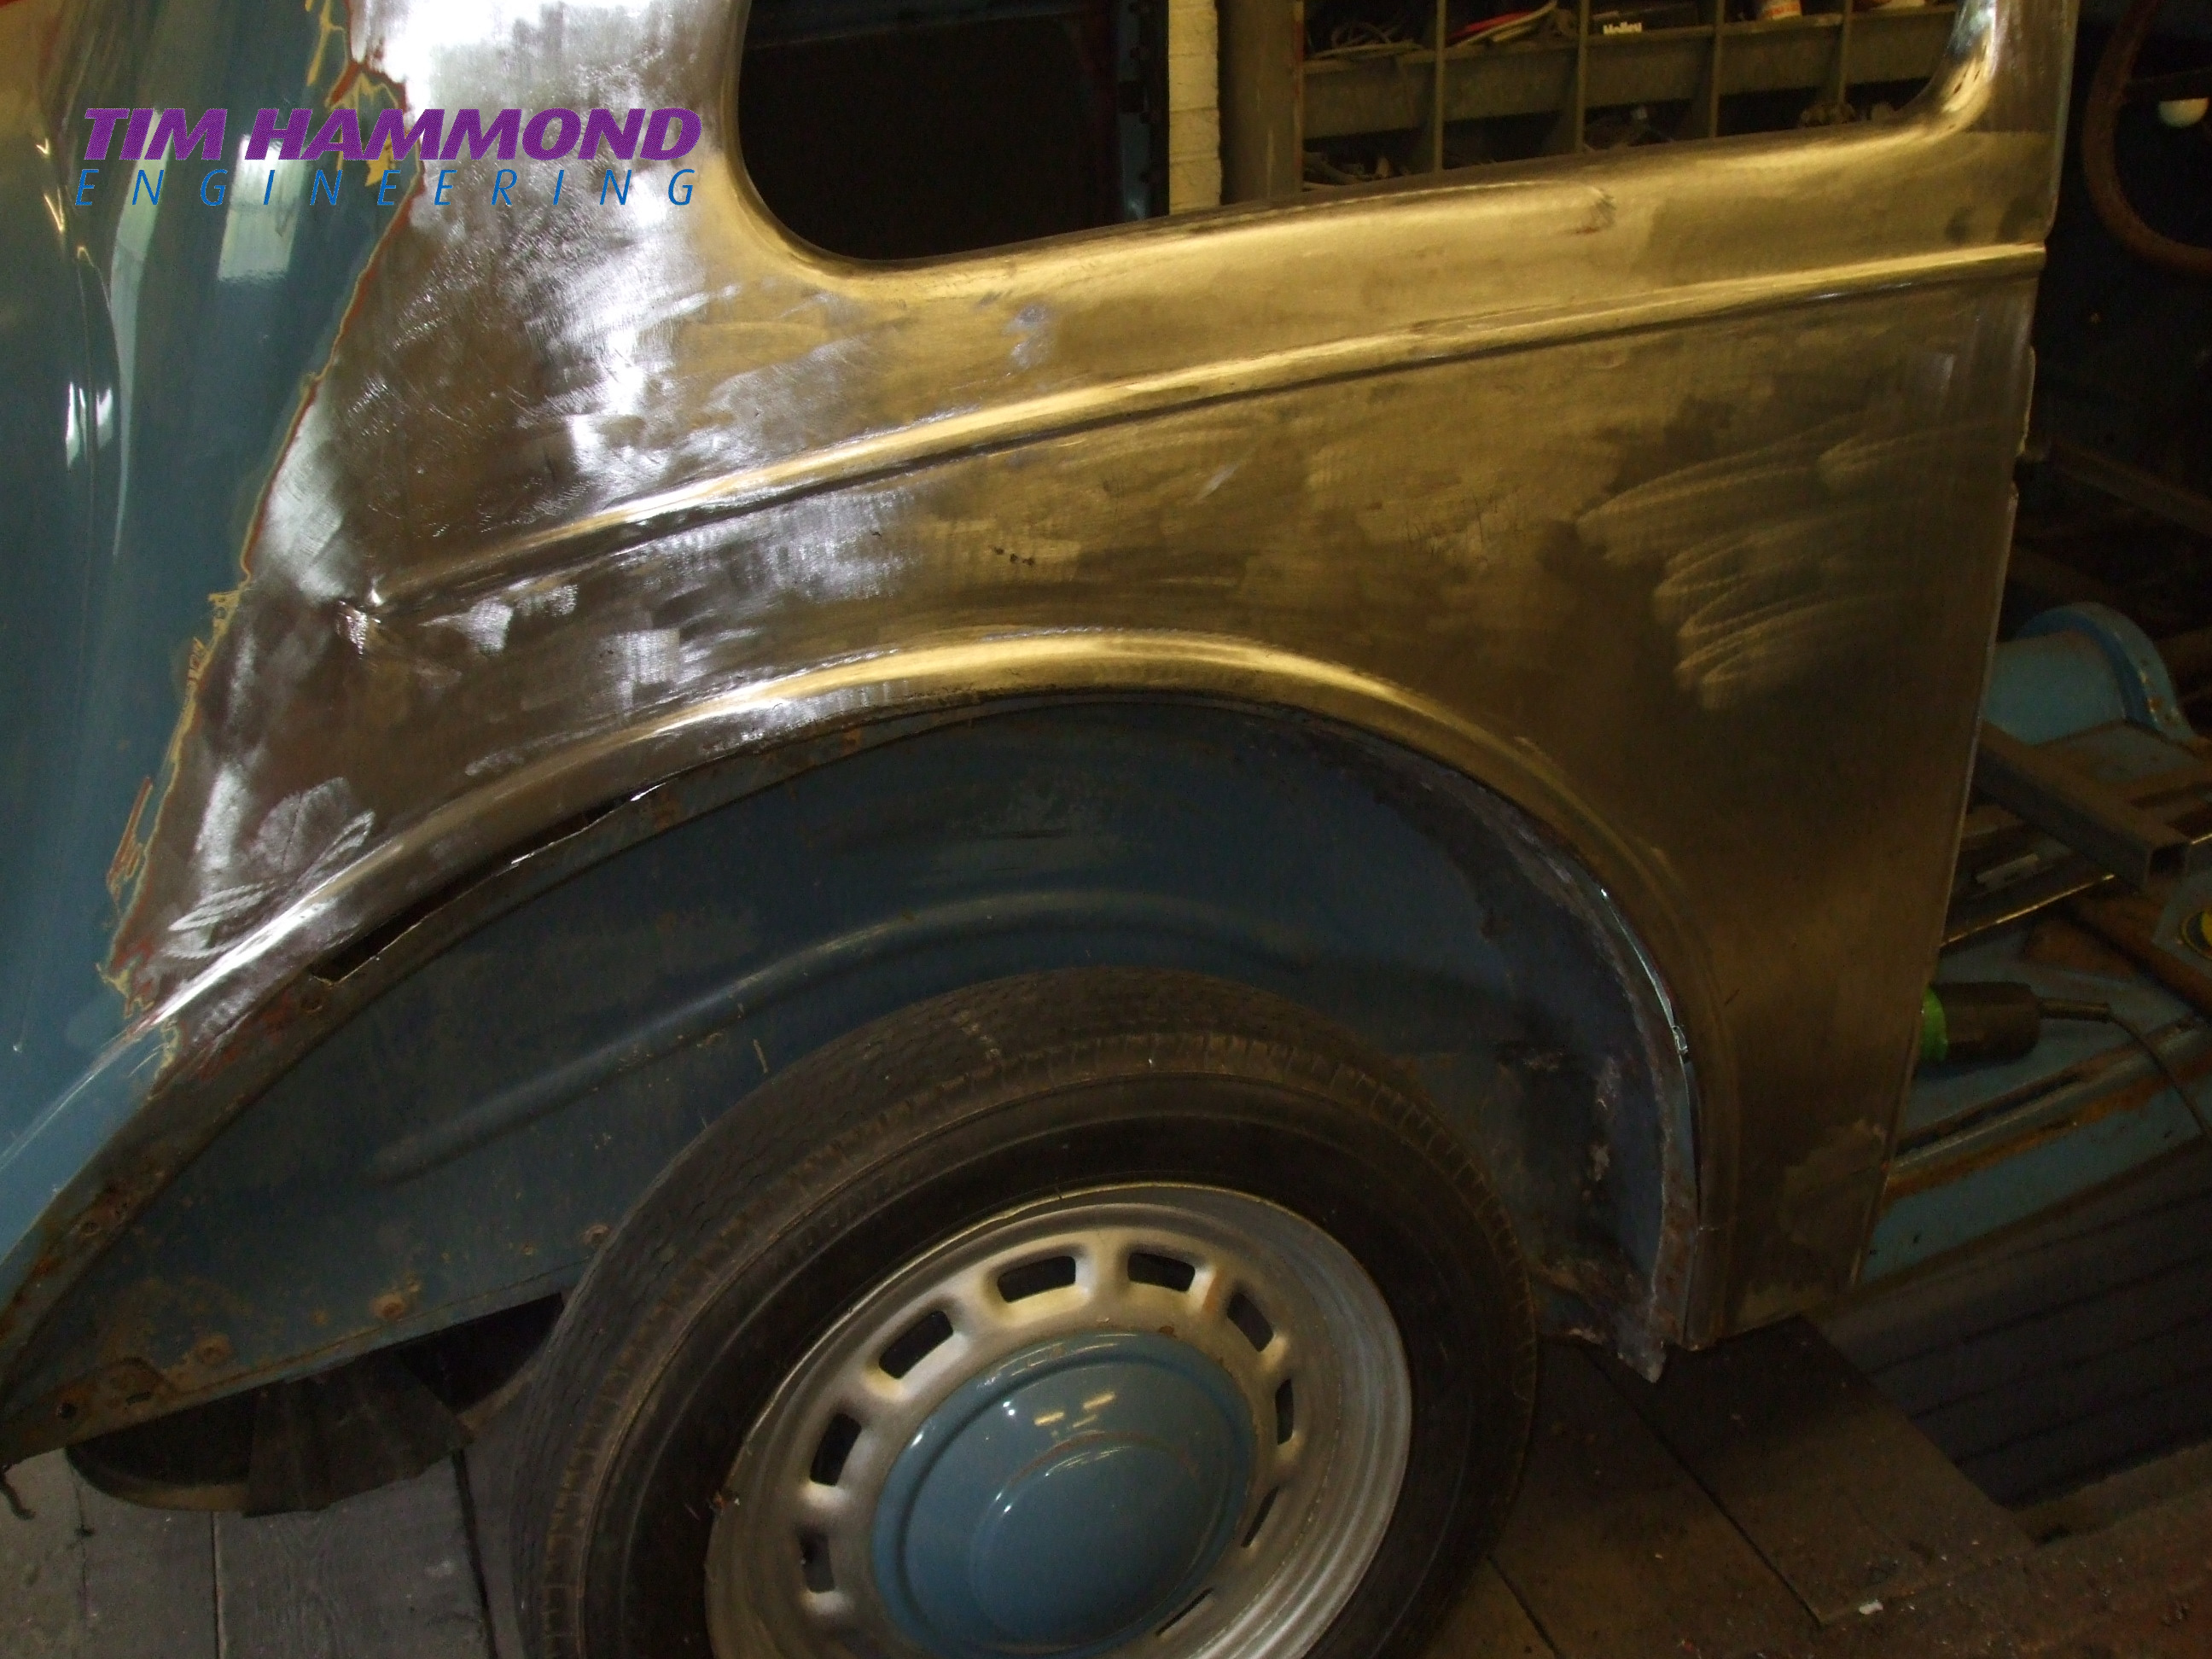
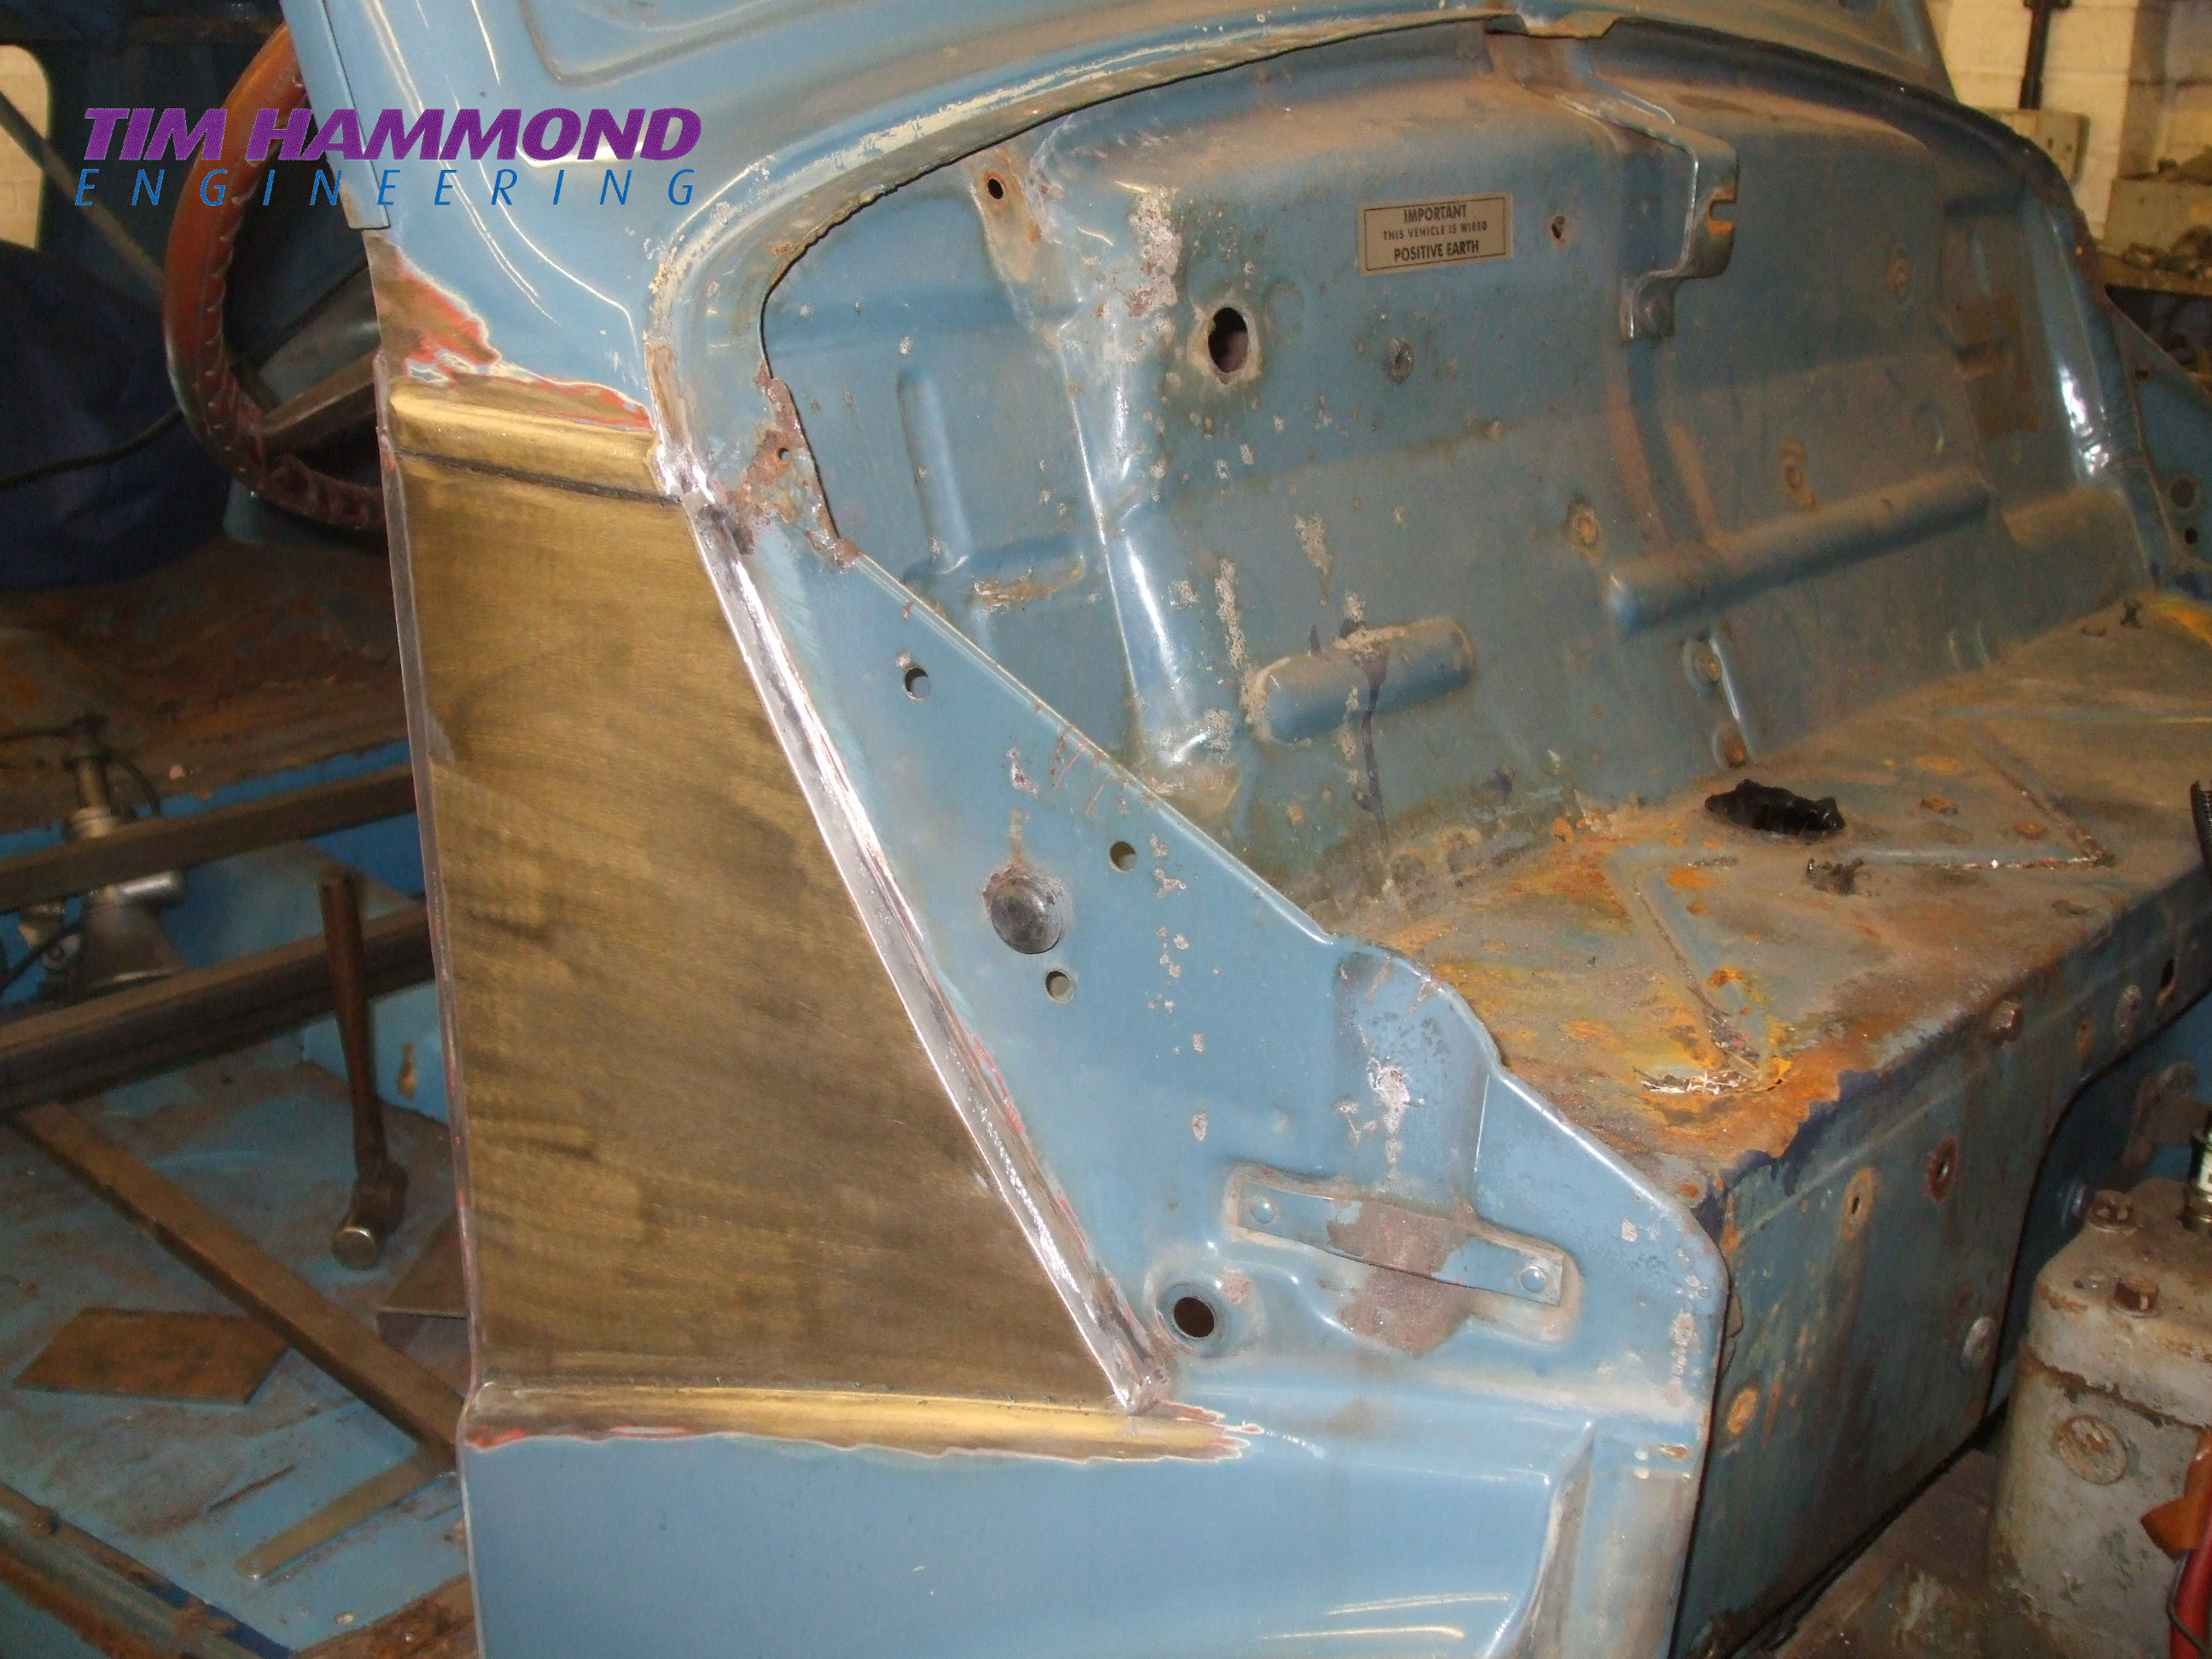
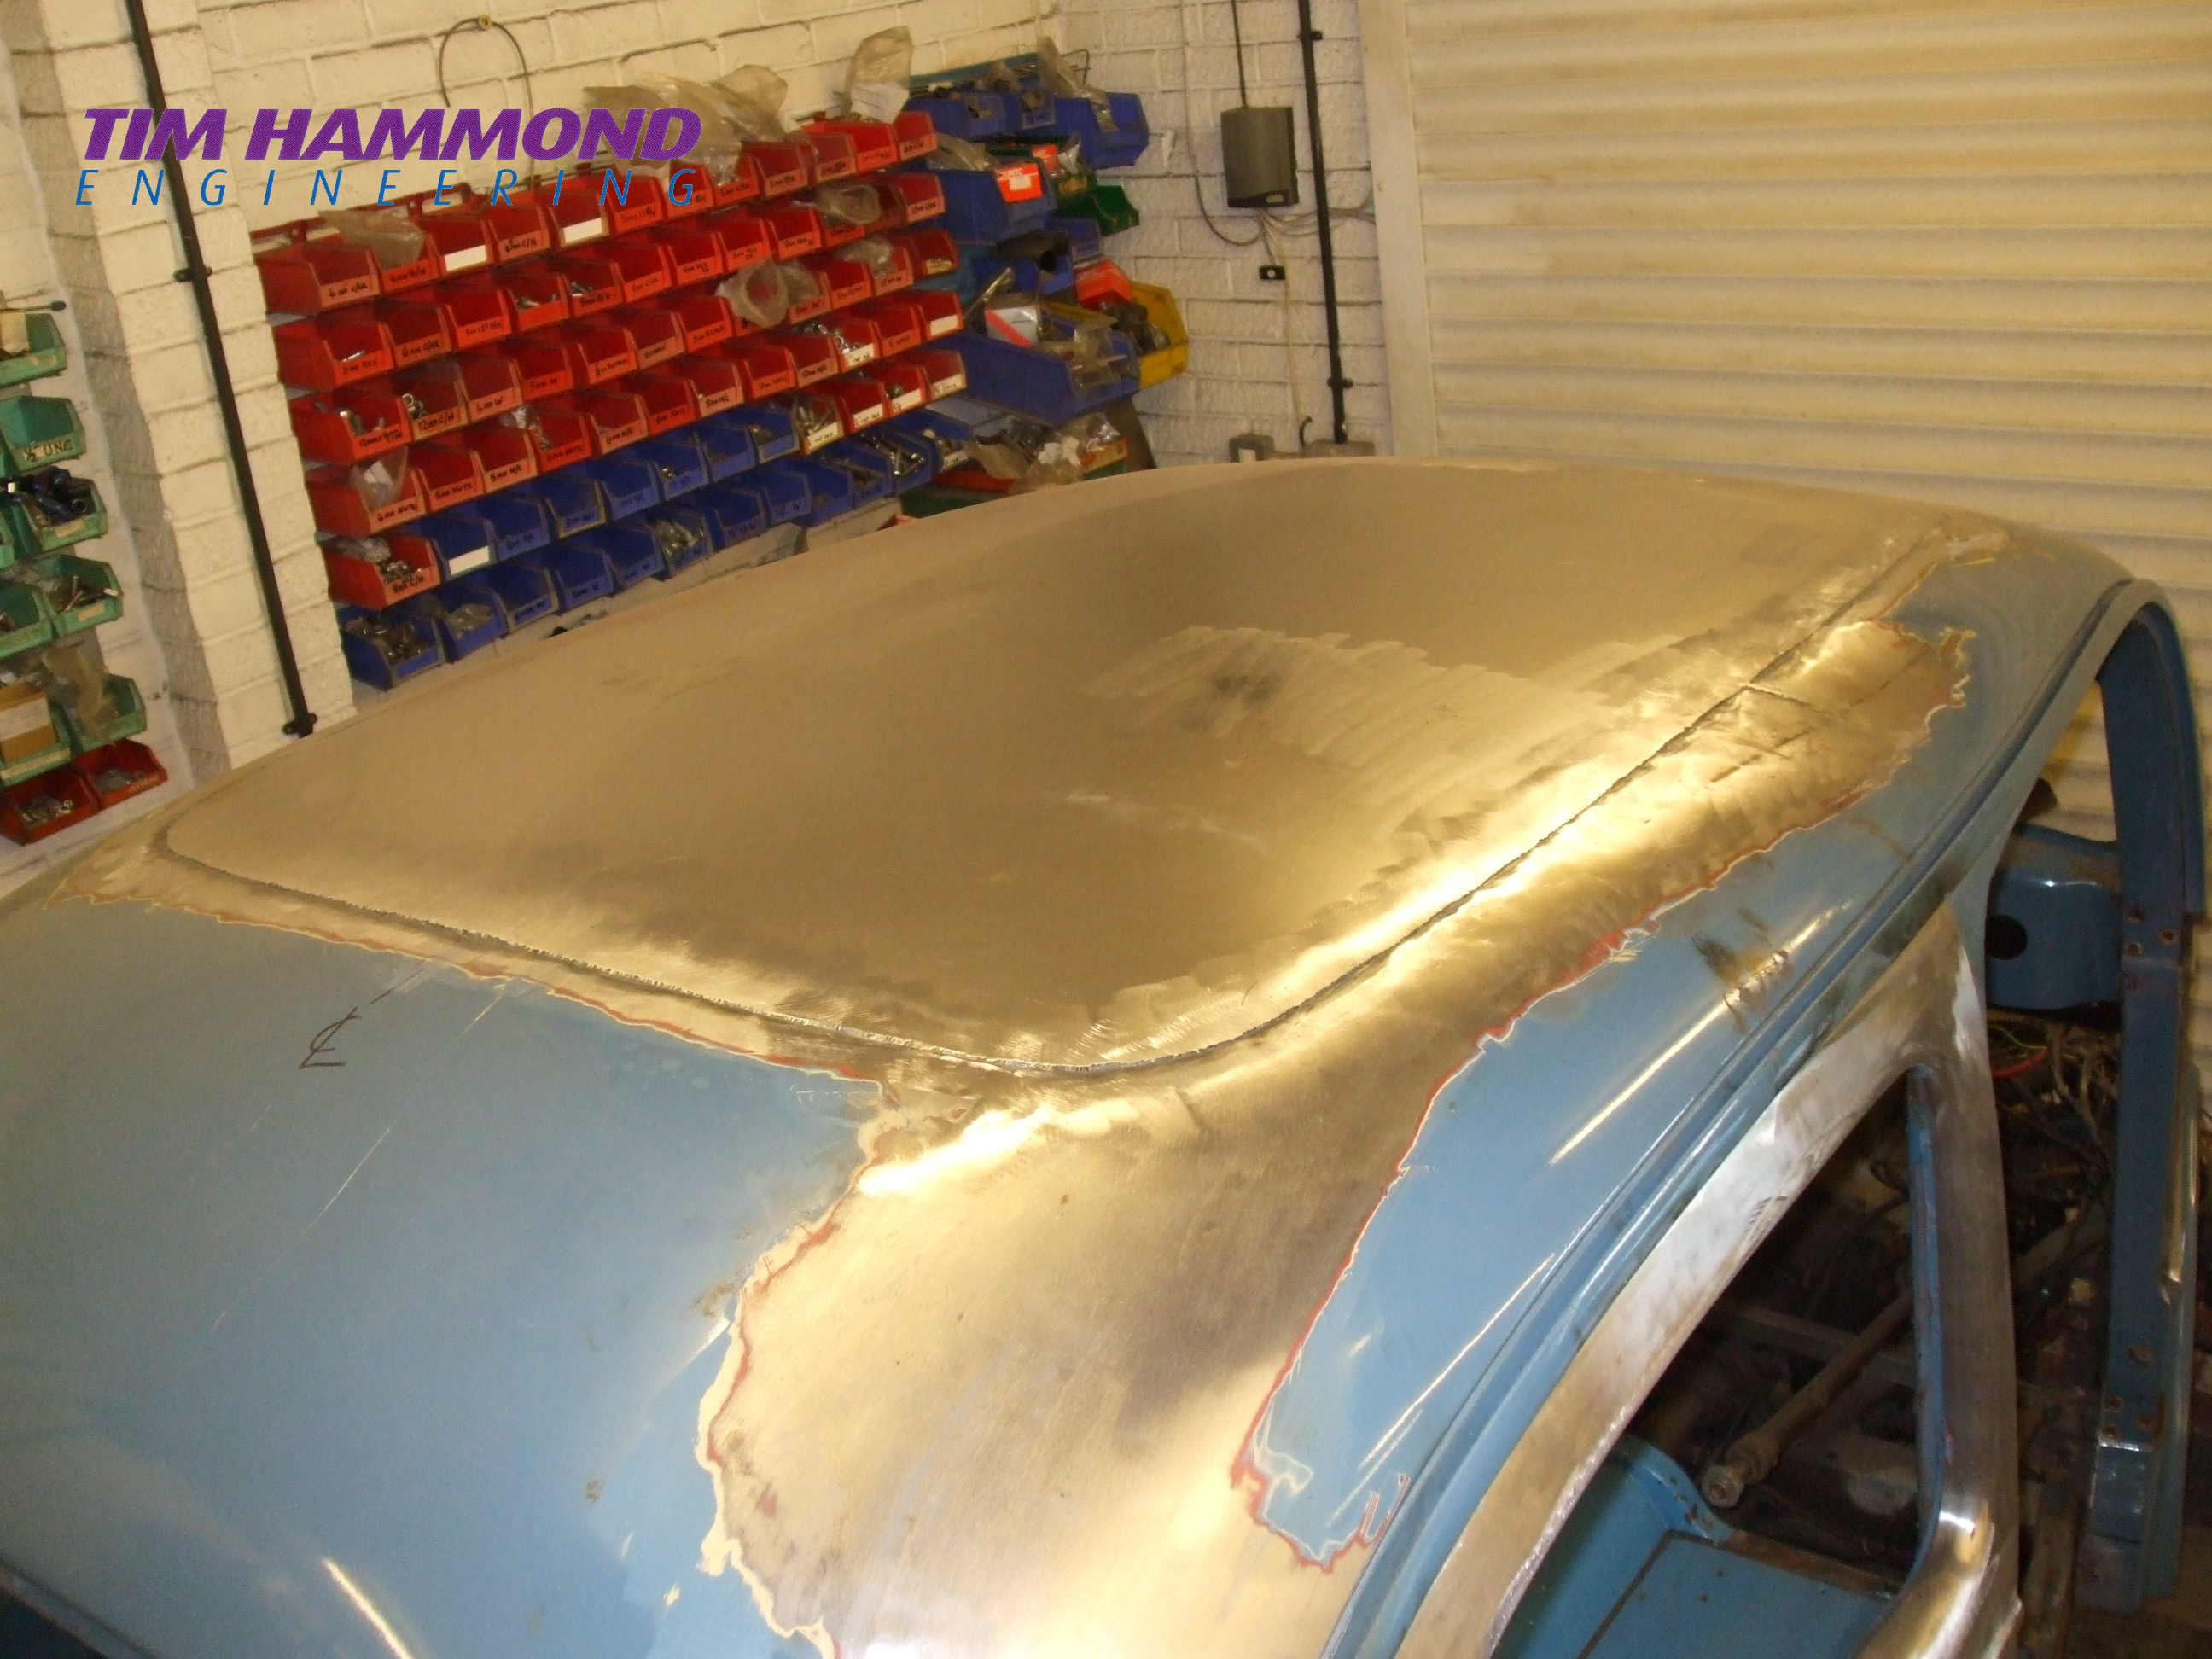
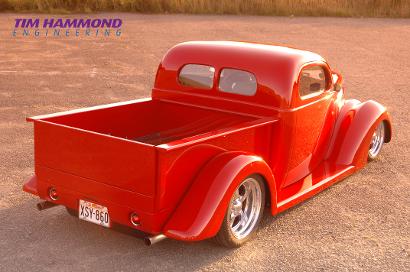
Luke's Plymouth Pick Up
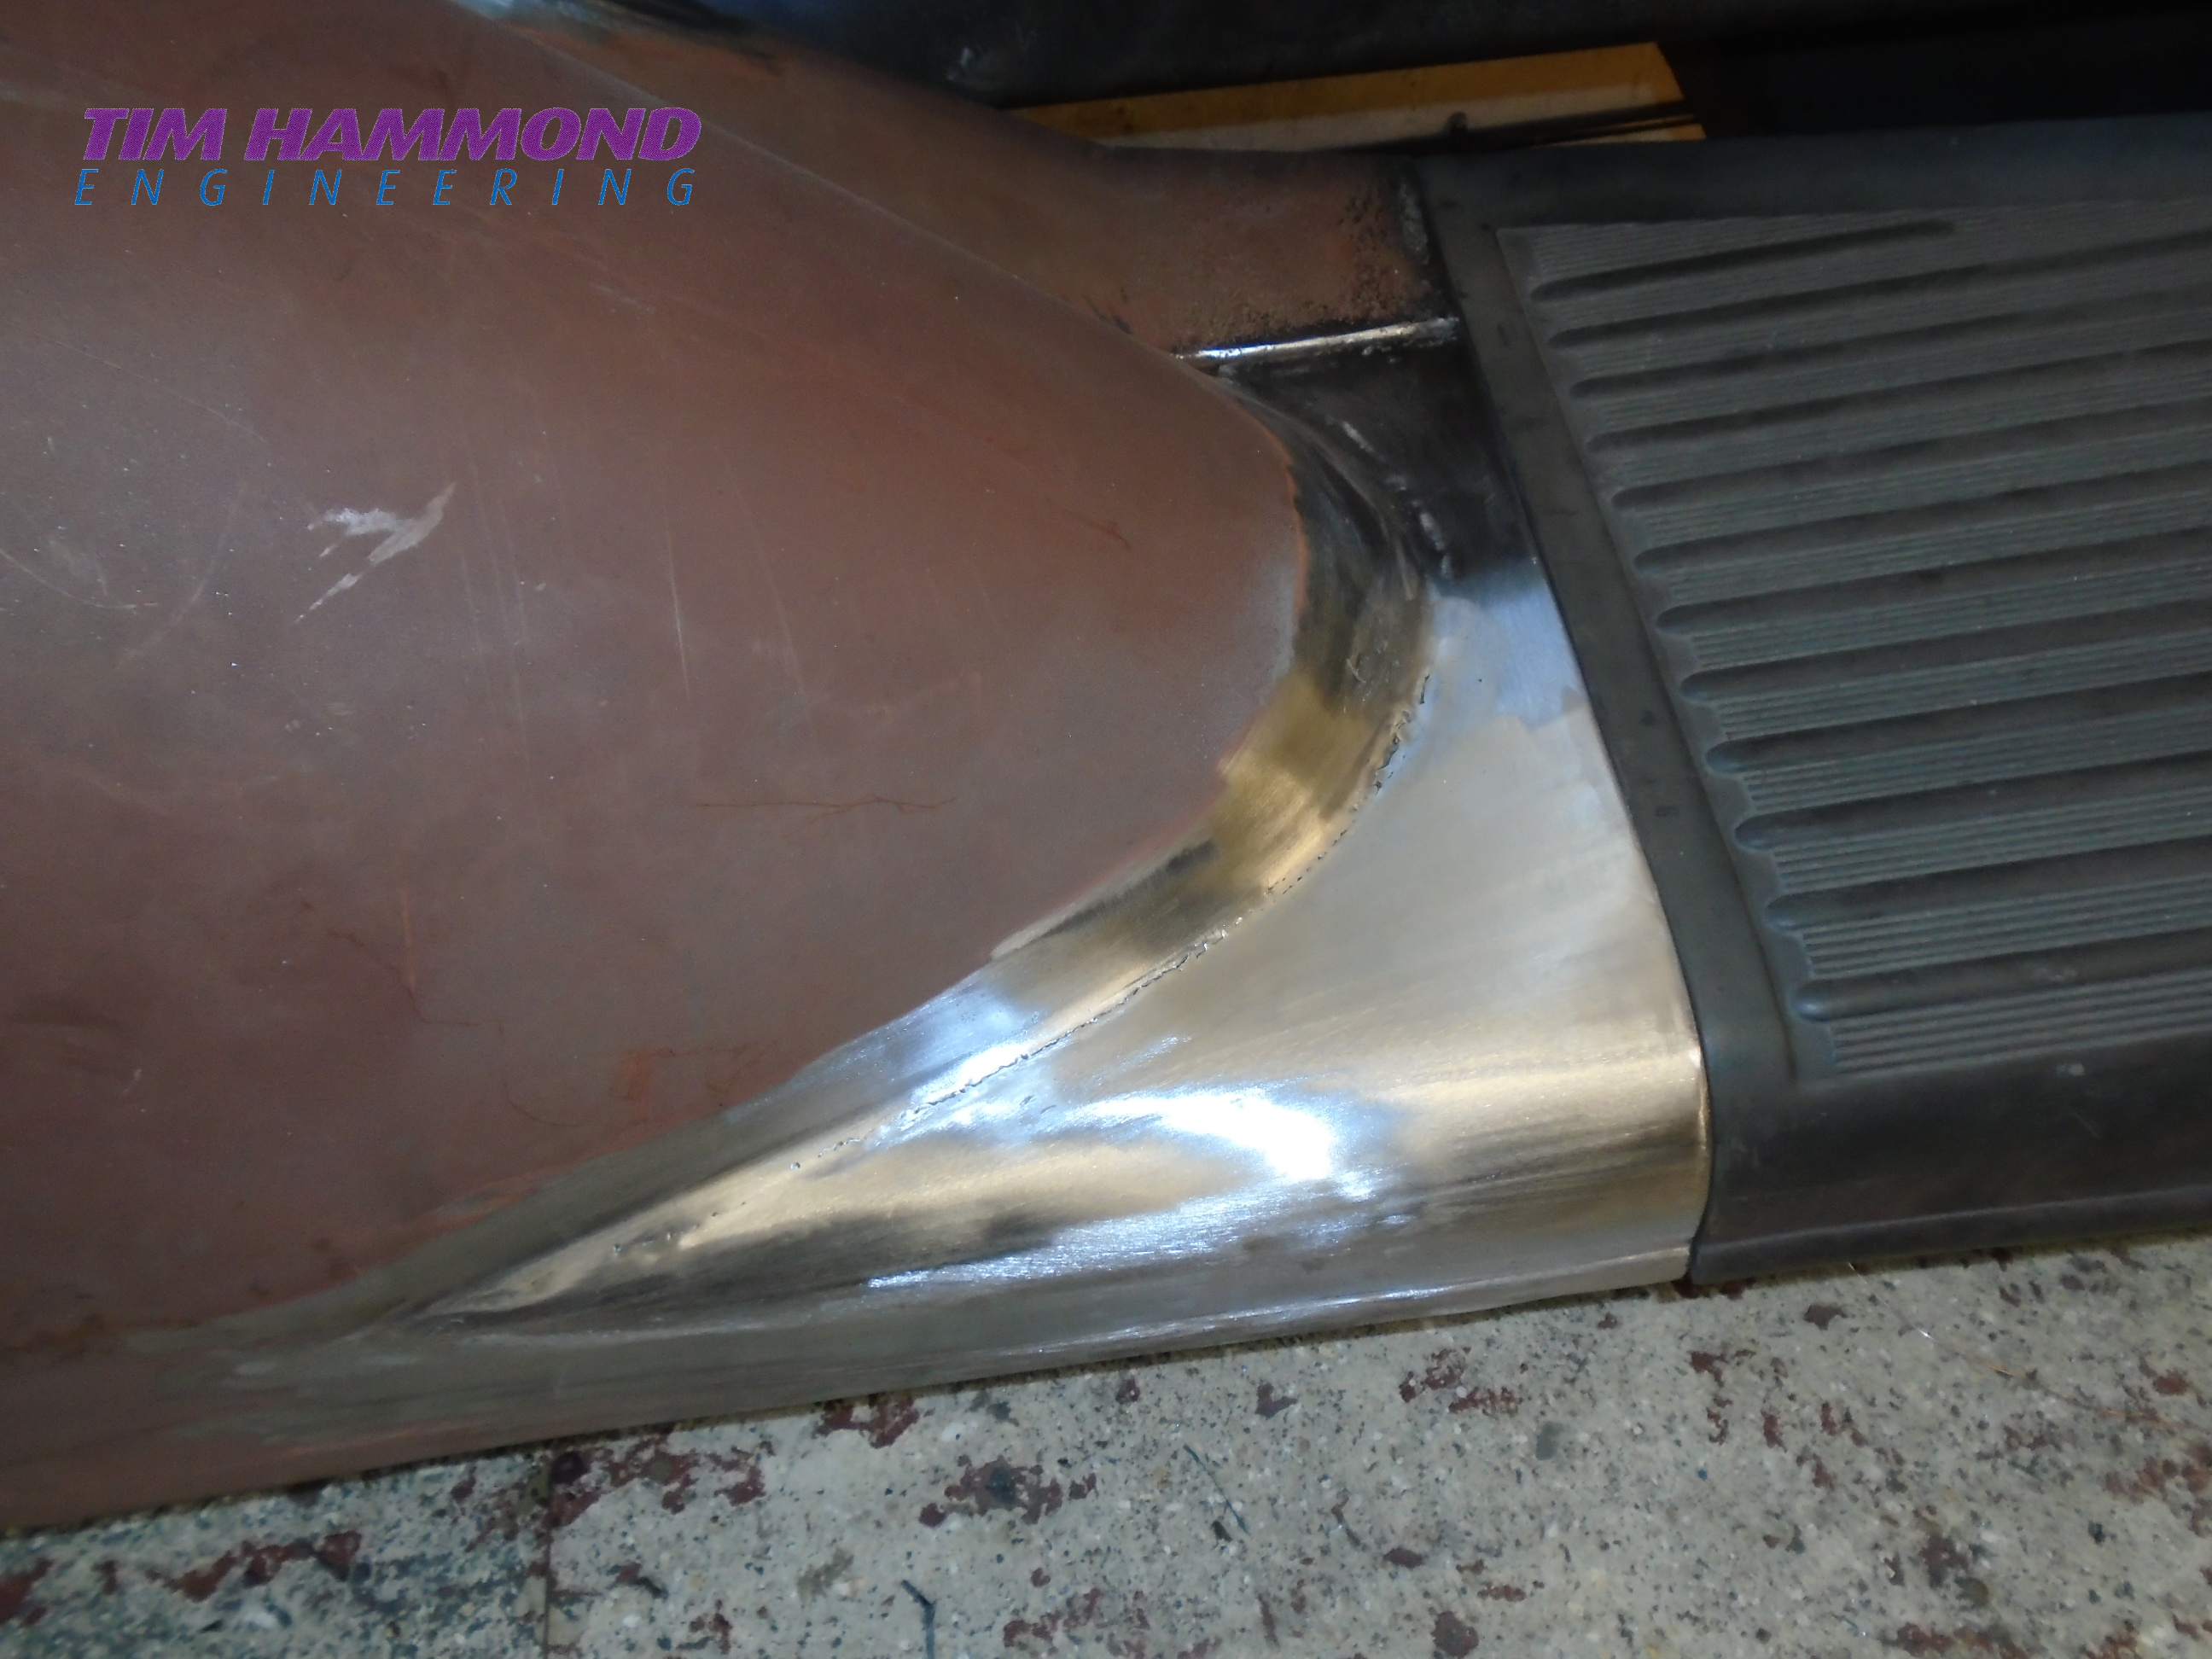
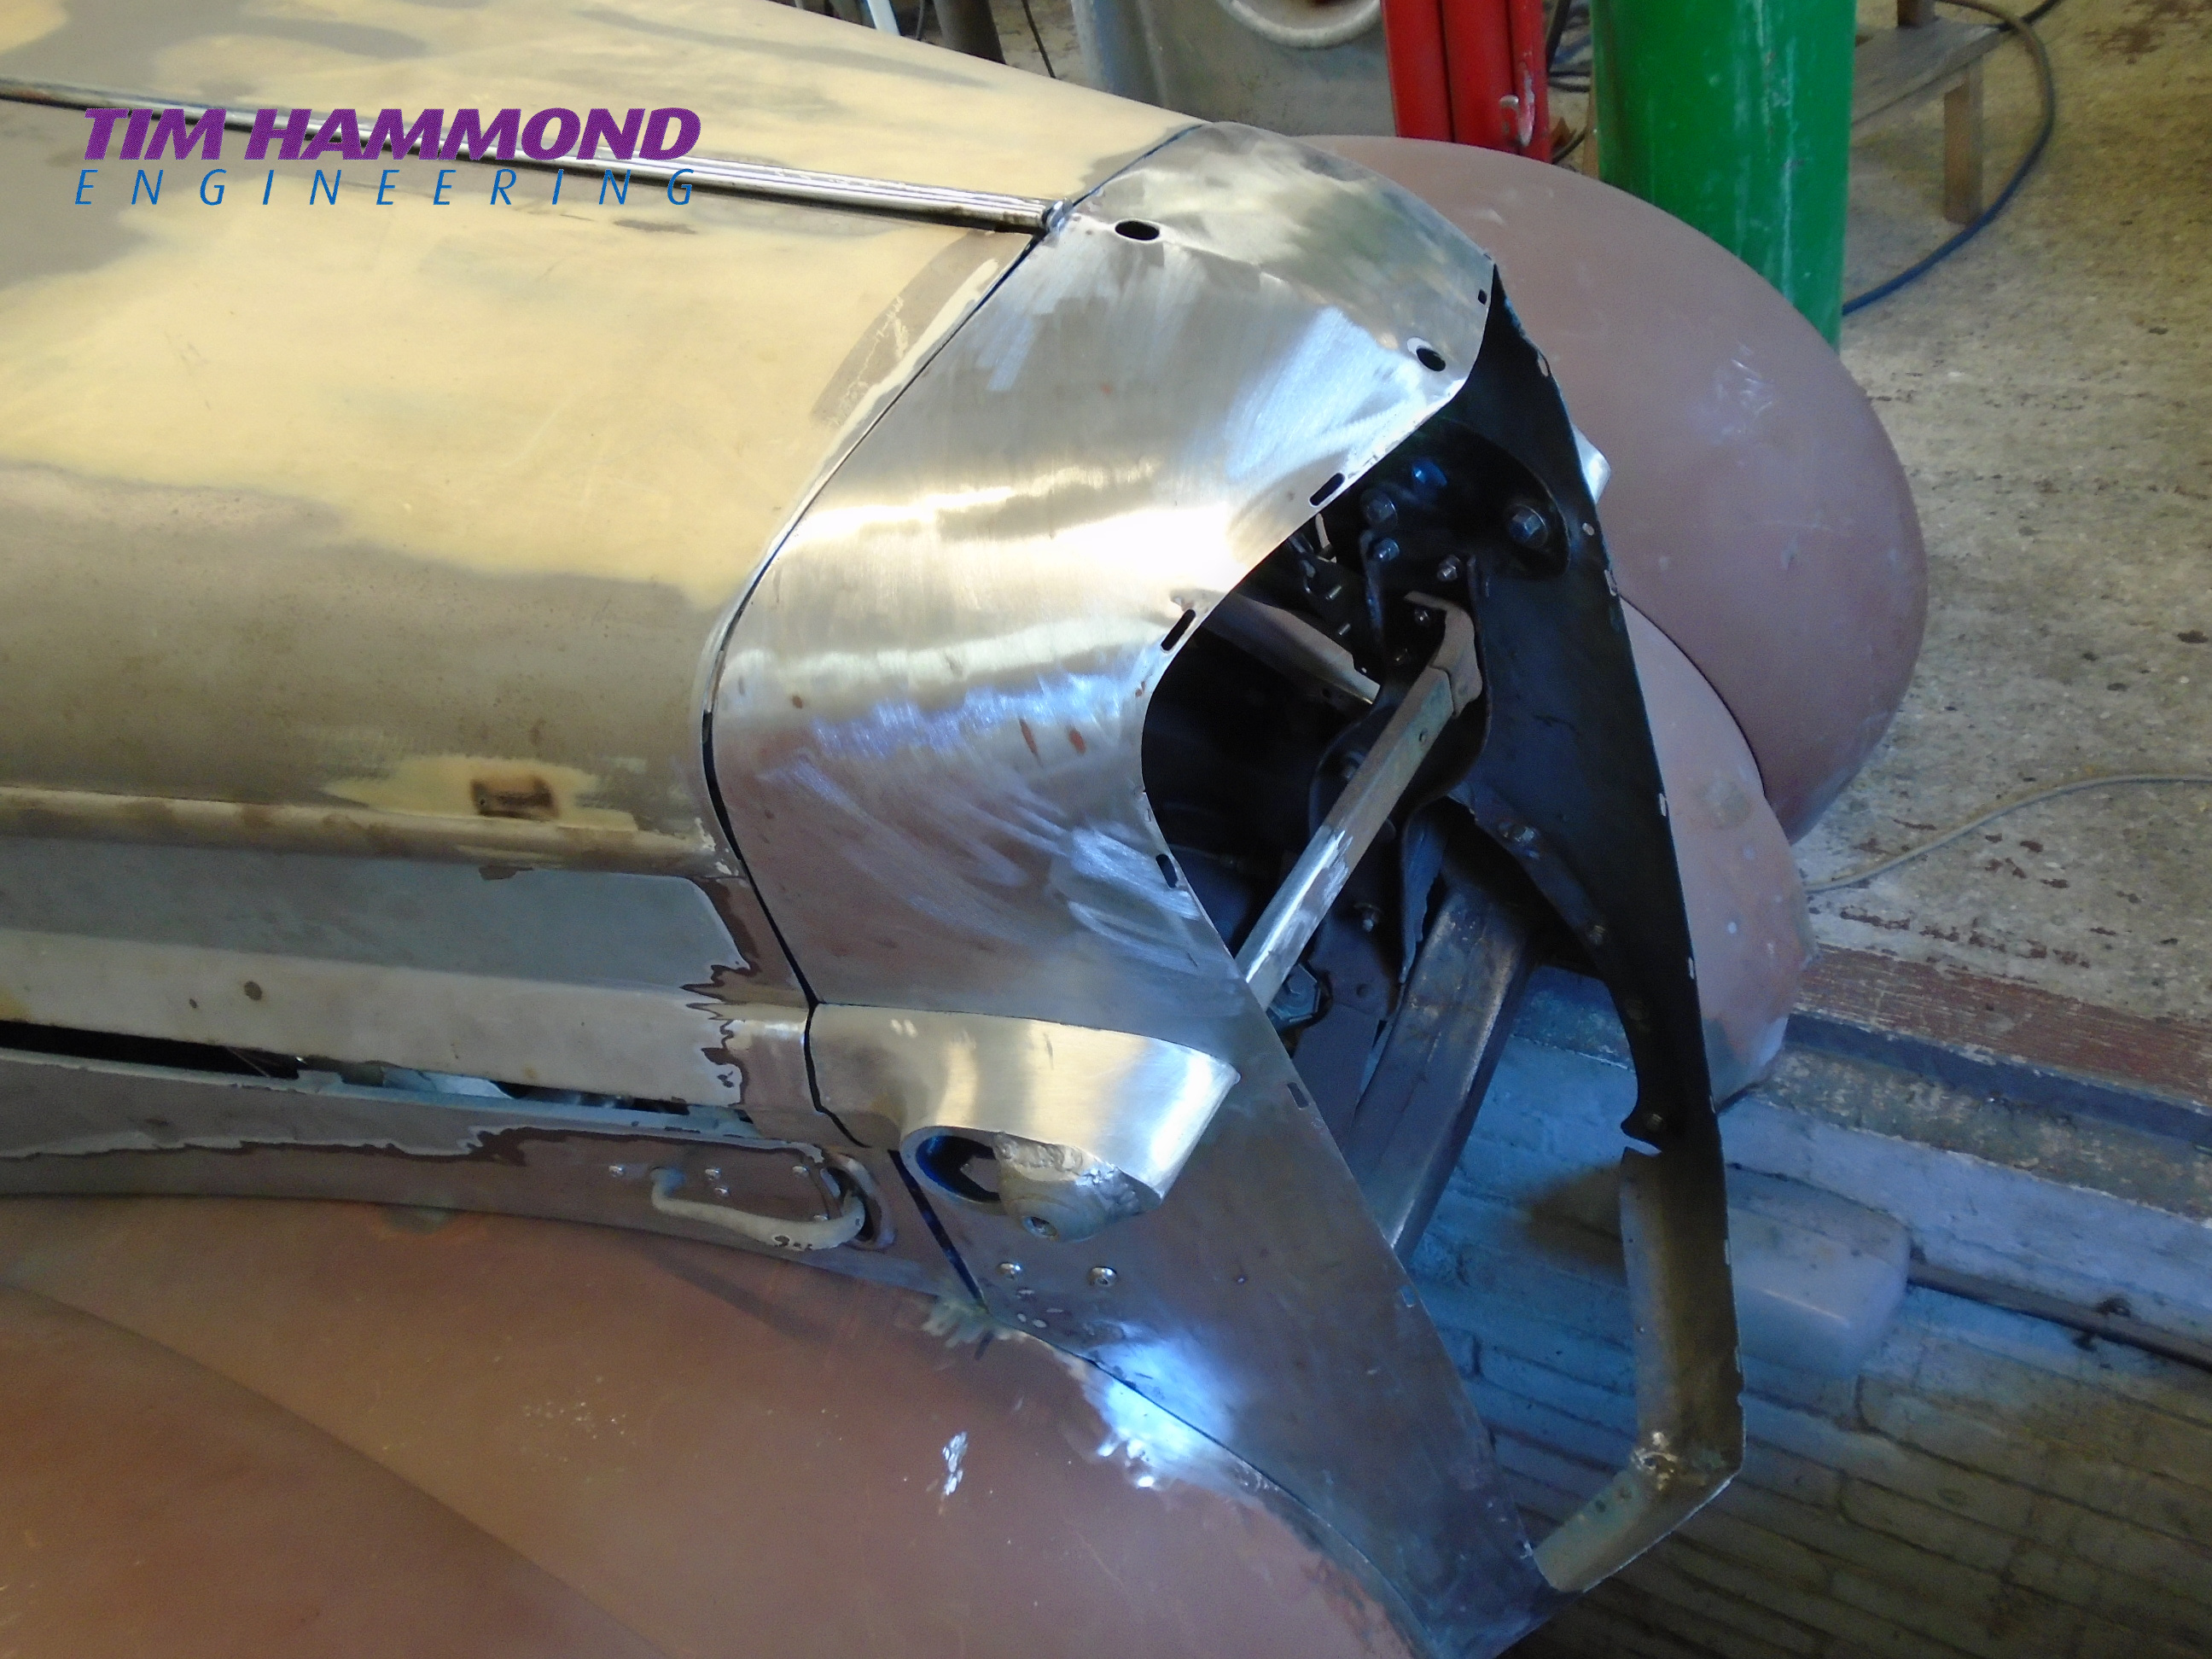
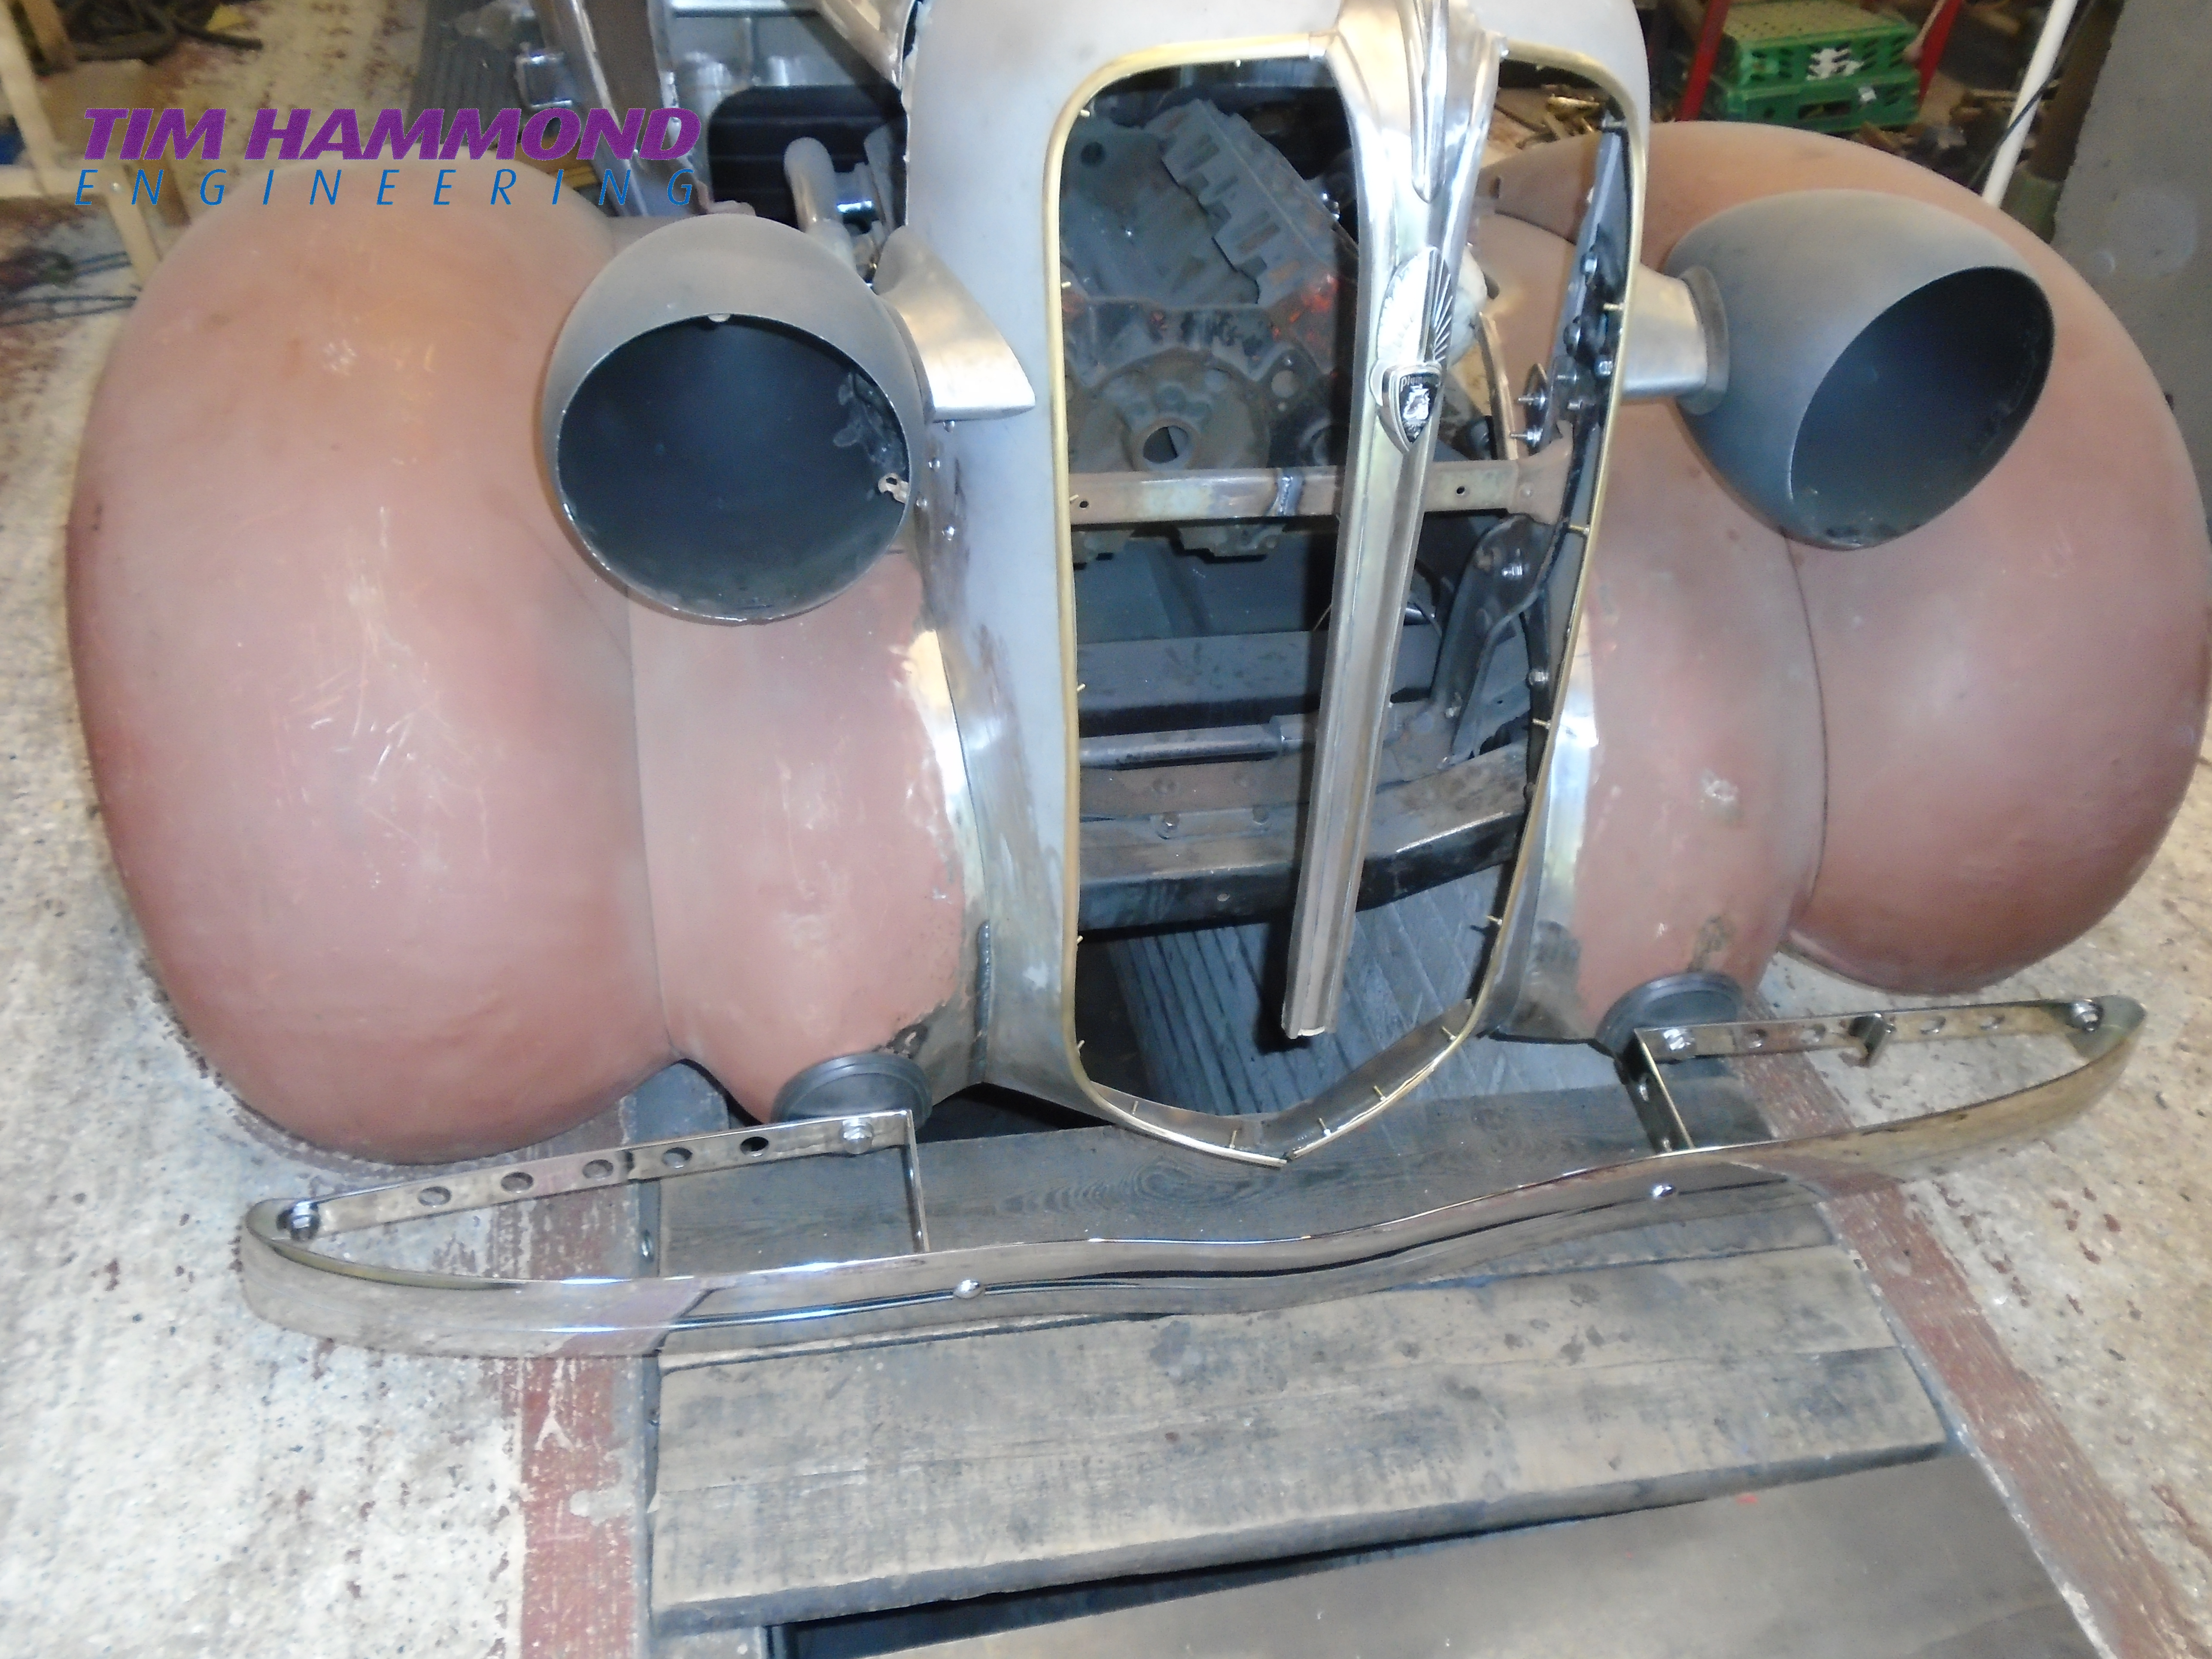
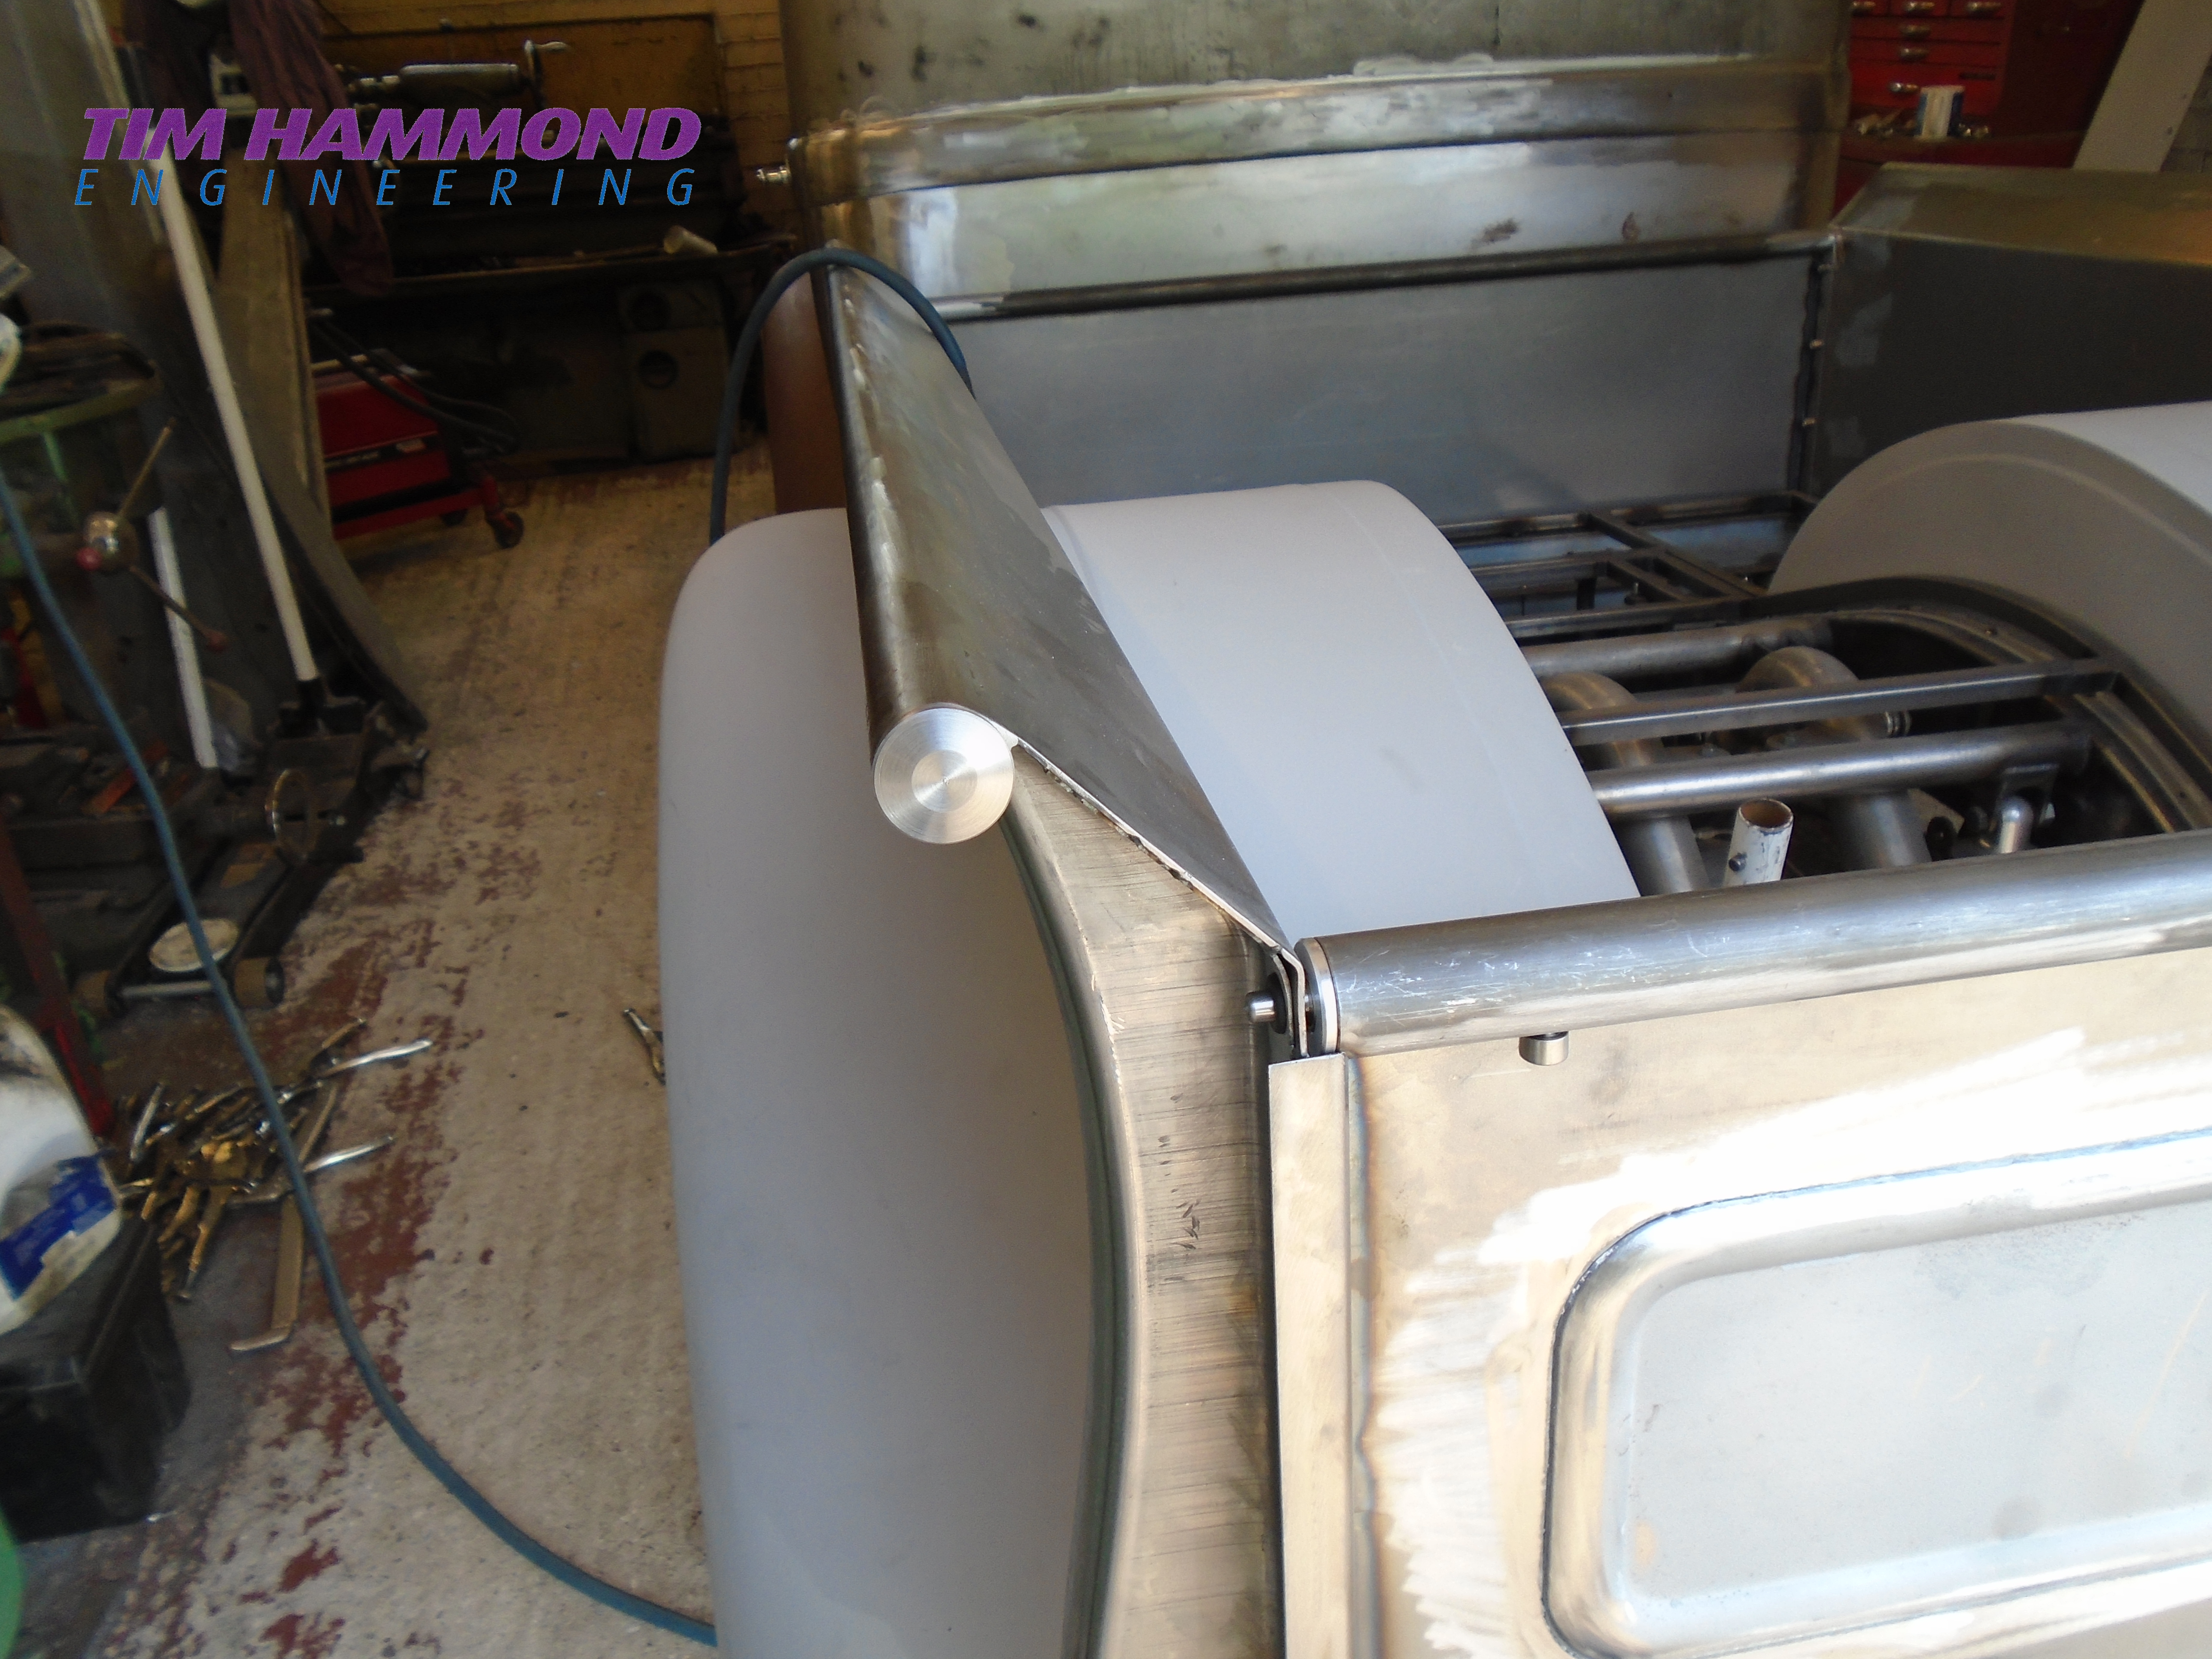
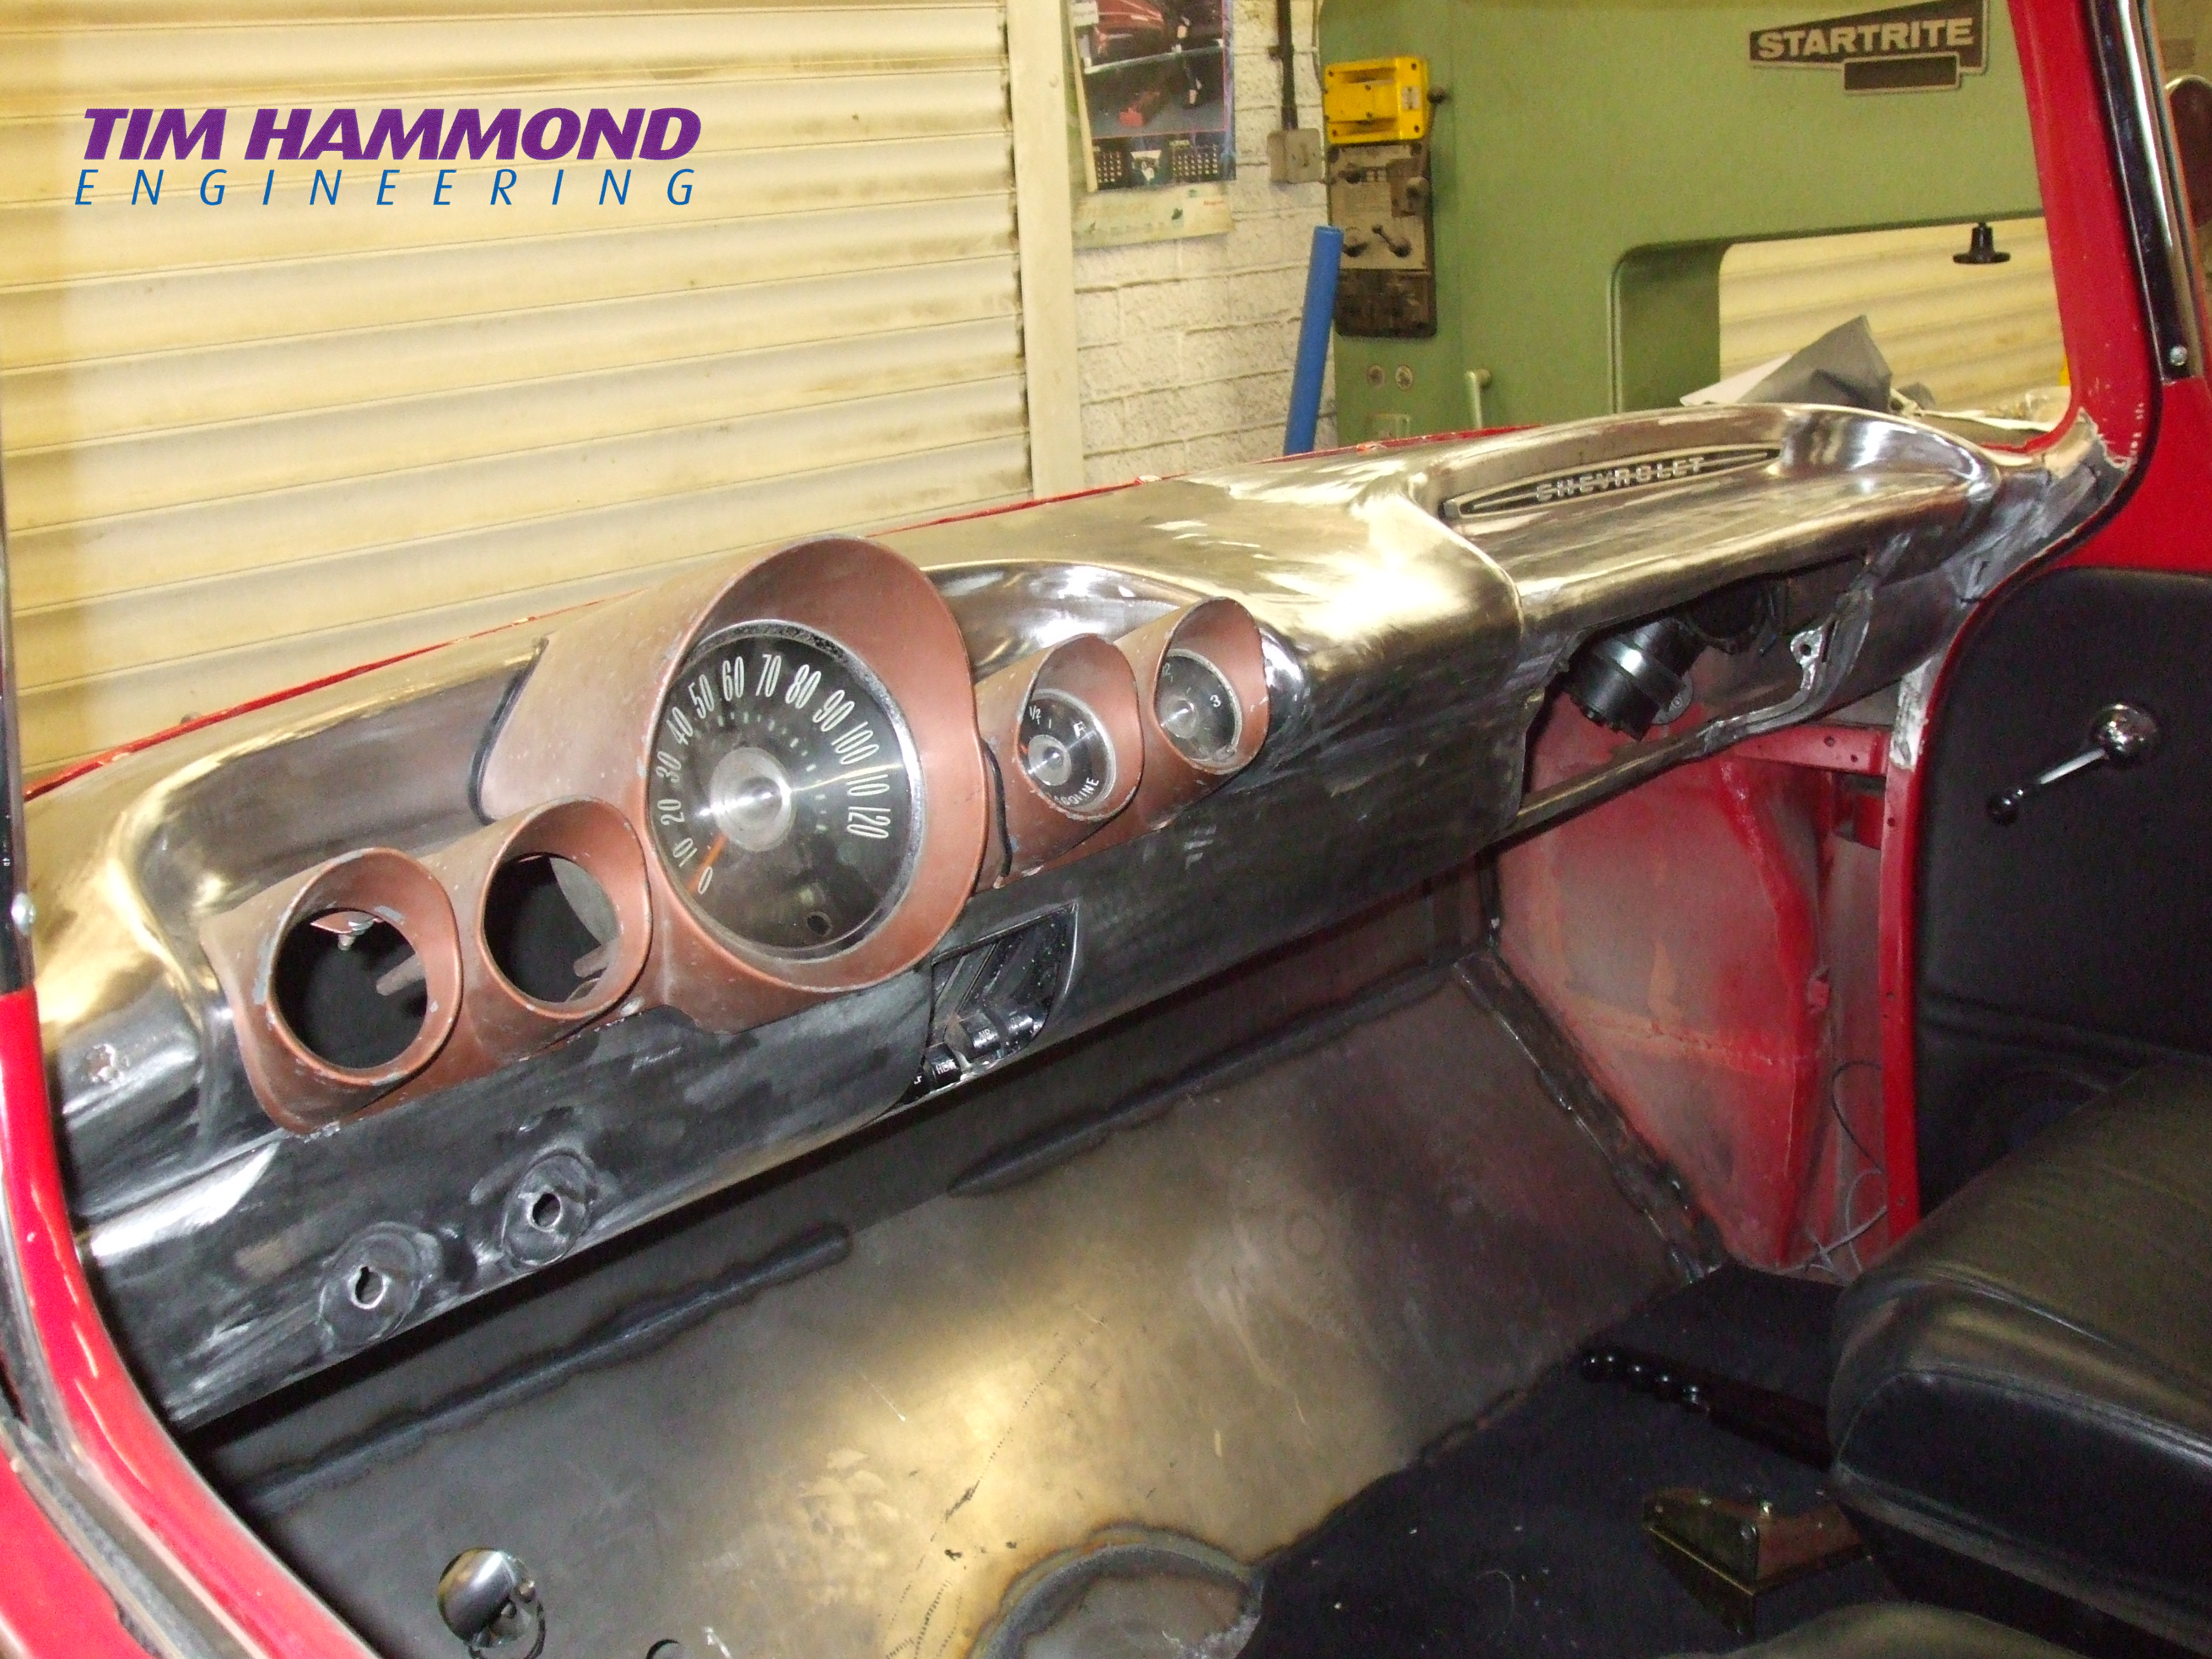
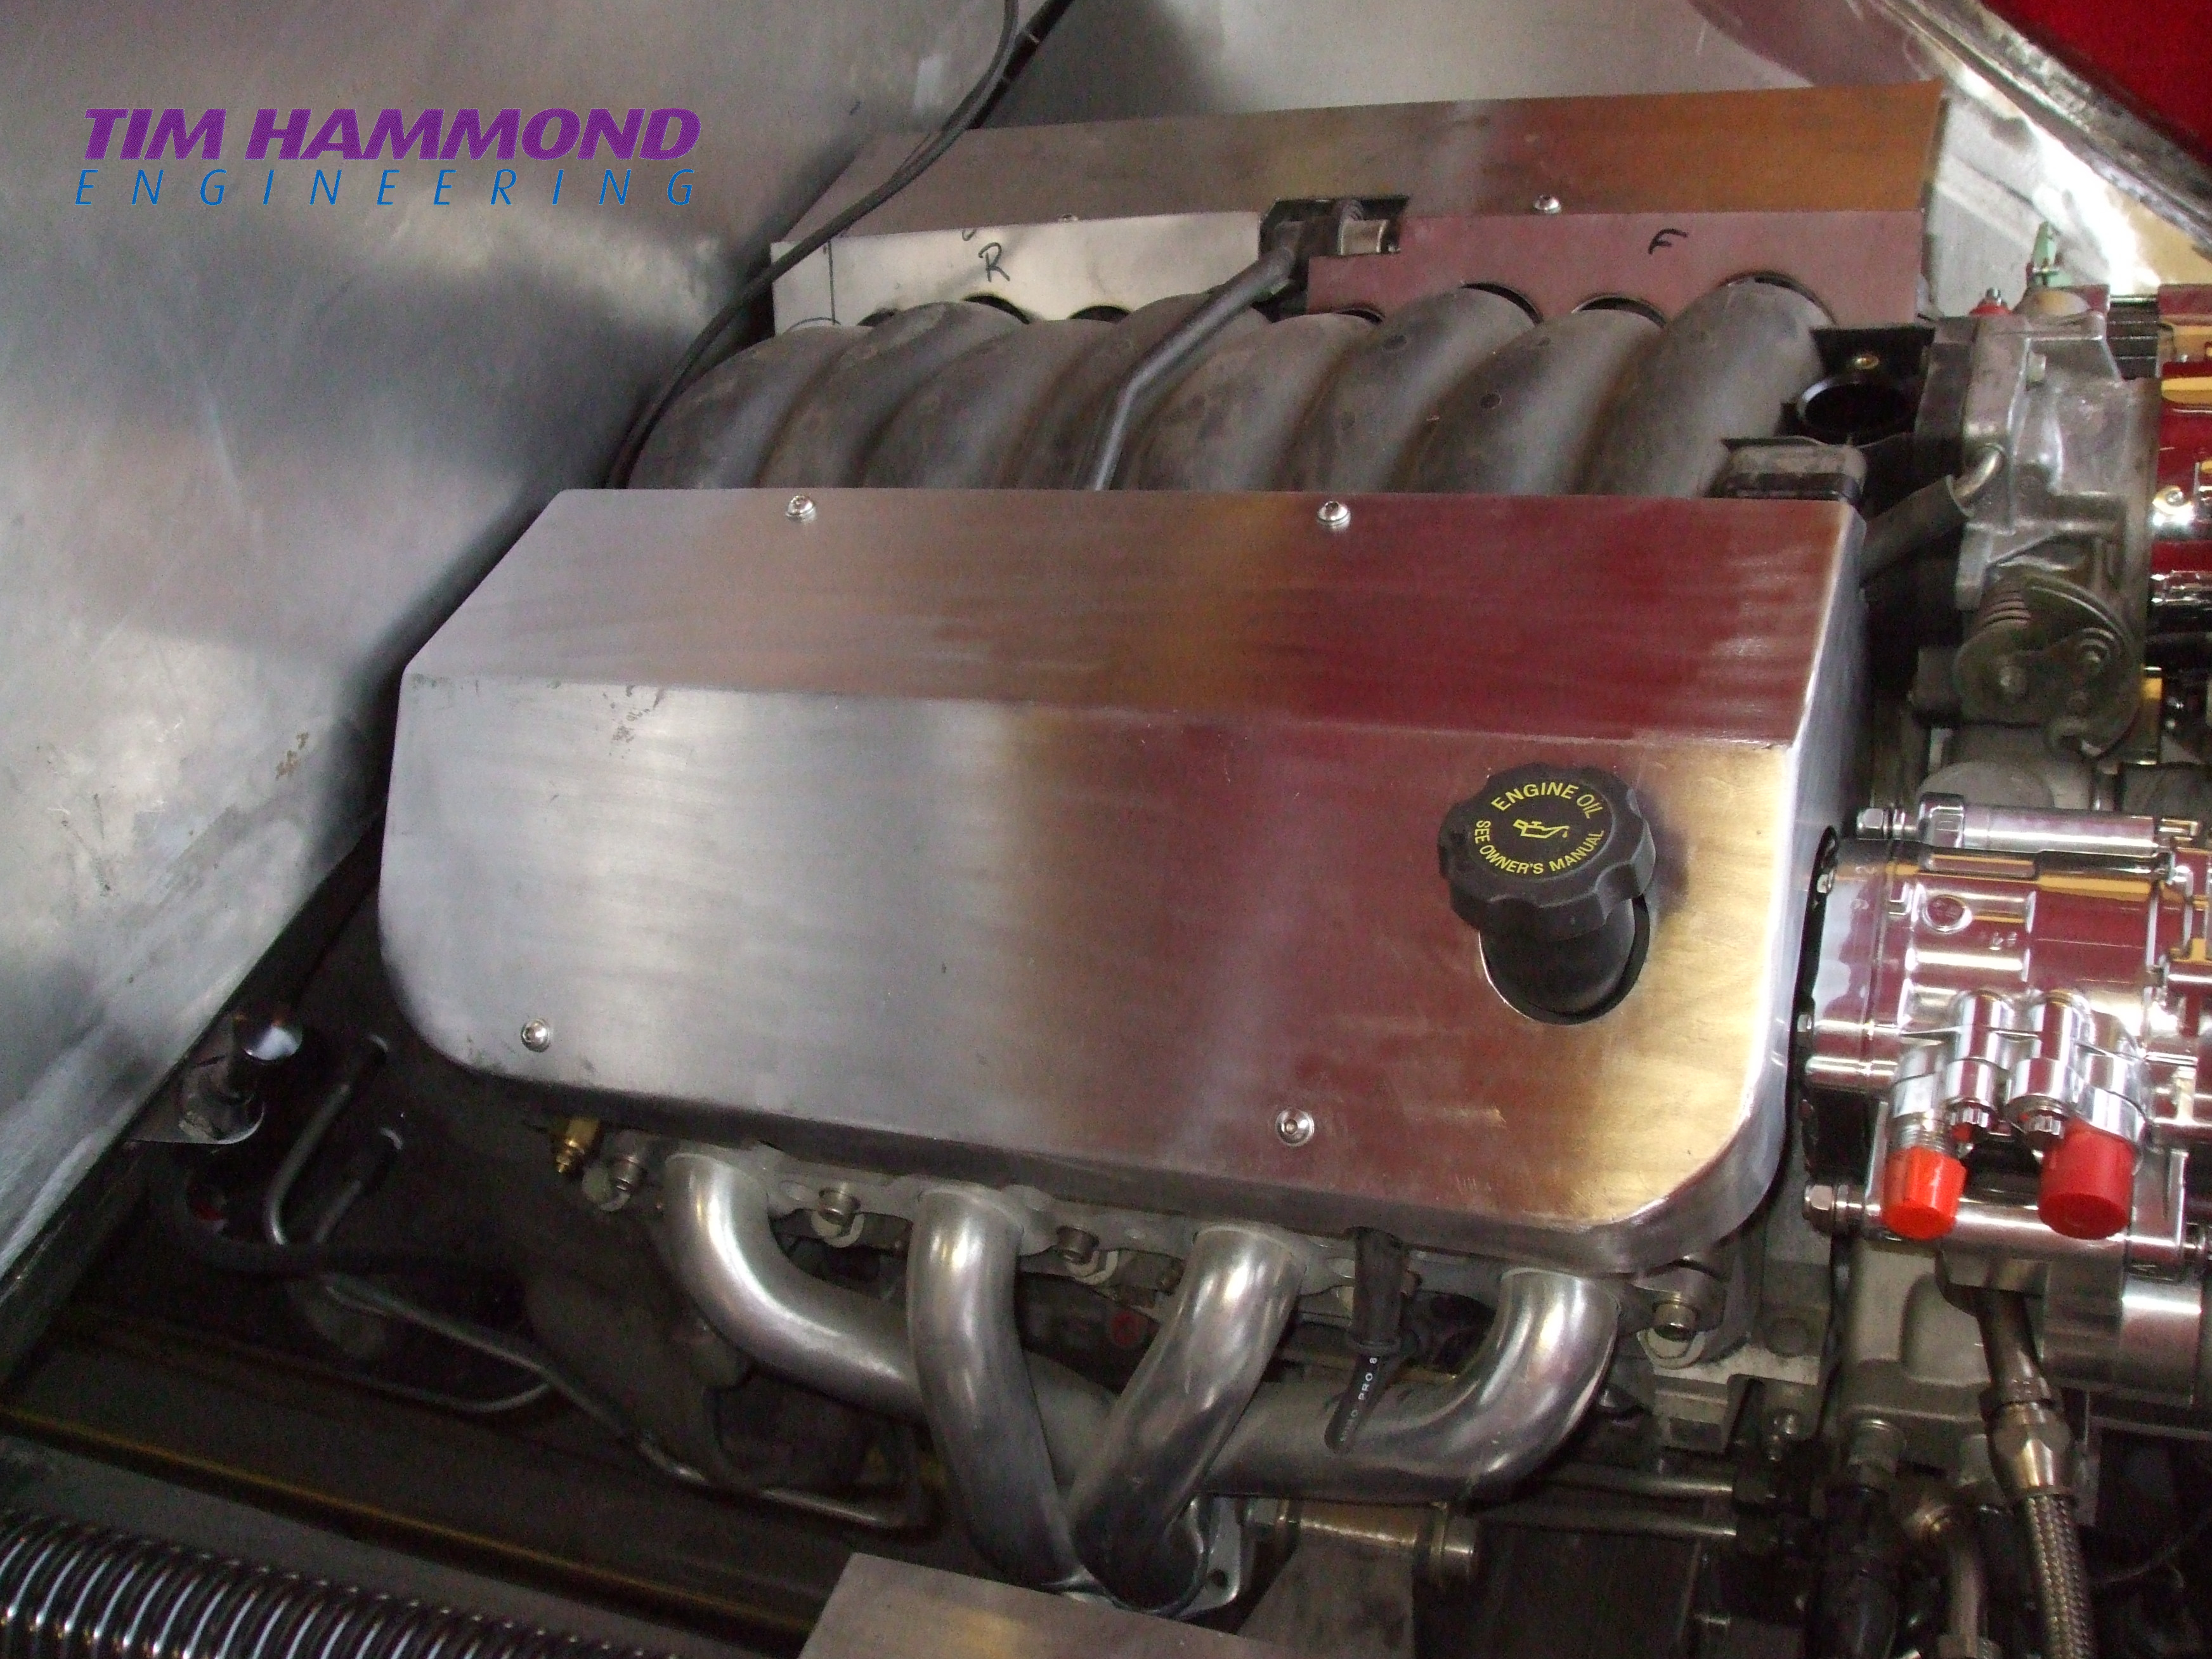
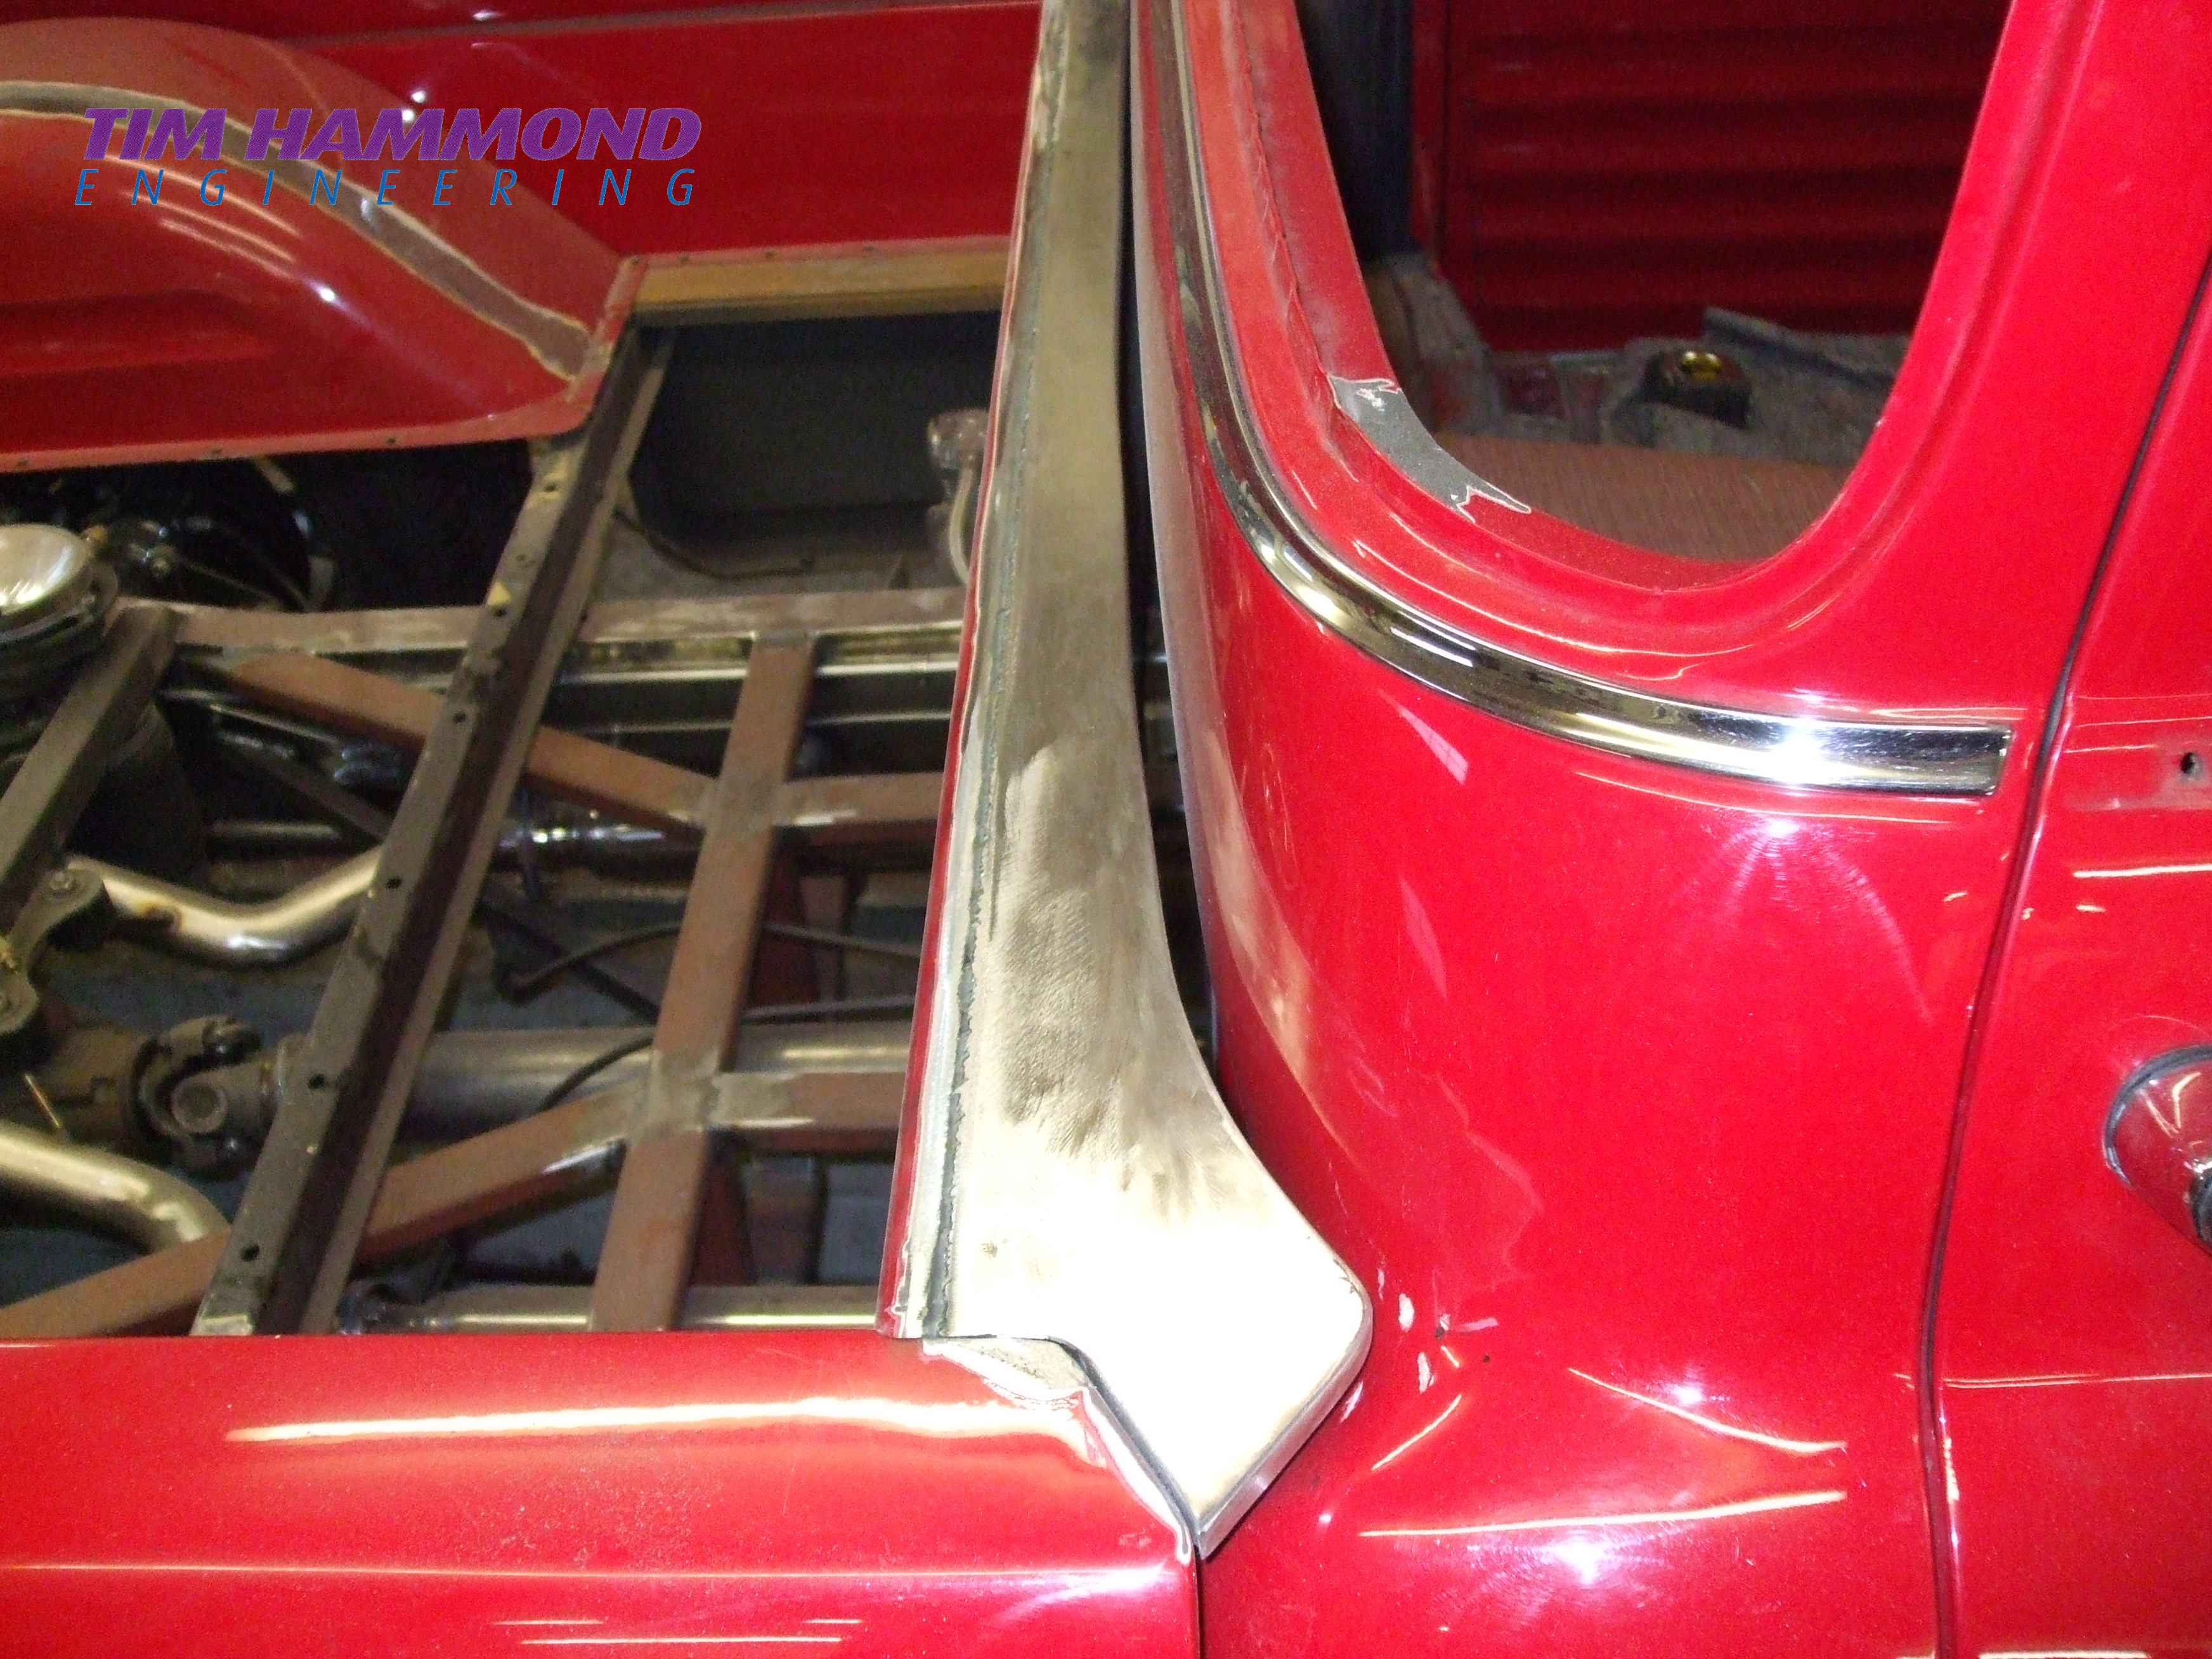
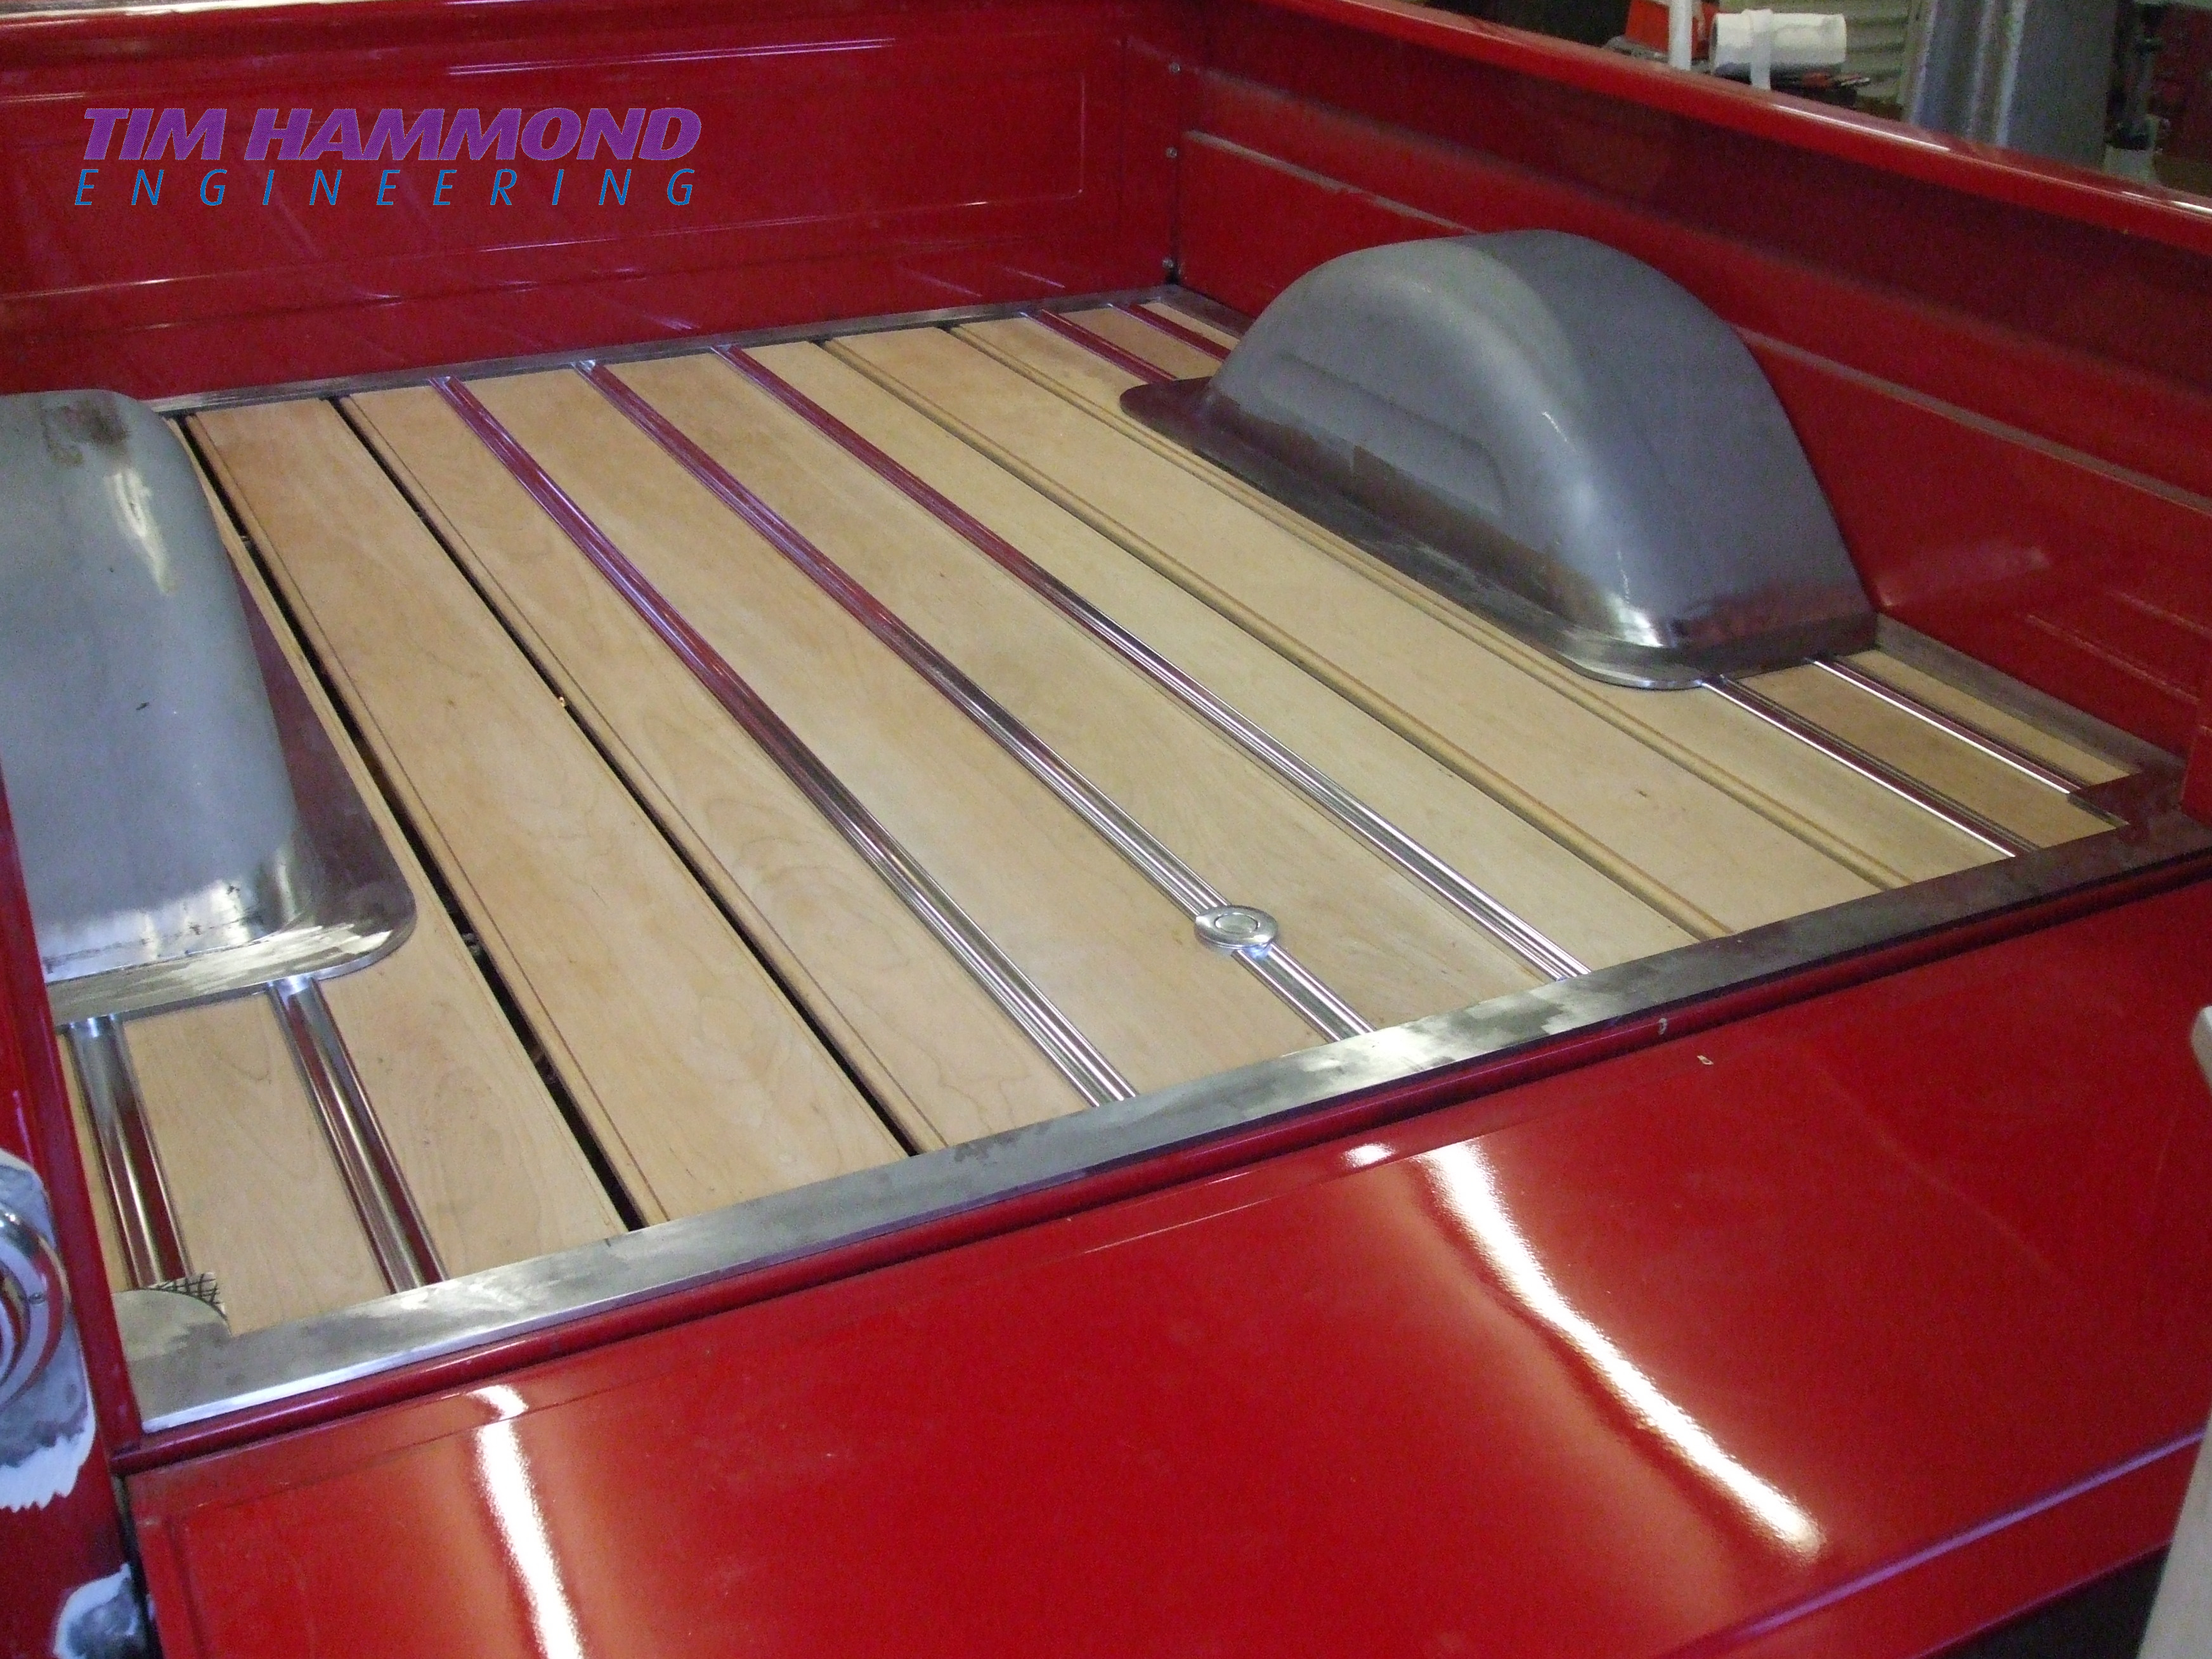
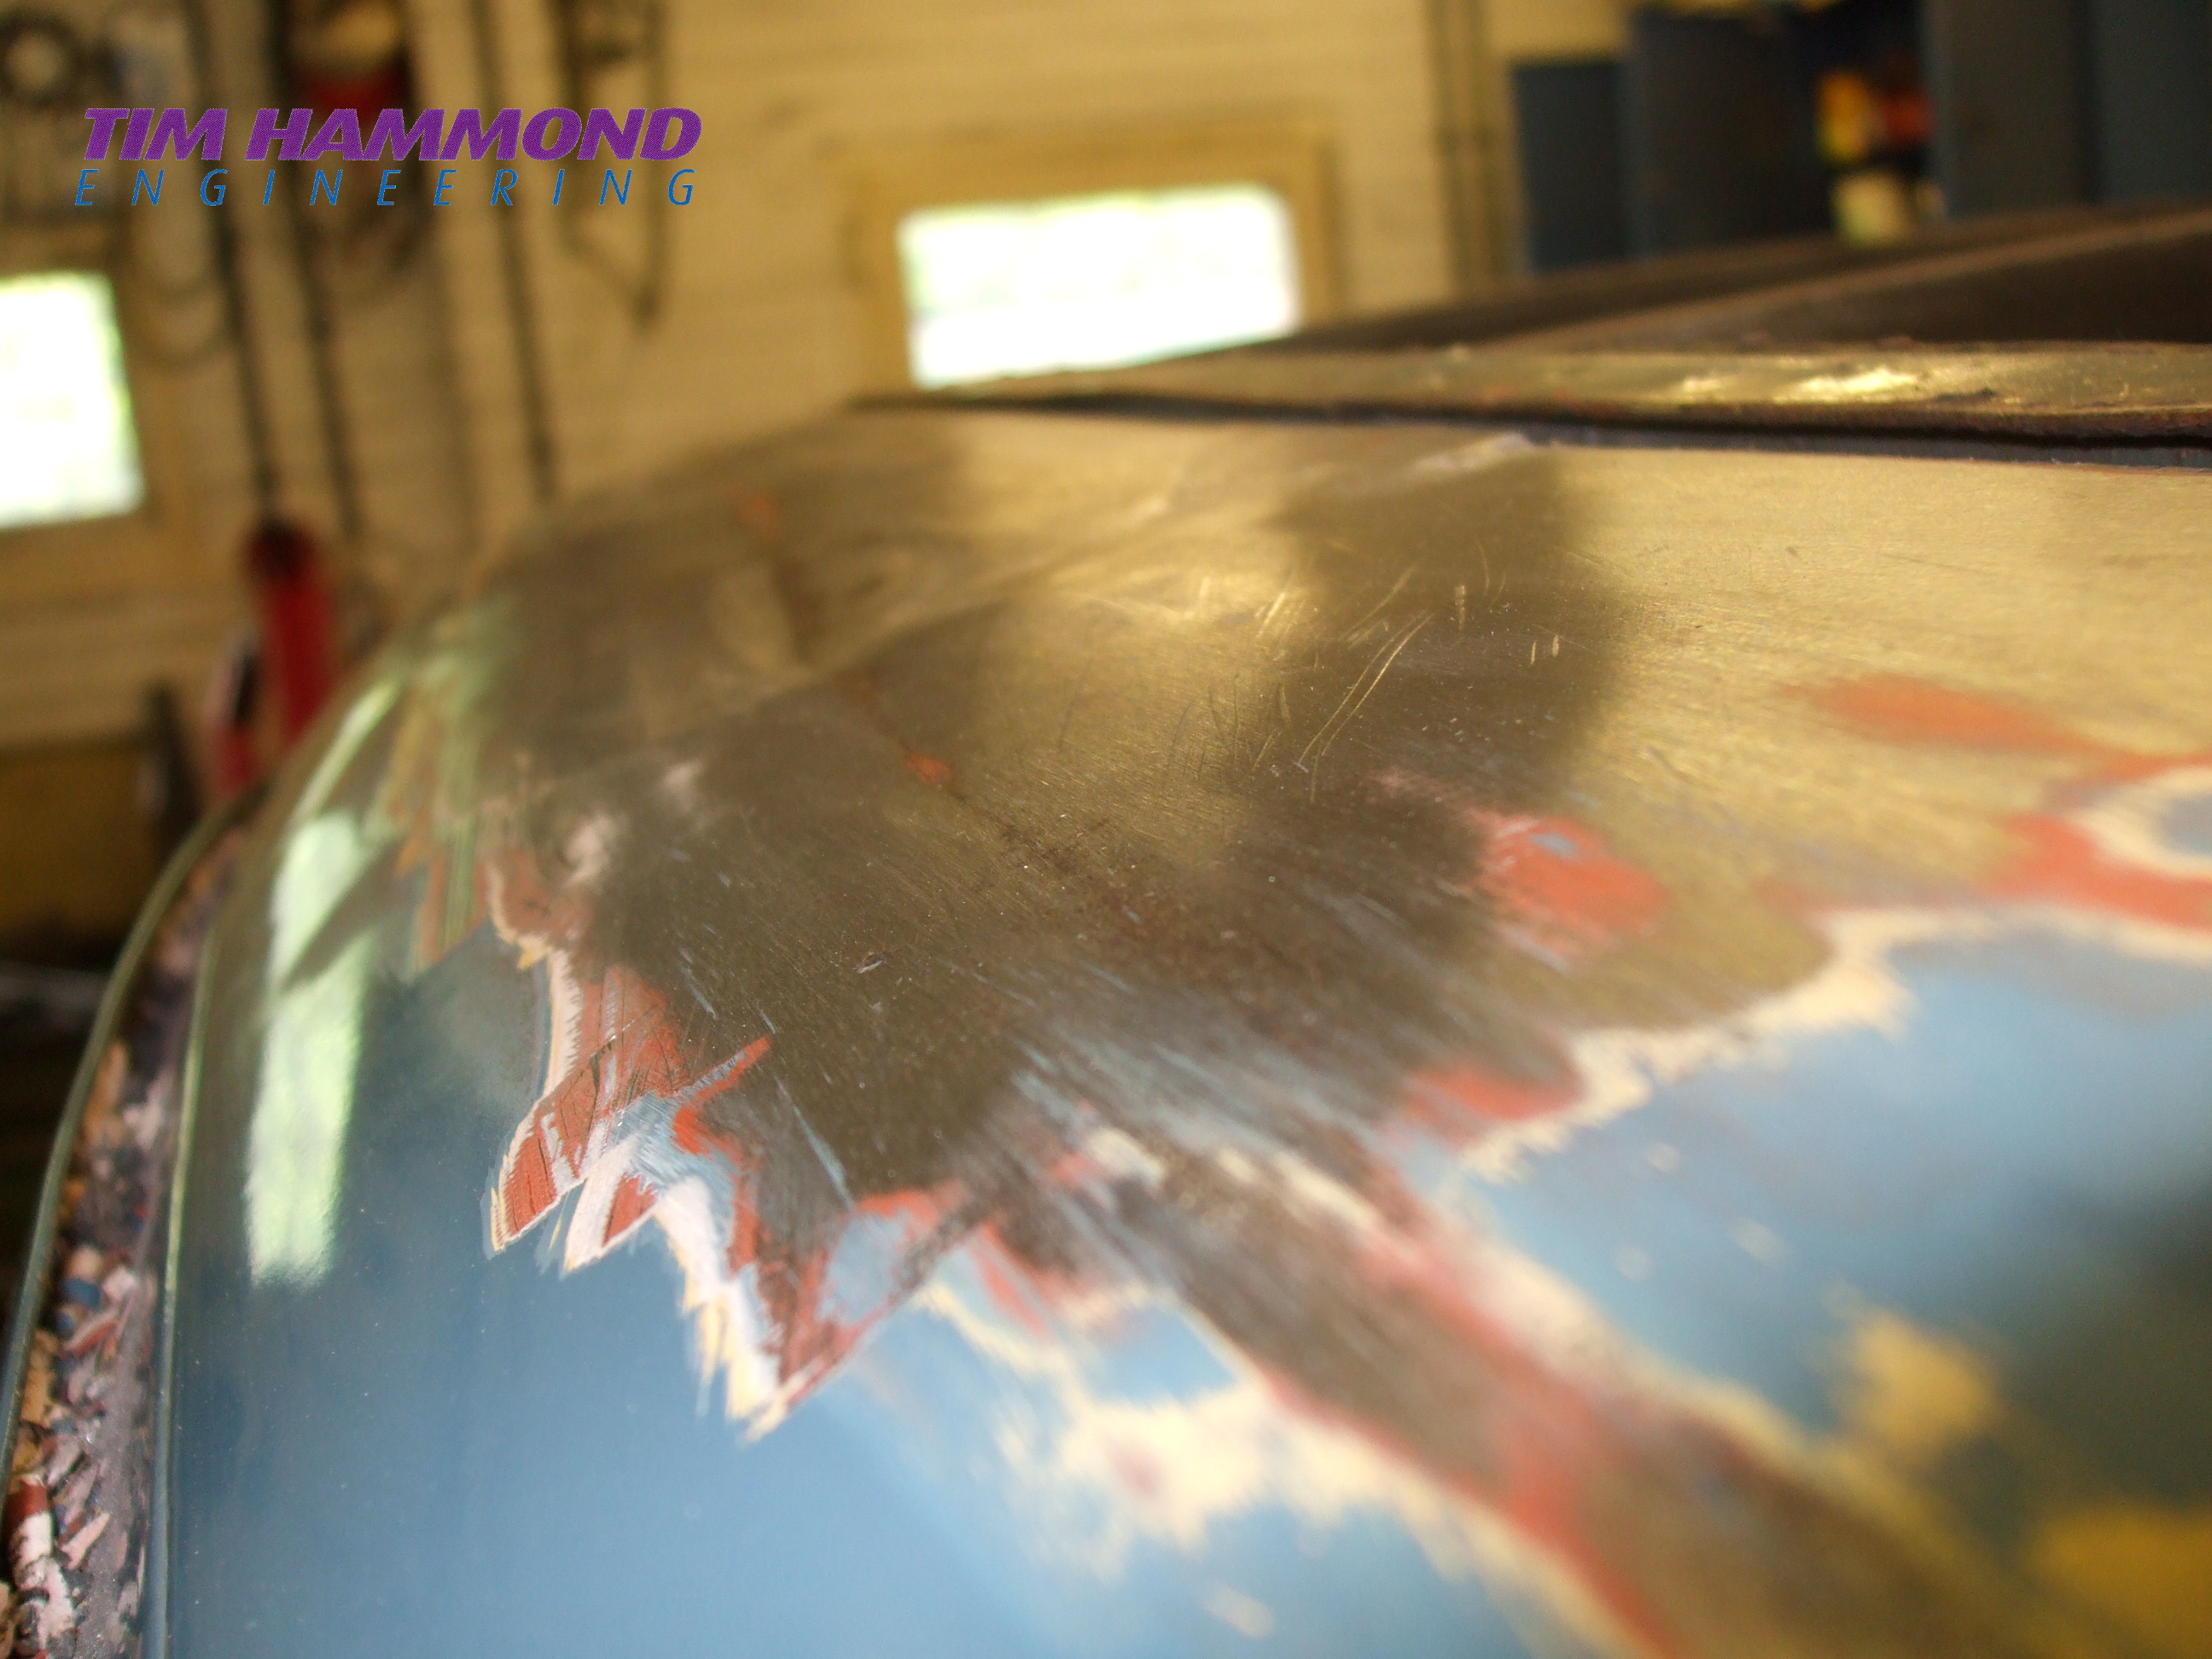
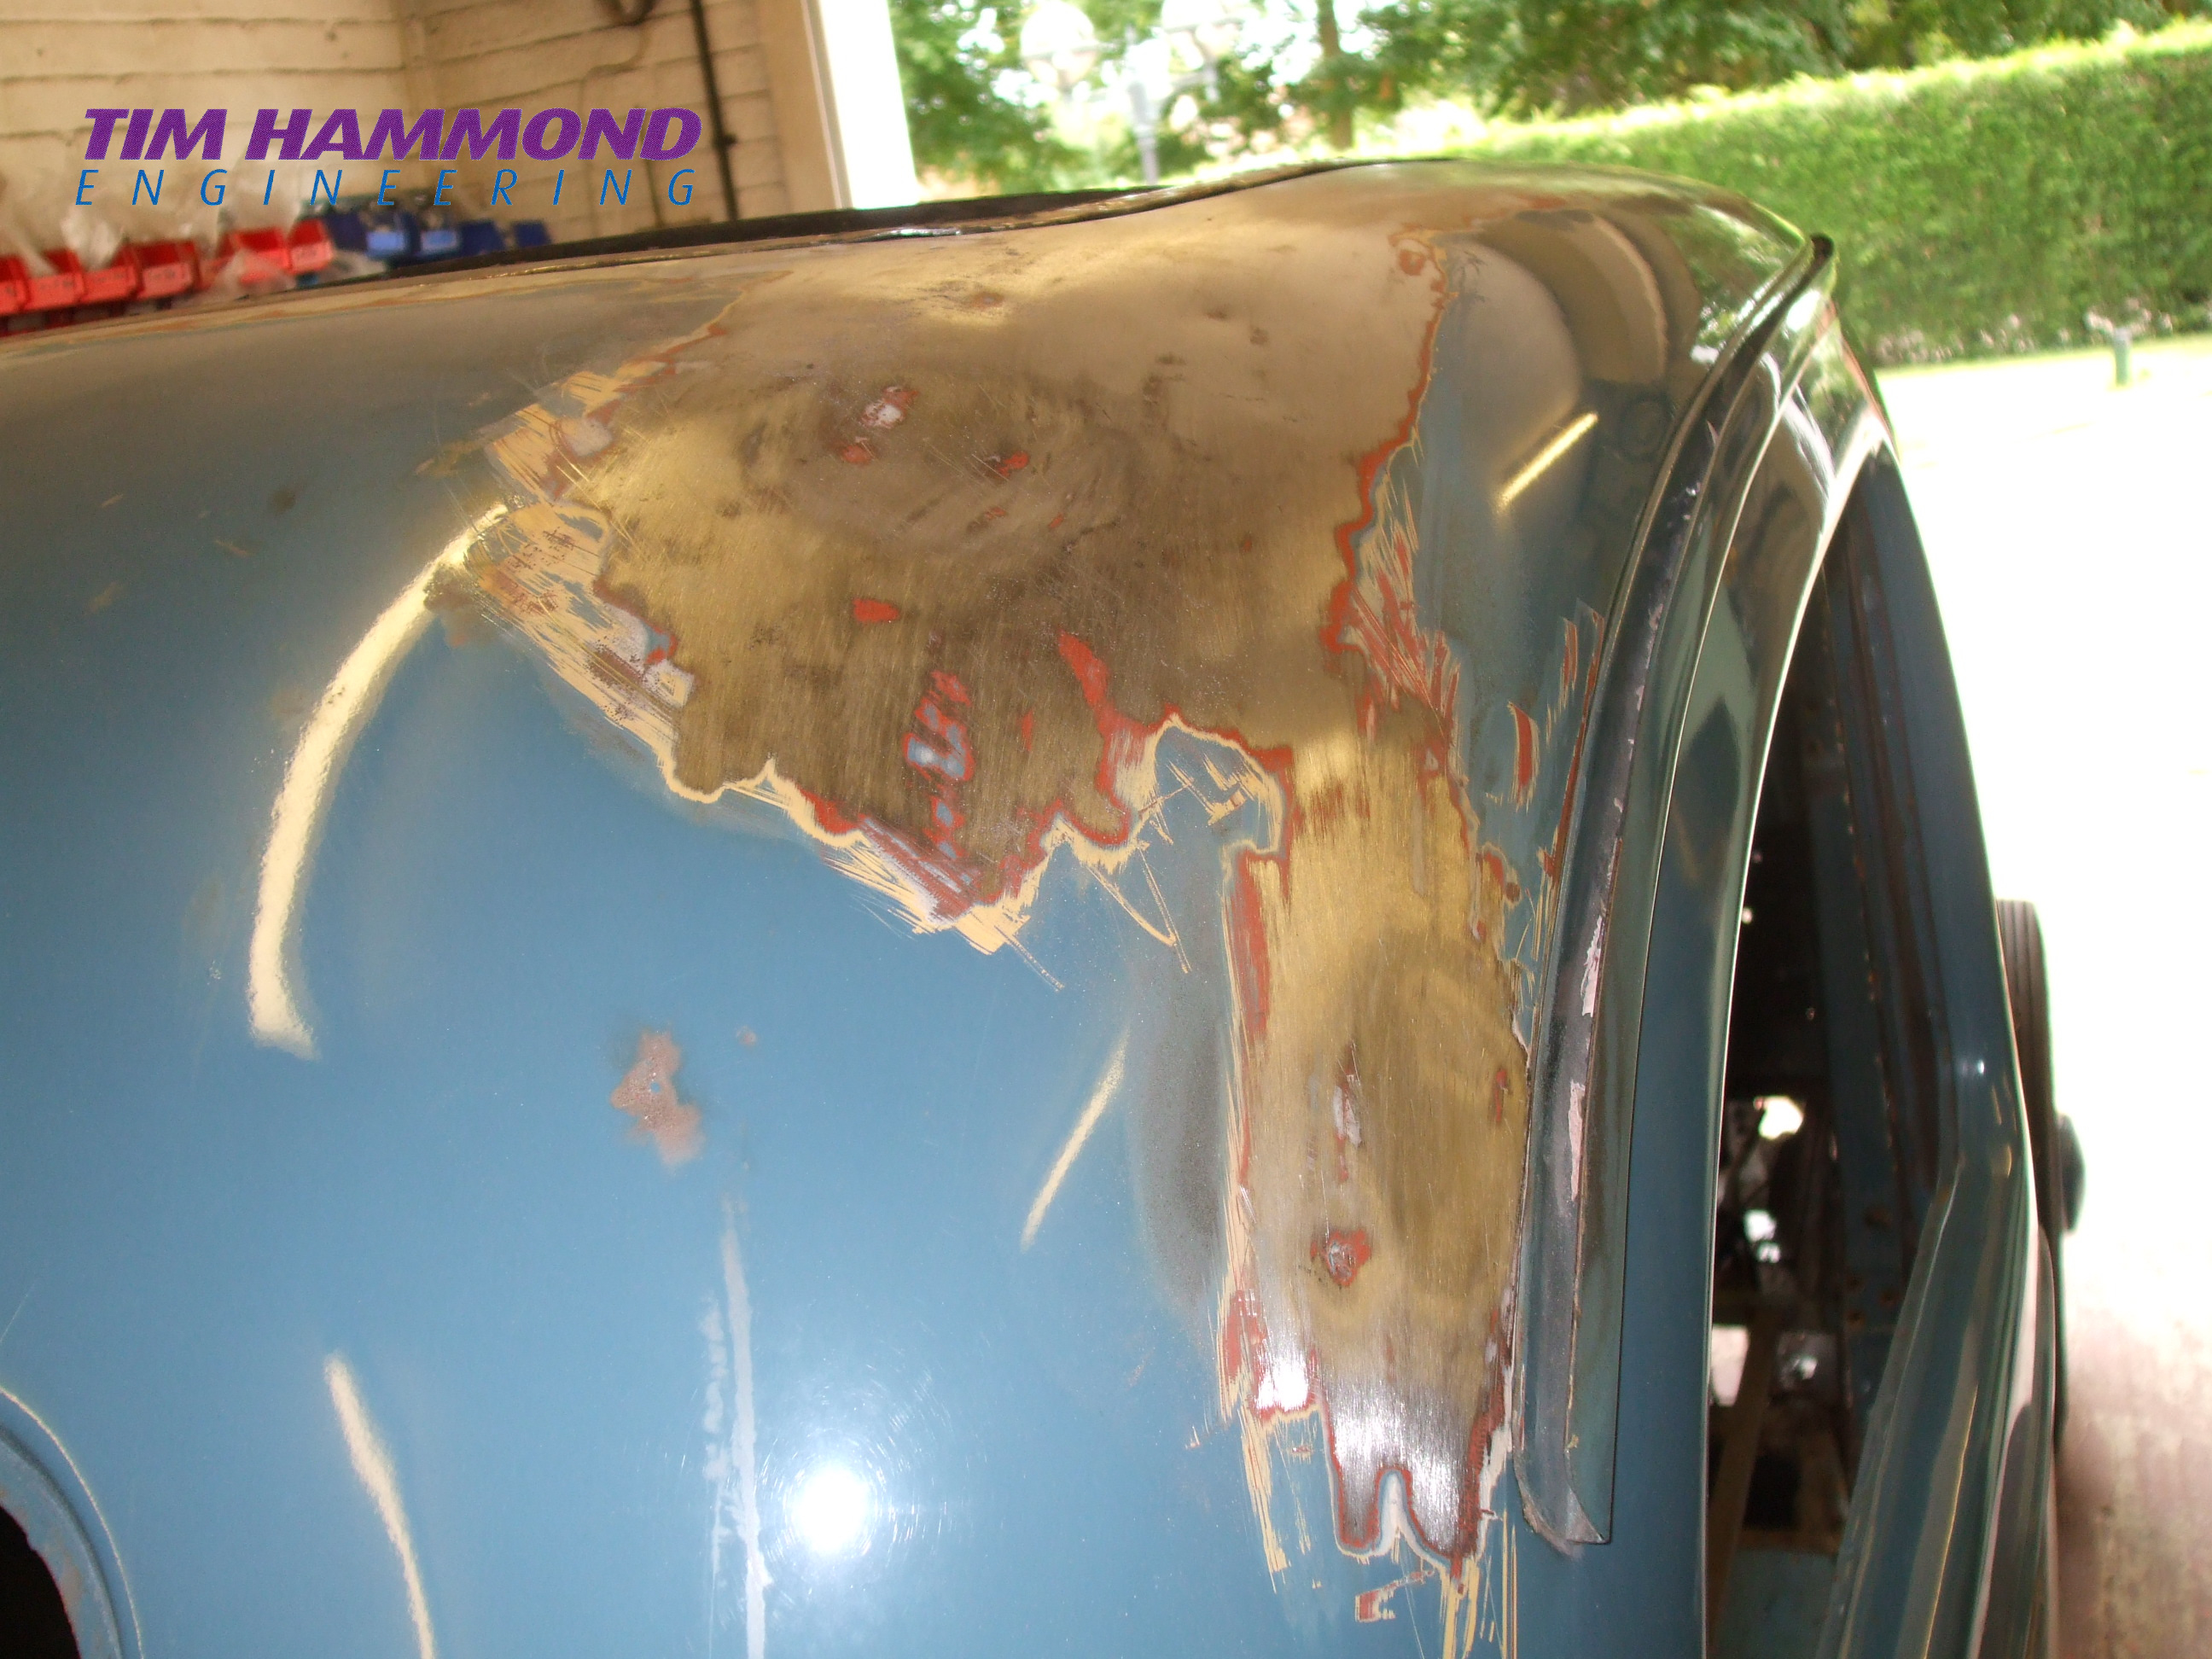
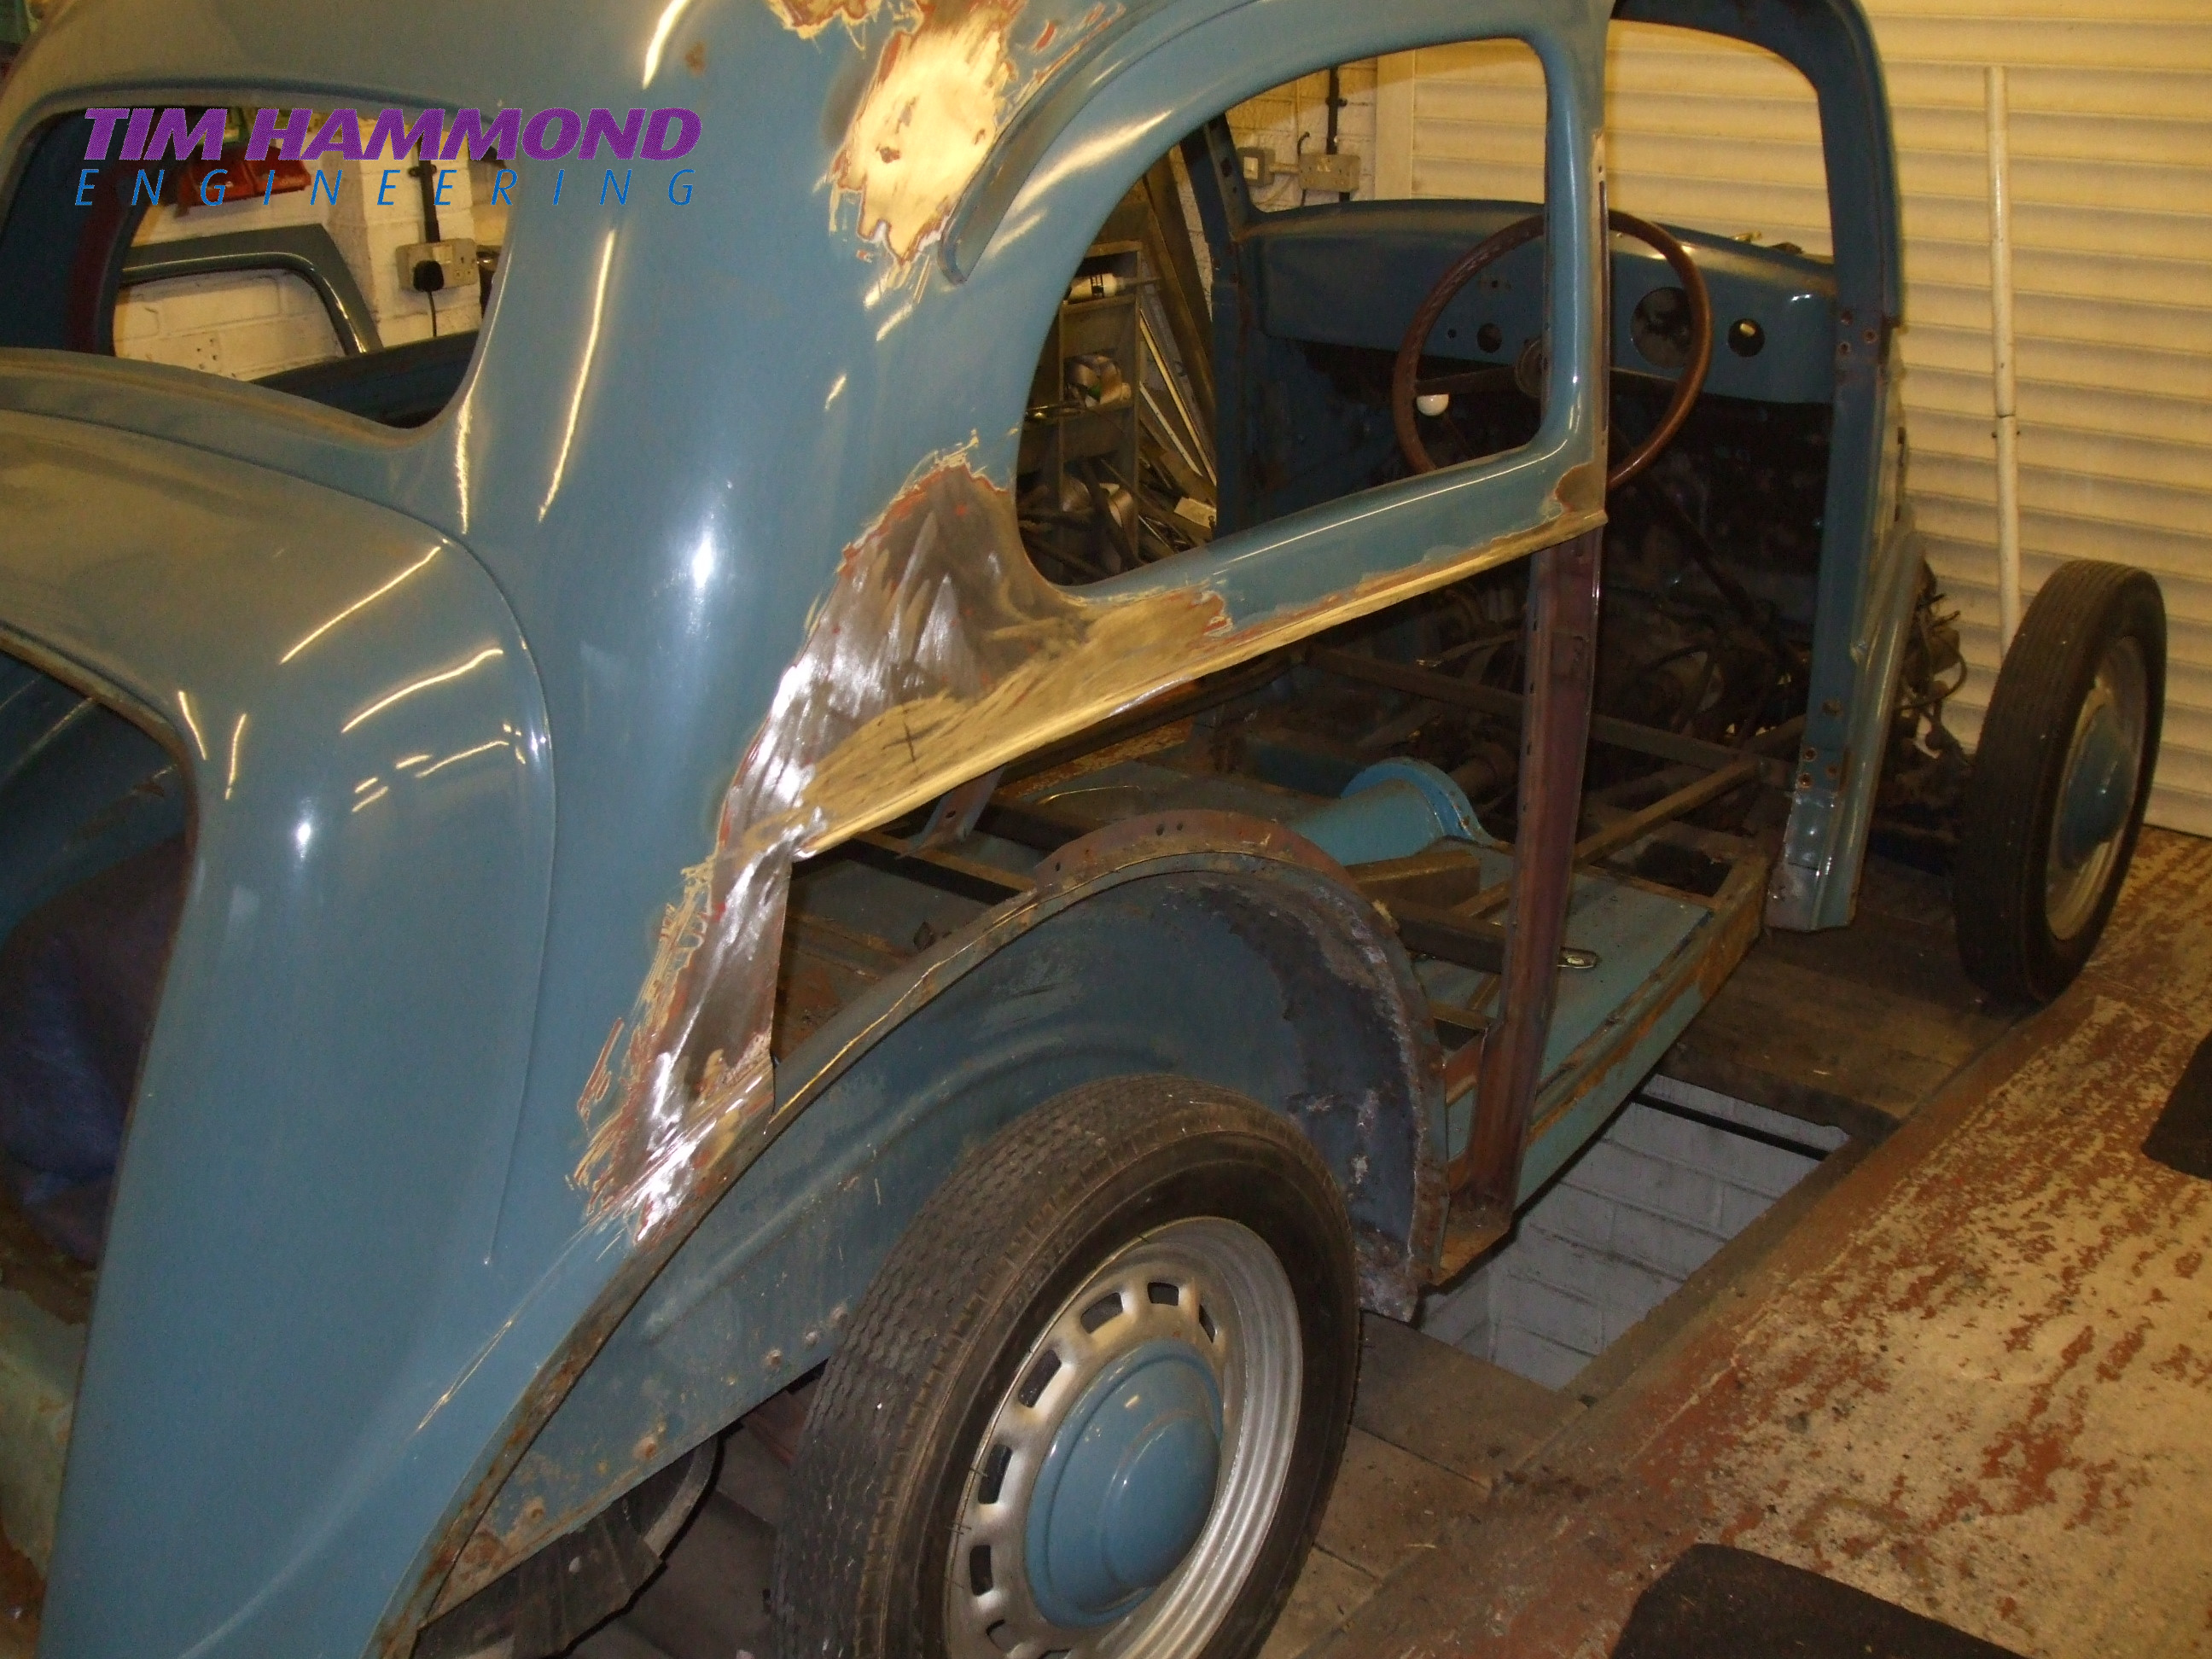
Luke is the proud owner of a rather nice Plymouth Pick Up Truck. Gary Layton had already crafted the chassis, wheel tubs and running gear. Tim took over to complete the body work. Unfortunately, like most trucks in its earlier life it had been a work horse and so nothing fitted properly, not a single panel was straight, and if it was not dented then it had some serious rot issues. Tim set about replacing all the relevant areas of rot, re-fabricating most of the cab, doors re-skinned, truck bed sides , front fenders, bonnet, grill, side steps.
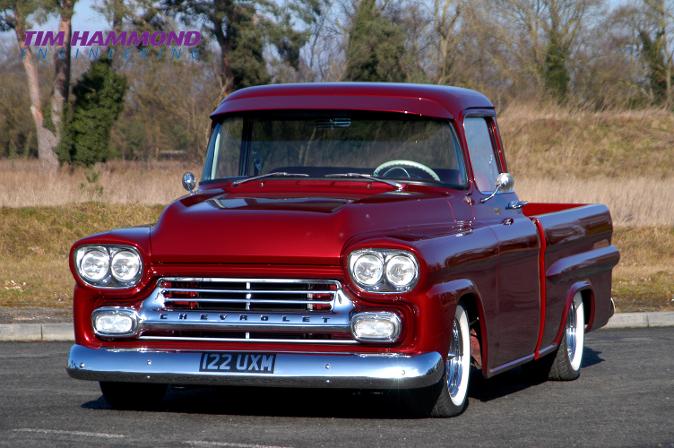
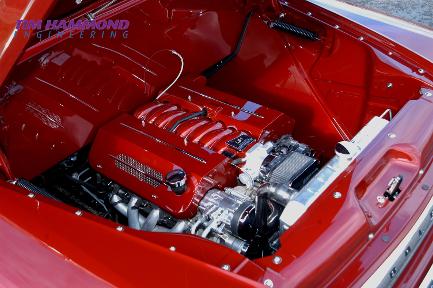
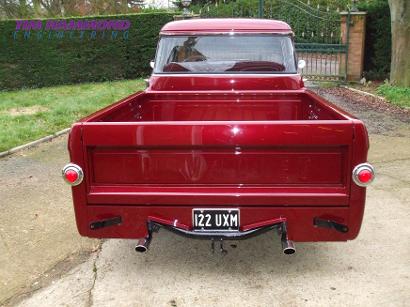
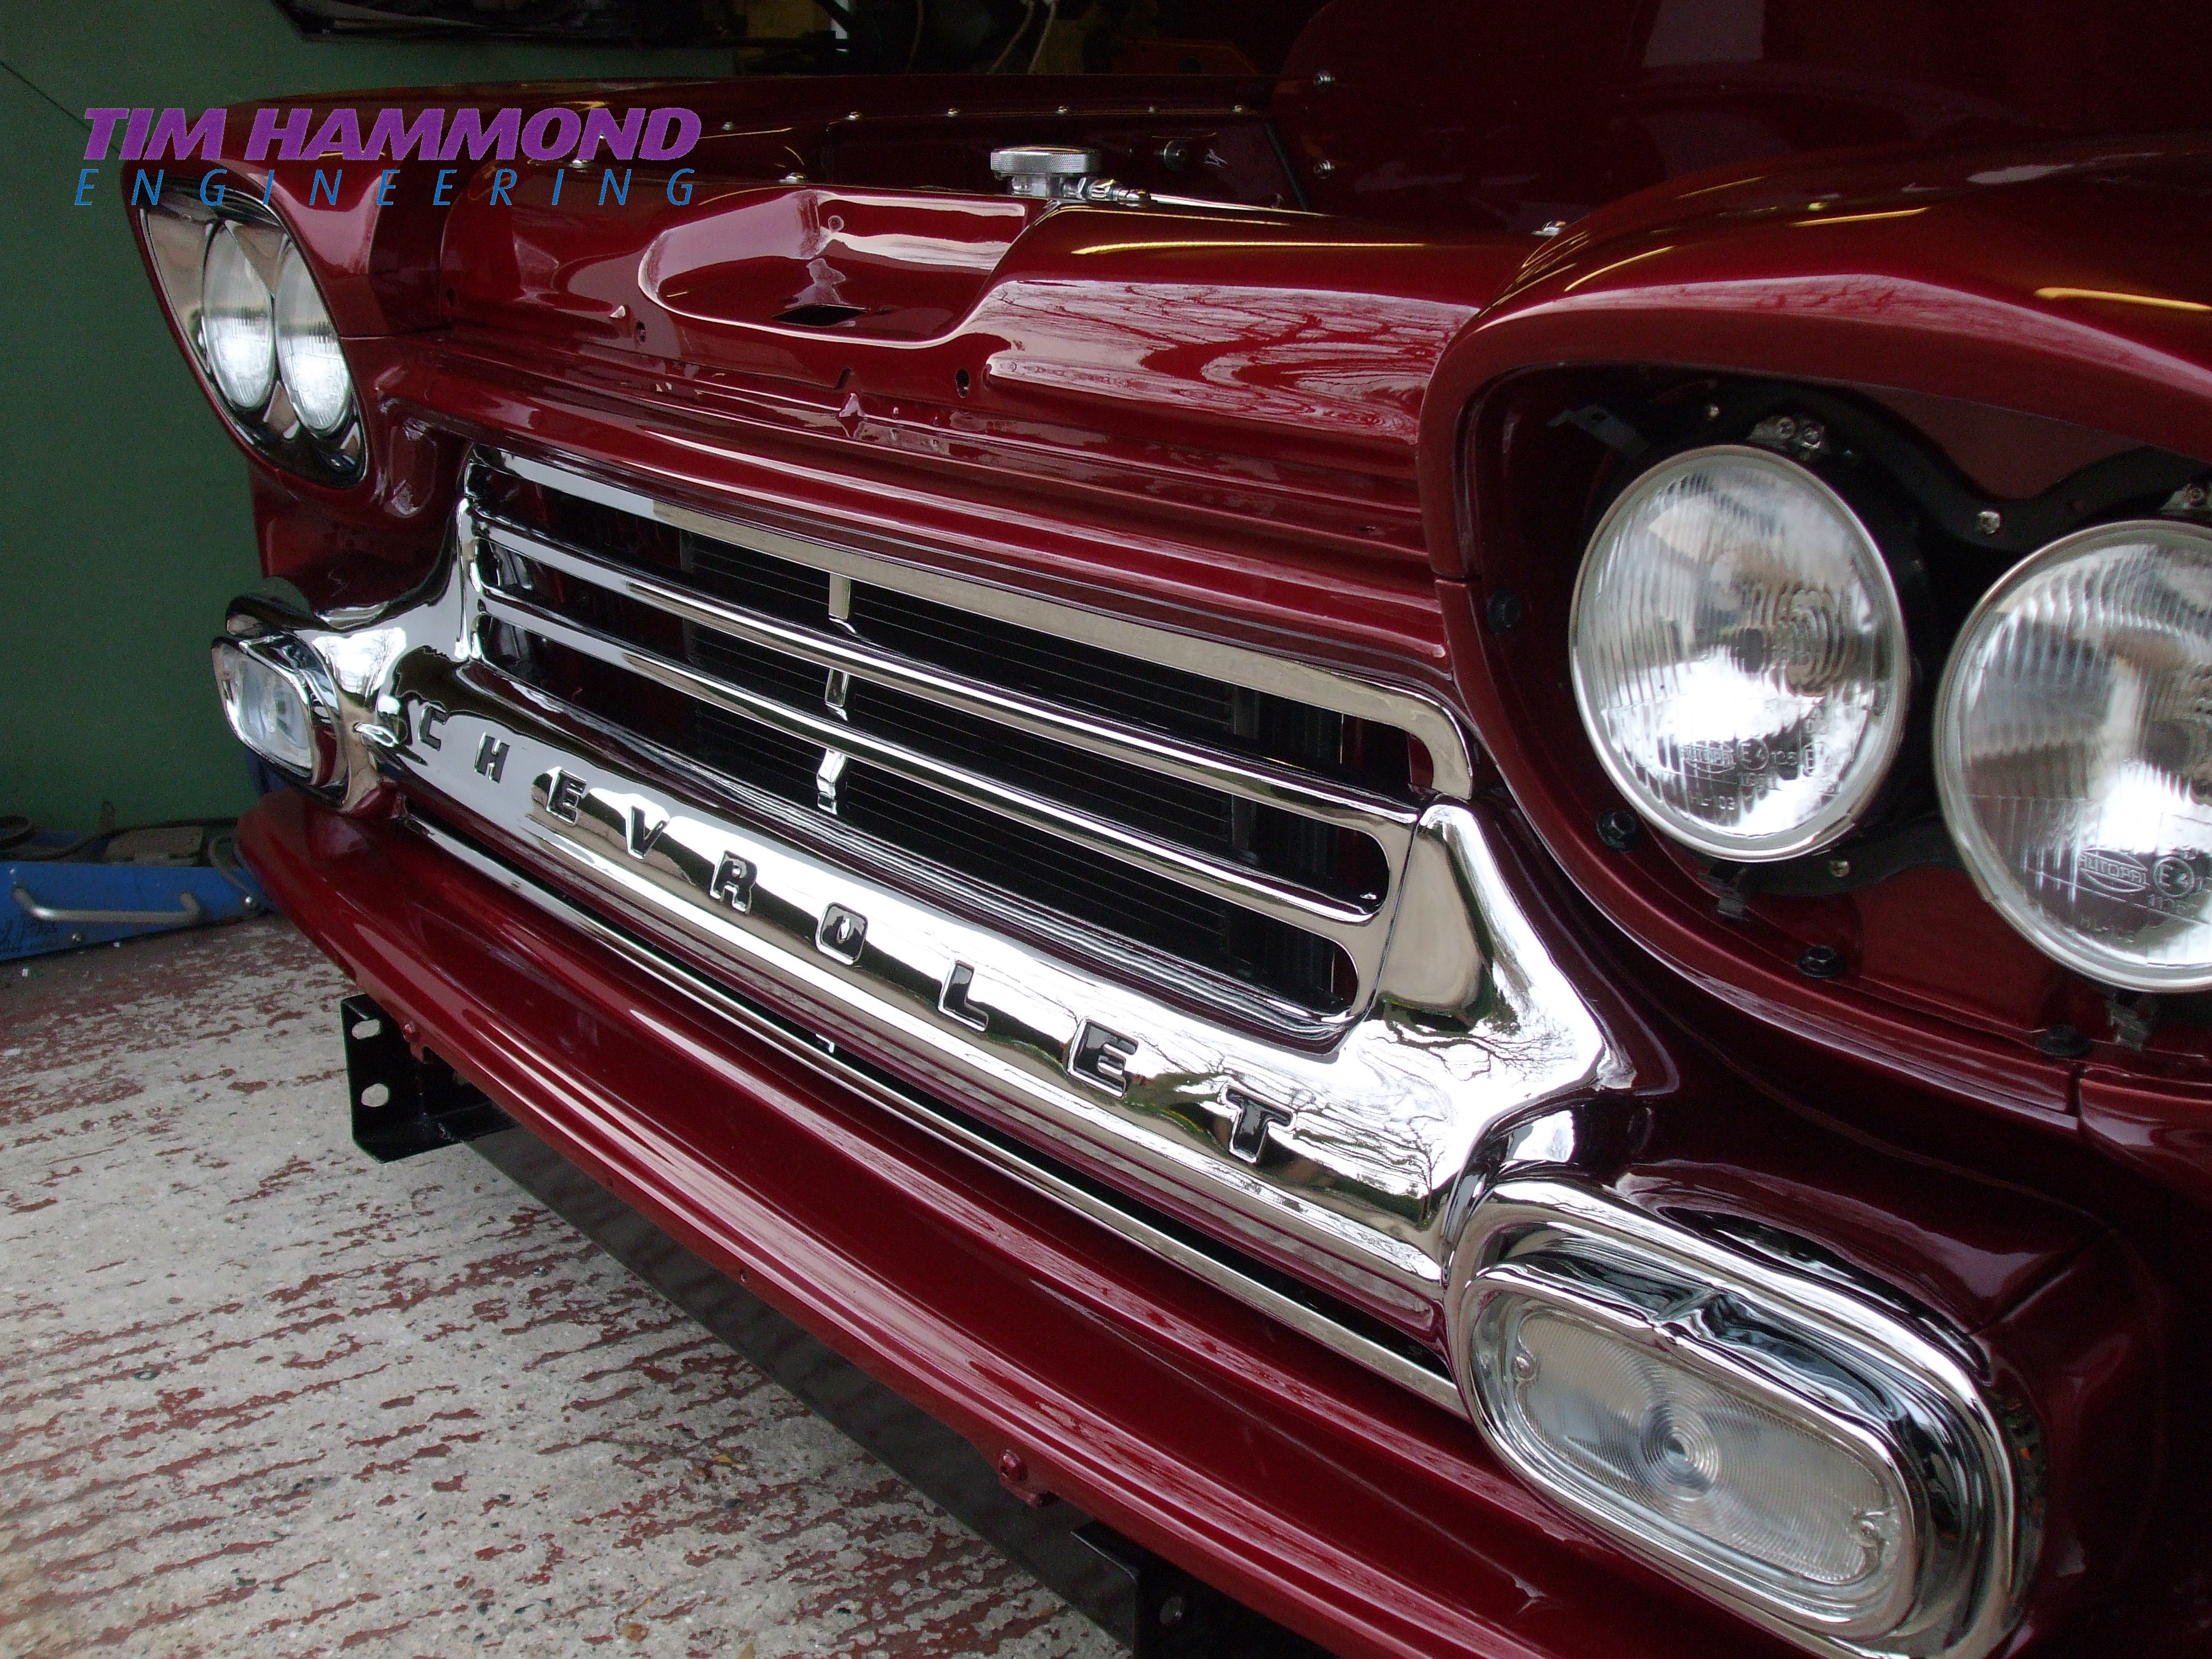
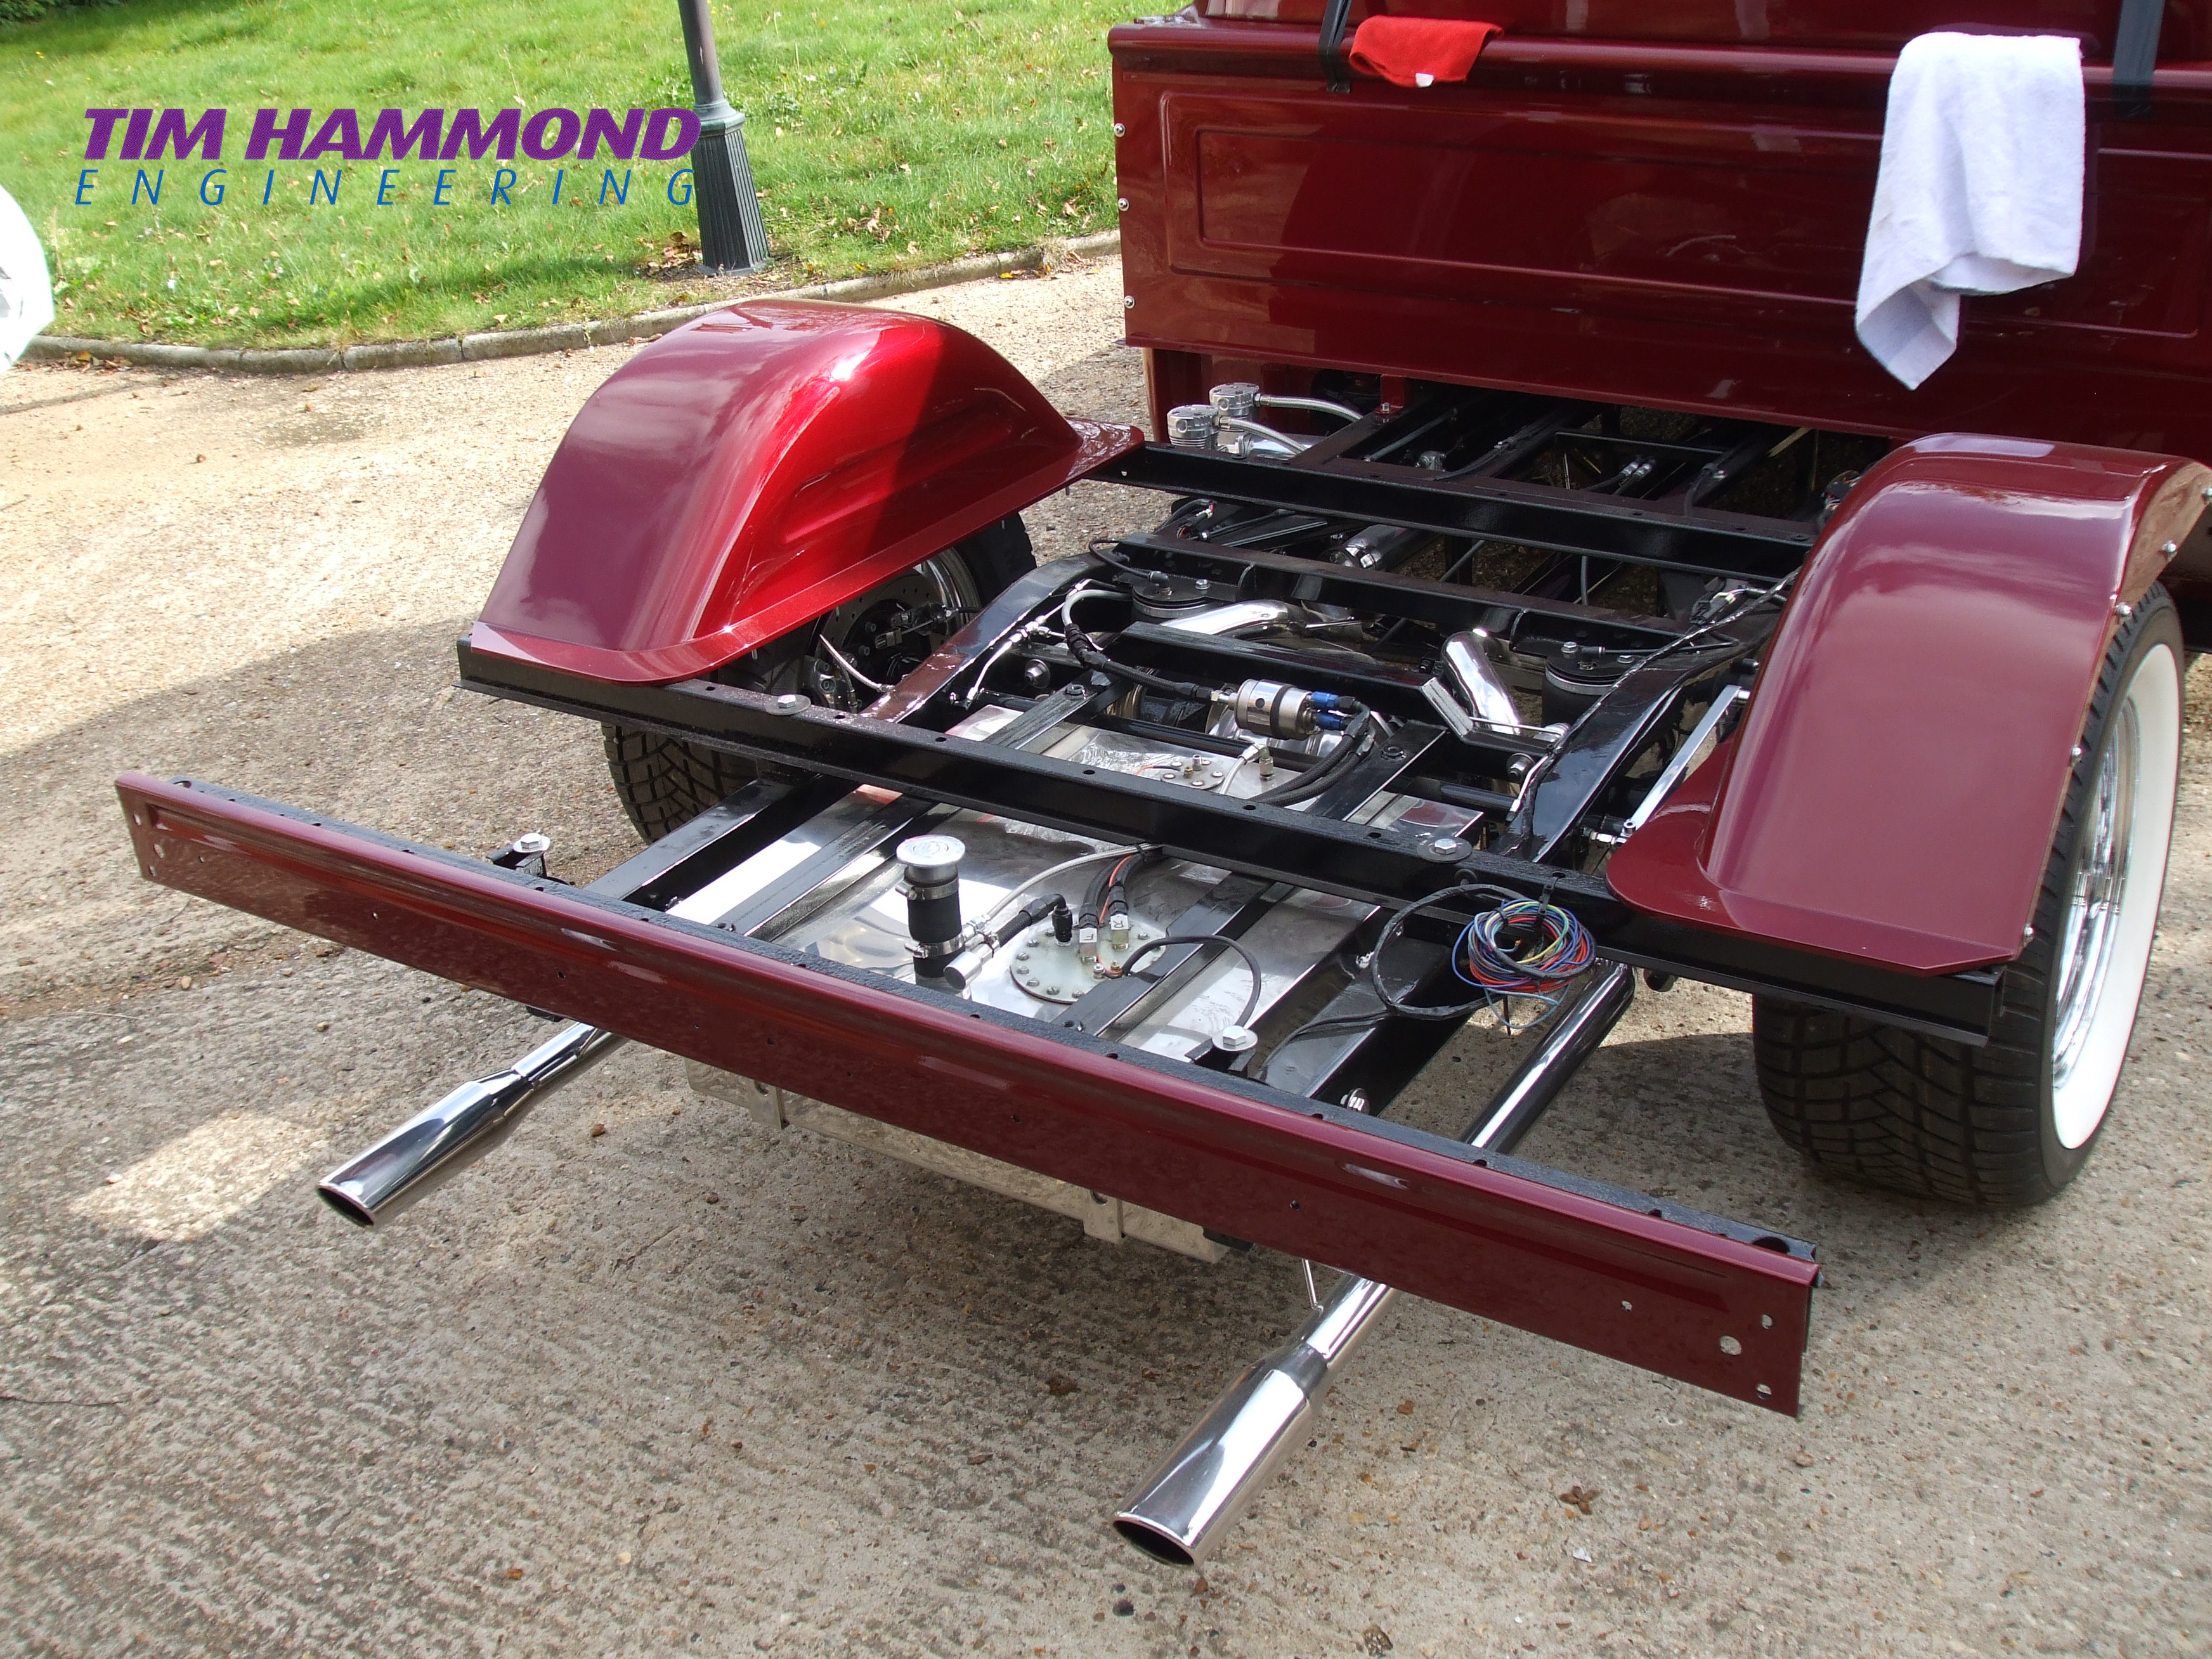
Stuart's Chevy Pick Up
Stuart wanted a completely renovated truck, from the chassis to the very top. This included multiple body modifications - which meant closing up all the door and panel gaps, completely changing the front grill and generally making everything fit so much better. There were also changes to the chassis and suspension, a new LS1 engine and gearbox transplant, air conditioning, air ride suspension, new pick up bed, new styled interior by switching and grafting a car dash into the truck, all new windows, gorgeous paint and an amazing interior by Steve Hudson. It is those little touches that make a project so very special. Stuart is keen that the truck is used regularly and has already completed a good few miles just travelling up and down the country, especially living in Scotland.
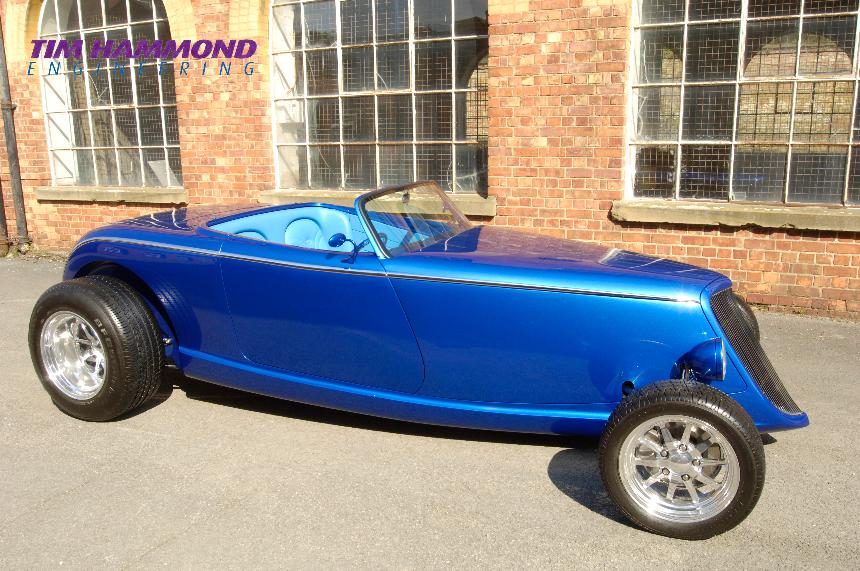

Dan's 1934 Roadster
Tim designed and fabricated the chassis and was given free rein on the suspension and so in typical Tim fashion he designed something completely different, canter lever inboard front suspension. All fabricated from stainless steel. Rear suspension, again hand crafted and designed. The floor pan becomes part of the integral body of the car.
Bob Ford constructed the body from aluminium and Tim finished the fit and putting together. Since the British weather was not entirely reliable, and to ensure the vehicle was roadworthy a hard top was made from aluminium and fenders for all four corners.
The car was returned to Tim after paint and the chassis was put together, body fitted and then upholstered by Steve Hudson, with the leather being specially dyed to match the carpet. Dan's son Darren came up with the design for the interior with Steve.
Since its construction the car has won many shows, including Best in Britain 3 times, National Champion, and top 10 awards. Built to be driven this vehicle has done many miles over the years it has been on the road. Dan and Jen keep the car immaculately clean, but state that it was always built to be driven.
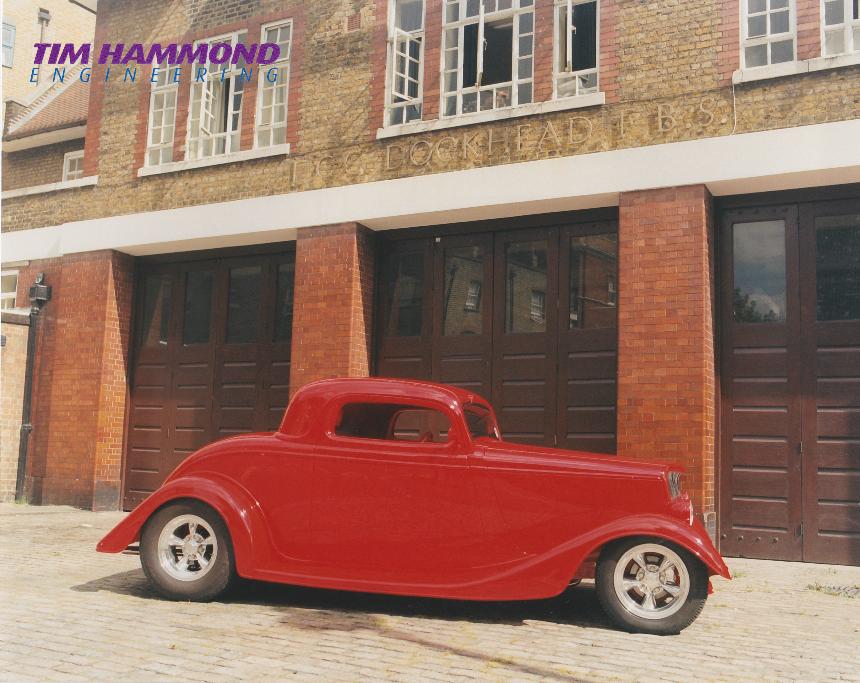
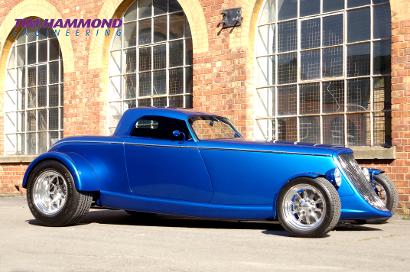
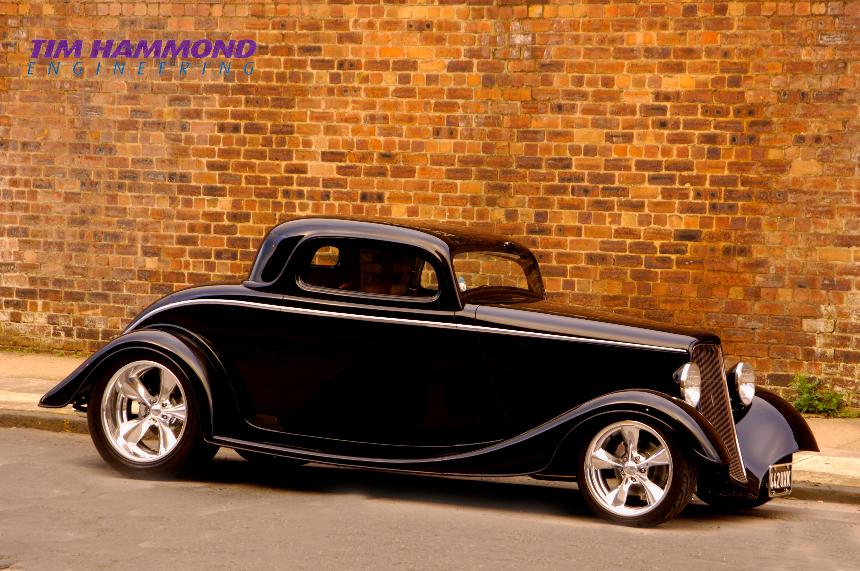
Frank's 1934 Coupe
The body was originally a 34 Corner product and Tim was asked to complete the project. Initially it ran with a 350 Chevy, but this was changed for a ZZ4 engine, Street and Performance TPI and a 200R4 gearbox later. Frank had steel fenders and running boards made. All gaps on the body were tightened up and sprayed the beautiful Boyd Red. Followed by a beautiful interior from Neil Tadman. Again, this vehicle won many shows, including Best in Britain, and National Champion. Frank always took really good care of the car, and it was obviously cleaned very regularly. Frank, like many of the owners enjoys driving his cars.
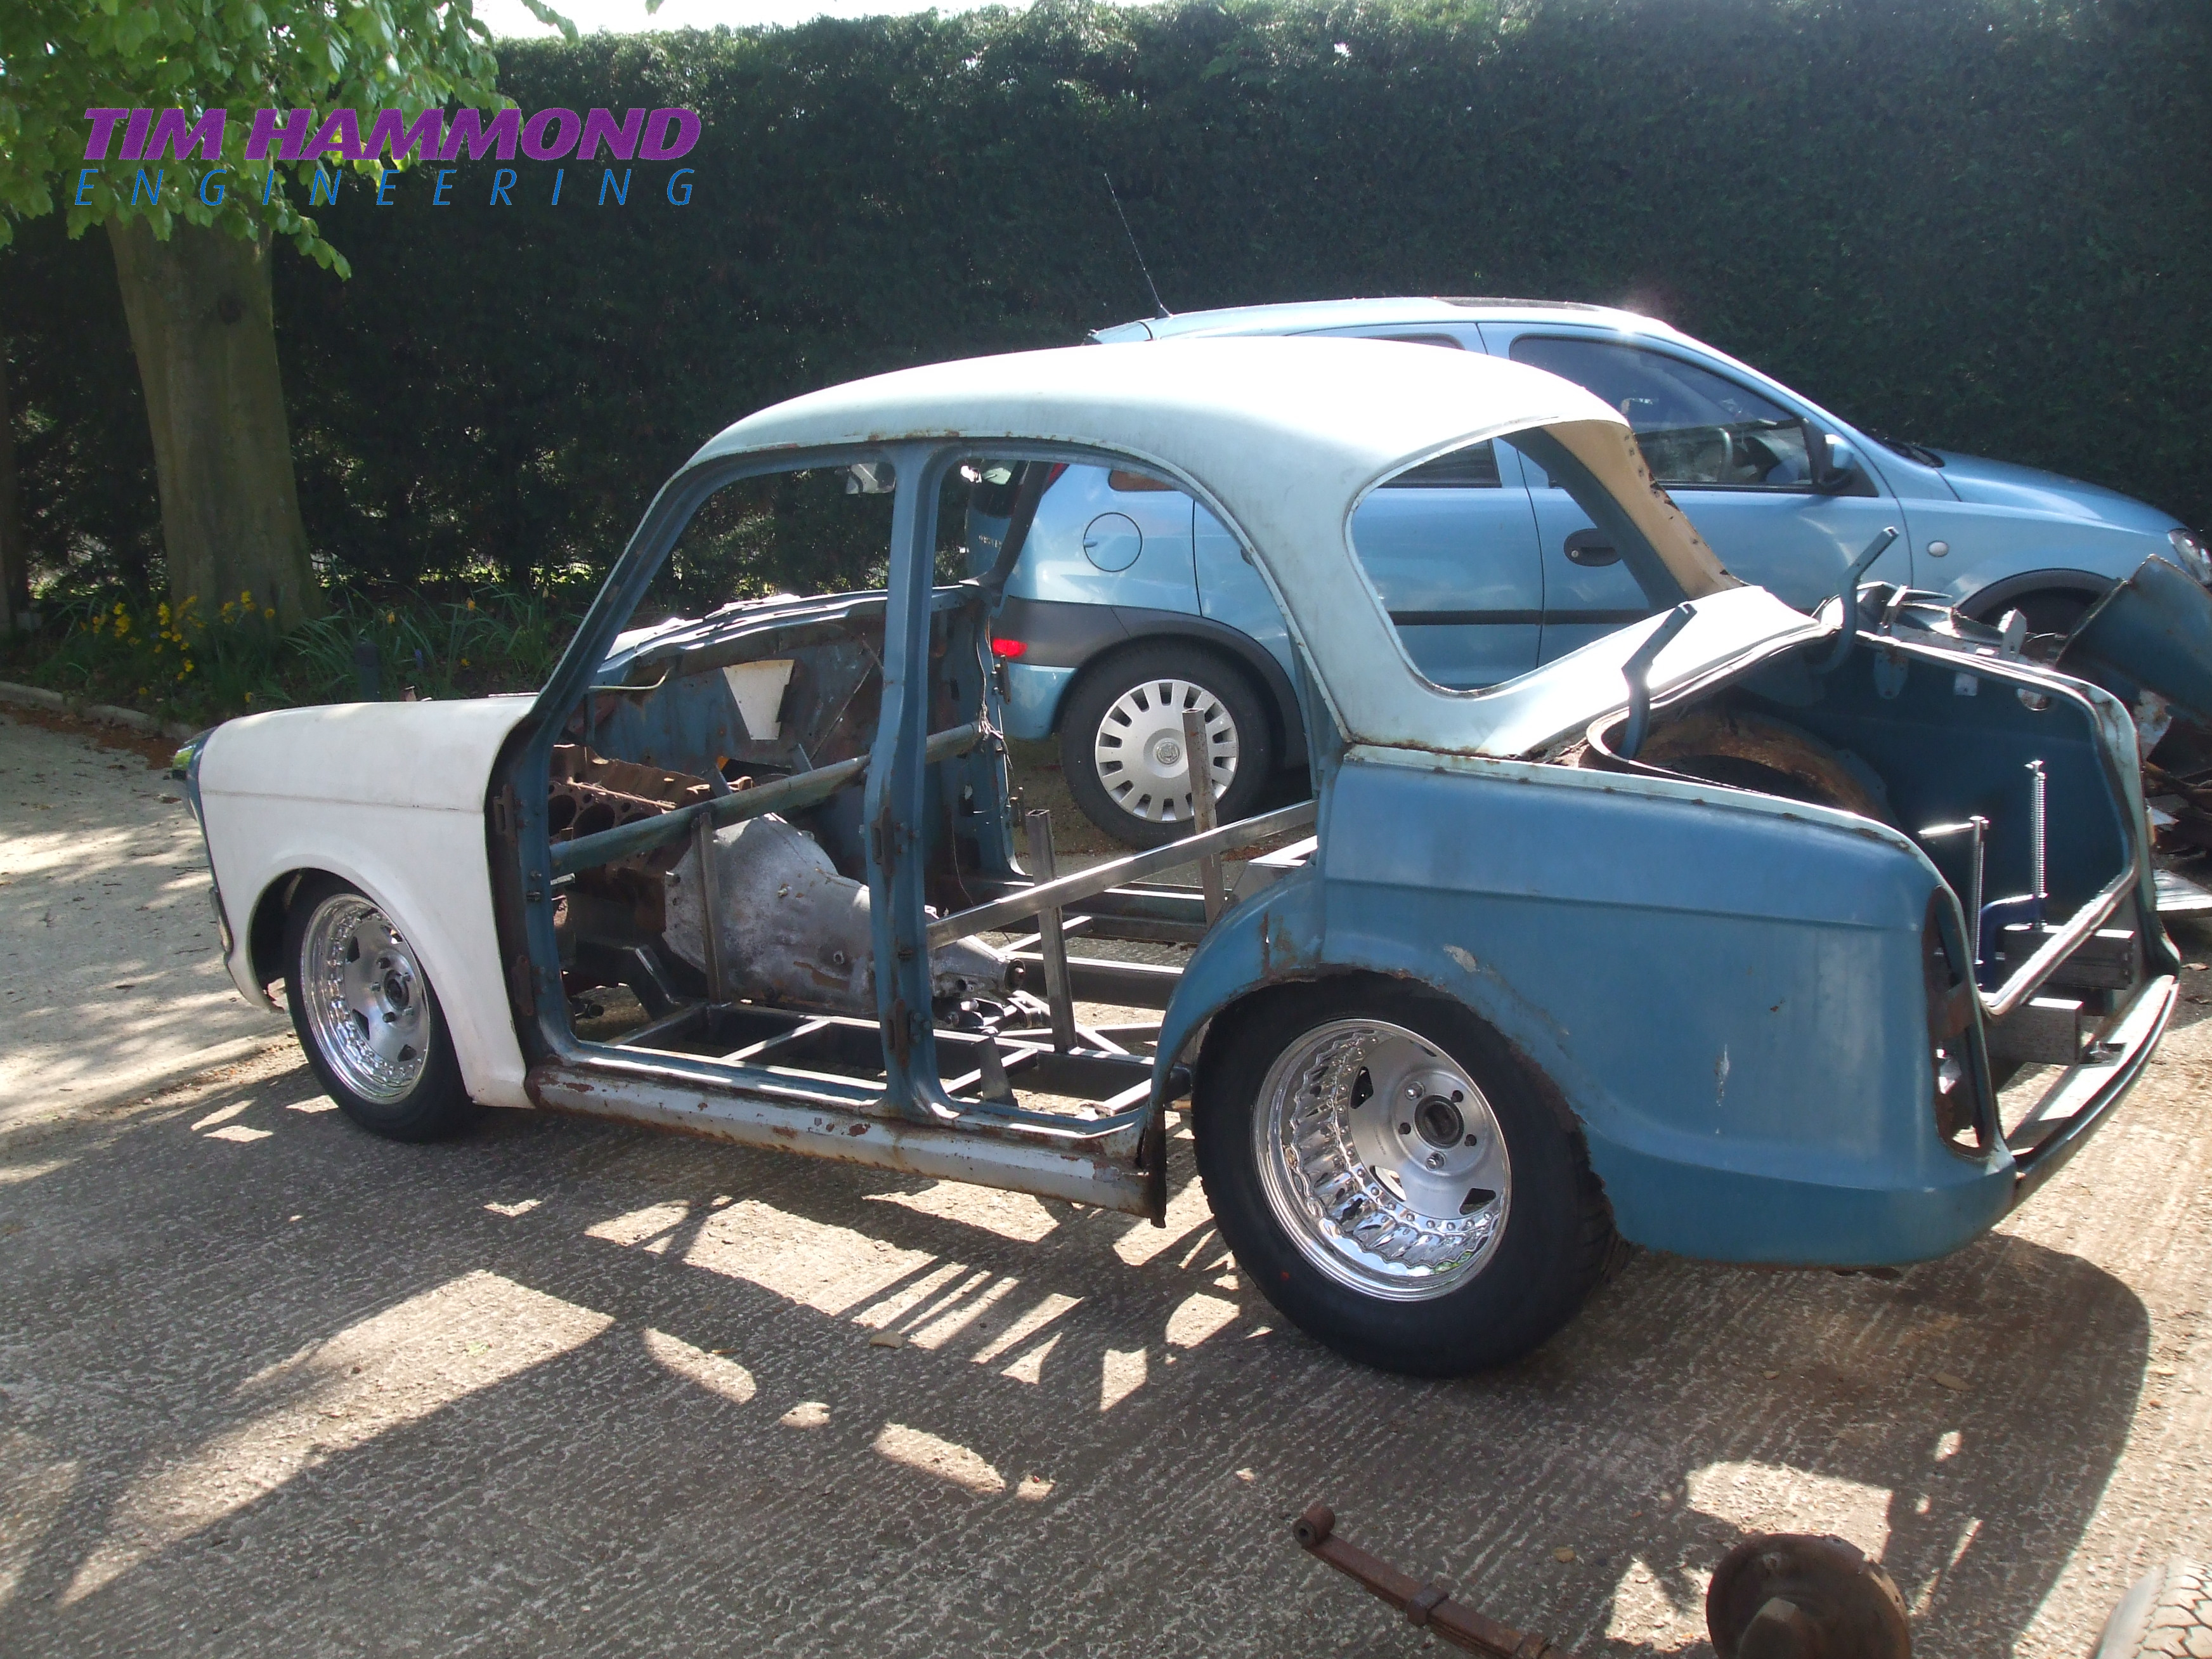
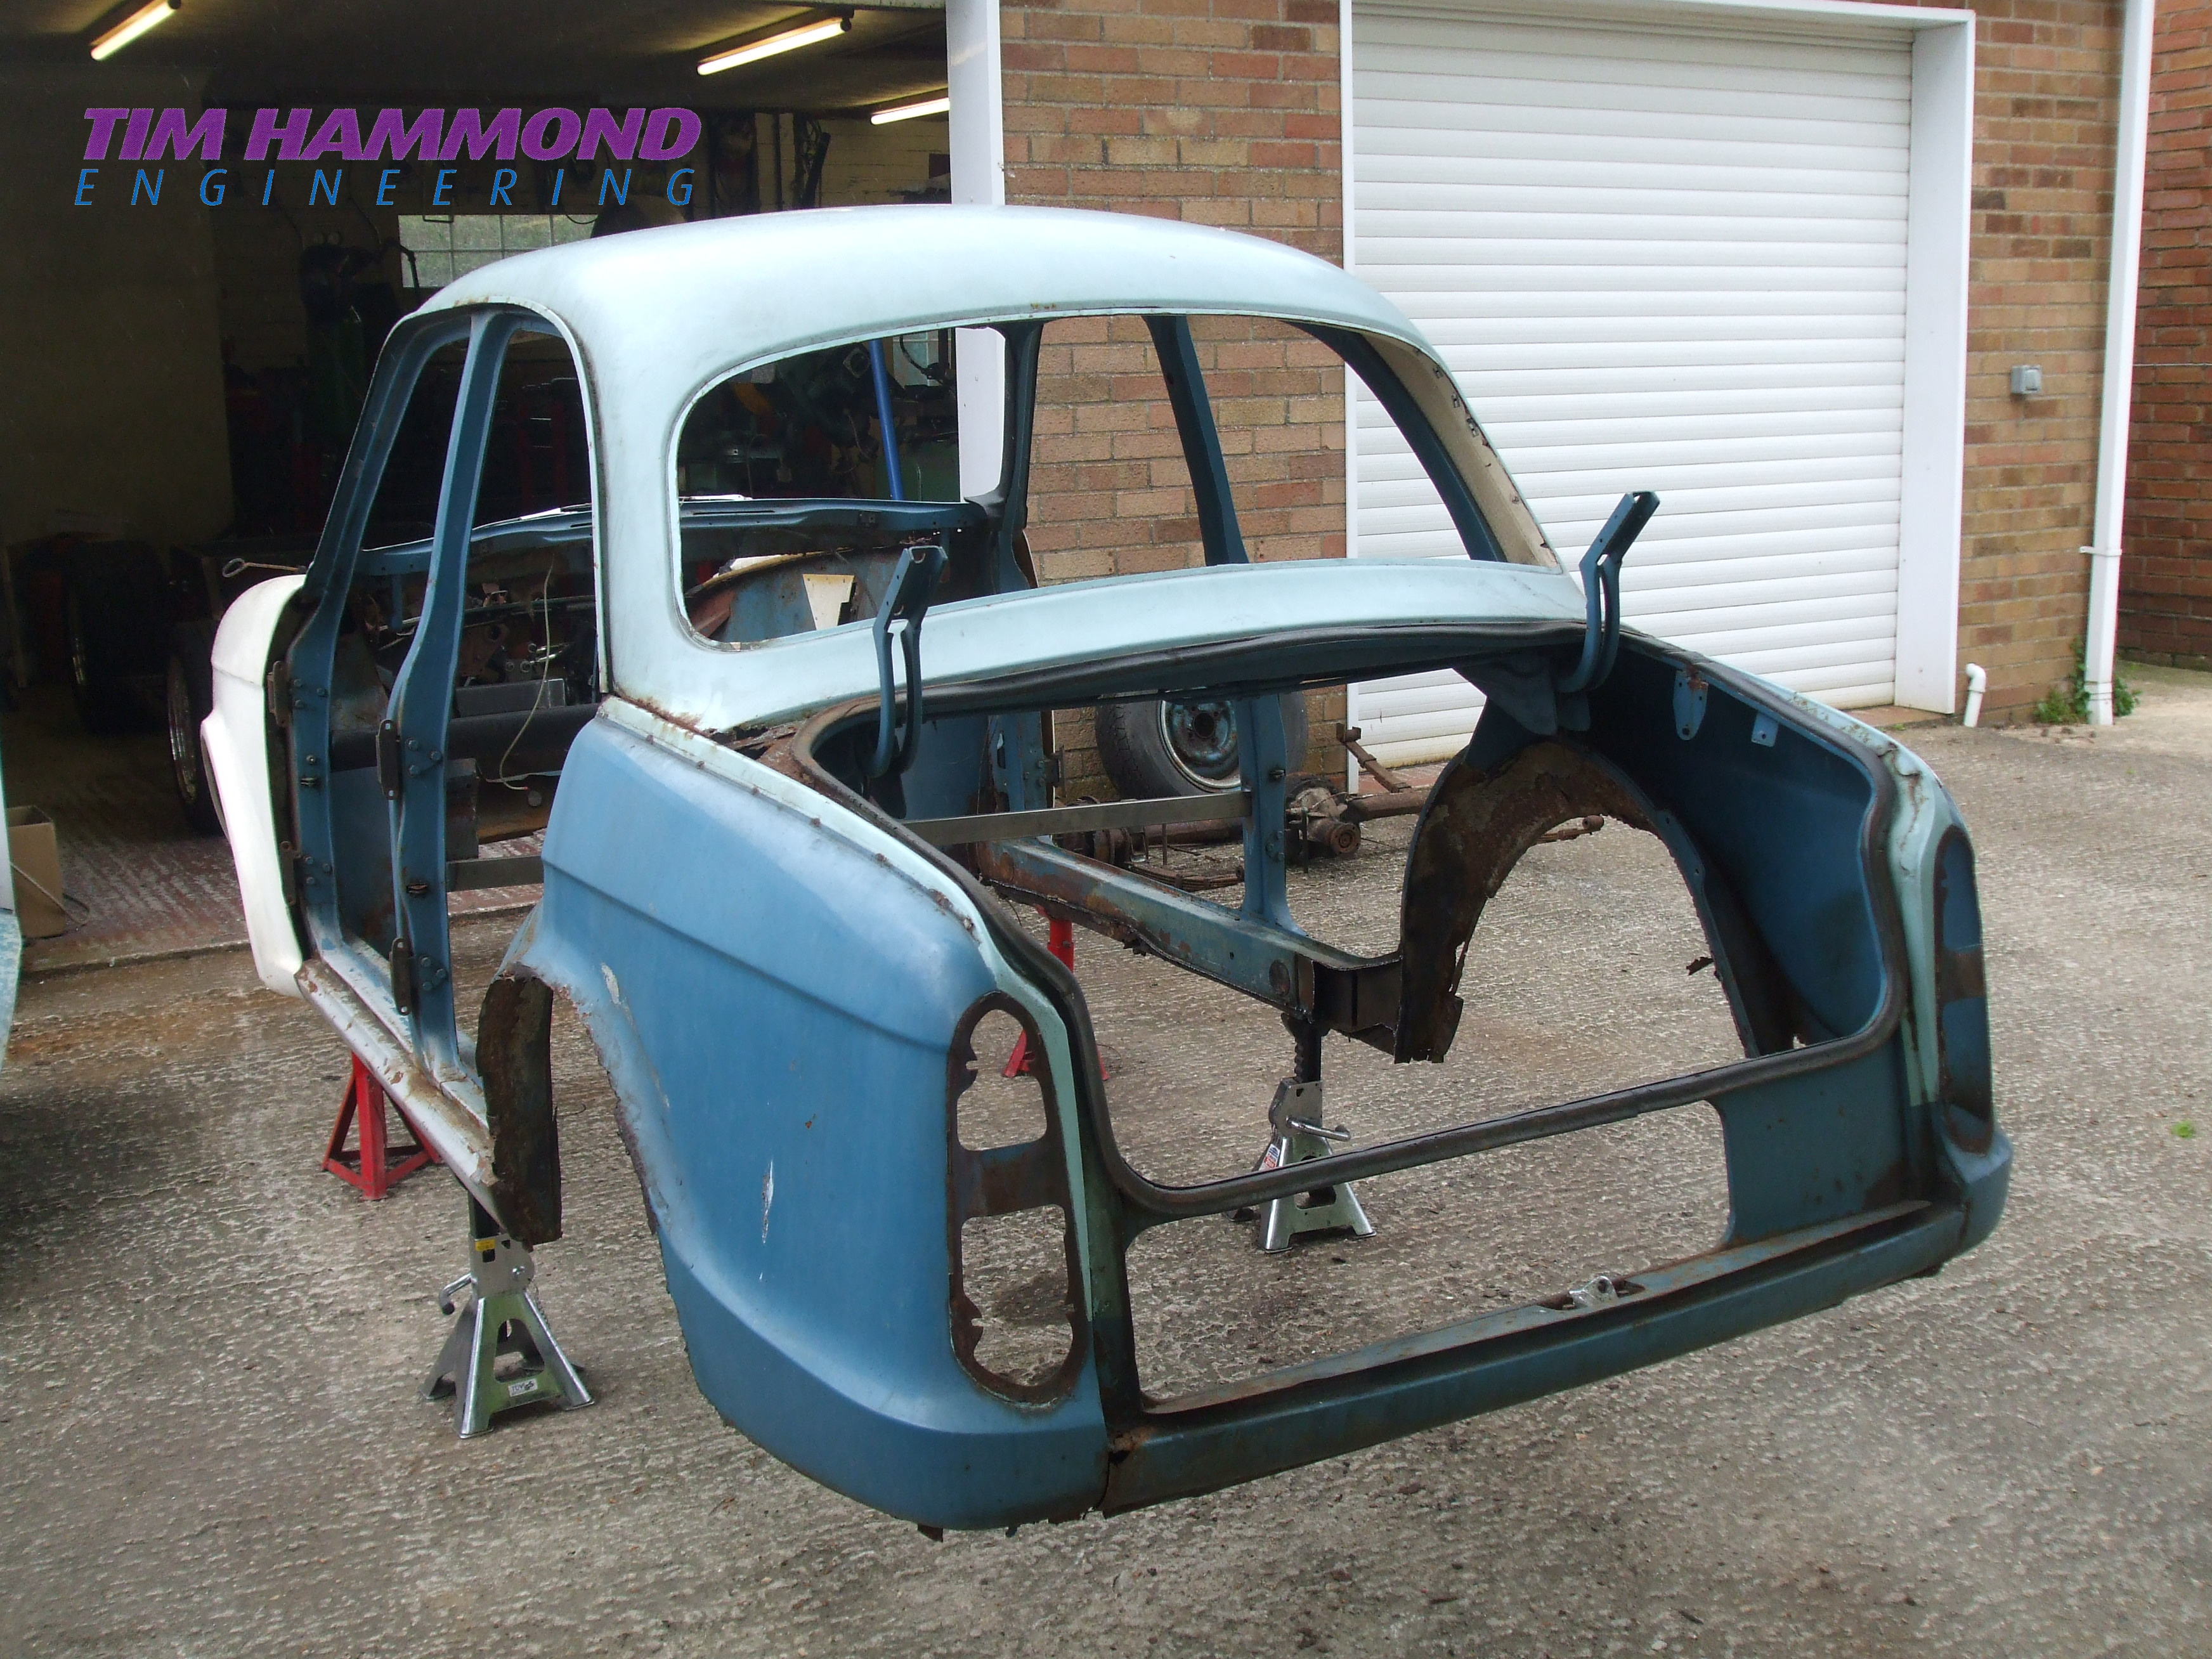
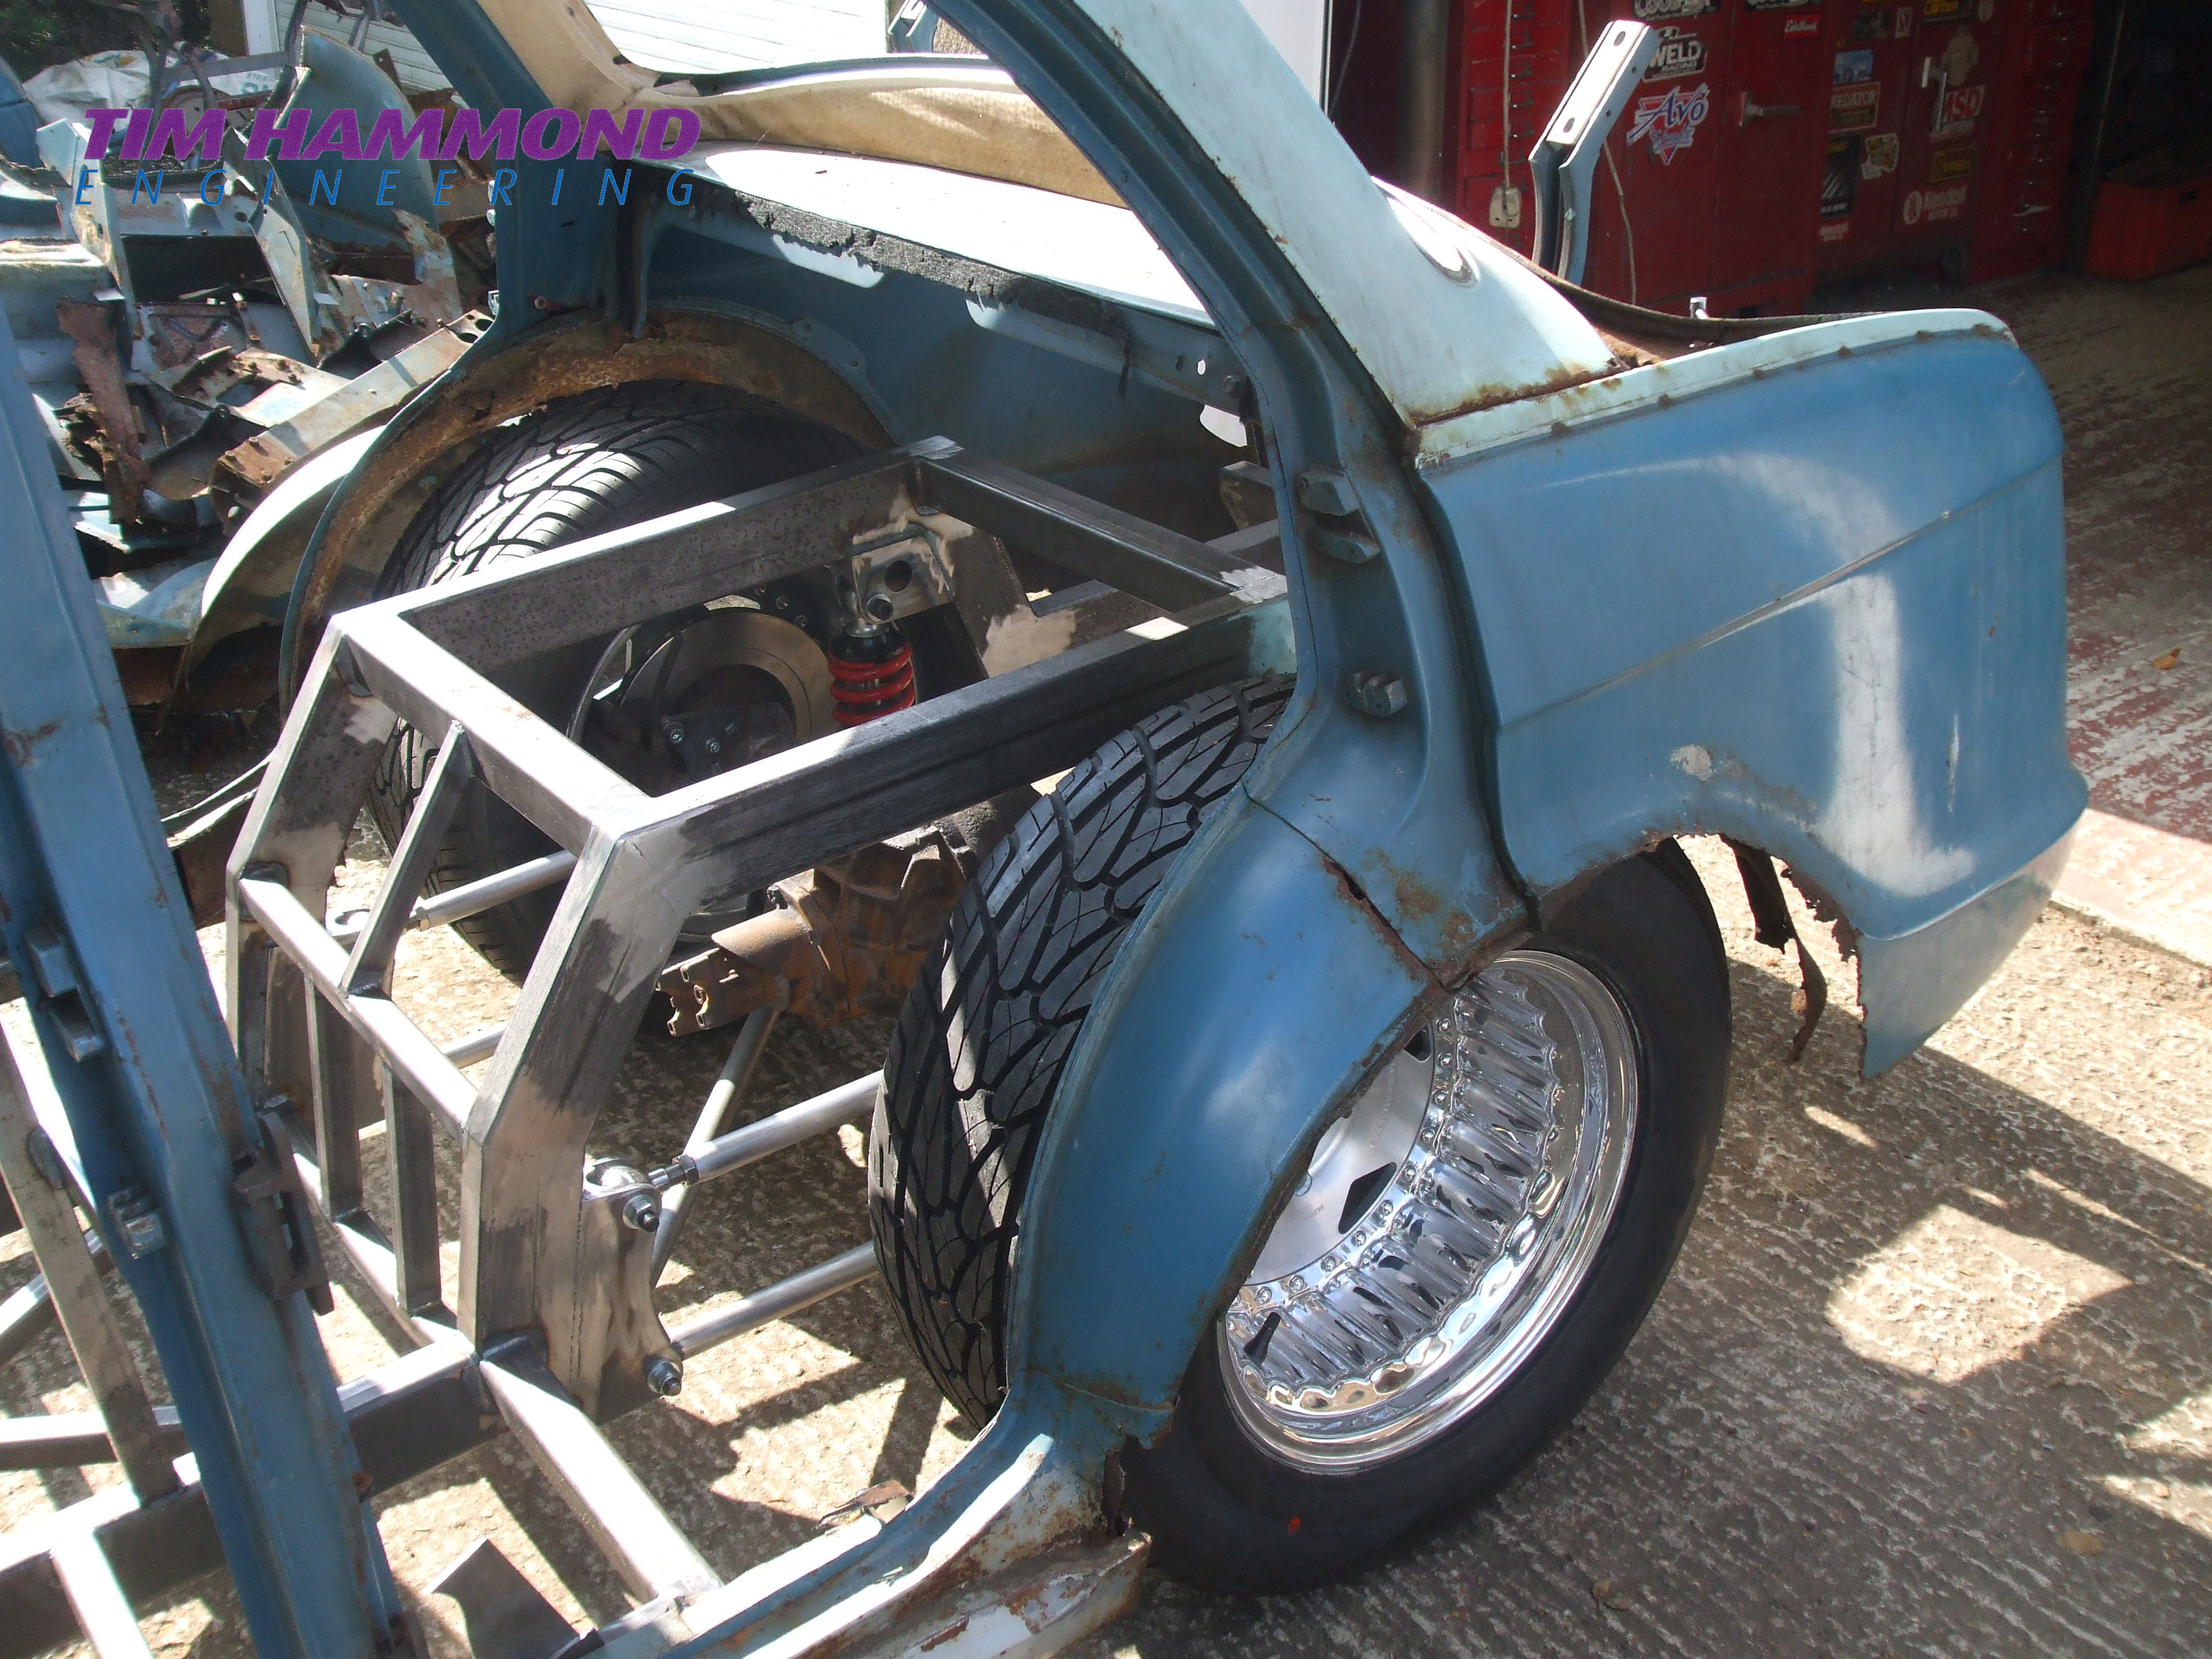
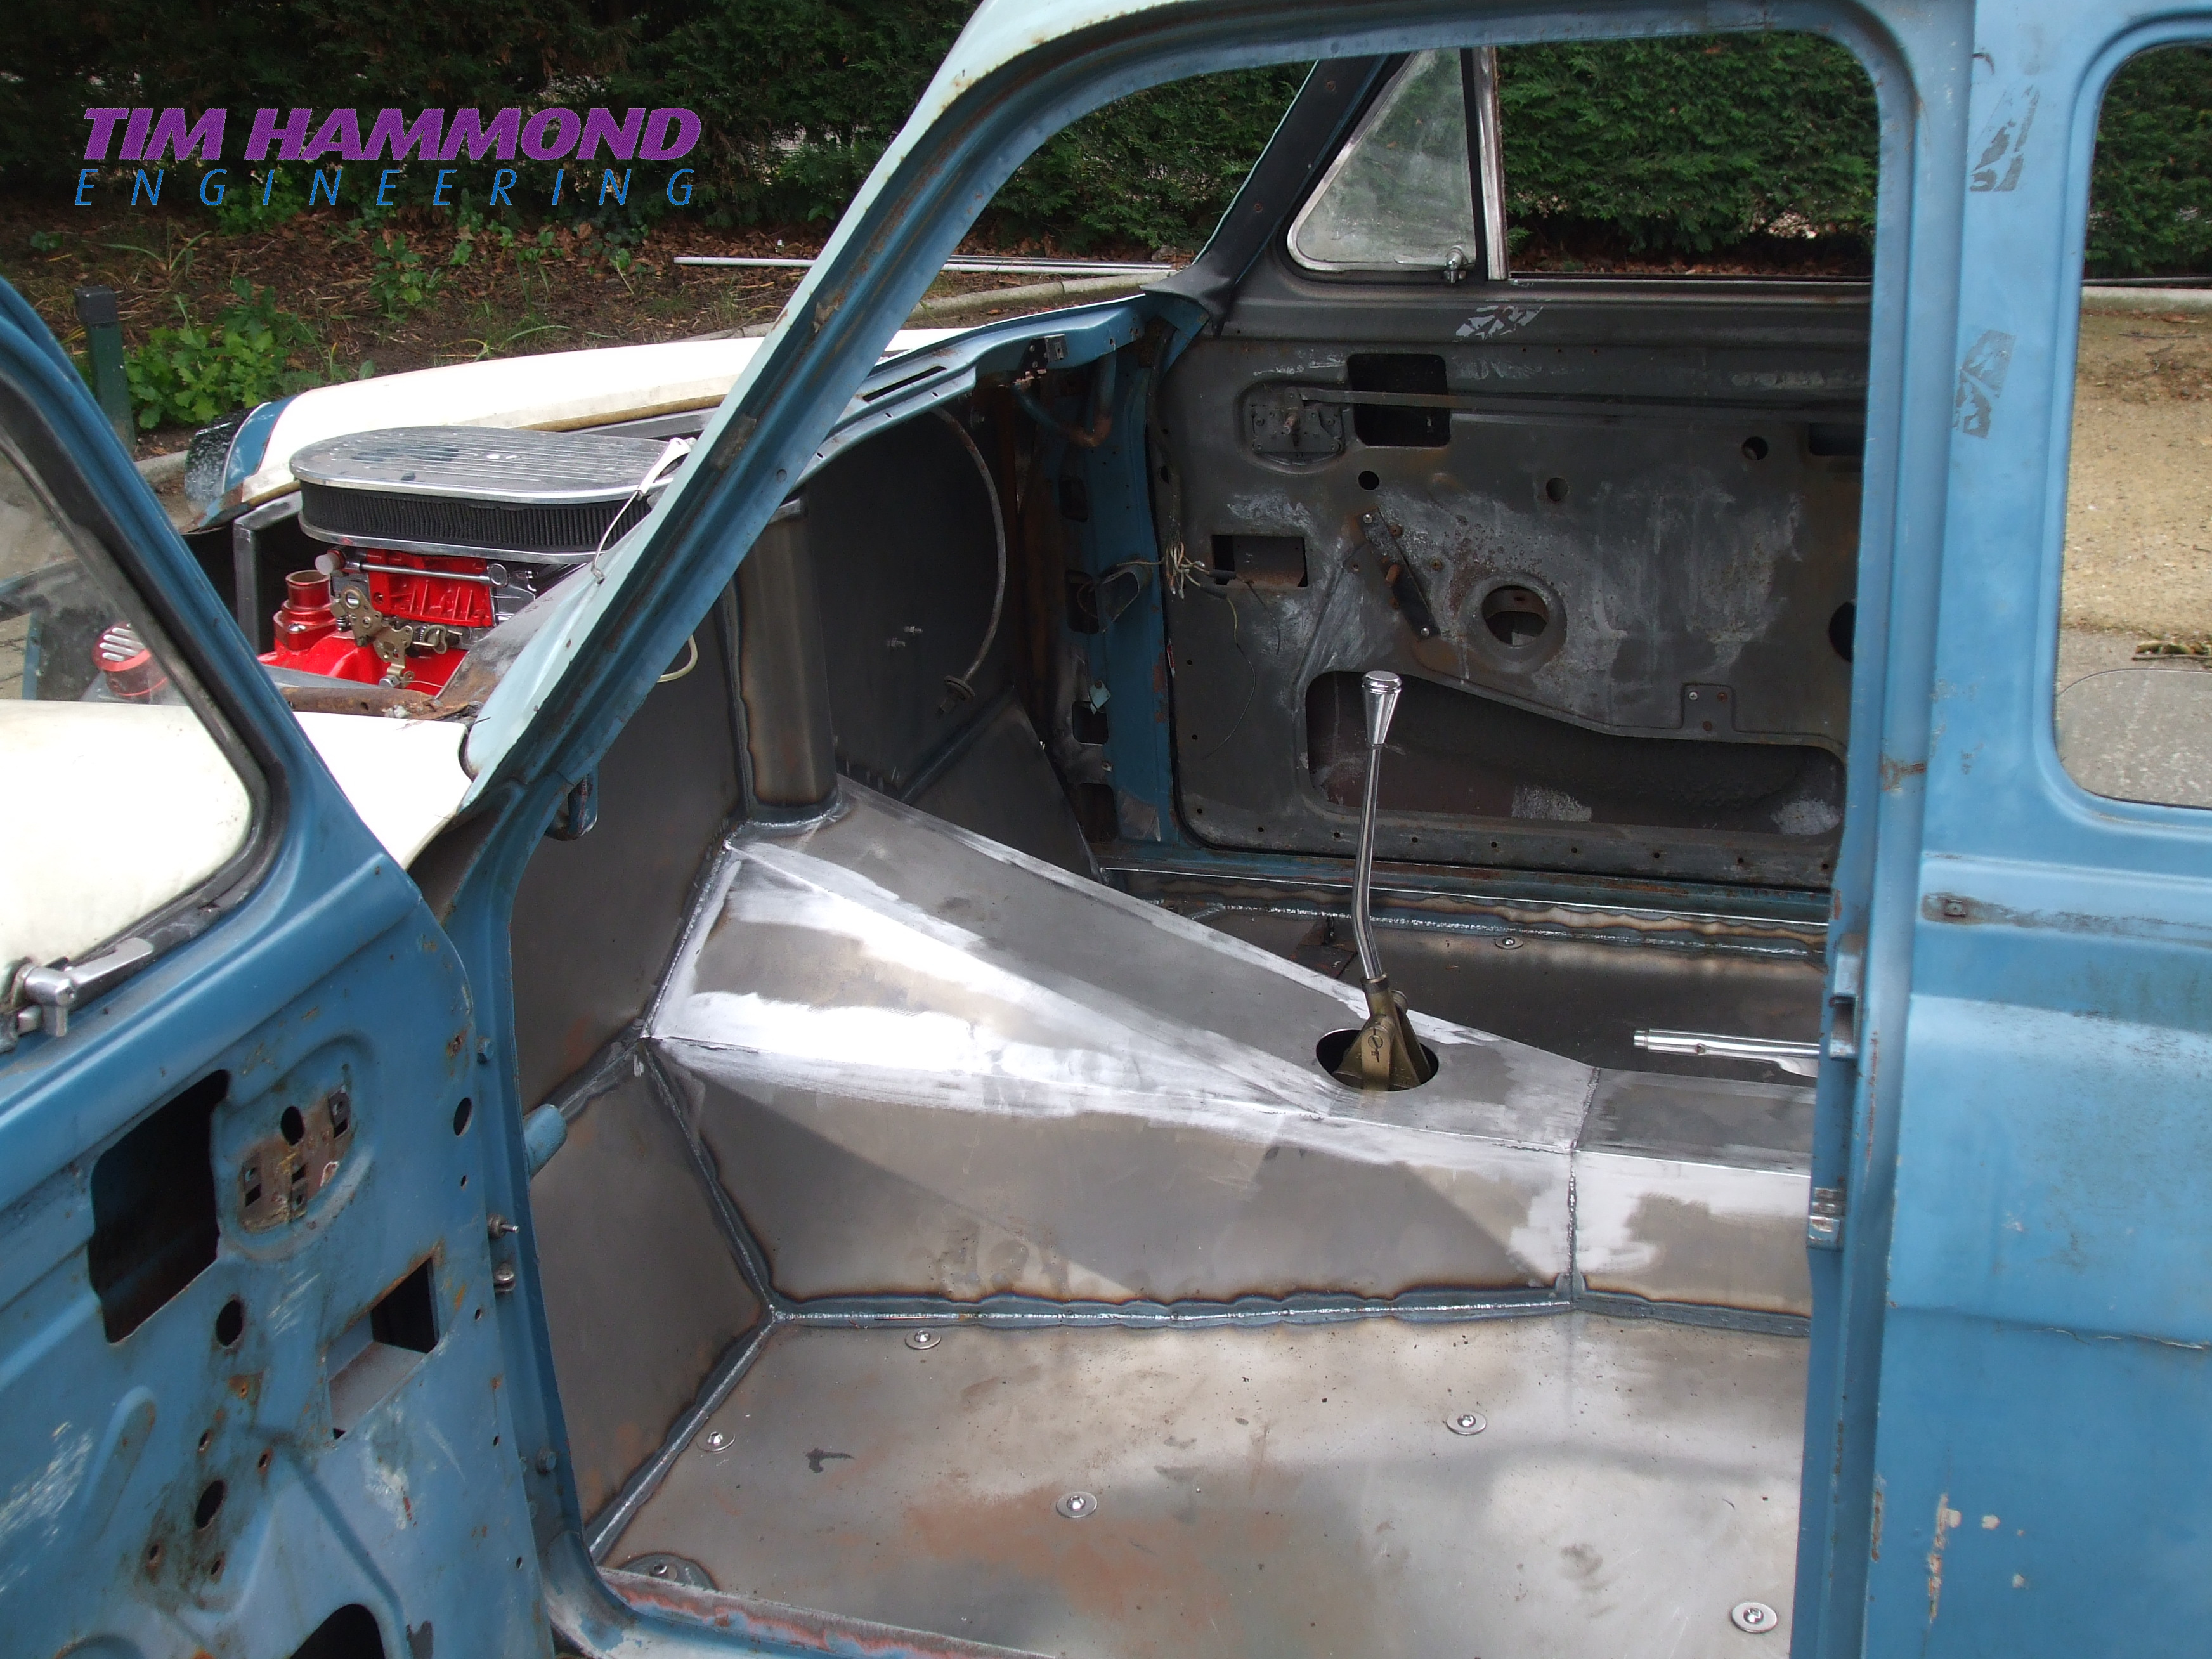
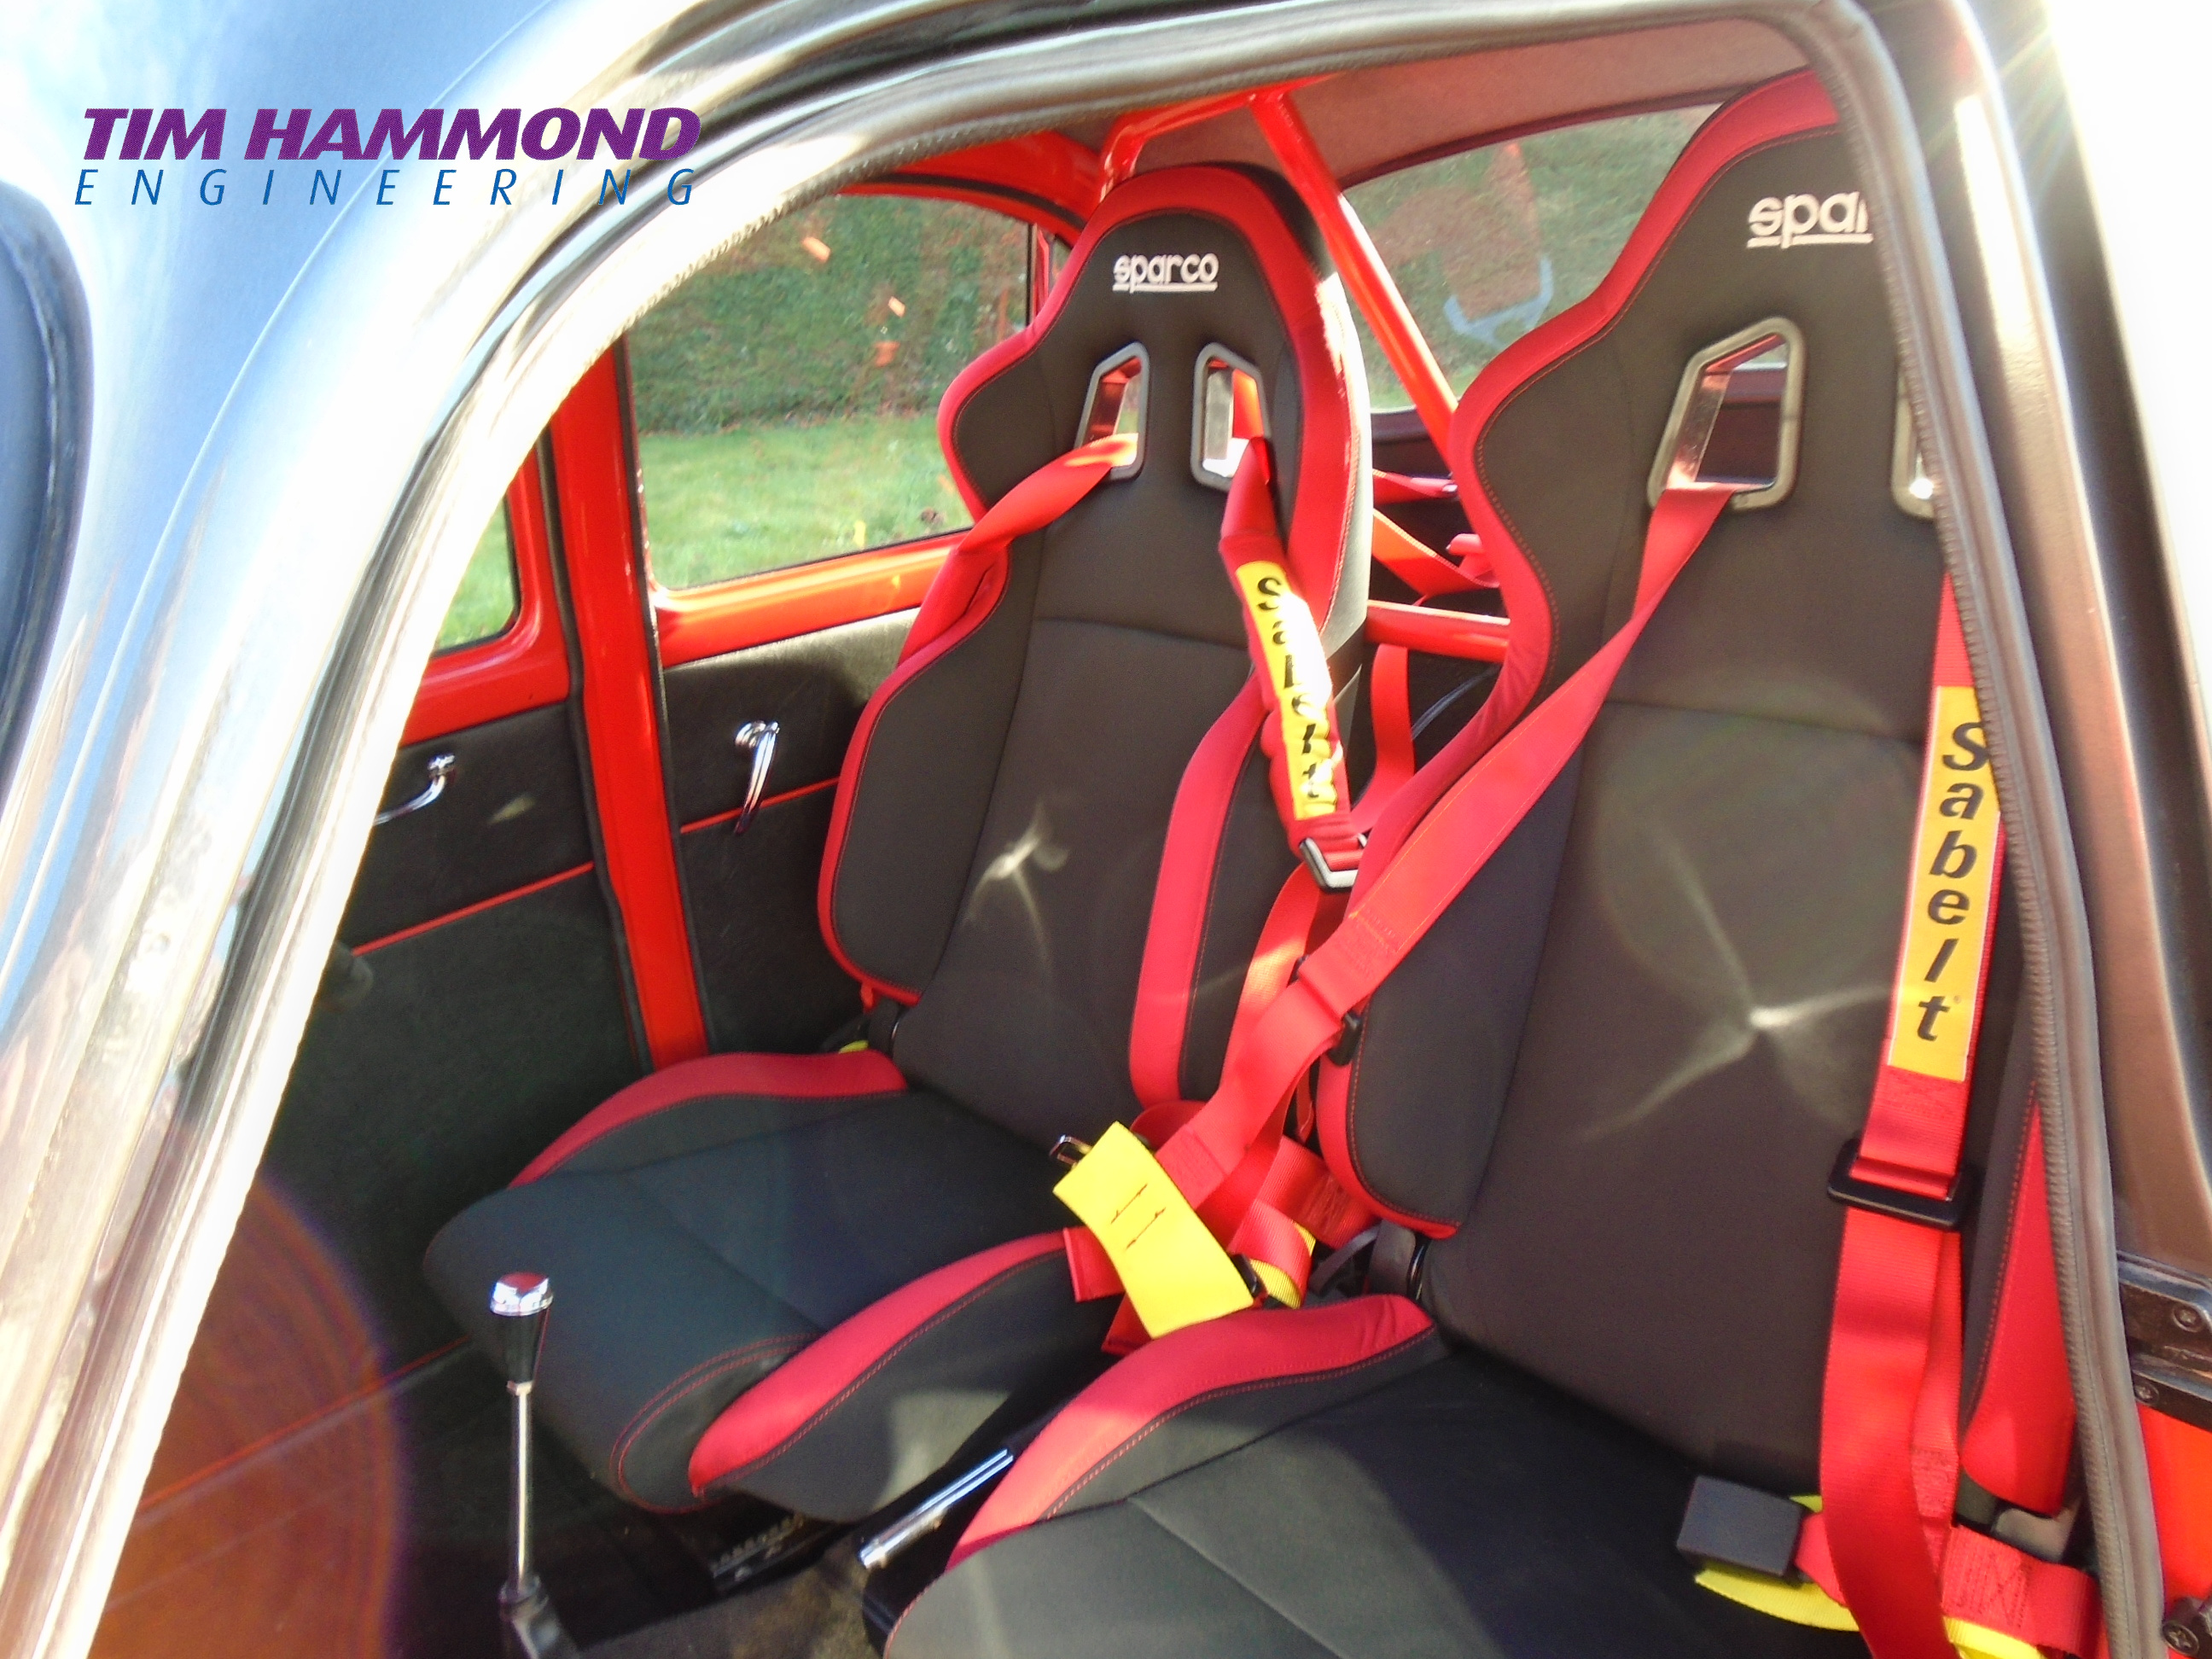
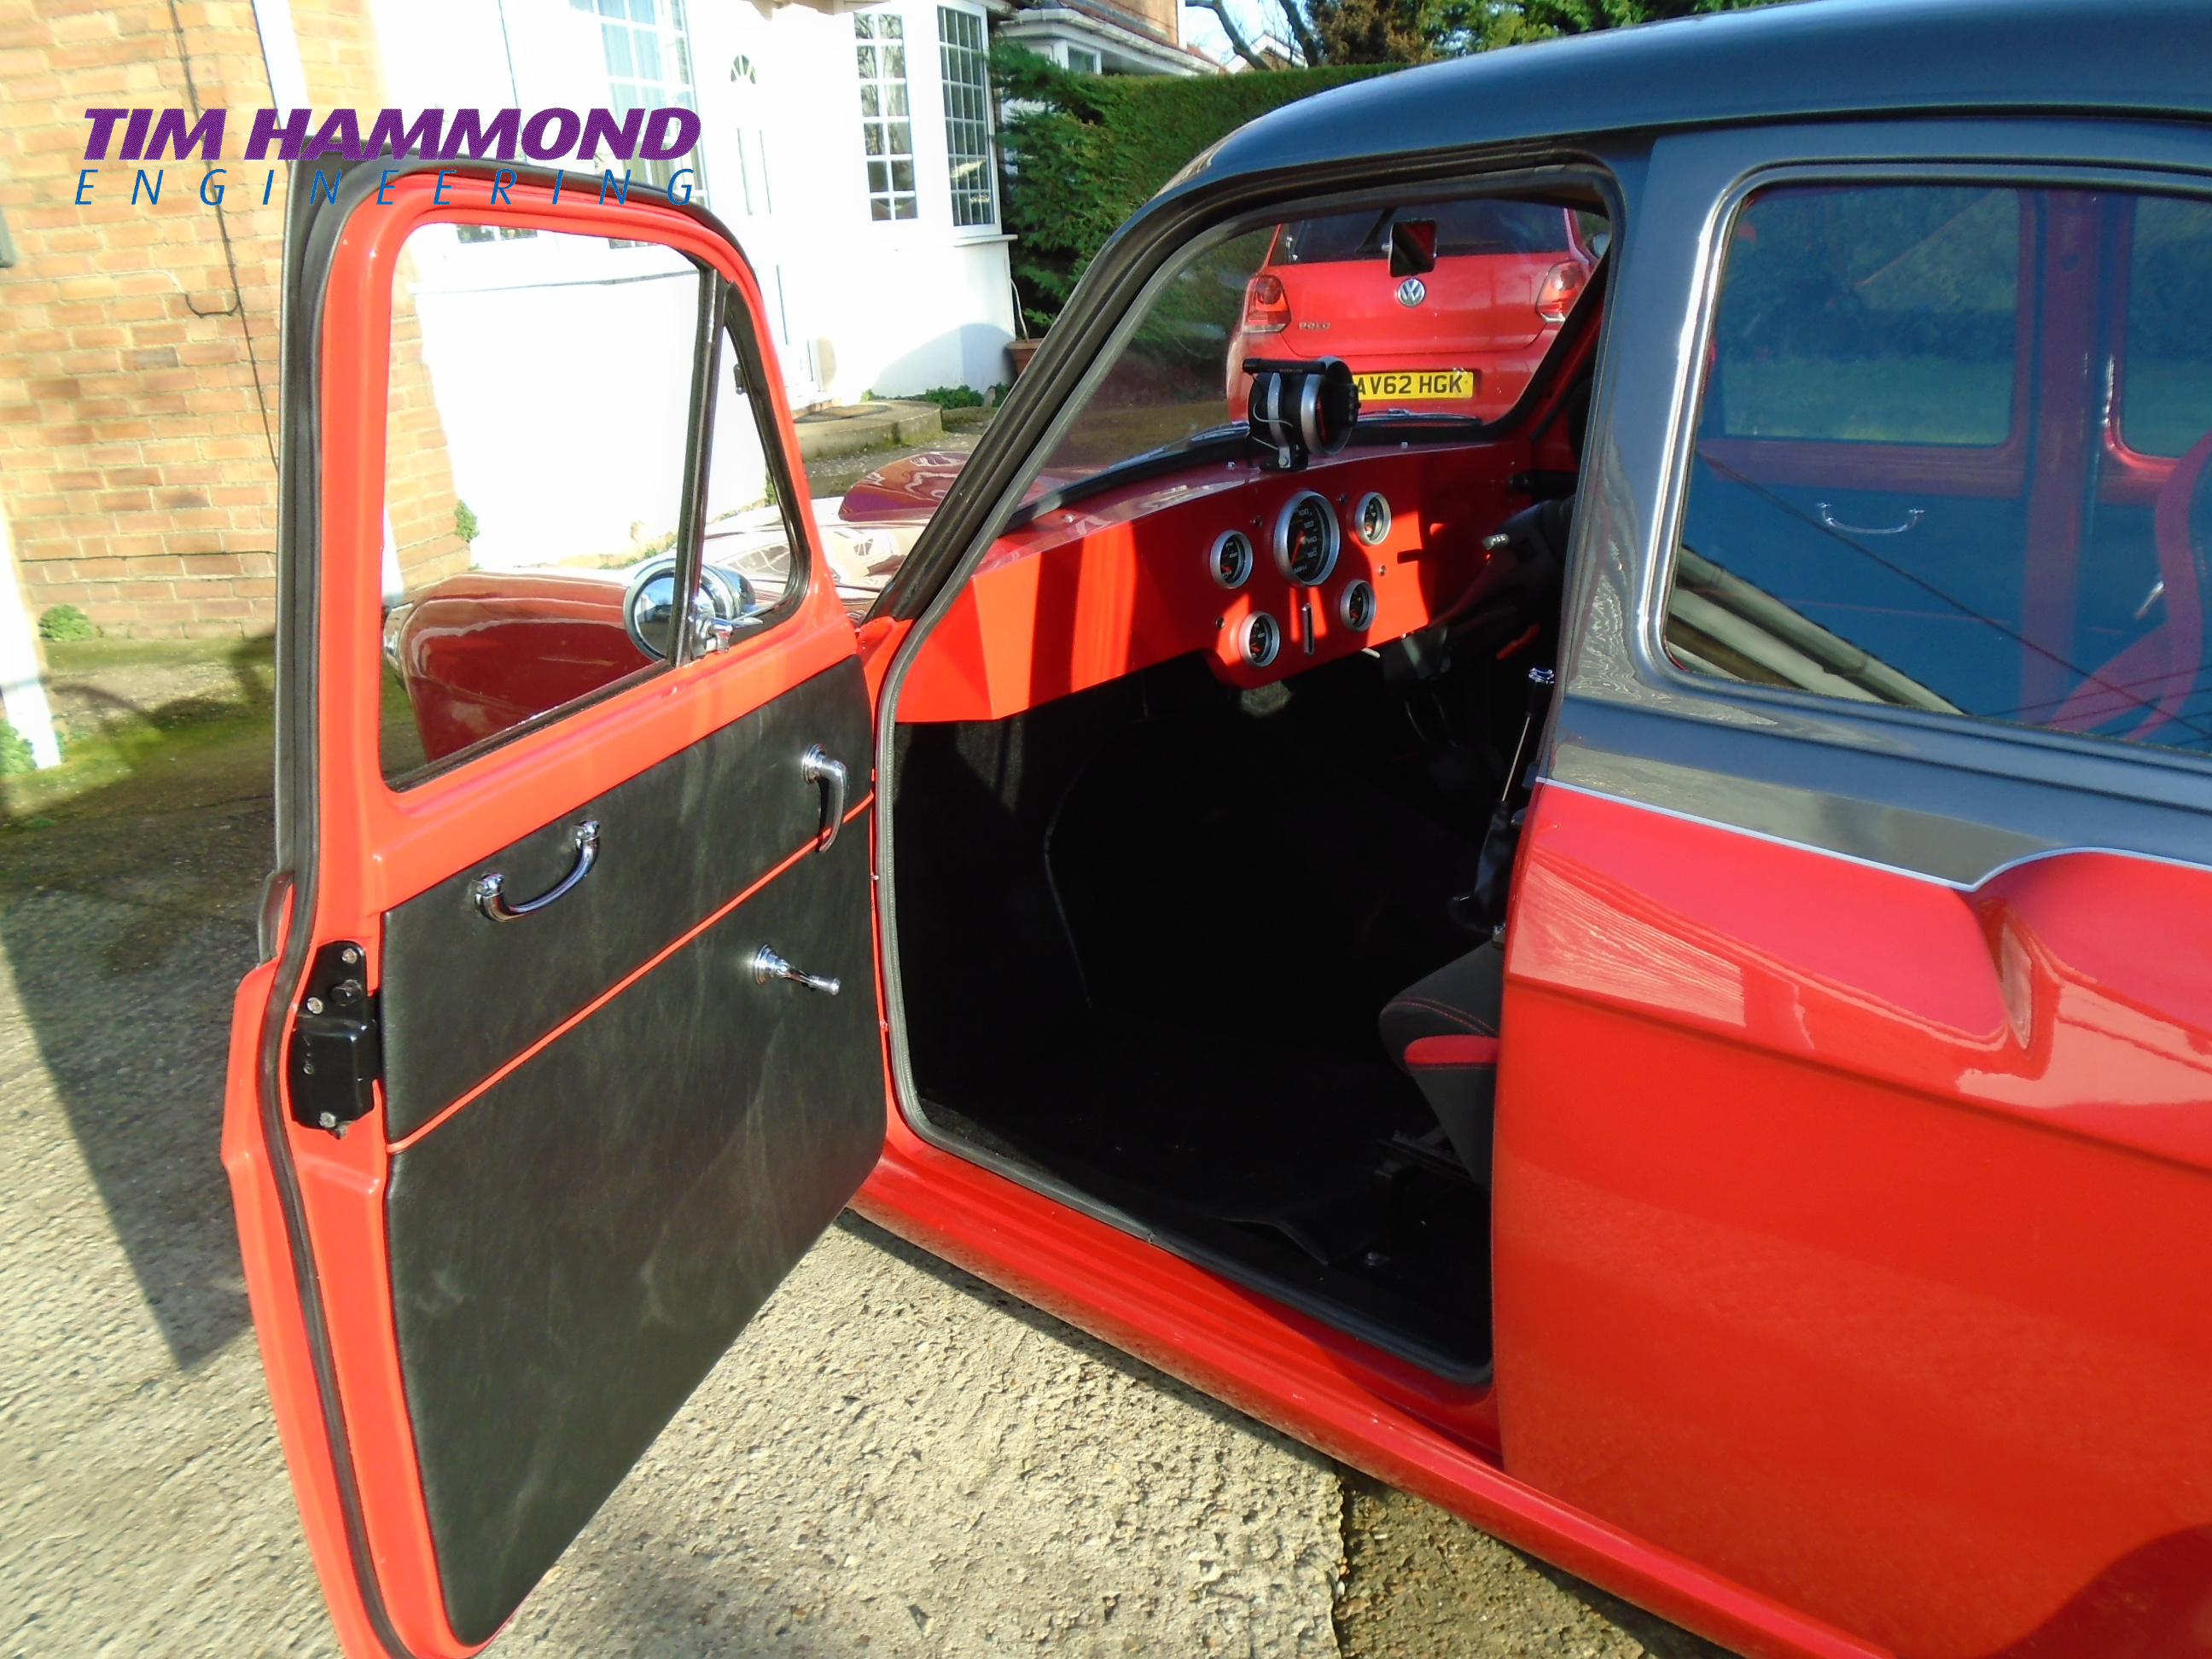
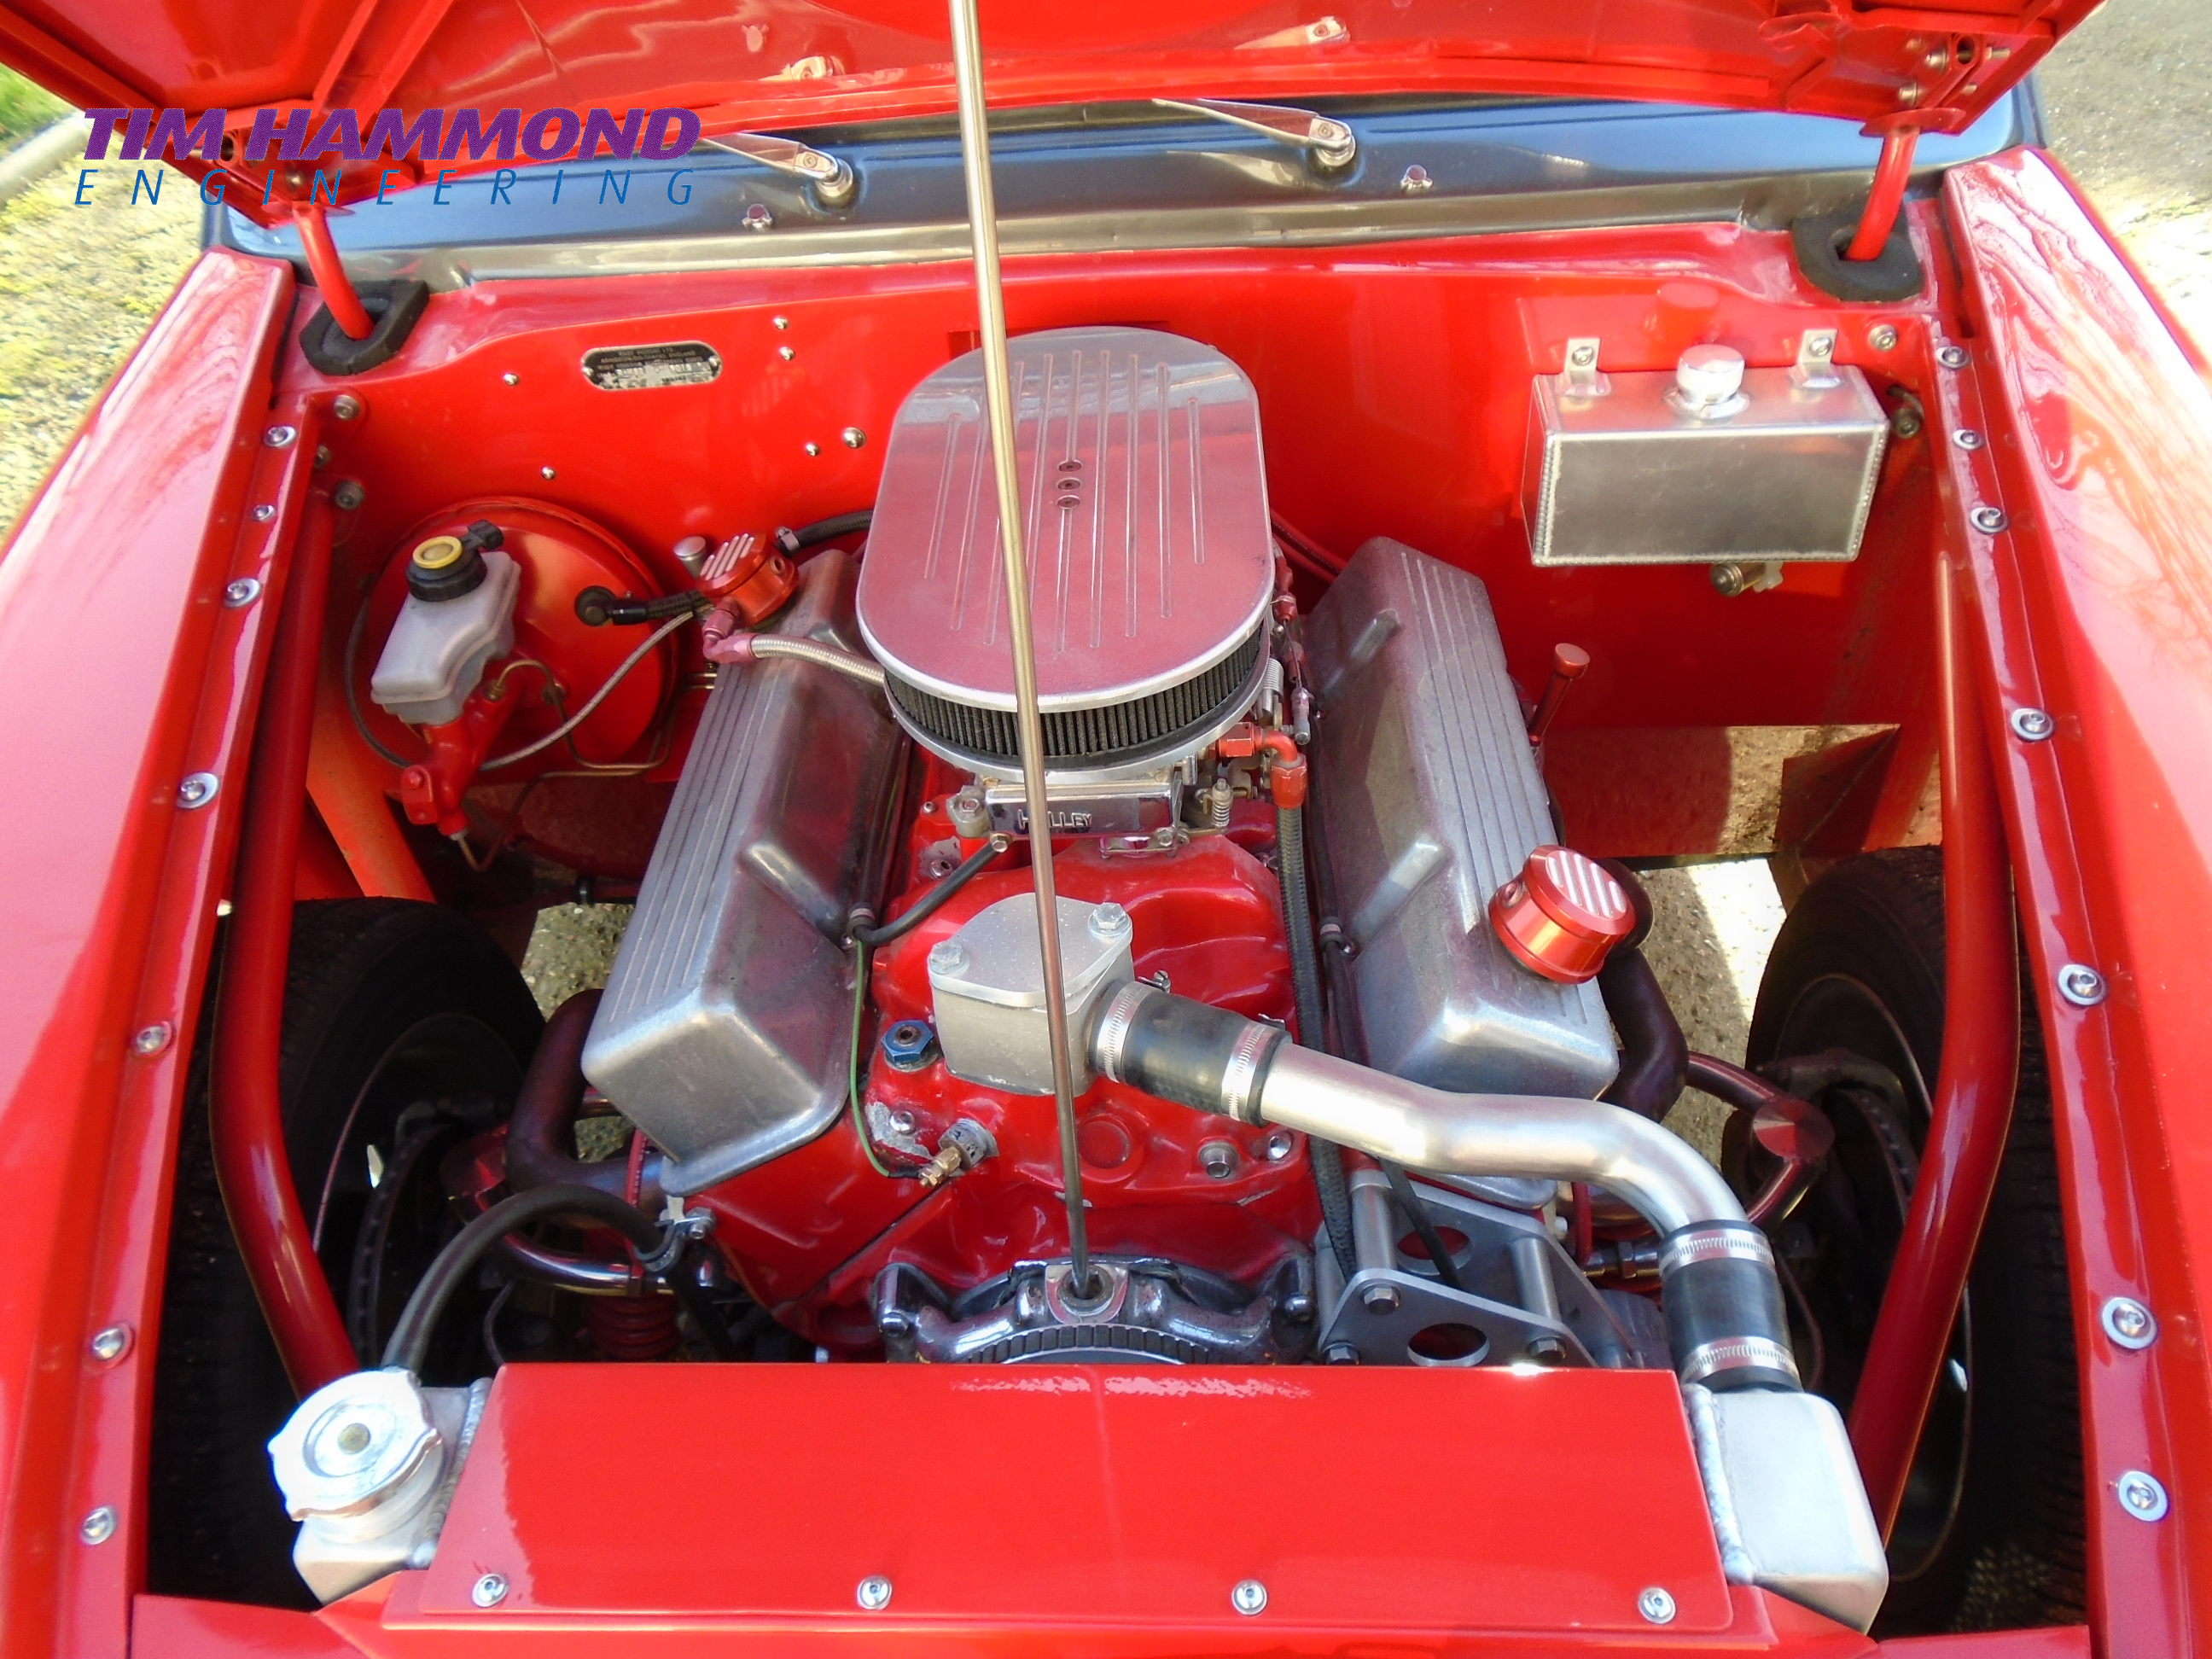
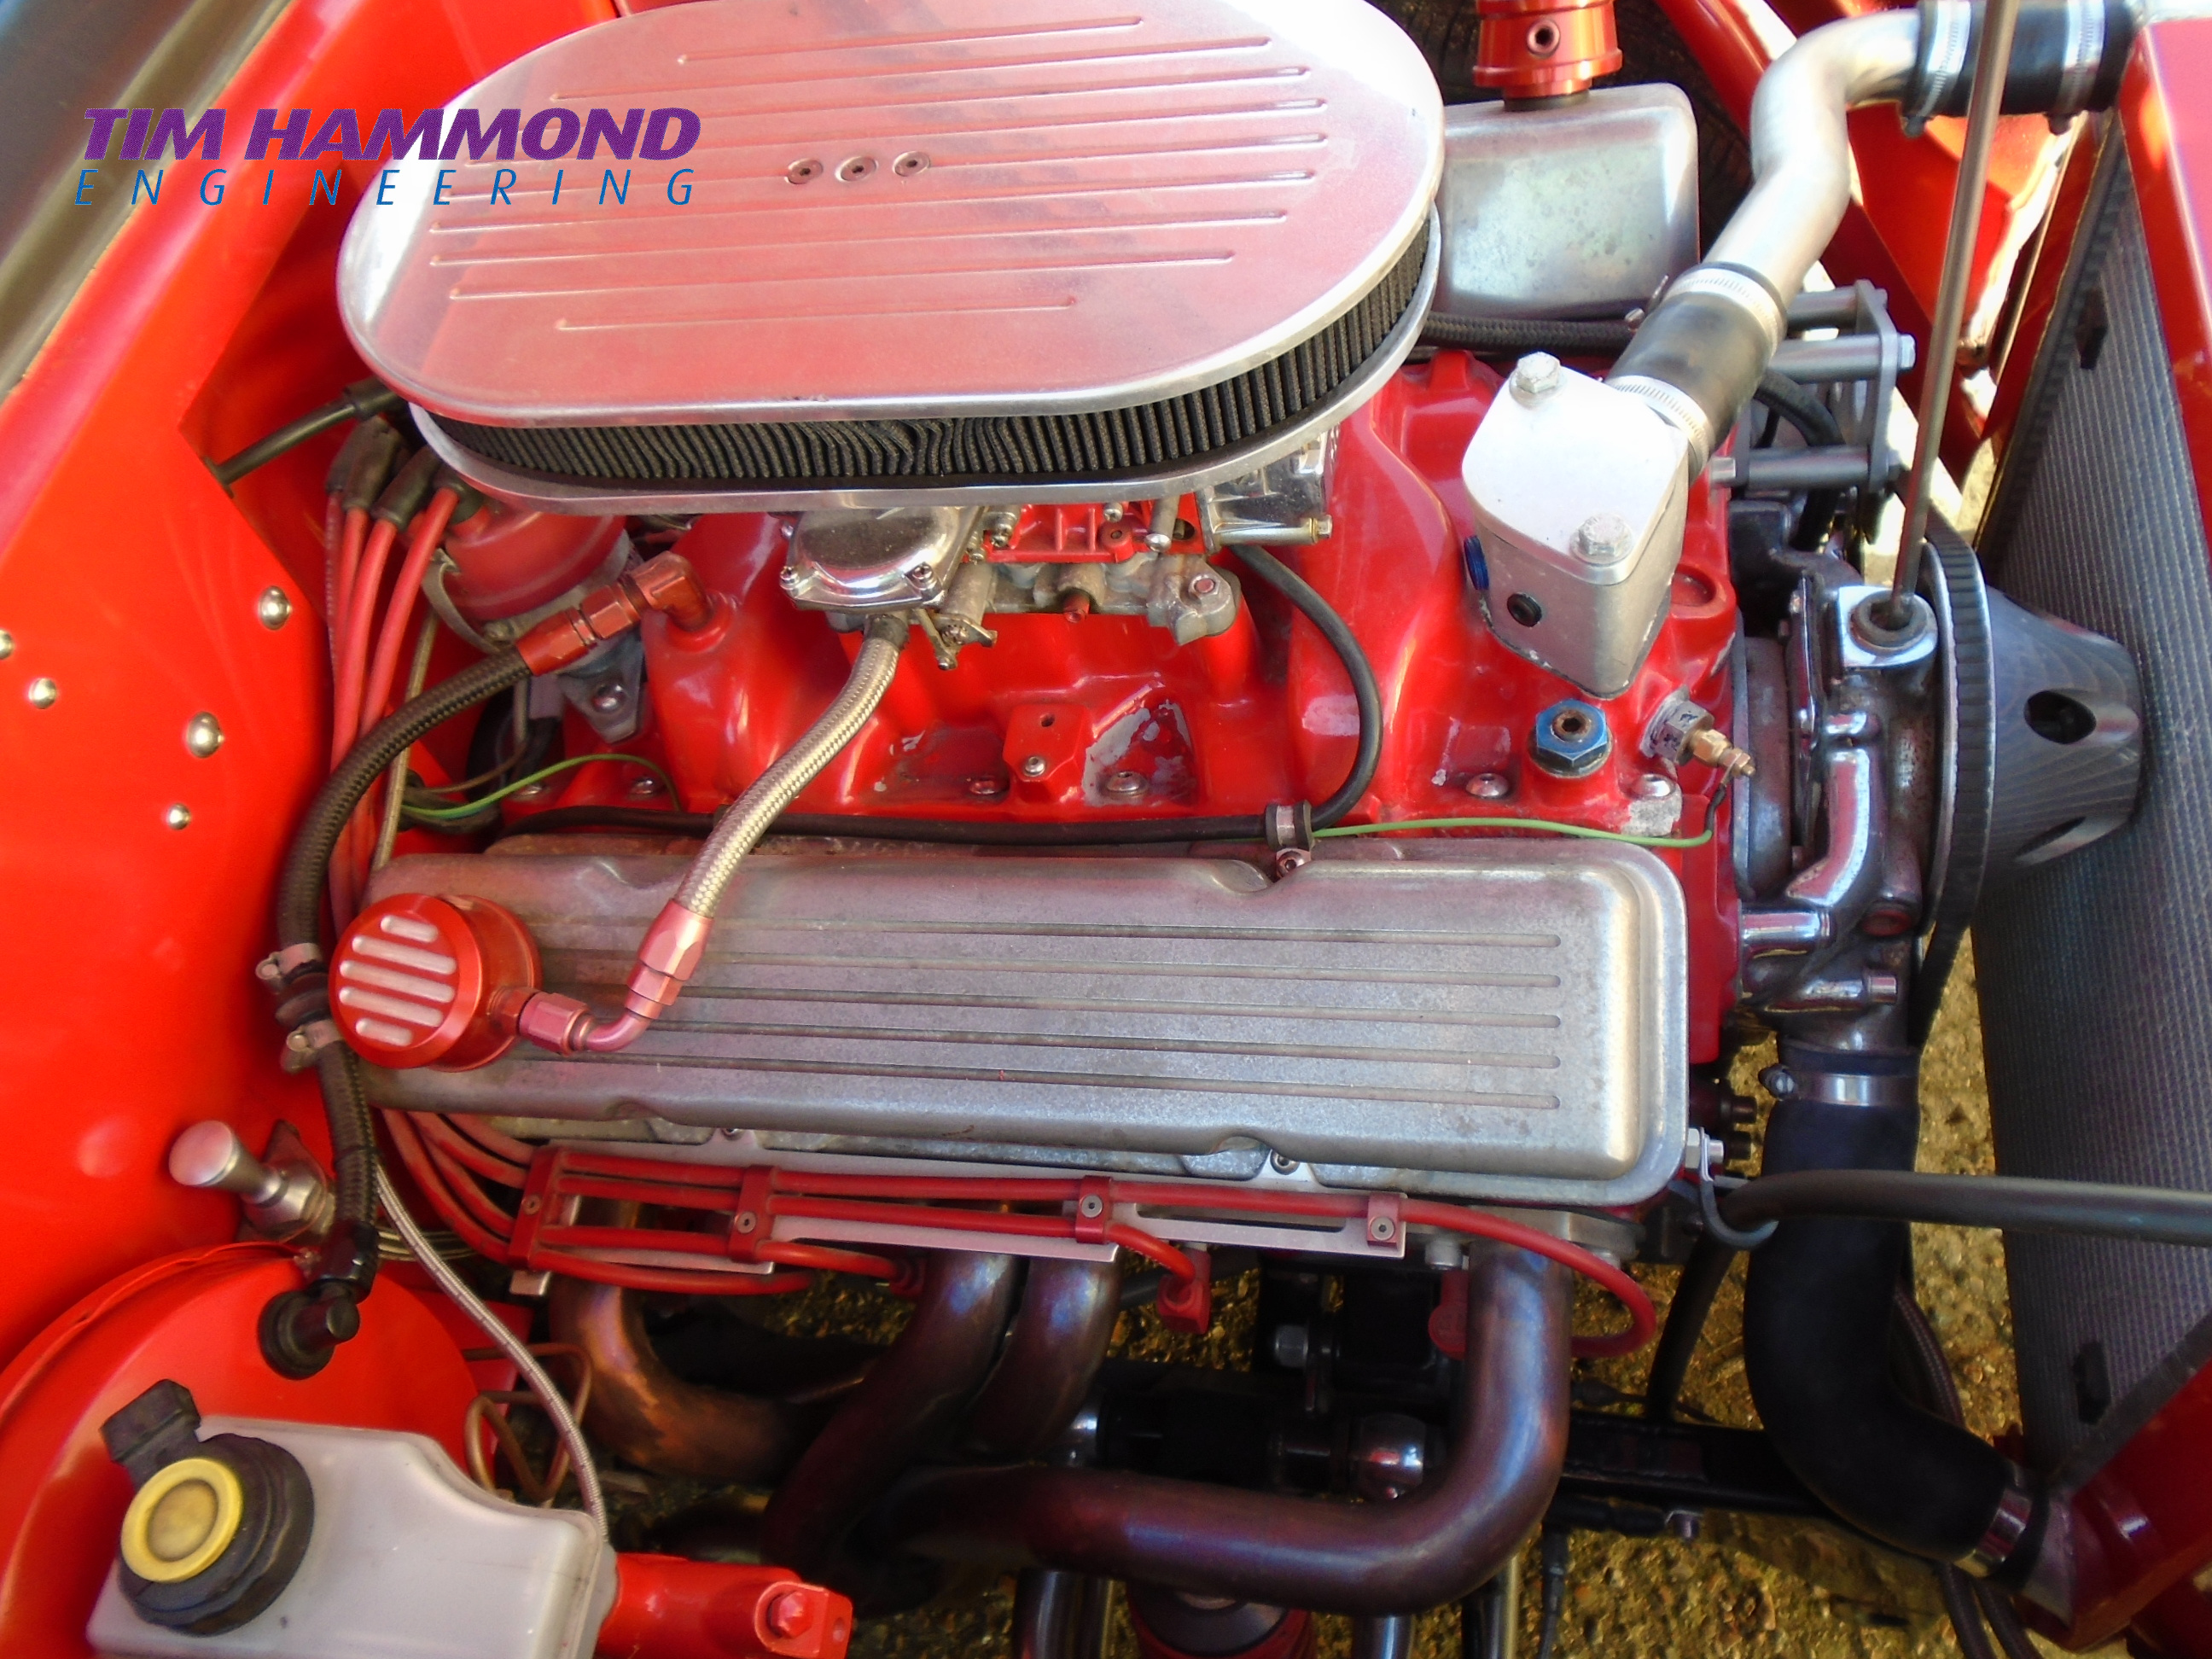
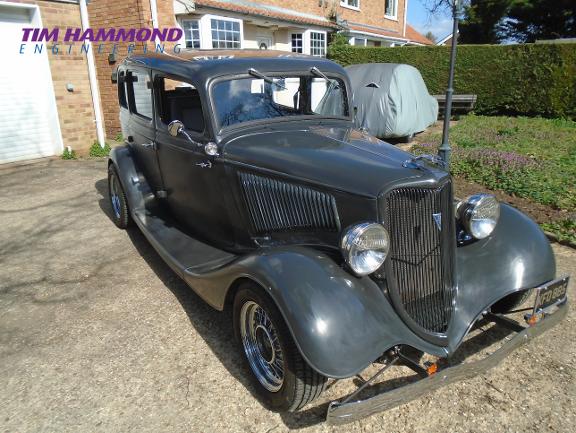
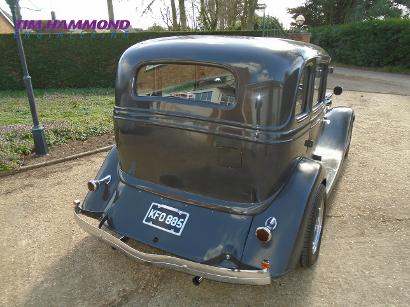
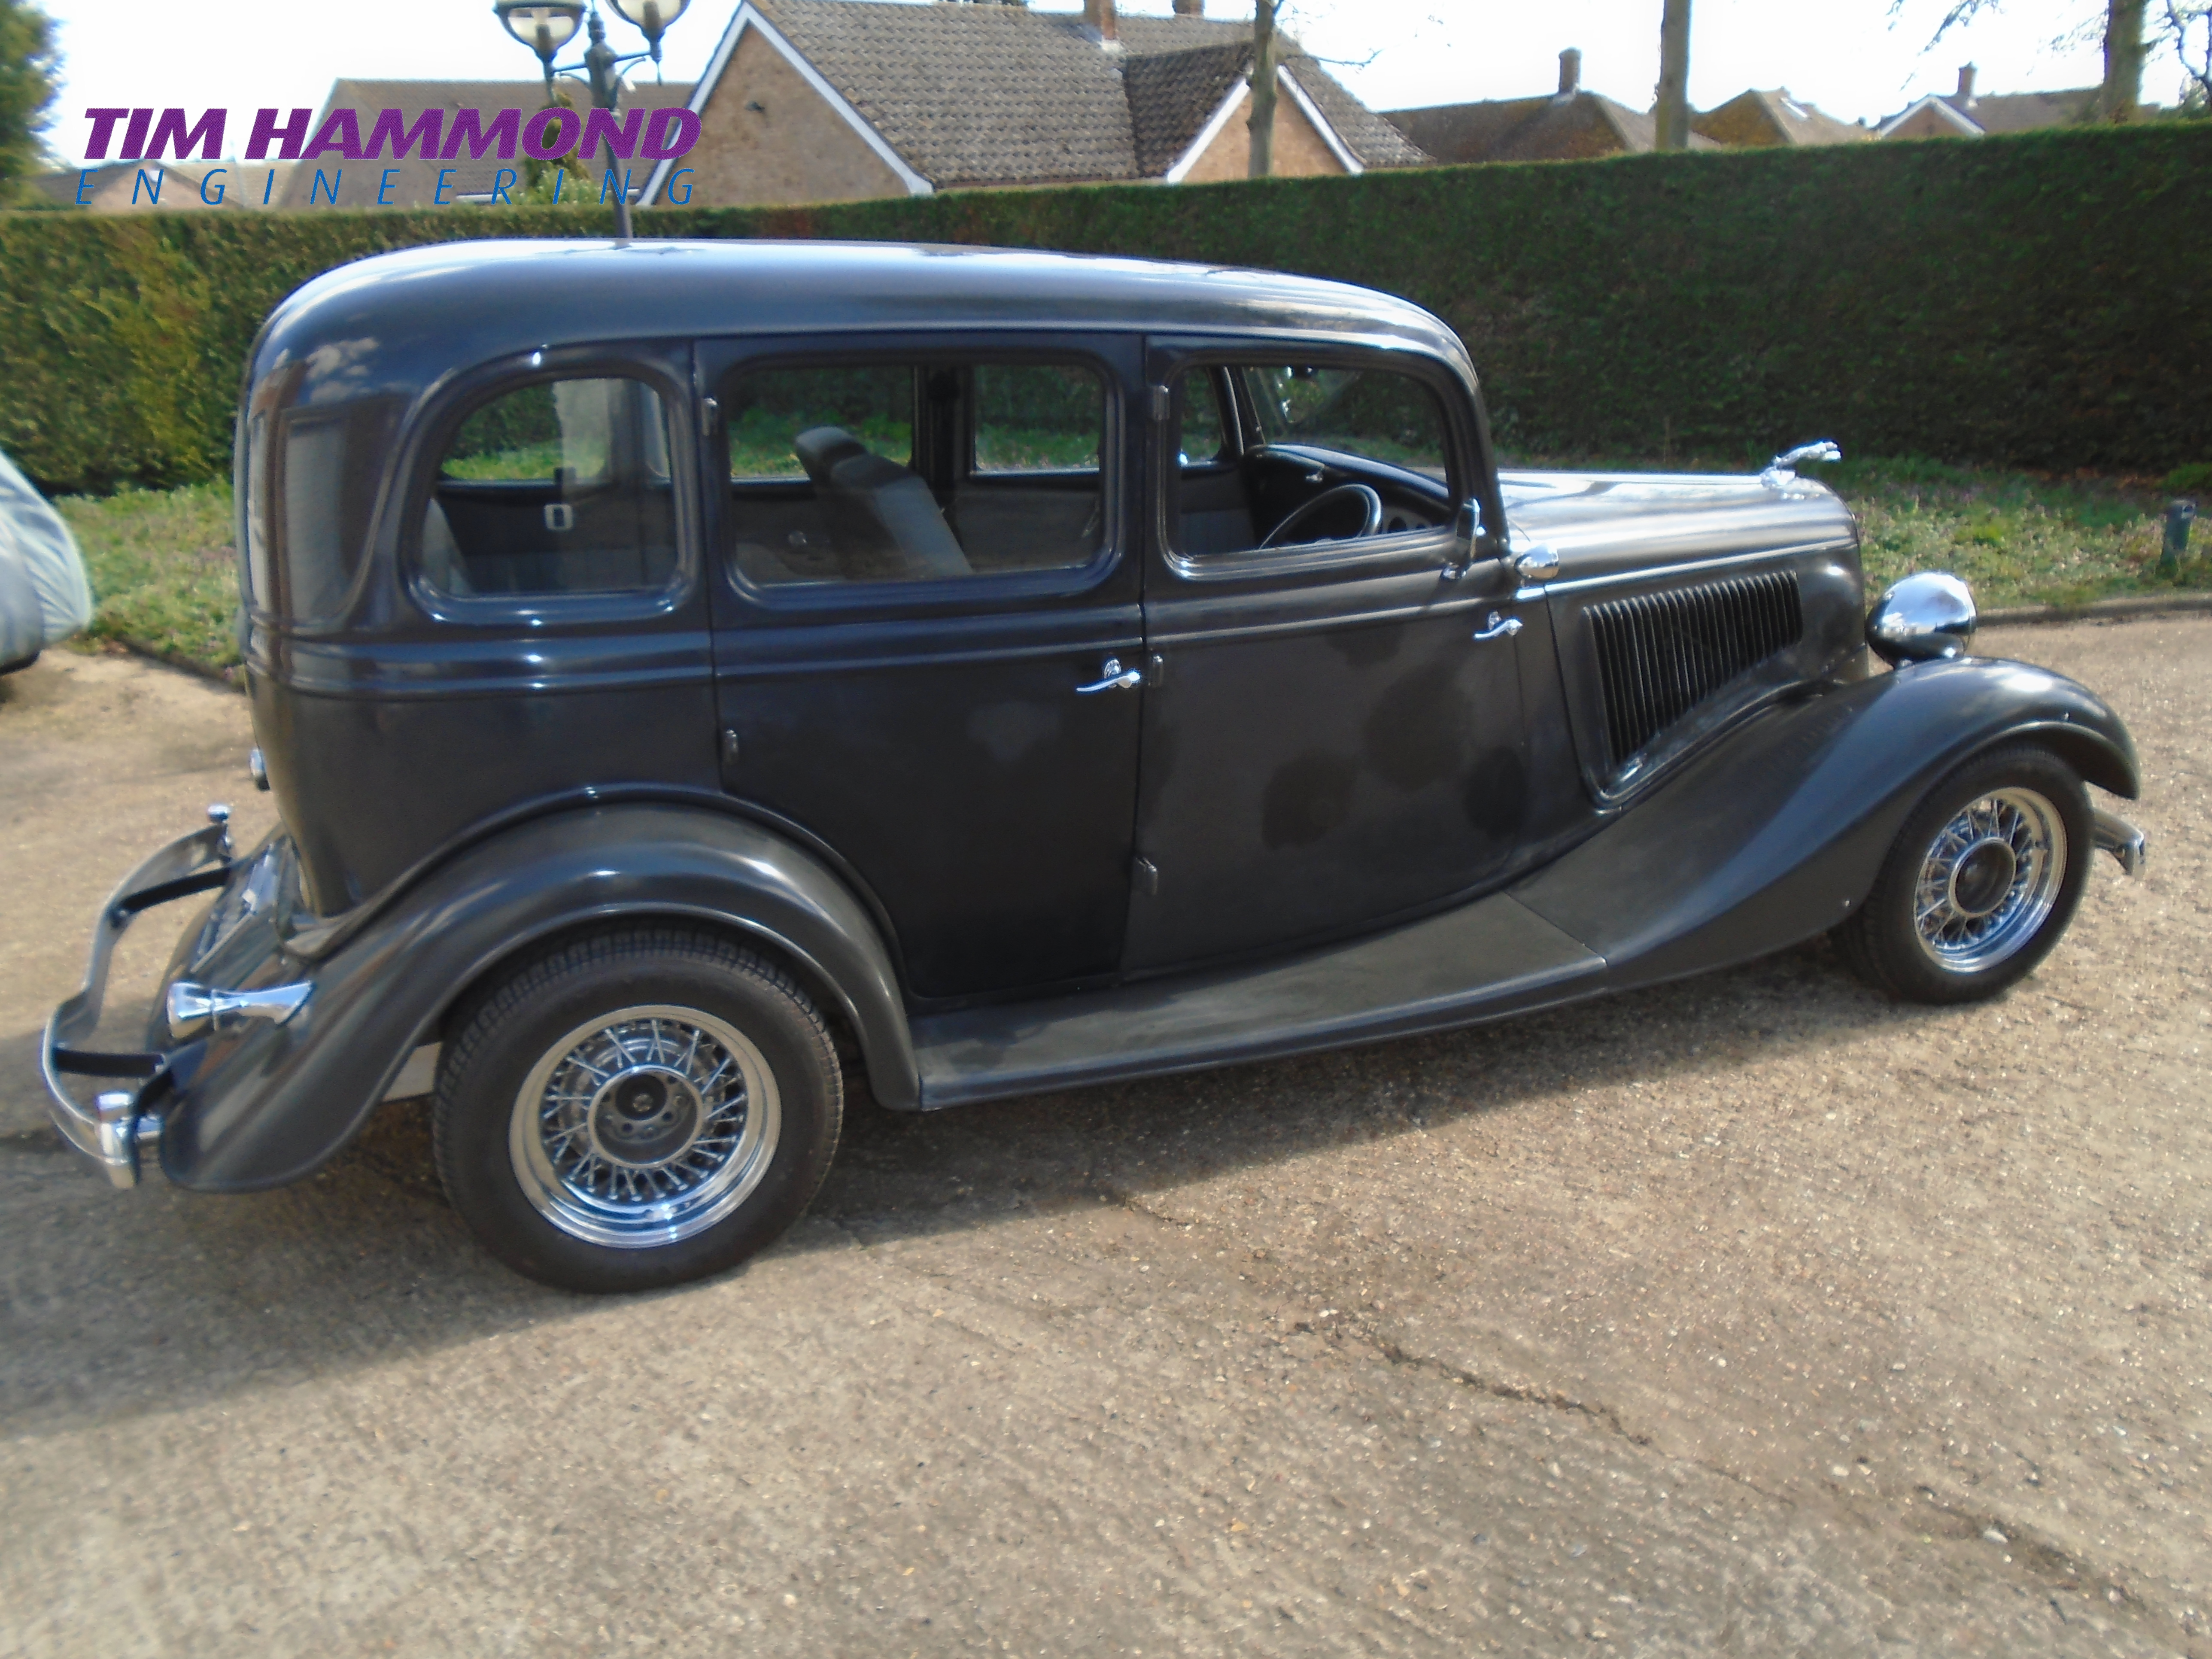
Wade's Vauxhall 14
Originally owned by Derek, the body of the car was half decent but Tim cut out the whole floor, wheel tubs and bulkhead. The hardest part was to get this car to sit right. As you will see from the pictures Tim increased the depth of the sills, extended the backs of the front fenders, widened and lengthened the rear fenders and channelled the body over the new chassis. The new chassis was set up with Tim's own stainless independent front and 4 link rear. Rear axle was narrowed and stainless steel headers and exhaust system made. The car was then sold to Wade as a three quarters finished project (as you will see from the pictures). Since then Tim has carried on doing work for Wade including fabricating a new stainless fuel tank with fuel injection pump fitted and straps, stainless wheel nuts, through the frame fittings, stainless rose jointed 4 links and Earls fittings.....more to follow.
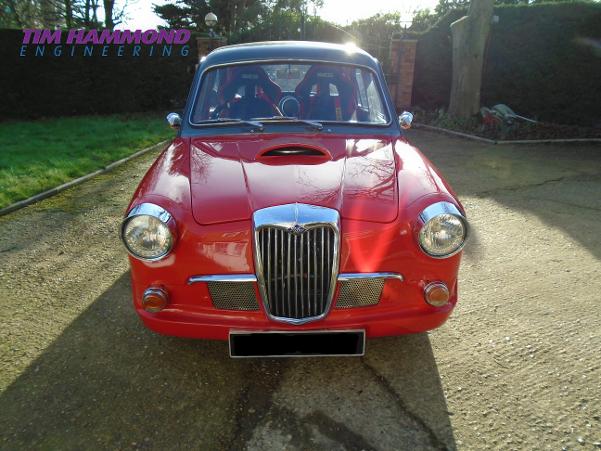
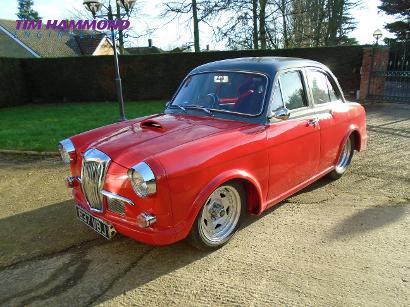
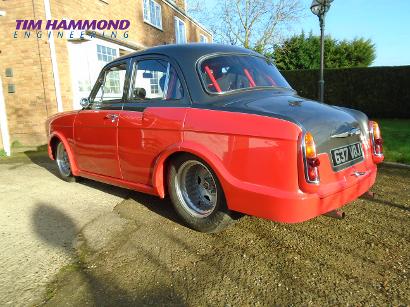
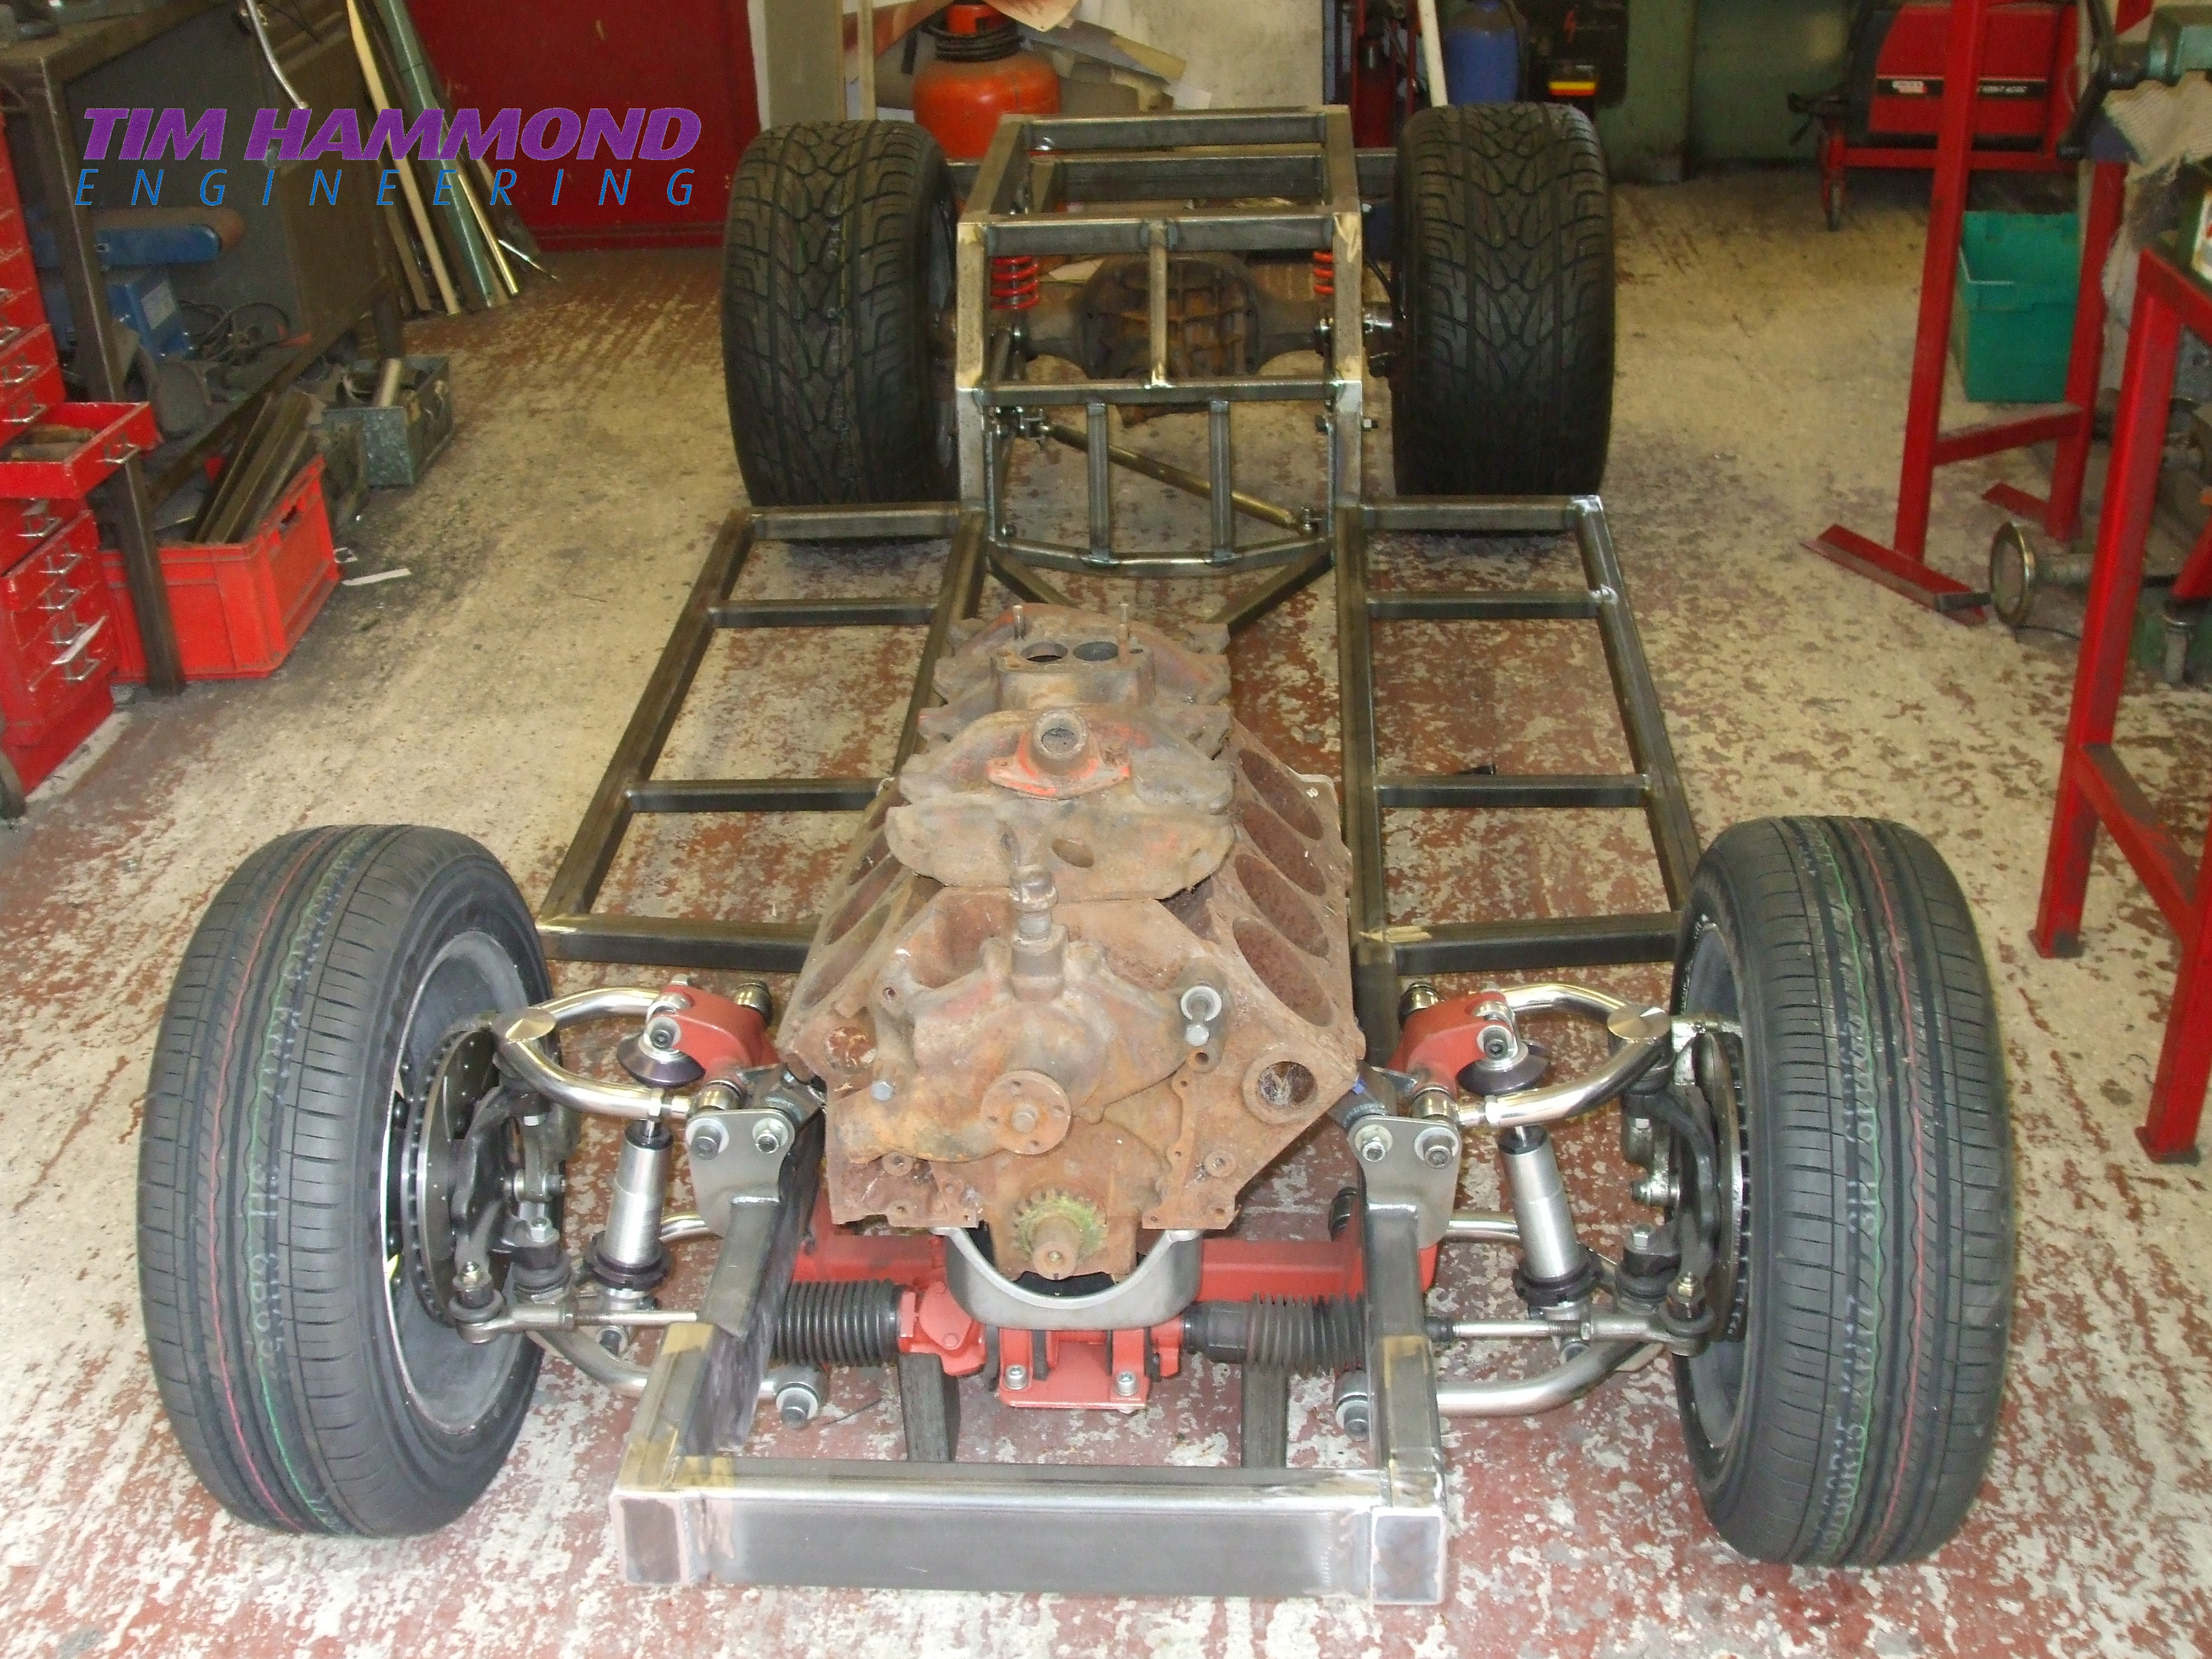
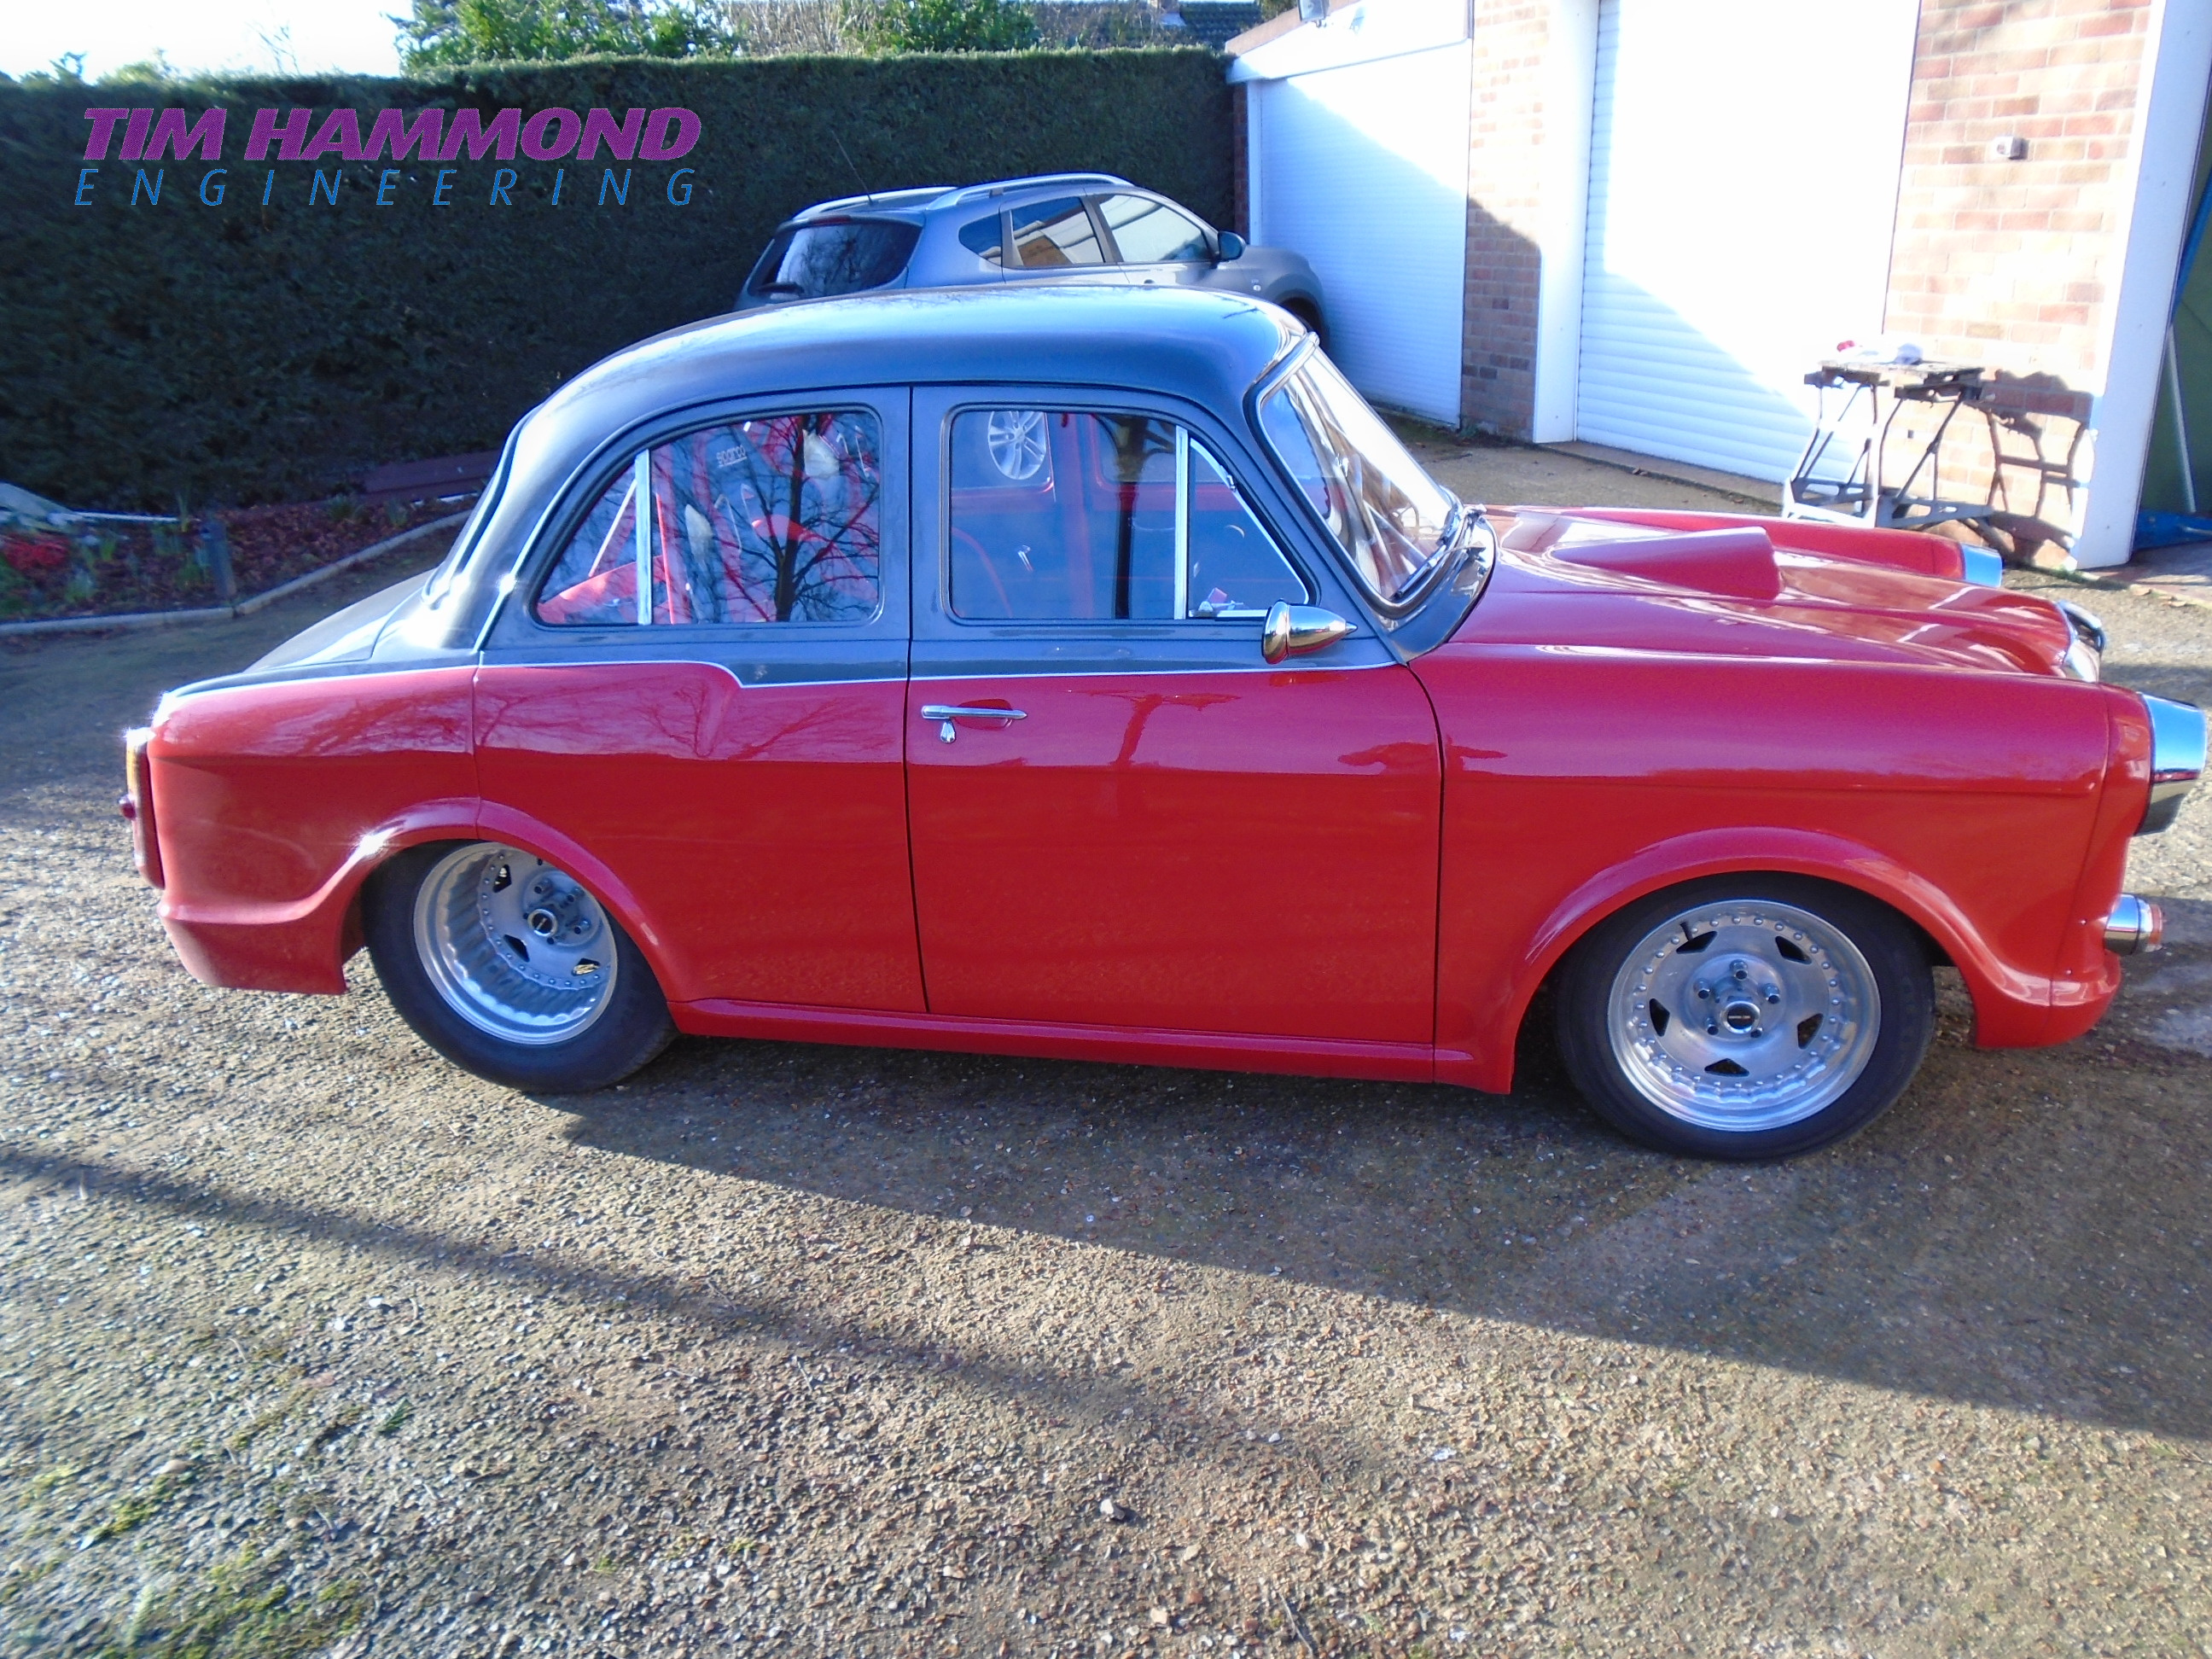
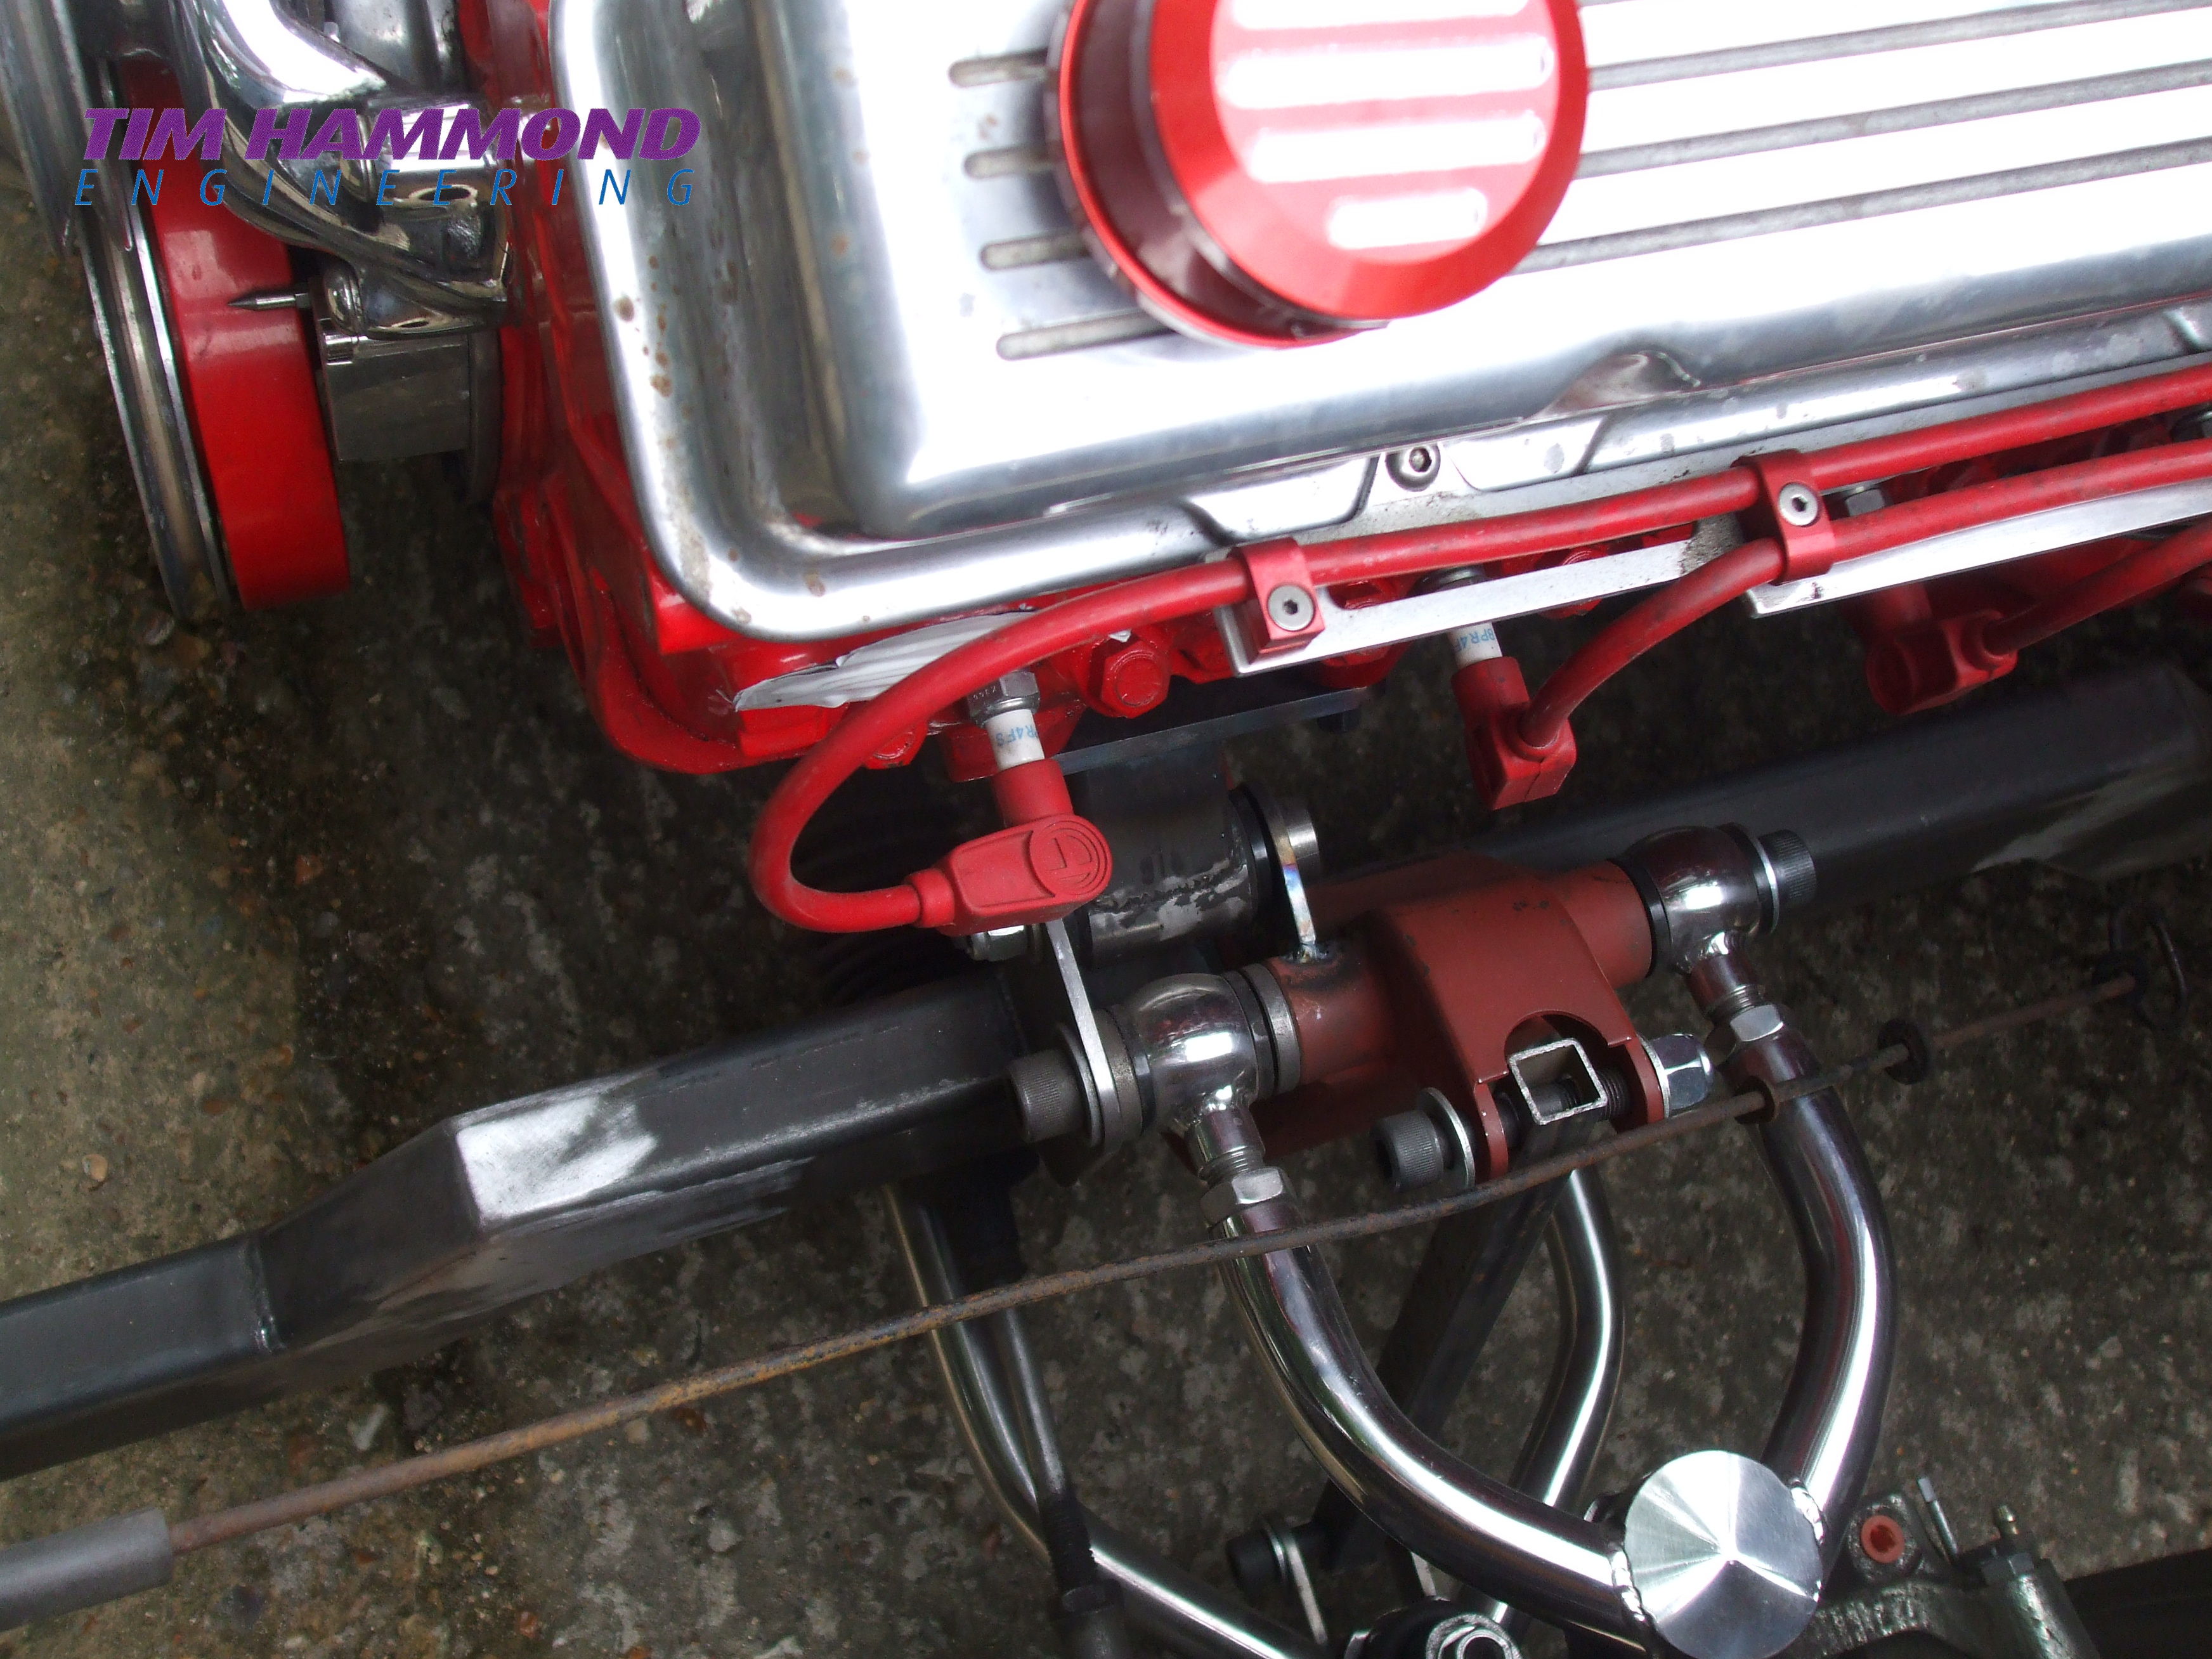
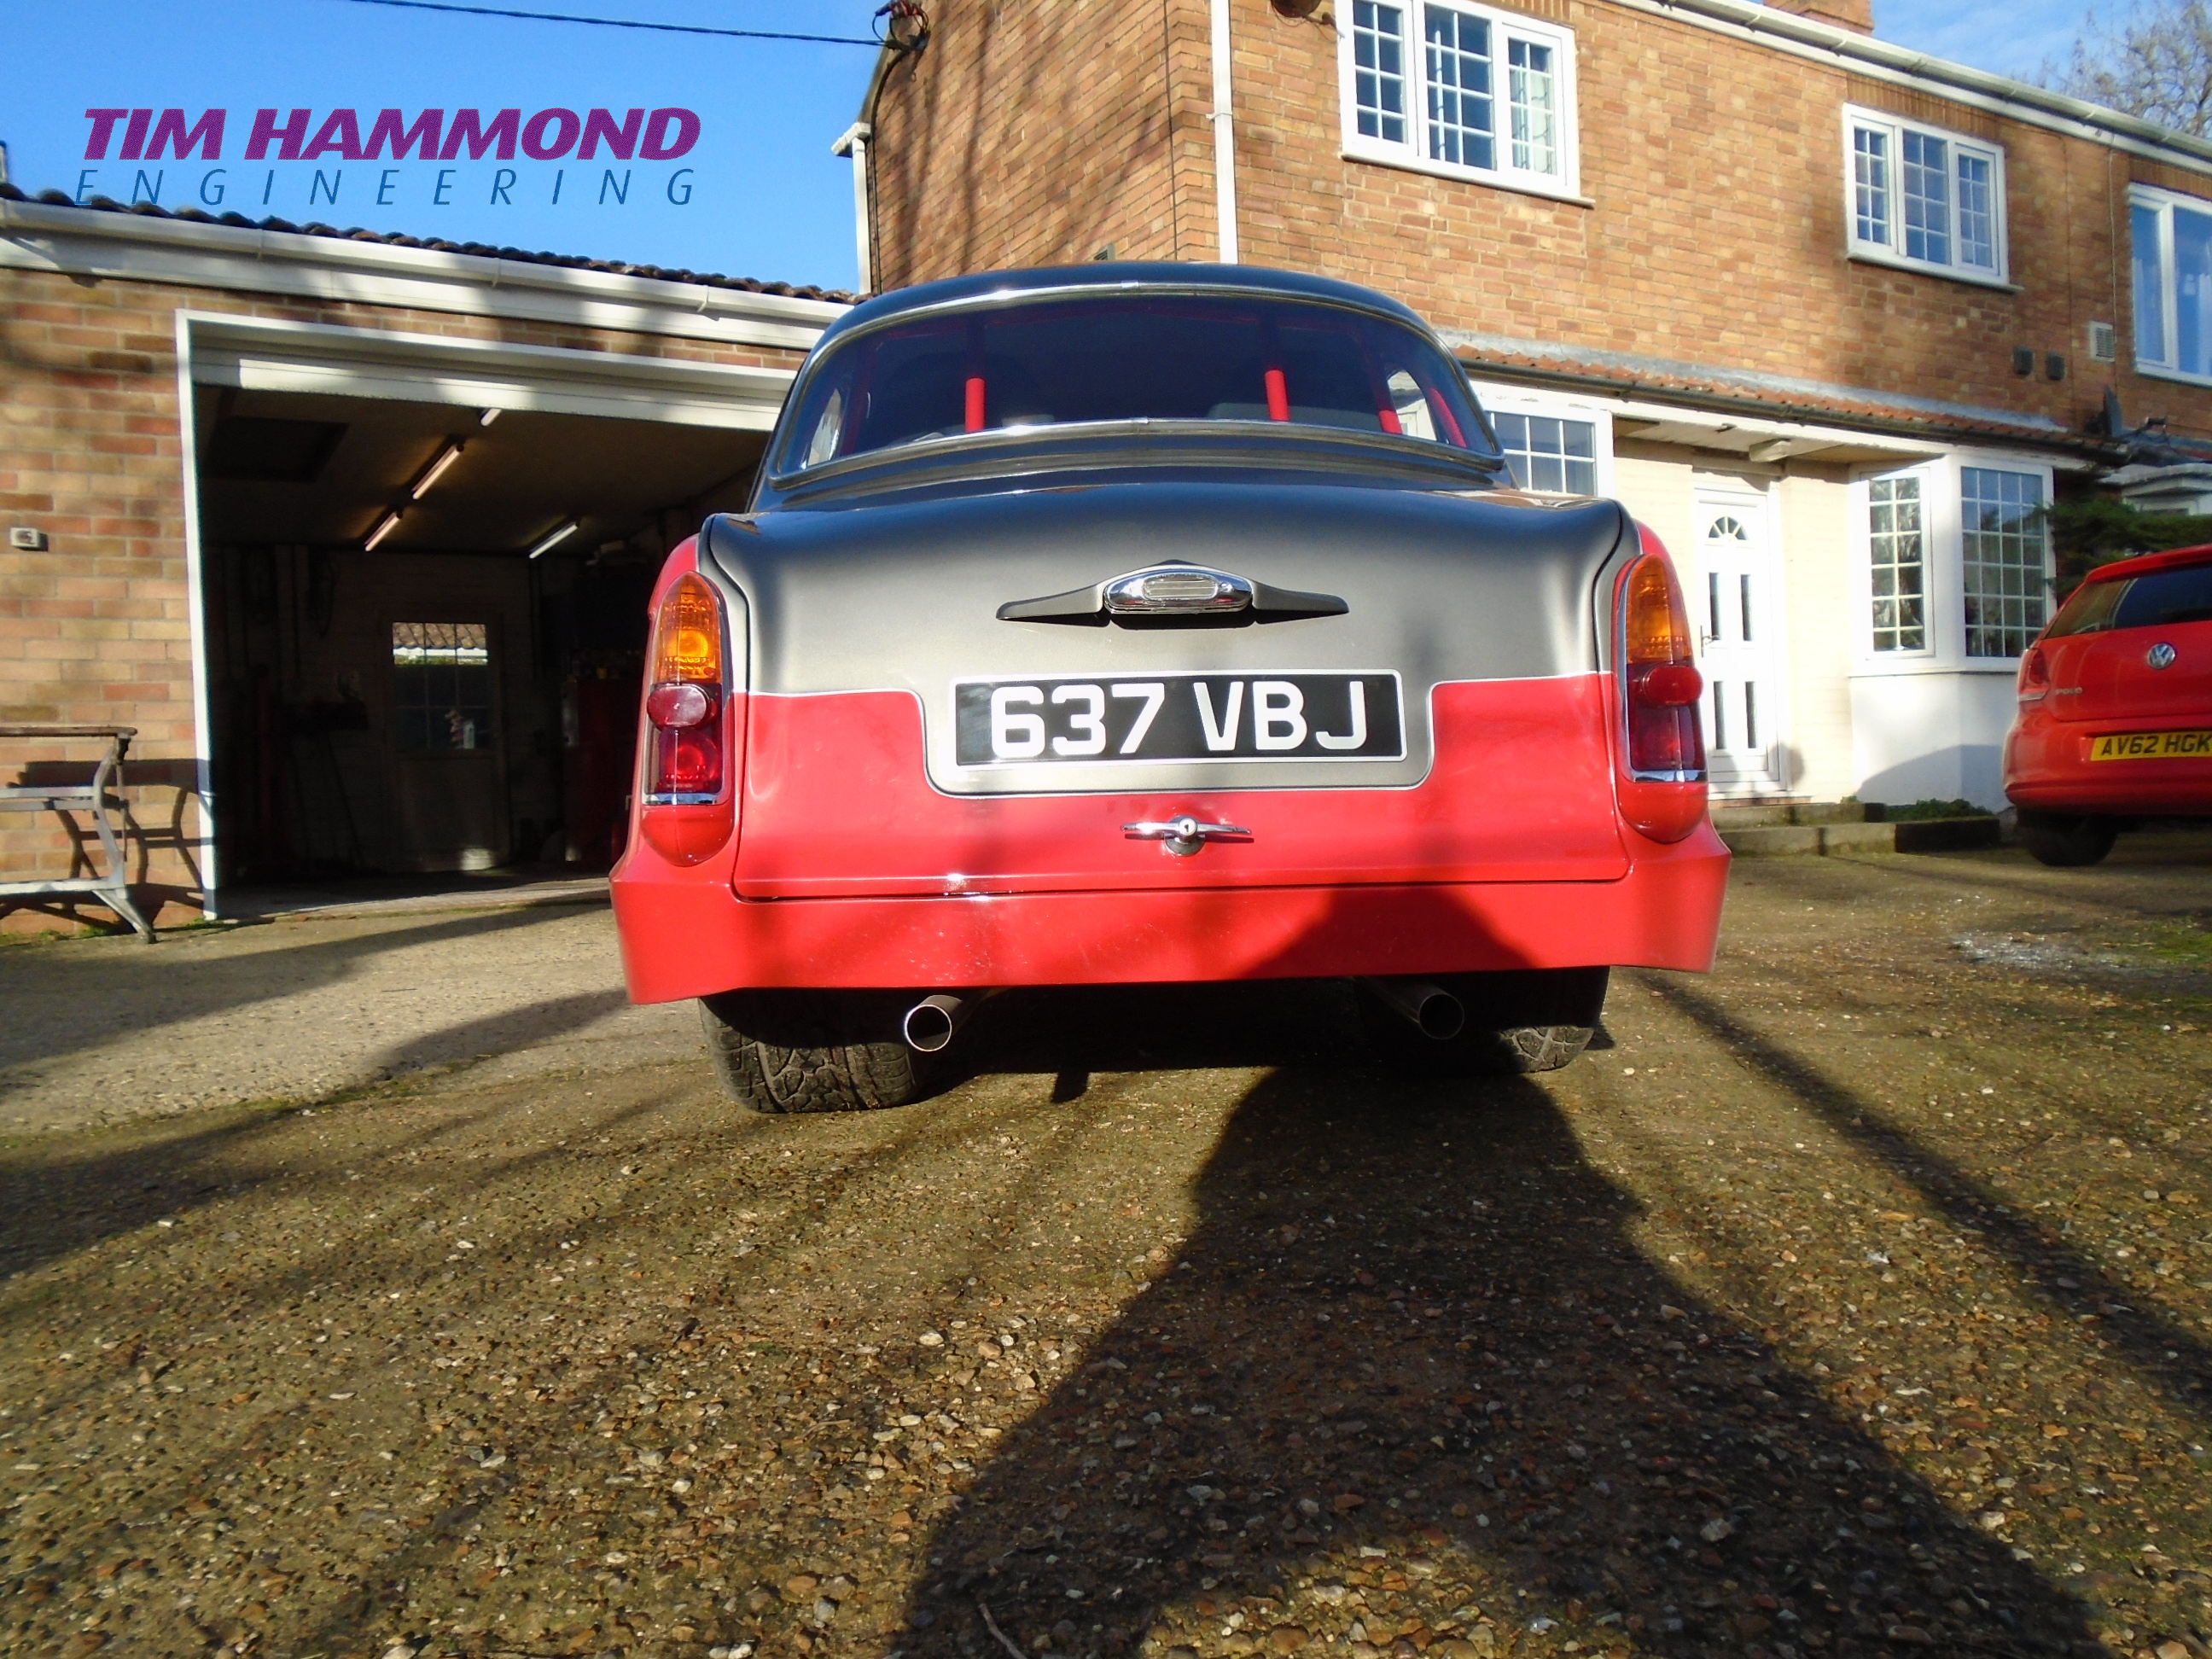
Bob 's Riley 1500
This car originally belonged to his mother, who purchased it new in the '60's. It was full of rot but the car had loads of sentimental value. Tim constructed a new chassis with his own independent stainless front suspension and a narrowed 8" with stainless steel 5 link at the rear, scratch built stainless steel headers and exhaust system. The engine and box is a 350 Chevy and Th350. Numerous body modifications were performed (way too many to mention). The pictures show the extent of the work done by Tim.
Calum's 1934 Coupe
Calum imported the body from Australia and then left it with Tim to create the chassis, modify the body as needed to create a sleek one-off creation. All stainless suspension. Tim created the sculptured interior and then the car went to Neil Tadman for trimming. Tim then put it all back together. Calum won Best in Britain at its first ever showing.
Body modifications and tweeking, with some additional touches like the swage line being removed and then brass trim applied.
Then came the putting together of the chassis and suspension that Tim had created.
Body painted and then fitted, car wired and interior sculpture created.
End result, was a pretty amazing, sleek and somewhat understated car until you look closely.

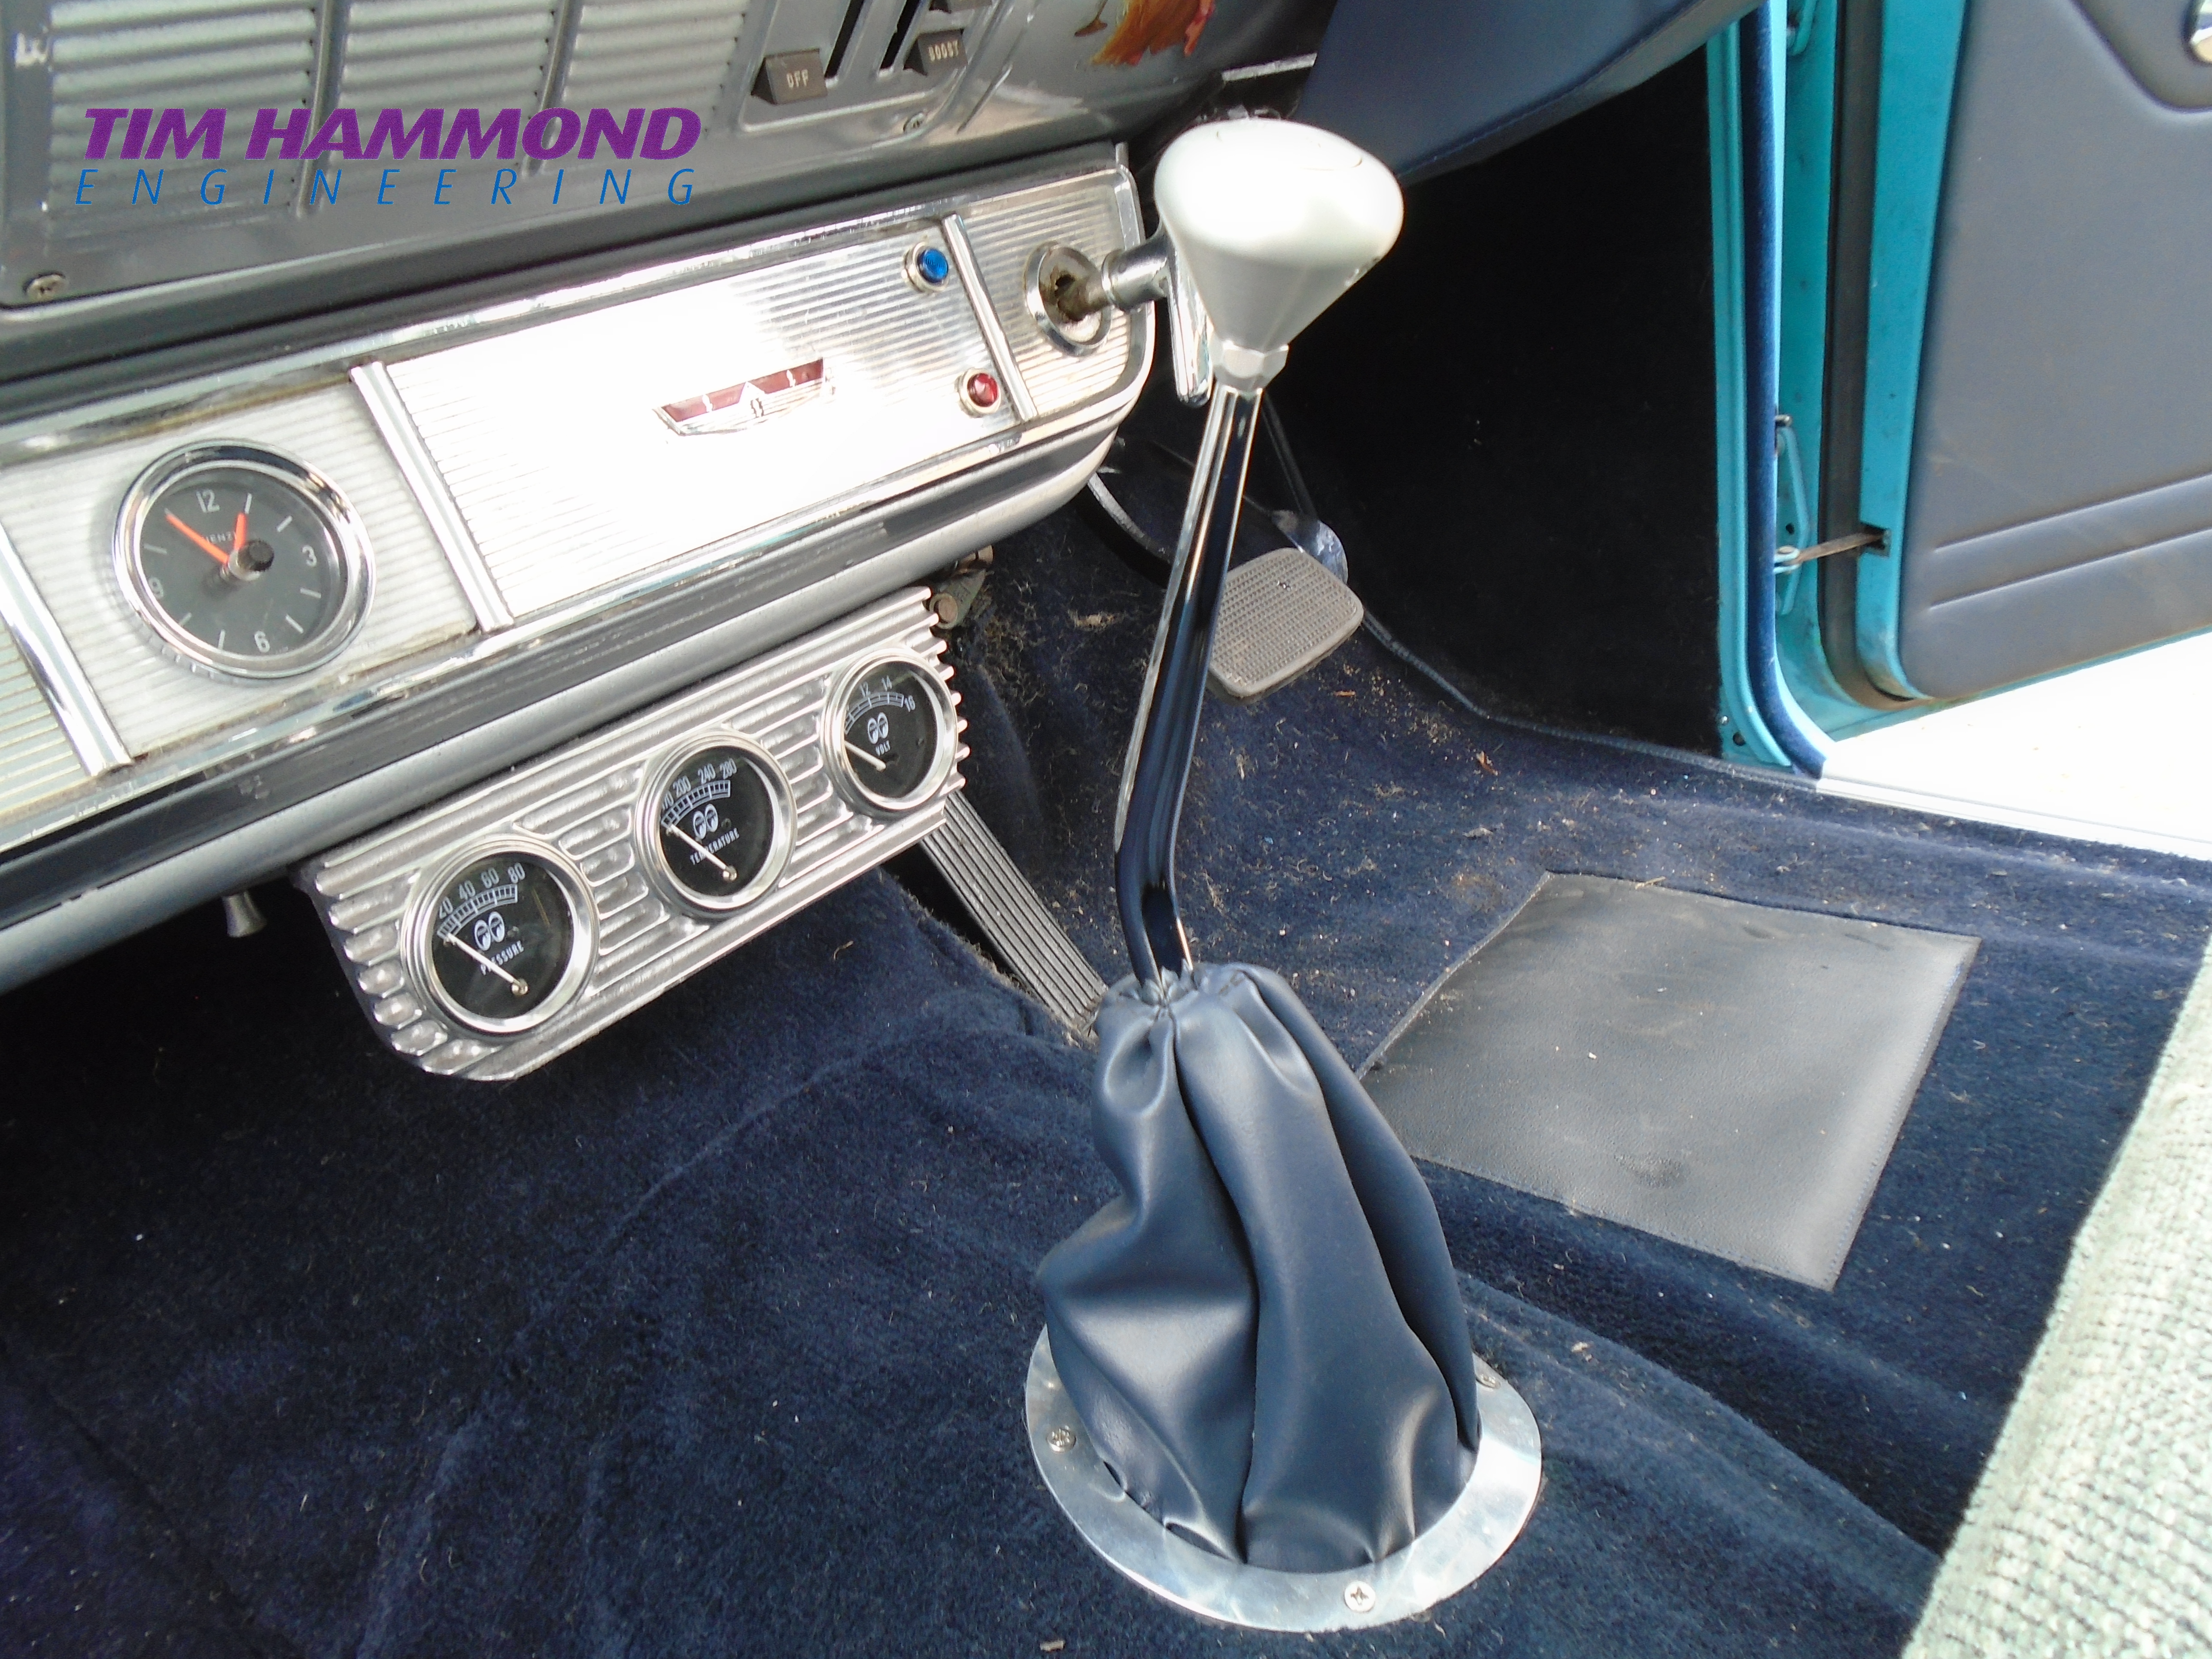
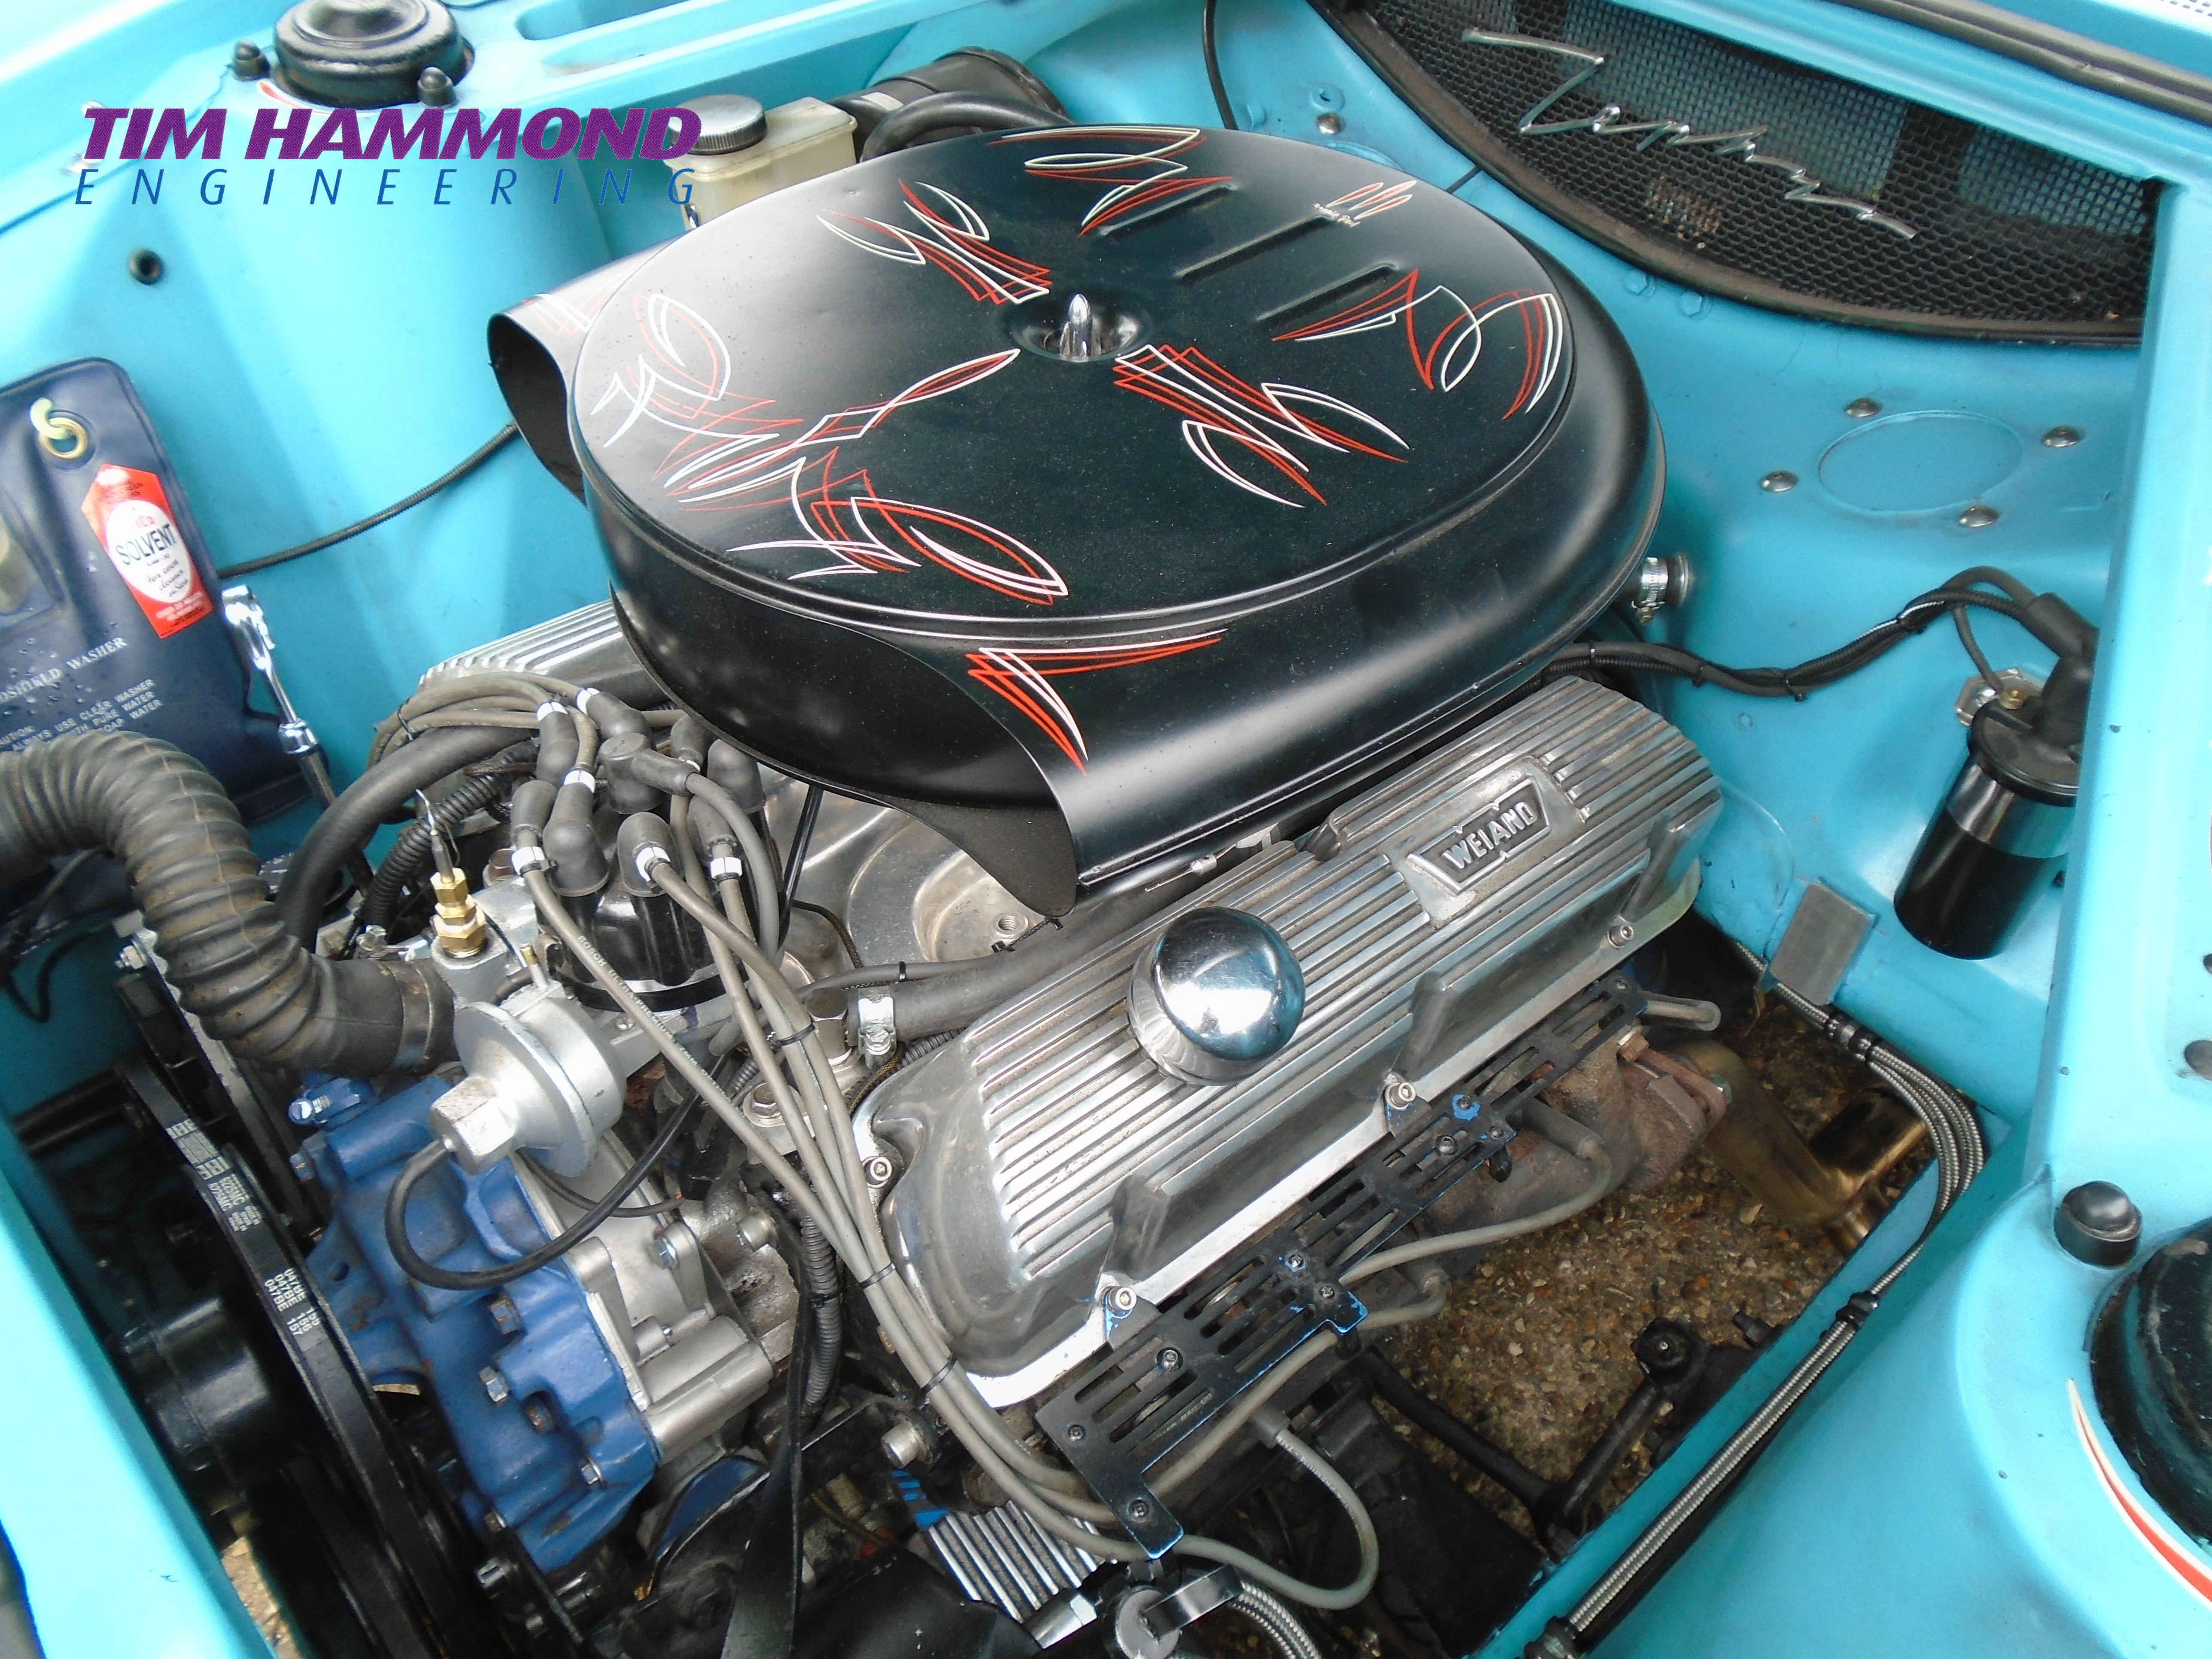
Andy's Zephyr
Built largely by Andy, and with a wedding deadline looming Tim was asked to help him complete the project so the car could be used for the wedding. Required numerous little jobs to be completed and put back together. Best of all, it was completed with time to spare and his daughter loved using the car for the wedding.
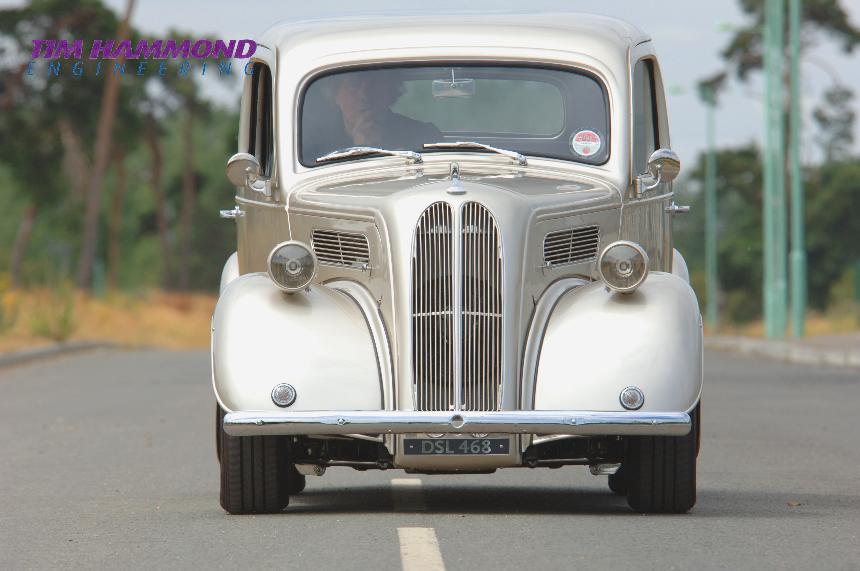

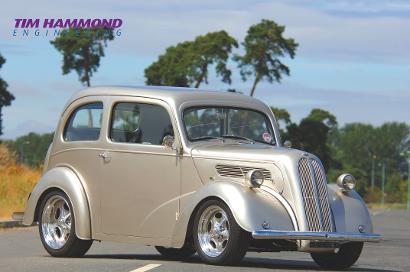
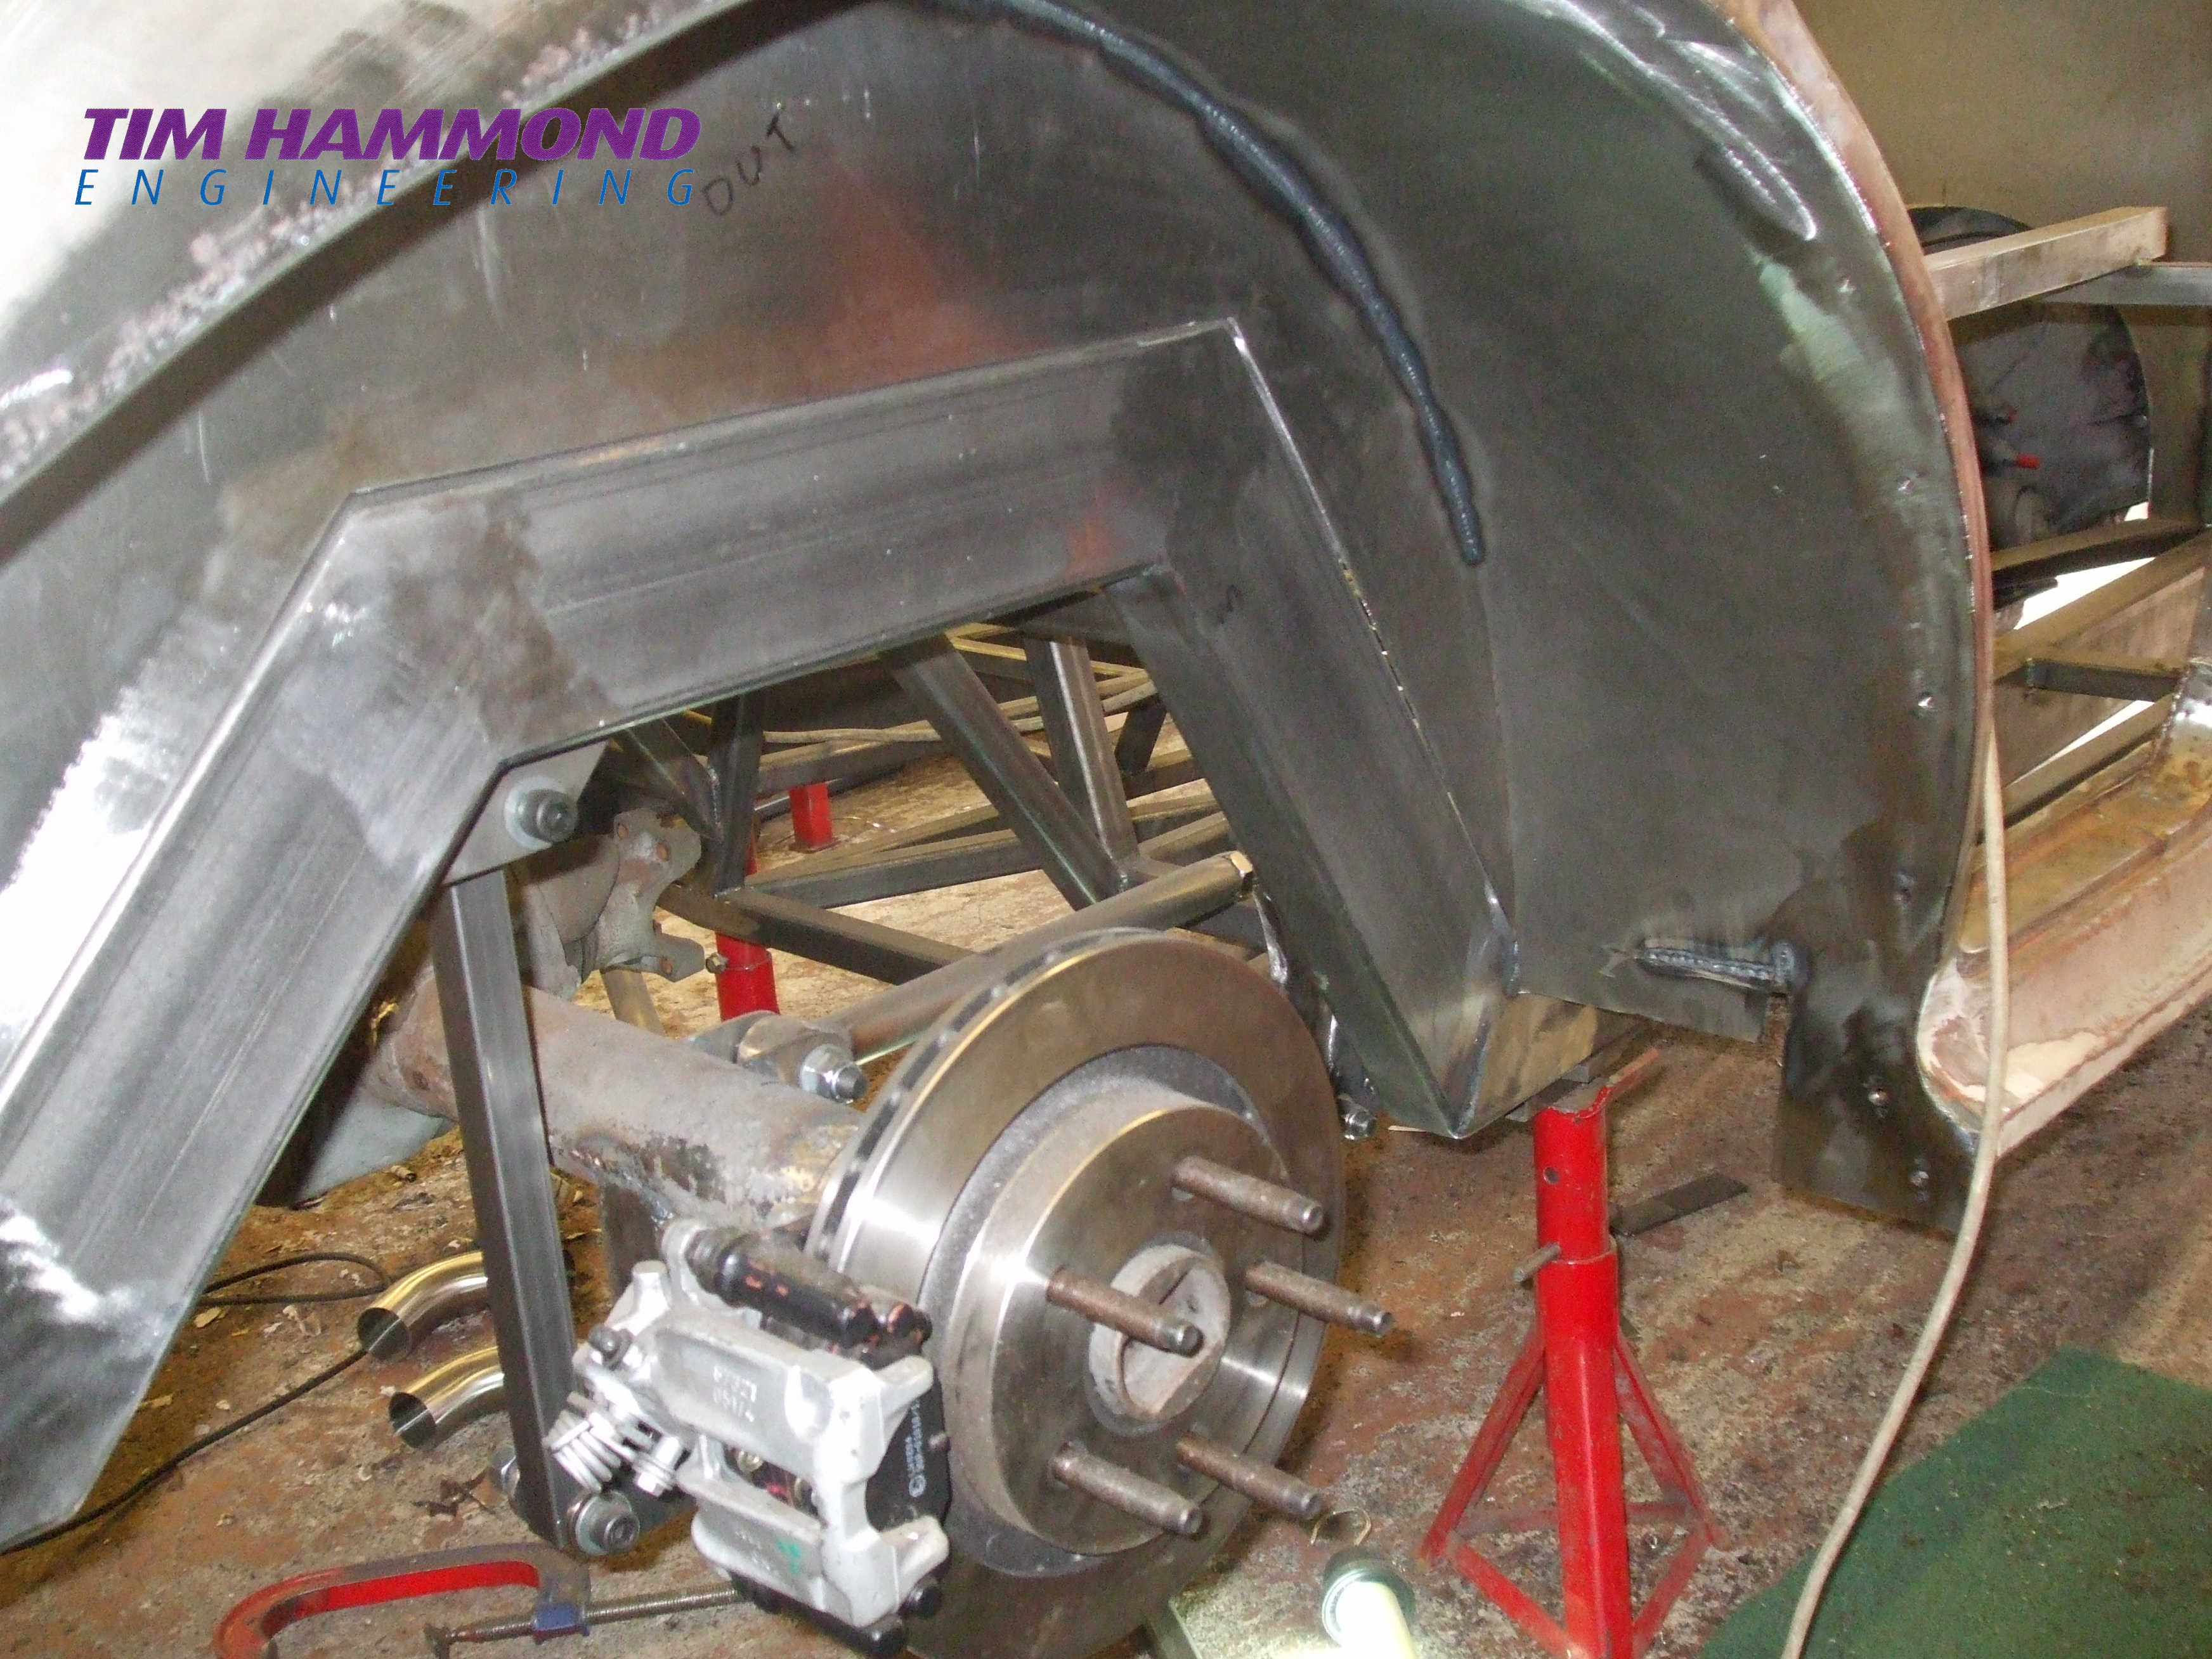
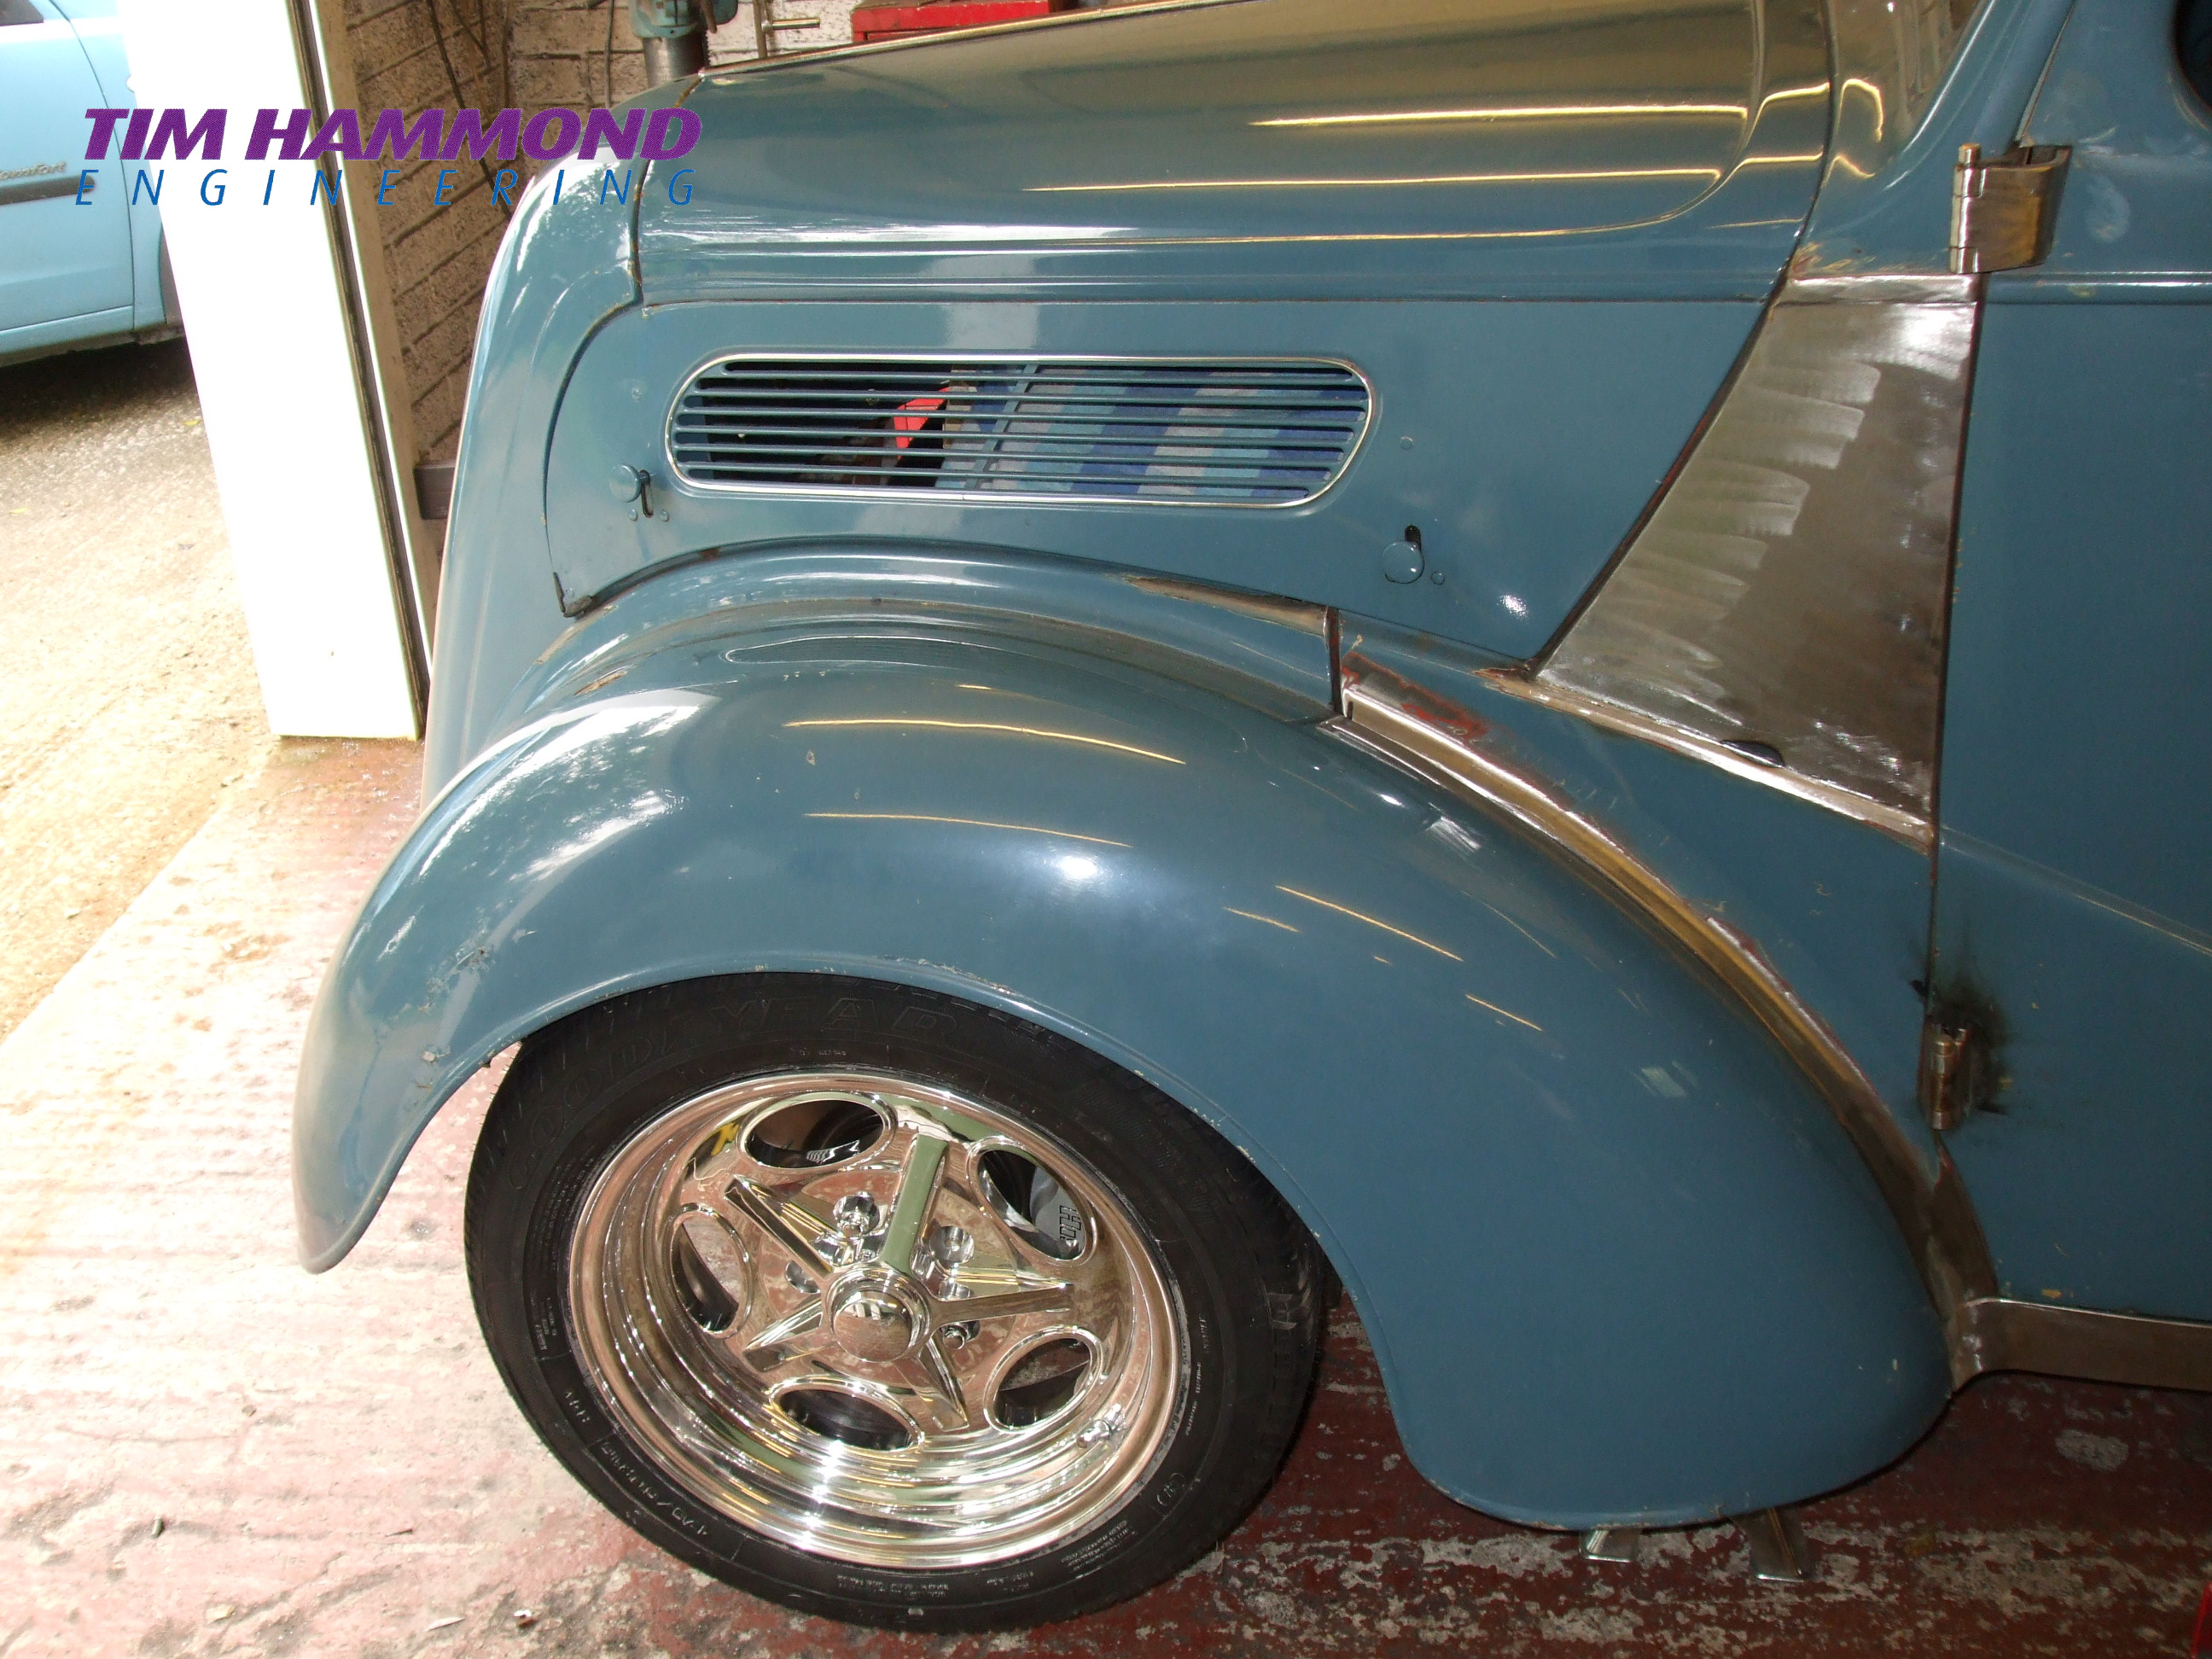
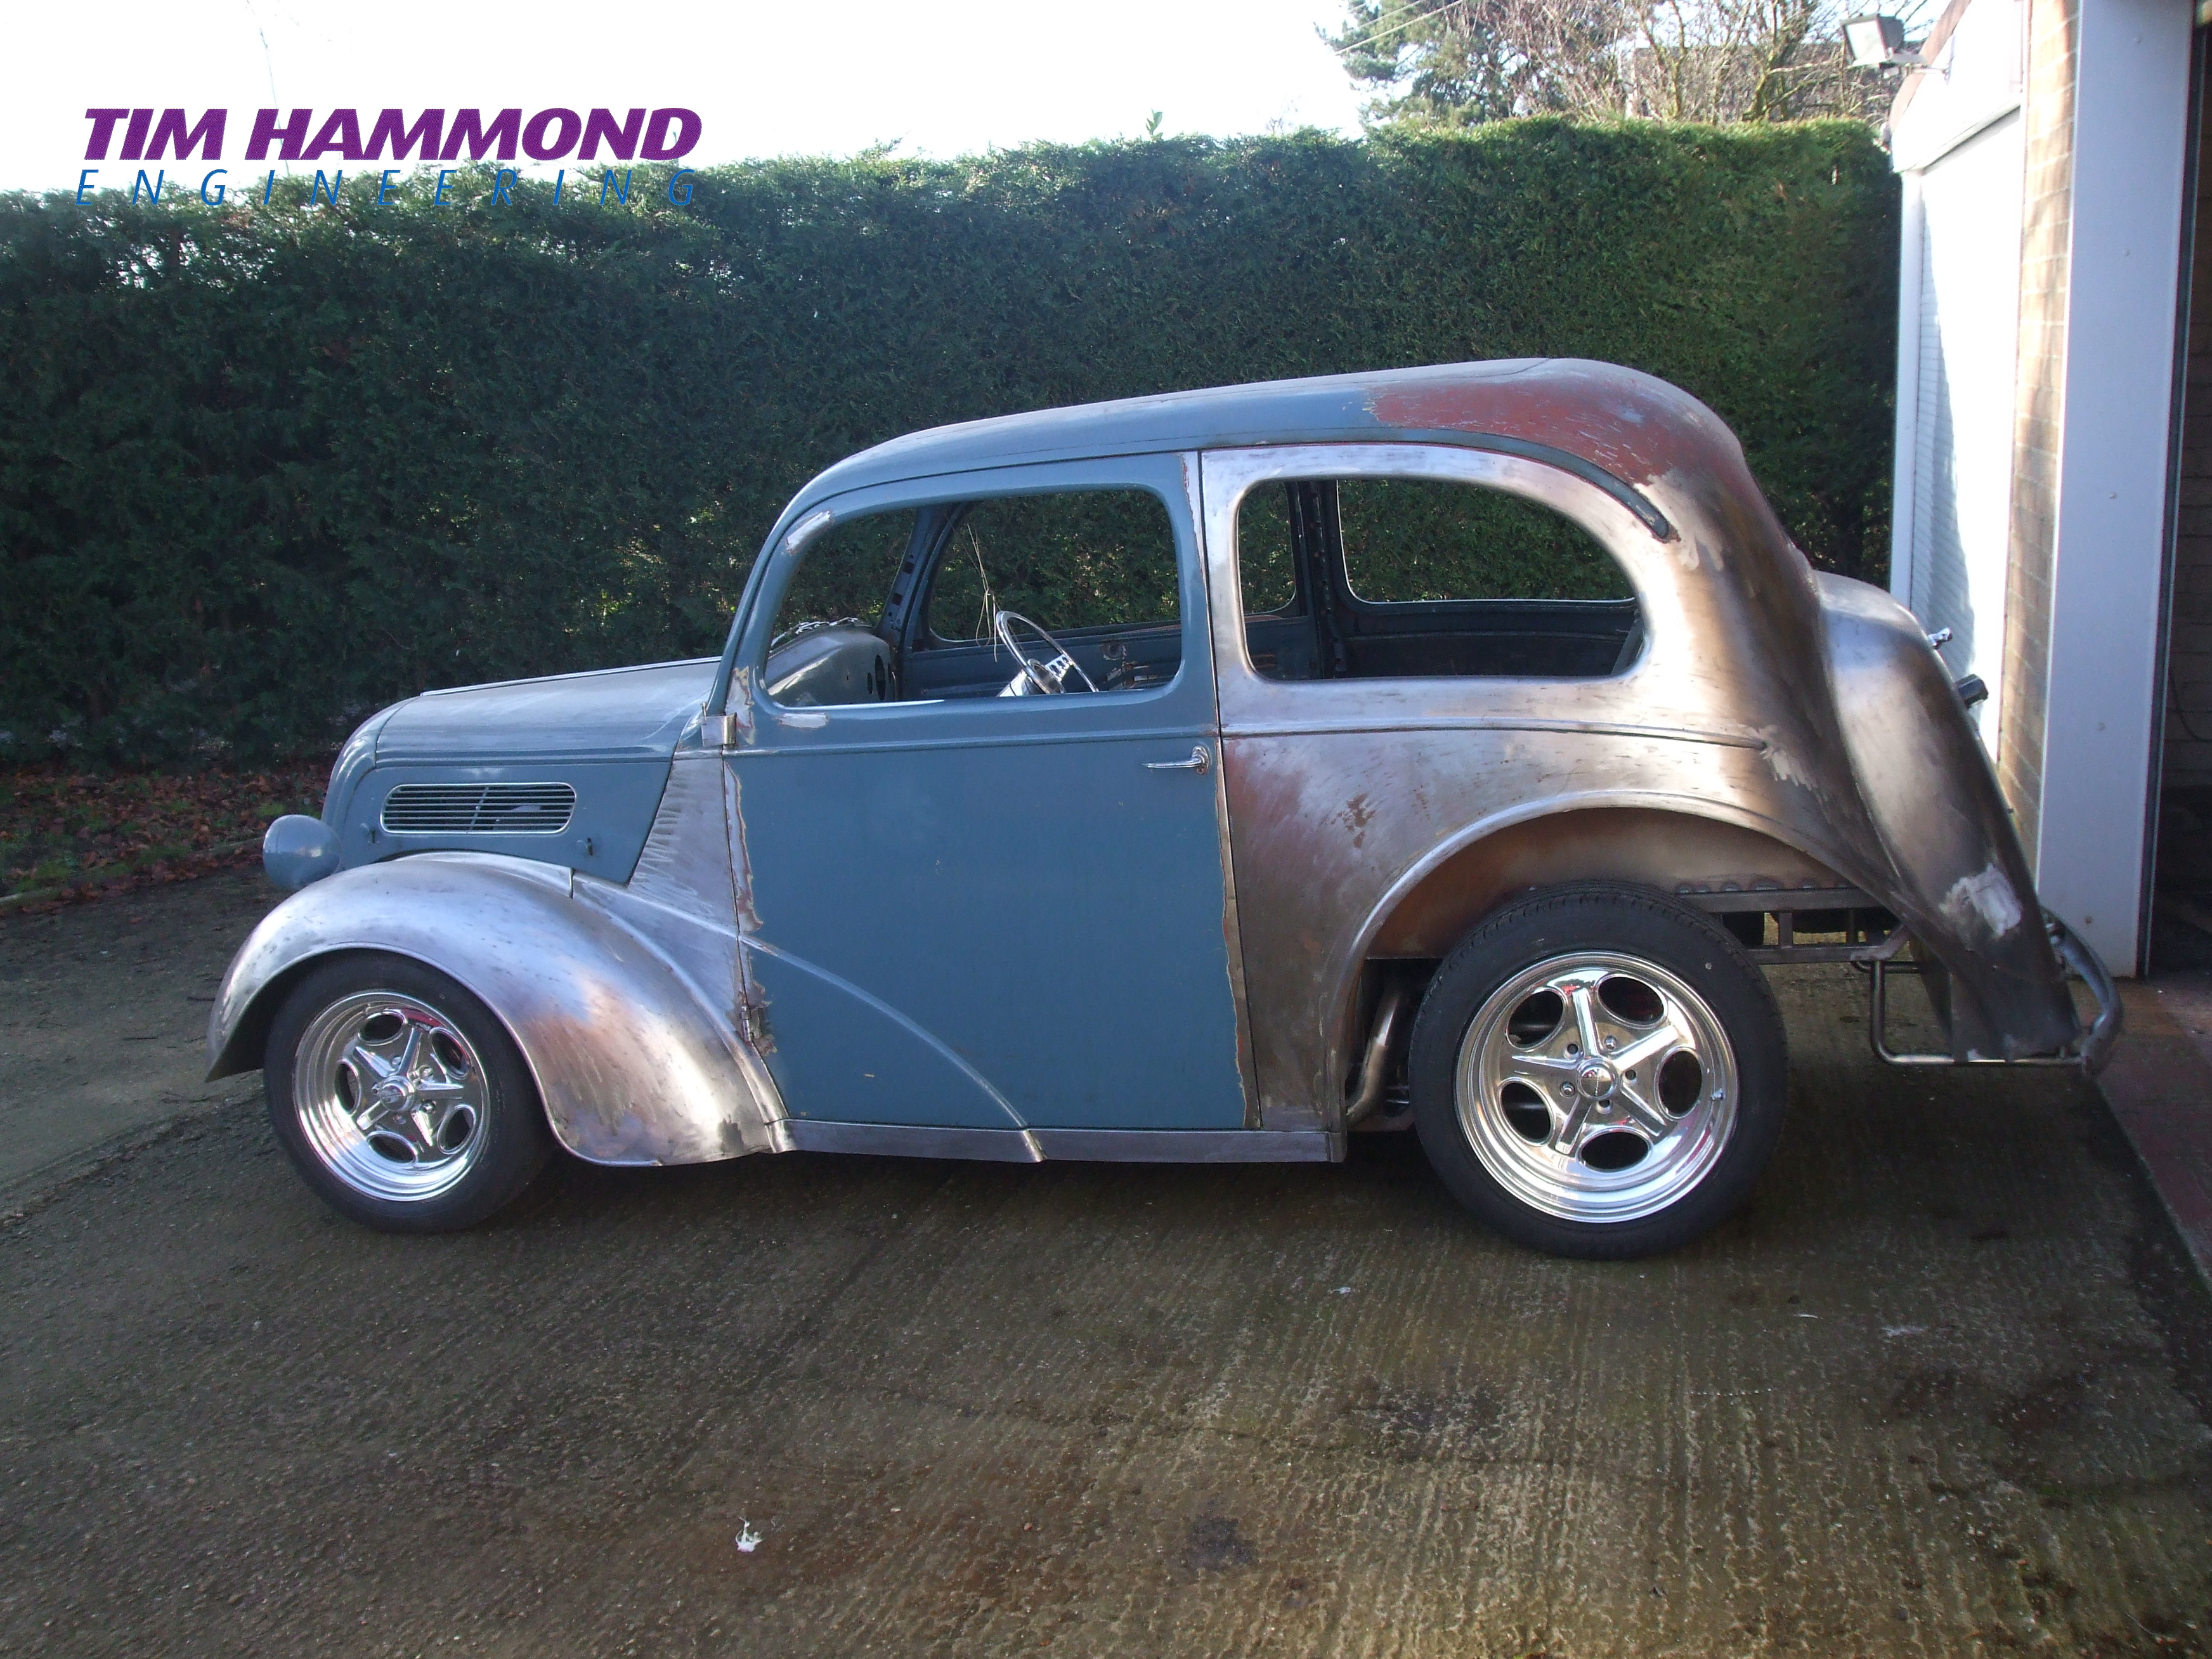
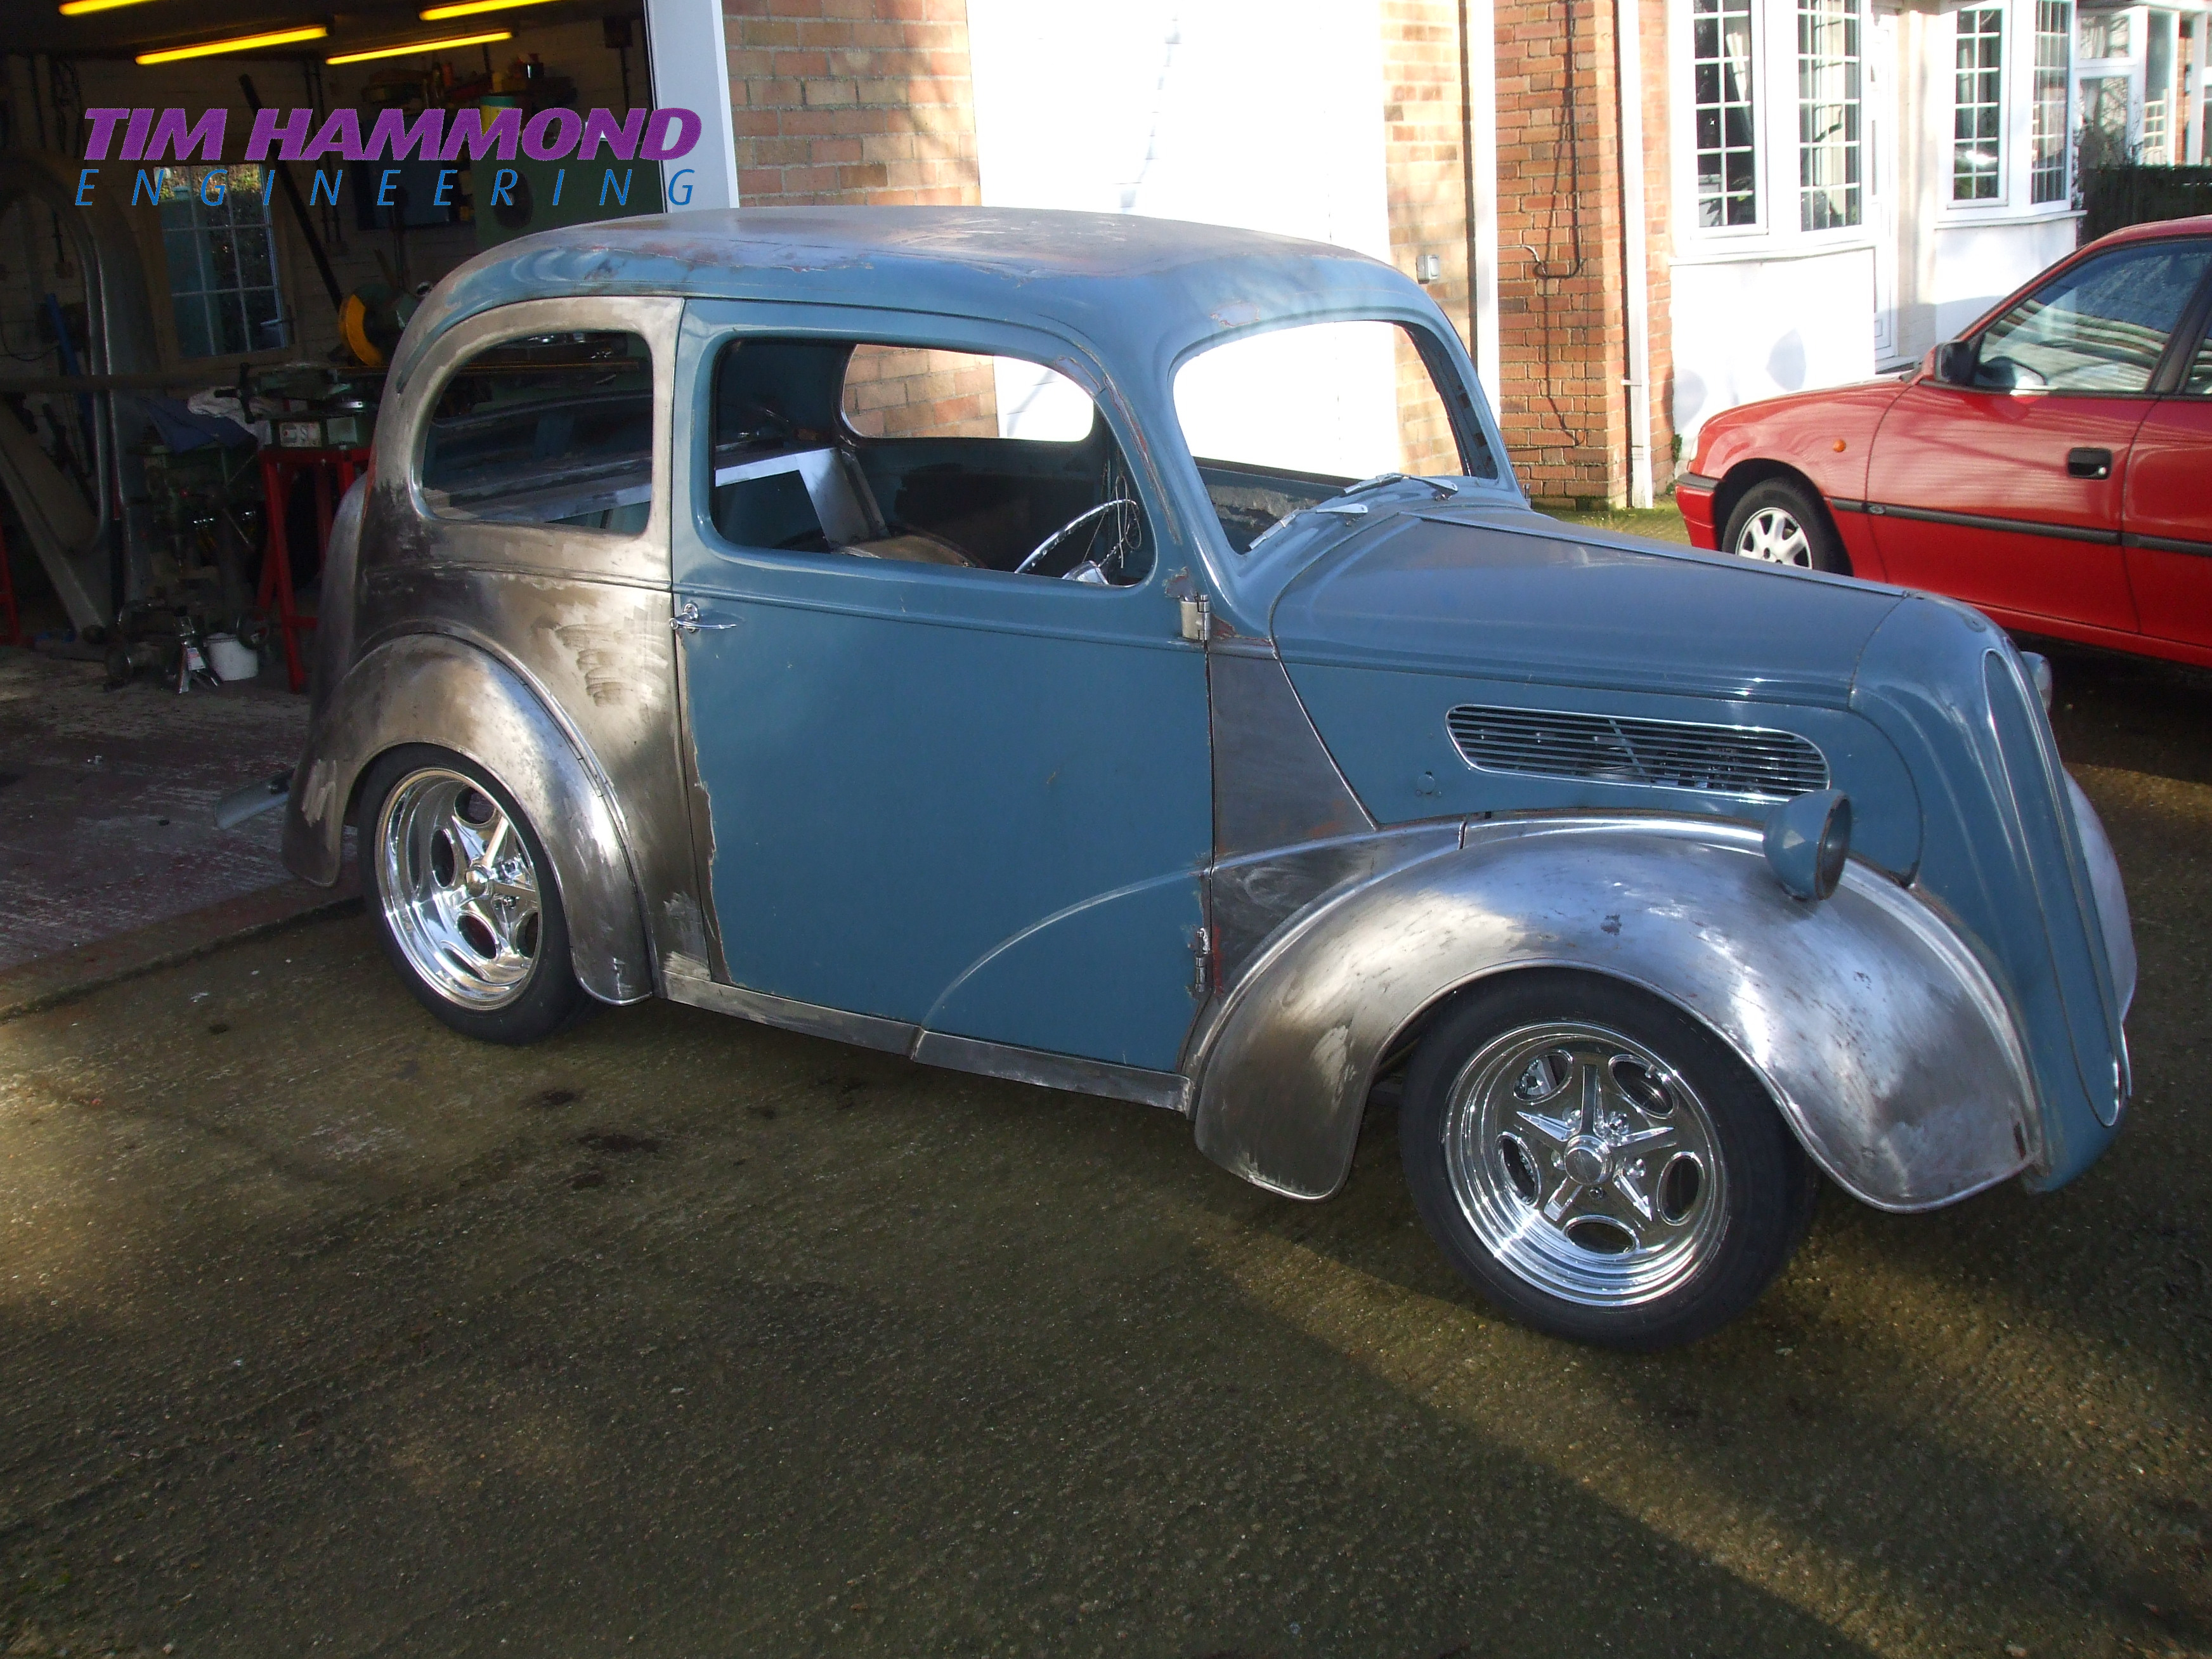
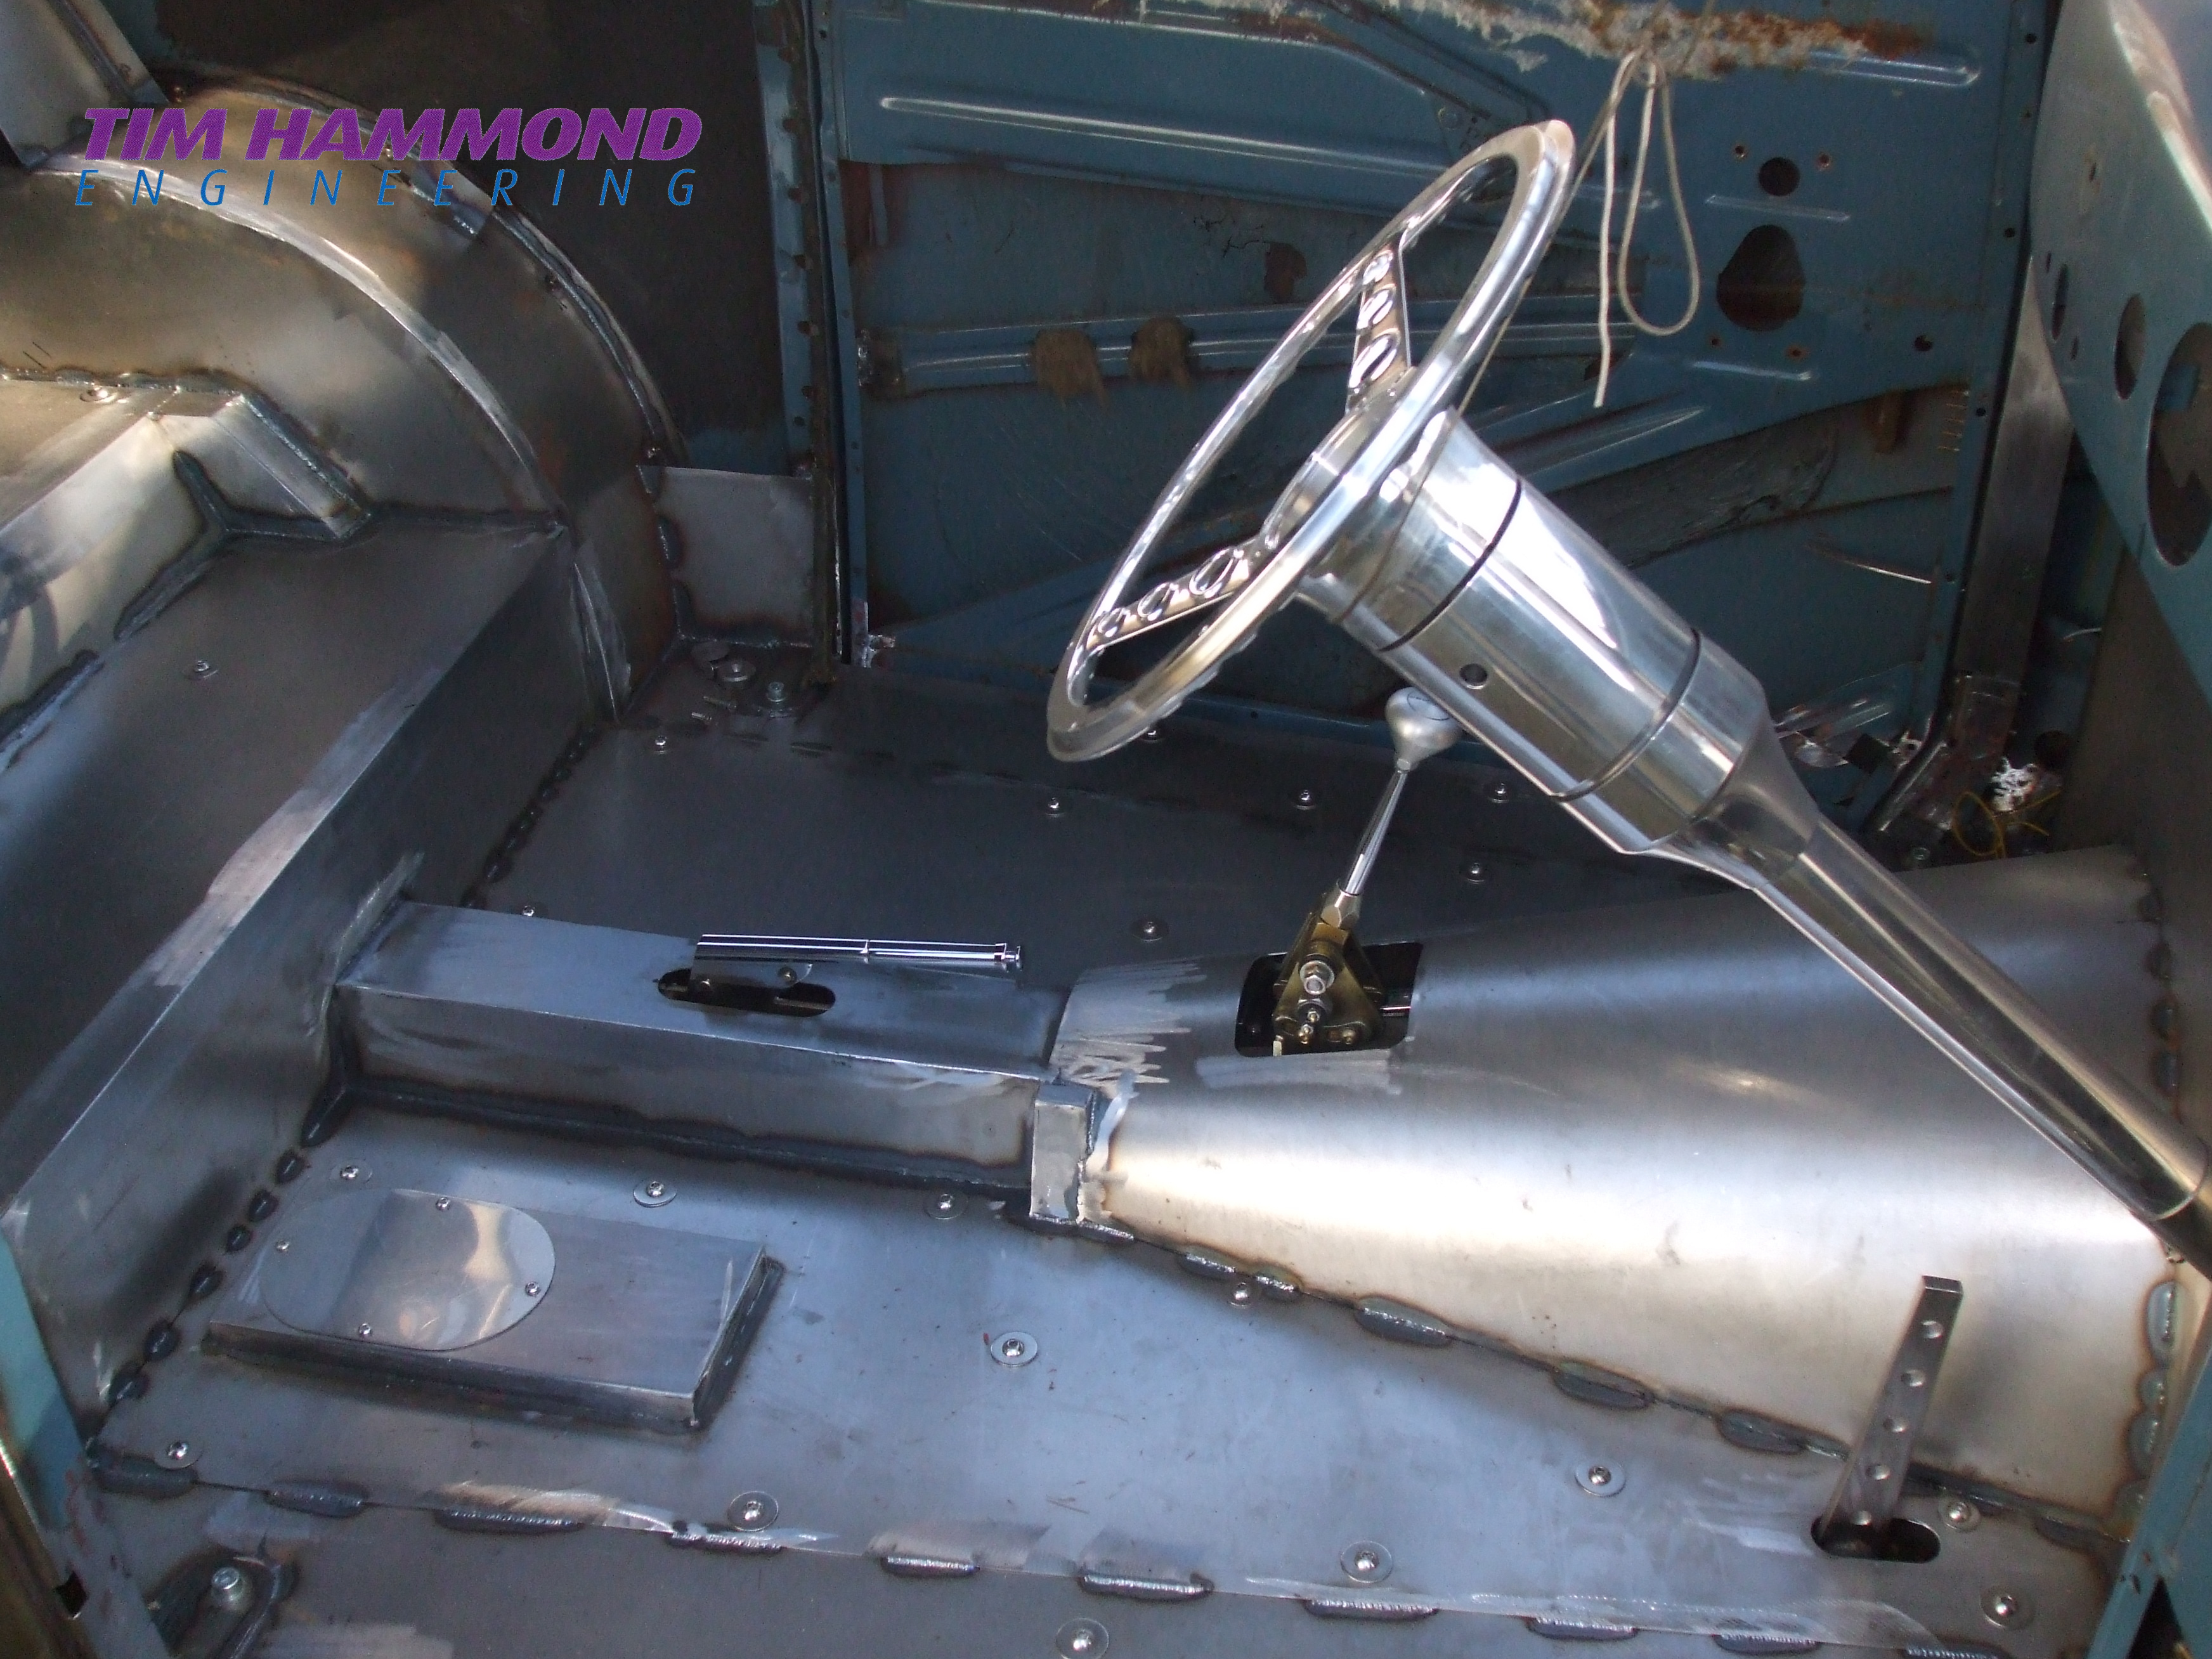
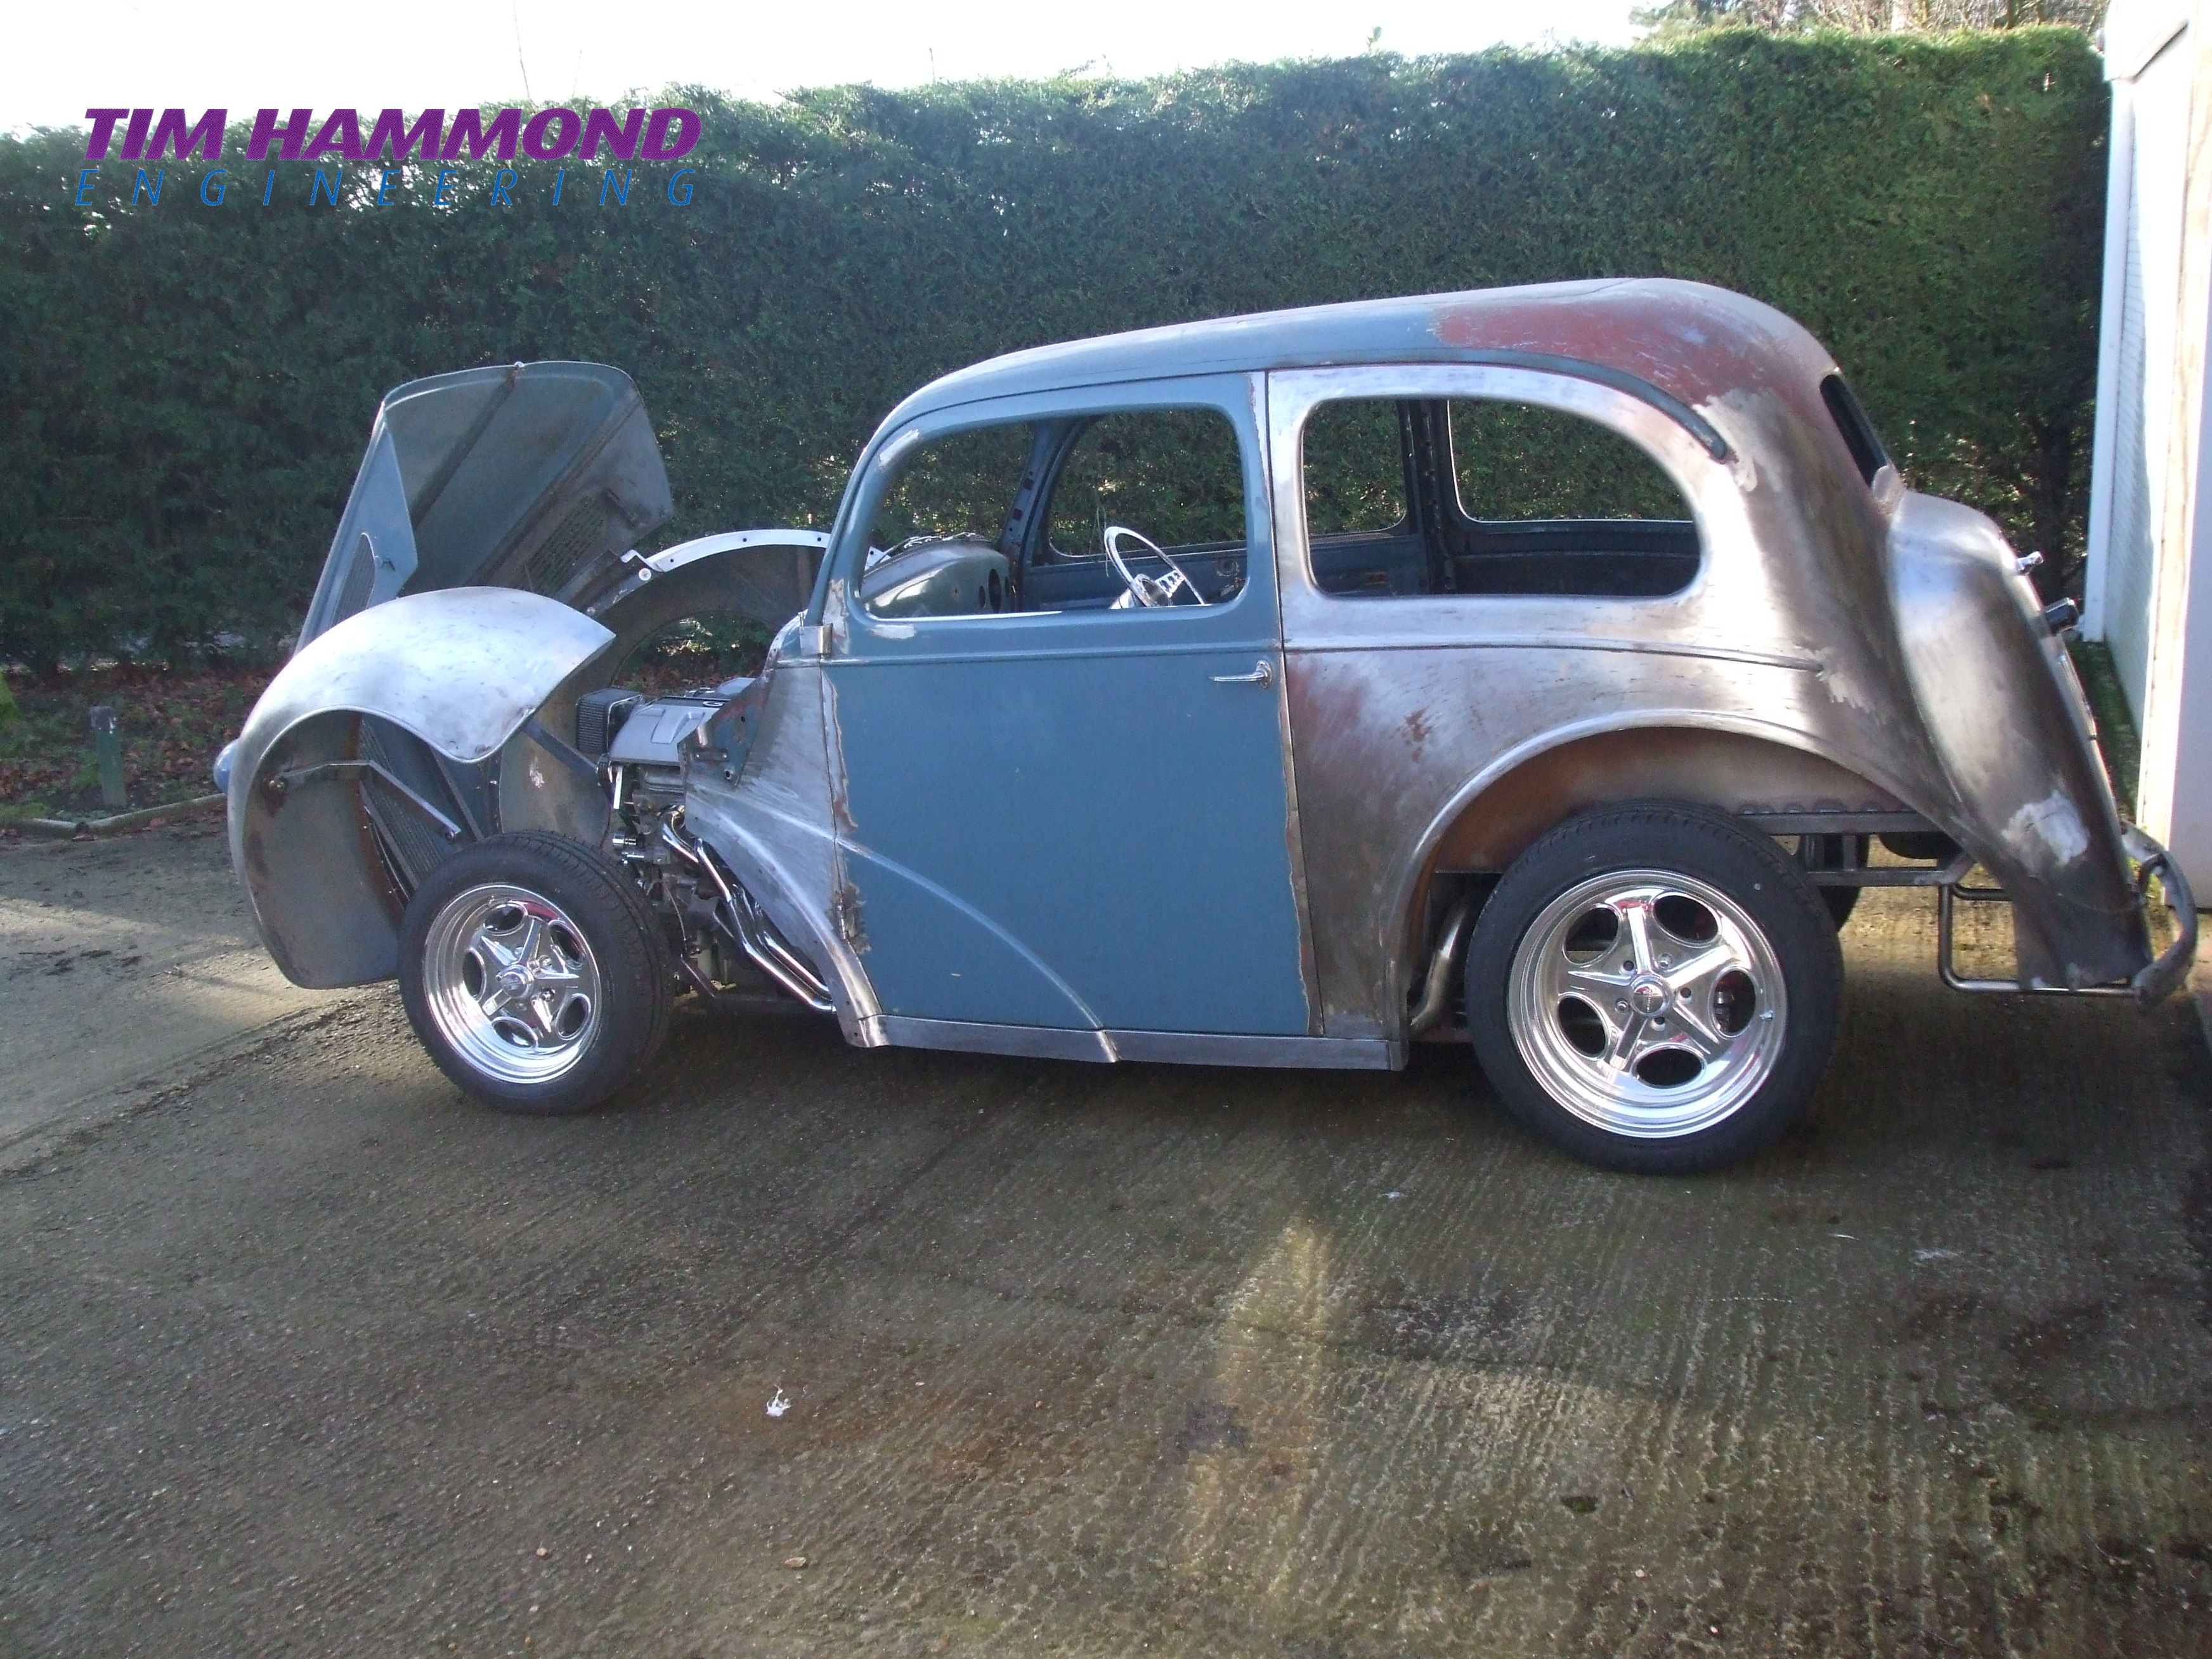
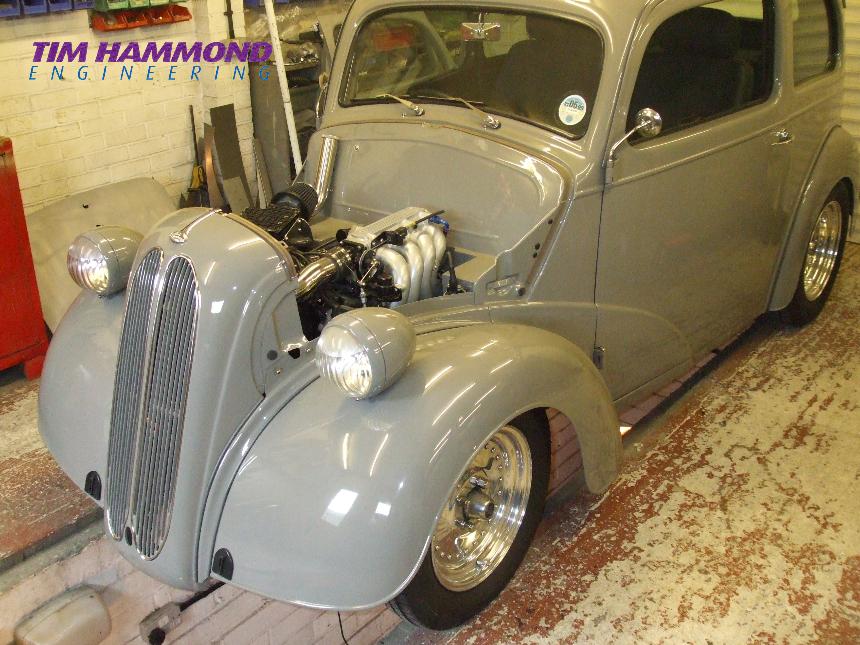
Liz's Ford Pop - Henry
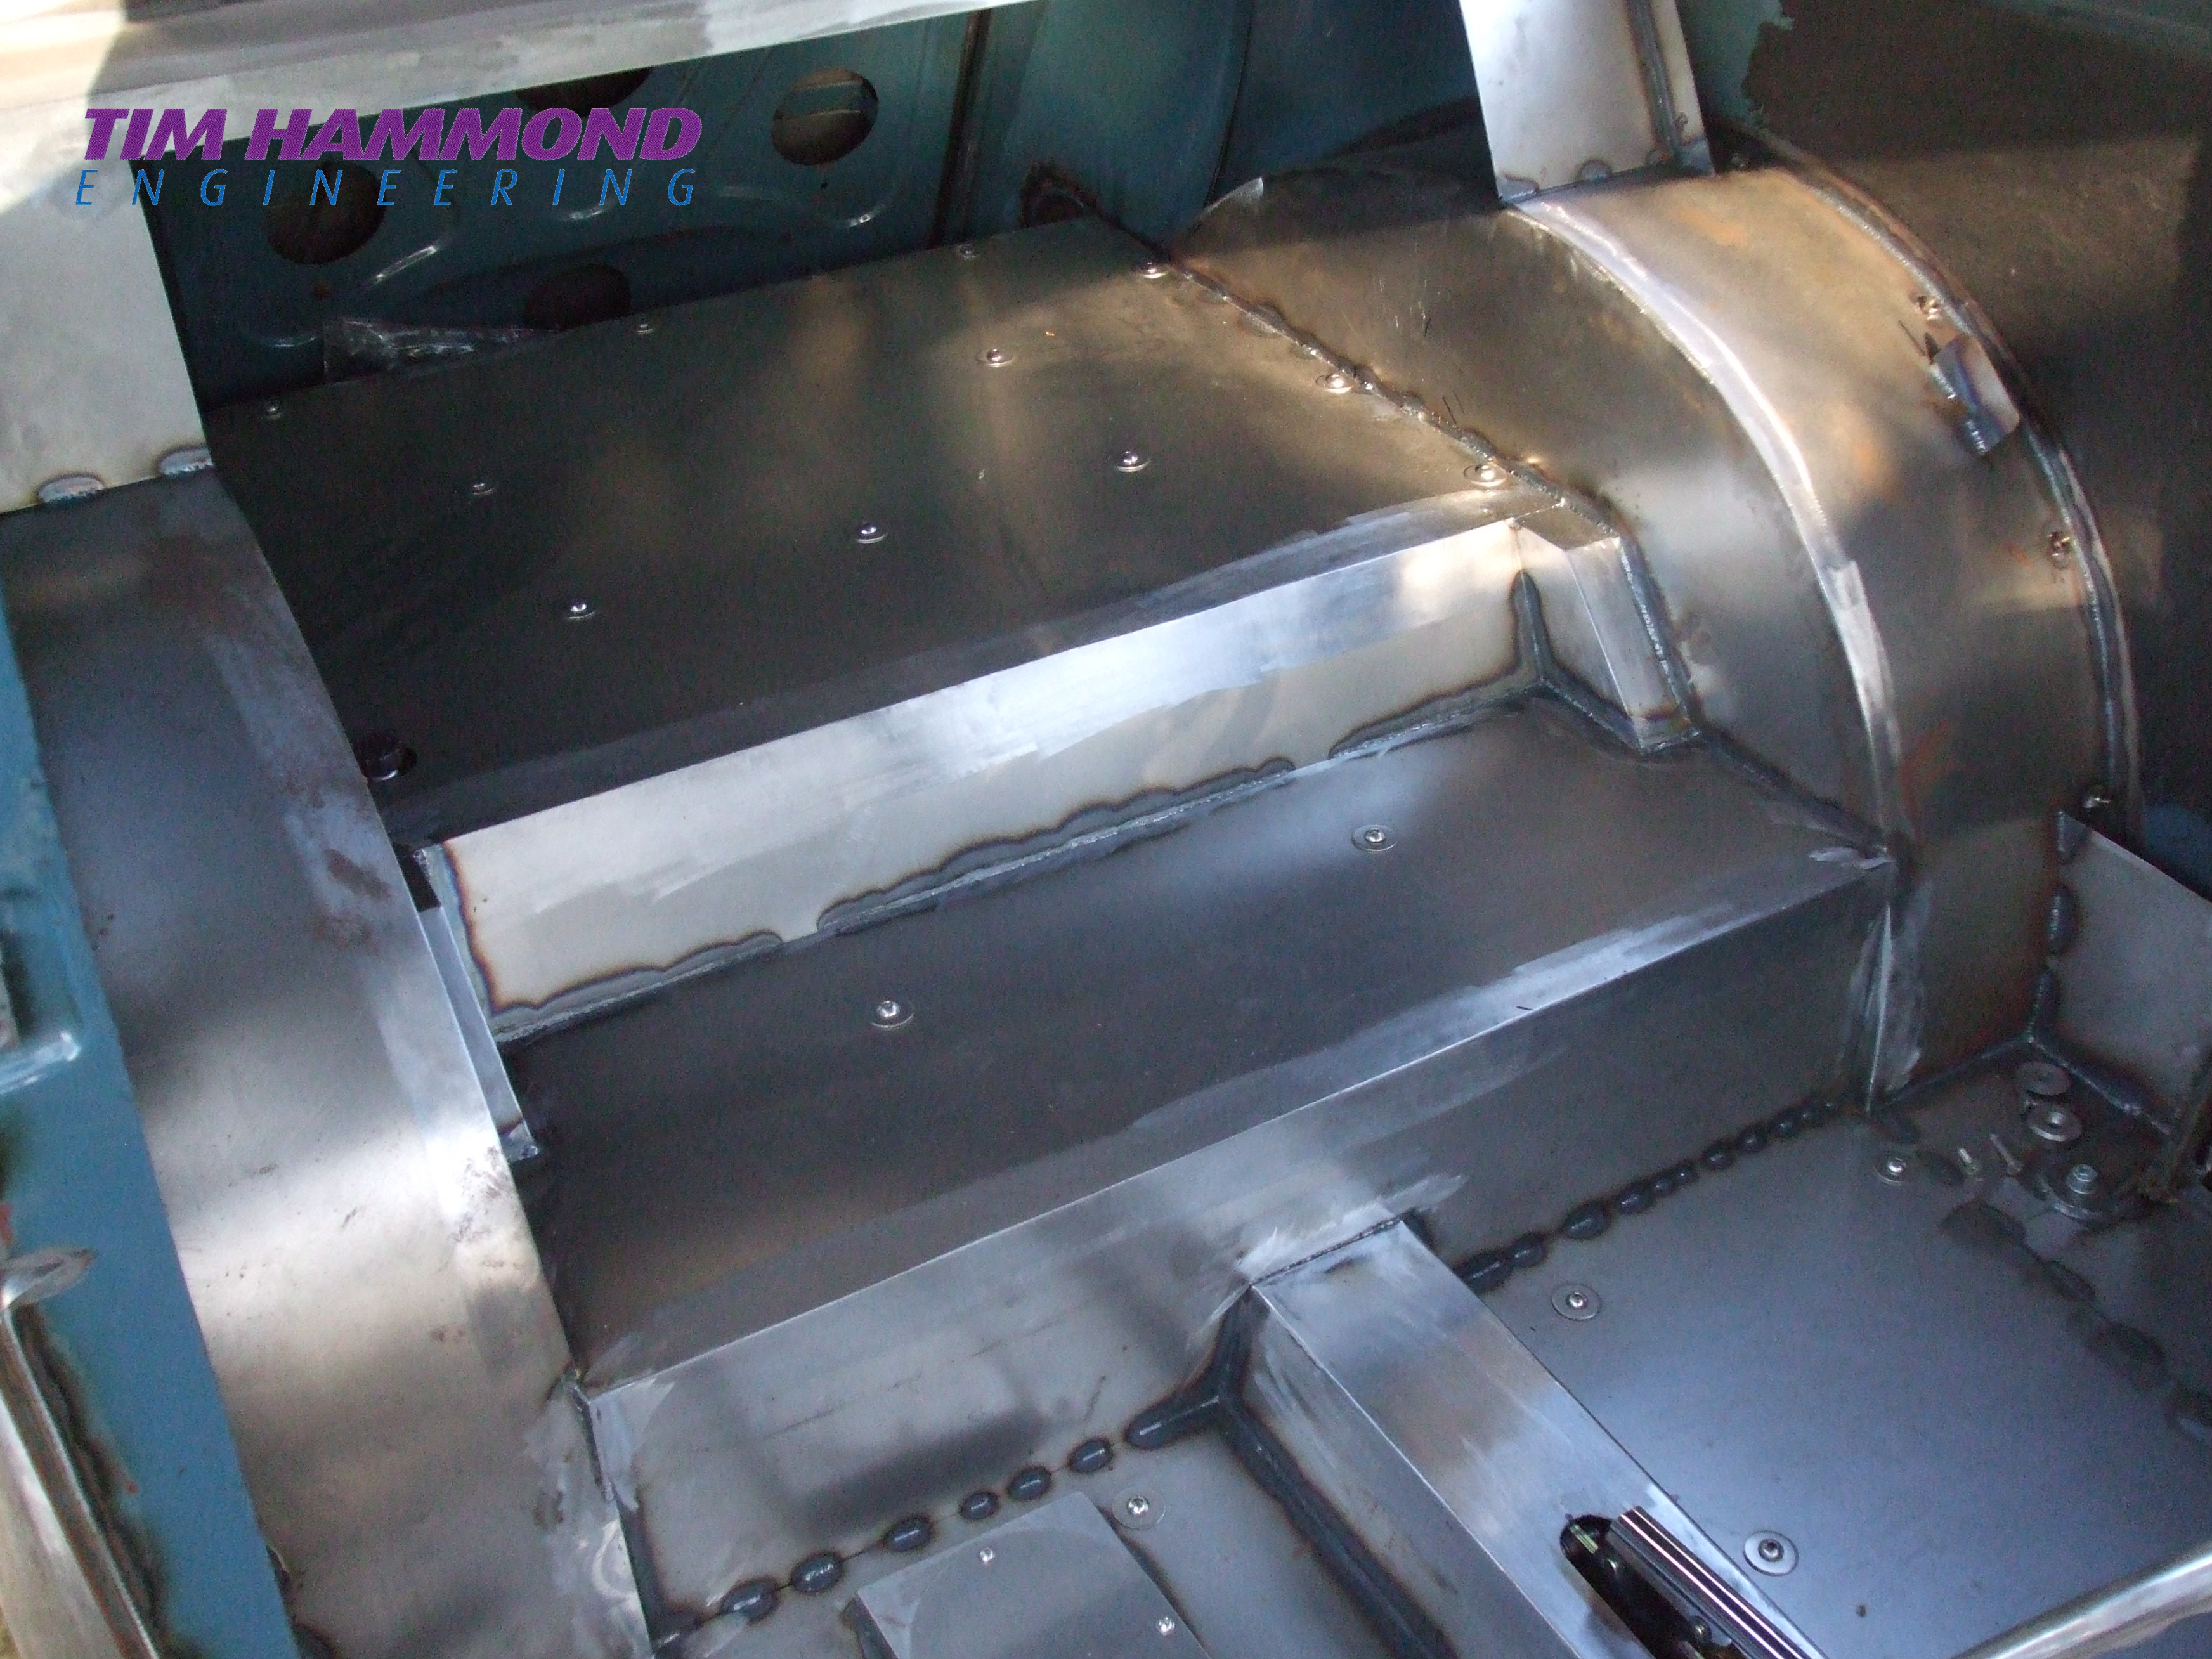
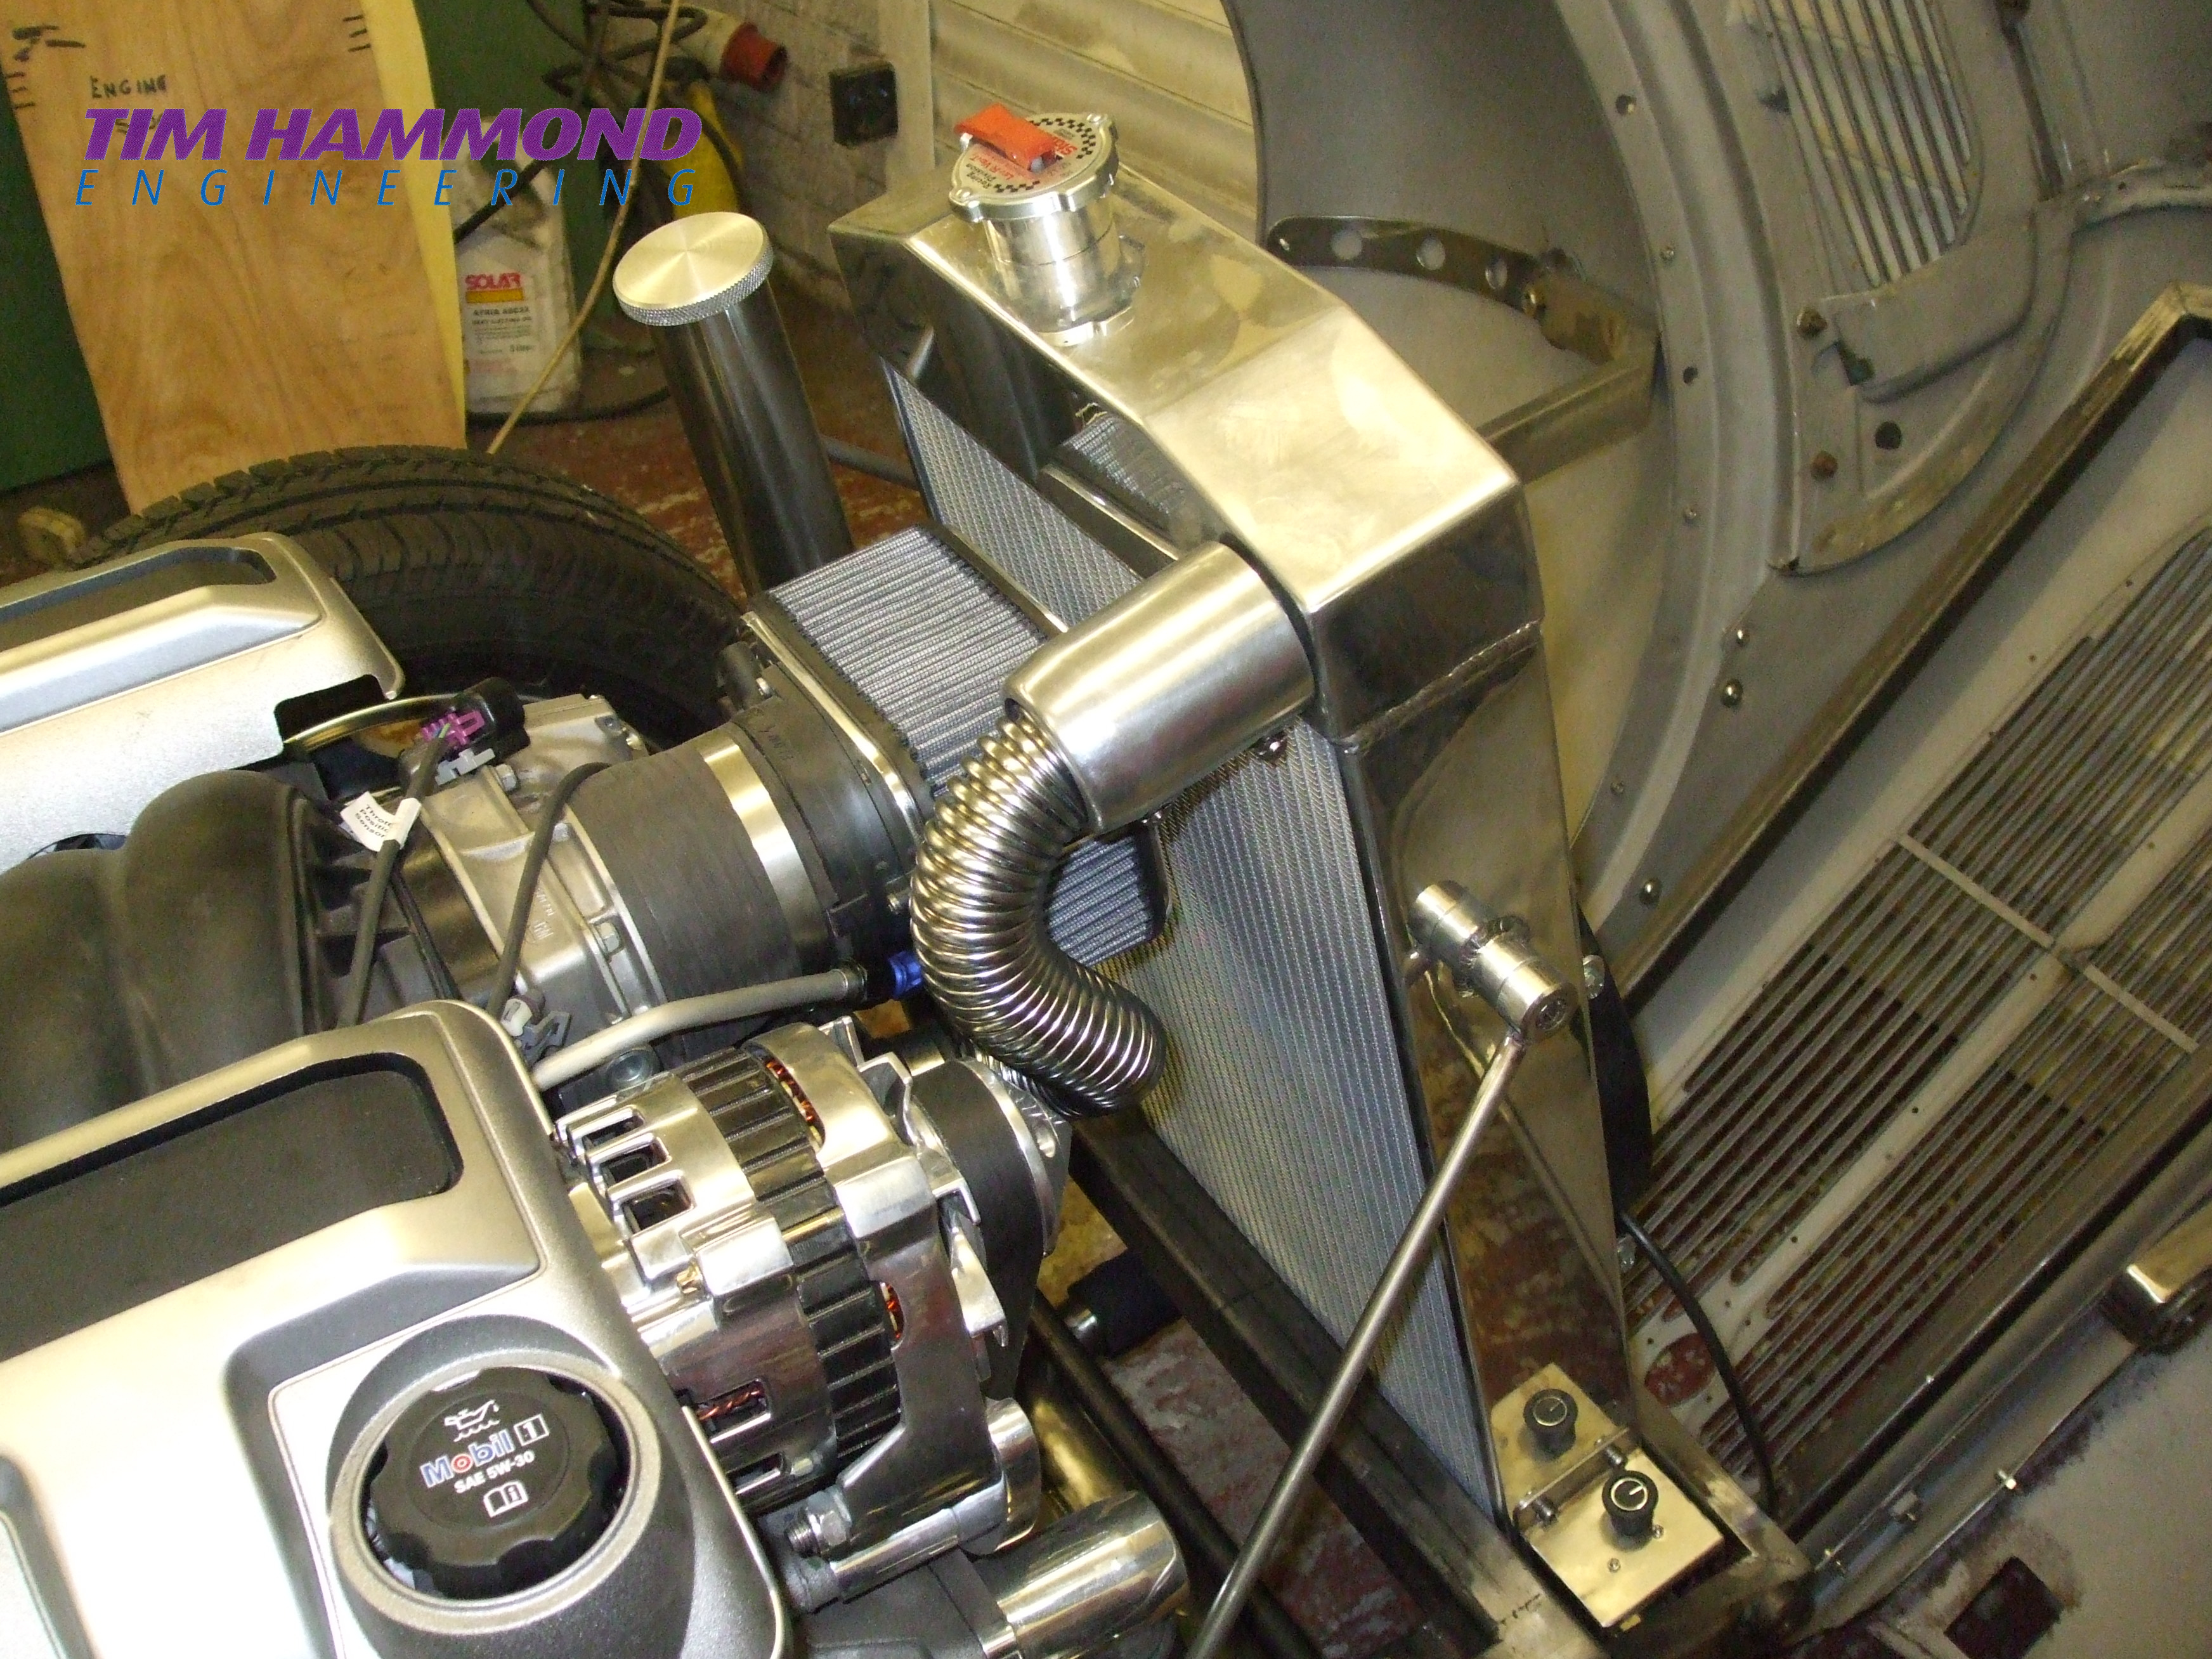
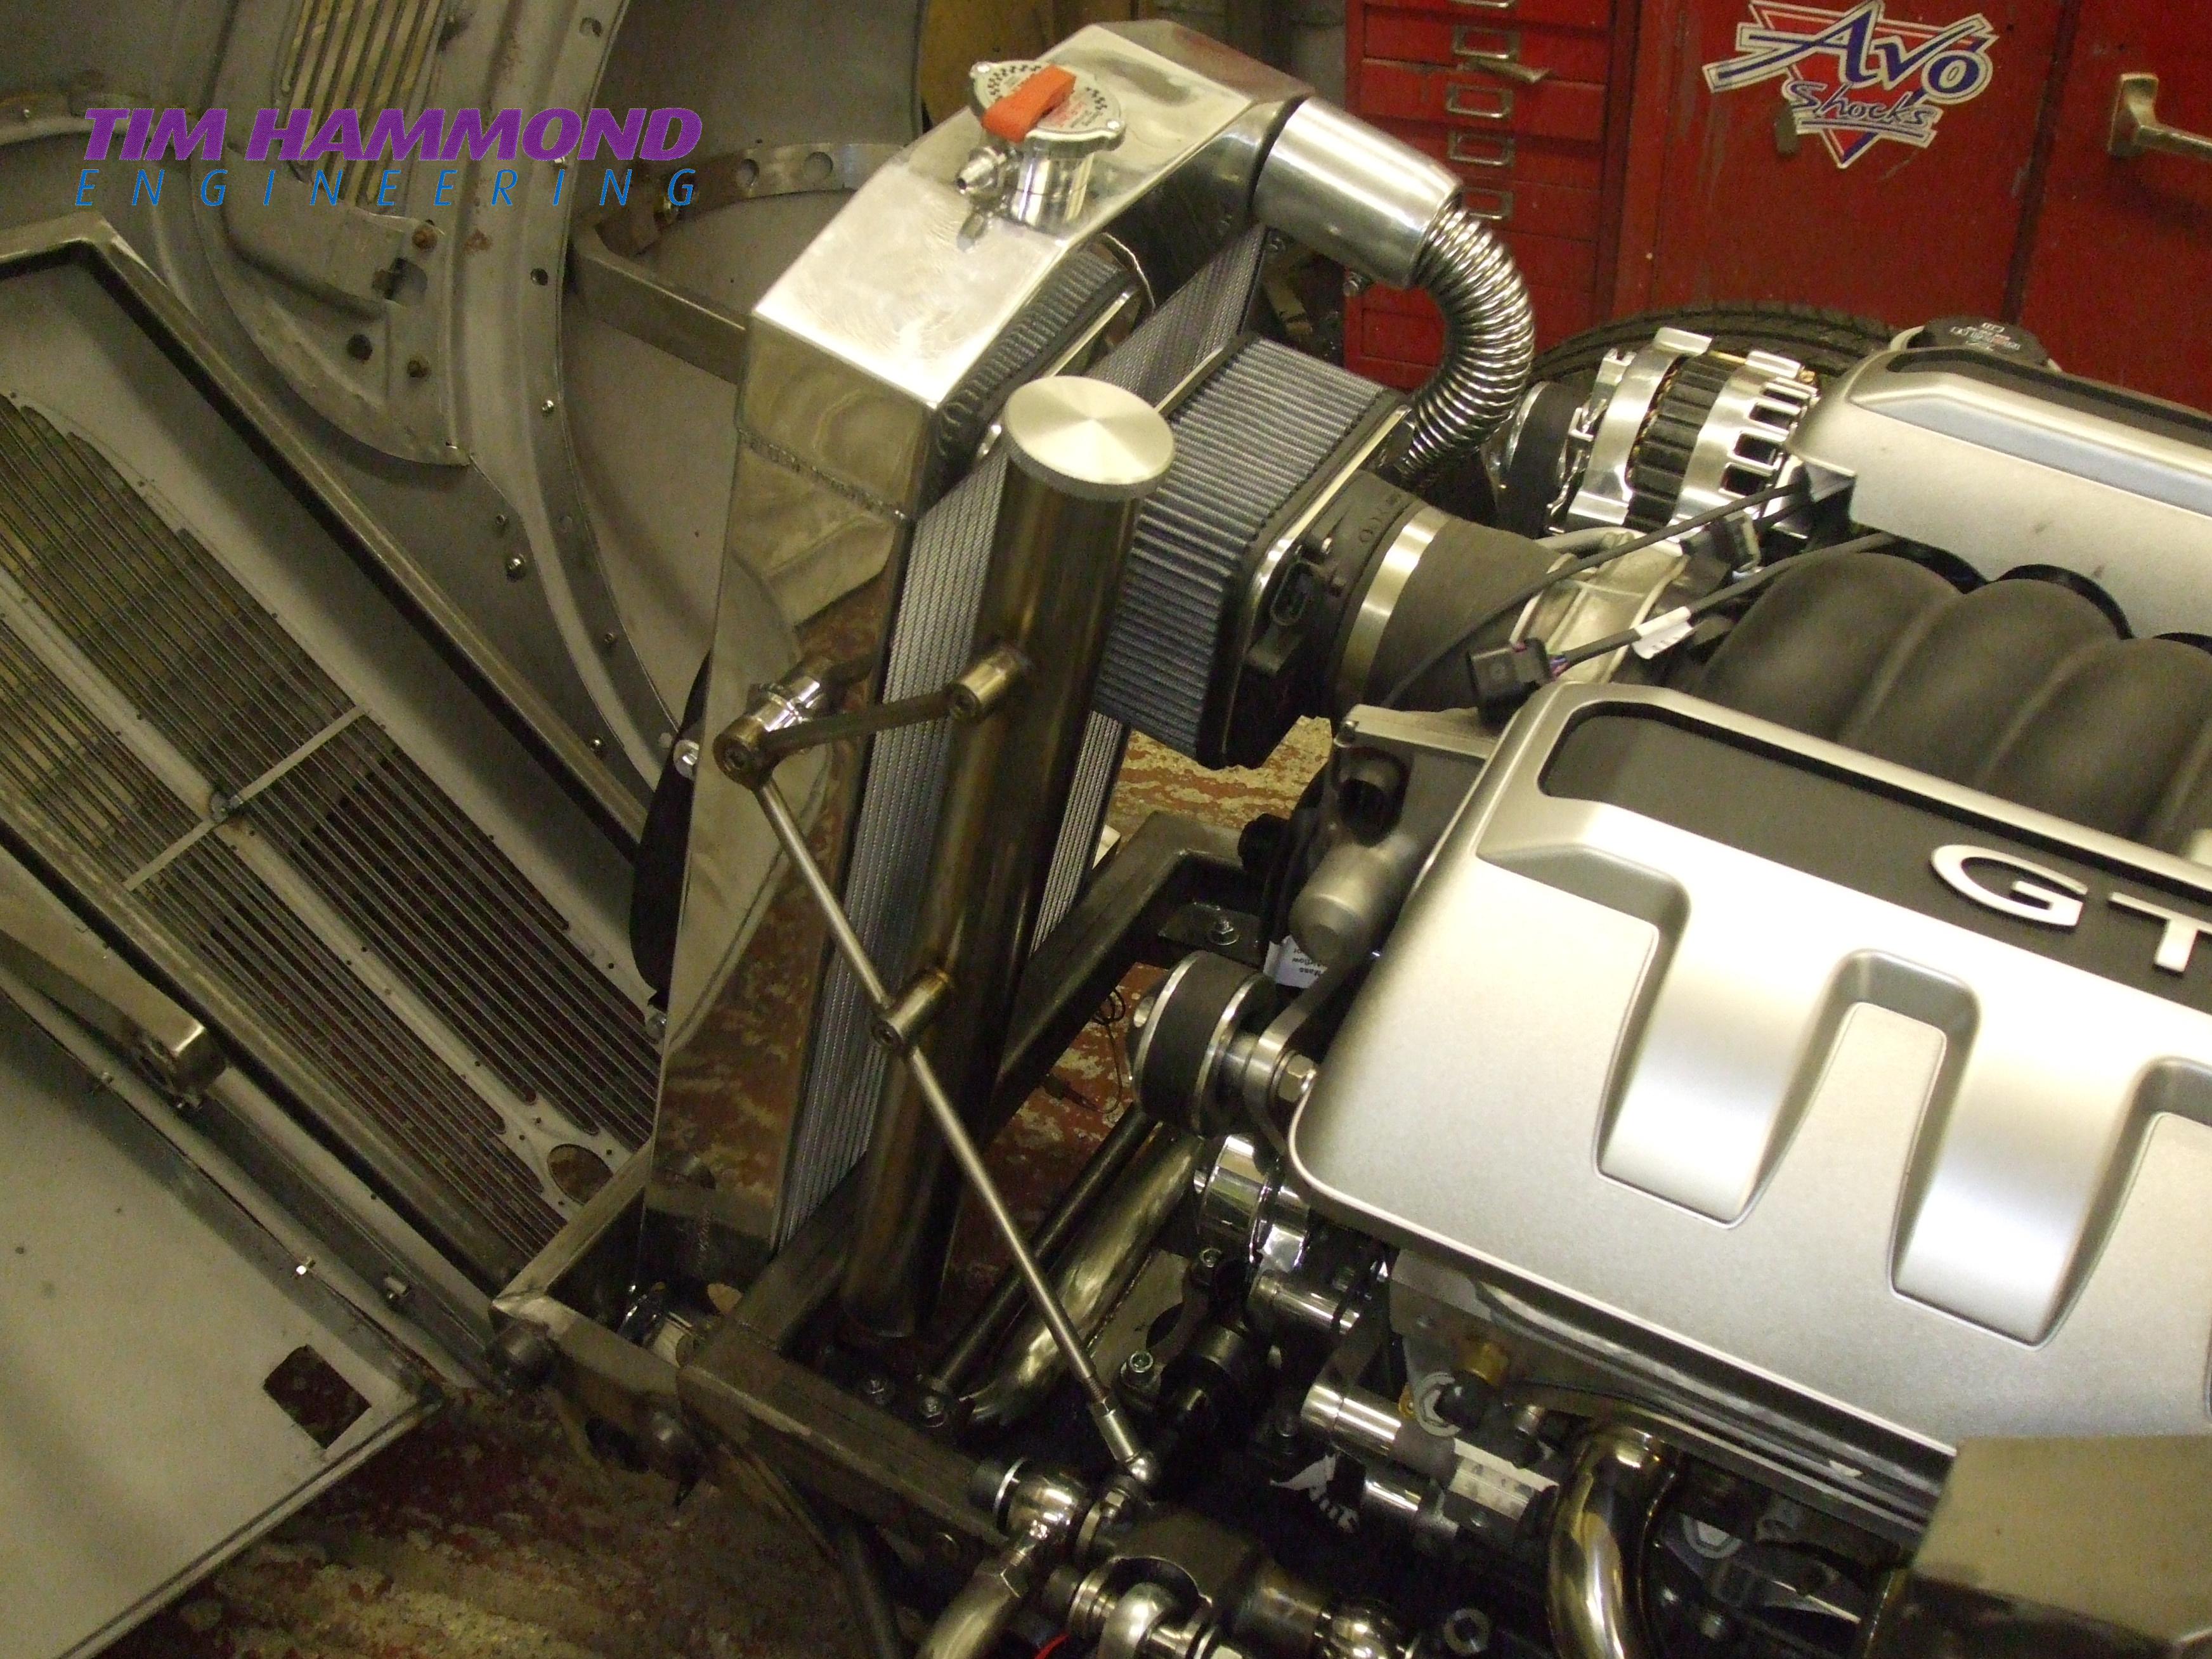
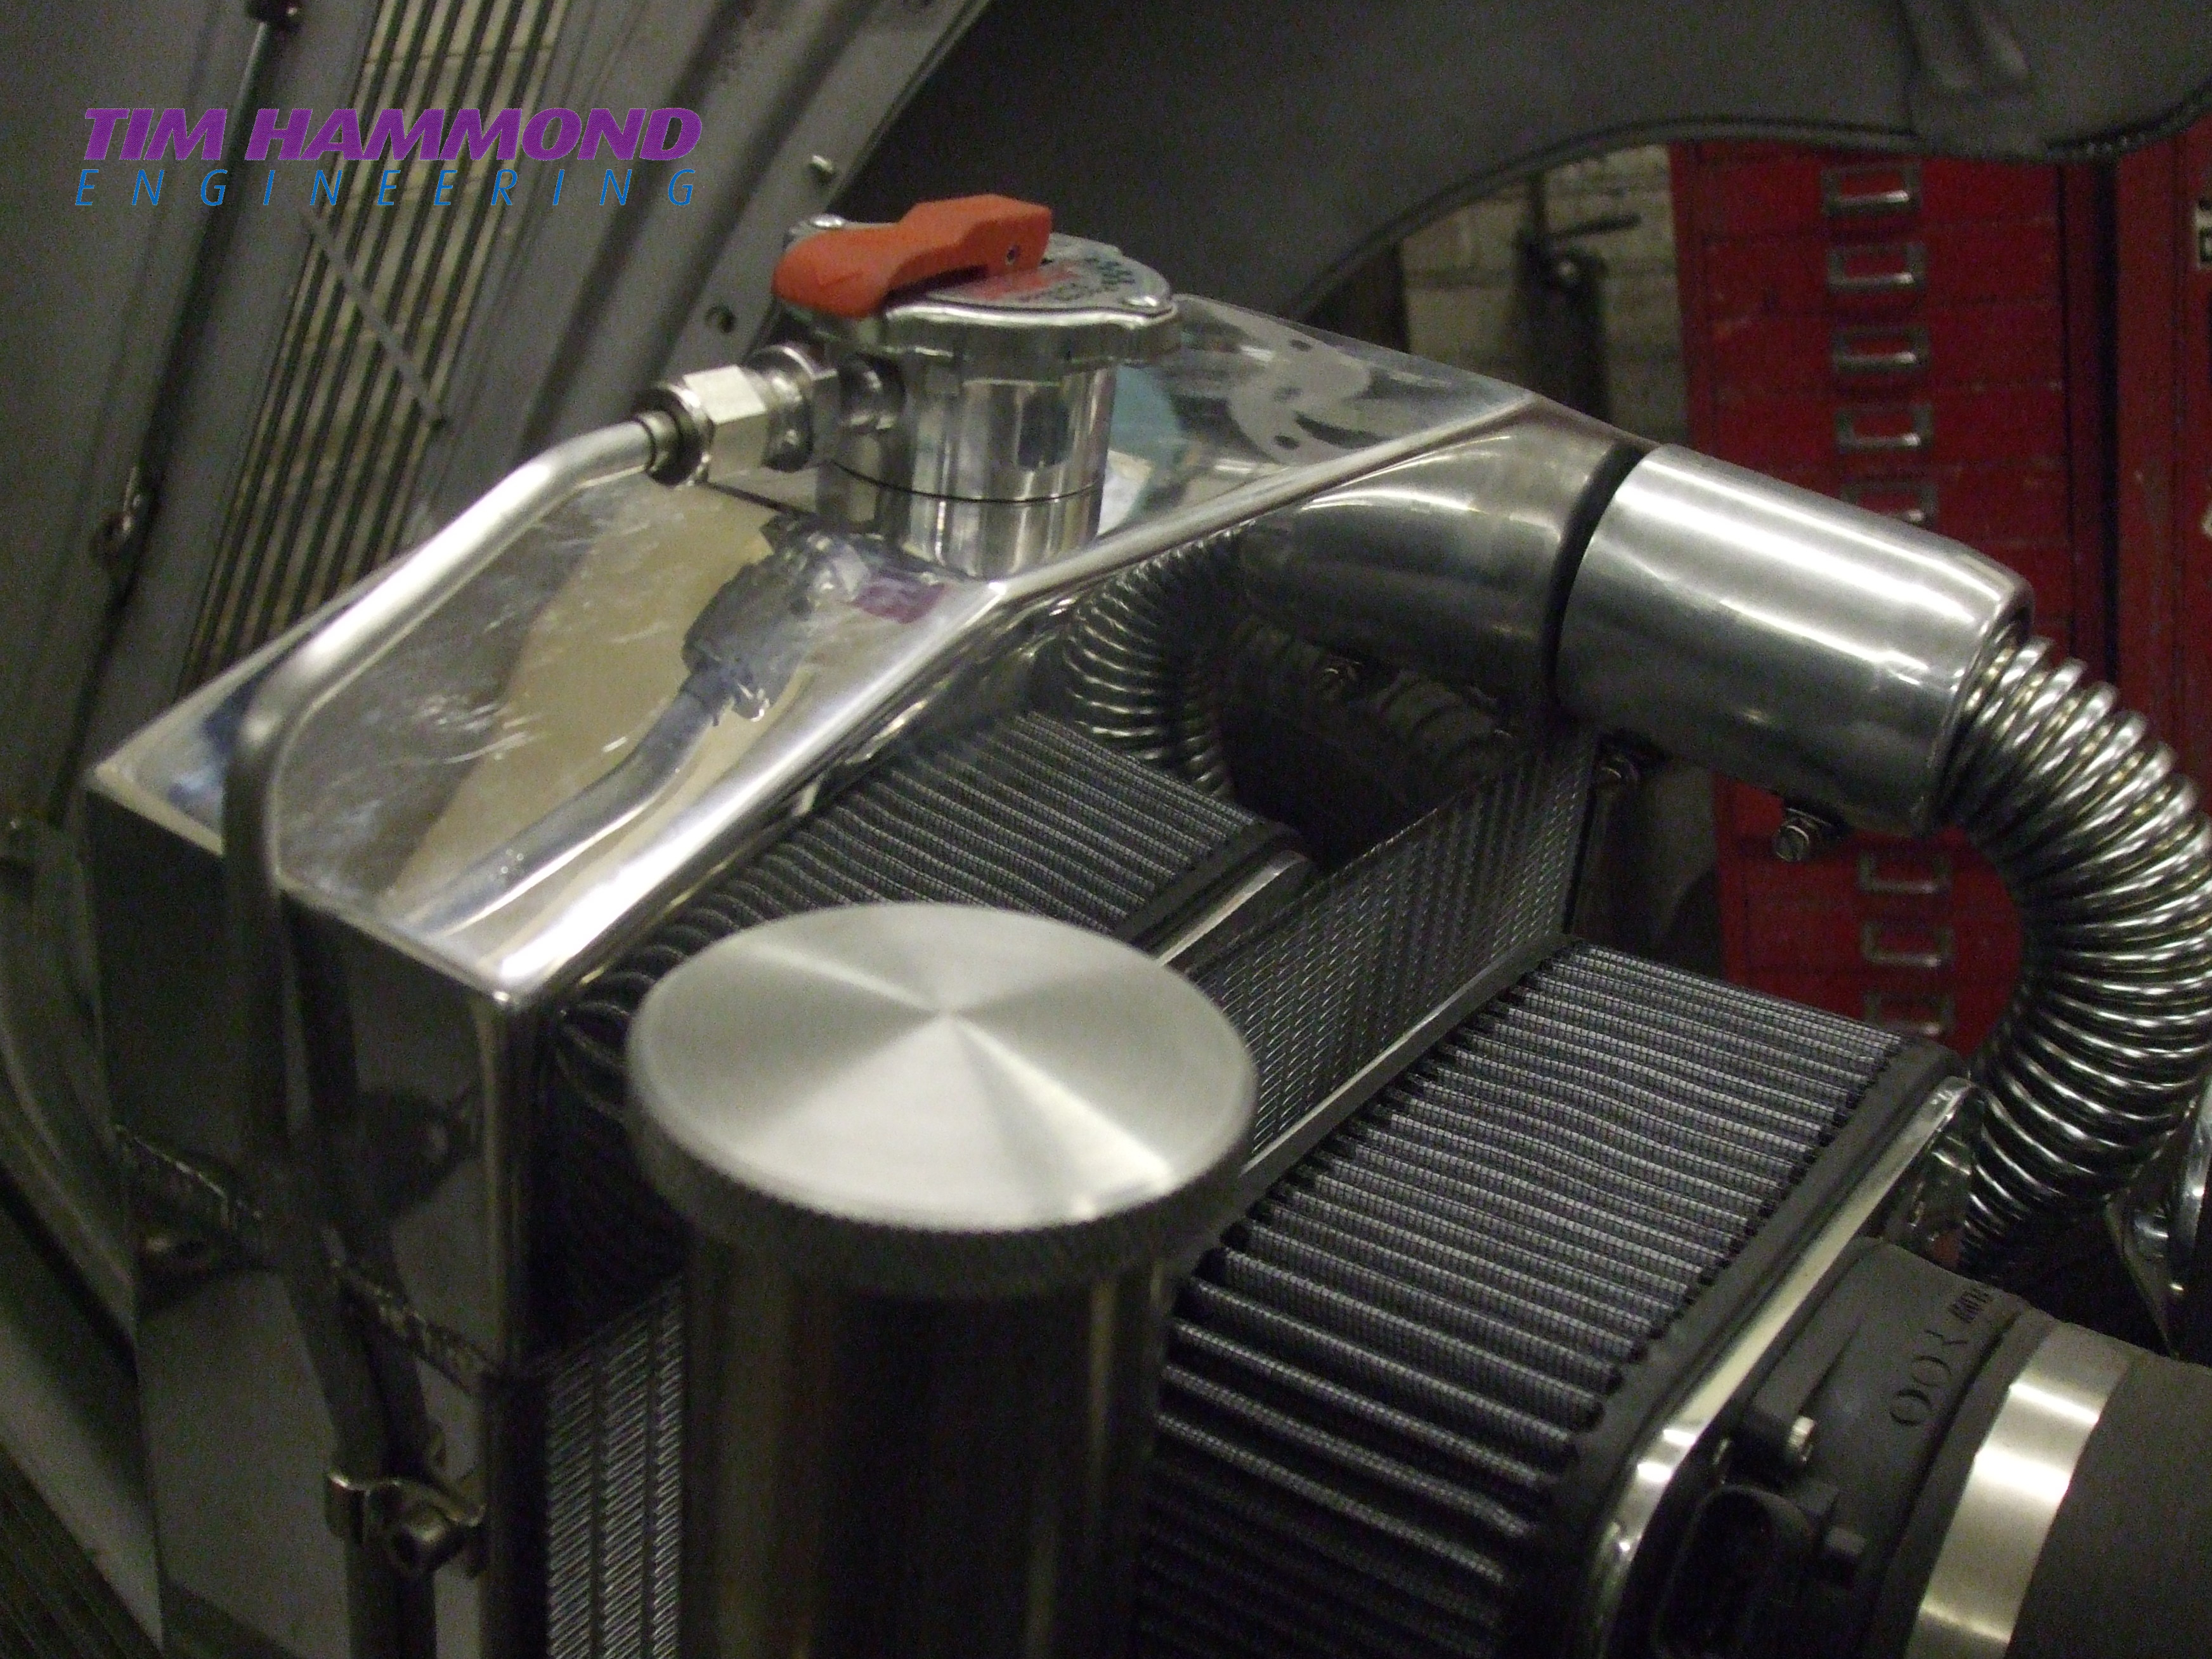
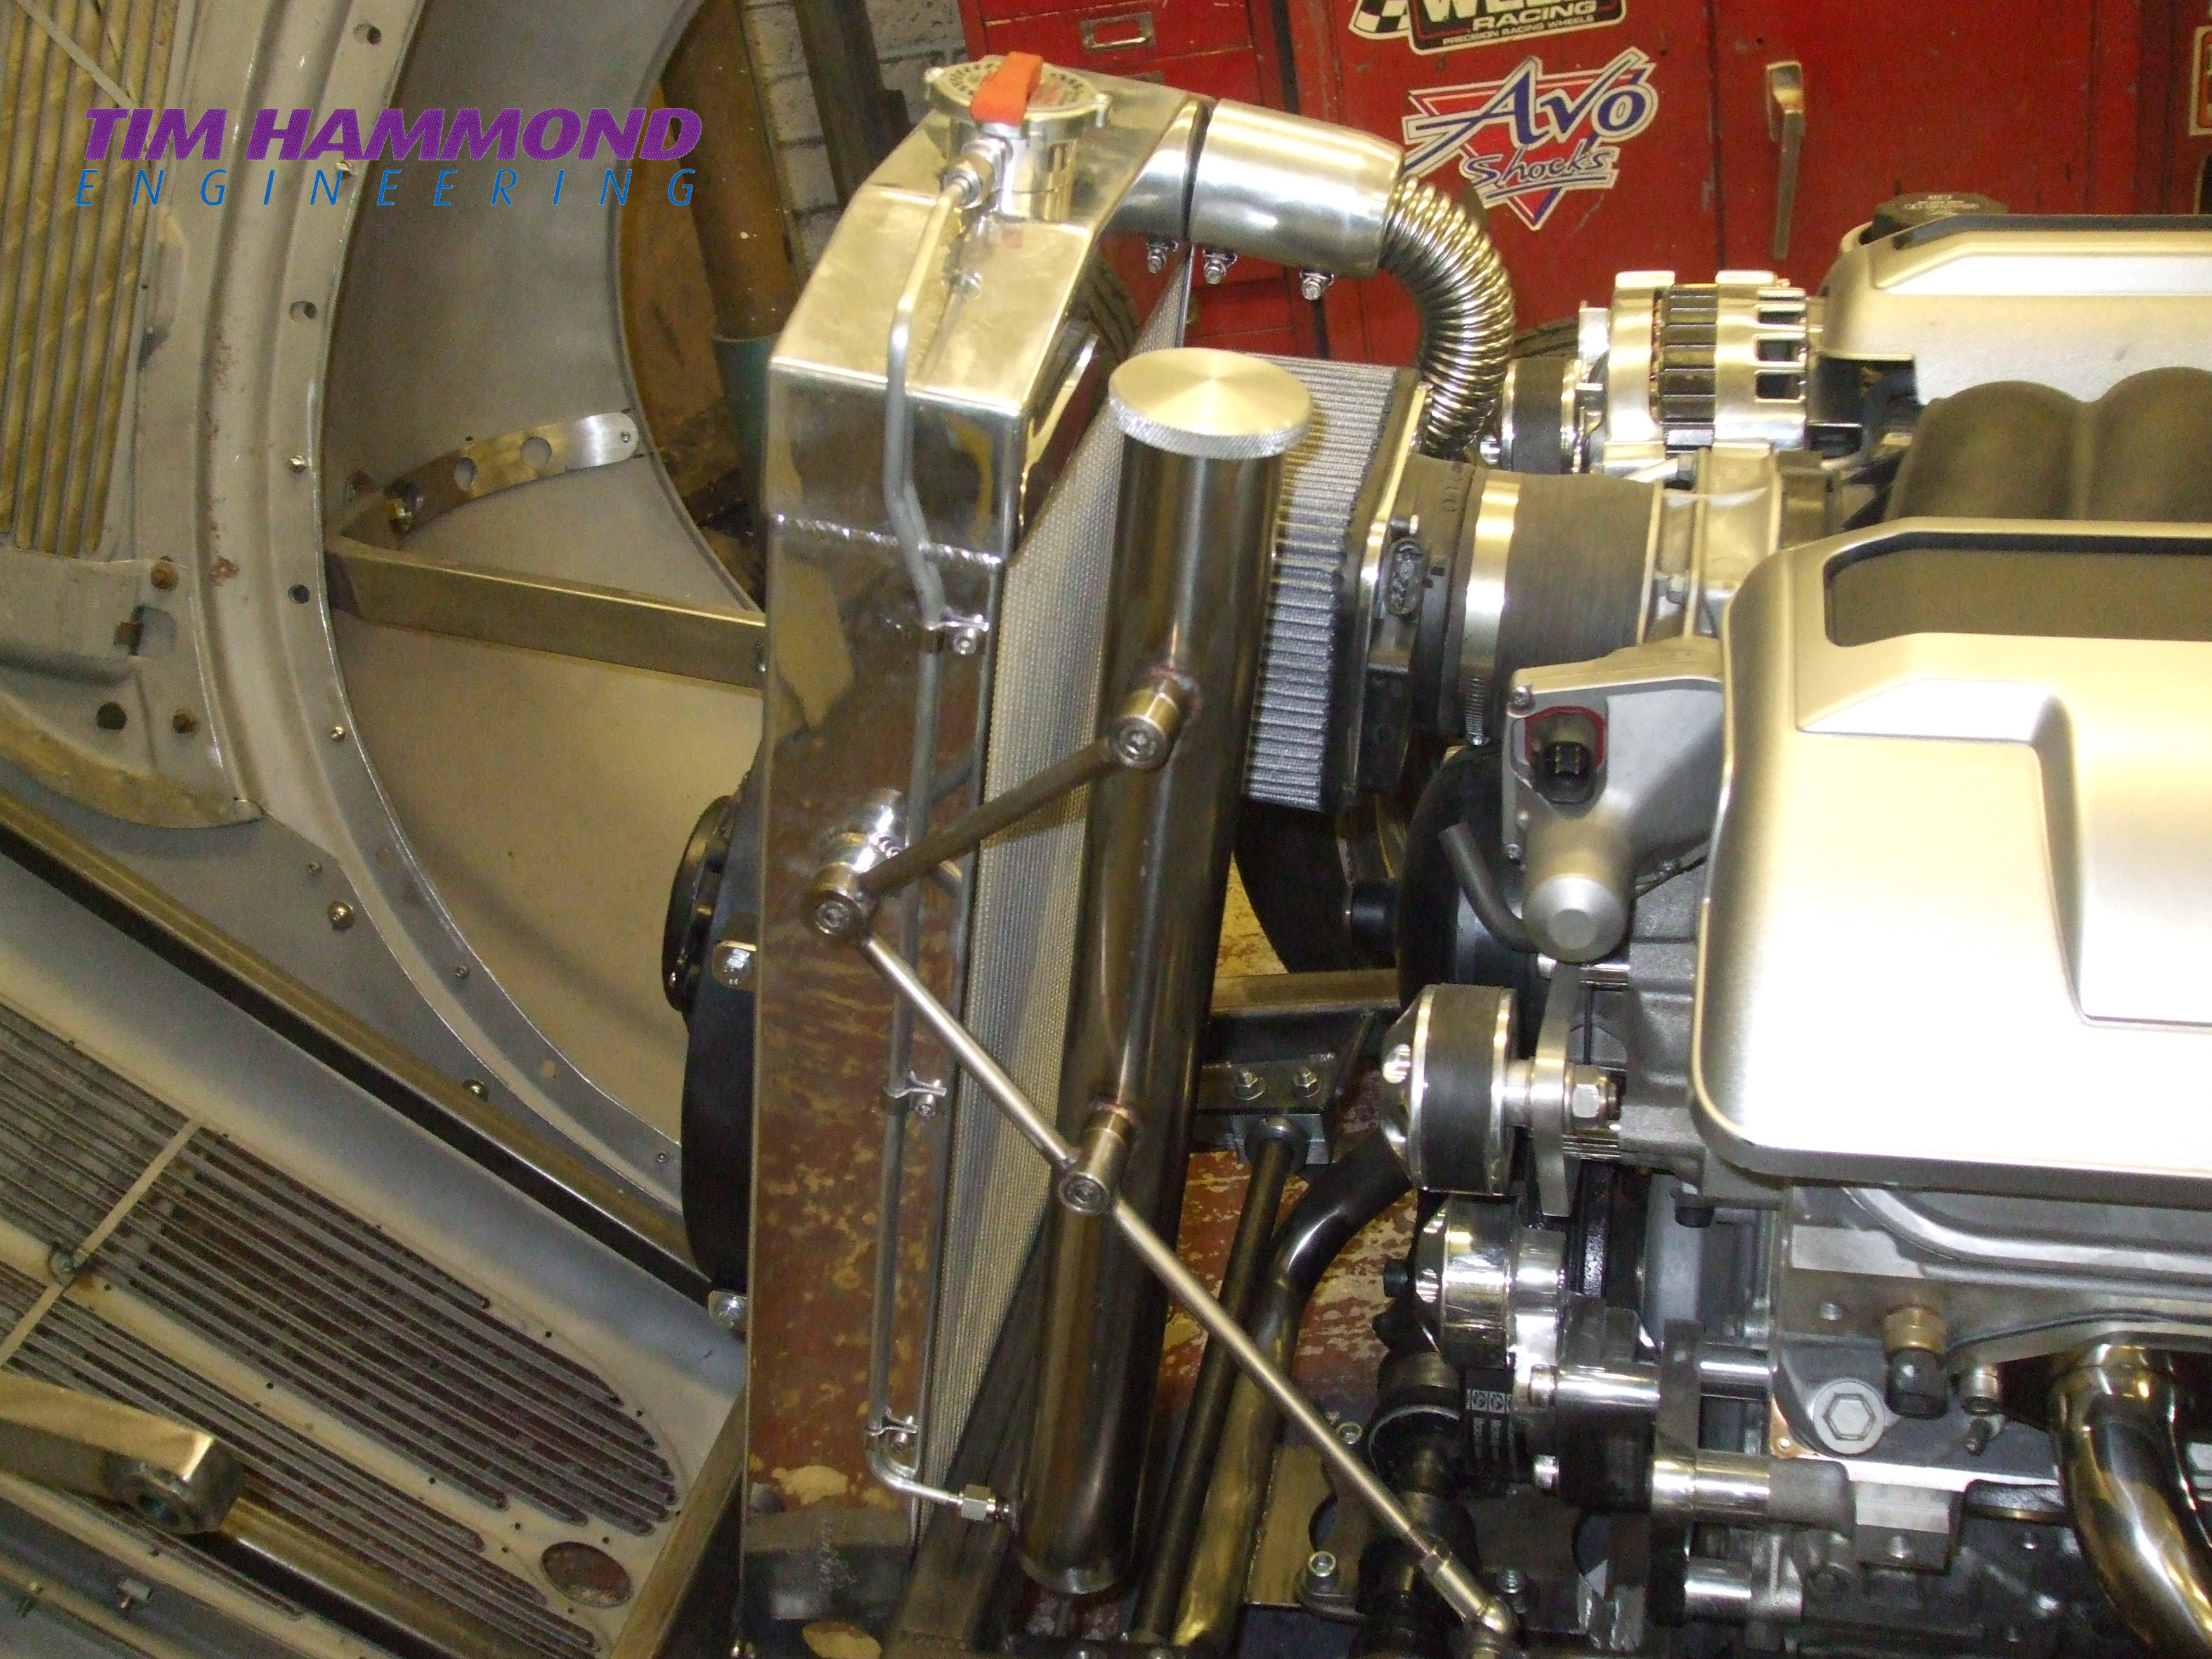
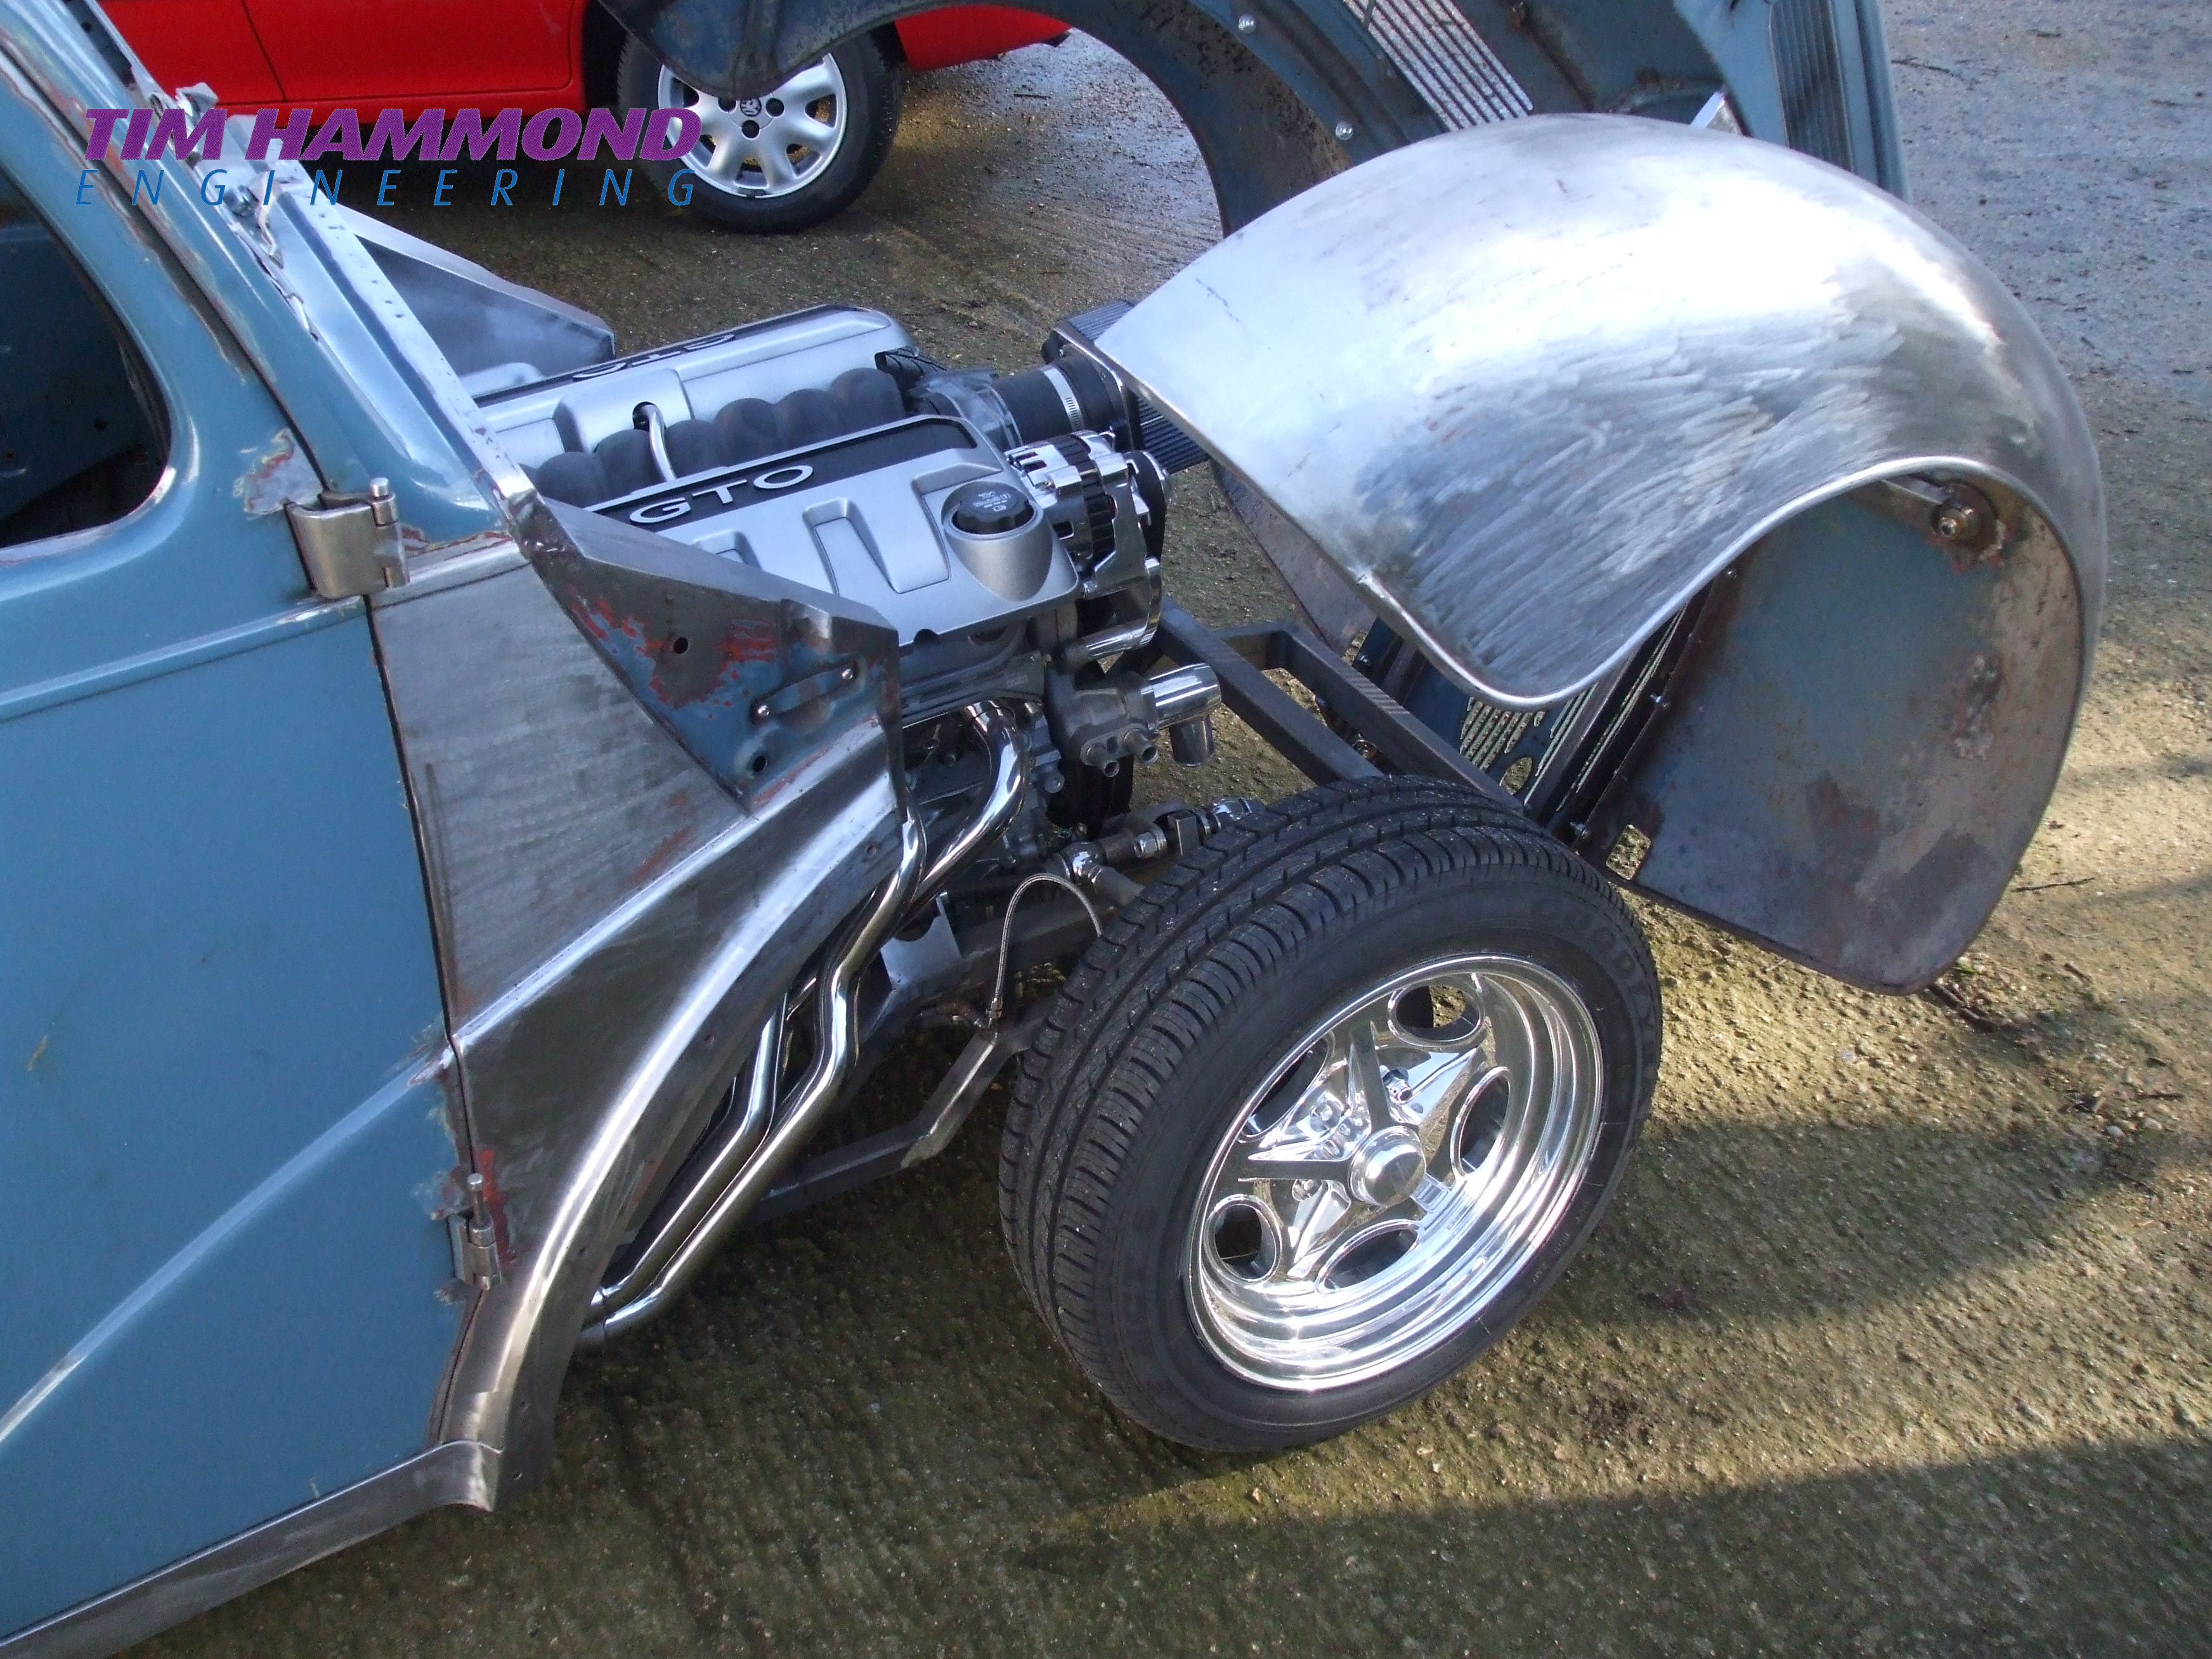
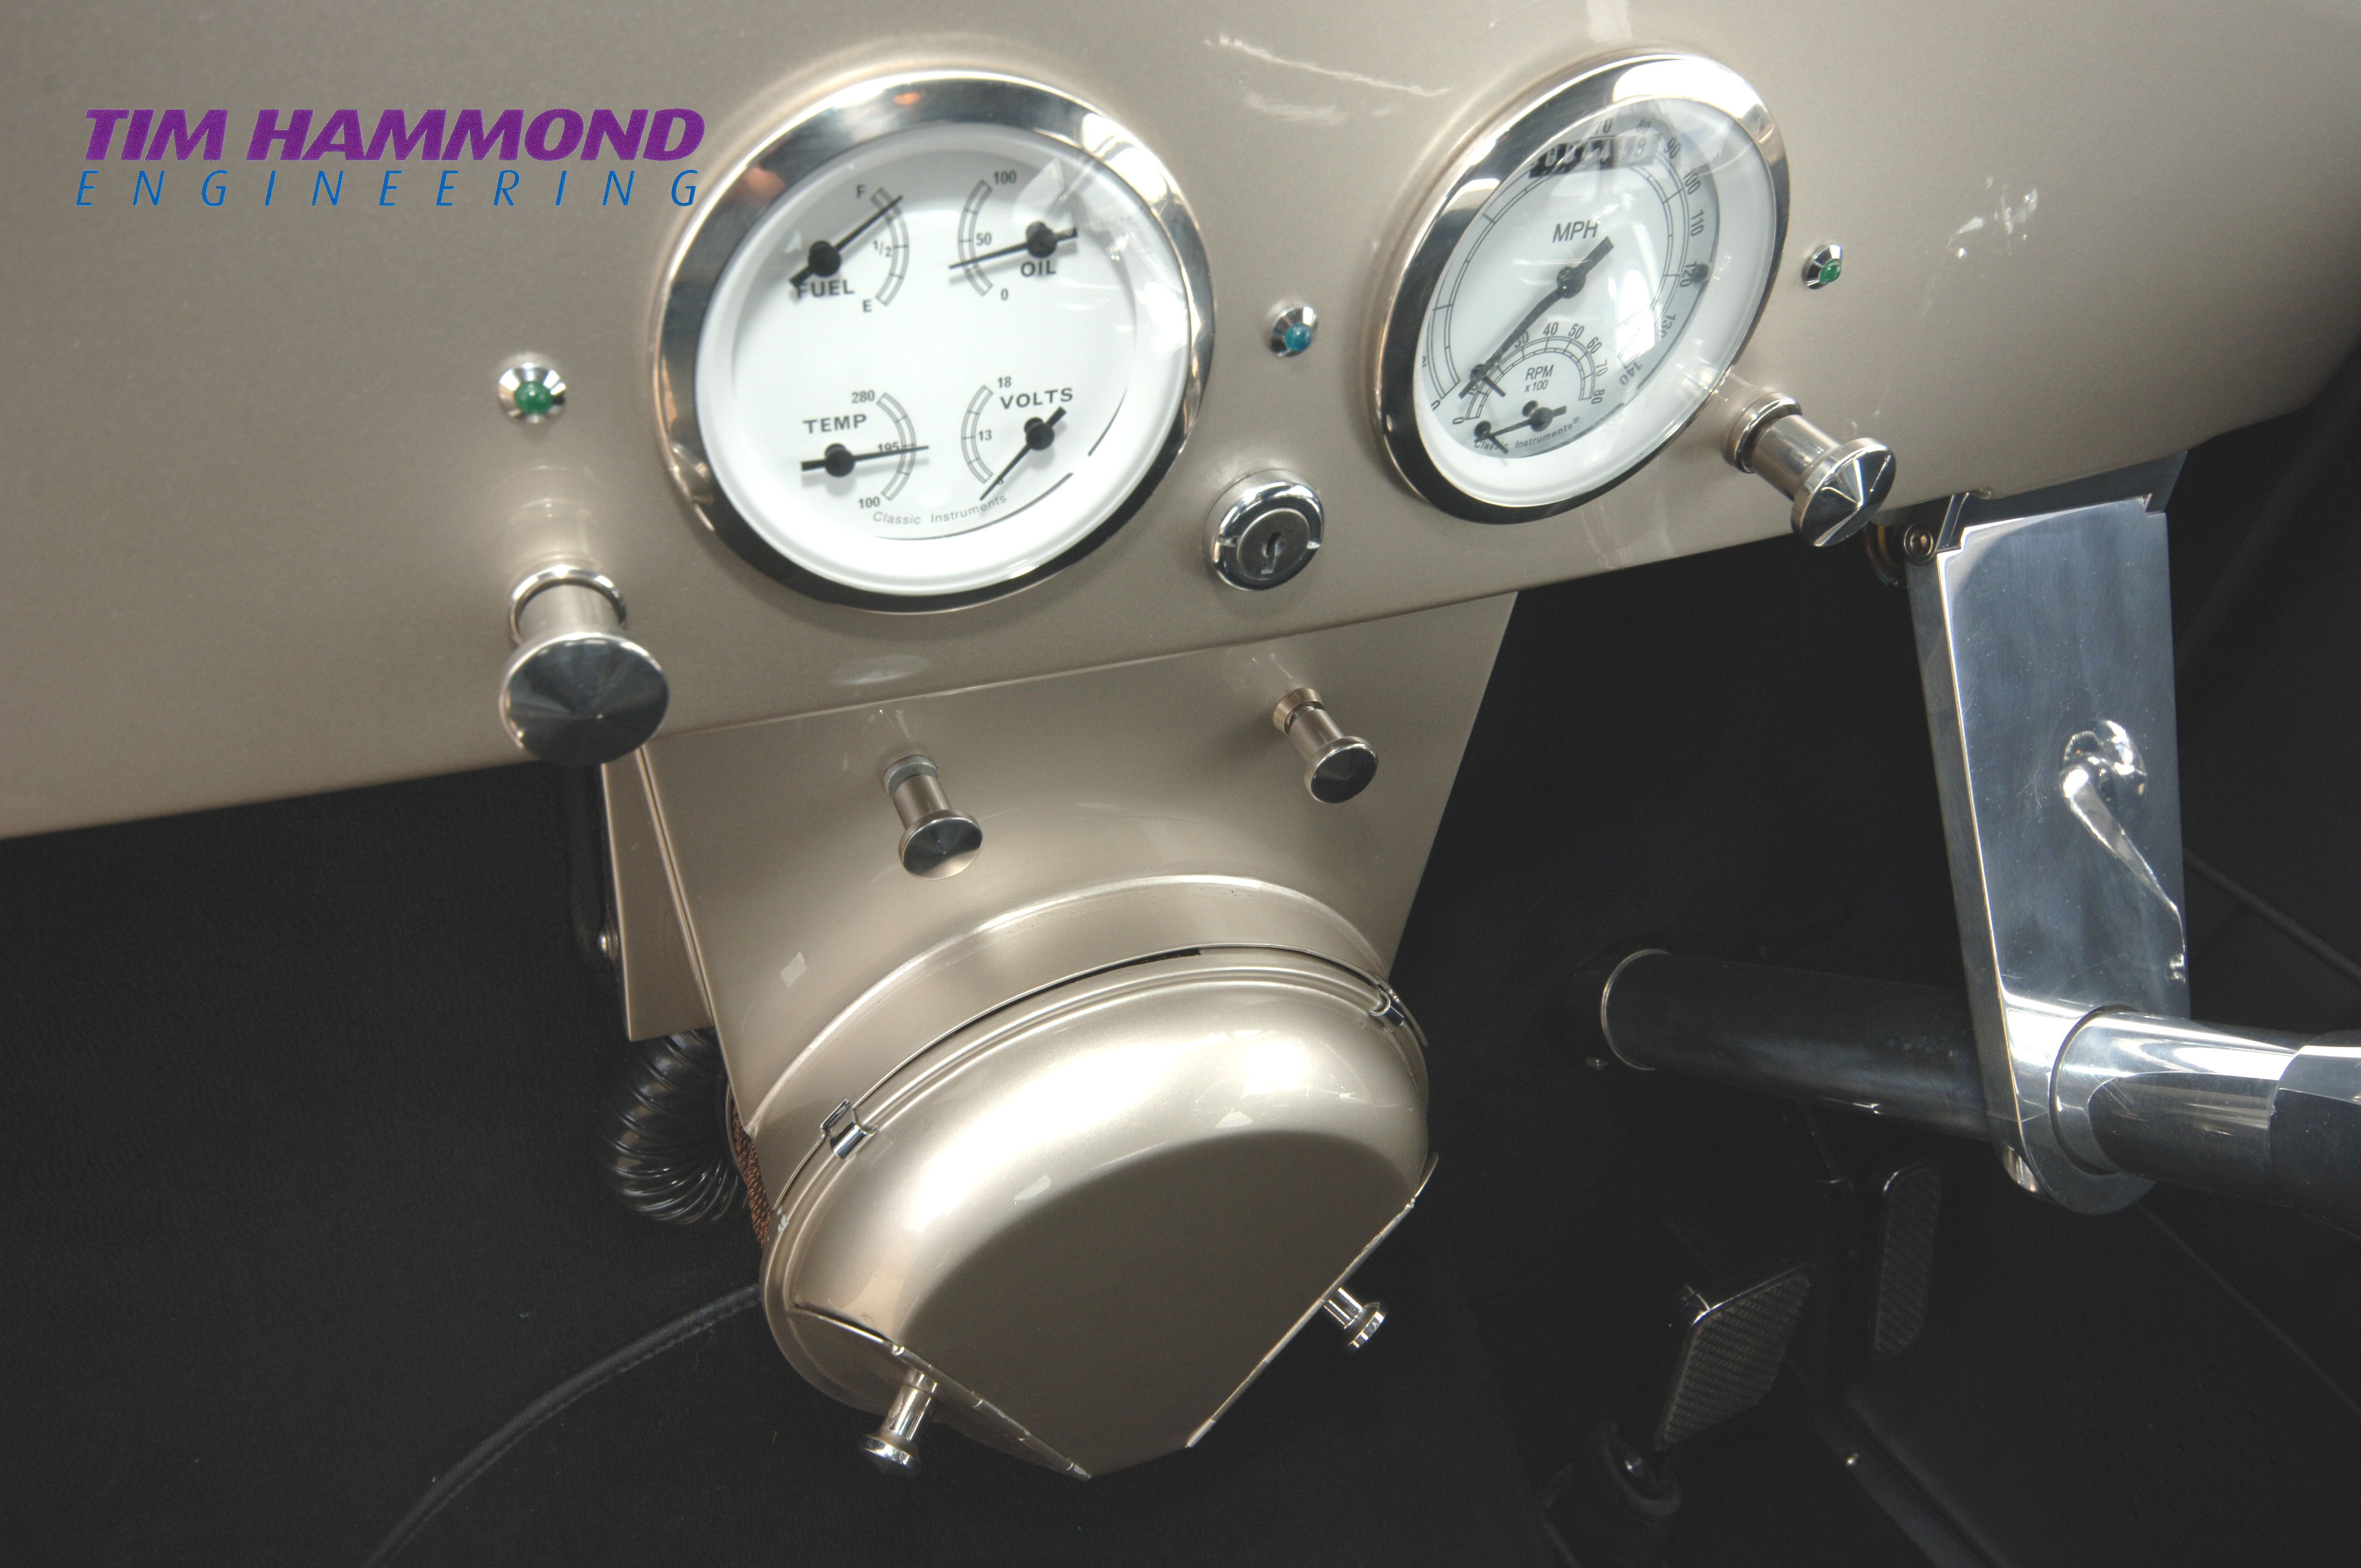
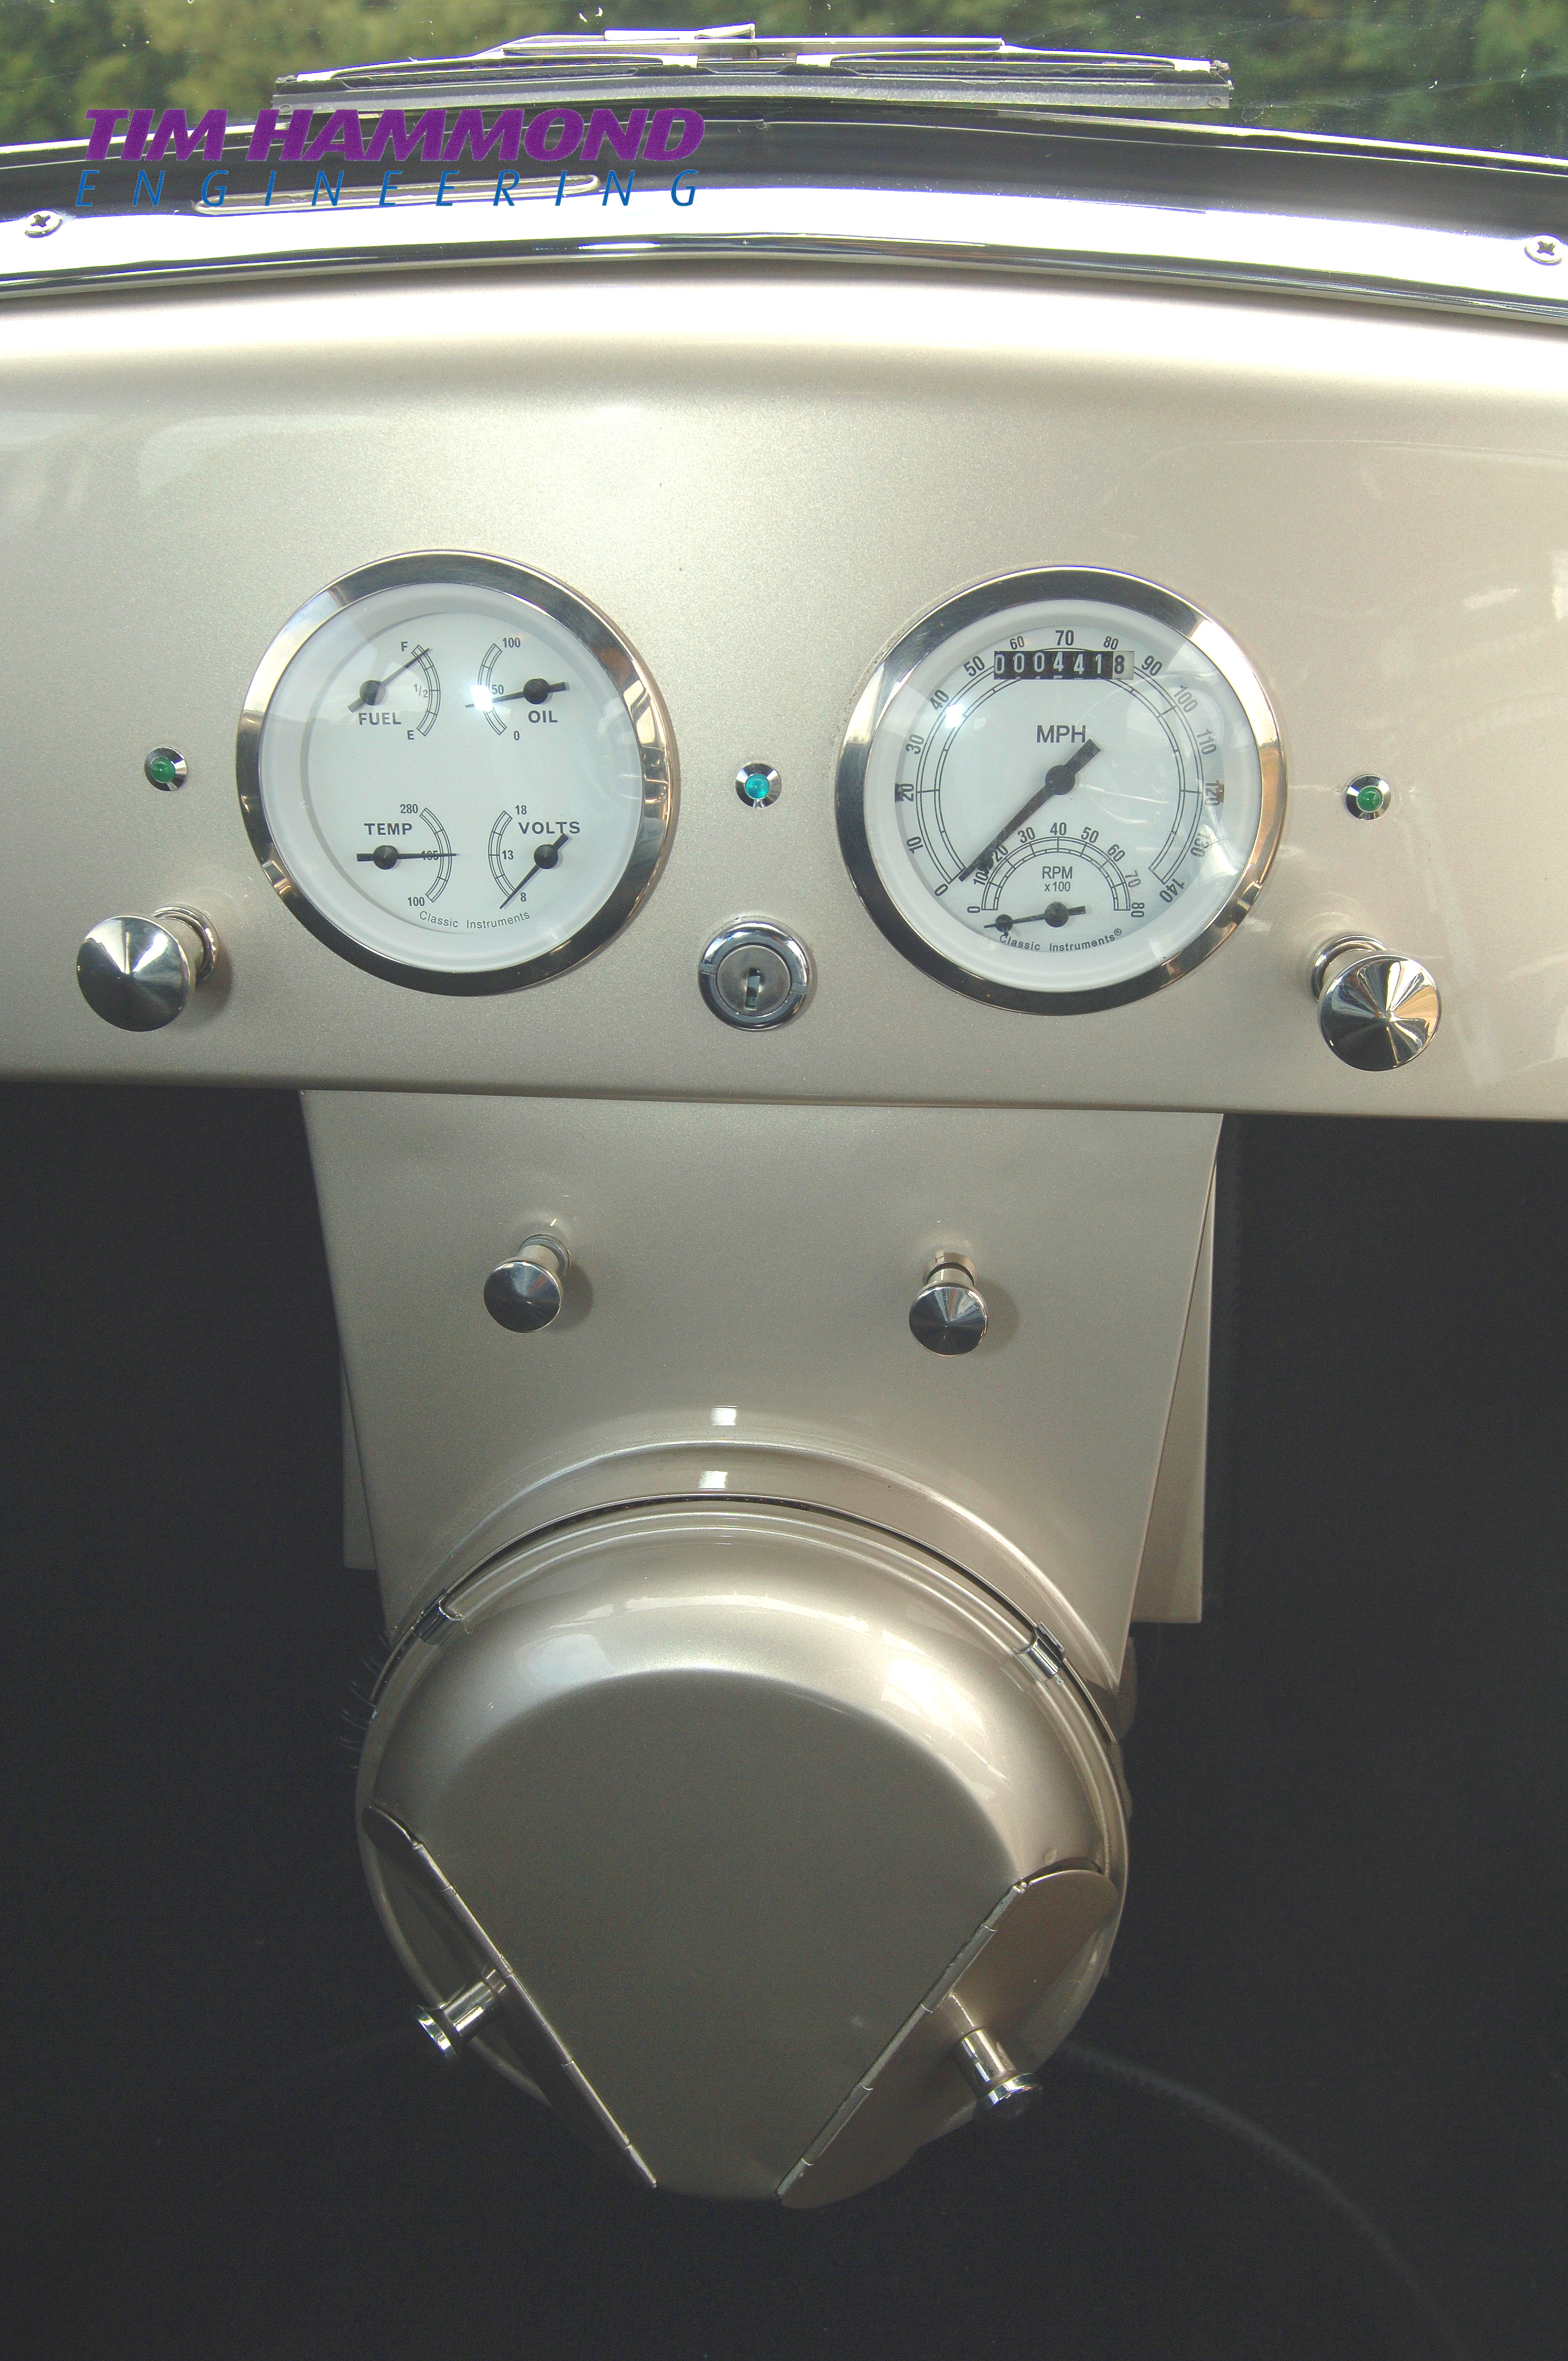
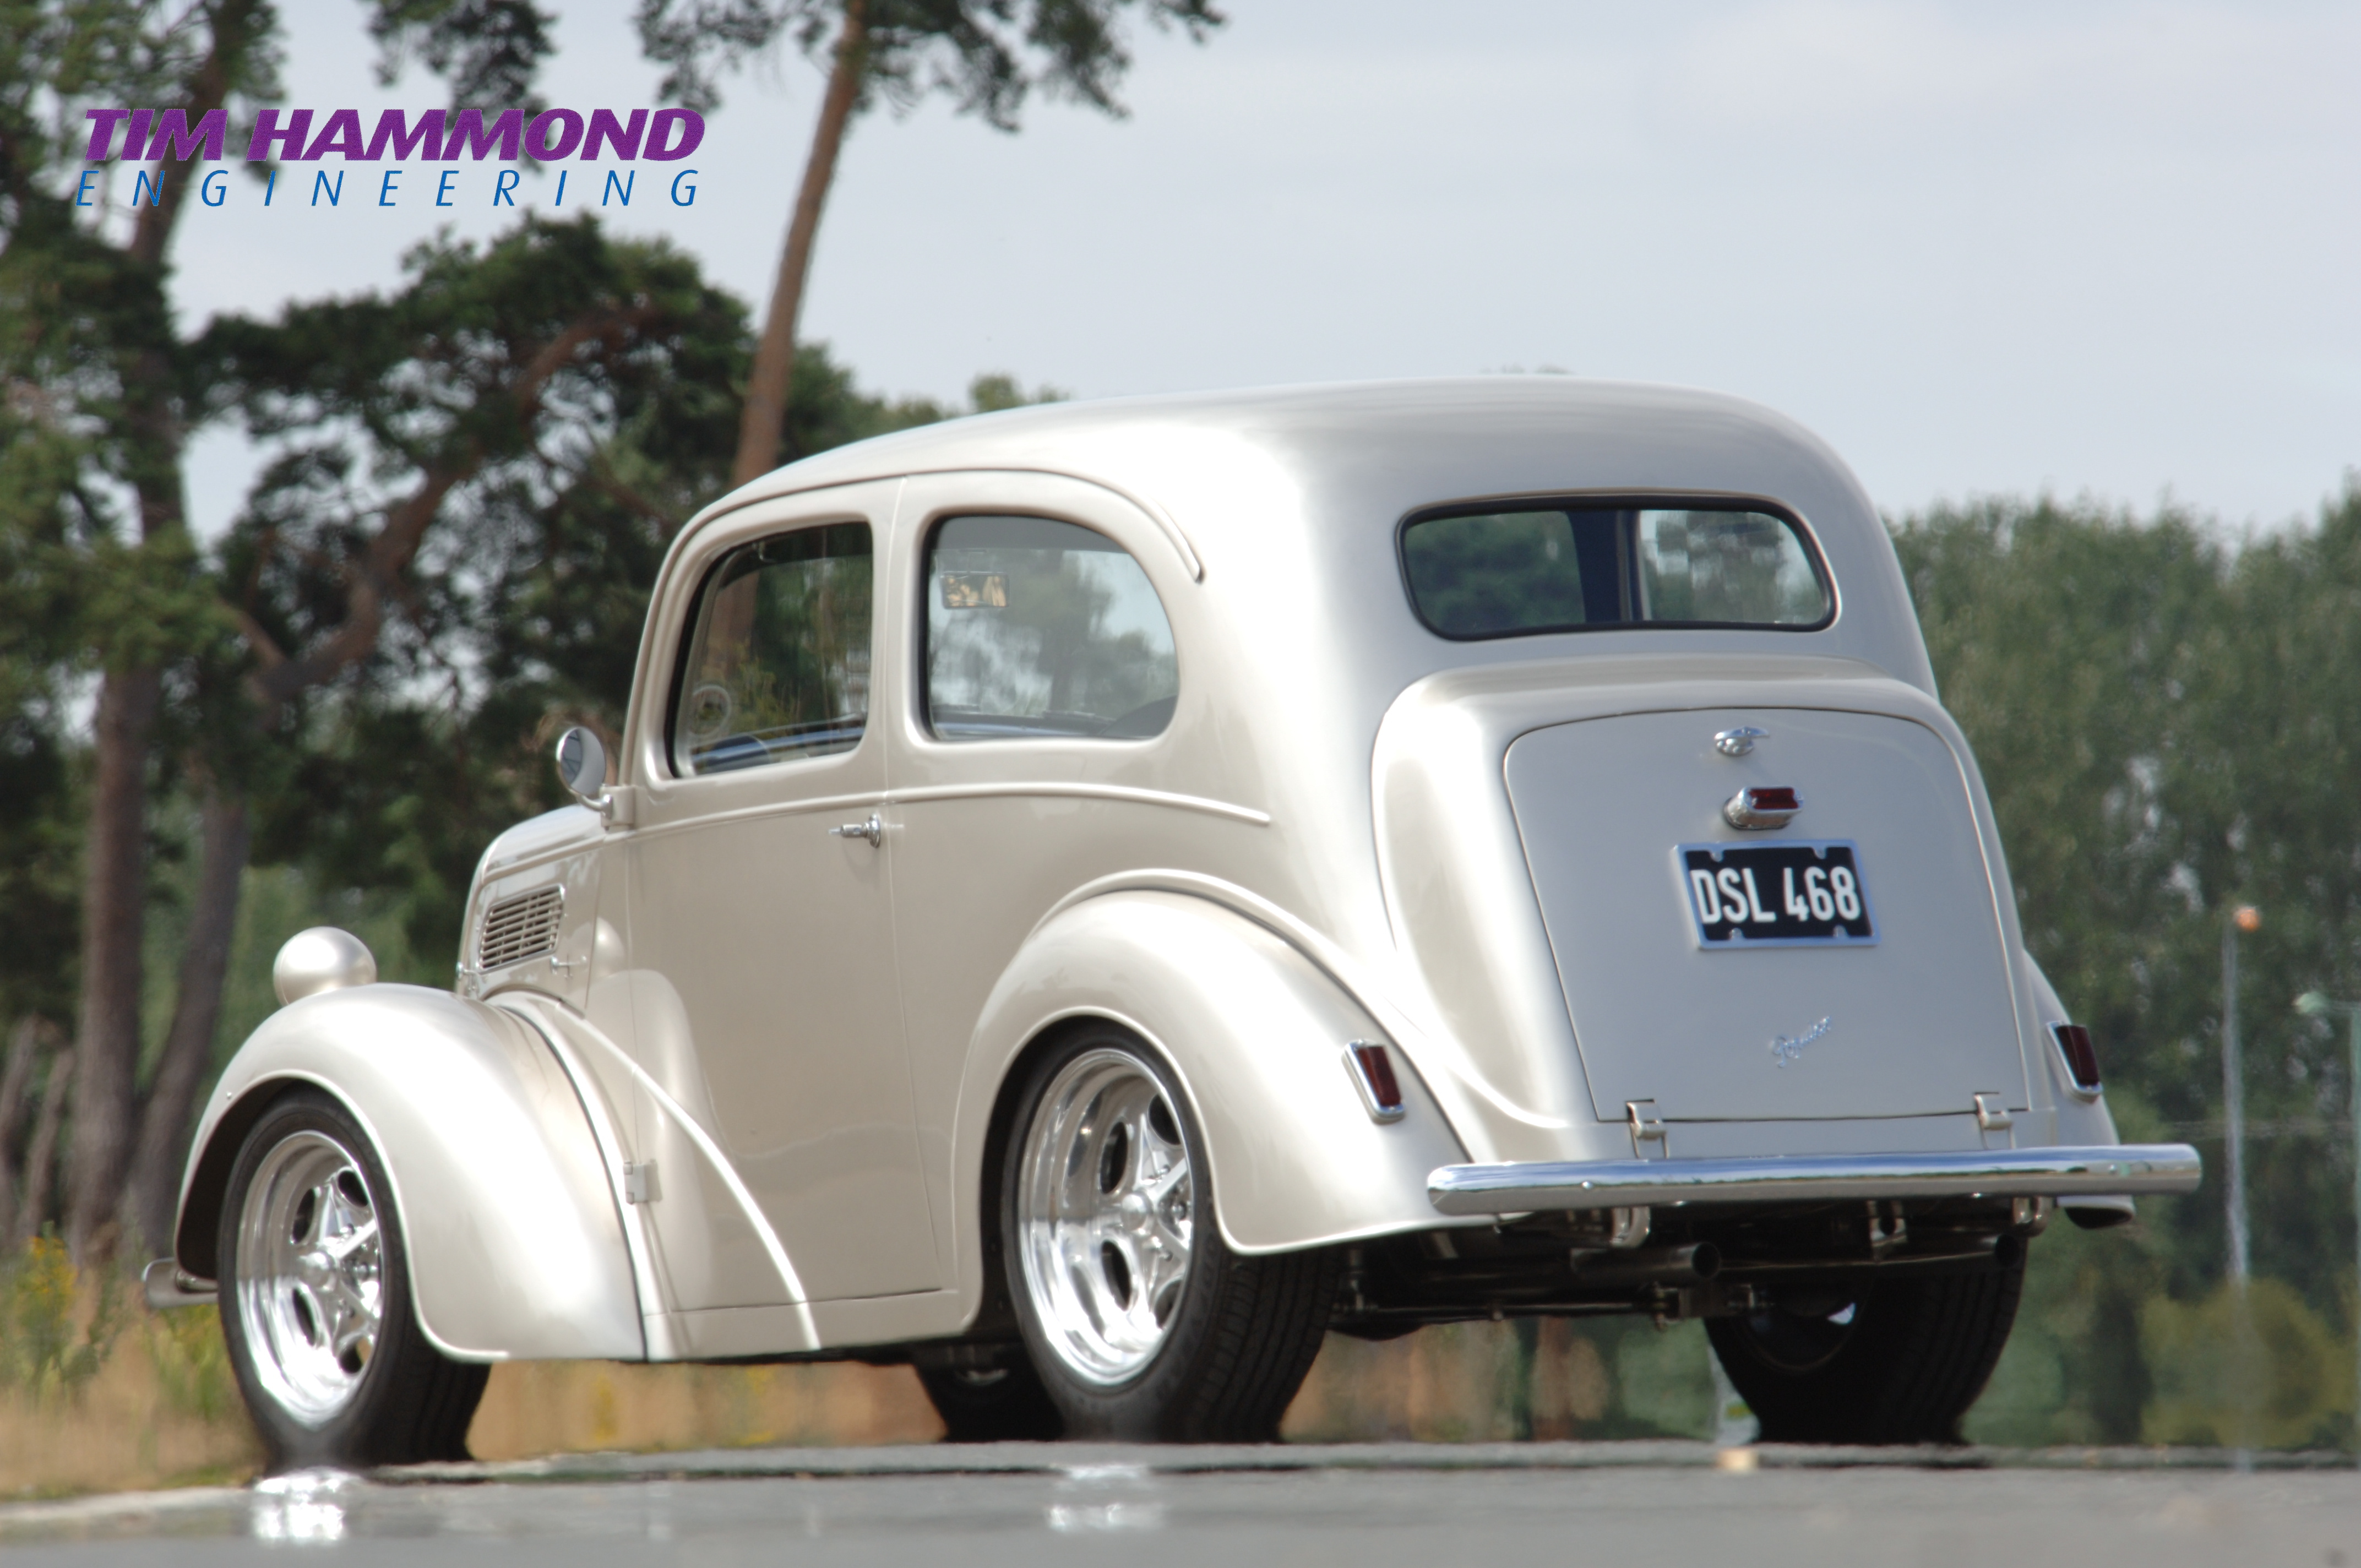
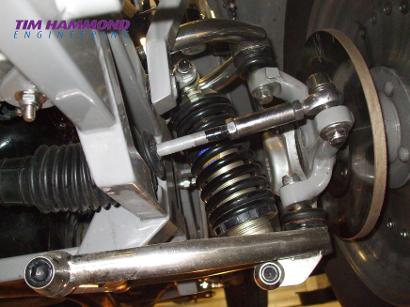
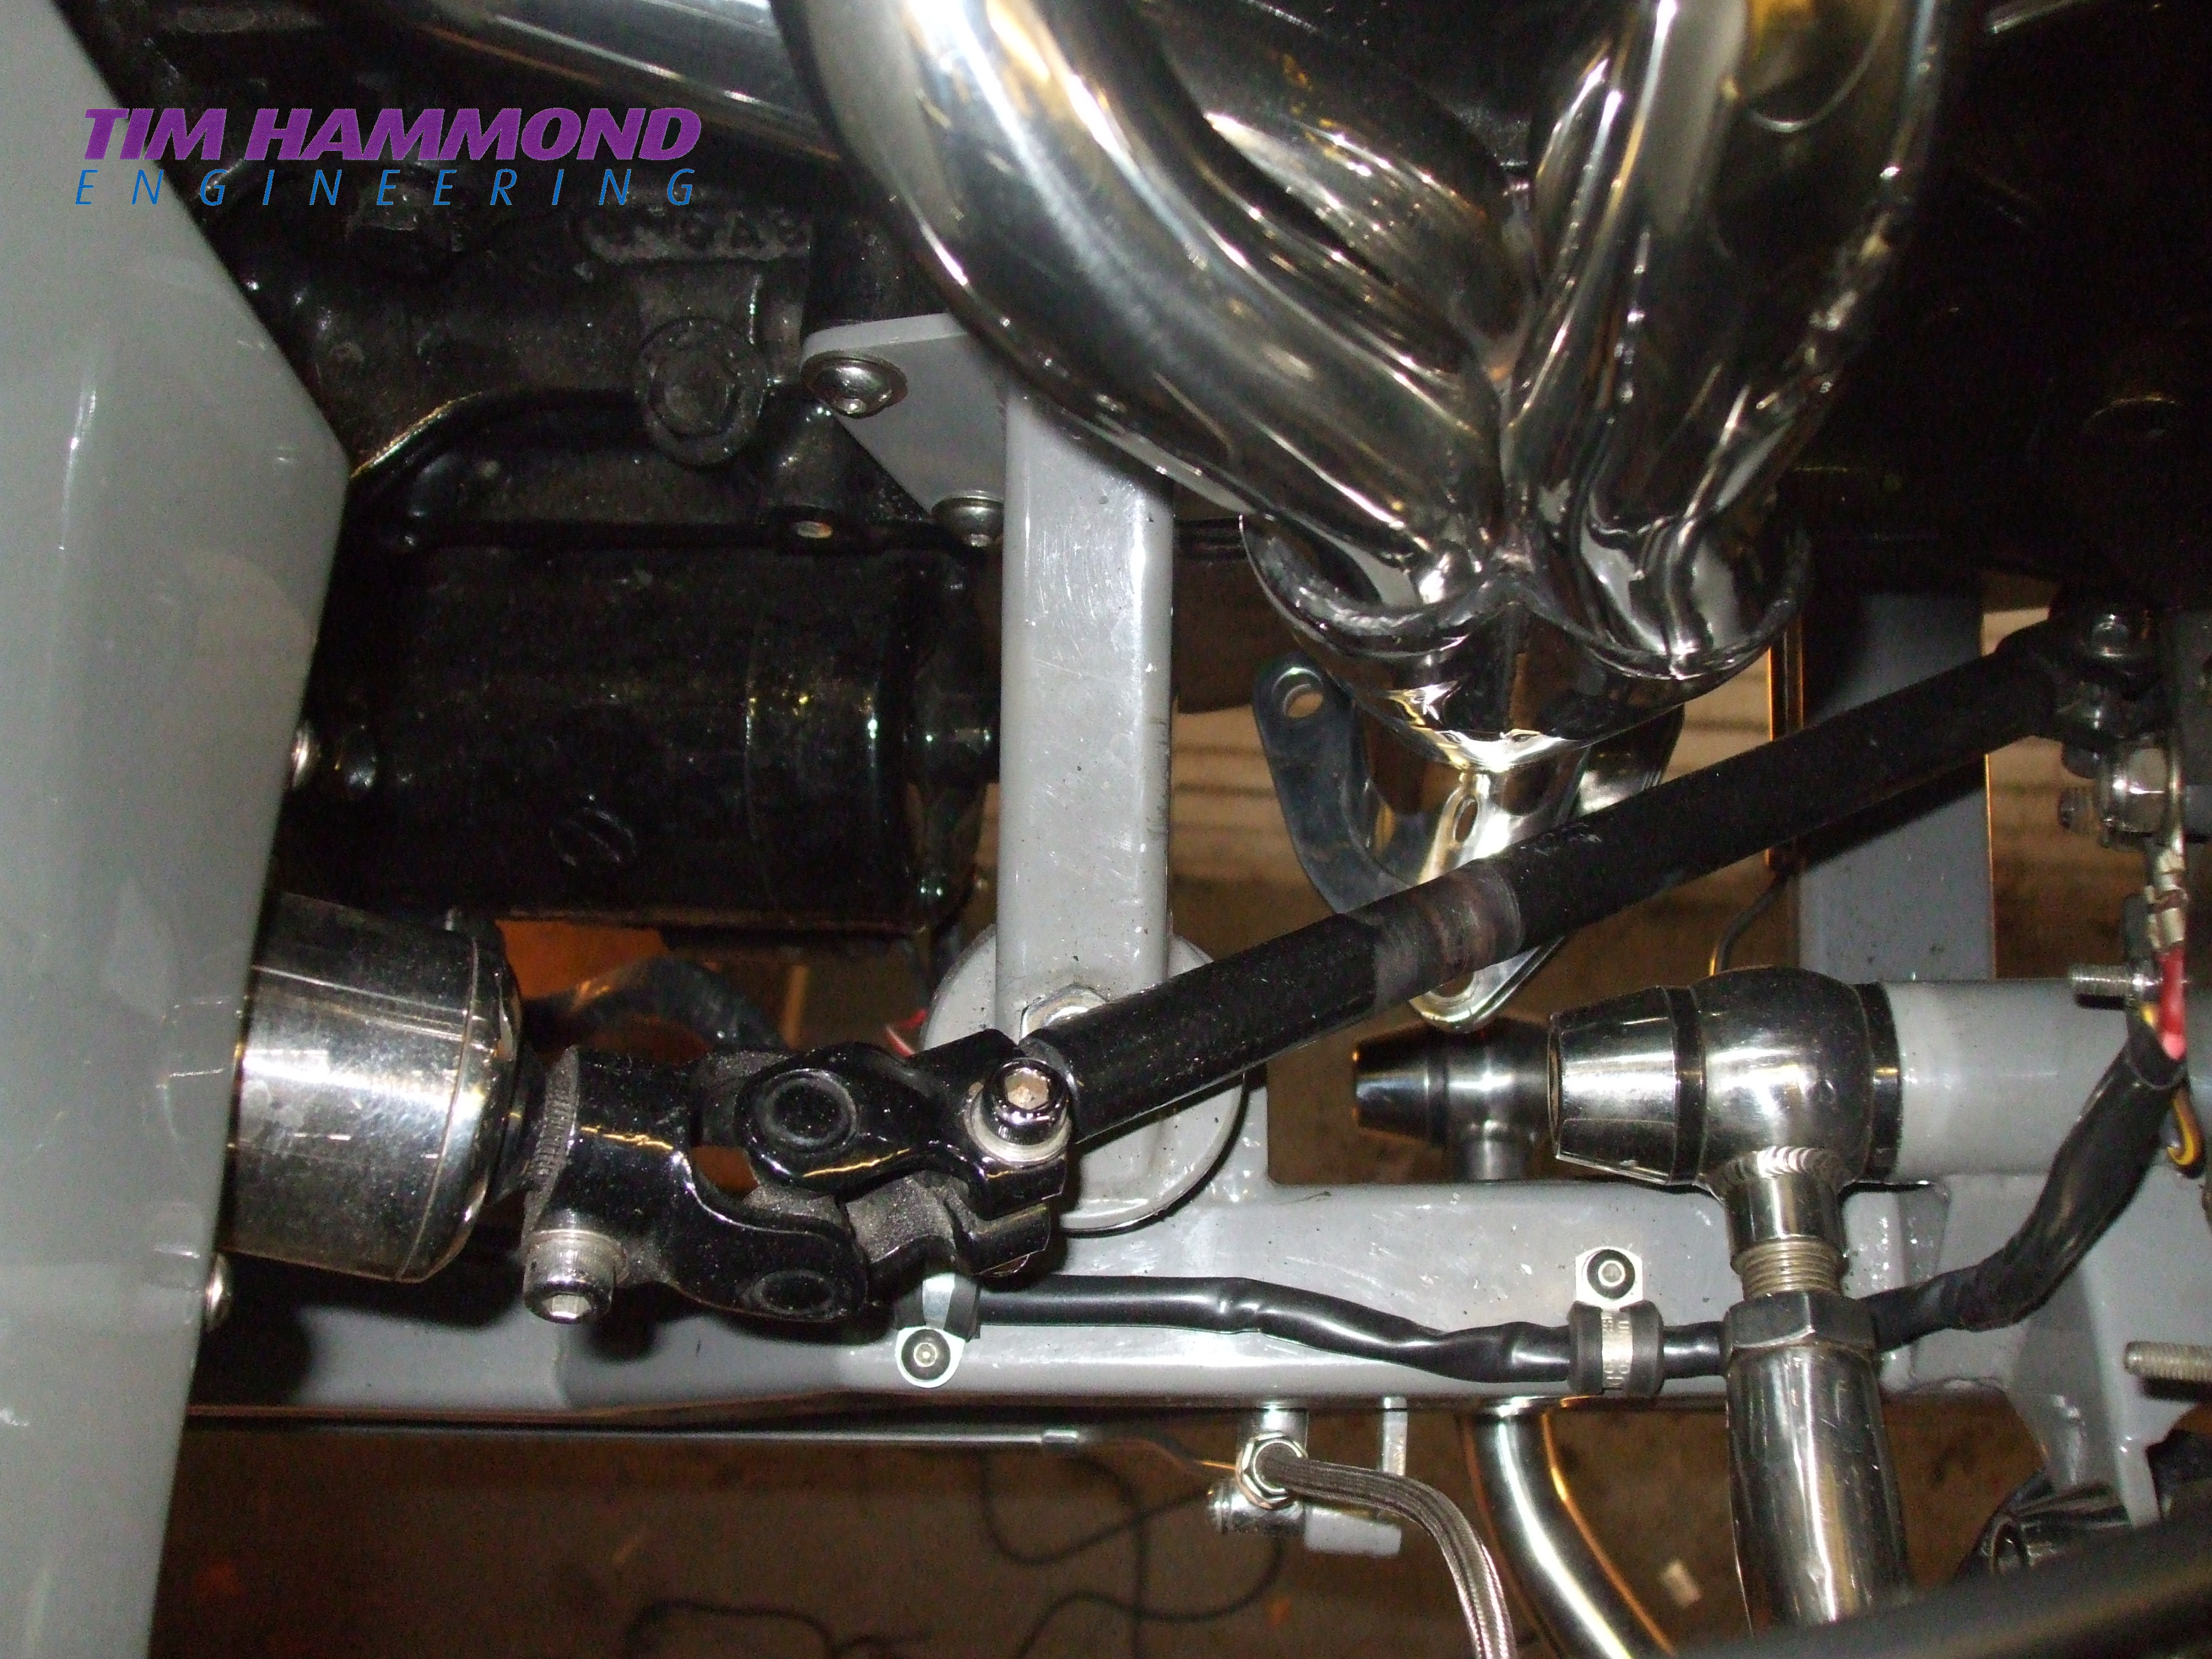
Liz and Calum wanted a Ford Pop with a difference. They wanted something that looked stock from the outside, but had more modern running gear, and something that had plenty of "poke" in it. The GTO engine with fly by wire throttle, independent stainless front suspension and Ford rear axle was exactly what was needed. The body externally needed some repairs, multiple modifications, new floor, wheel tubs etc. The end result was a pretty stunning car.
The chassis
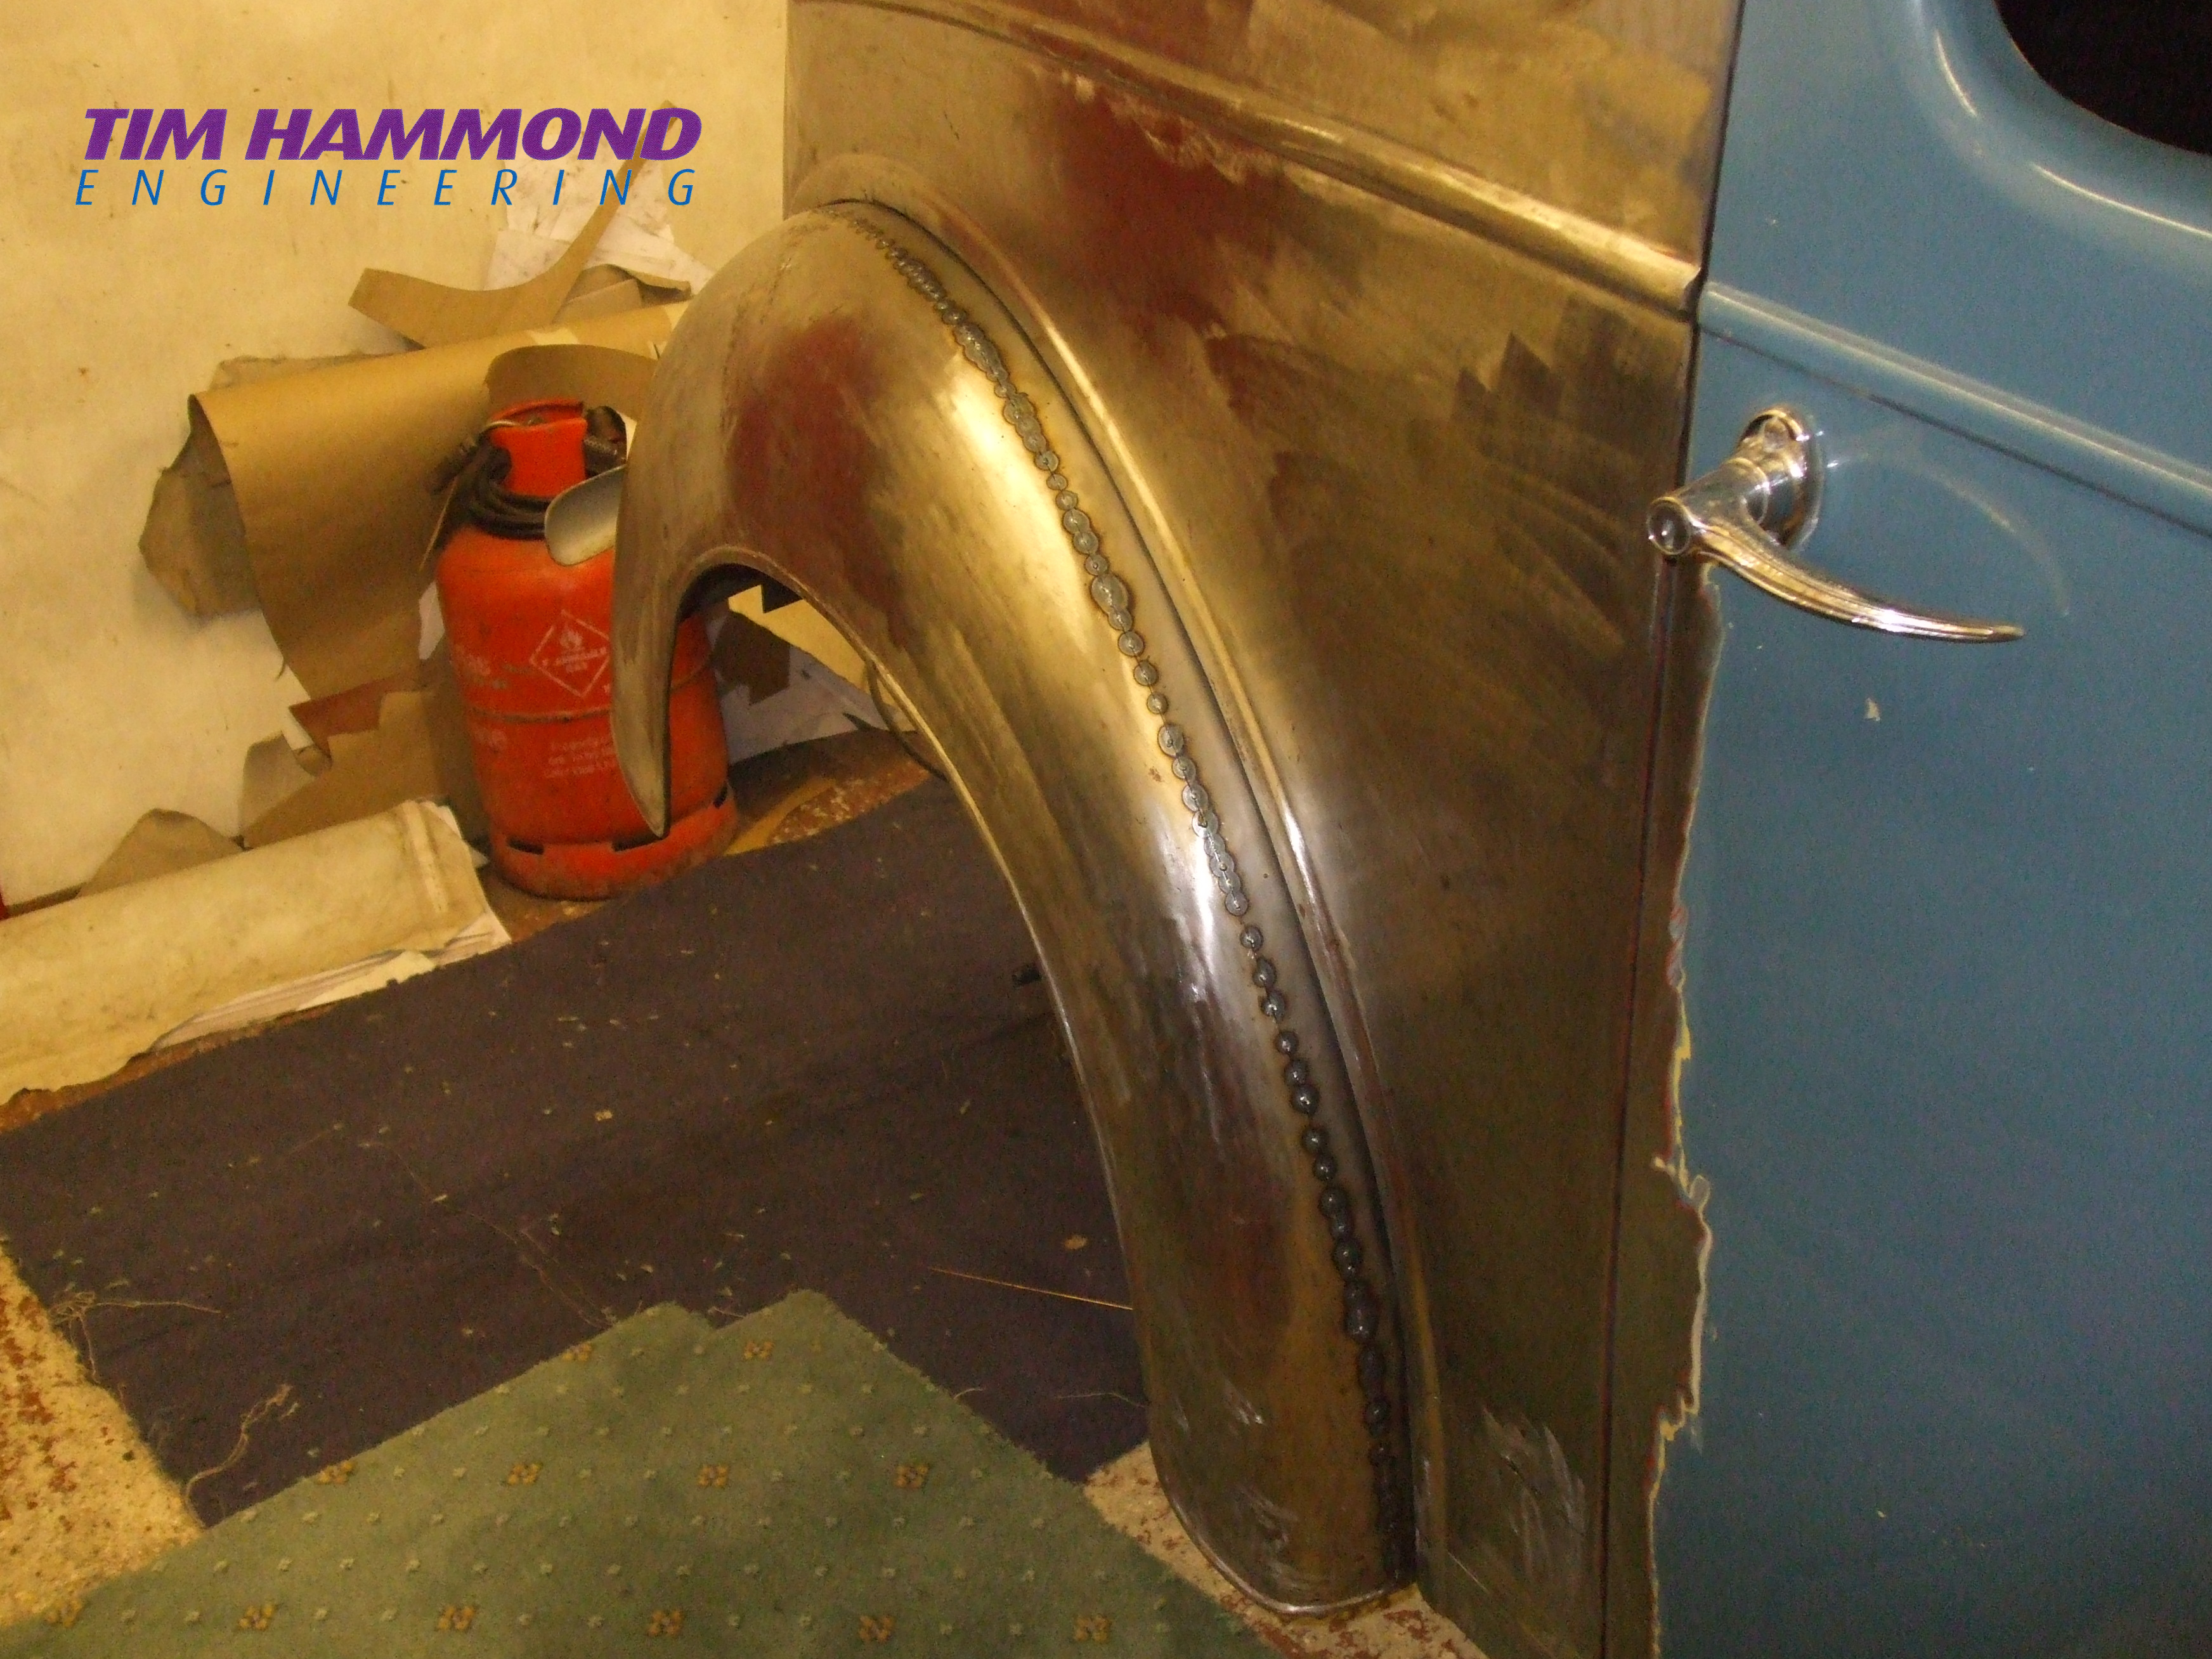
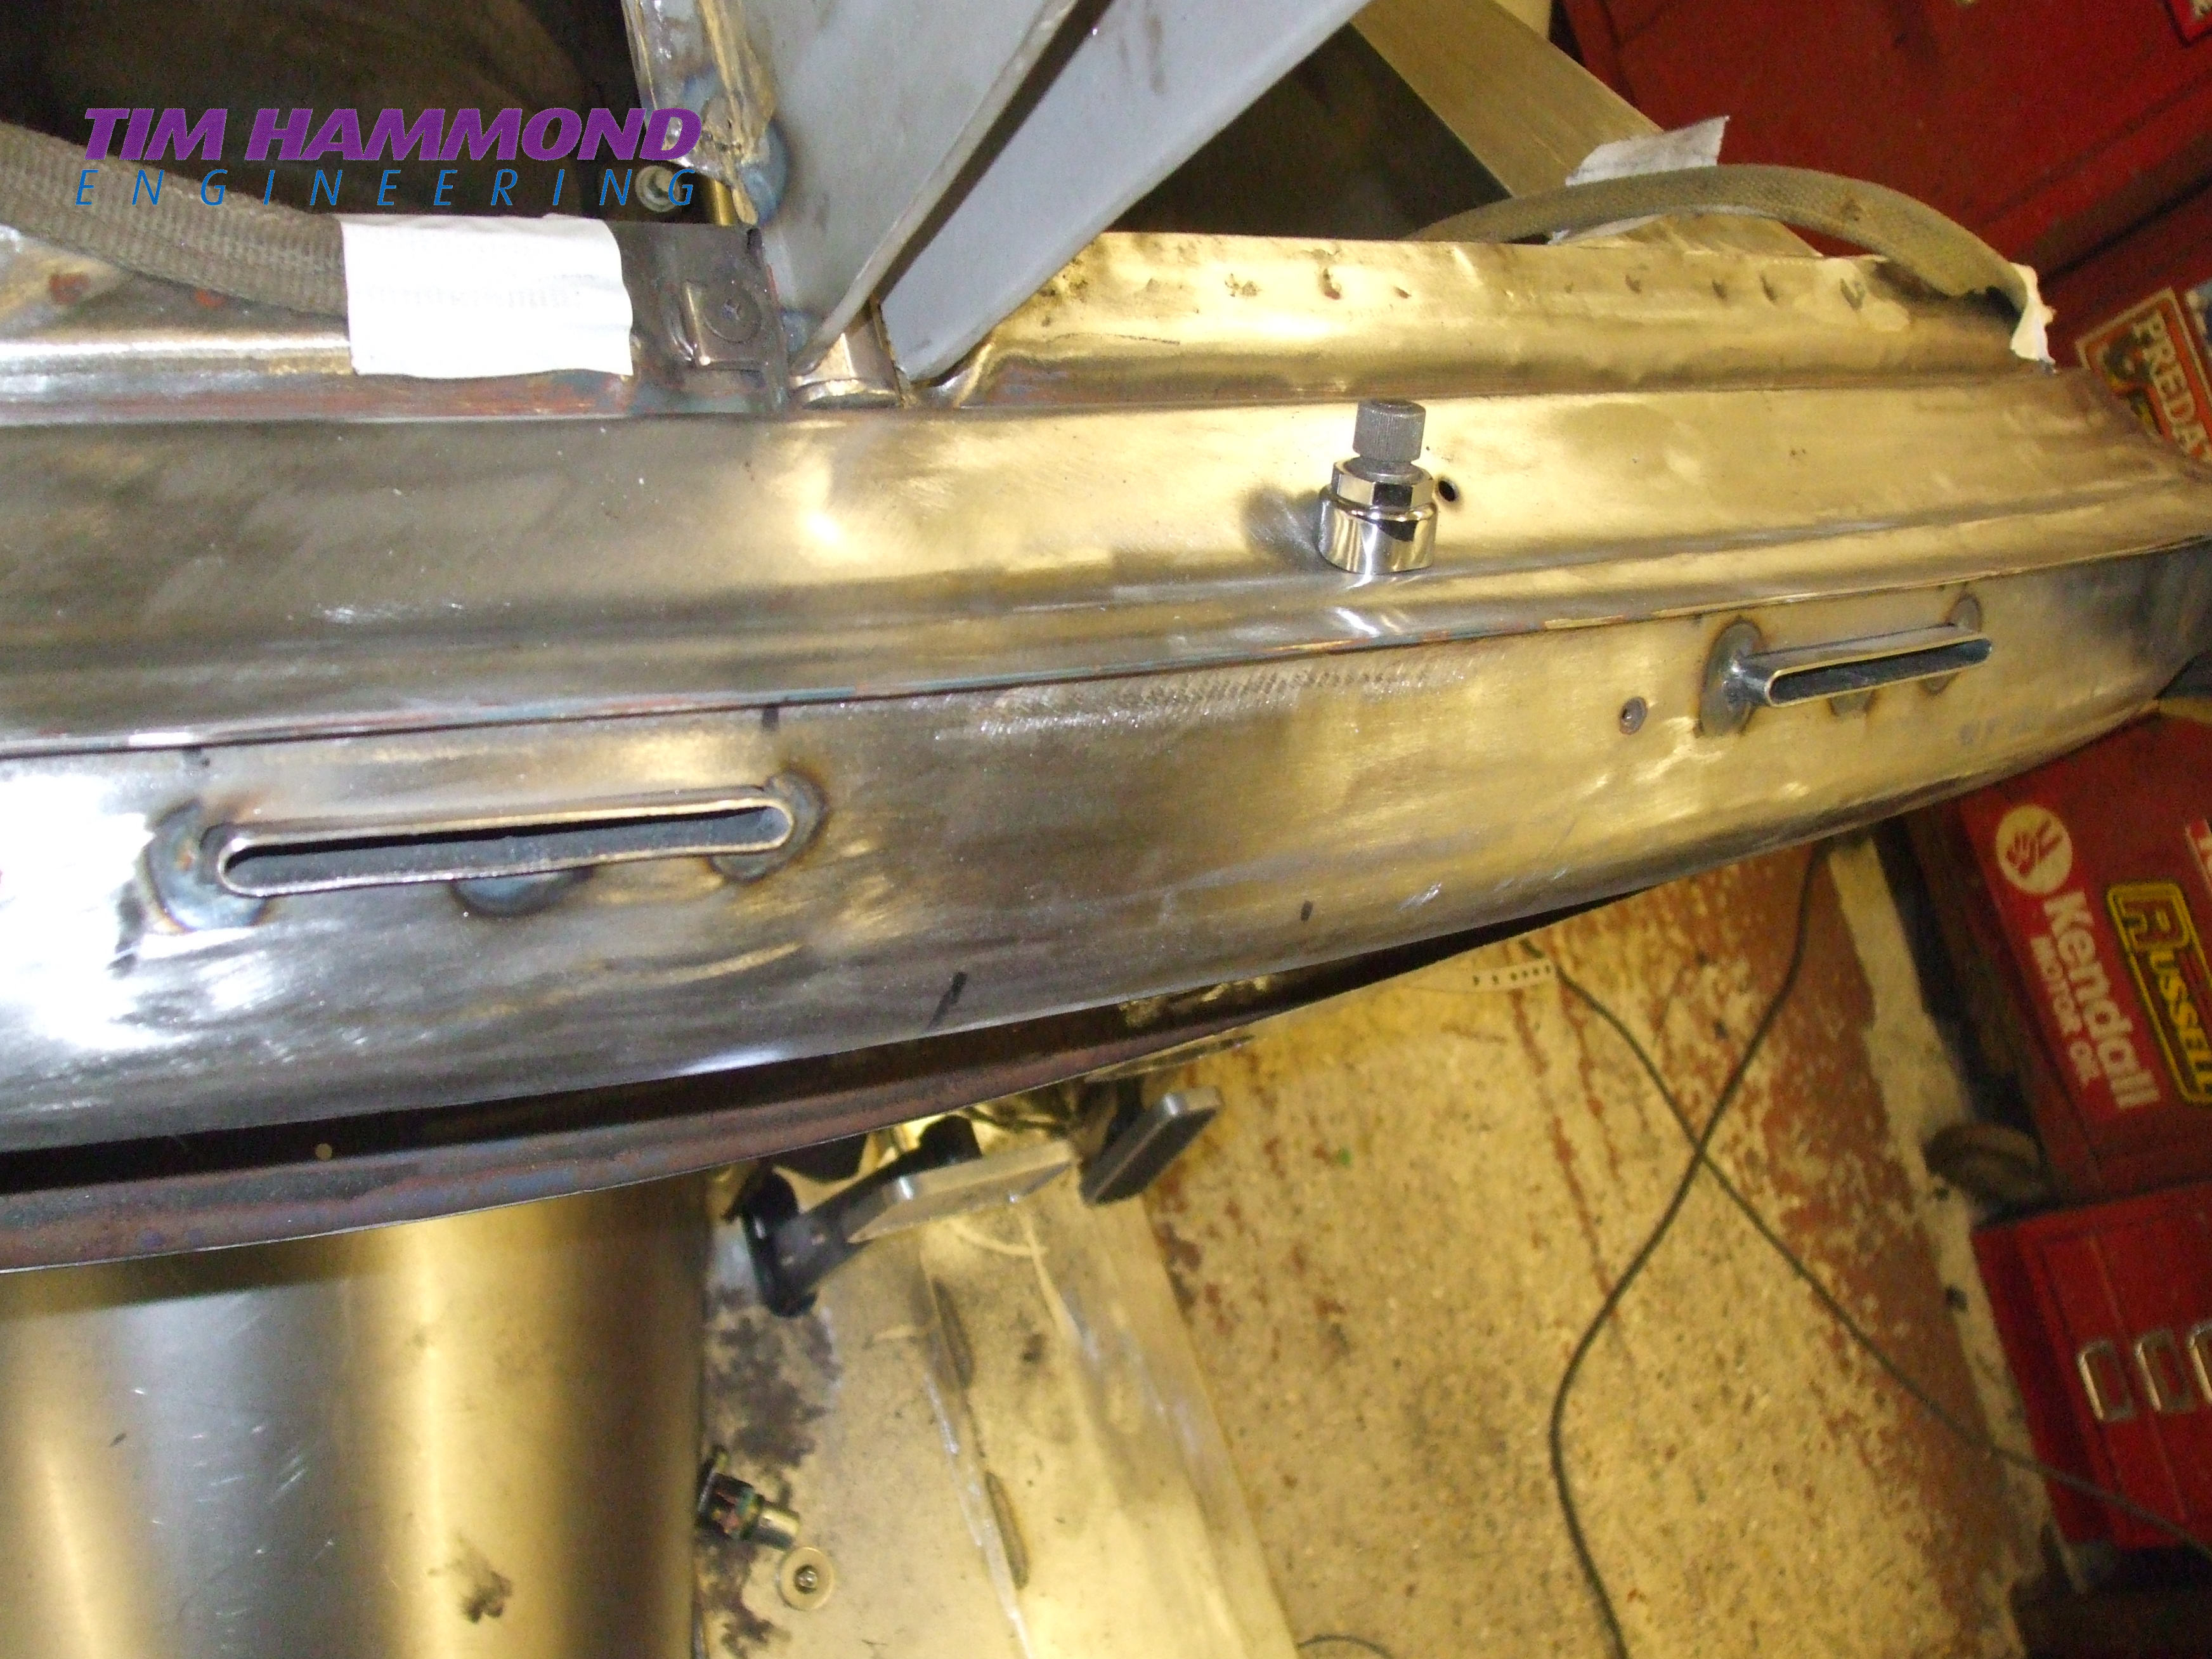
Some of the body modifications and repairs.
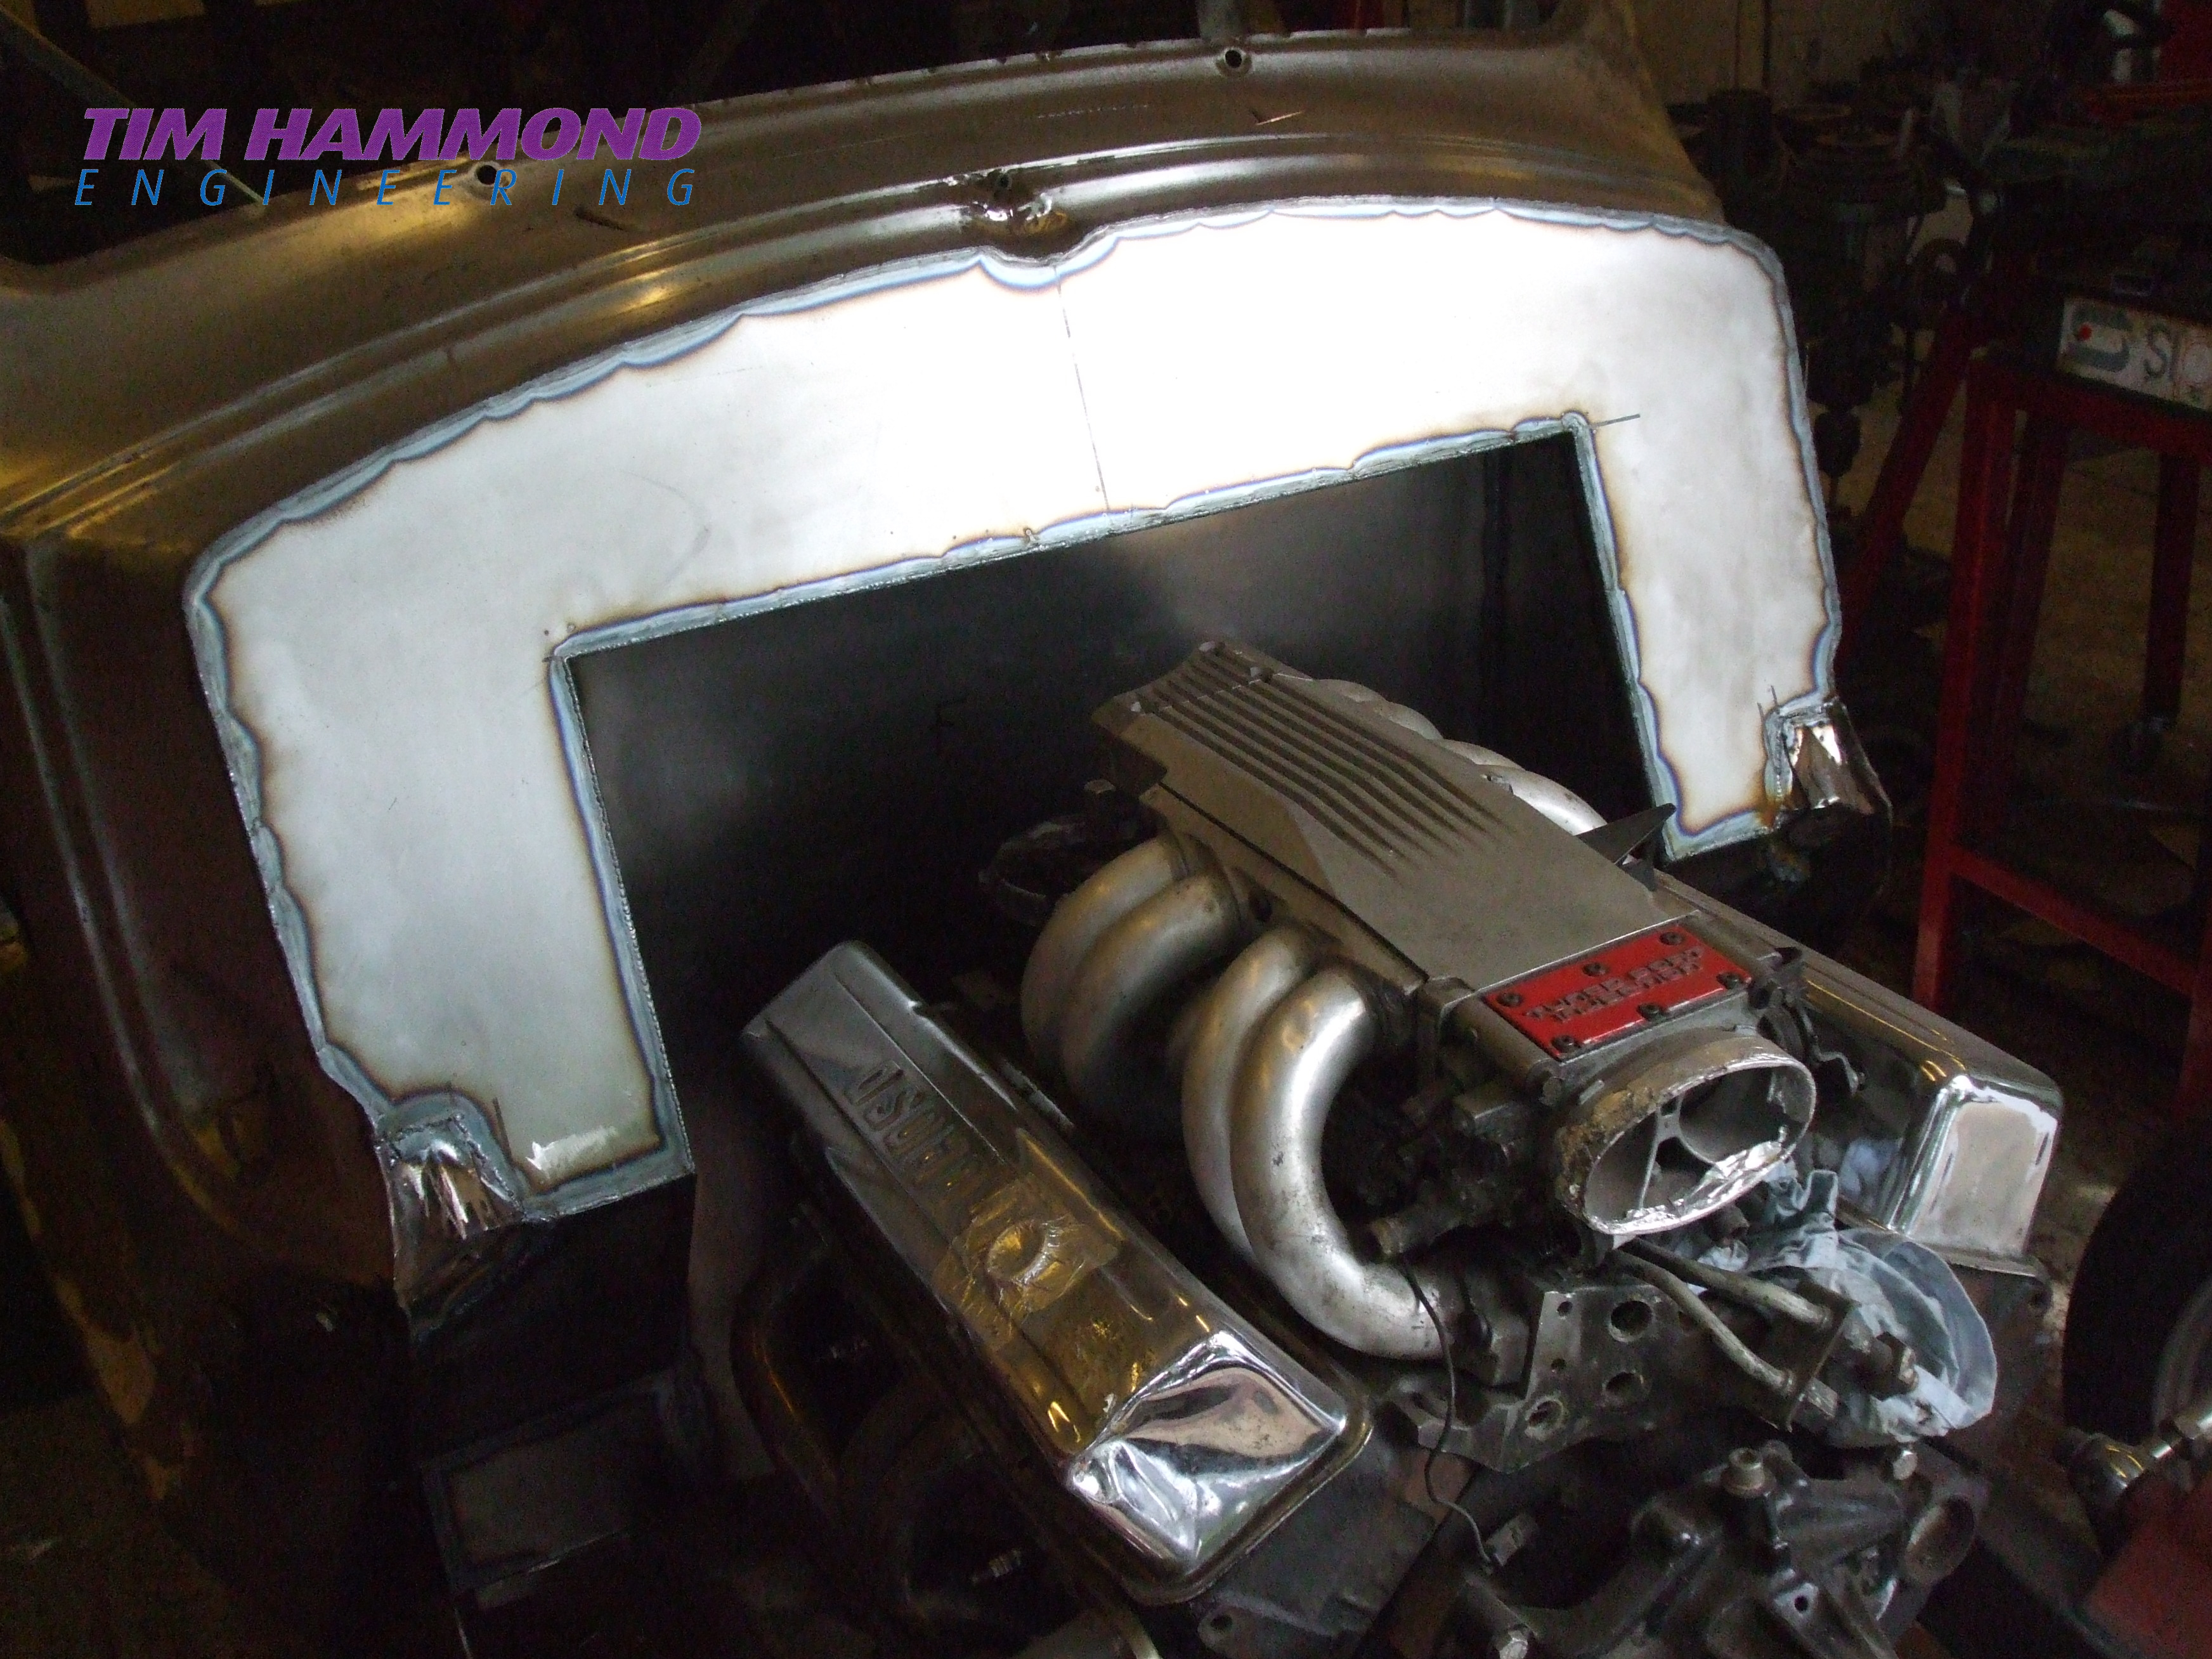
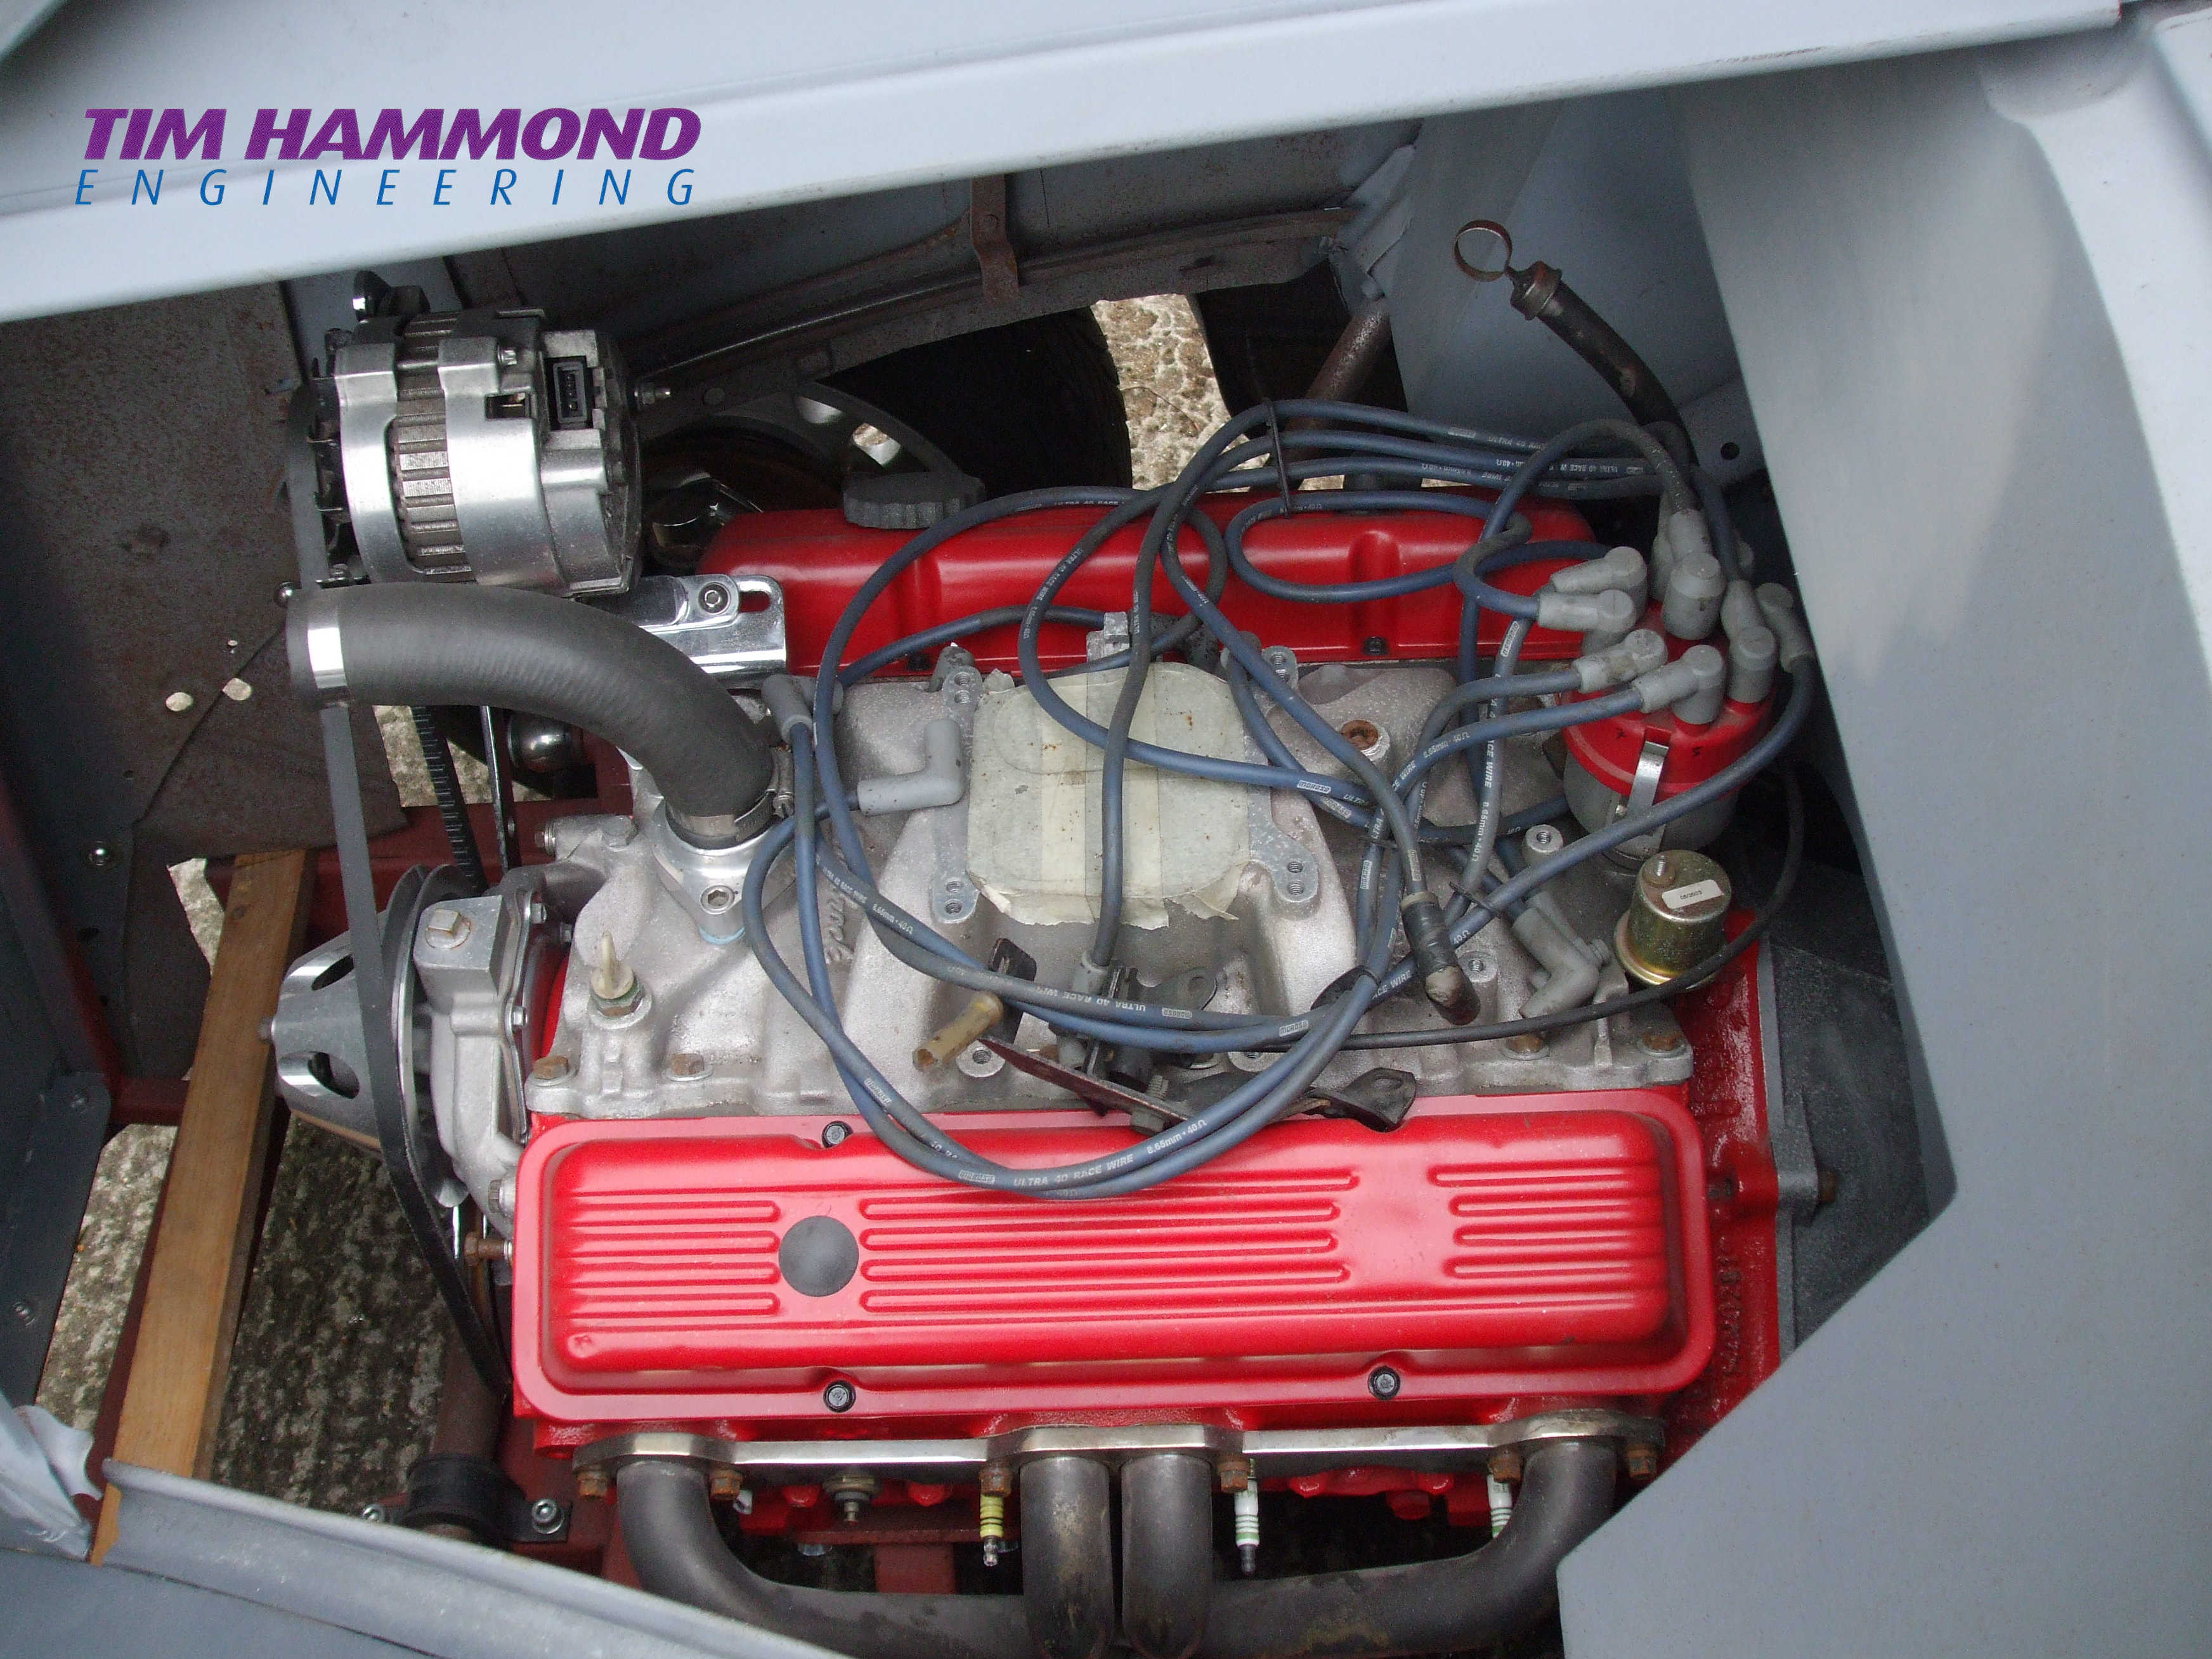
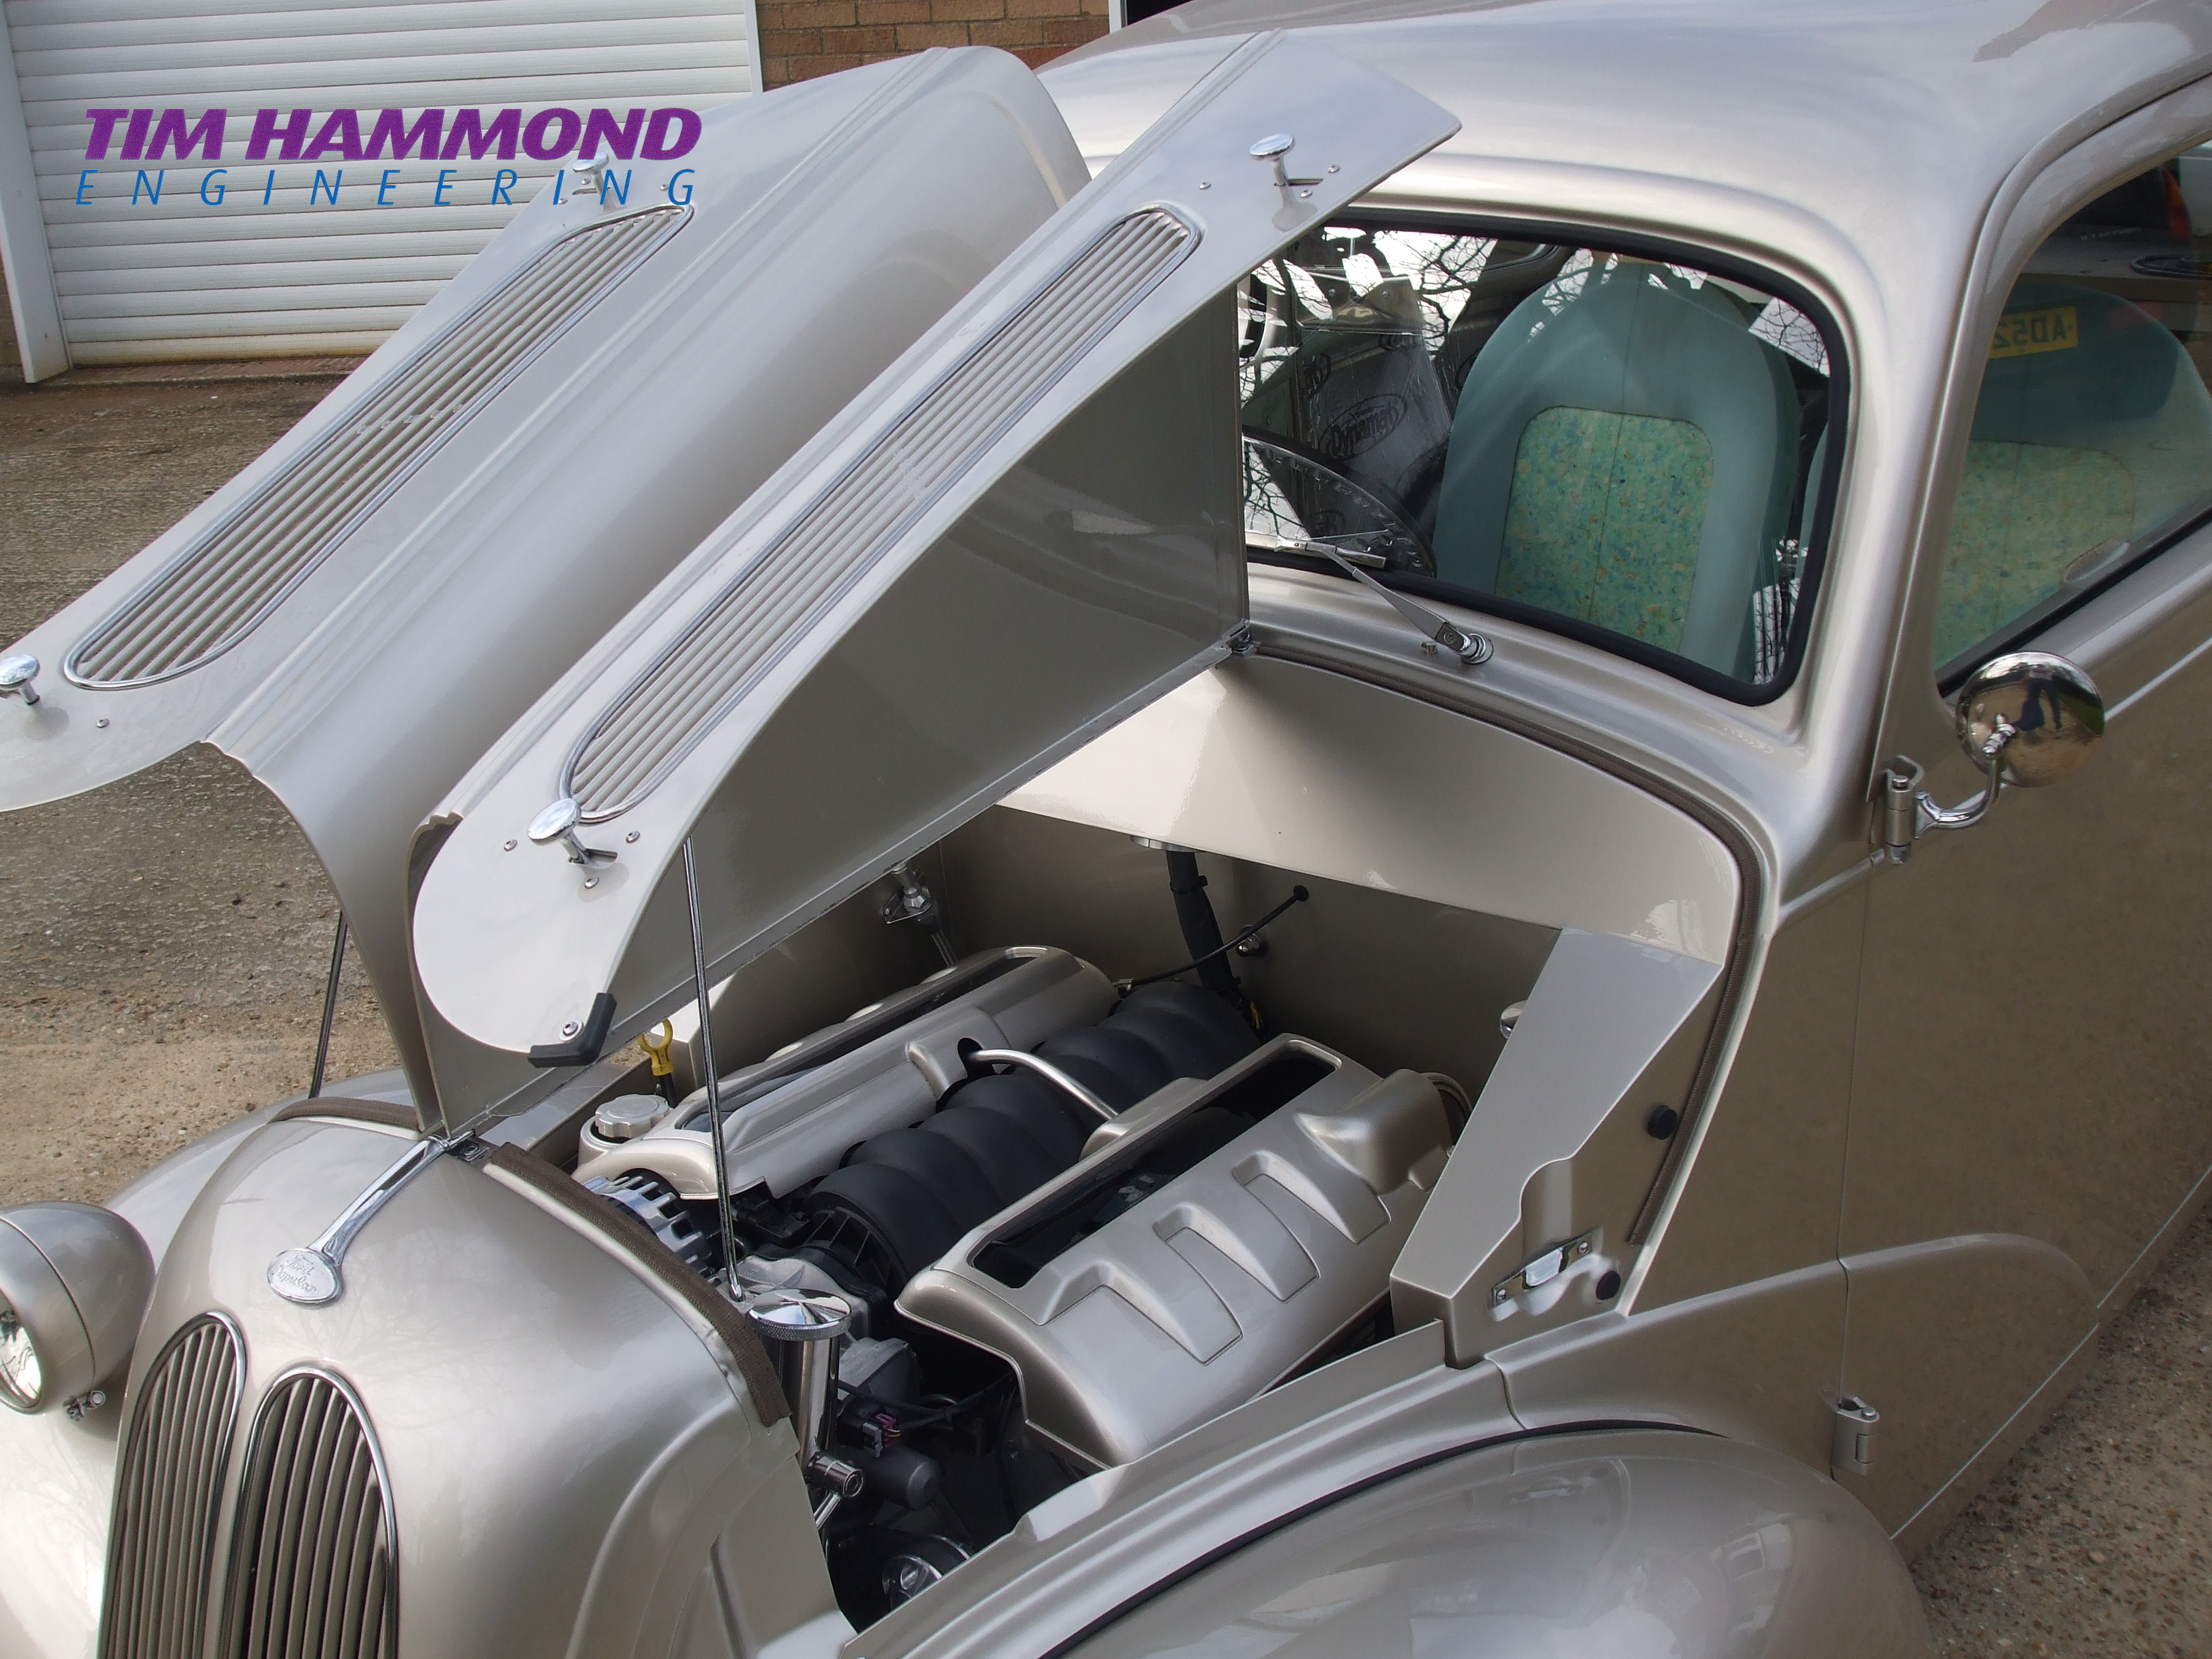
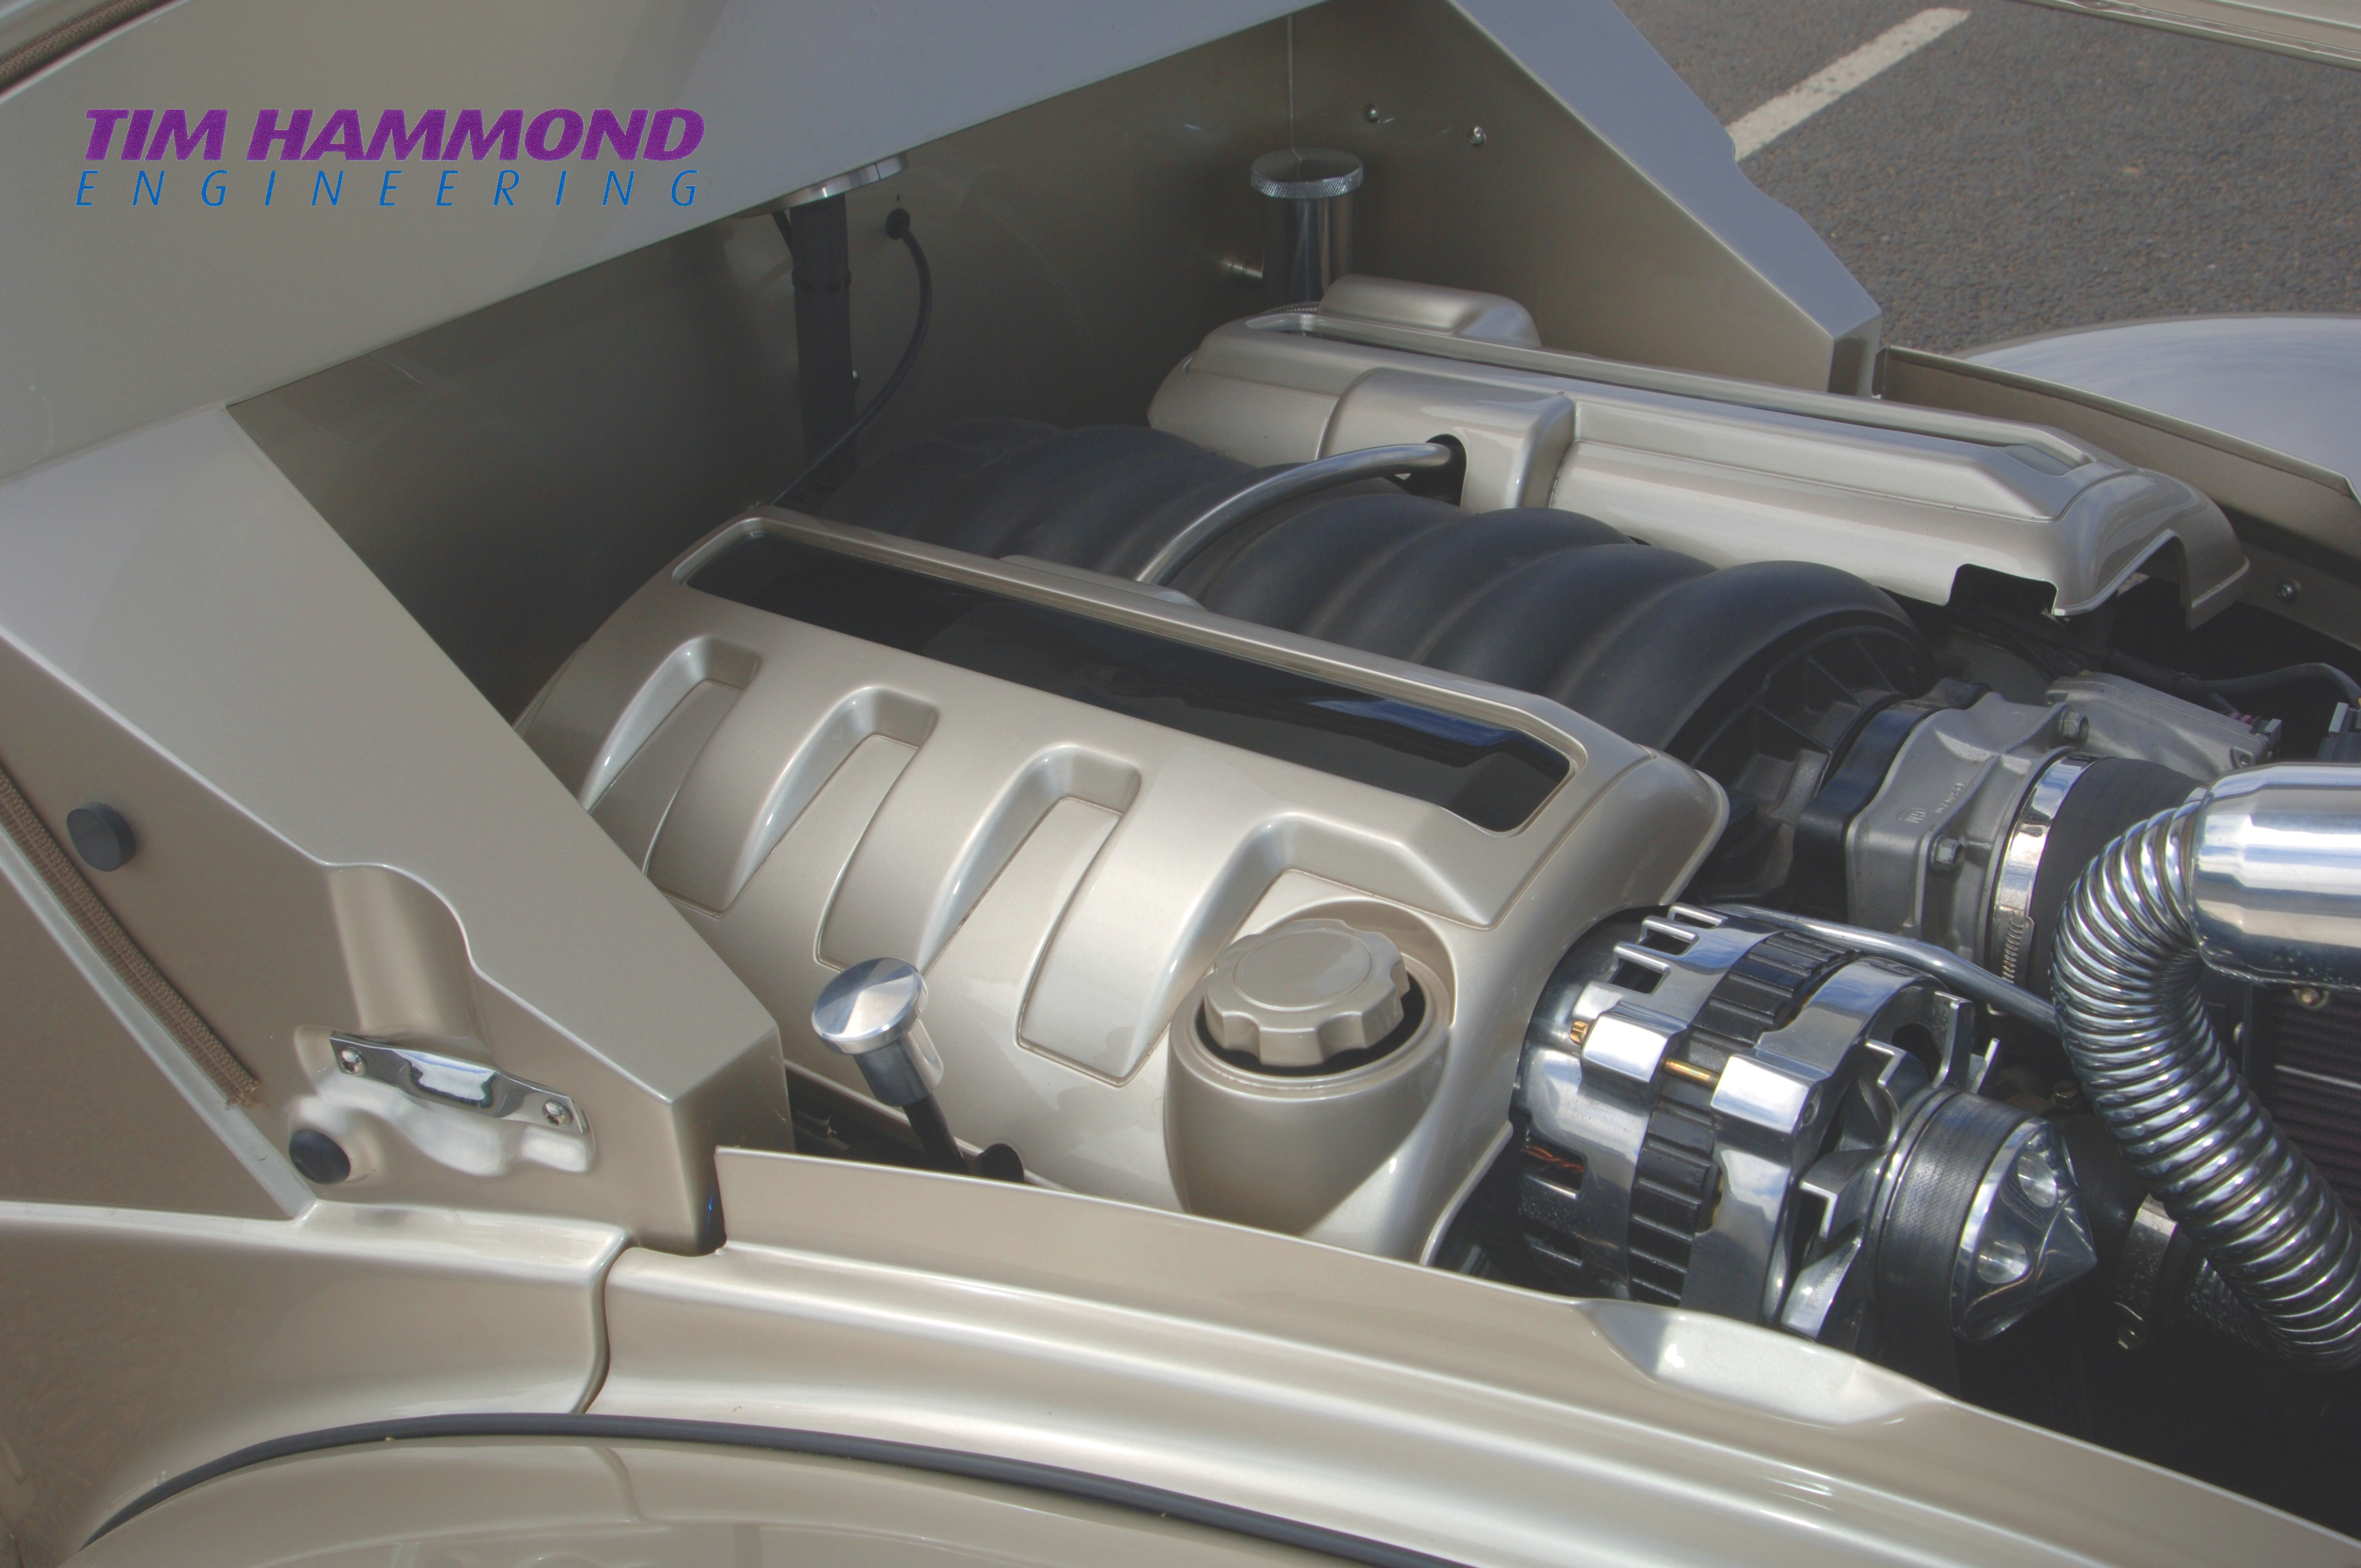
Making the engine fit into that small space...... tilt front needed for ease.
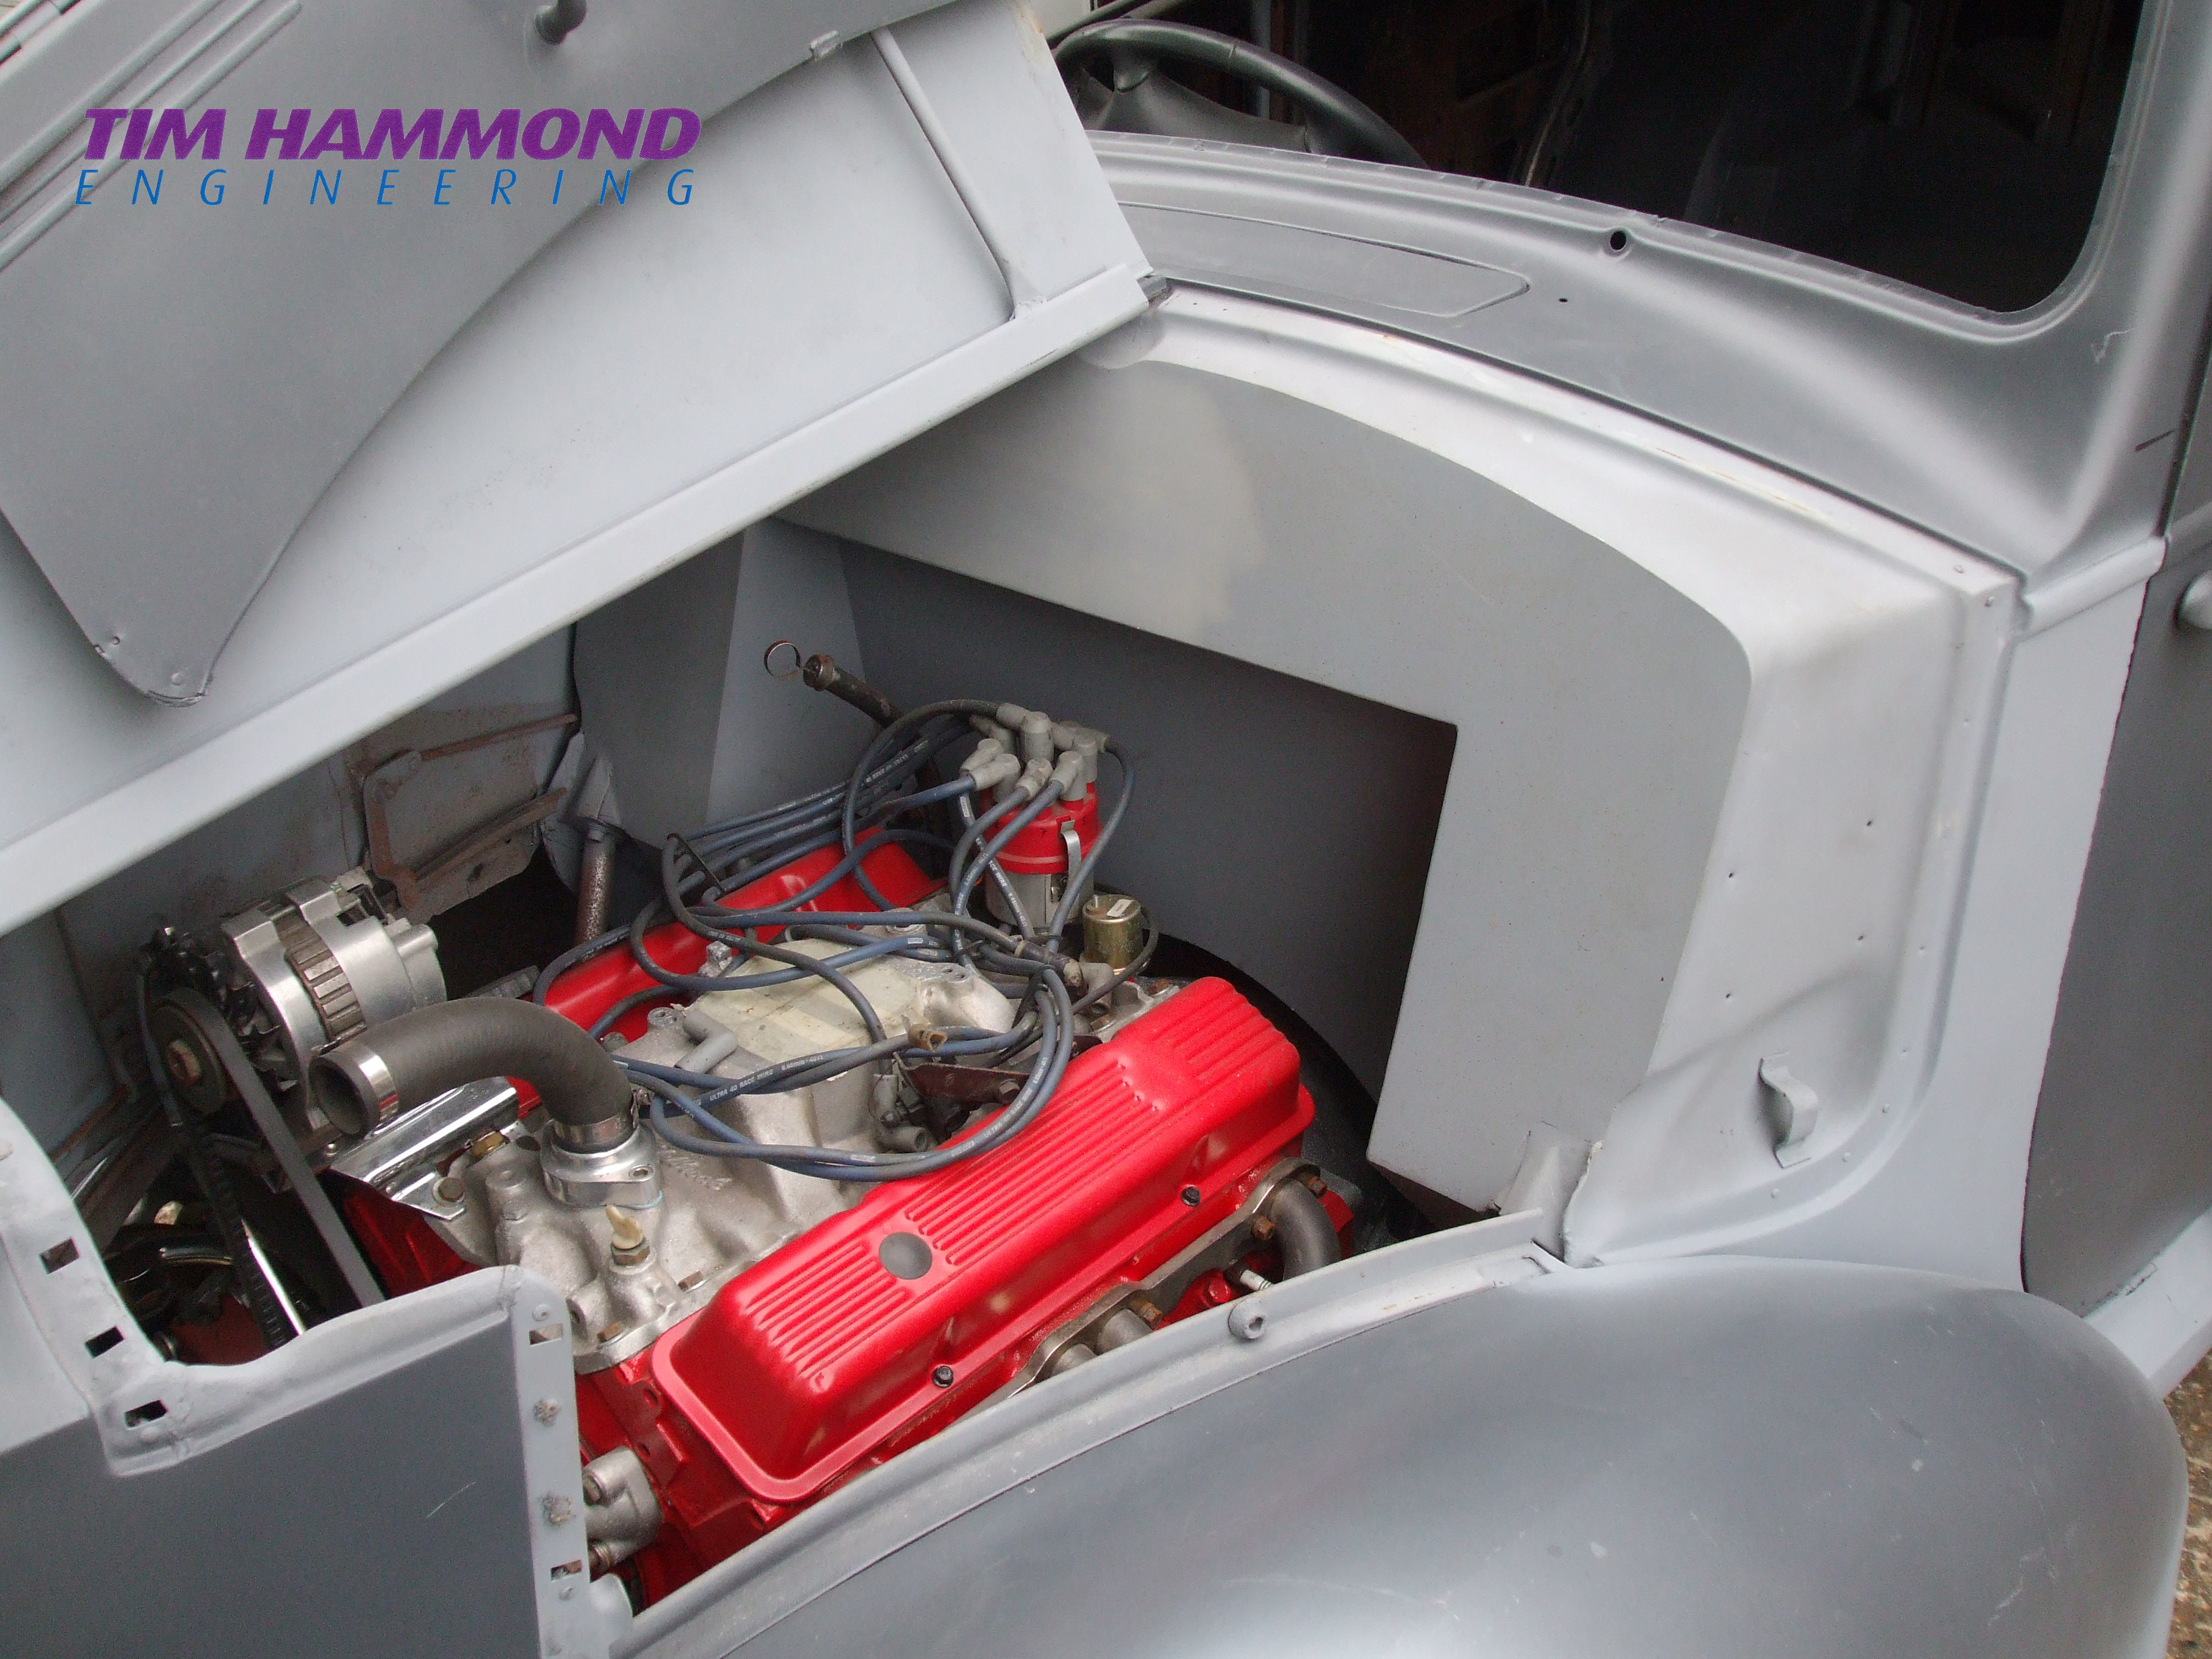
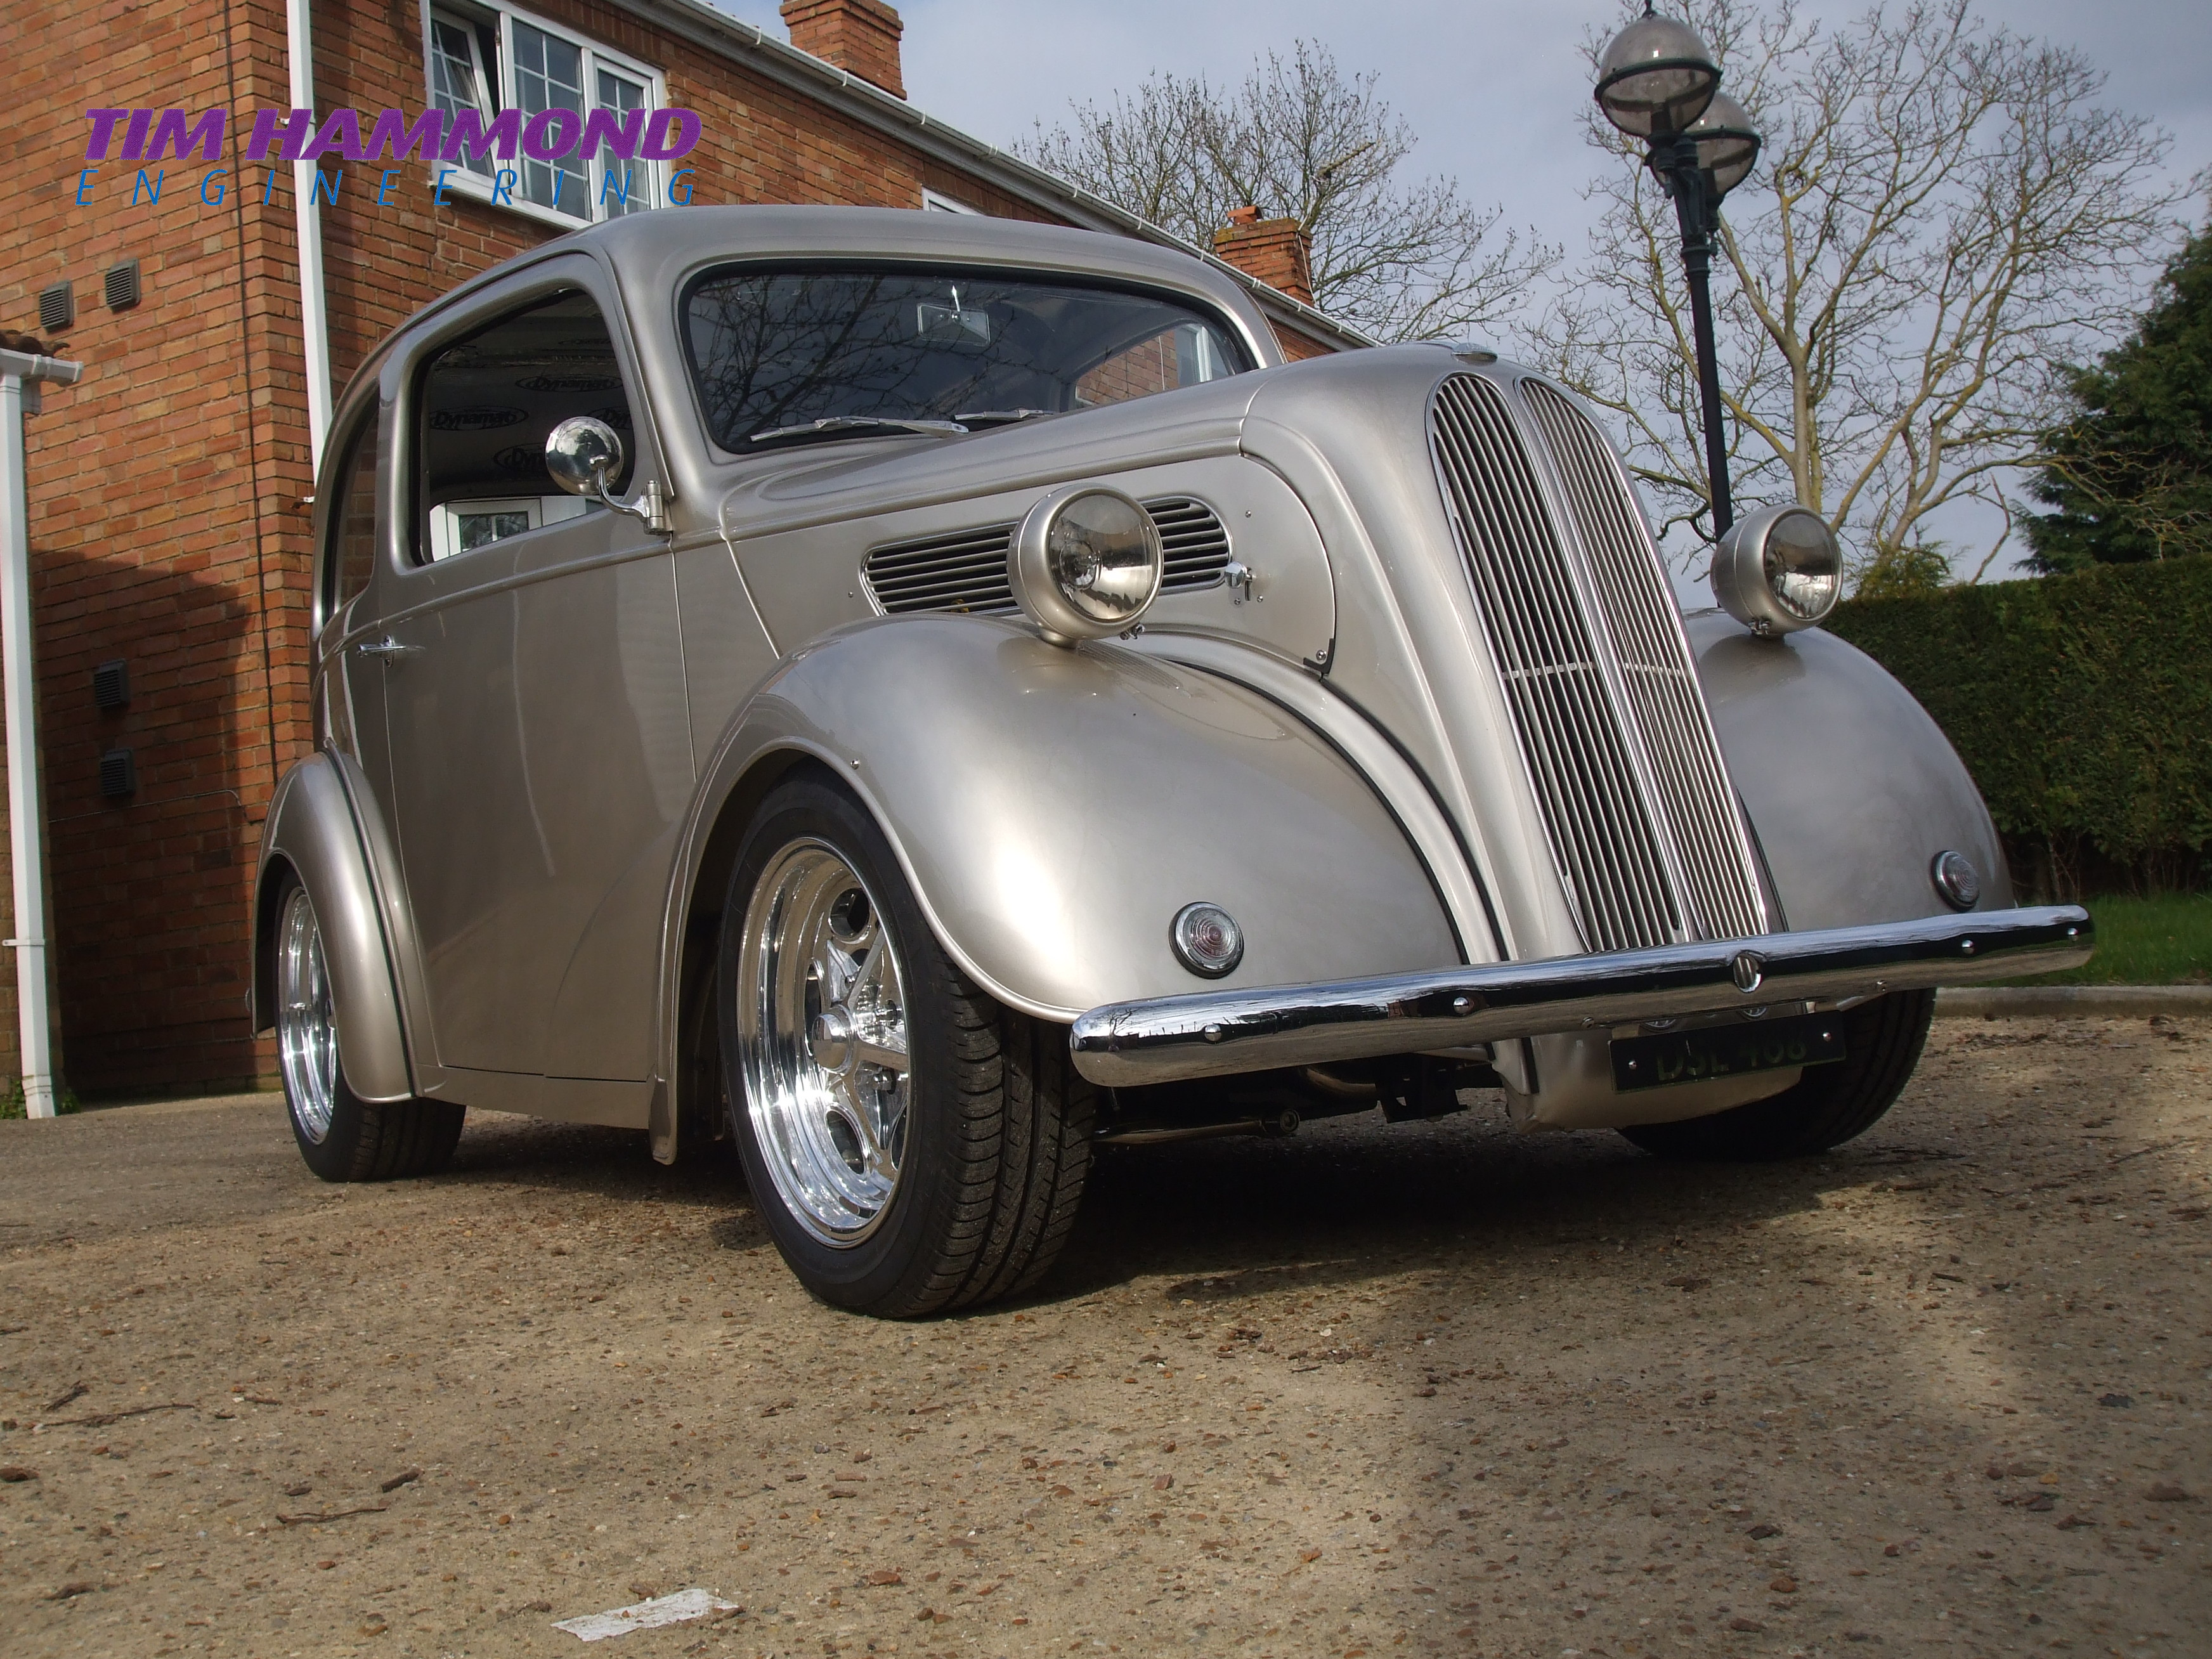
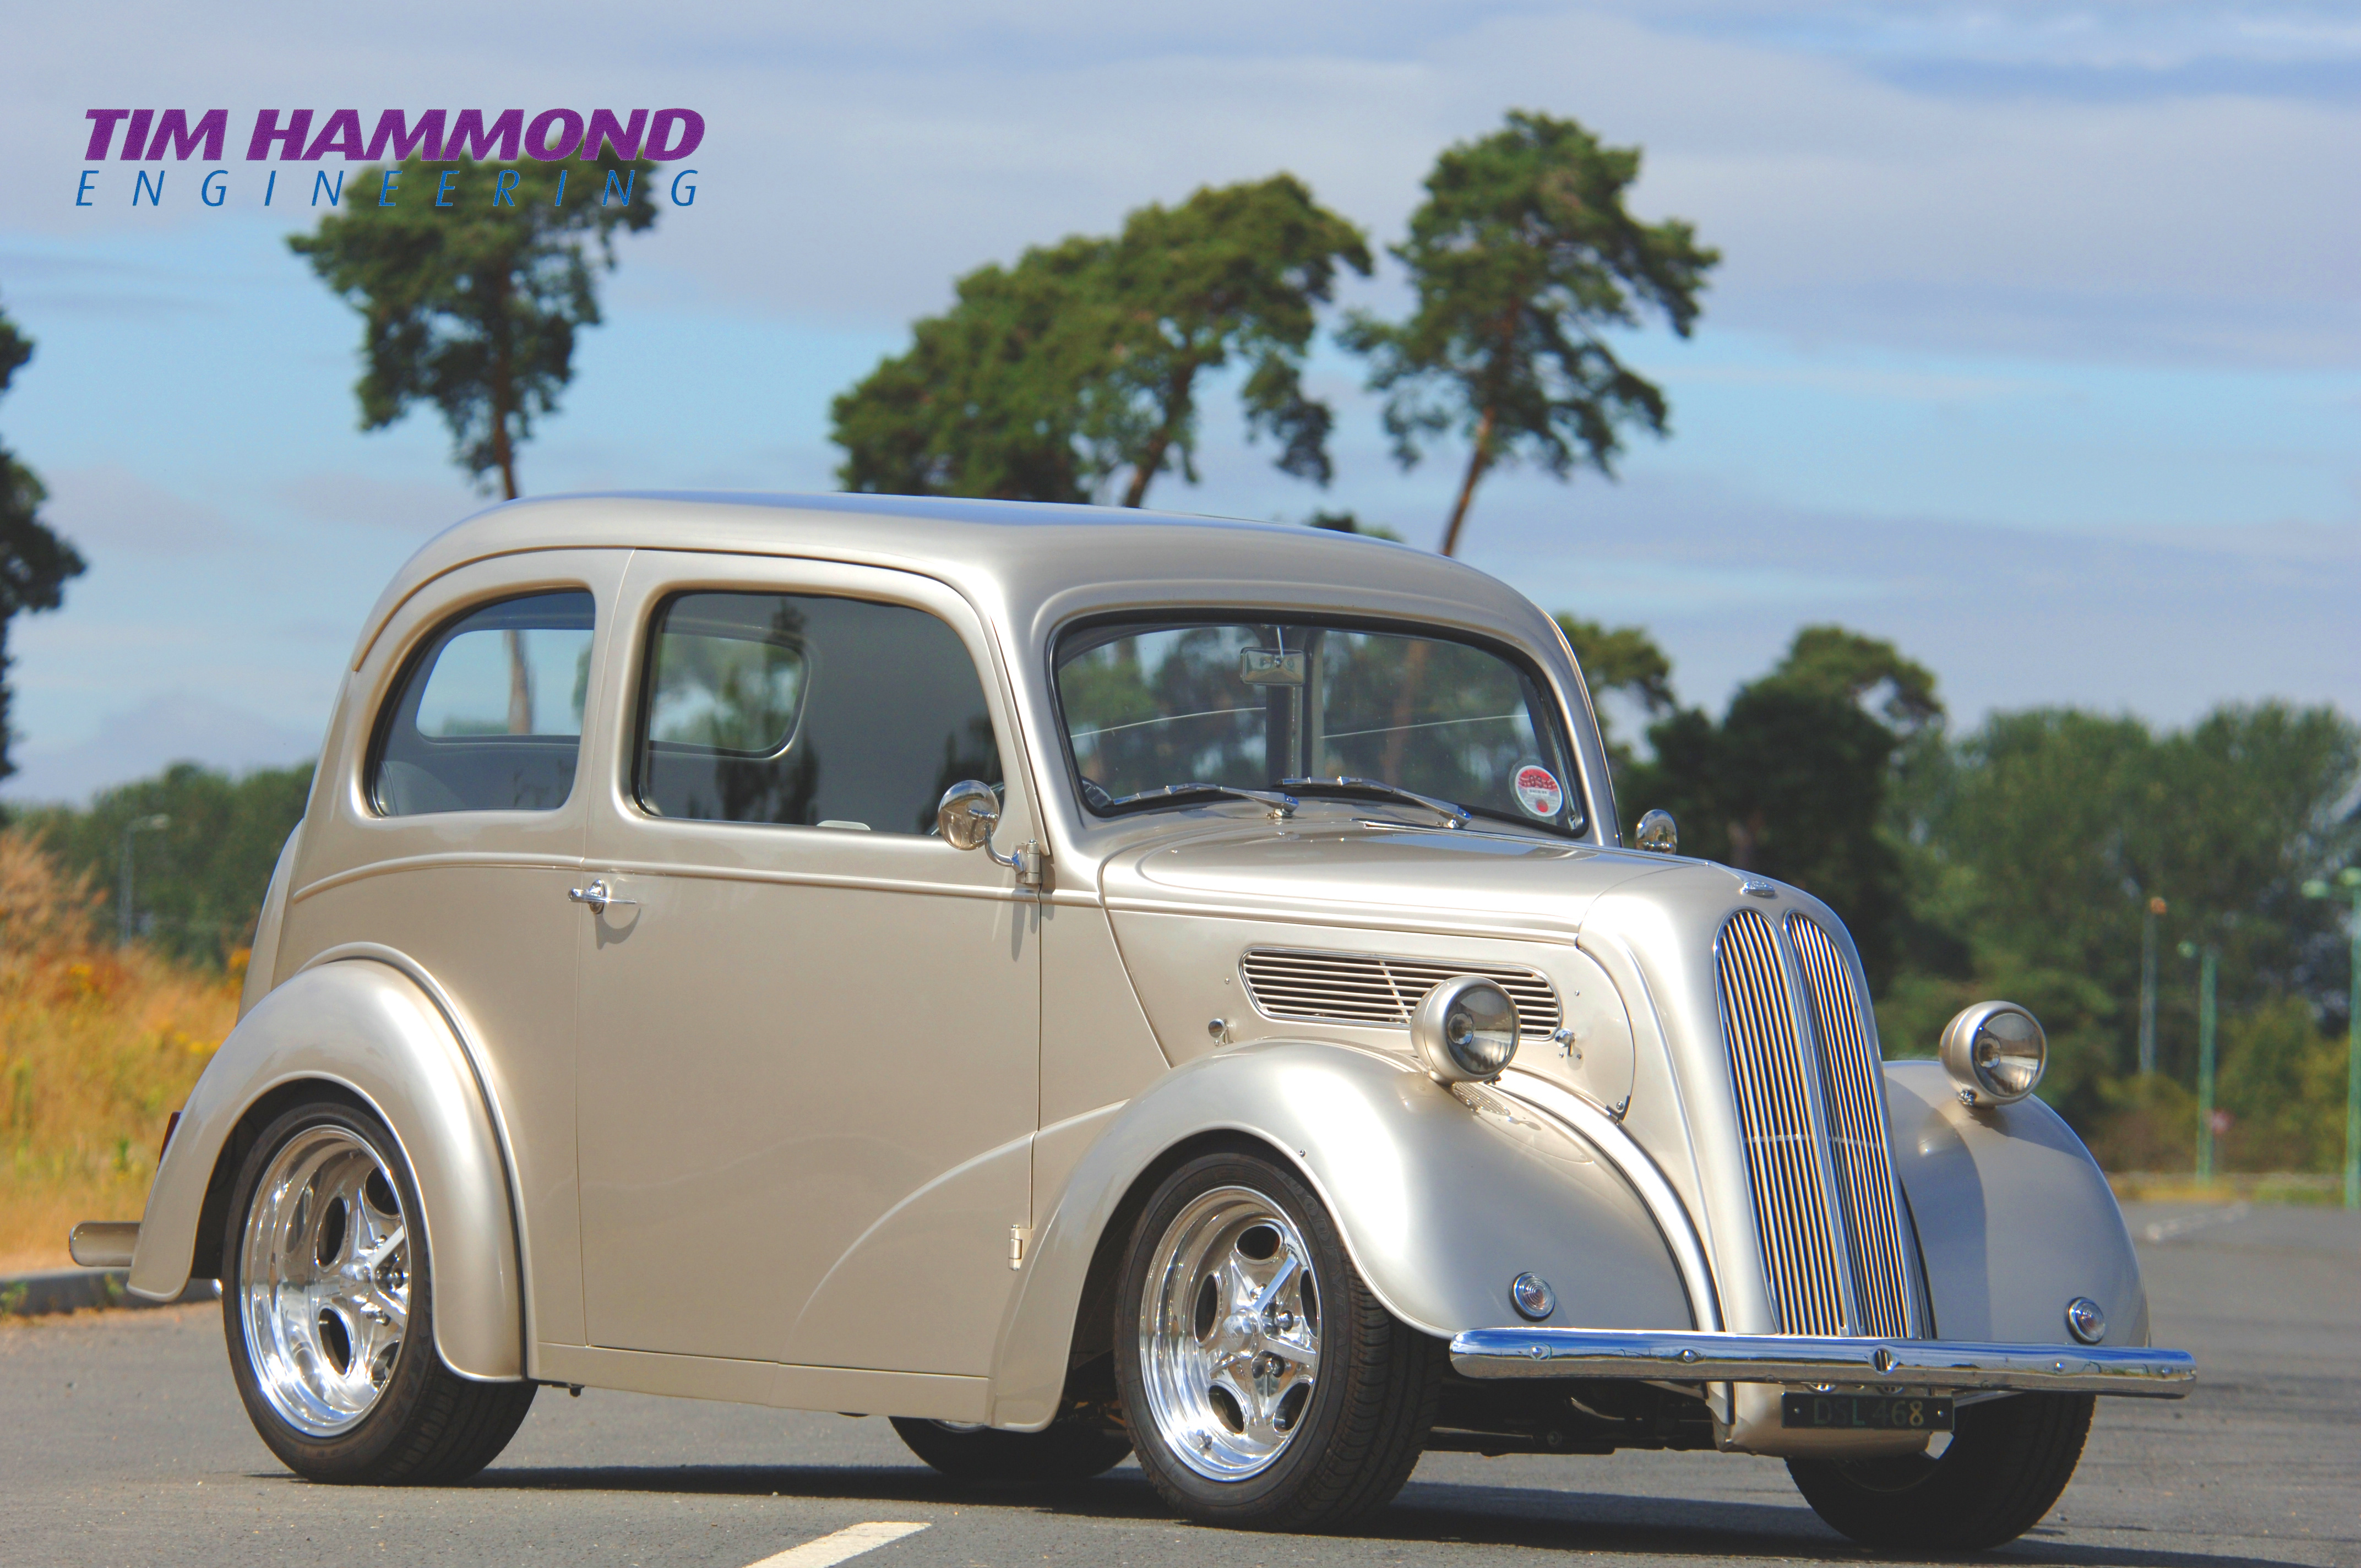
The end result, a stunning little pop, with lots of go, whilst remaining subtle from the outside.
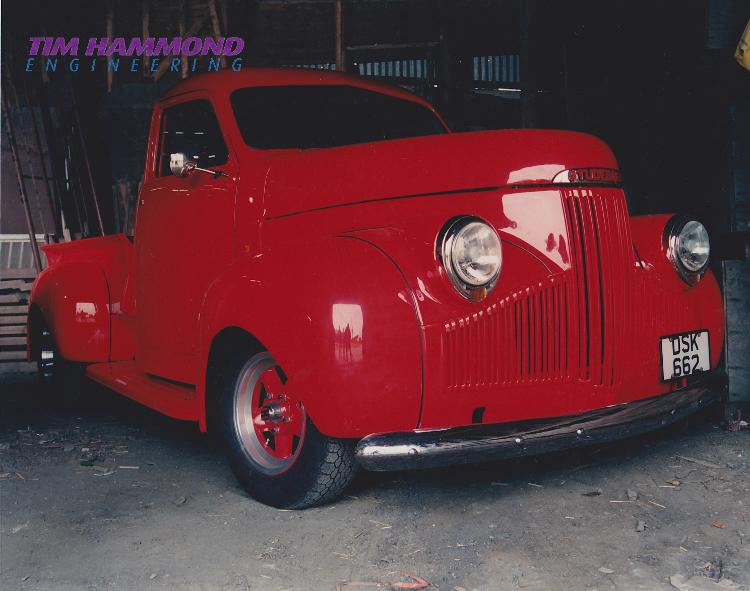
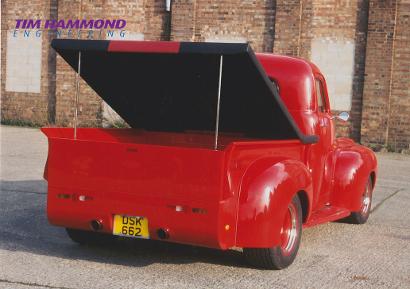
Tommy's Studebaker
Originally built with an Oldsmobile Engine mounted in the rear. Tim built it second time around with a Rover engine in the front

Dickie's Sedan
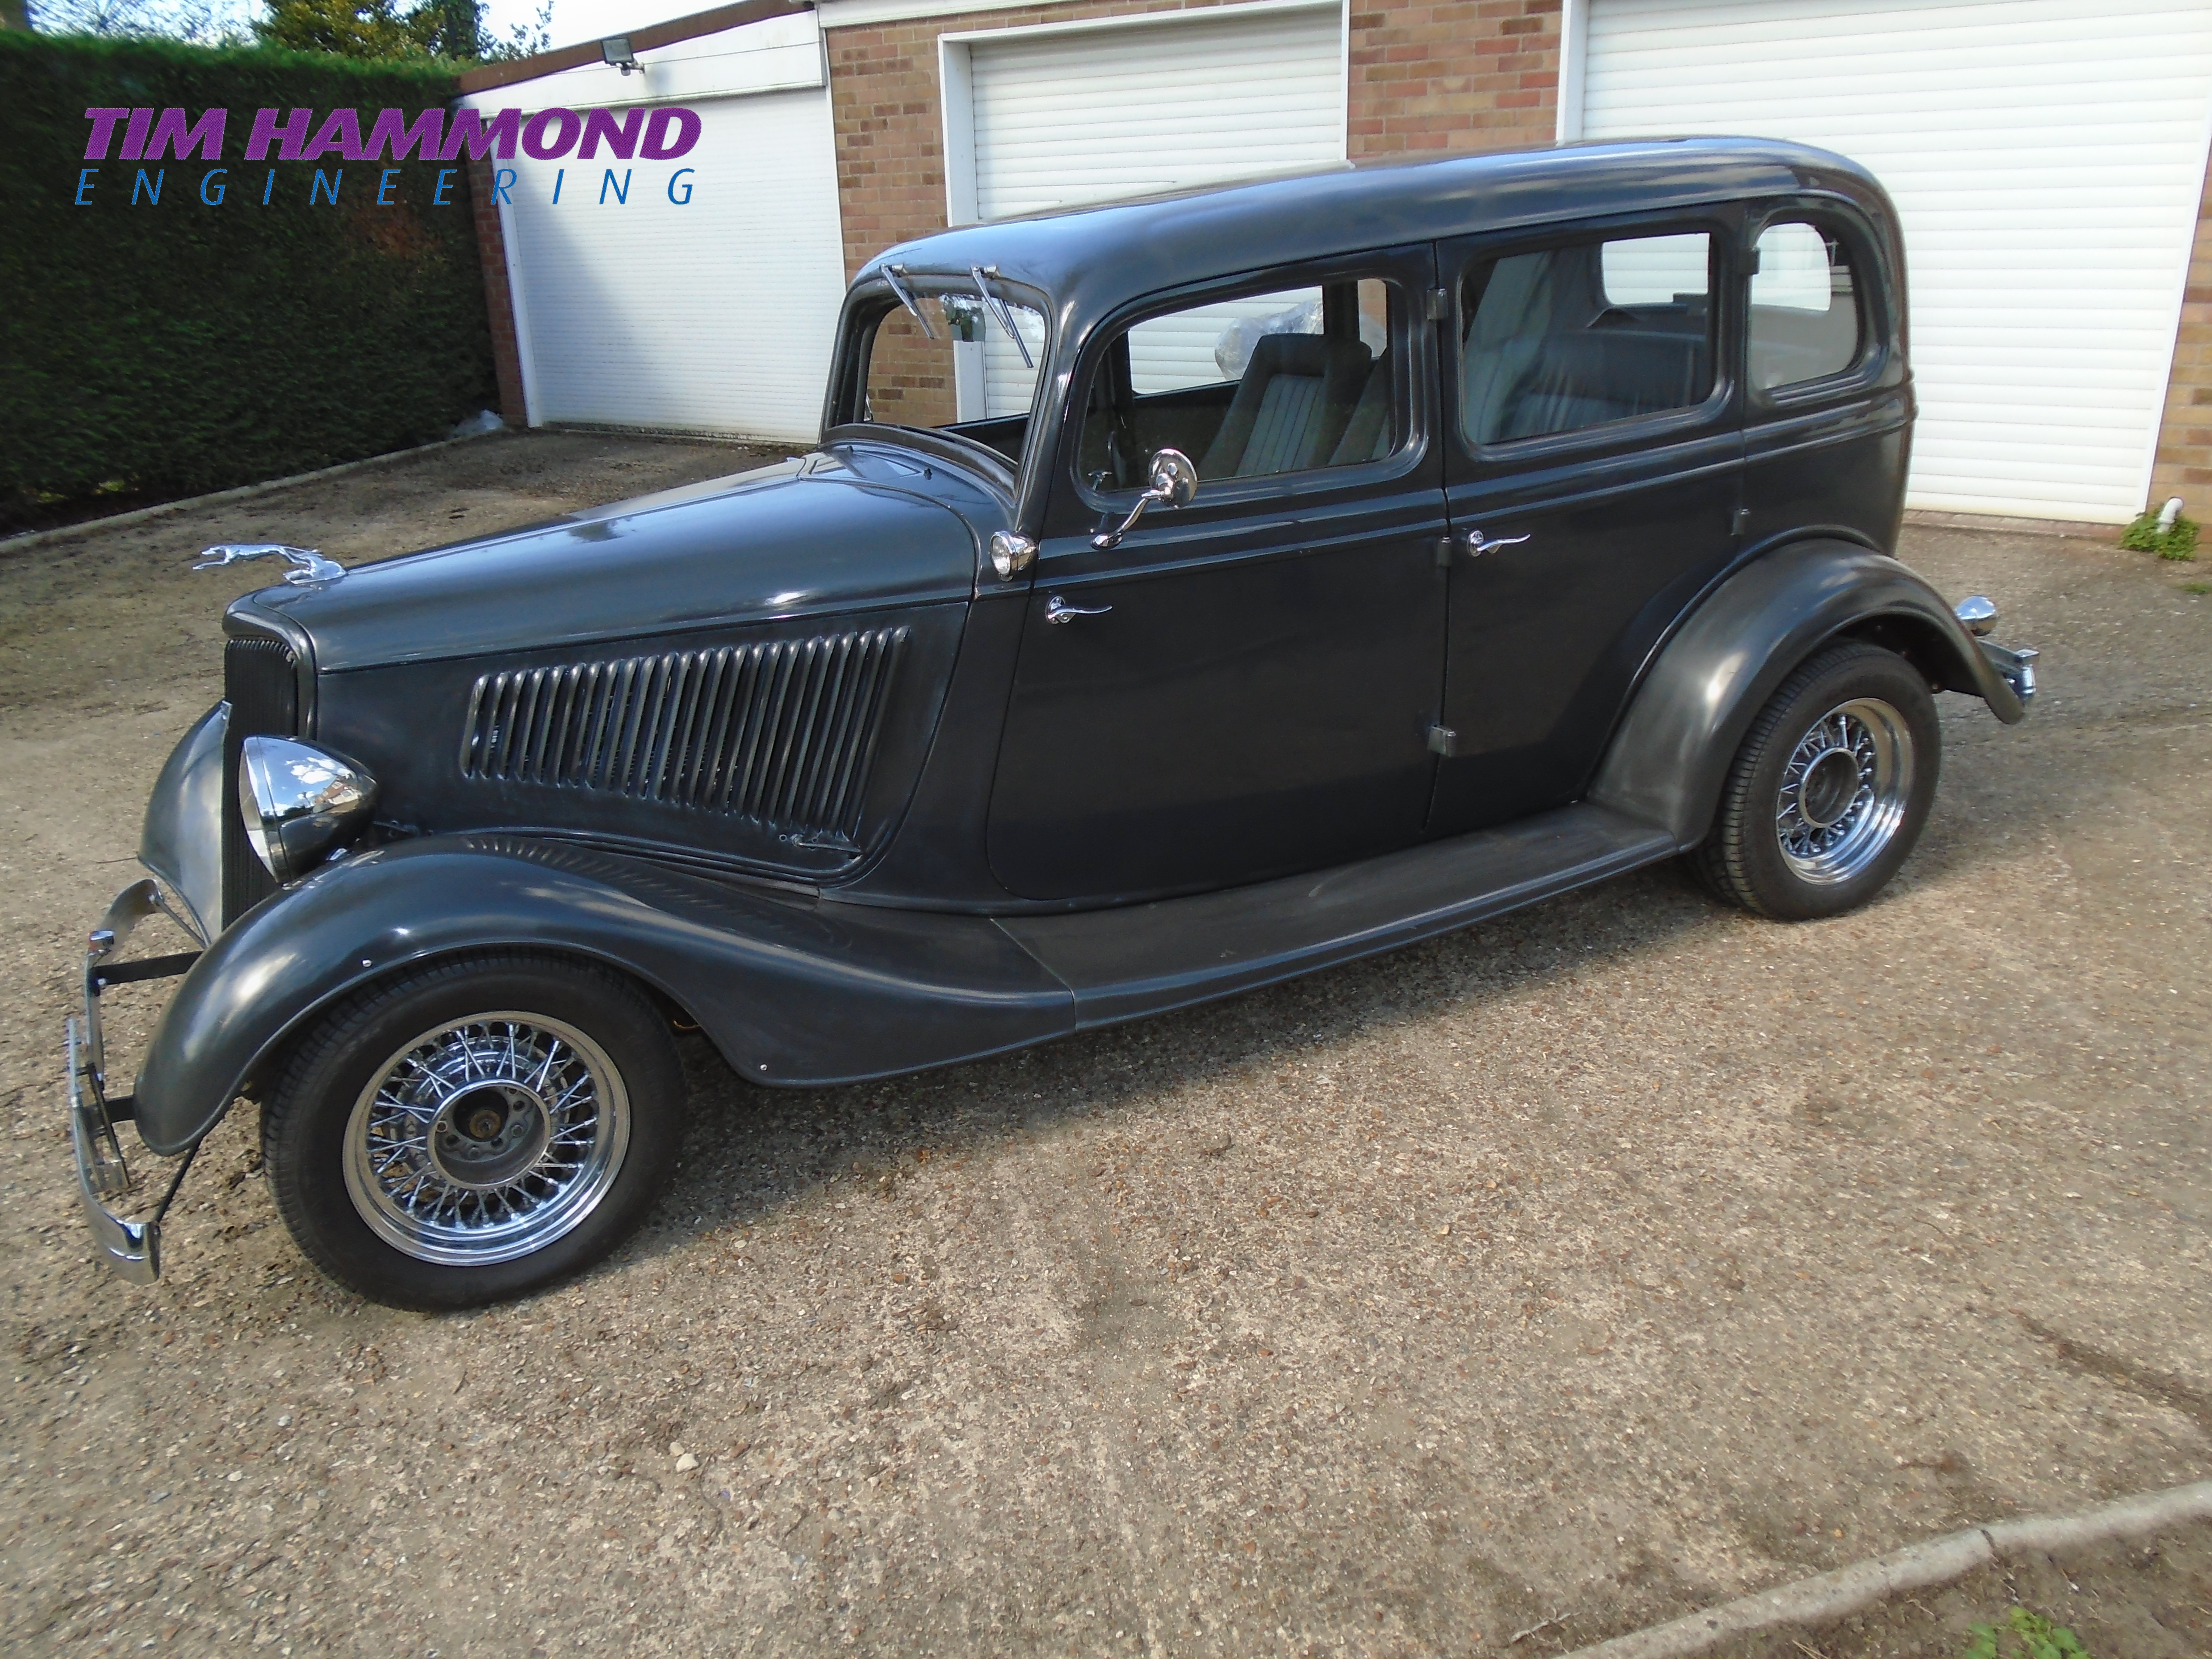
Originally the build started some 20 plus years ago and only now has Dickie got around to finishing the car. An all steel body retaining much of its originality. Tim was asked to finish the car off, sort out various bits and pieces and get the car on the road, which included replacing the engine.
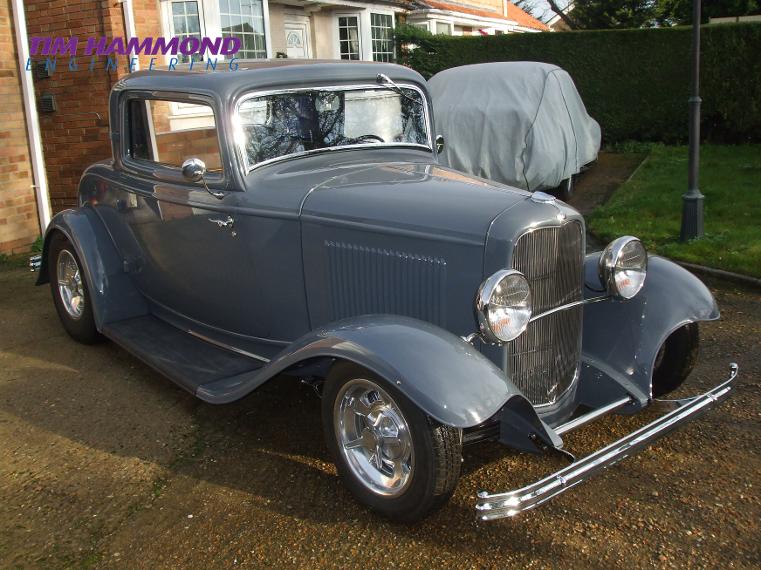
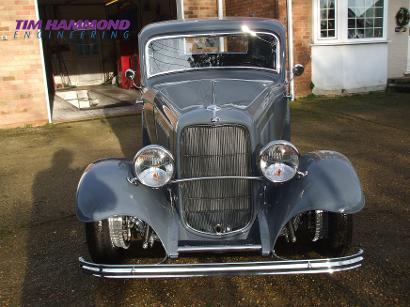
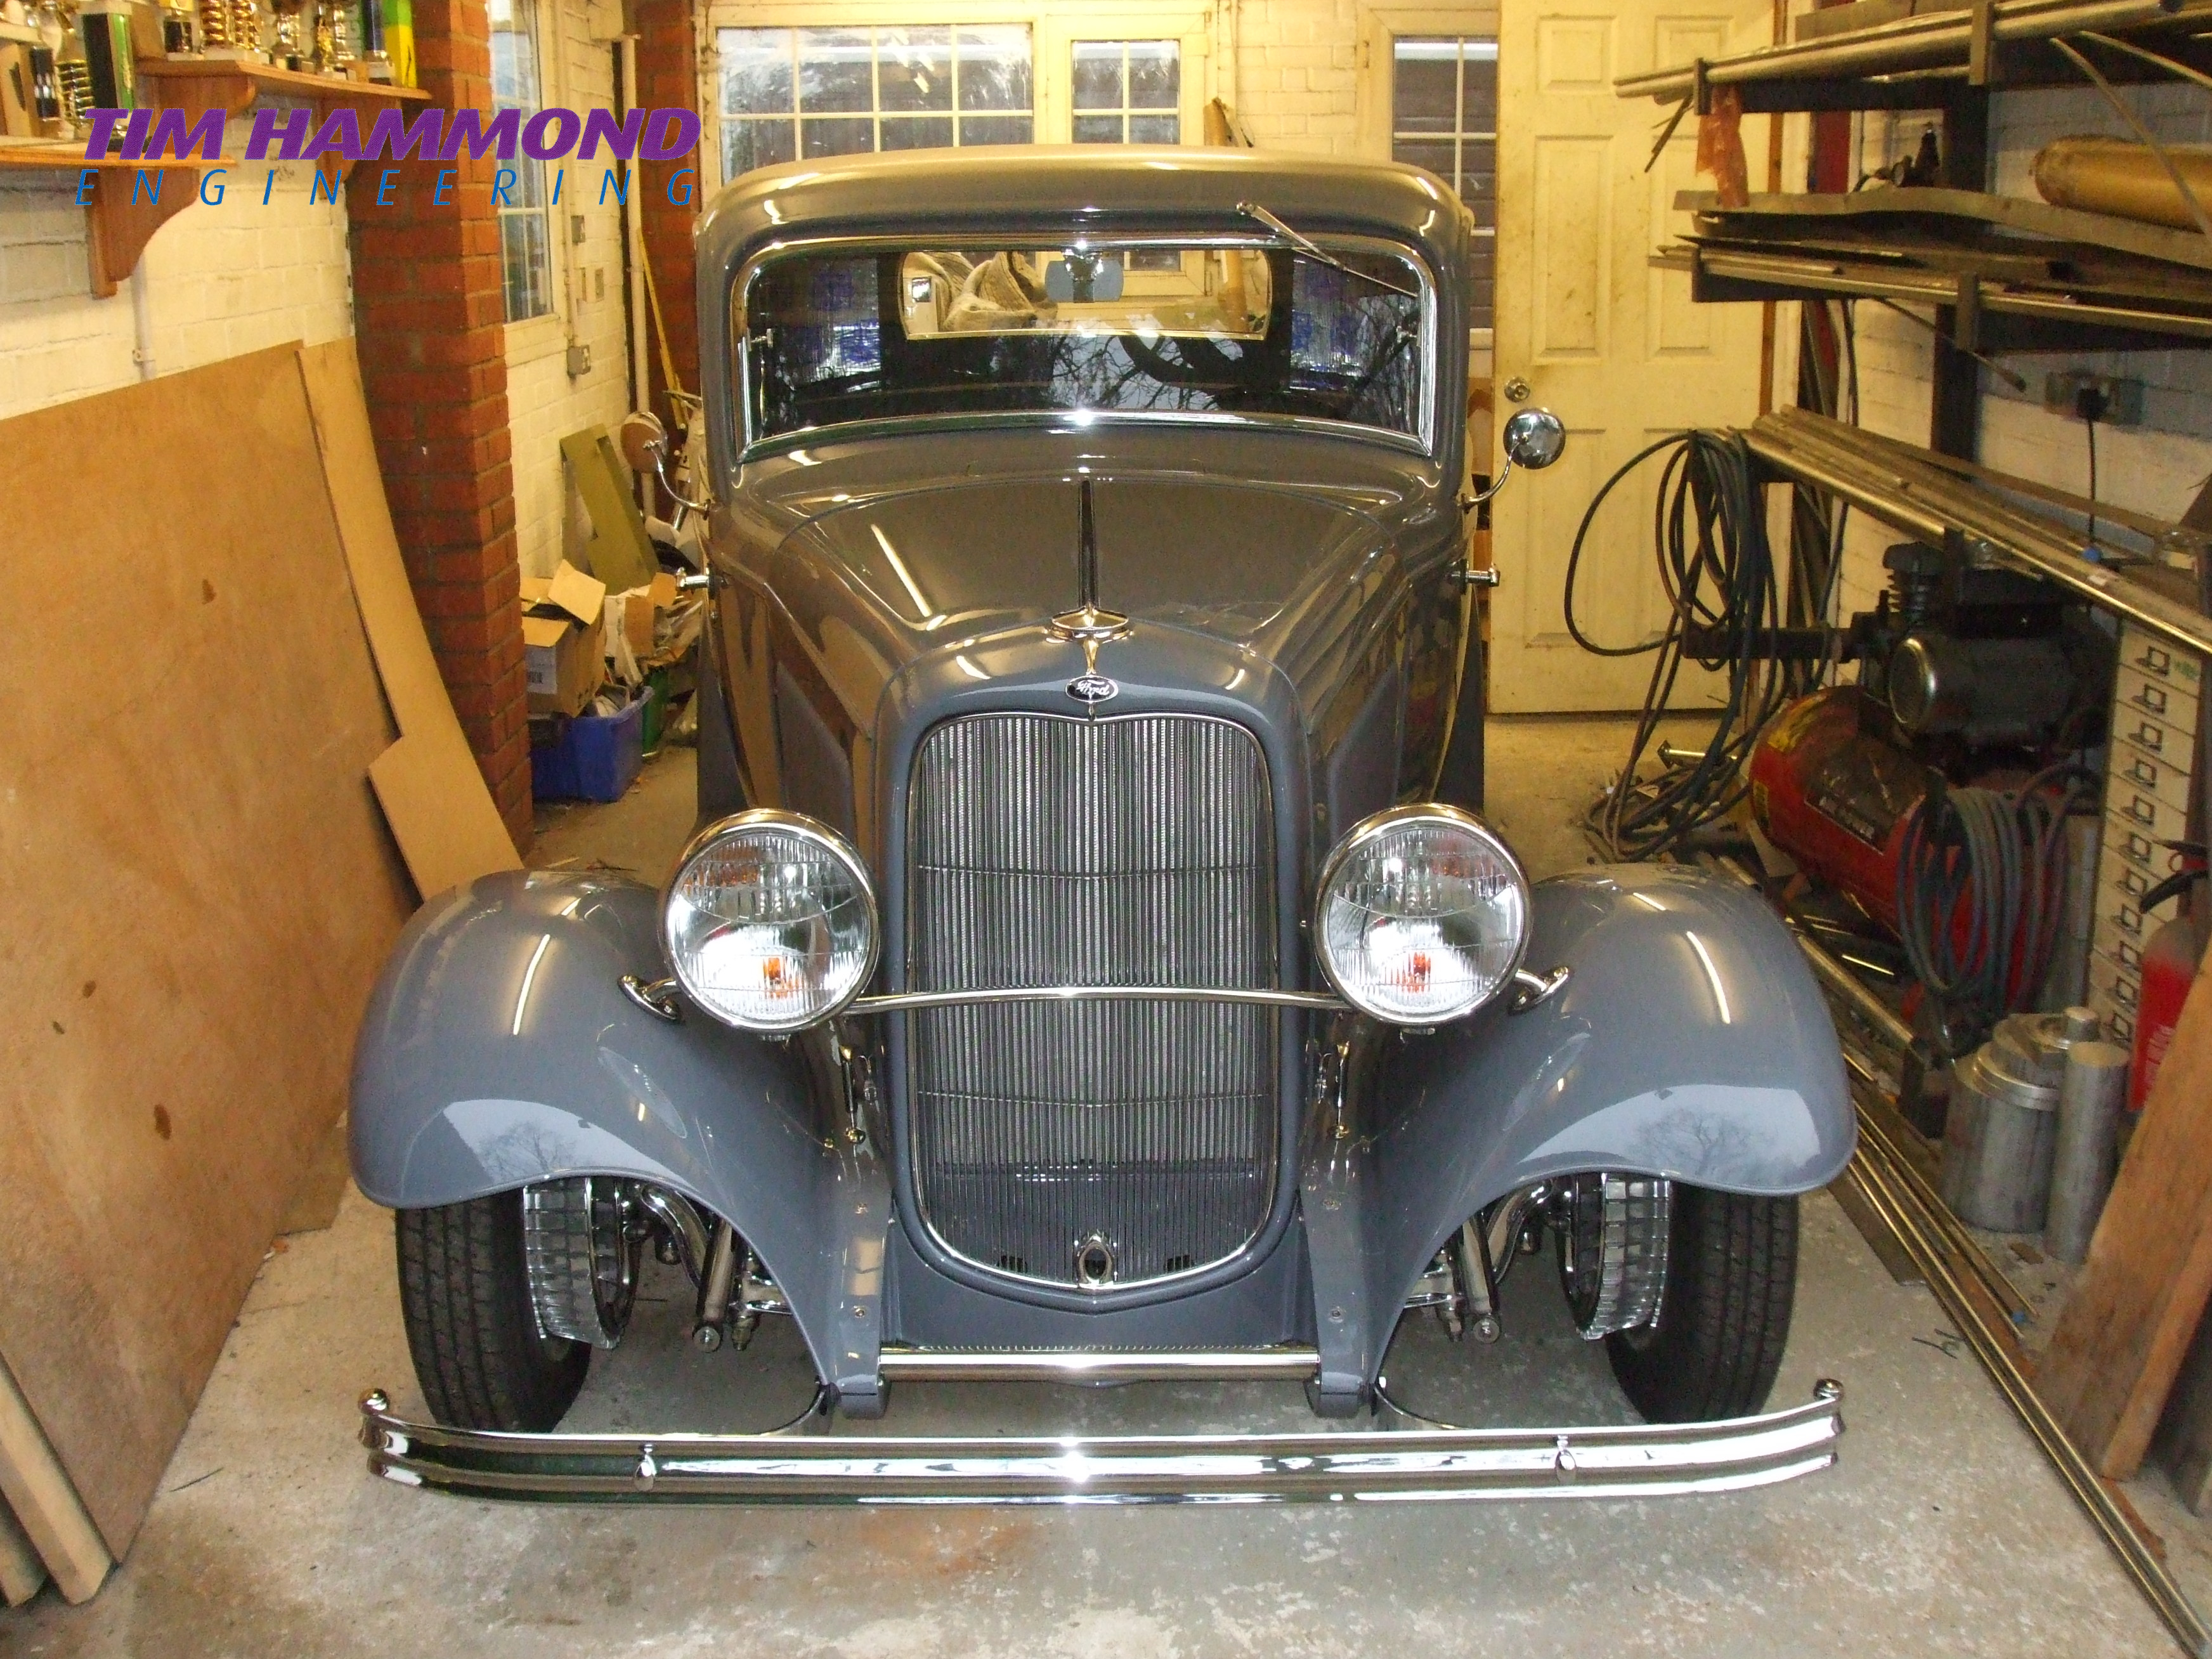
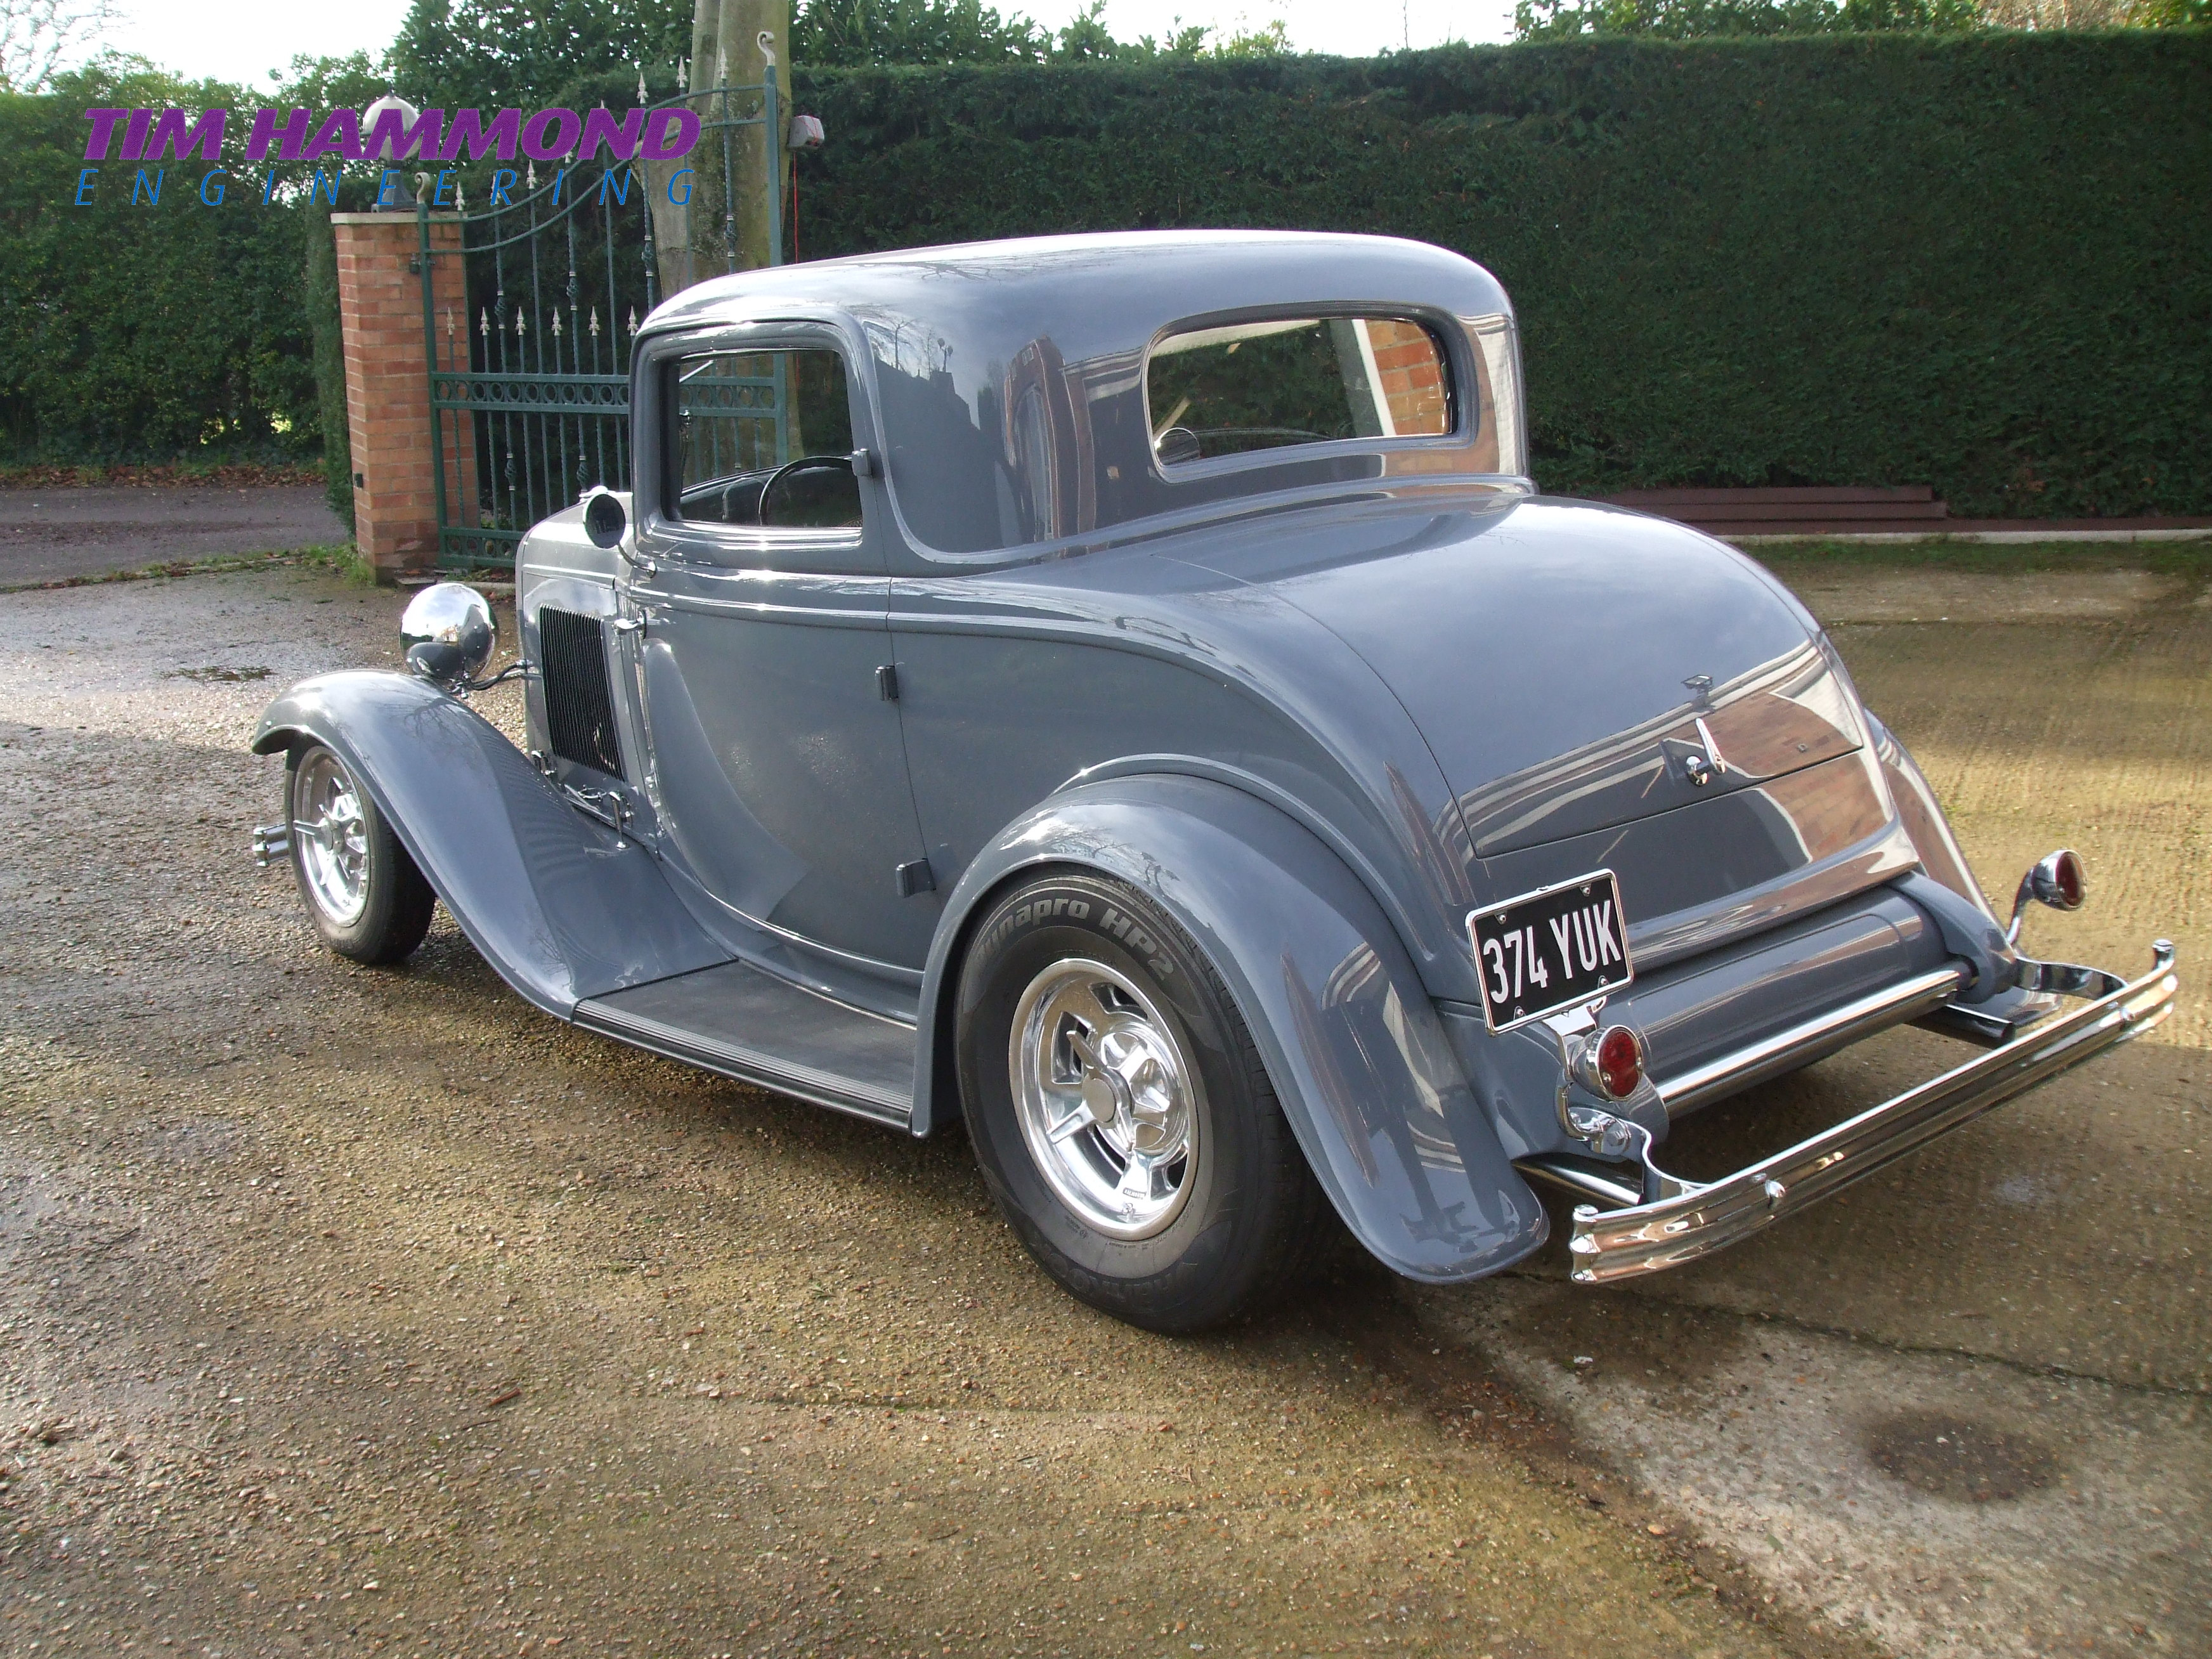
Frank's 1932 Steel Coupe
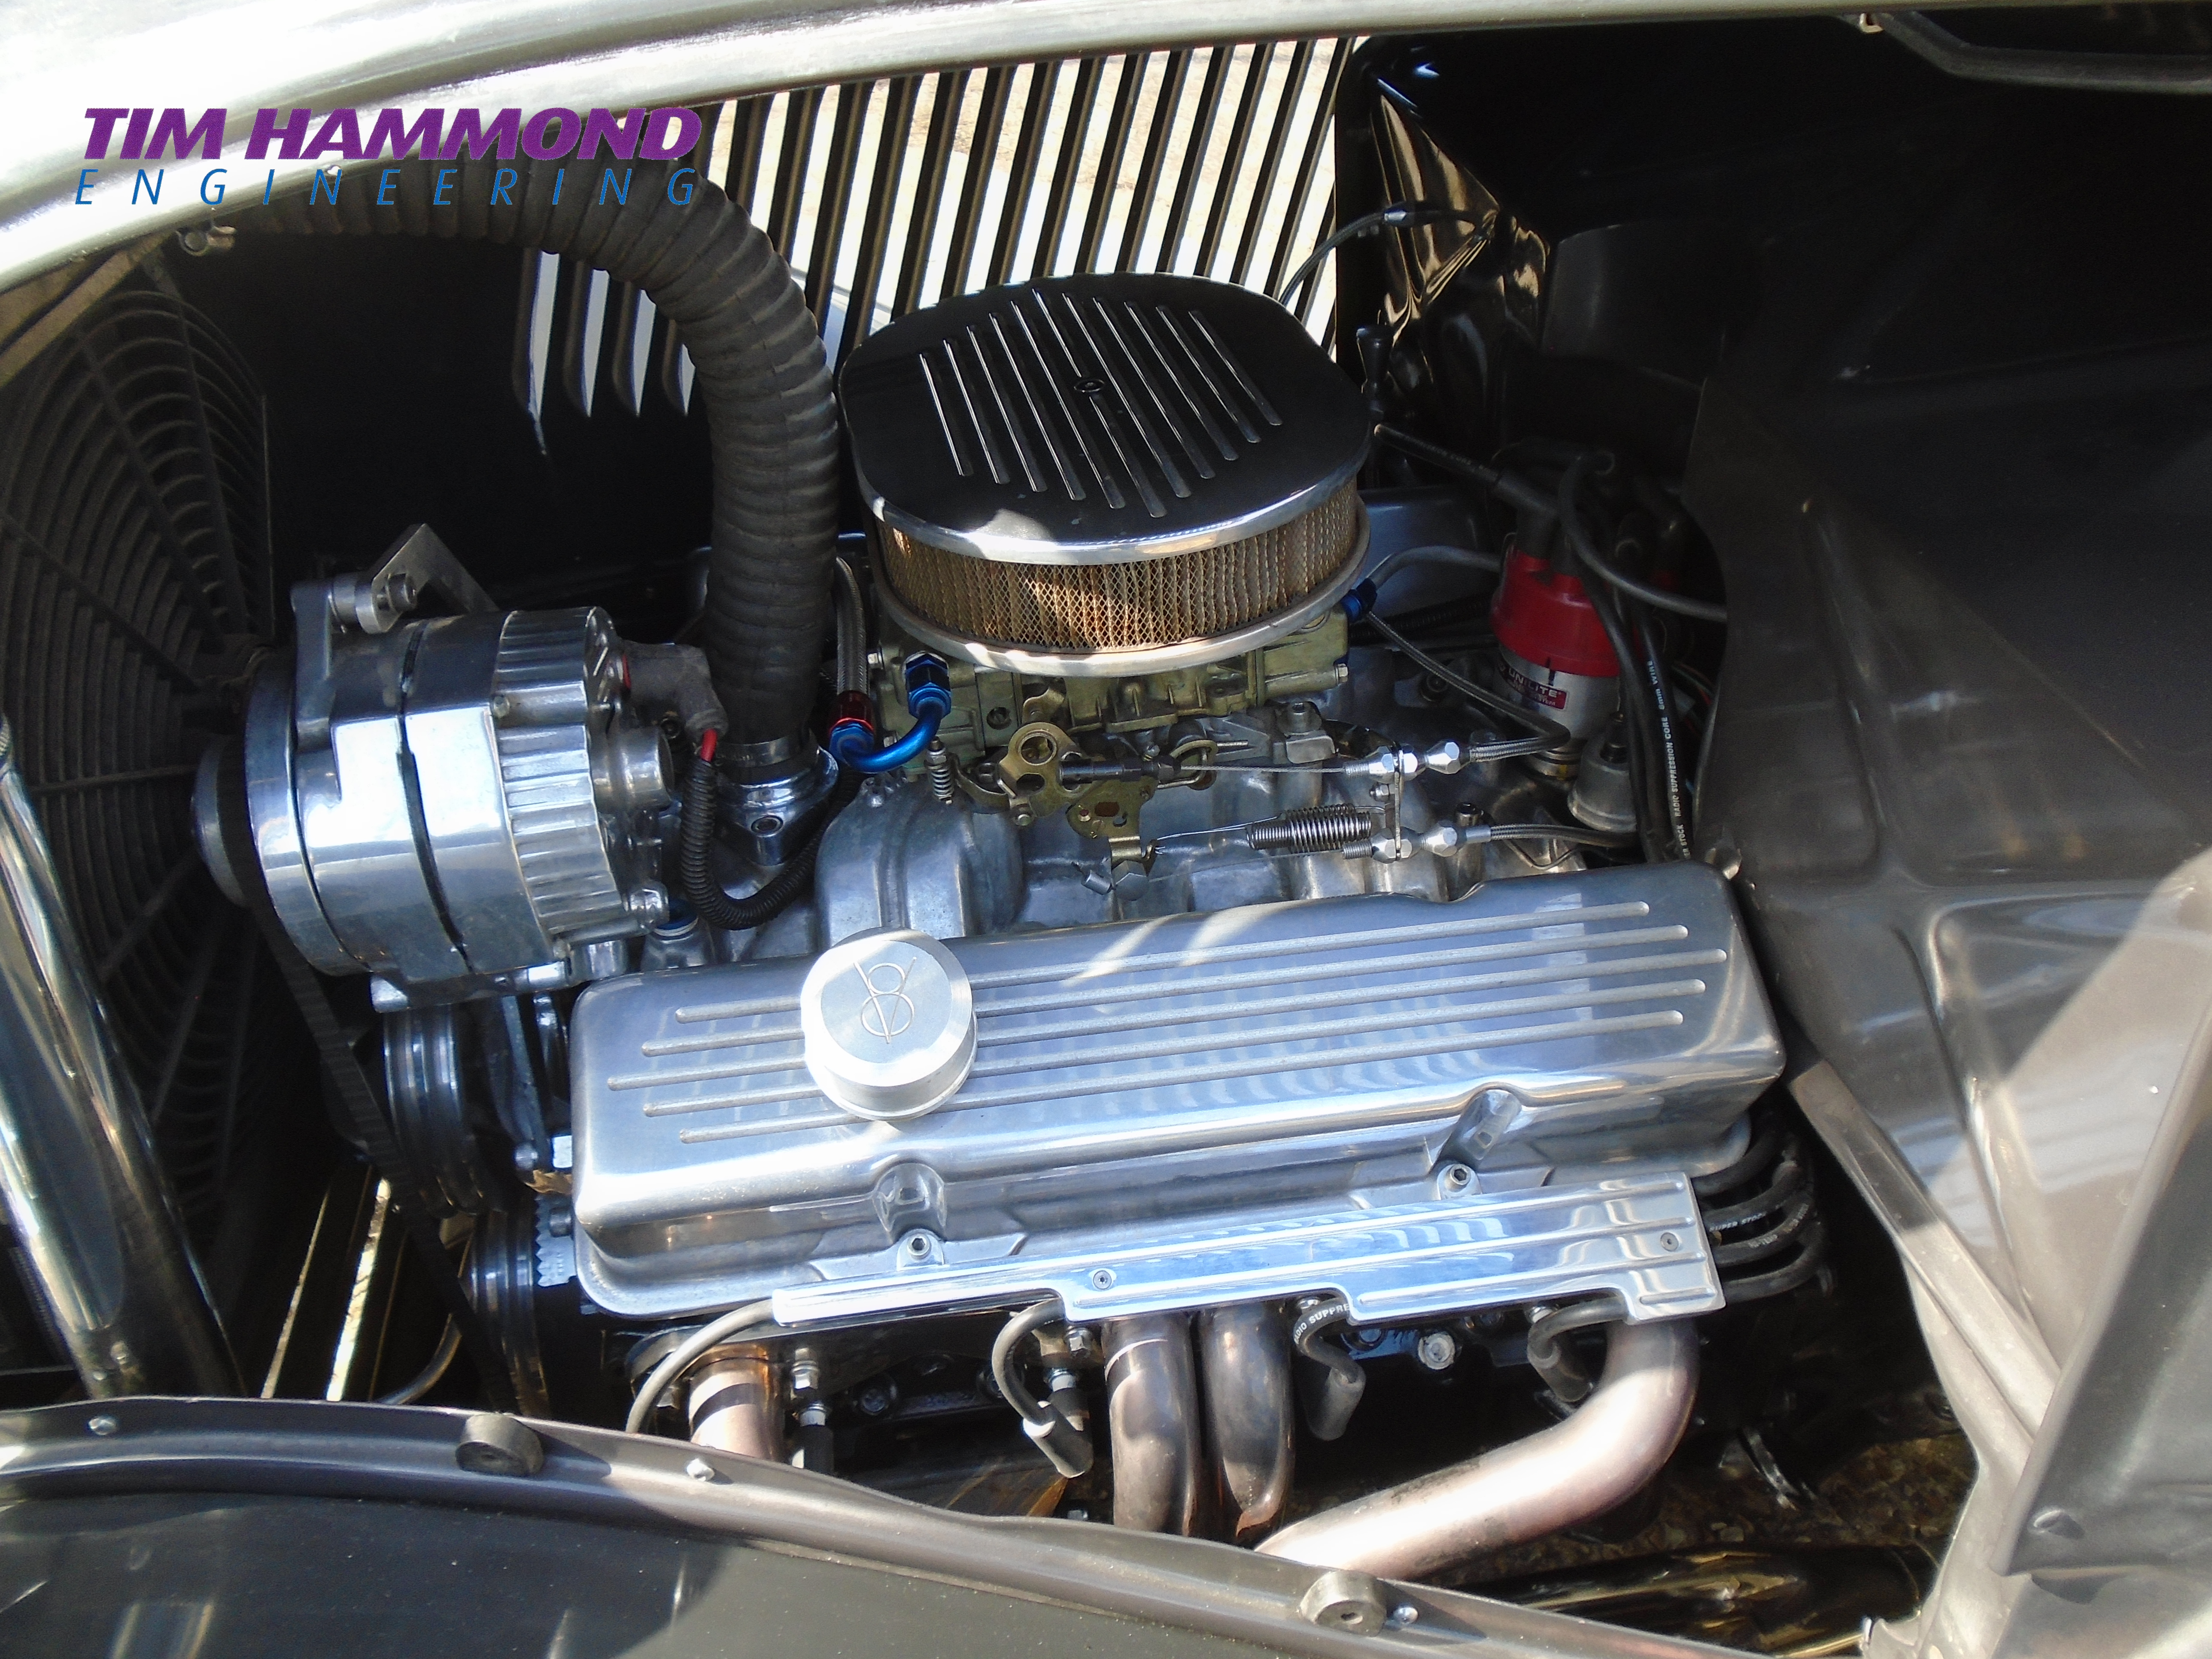
Imported from the USA by Frank, Tim was asked to strengthen the chassis, change the running gear, fill in the roof and complete the body and floor repairs, together with transplanting a new modern engine into the car, and LS3 and gearbox. Stainless headers had to be made, closing up the gaps on all the body panels and doors, roof inserted fitted, new floor pans, front splash apron. Then off to paint and when completed returned to Tim for assembly and wiring. Upholstery completed by Steve Hudson. A lovely clean looking car, appears very modest until you look very closely!
John's 1937 Pick Up
The truck came to Tim's for finishing off. Which included, wiring, exhaust, setting up the air ride, canter lever front bonnet.
Chassis on air ride suspension
Finished truck with some neat little finishes, including the hinging of the bonnet.
Terry's TAB
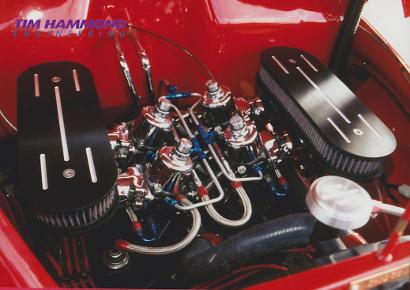
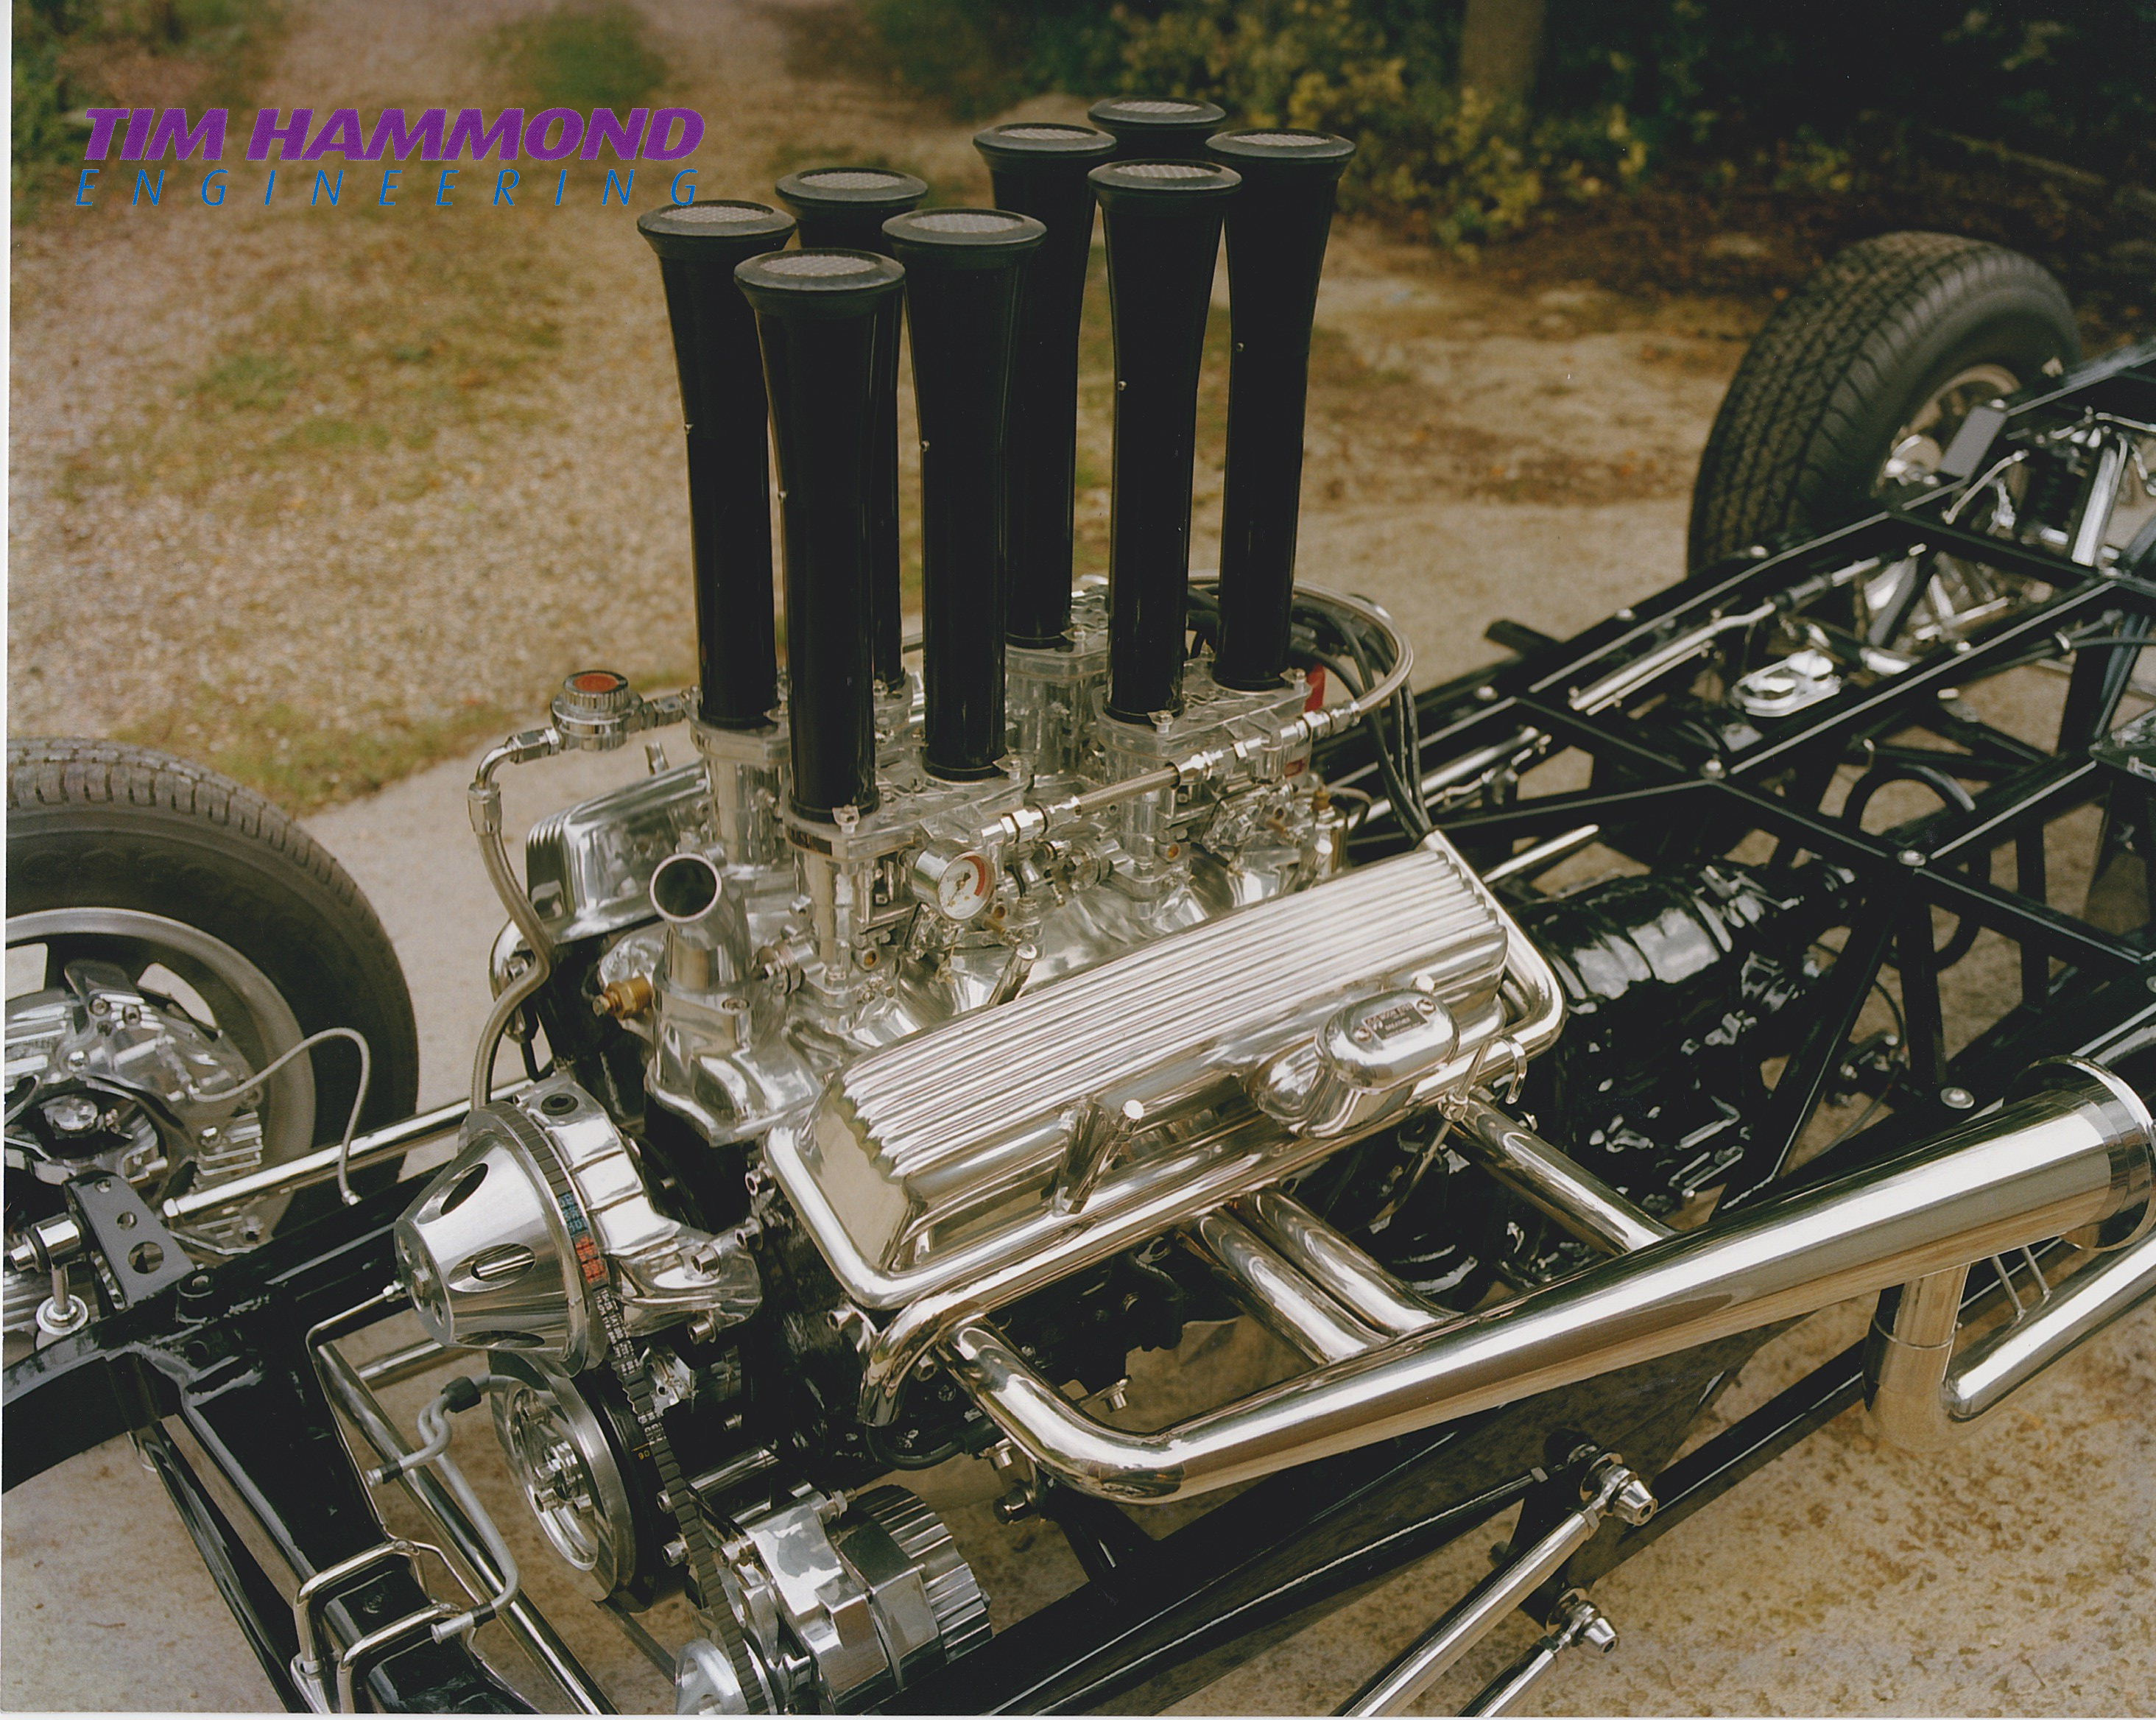
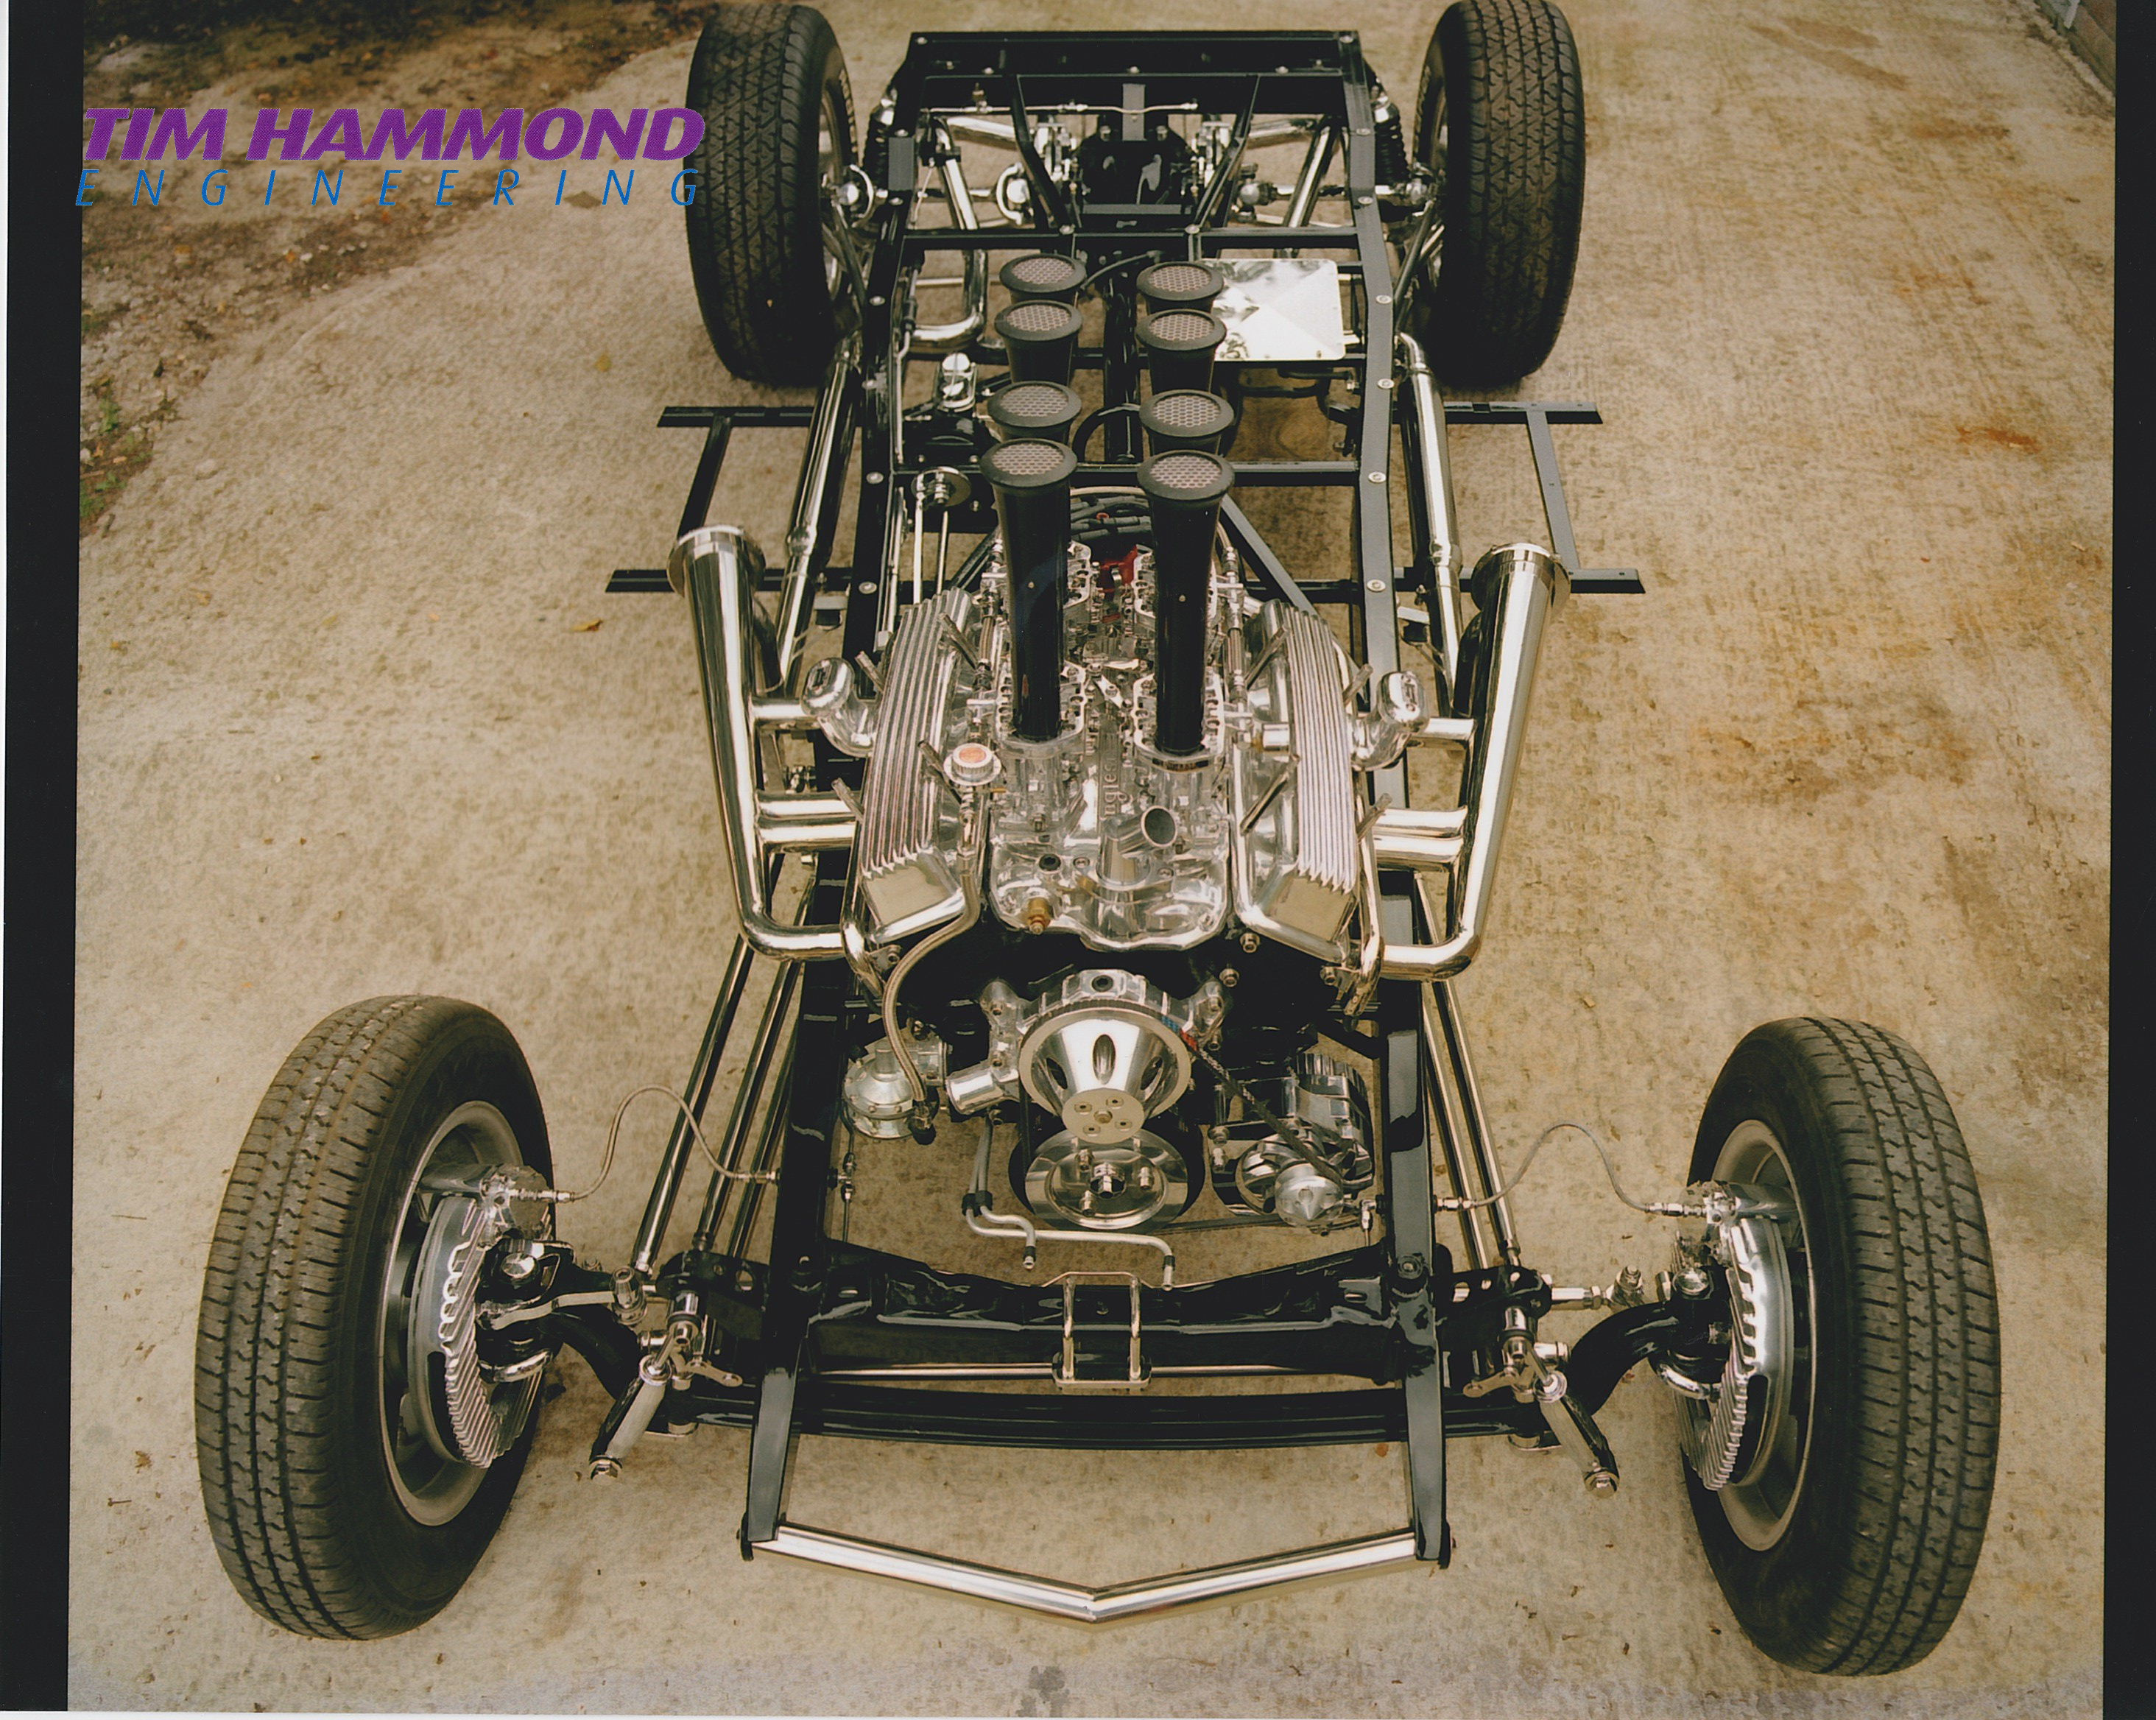
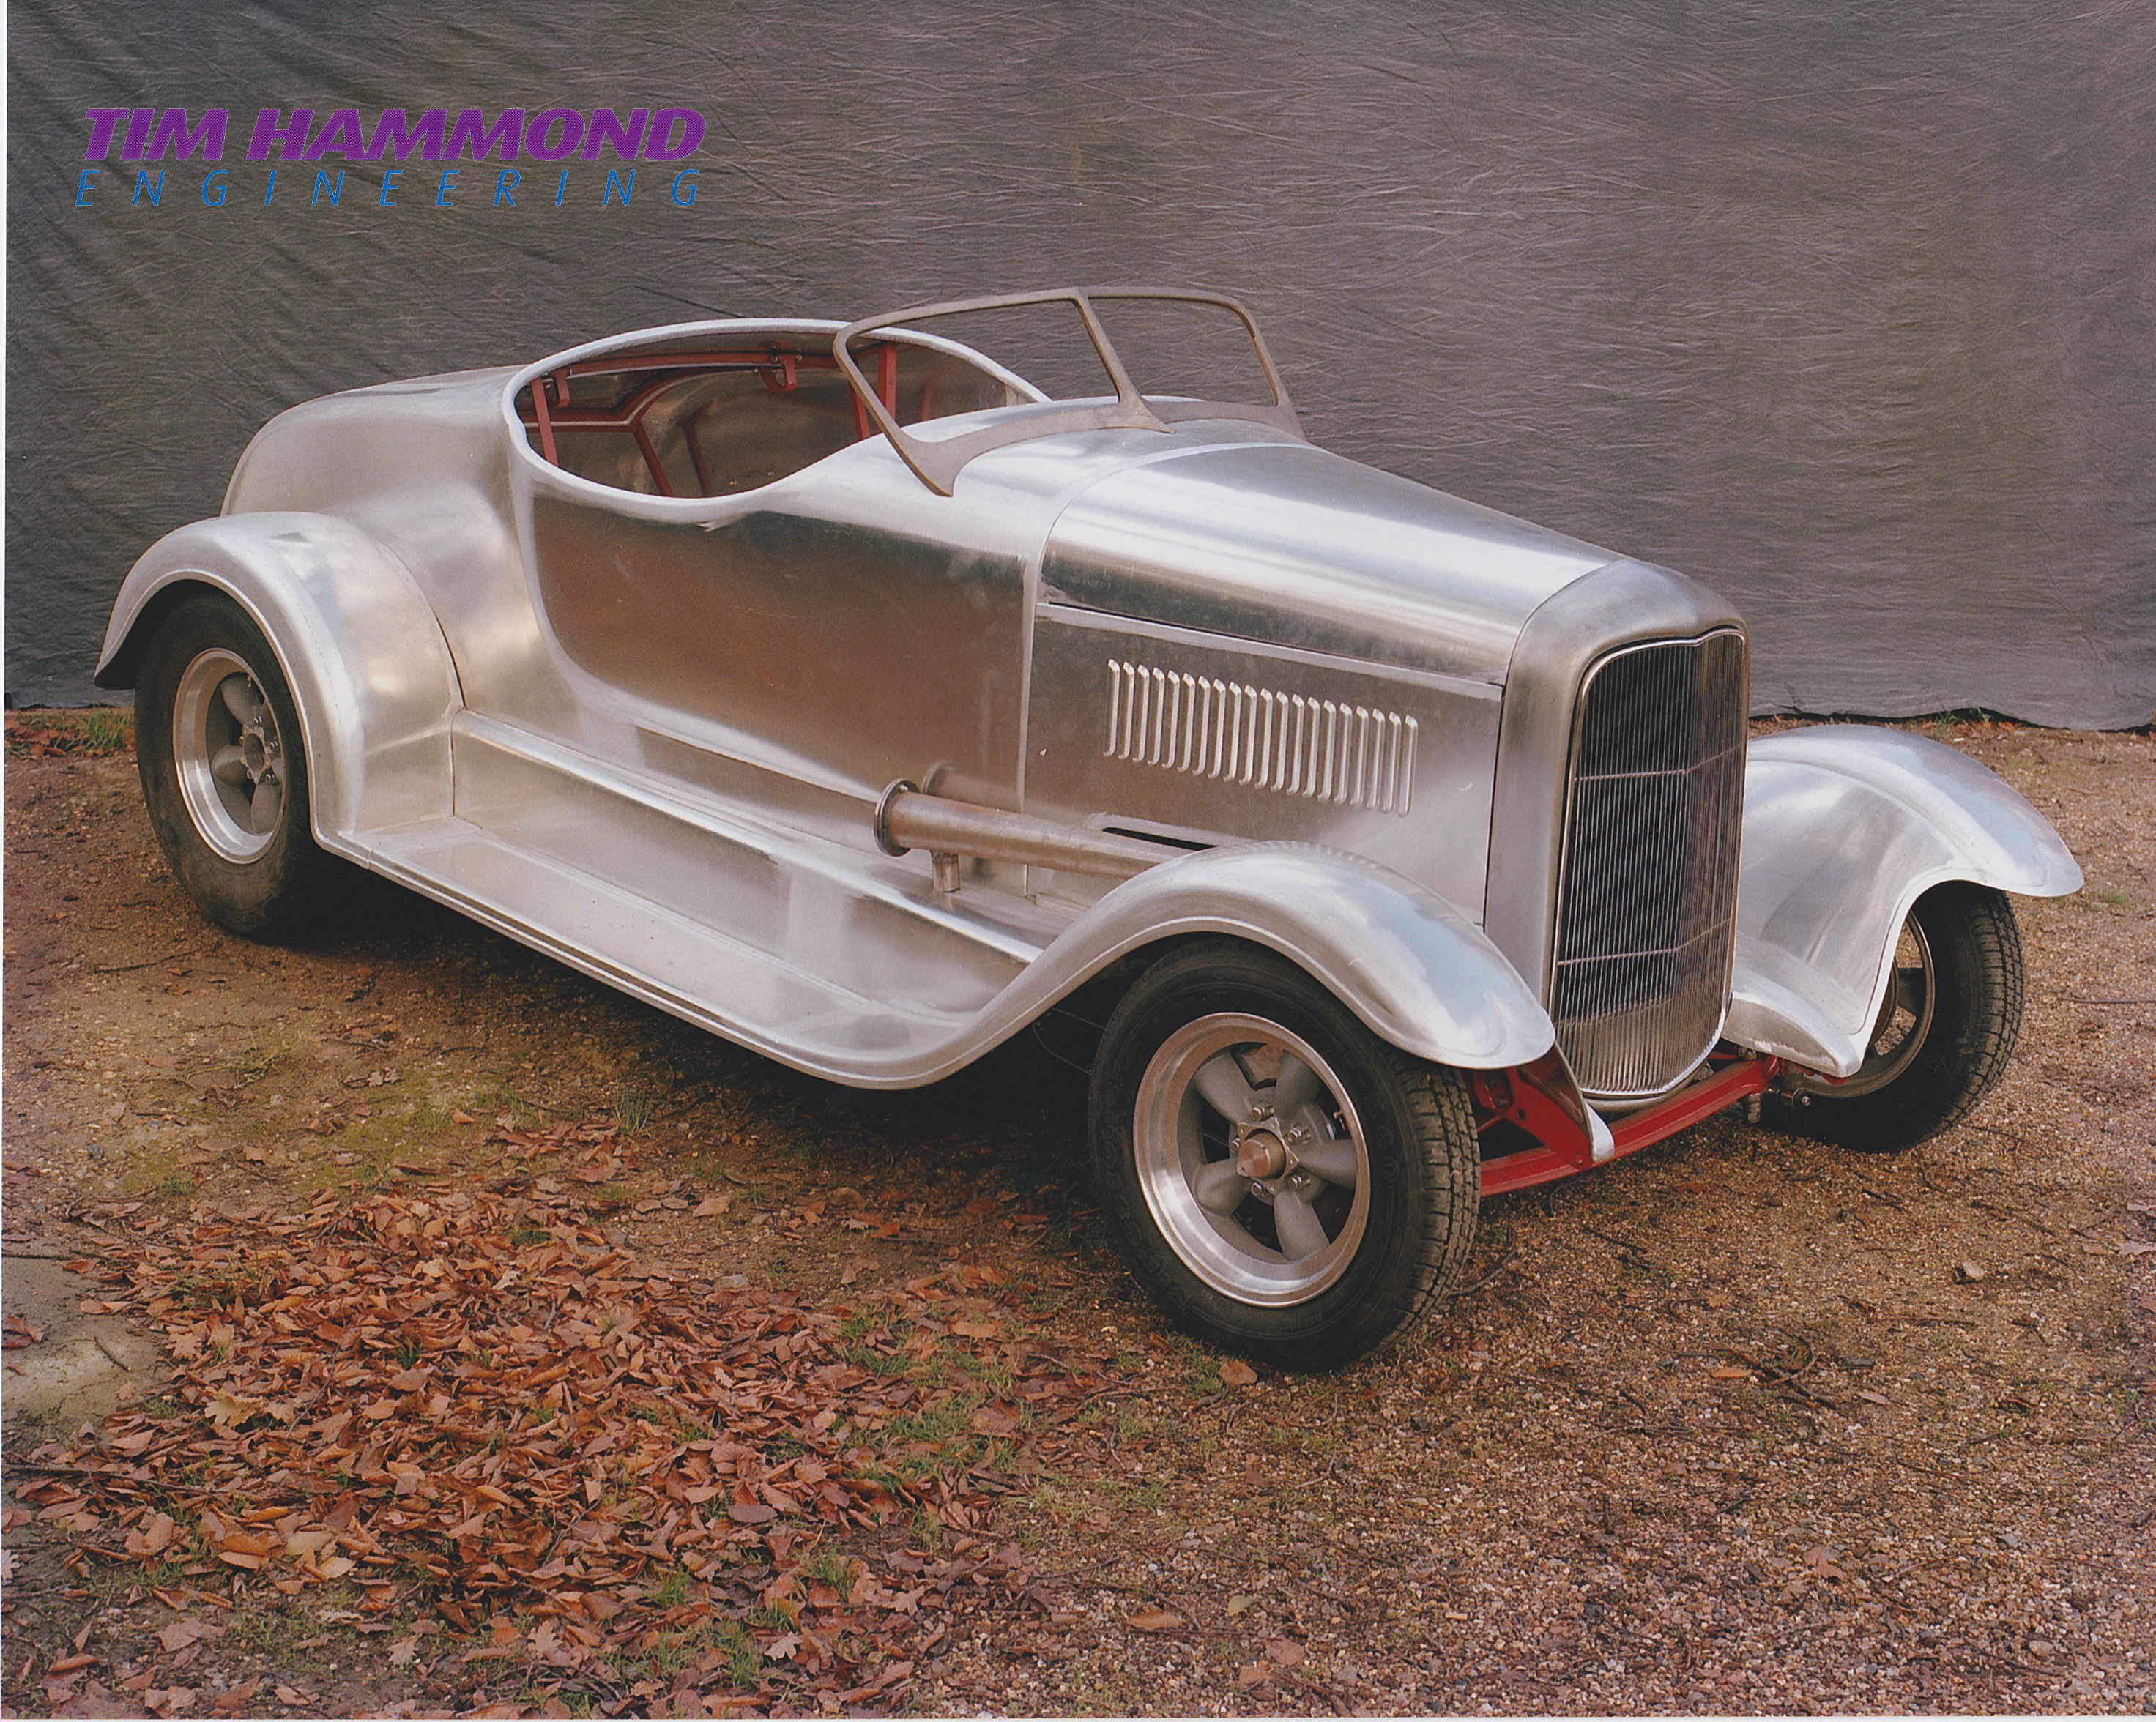
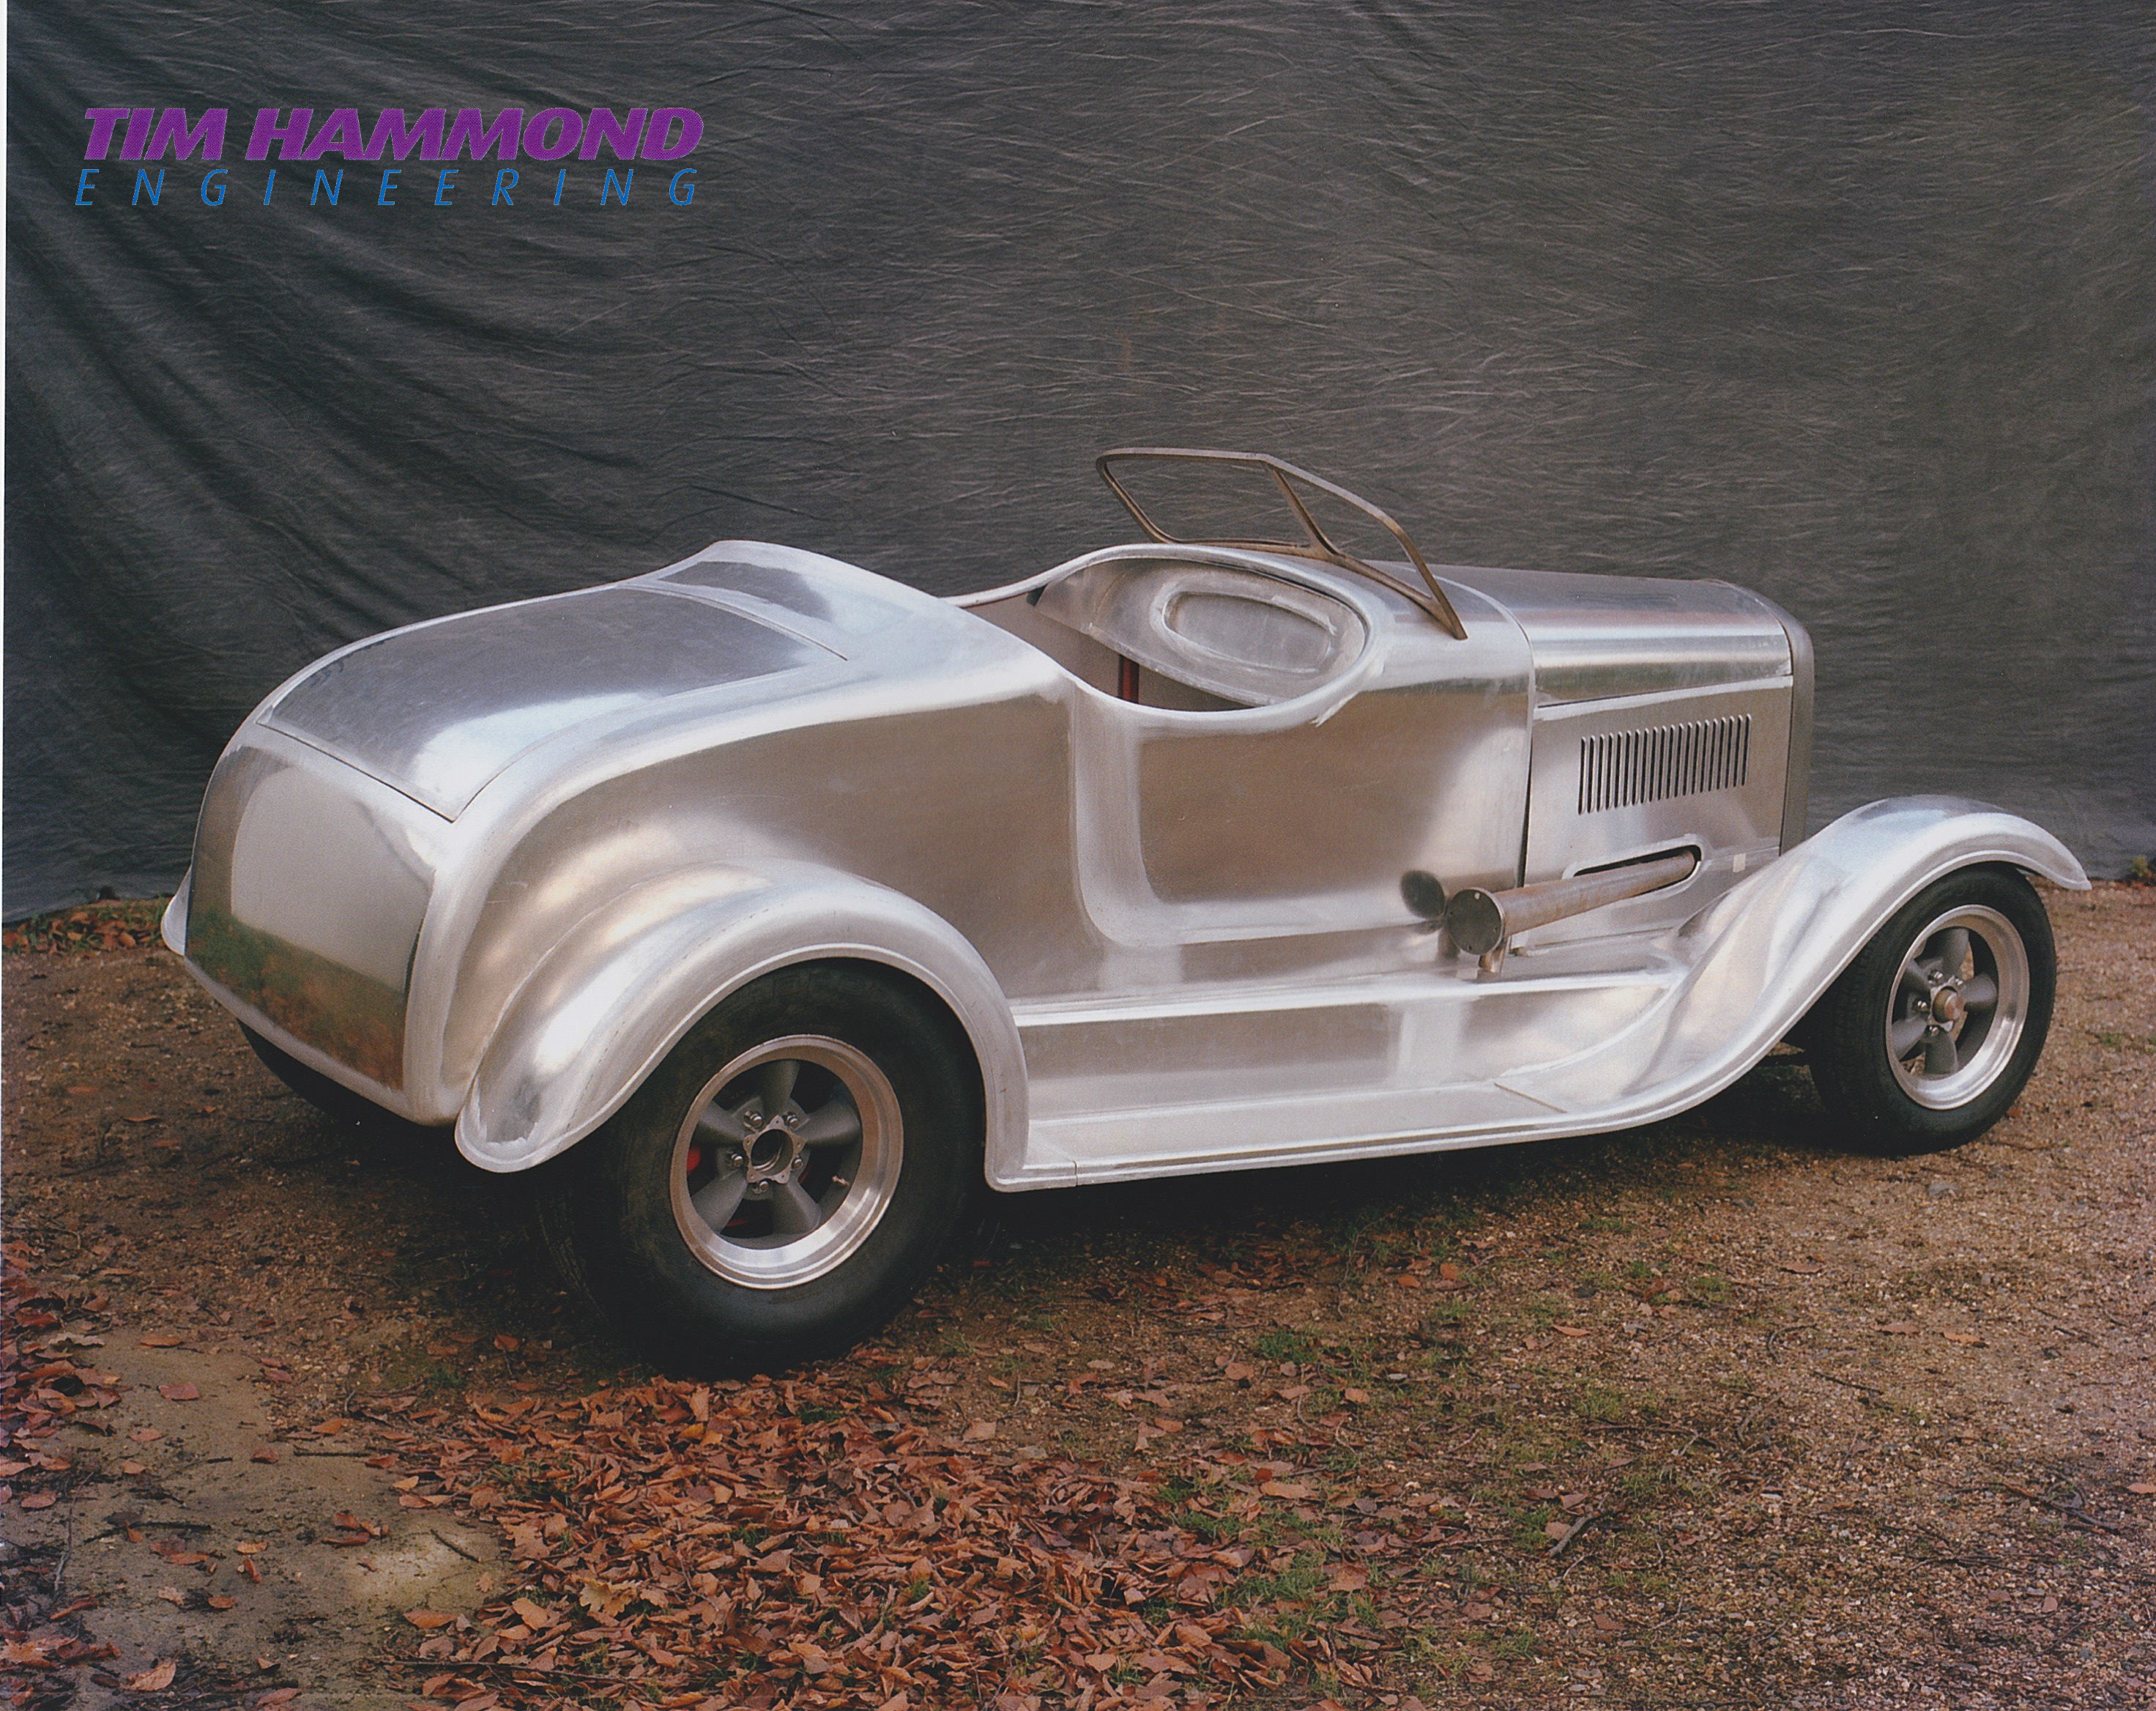
Designed around a cartoon drawing, Tim created the chassis, Bob Ford made the aluminium body and then Tim put it all together. The Inglese induction system was the first in the UK and again heavily modified by Tim for this application. It was nicknamed the TAB - because it has influences of the model T, a model A and a model B. Too many one off parts to list - again everything hand built by Tim.
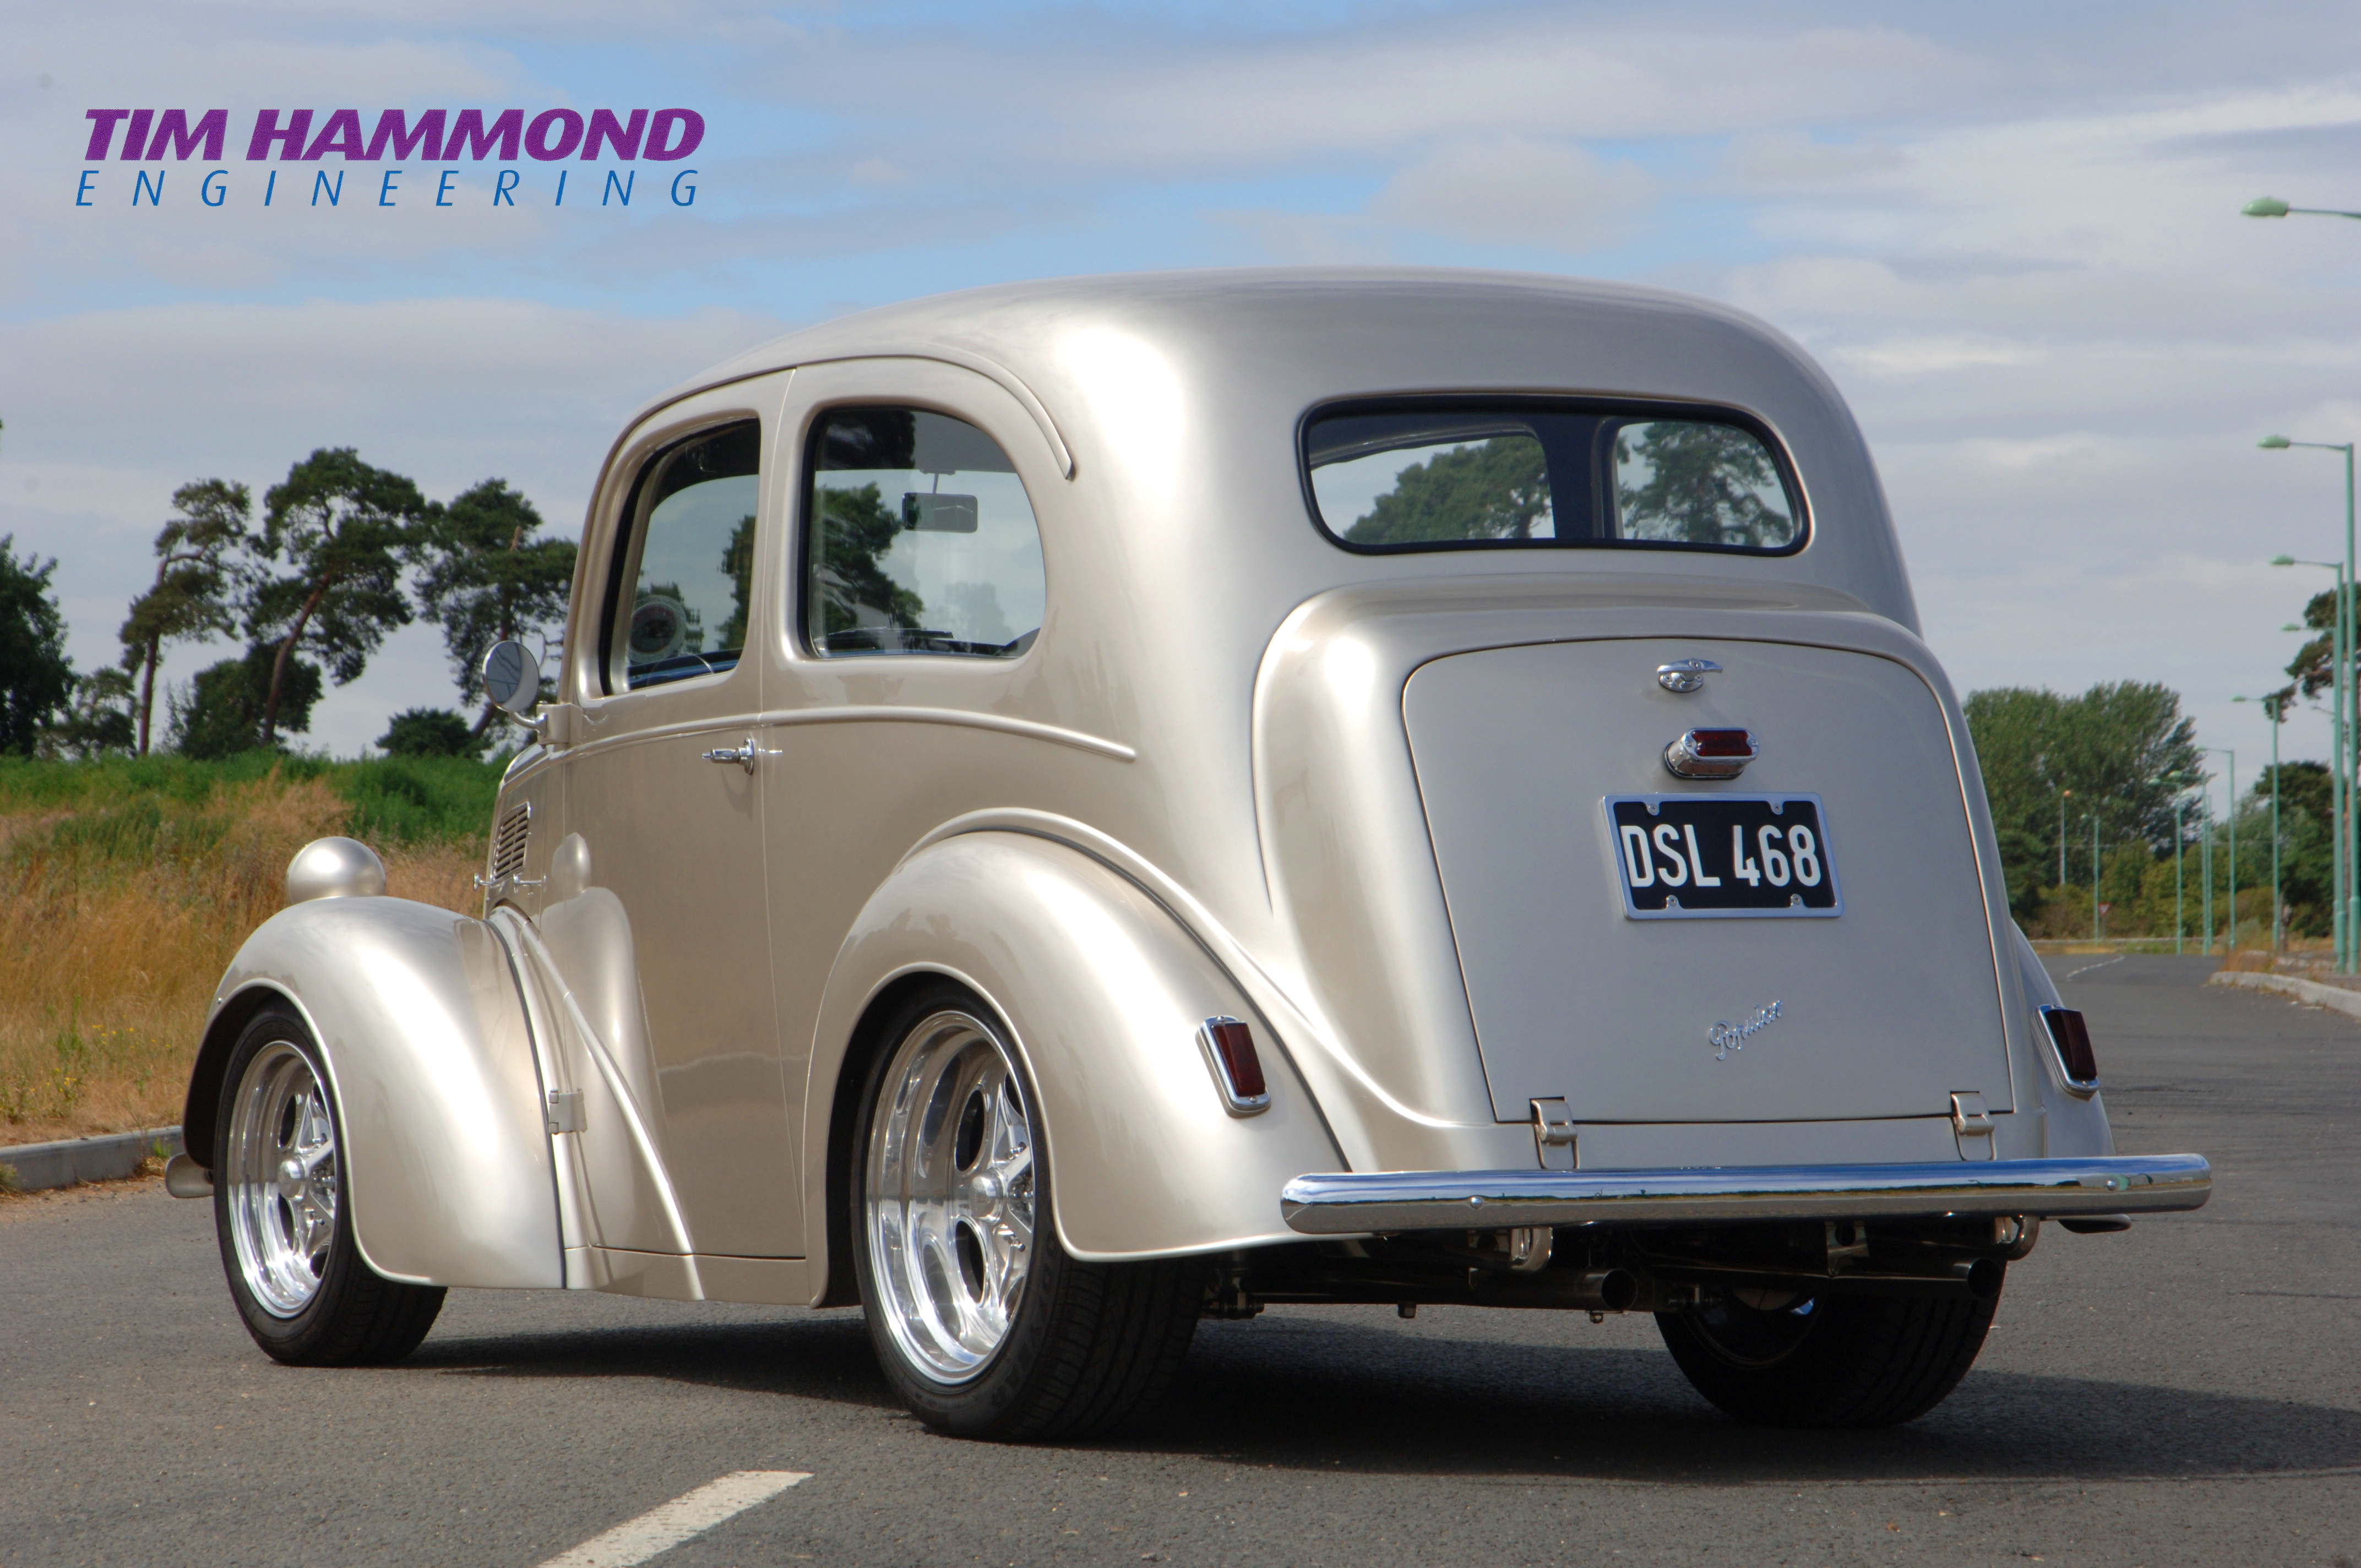
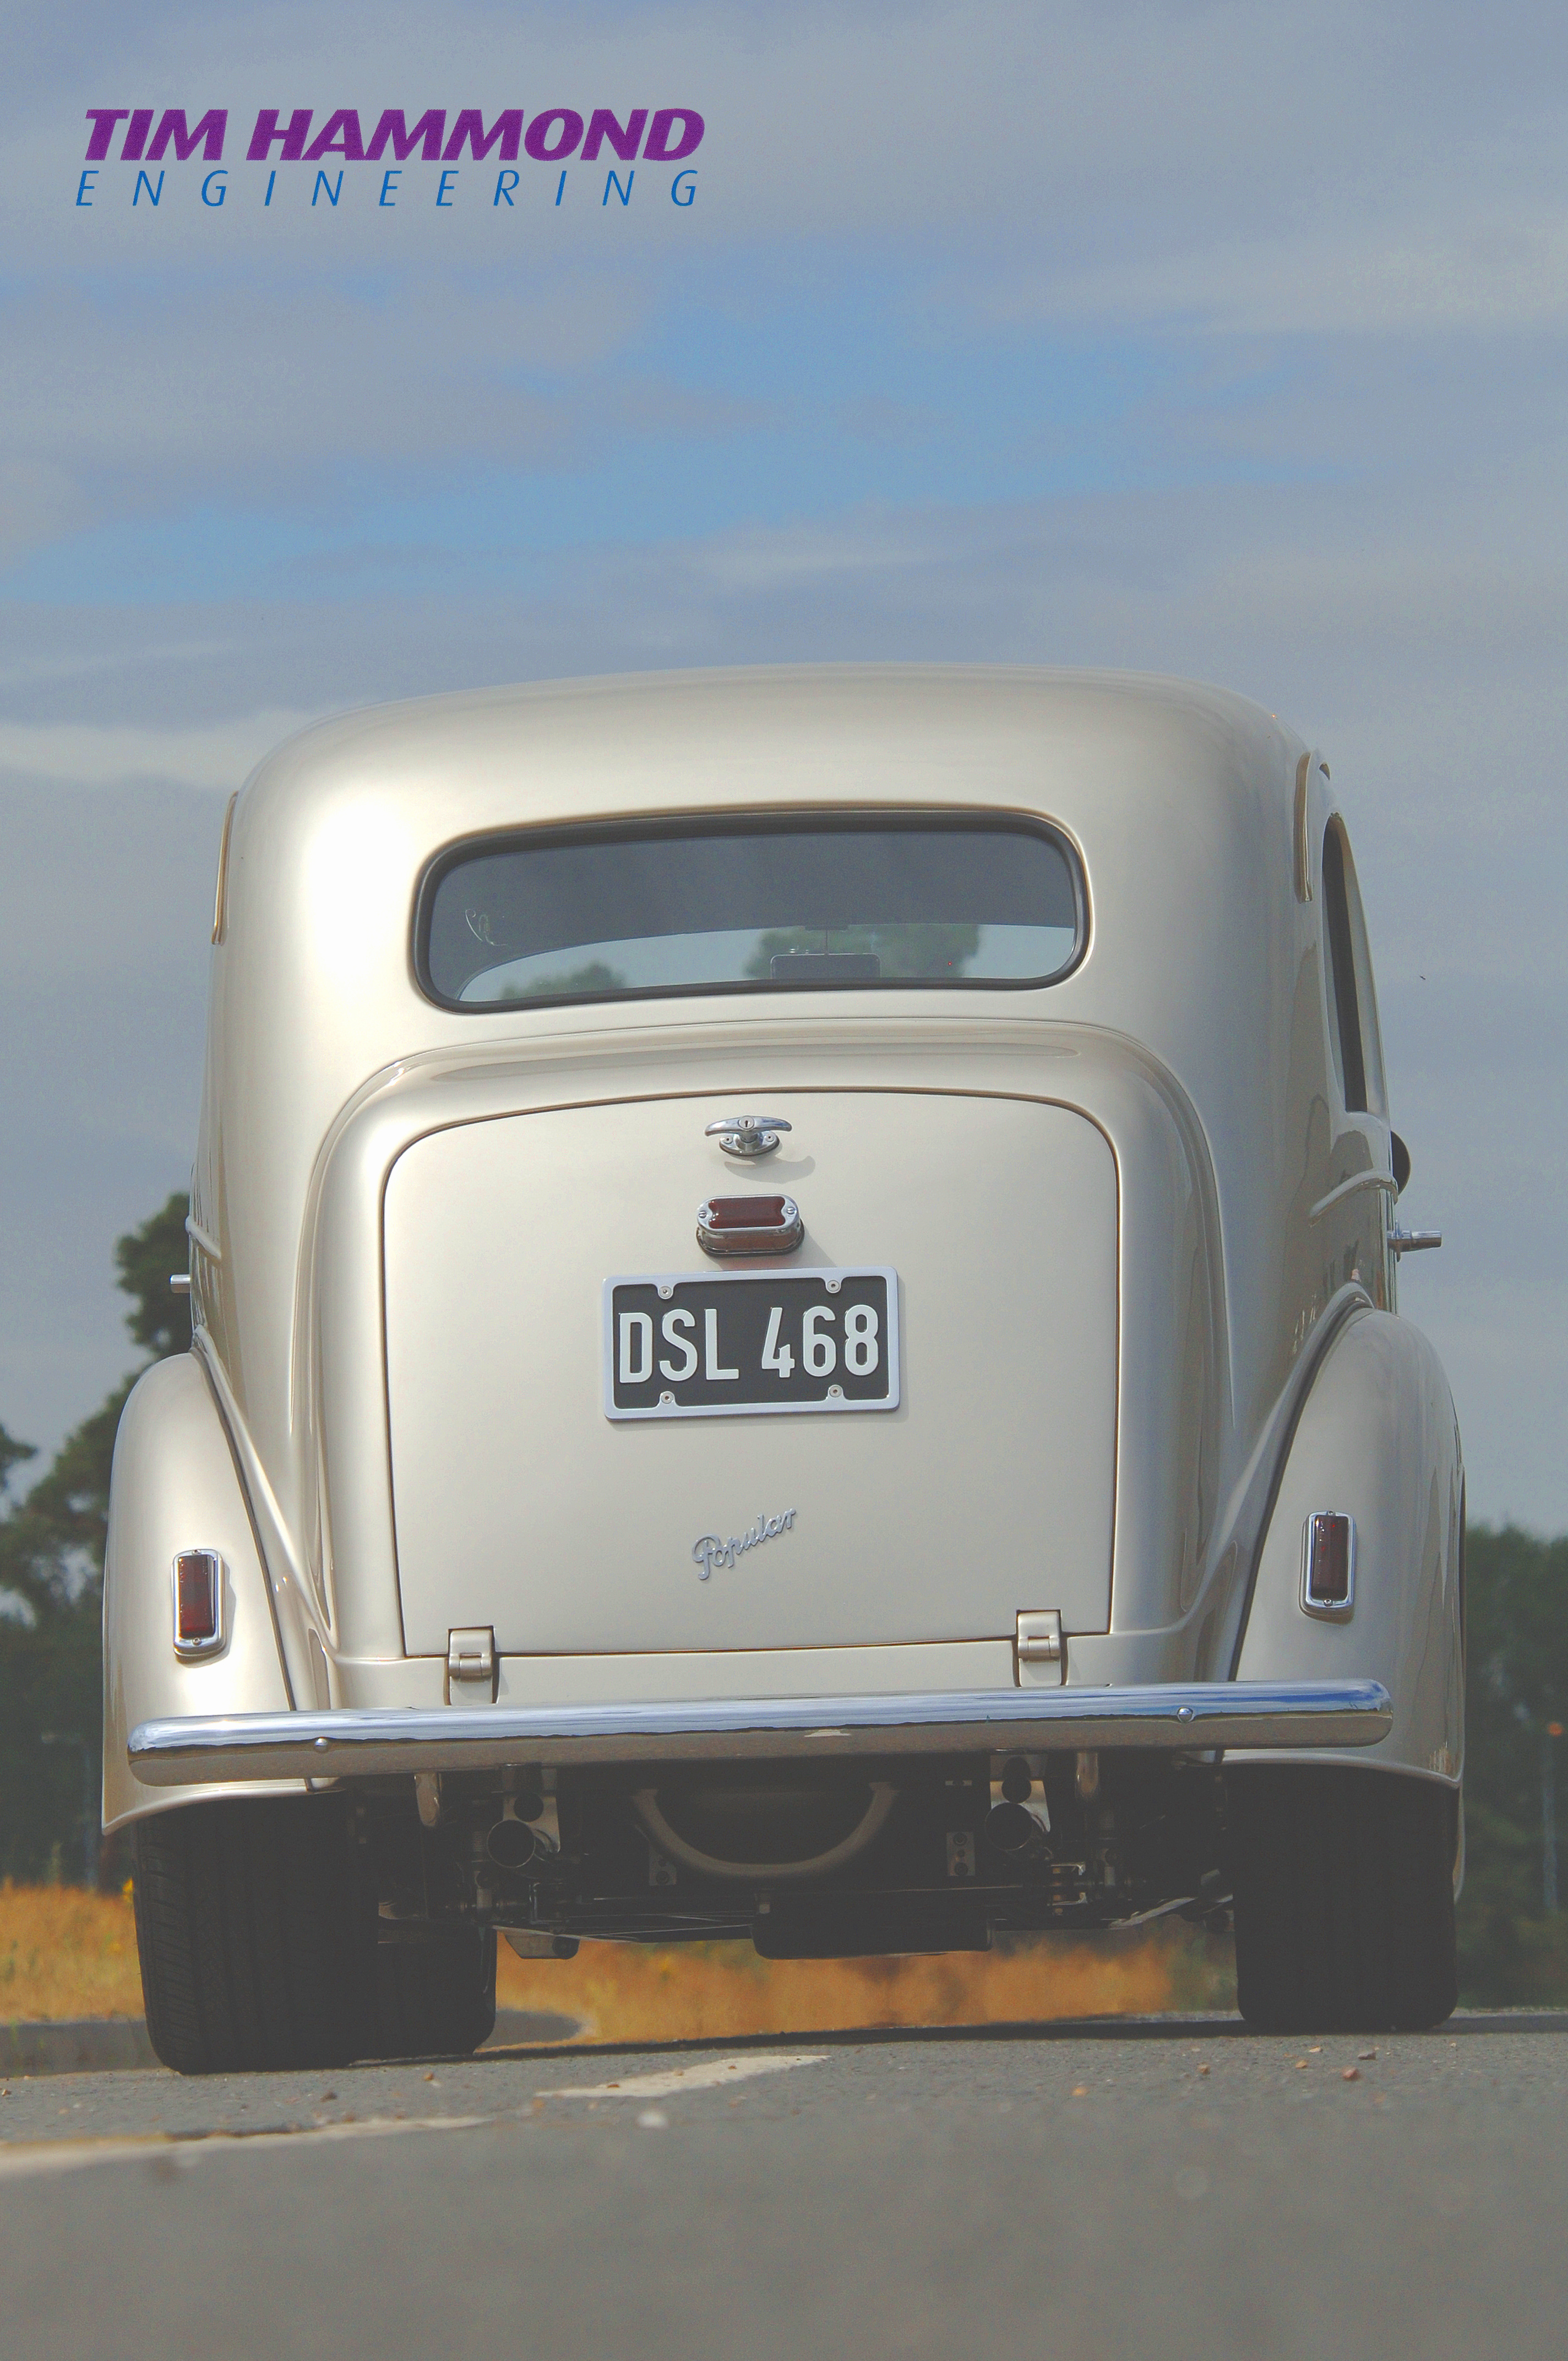
Frank's Ford Popular
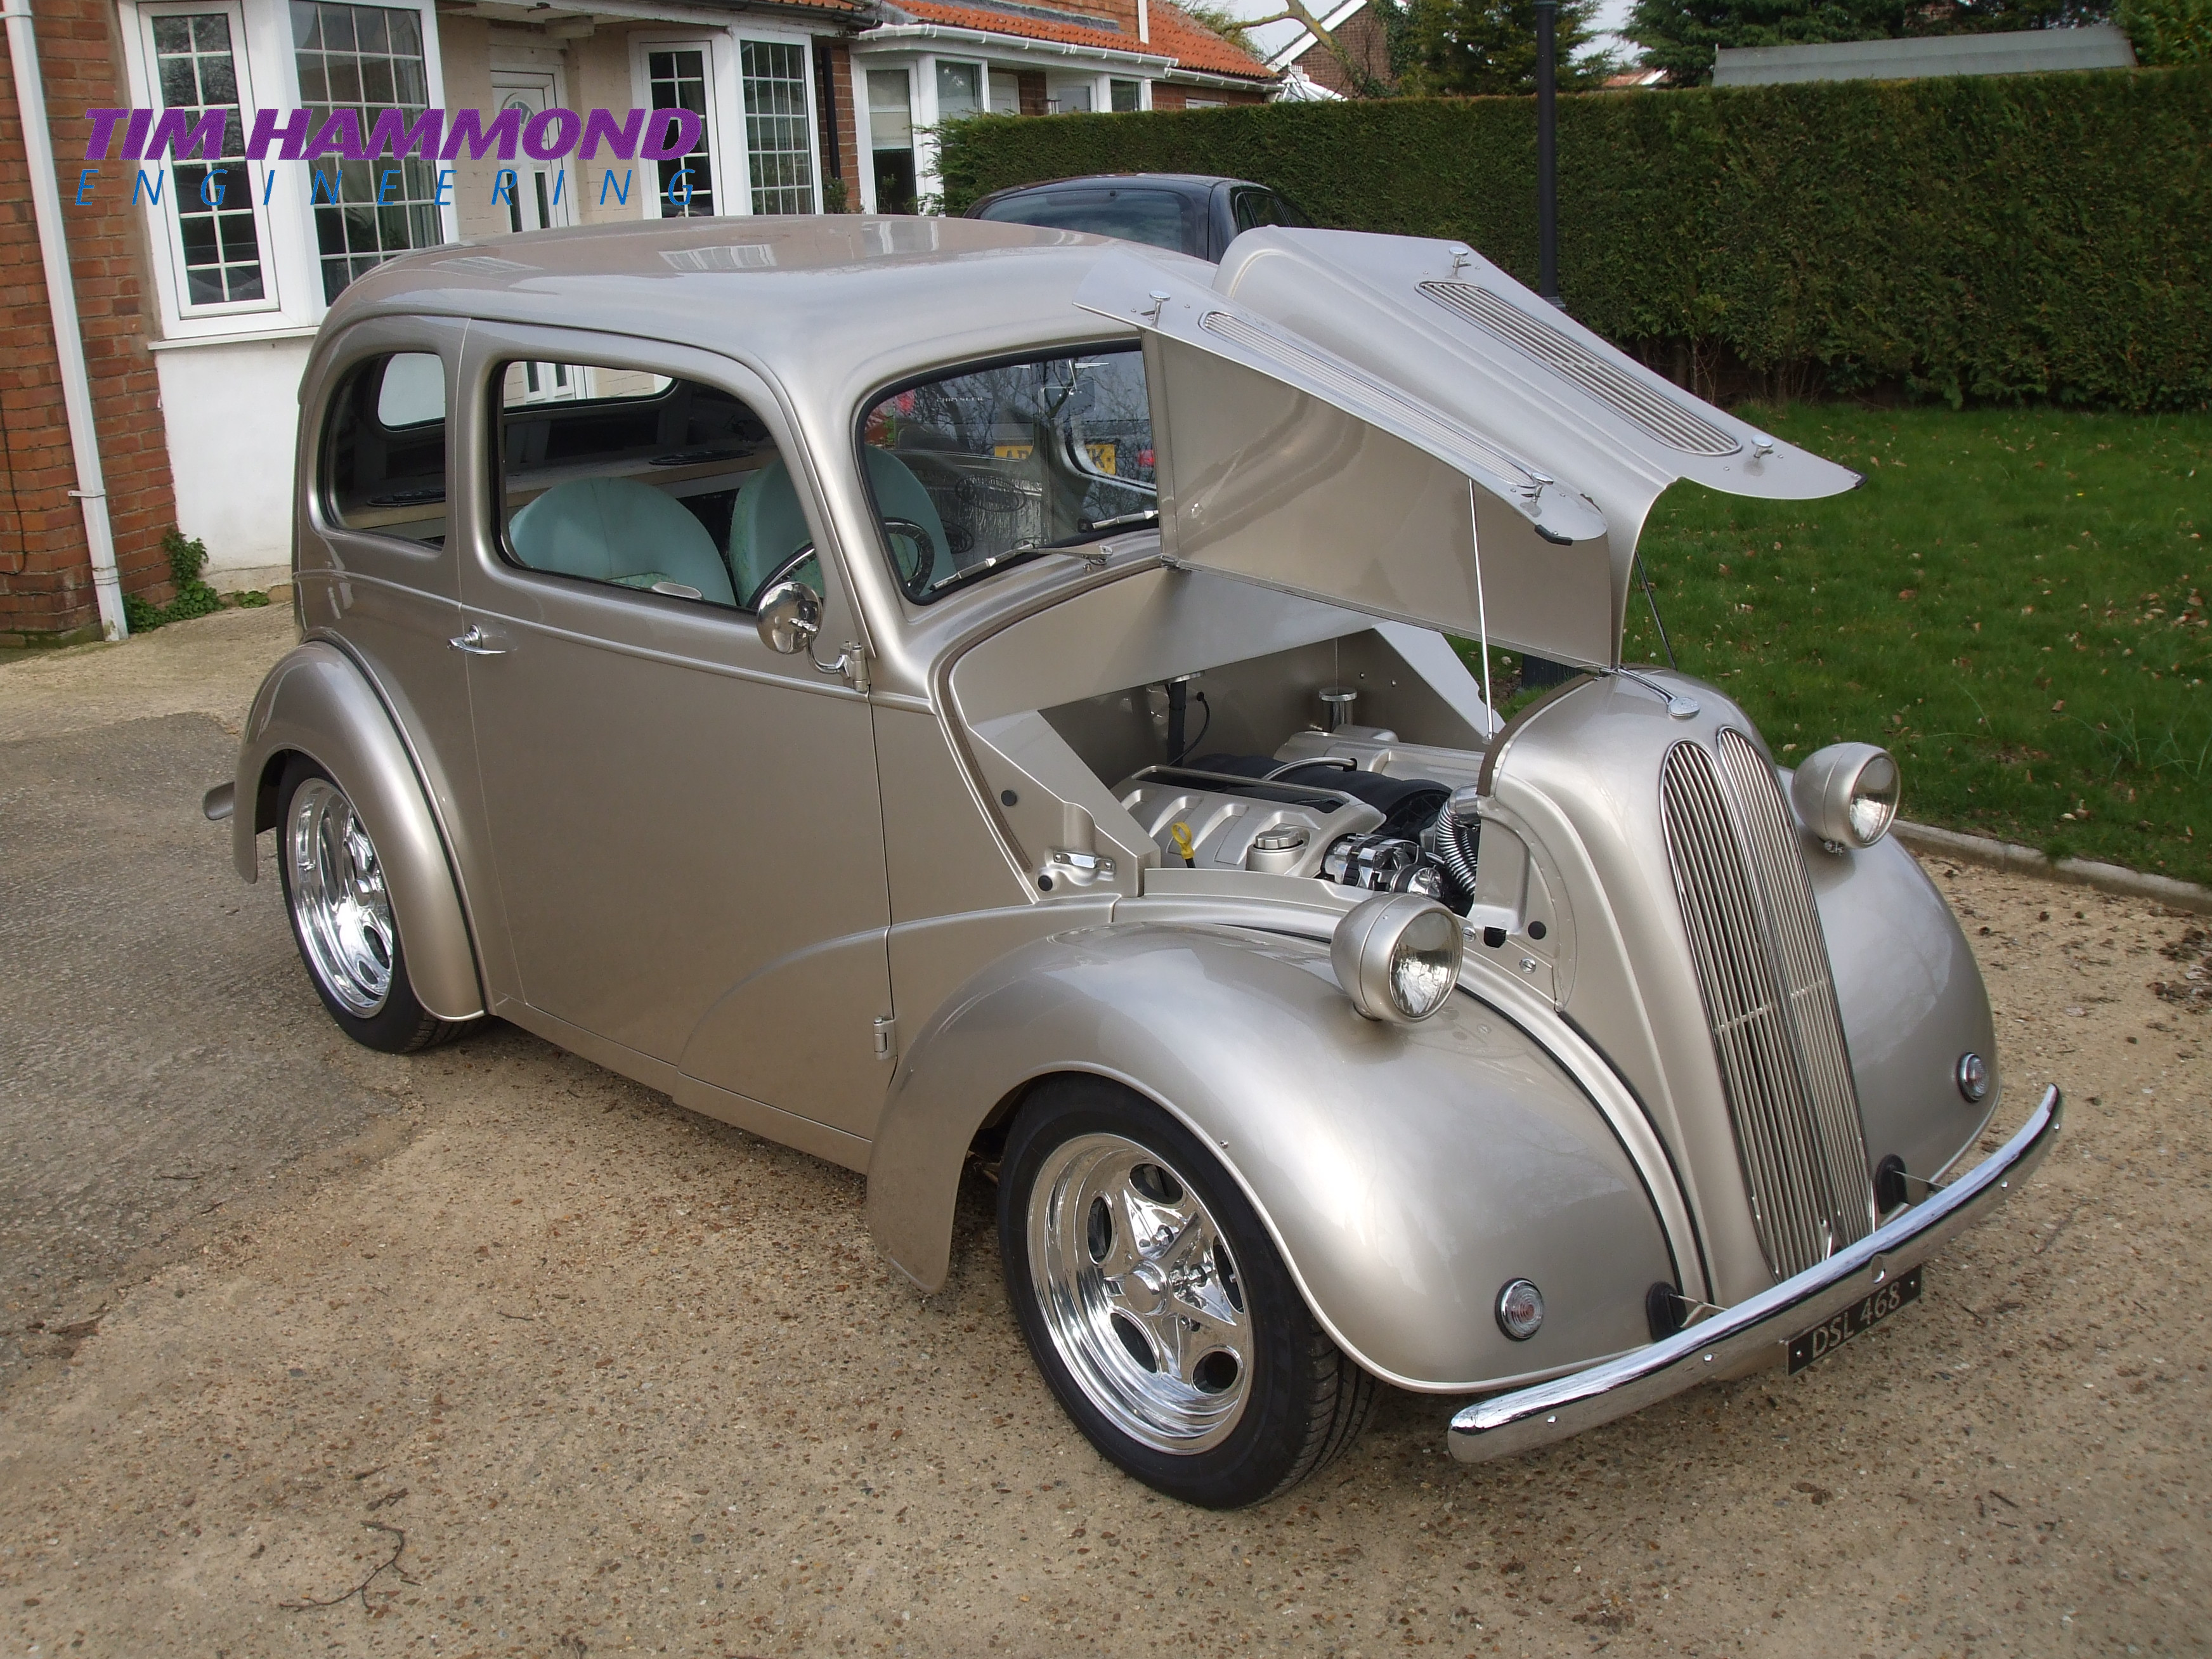
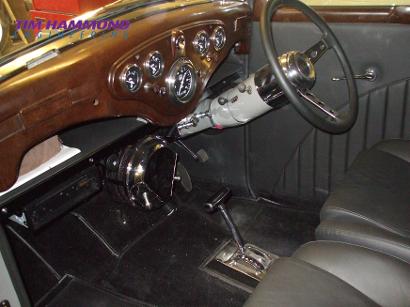
One classic little car, designed to look original from the outside, retaining as much of the original interior - dash and window surrounds, but with modern high tech front and rear suspension. The flip front also allowing easy access to the engine. The car was built for everyday use and economy in mind. Trimmed by Neil Tadman.
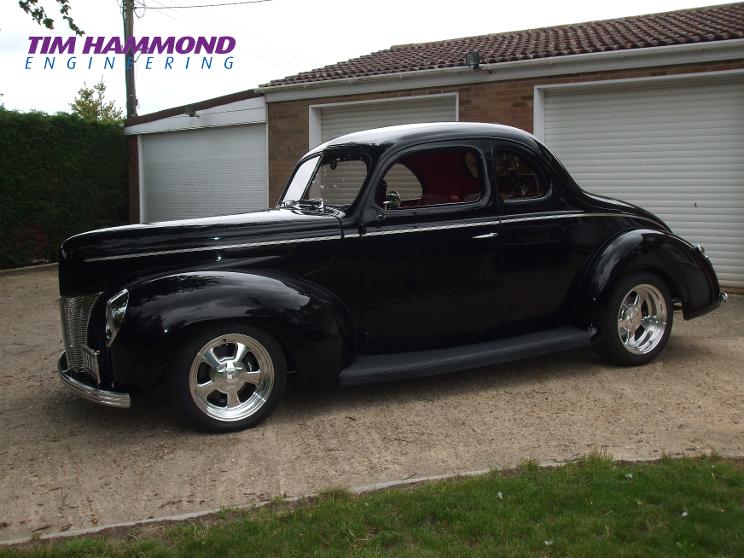
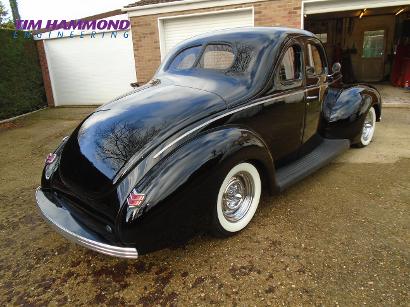
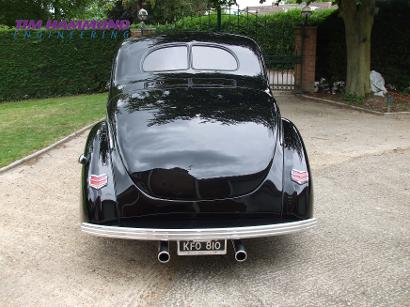
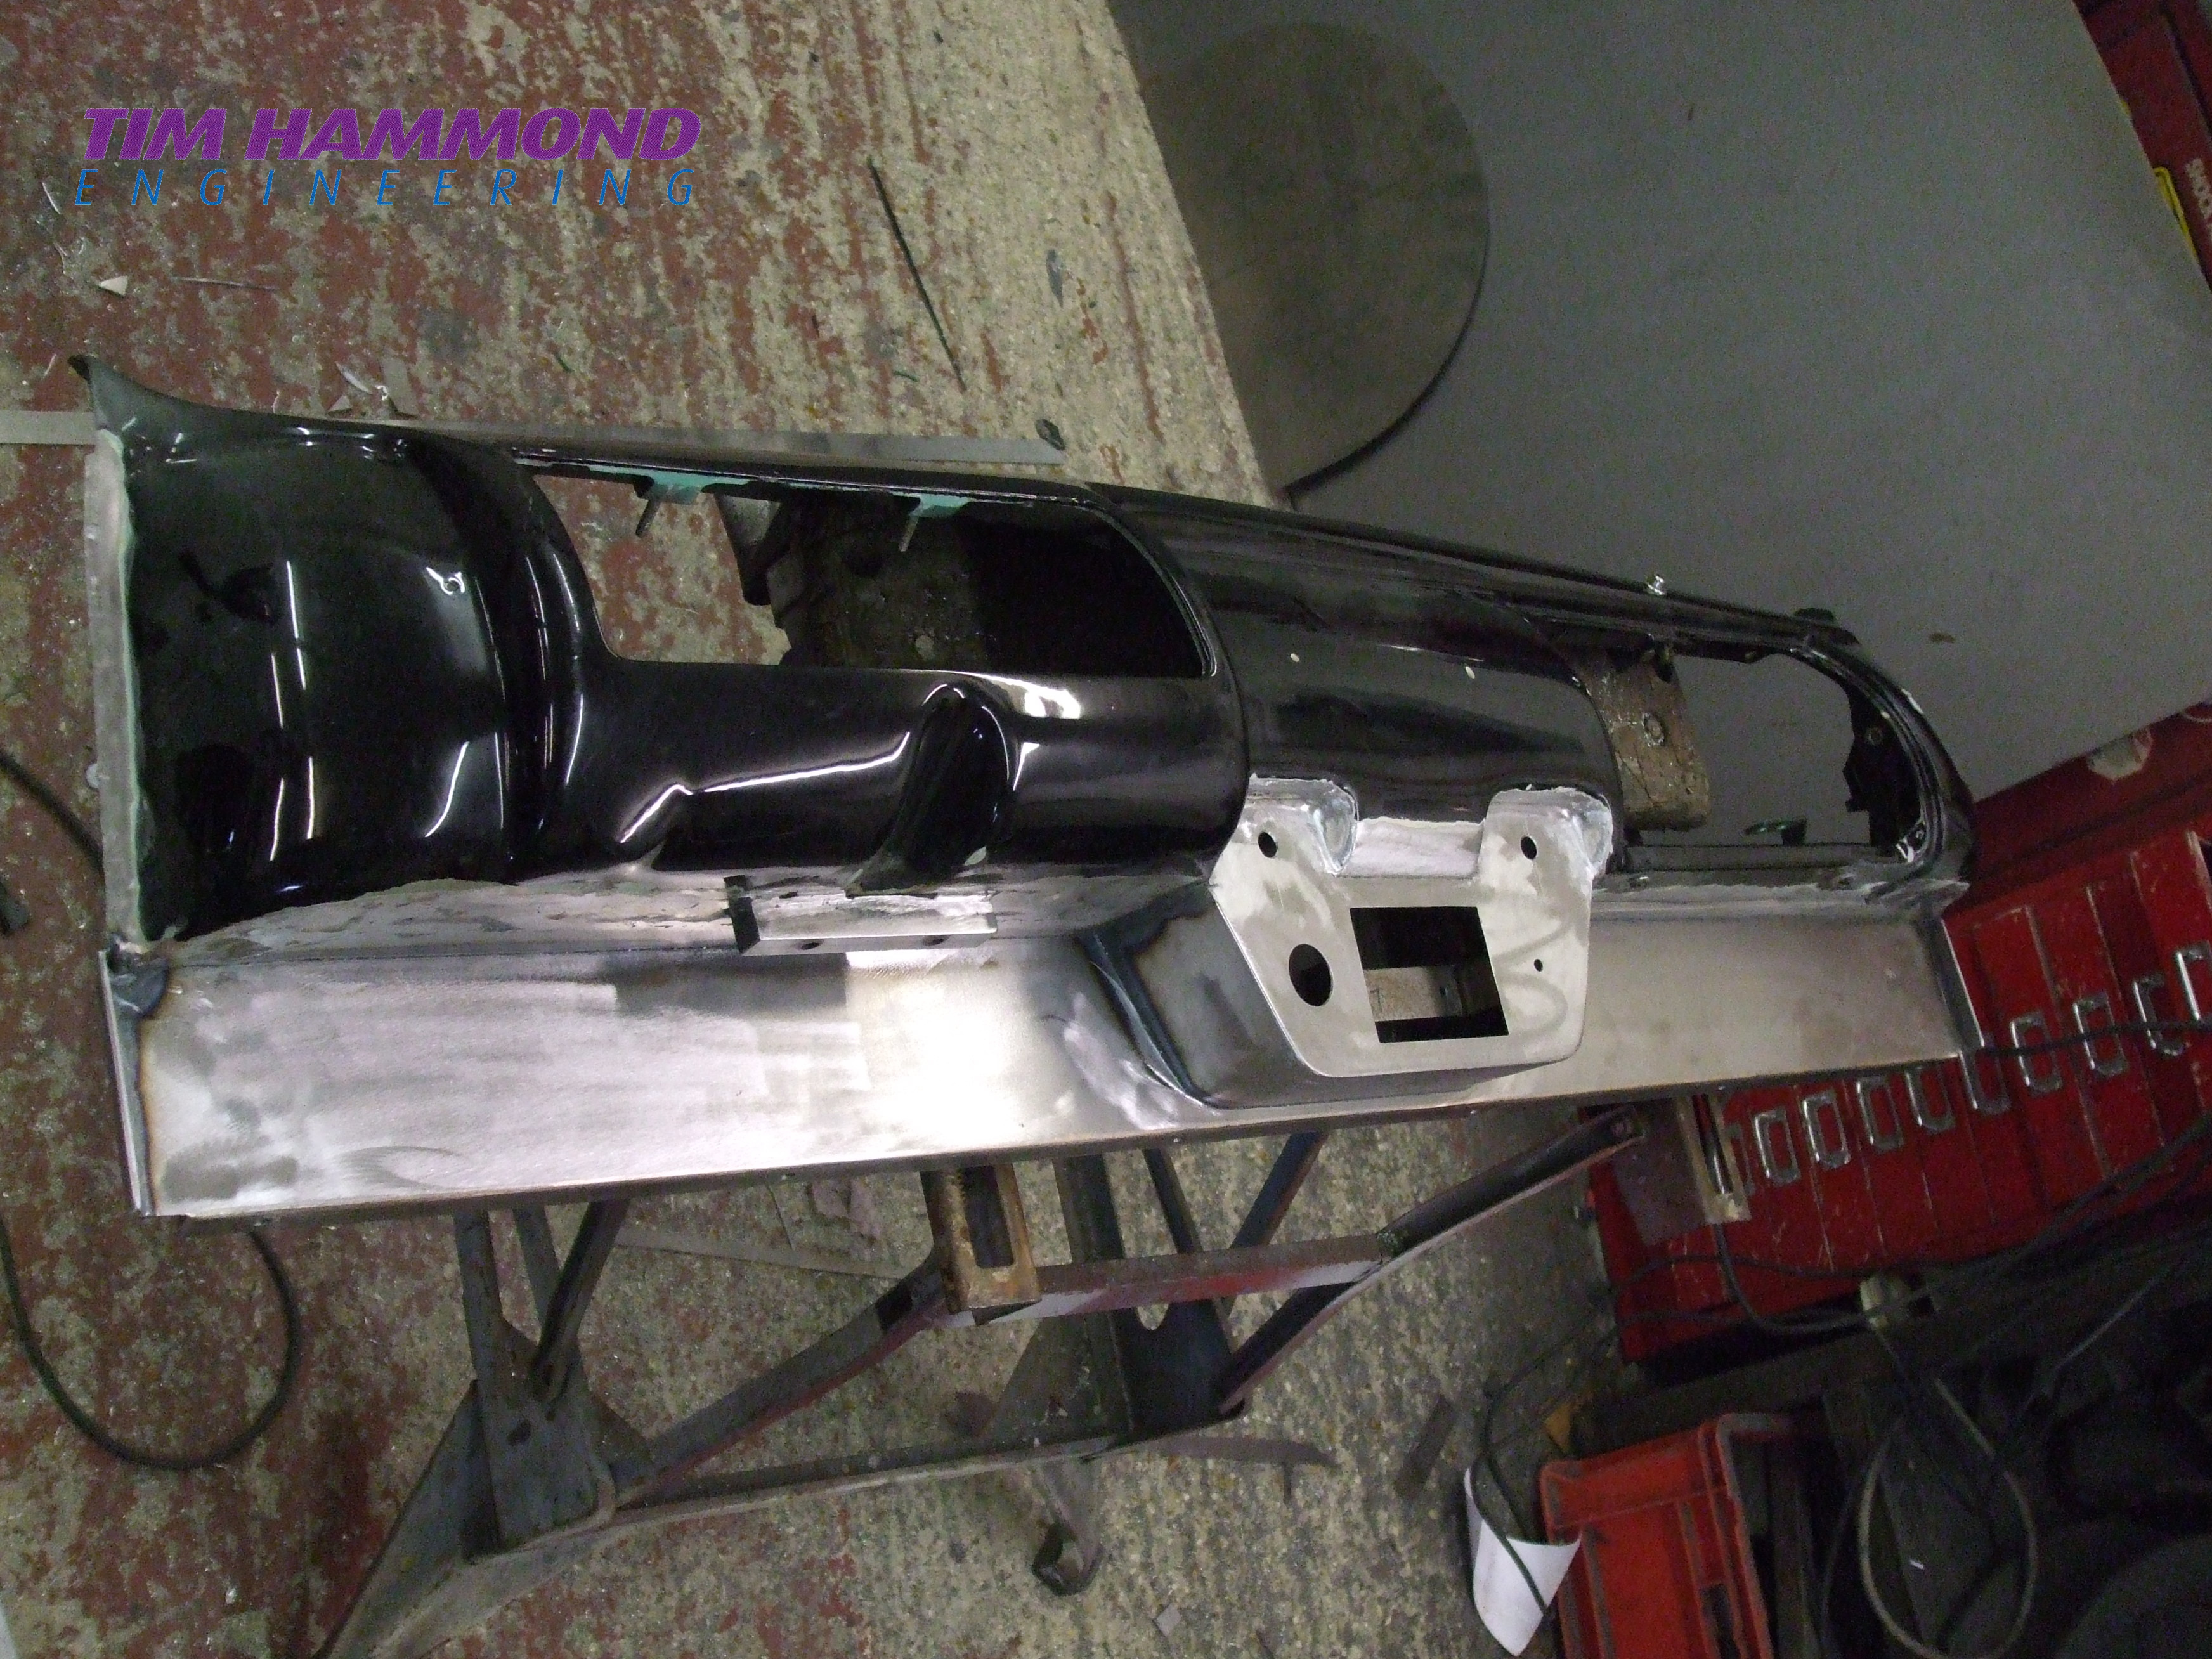
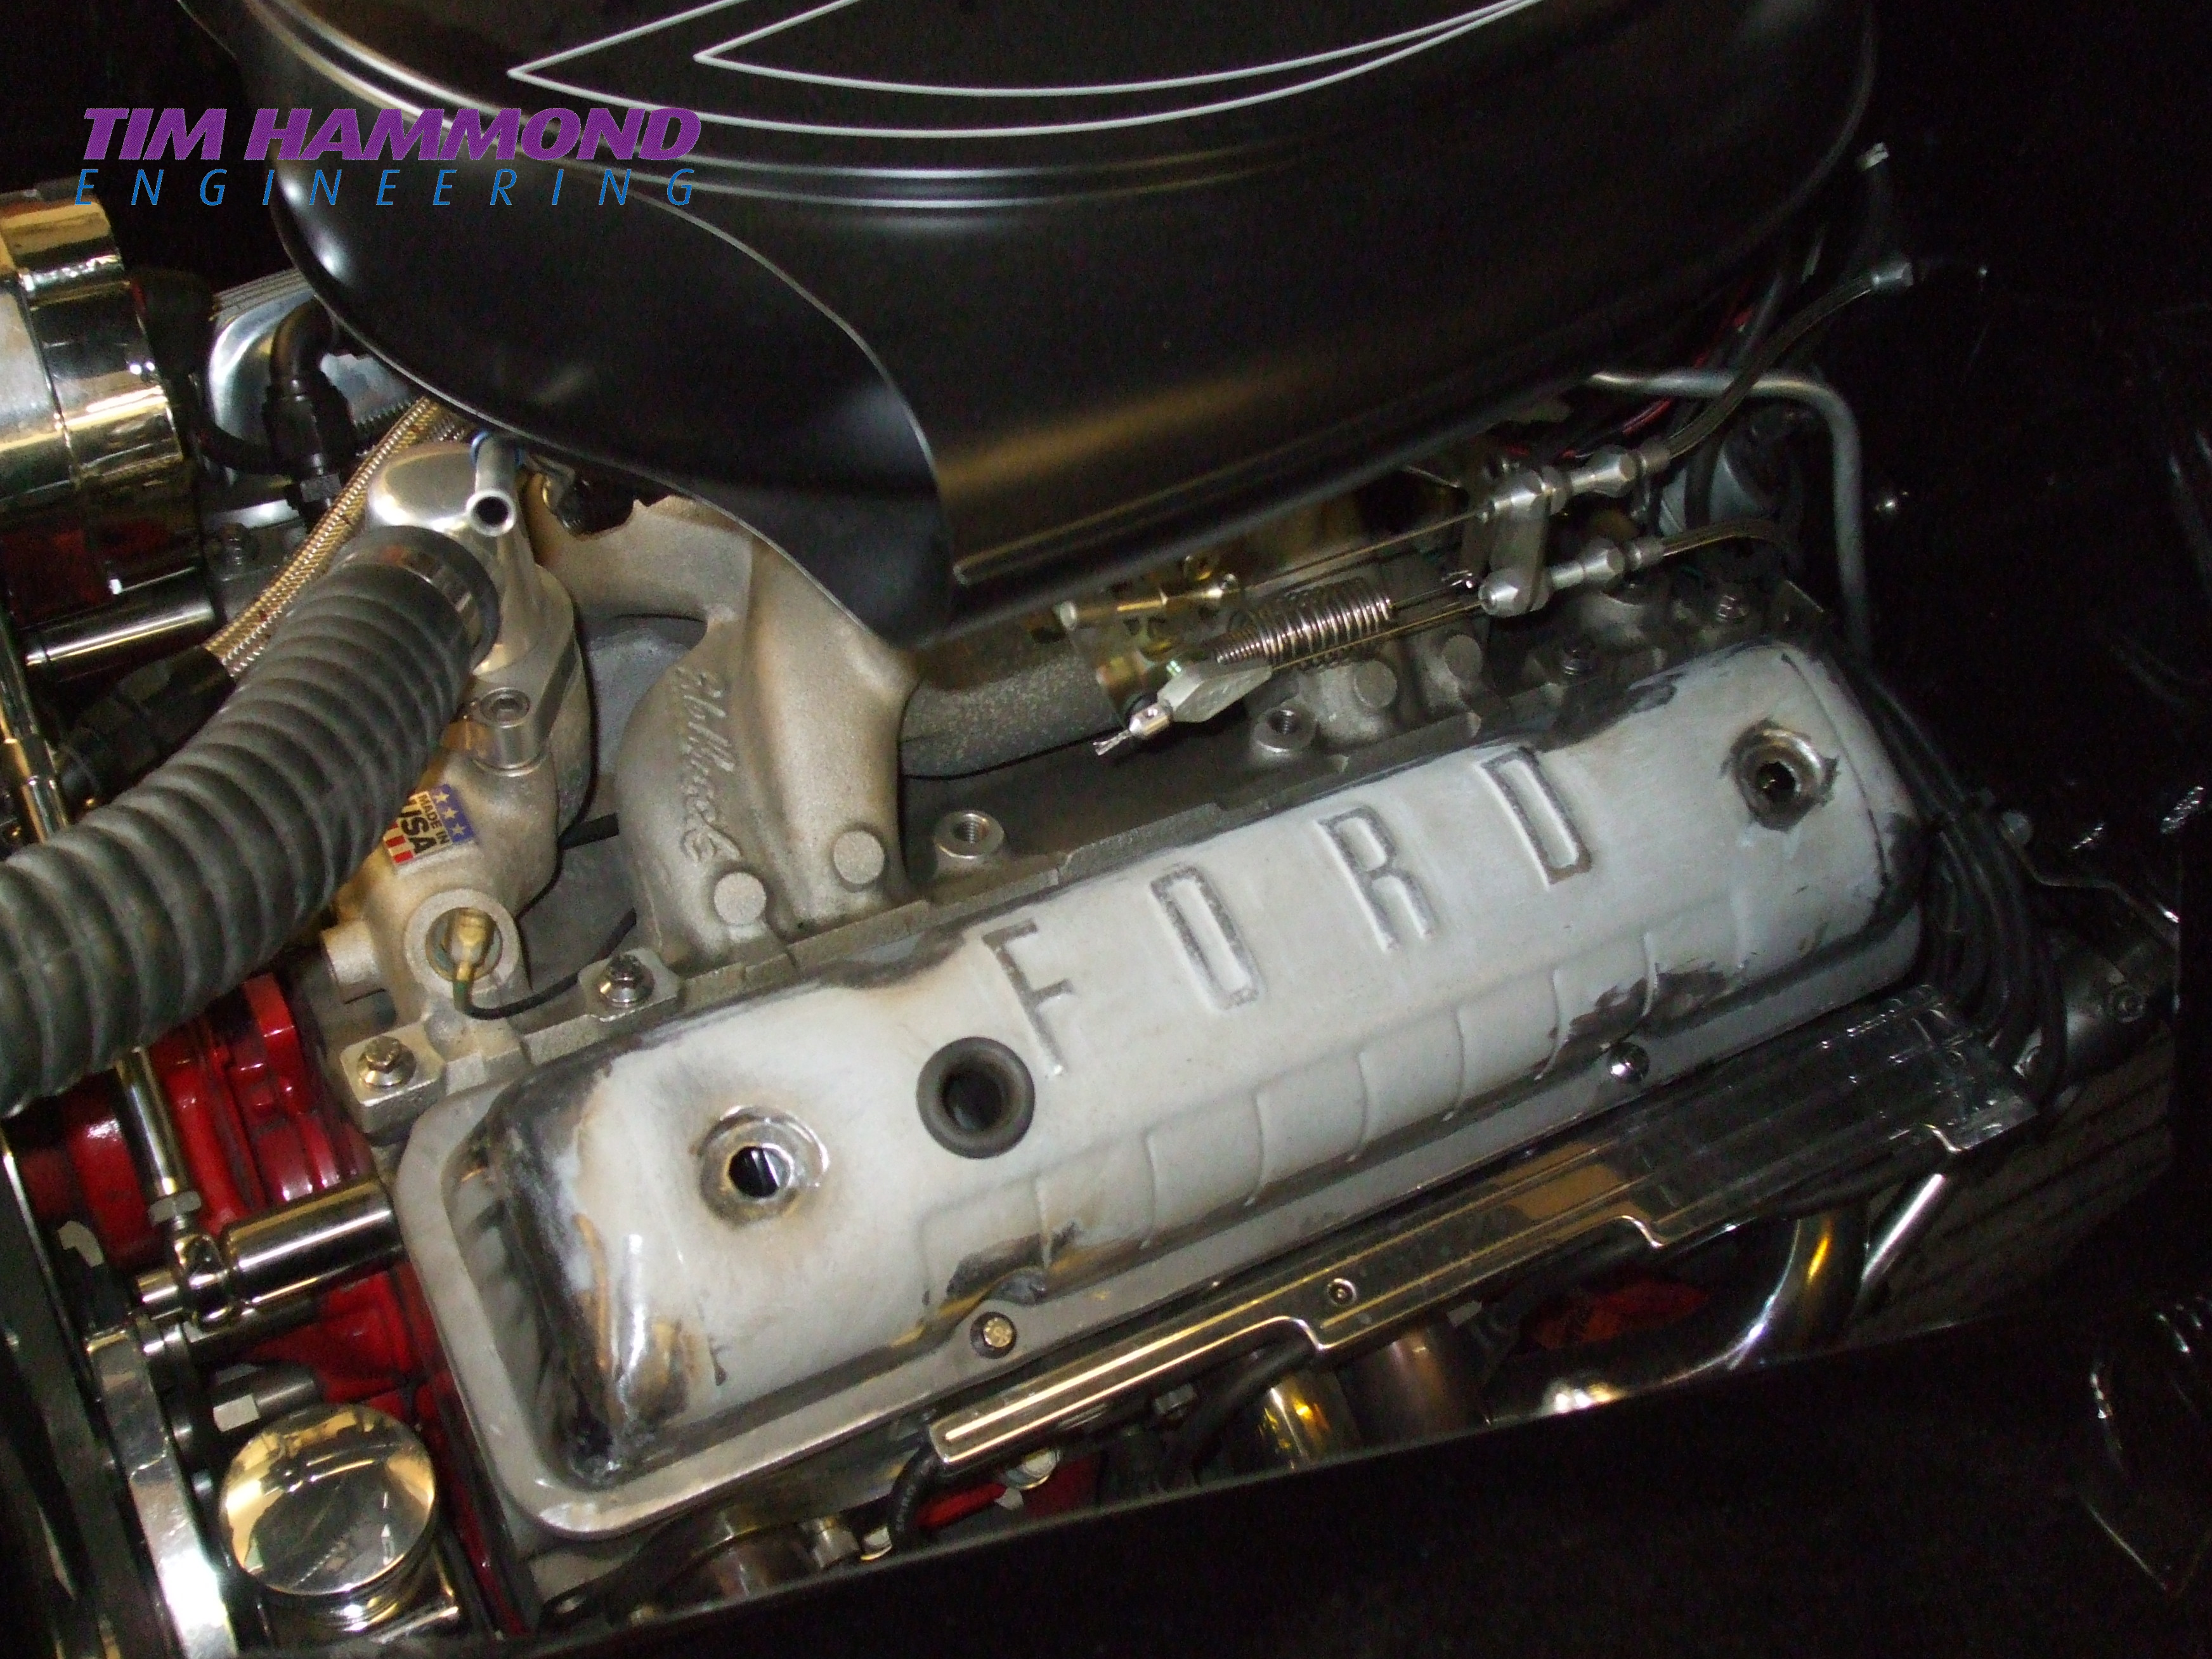
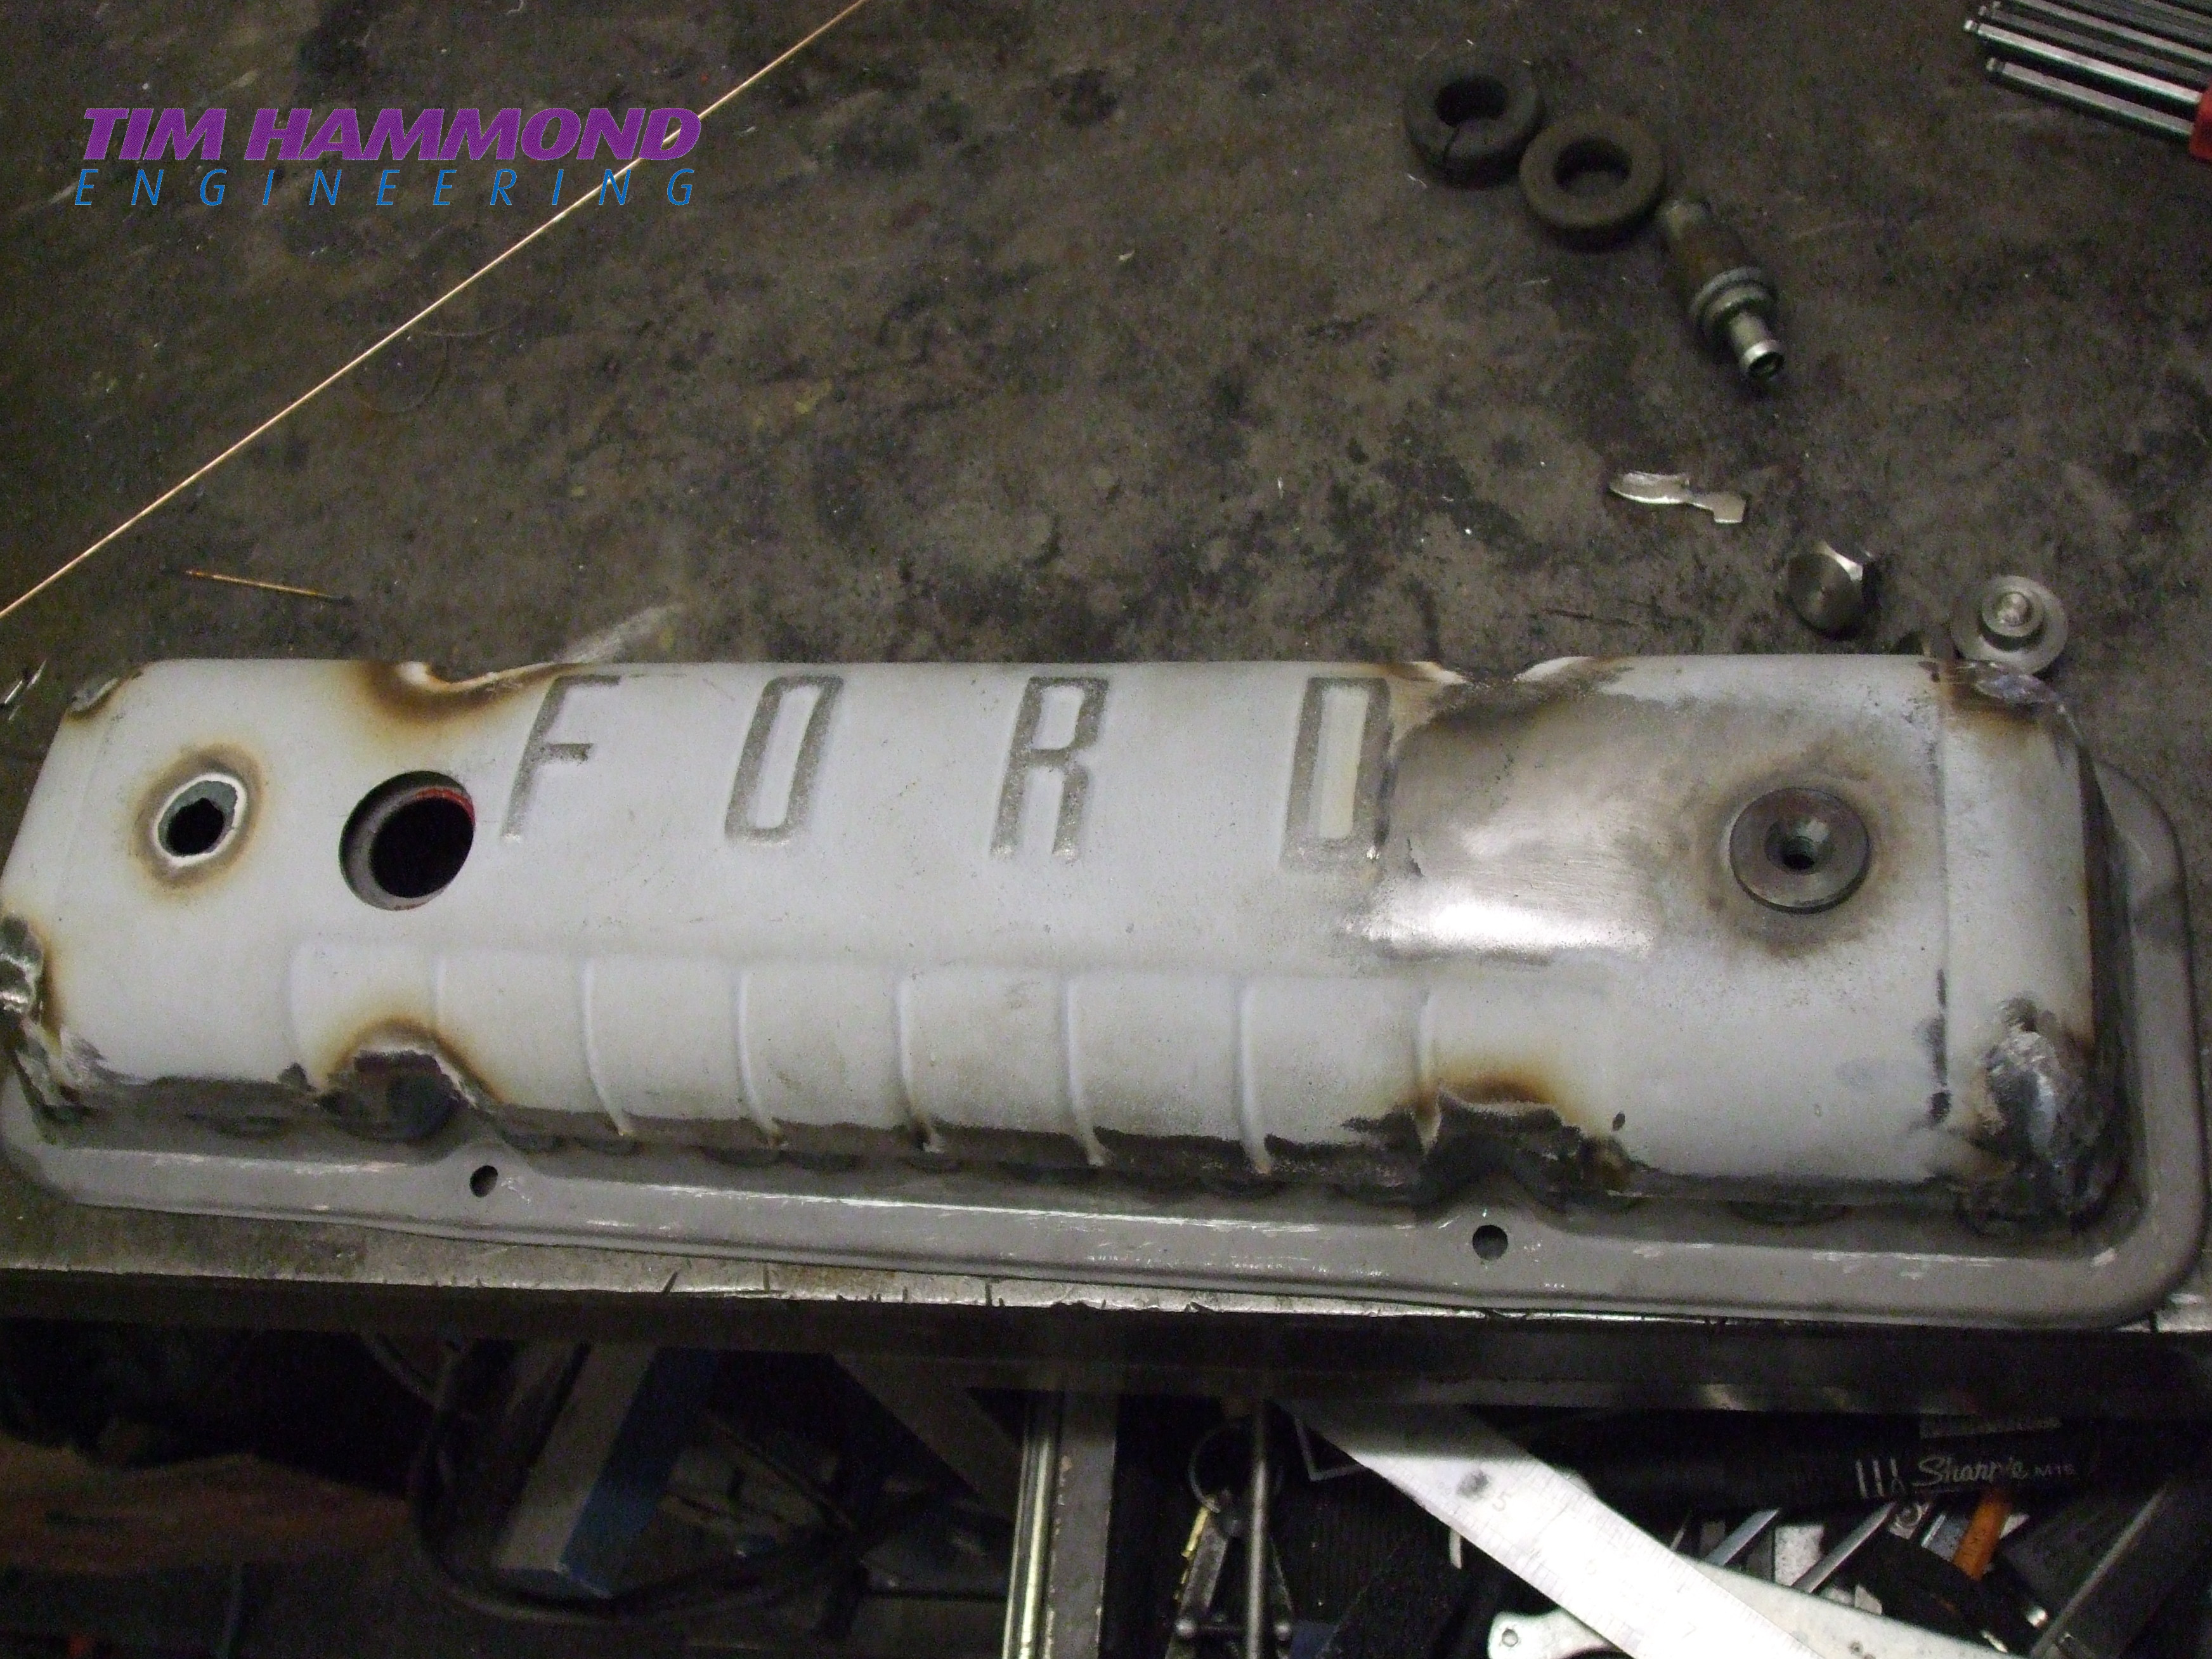
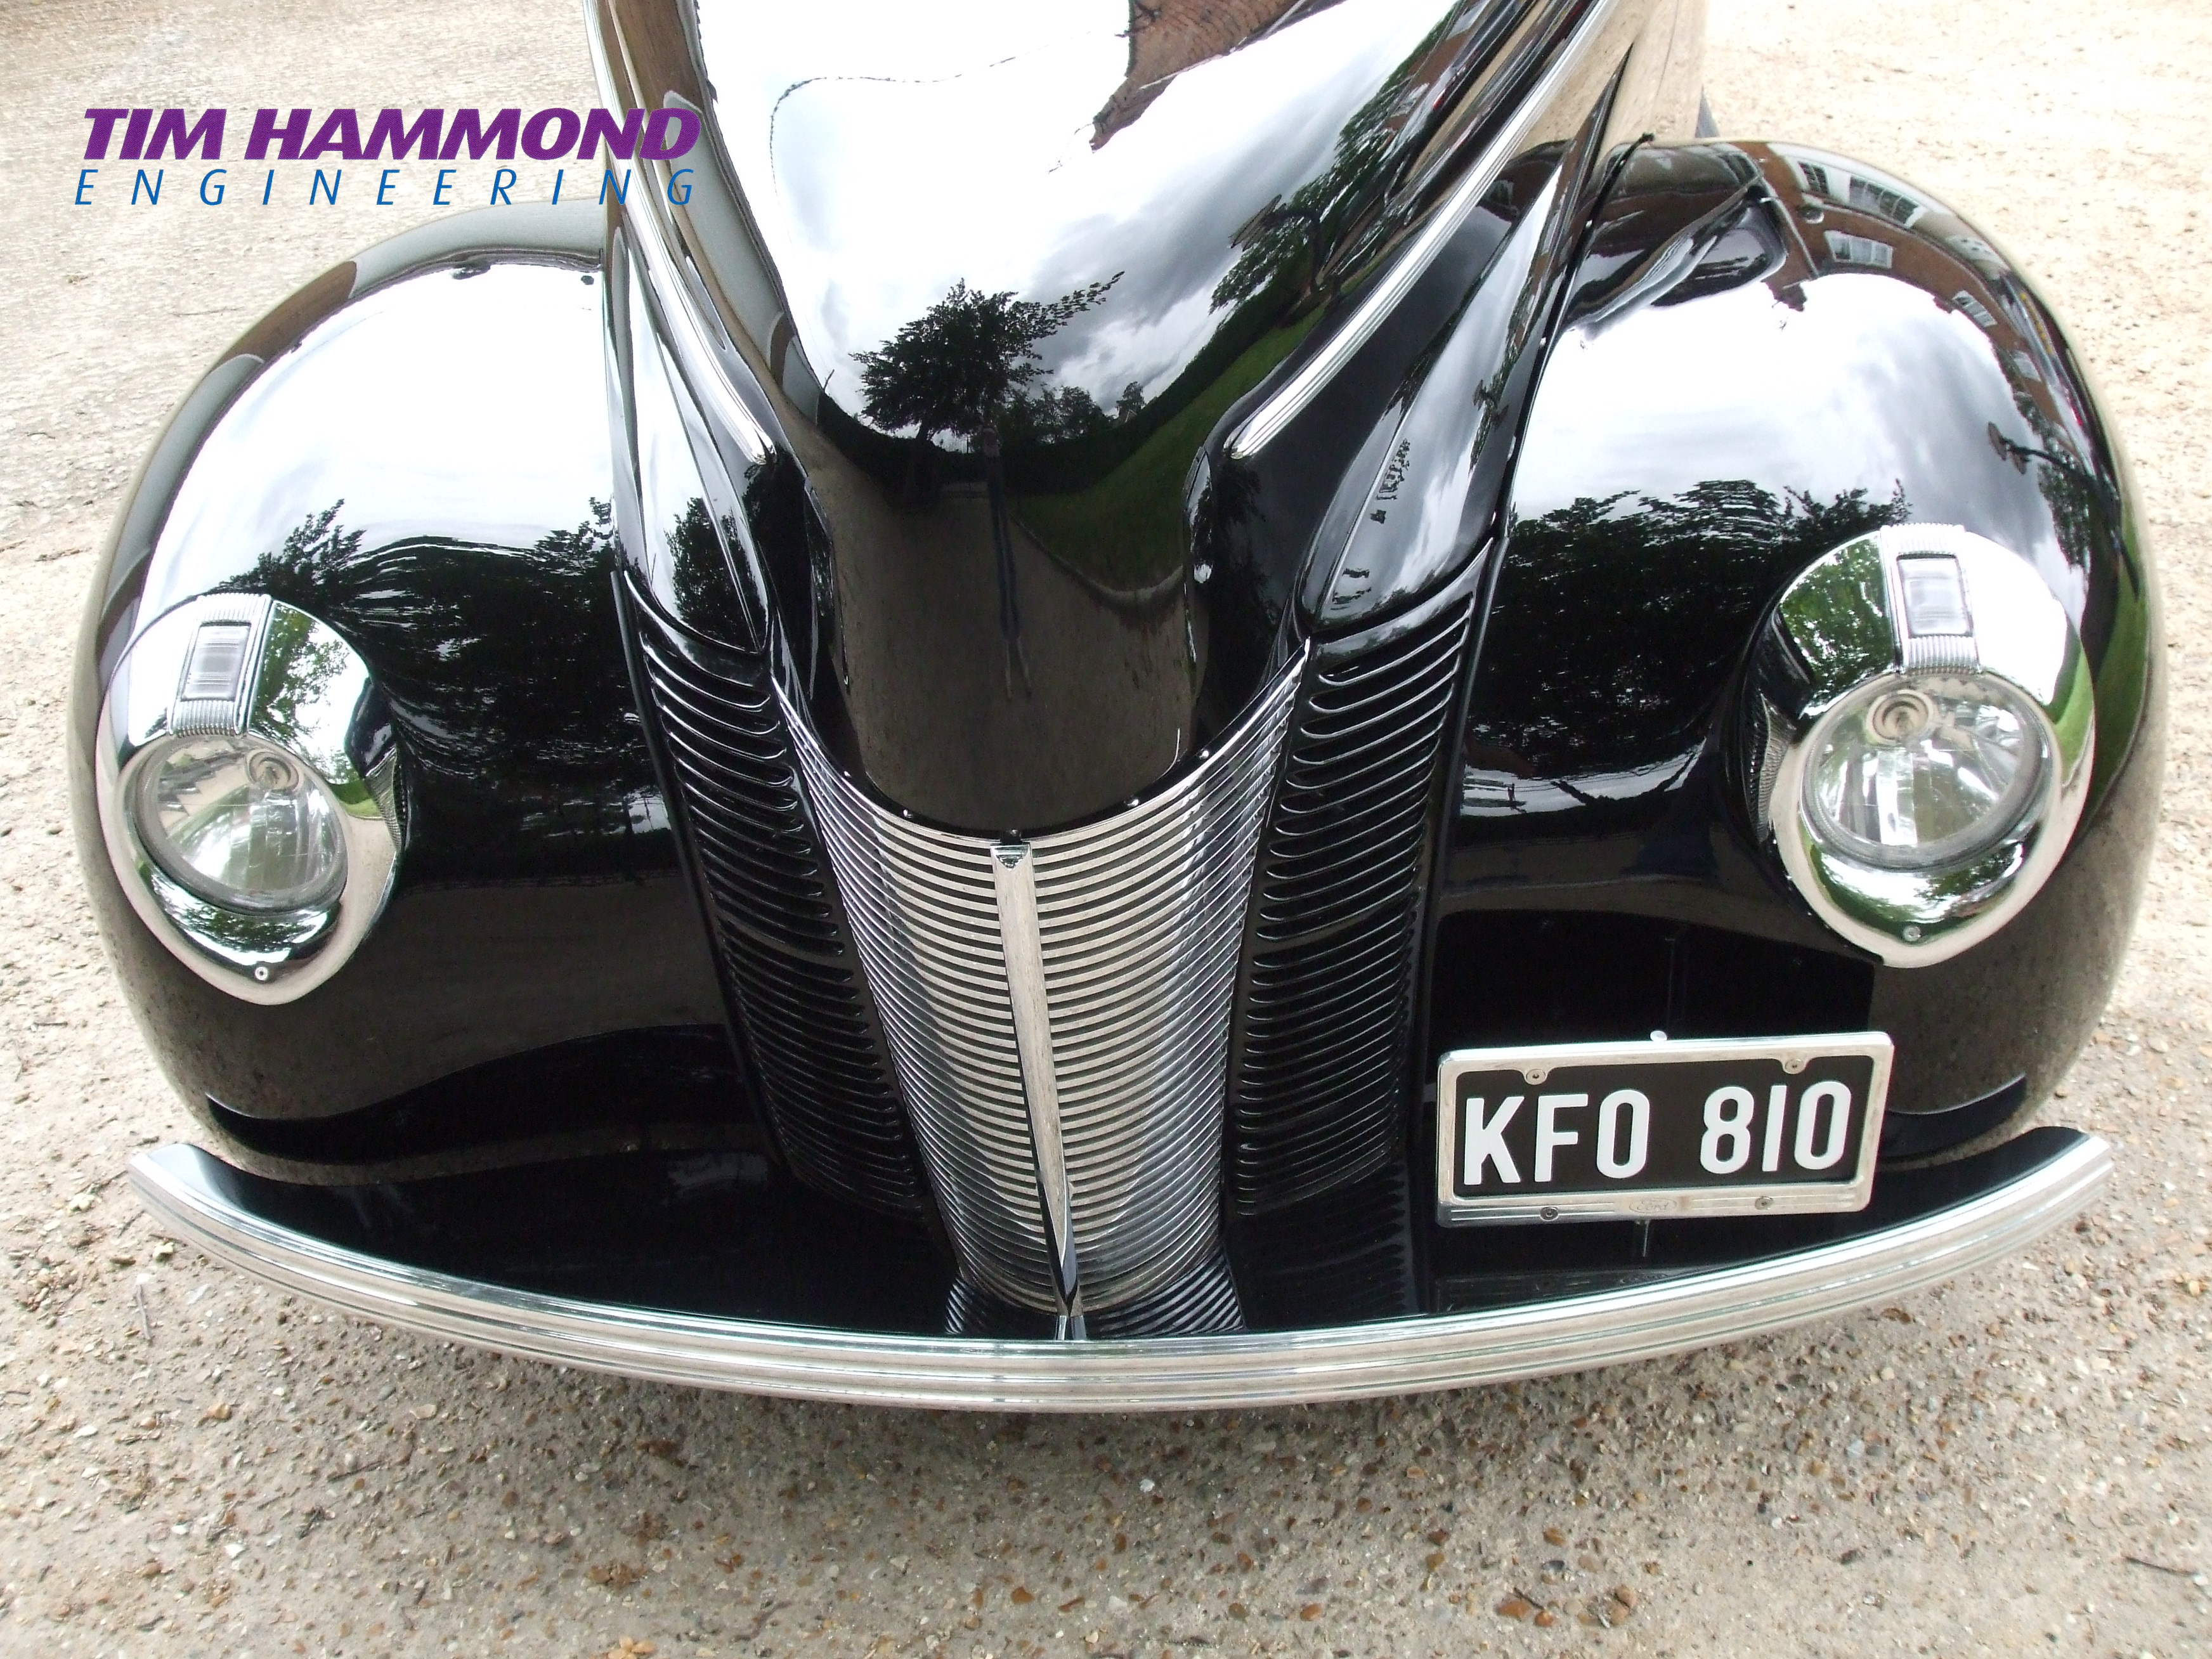
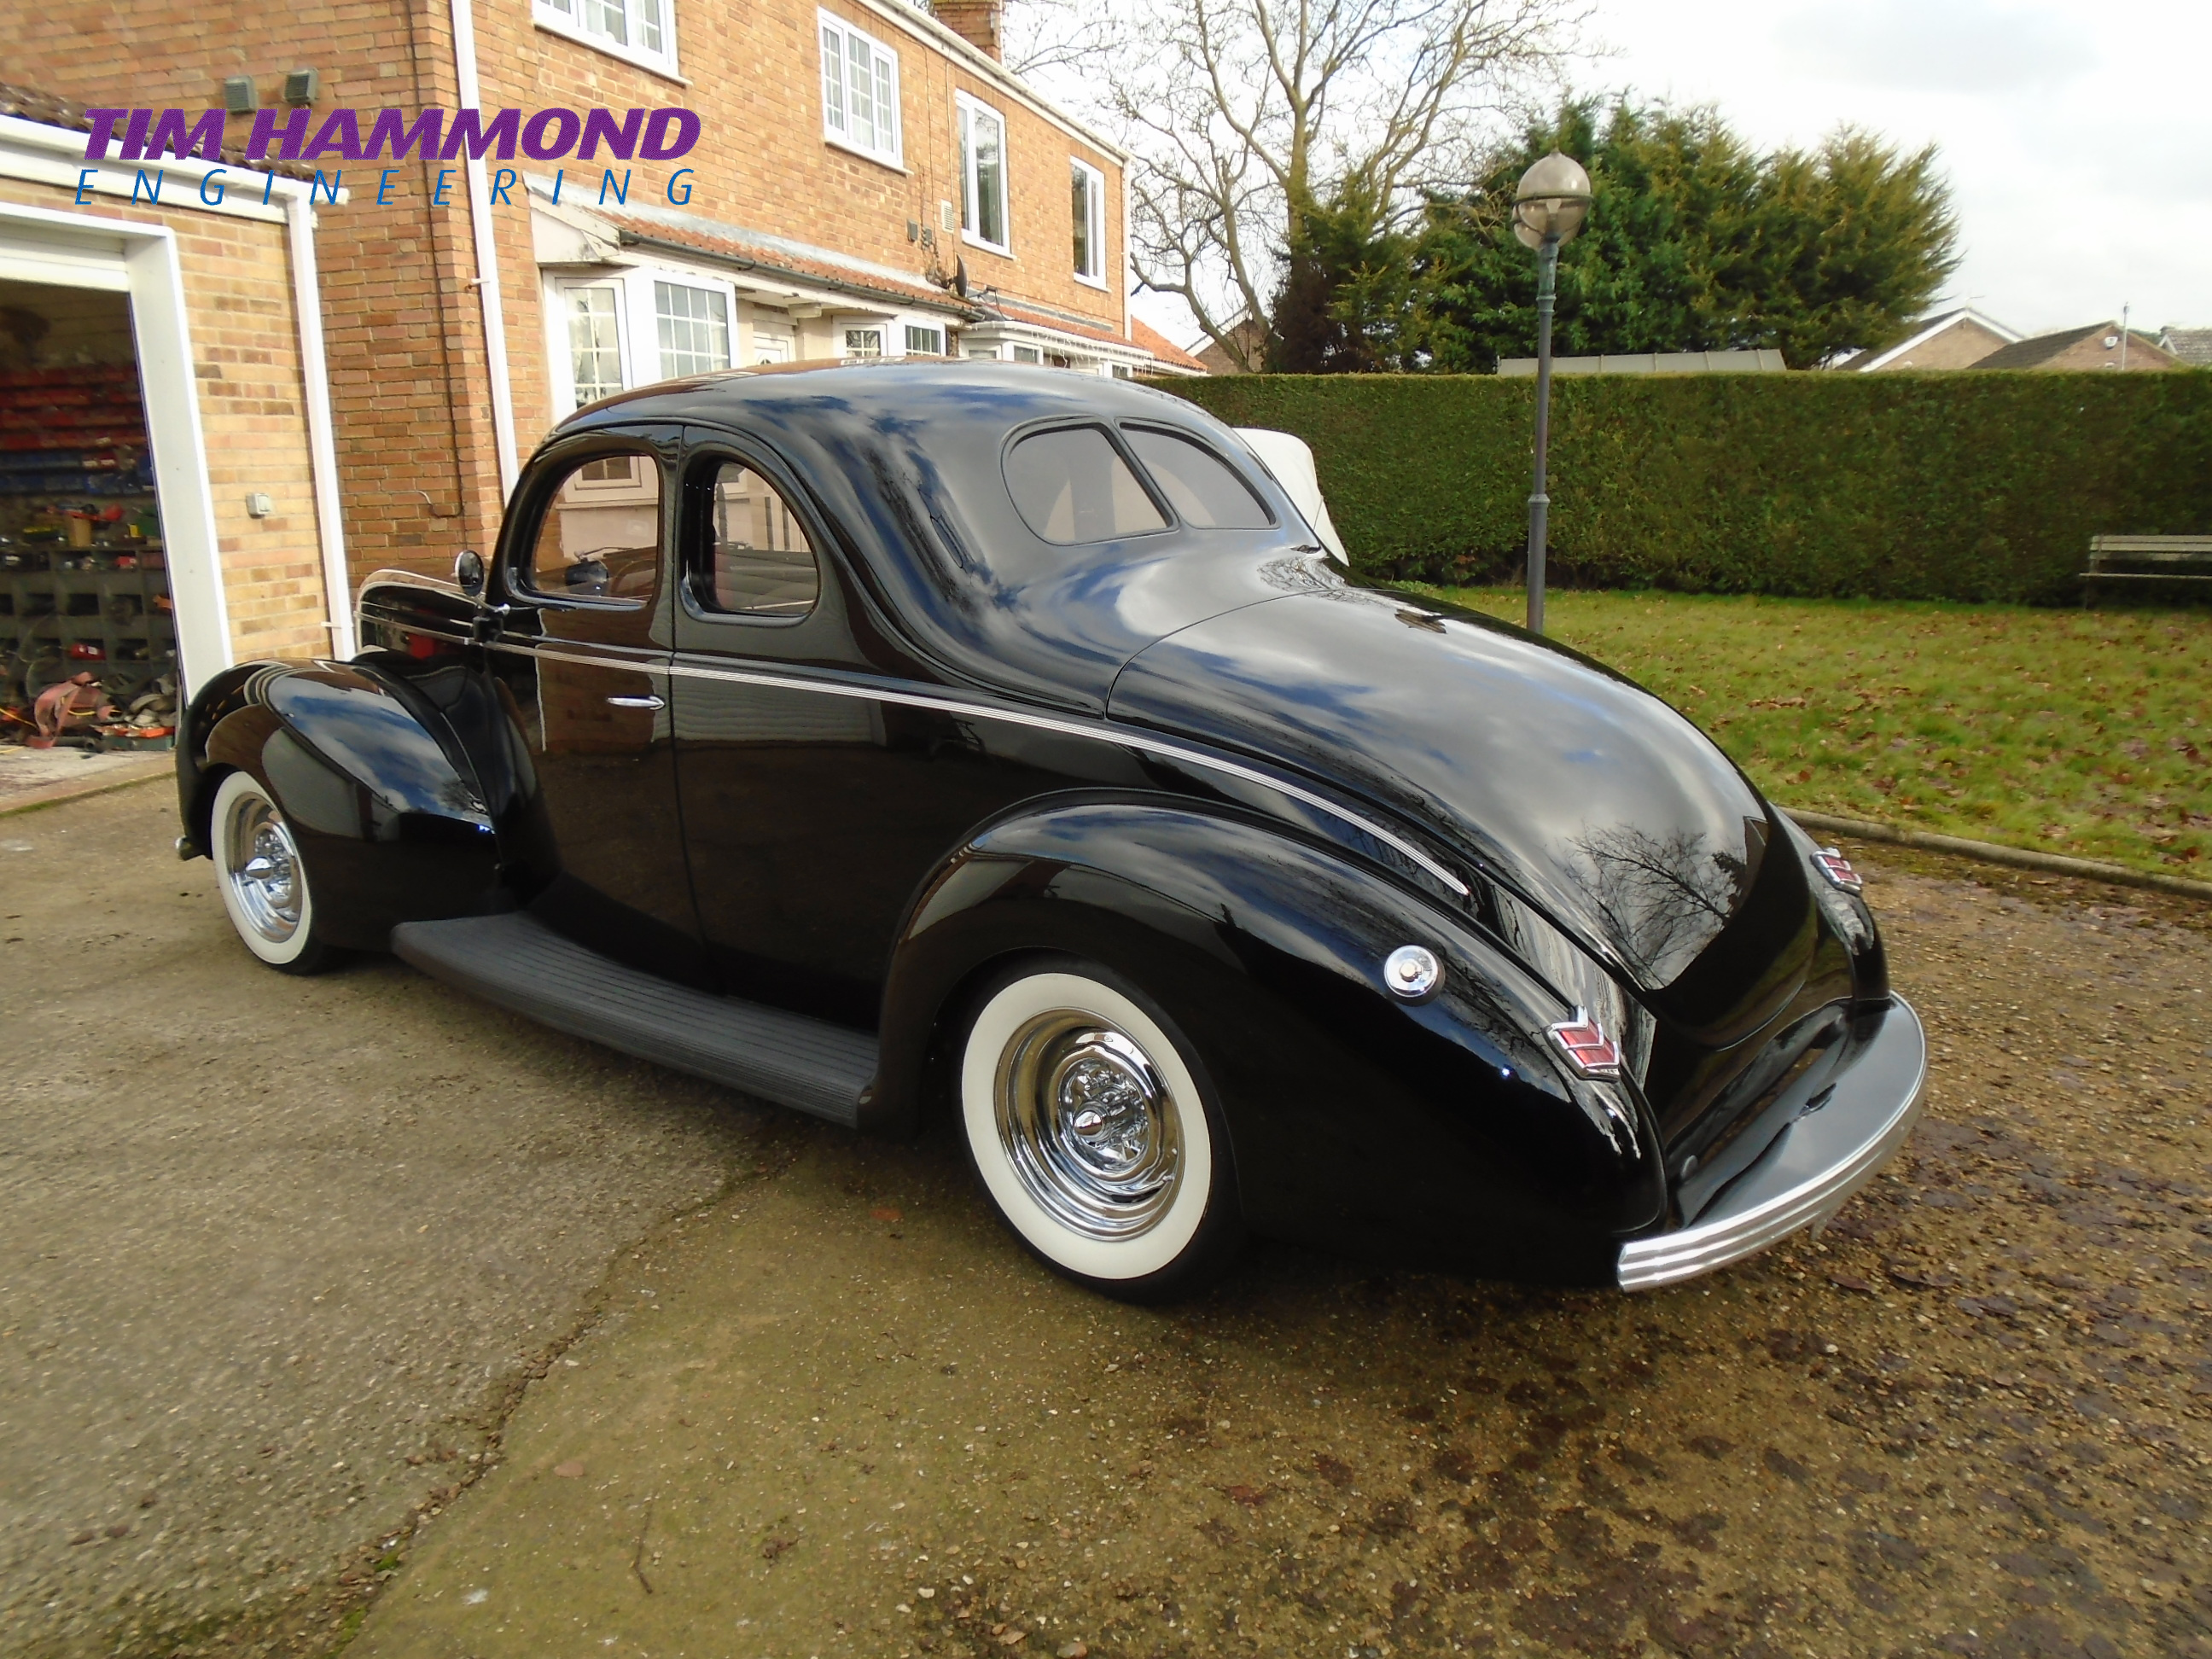
Stuart's 1940 Ford Coupe
Came to Tim Hammond Engineering, not once, but twice for some subtle changes (you may notice the changes in the pictures) to the body, engine, and air ride fitted. Steve Hudson, then completed a nice new red interior.
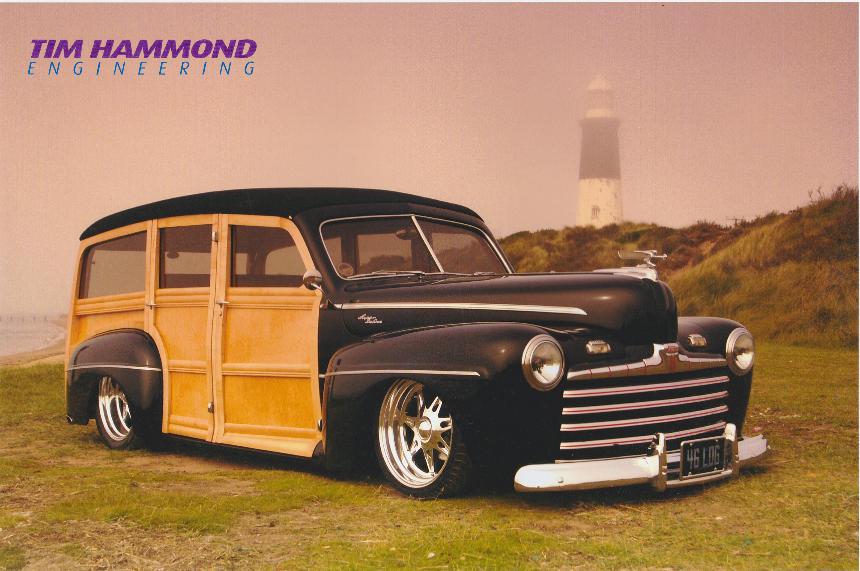
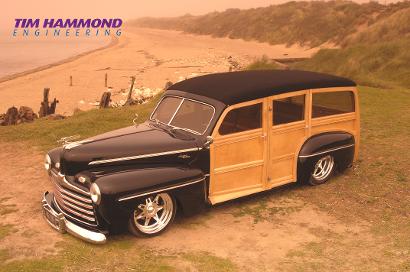
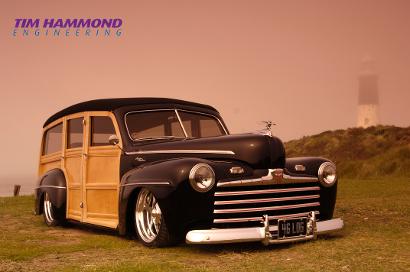
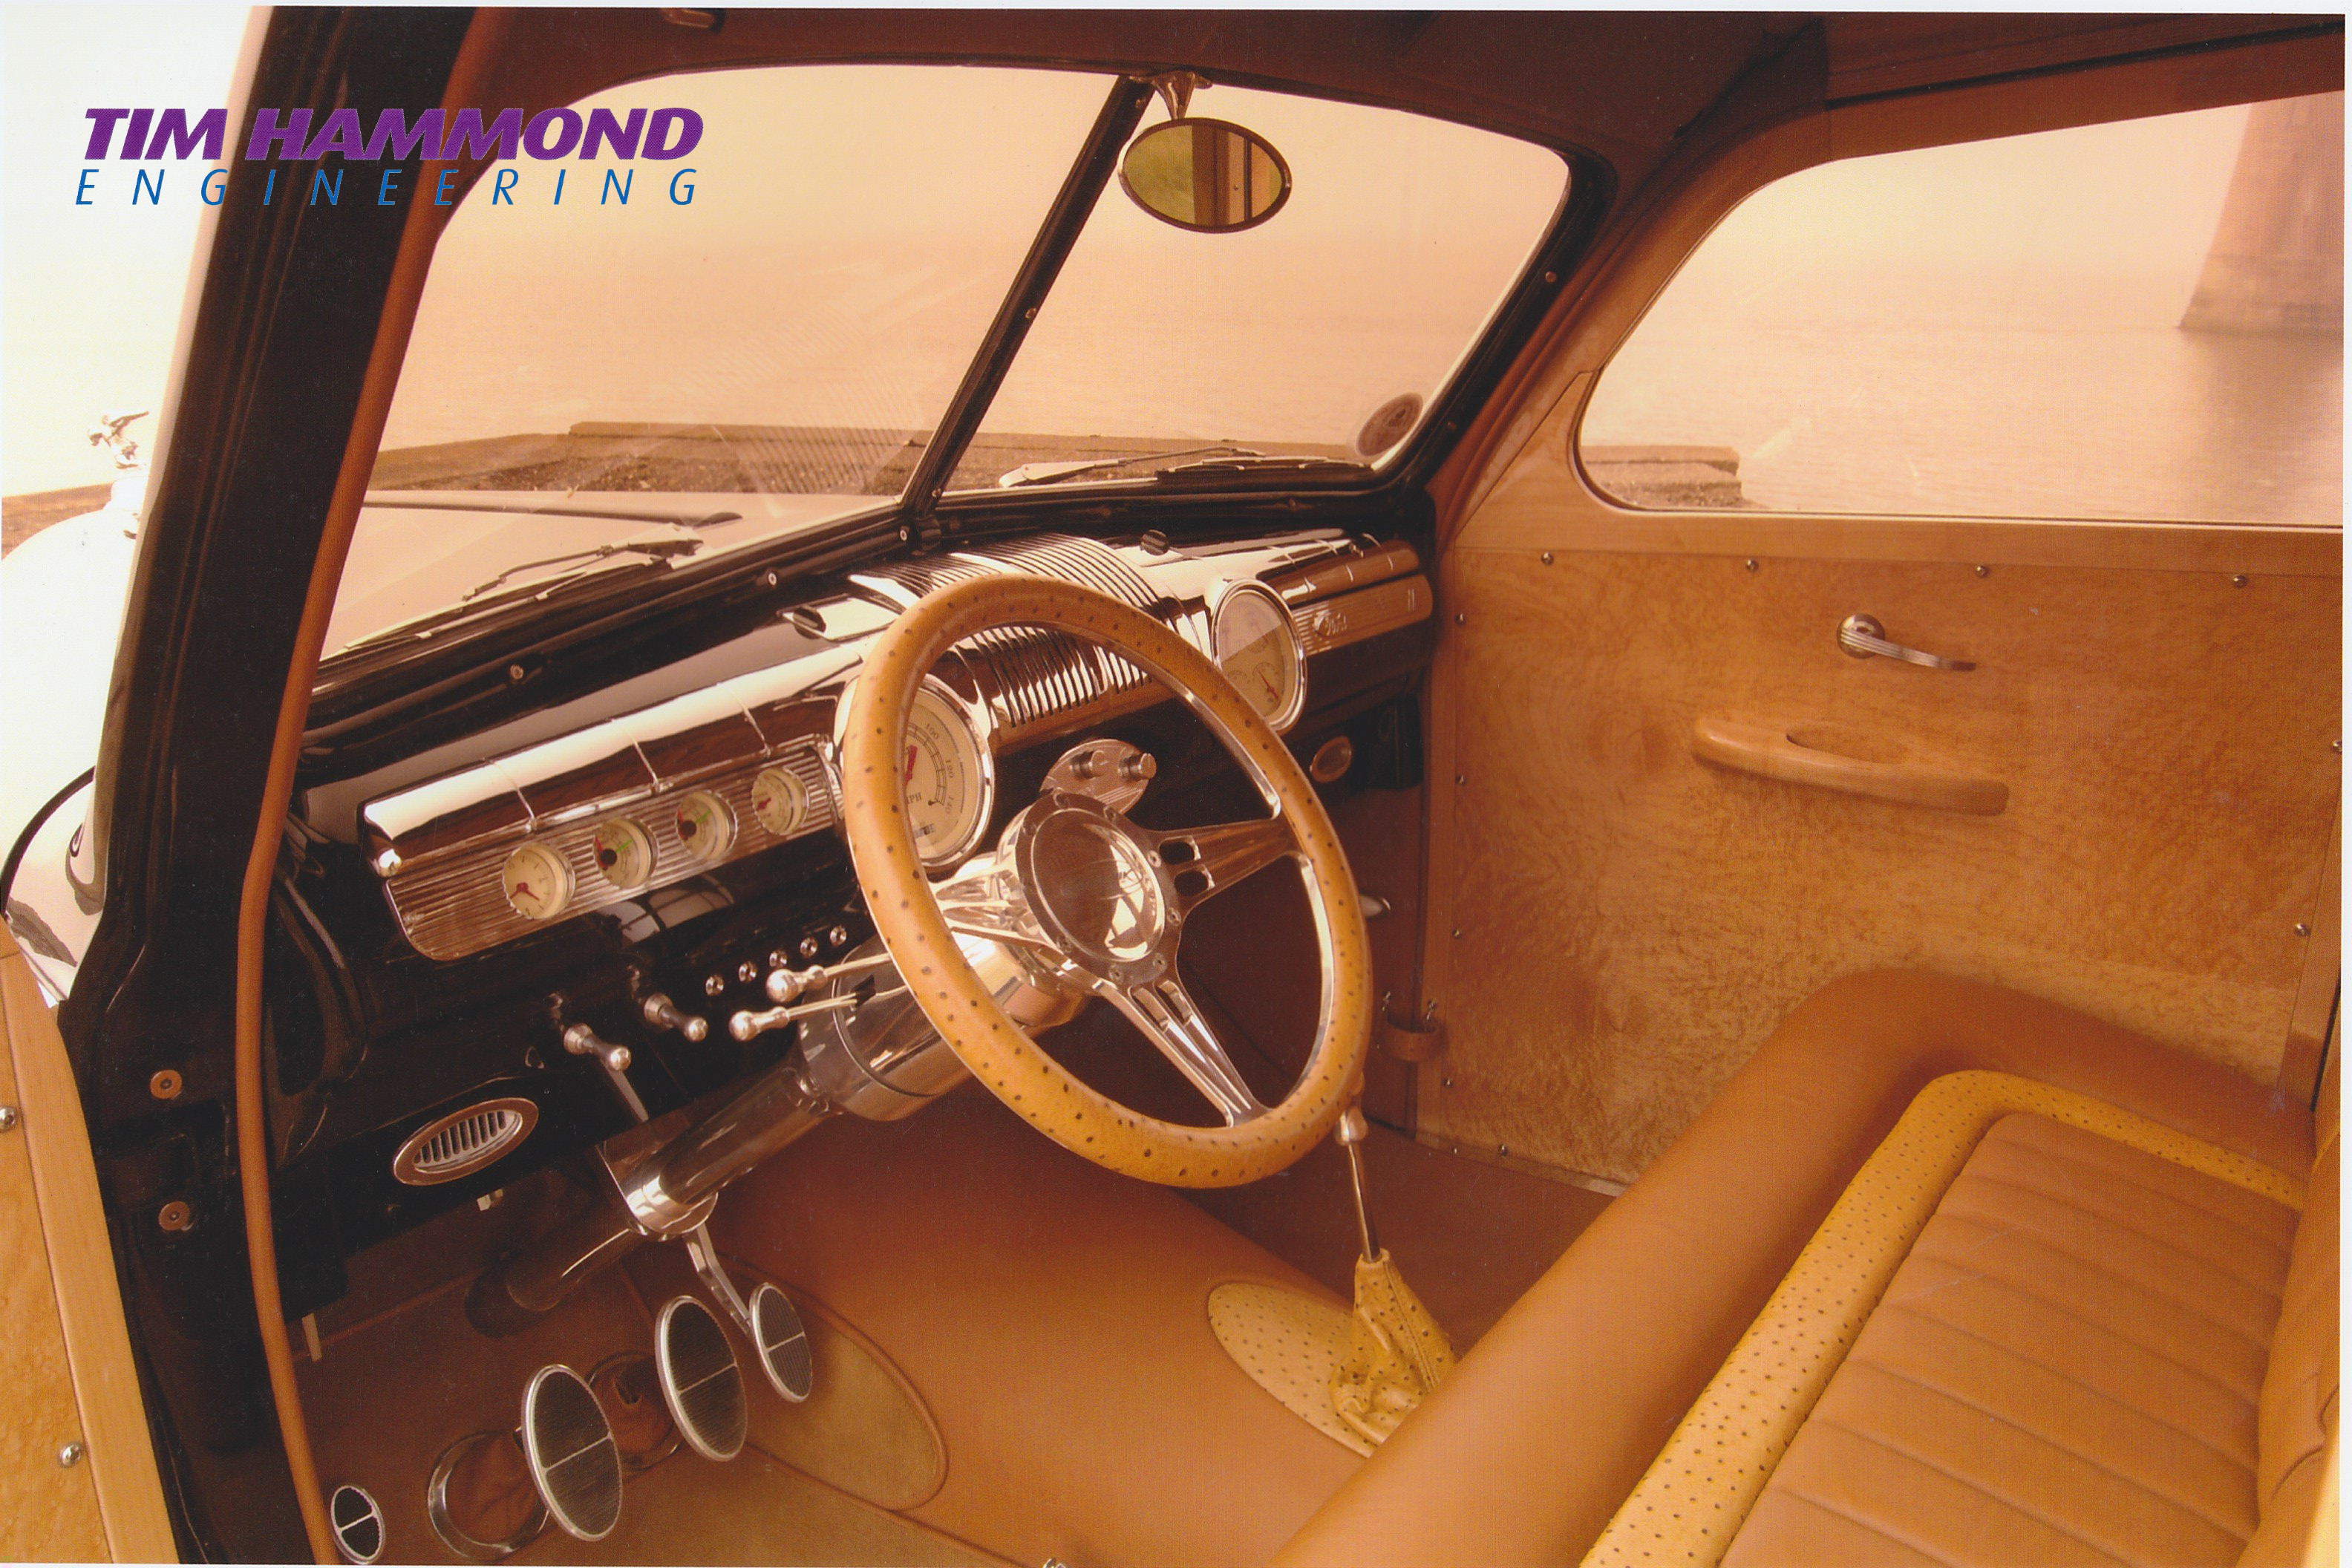
Steve's 1946 Woodie
Steve worked his magic on manufacturing all the wooden panels that you see. Tim finalised the chassis and put the car onto air ride suspension. Steve shipped the car to the USA for Gabe to complete the ostrich leather interior and to attend a few shows - picking up some amazing awards. Built to be driven, Steve enjoys driving this beast - indeed many say that he drives his car like he stole it.
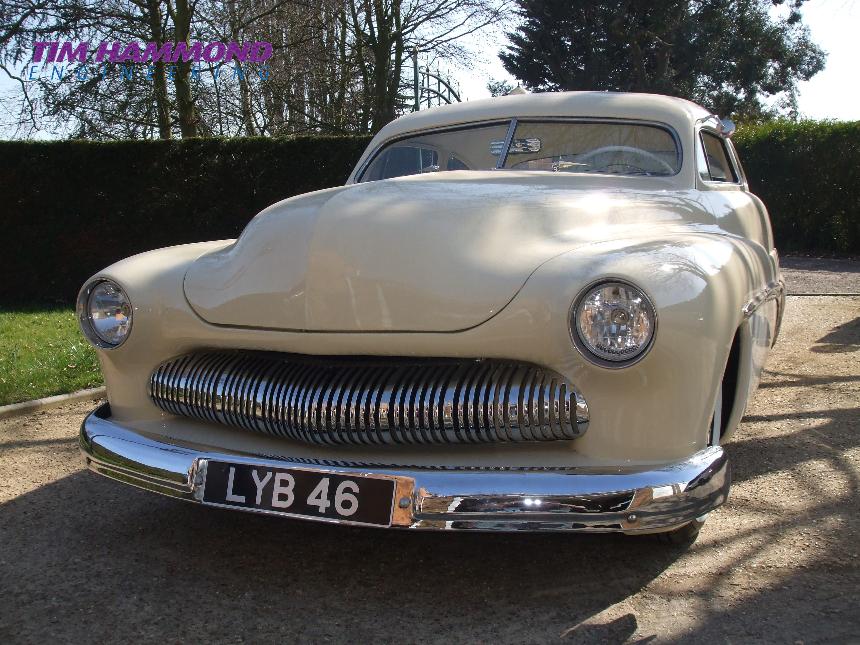
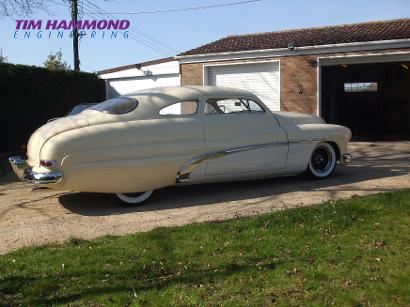

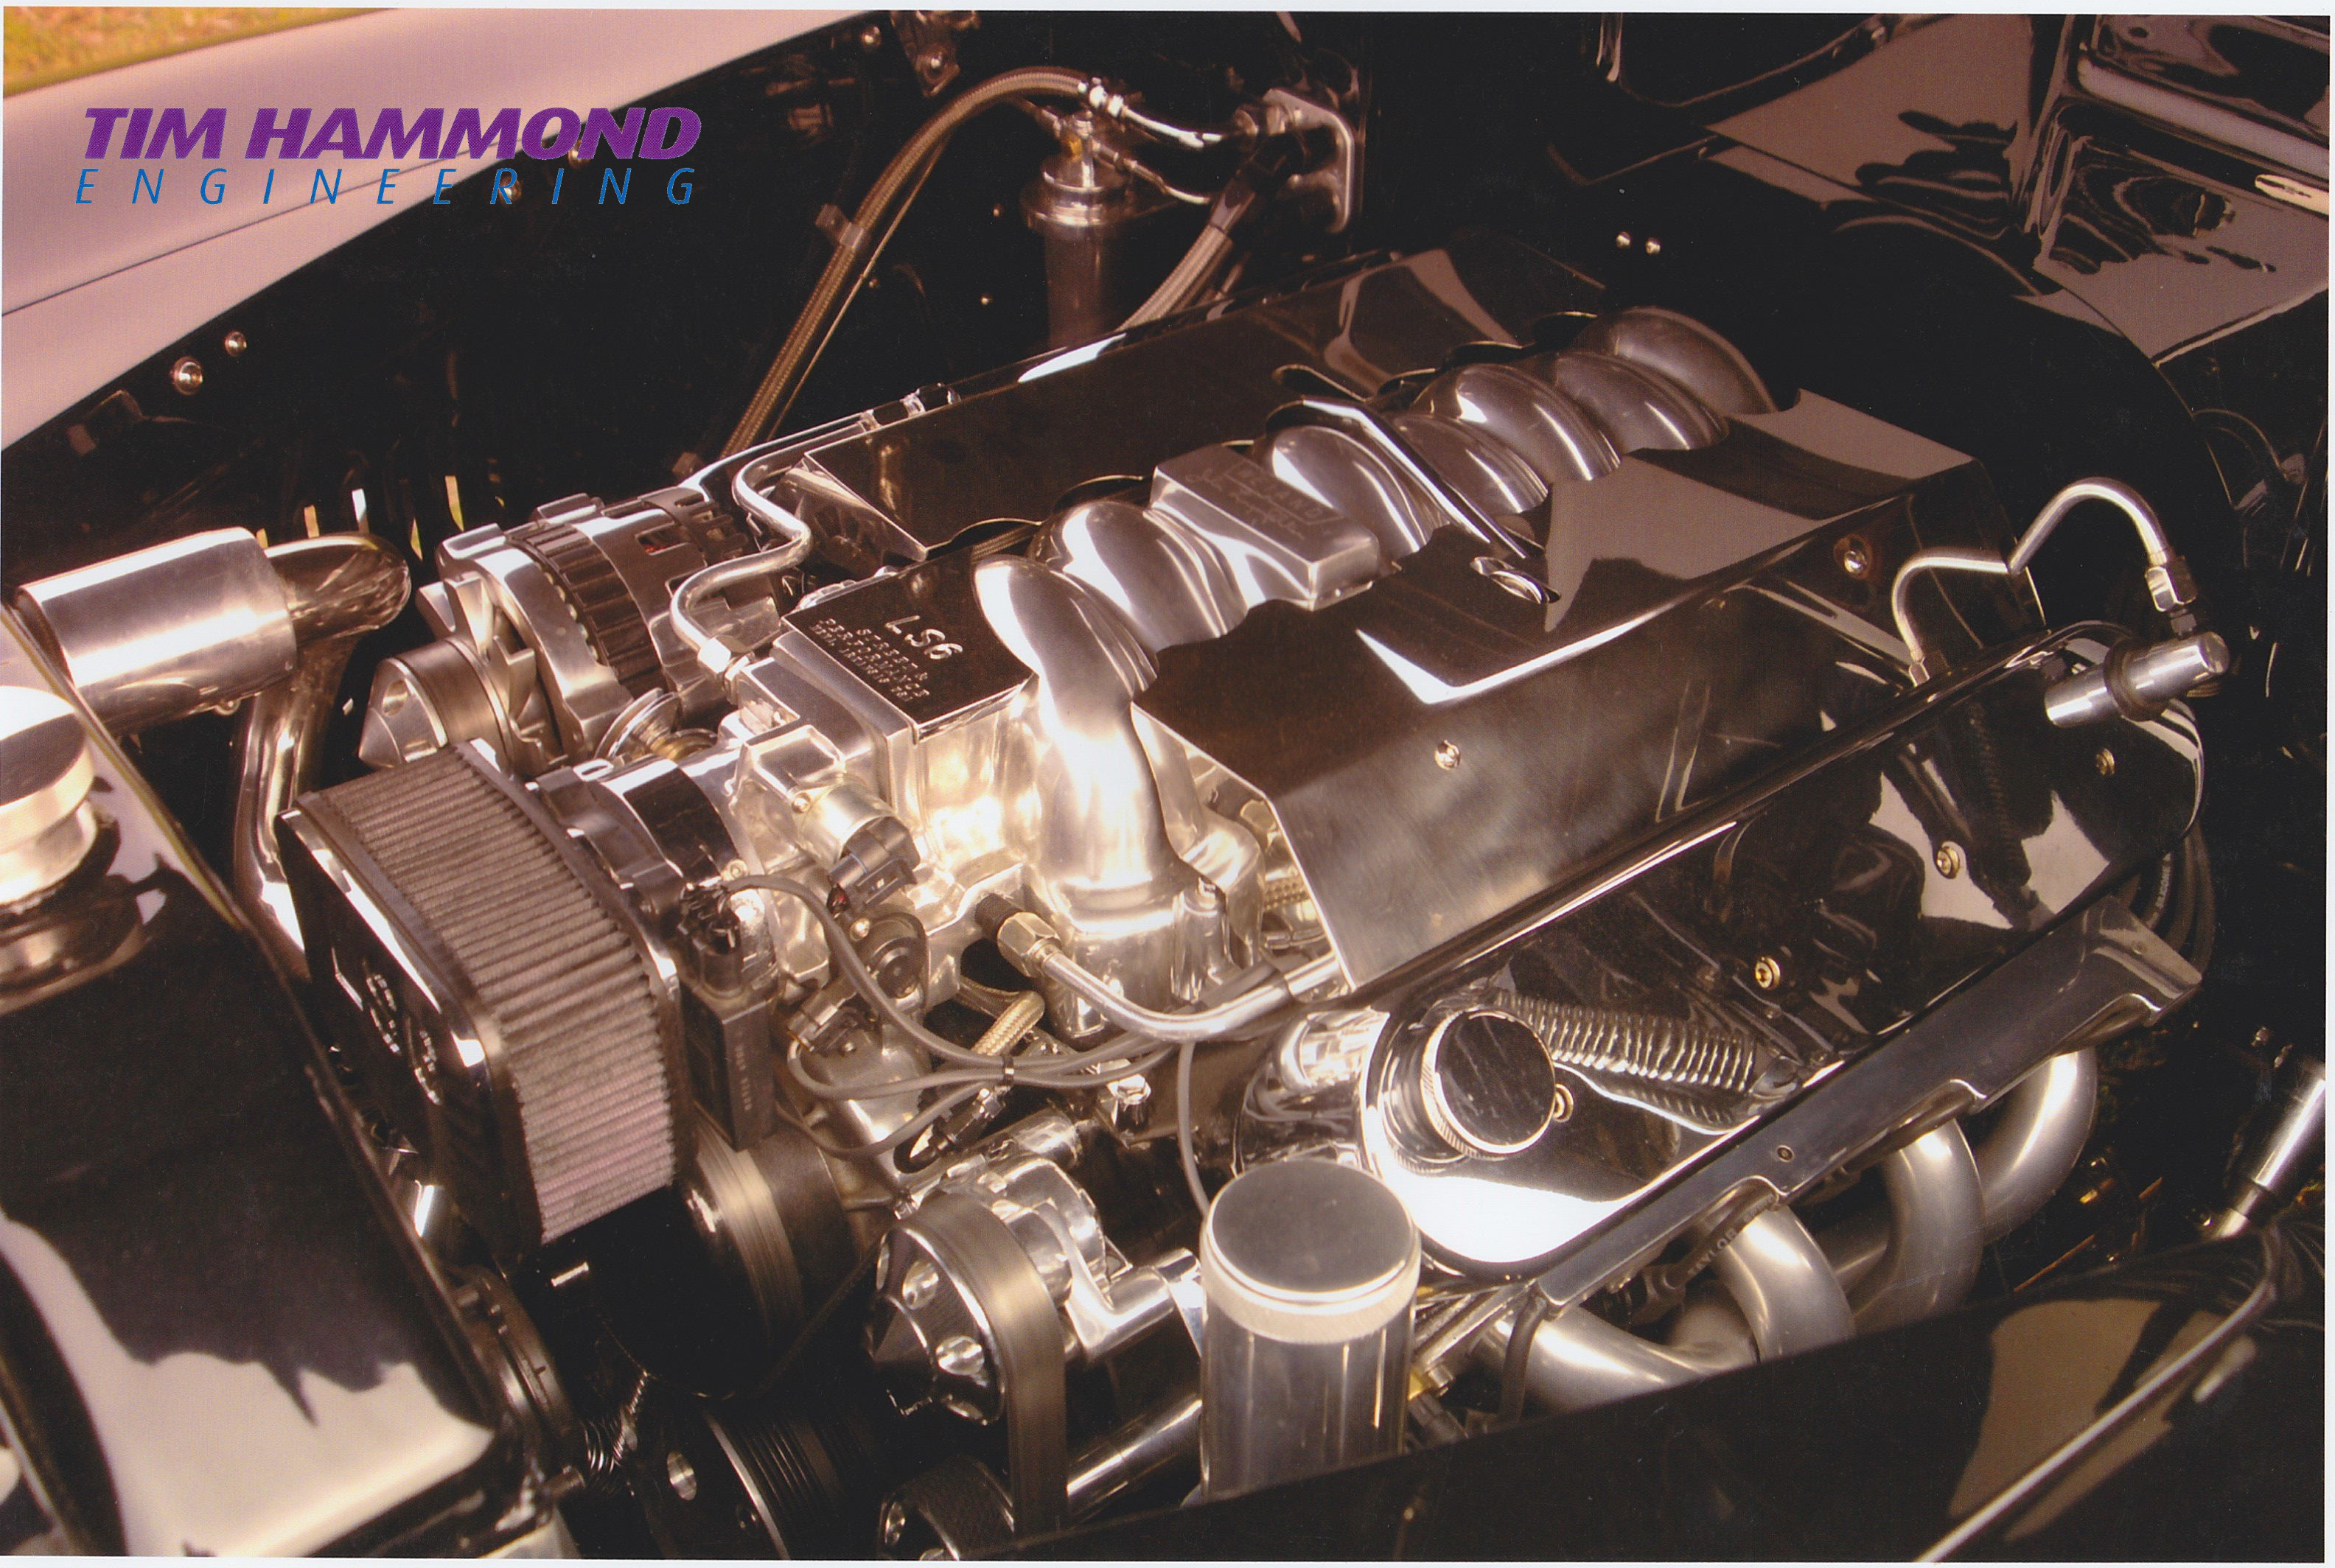
Teri's Mercury
Built by Teri, this arrived at Tim's for some final checking and making it road worthy, which included a stainless steel exhaust system, new fuel tank, remote entry, re-wiring. Teri drives the car around a lot and enjoys cruising.
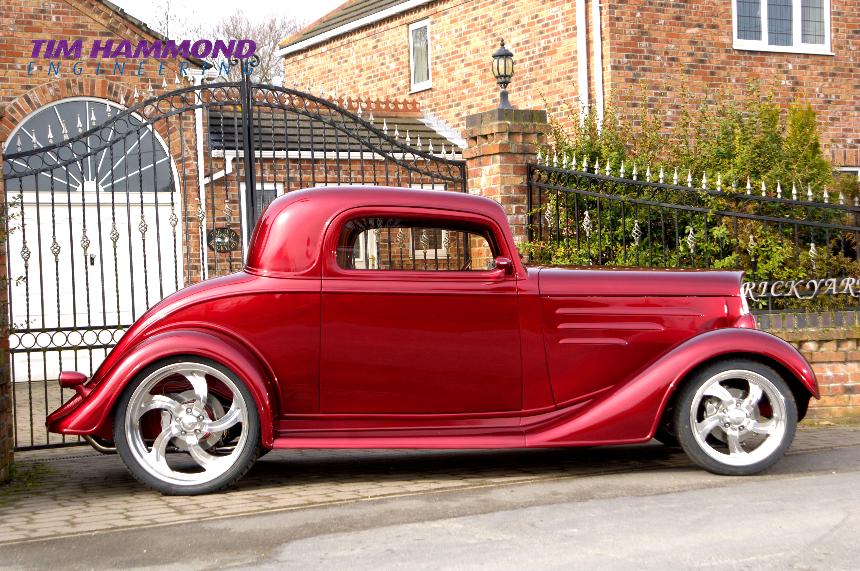

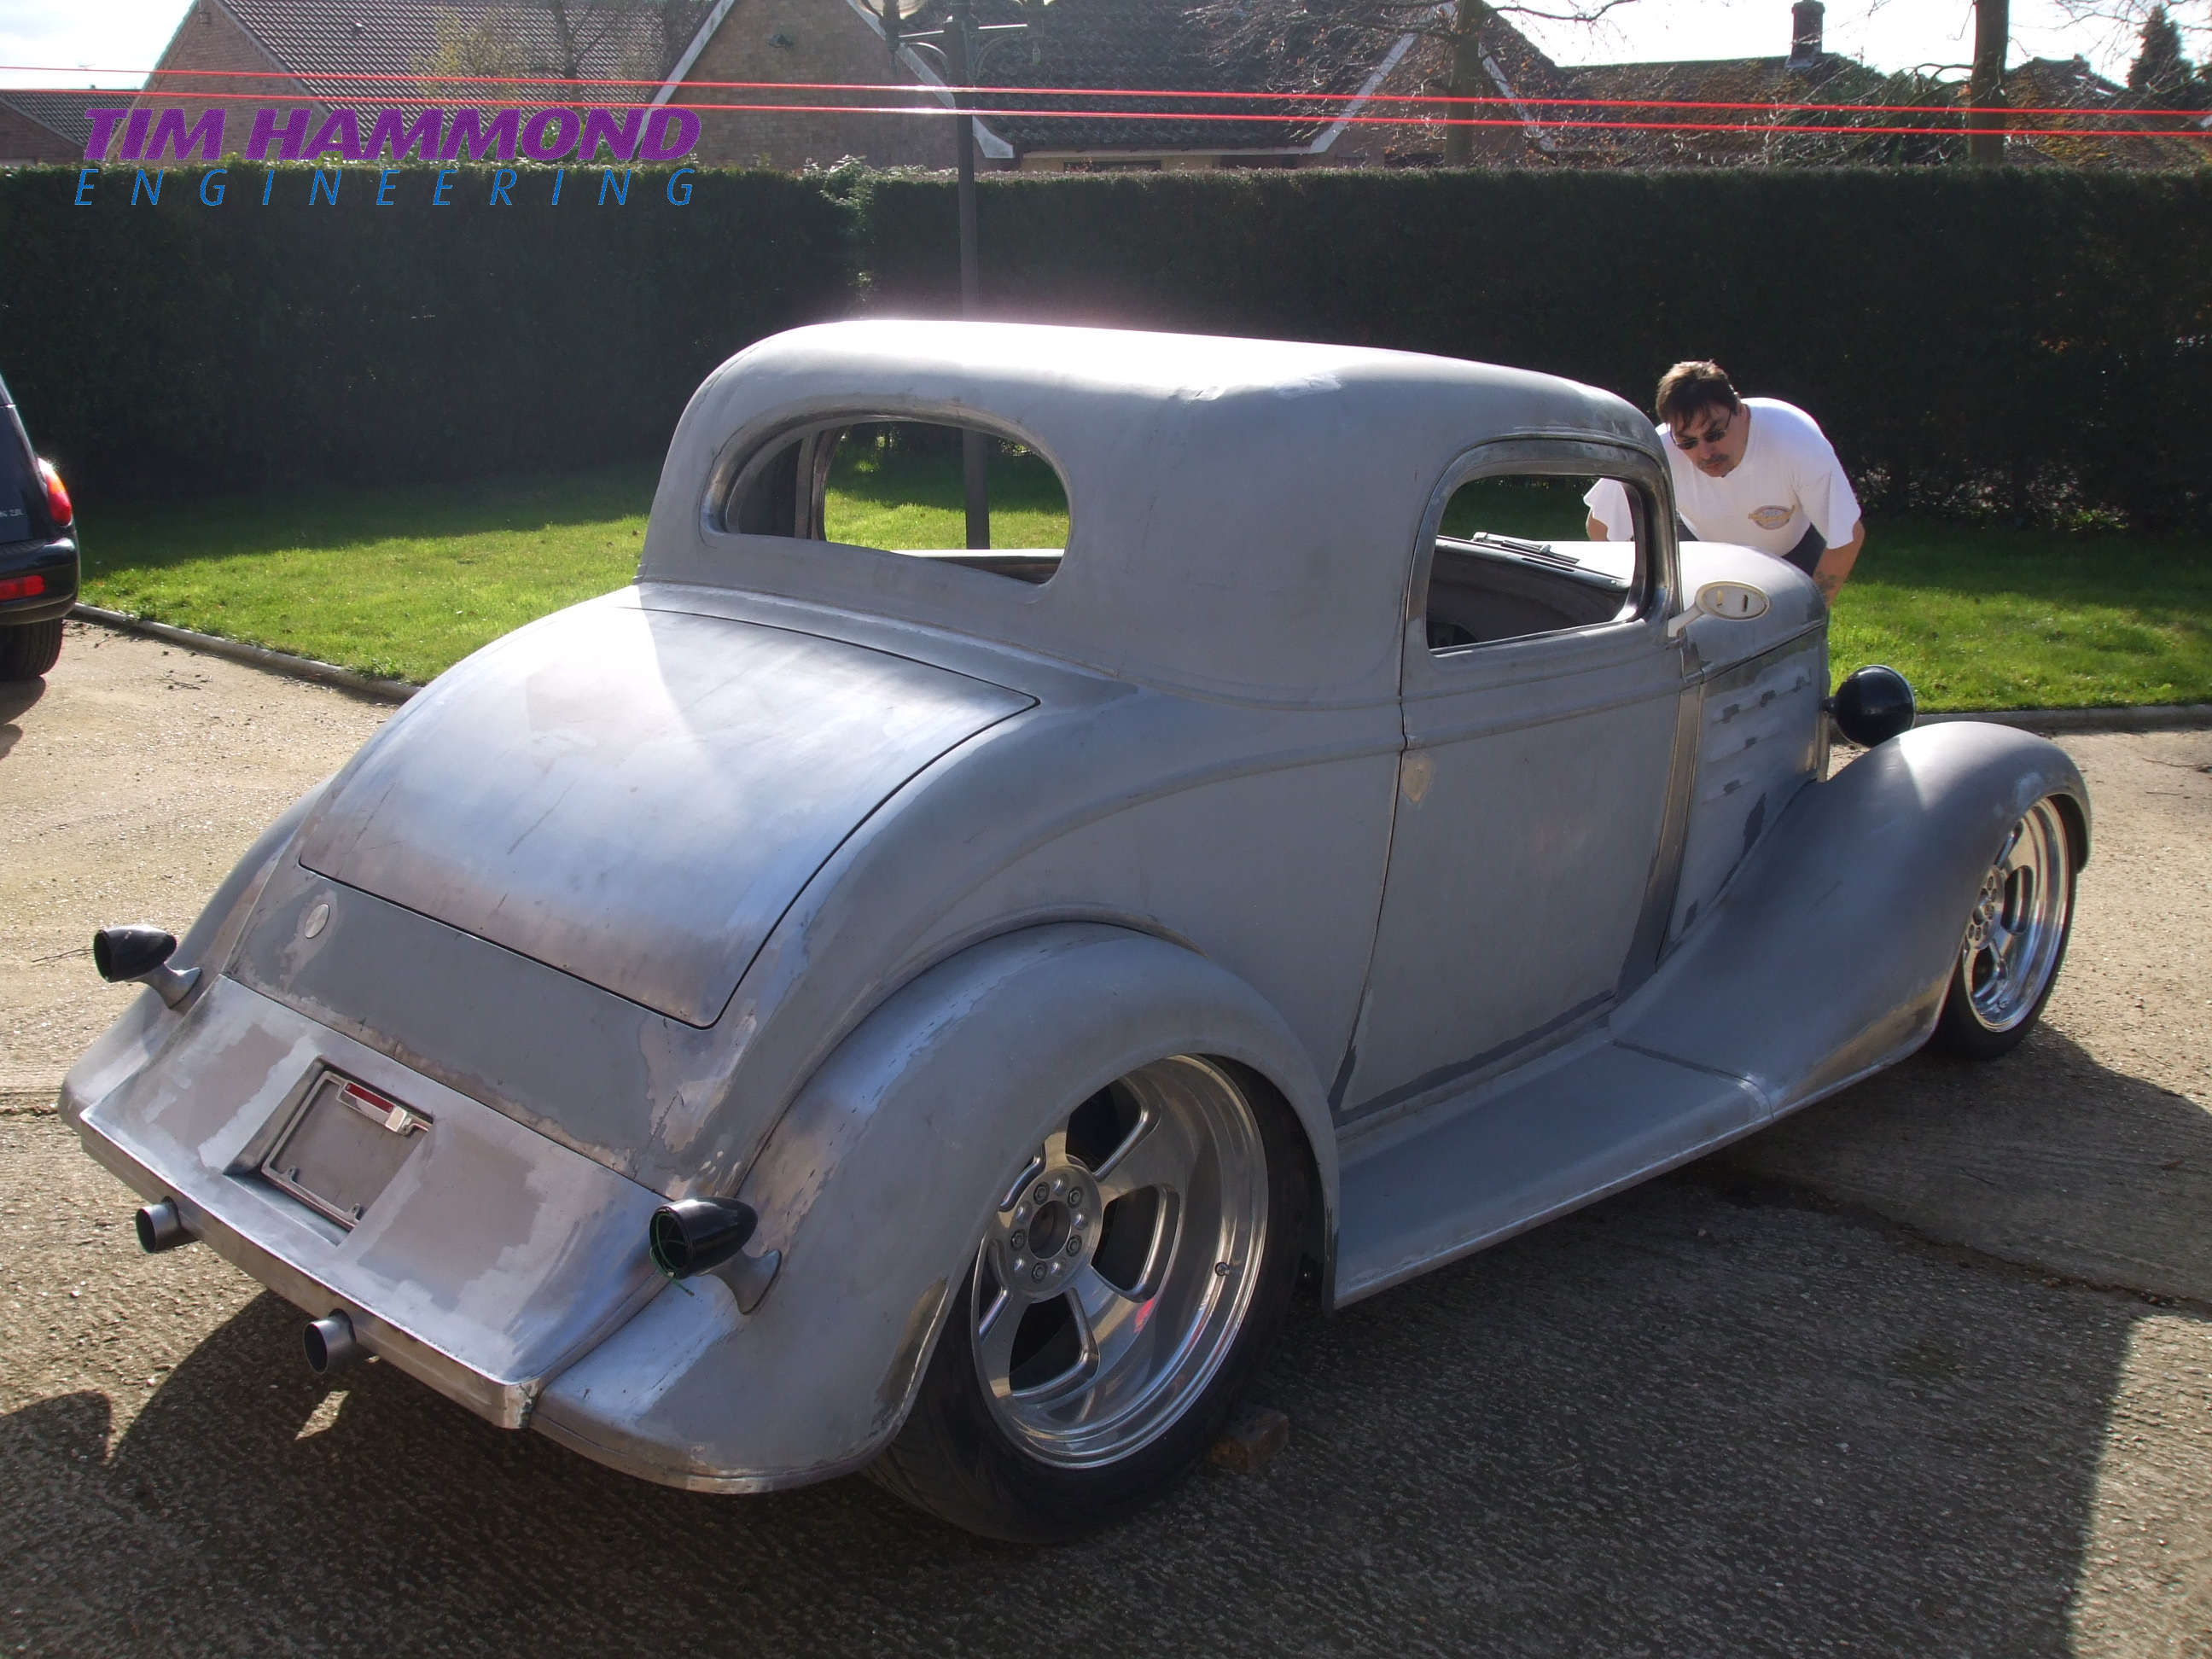
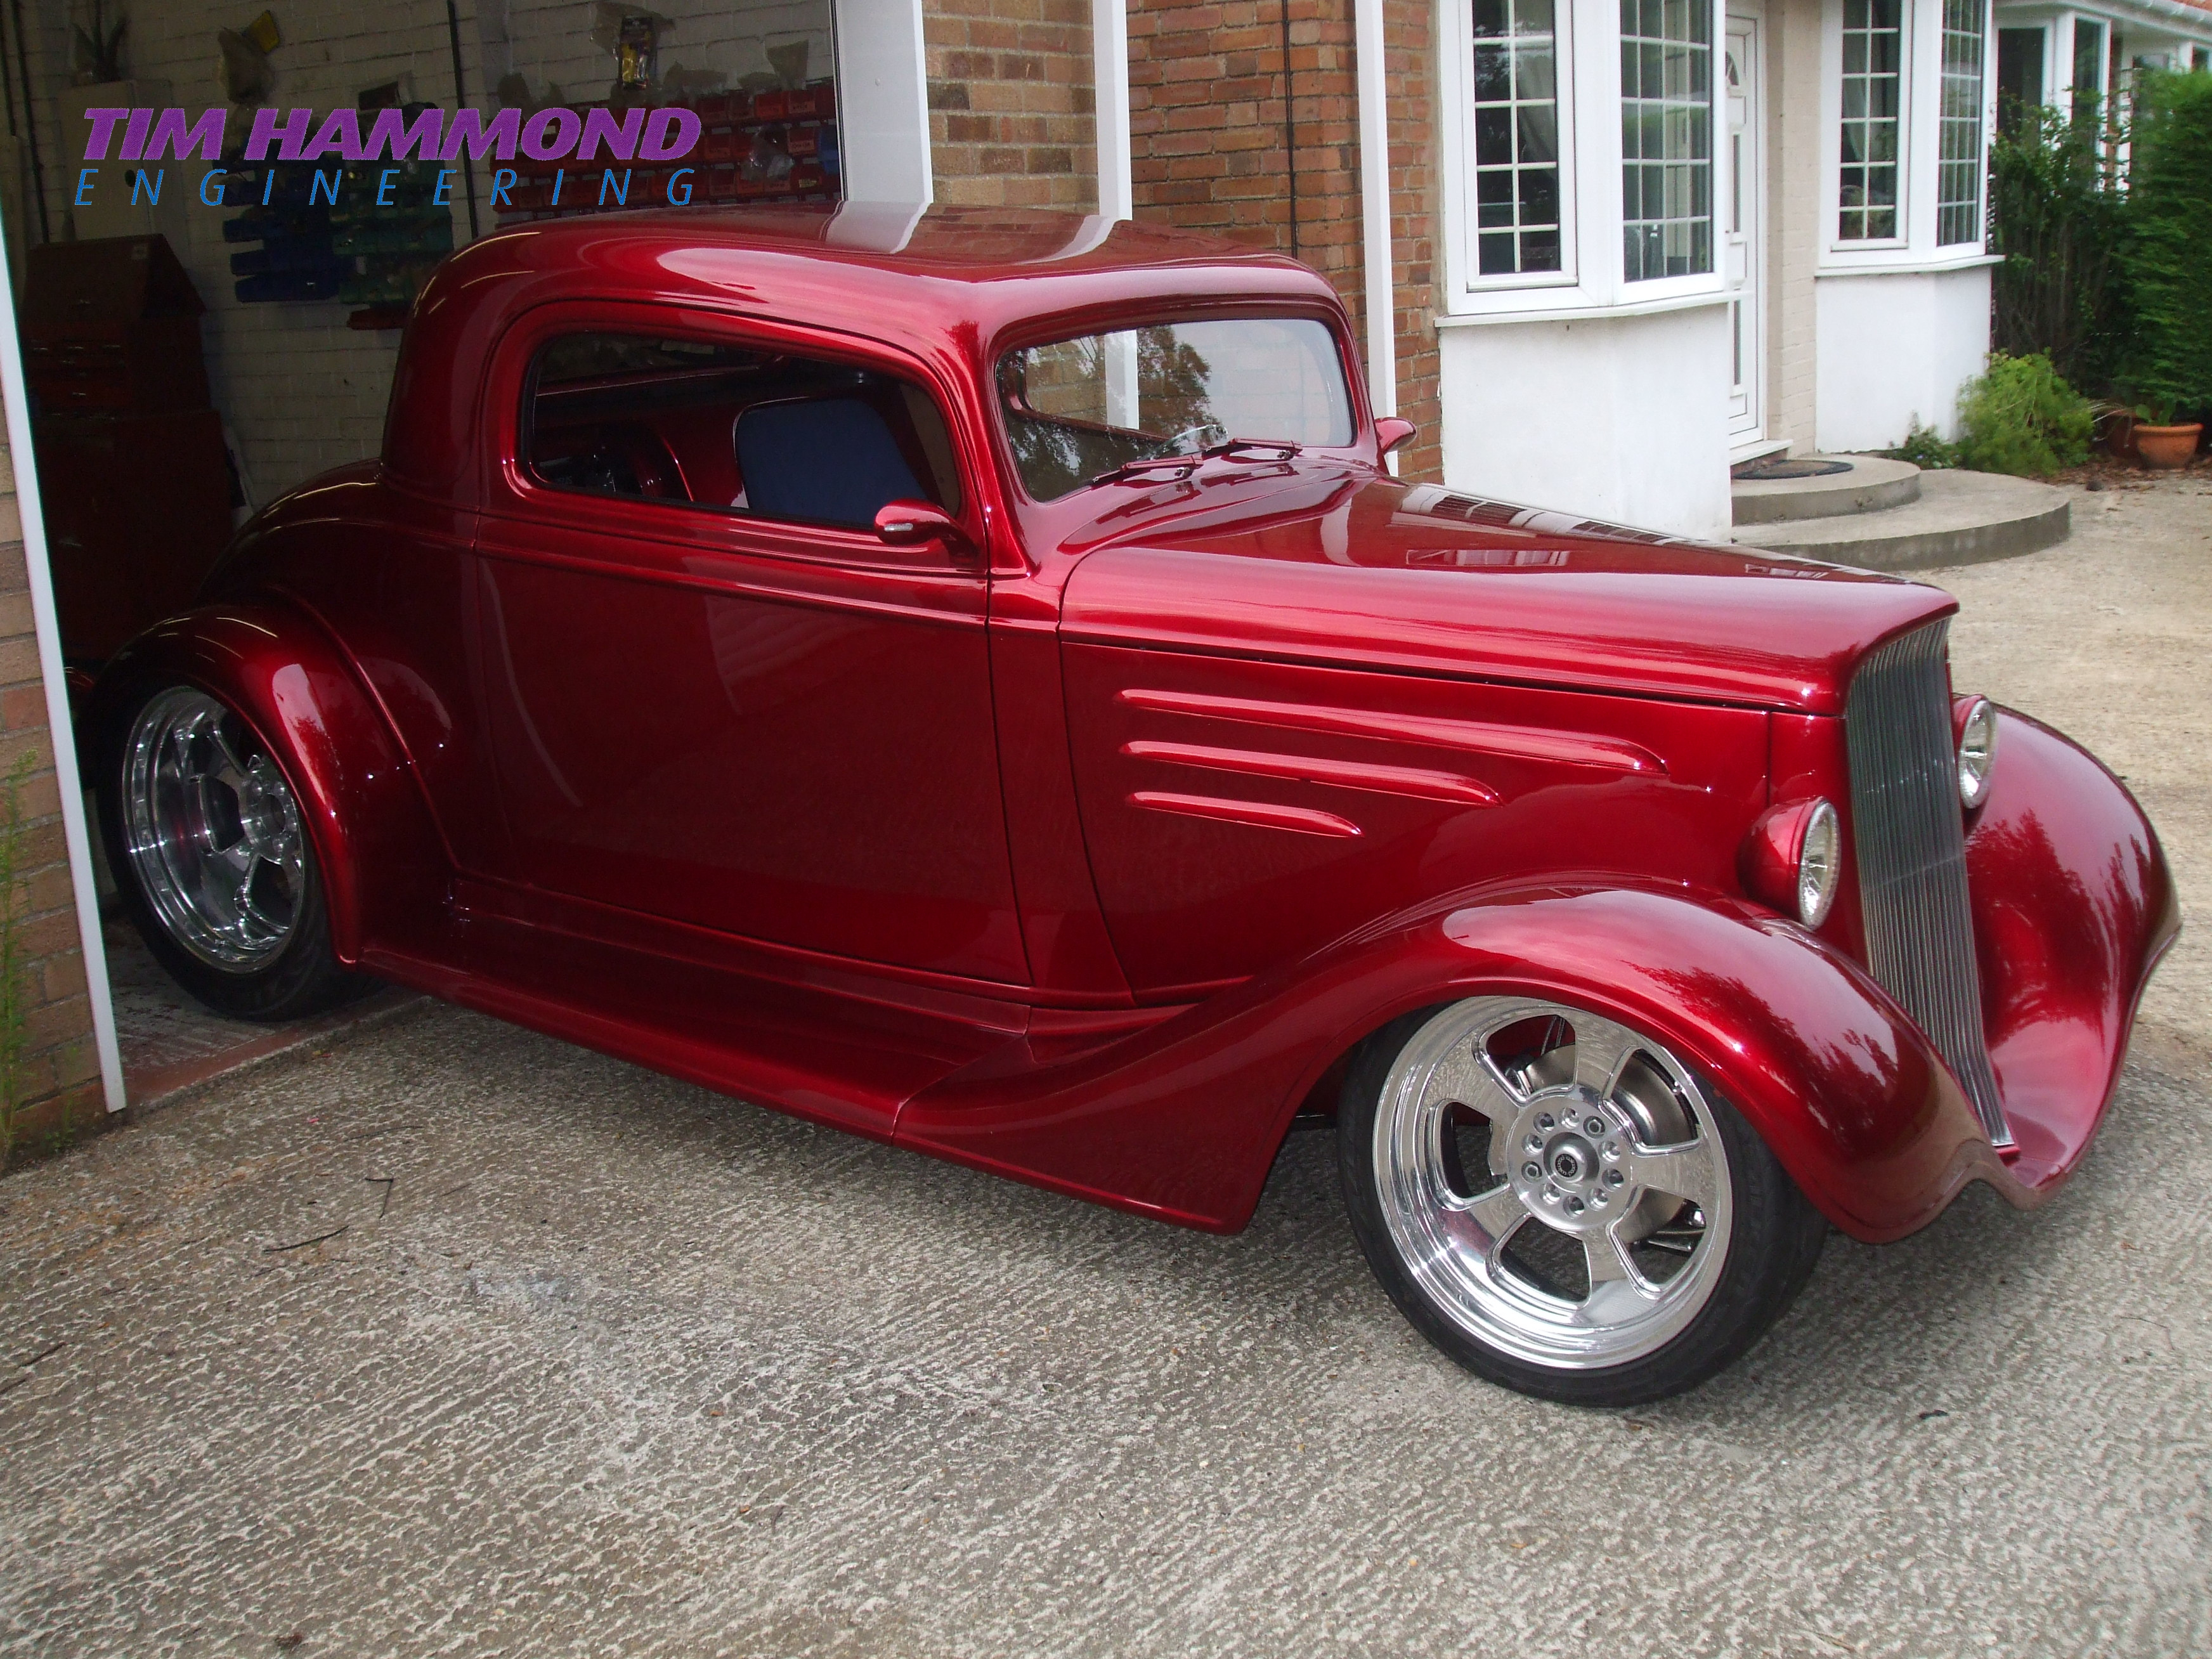
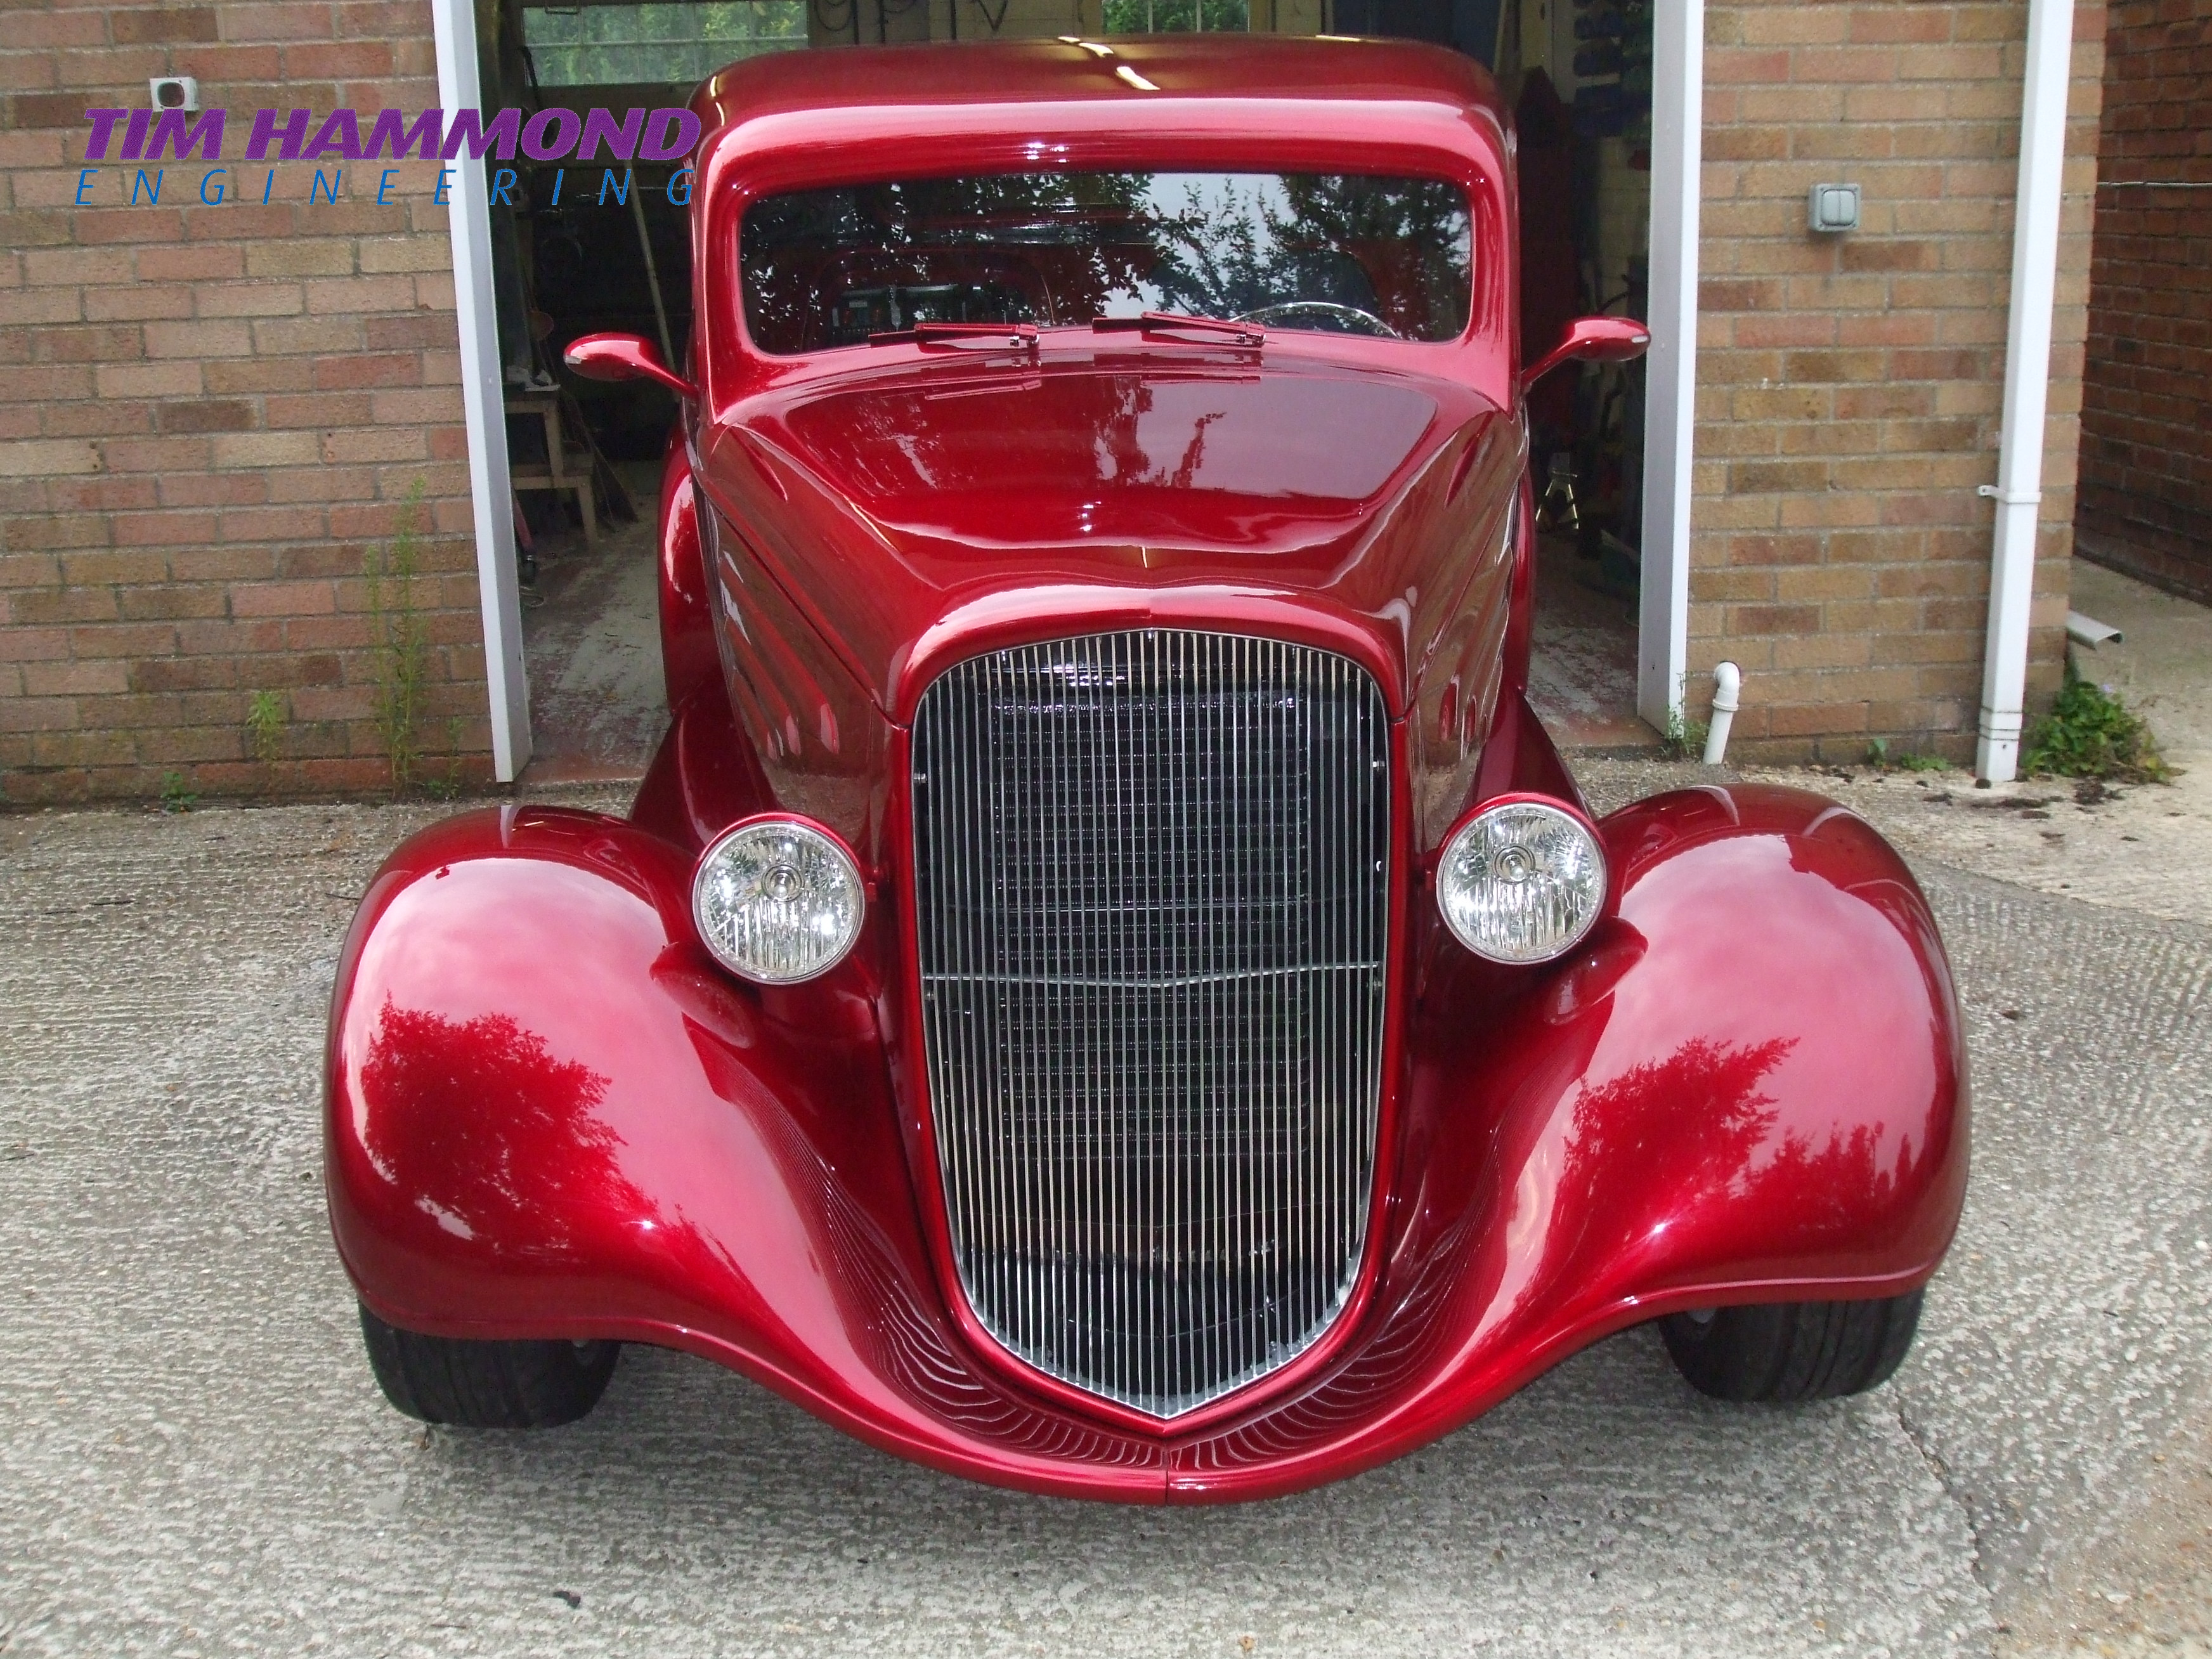
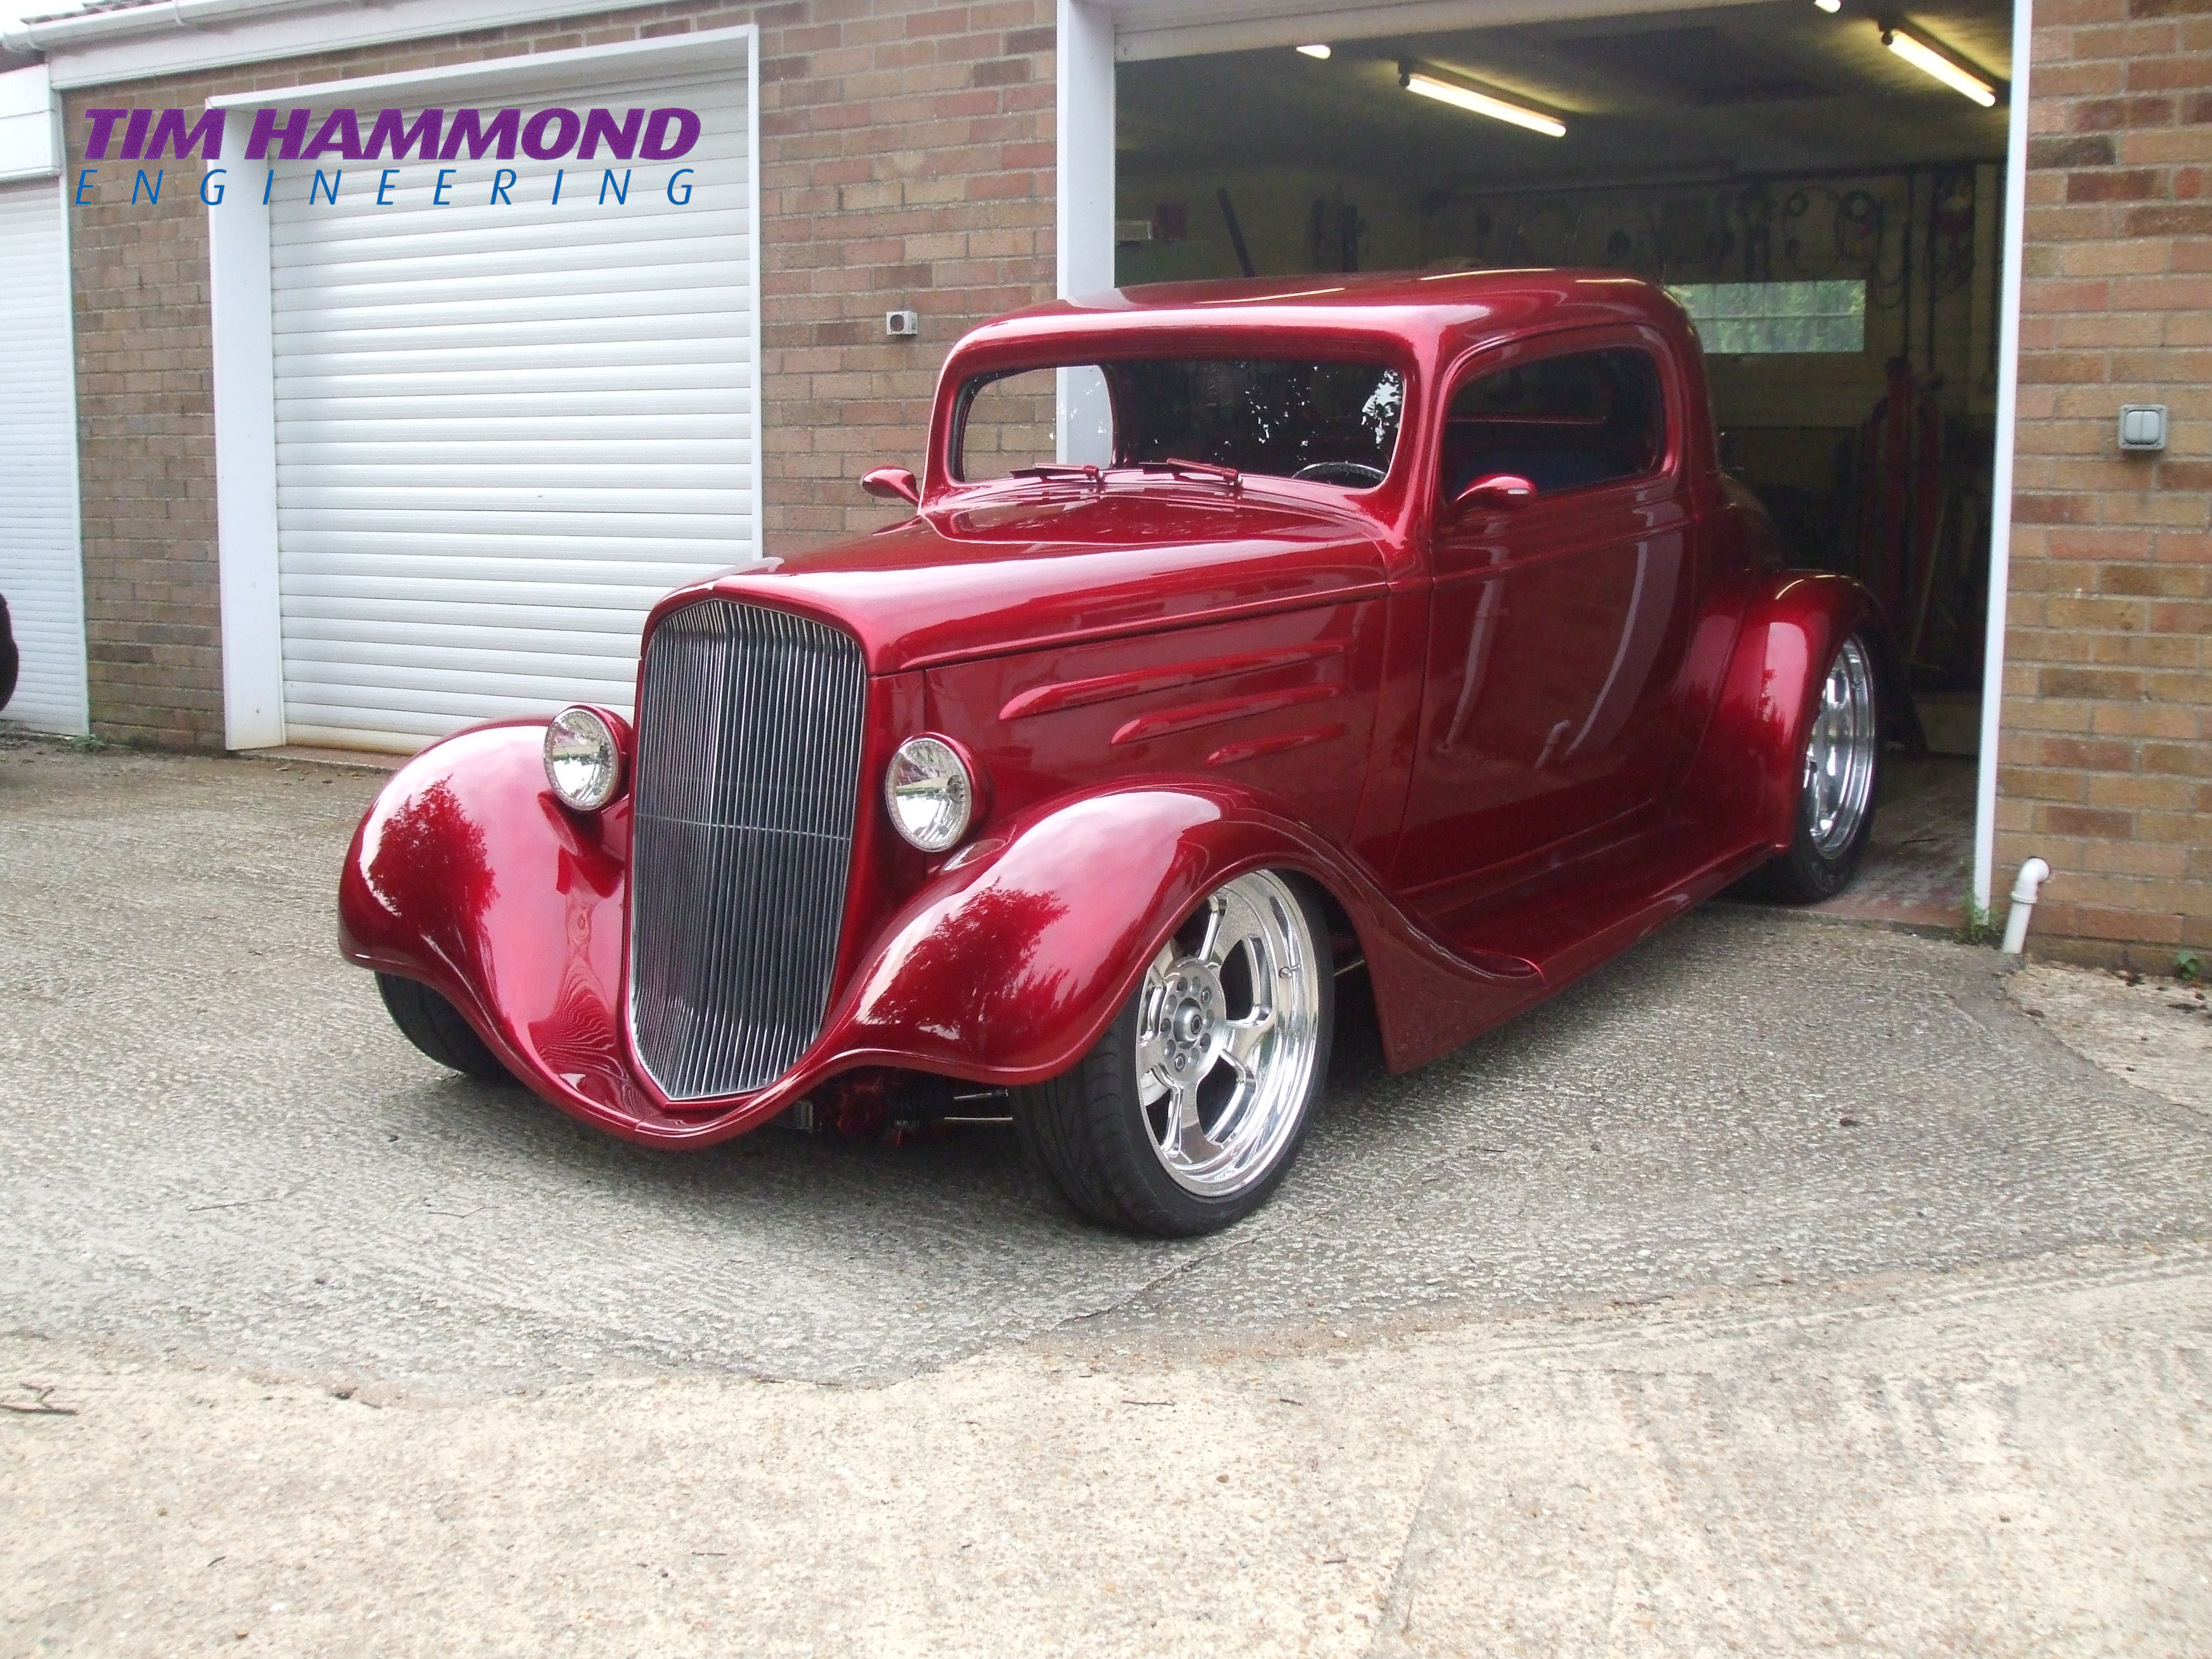
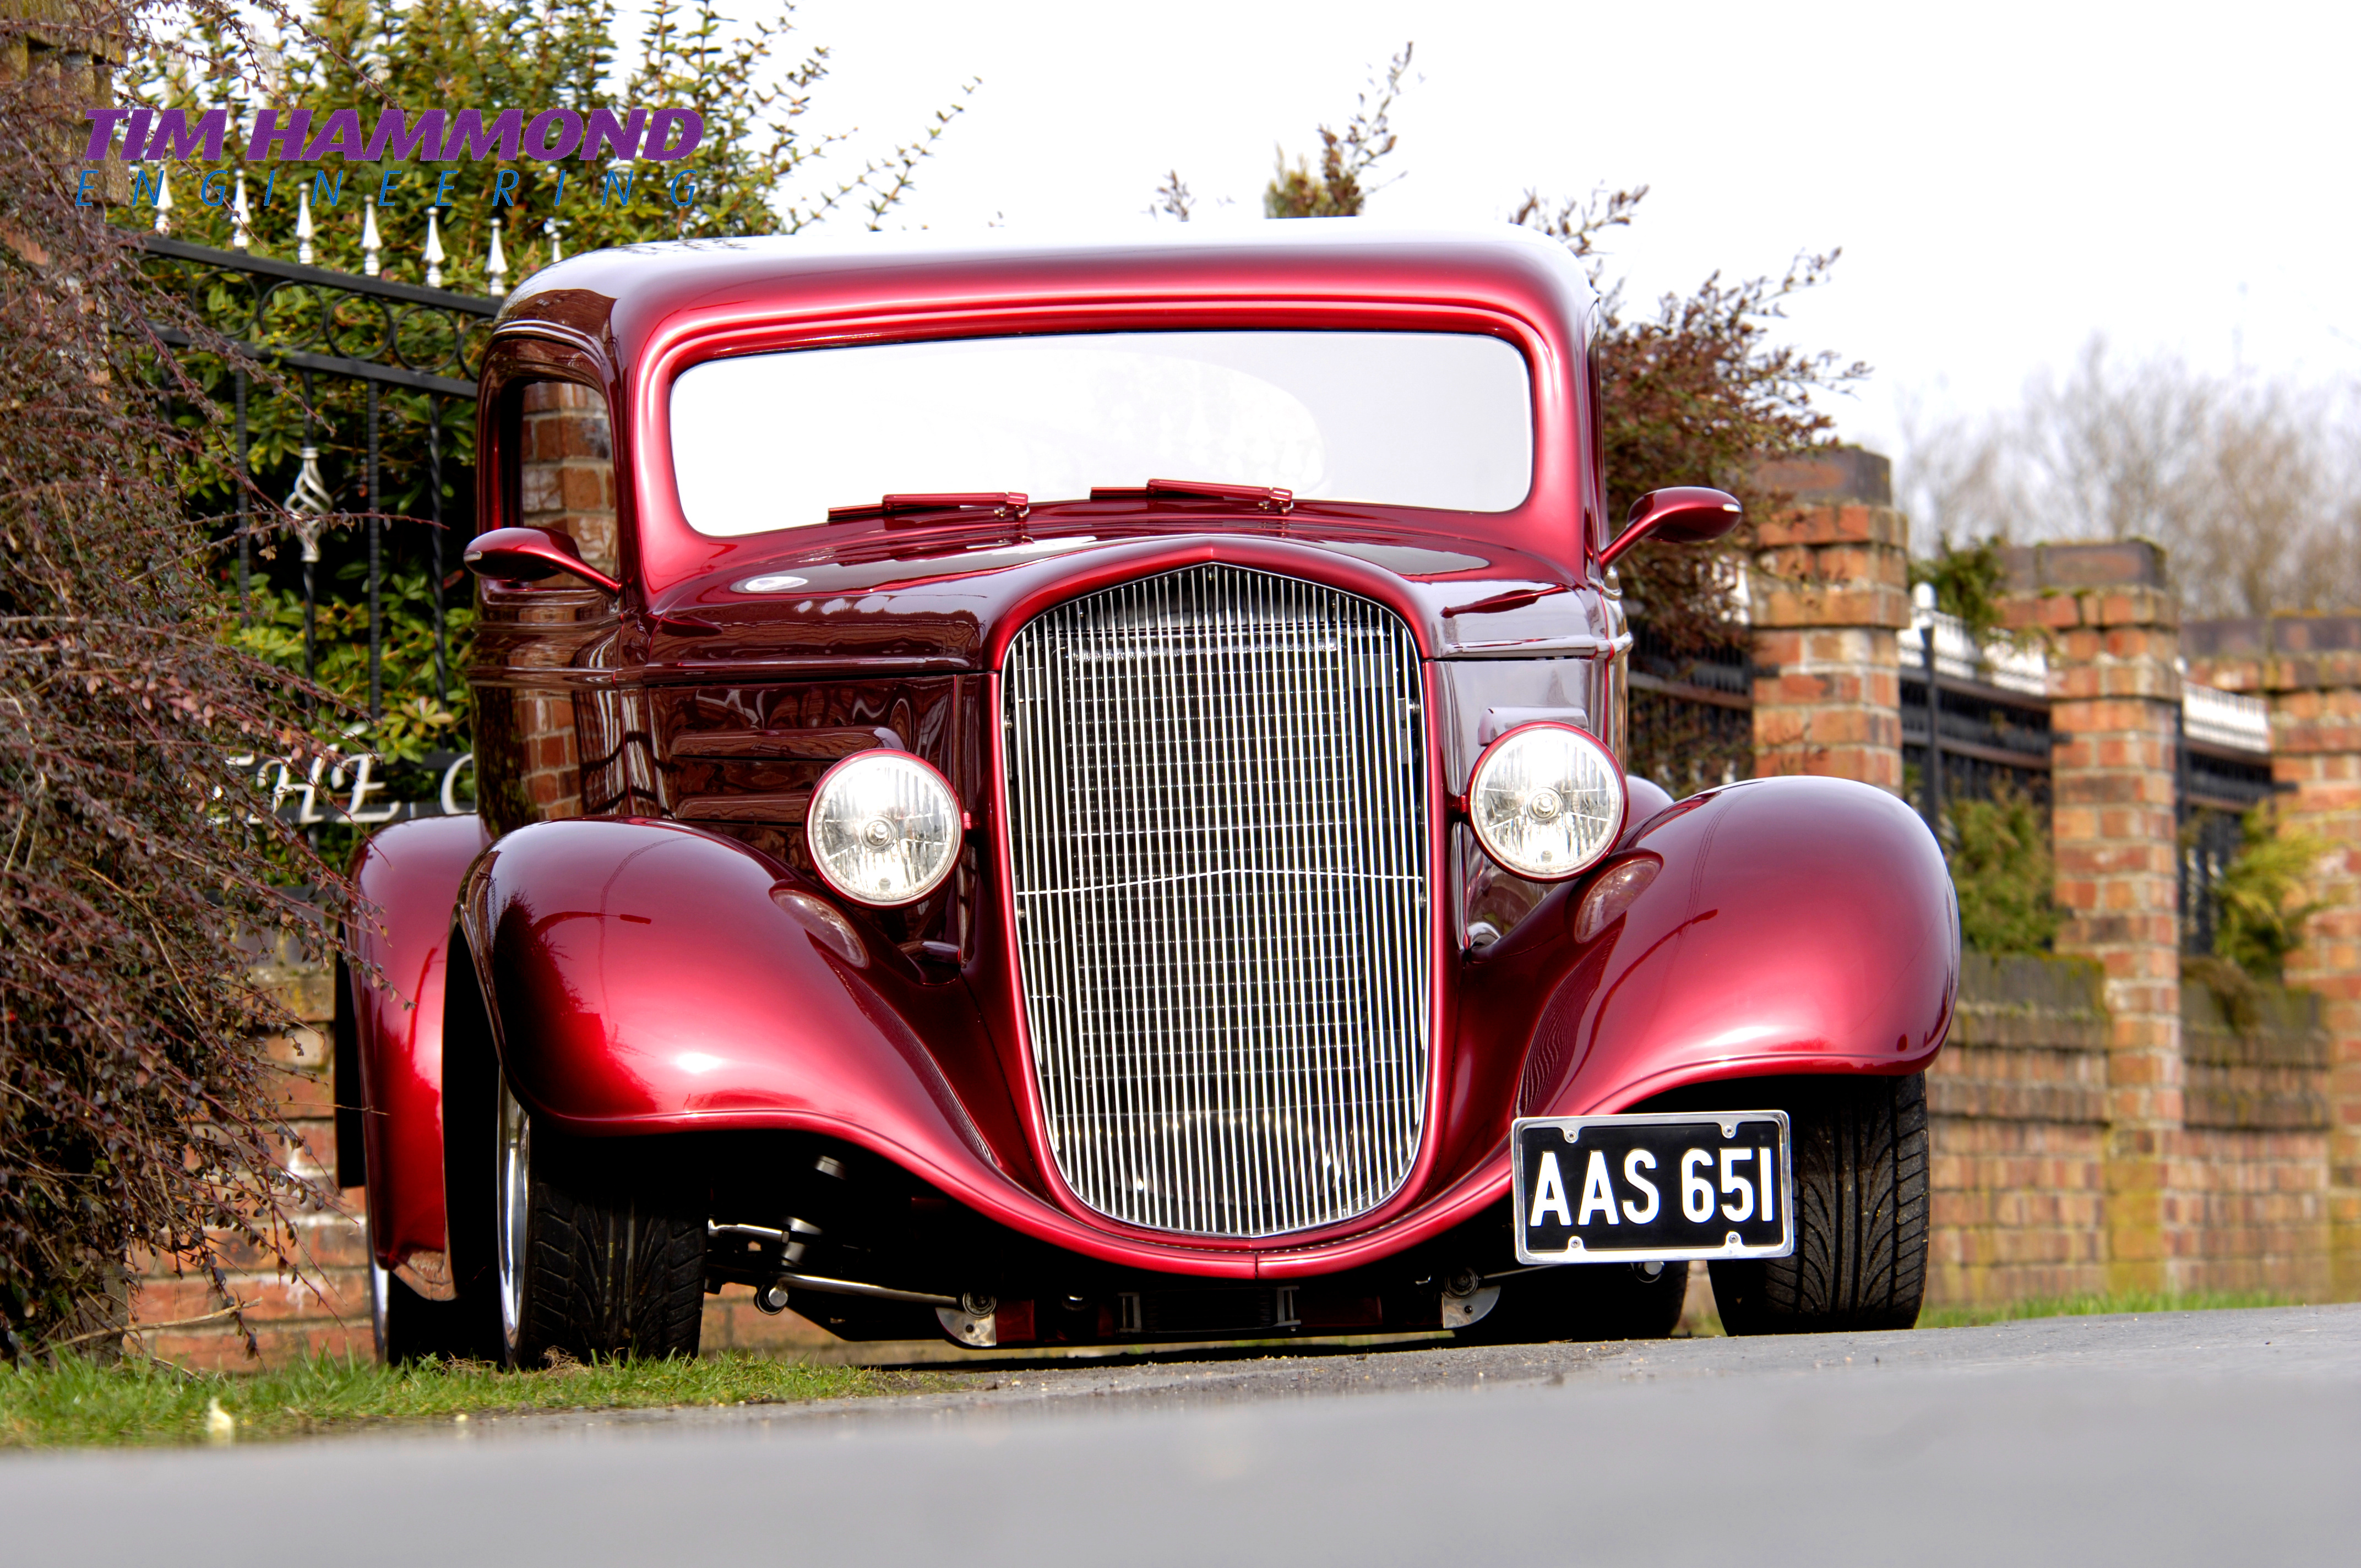
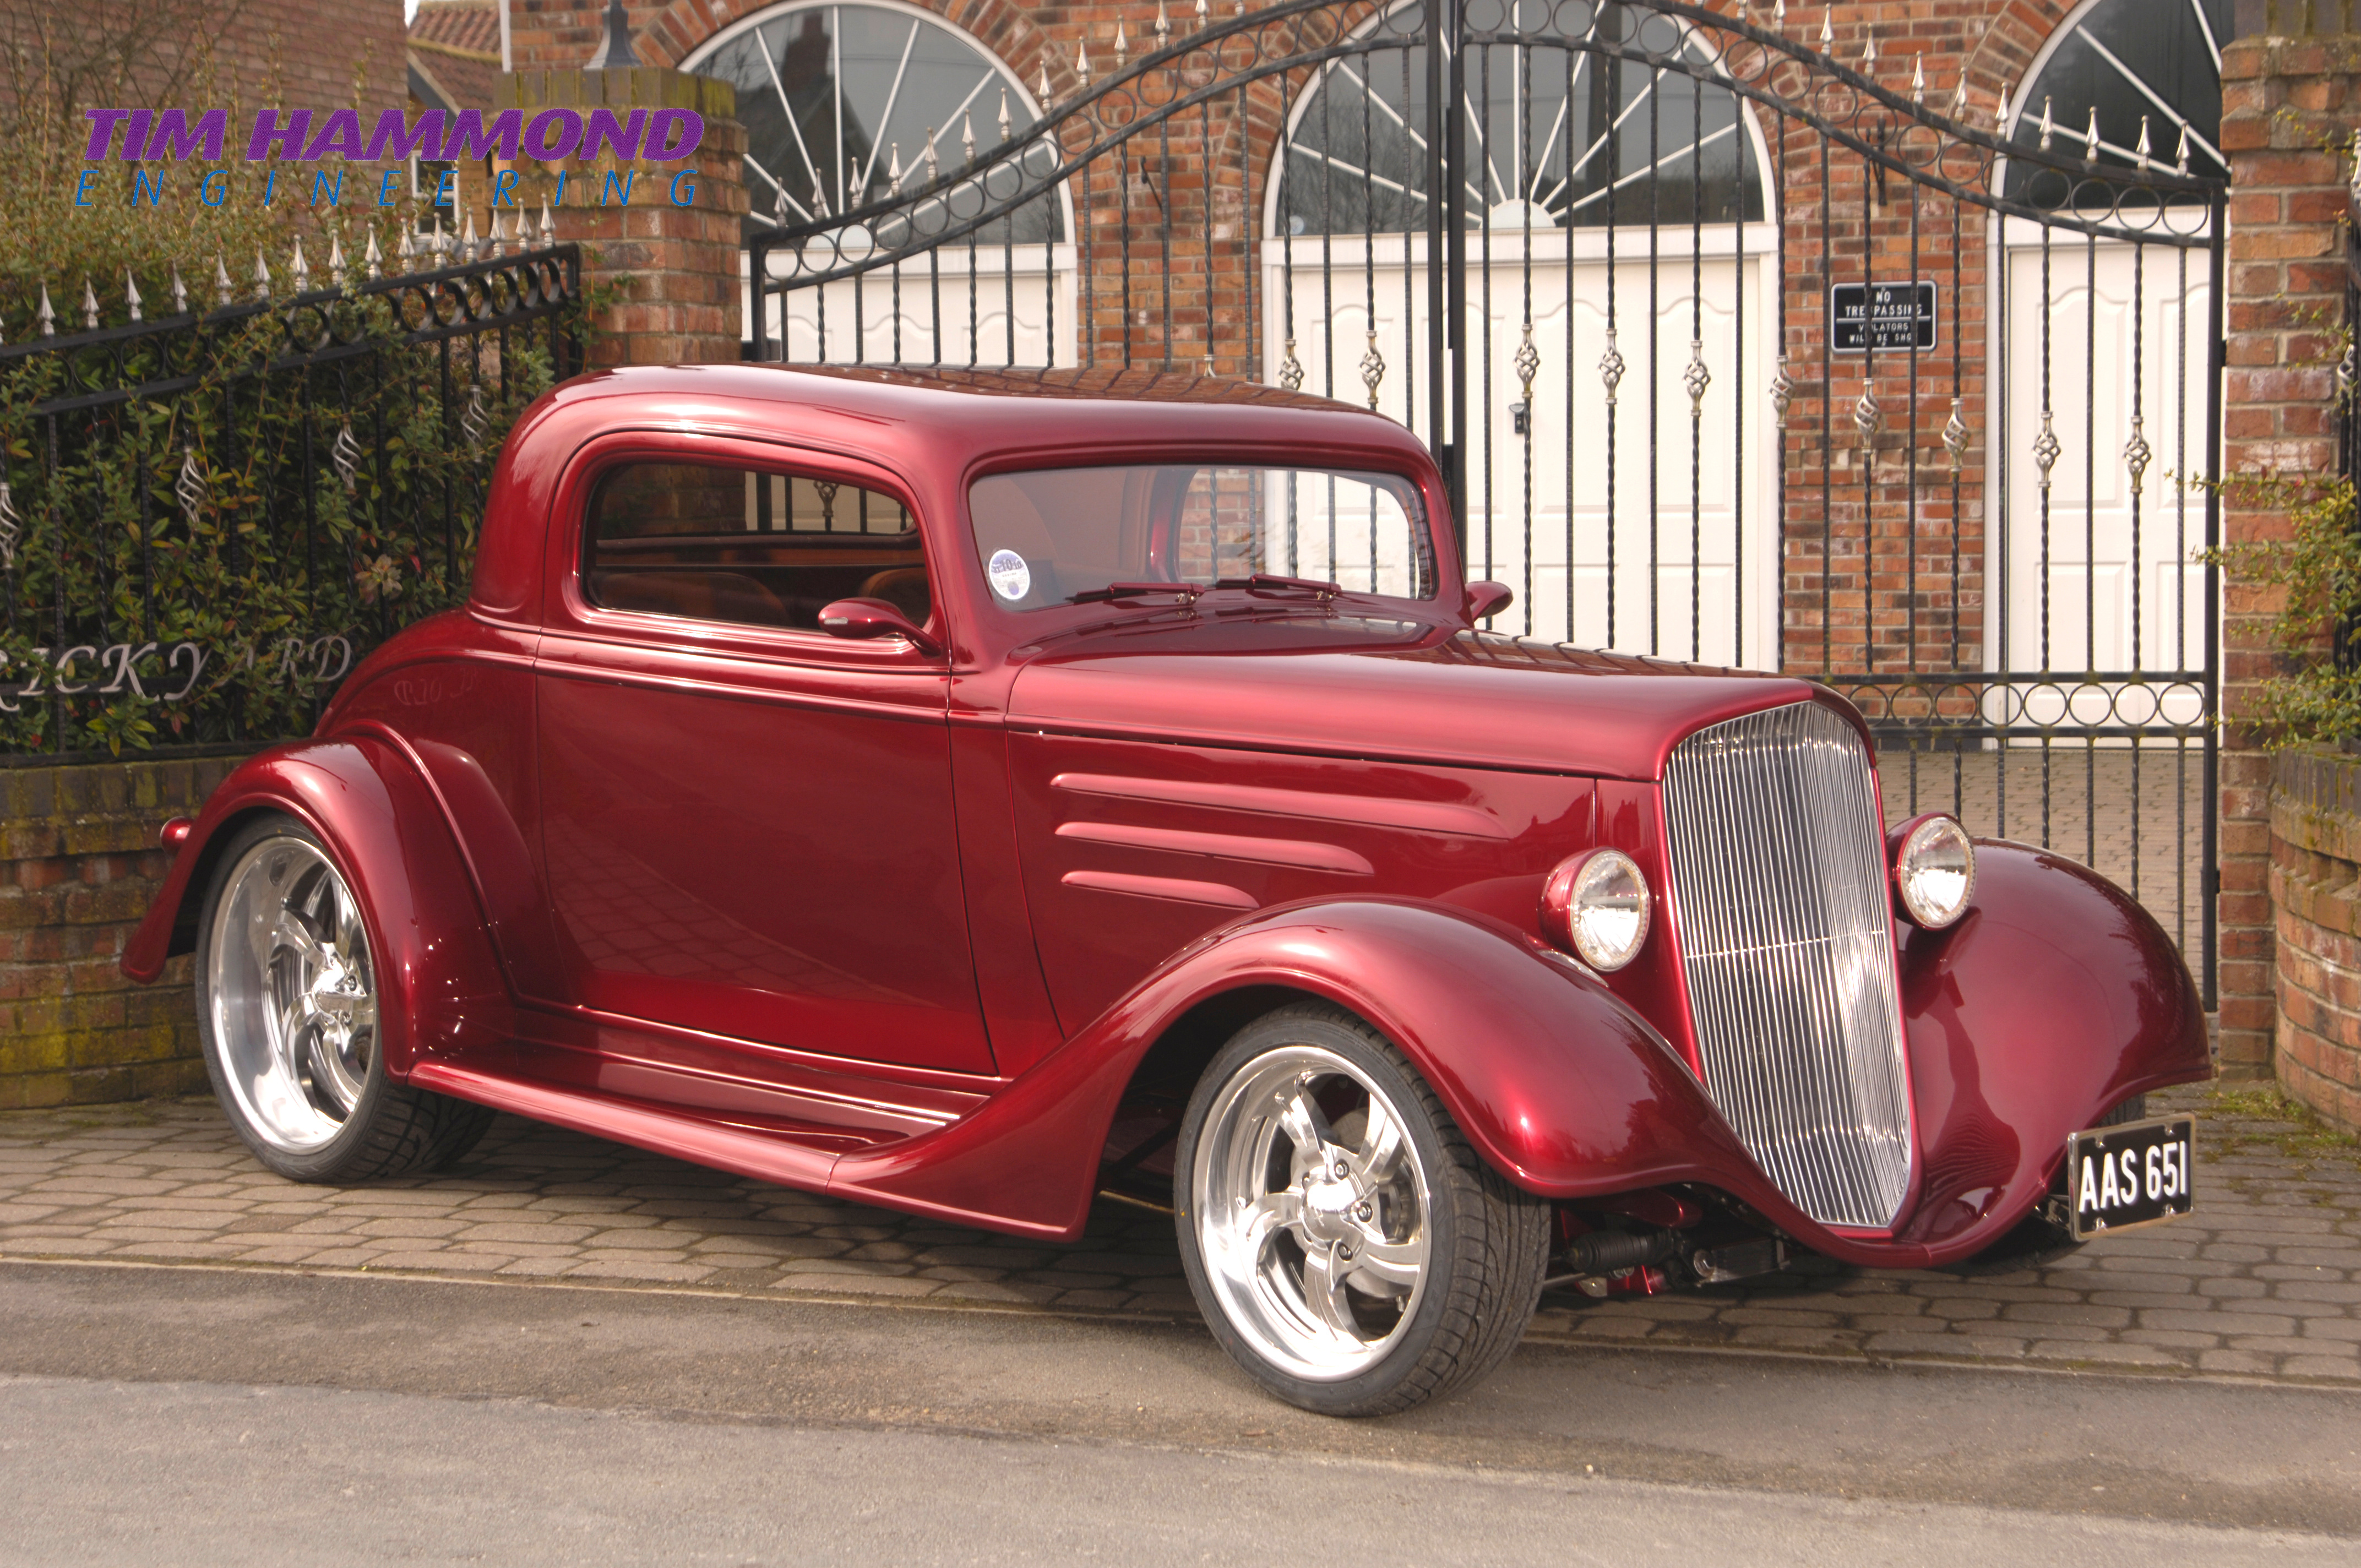
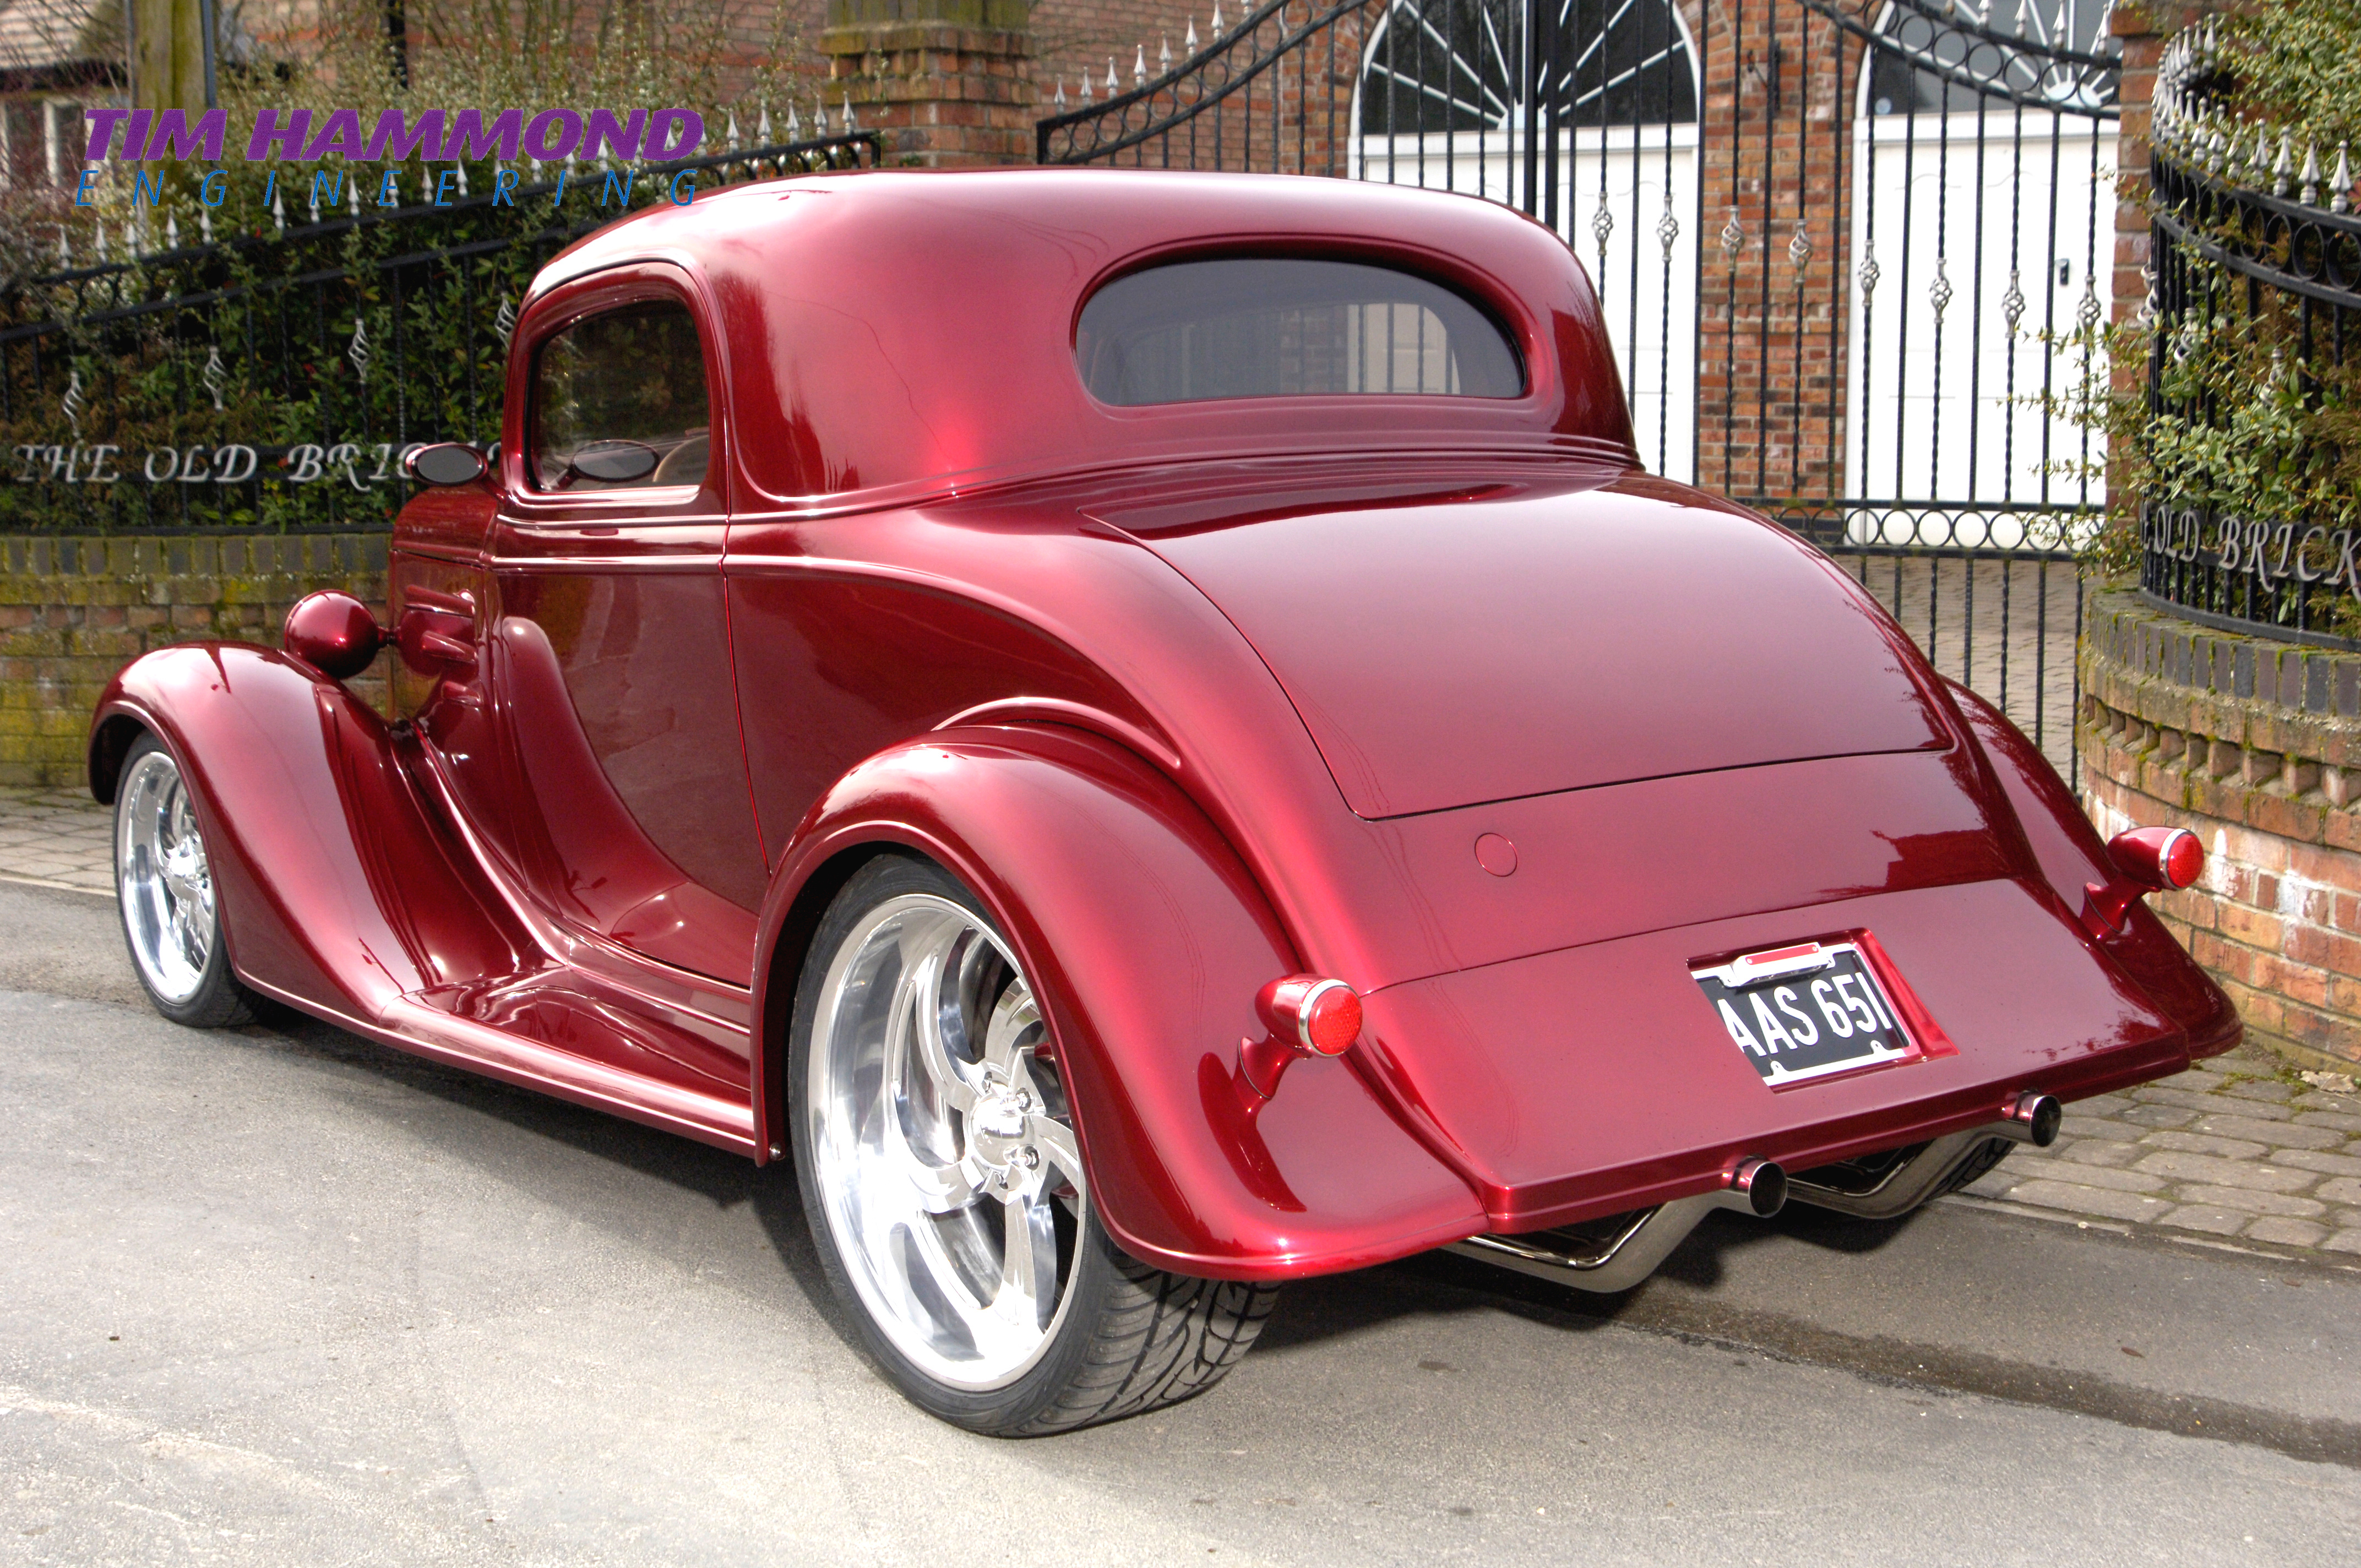
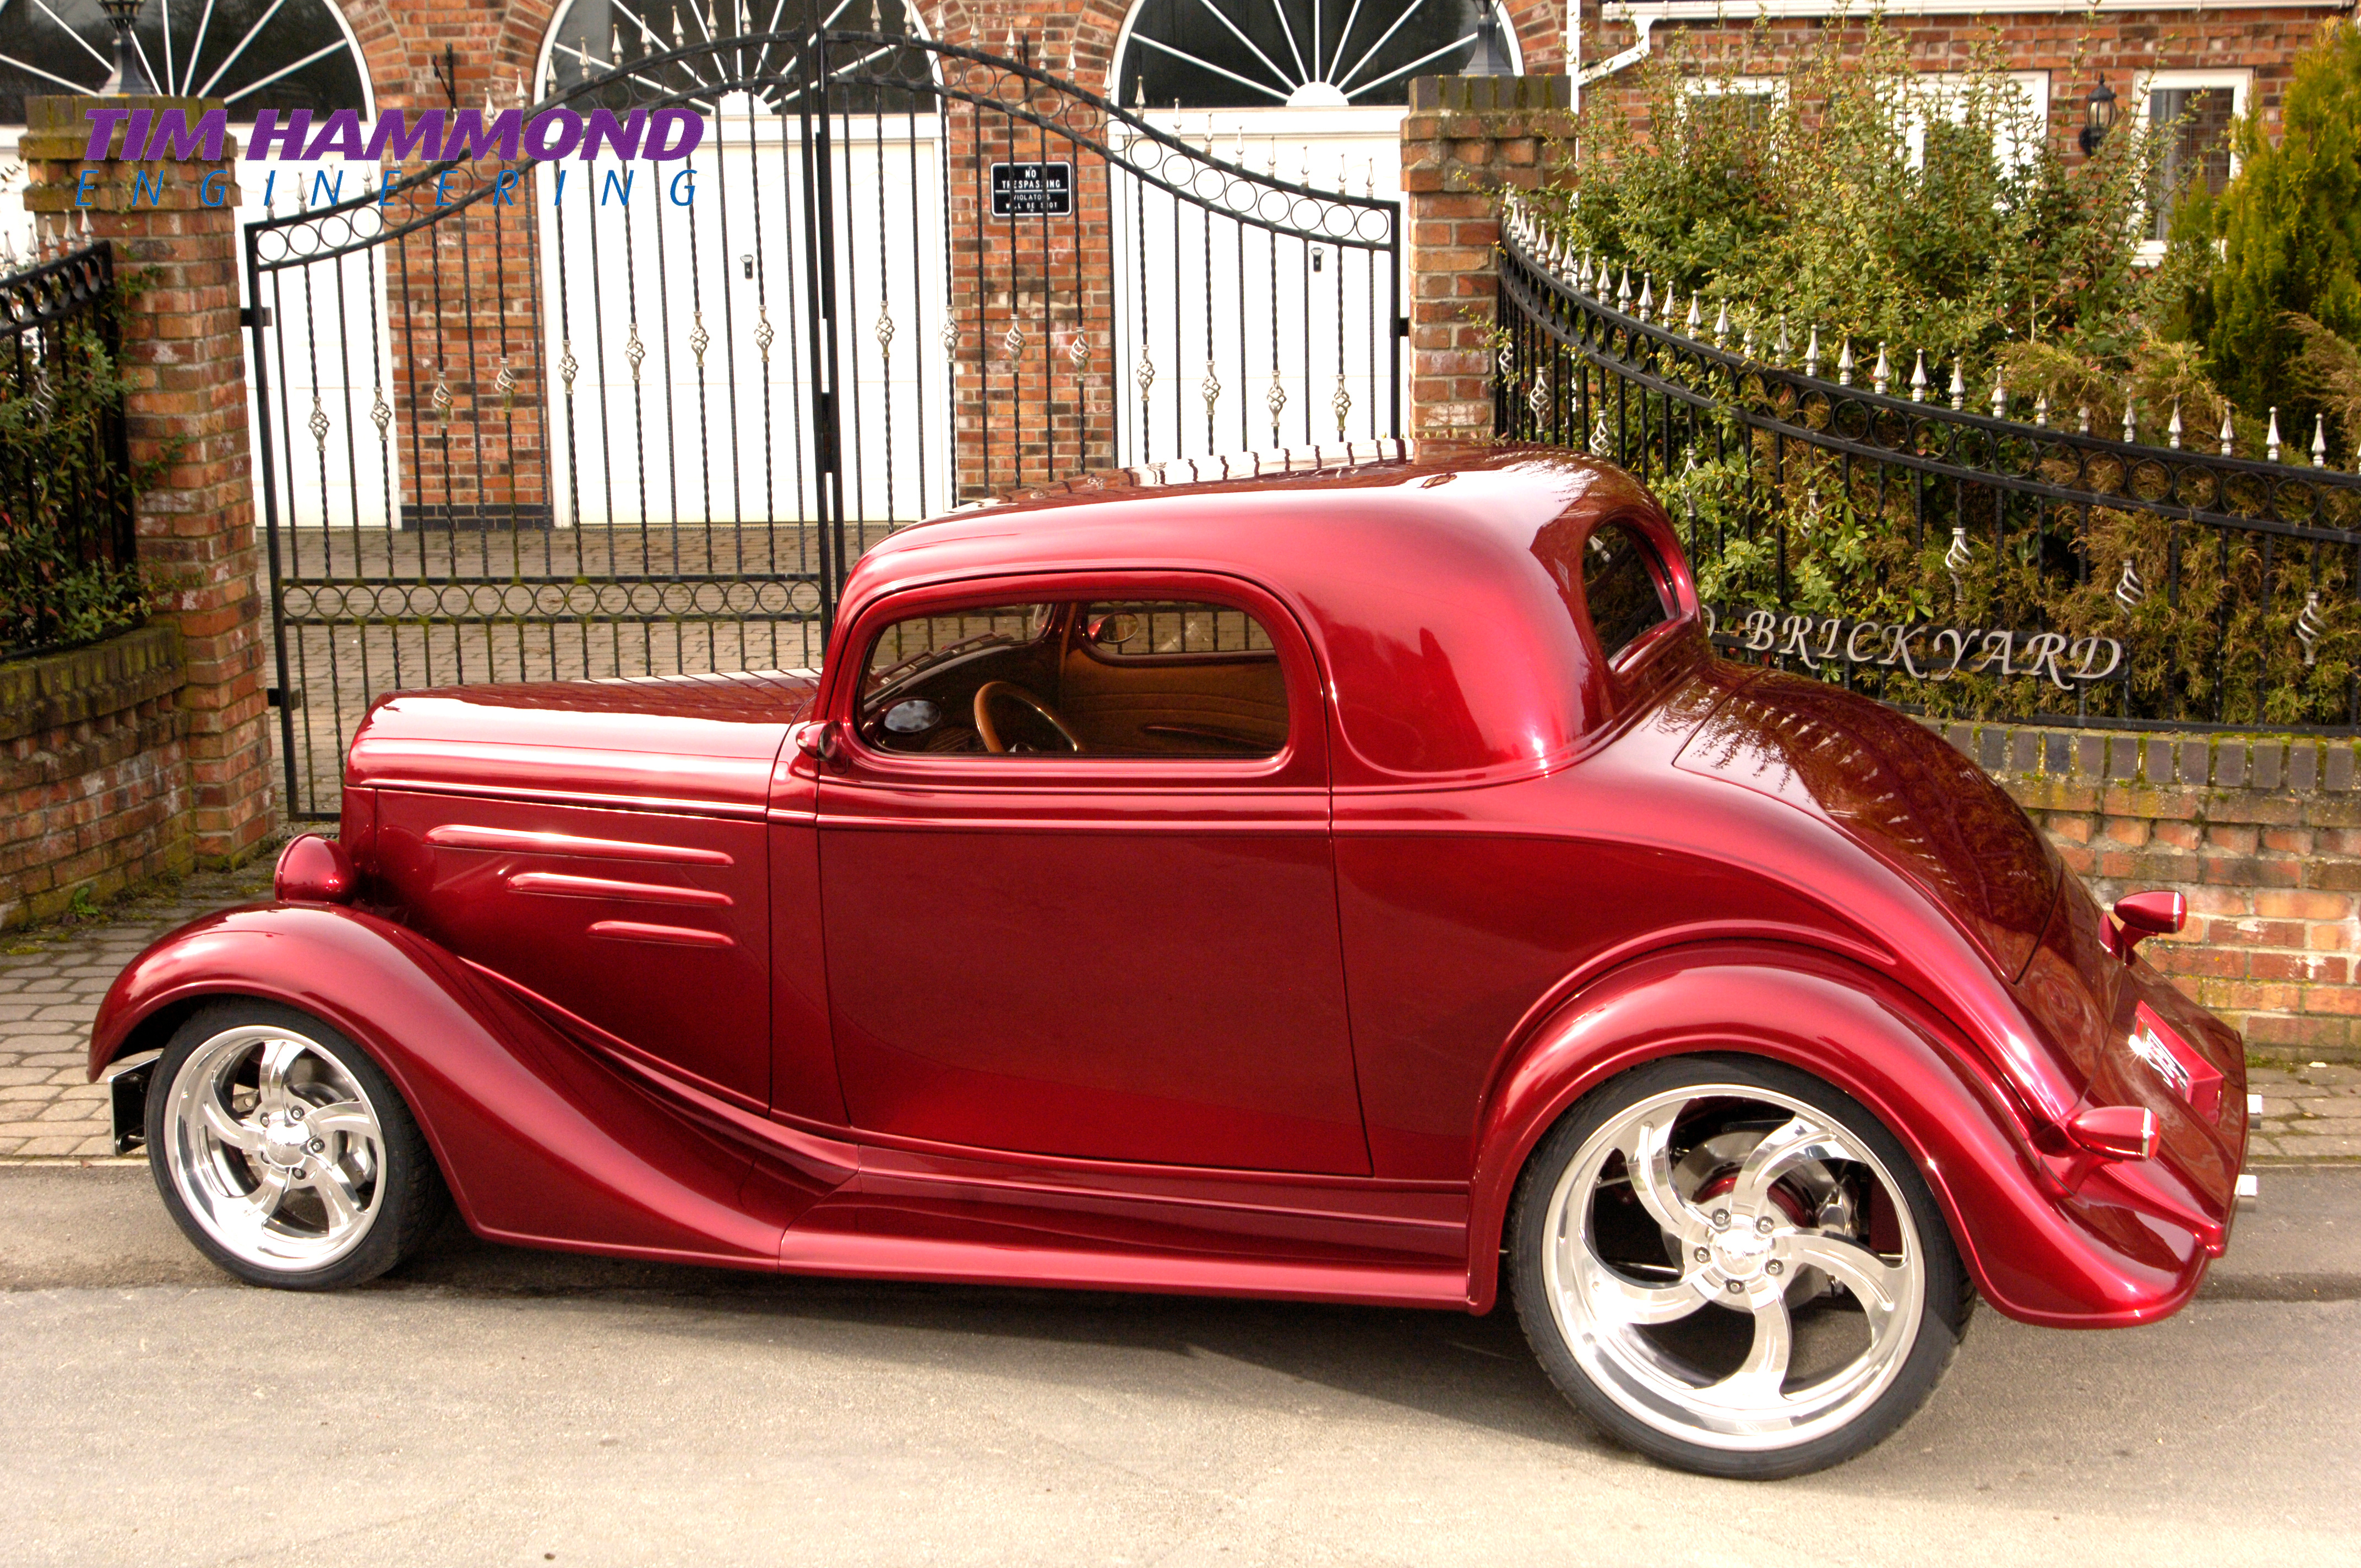
Steve's 1934 Chevy Coupe
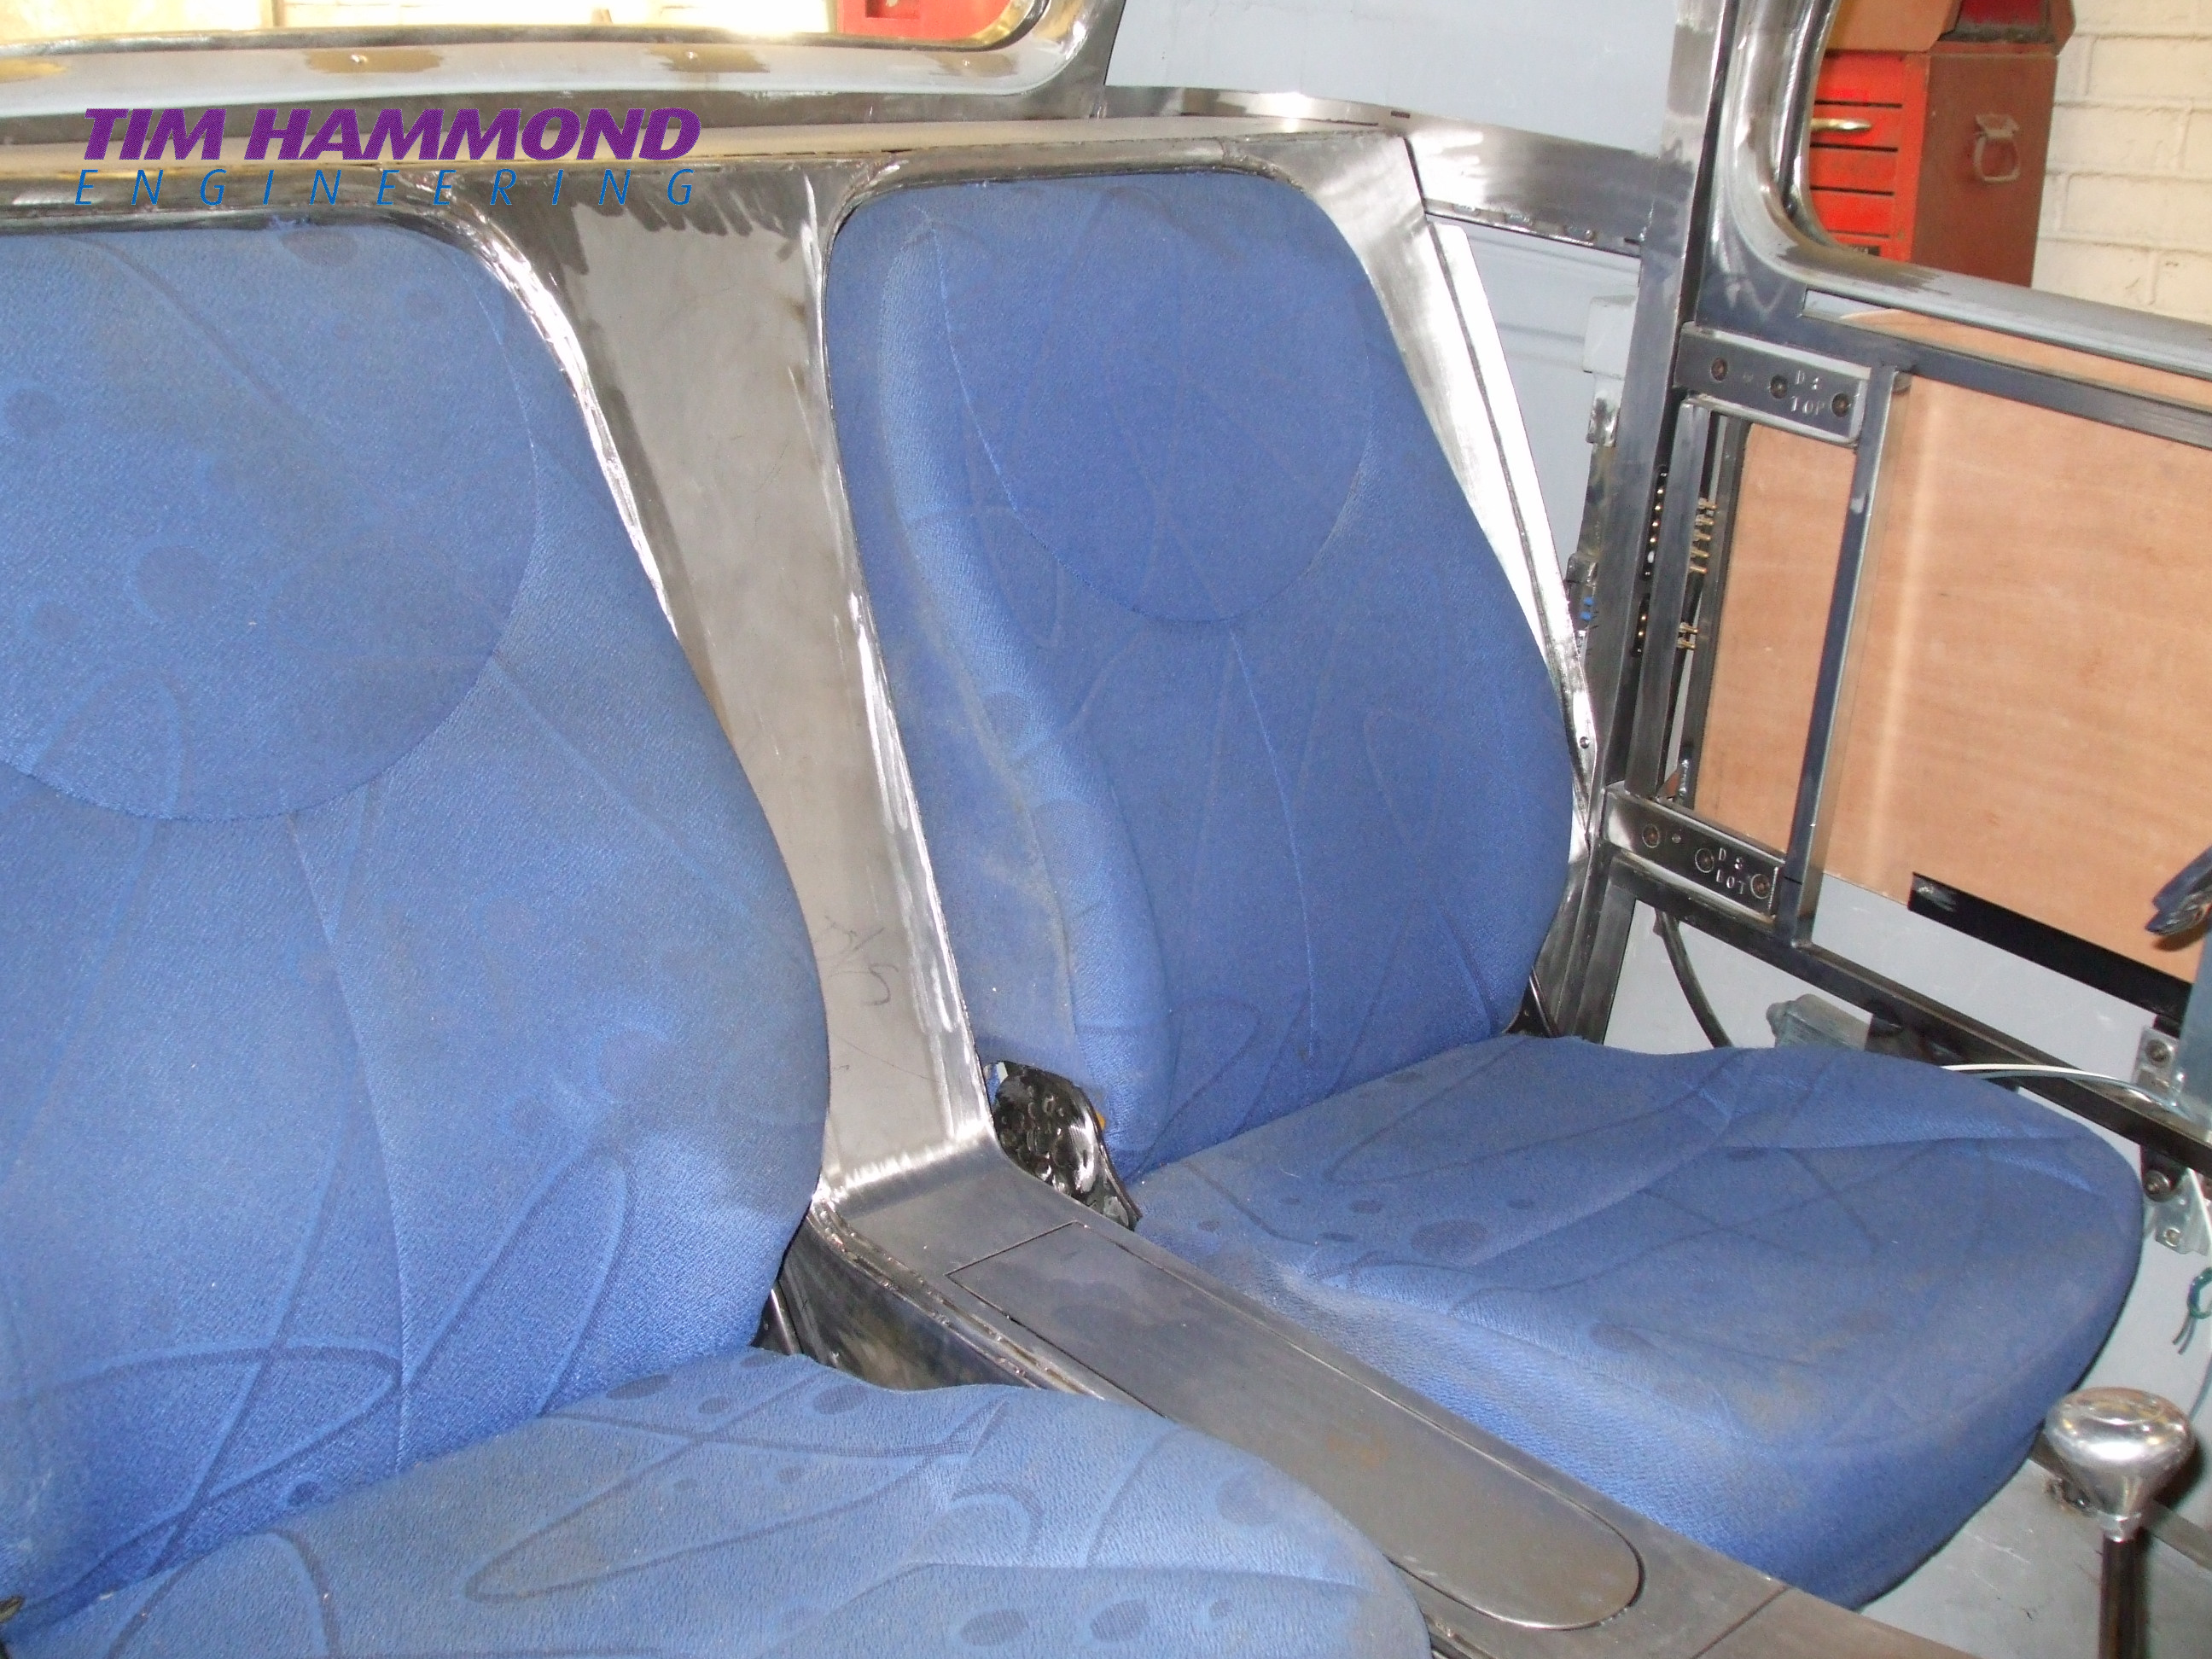
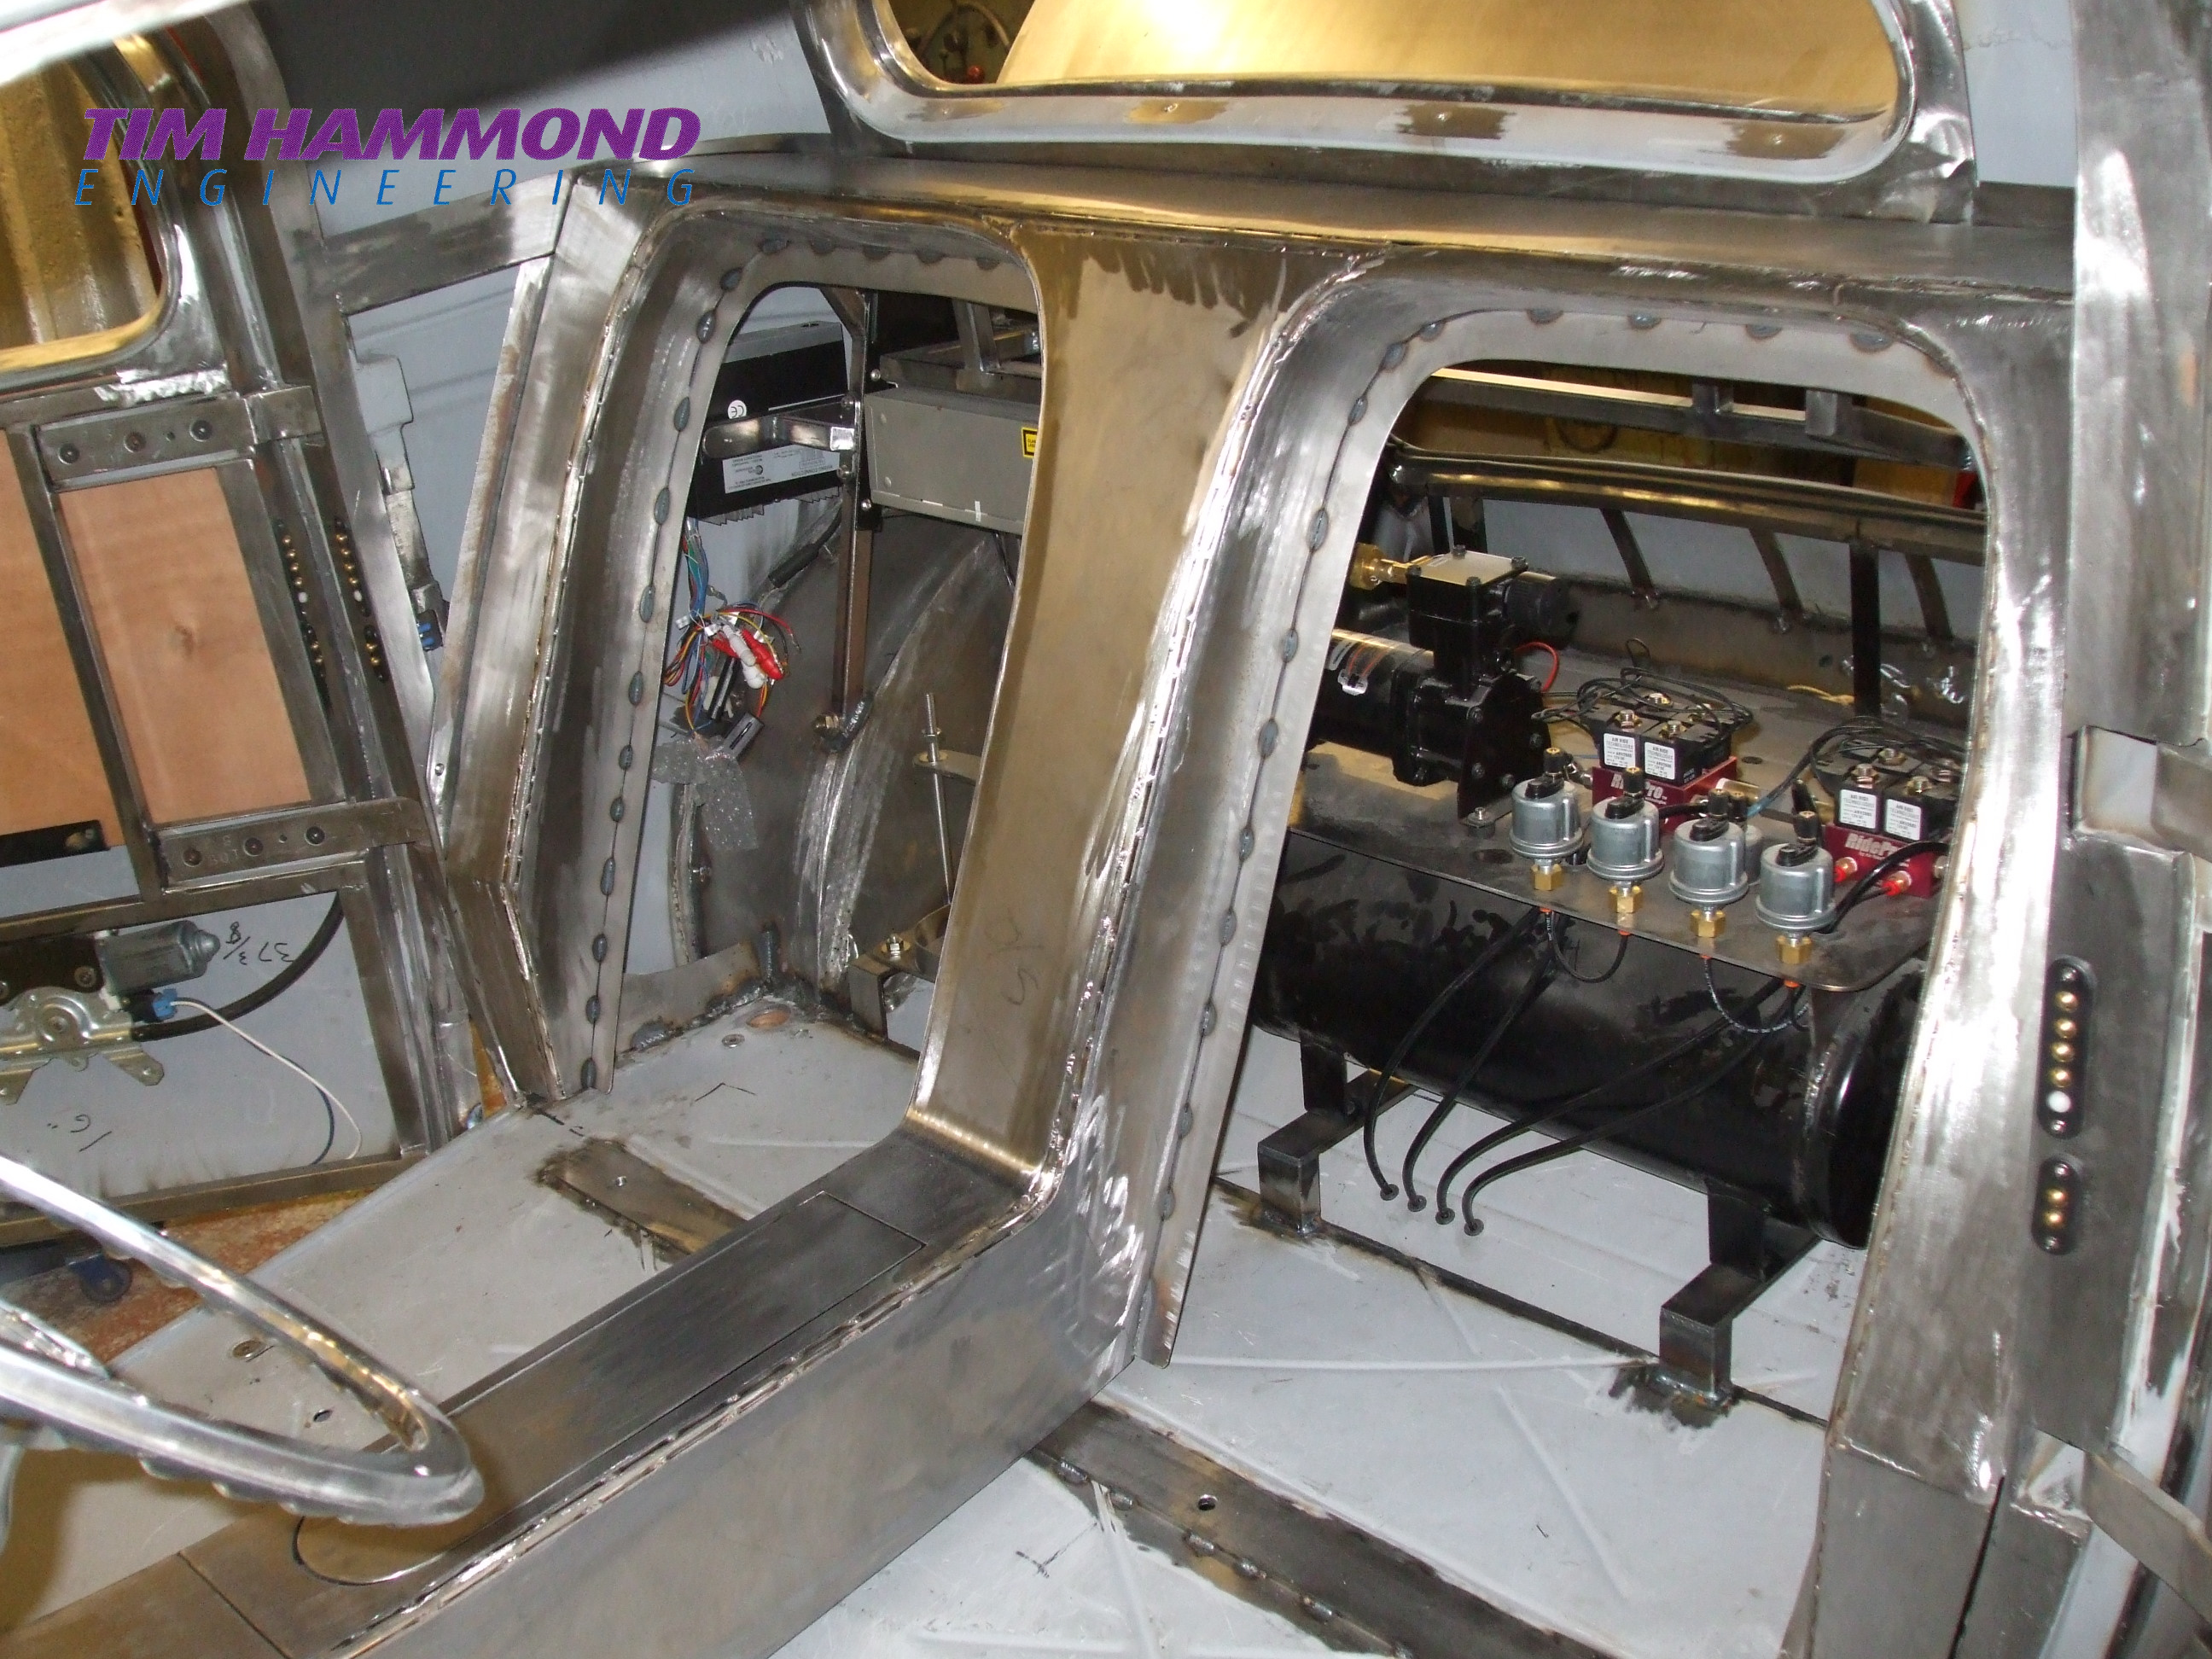
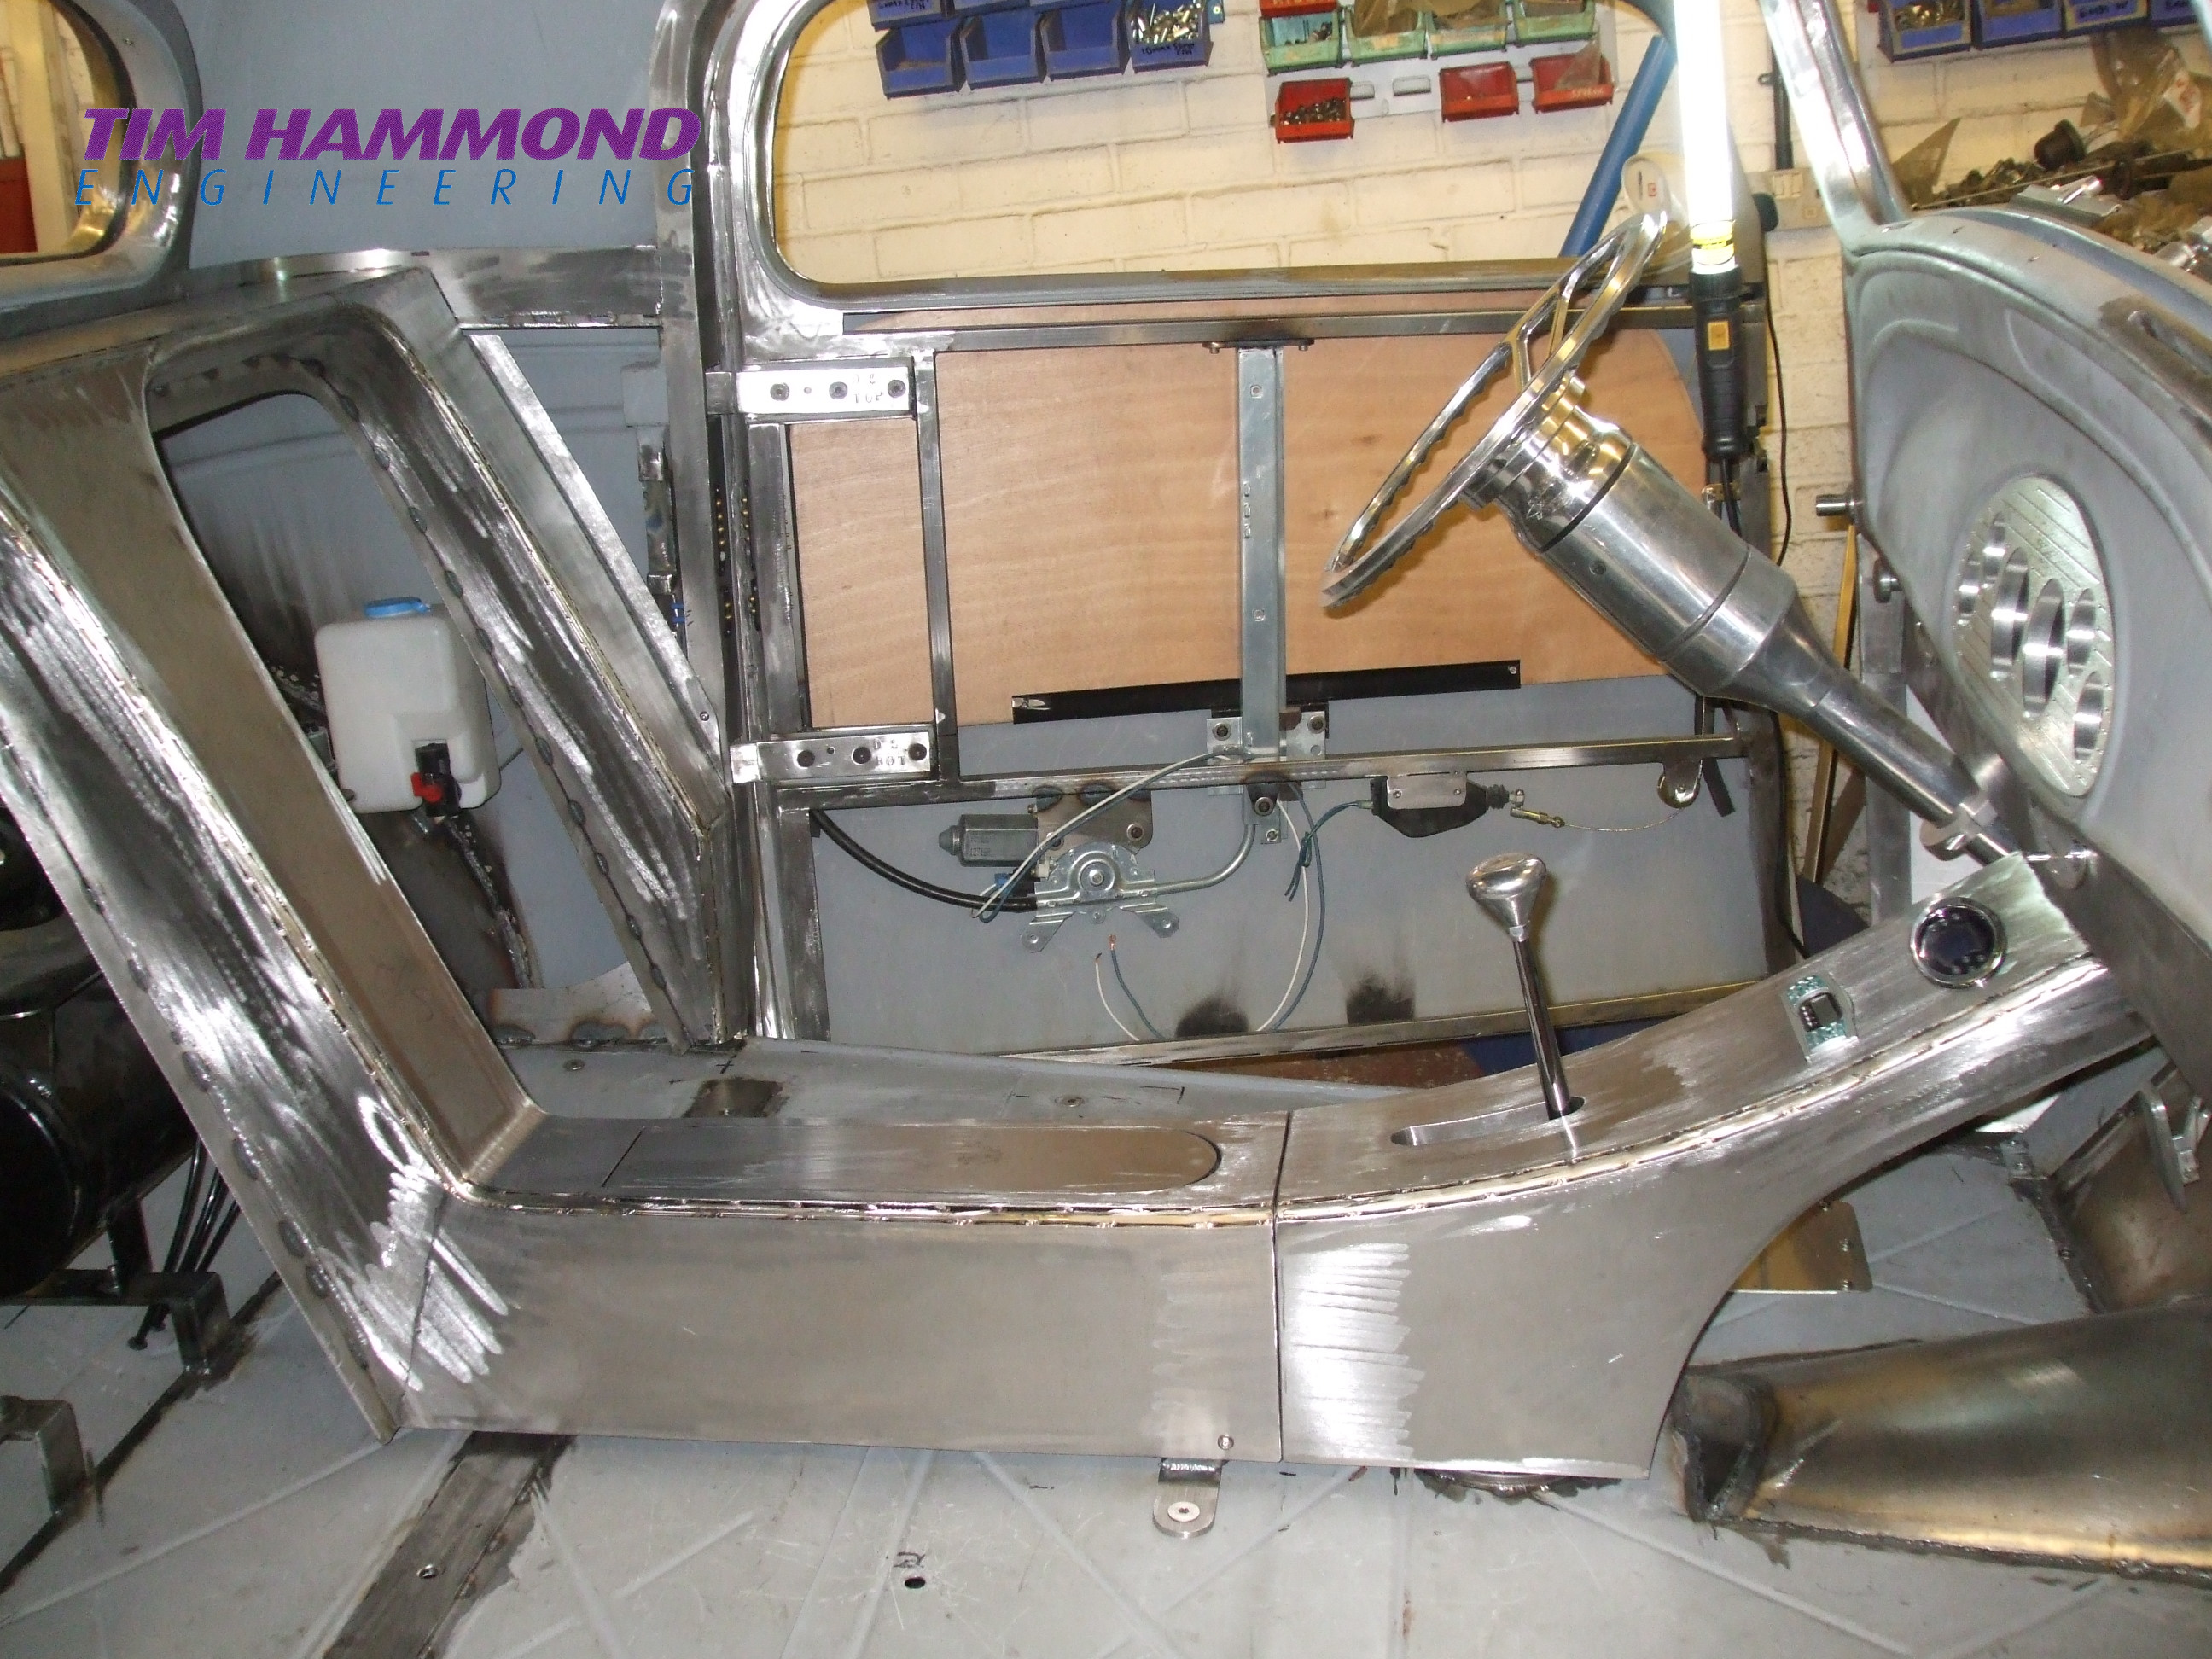
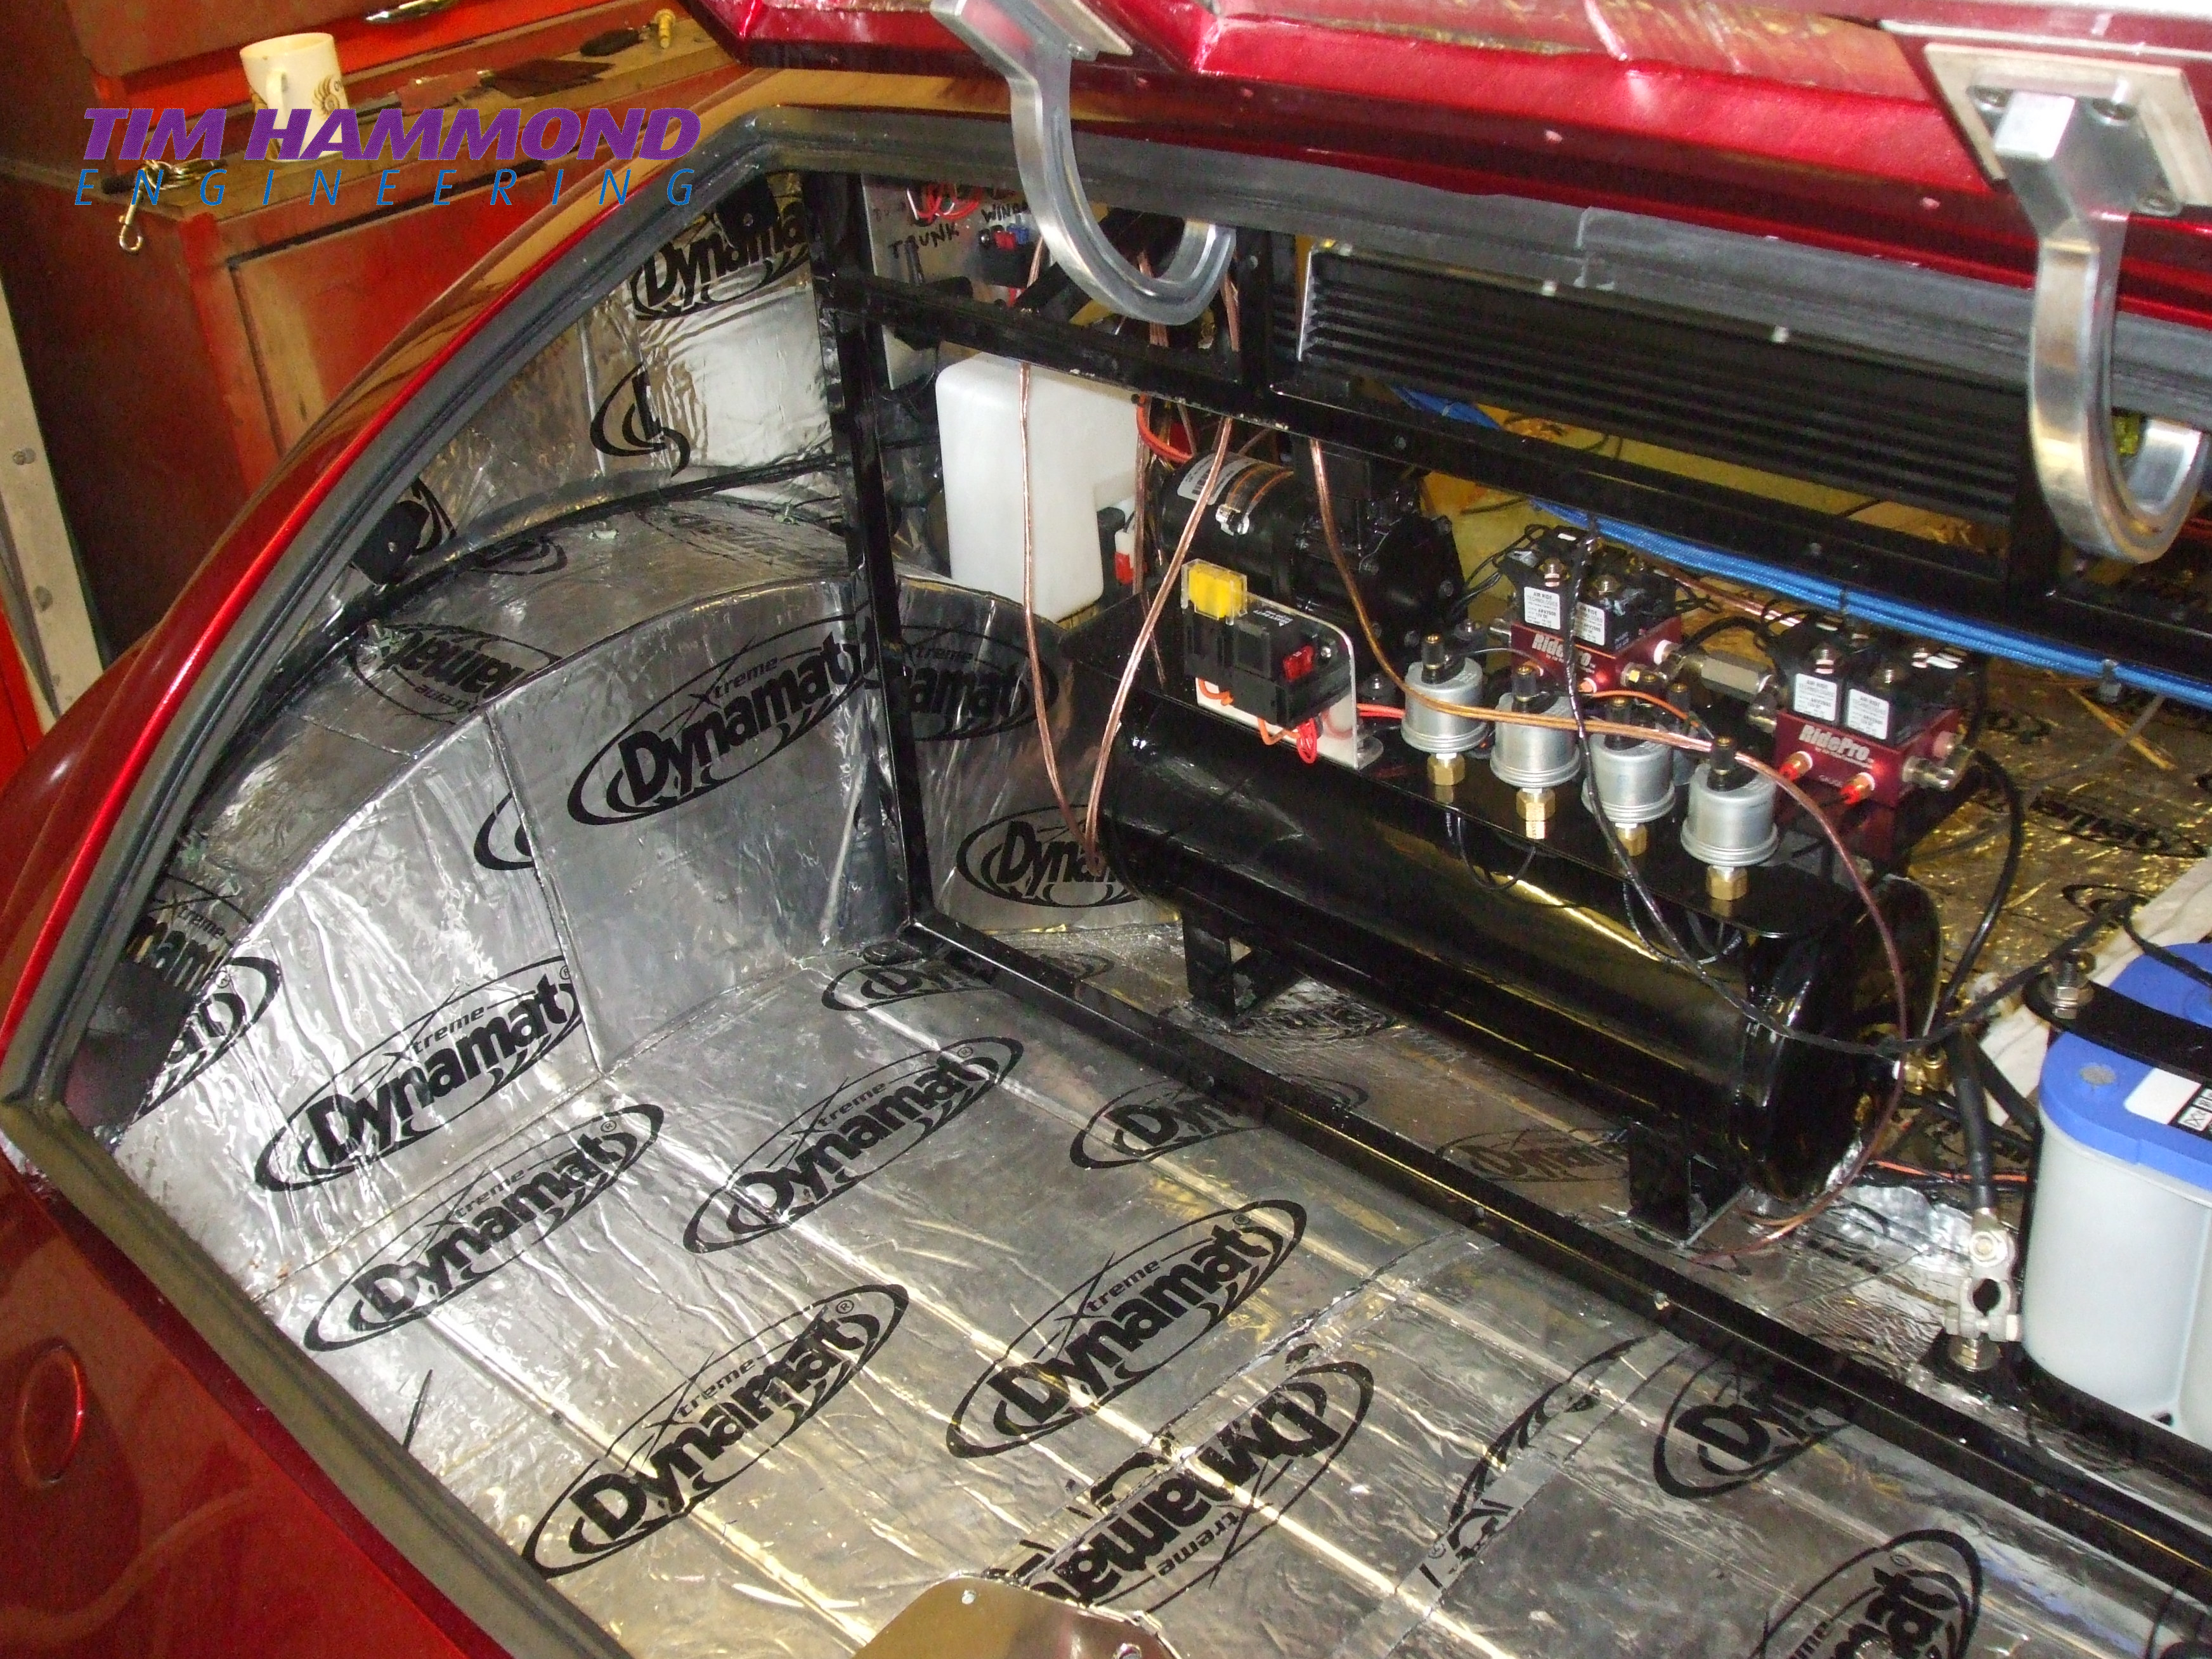
An unusual choice of car, but certainly an amazing project. Tim assembled the chassis, adding the air ride suspension and stainless front suspension with 9" rear axle. Once again lots of body modifications and tweaking to get all the gapping right. Tim created a one off stainless steel grill insert. Tim fabricated the centre console making the interior of this vehicle very unique, completely wired the car with many electric gadgets (ie electric doors, windows, bonnet, trunk, air ride etc)
Body modifications and interior sculpturing and wiring.
Painted a candy red by Steve and upholstered by Neil Tadman, the end result was a pretty stunning car.